

Routine is a project imbued with the spirit of classic 80s science fiction. An abandoned lunar station, once bustling with life, now holds dark secrets, and your task will be to stop the nightmare unfolding here. In this guide, we’ll tell you how to complete Routine and make your way to the very center of a space station filled with robots and mysteries.
Chapter 1. Birth
After the introductory cutscene, you take control of the newly arrived engineer-programmer of the lunar shuttle.
Step away from the bed toward the lit-up terminal and select the Form tab to complete the initial physical training exercises. These help you get familiar with the controls:
- Ctrl+Space+S lets you crouch to the ground and see what’s between narrow surfaces.
- Space+A turns the hero’s head to the left.
- Space+D similarly allows you to peek around the right corner.
- Space+W lifts the engineer onto their tiptoes, giving additional overhead view.
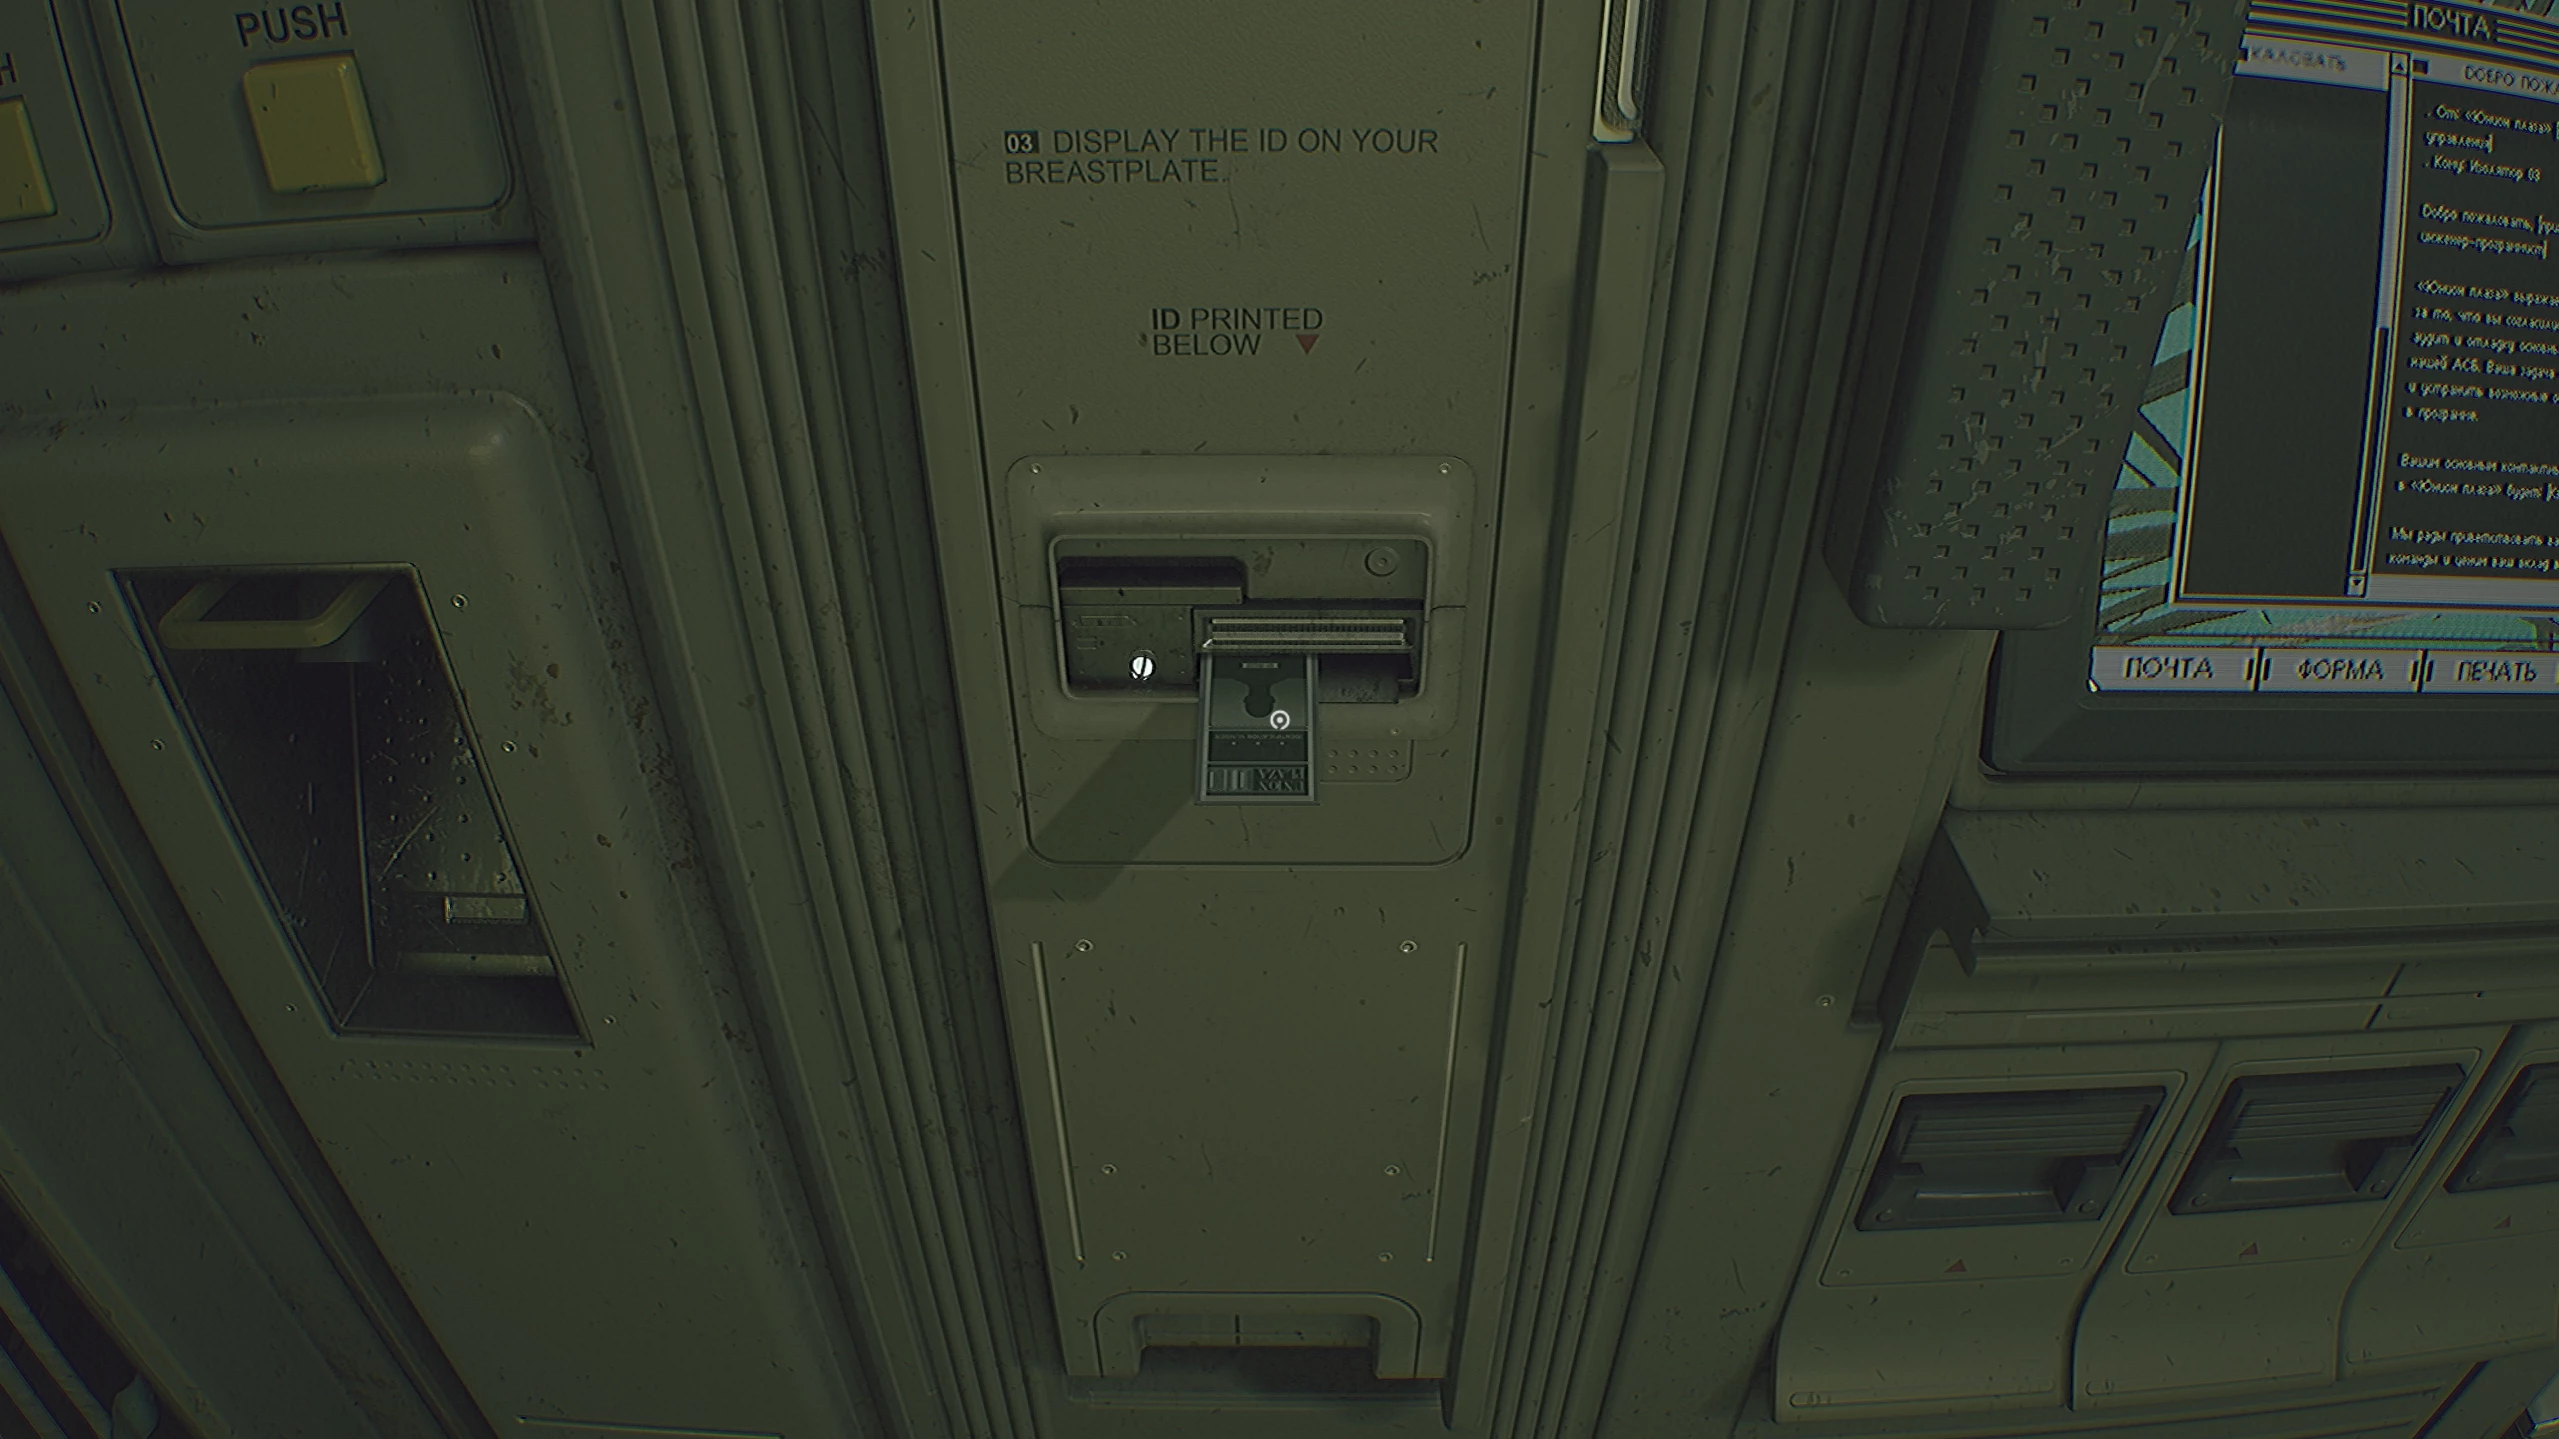
After filling out the form, select any answers in the questionnaire as your choices don’t affect anything. Next, click the Print button to get your personal ship pass and collect it from the machine on the left.
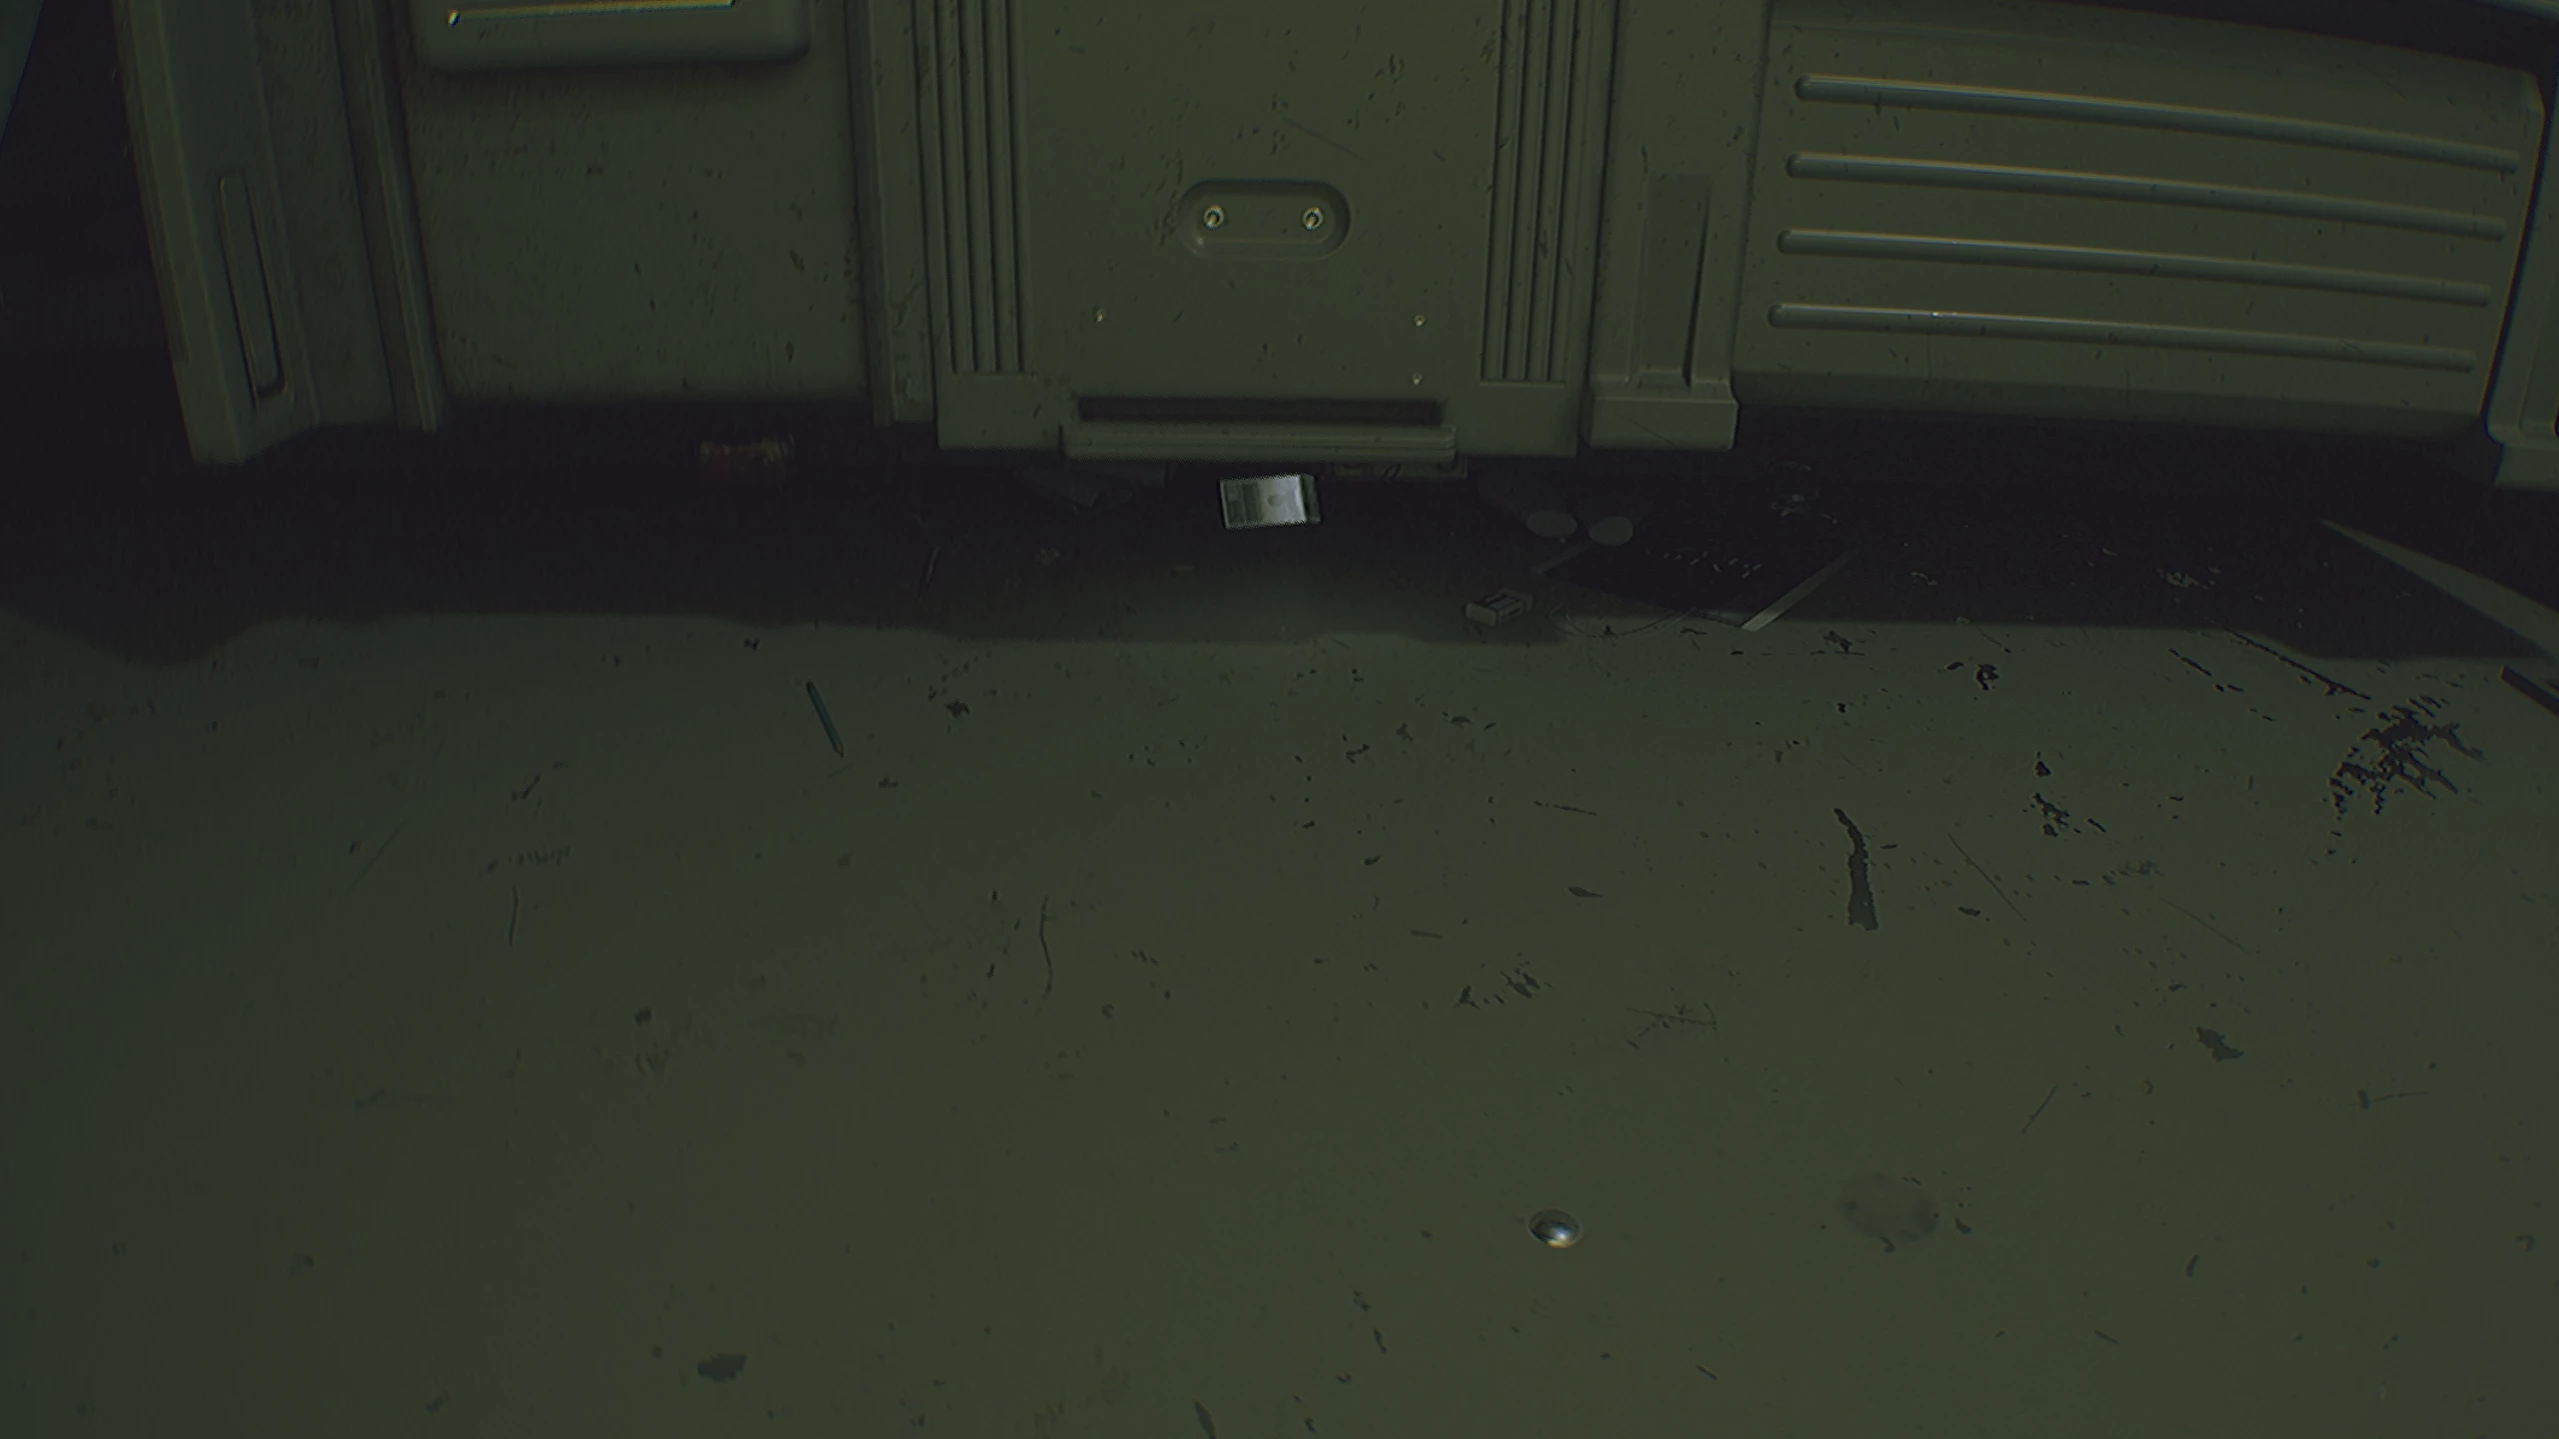
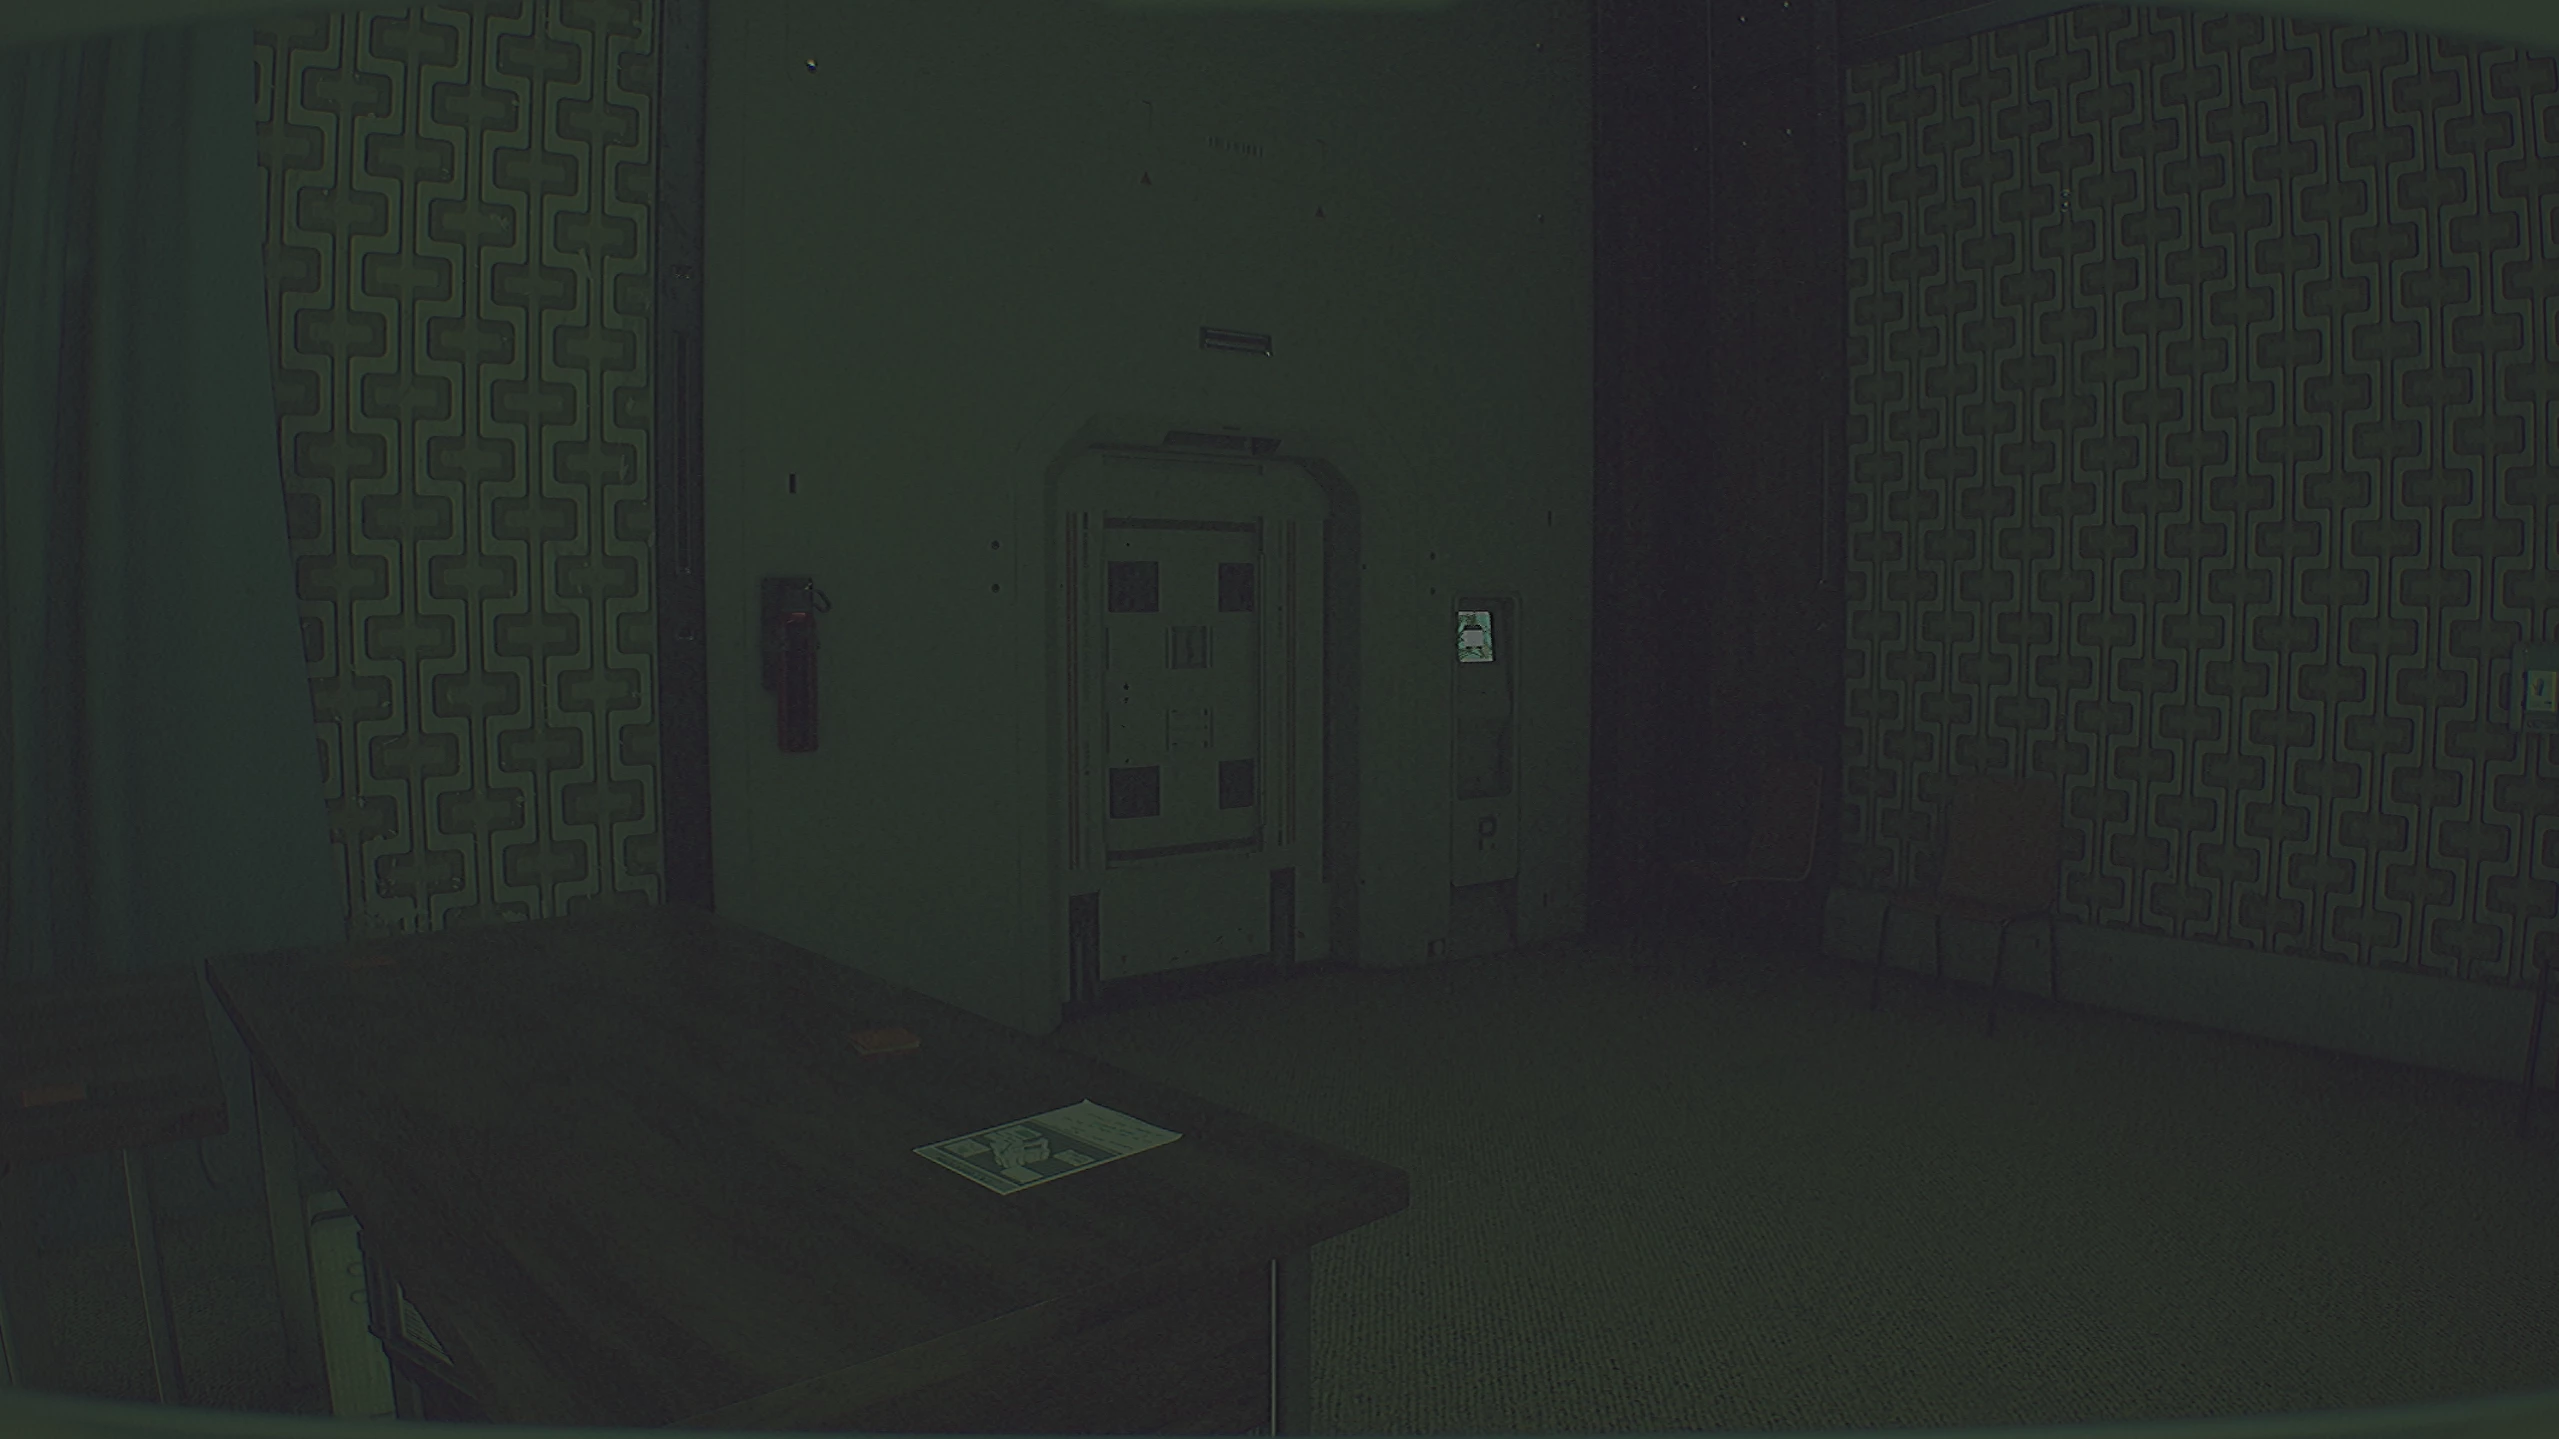
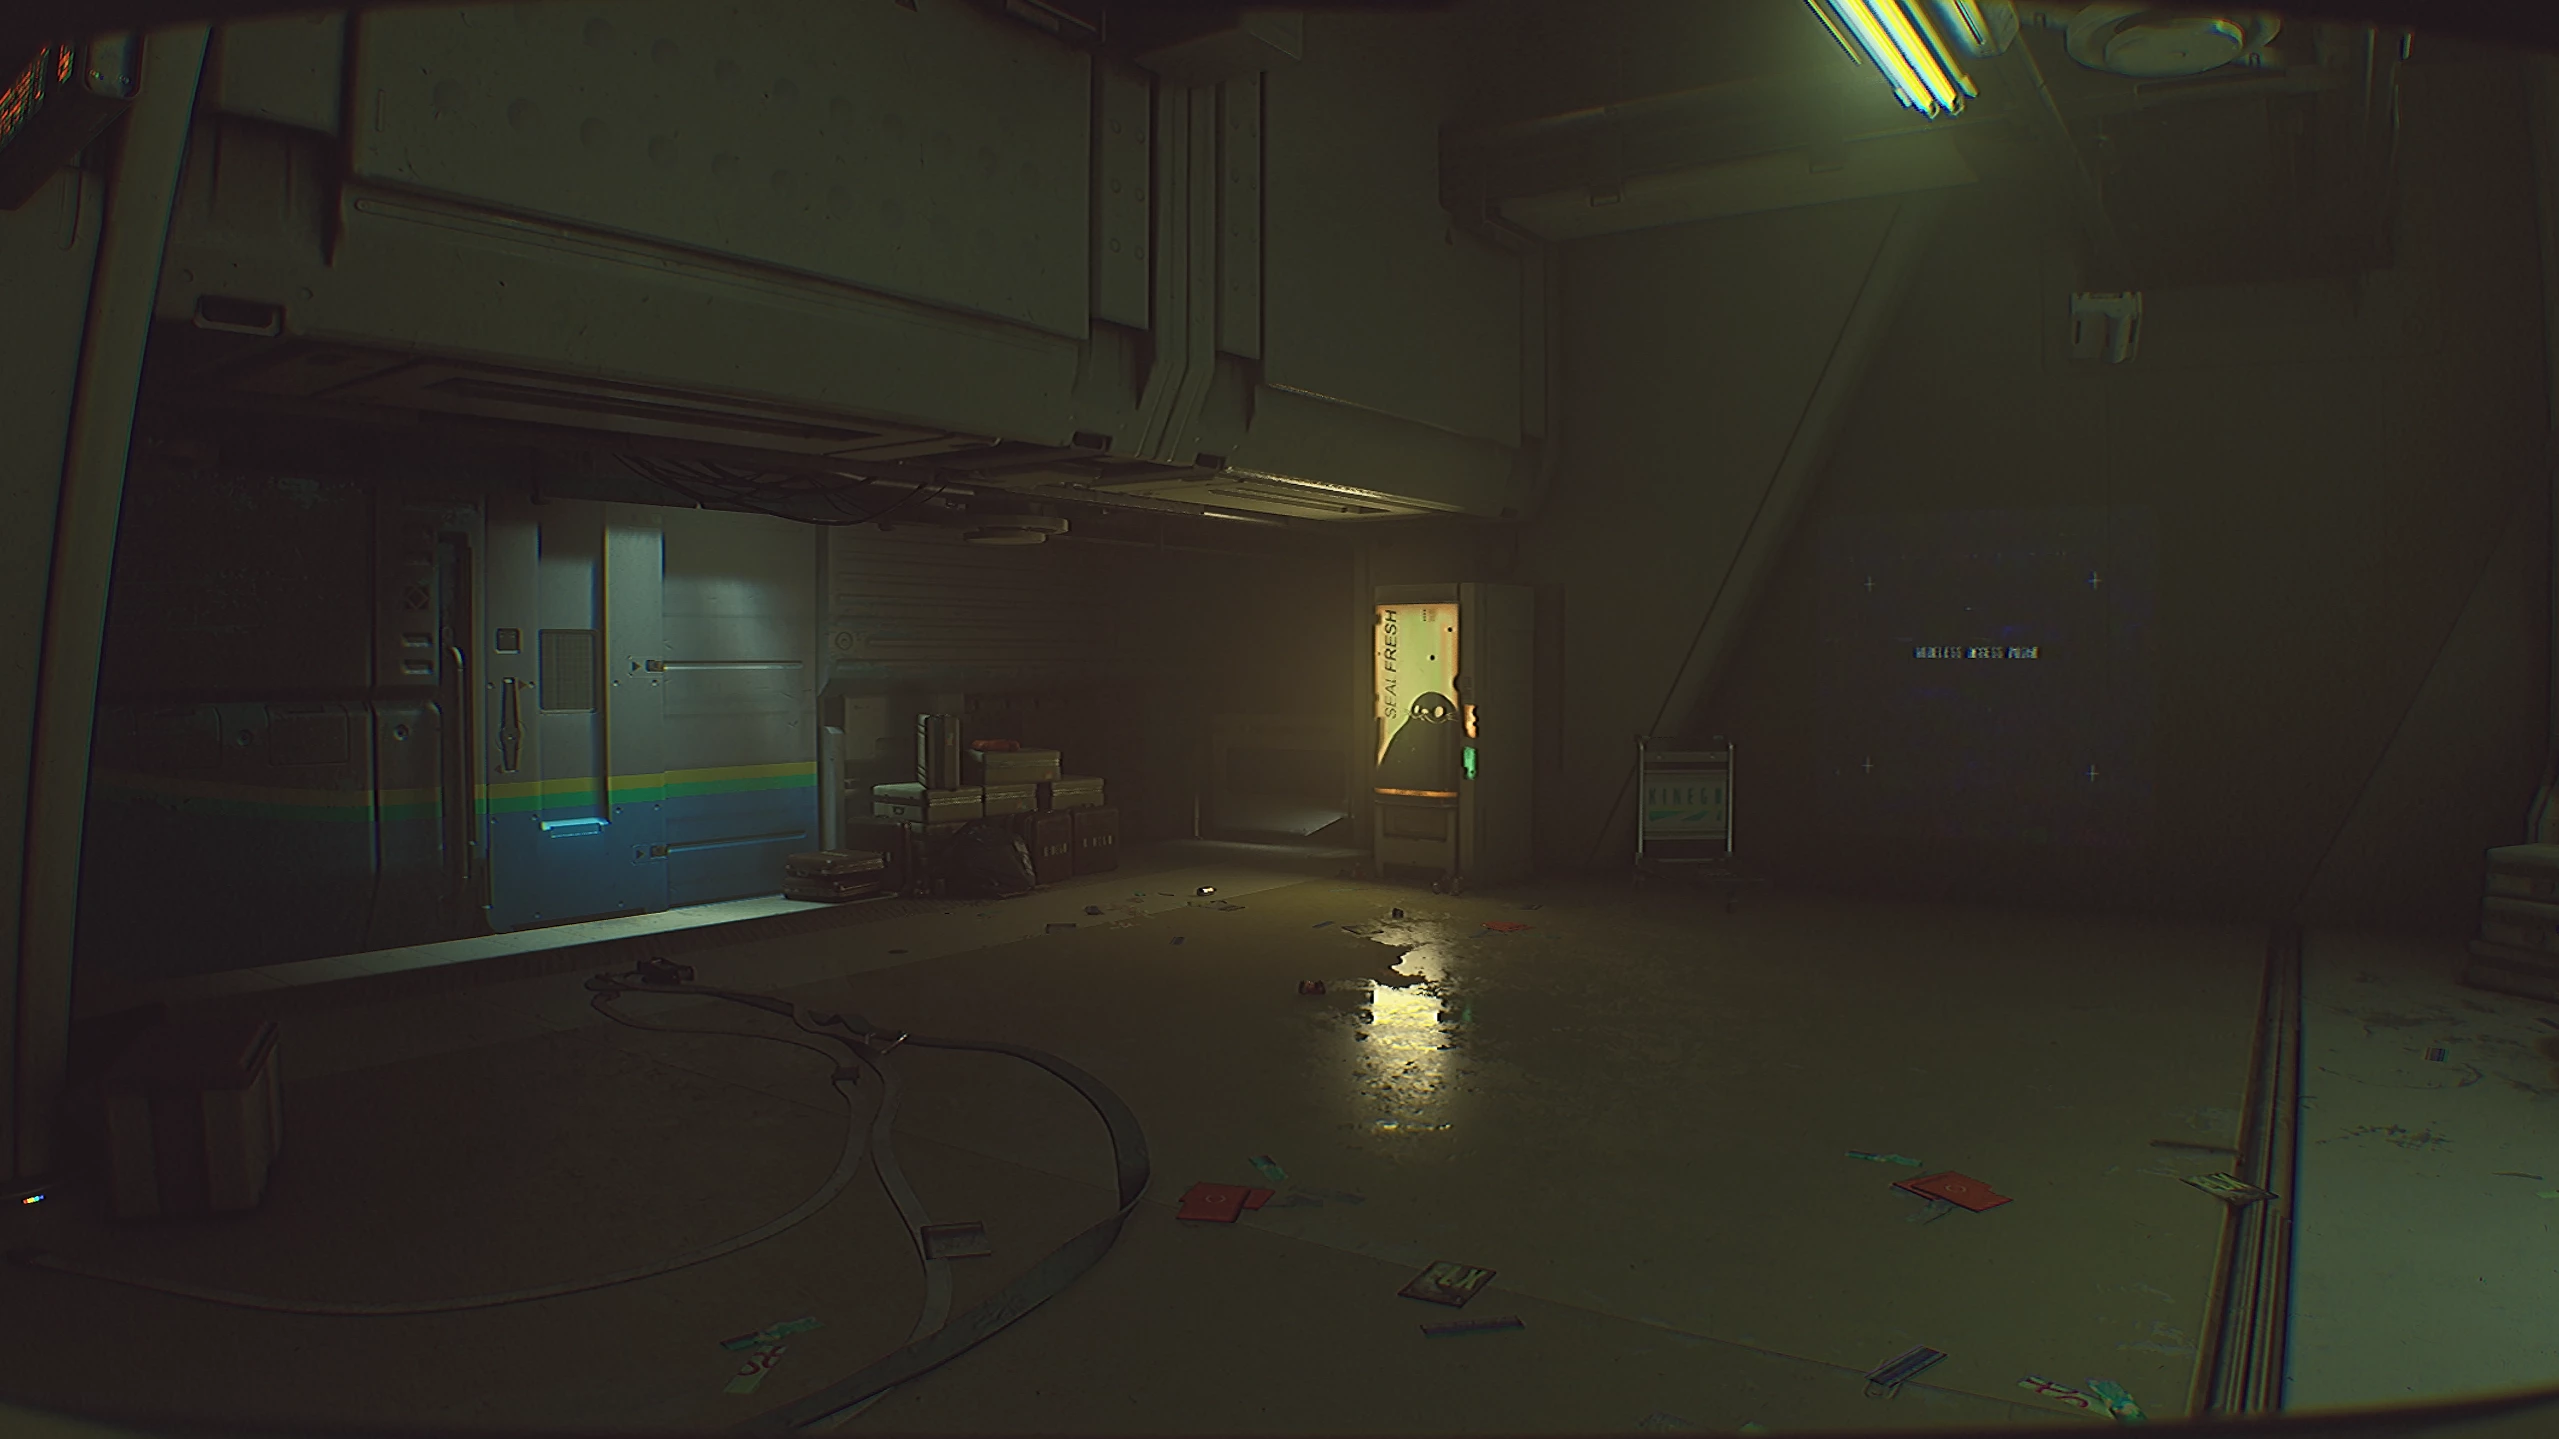
Unfortunately, it drops under the table, so crouch all the way down using the previously learned combination and pick up the paper. To leave the cabin, put on the helmet from the special compartment to the left of the printer and then approach the door. Select Open Door to enter the main corridor.

In the open area, turn left and walk to the end until a male voice from the speakers starts talking to you. After that, find the door terminal on the right and open the passage.
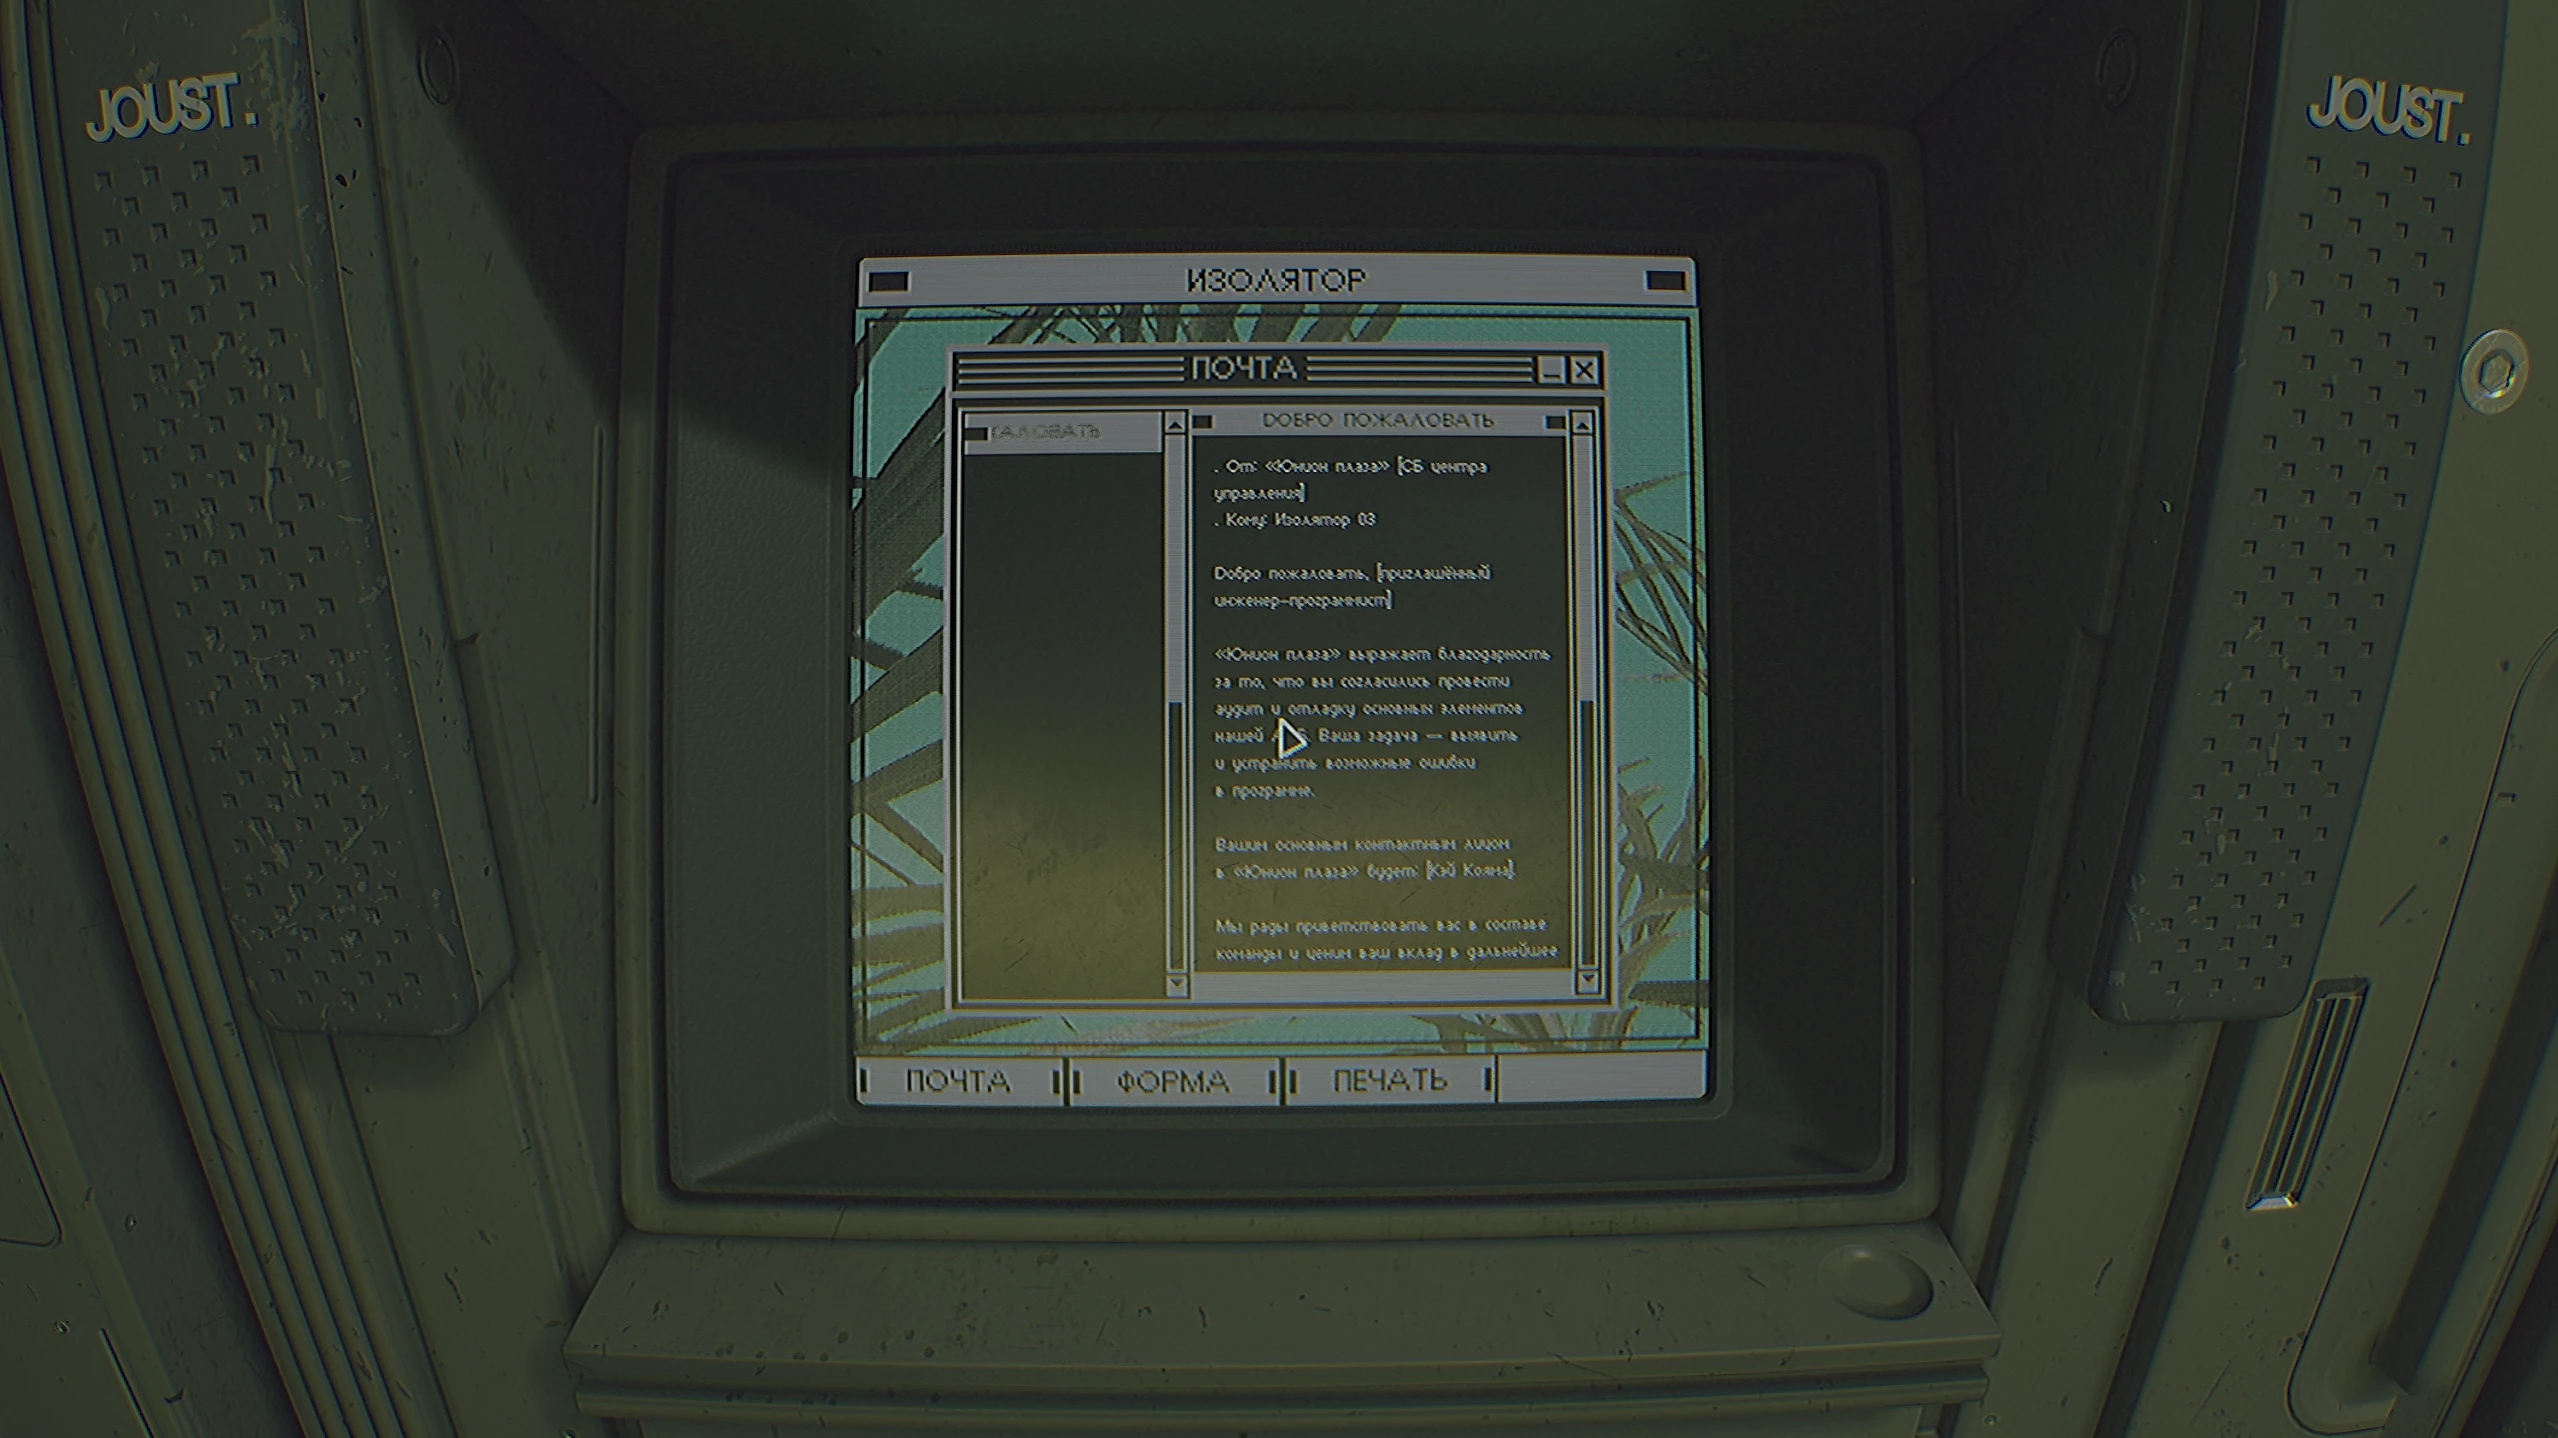
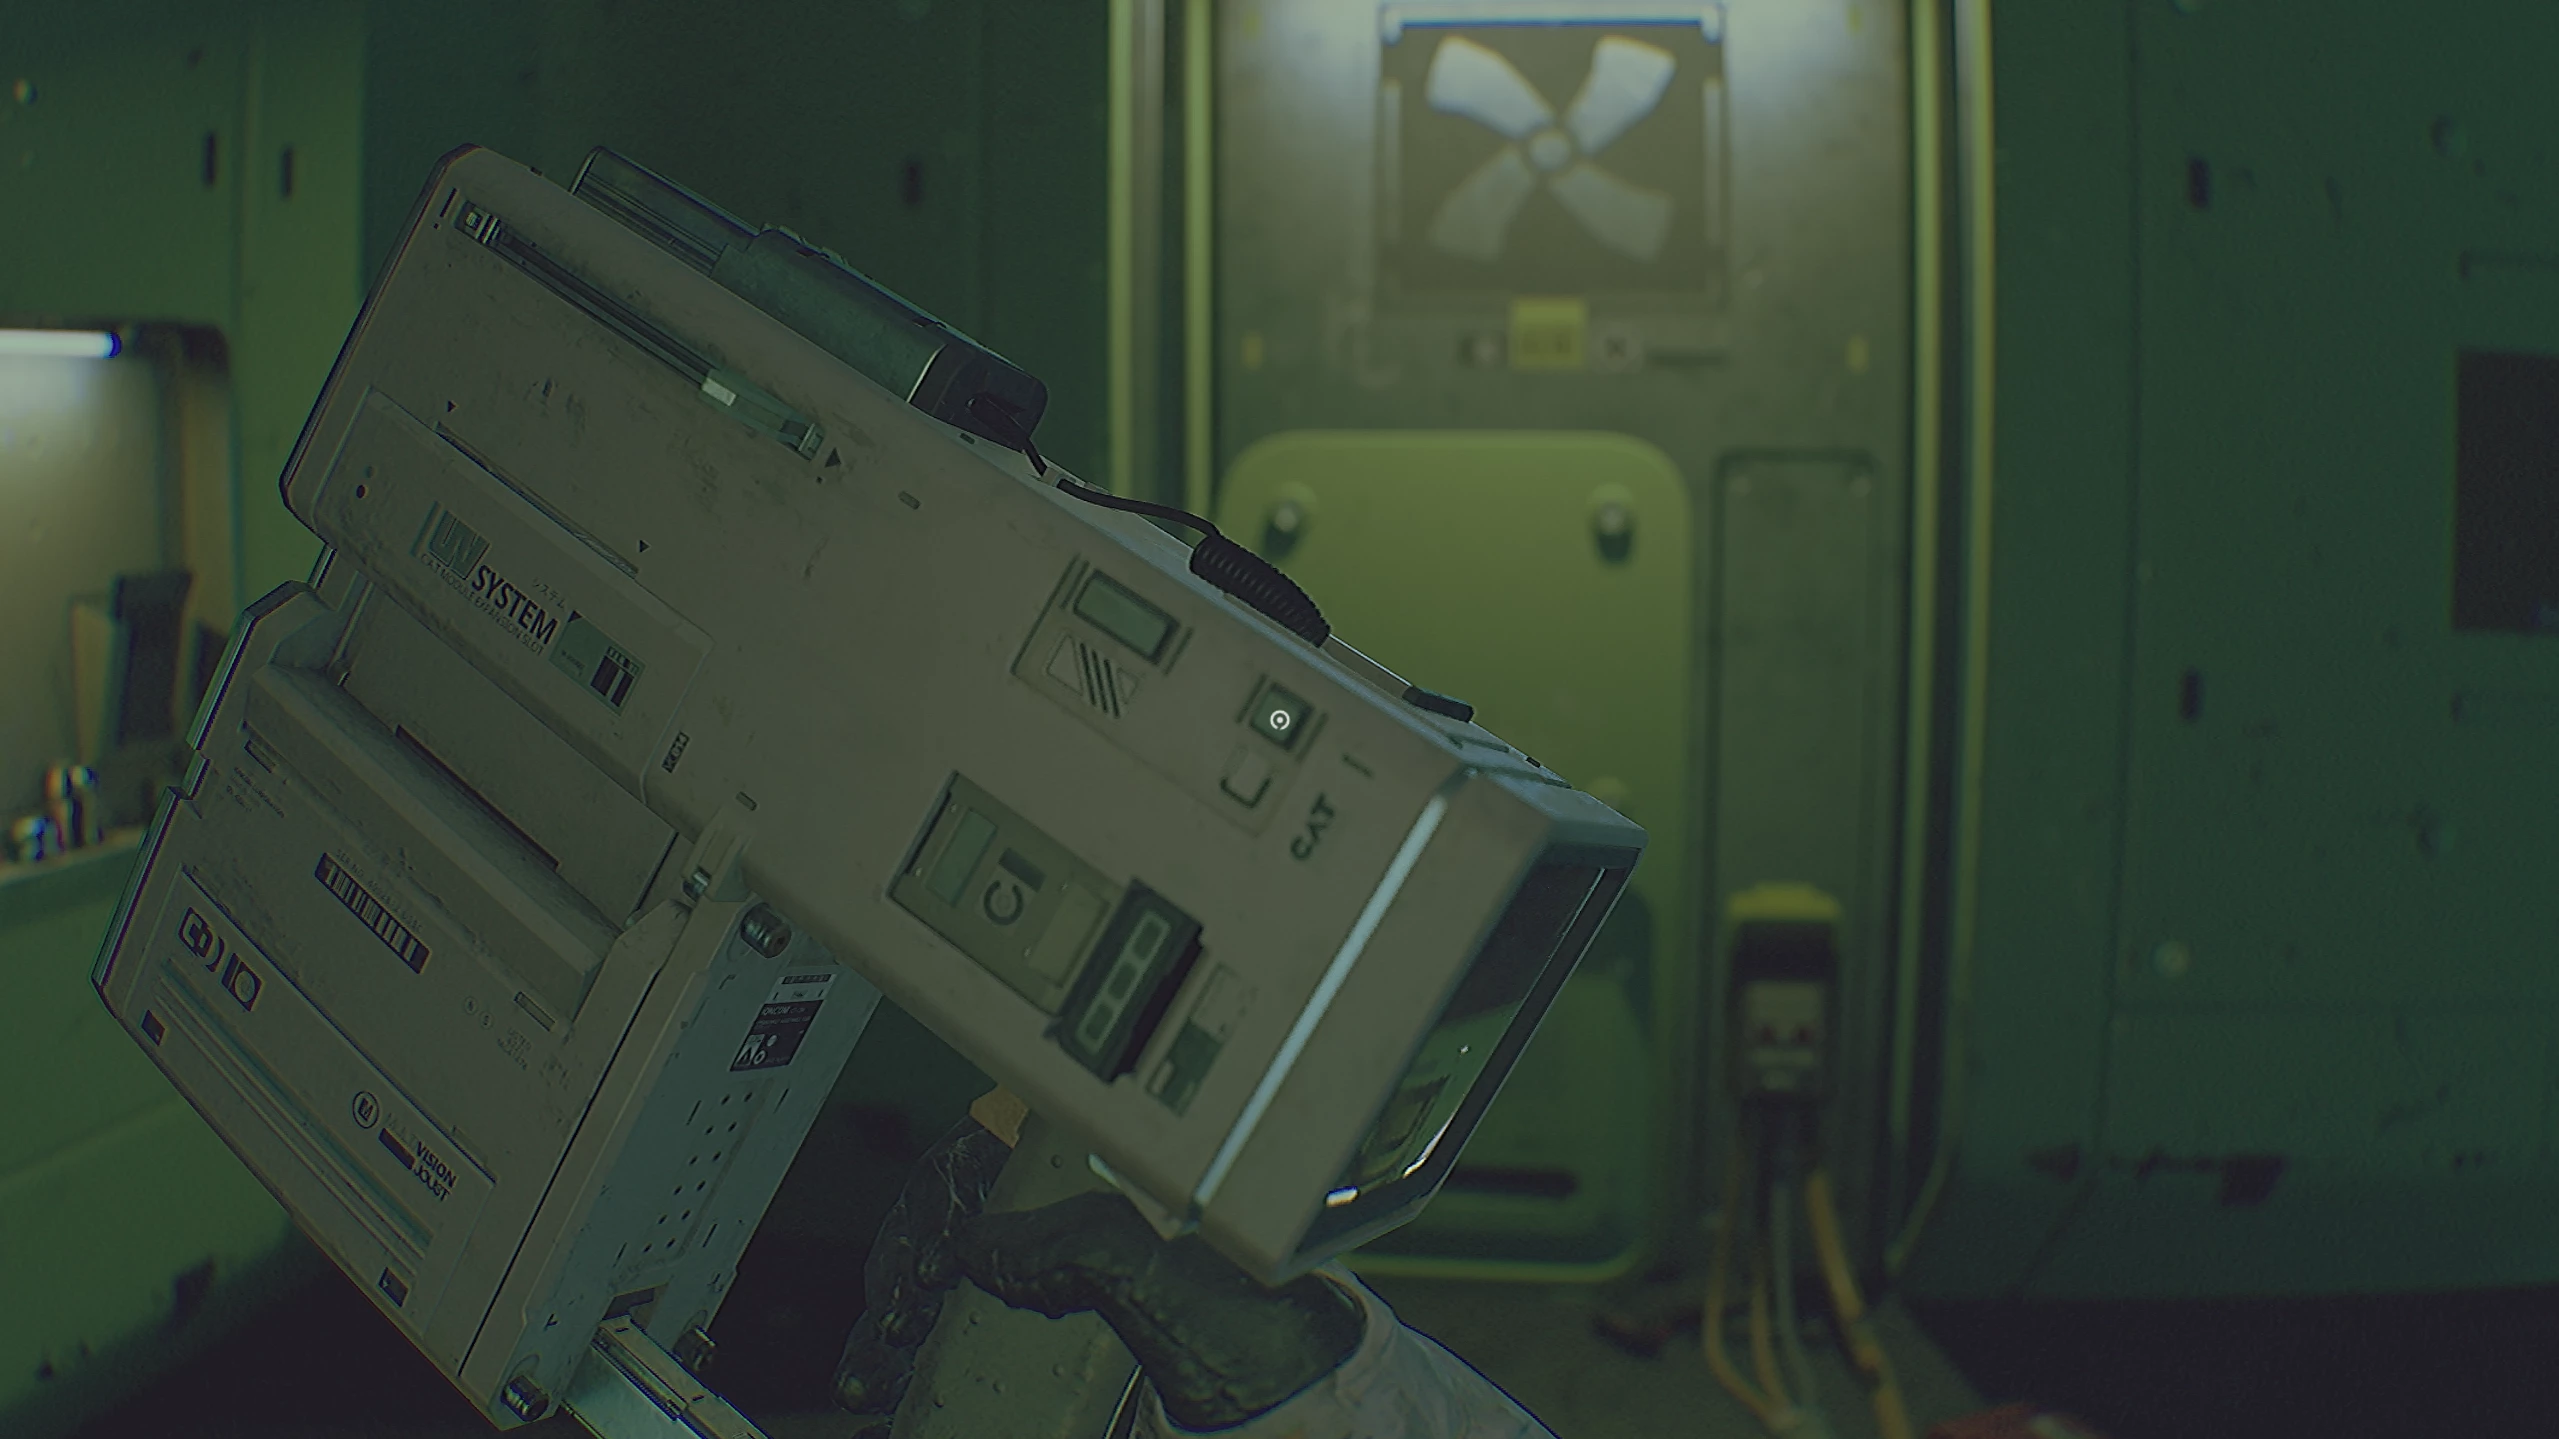
Inside, turn right again, activate the door, and you’ll find yourself in the conference room where employees are trained to use the IPA — the individual astronaut assistant. This tool is the main feature of the game: it allows you to deactivate hostile entities, find hidden fingerprints, connect to system interfaces, and, most importantly, save your game progress at special zones.
The IPA requires a battery to function. To get one, turn around and go to the supply closet on the left. On the shelf, you’ll find two batteries, and in addition, an infinite battery box on the right. Return to the hall and go to the presentation on the wall. Flip through the slides until you’re allowed to connect to the system module via wireless connection.

To connect, you need to inspect the tool (press the R key on the keyboard) and press the special button with the crossed-out rectangle on the right.
The IPA gives us access to the following information:
- Tasks — here you’ll find all the objectives the engineer needs to complete. There won’t be any hints for them, so you’ll have to rely on your own wits.
- Database — passwords and keys for some panels and mechanisms.
- Media — all videos and photos you find during the playthrough.
- Equipment — instructions for using the IPA, as well as descriptions of available modules.
The senior security officer has reset the elevator access rights in the arrival area, and our task is to reactivate it.
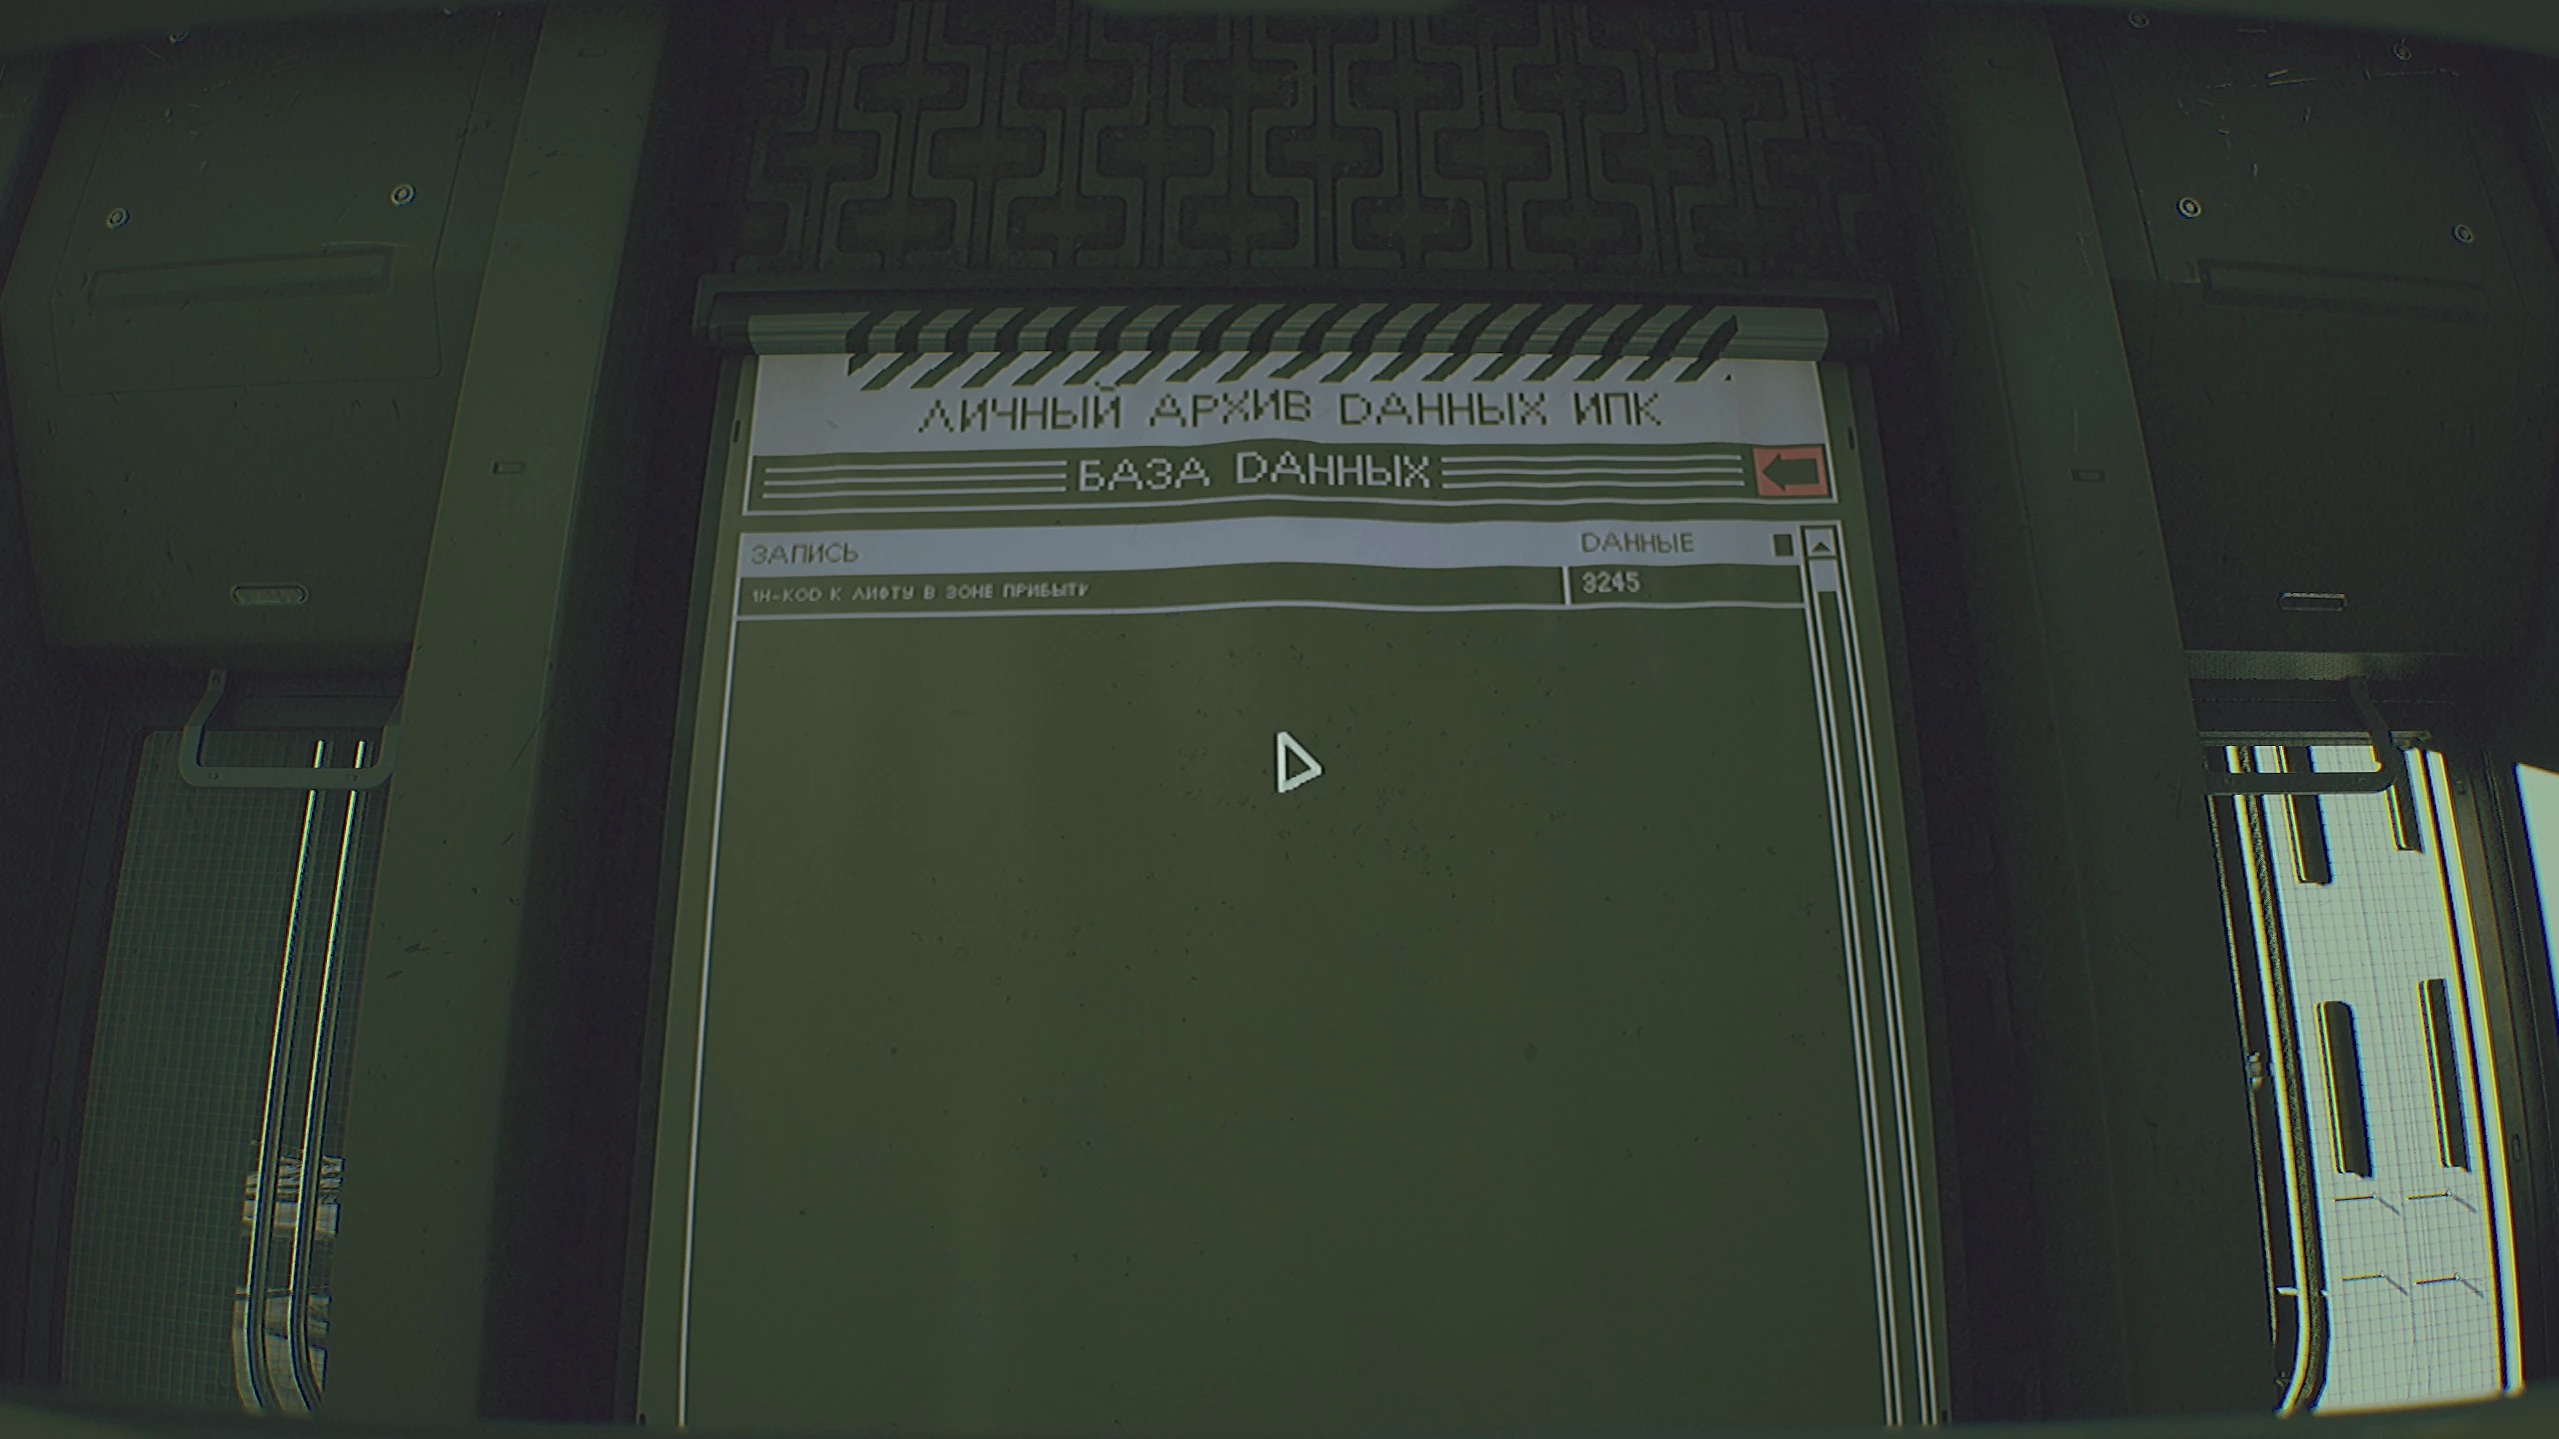
The elevator password is located in the Database tab of the IPA. Open it and you’ll see the required set of numbers. It’s important to understand that all codes, IDs, fingerprints, and much more are randomly generated in each new run. Therefore, the codes presented below may not work for your playthrough.
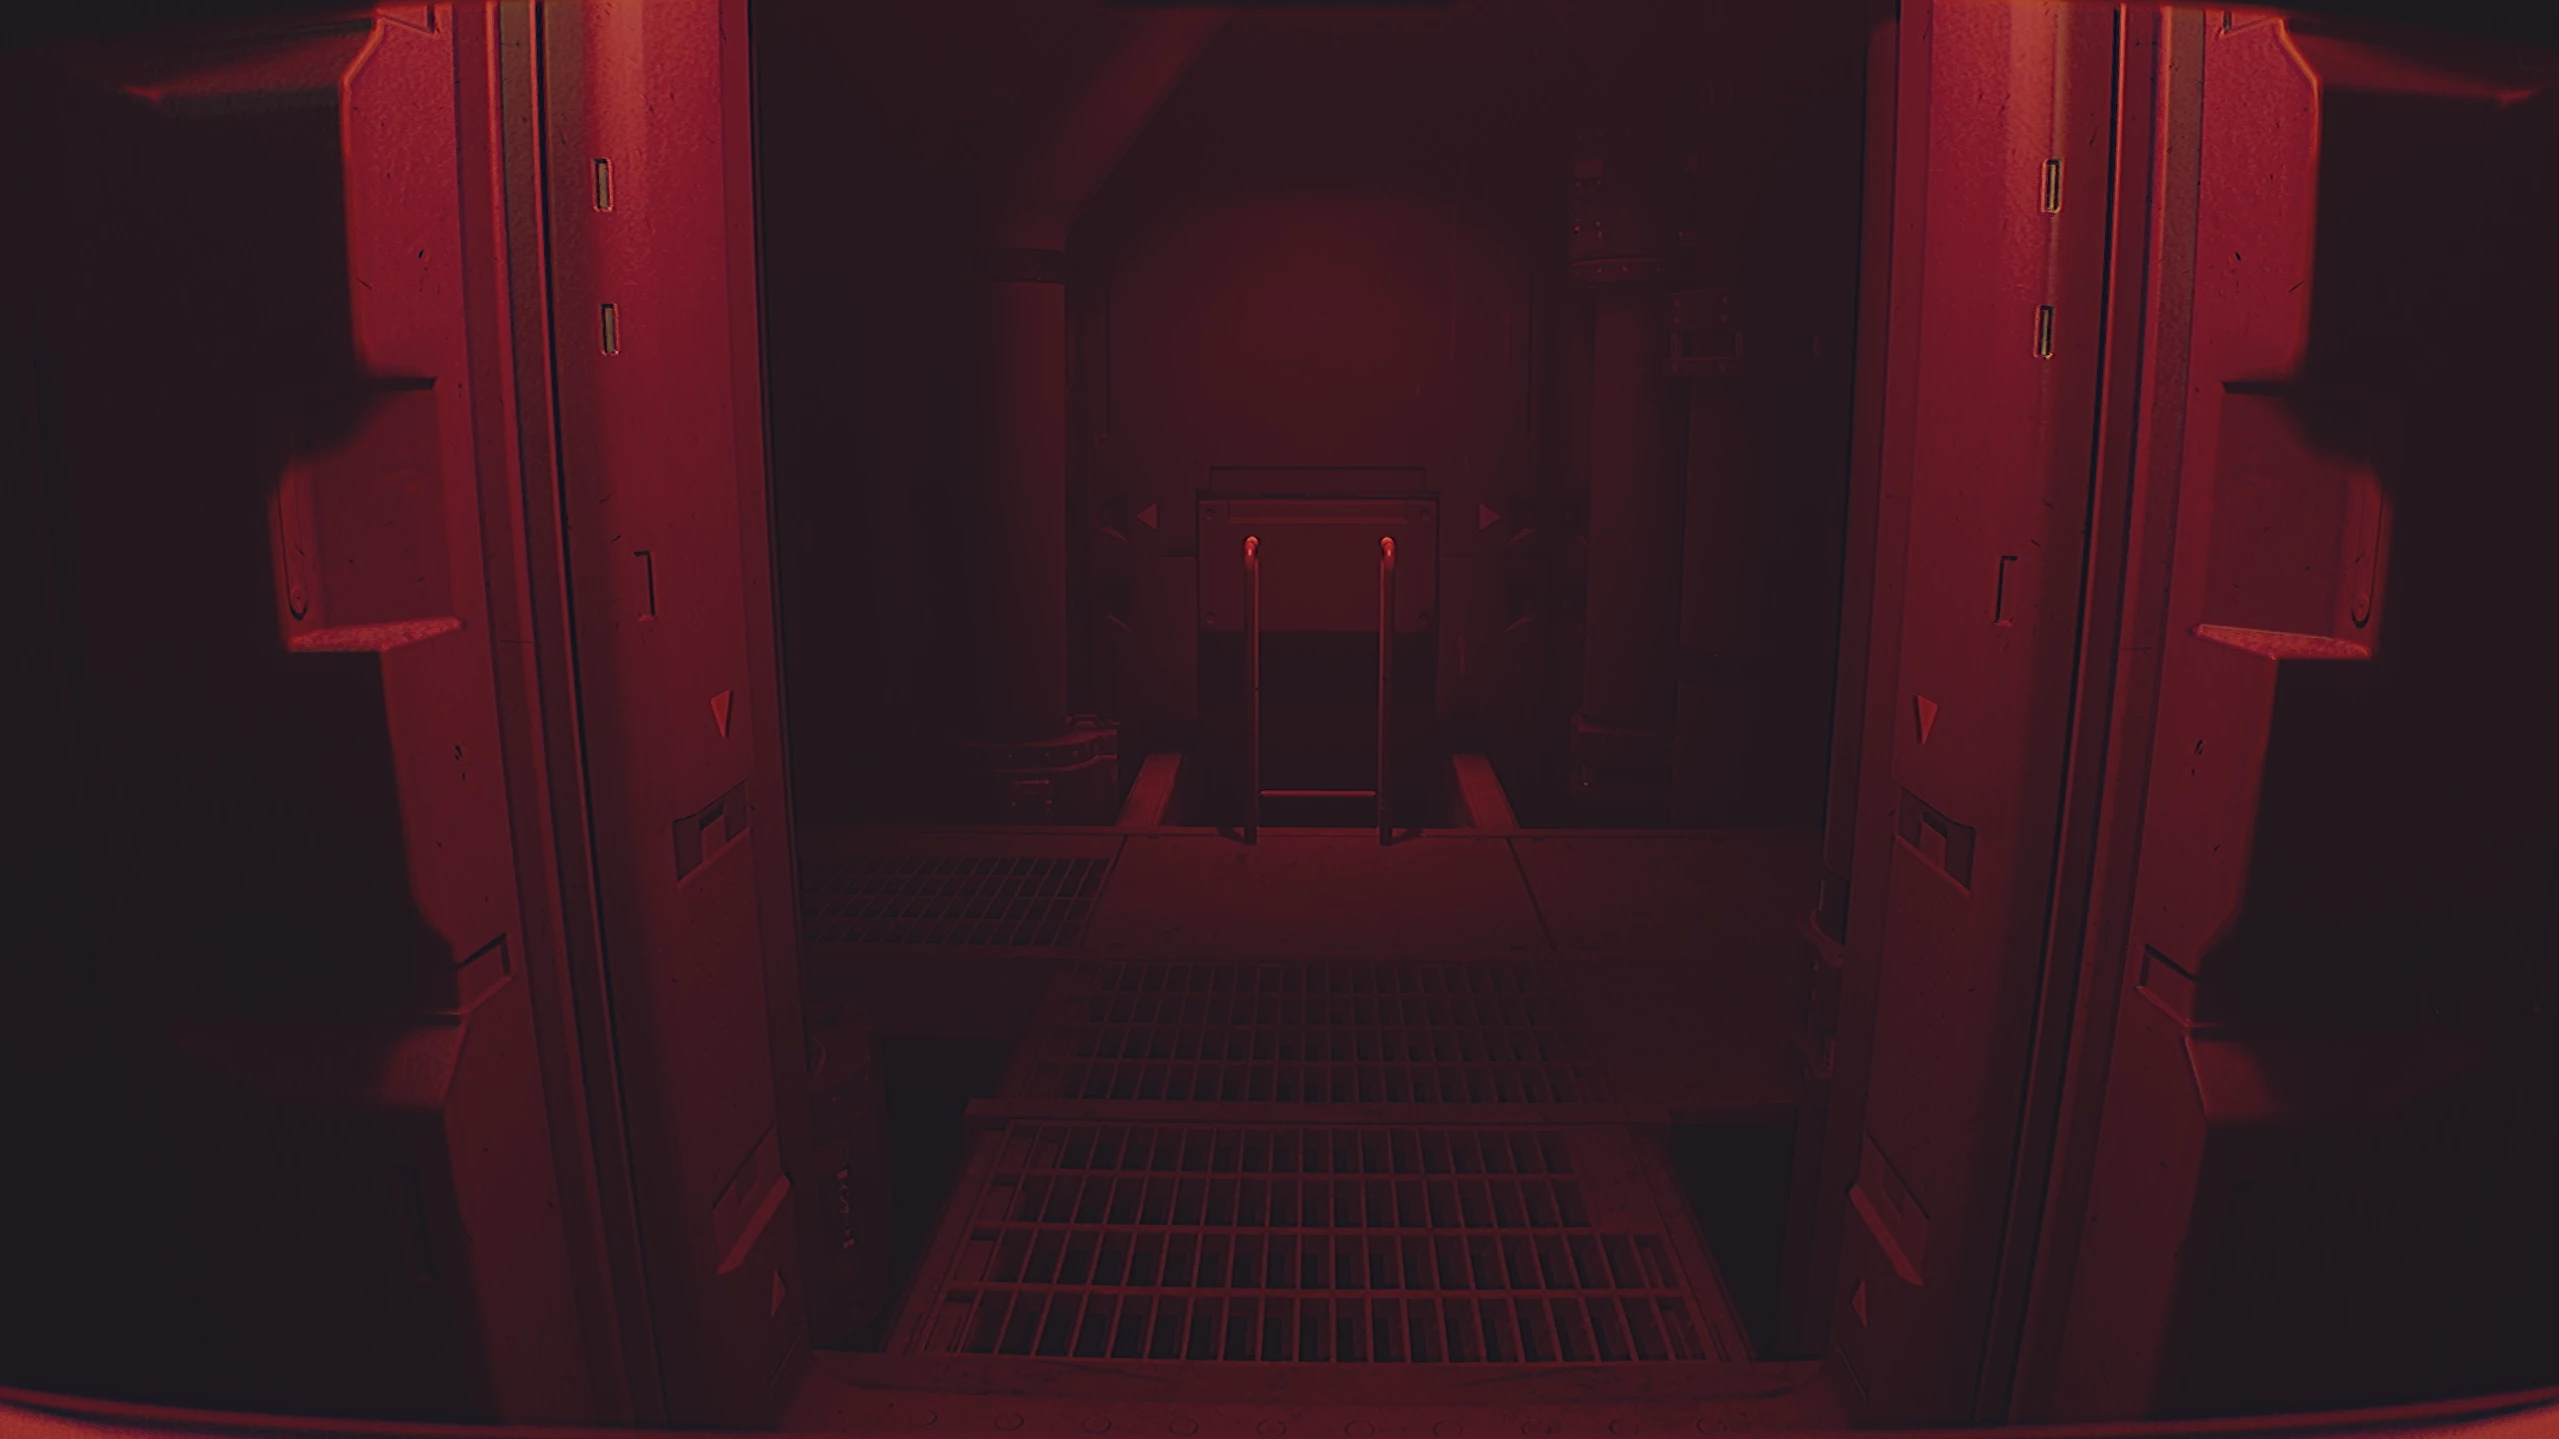
In our case, the elevator code is 3245. Leave the conference room into the main corridor and head to the door on the opposite side. Enter the discovered code and open the elevator doors, then go down to the airlock.
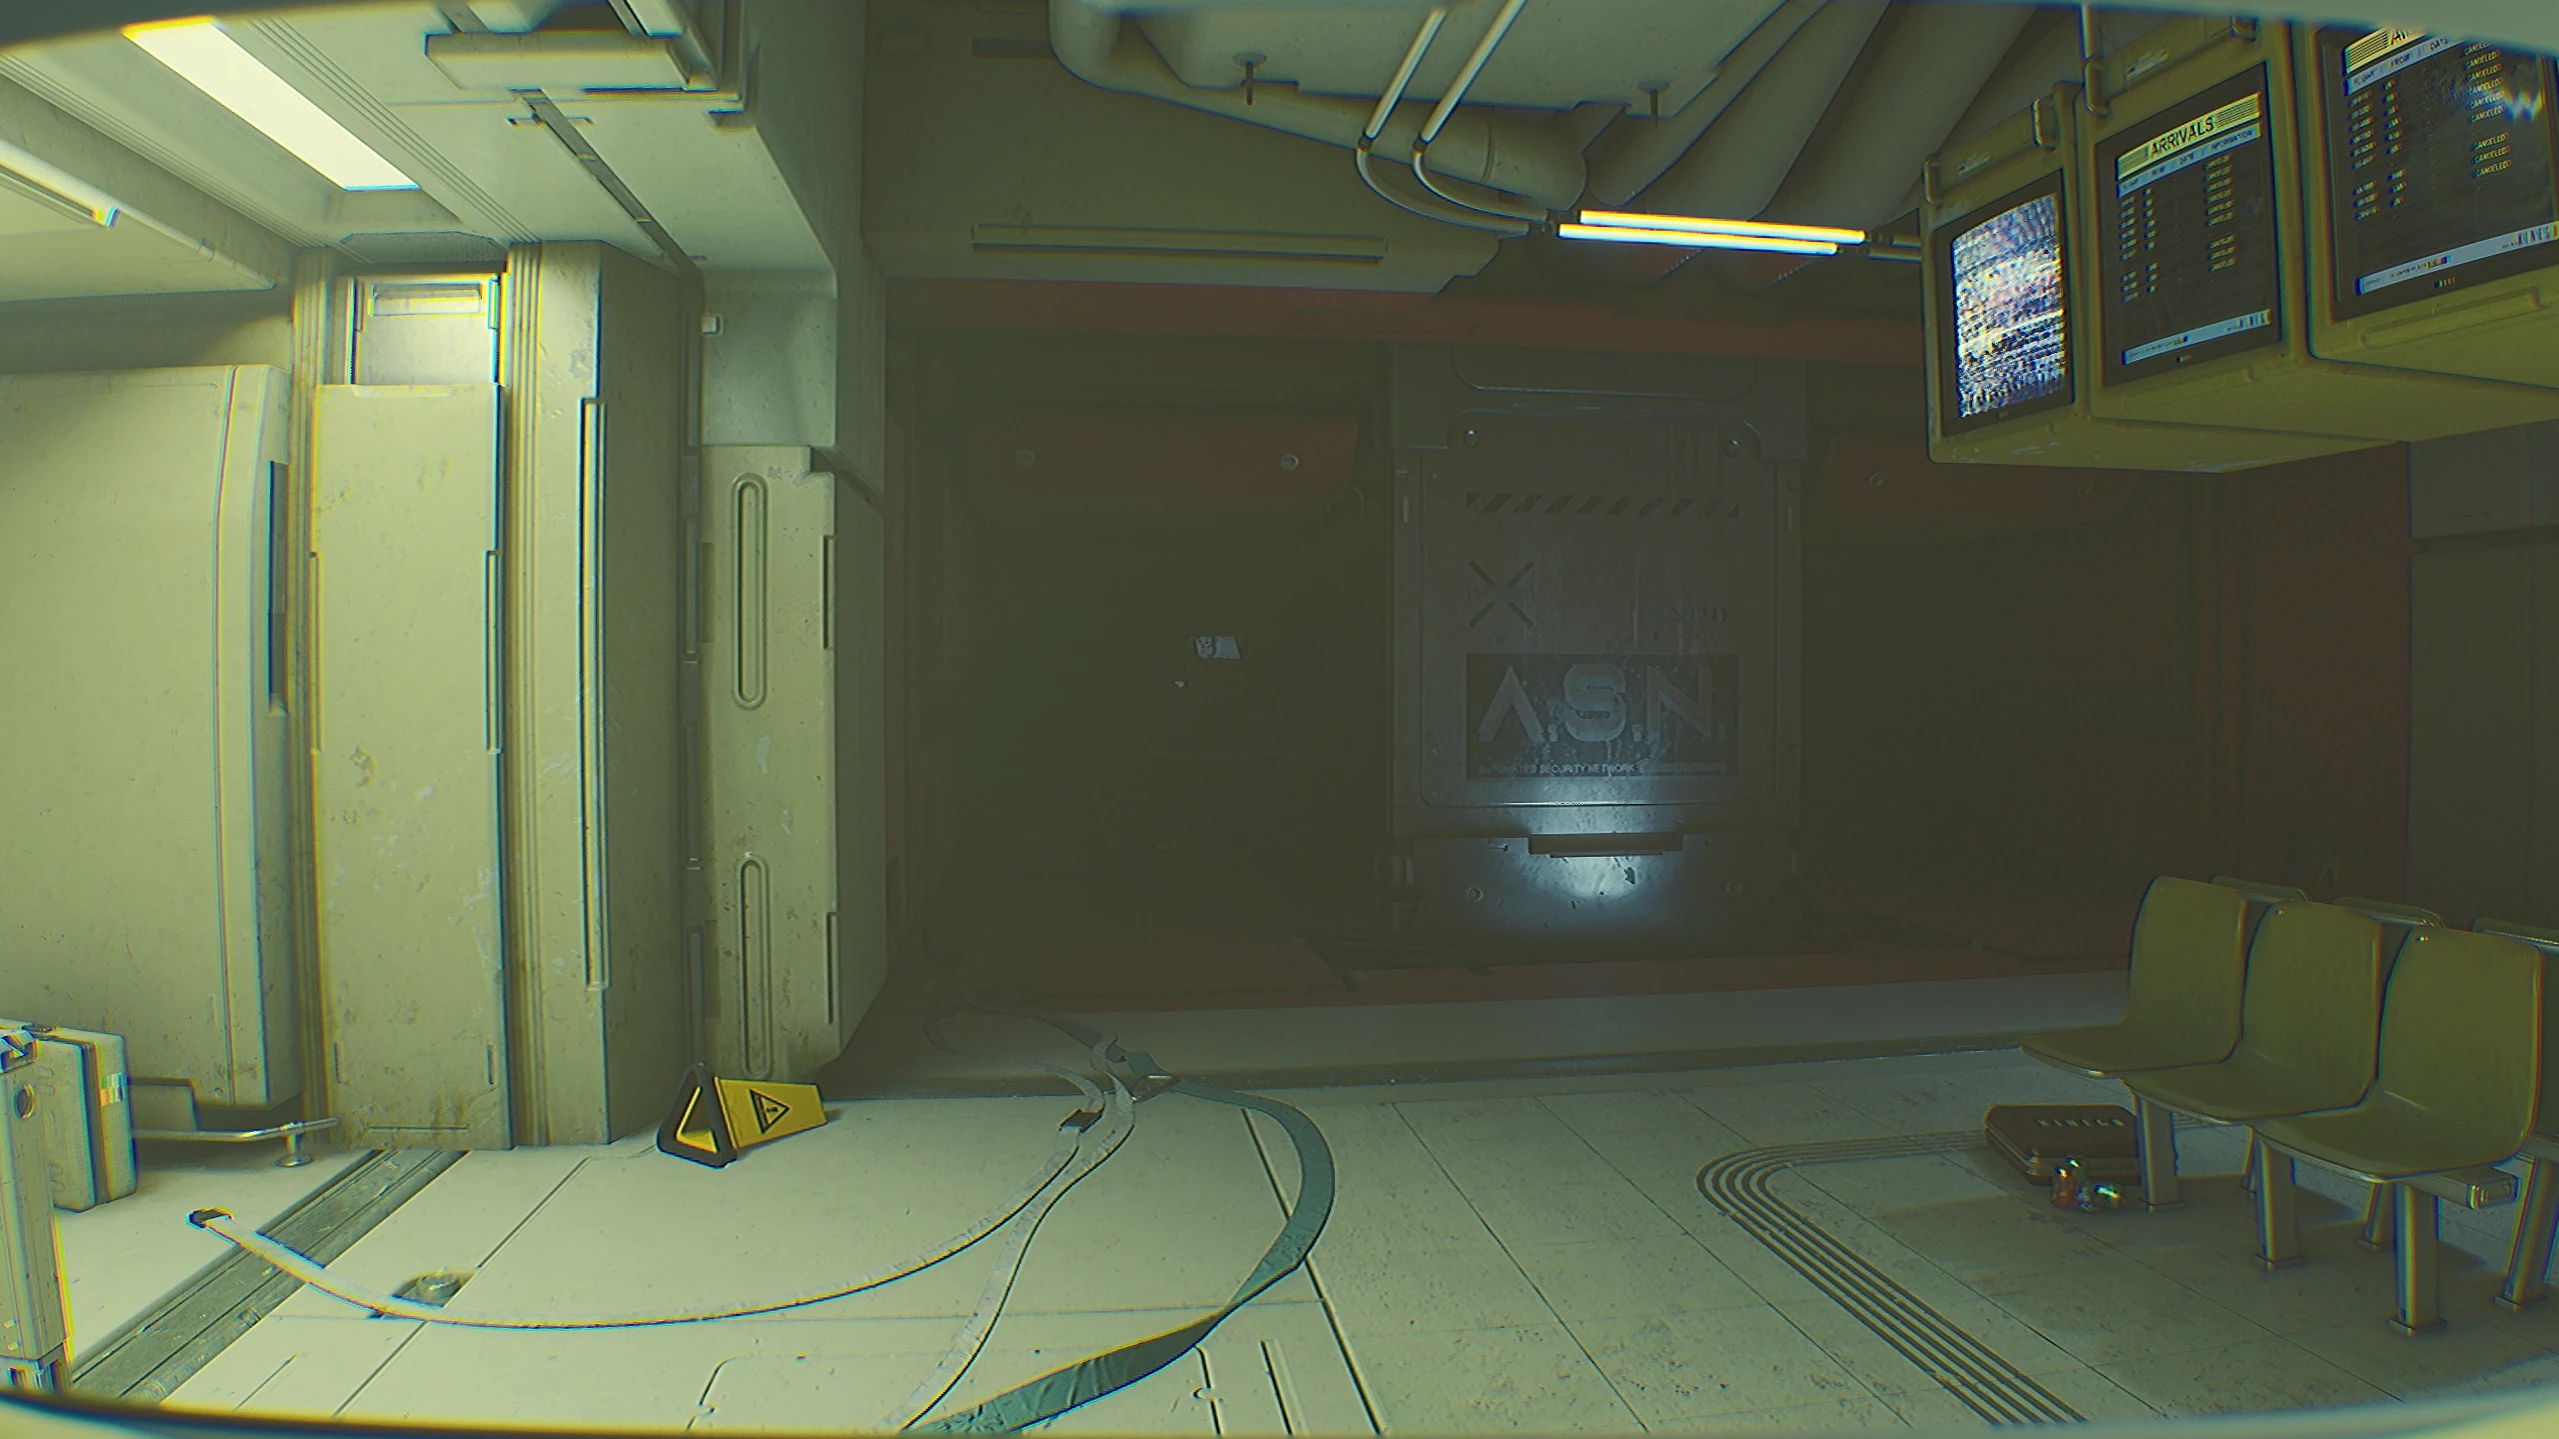
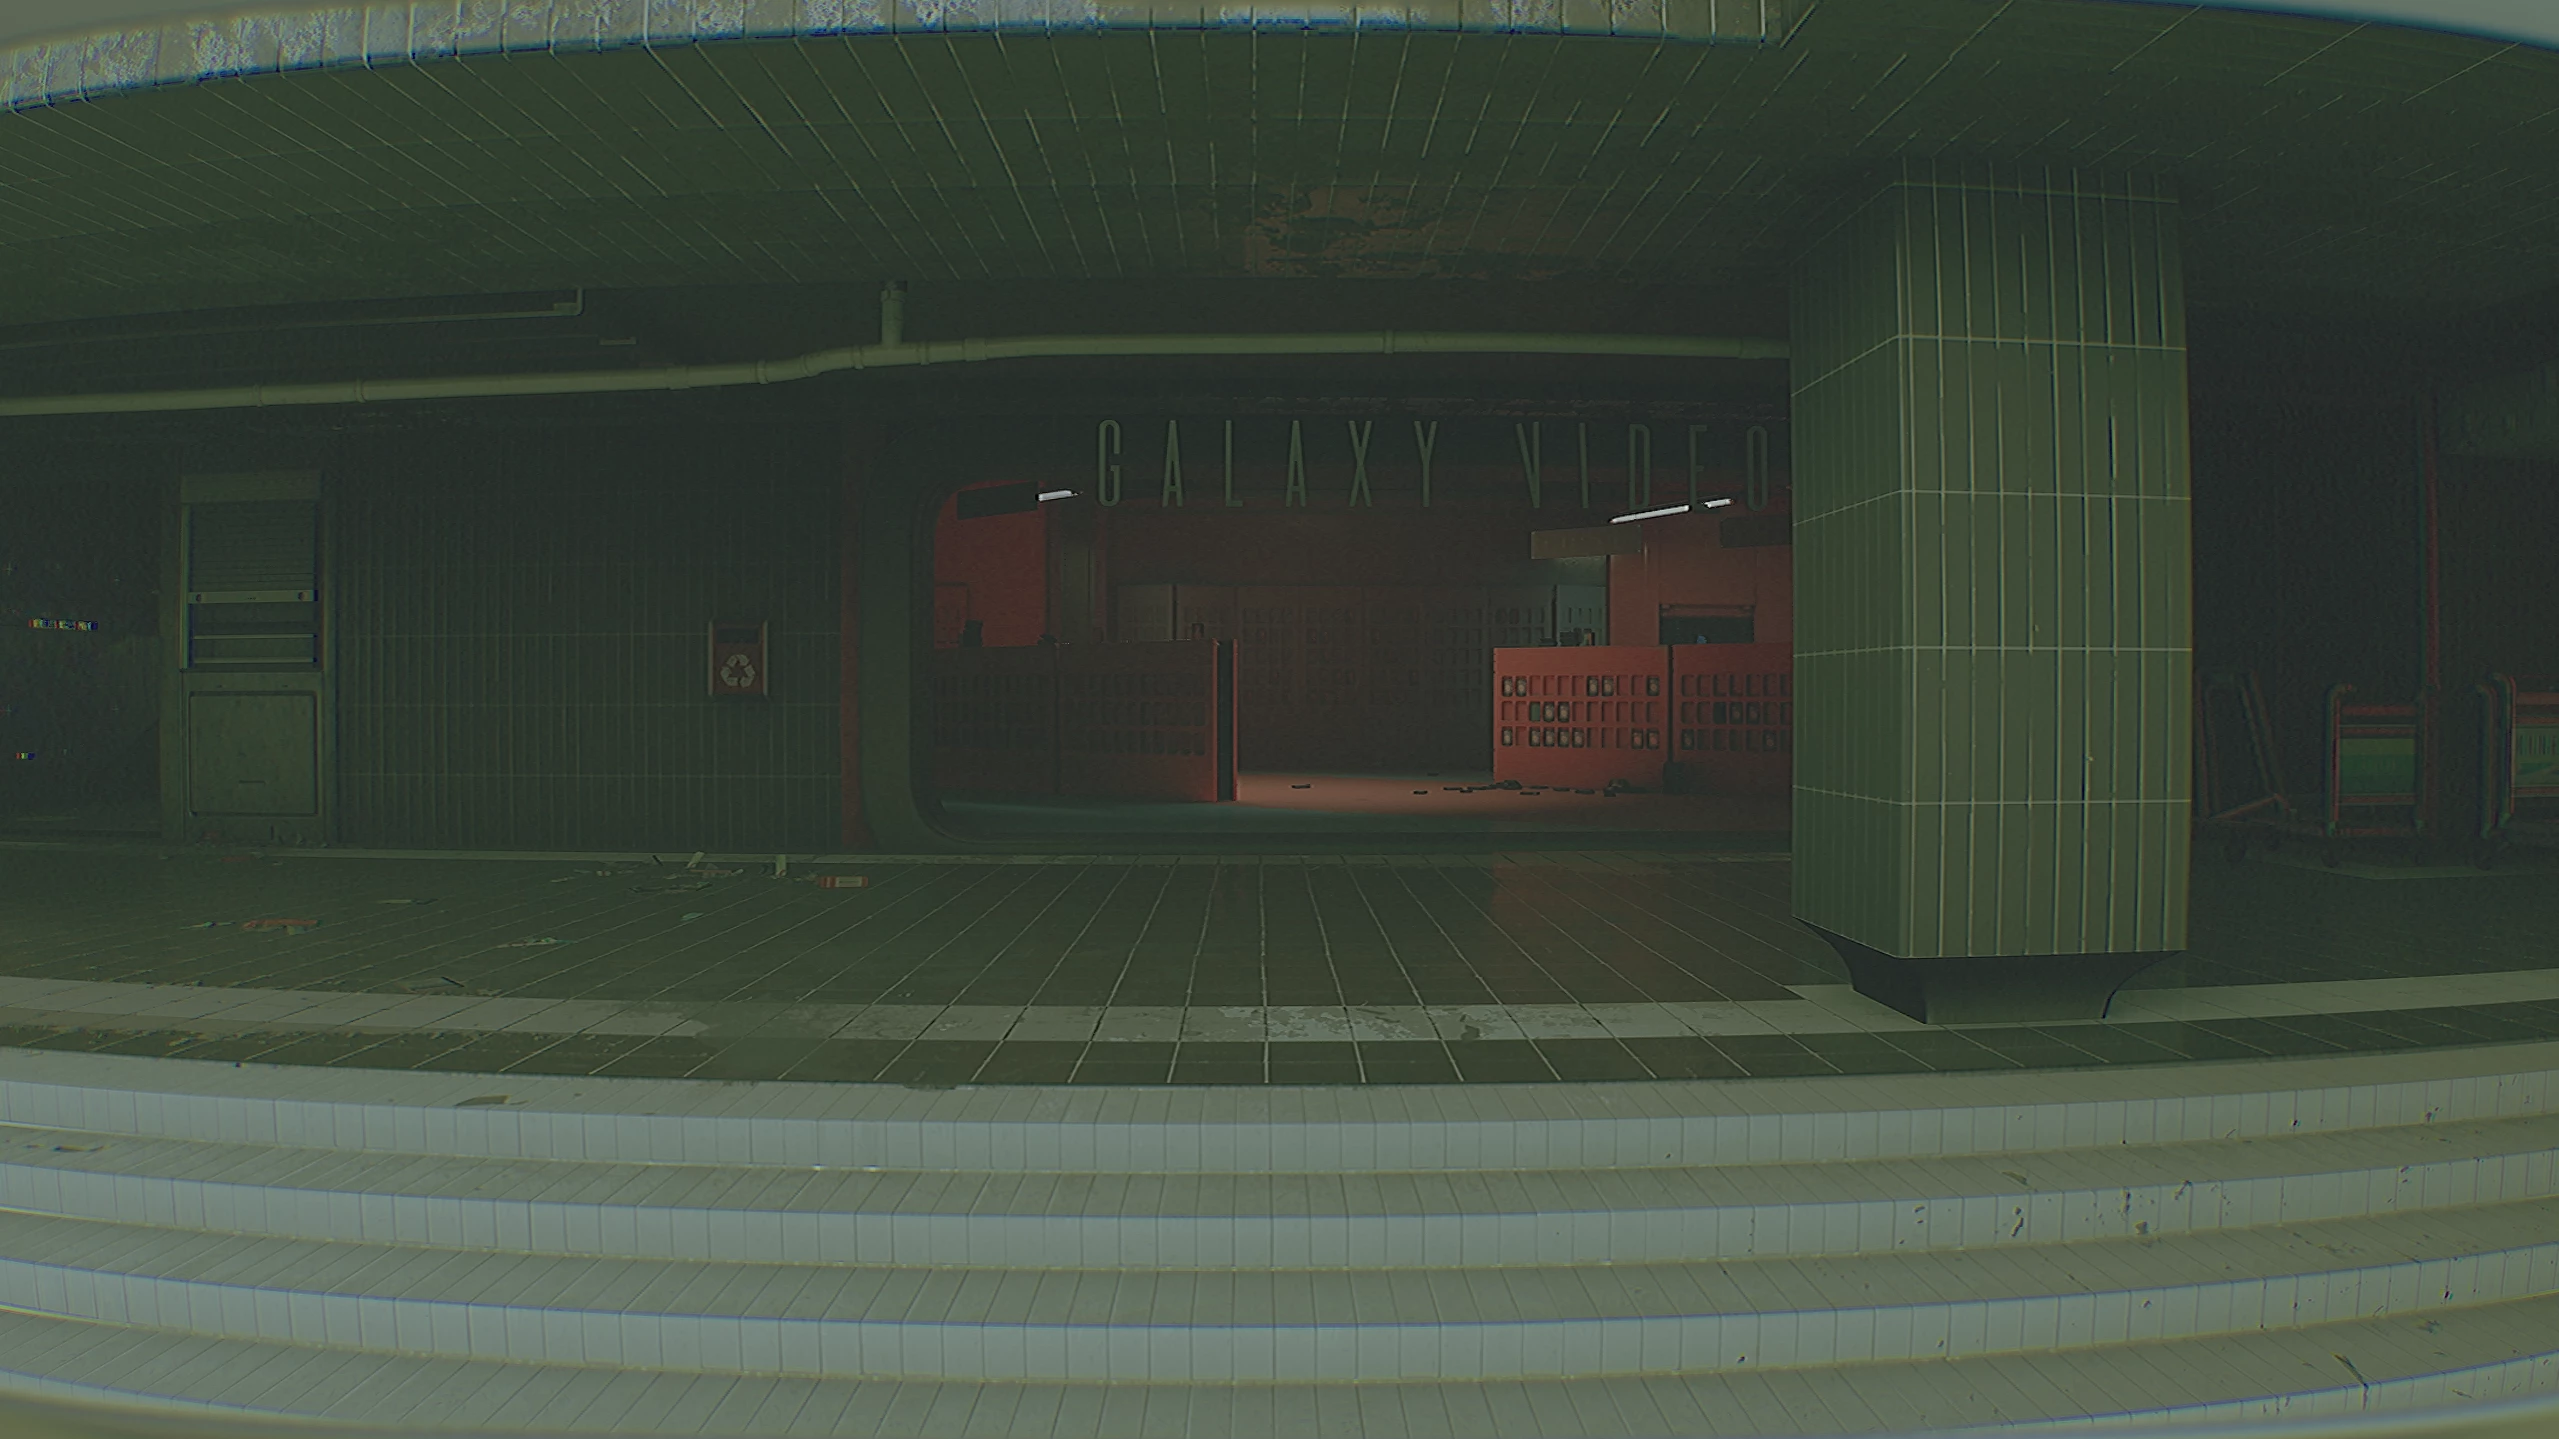
After arriving at the station, you need to turn left and walk to the end of the red corridor. To clarify your next objective, use the player on the table. The engineer is given two goals: find the ASB code and obtain senior security officer Kay’s pass. Return to the fork and go right. The door is covered by a curtain. To remove the obstacle, you need to find the electrical panel above.
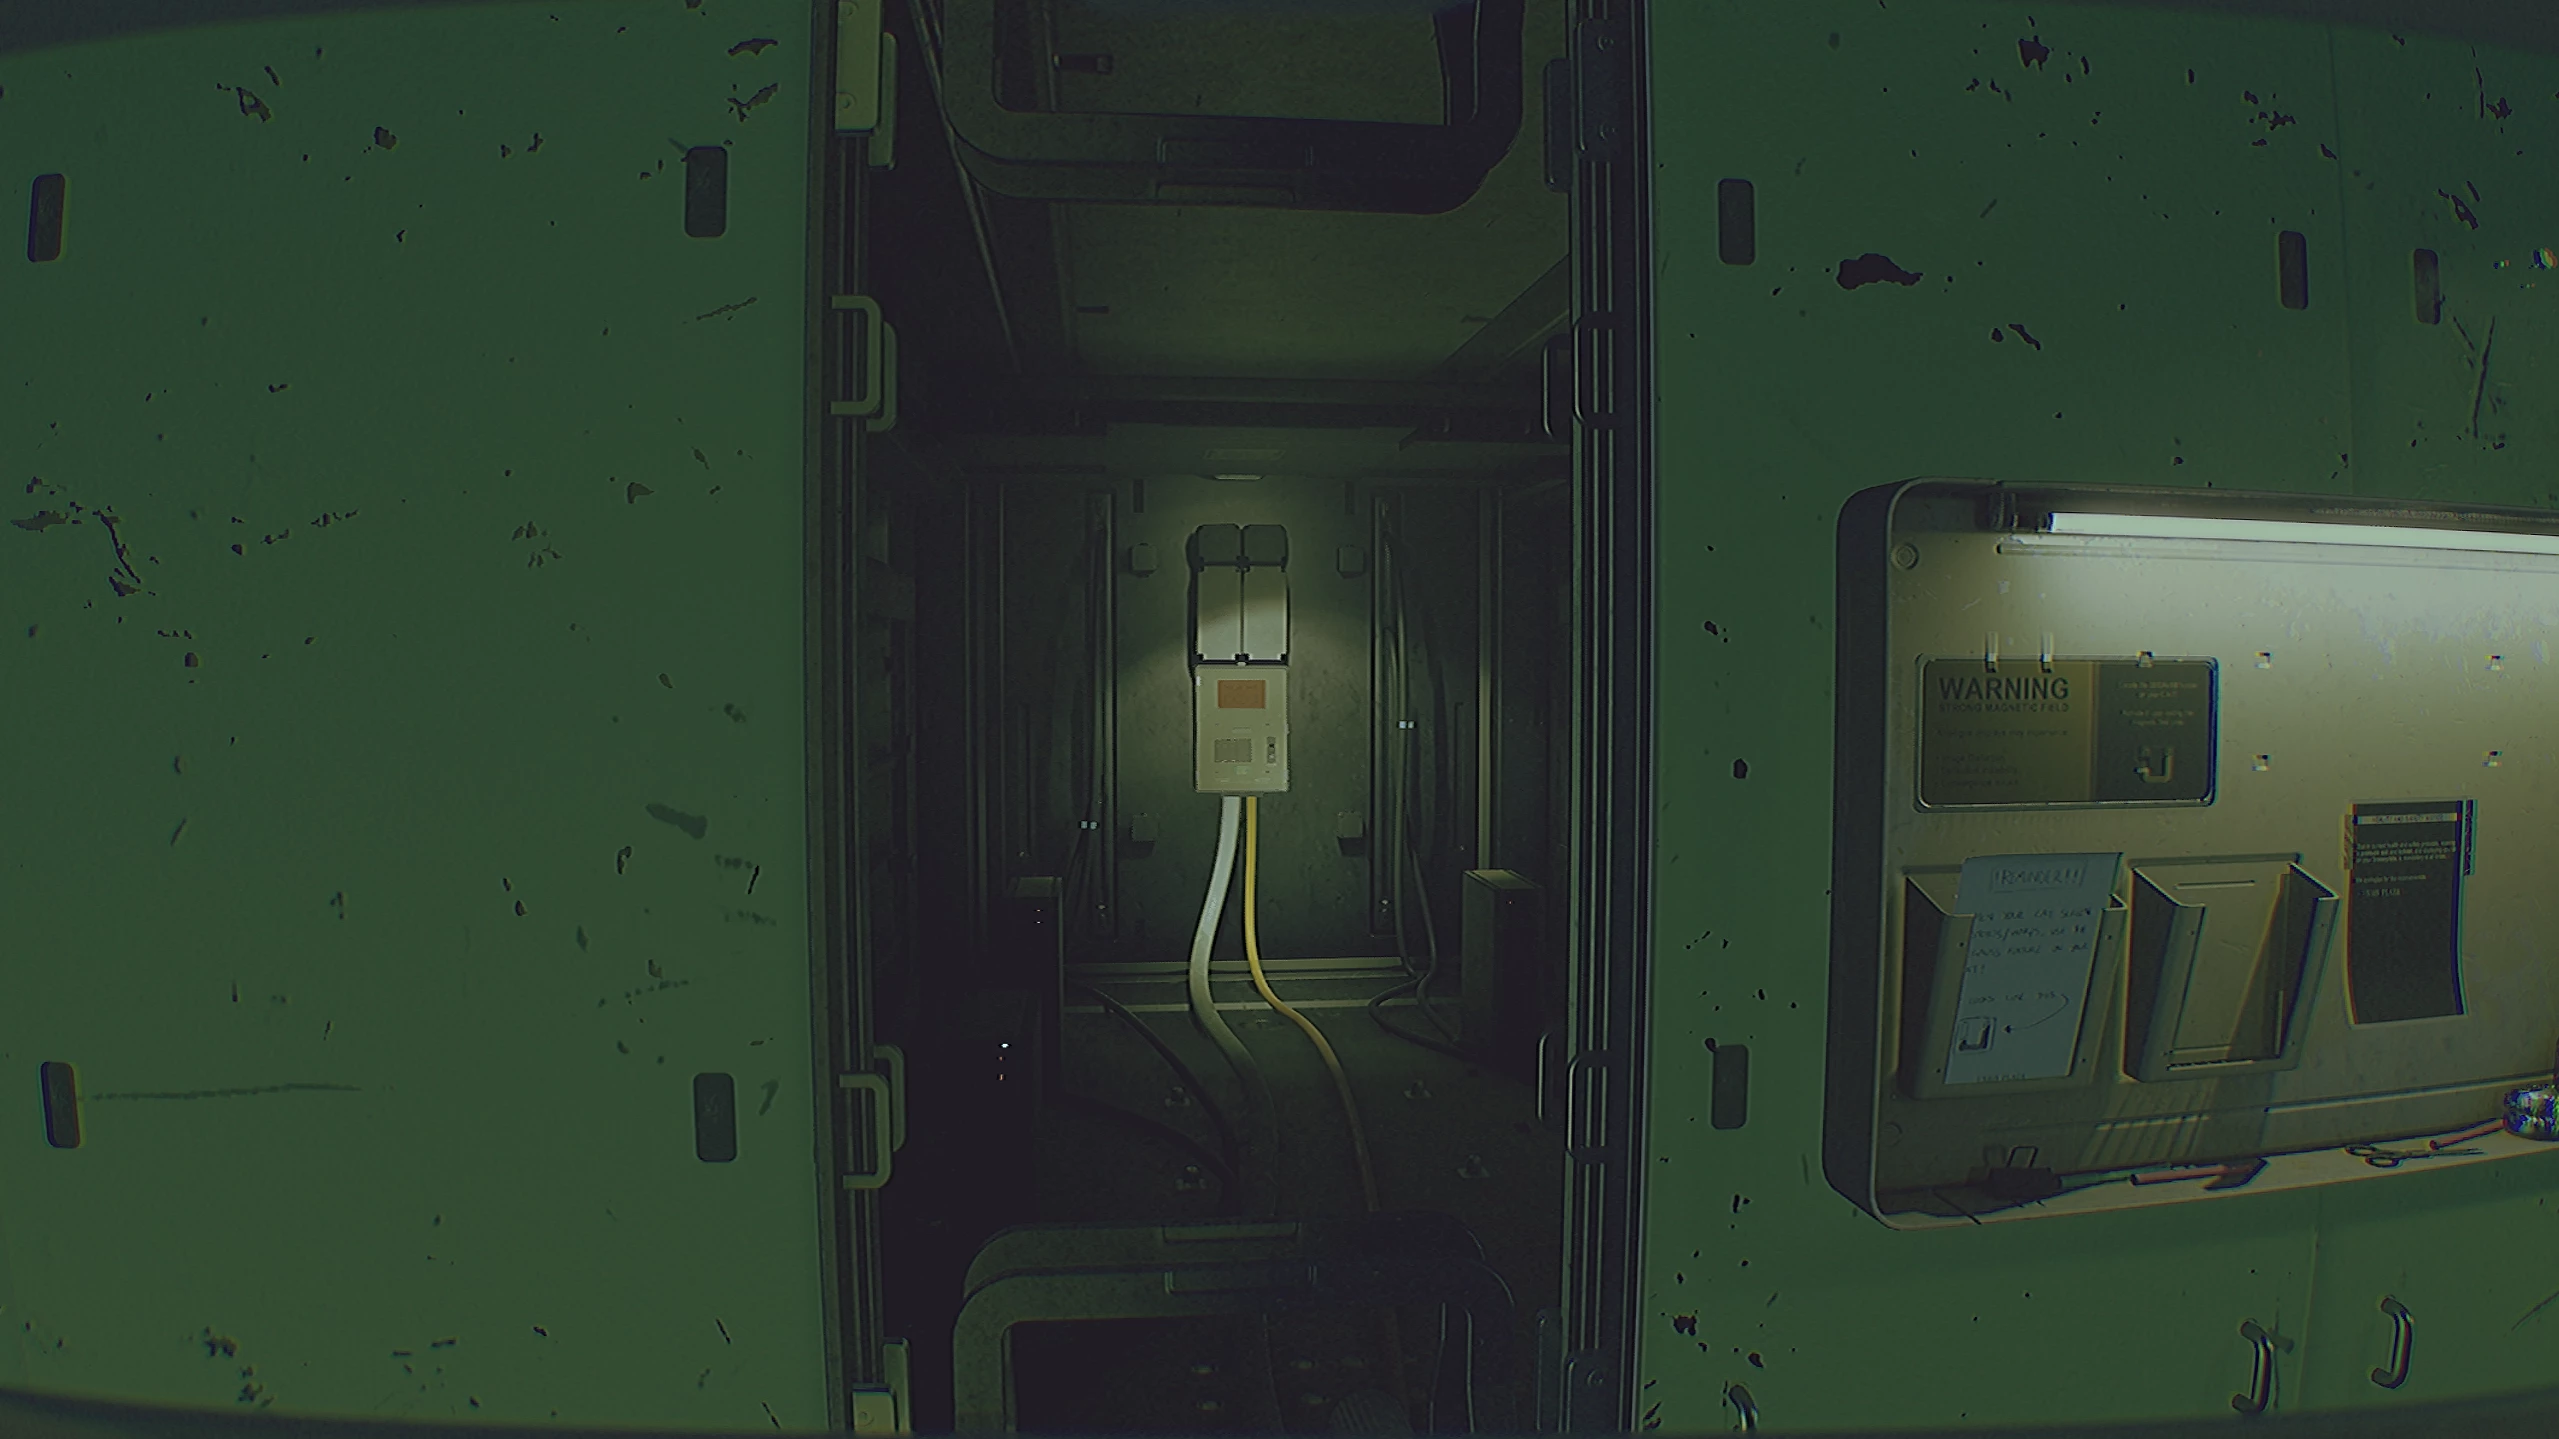
Charge your IPA by pulling the fuse on the left, aim at the panel, and fire an electric charge. The shot causes a short circuit, which opens the grate.
Go down the escalator and head right to the connection point. Here you can save your progress, as well as access the train car, which you’ll use to move between shuttle modules. The choice of the first mission depends entirely on the player’s preference. To complete the ASB Access Code, head to the shopping center. For Kay’s pass, choose the Residential Section. The tasks can be completed in any order. In this guide, the first mission will be to obtain the senior security officer’s pass. Enter the train car, go deeper inside until you find the control terminal, and select Residential Section.
Pass to ASB
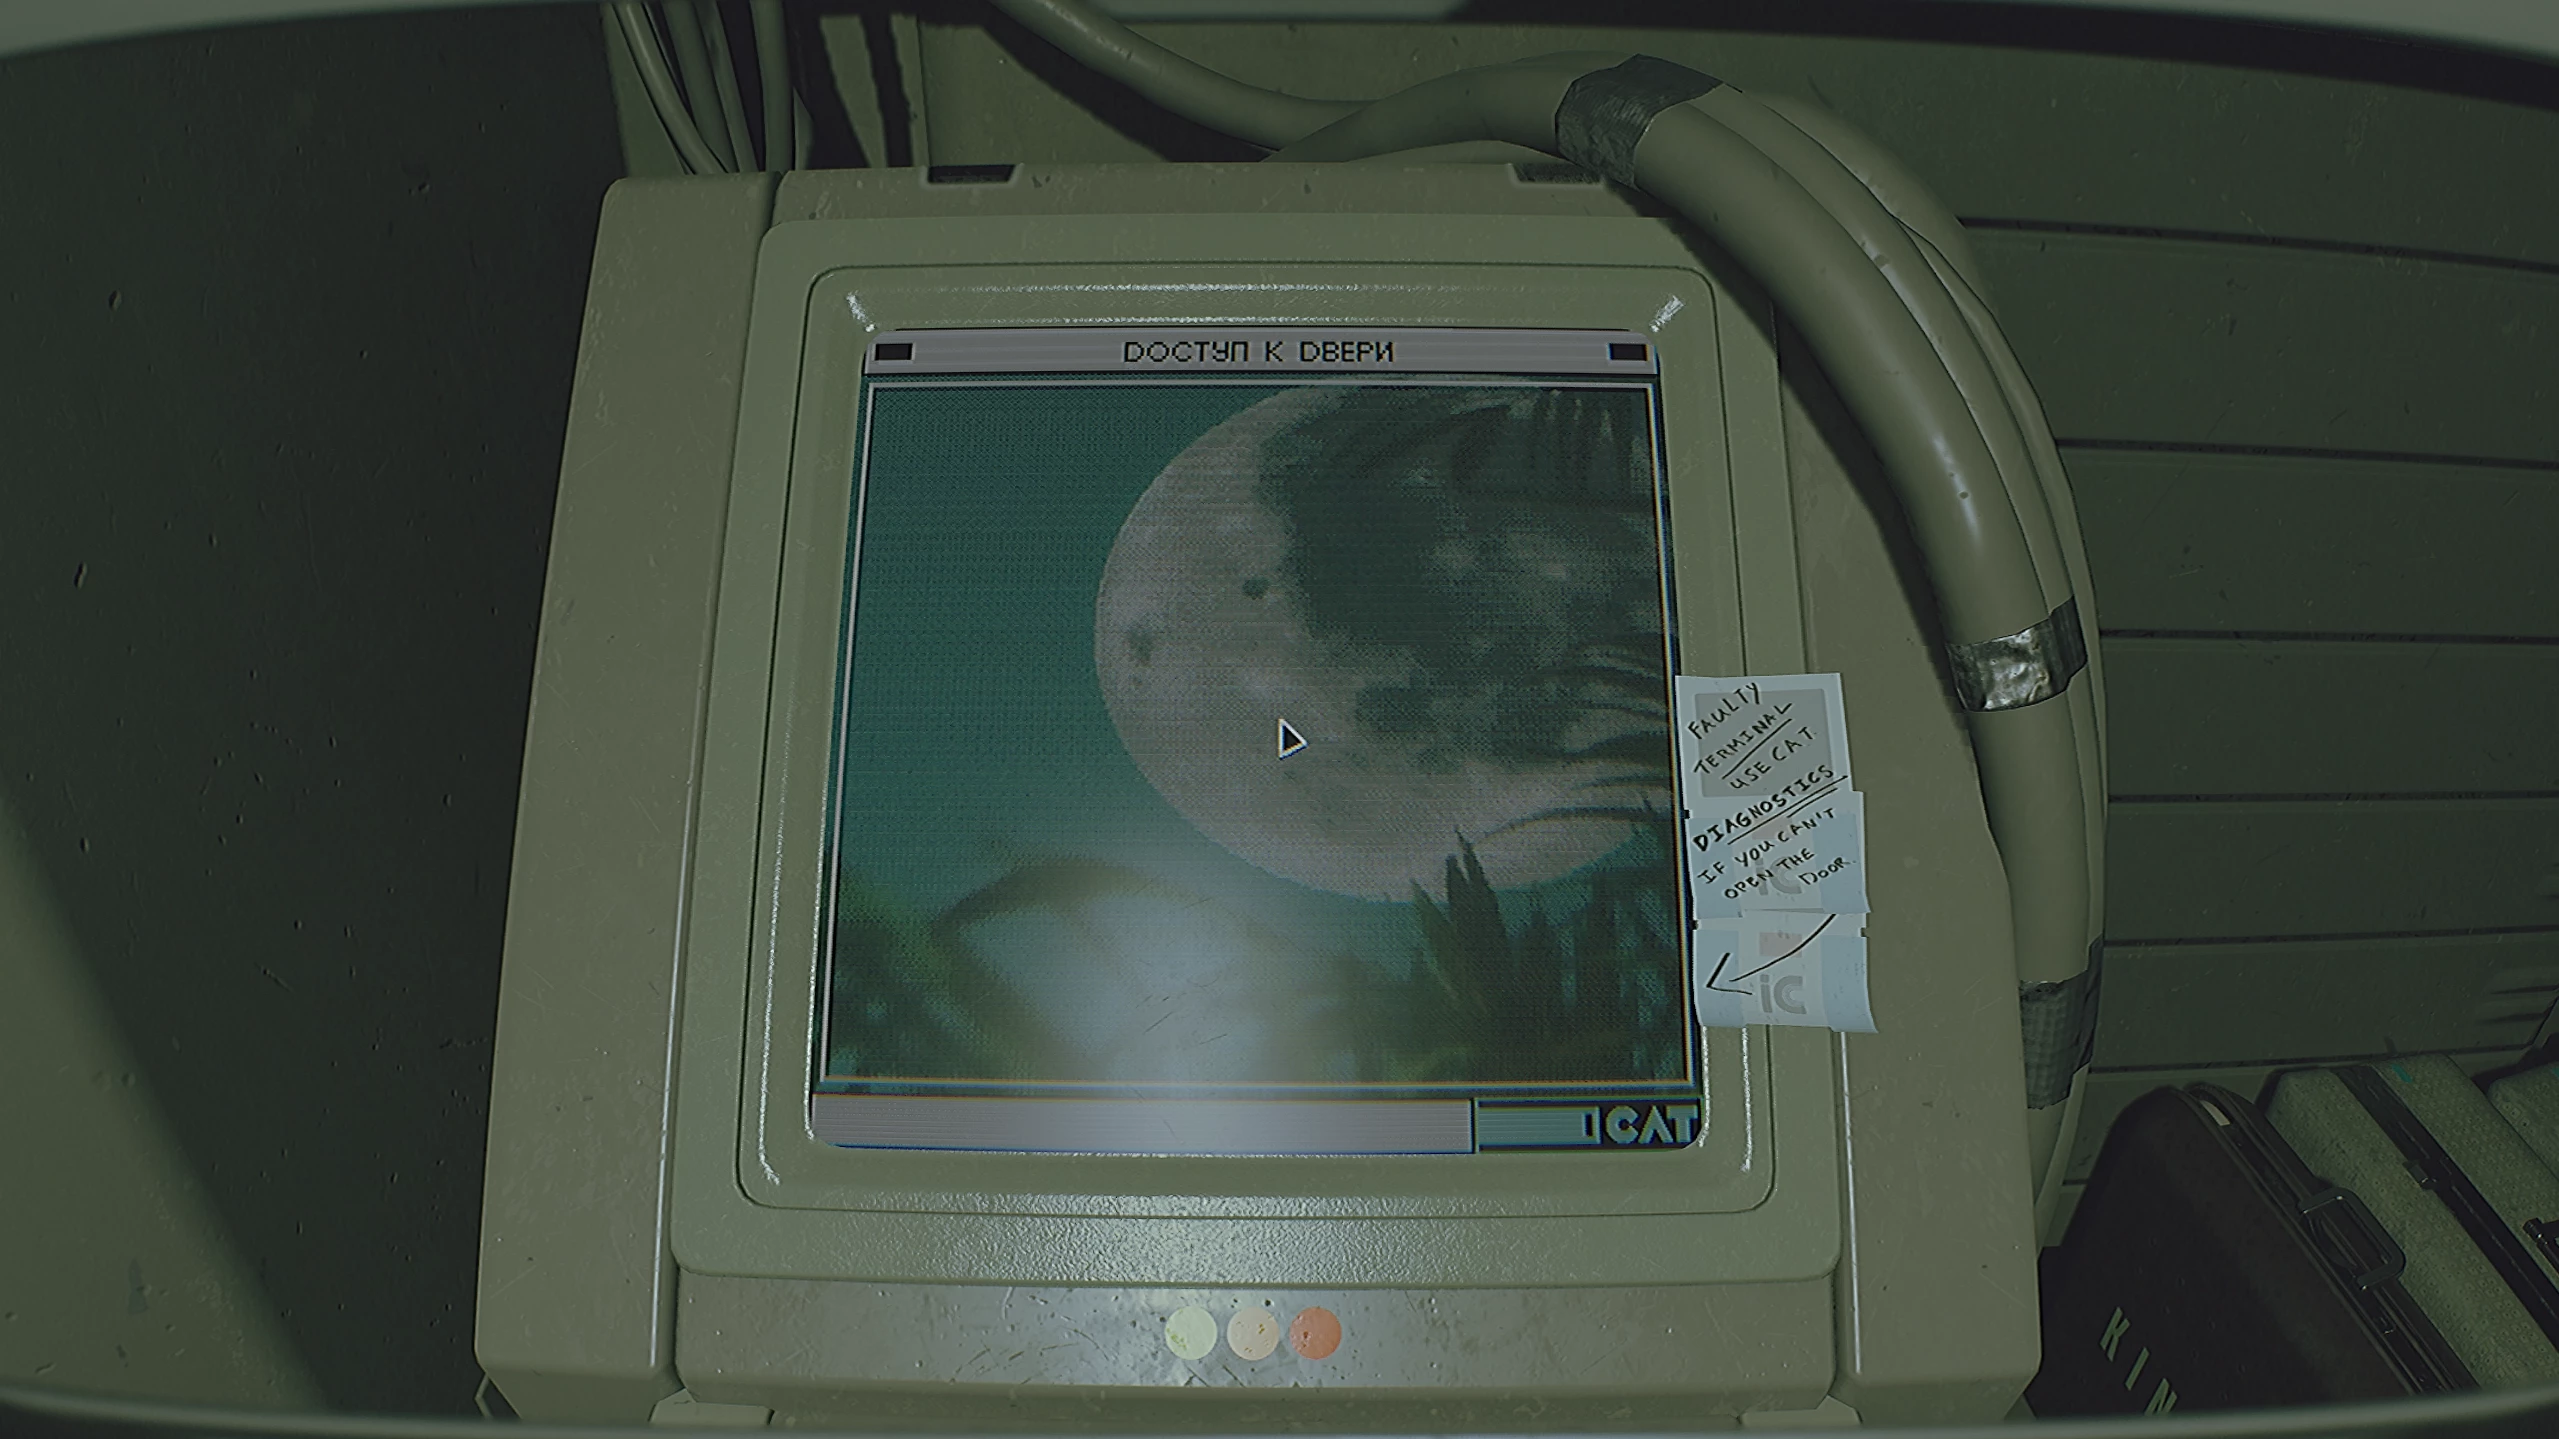
After leaving the transport, go up the escalator and head to the terminal near the door. There’s a problem with the terminal, and your task is to identify the malfunction and fix the device. To do this, click the C.A.T. icon in the lower right and connect to the system using the IPA (to do this, press the special connection button with the crossed-out rectangle). The diagnostics reveal Error-02 and suggest Solution-01. For a detailed description of the problem and its solution, open the Error Codes tab in the upper right corner.
In our case, you need to reboot the terminal. Kneel down and pull the red lever twice. The elevator opens and we select Residential Section. Charge your IPA in advance, because in a few moments you’ll encounter your main threat for the next two chapters. Approach the yellow terminal and press ENTER at the bottom.
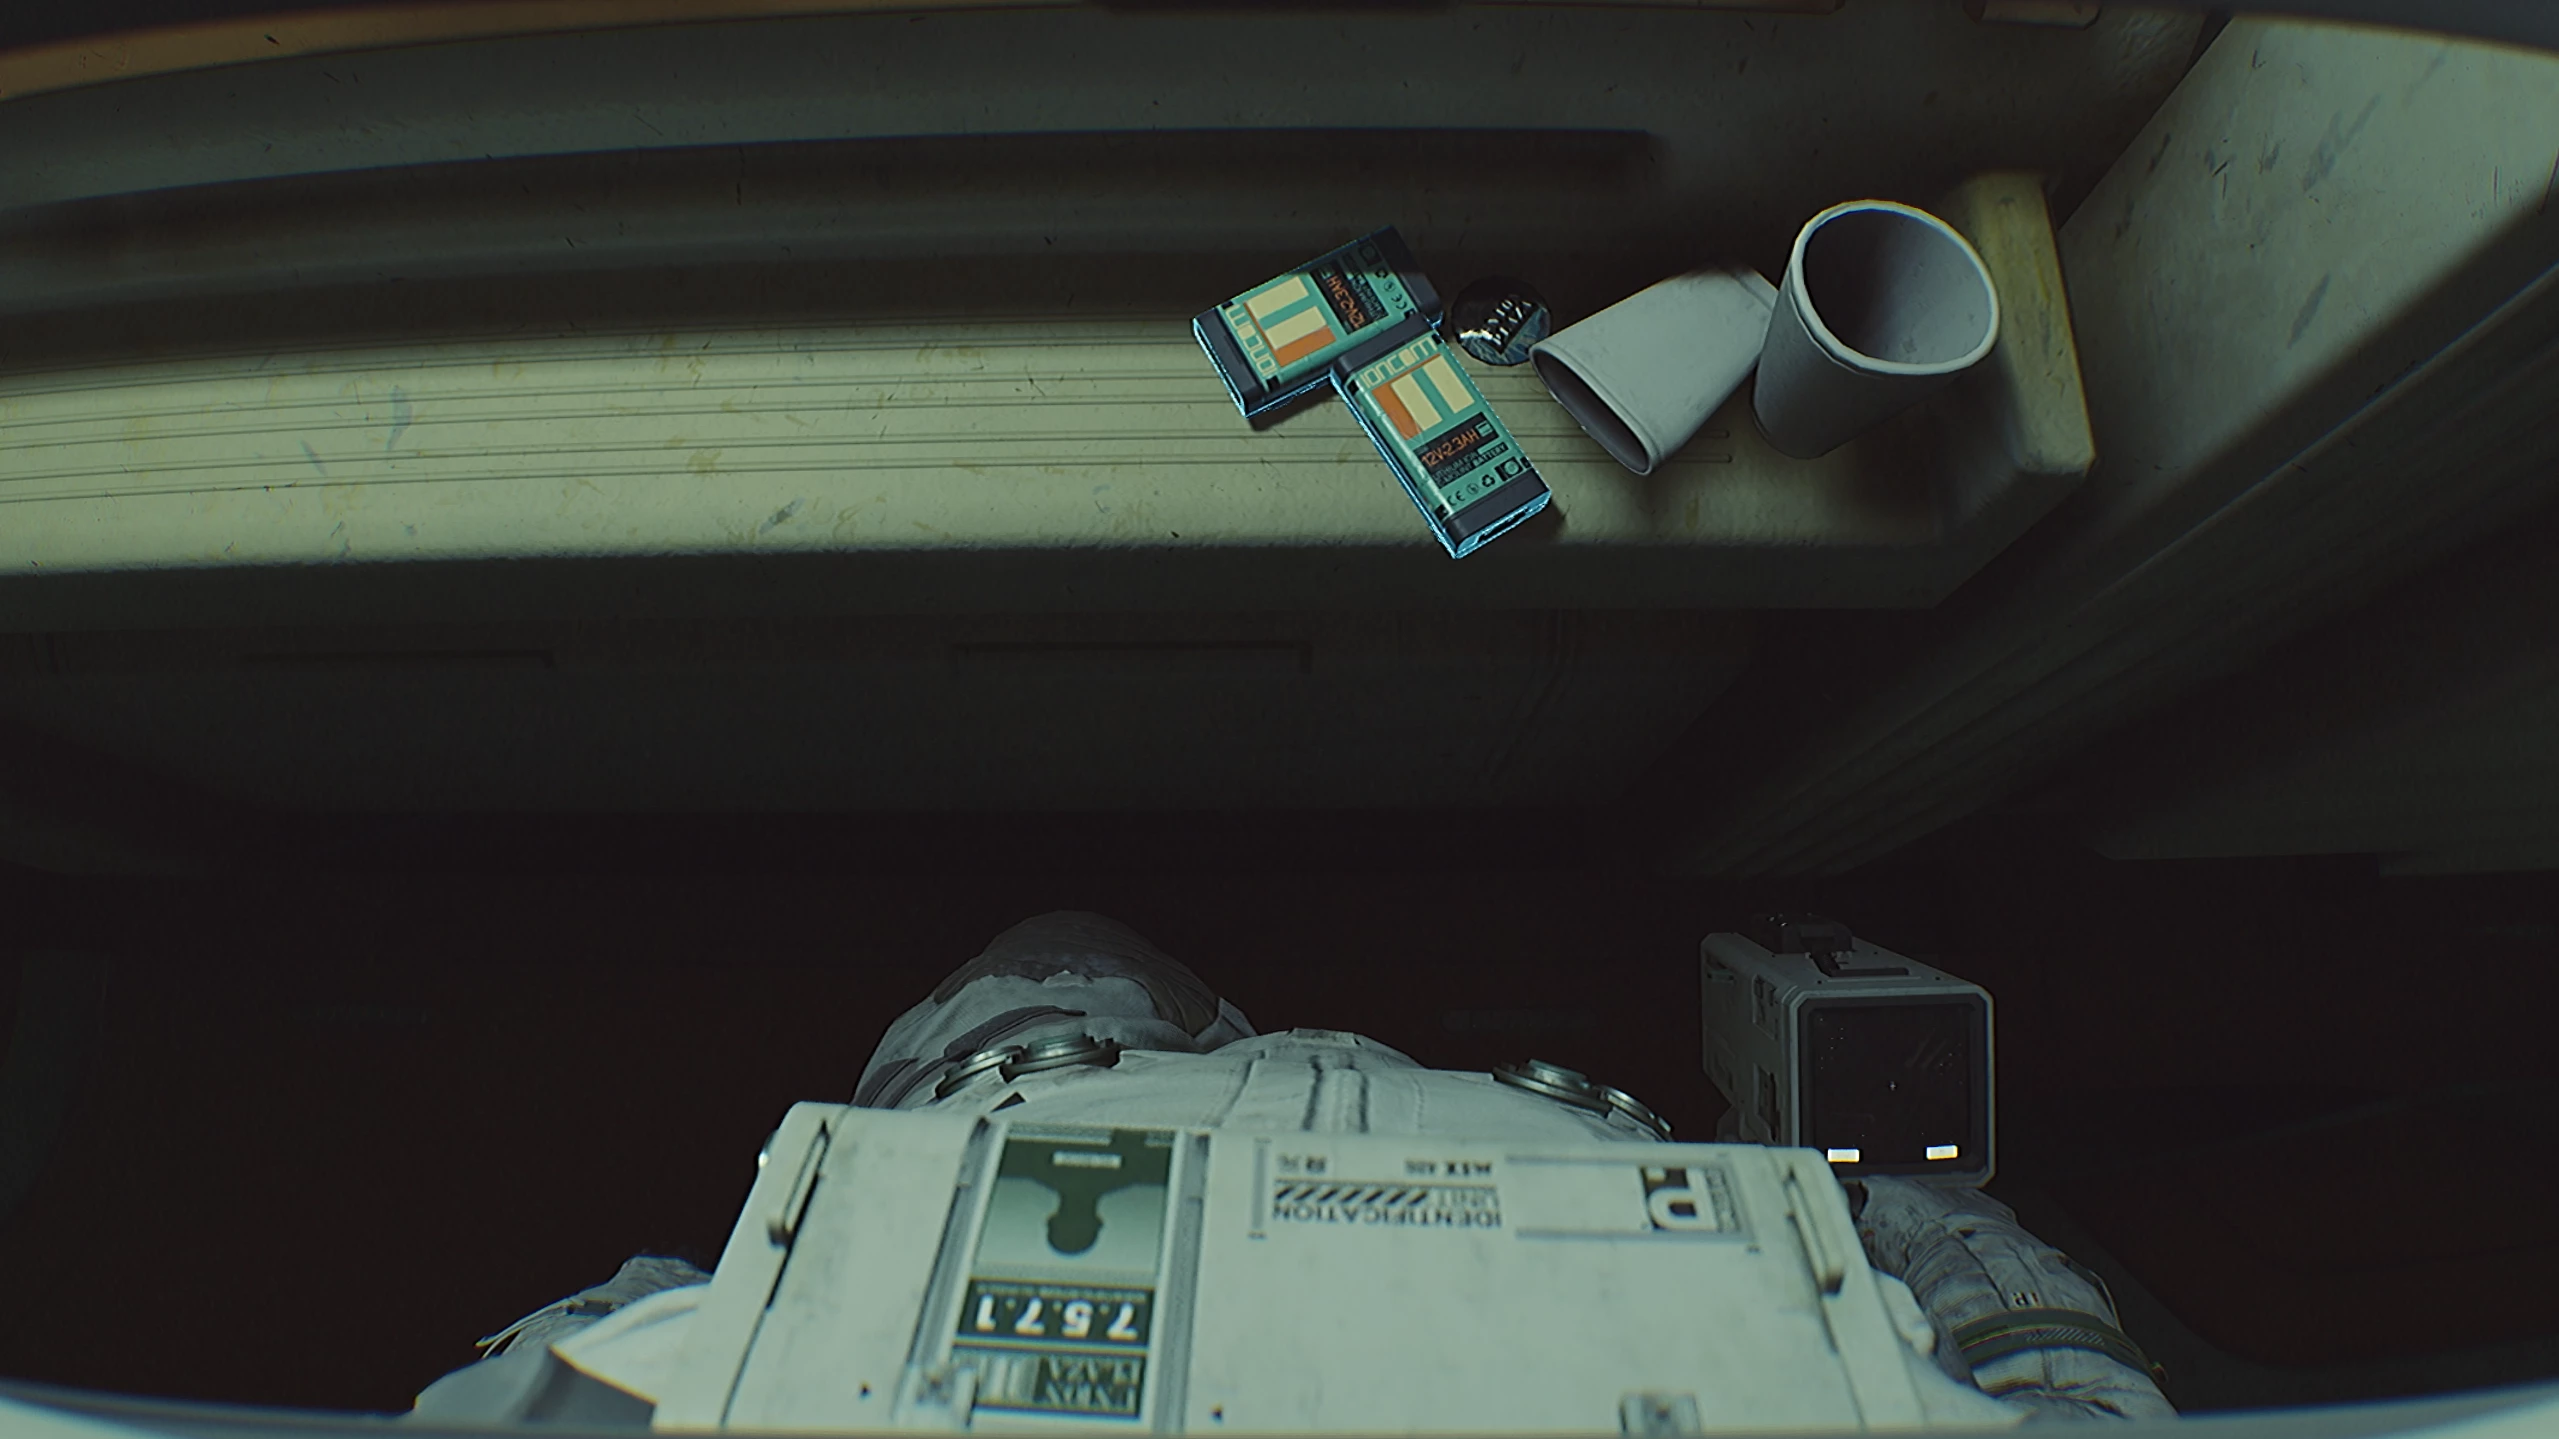
Tilt your camera down to find out the pass ID, as they are randomly generated in each playthrough. In our case, it’s 7571. Enter it into the panel and watch a cute video from the sponsor.
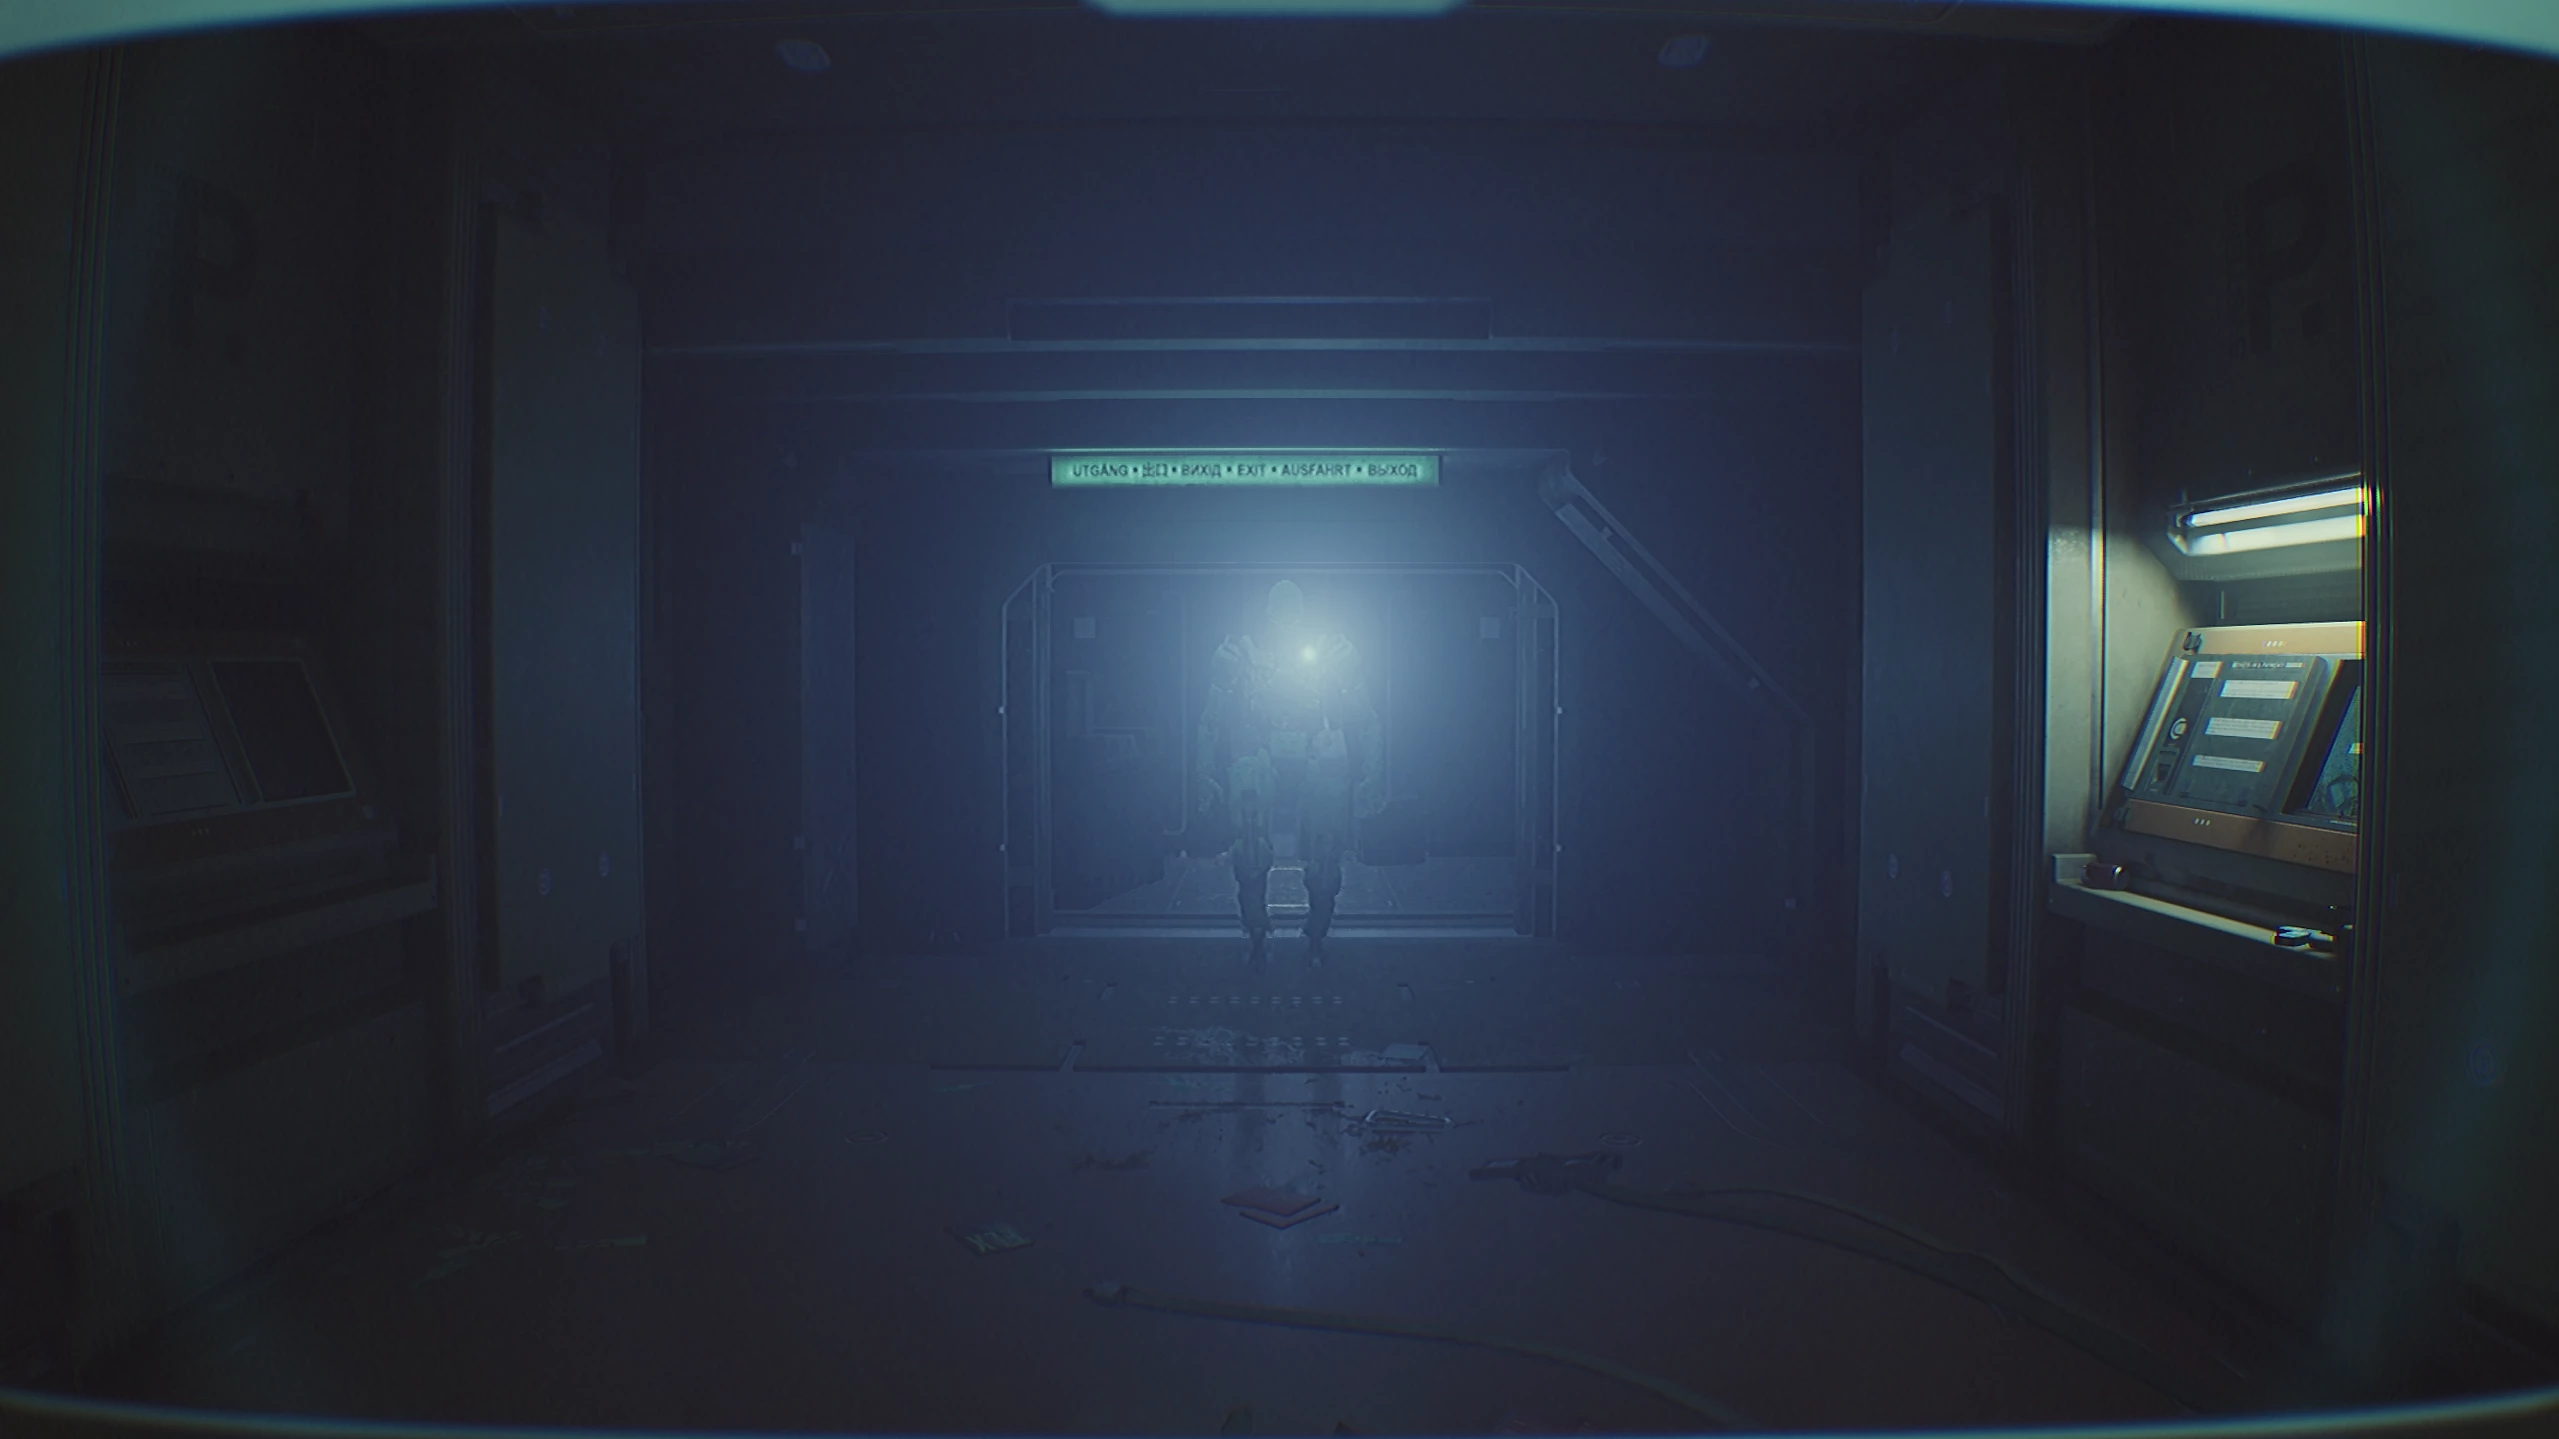
Immediately after, the elevator starts up on its own, bringing in a not-so-cute killer robot. As soon as it starts activating, press yourself against the back grate and aim your IPA at the core of the machine. Make a signature shot to slow it down, then a finishing shot to trigger an overload.
While the robot is deactivated, turn right and hide under the table next to the connection module. Now you are alone among a crowd of hostile artificial intelligences. There are a total of six or seven copies of the machine in the complex, but the system can only control one at a time. It often chooses the robots you pass by. If a robot was active and after a while the AI switches to another, quickly run past the deactivated one.
To shake off the machine, you need to break direct line of sight: hide behind a box, the nearest corner, or blend into the darkness. If you get caught, the game won’t end immediately—you’ll get a second chance to hide from the enemy, but after the second attempt, you die and are thrown back to the last save point.
Don’t be afraid to use your IPA to overload enemies—batteries are evenly scattered throughout the shuttle, so it’s unlikely you’ll ever run out of charge completely. Each shot costs one charge, and each battery holds up to three charges at a time. Return to the residential complex. After the robot leaves, get out from under the table, connect to the wireless module, and save your progress.
To get the pass, you need to do the following:
- Enter the camera room.
- Find the password for the registration room door.
- Turn off the fire safety system.
- Go to the laundry and reach Kay’s cabin.
- Take the pass.
- Escape from the section.
First, go straight down the orange corridor and turn right, avoiding the patrolling robot. Enter the room to the left of it, hiding behind the nearby boxes if necessary.
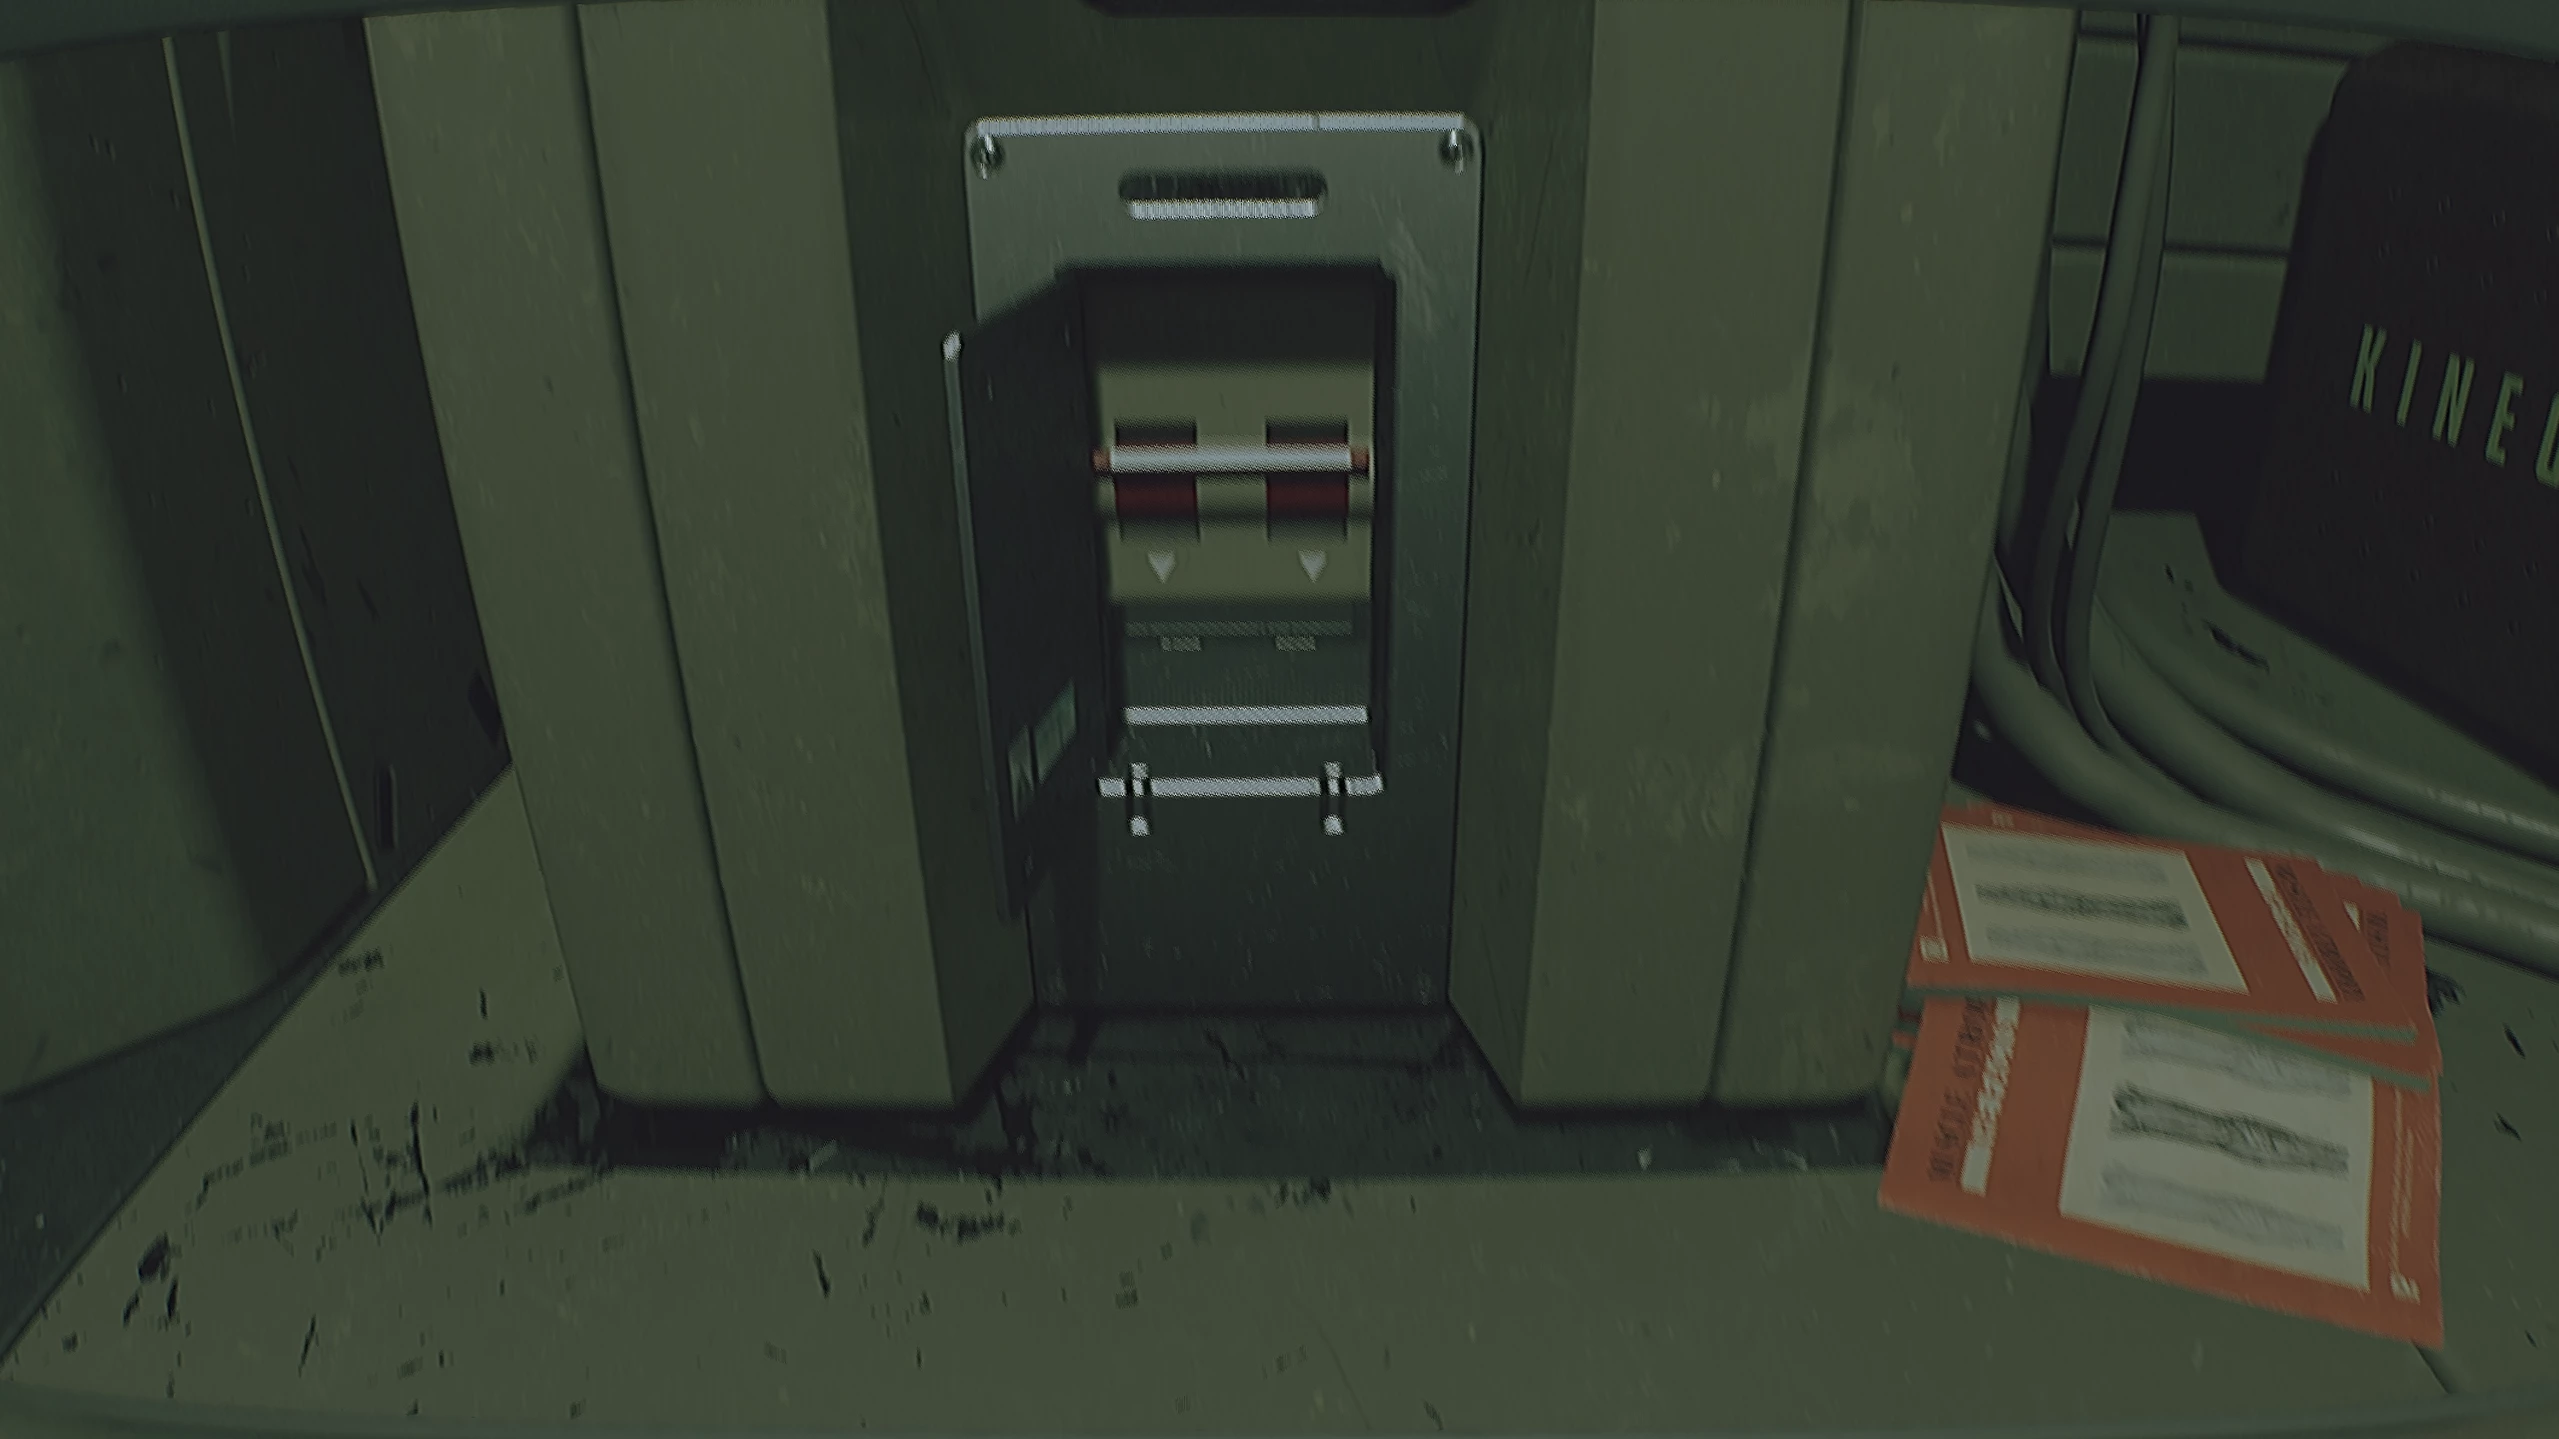
Next, go to the end of the passage until you come across a jammed door. To open it, shoot the panel above with the IPA.
At the opened junction, turn left, interact with the terminal, and enter the open hall. The robot there is inactive, so don’t be afraid to walk past it. Next, go down into the ventilation shaft beside it. There are no monsters here, so crawl calmly. At the end of the path, press the red button on the right, after which you’ll end up in the security room. On the terminal, look for the registration room, turn the camera to the right, and then zoom in as much as possible.
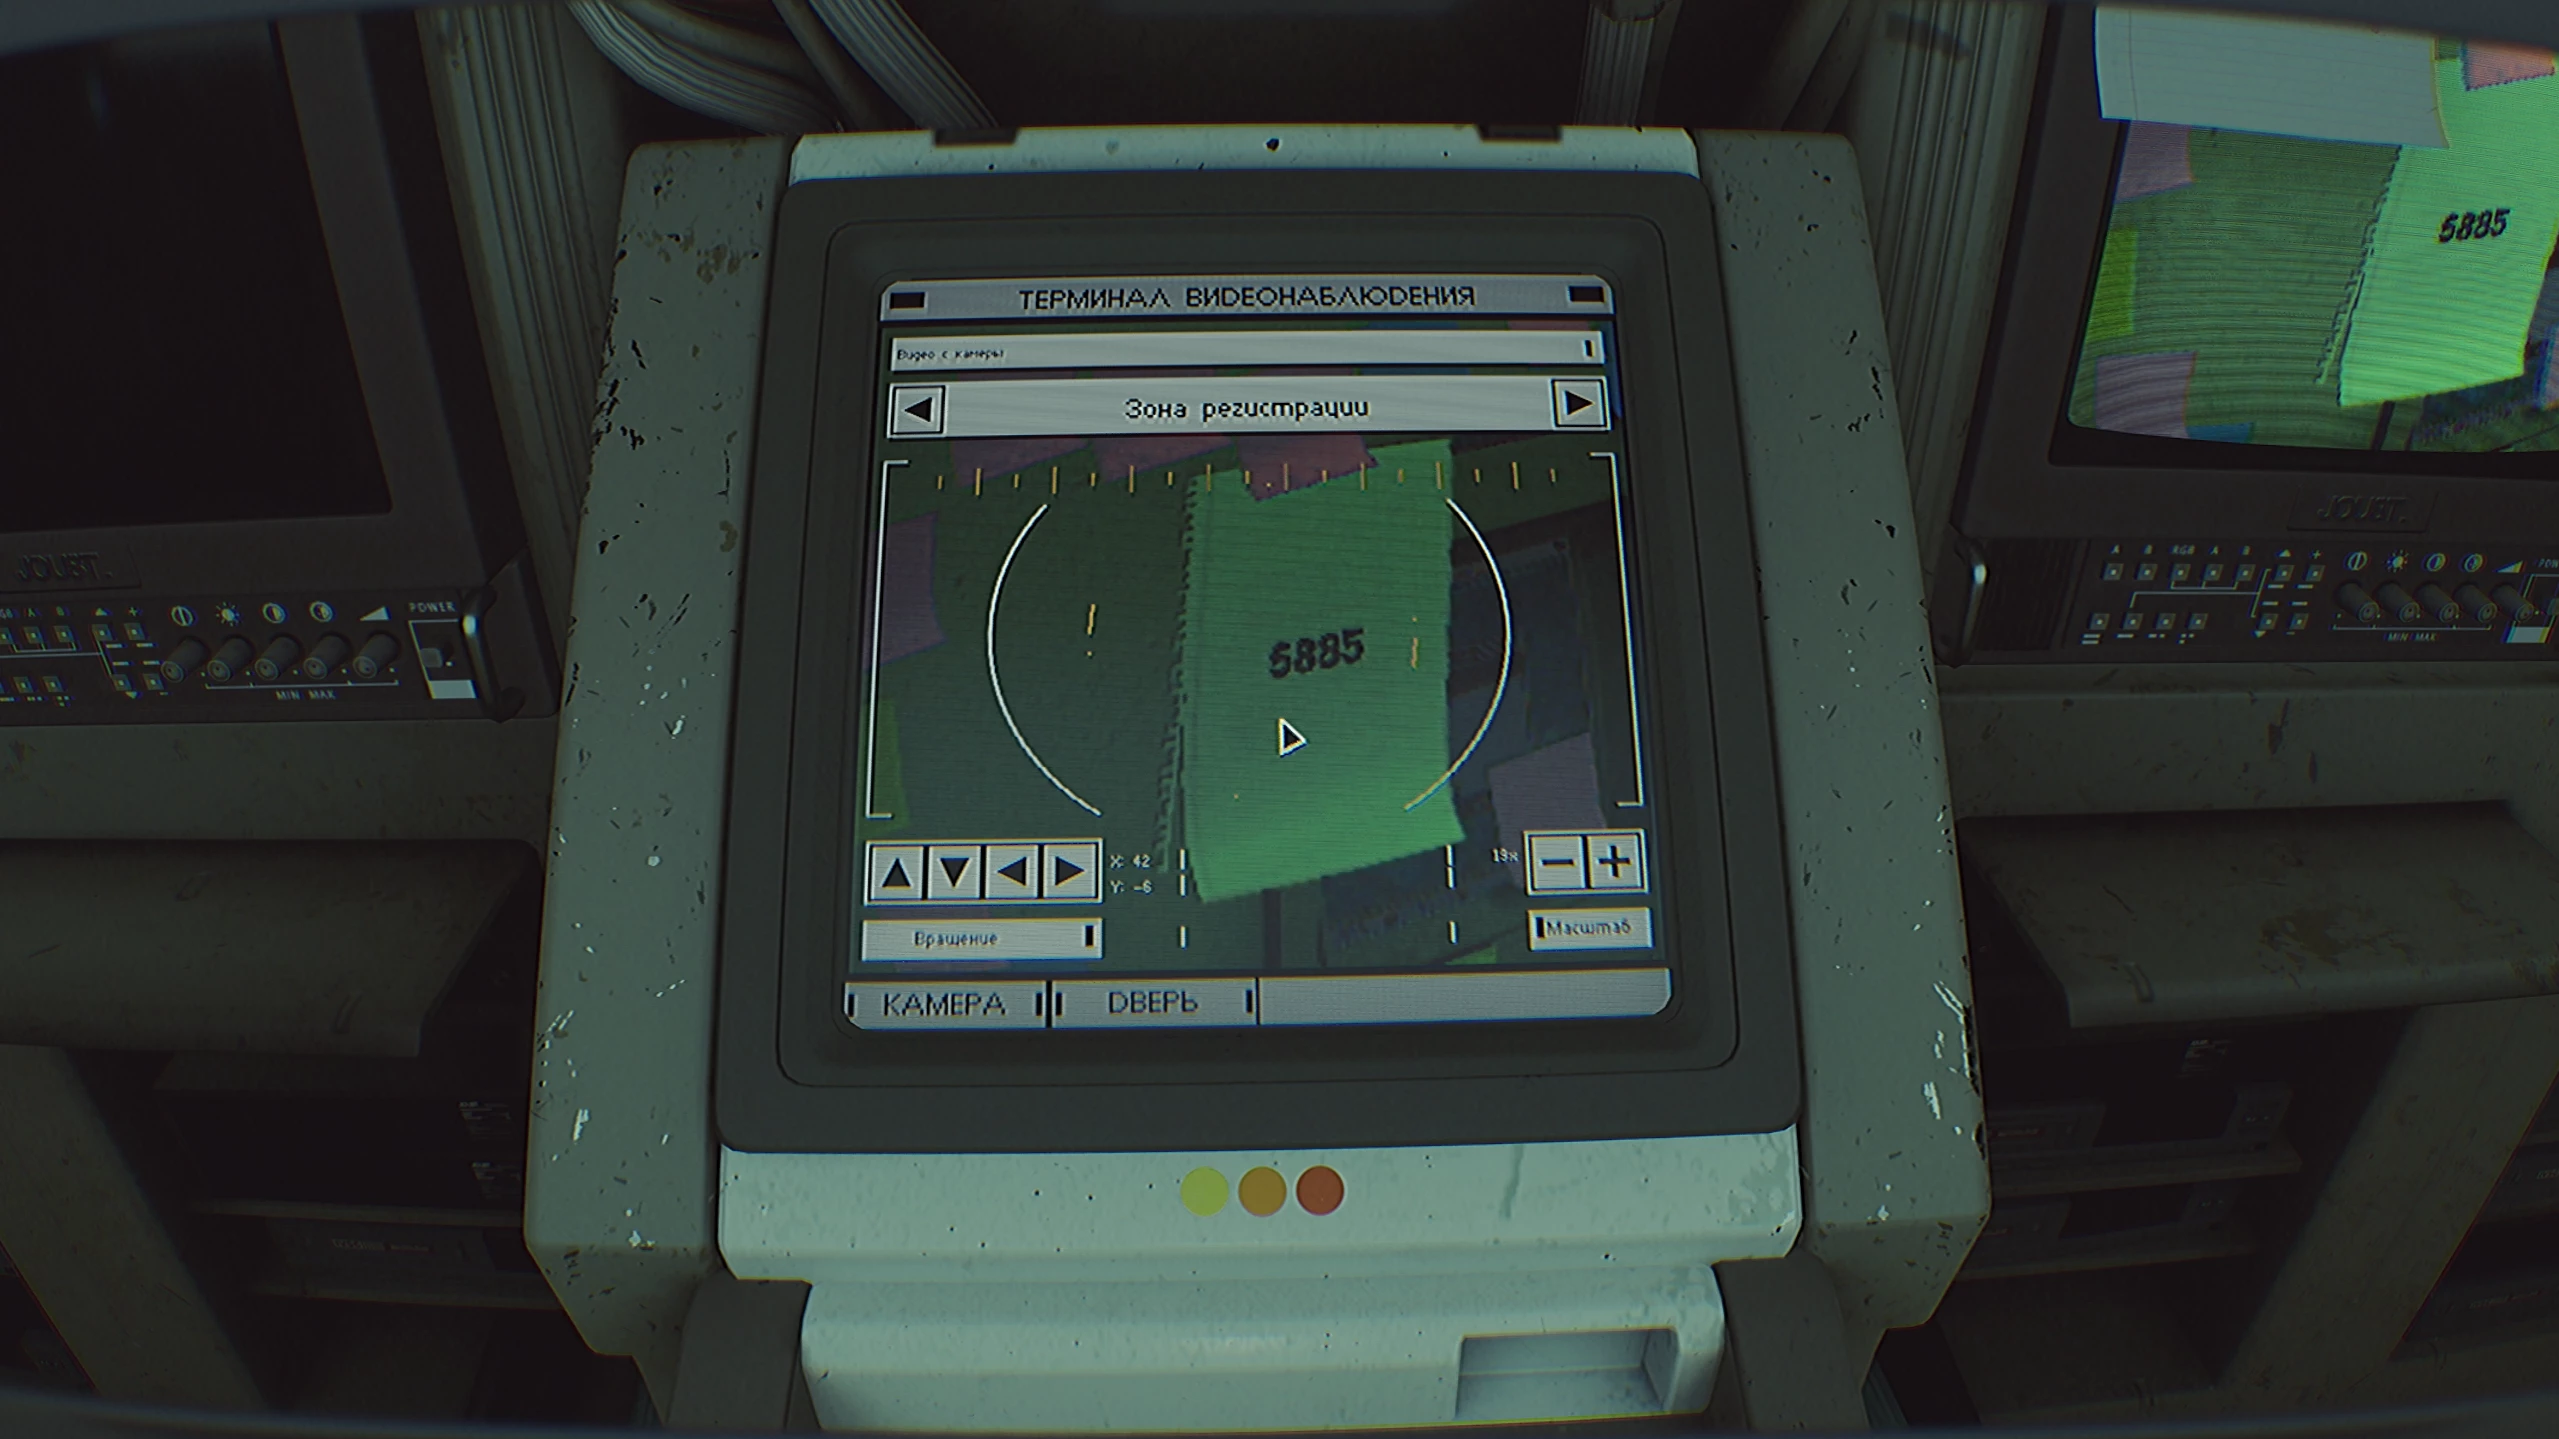
On the note, you’ll see the code for the registration room in the orange corridor. Memorize the combination (in our case, it’s 5885) and return to the starting position, opening the door using the same terminal.
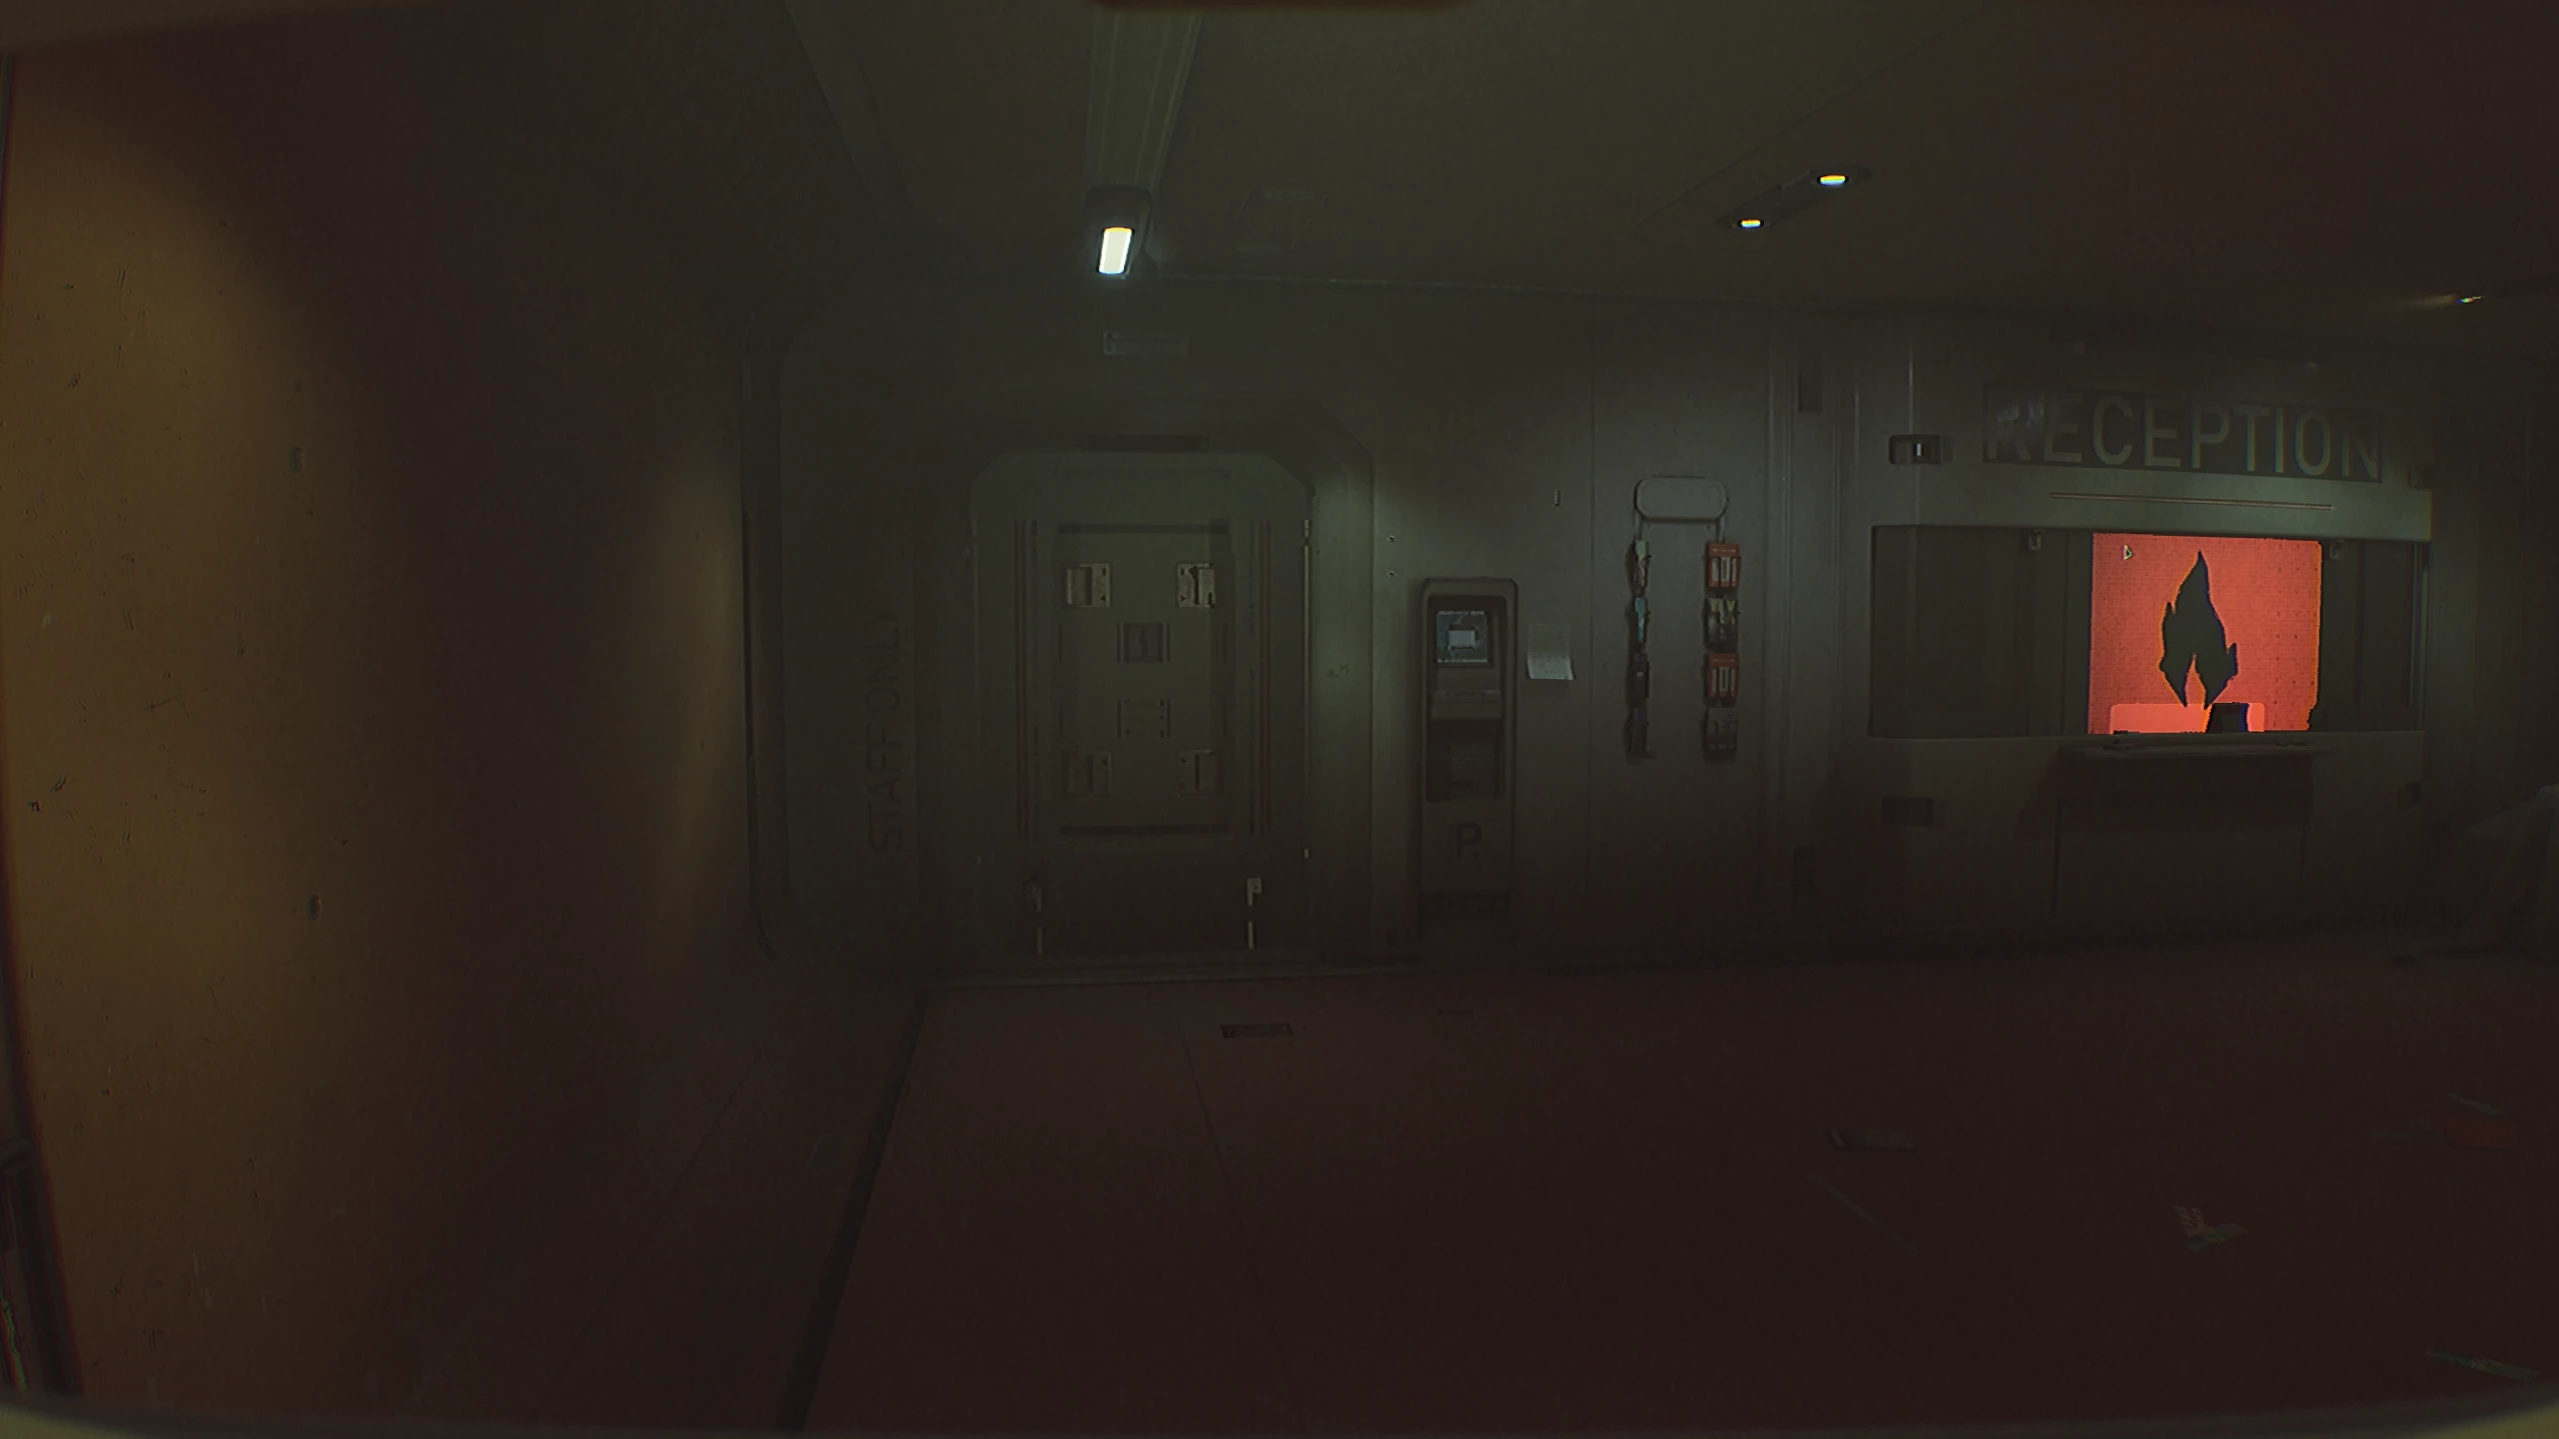
From the door, go straight past all the cabins and turn left at the junction. Go into the orange corridor again, but this time use the found code on the registration room door. Interact with the lit screen and turn off the fire safety alarm.
Return to the starting room, save your progress at the module, and go along the corridor marked Module A/B. Head toward Module B to the end, then turn right and go down the dark stairs.
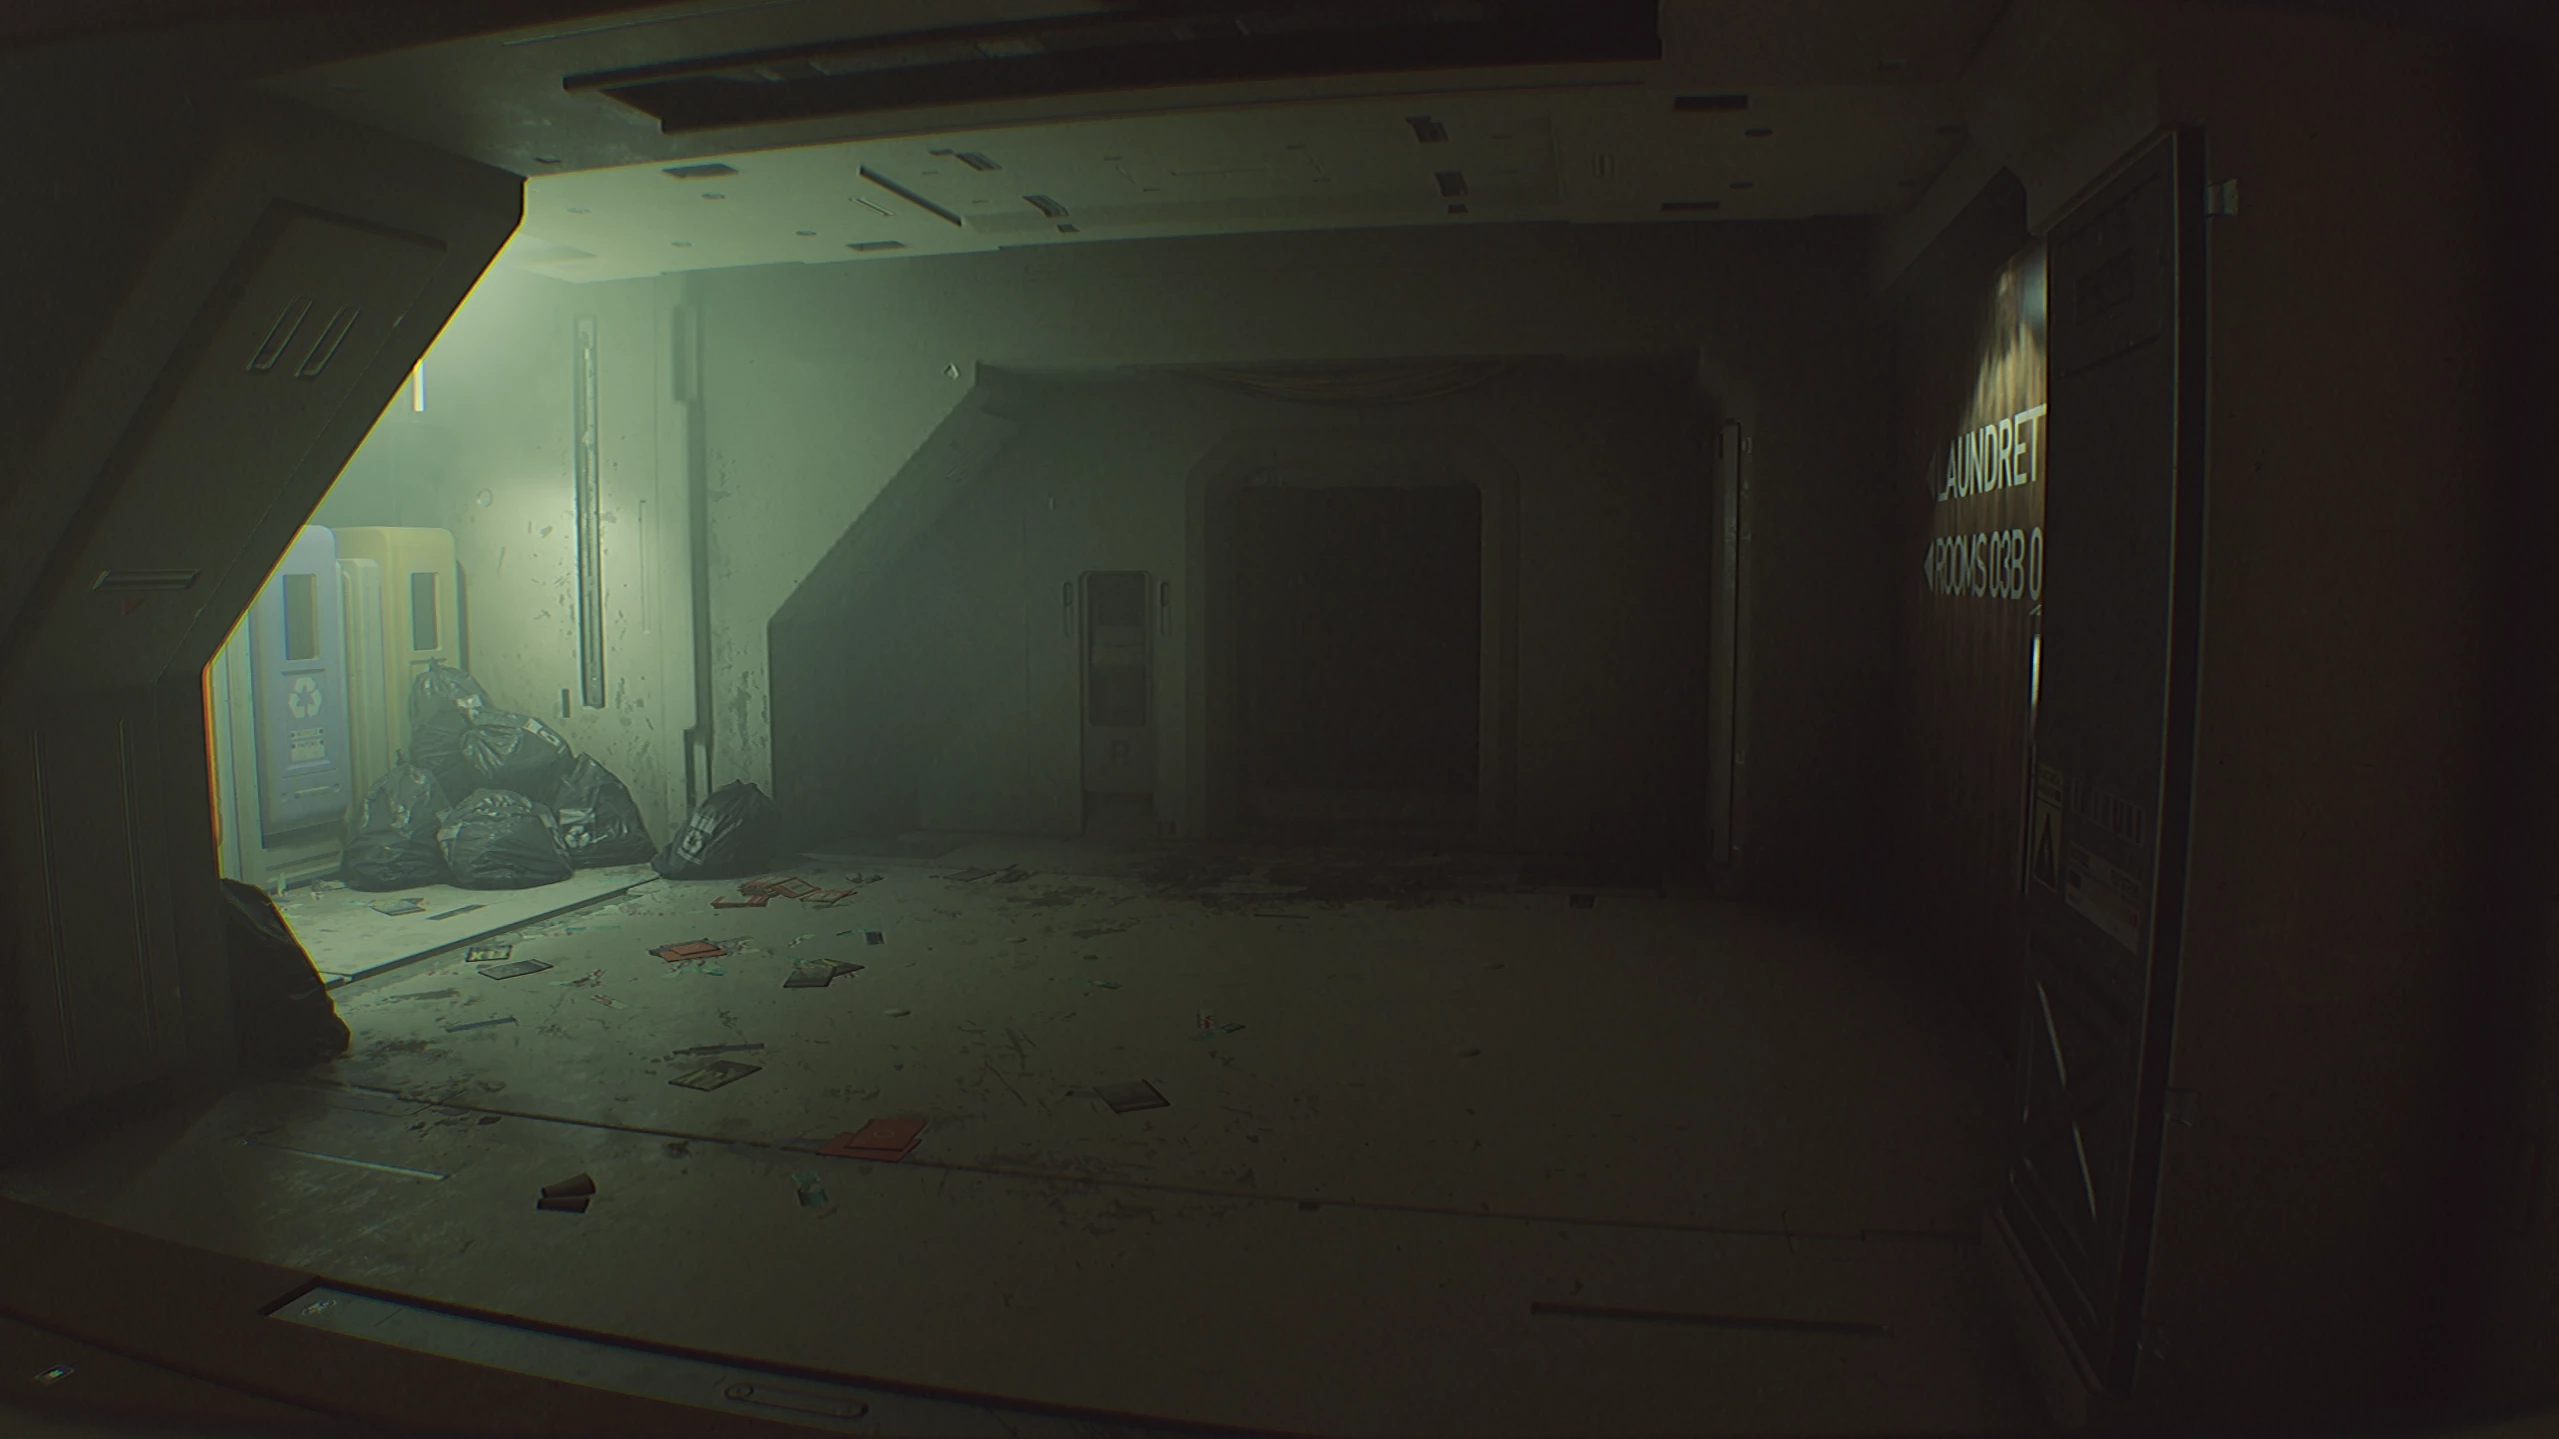
In the laundry room, pass by the robot and go into the right corridor to Kay’s cabin. Inside, save your progress and take the required pass from the shelf above the terminal. Be careful on your way back, as the robot near the door will become active. Just run away from it up the stairs.
When you try to return to the starting room, the door will be blocked, so you’ll need to find a workaround. Go back to the laundry descent, but this time enter the camera room, where you previously got the code for the registration desk. In the room, go through the ventilation shaft to reach another wing of the residential complex.
Exit through the door, turn right at the junction, run past the cabins, and at the end turn right again to enter the familiar orange corridor. Save in the starting room and go up the escalator. Use the elevator to go to the station and head down to your train car. The next stop is the Shopping Complex.
Chapter 2. Incision
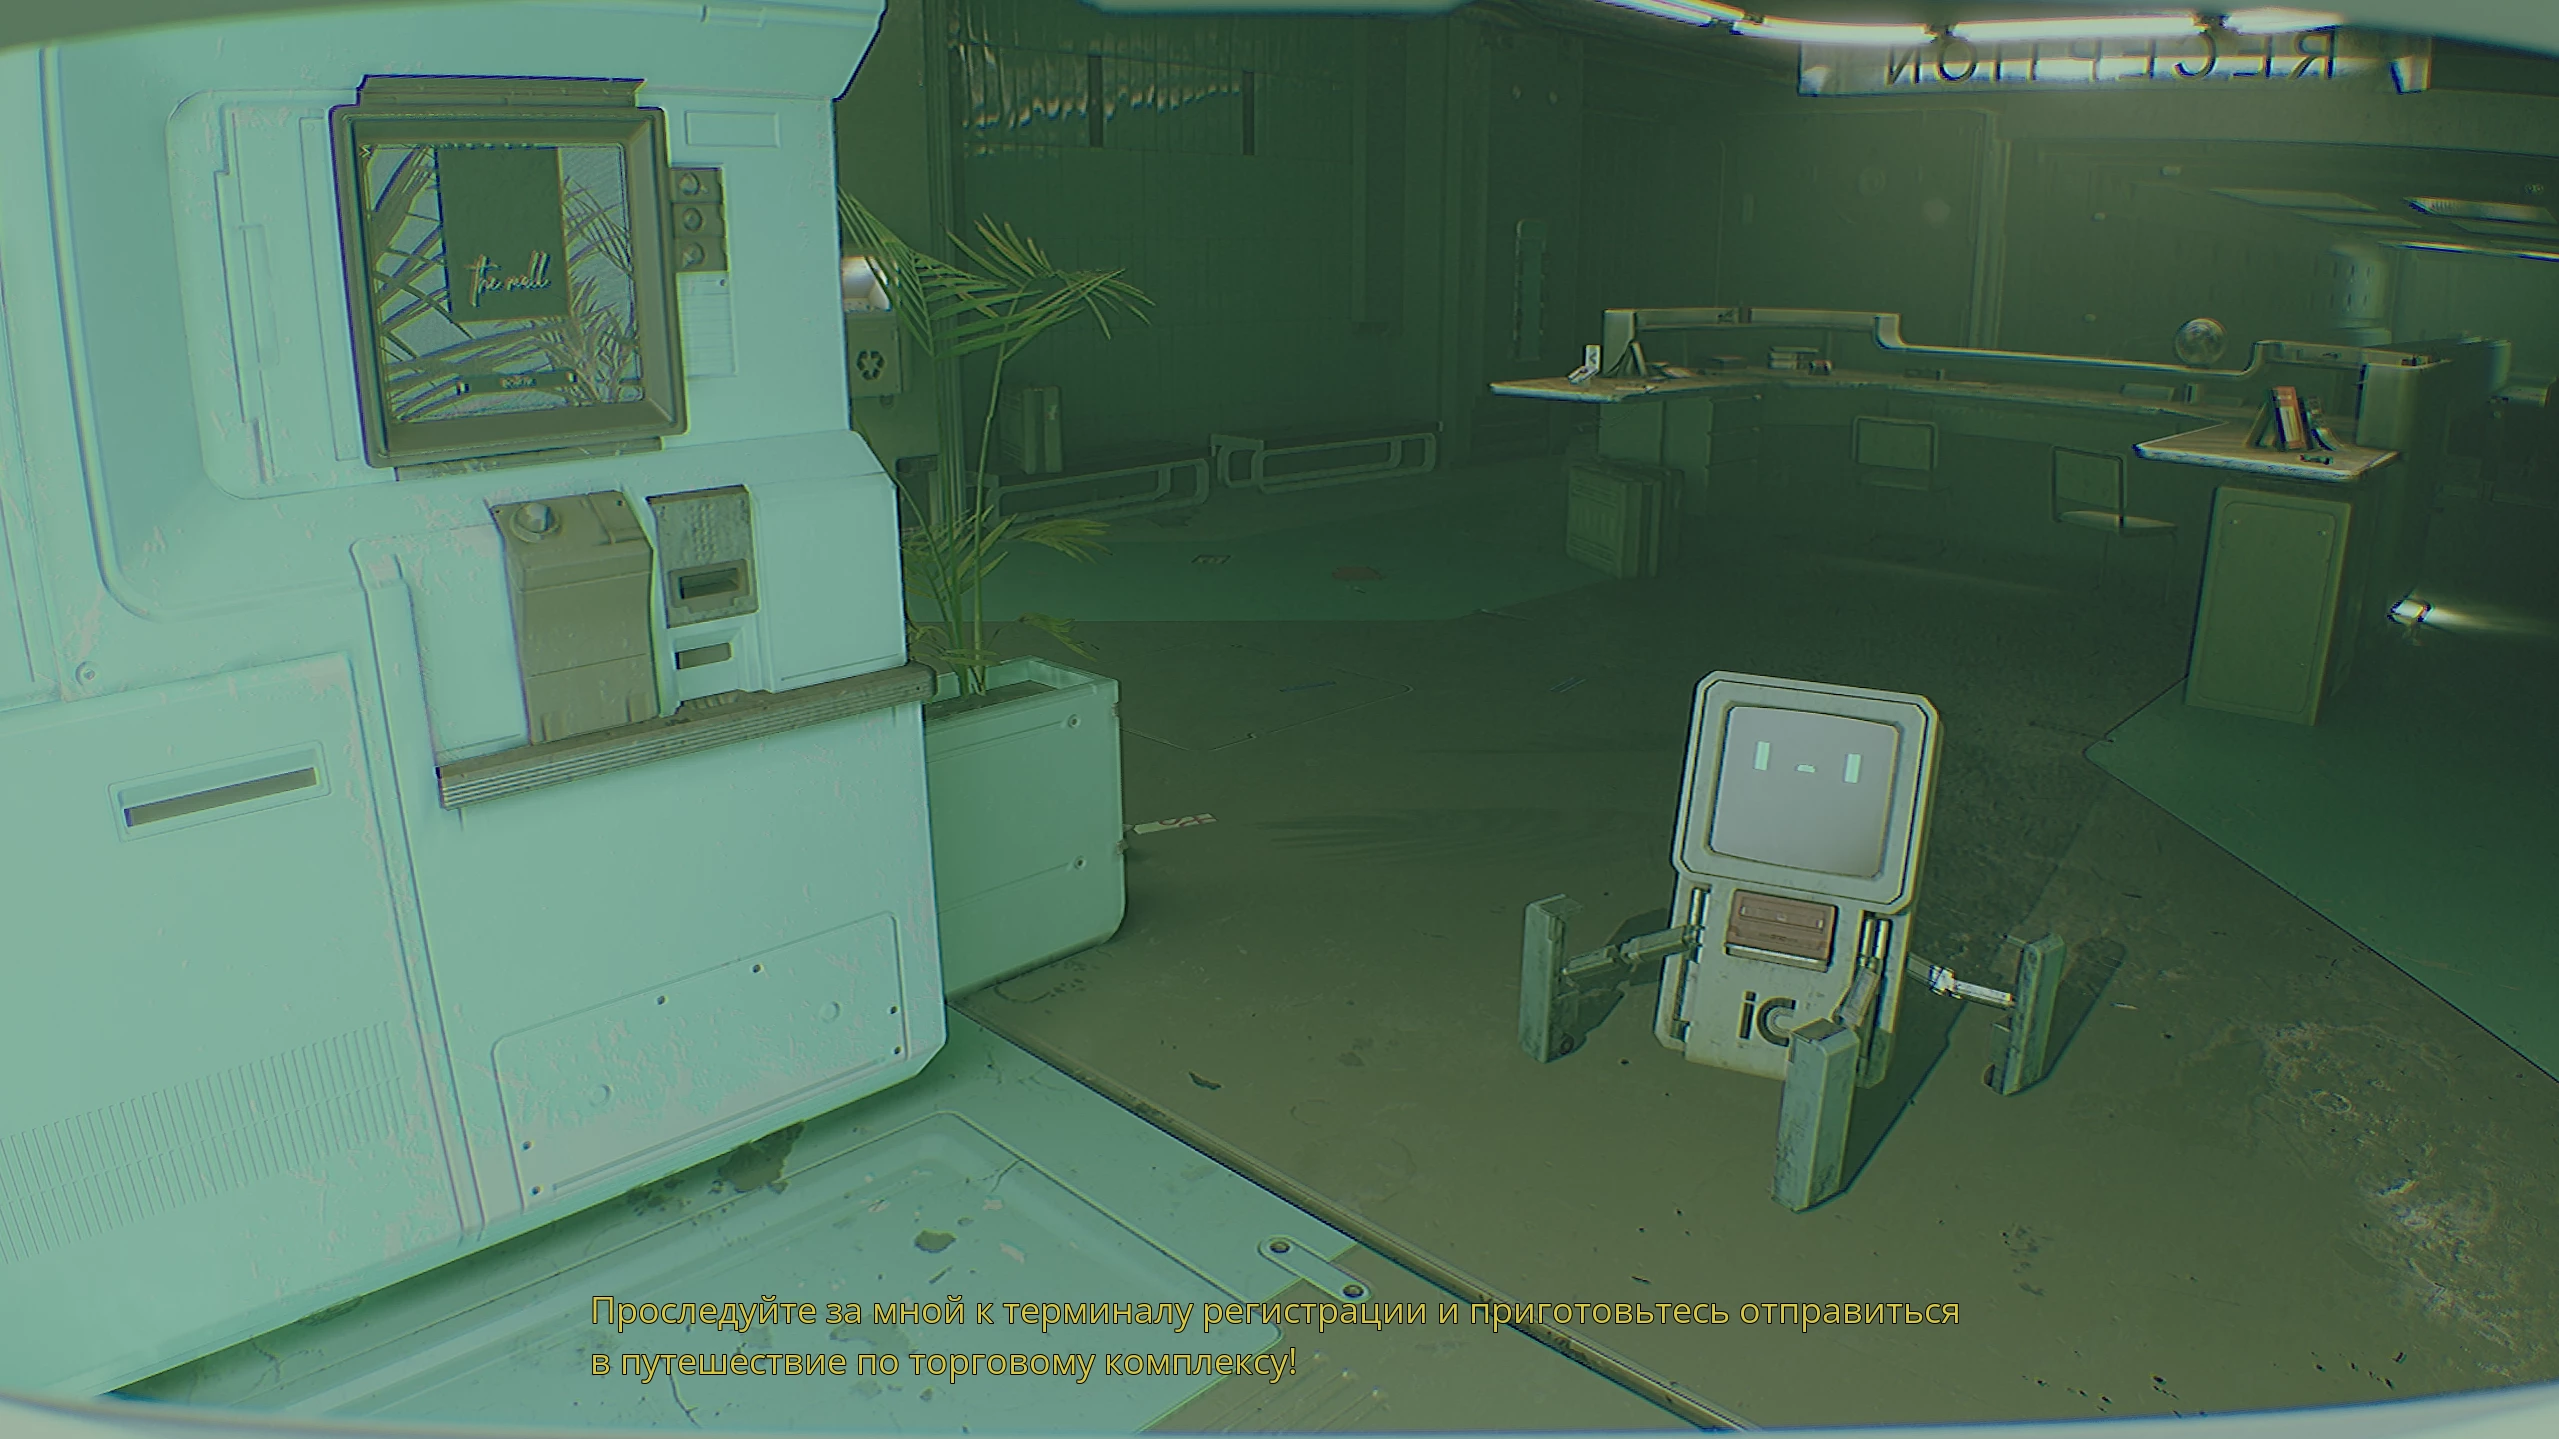
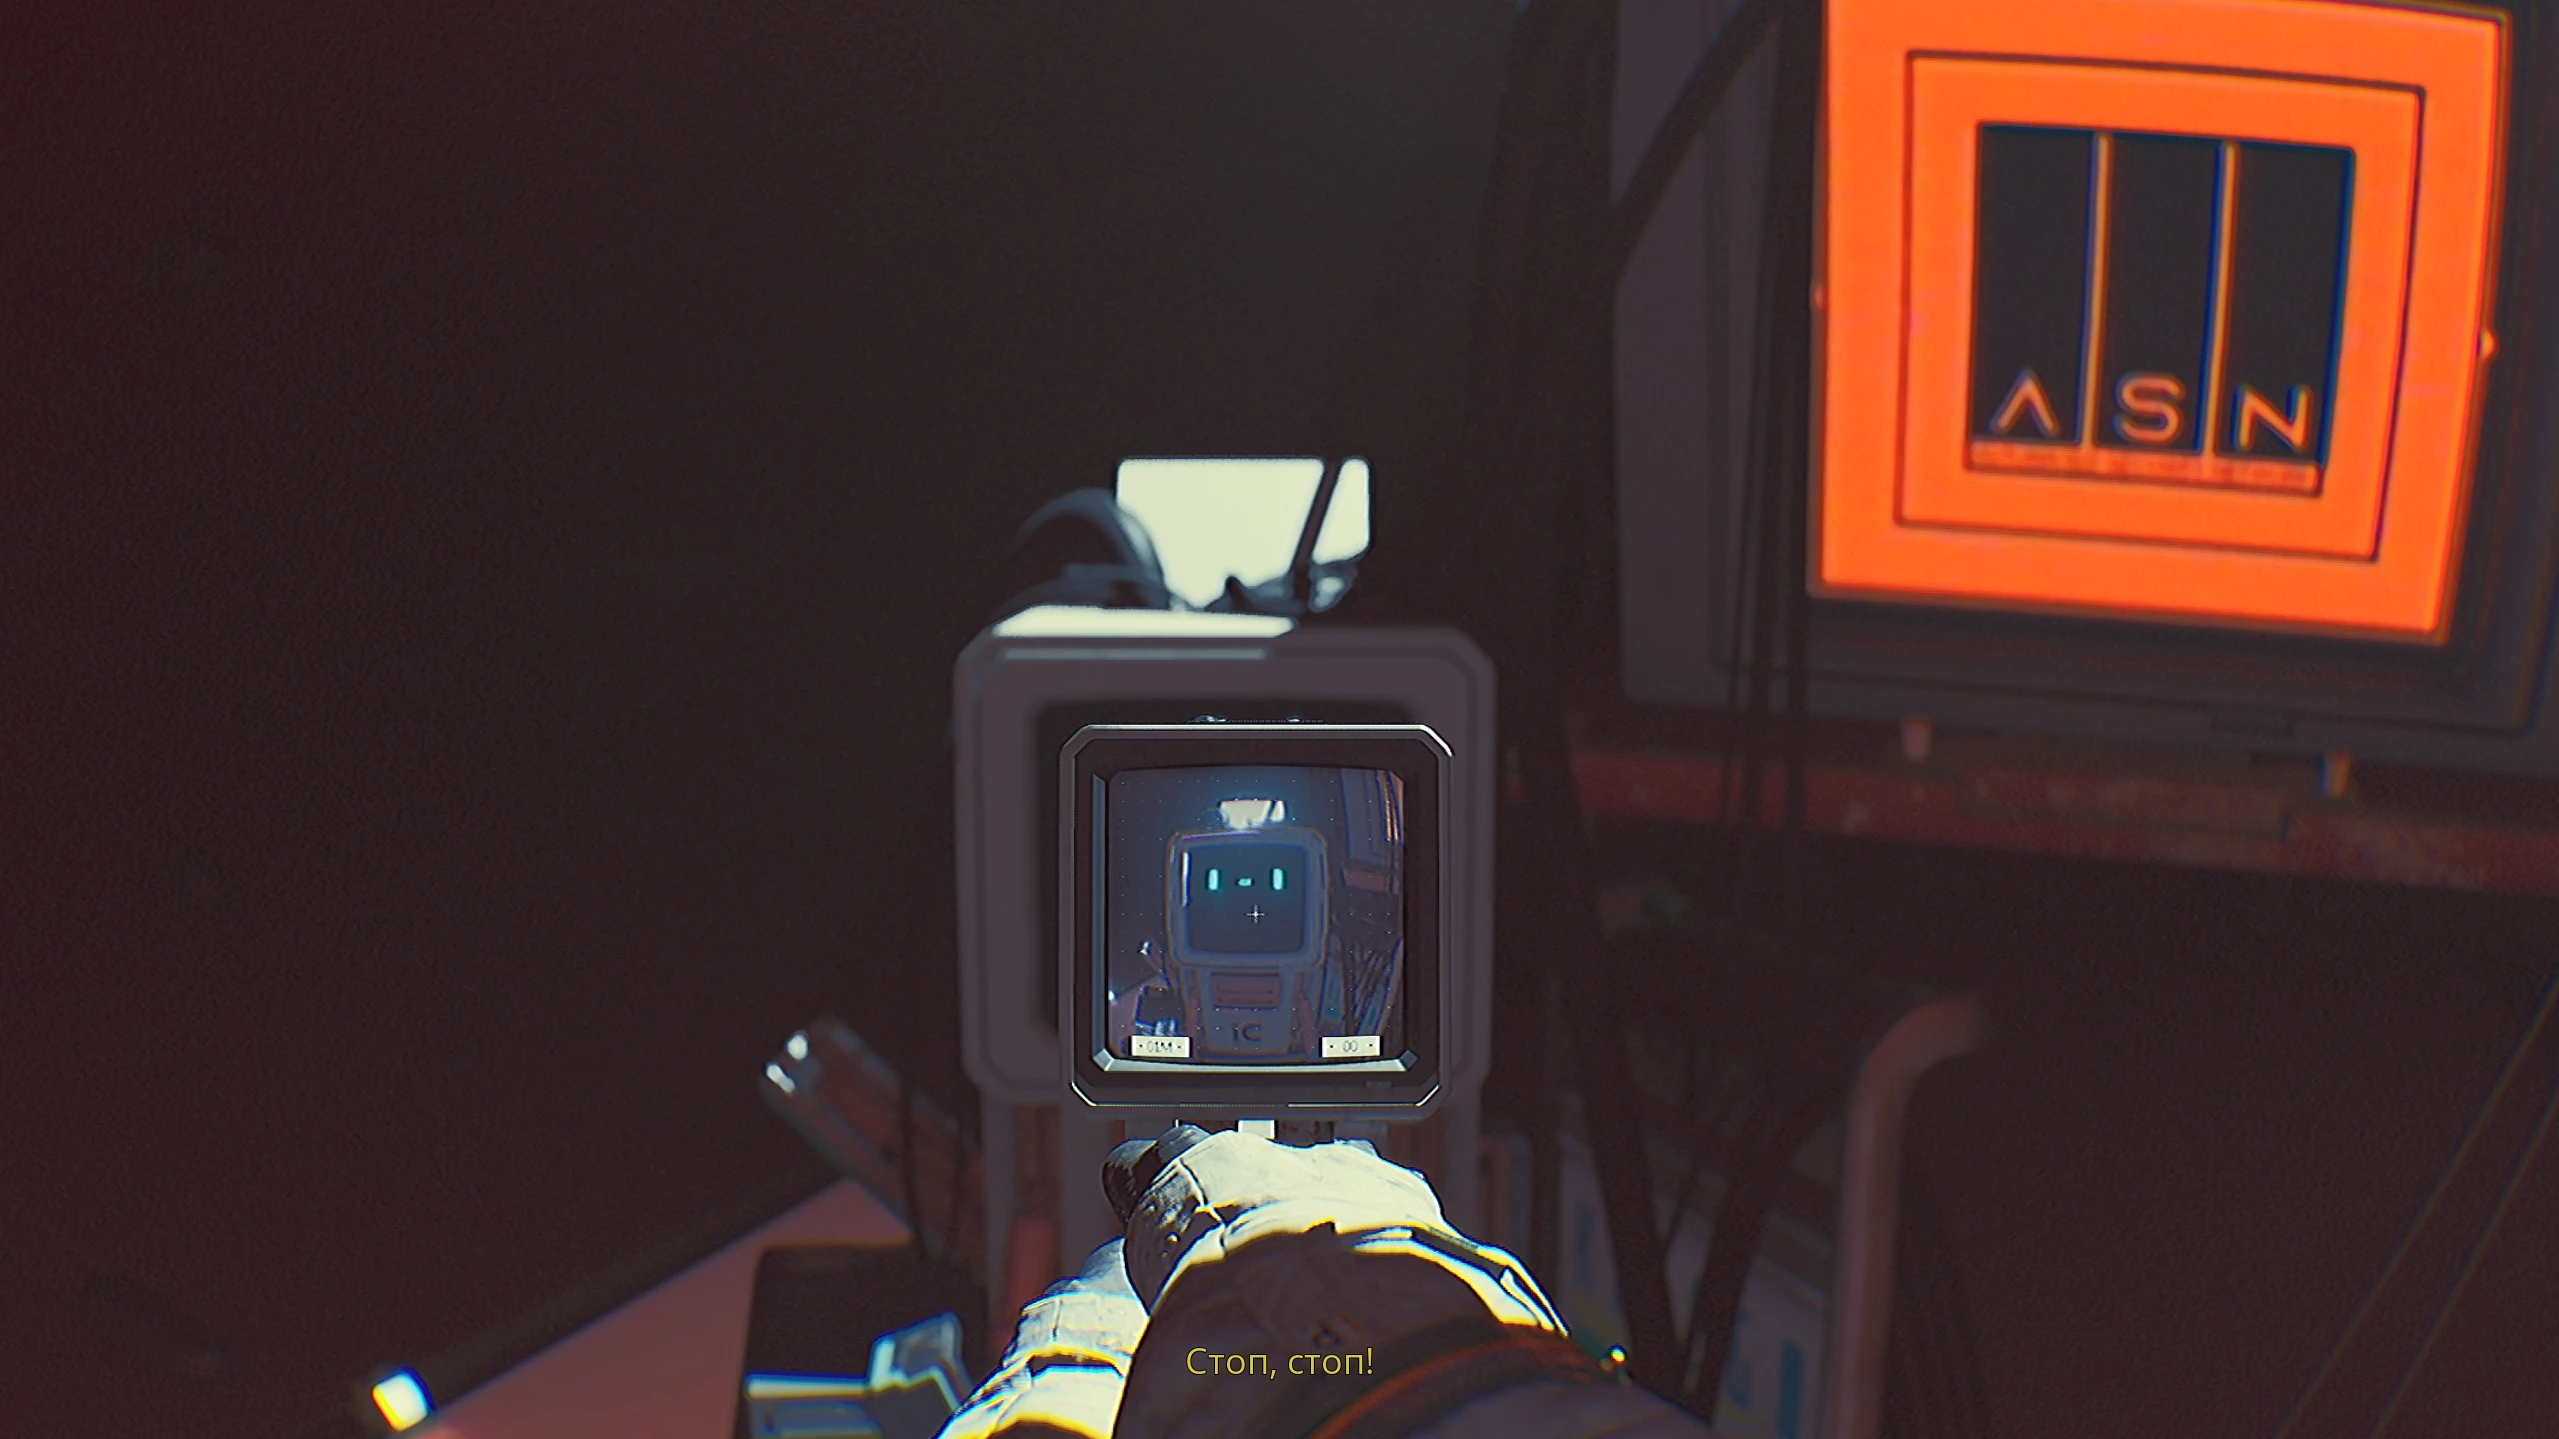
From the arrival point, go left, walk along the stairs, and meet the unusually cute robot AK. He will escort you to the registration terminal, where you’ll need to enter the ID of your badge (this time 3540). Depending on your answer to the next question, you’ll be given information about points of interest in the complex: either the O’Neill Electronics store, where you can get the first upgrade module for the IPA, or the conference hall, from where you can open the outside door. The choice doesn’t affect anything else.
Unfortunately, the elevator is broken, and to get to the SC, you need to ask our cute robot for help. To do this, go to the table and press the red button, then escort AK to the broken terminal.
After analyzing the problem, the robot will show you an alternative entrance — follow him and go down the stairs. Once you’re at the bottom, save your progress at the wireless module and proceed through the corridor on the right.
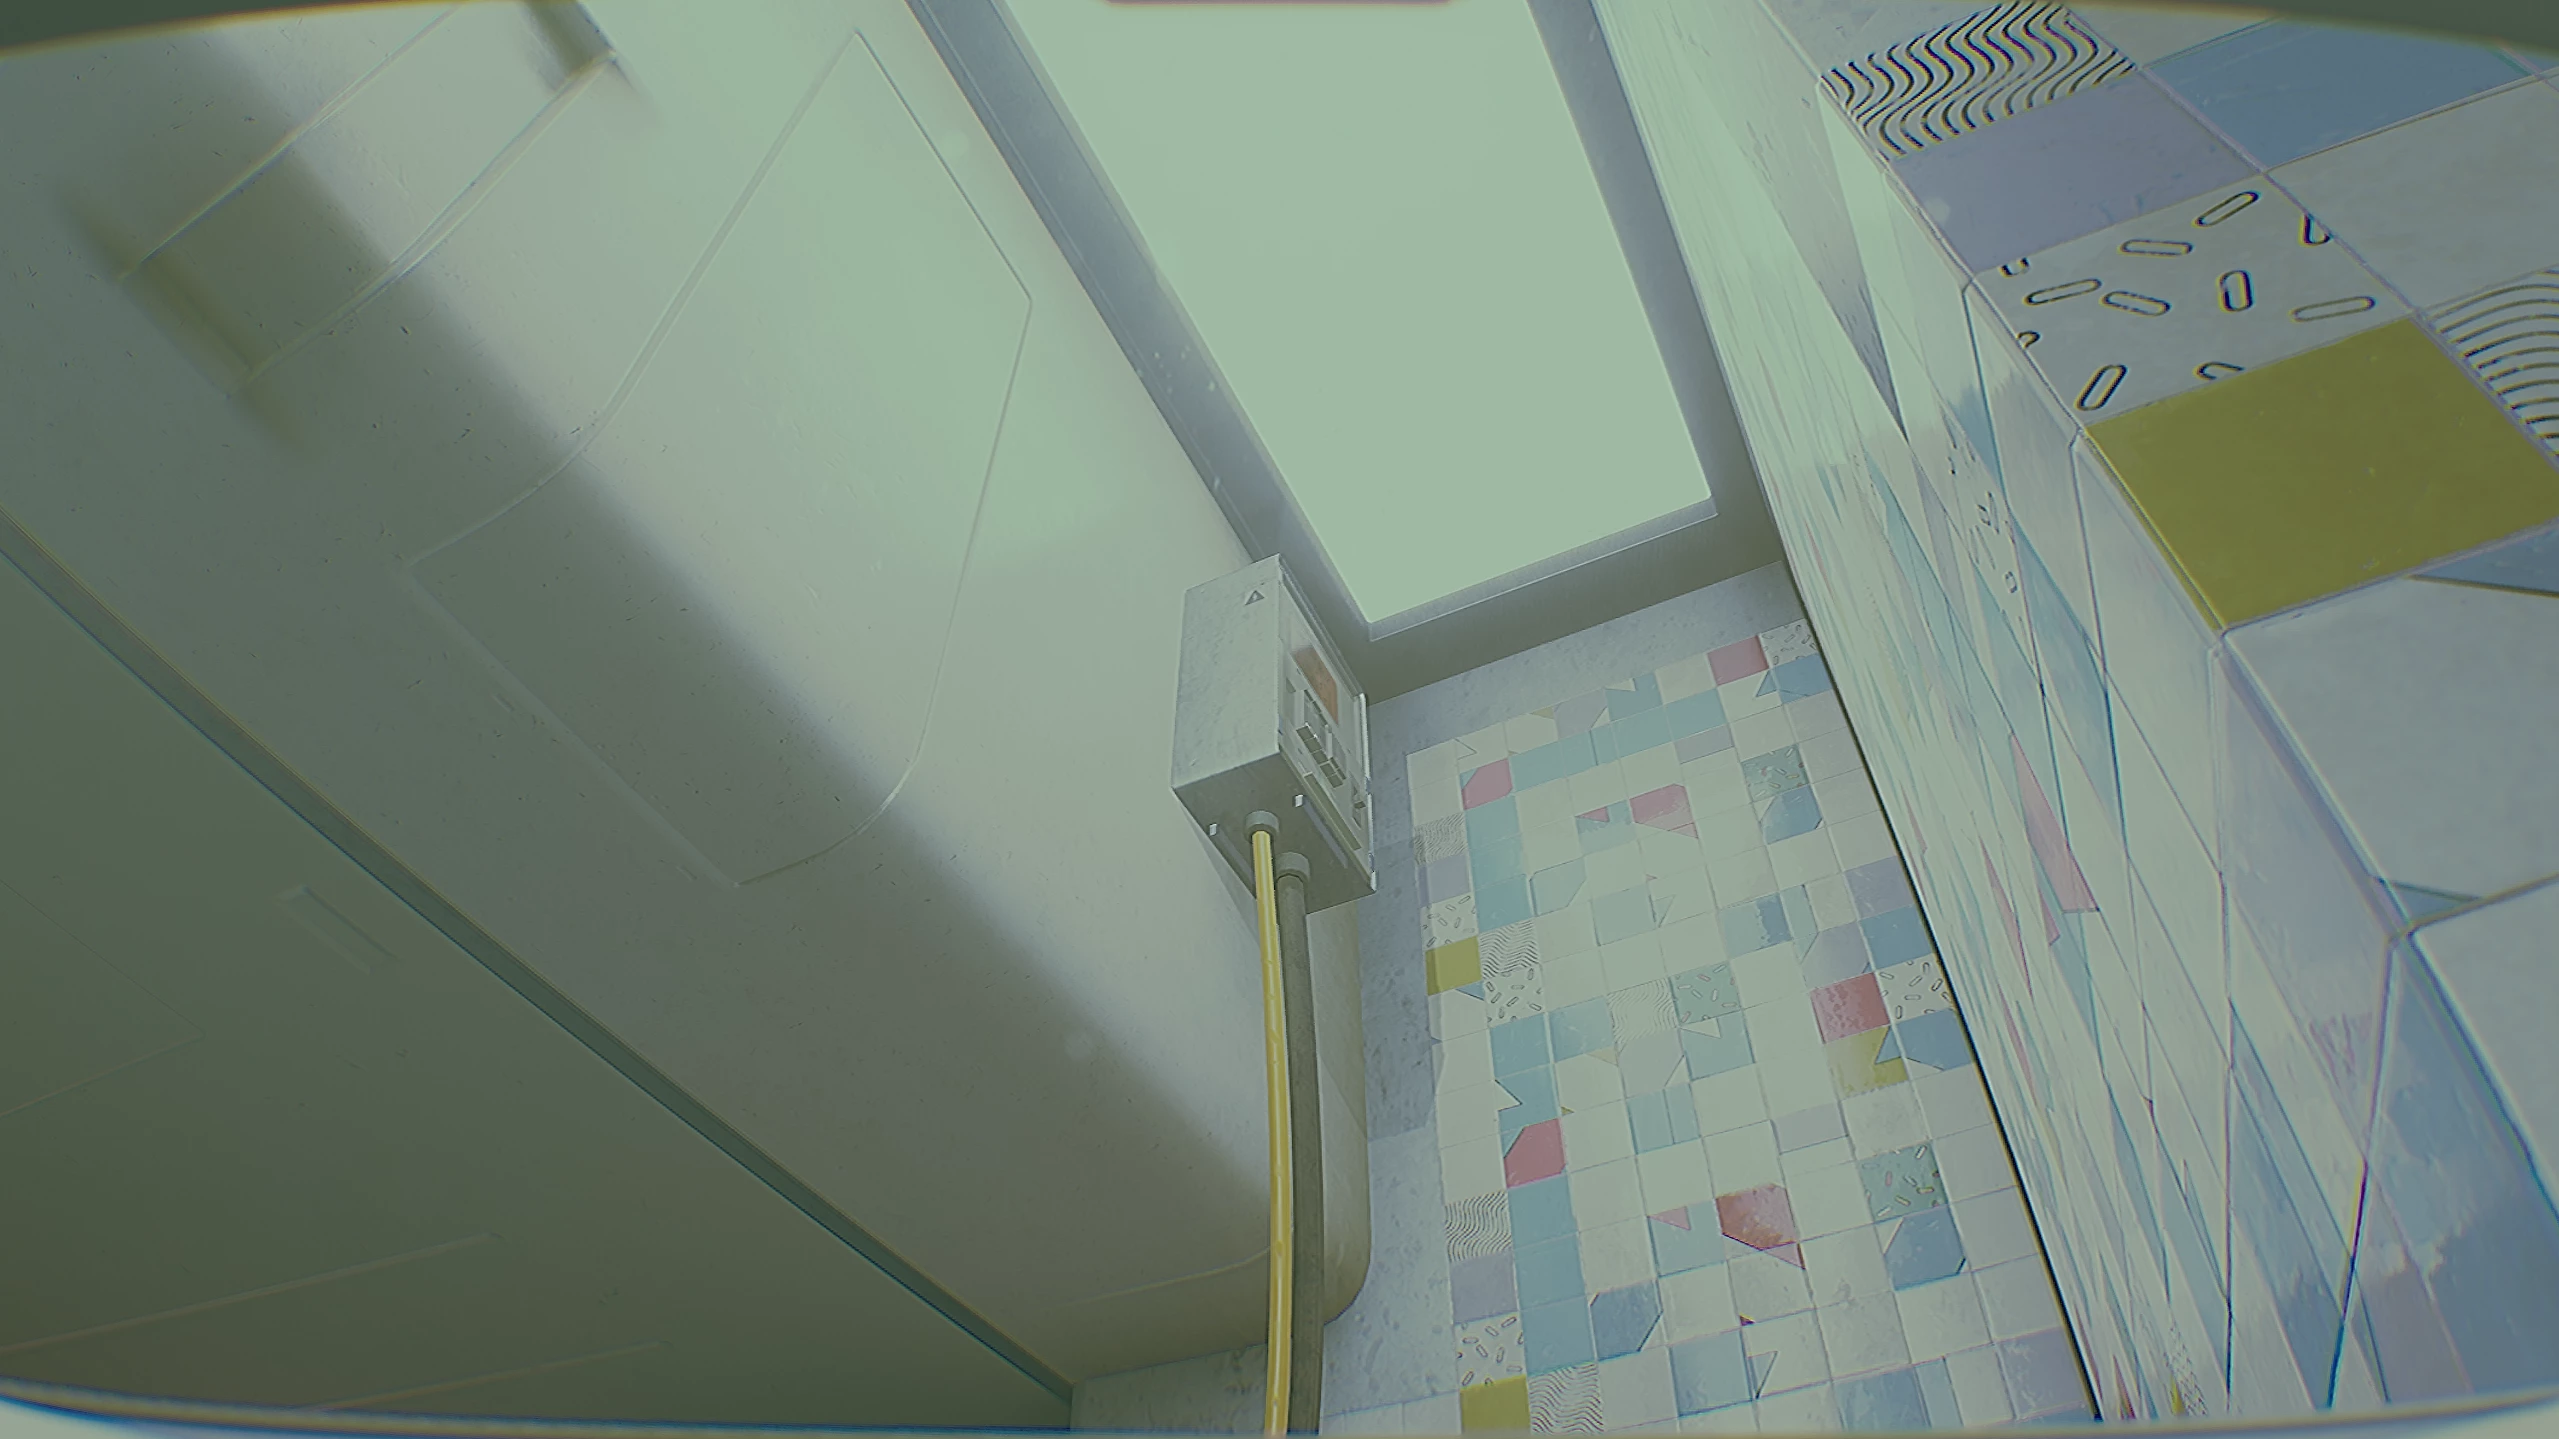
If your IPA doesn’t have a battery, pick one up in the small recess, then shoot the electrical panel outside the window on the right.
You’ll likely notice that your tool’s screen has started to glitch. To fix this, press the special demagnetization button to the right of the connection function. After the shot, crawl through the opened ventilation and press the red button at the end.

When you try to leave the next room, the shutters will slam shut, and to open them you’ll need to interact with the button on the yellow panel under the table again. This action will summon the robot, who will help cut a passage to the main corridor of the complex.
ASB System Code
The pass is found, now you need to get the special code. The action plan for the shopping station is as follows:
- Find the security room.
- Open the doors to the playground.
- Obtain the Overseer upgrade.
- Start the internet connection to the office.
- Open the door outside and escape.
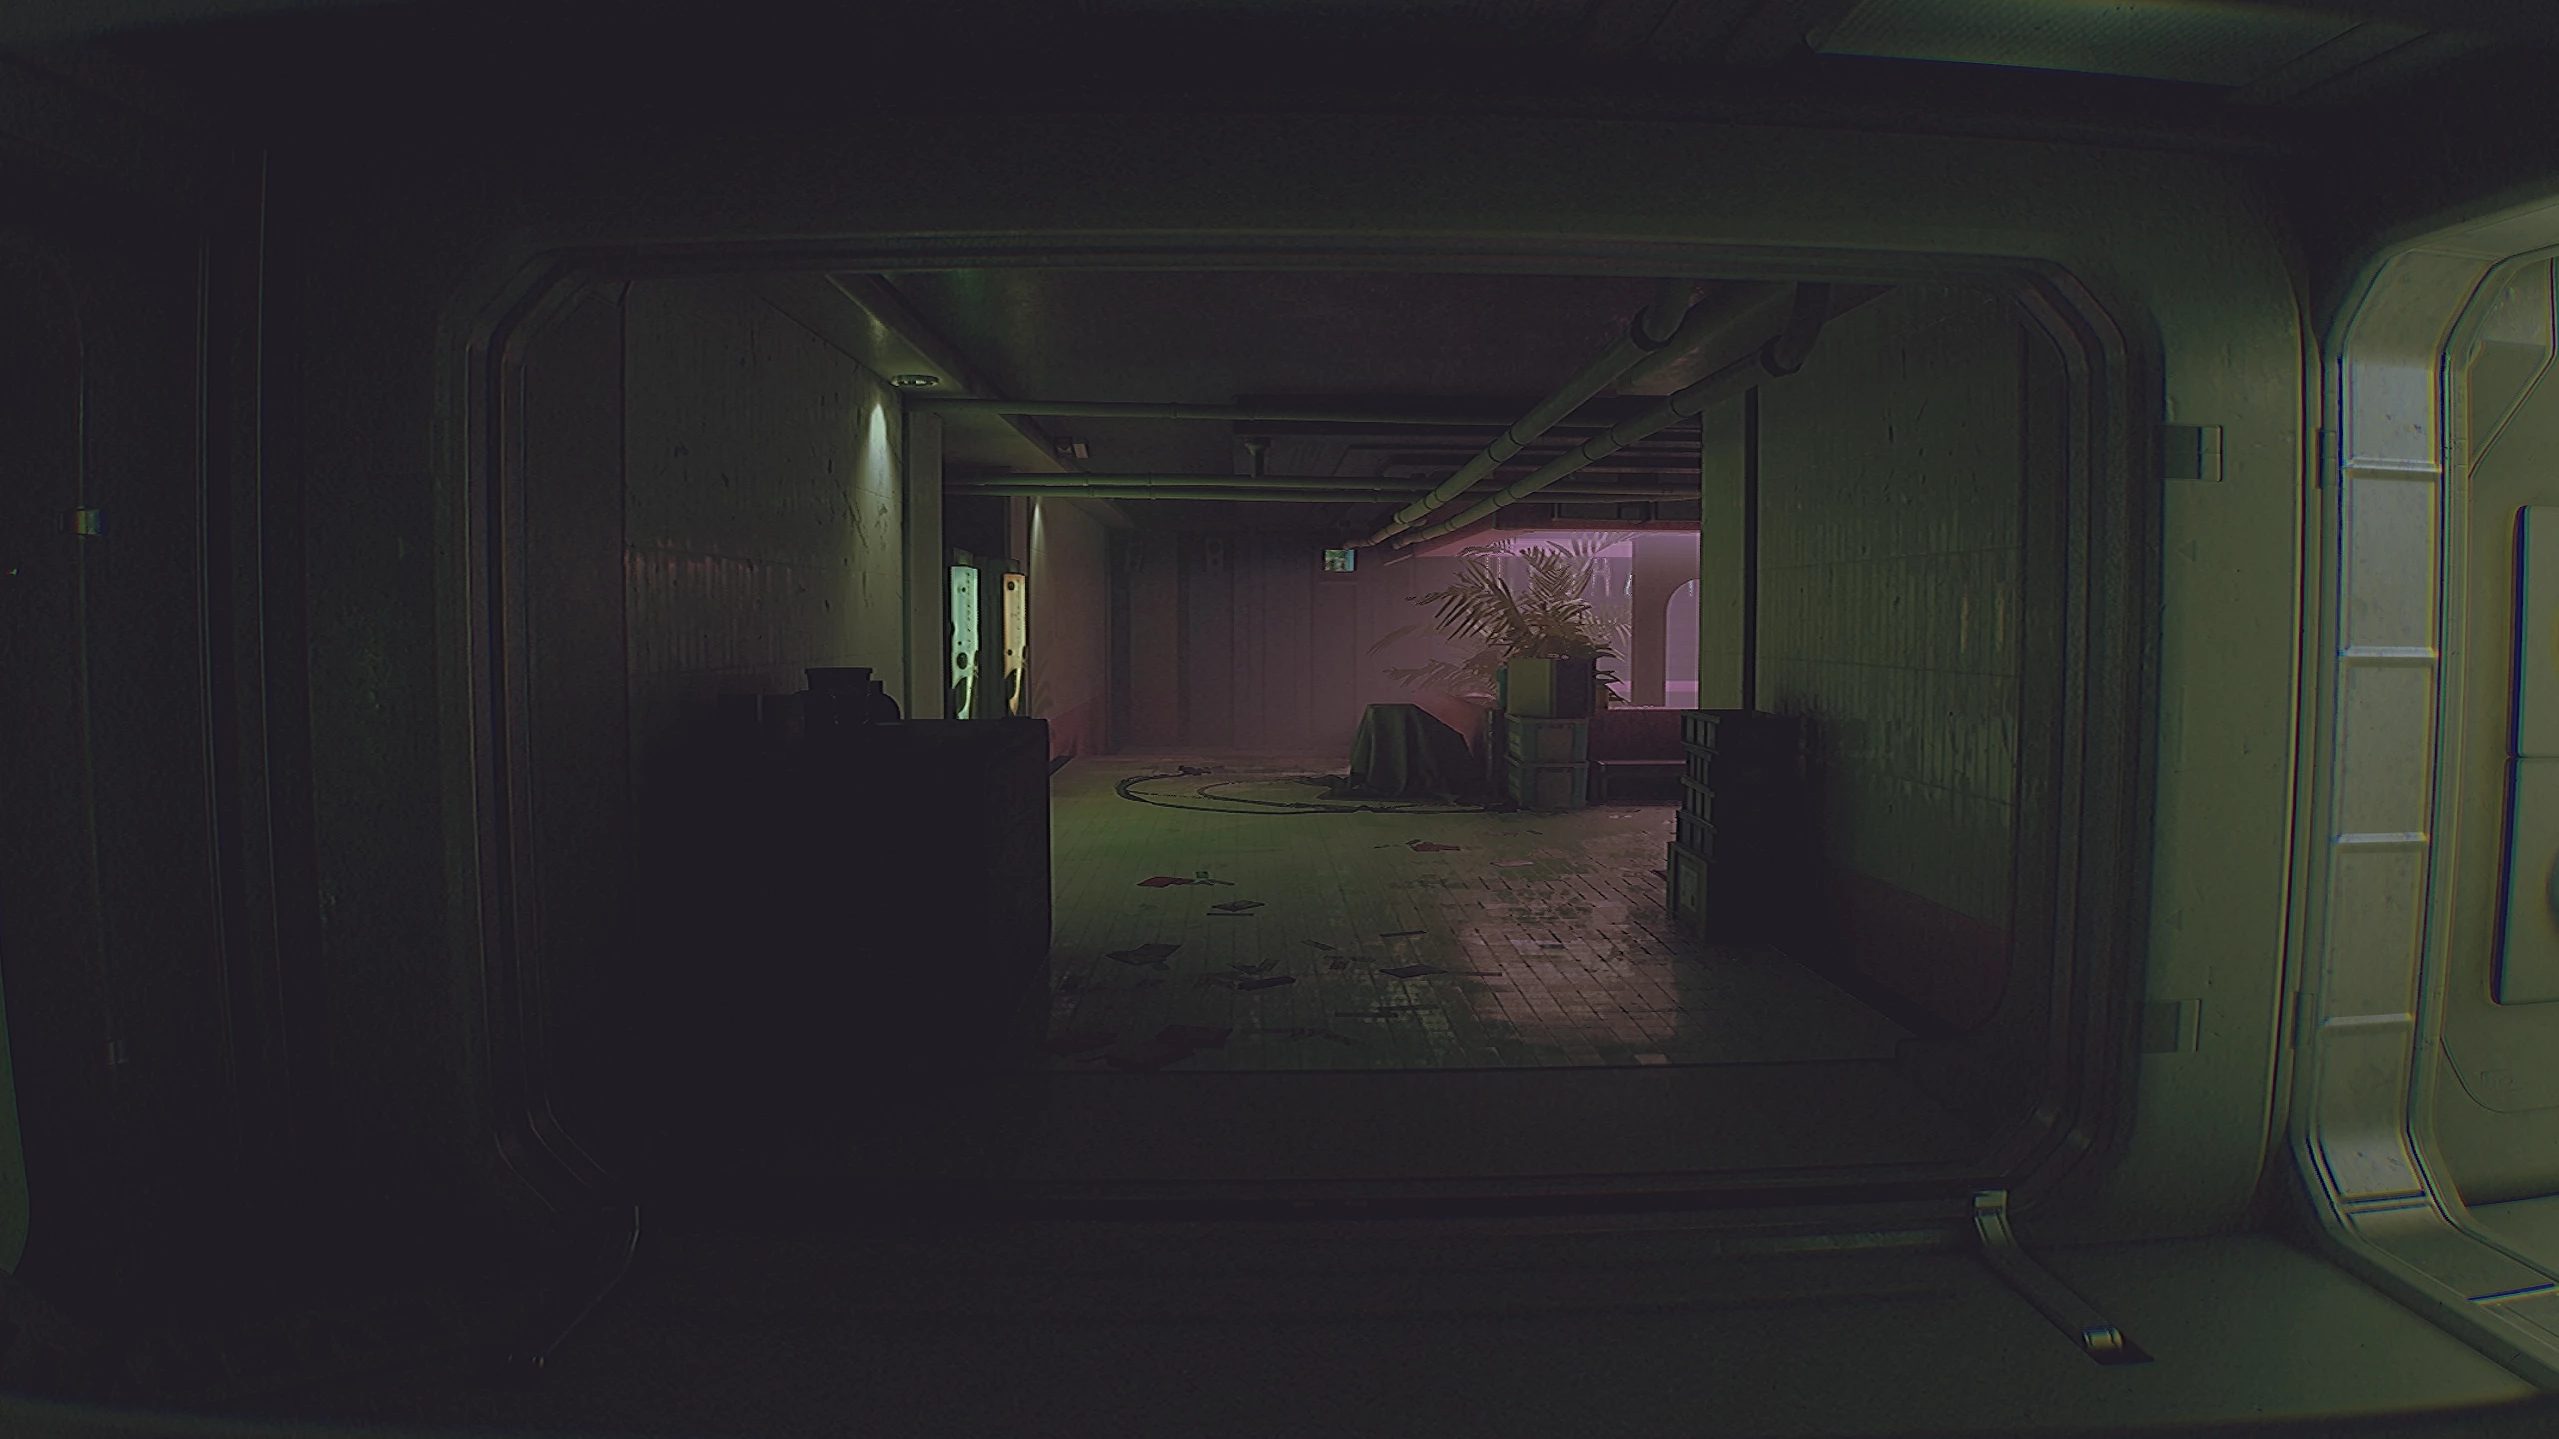
First, exit the room and turn right, then follow the corridor to the left until you reach a room lit with pink light. Ahead, you’ll see a curtain marked Megazone with a small opening at the bottom.
Crouch to go under the shutters and head to the back wall of the zone. Here, look up, turn left, and you’ll see an electrical panel. Overload the system using the IPA and go into the opened security zone on the right.

Approach the terminal and select the Door tab, then open the door to the playground. Now leave the security office and, in the pink room, turn into the left corridor.
From there, choose the left passage again, go straight, and come across a half-closed curtain. Crawl under it and look for the entrance to O’Neill Electronics.
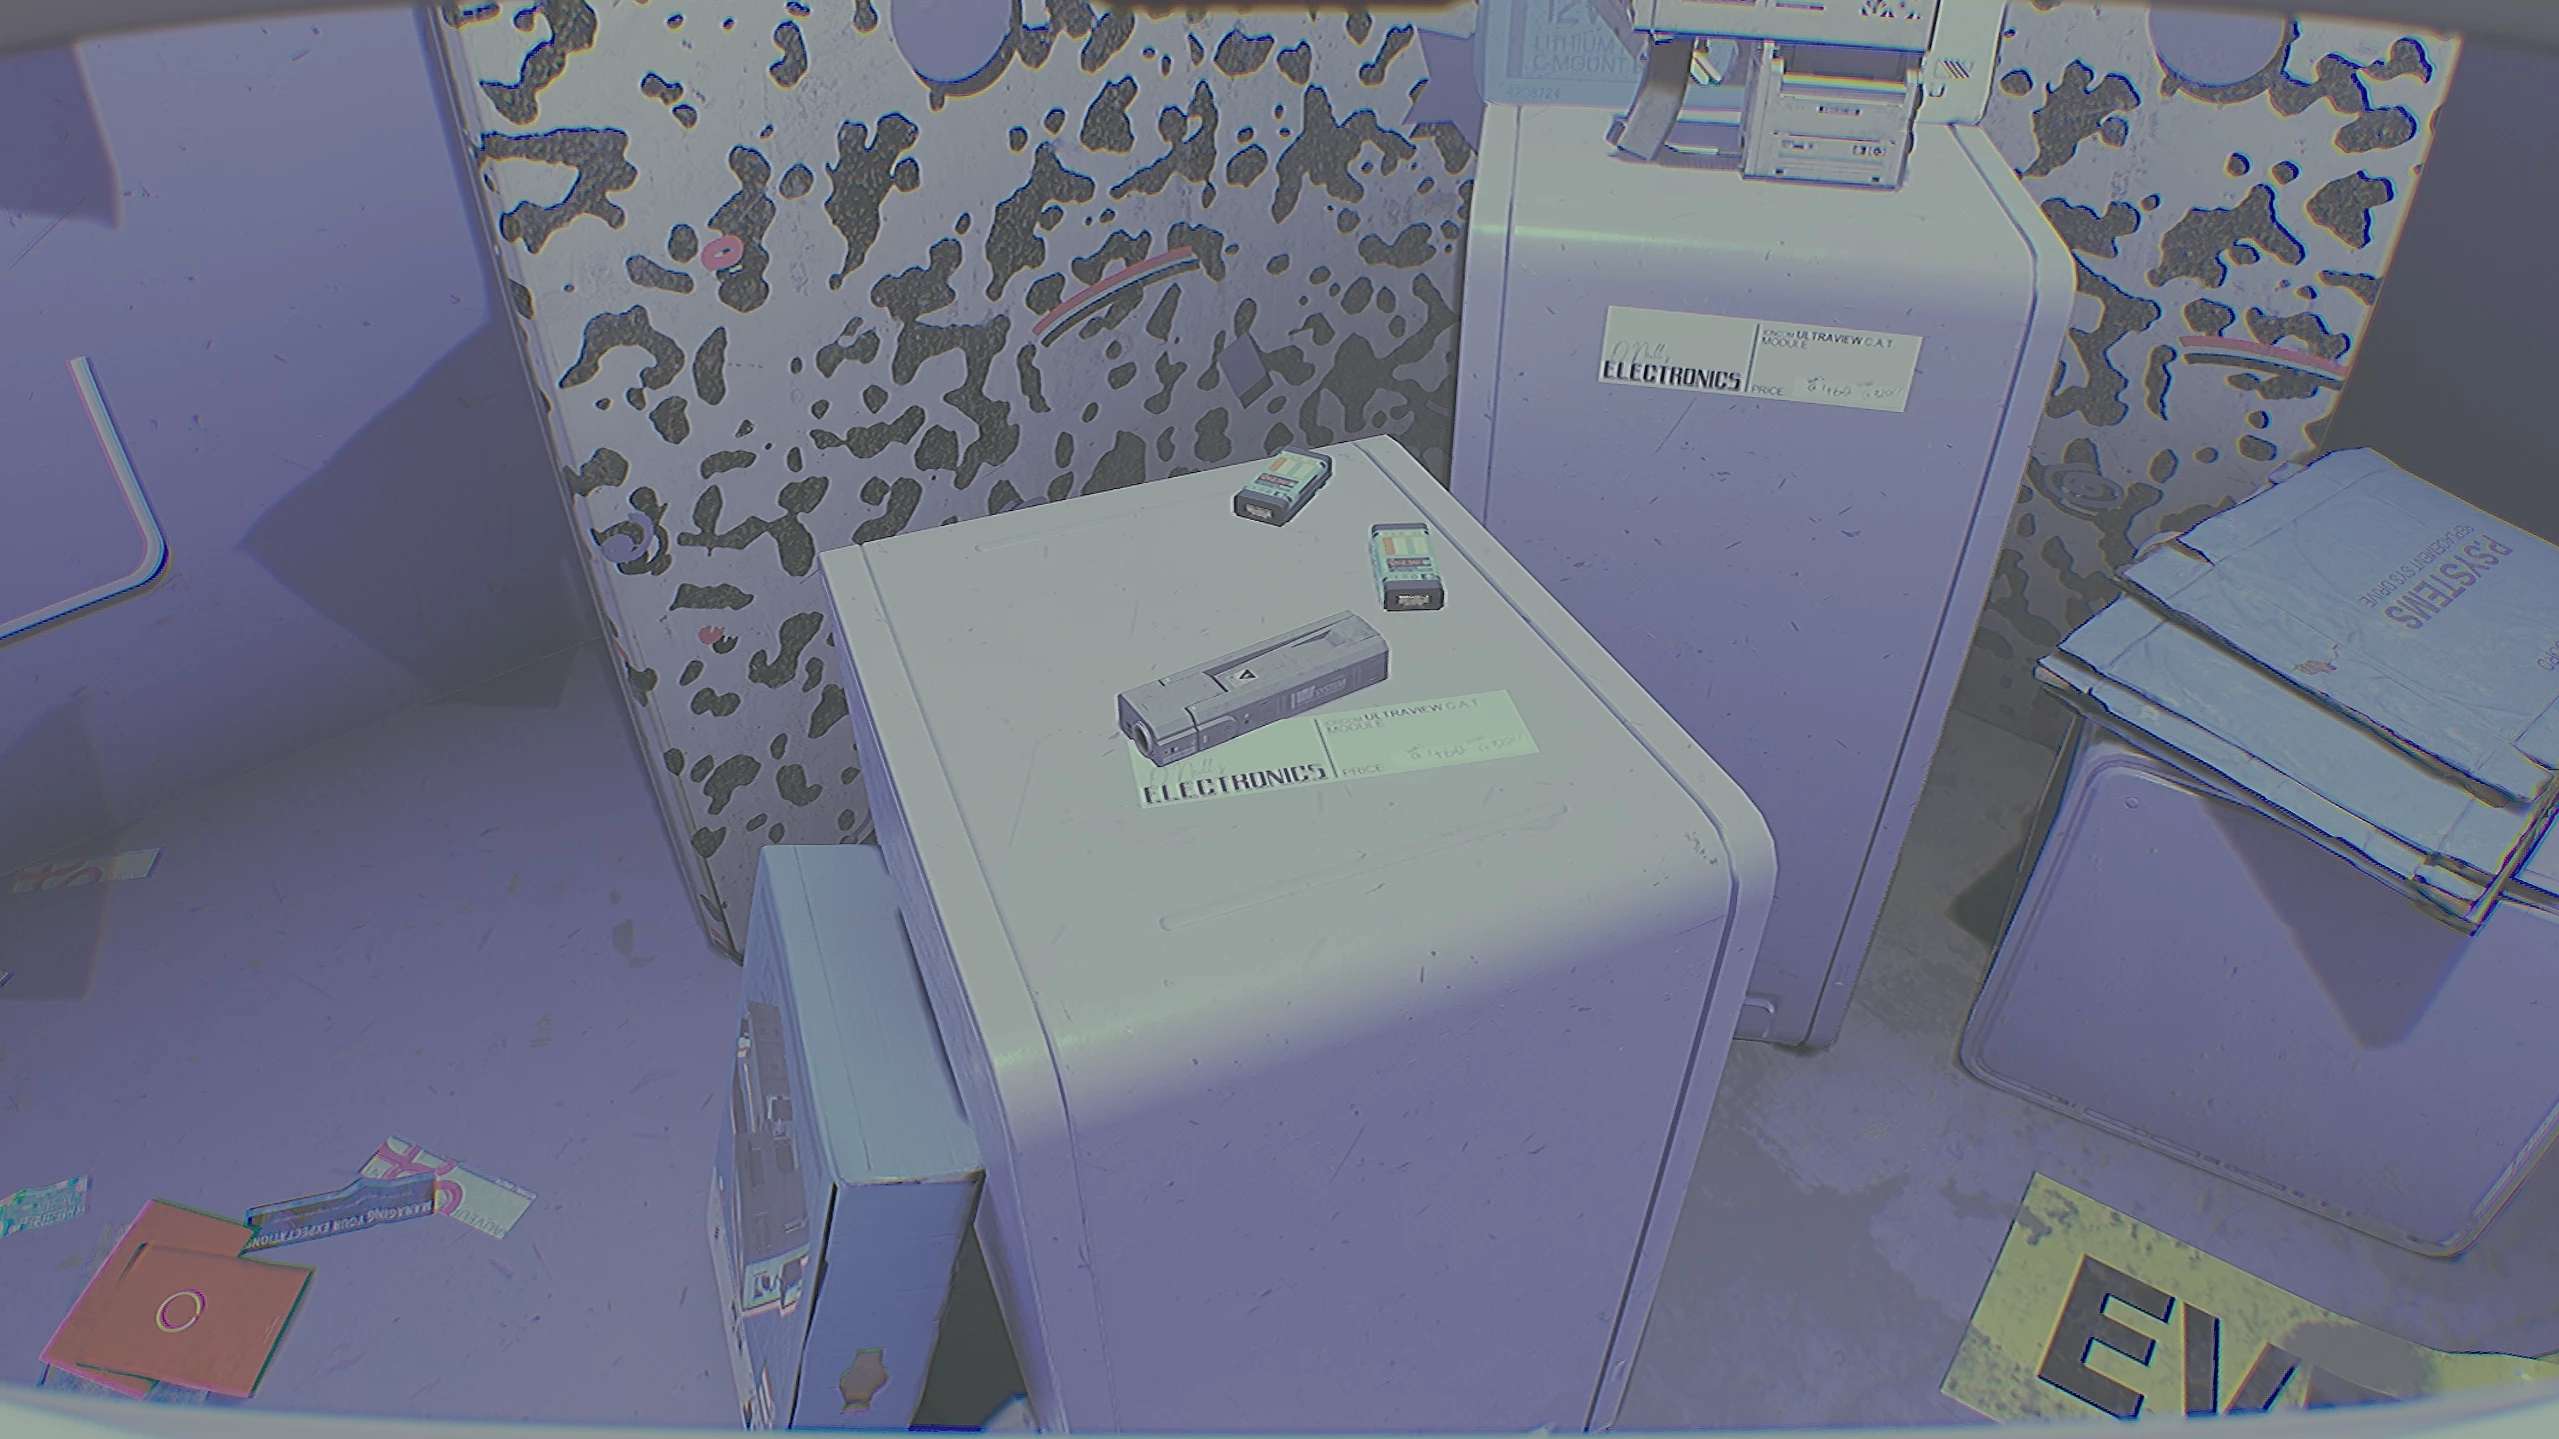
In the store, go to the left counter and pick up the first upgrade for the individual astronaut assistant — the Overseer module. The Overseer adds a flashlight to your tool and also gives you the ability to shine ultraviolet light. With it, you can discover codes for some panels, as it detects fingerprints. To activate the Overseer, just press the compartment below the fuse. Also, the ultraviolet function does not consume battery charges.
If needed, you can save in the back room behind the shelves and also test the module in action. Attempting to leave the room will cause the door to close. To restore everything, go to the back room terminal and select Keyboard.
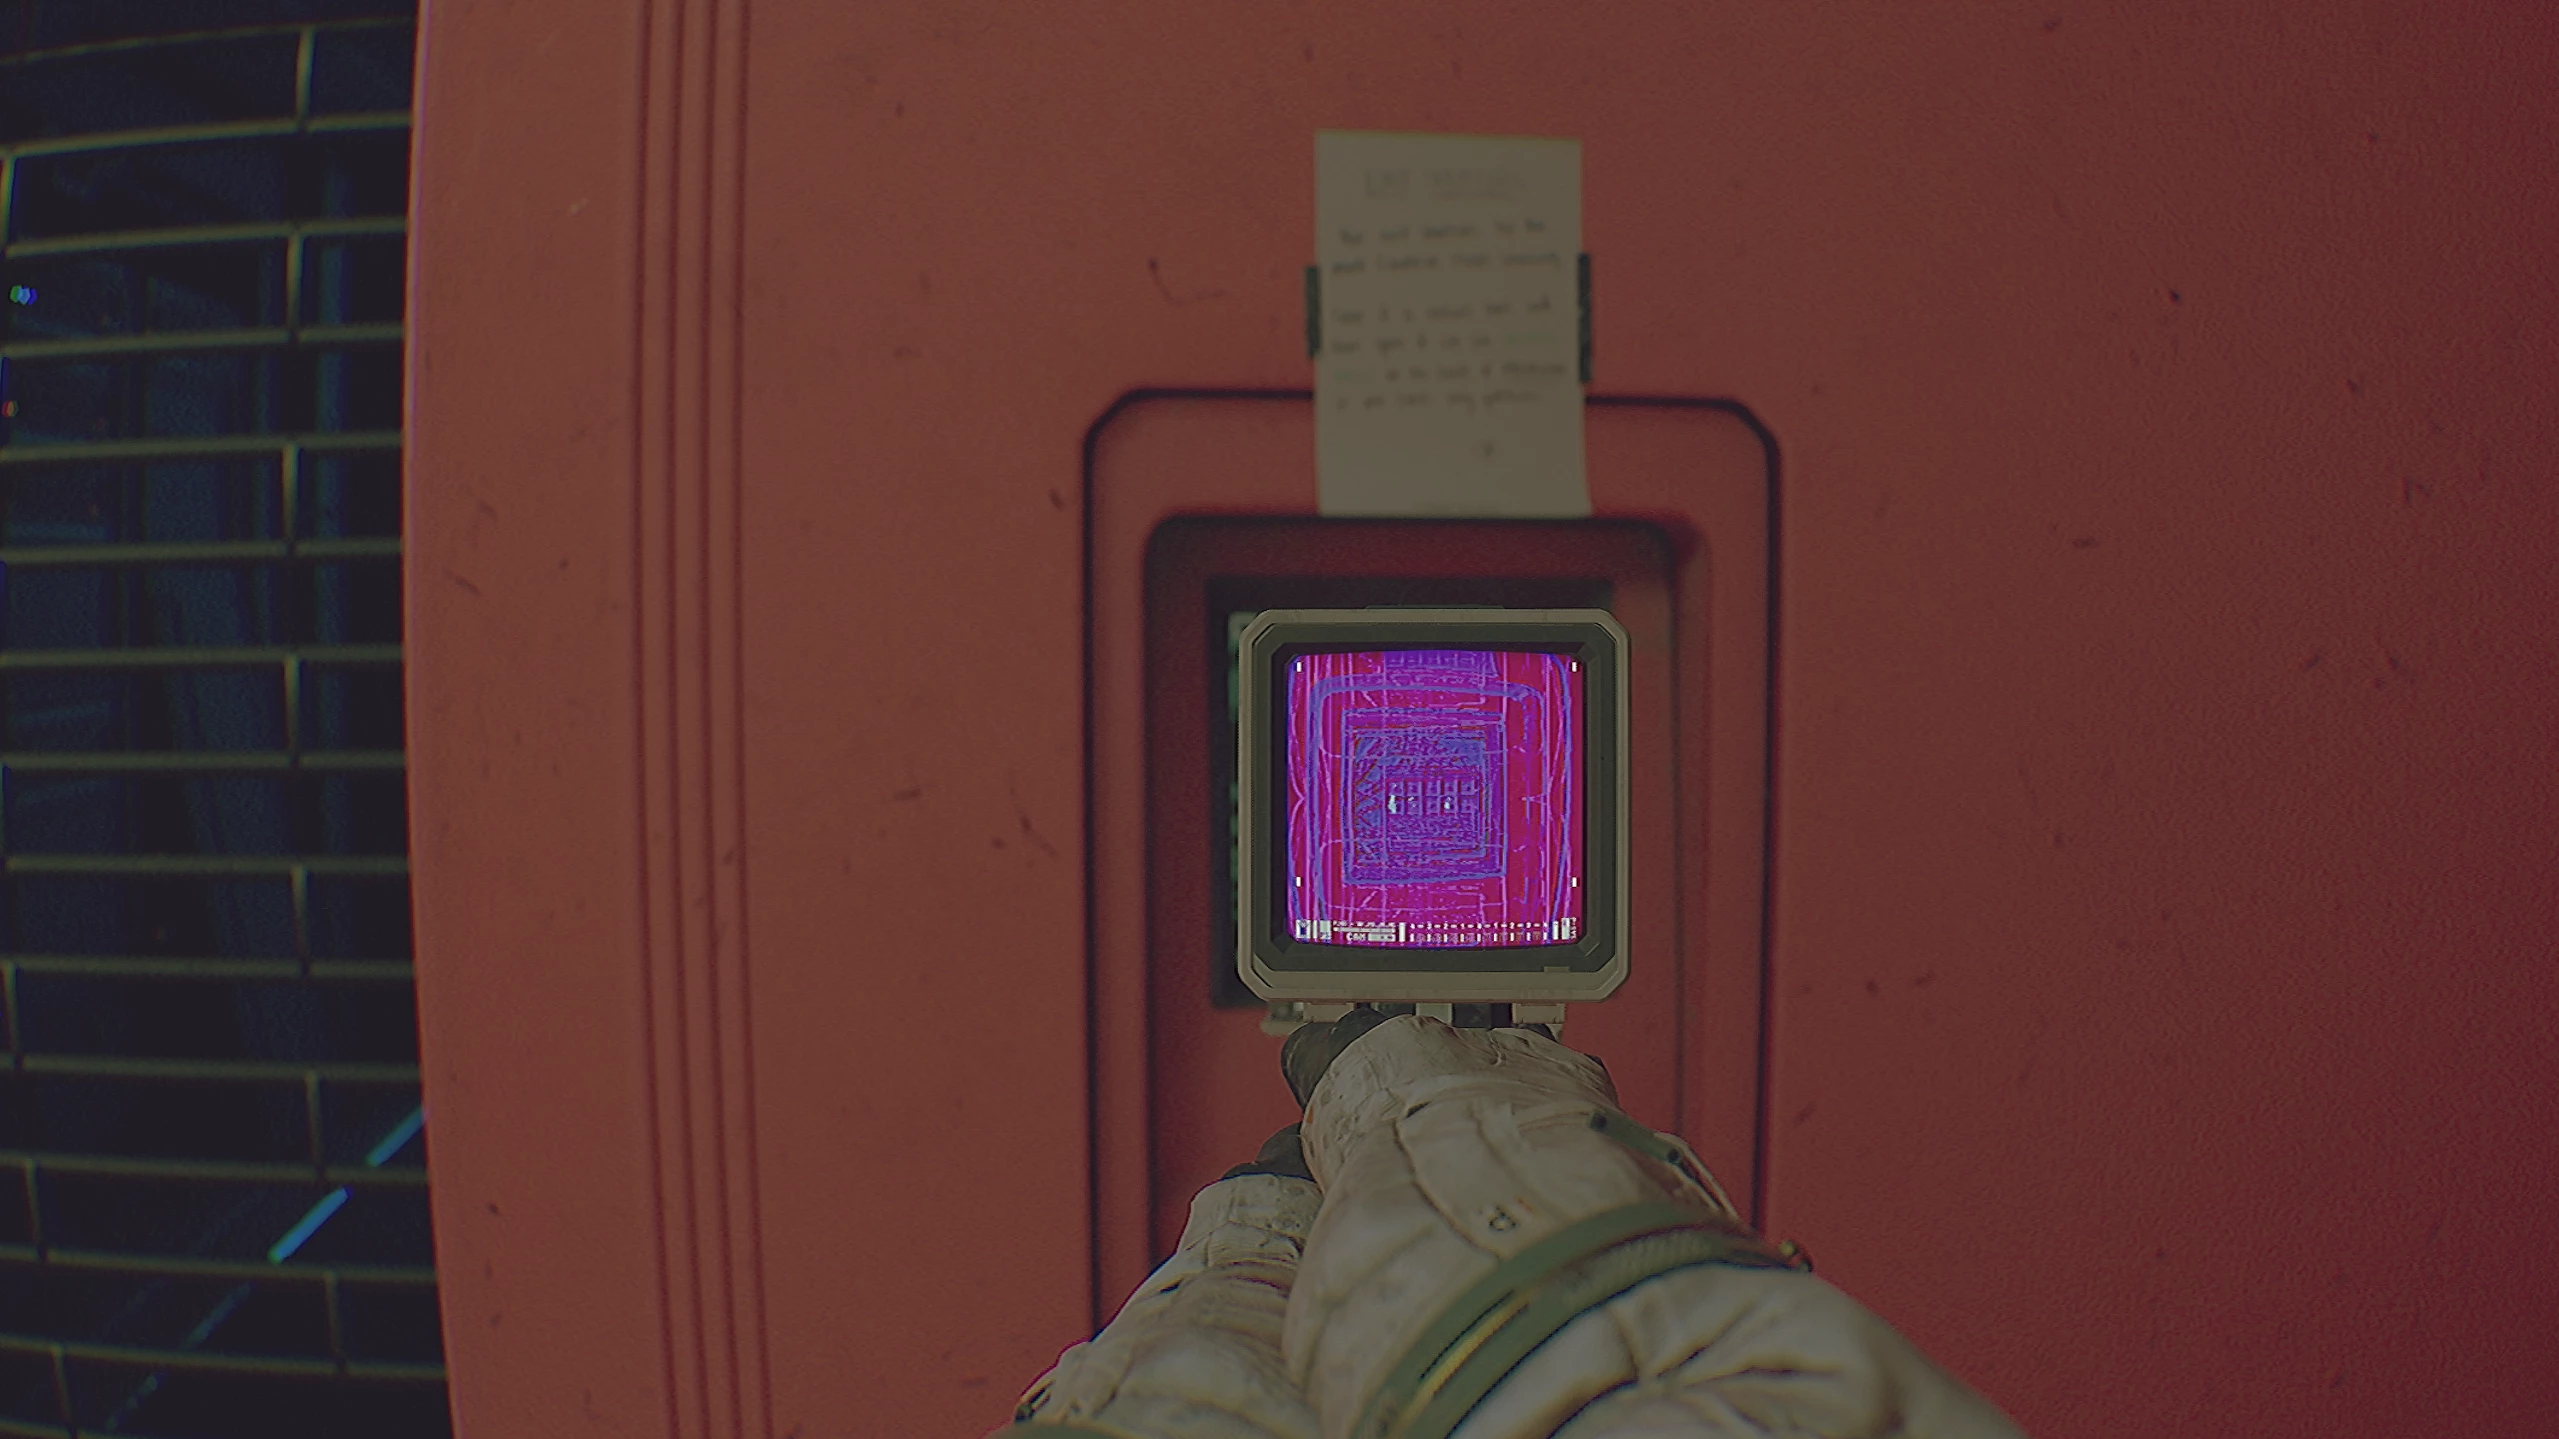
Activate the new module and hold the right mouse button in front of the screen. Fingerprints will be displayed on the IPA. To open the door, enter the numbers in order from largest to smallest fingerprint. In our case, it’s 0623.
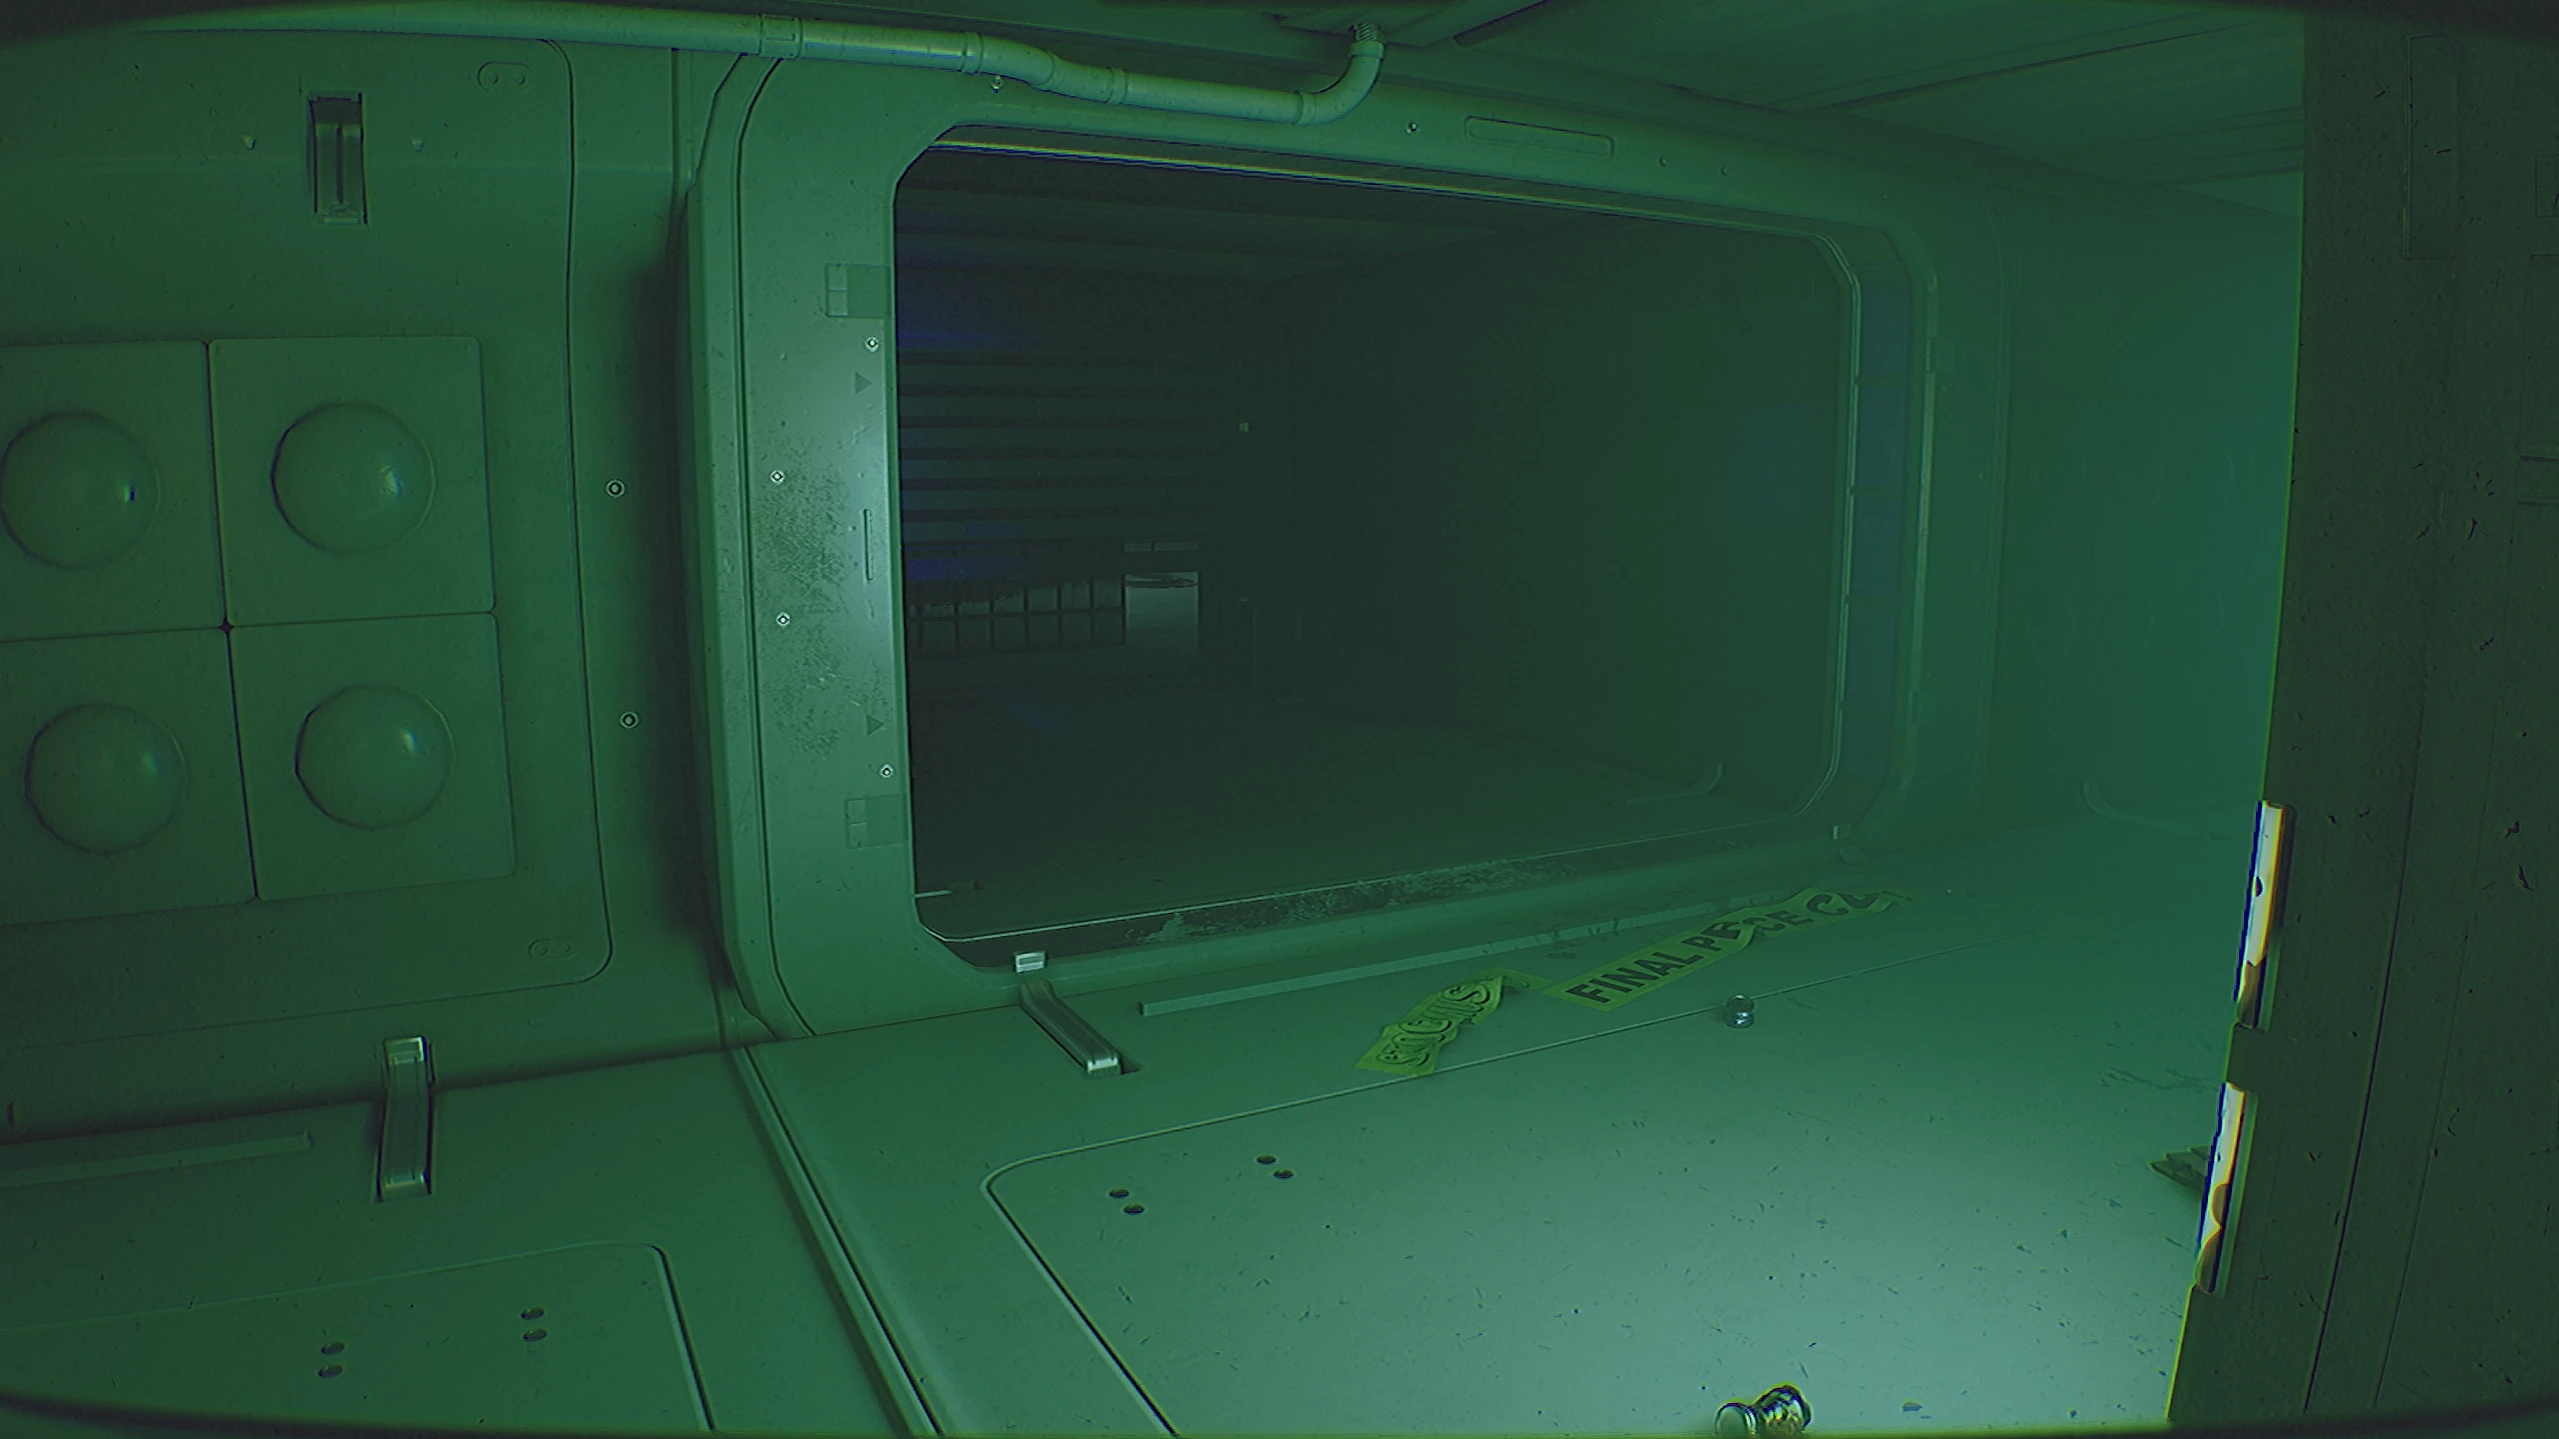
The door opens and we head towards the exit of the shopping center. First, leave the looped room and crawl through the metal curtain. Then turn left into the corridor bathed in blue light, and from there go straight and then left.
As soon as you see a panel with lots of screens, turn left and go straight into the huge open hall.
From here, look to the right and enter the red room.
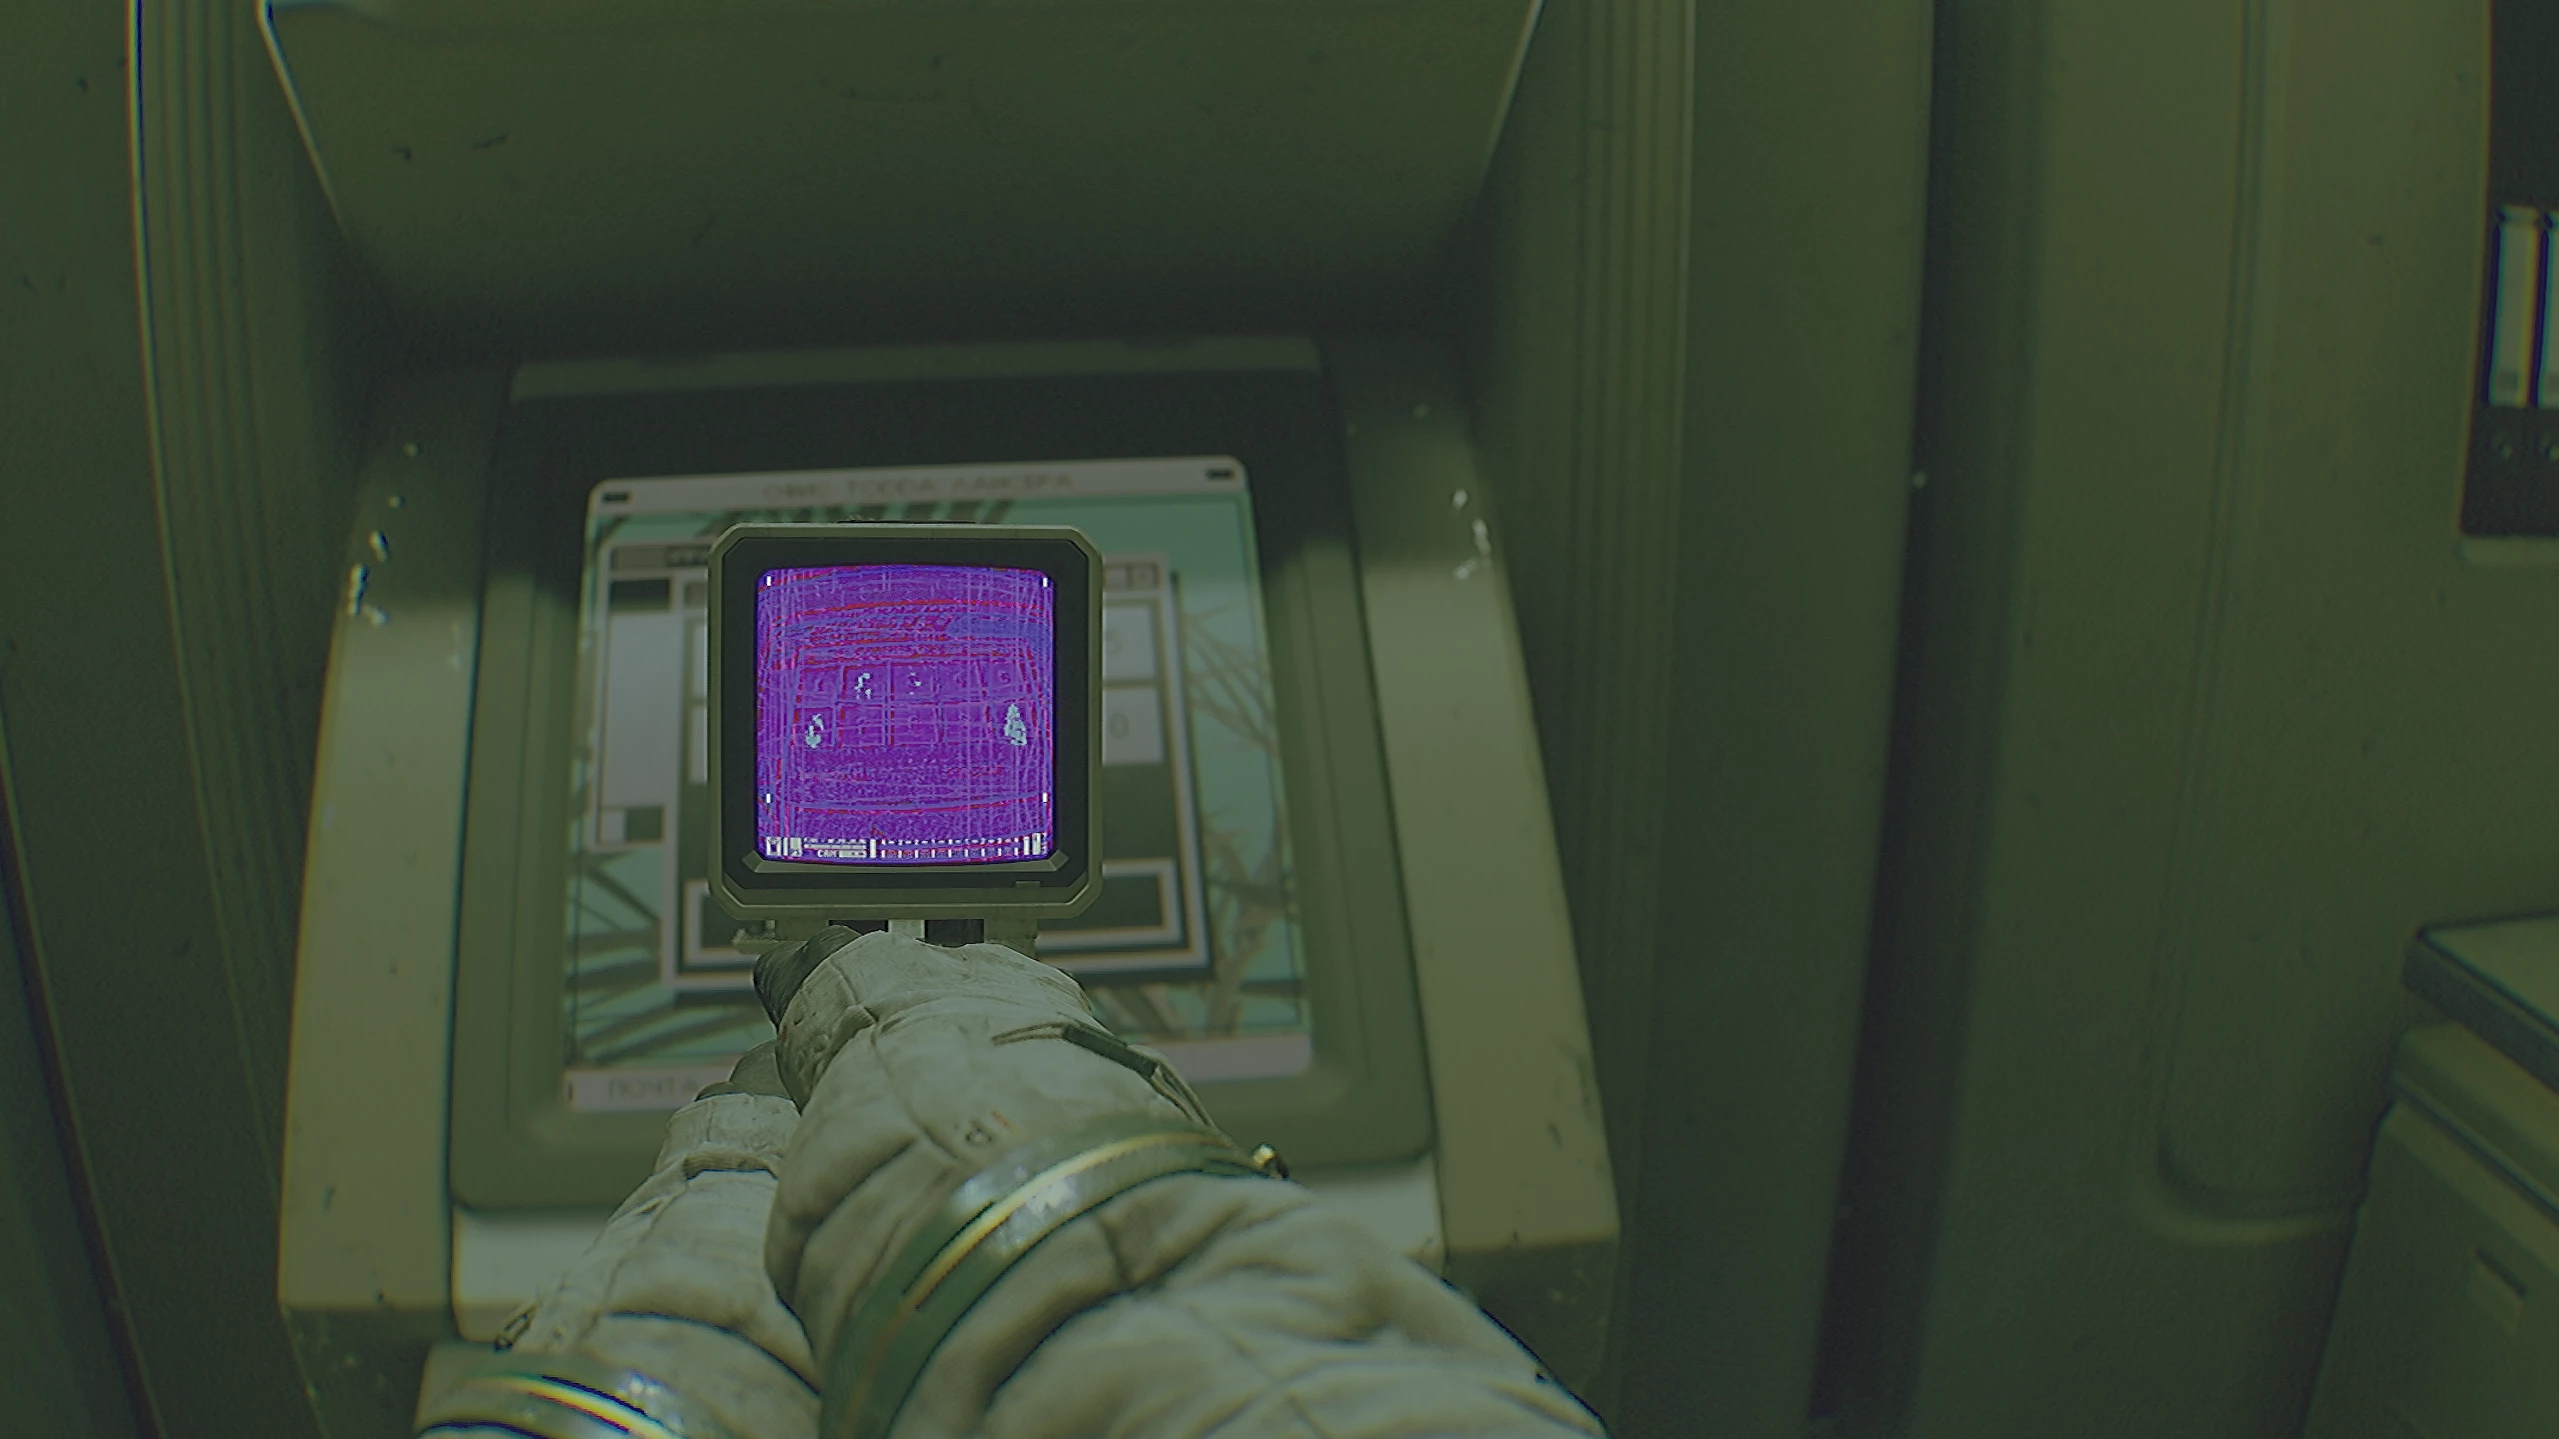
Inside, we’re interested in the panel leading to the electrical box. To activate it, you need to select the correct combination of numbers. The Overseer module will help with this.
Move the keyboard using the cursor and use ultraviolet on the screen. There may be up to two different number combinations here, as fingerprints can match several buttons at once. If one combination doesn’t work, move the keyboard and try again.

Go deeper into the corridor, approach the window, lean left with Space + D, and shoot the panel with the IPA. After this, you need to return to the security office behind the Megazone and activate the door to exit the shopping complex.
All doors will be blocked again, so follow this route:
- From the Megazone, go left.
- At the fork, turn right.
- Immediately enter the corridor on the right. Before this, you’ll encounter a robot.
- When you see monitors on the wall to the right, instantly turn left and run straight to the elevator with the terminal.
In the elevator, select your home station, say goodbye to poor AK, and run to the train car via the escalator. The affliction overtakes our hero, and we wake up right in front of the vehicle terminal. Select the Airlock stop. Save your progress at the stop and head to the mega-computer in the red corridor. First, check the security officer’s pass, and then, using the Overseer, enter the password for the automatic security system (in our case 7021).
After activation, the onboard assistant wakes up and asks you to shut down the system completely, but before that you’ll need to overload the system. Shoot AK with your tool and in the terminal of the opened elevator select the ASB option.
Chapter 3. Recreation
Upon arriving at the source of all robotic threats, save your progress at the wireless module, pick up a battery behind the counter if needed, and proceed into the spacious room ahead.
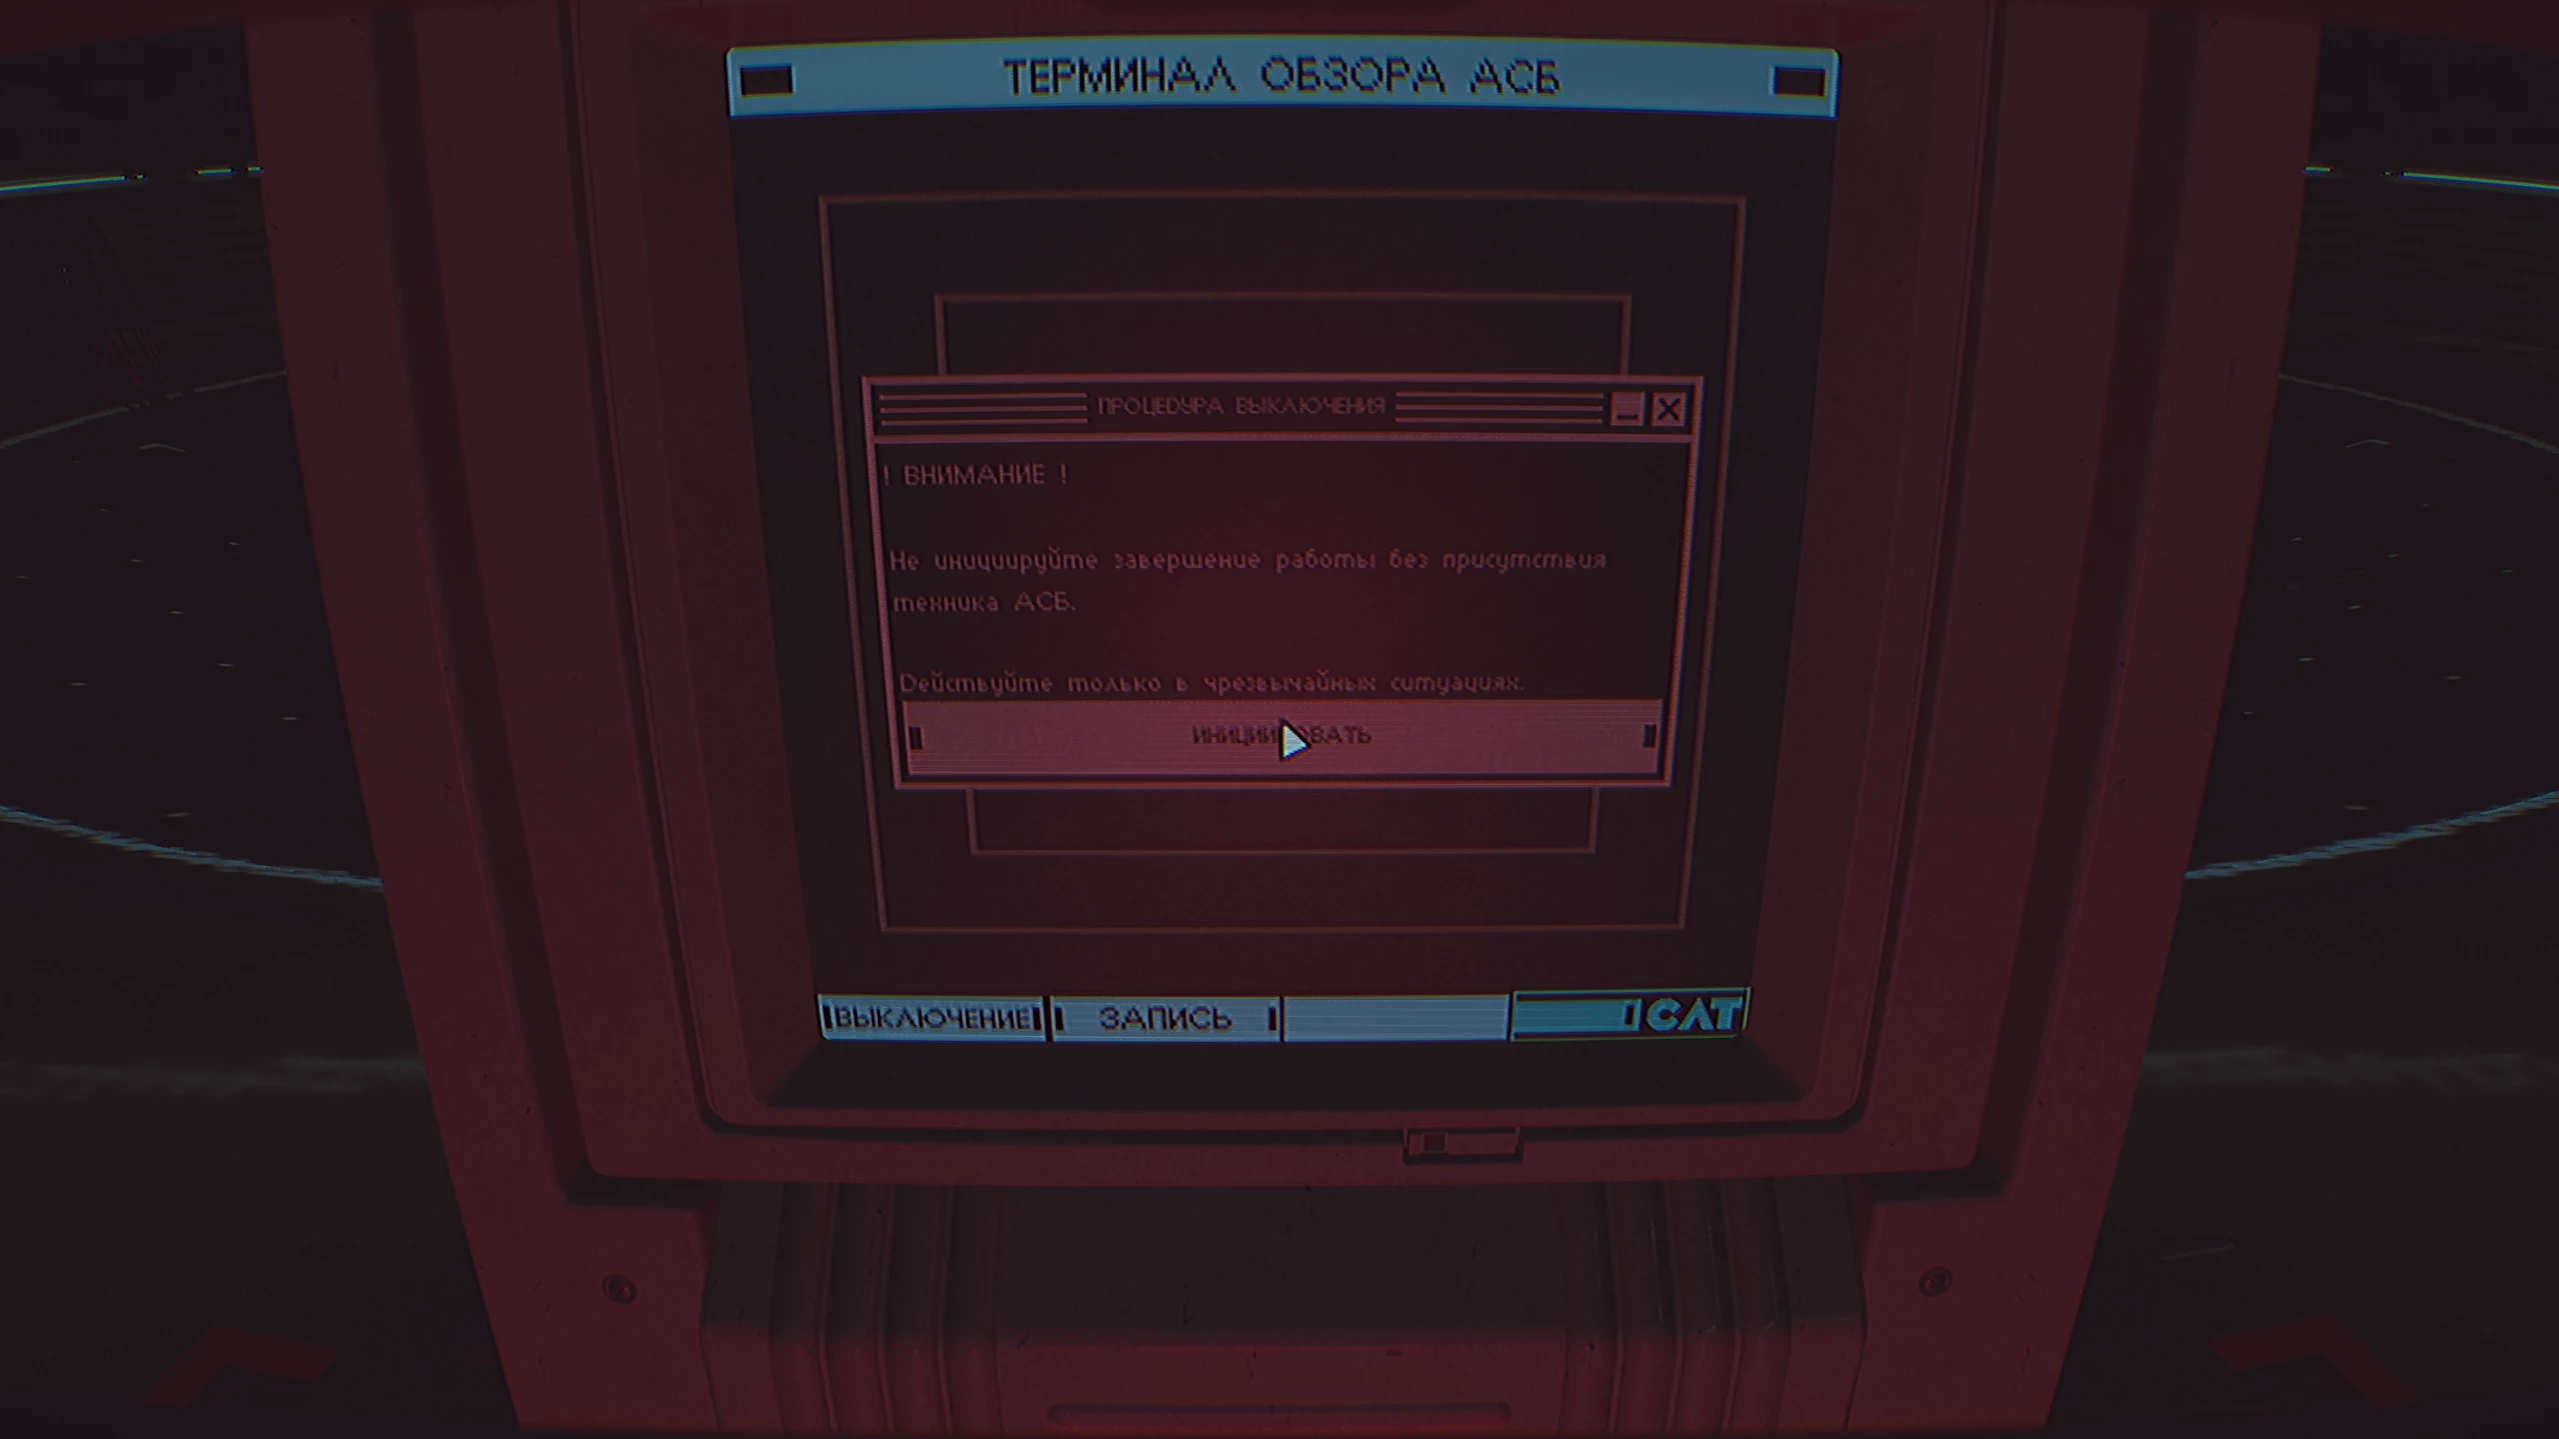
To begin the shutdown procedure, head to the red terminal on the left. Select the Shutdown tab and move to the next station.
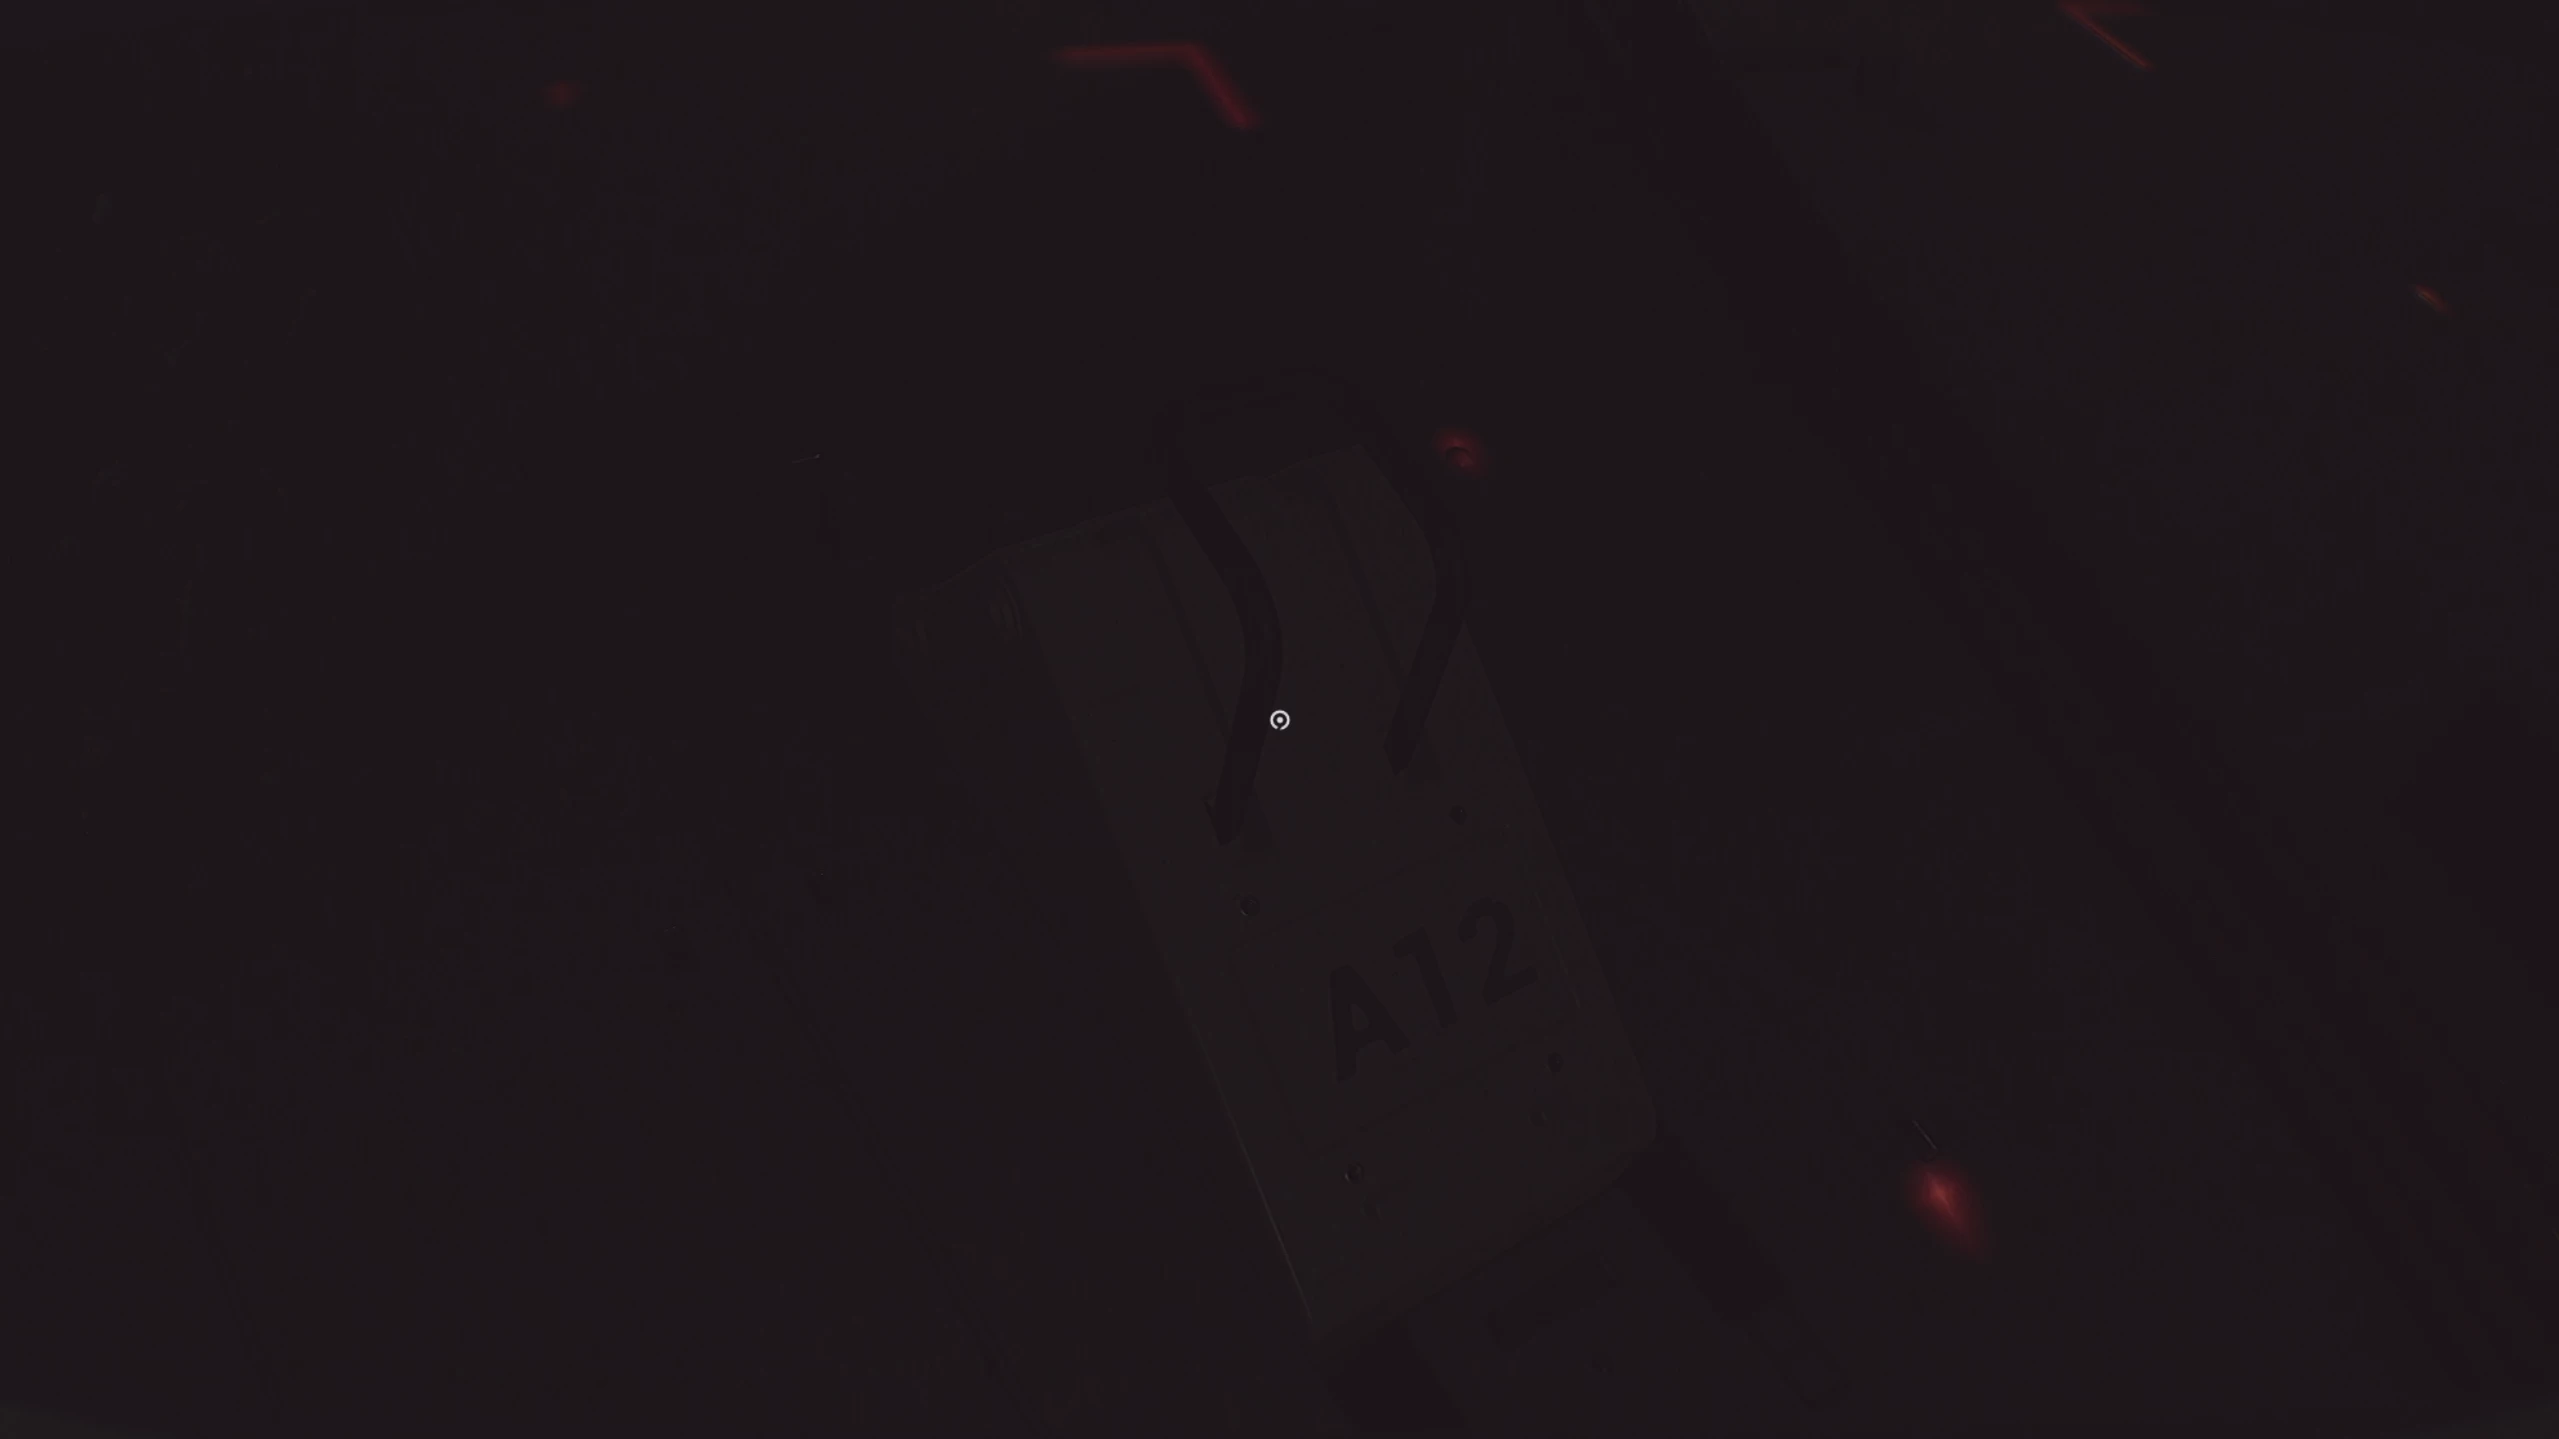
There, confirm the shutdown, and the system will ask you to pull certain levers. Everyone will have different ones; in our case, they are A12, A13, A14. Go down into the pit, pull the required levers, and return to the active terminal, where you confirm the system shutdown again.
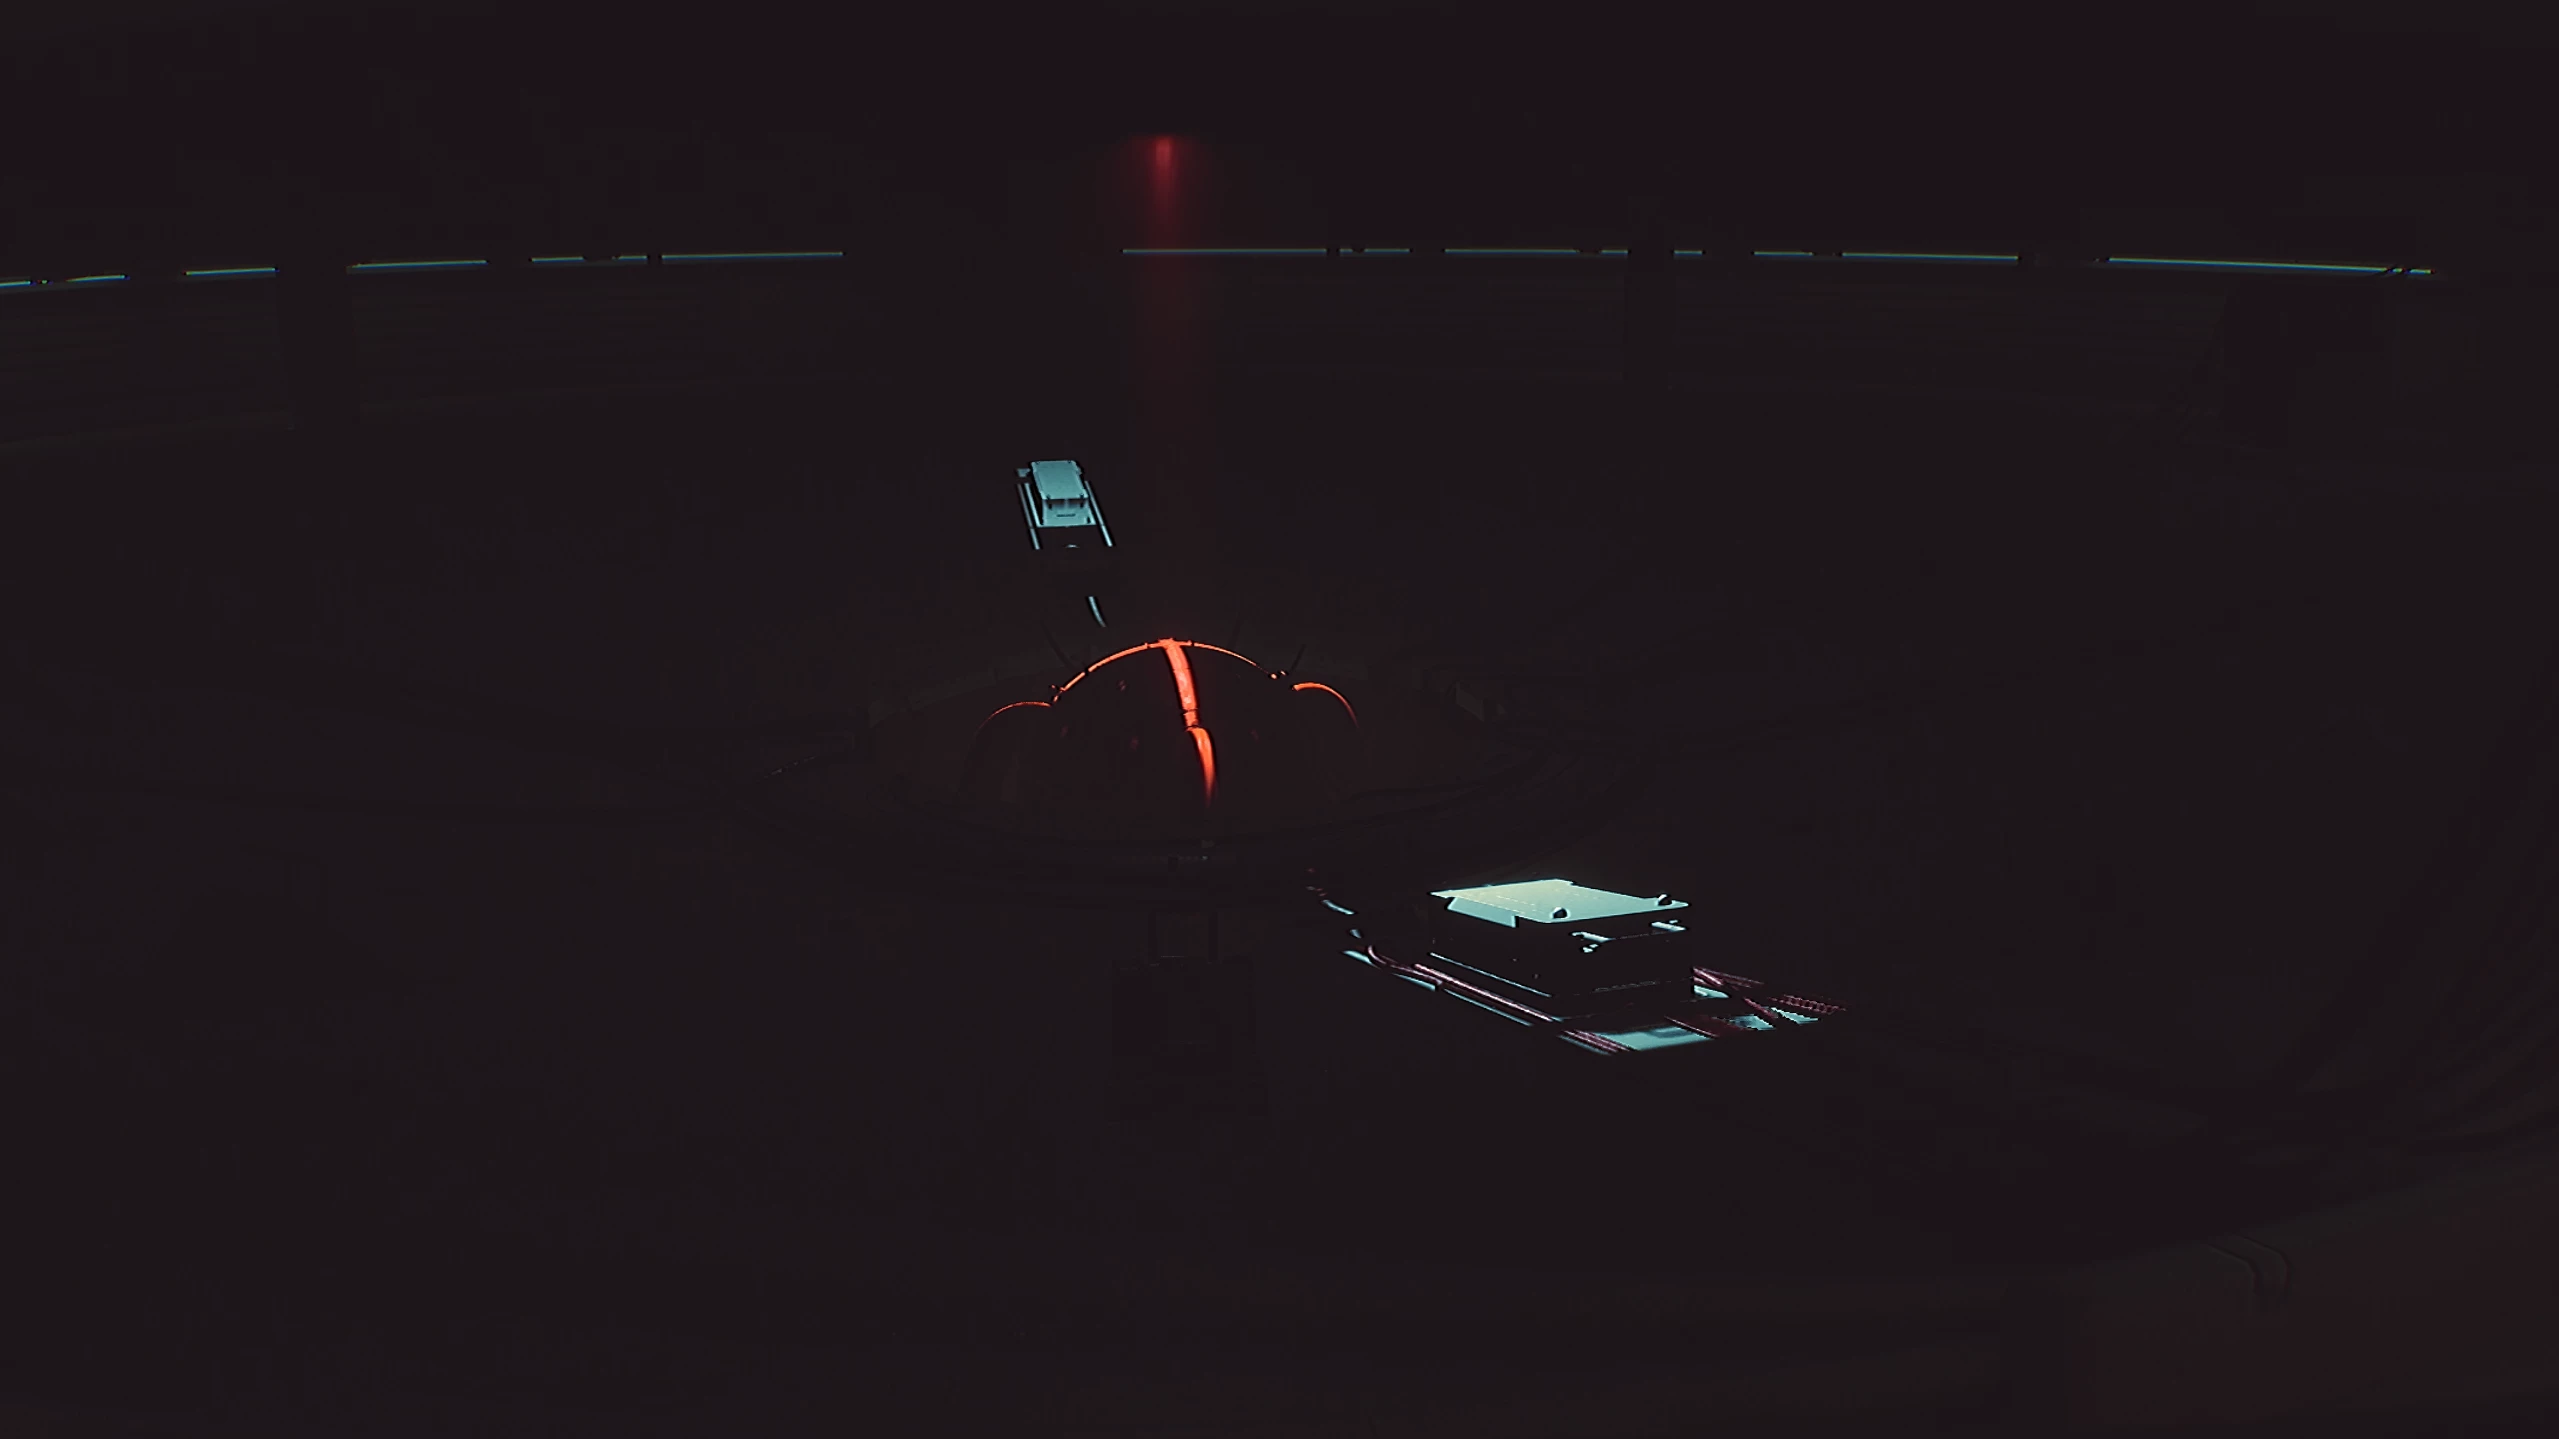
You’ll be asked one last time to press two levers. They will appear opposite each other in the center of the depression. After this, a core appears in the center of the room. Take out your IPA, aim, and make the final shot.
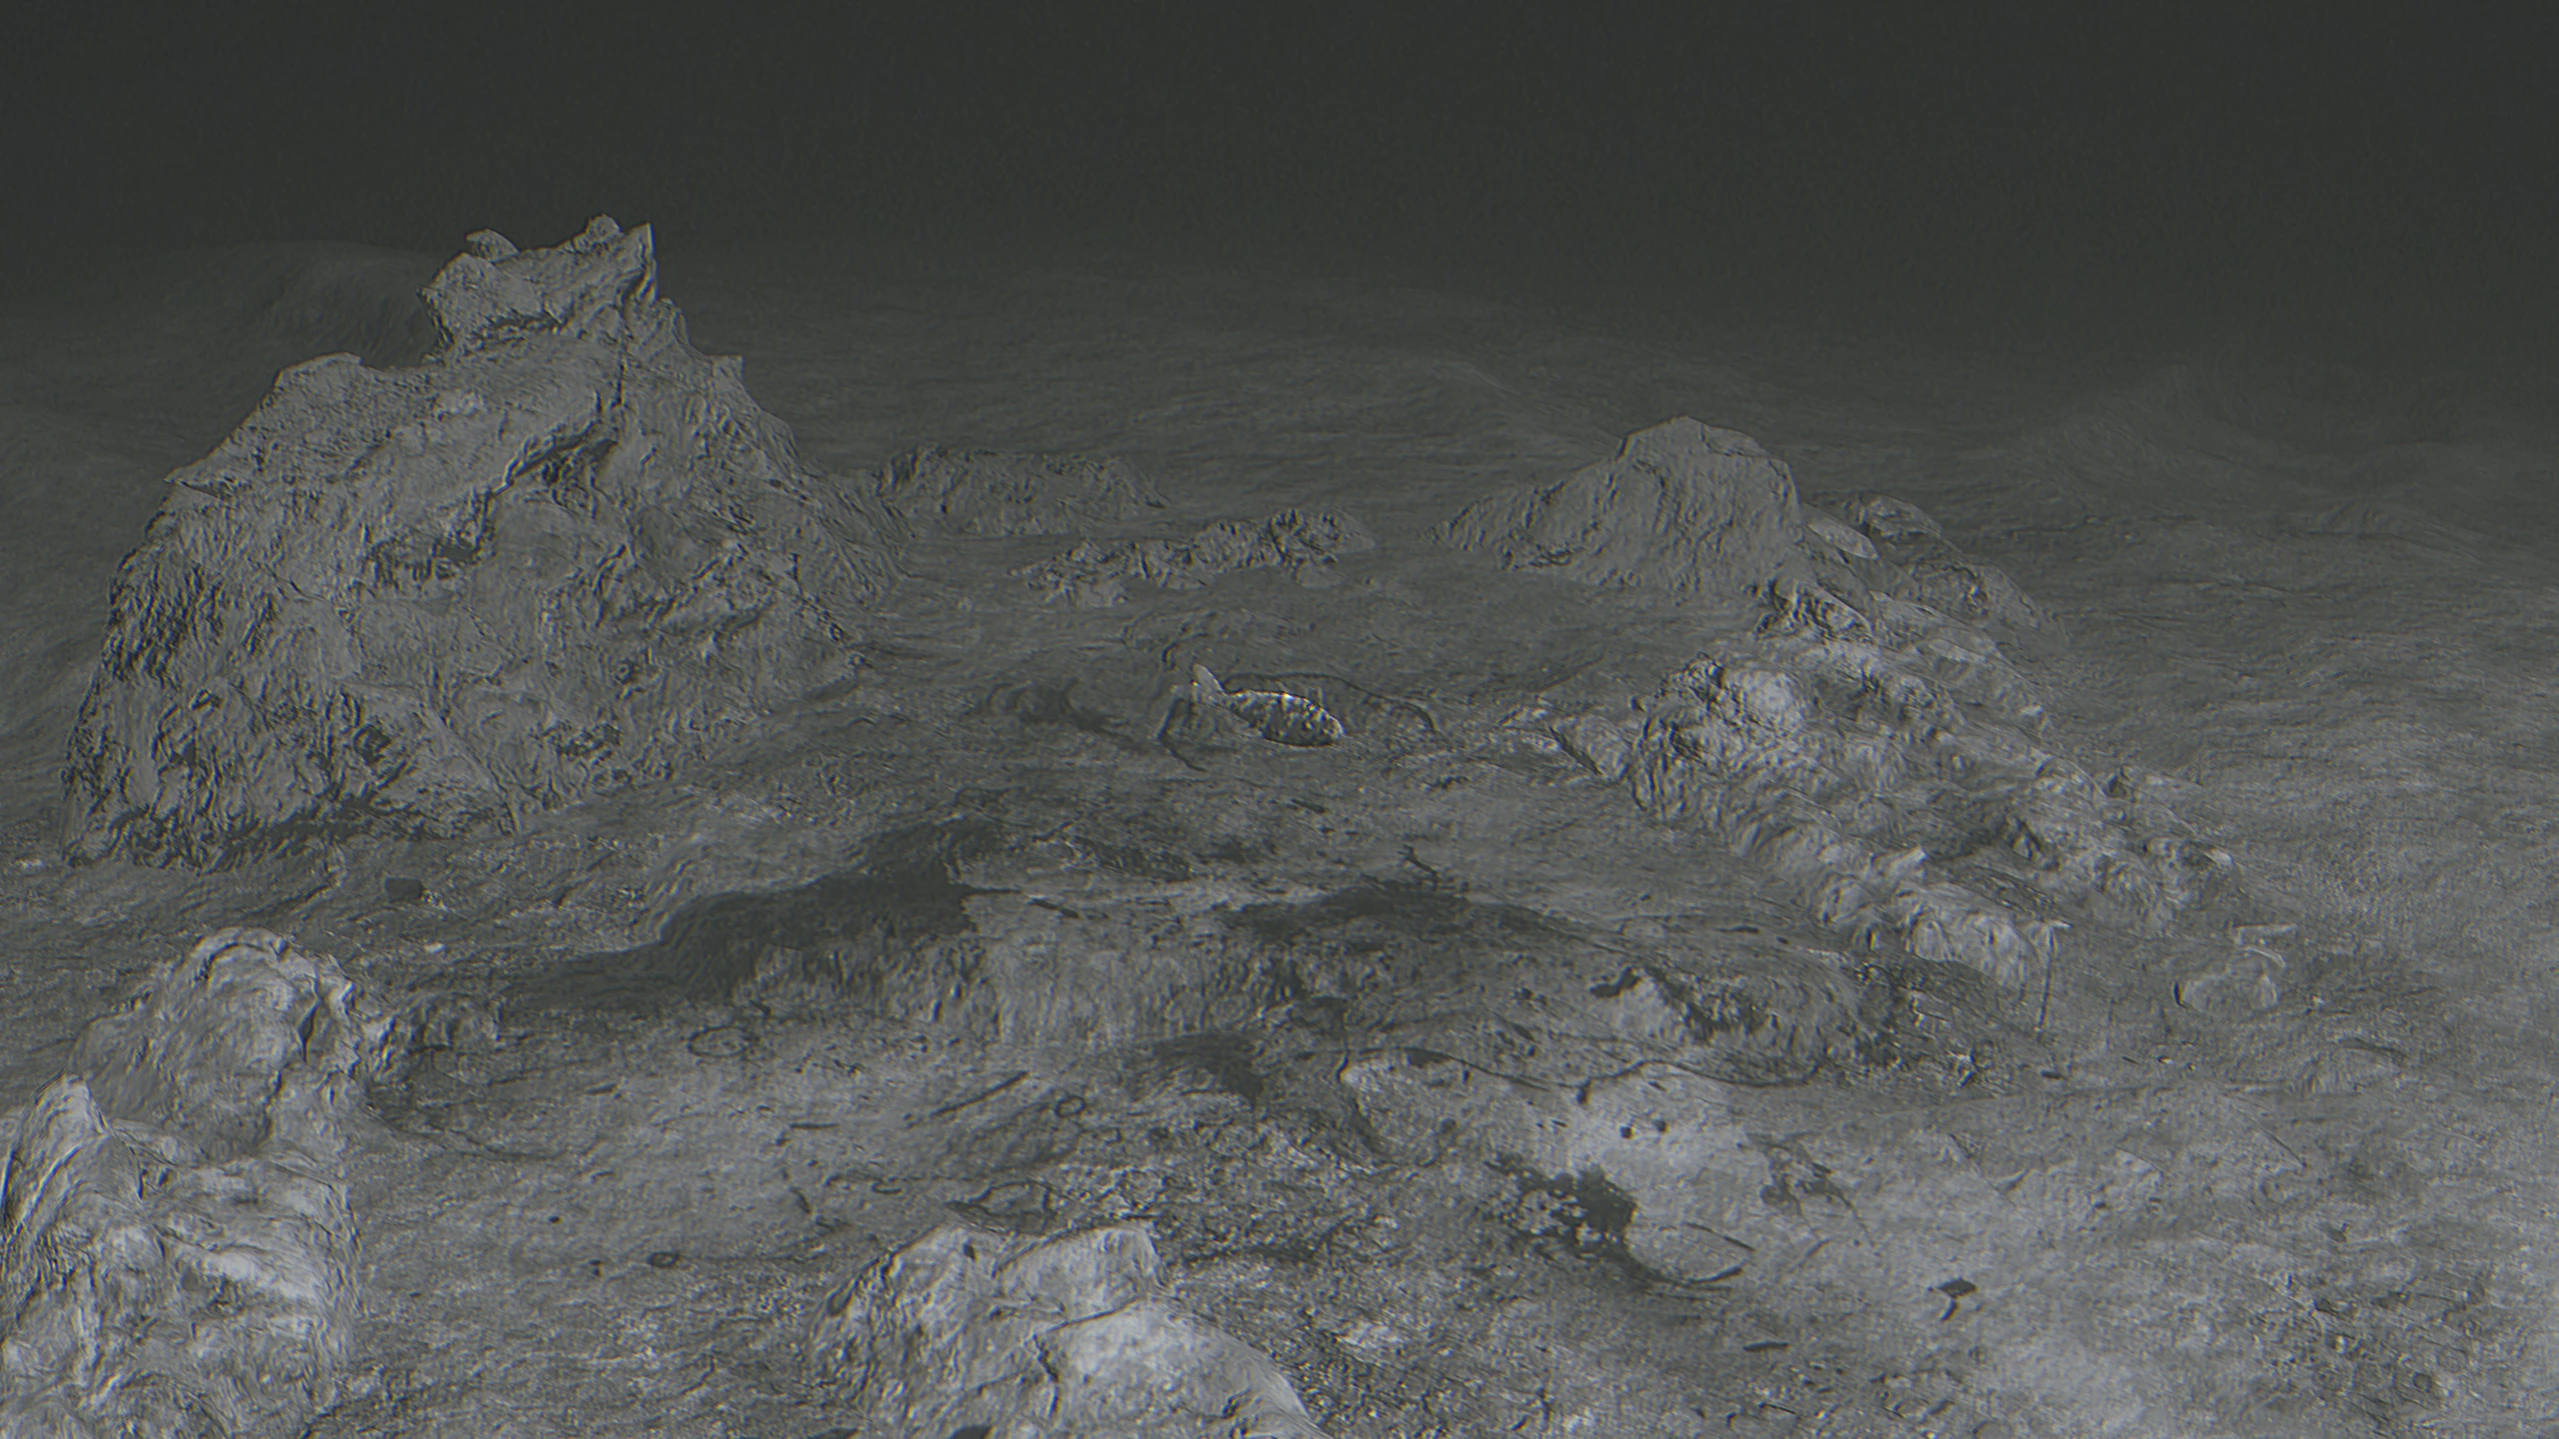
The engineer finds himself on the surface of the moon, together with the core of some device located in the center. Walk past it and interact with the living fish in the crater.
-
 Baldur’s Gate 3 Romance Guide: Every Companion You Can Date
 -
 Baldur’s Gate 3 Adamantine Forge Guide
 -
 Baldur’s Gate 3 Infernal Iron Locations for Karlach
 -
 How to Find All Companion Characters in Baldur's Gate 3
 -
 Baldur’s Gate 3 Moonrise Towers Guide: Defiled Temple Moon Puzzle
 -
 How to Open Selune’s Gilded Chest in Baldur’s Gate 3
 -
 Baldur’s Gate 3 Owlbear Cub Guide: How to Recruit It to Your Camp
 -
 Baldur’s Gate 3 Open Hand Temple Murders Guide