
Slender Threads Walkthrough Guide
 Vladyslav Shamshurov
In Slender Threads, the main character finds himself at the center of mysterious and sinister events in a small seaside town. He must unravel a series of horrific deaths to avoid his own fate. In this guide, you will find a step-by-step walkthrough of the game.
If you enjoyed the eerie atmosphere and slow-burn mystery of the story, check out our list of similar games to Slender Threads for more adventure titles with puzzles, strange characters, and unsettling secrets.
Hotel
The main character arrives at the hotel, where he sits at a desk. After a brief nap, control switches to the player. You can pick up items and store them in your inventory — take the pen and notebook from the desk, combine them in the inventory, then point them at the main character. To the right of the desk, you can pick up a manuscript, and on the nightstand to the left, take the cleaner's call sign.
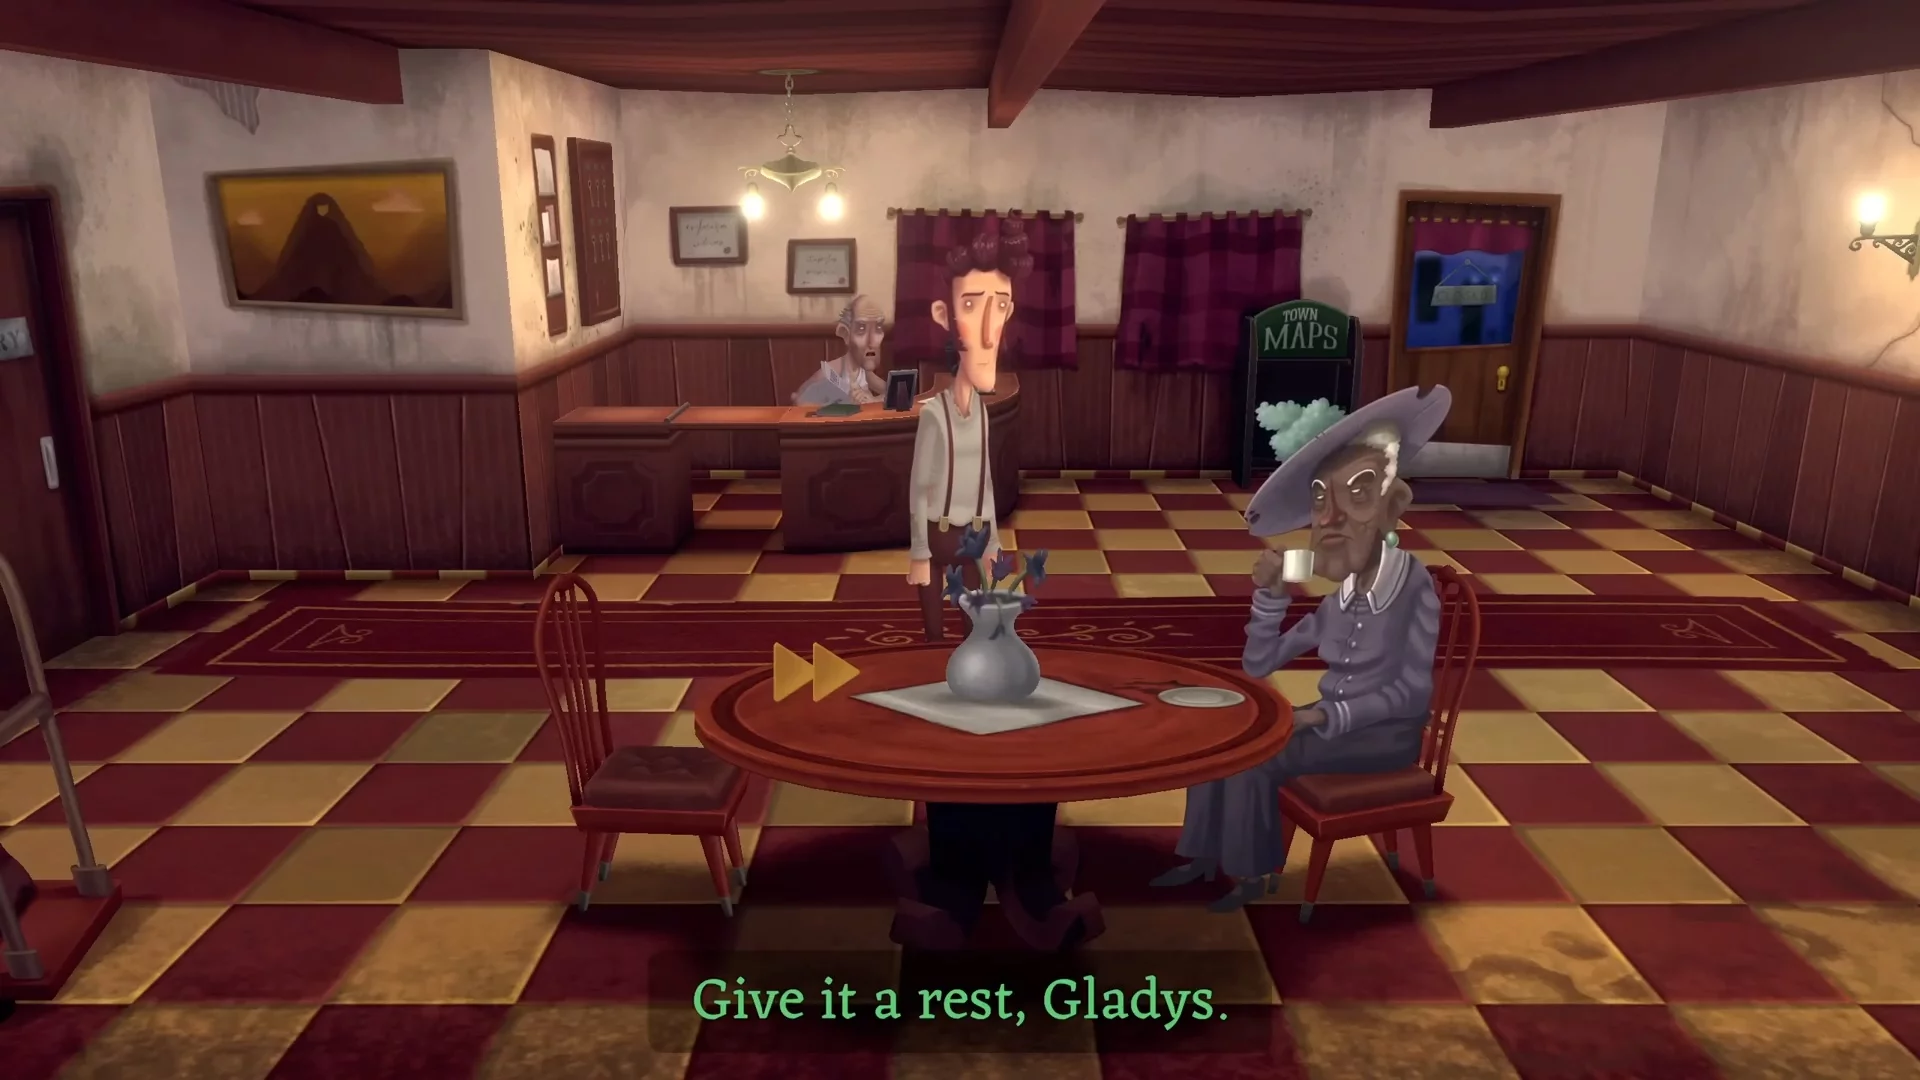
Go into the hallway and head left to the lobby. Here you can interact with the manager and ask for a map. He will say that the maps are behind you, but the stand is empty. Also, talk to the elderly woman and ask her the available questions.
Return to the hallway on the right and hang the cleaner's call sign on door #1. After a while, a cleaner's cart will appear — search it. Take the laundry key. The door is located in the lobby.
Once inside, on the shelf to the right, take the wrench, grab the clean clothes from the basket, and head outside. If you go to the left side, you'll notice a rabbit. Follow it until a scene begins, which will open a path into the forest.

Oswald's House
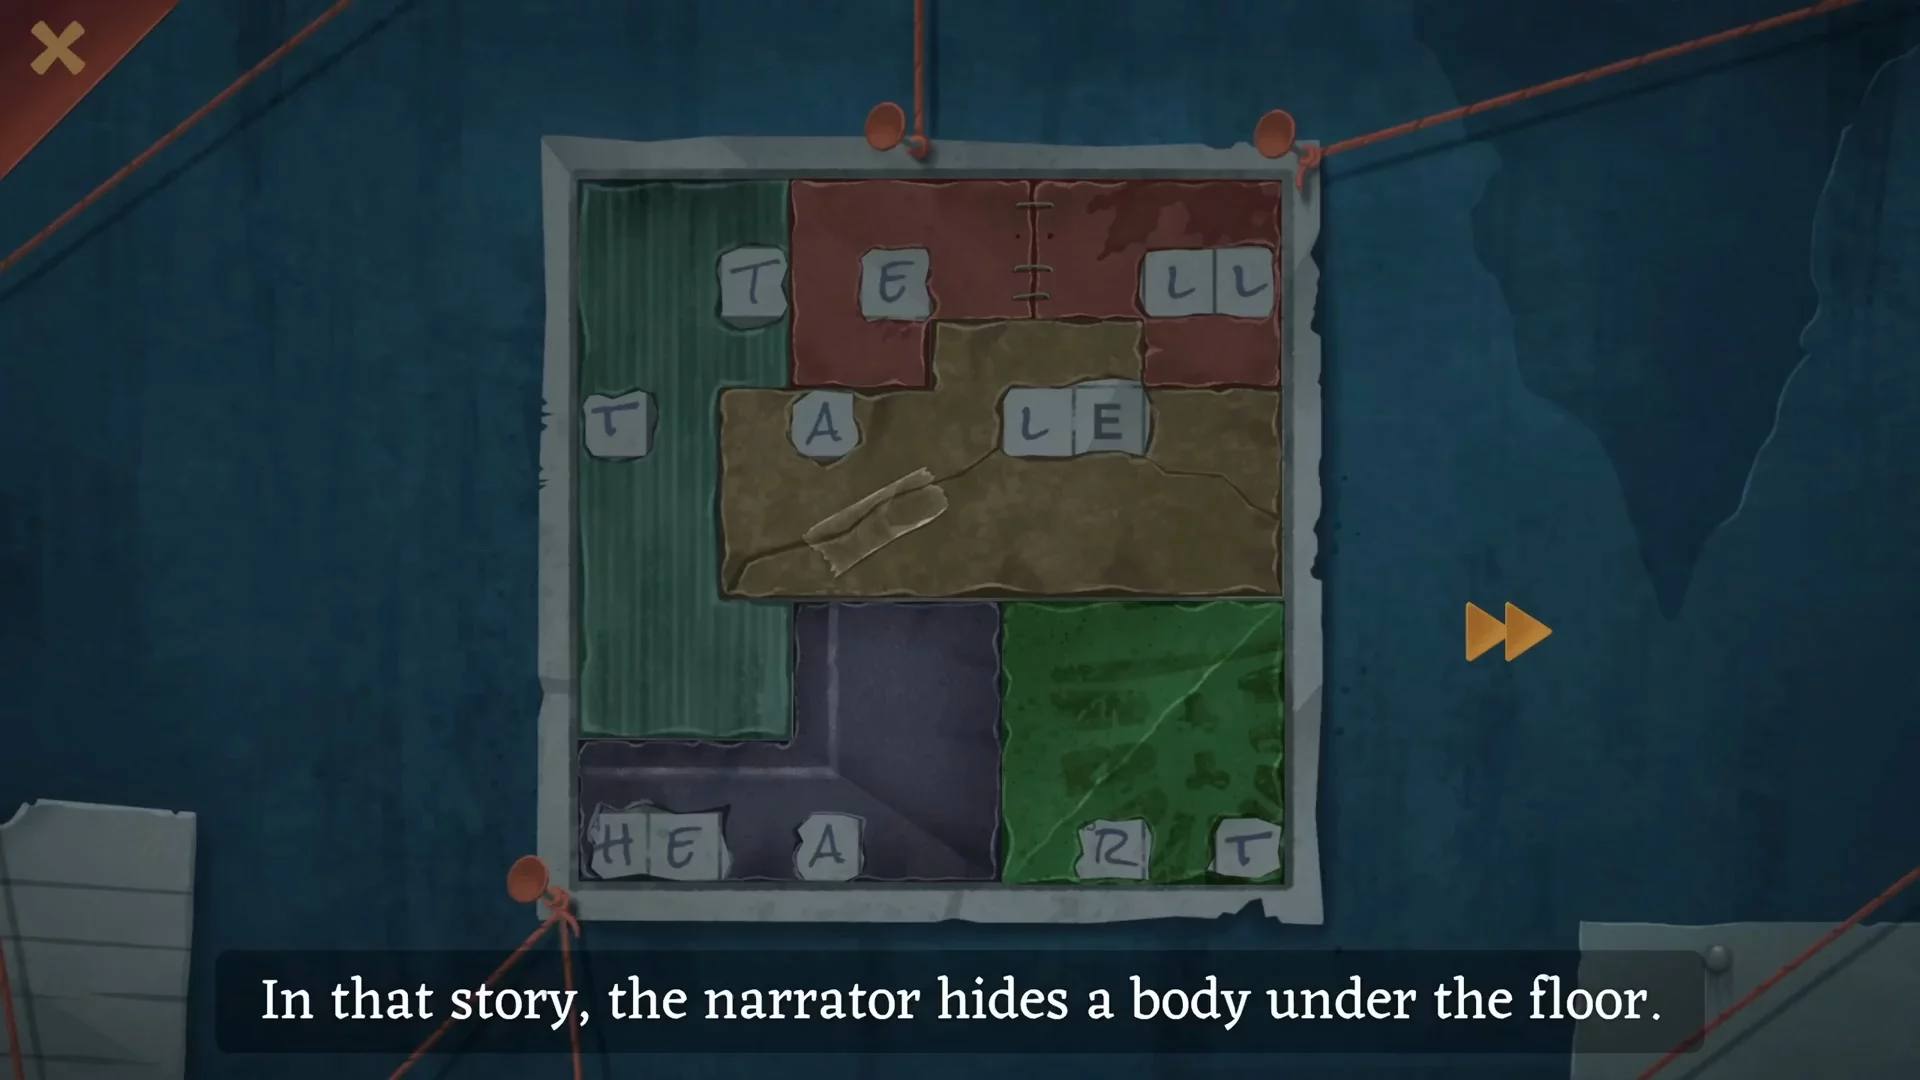
However, you won't be able to go into the forest in complete darkness. Head back and follow the right side of the road. Near one of the doors, you'll hear a radio, and the main character will decide to go inside. You'll find yourself in a strange empty room: take the scissors from the floor and examine the notes on the wall. You'll need to arrange the clippings correctly to solve the puzzle. Refer to the screenshot below; the following phrase should appear: Tell Tale Heart.
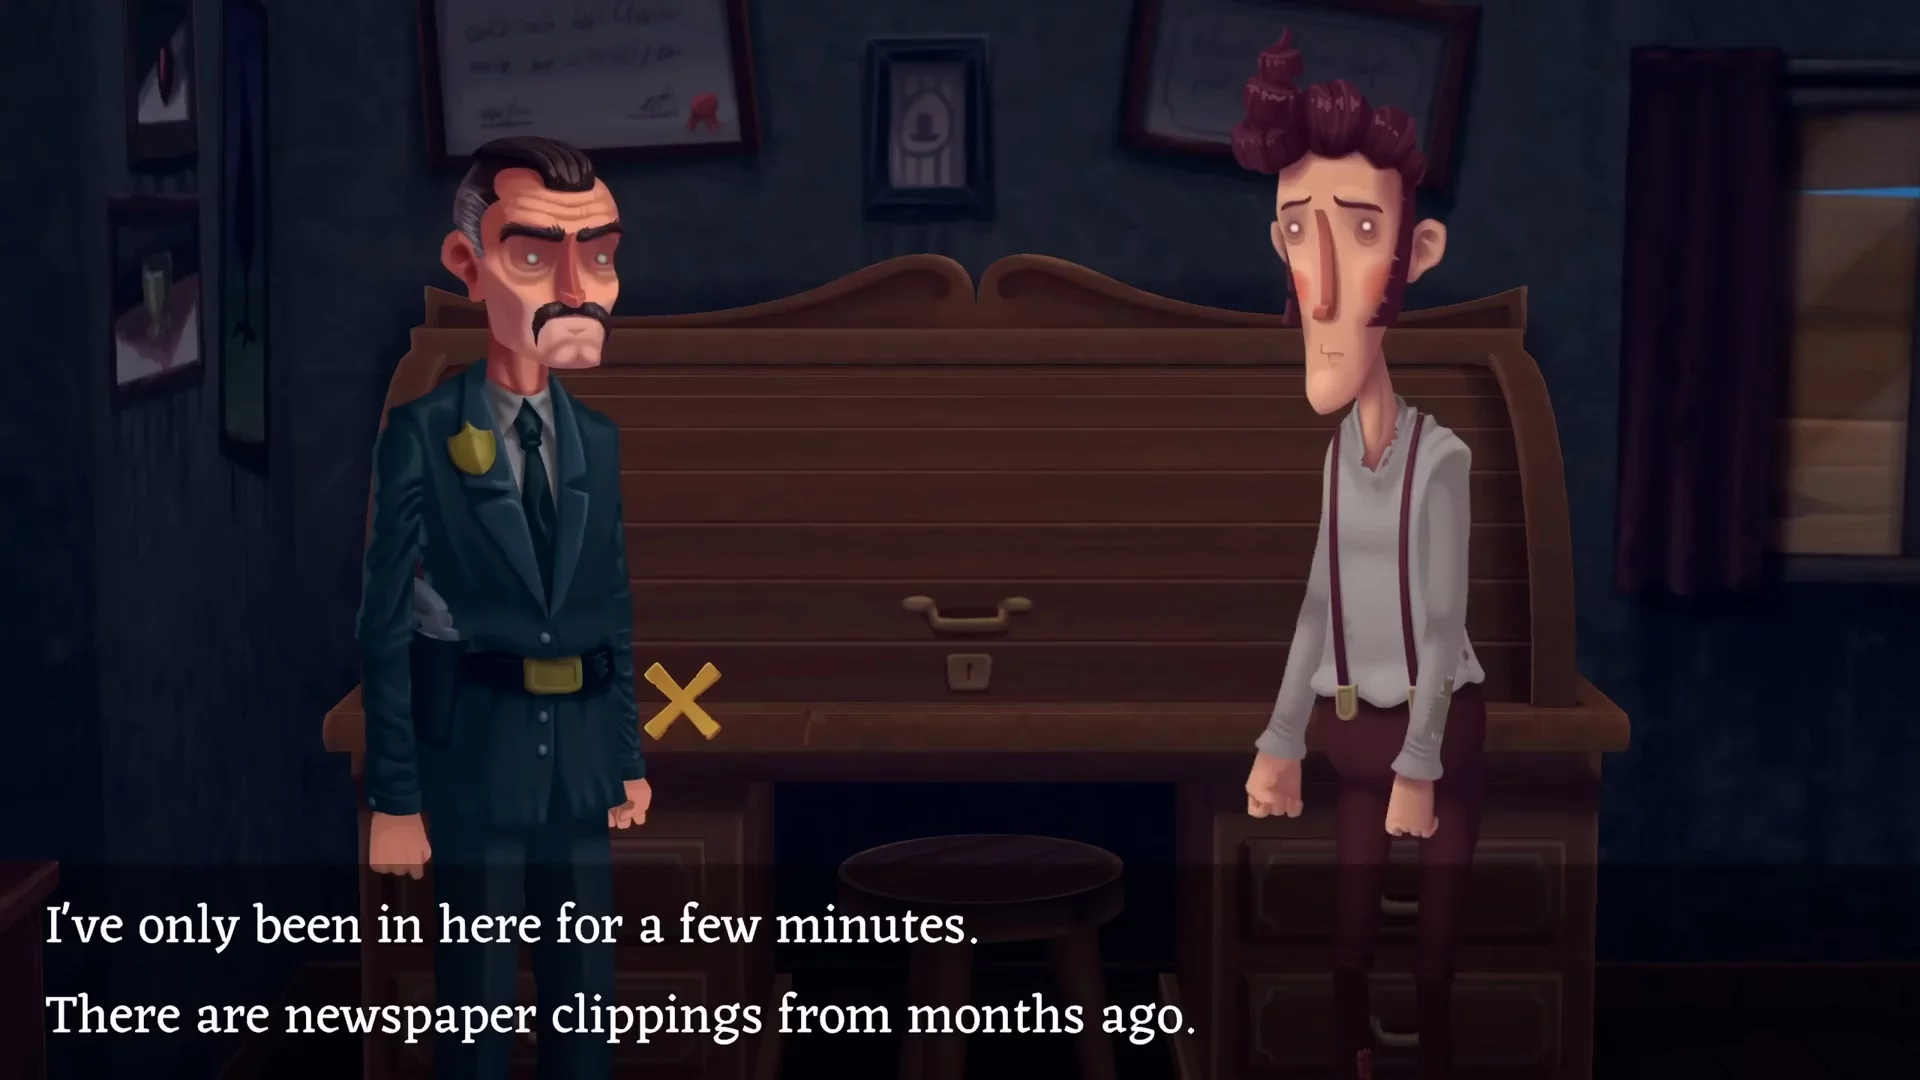
Check the right corner of the rug, as it can be moved to obtain a small key. This key is used on the locked desk behind the main character if you're standing by the rug. As soon as you attempt to open the desk, a police officer will enter the room. Tell him your real name, and then the writer can hand over a business card to the officer, then respond that you've only been here for a few minutes. Also, answer the next question that you heard your name on the radio, so you decided to come in.
The dialogue will soon end, and the writer will find himself in his hotel room. You can return to the same place, but another officer will be waiting there. Talk to him and ask the available questions. You can try to deceive the officer by saying you heard screams, but it won't affect anything.
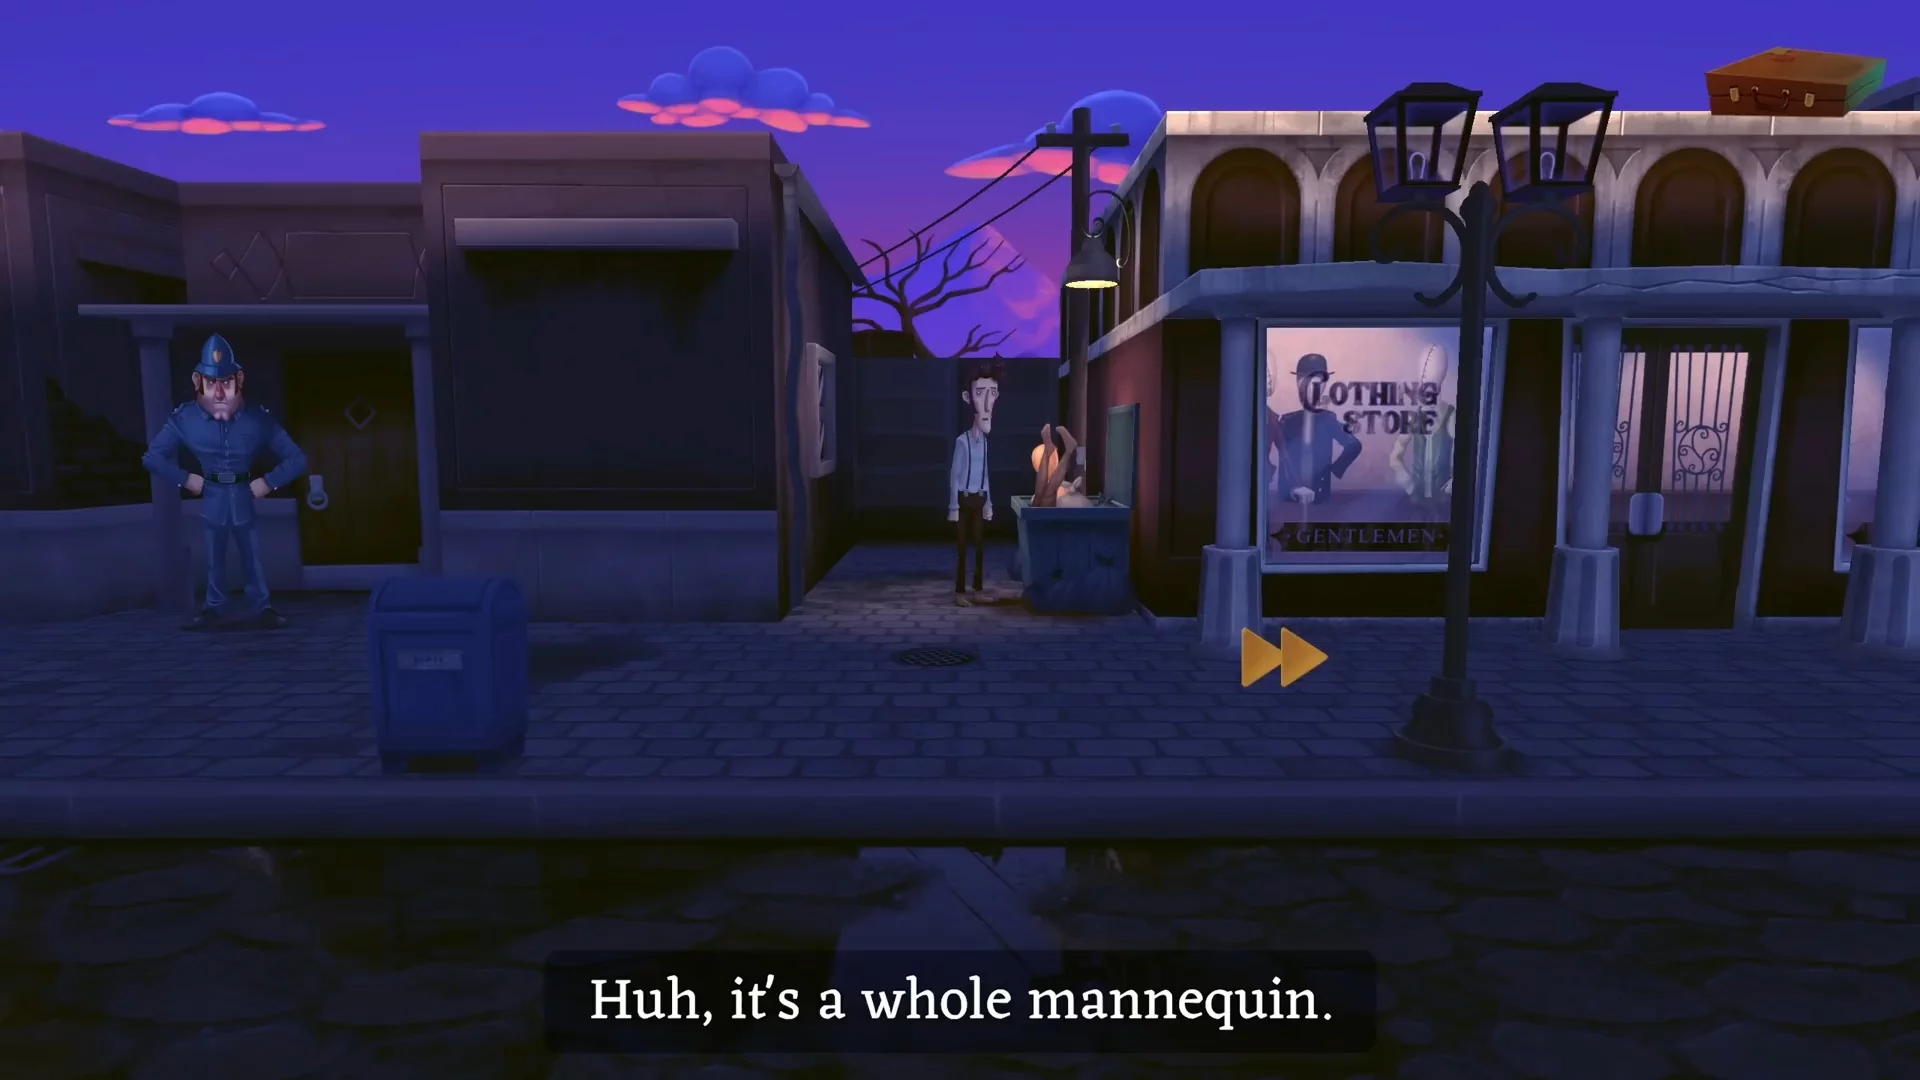
Instead, go a little to the right and pick up the mannequin in the trash container. Combine the clean clothes and the mannequin in the inventory. Approach the pedestrian crossing, which you discussed with the gendarme earlier, then throw the mannequin onto it. A passing car will crash into a pole, and the driver will die. This will be the first victim on your conscience.
Now you can return to the door and enter the room to continue your search. Interact with the table and watch the flashback, then examine the diary, map and head to the bathroom. This way, you can climb through the window and get outside. Go to the right until you reach the central street.
Central Street
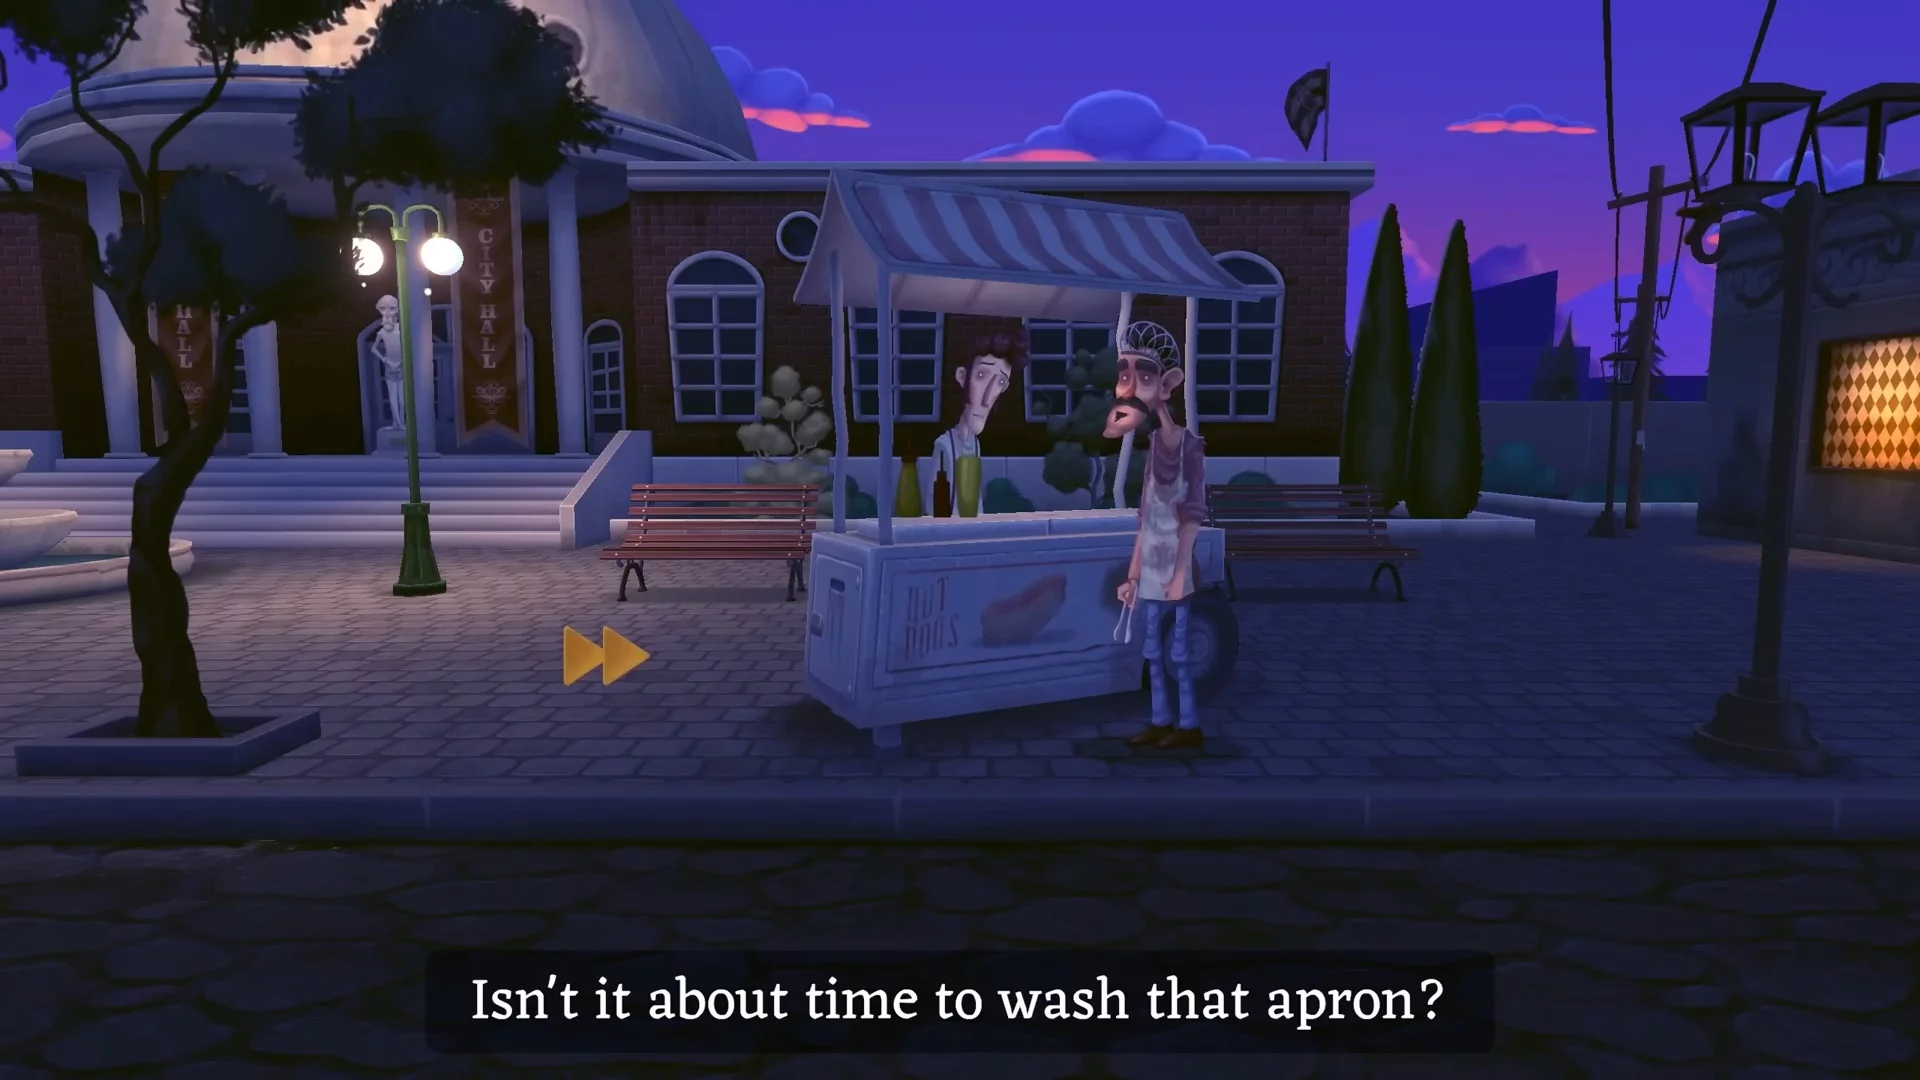
A little further down from the candy store, you'll meet a biker. Ask him the available questions, but for now, decline the motorcycle tour. Continue to the right and talk to the hot dog vendor. Since you don't have any money, the vendor will refuse to make you a hot dog, but you can ask for something for free: take the ketchup packets and ask other questions.
Further down the street, you'll find a casino building. Enter the lobby and take the matchbox near the exit. There's nothing to do here right now since the protagonist has neither chips nor money. Exit and continue right down the street until you come across a bookstore. Near the entrance, you'll see an umbrella — take it, then talk to the seller.
First Street
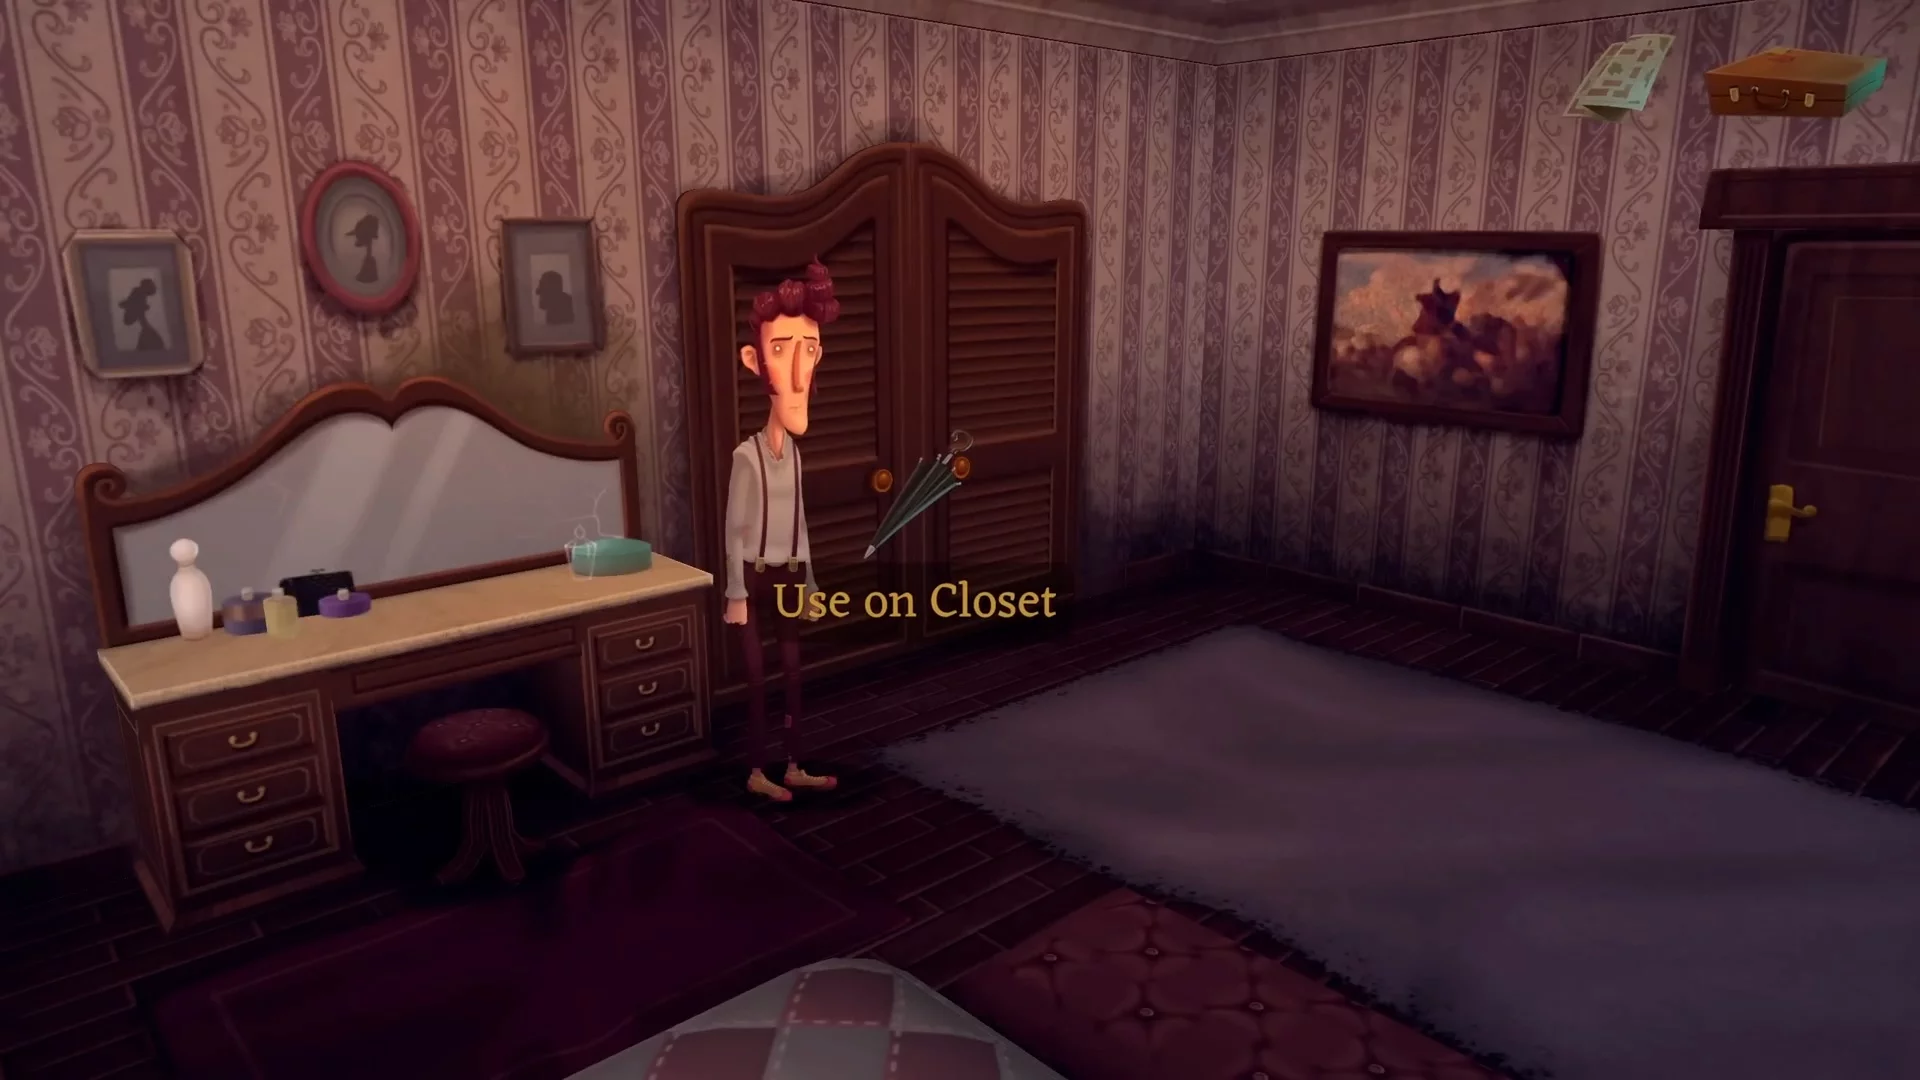
Return to the intersection and head to First Street. Walk past the drunk man and enter the house that's for sale. You'll be greeted by a real estate agent, respond with "Hotel Rooms", then inspect the house. Go to the bedroom and interact with the closet. Say it's too small — the agent will climb inside. Use the previously found umbrella to lock him in.
City Hall
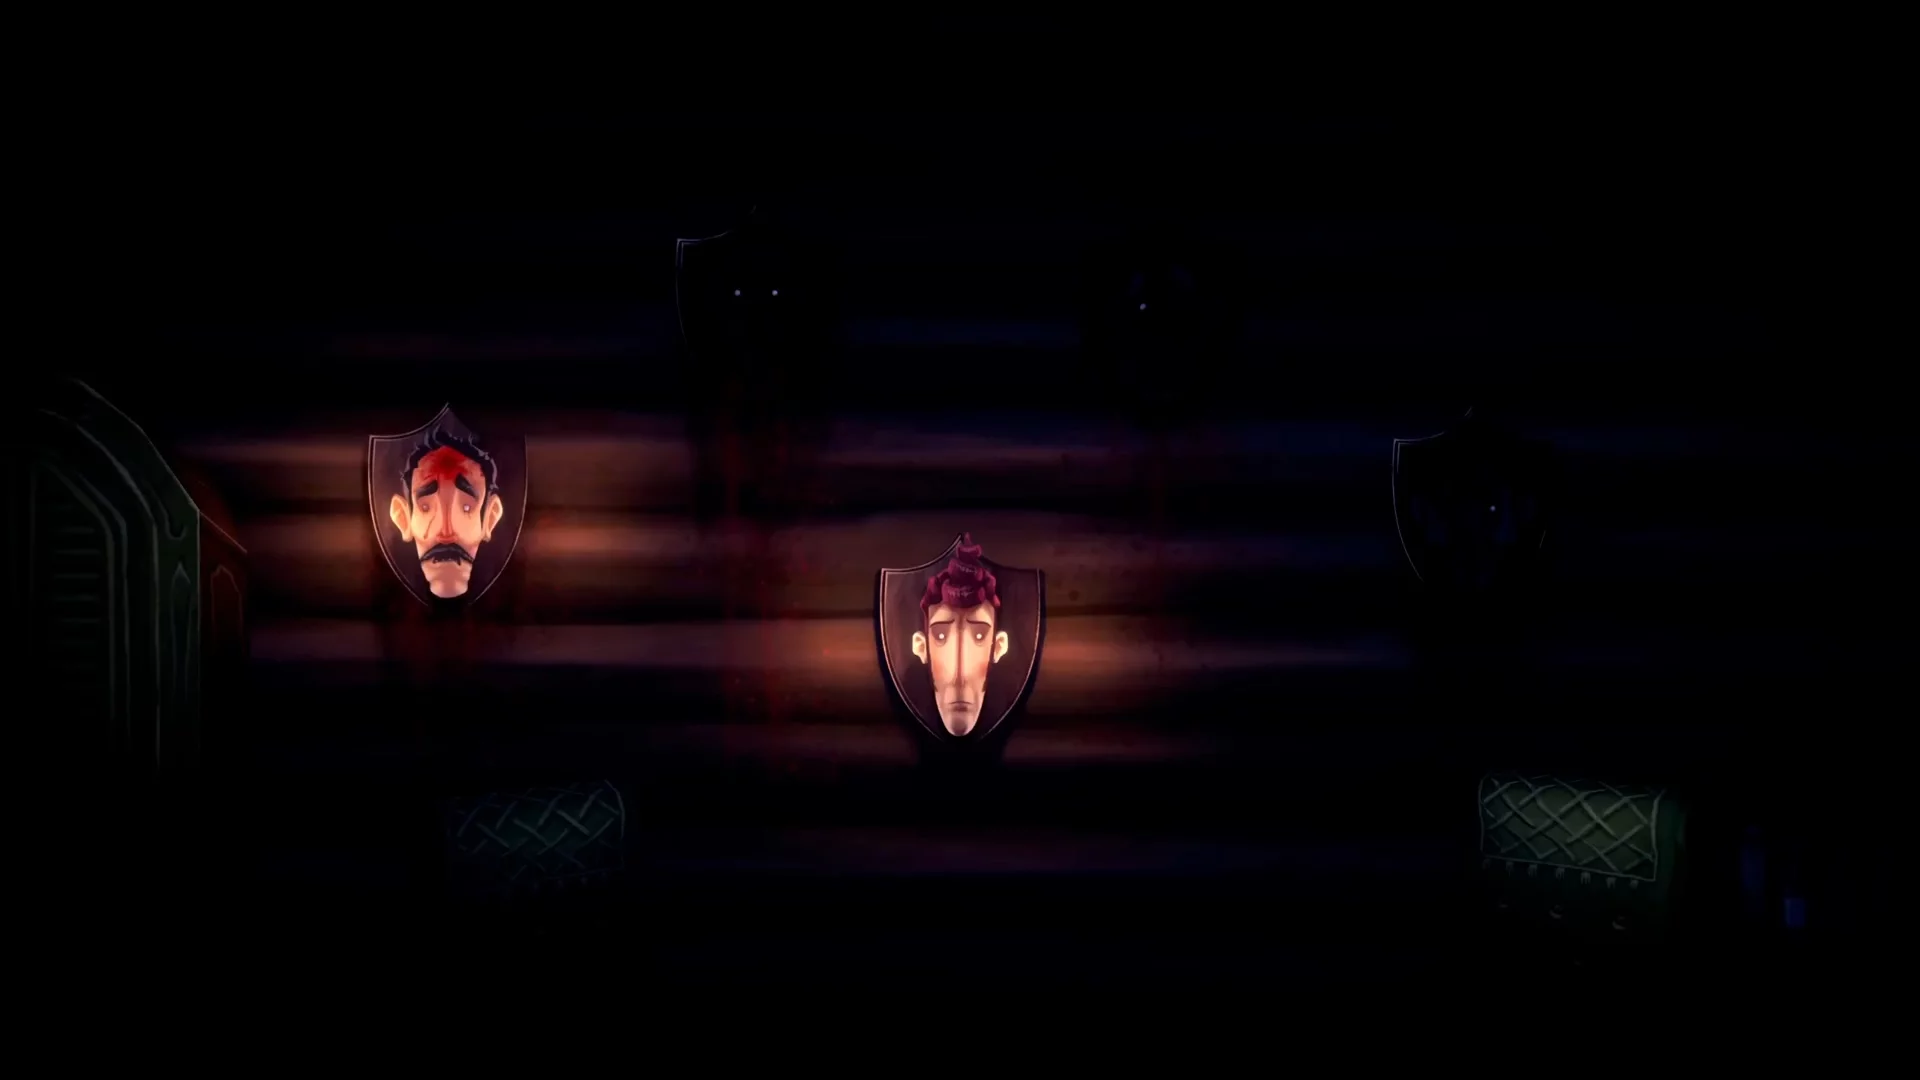
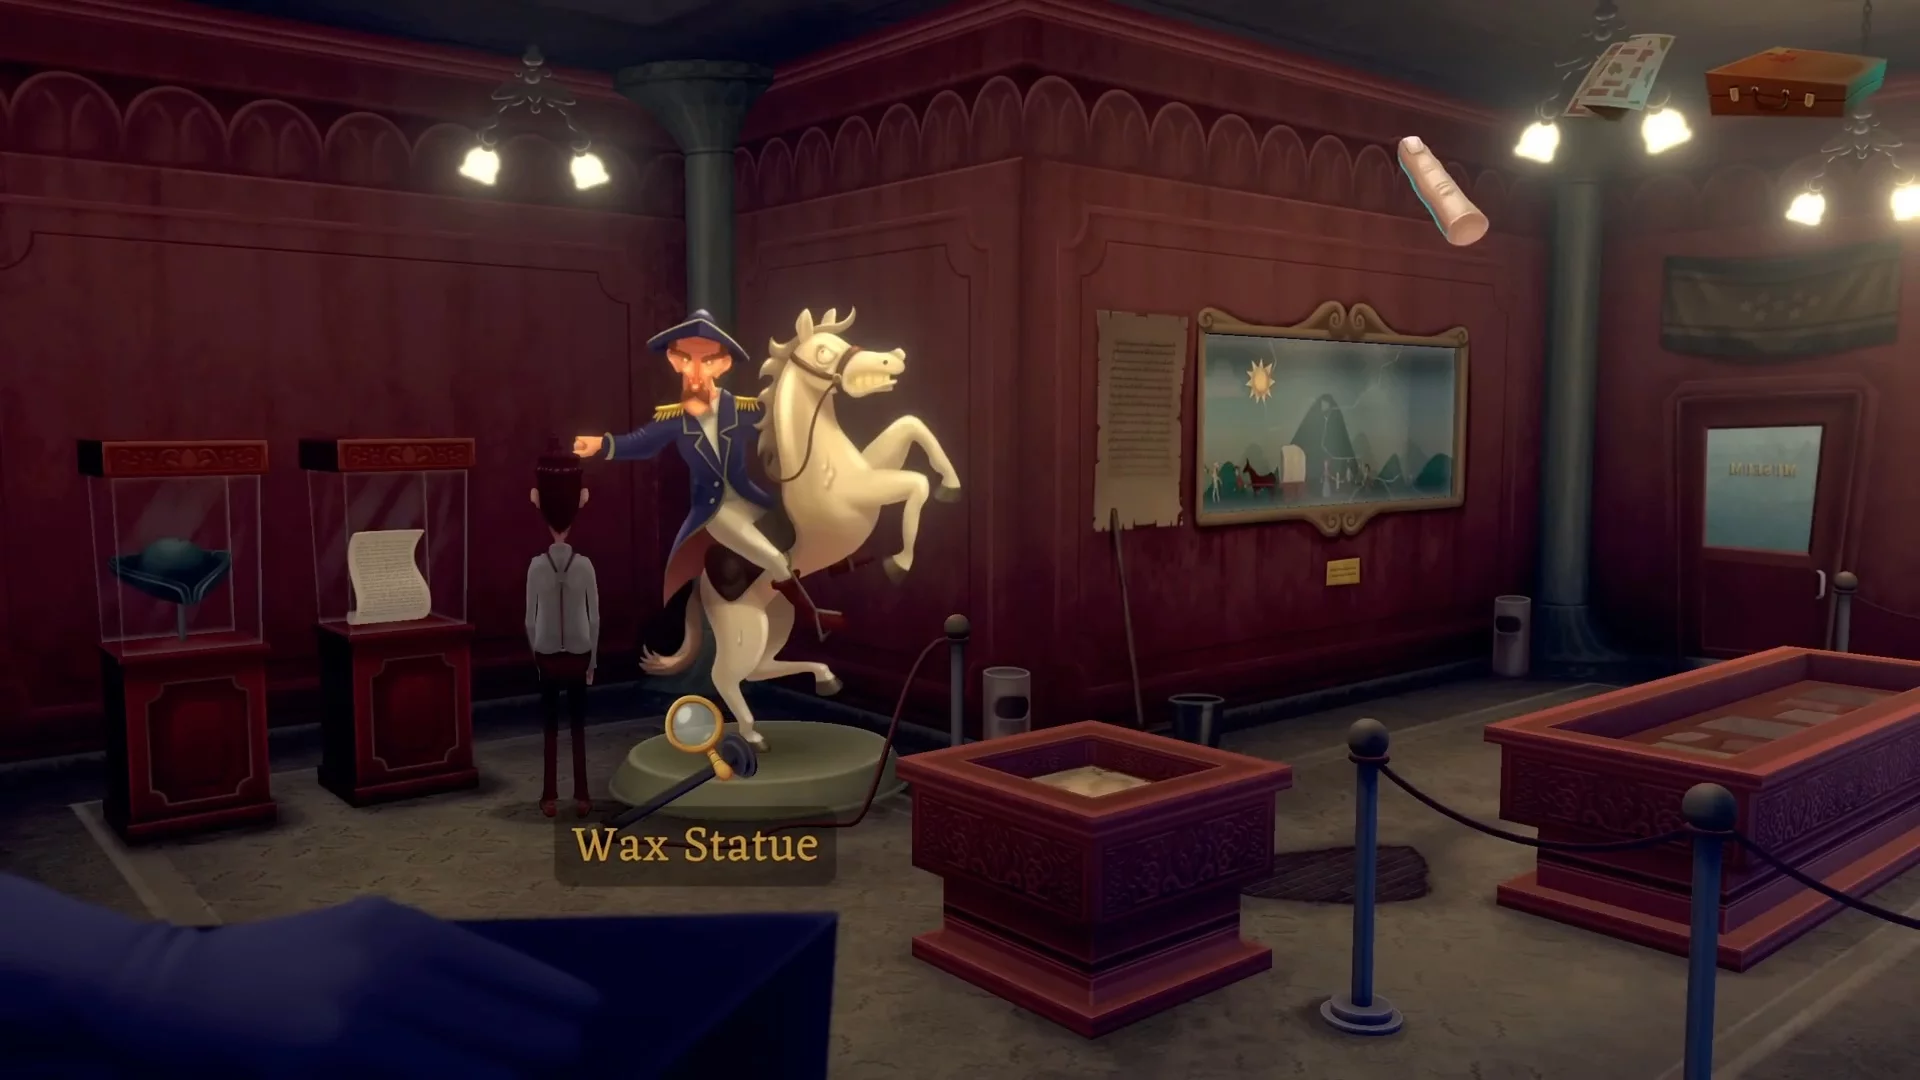
The realtor will give you his card and ask you to call for help. Return to the hall and inspect the basket of treats. This way, you'll get a cigar cutter. Go back to Central Street and enter the City Hall building. There are several rooms here — first, check the archive and take the book. Then head to the museum and use the cigar cutter on the exhibit to obtain a wax finger. Finally, you can talk to the woman in the third room.
Return to the house with the locked realtor, use the matches on the gas burner, then use the obtained wax finger on the flame. Use scissors to cut out a photo from the main character's manuscript and stick it on the sales agent's card.
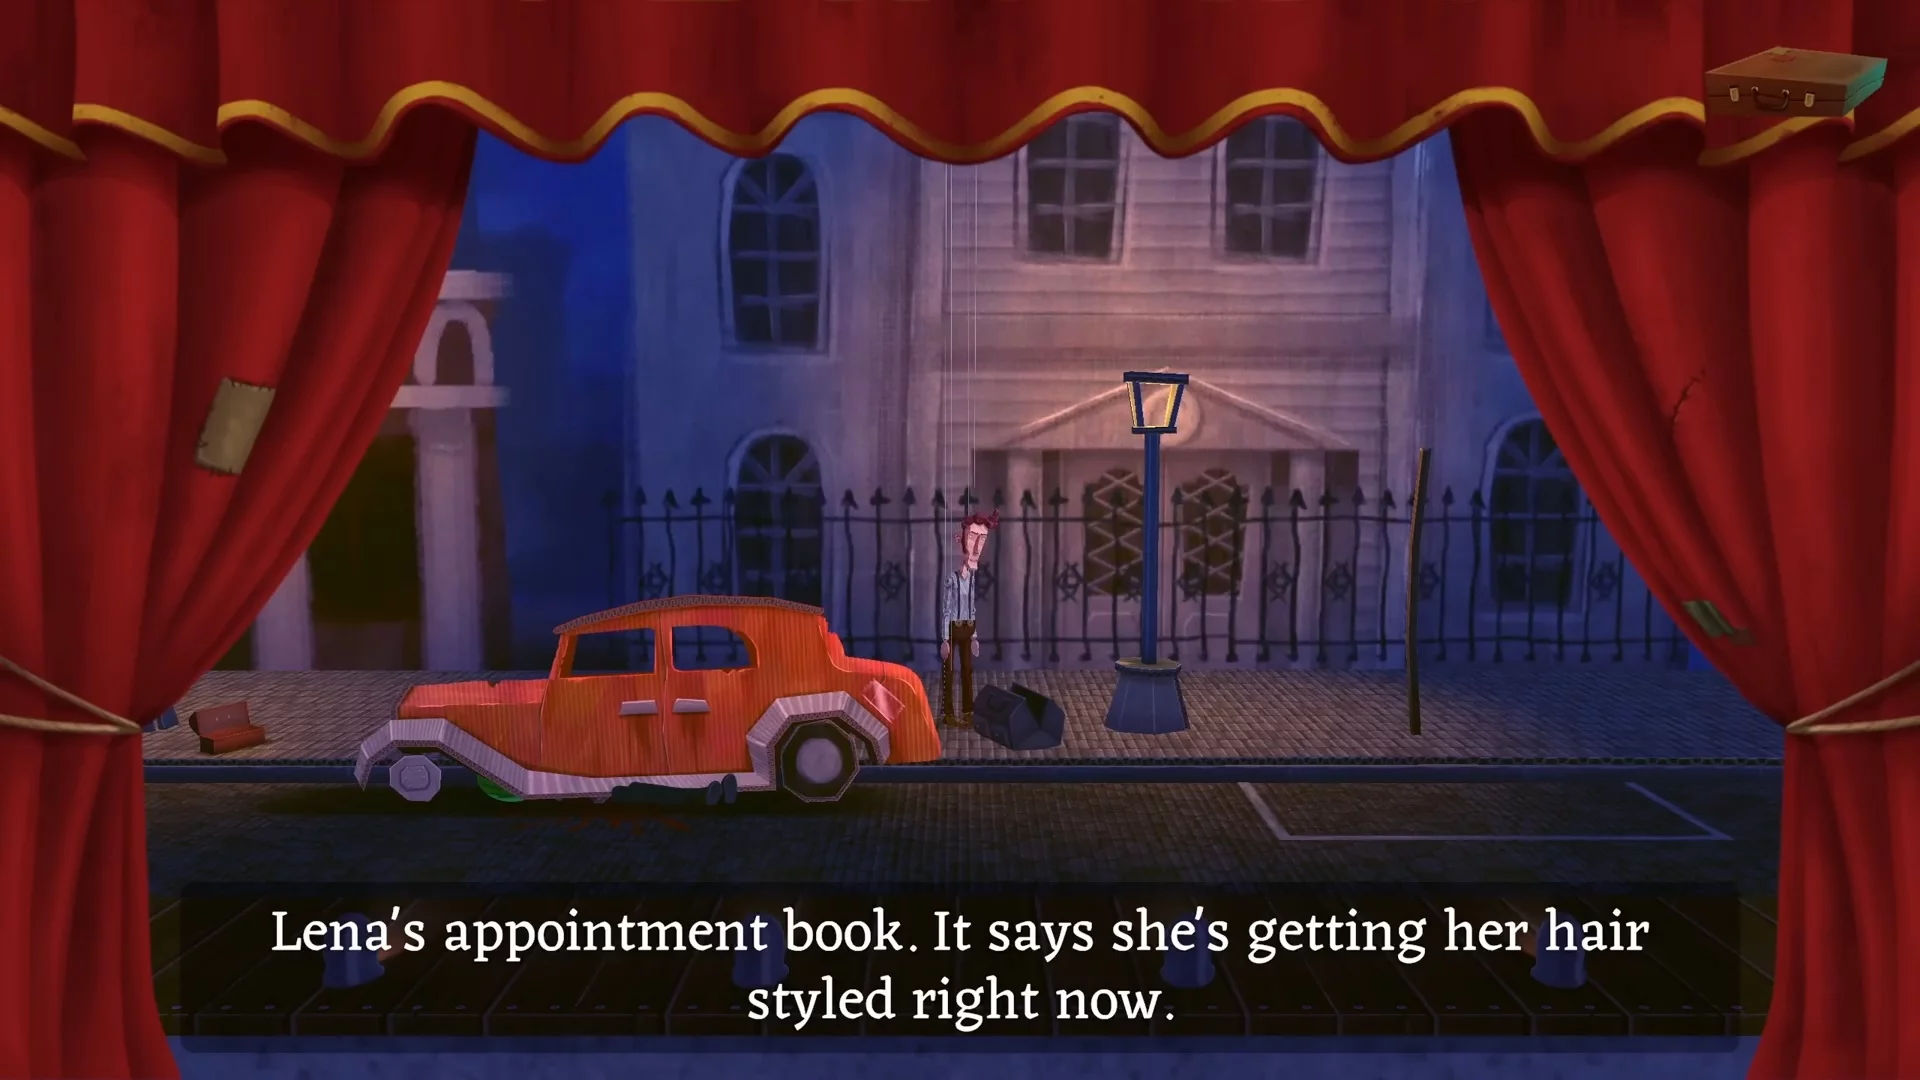
Move to the City Hall building and hand the fake card to the clerk. This way, you'll get Lena's address.
Lena's House
On the table next to the fireplace, take the oil lamp, then interact with the radio on the other side of the room to see a flashback. This way, you'll learn about the doctor's involvement in the girl's disappearance.
Doctor's Office
Open the map and move to First Street. A little to the right of the car, there will be a door to the doctor's office. Knock on the door and ask a few questions to find out that the doctor has recently left. At this moment, the previously closed Main East Street will become accessible for visiting.
Main Street, East
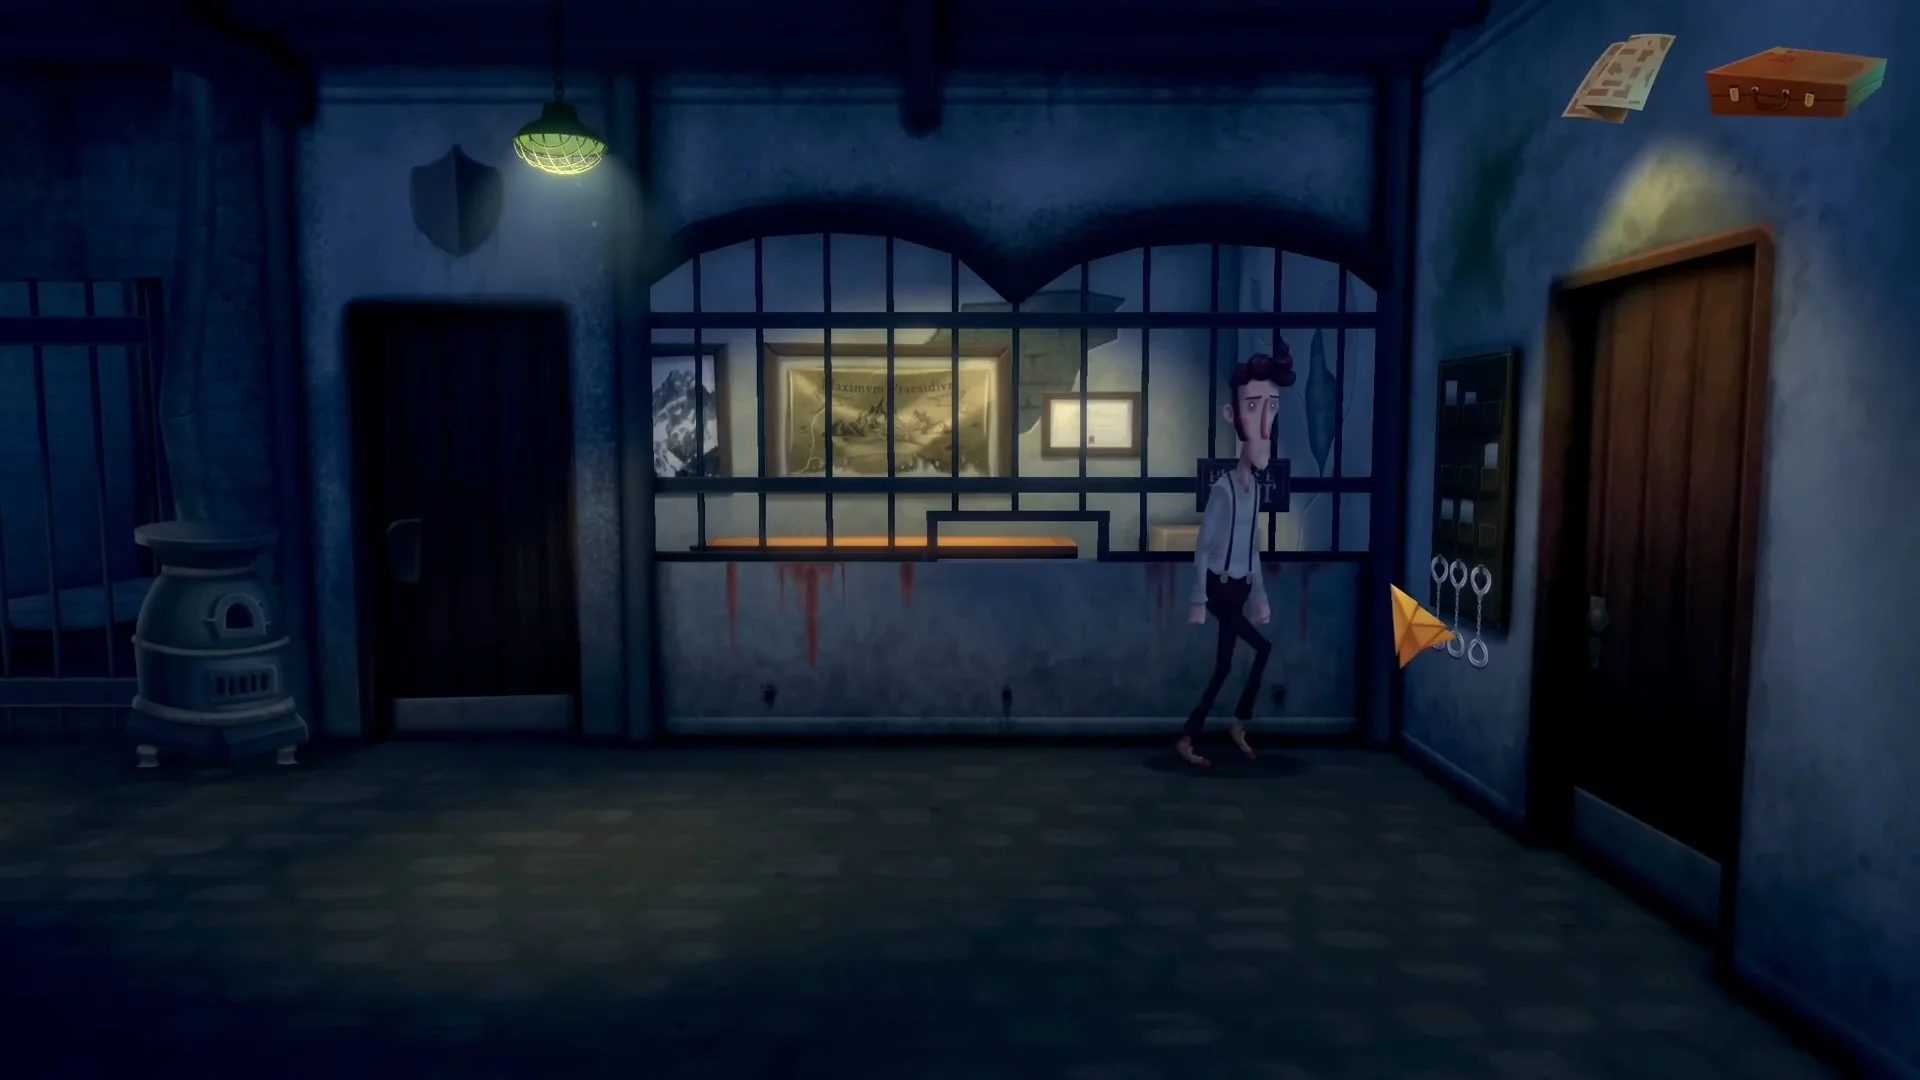
Go to the end of the street and enter the police station building. First, the hero will have a conversation with the sheriff, then you can go further and talk to the detainee in cell #2. He will tell you about an unusual item he stole, which is in locker #2. You won't be able to open his locker now, so just remember the place.
Second Street
Return to the intersection of Main East Street and head to Second Street. If you go to the right, you can meet a man. Ask him all available questions to get some information.
After the conversation, go to the end of the street to the right and find the passage to the observatory. Ask the guide all available questions to get an empty pot, and interact with the telescope. To add it to your inventory, use the gas wrench found earlier in the laundry. Also, check the cabinet with compasses to the left and take one.
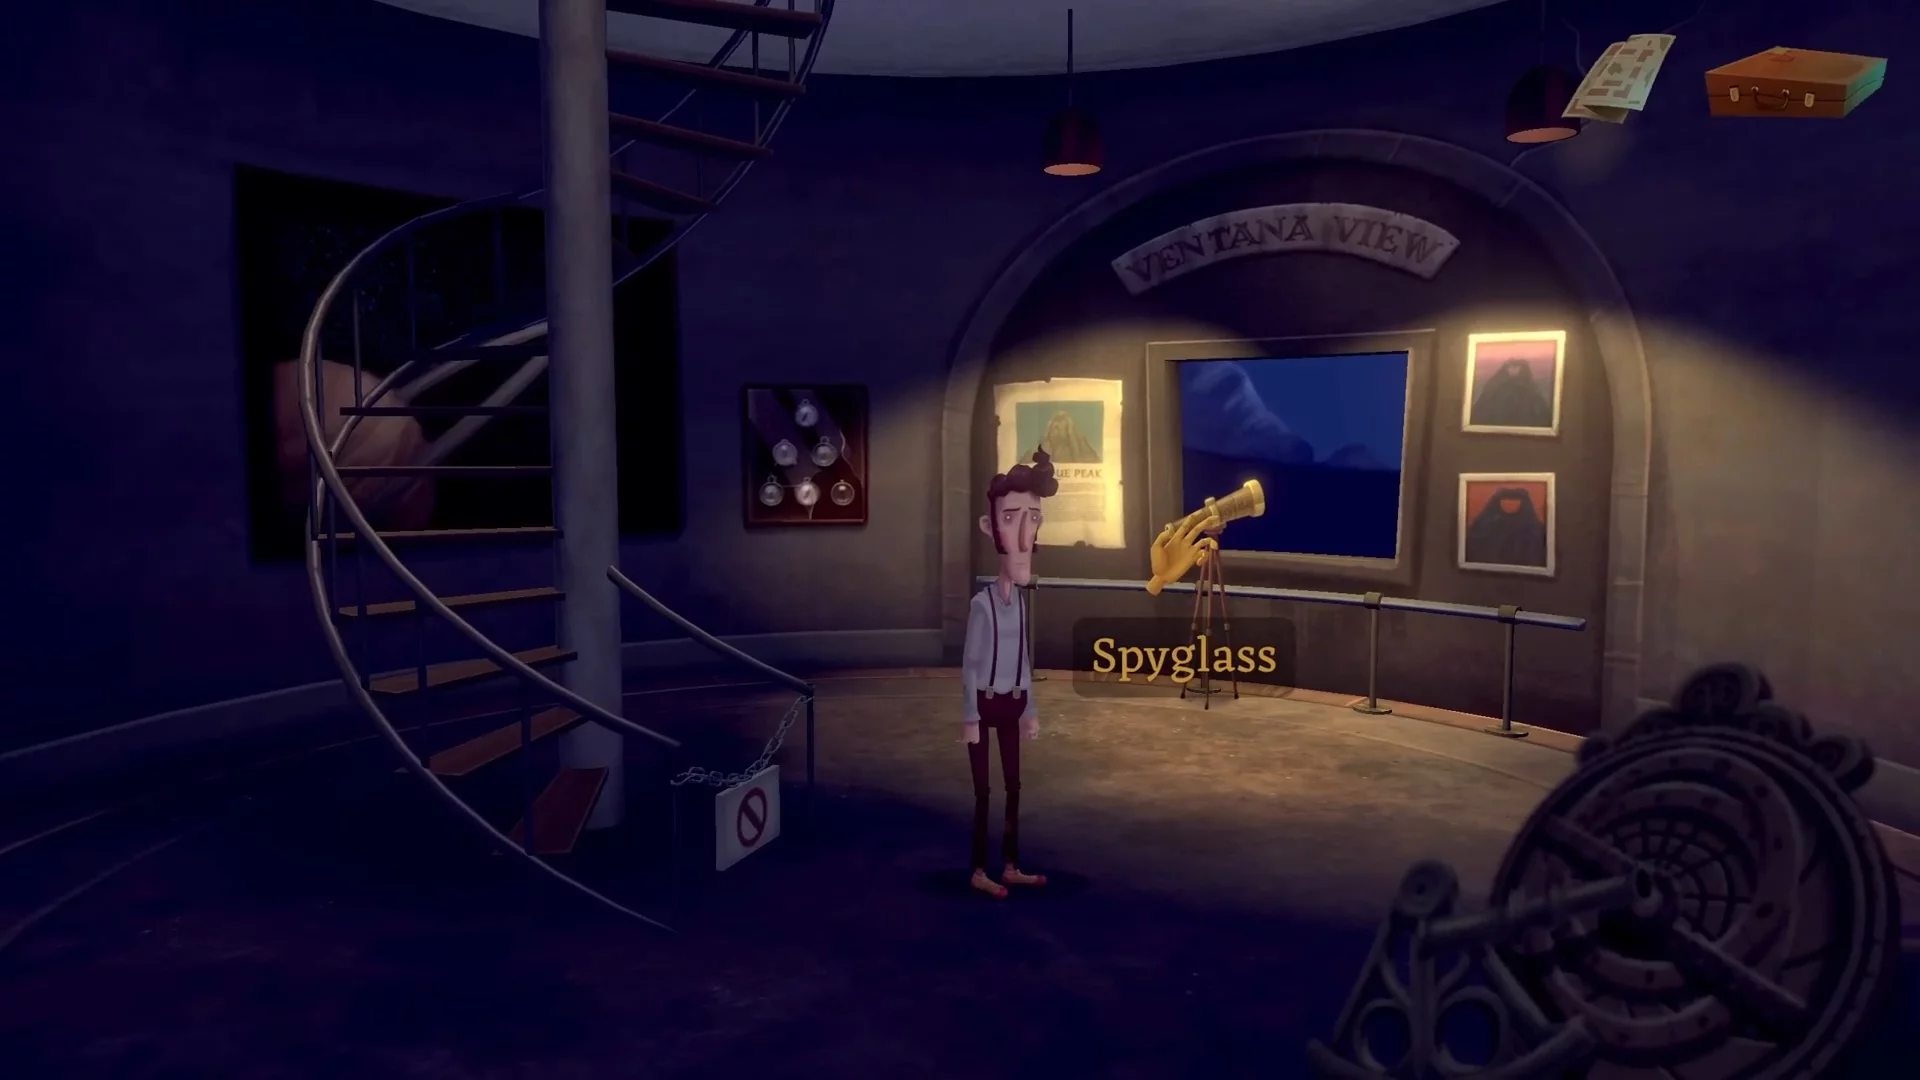
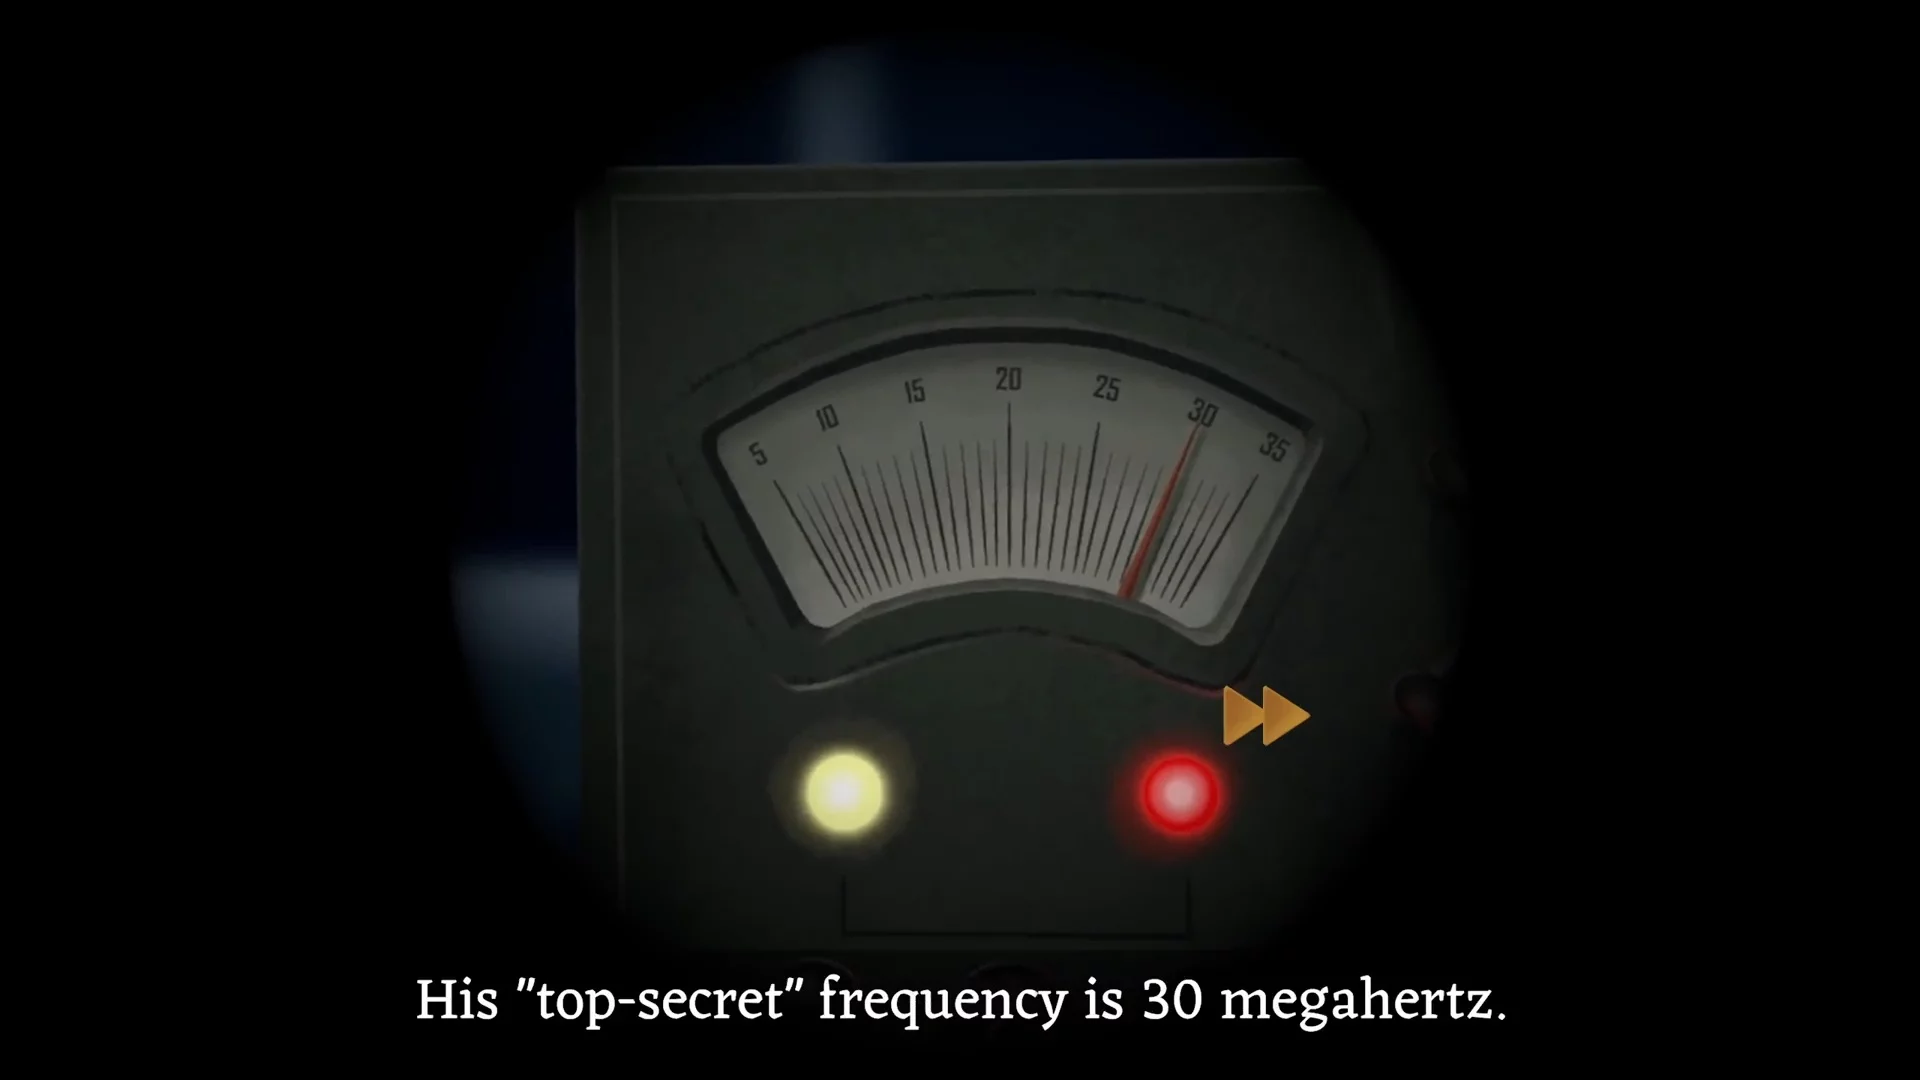
Go back to the neighbor on Second Street to use the telescope and find out his secret frequency — 30 MHz.
Main Street, East
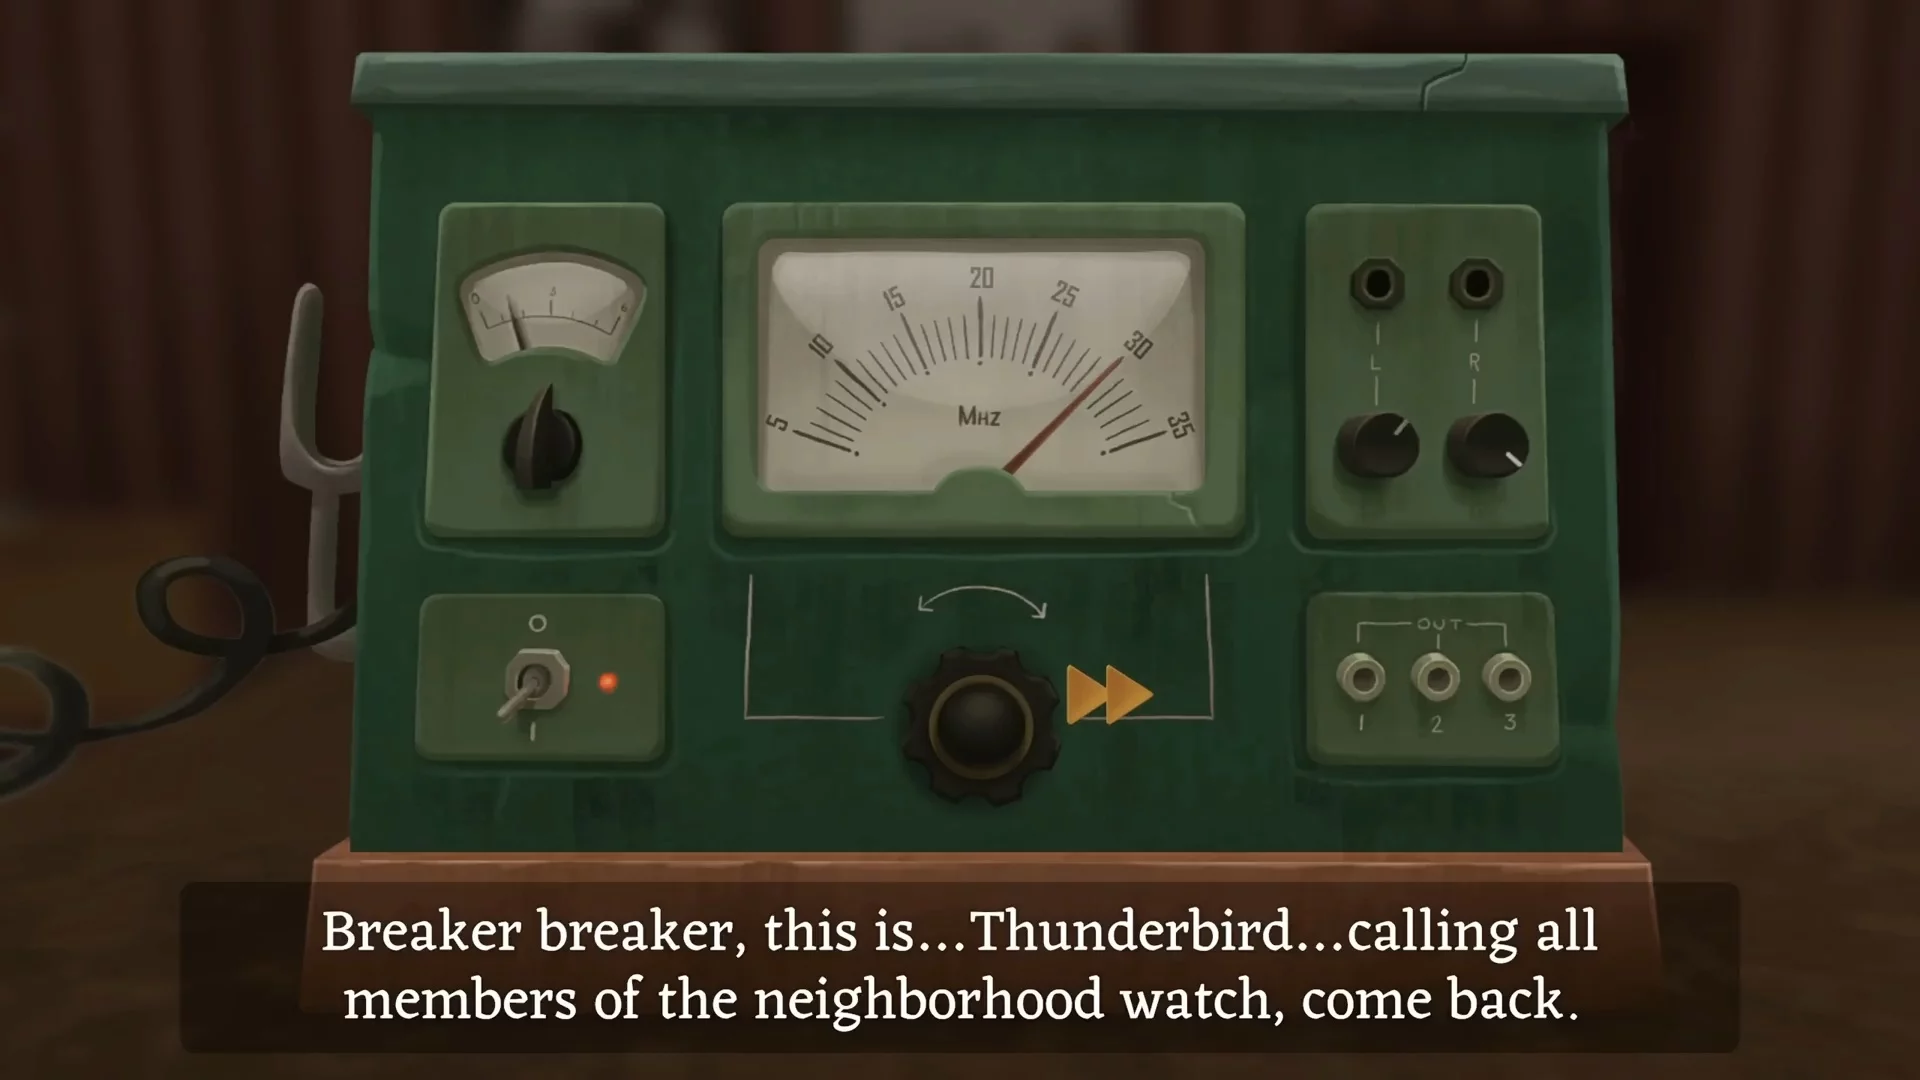
Head to Main East Street and enter the electronics store, located near the intersection, next to the barbershop. Exhaust all answers in the dialogue with the seller, then interact with the radio and tune it to the frequency of 30 MHz.
Second Street
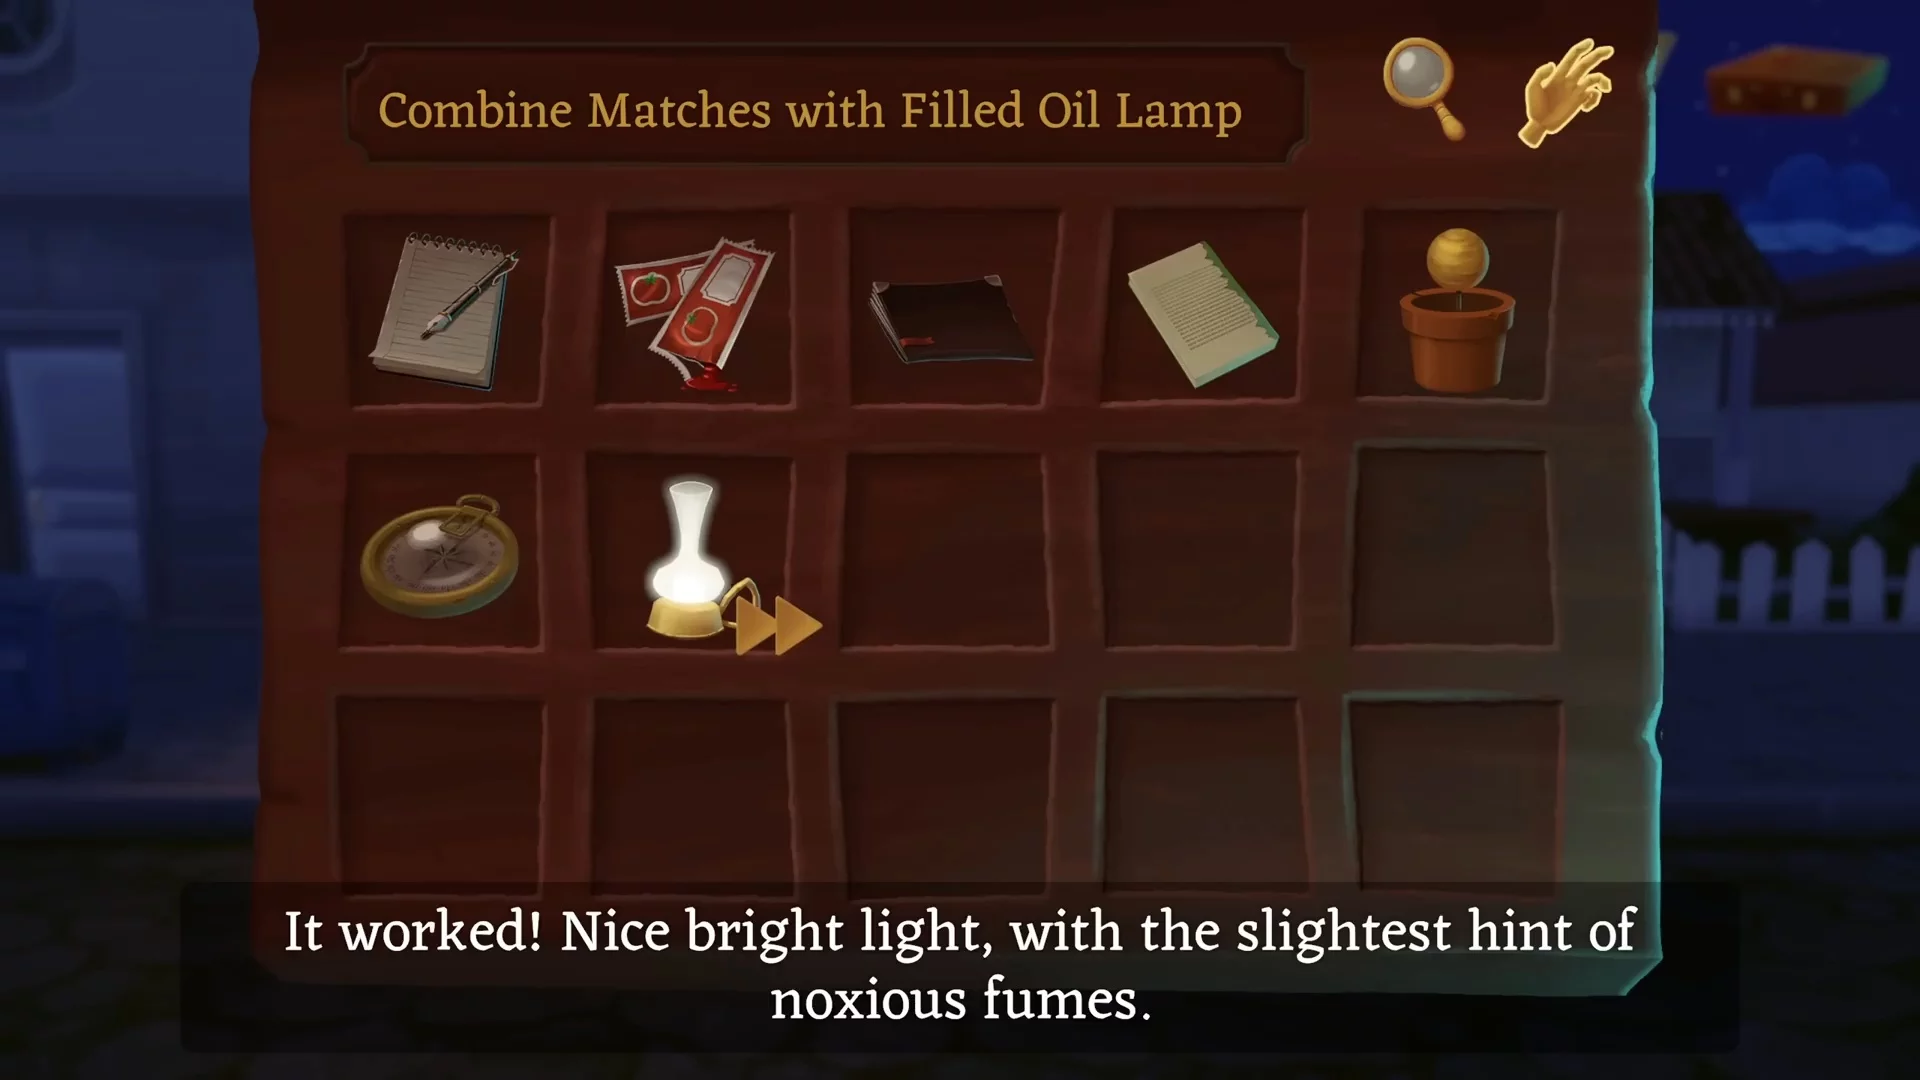
Return to Second Street and go to the neighbor. He won't be on the porch now, so you can inspect the table and take the fuel canister. It can be combined with the oil lamp found earlier in Lena's house. Then use matches on the lamp to light it. This way, we can enter the forest.
Forest
Go left and find the passage in the arch. Here, find the corpse of an old man, in whose hands is a crowbar. Interact with the body and take the item.
First Street
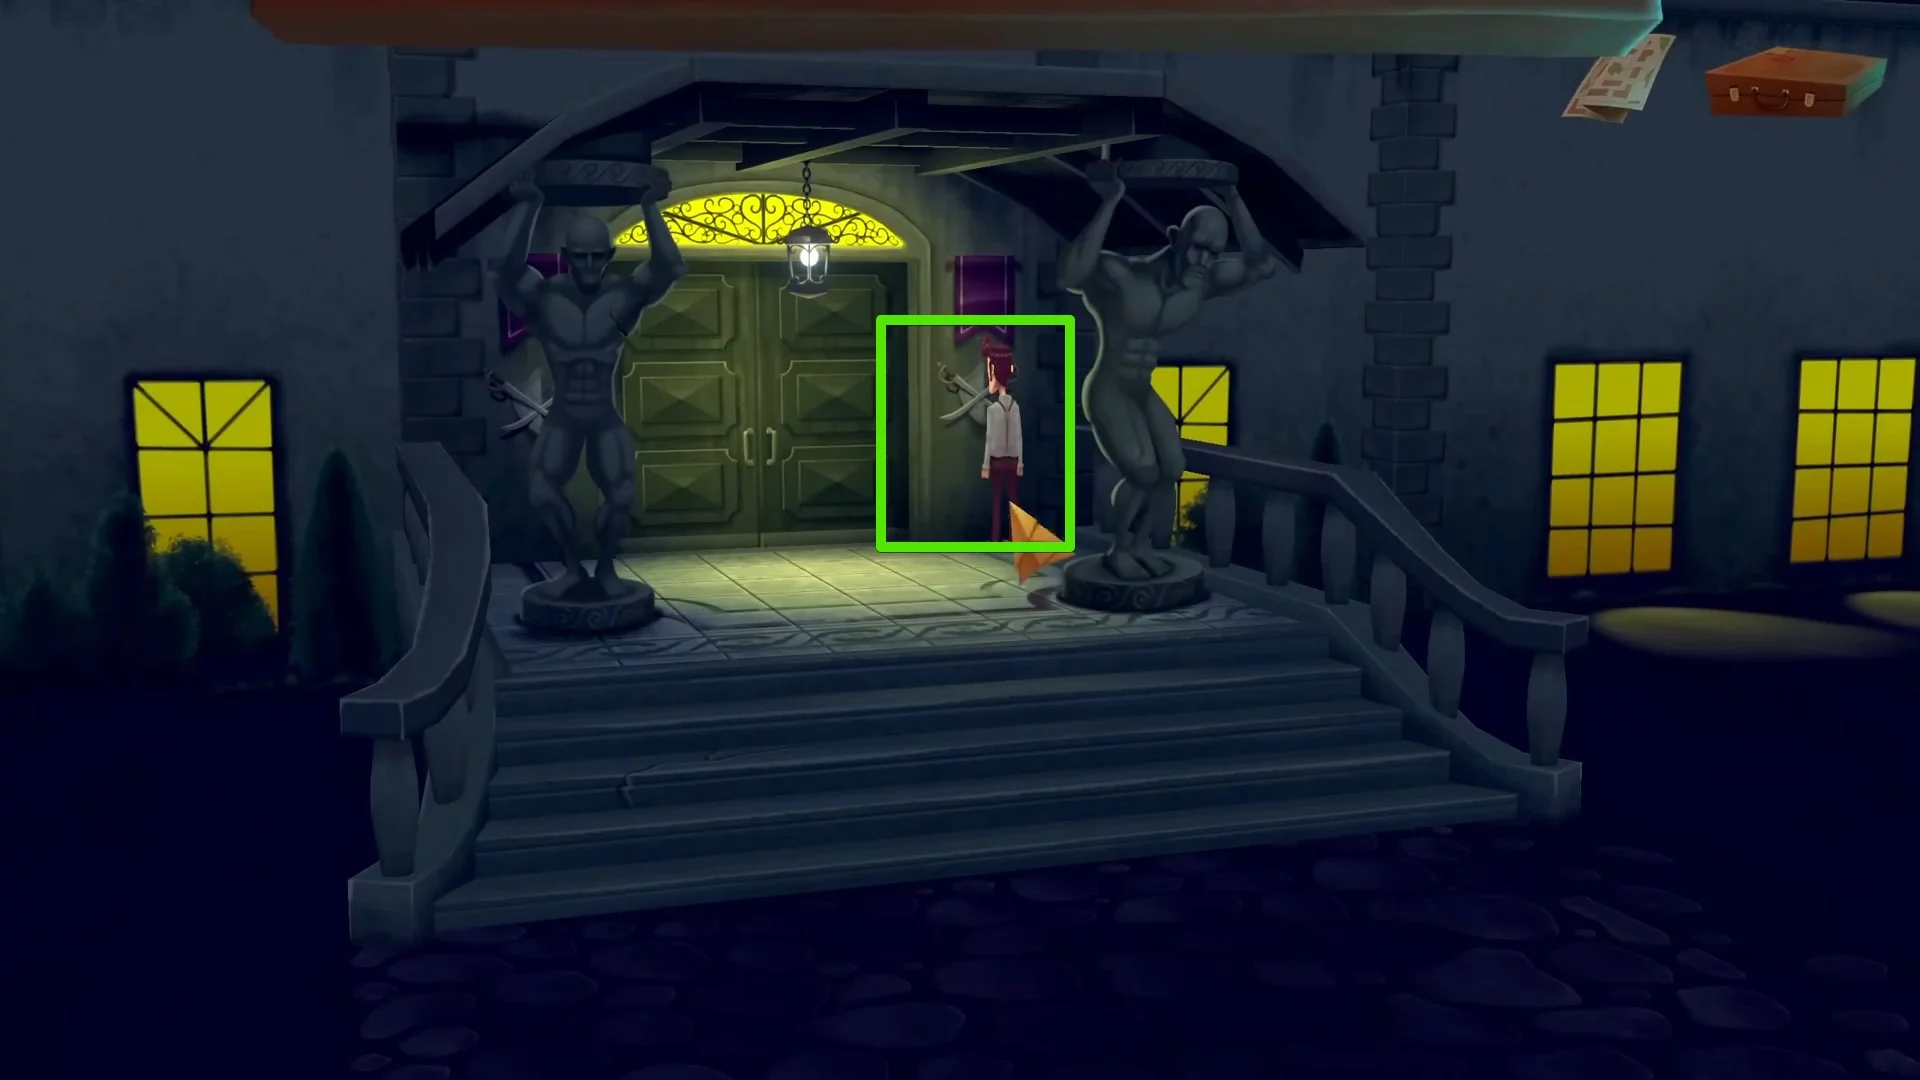
Move to First Street and head to the end to reach the hunting club. You can listen to several dialogues of aristocrats and a married couple, then approach the snobs standing by the fireplace. After the conversation, go to Gordon, who will introduce you to the club president, Paul Frey. They will refuse to accept the main character into their club and will throw him out. However, we already have a crowbar — we can use it on the sabers to the right of the entrance.
Forest
Return to the forest and run left, passing the first arch. At the fork, turn right and use the saber on the blackberry bushes to go further. At the end of the location, find large mushrooms and take them into your inventory.
Doctor's Office
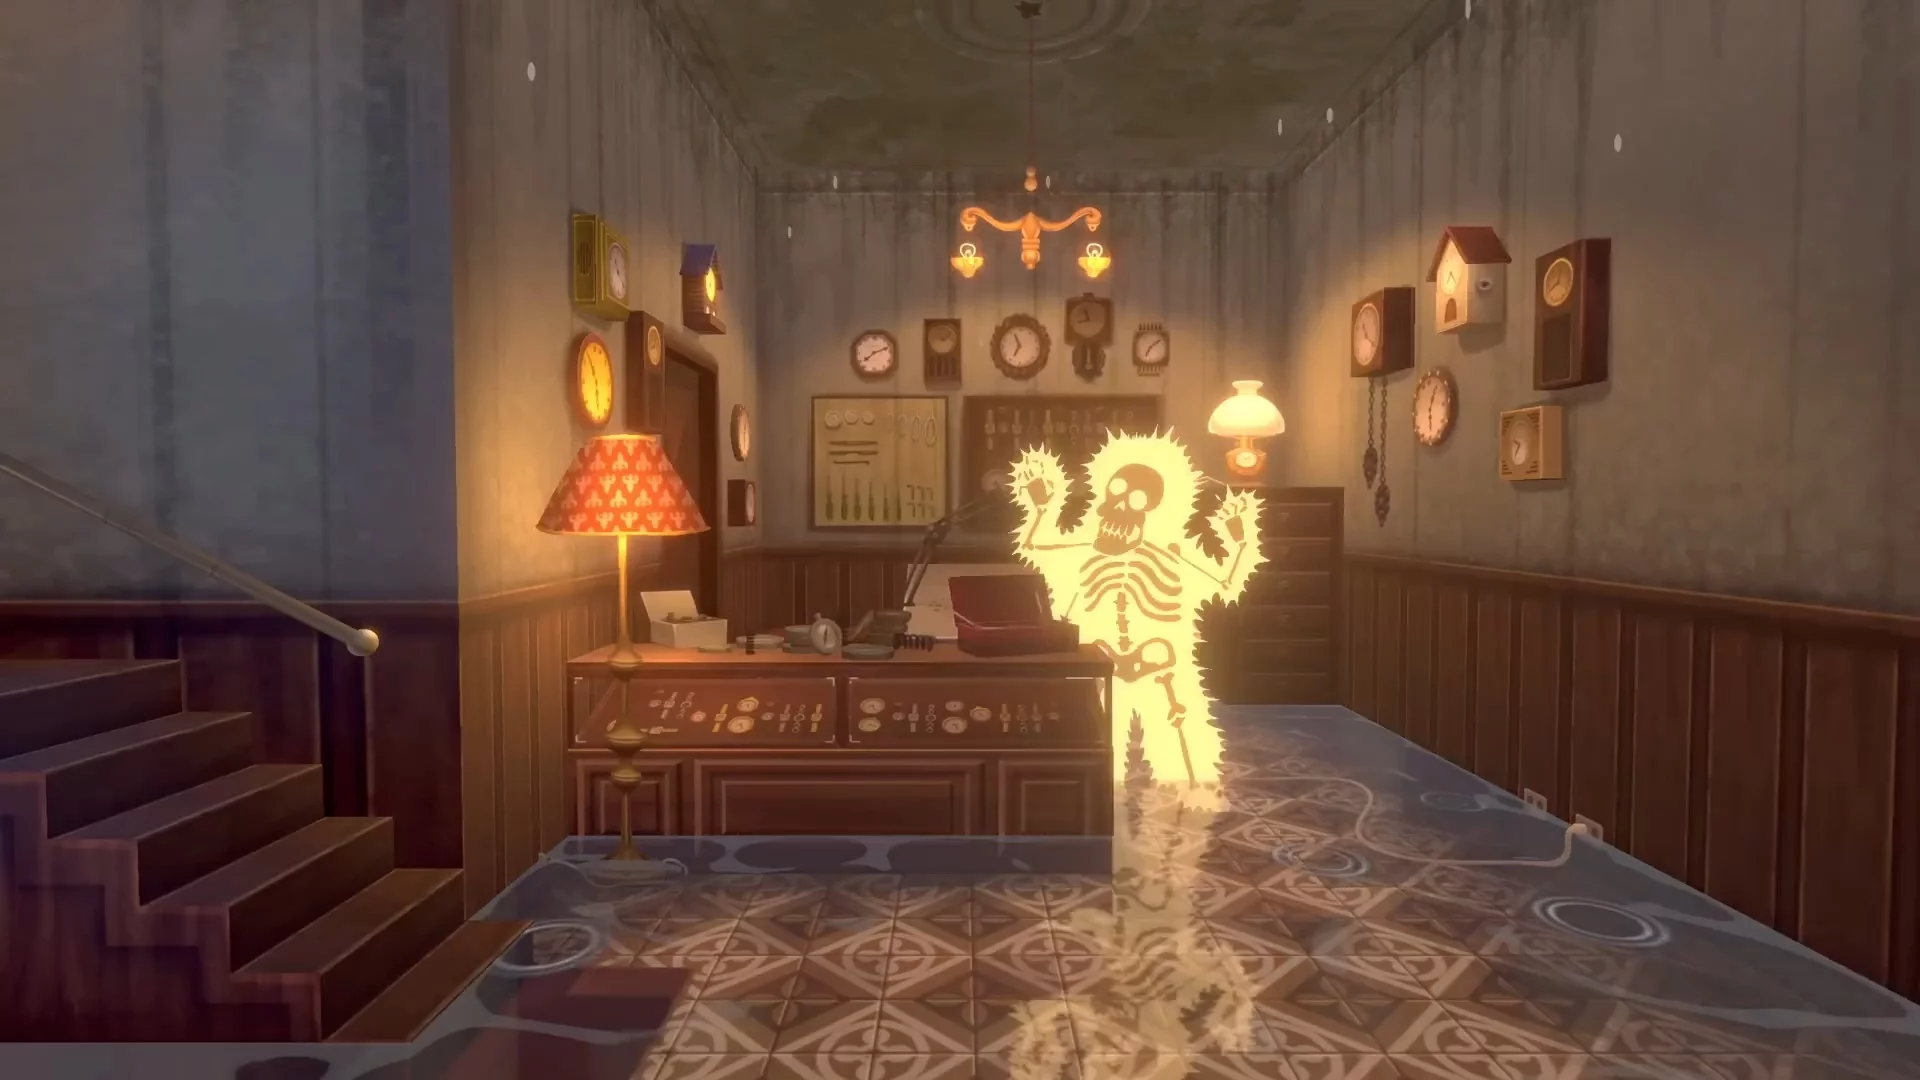
Stop in front of the doctor's office door and use the mushrooms on the main character. First, he will knock on the door, then eat the mushroom and faint. When the character comes to his senses, watch a short scene after which control will return to the player. Take the music box, document, and tray from the table. Turn on the lamp, then place the tray on the couch.
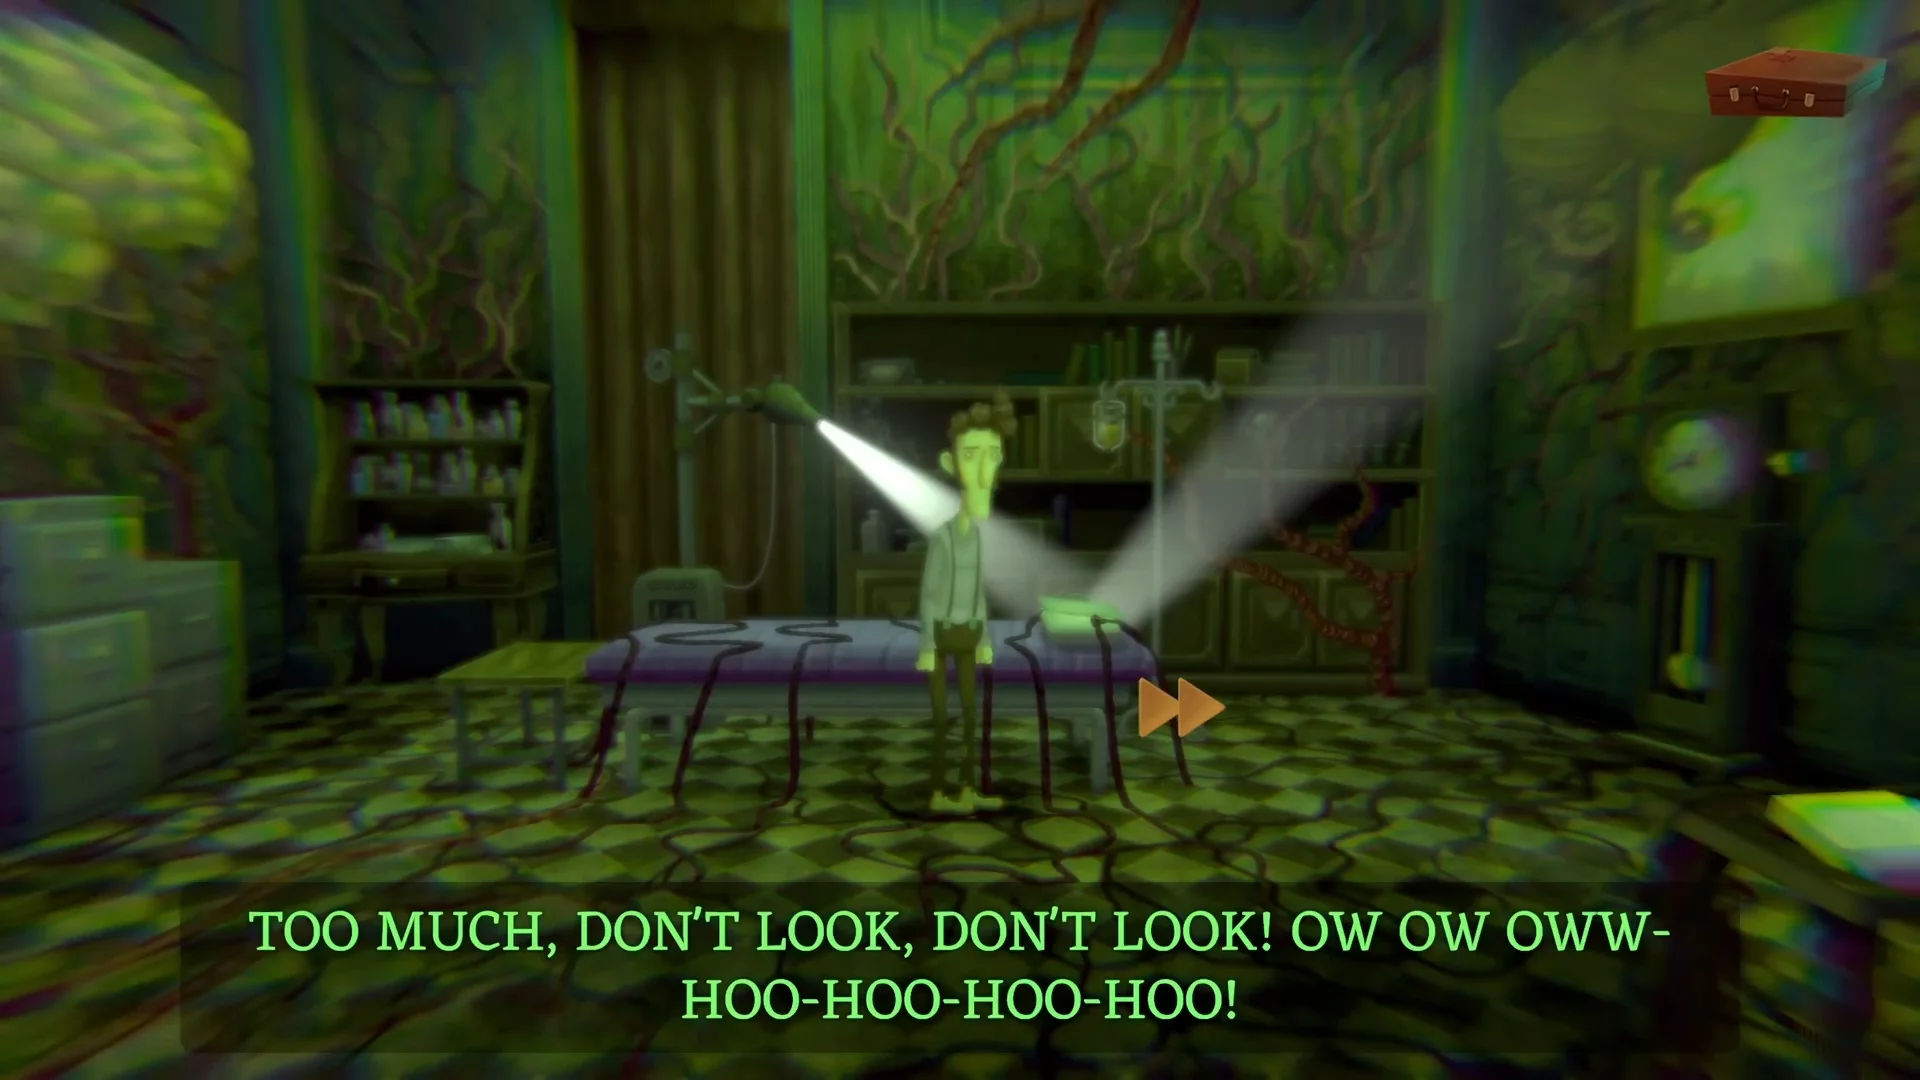
Now take the clock key under the huge eyes to combine it with the music box. In the next room, other organs will be floating — use the music box on the ears. They will clear the way to the counter where you can pick up a pipe.
Approach the fireplace and use the previously found document on it. Combine the burning document with the pipe, then hand it to the lungs hovering behind the table. Take the Rubik's Cube. Give the puzzle to the brain — it's waiting to the left of the couch. This way you will find Lena's file and be able to leave the office.
Shore
Move east on the main street and find the passage to the shore. Pick up the fishing net and clay here. In the right part of the location, you will see an anchor with a rope — use the saber on the object to add it to your inventory.
Second Street
Pass by the neighbor's house and peek into the pottery workshop. Talk to the master and give him the clay, and in return, take one of the chips on his table. The main character will lie that he won't use it in a casino, but will put it under a wobbly table. Besides, without paint, the chip is useless.
Go outside and enter the nearby pizzeria. Talk to the chef and exhaust all options in the dialogue, then go upstairs. Use the net on the clothesline above the chef and ask him to repeat the dough trick.
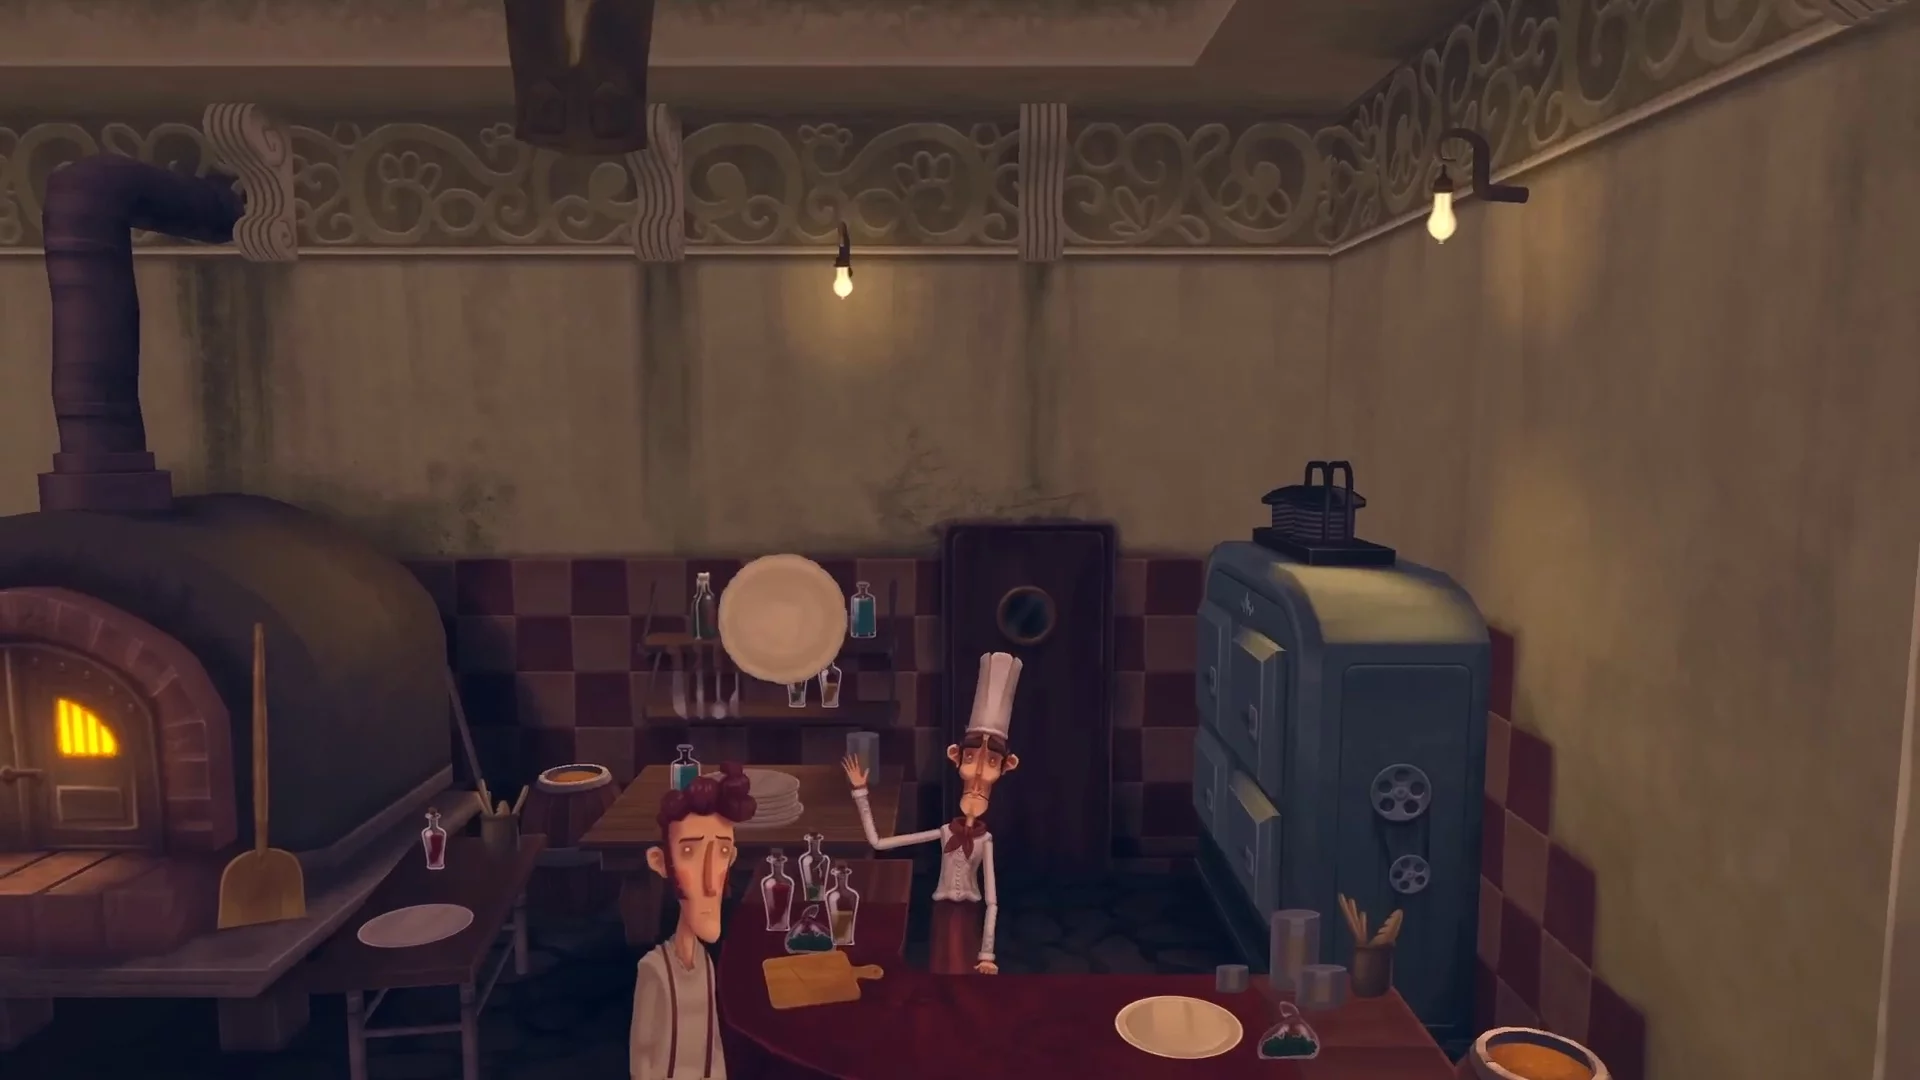
The dough will get stuck on the fishing net, and the chef will run to retrieve it. This way, you can look around and take the pizza peel.
Lighthouse
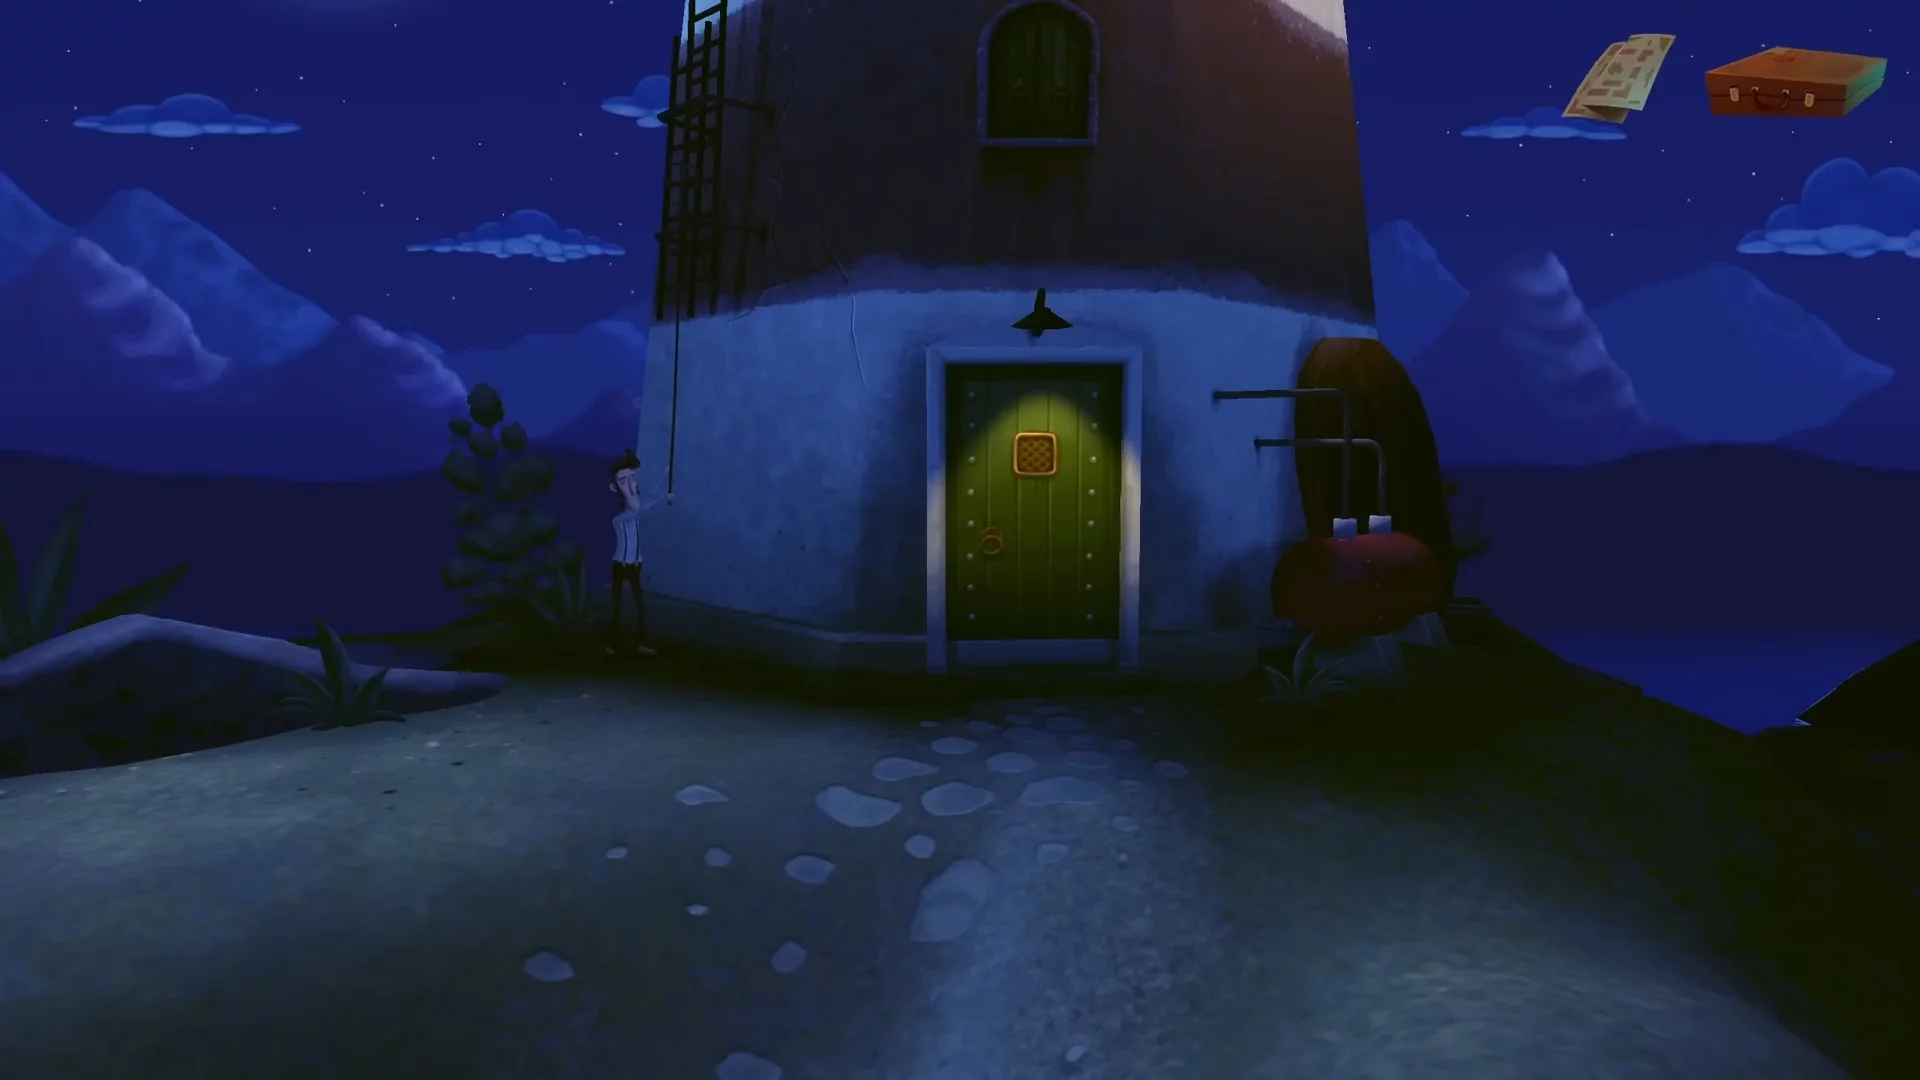
Surely you already know where to use the pizza peel. Head to the shore and use the item on the boat. Soon you will be at the lighthouse. The main door is locked, but you can use the anchor with the rope to secure it to the ladder to the left of the entrance and lower the ladder down. Enter the building and go down to the first floor. On the table, take the hand drill.
Main Street, East
Use the hand drill to open the locked locker #2 in the police station. This way, you will get a staff. Go outside and visit the barbershop. Before asking for a shave, choose the option "Prank the barber during the shave" using ketchup packets. The barber's heart won't take it, and he will die. This will be the second death on your conscience. Examine the trash can and pick up hair clippings.
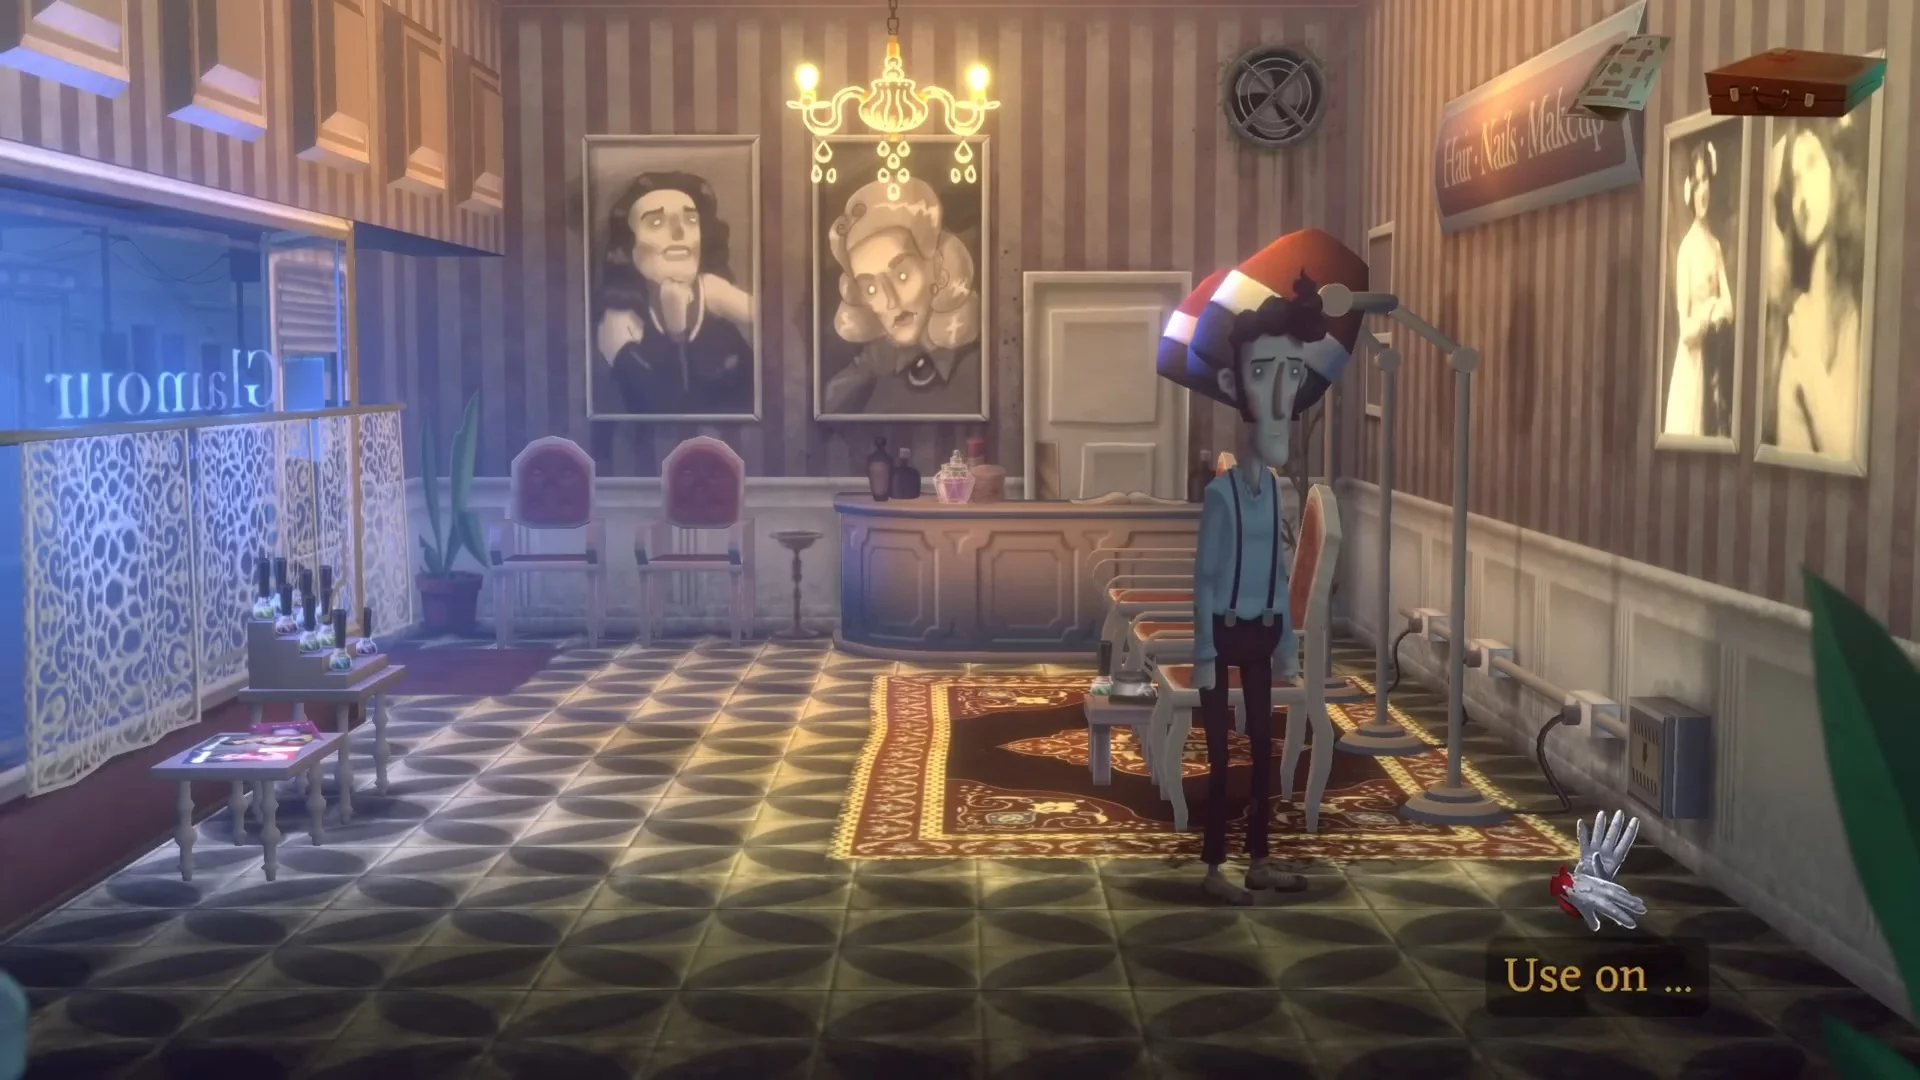
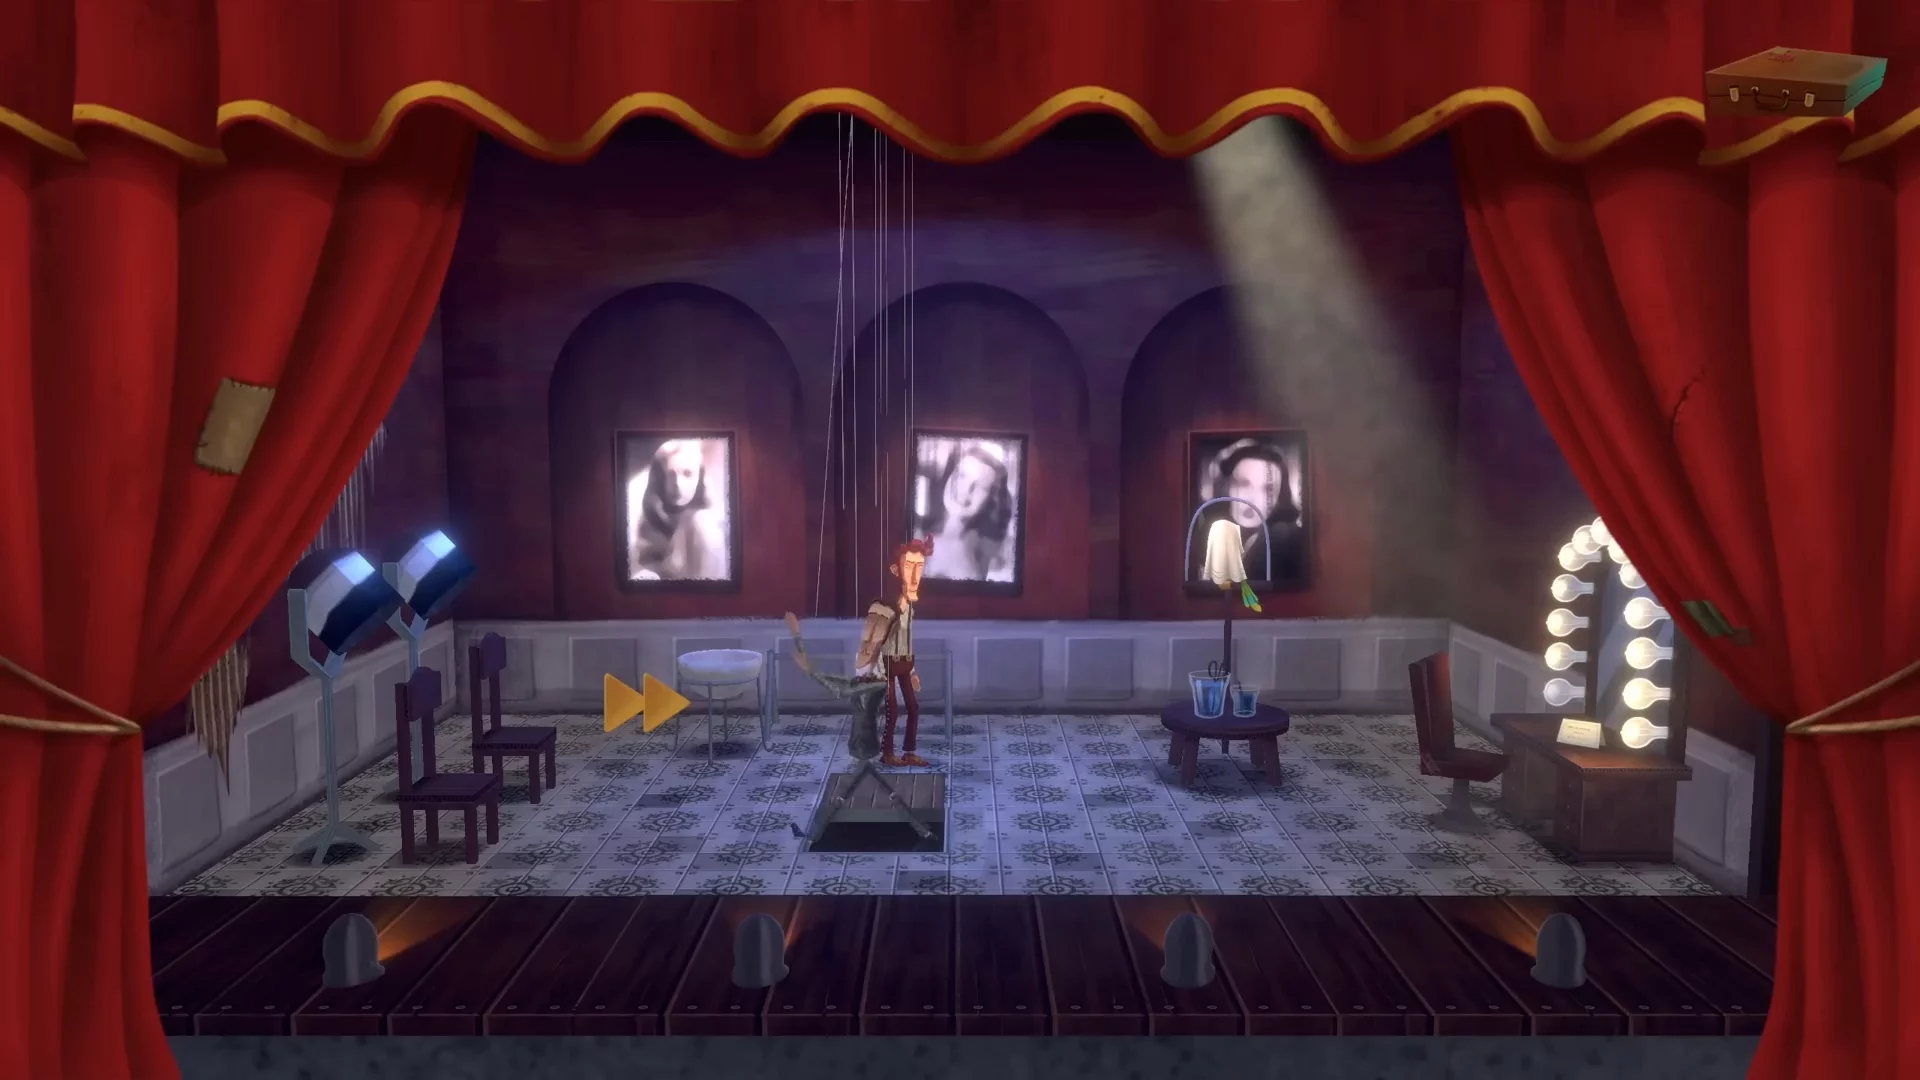
Nothing valuable can be found in the barbershop. Return to the street and enter the beauty salon. You will briefly overhear a conversation between the beautician and a client and can ask a few questions. Then use the hair on the chair with the client to clear the room. Take the nail polish here, combine it with the chip in your inventory, and head to the casino.
Exchange the chip for money. Leave the building and enter the bookstore. Go to the second room — take the red gloves from the chair. Move to the lighthouse building and on the first floor, use the gloves on the barrel. This way they will become dielectric, and you can open the electrical panel in the beauty salon to get the fuses.
Third Street
Head to Third Street, which is to the right of the shore. First, move to the left and take the flowers from the garden. Then enter the clock workshop, which is a bit to the left of this place. Talk to the master and replace the fuses with new ones. This can be done before entering the building. A warning: if you do this, you will kill the third person.
If you did this, go downstairs and take the screwdriver from the table. Combine the screwdriver with the compass to fix it.
Main Street
Haven't forgotten about the biker who offers a ride? Head to Main Street and accept his offer. Since you have money, pay the man. Climb the hill and use the compass on the "window," then insert the stolen staff into the hole.

Move to the lighthouse building. Go down to the mechanism and set the value to 320 degrees. The lighthouse beam will shine directly on the staff, illuminating the totem in the forest. Interact with the idol to open a secret passage.
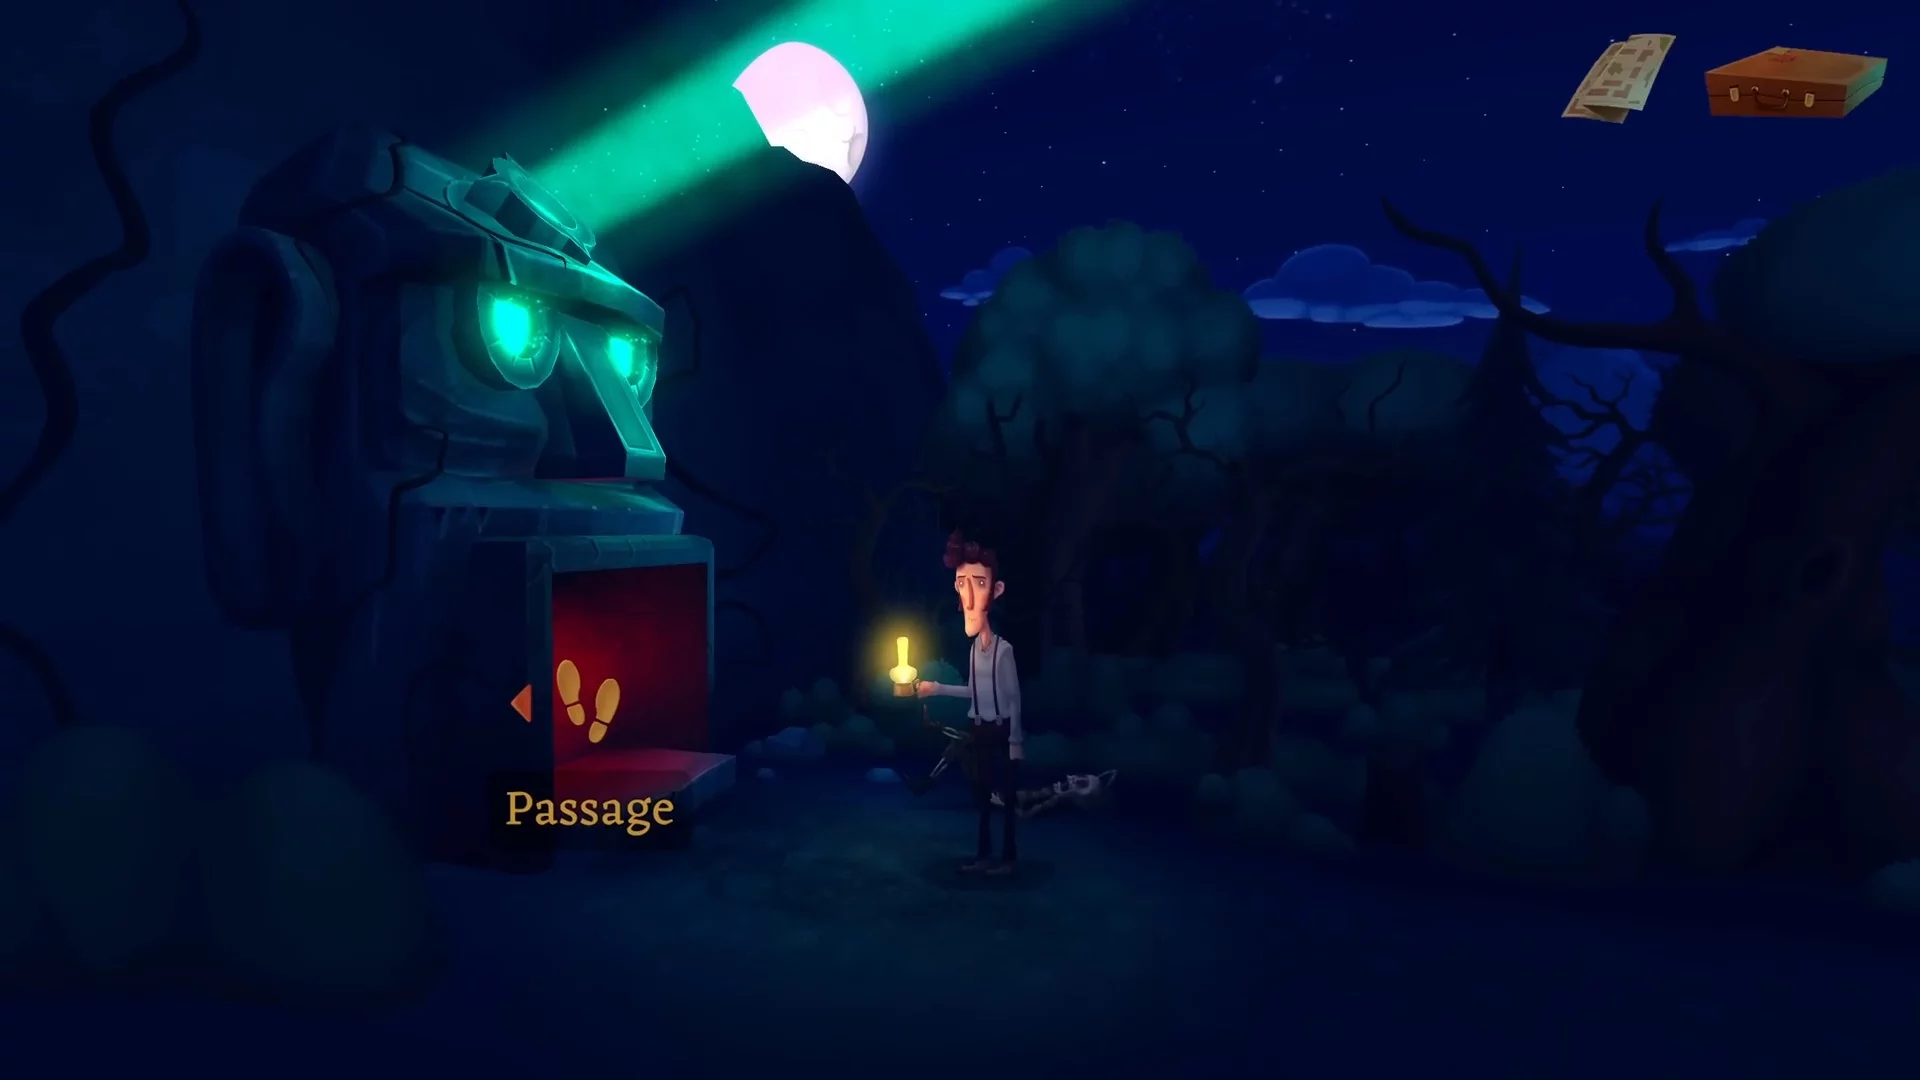
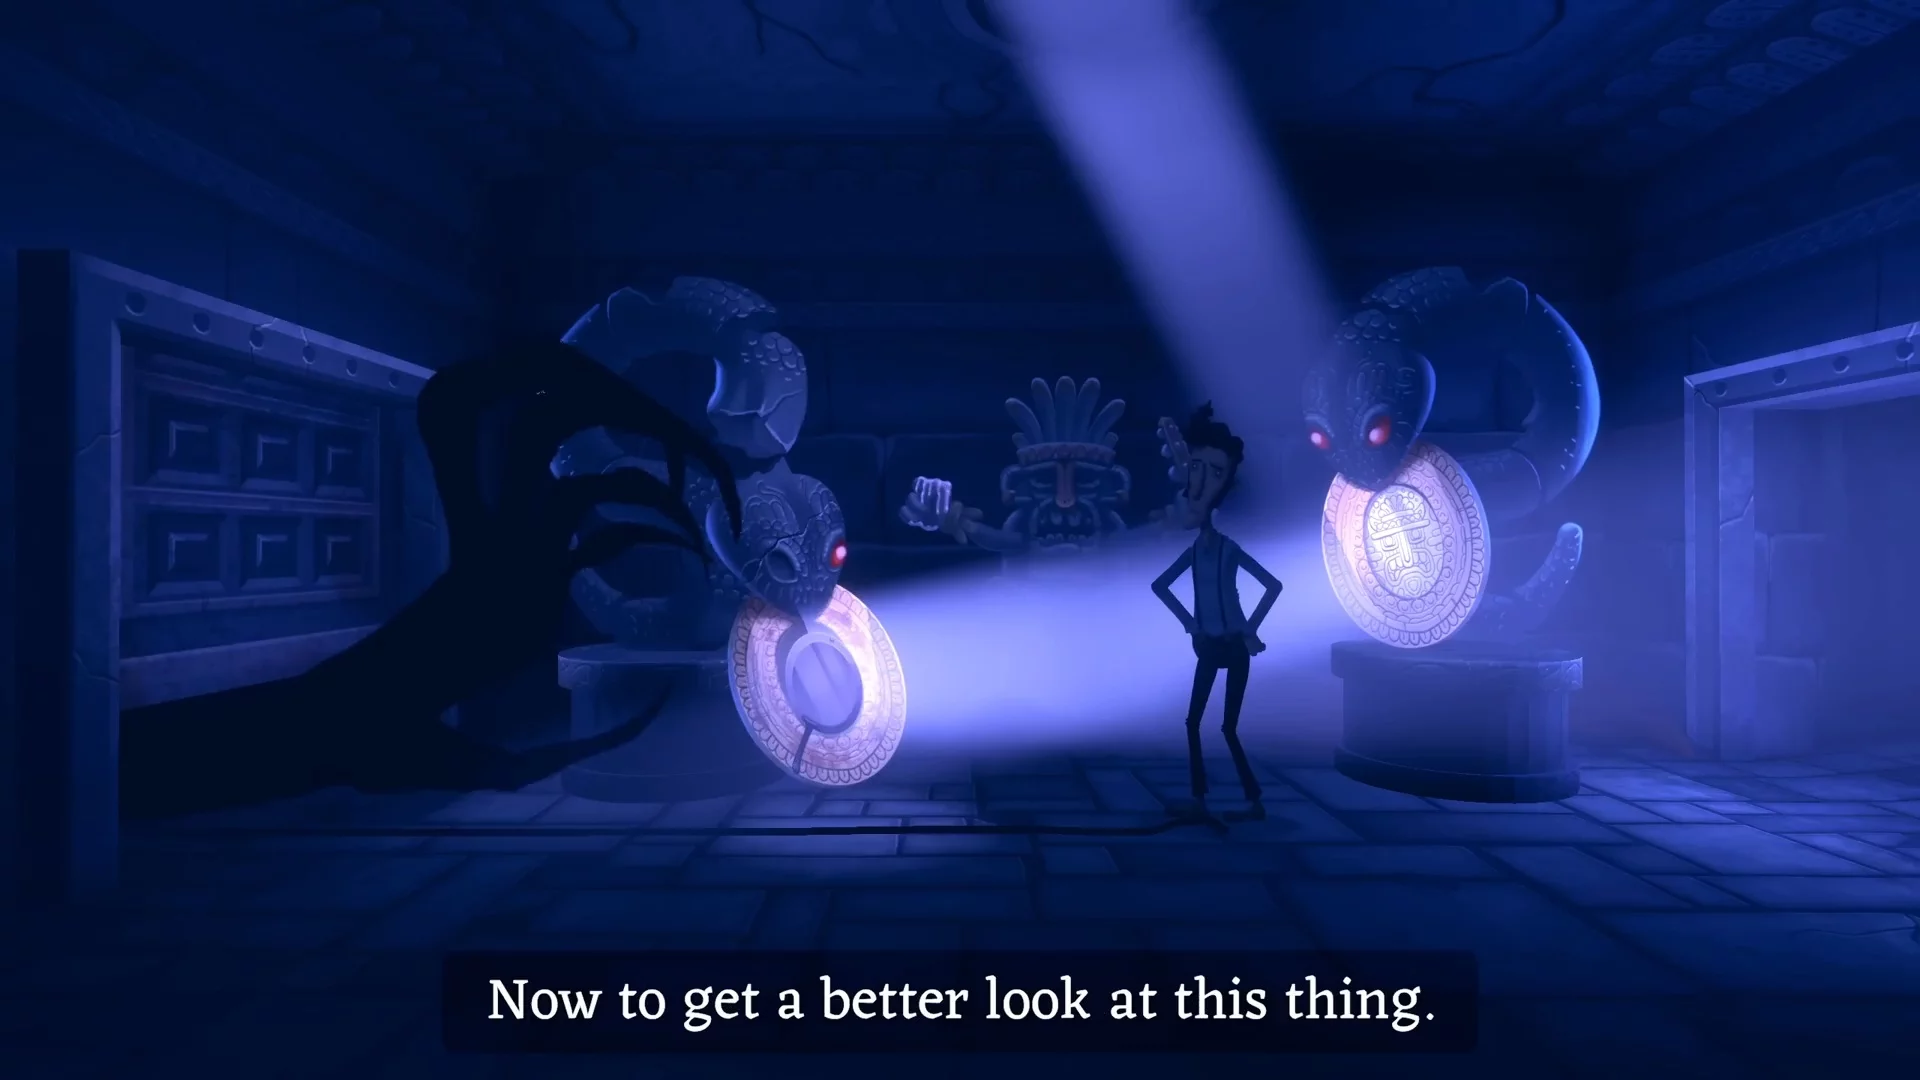
Temple
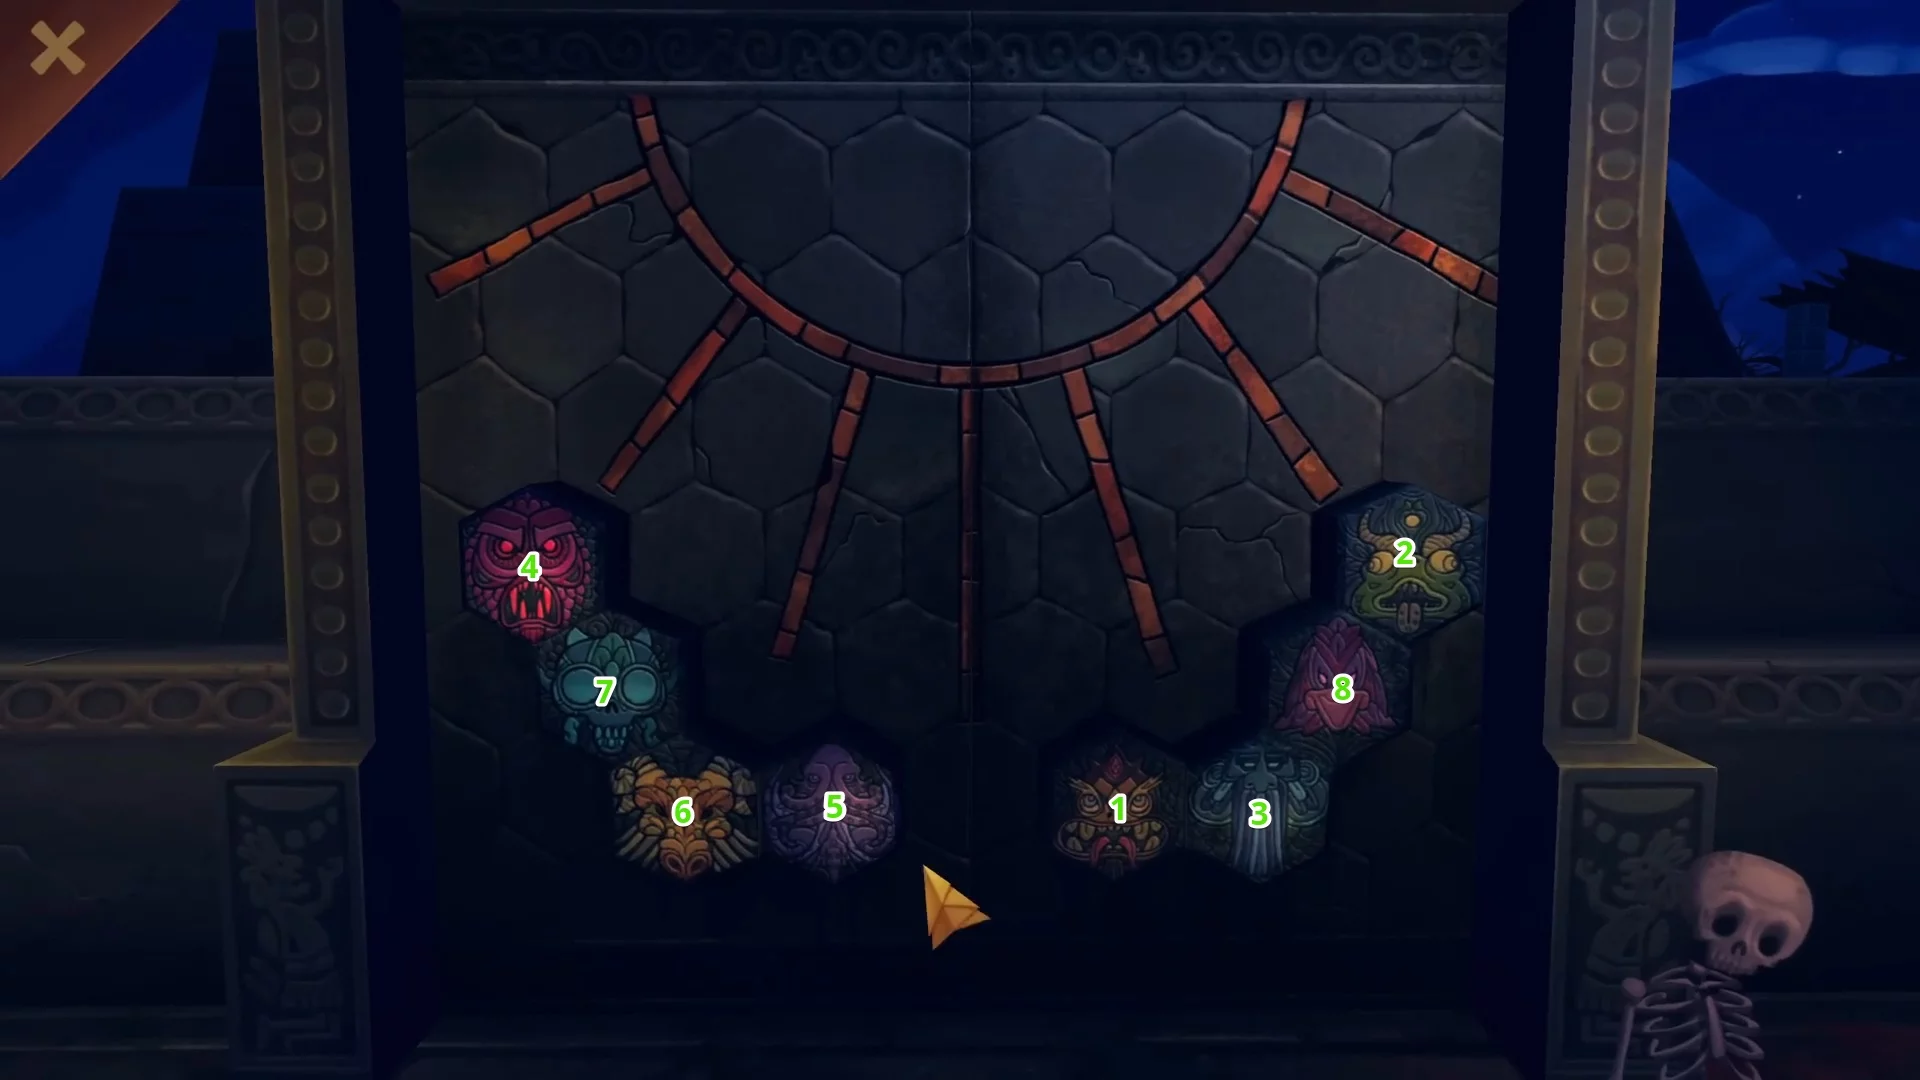
Examine the disk and cube, then interact with the locked door with strange symbols. You may have seen the same symbols in an old magazine lying in your inventory. Interact with them in the following sequence:
- Friendly dragon.
- Horned frog.
- Bearded sage.
- Fanged monster.
- Noble octopus.
- Scaly bull.
- Grinning skull.
- Solemn bird.
However, inside you will find only a ruined sundial and a golden idol. If you pick up the latter, the entrance door will close. For now, there's nothing to do here — let's return to the city.
Sanatorium
At the end of Third Street, you will find the sanatorium building. Enter the hall and talk to the administrator. To meet Lena, you need to provide the visit code. Choose the following numbers:
- Eight.
- Two.
- Nine.
- Three.
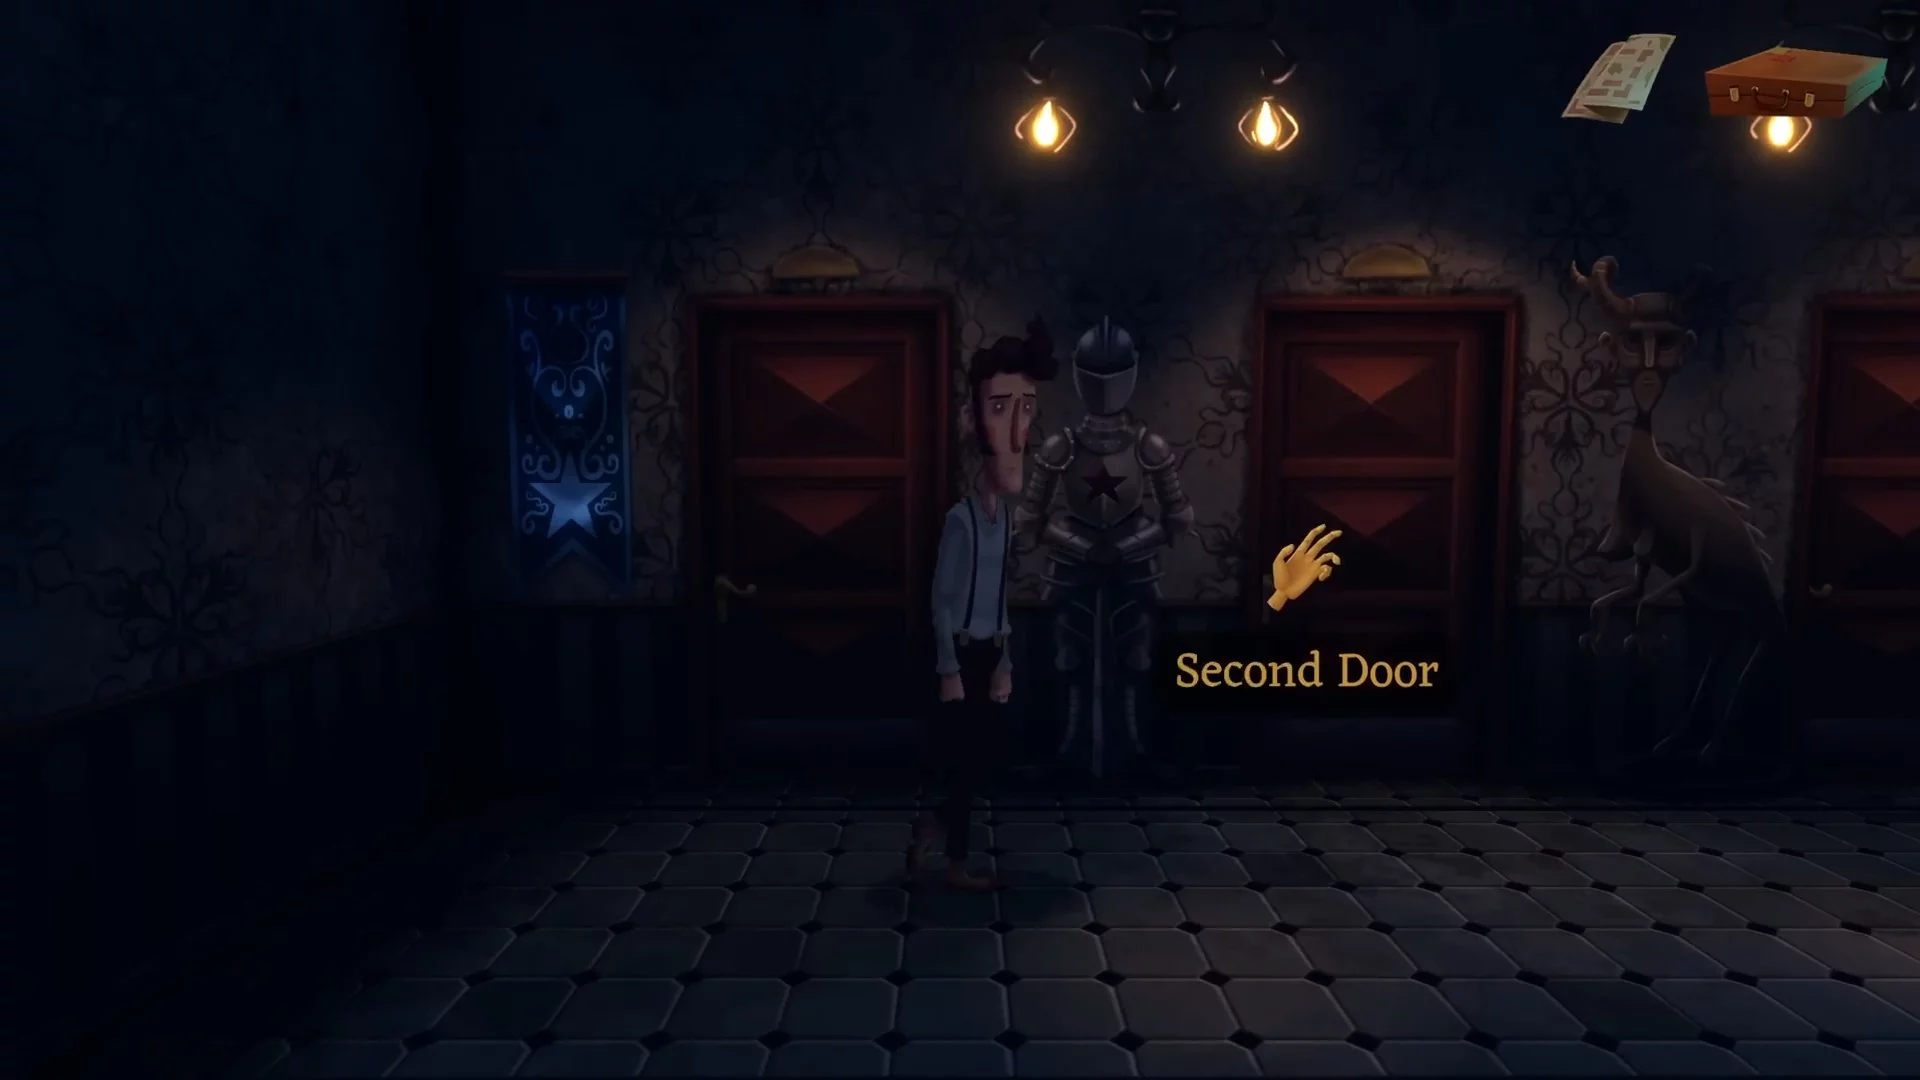
Having done this, go up the stairs. The hero will be met by an employee who will ask you to follow him, but will quickly disappear from view. Now you need to find the correct path on your own.
- Fourth door.
- Fifth door.
- Second door.
- Third door.
- Fourth door.
You will enter the room with Lena. The main character will open the window regardless of your actions, then you can ask the available questions. The girl will explain that the main character is currently a walking instrument of death, as he has already started killing people, albeit not of his own will. Then Lena will give you the factory basement key.
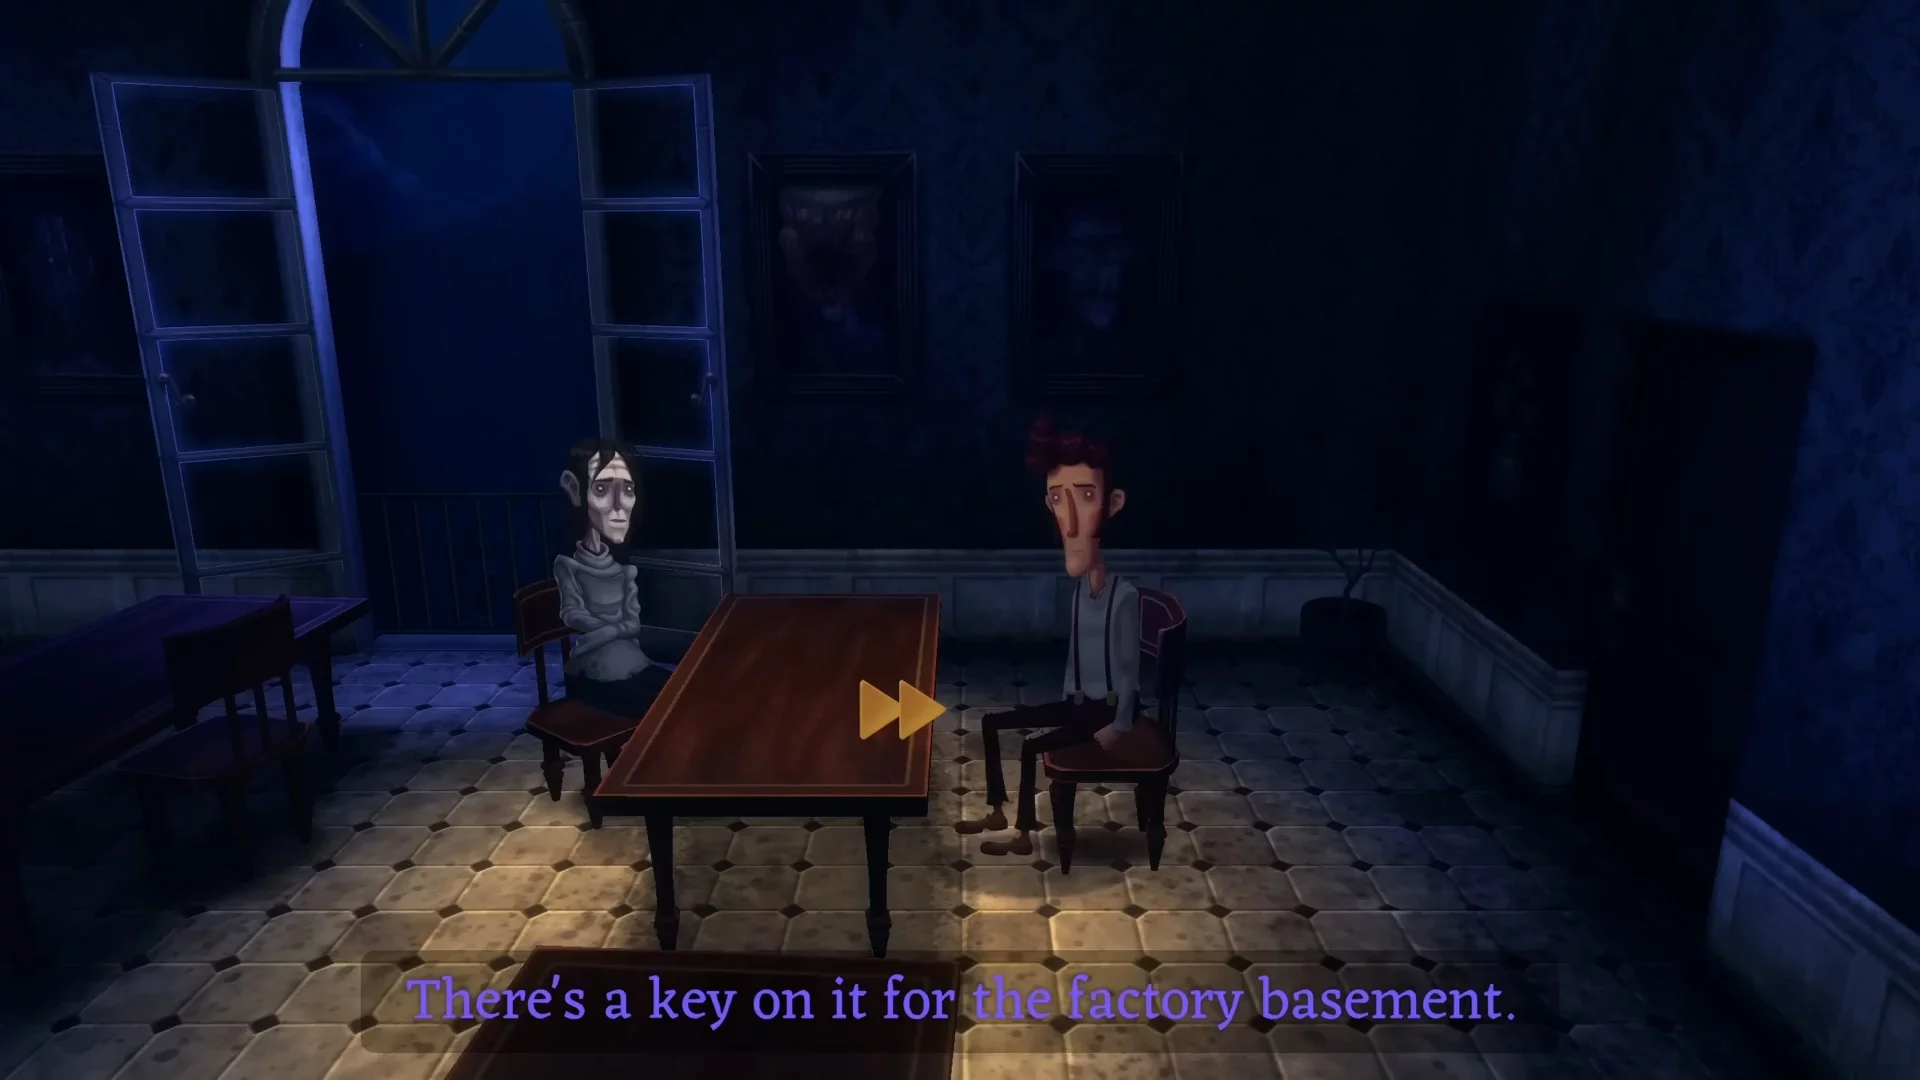
At the end of the dialogue, the girl will approach the window and jump out, explaining that it is necessary to do so. Now the fourth death is on your conscience.
Factory
The factory building is located next to Lena's house on Third Street. Walk around the building on the left side and open the basement with the key. Go to the end of the location and interact with the pile of scrap metal to take the mechanical child. Climb the stairs to the laboratory, pick up the punch card on the boxes, and insert it into the machine on the left. Enter the combination:
- Forward.
- Forward.
- Forward.
- Back.
- Forward.
- Wait.
- Forward.
- Forward.
- Turn.

Take the printed punch card, combine the card with the mechanical baby in the inventory. Move to the next room, place the baby on the conveyor and start the mechanism. If you did everything correctly, the baby will reach the end of the conveyor and break it. Crawl forward to climb into the office.
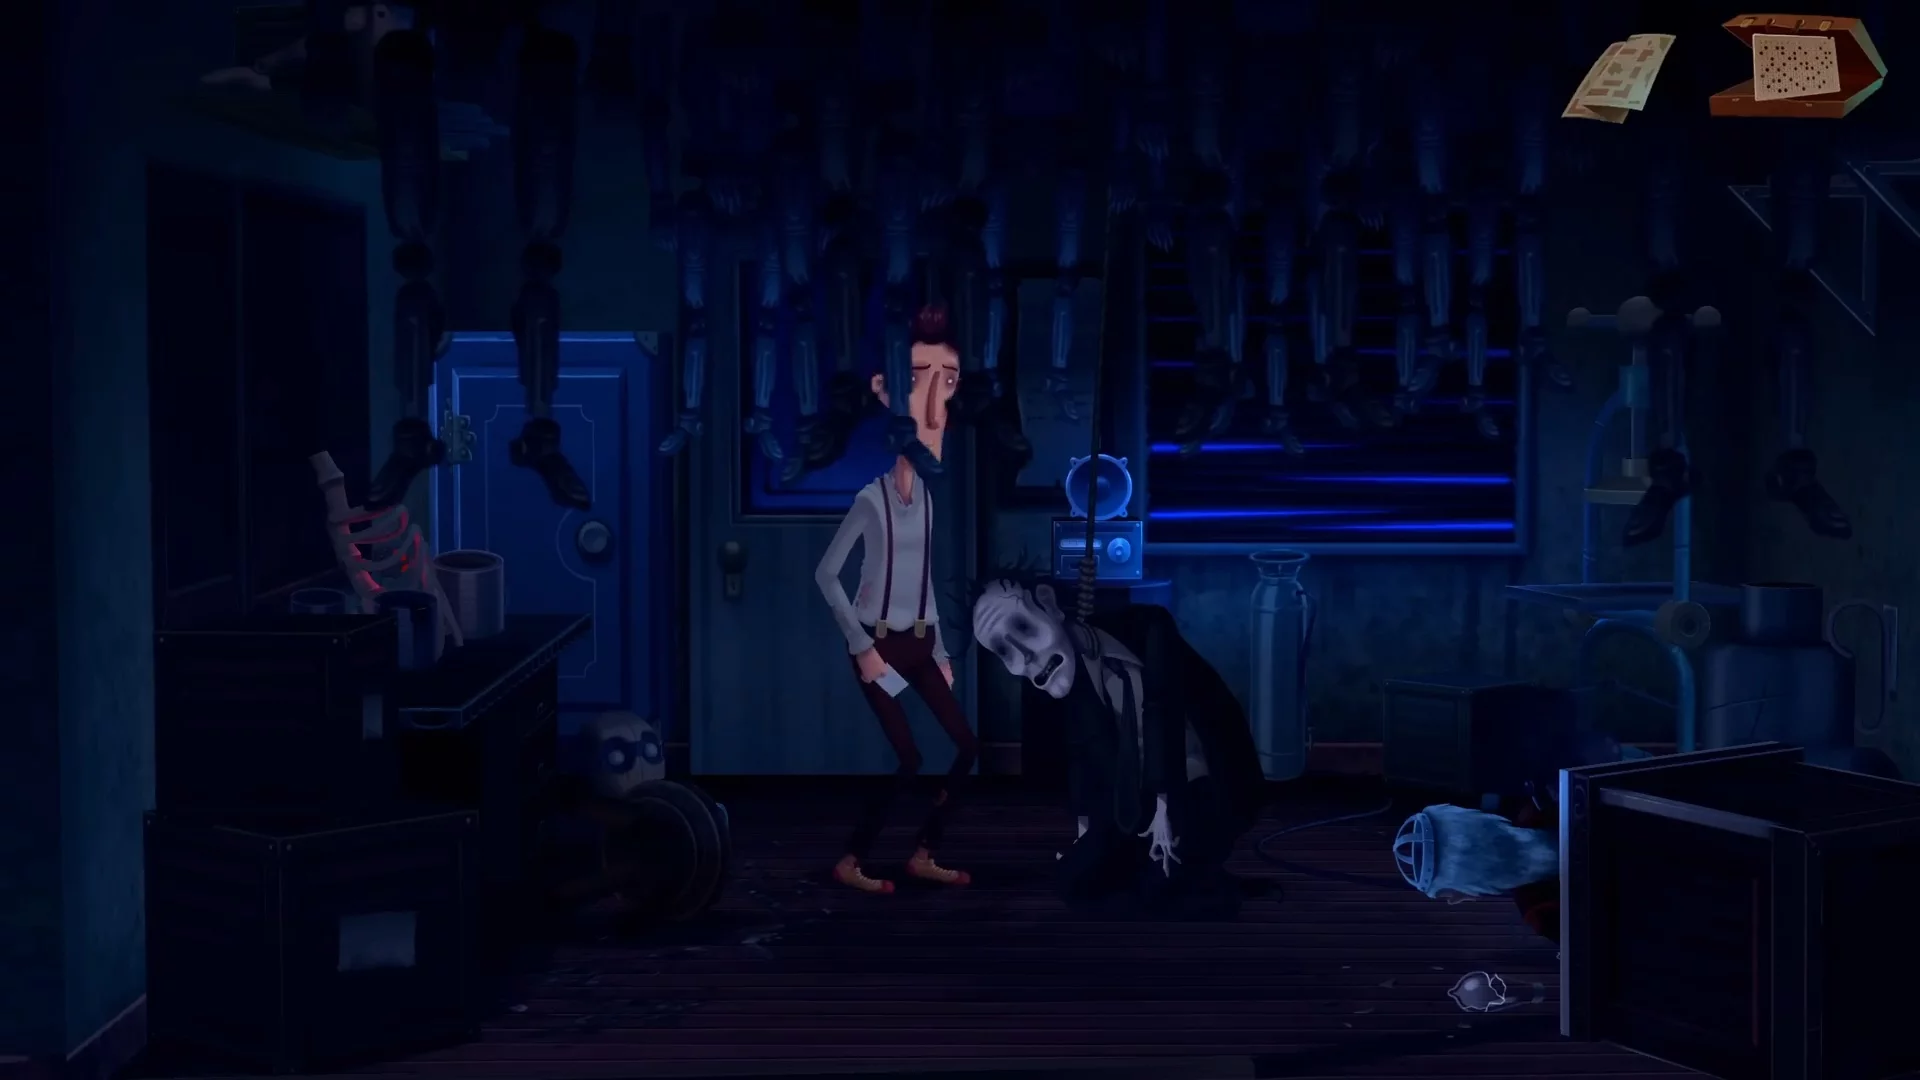
By interacting with the radio, you will see another flashback. Pull the rope on the wall to the right — Vincent's corpse will fall from above. Search the pockets of his jacket, take the second punch card.
Go to Lena's house, apply the second punch card to the automatic typewriter next to the fireplace. You will receive Vincent's letter with the code 18-6-23. Return to the factory and interact with the safe in the office. Enter the received combination, take the second letter and herbicide.
Second Street
The further path leads to the country garden, which is located at the end of Second Street, before the transition to the observatory. Combine the empty pot with flowers in the inventory, then with herbicide. Take the sprayer from the table and also combine it with herbicide, then return it to its place. Talk to the worker and say that the flowers look dry. Then place the pot from the inventory on the table.
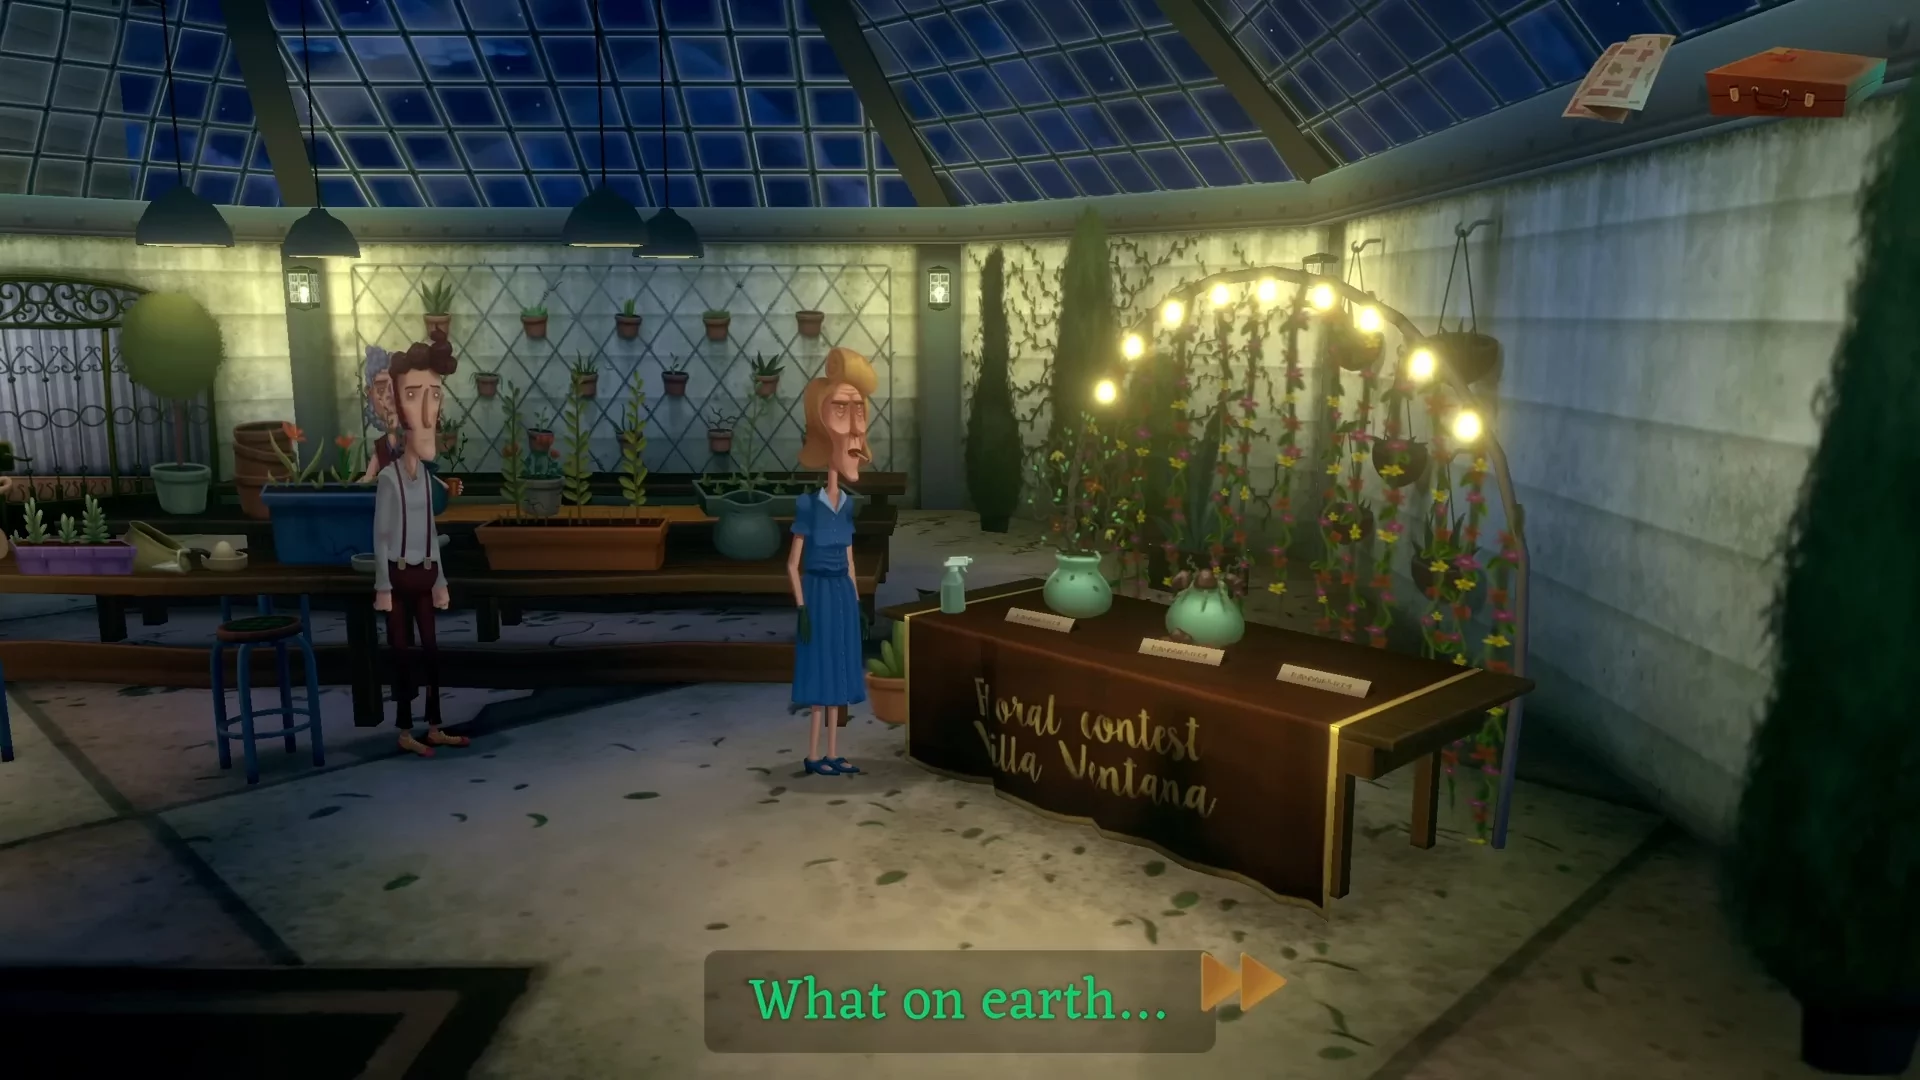
Forest
After the tea party, you will find yourself in the greenhouse again. Pick up the mask from the table and move to the police station. Right now, the sheriff is absent because there are corpses in the city, use this to get the handcuffs.
Go to the temple, apply the handcuffs to the counterweight at the entrance door. Take the golden idol. Since we secured the counterweight, it won't allow the door to lock even after picking up the idol.
Return to the fork in the forest and run to the left. If you try to pass through the flowers without a gas mask, you will see a funny scene. Apply the mask to the flowers so the hero puts it on and safely passes forward. Eventually, you will find yourself next to the cultists. Ask them all the questions you are interested in and show the golden idol.

Hunting Club
Head to the bookstore, enter the reading room, and apply your manuscript on the podium. After some time, the shop owner will call the president of the hunting club and say that they couldn't sell a single copy of the book.
Proceed to the hunting club, where this time Mr. Gordon will kindly receive us. The man will take the protagonist to the shooting range and hand over a bow. During the competition, you need to use the idol so that Gordon misses. More precisely, his arrow will simply evaporate.
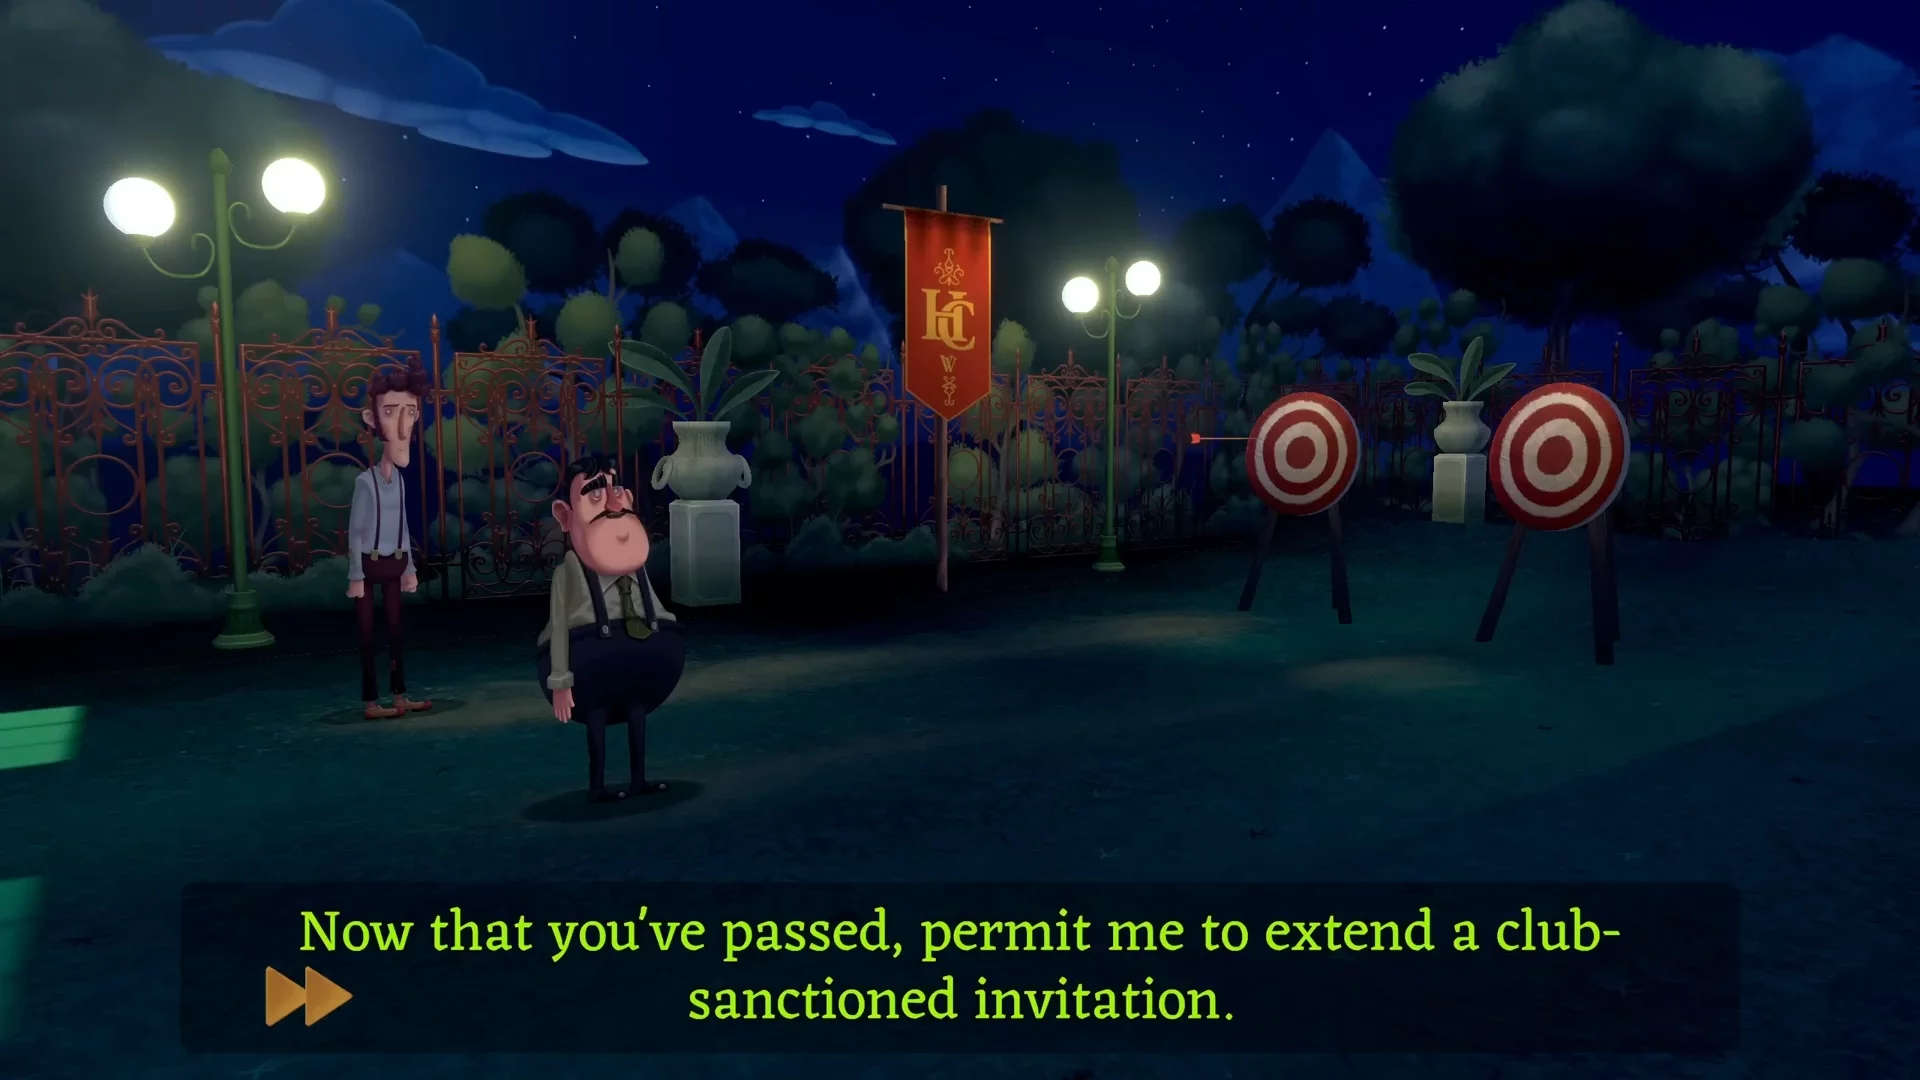
After some time, Mr. Gordon will decide to kill the protagonist. When he talks about the last word, choose "Are you ready to kill your neighbors?". Then watch an extended scene with Gordy's mother.
Ruins
When control switches to the player, return to the camp, take the axe, pan, and fat from the bucket. Use the axe on the tree to get vine. Move to the next location with the ruins.
Examine the mechanism for opening the gates, then the seal at the top. Go around the ruins on the right side and you will be able to enter the temple. Apply the fat on the staff, take it. Insert the pan into the broken shield. Use the staff to open the seal on the elevation and return back to the temple.

To the right of the entrance, pick up a bone, go to the mechanism for opening the gates and use it to jam it. Also, use the vine to close the gates from the other side.
Soon, a hunter with his mother will appear. While they are opening the gates, the protagonist will pick up a gun, and a little later, the sheriff will approach. You will have a choice: continue to fight or retreat. If you choose the first option, the protagonist will kill the policeman. The game will end there.
Post-Credits Scene
Take the screwdriver from the box and apply it to the road sign. Swap the signs — on the left "No Parking", on the right "Parking Spot". Take the book from the box of the deceased driver.
In the next room, take the rug and towel, hang the latter on the parrot, and take the scissors under it. Use them on the hatch cover in the floor and close the hole with the rug. Turn on the machine on the left and tell the barber about it.
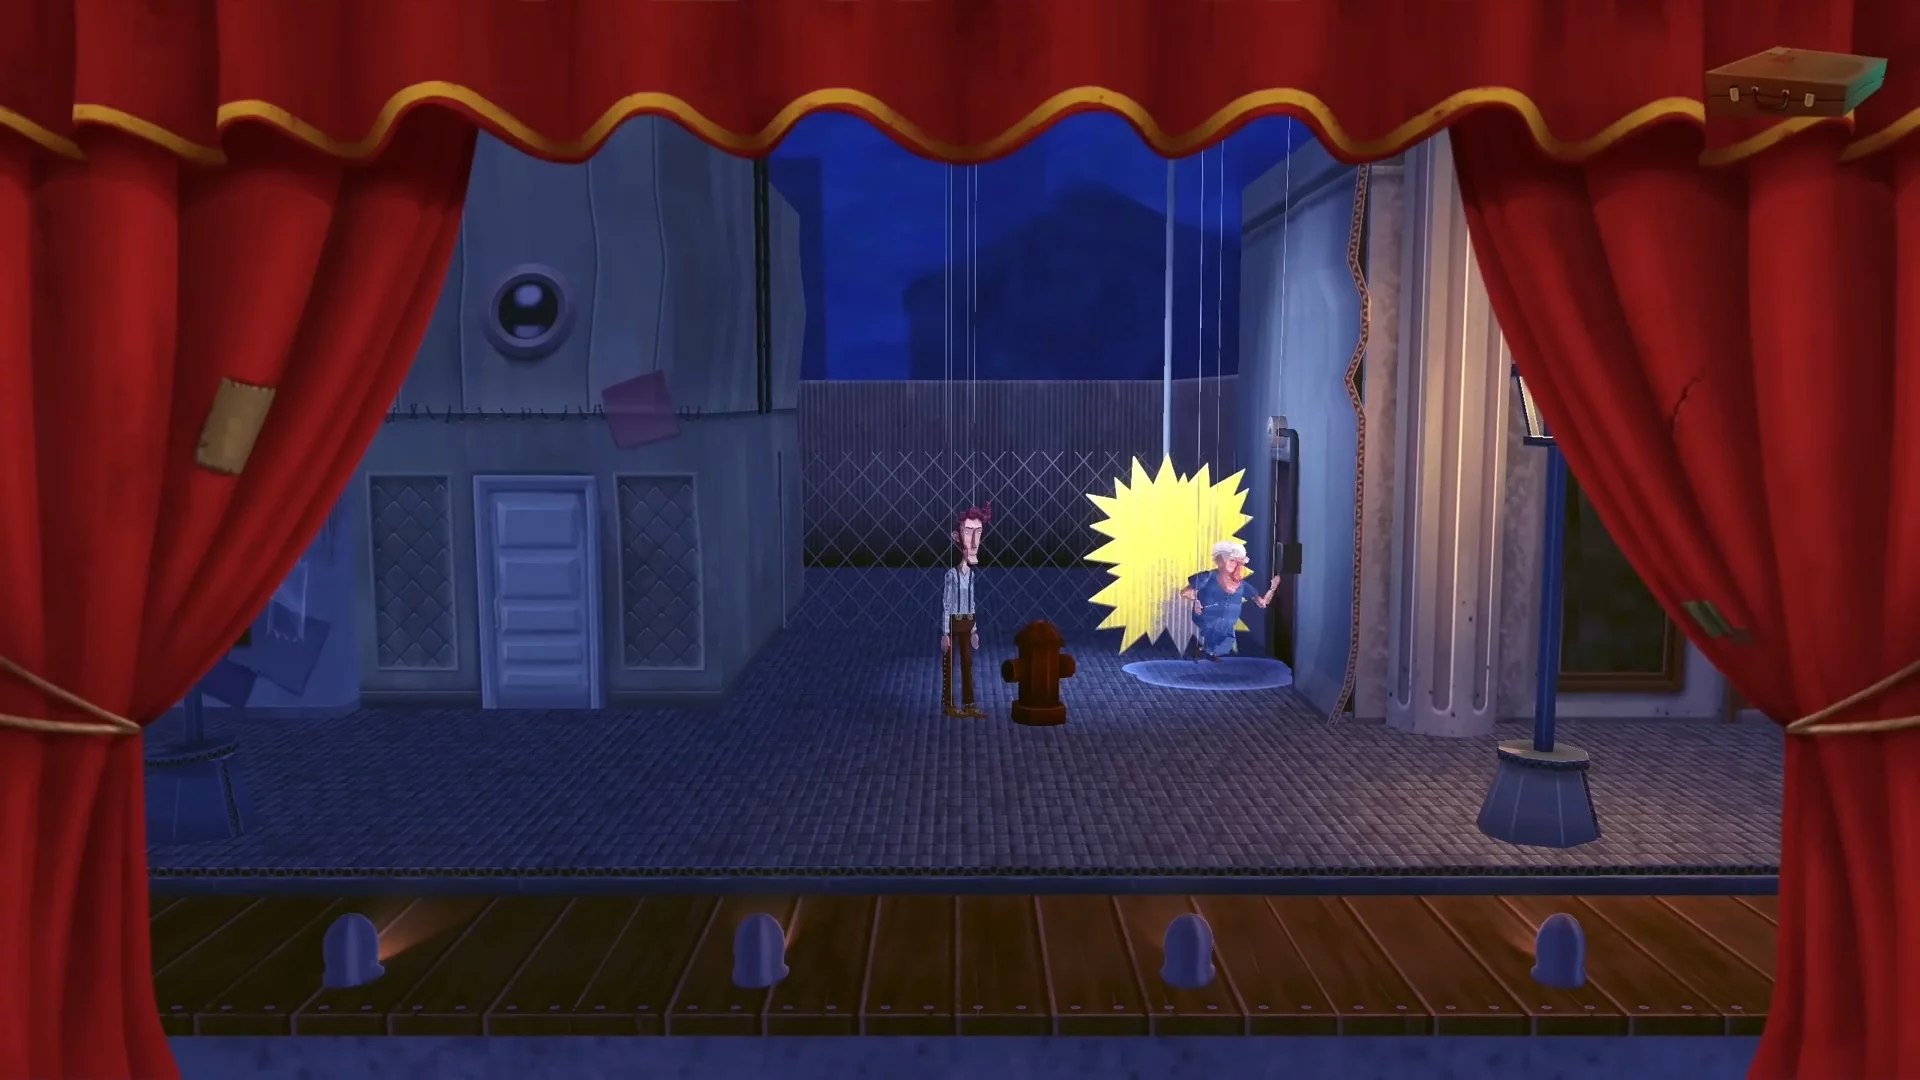
Another scene. Take the ladder part behind the worker. Place it next to the tool shop sign, you will be able to pick up a wrench. Use the wrench on the fire hydrant to kill the electrician.
We find ourselves at Lena's house. Pick up the mannequin behind the broken showcase and the scooter a little further down the street. On the other side of the street, take the notice and clothes from the clothesline. Combine all the items in the inventory and apply the result on the policeman.
-
 Baldur’s Gate 3 Romance Guide: Every Companion You Can Date
 -
 Baldur’s Gate 3 Adamantine Forge Guide
 -
 Baldur’s Gate 3 Infernal Iron Locations for Karlach
 -
 How to Find All Companion Characters in Baldur's Gate 3
 -
 Baldur’s Gate 3 Moonrise Towers Guide: Defiled Temple Moon Puzzle
 -
 How to Open Selune’s Gilded Chest in Baldur’s Gate 3
 -
 Baldur’s Gate 3 Owlbear Cub Guide: How to Recruit It to Your Camp
 -
 Baldur’s Gate 3 Open Hand Temple Murders Guide
 -
 How to Check PC Specs on Windows 10 and 11 for CPU, GPU and RAM
 -
 Palworld Best Pals Guide: Early Game, Combat, Base, and Mounts