Post Trauma is a new psychological horror in the style of Silent Hill. Keeping up with the traditions of games of this genre, the game is filled with all sorts of puzzles and mysteries. In this guide, we will detail the game's storyline walkthrough.
Prologue (Carlos and Roman)

In the very first cutscene, you need to press the indicated button on the gamepad or mouse. After that, the character will wake up in a subway car. Once you gain control, run forward. This will take you to another car where you will encounter a locked passage.
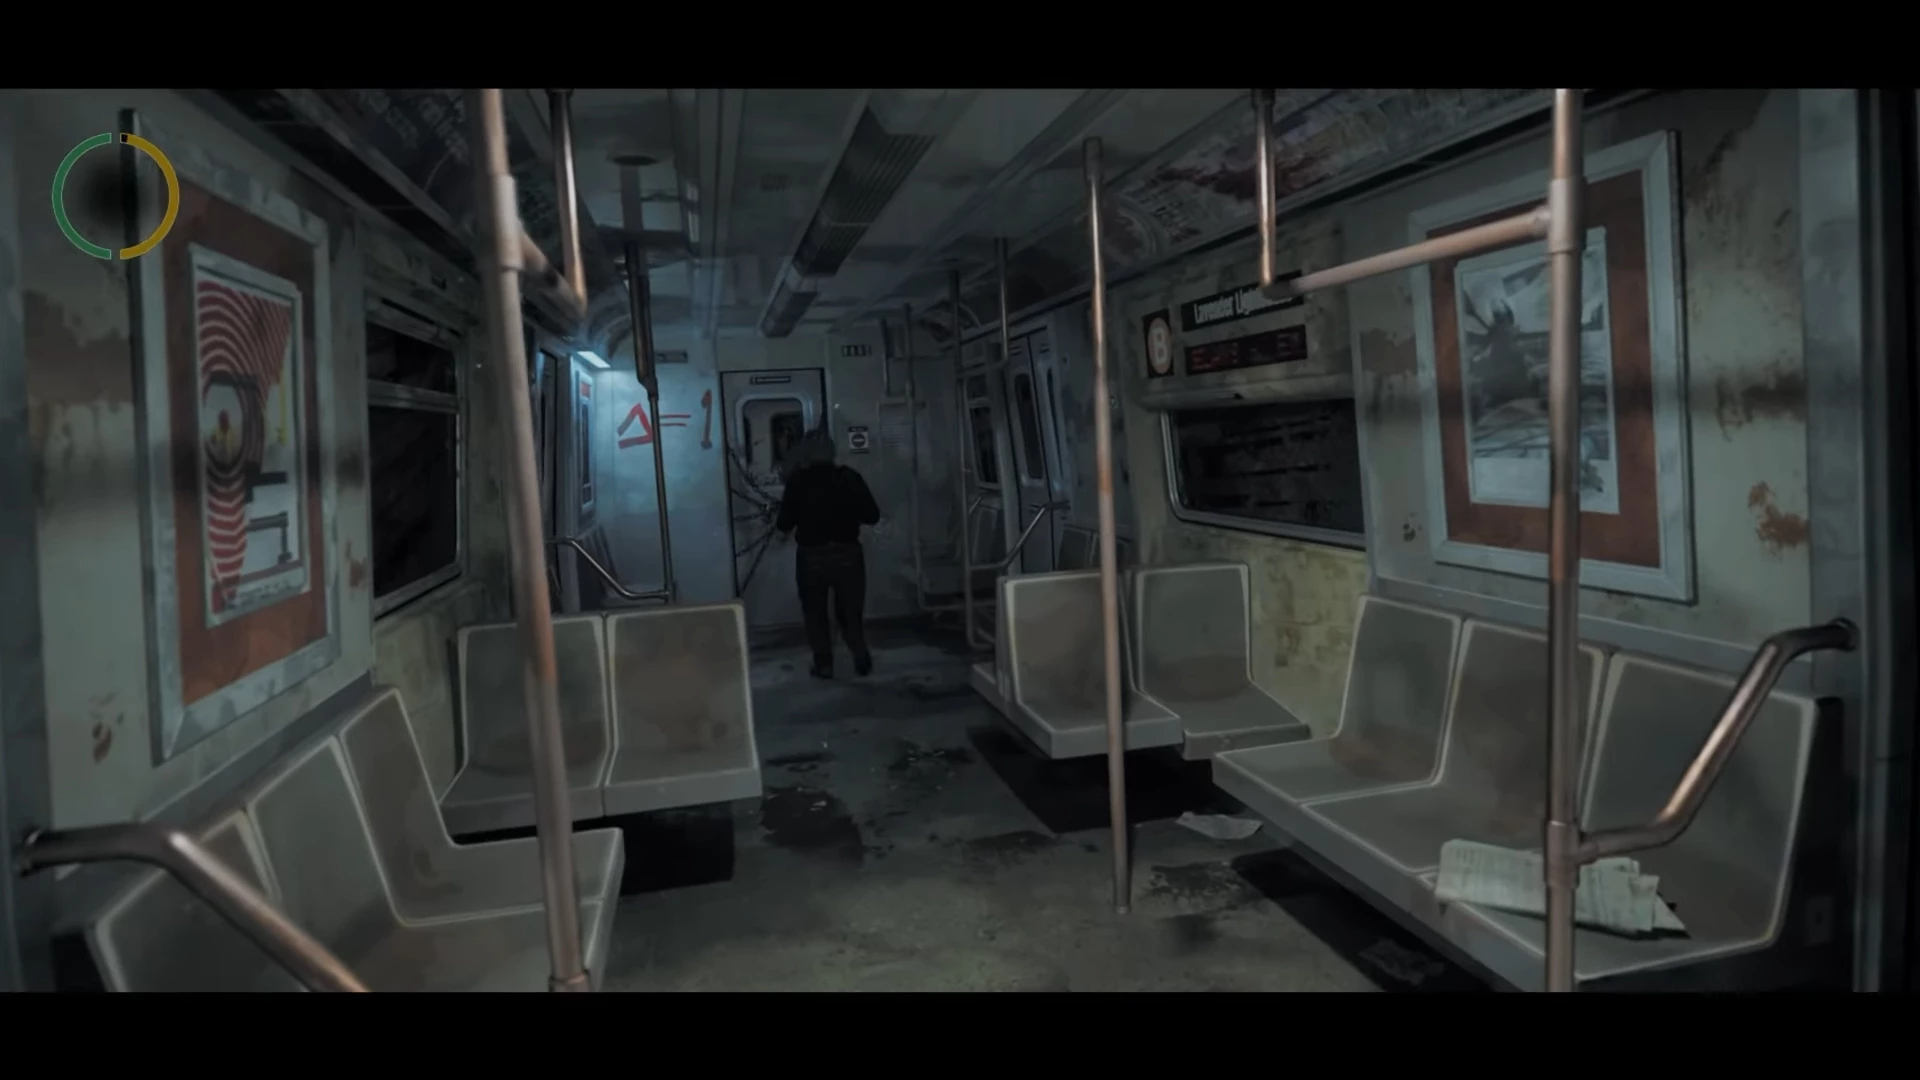
Remember the red inscription on the wall to the left about the triangle. Also, don't miss the letters lying by the exit.
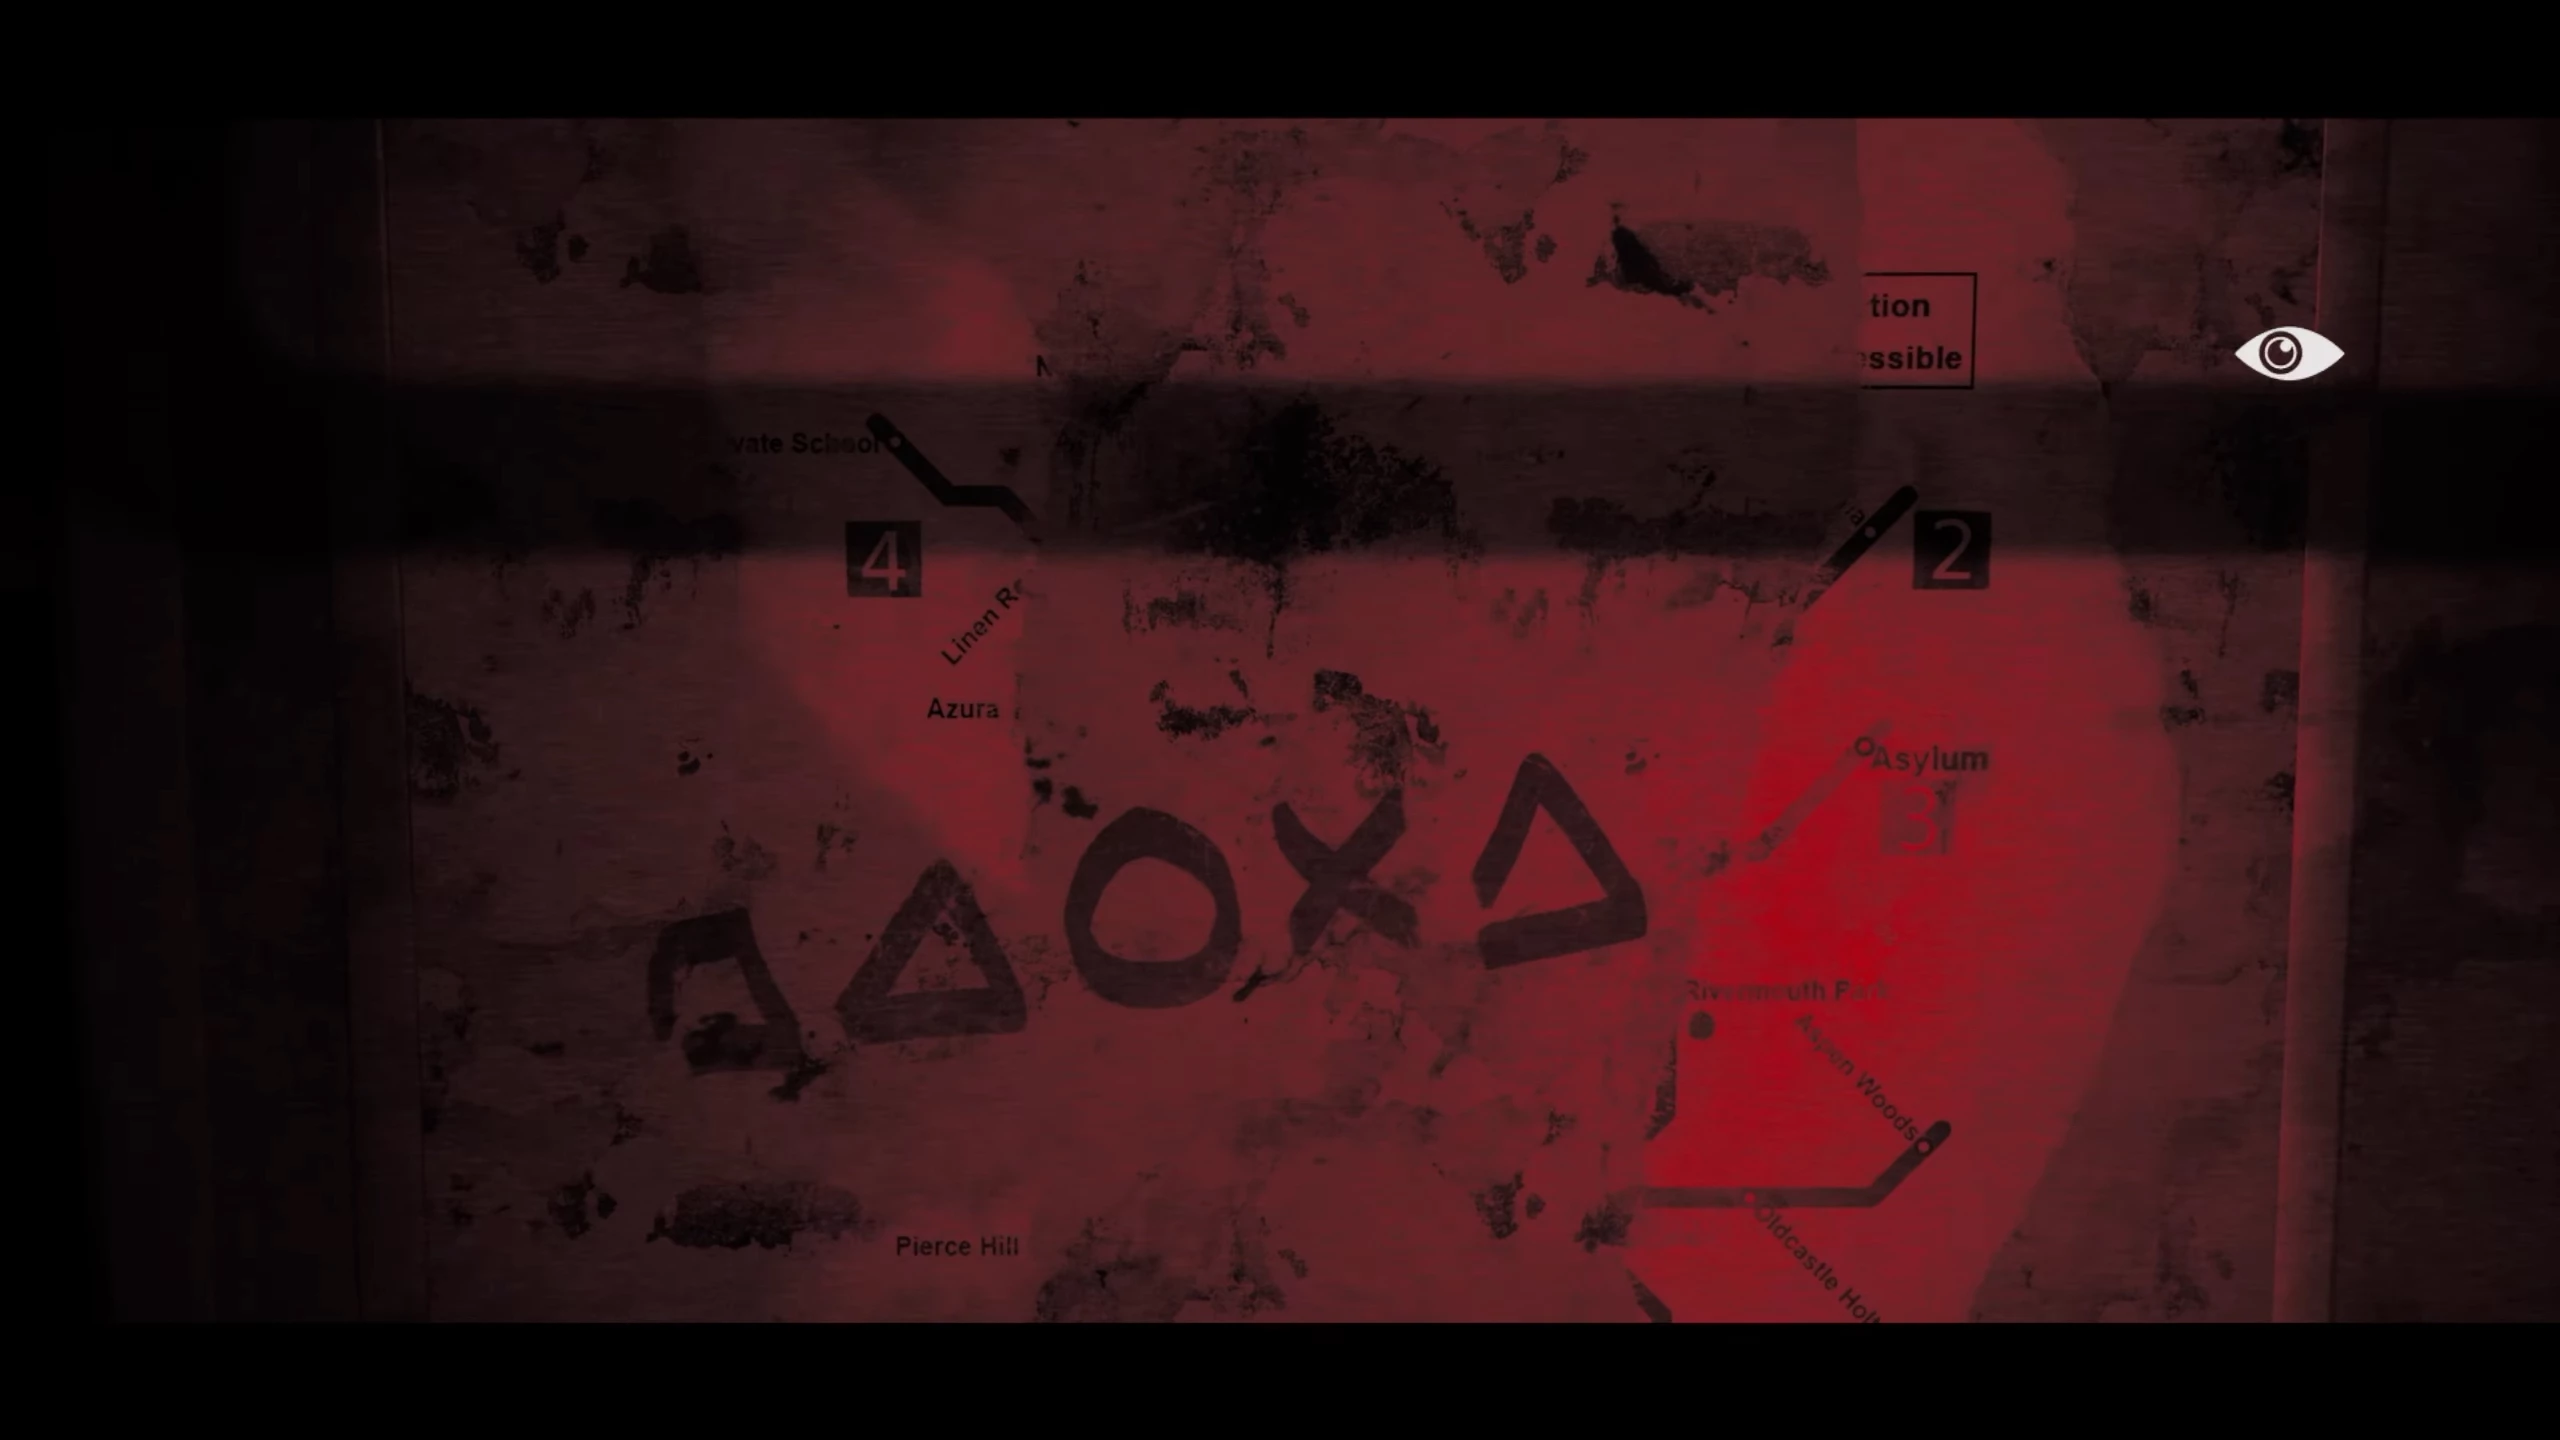
Approach the communication device with the driver in the starting car. After interacting with it, a door will open on the other side. In the middle of the new car, there will be a map hanging. Look at it and see that the square equals seven. Now head further and squeeze through a small gap.
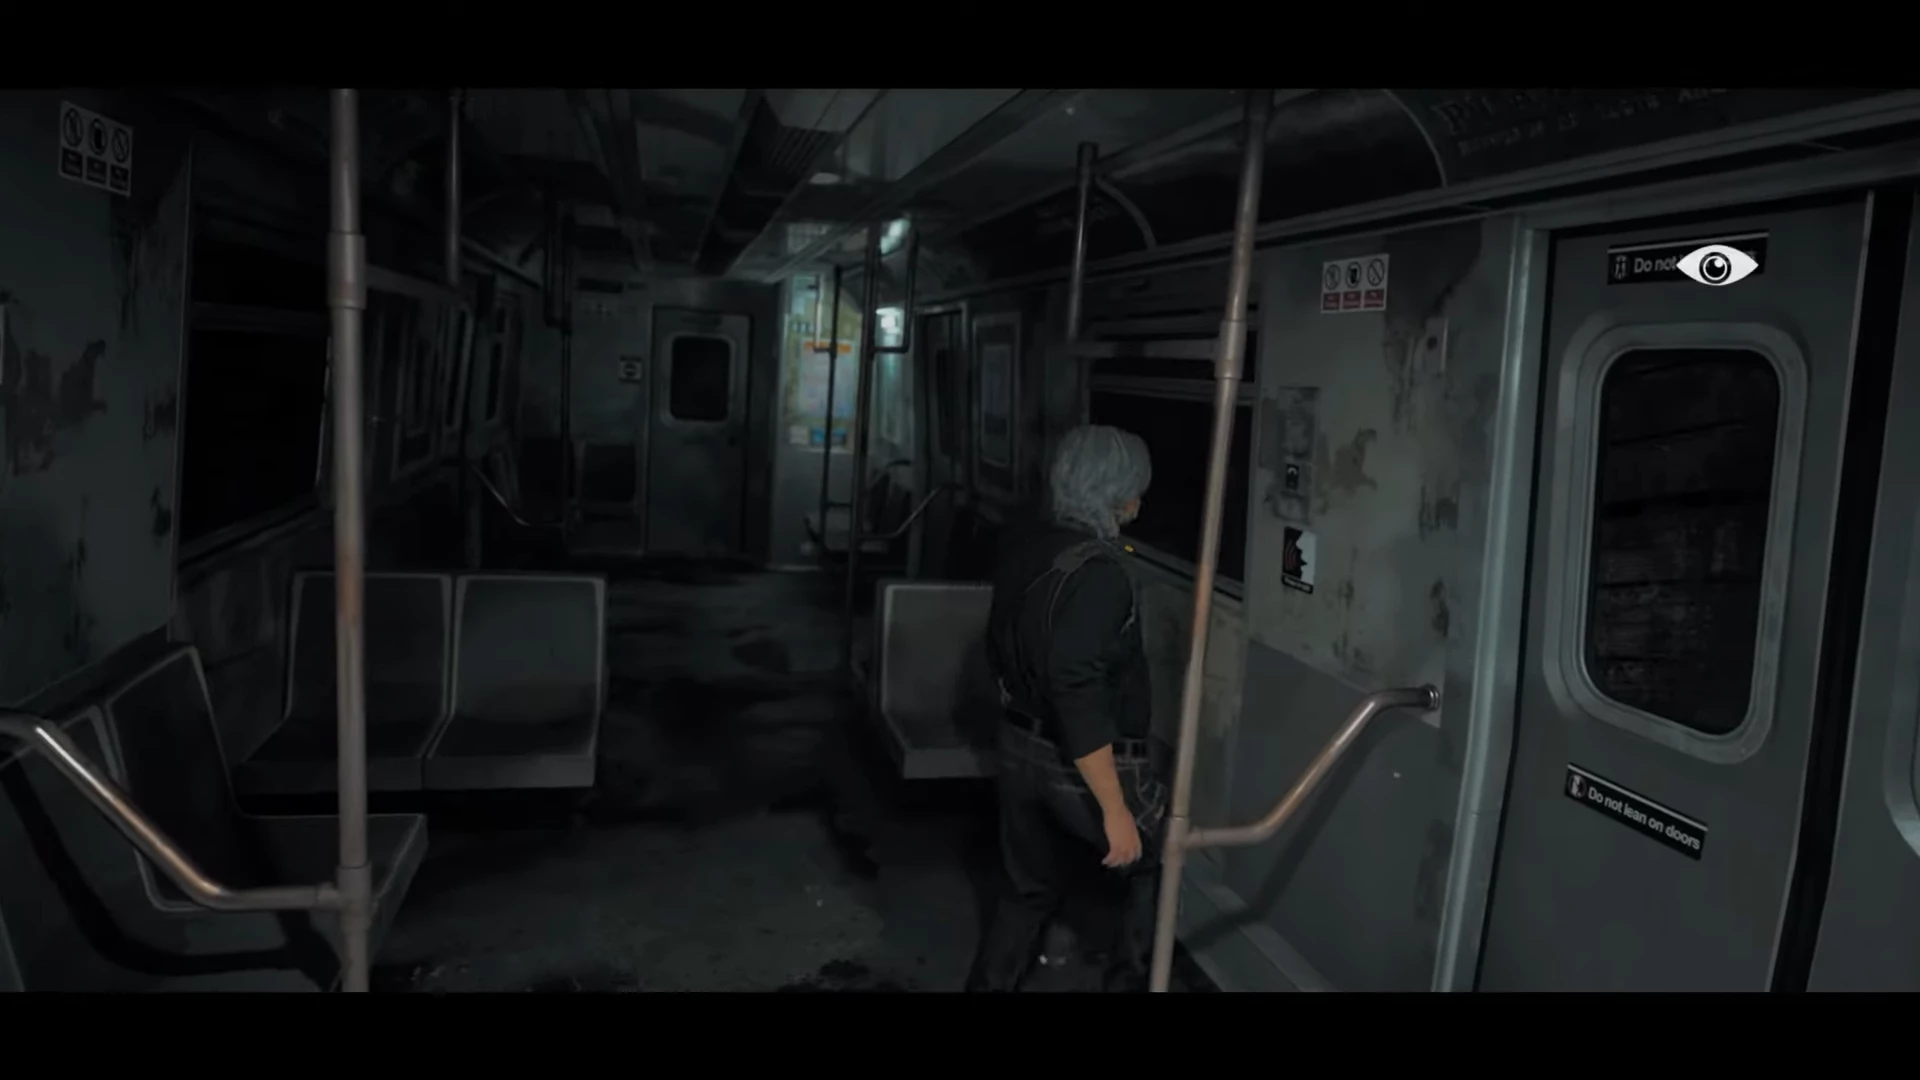
Go to the end, past all the mannequins. The entire cabin is covered with combinations needed to open the code lock: square, triangle, circle, cross, triangle. Remember it and reach the end.
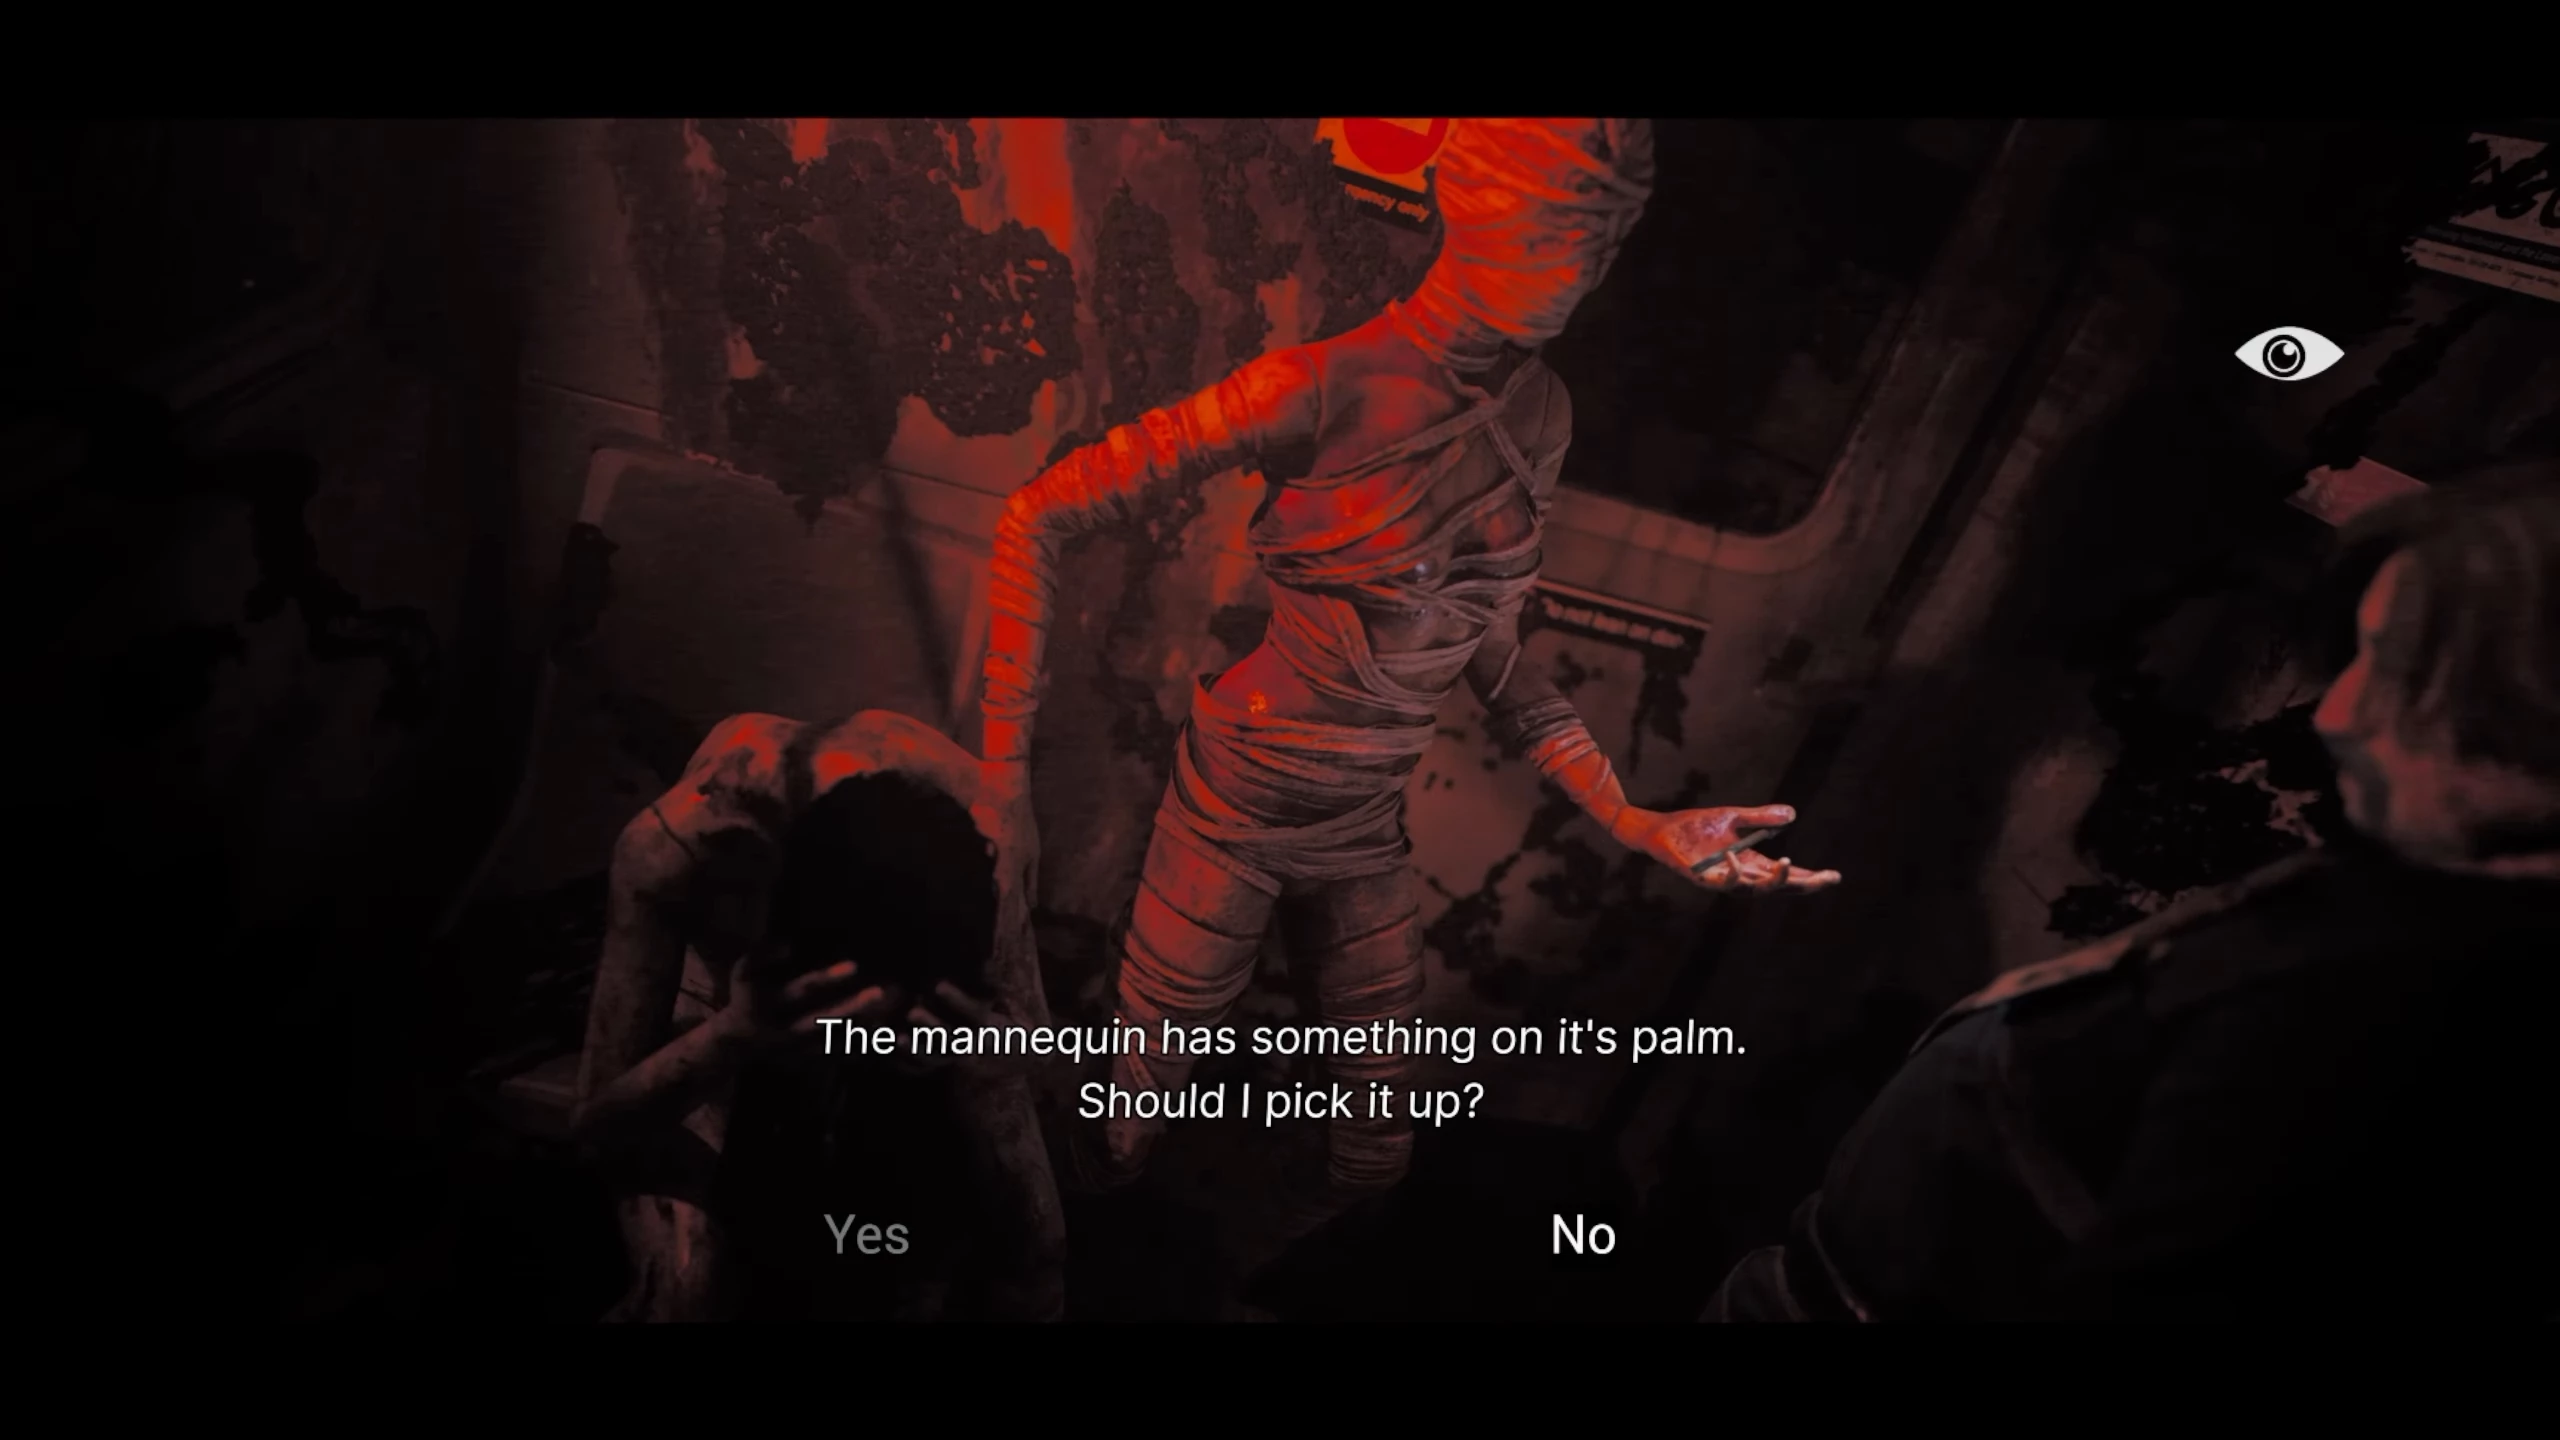
There awaits a mannequin with a mechanism to open the lock. Take it and head back to find out the value of the circle and cross.
To do this, combine two maps: one in the corner of the very first car and the other where we found the square. Note that each line has a numerical value. The square equals seven because it is the intersection of the red and green routes, i.e., 4+3. Similarly, we understand that the cross equals five, and the circle — six. Thus, the code is 71651.
Return to the lock. Insert the mechanism from the inventory and enter the obtained value. In the opened driver's cabin, press the large red button. After a few seconds, a green light will illuminate above the door, and the character will be able to escape from the train.
Subway (Roman)
Upon reaching the fork at the station, don't rush to leave the platform. First, walk along the platform where a used cassette will be lying on one of the benches. Pick it up.
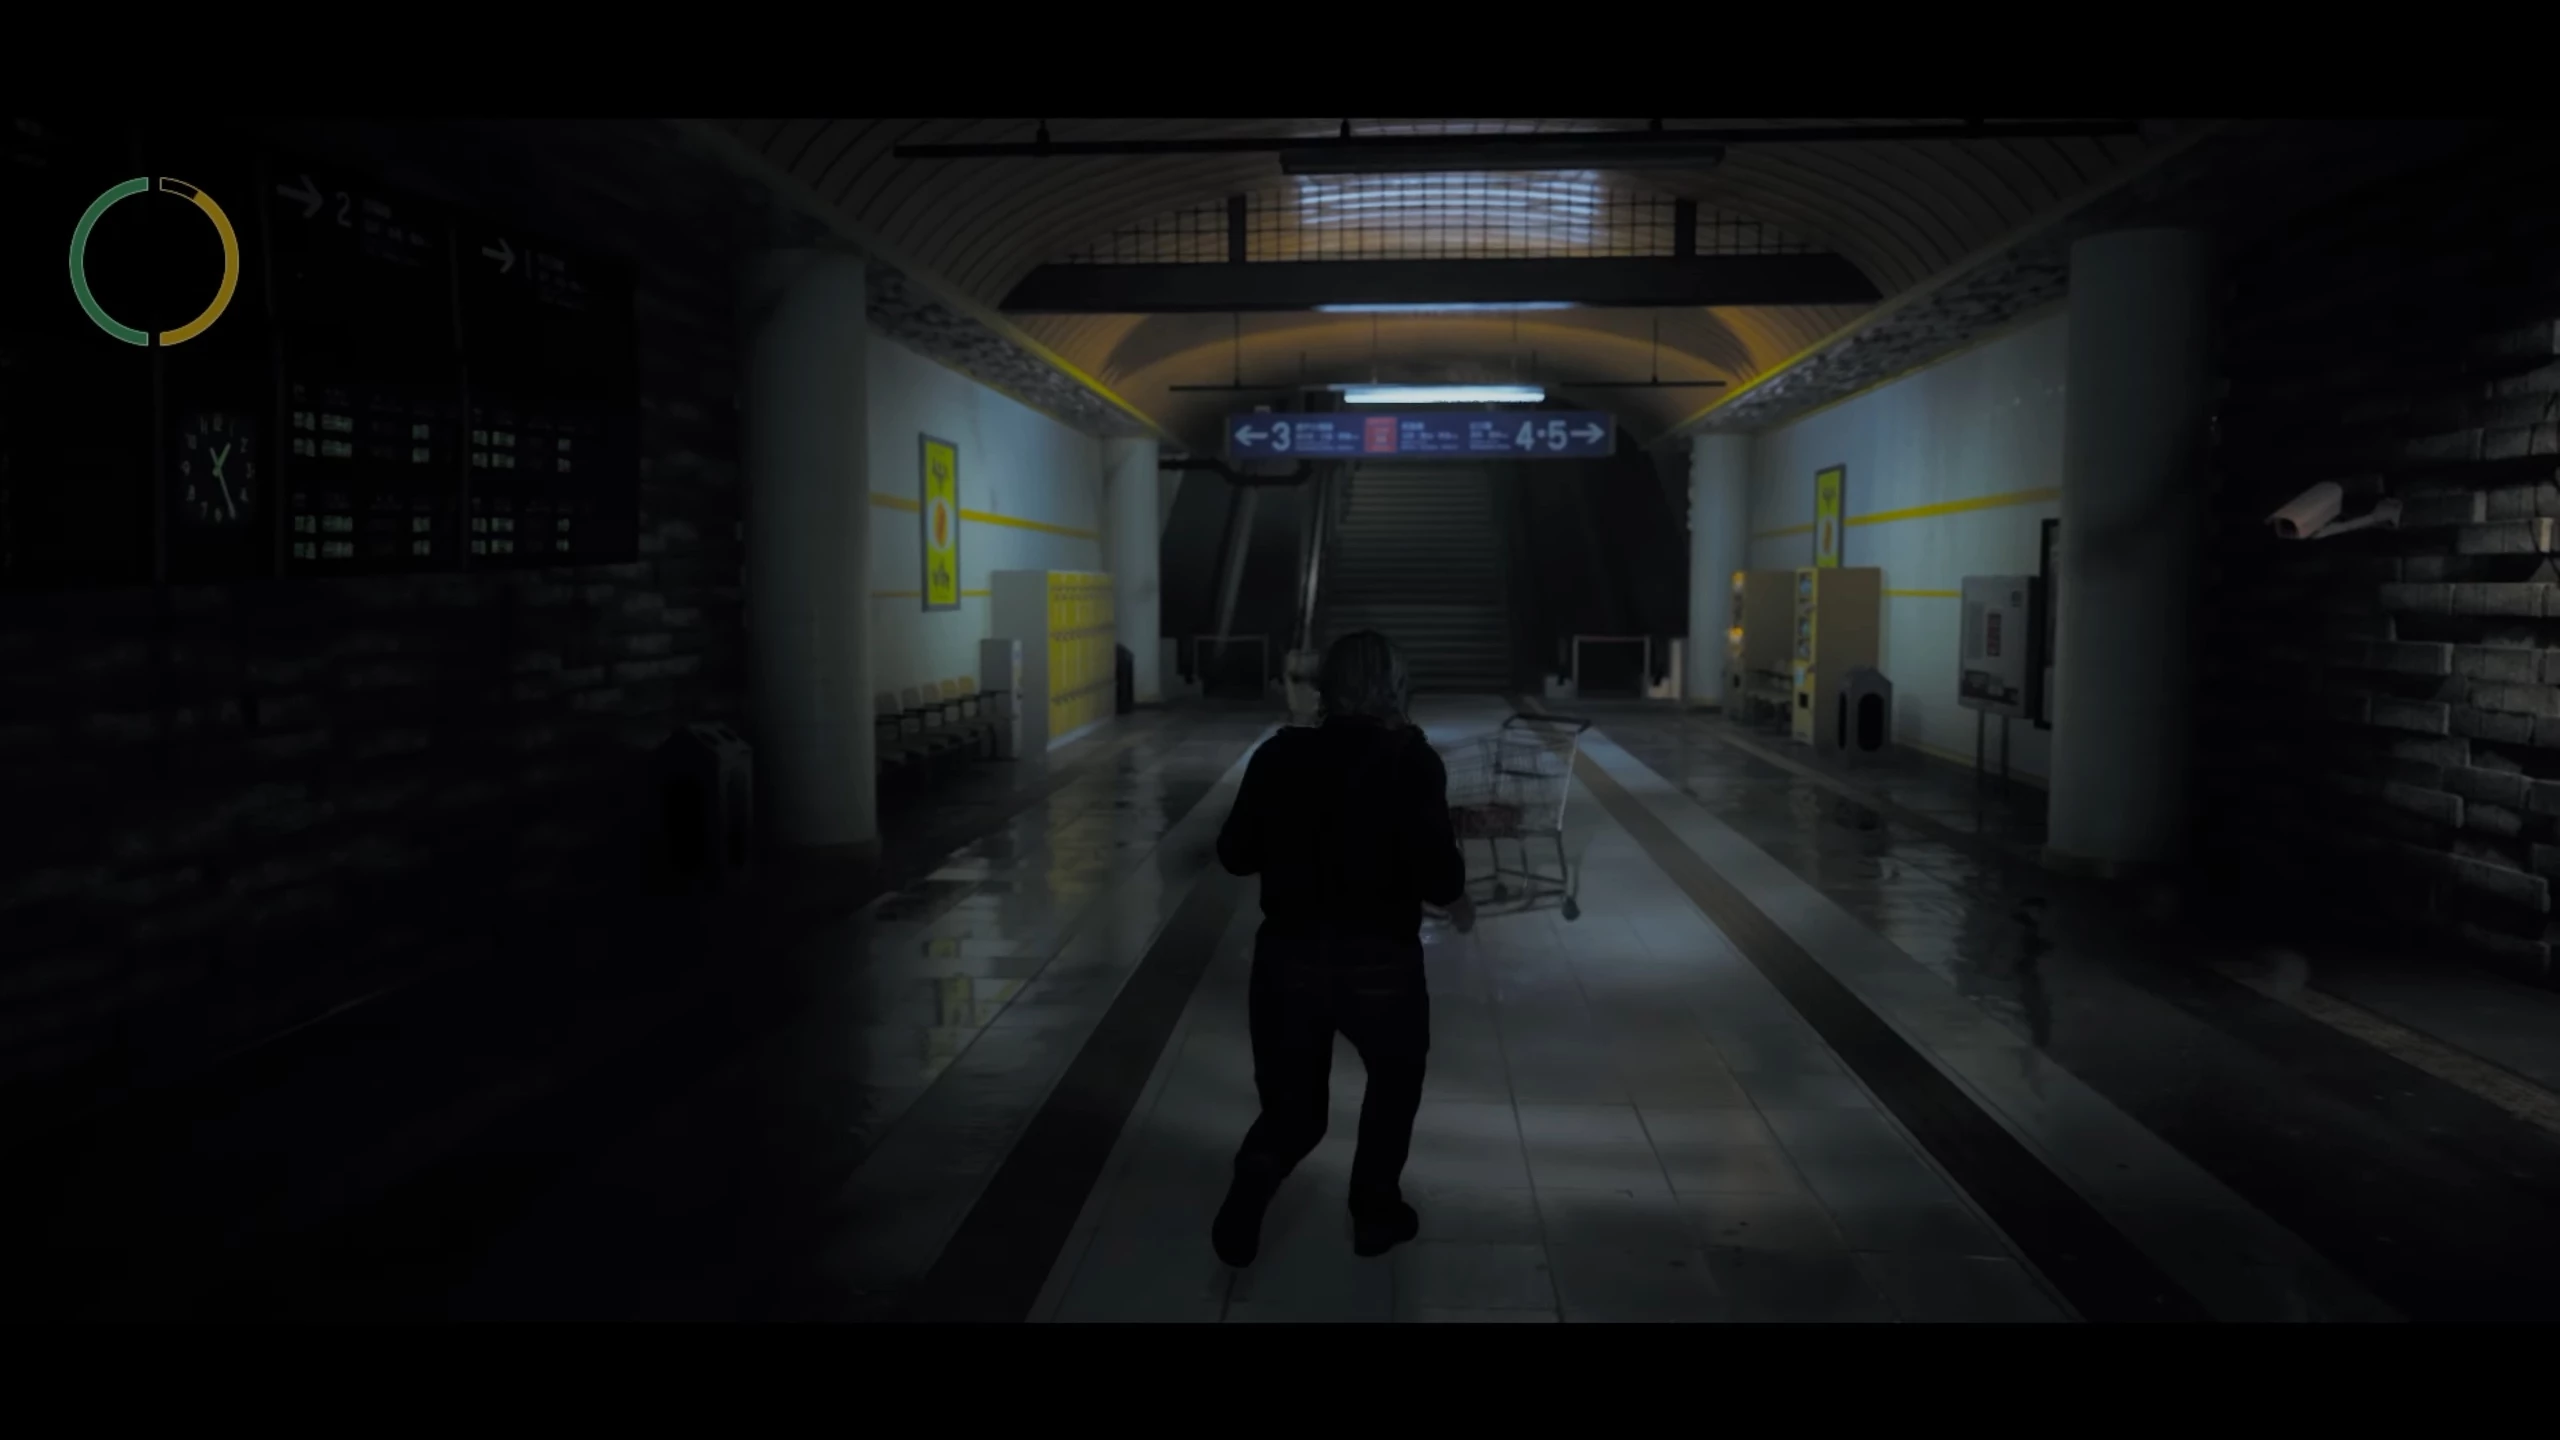
Let's return to the crossroads and now proceed to the exit. Almost immediately, we'll encounter a cart. Take the medkit and remember the unusual wall on the right.
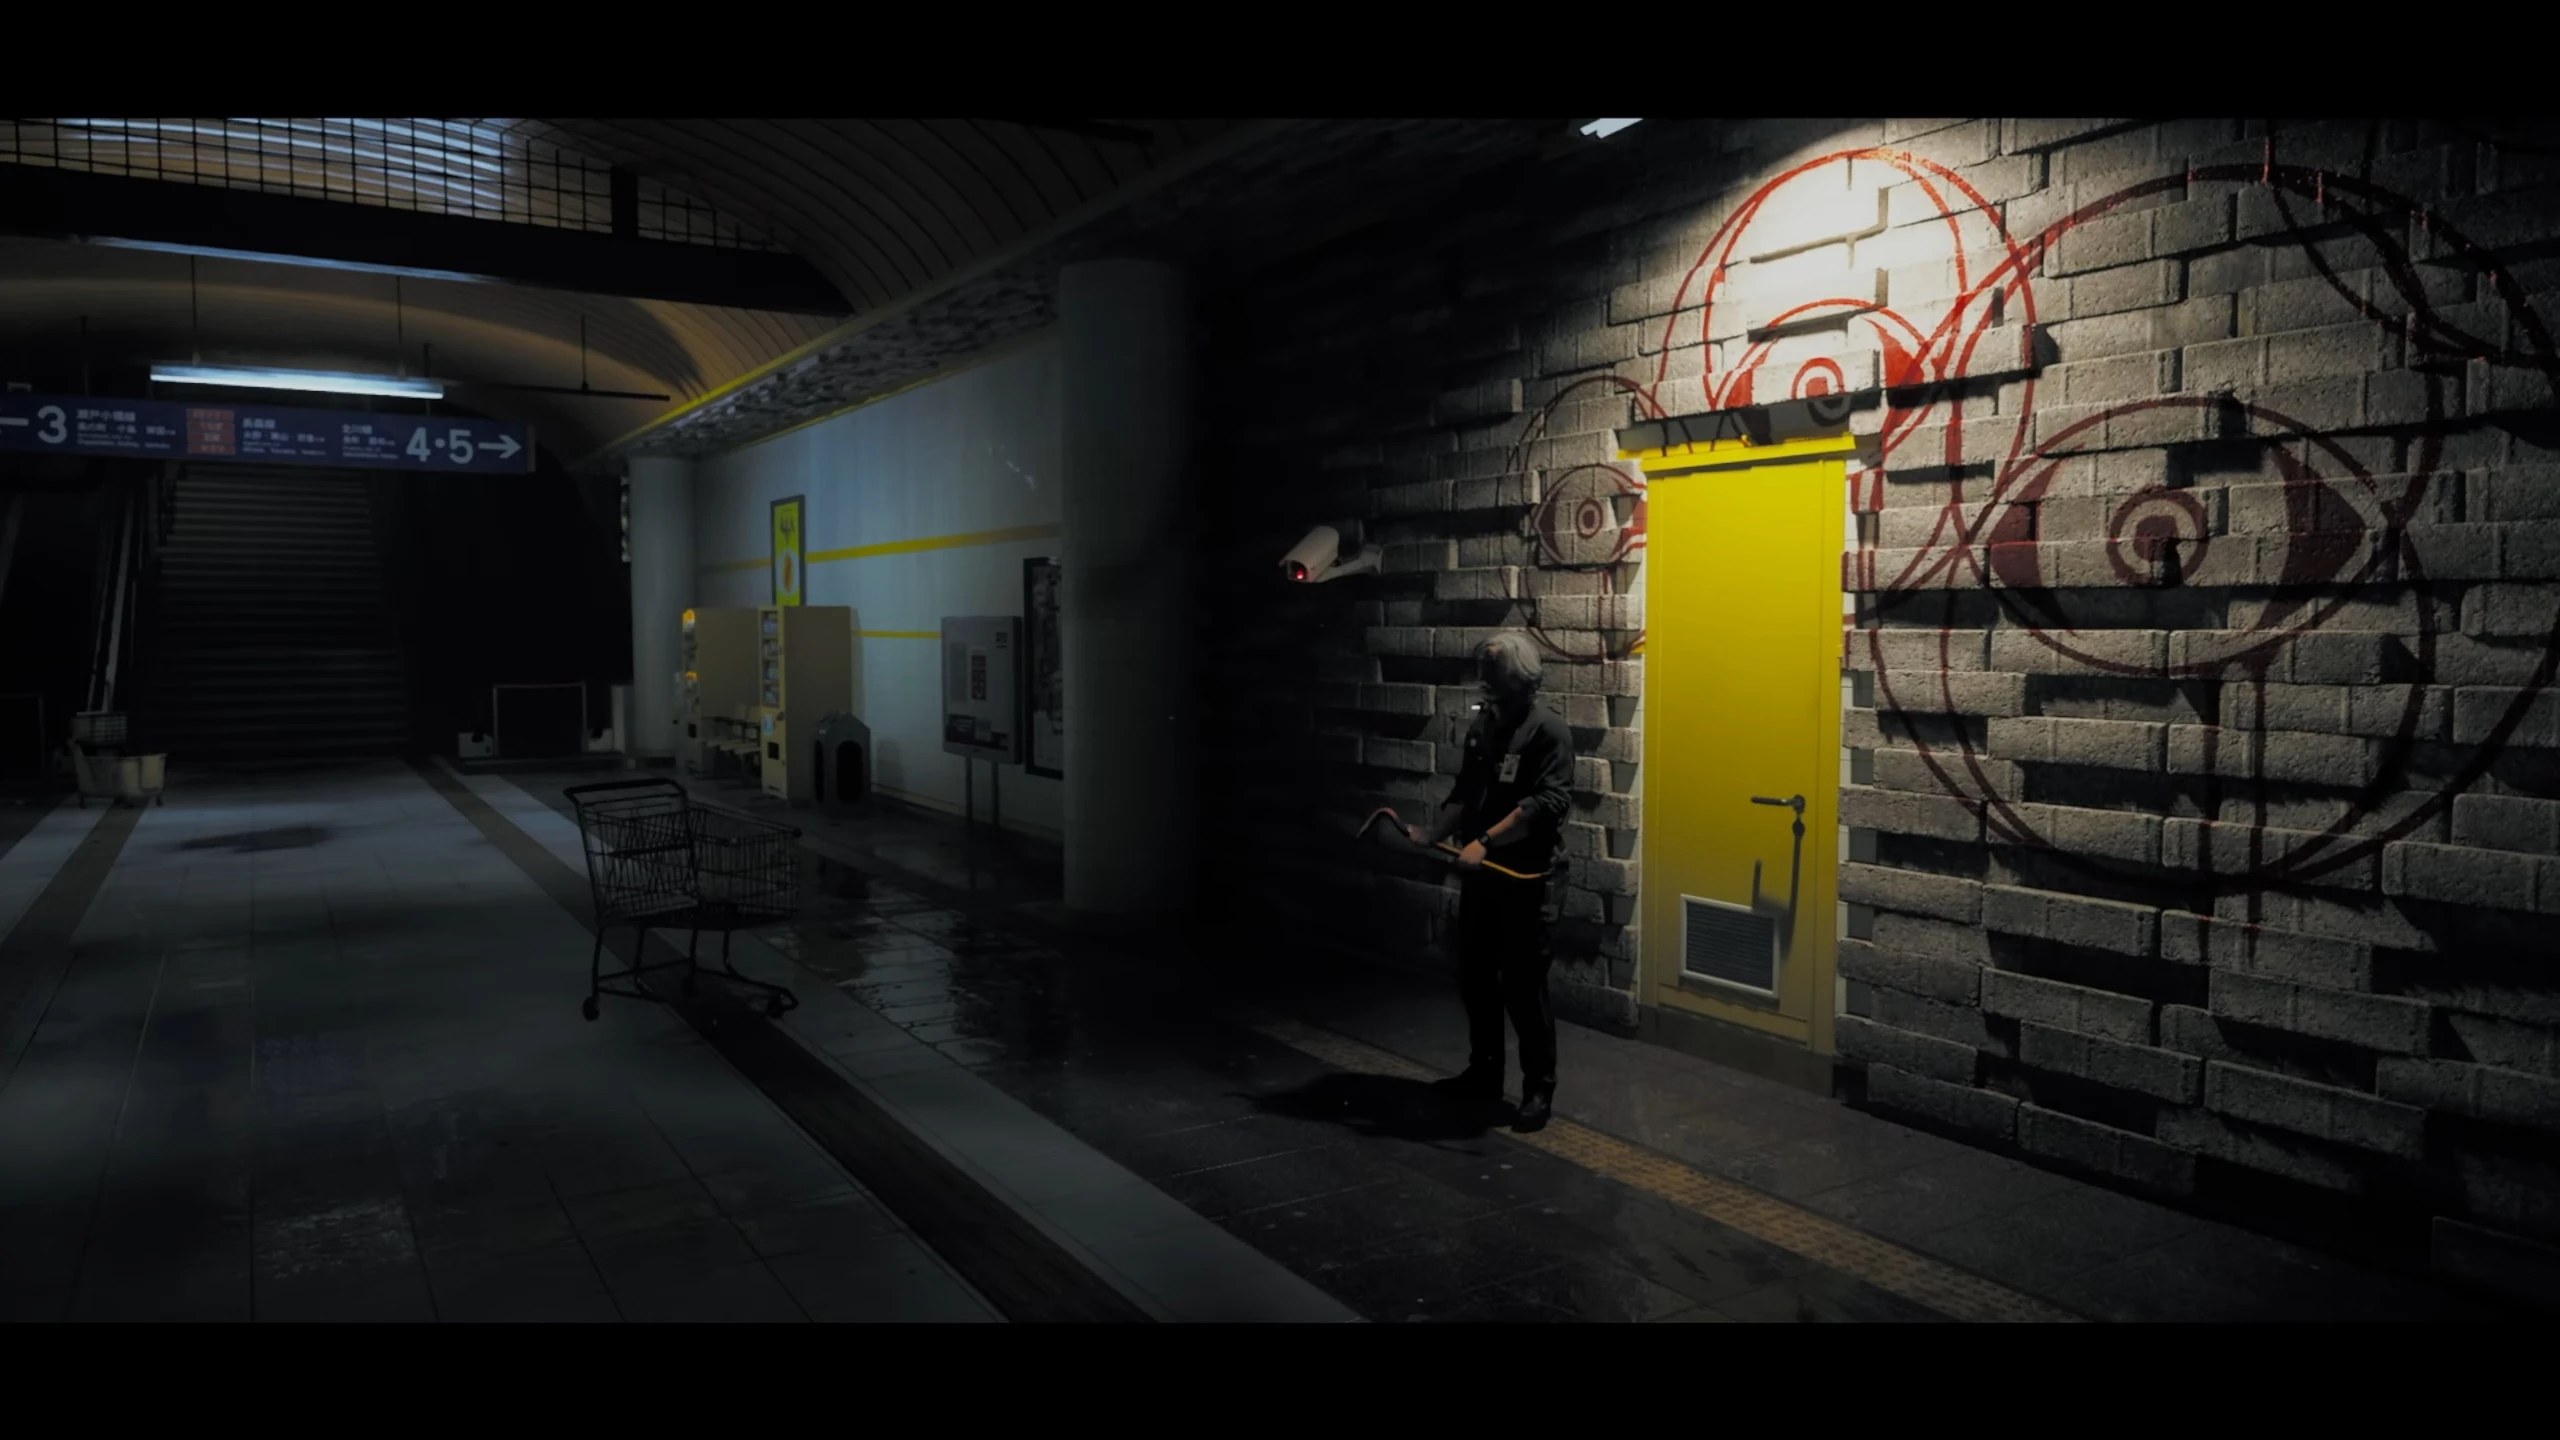
Walk forward to the closed gates. Now let's return to the wall where a yellow door will appear. Inside, there will be a small utility room where you can save your game progress. To do this, you need to interact with the radio on the table. You can also listen to the previously found cassette.
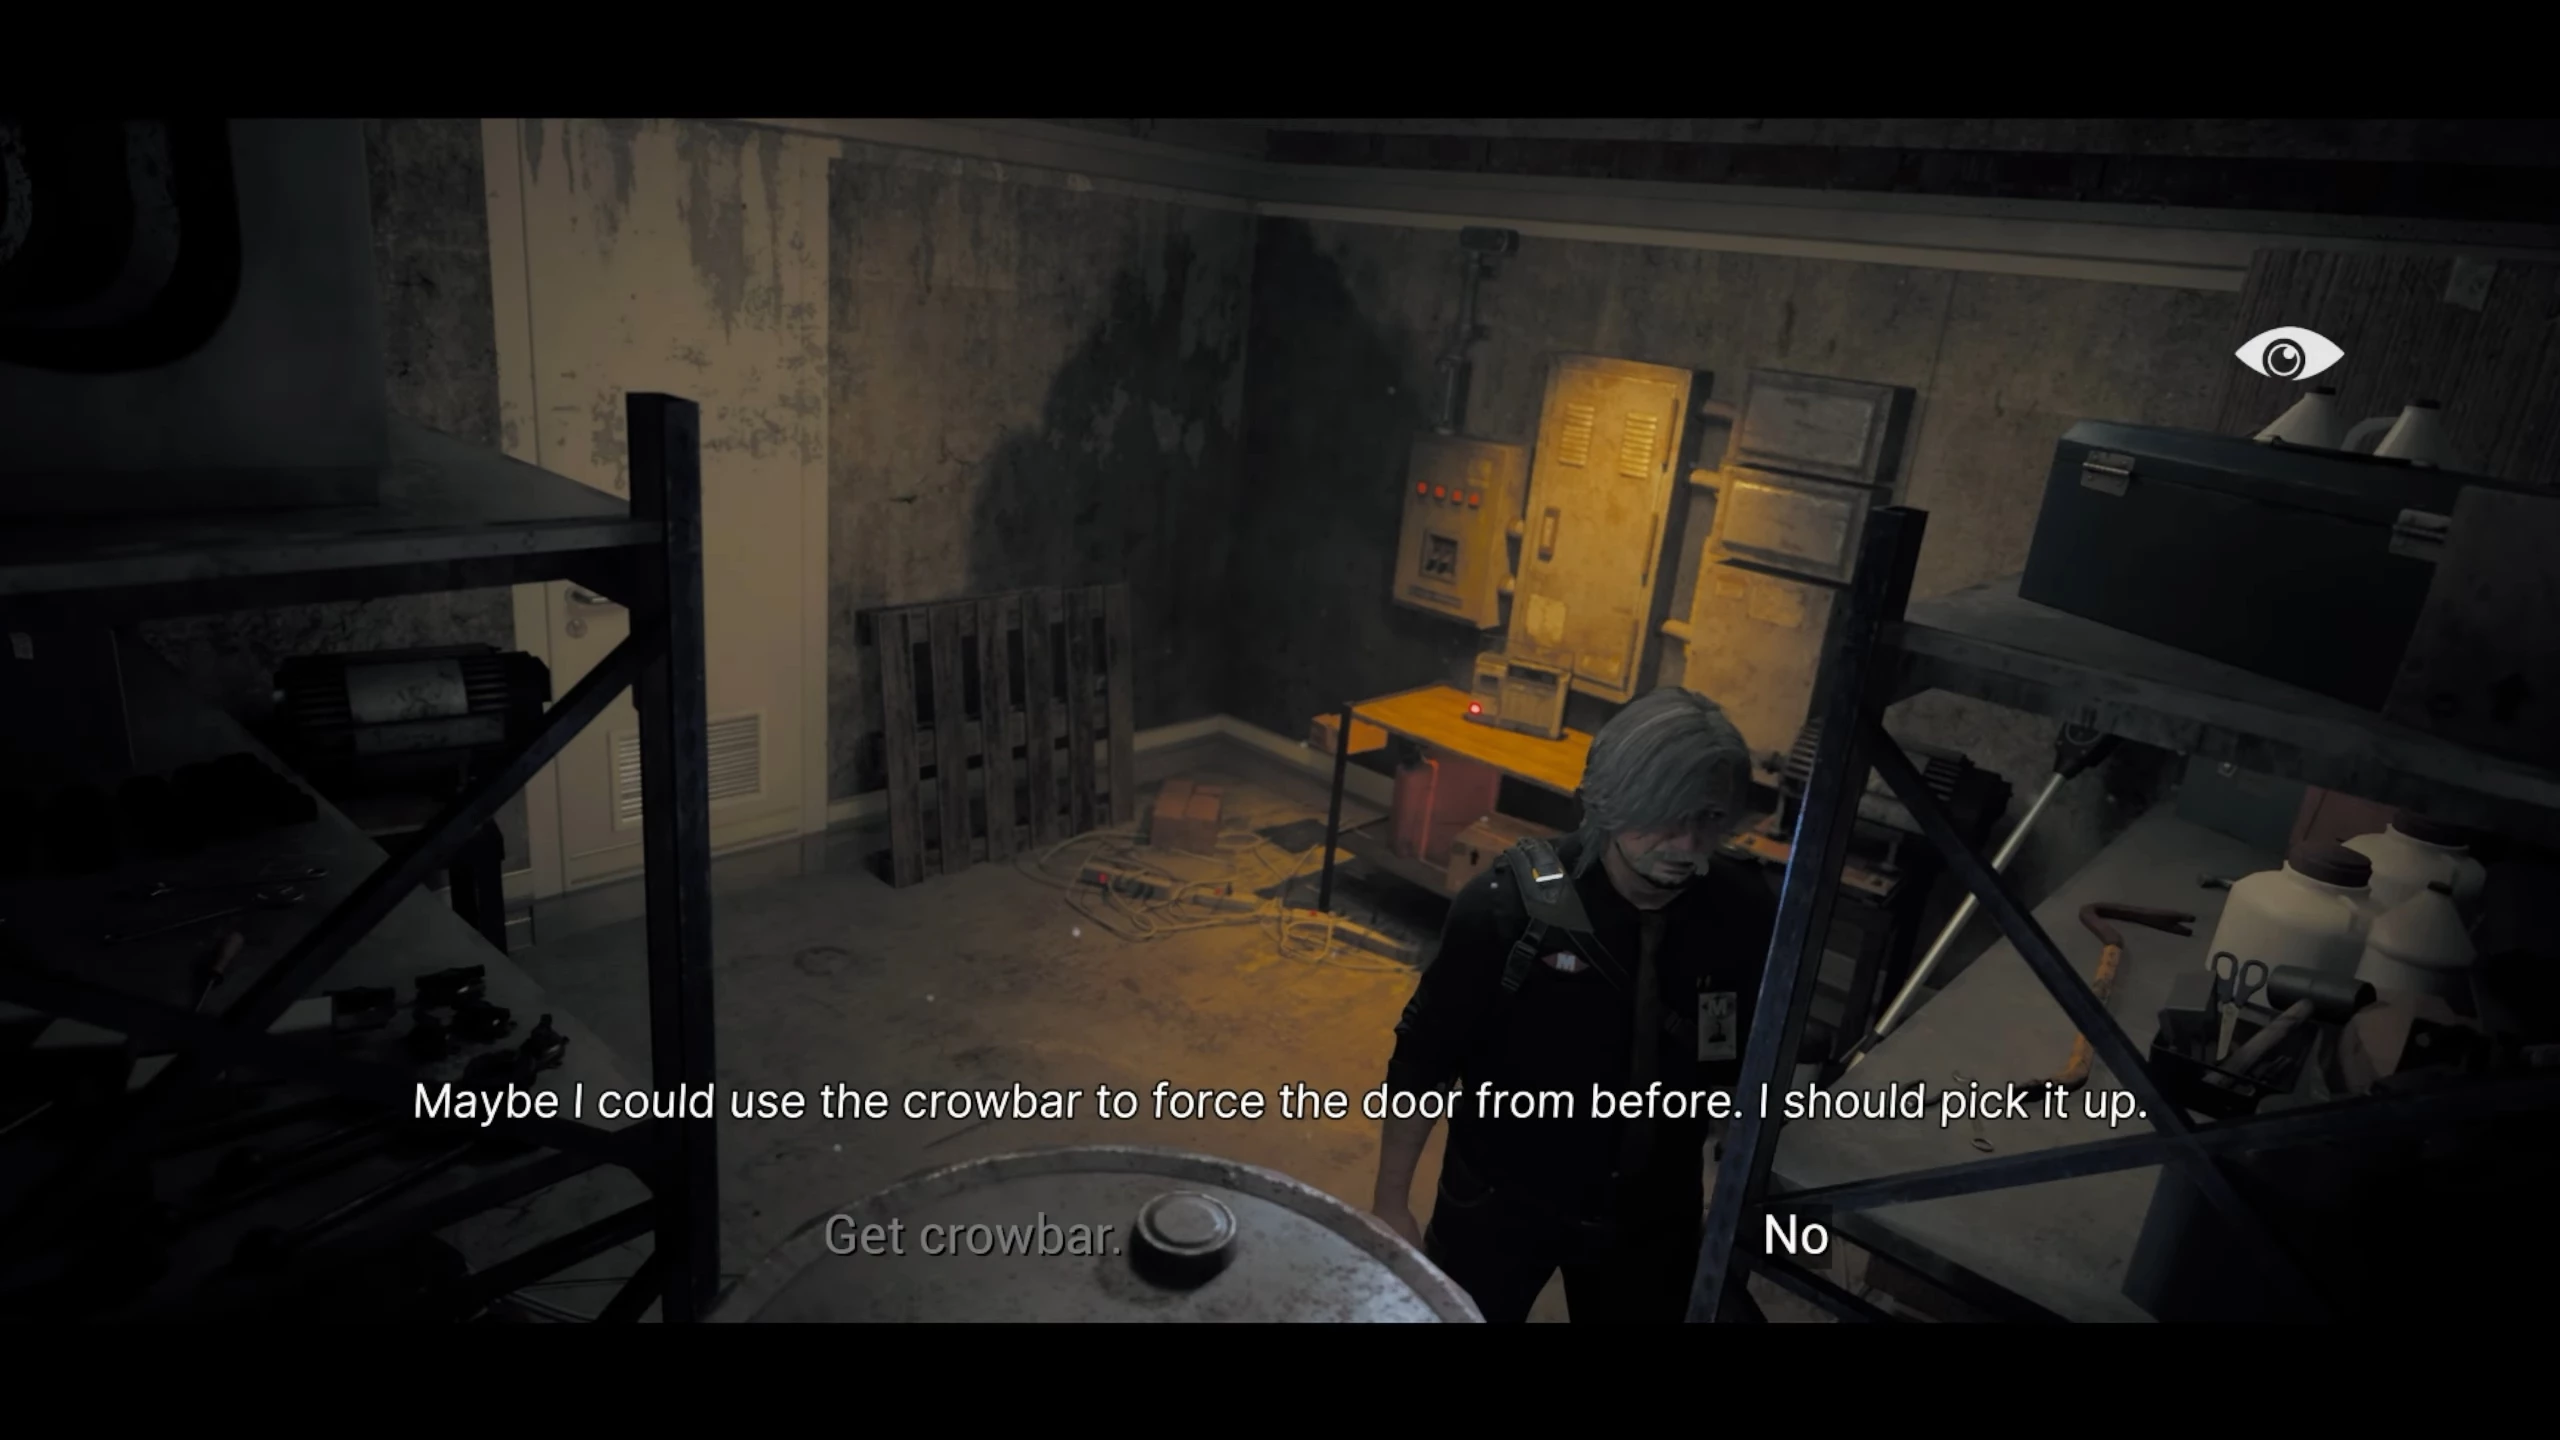
On the shelf of the cabinet lies a crowbar. Pick it up and open the passage above. Ahead, there is an orange light. This part of the location will be needed later in the walkthrough, but for now, there's nothing to do there, so let's head back.
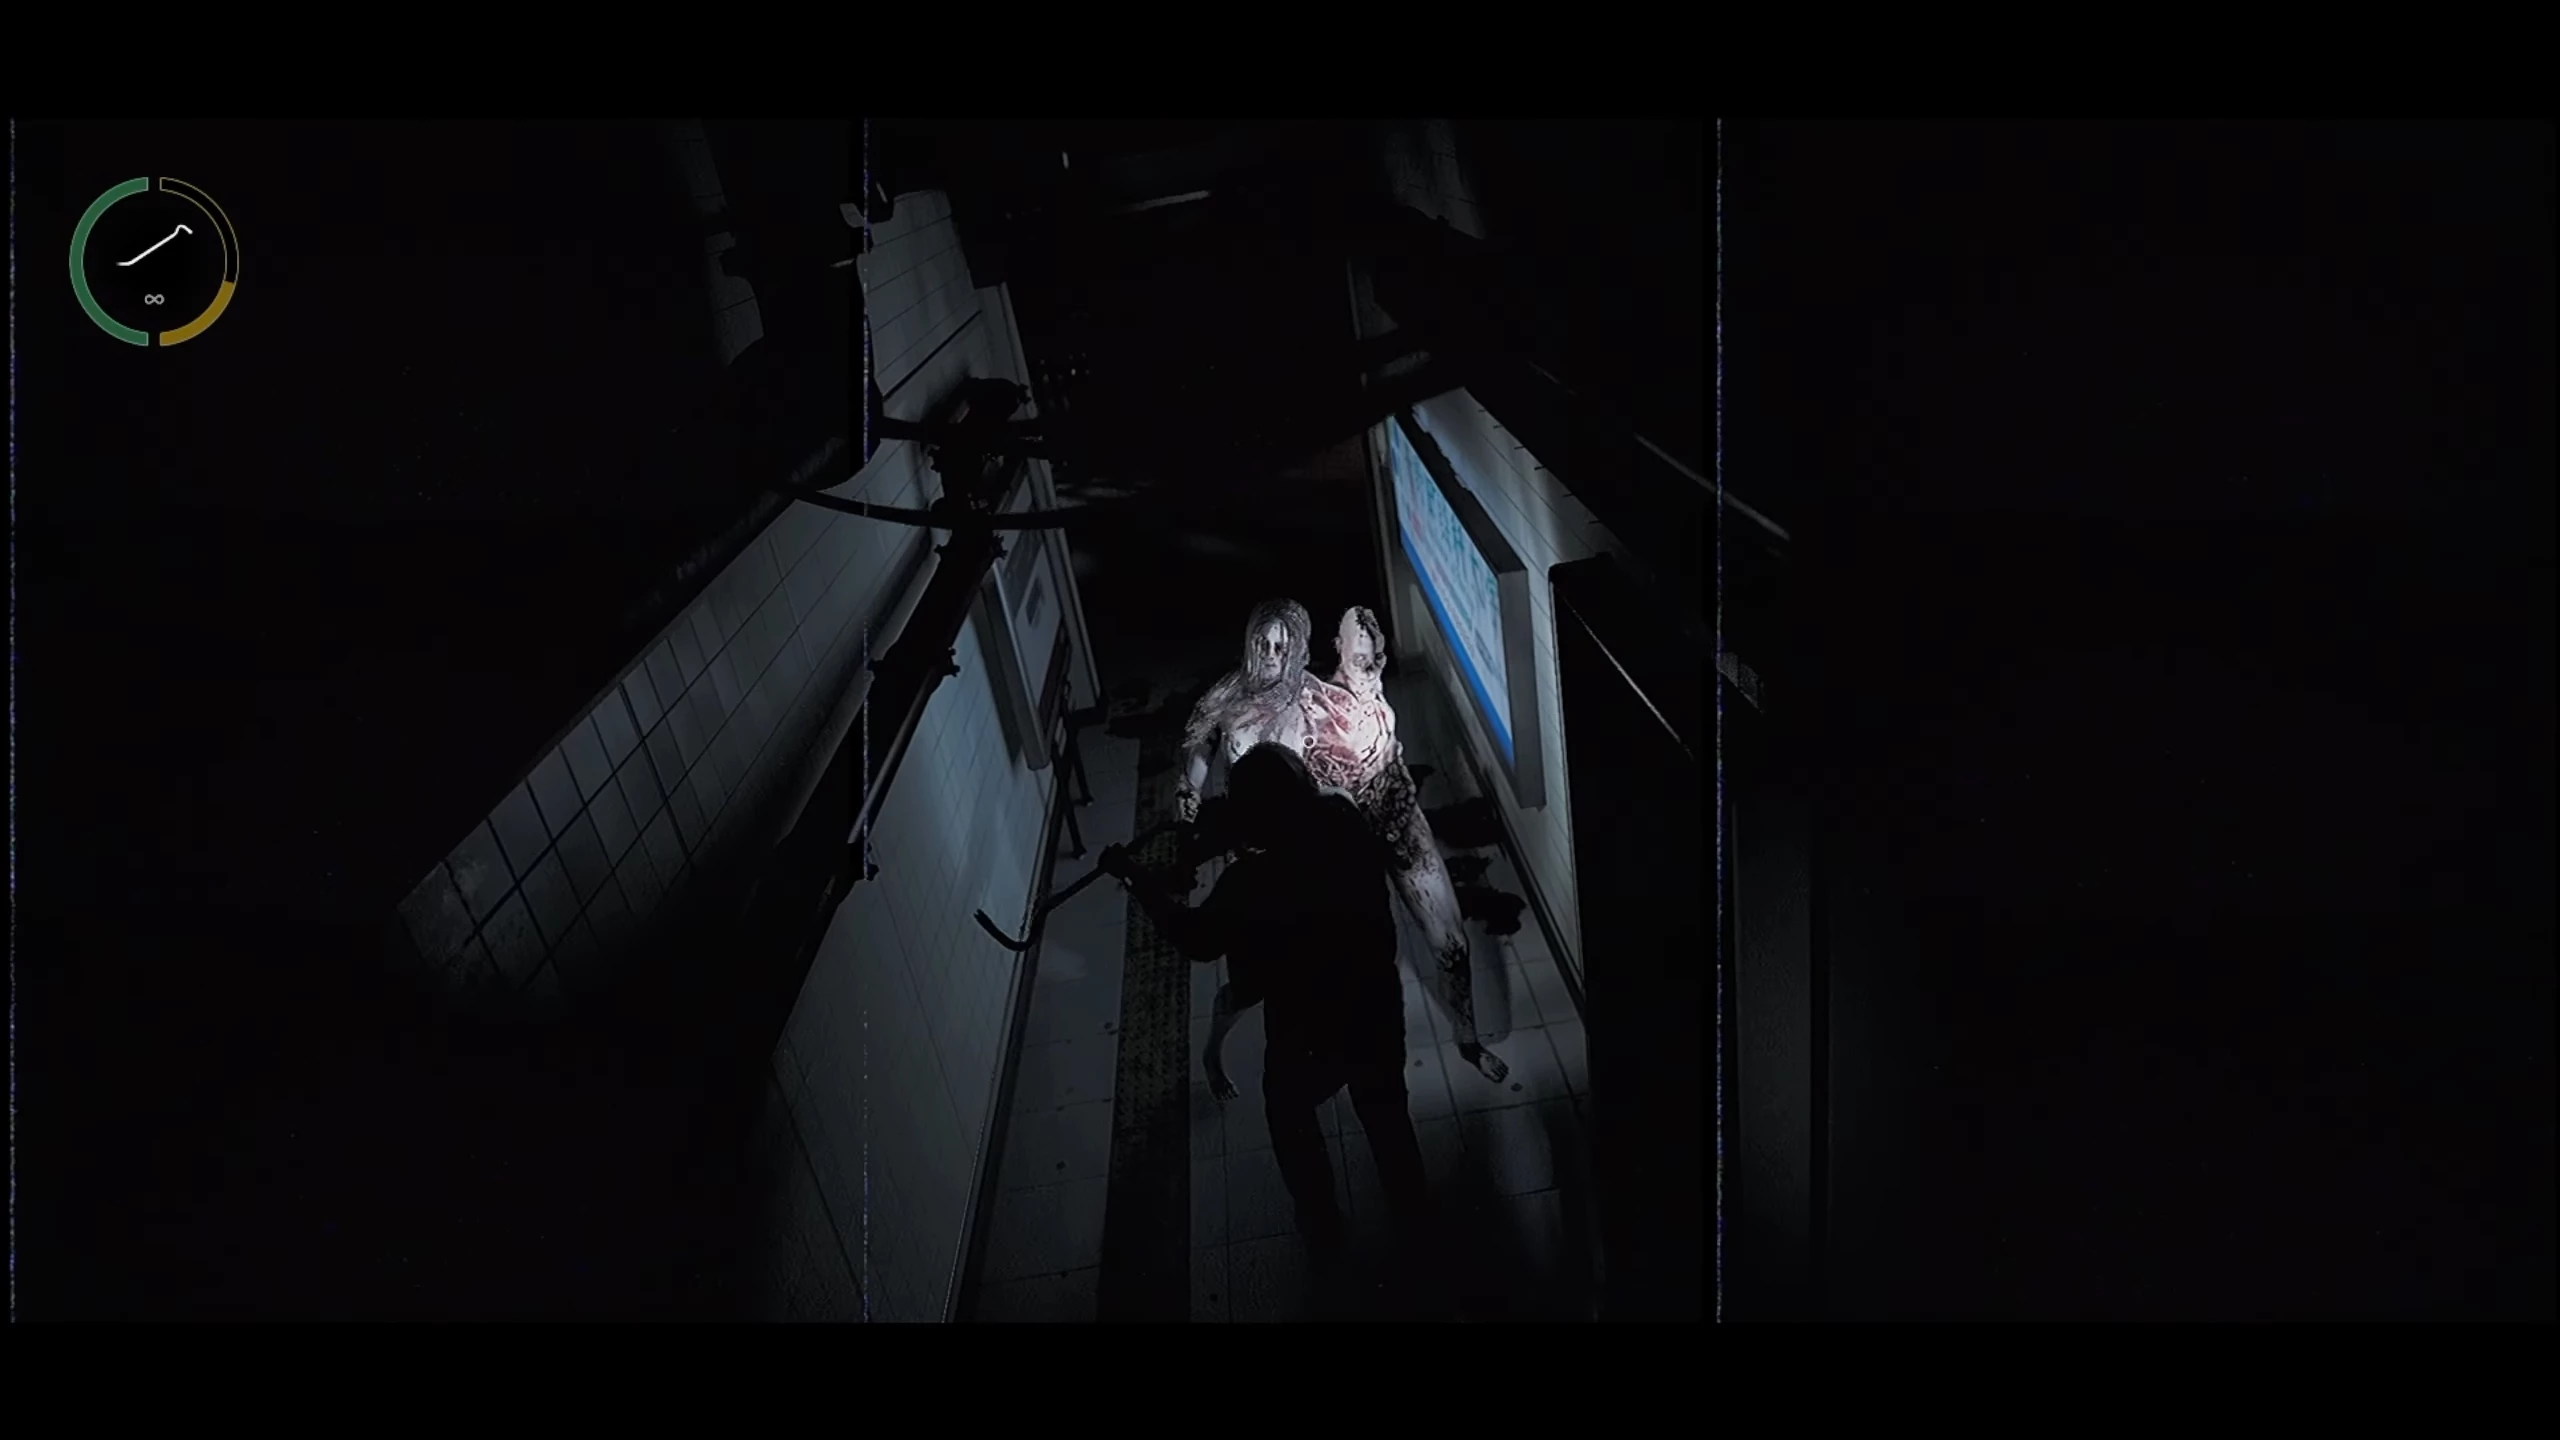
Move forward until you notice an enemy in the corner. Here the player will learn combat skills. One important tip: pay close attention to your stamina and health levels. After winning, remove the reinforcements again using the tool.
On the stair landing, there will be a metal door: this is another room where you can save and store equipment in a chest. Upon reaching the end of the descent, you'll find yourself on the platform again.
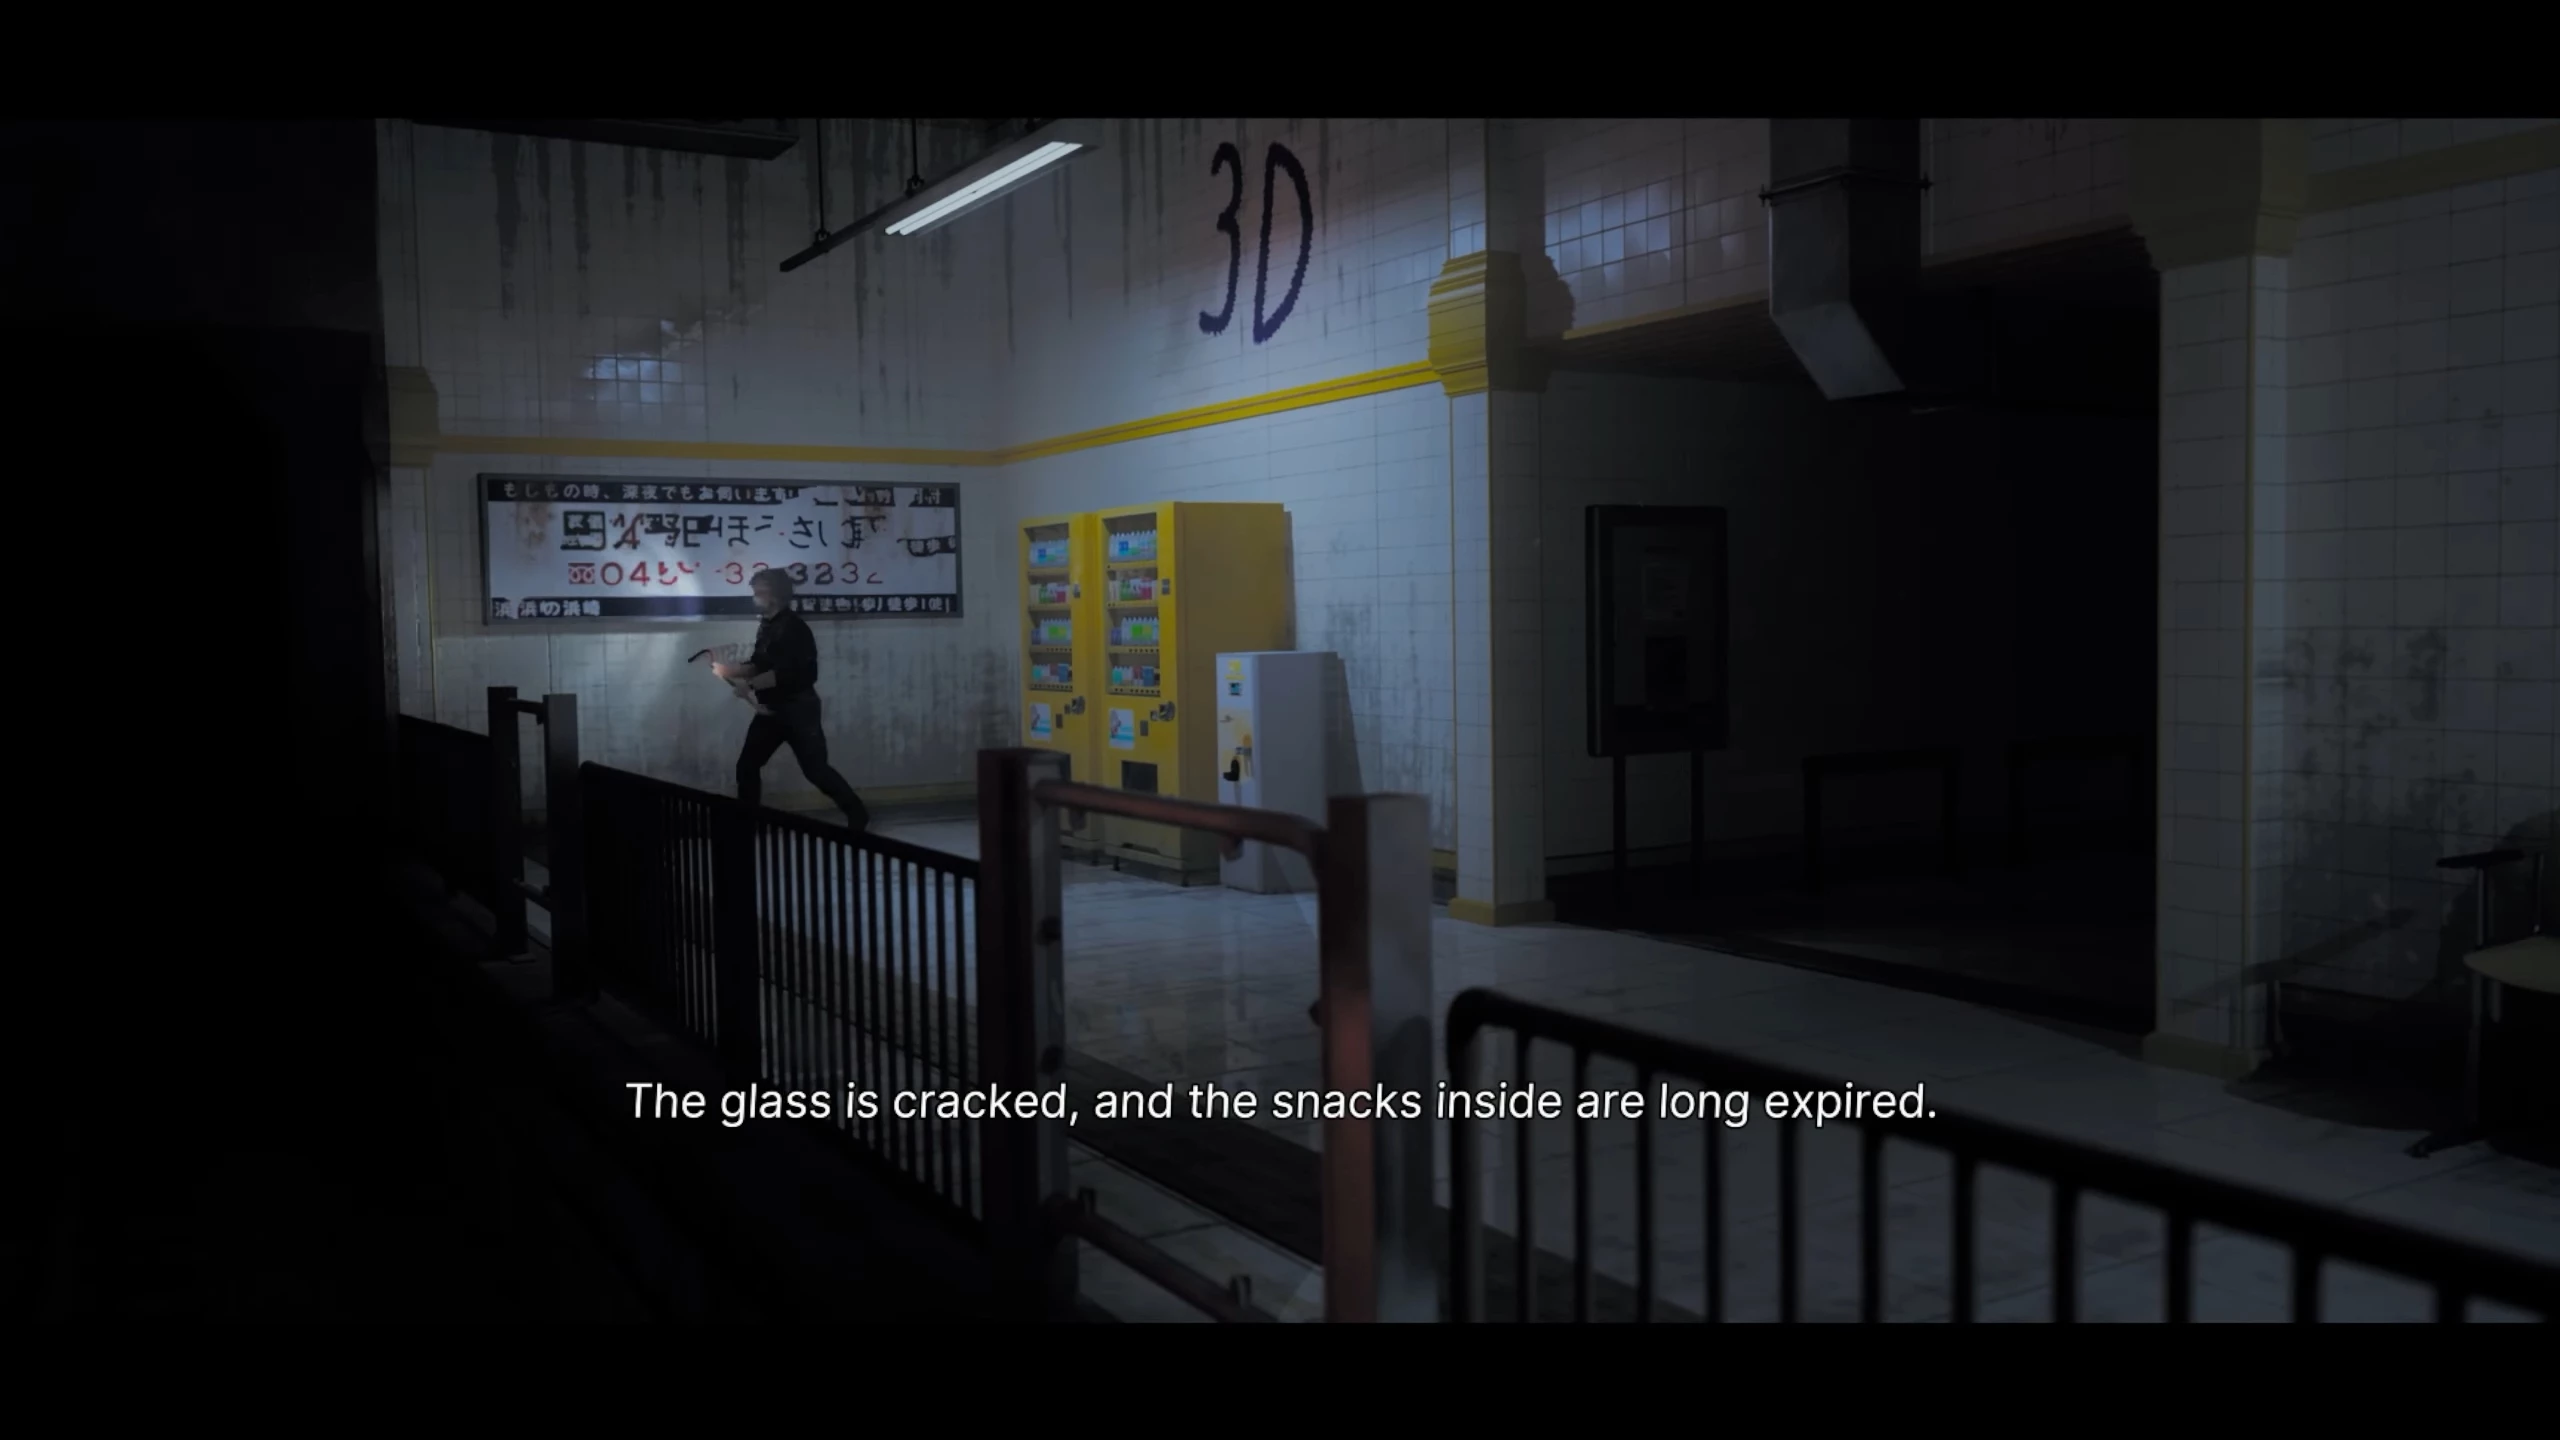
Here you can see numbers and letters. They will be useful later, so note them down. The set of symbols is as follows: 3D and 1C are on one side, and on the other — 2B and 3A. To get to the second part of the station, simply cross the tracks.
Without returning, enter the first door on the left in the dark corridor. There is a kitchen: pick up a medkit on the table, and find a frozen fuse in the freezer. Thaw it using the coffee machine opposite.
Let's take the first apparatus: we just need to return to the corridor and enter the room opposite. That's where the fuse box is located.
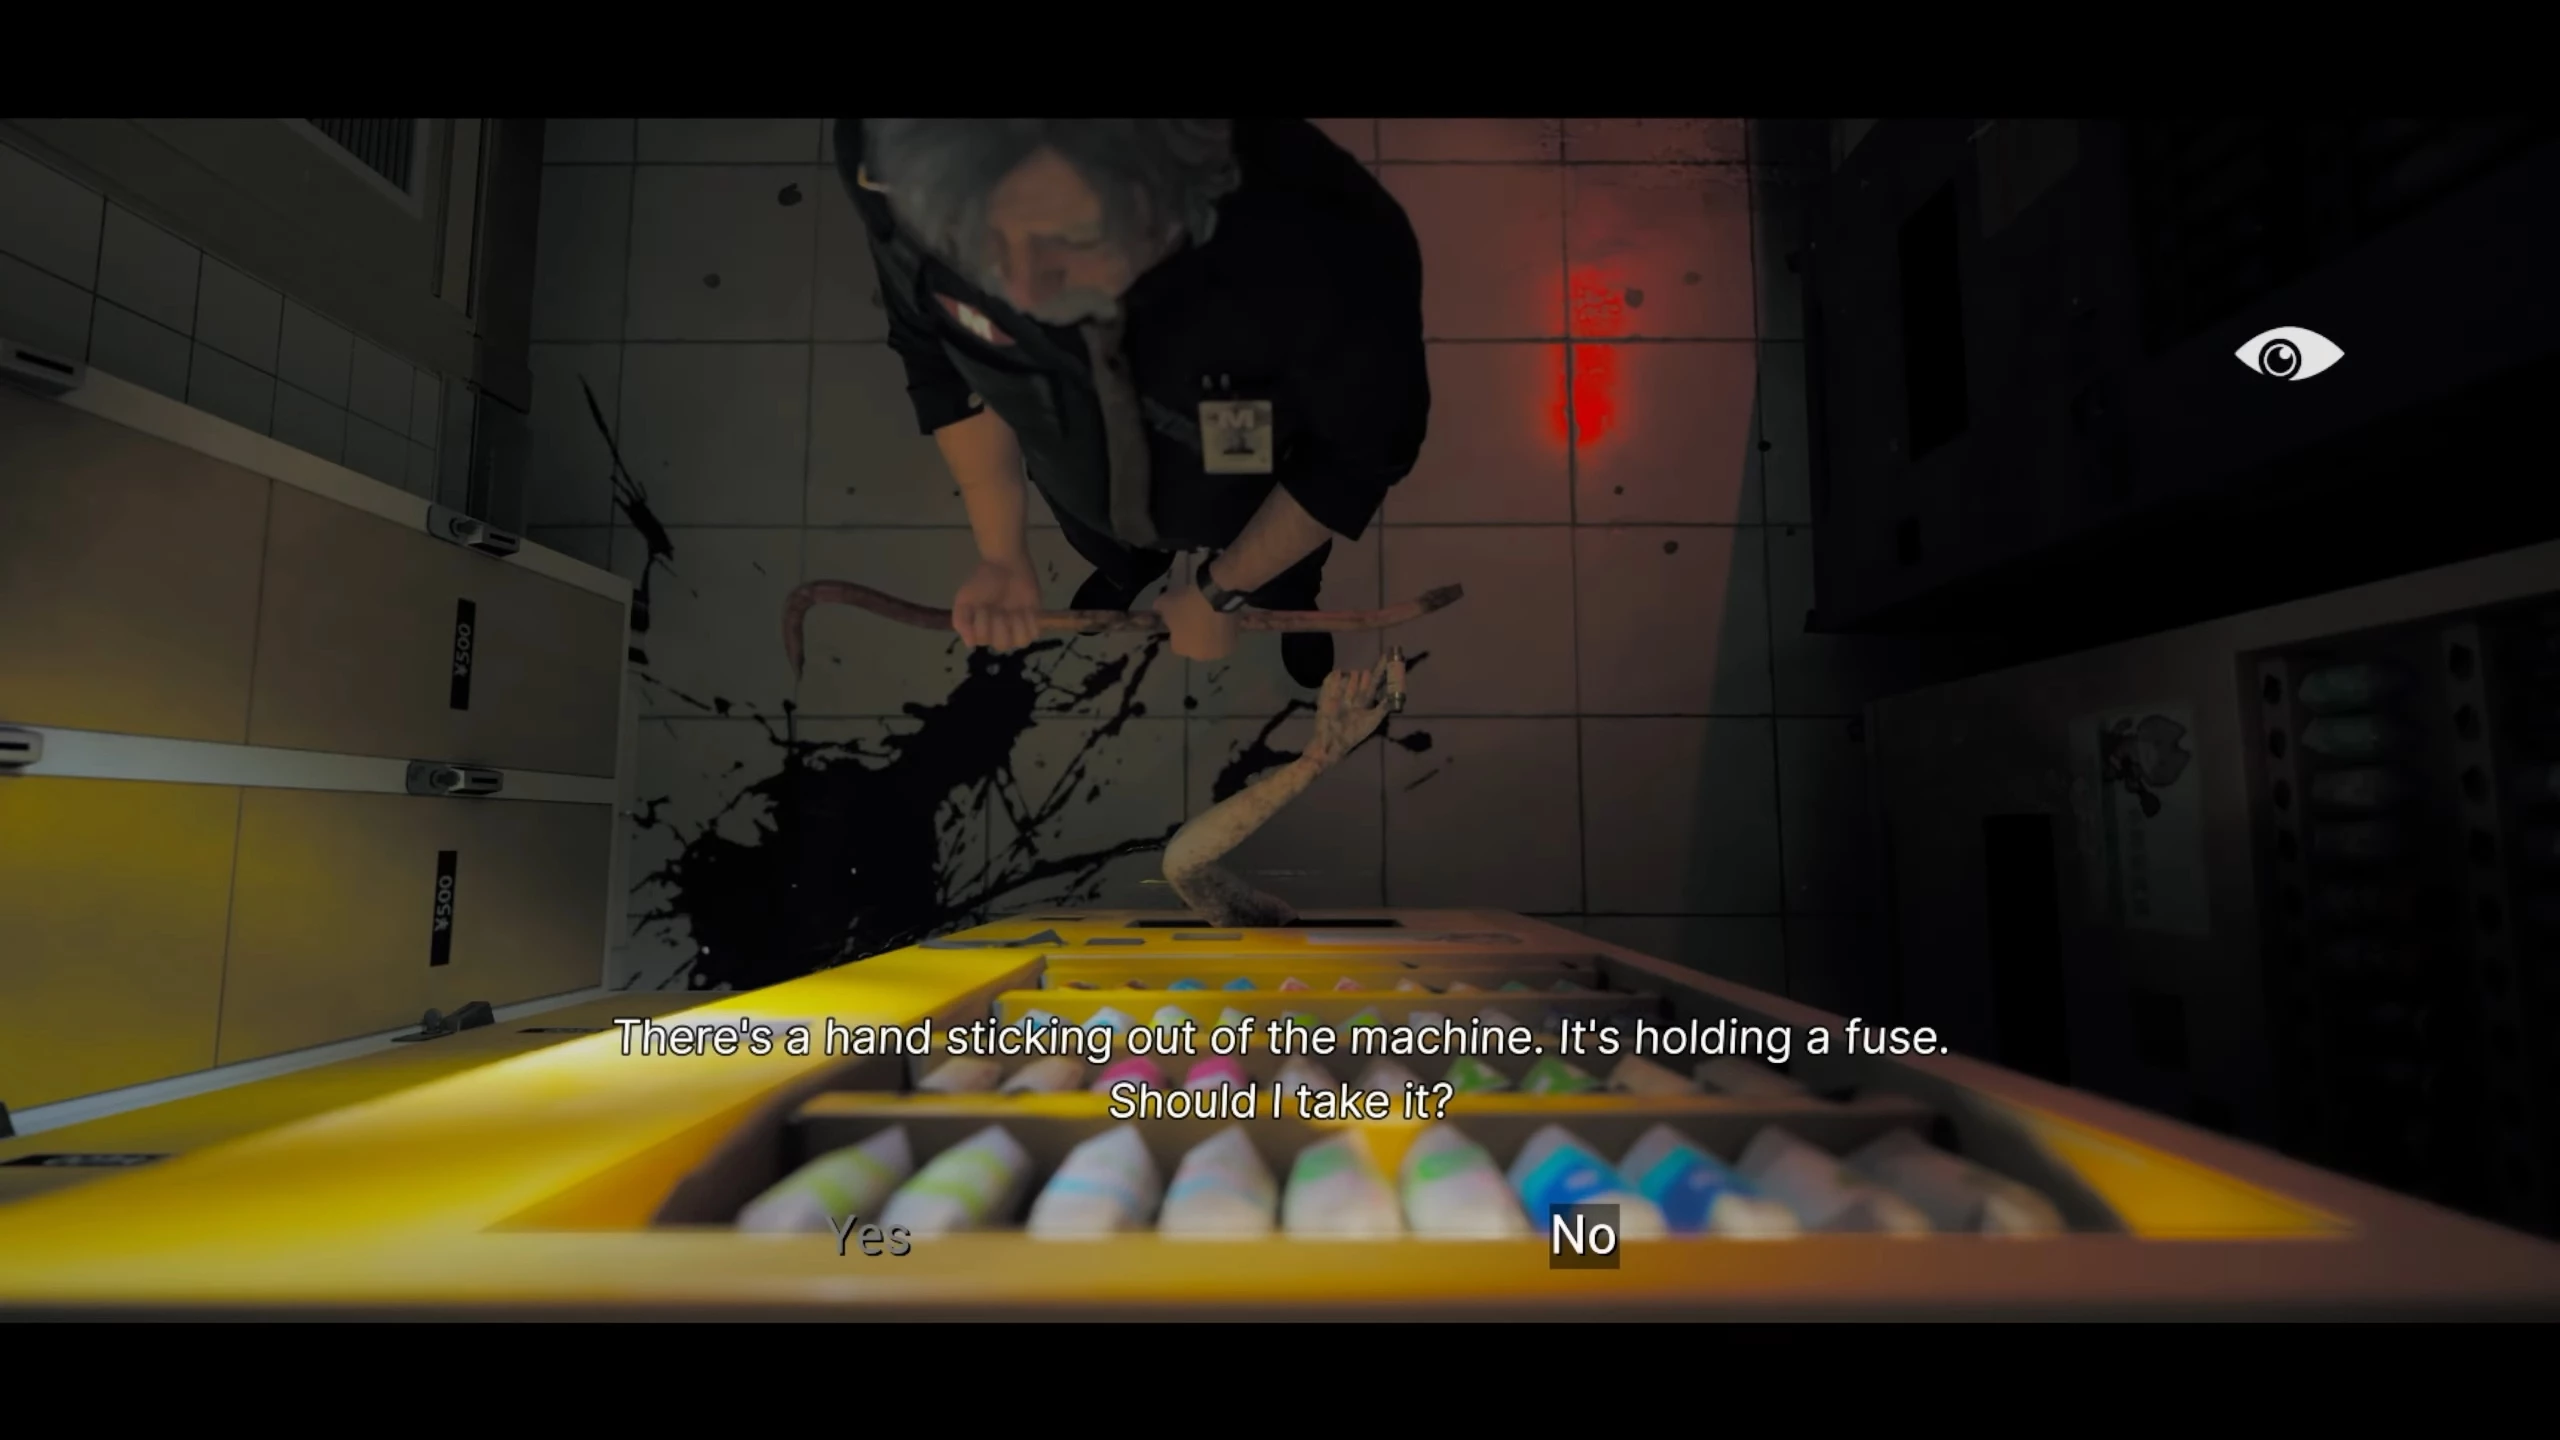
Exiting the room, proceed further into the darkness. A hand with a fuse is sticking out of the vending machine. Pick it up and place it in the same way.
To the right of the machine with the hand, there is a door: passing through it will return you to the fork where you first fought a monster. A metal wire is sticking out of the fallen machine. After taking it, return to the kitchen door and enter the dark corner on the right. The third apparatus lies behind the grate. After a short cutscene, the character will retrieve it.
After destroying the monster, insert all the fuses back in place and approach the switches to the right of the door. There, recall the numbers and letters from the platform (3D-1C-2B-3A): from left to right, activate the required number of cells corresponding to the numbers.
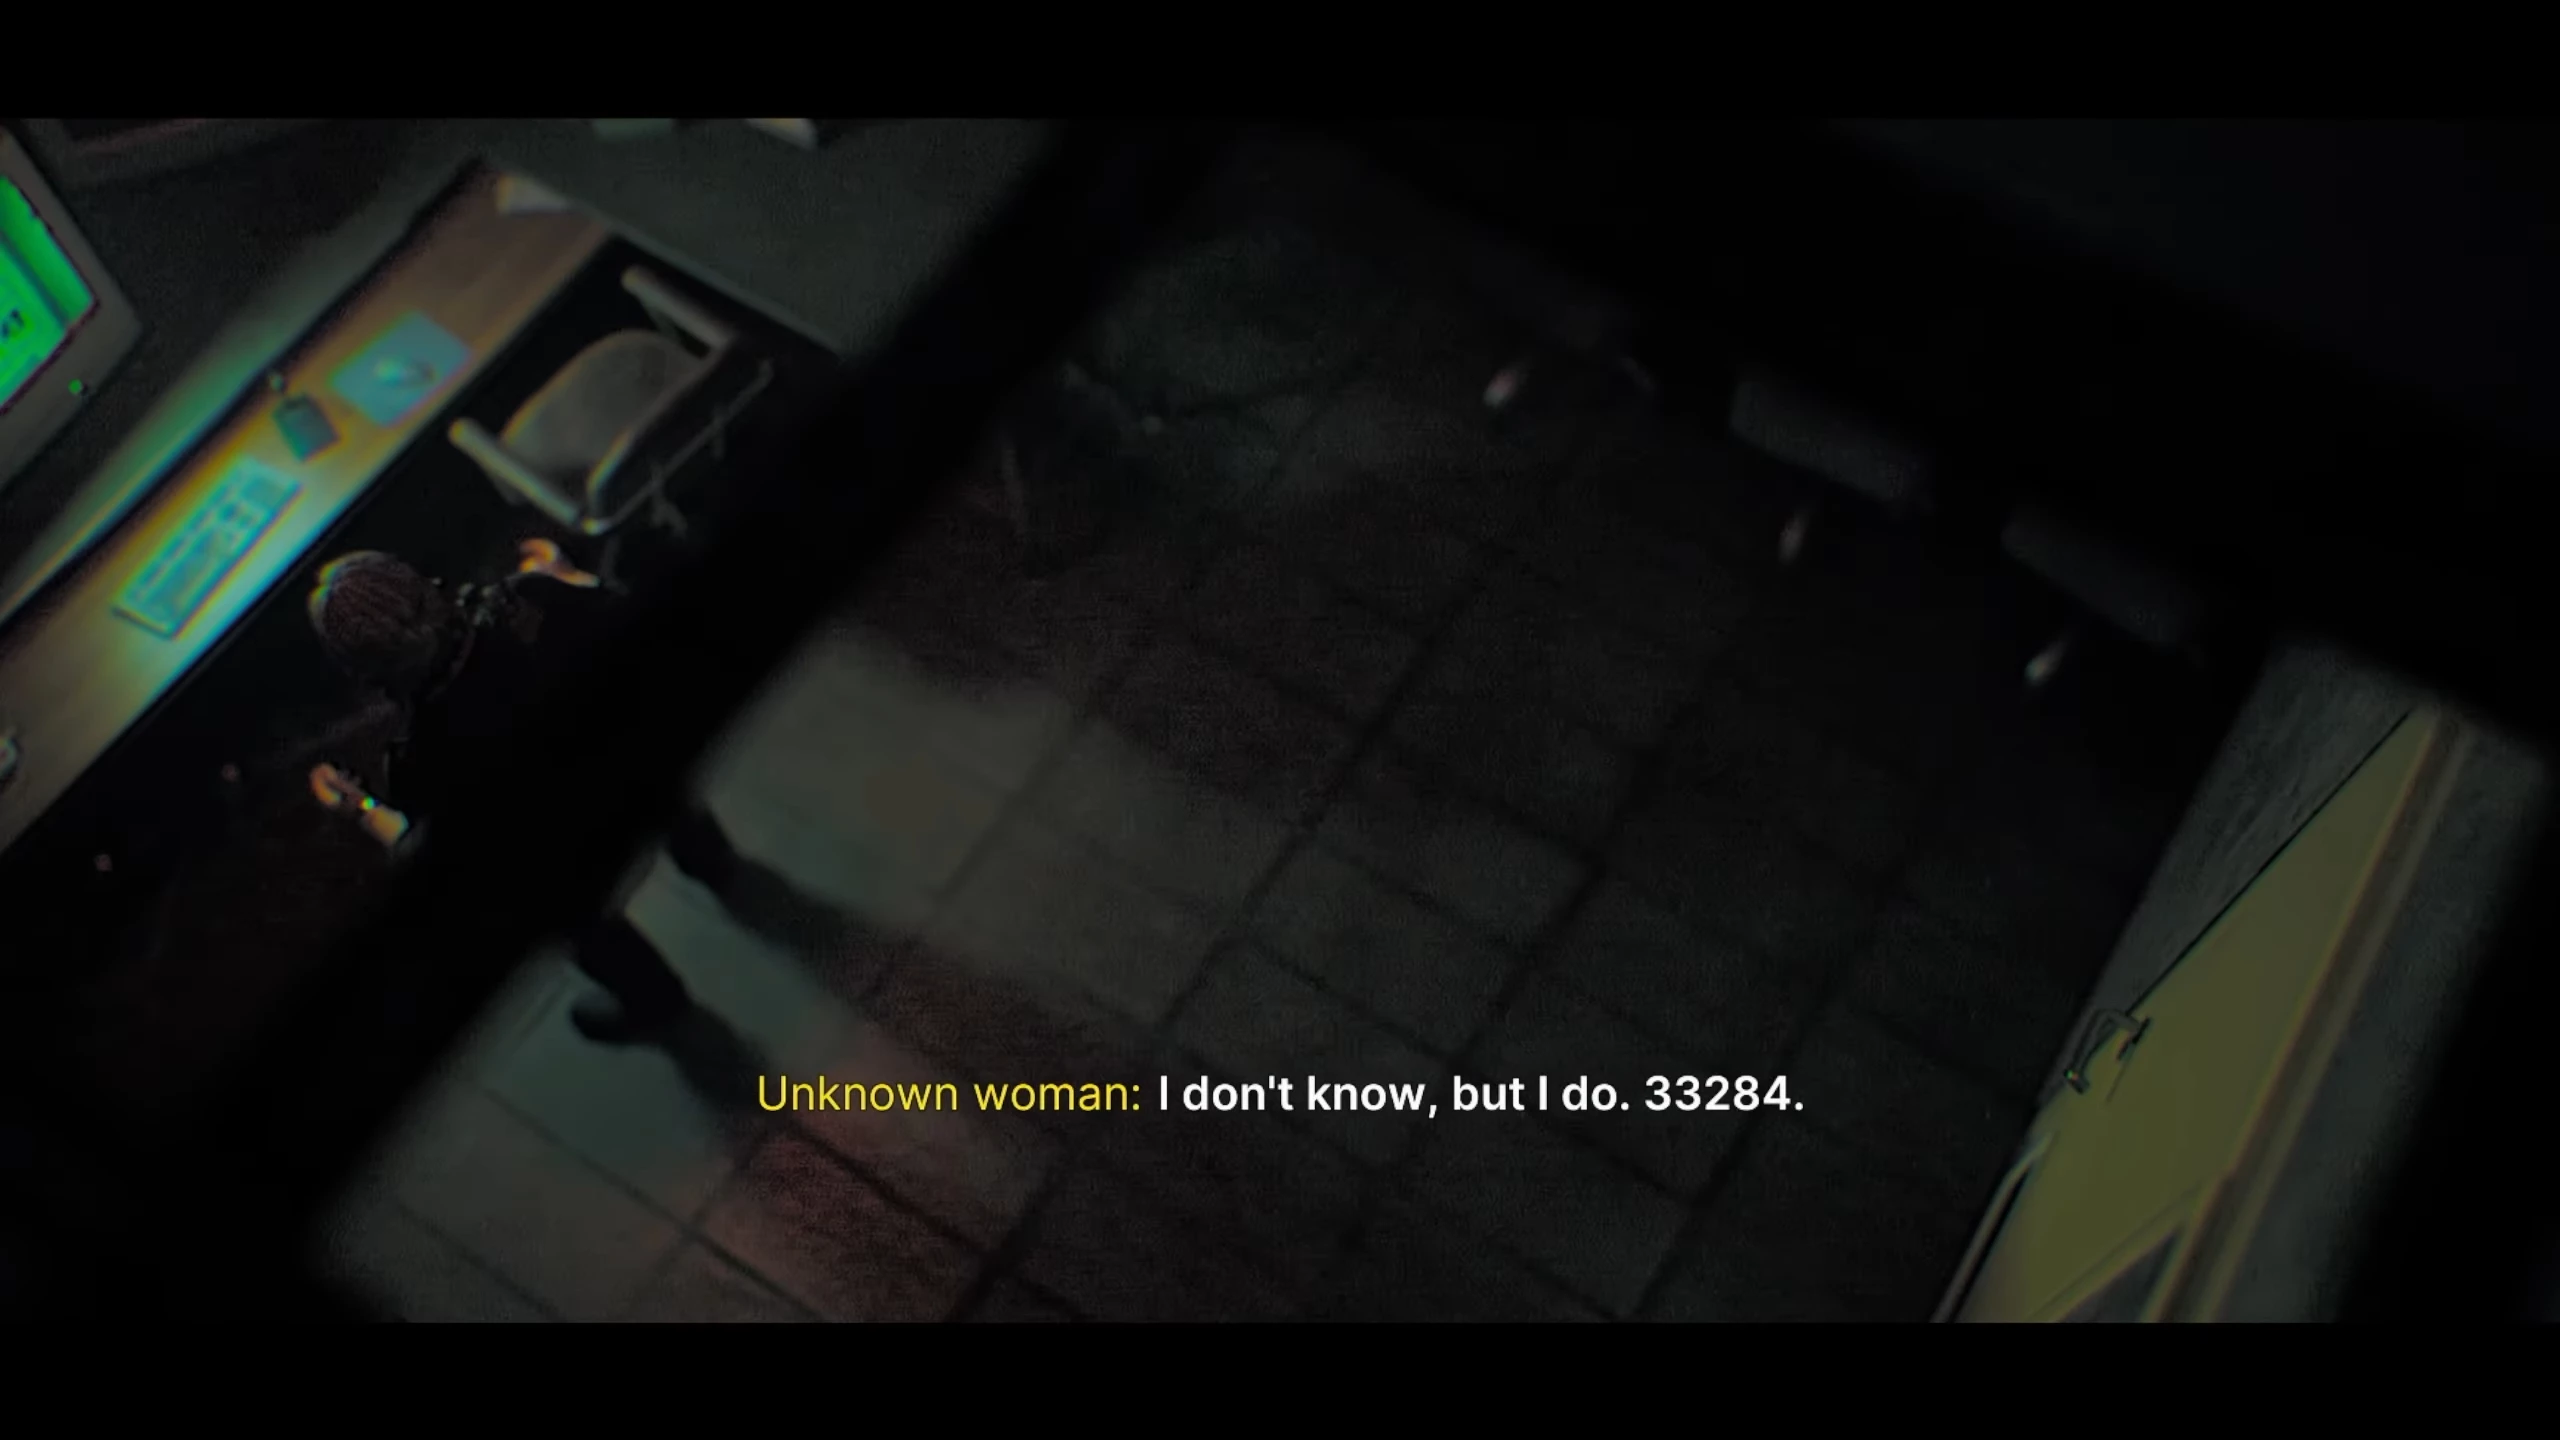
A key card will fall to the floor. Cross the tracks to open the doors to the right of the sign 1C. Inside, a female voice will tell you the code for the locked passage opposite. It's 33284. But you won't have time to cross the tracks: the hero will be hit by a train.
Police Station (Carlos)

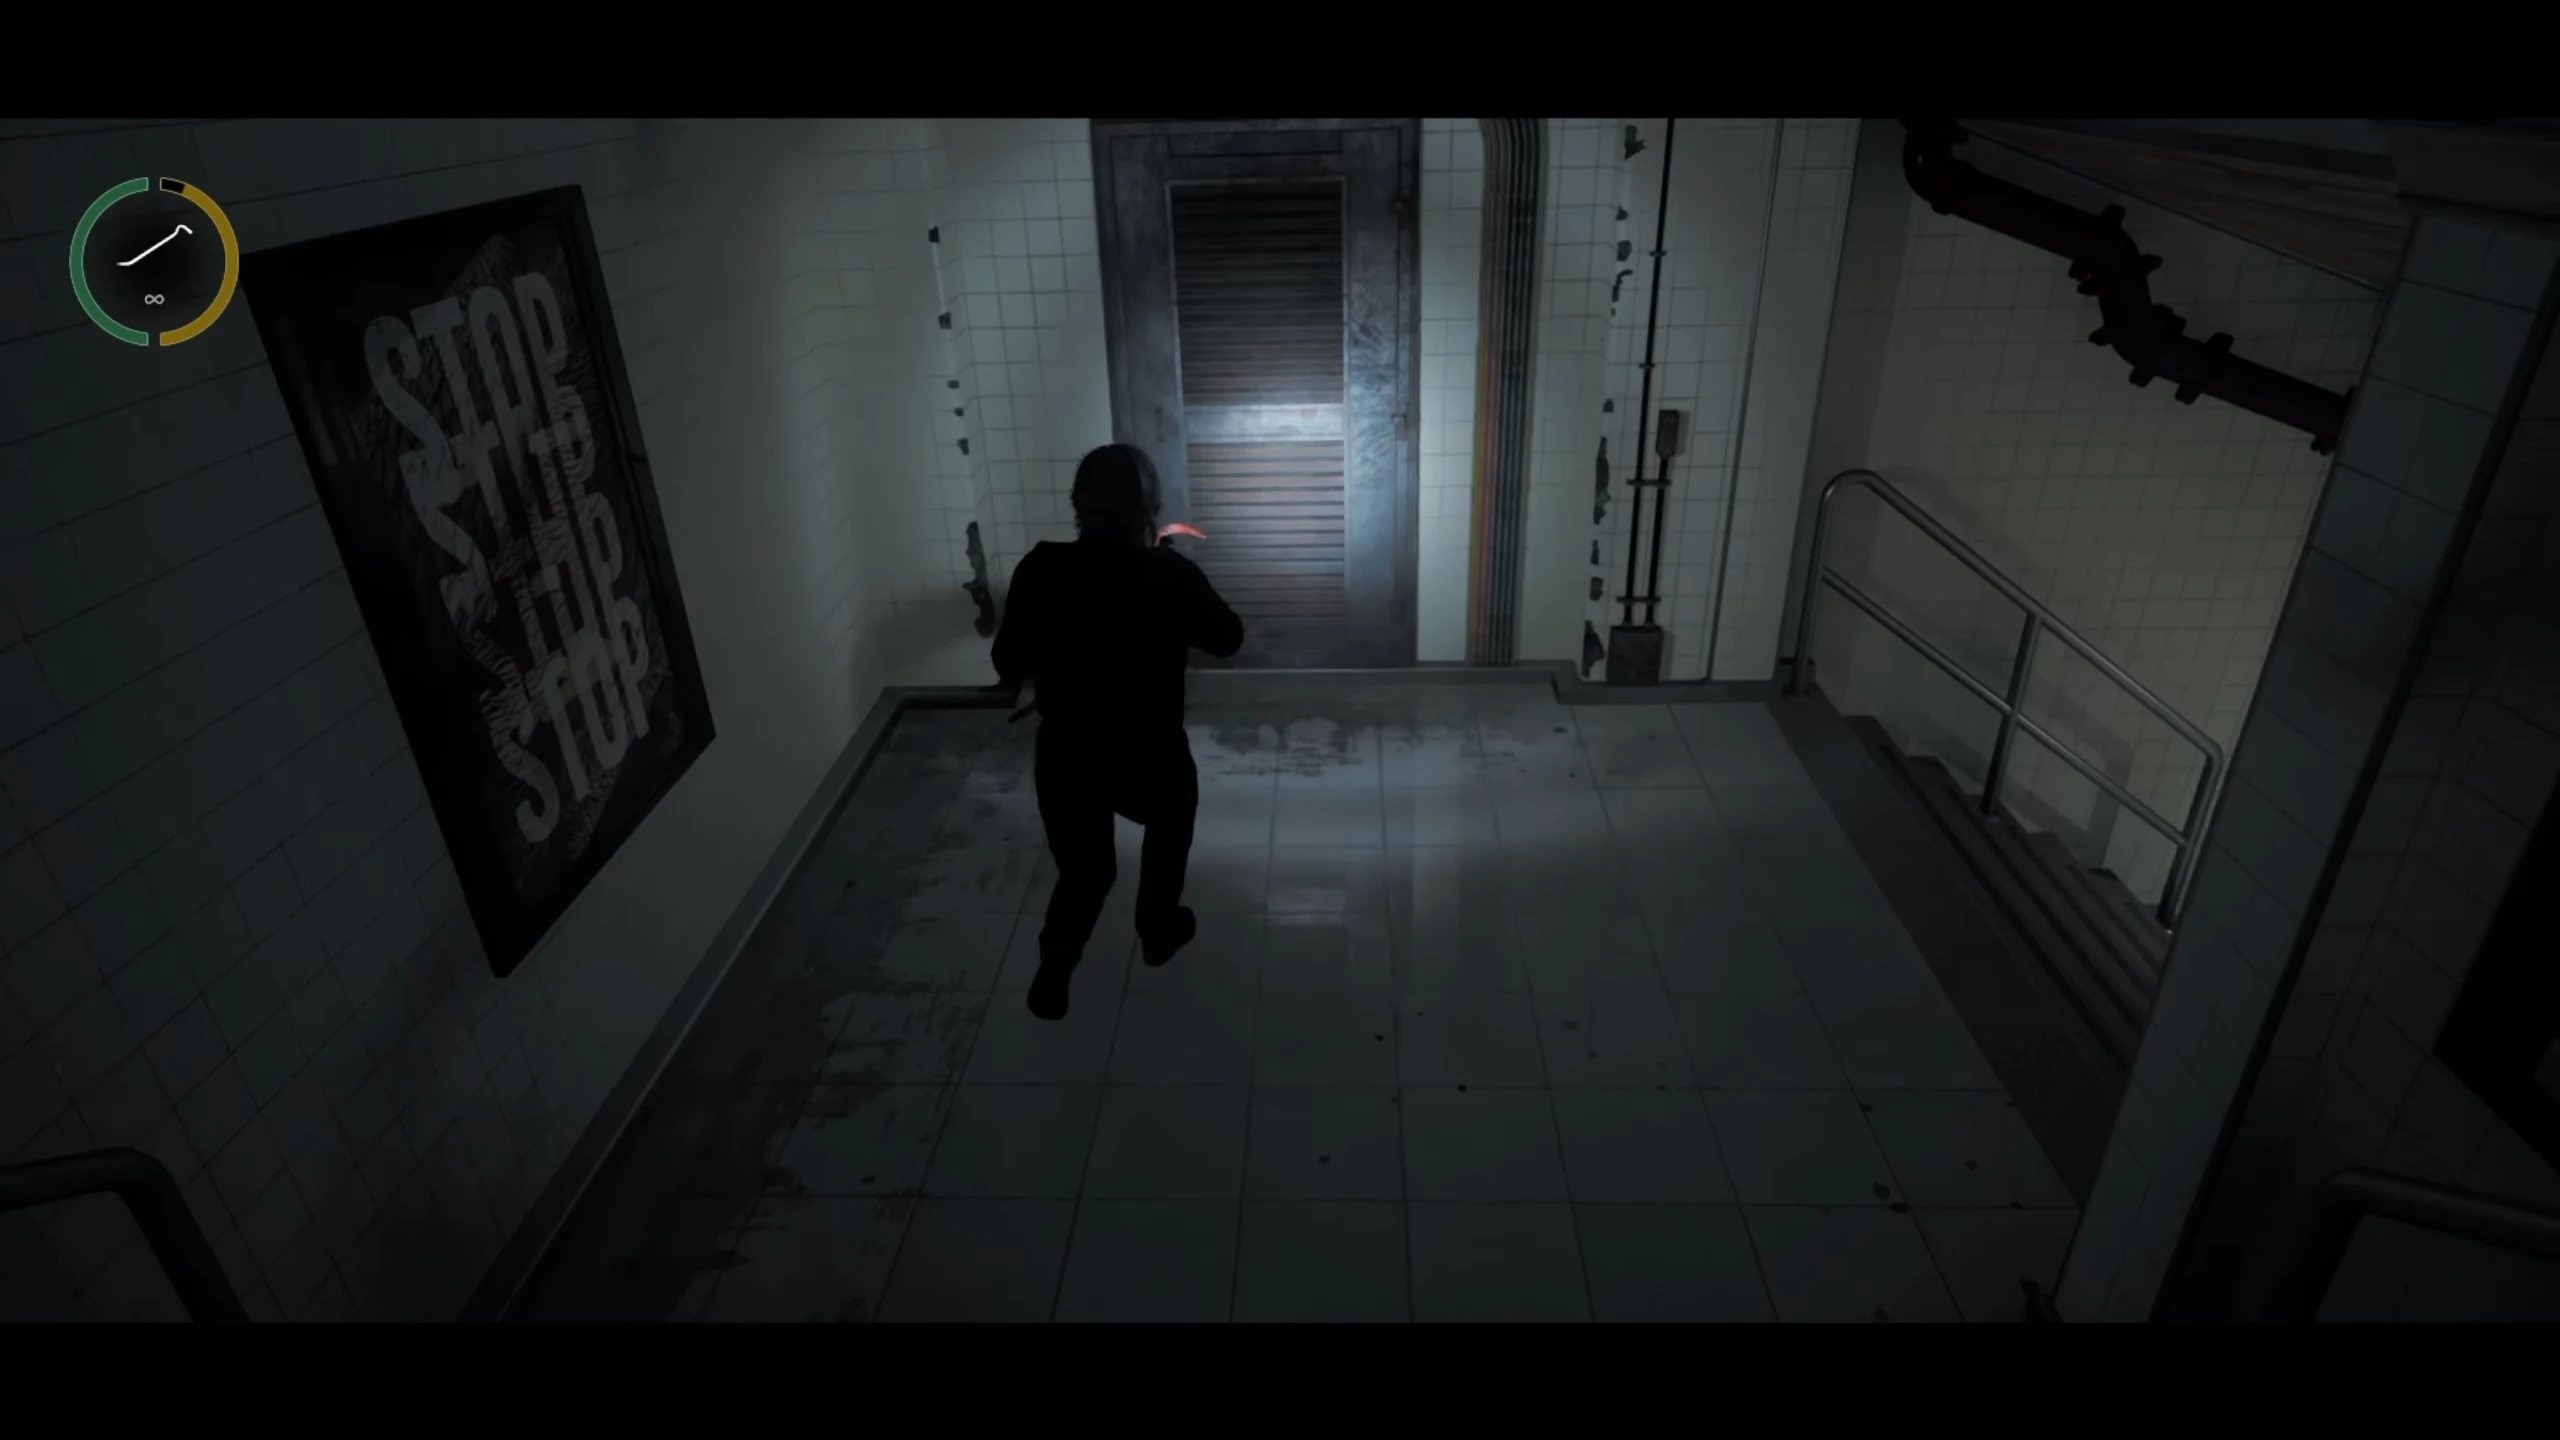
This part of the game is played from a first-person perspective. Waking up as Carlos, exit into the corridor and turn left. Upon reaching the stairs, go up. Along the way, you can peek into various rooms, but you won't find anything special there. After passing the elevator upstairs, one of the first rooms on the right will allow you to save your progress using the radio.
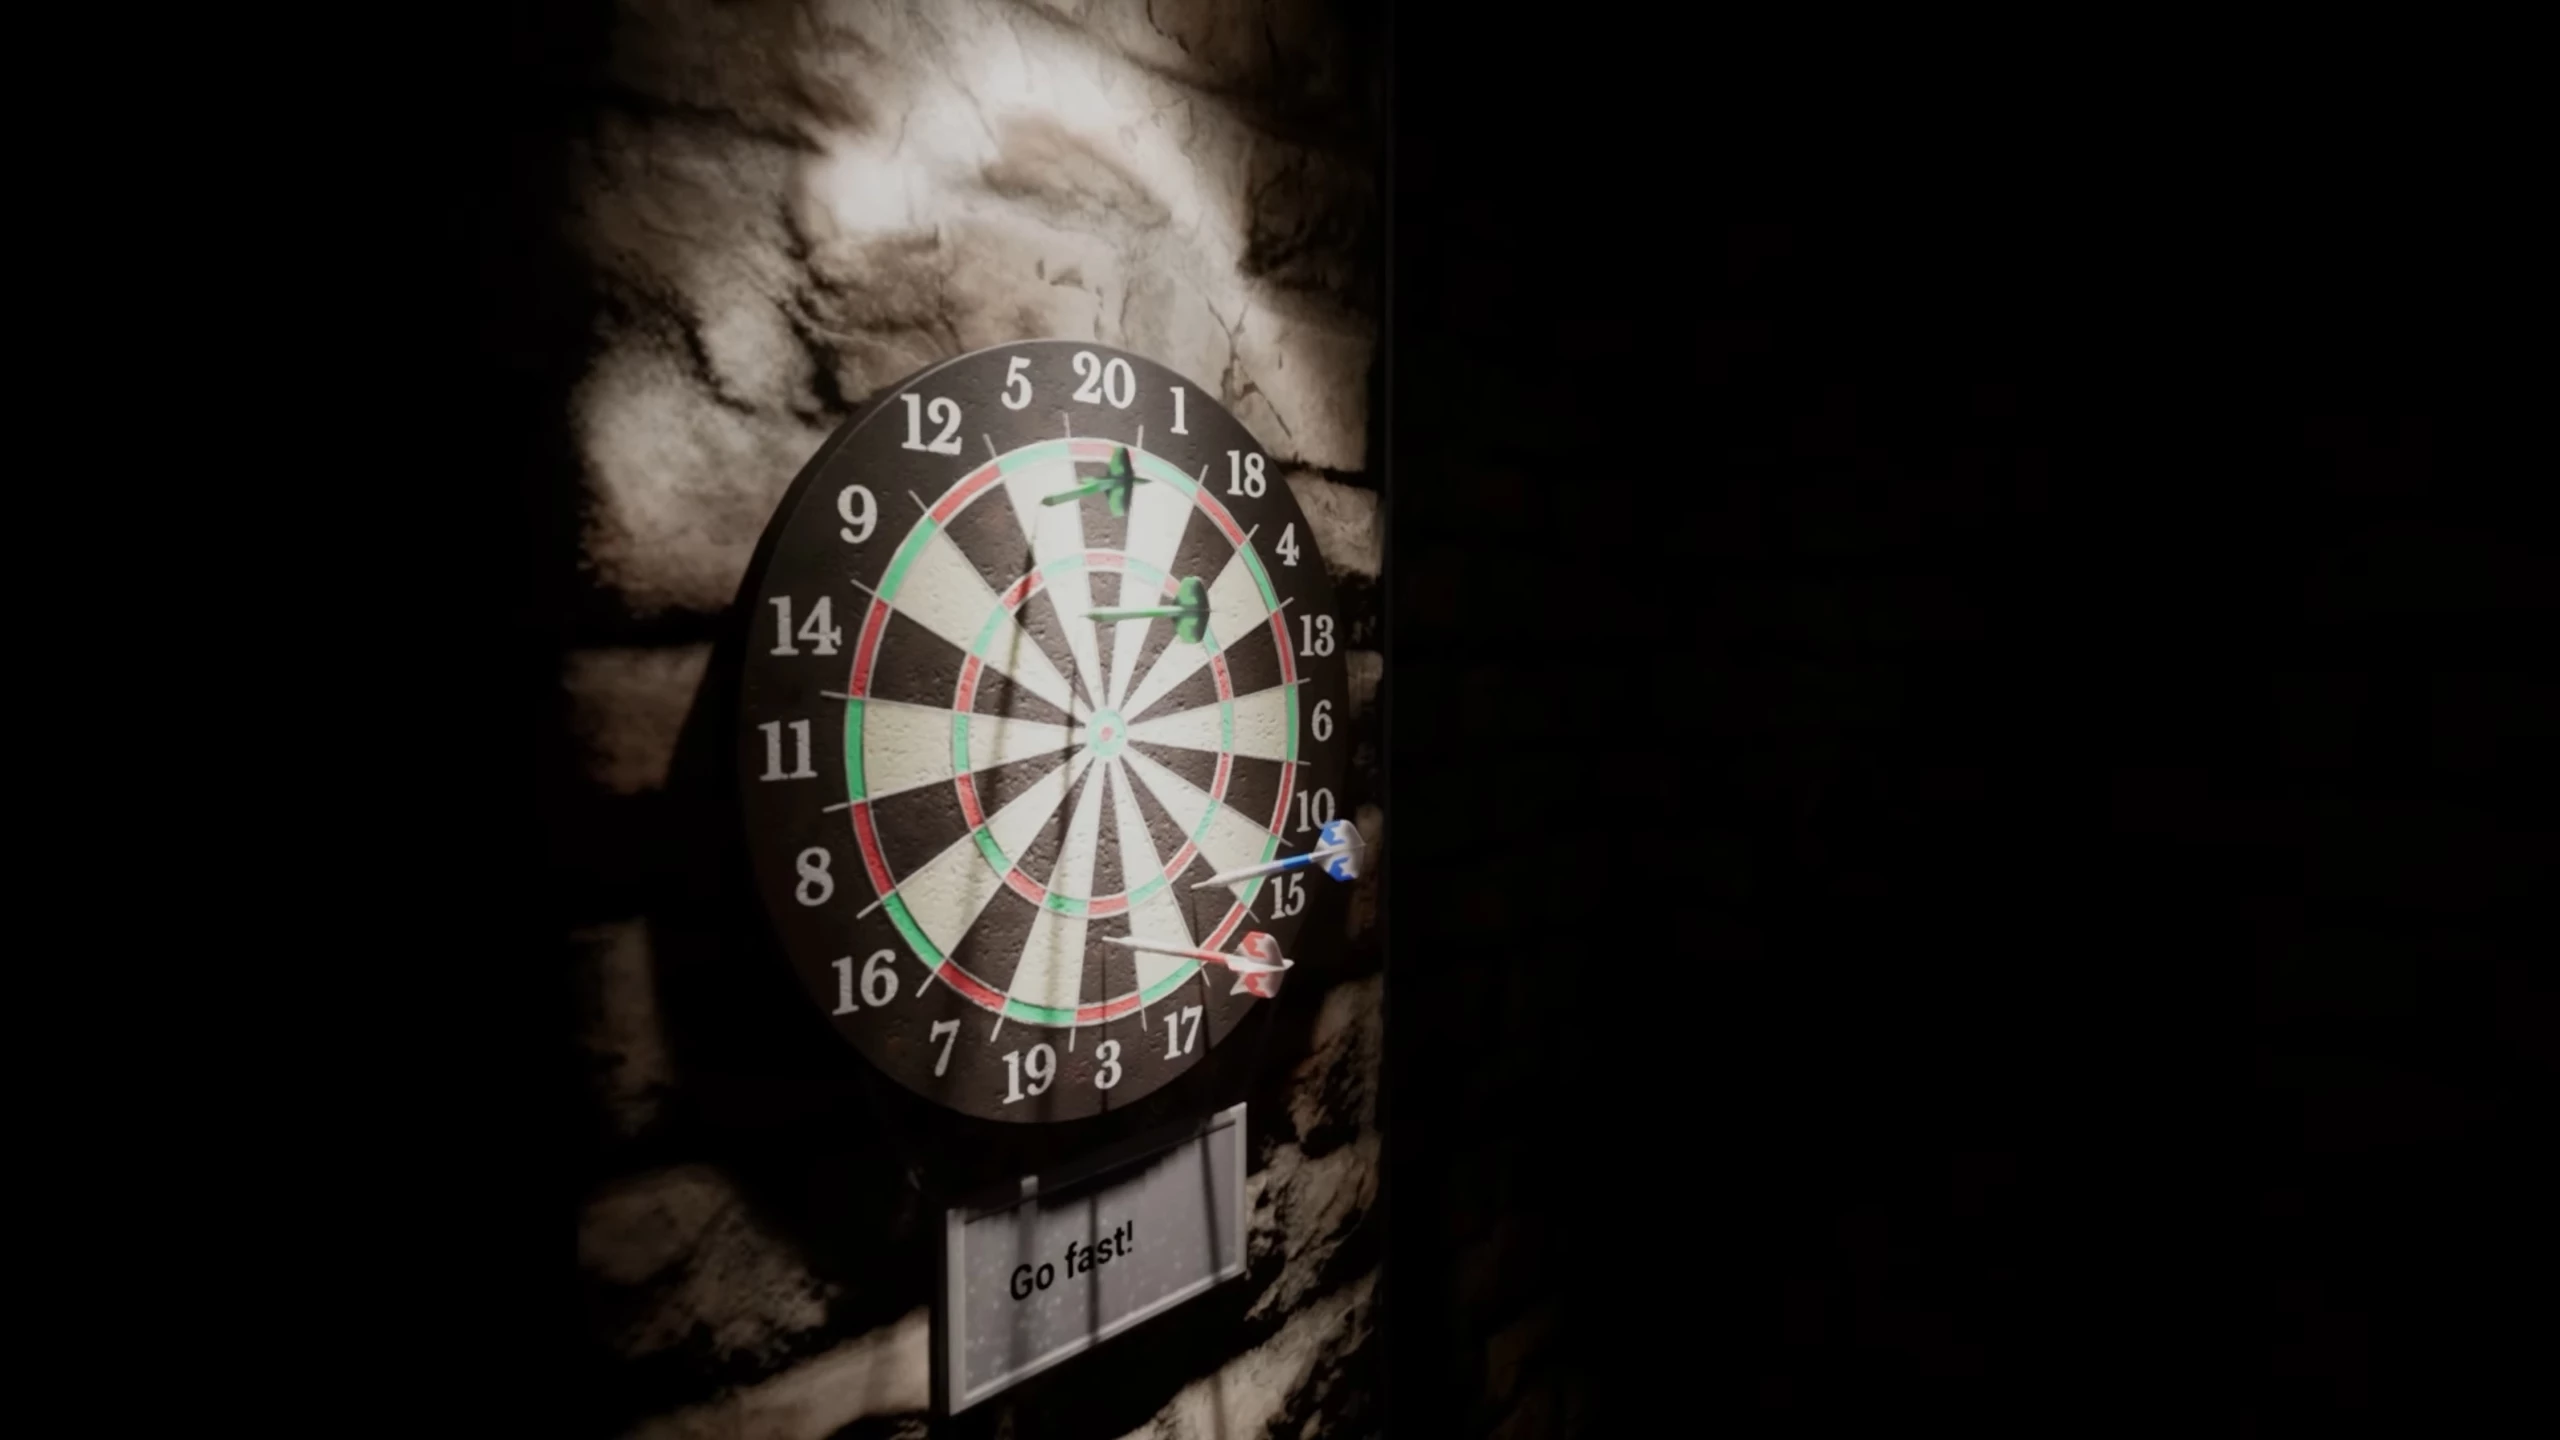
Ahead is a large number of office desks with unusual images on the computer monitors. Pay attention to the darts at the end of the room. There are 2 green darts on number five, a red one on number three, and a blue one on number two.
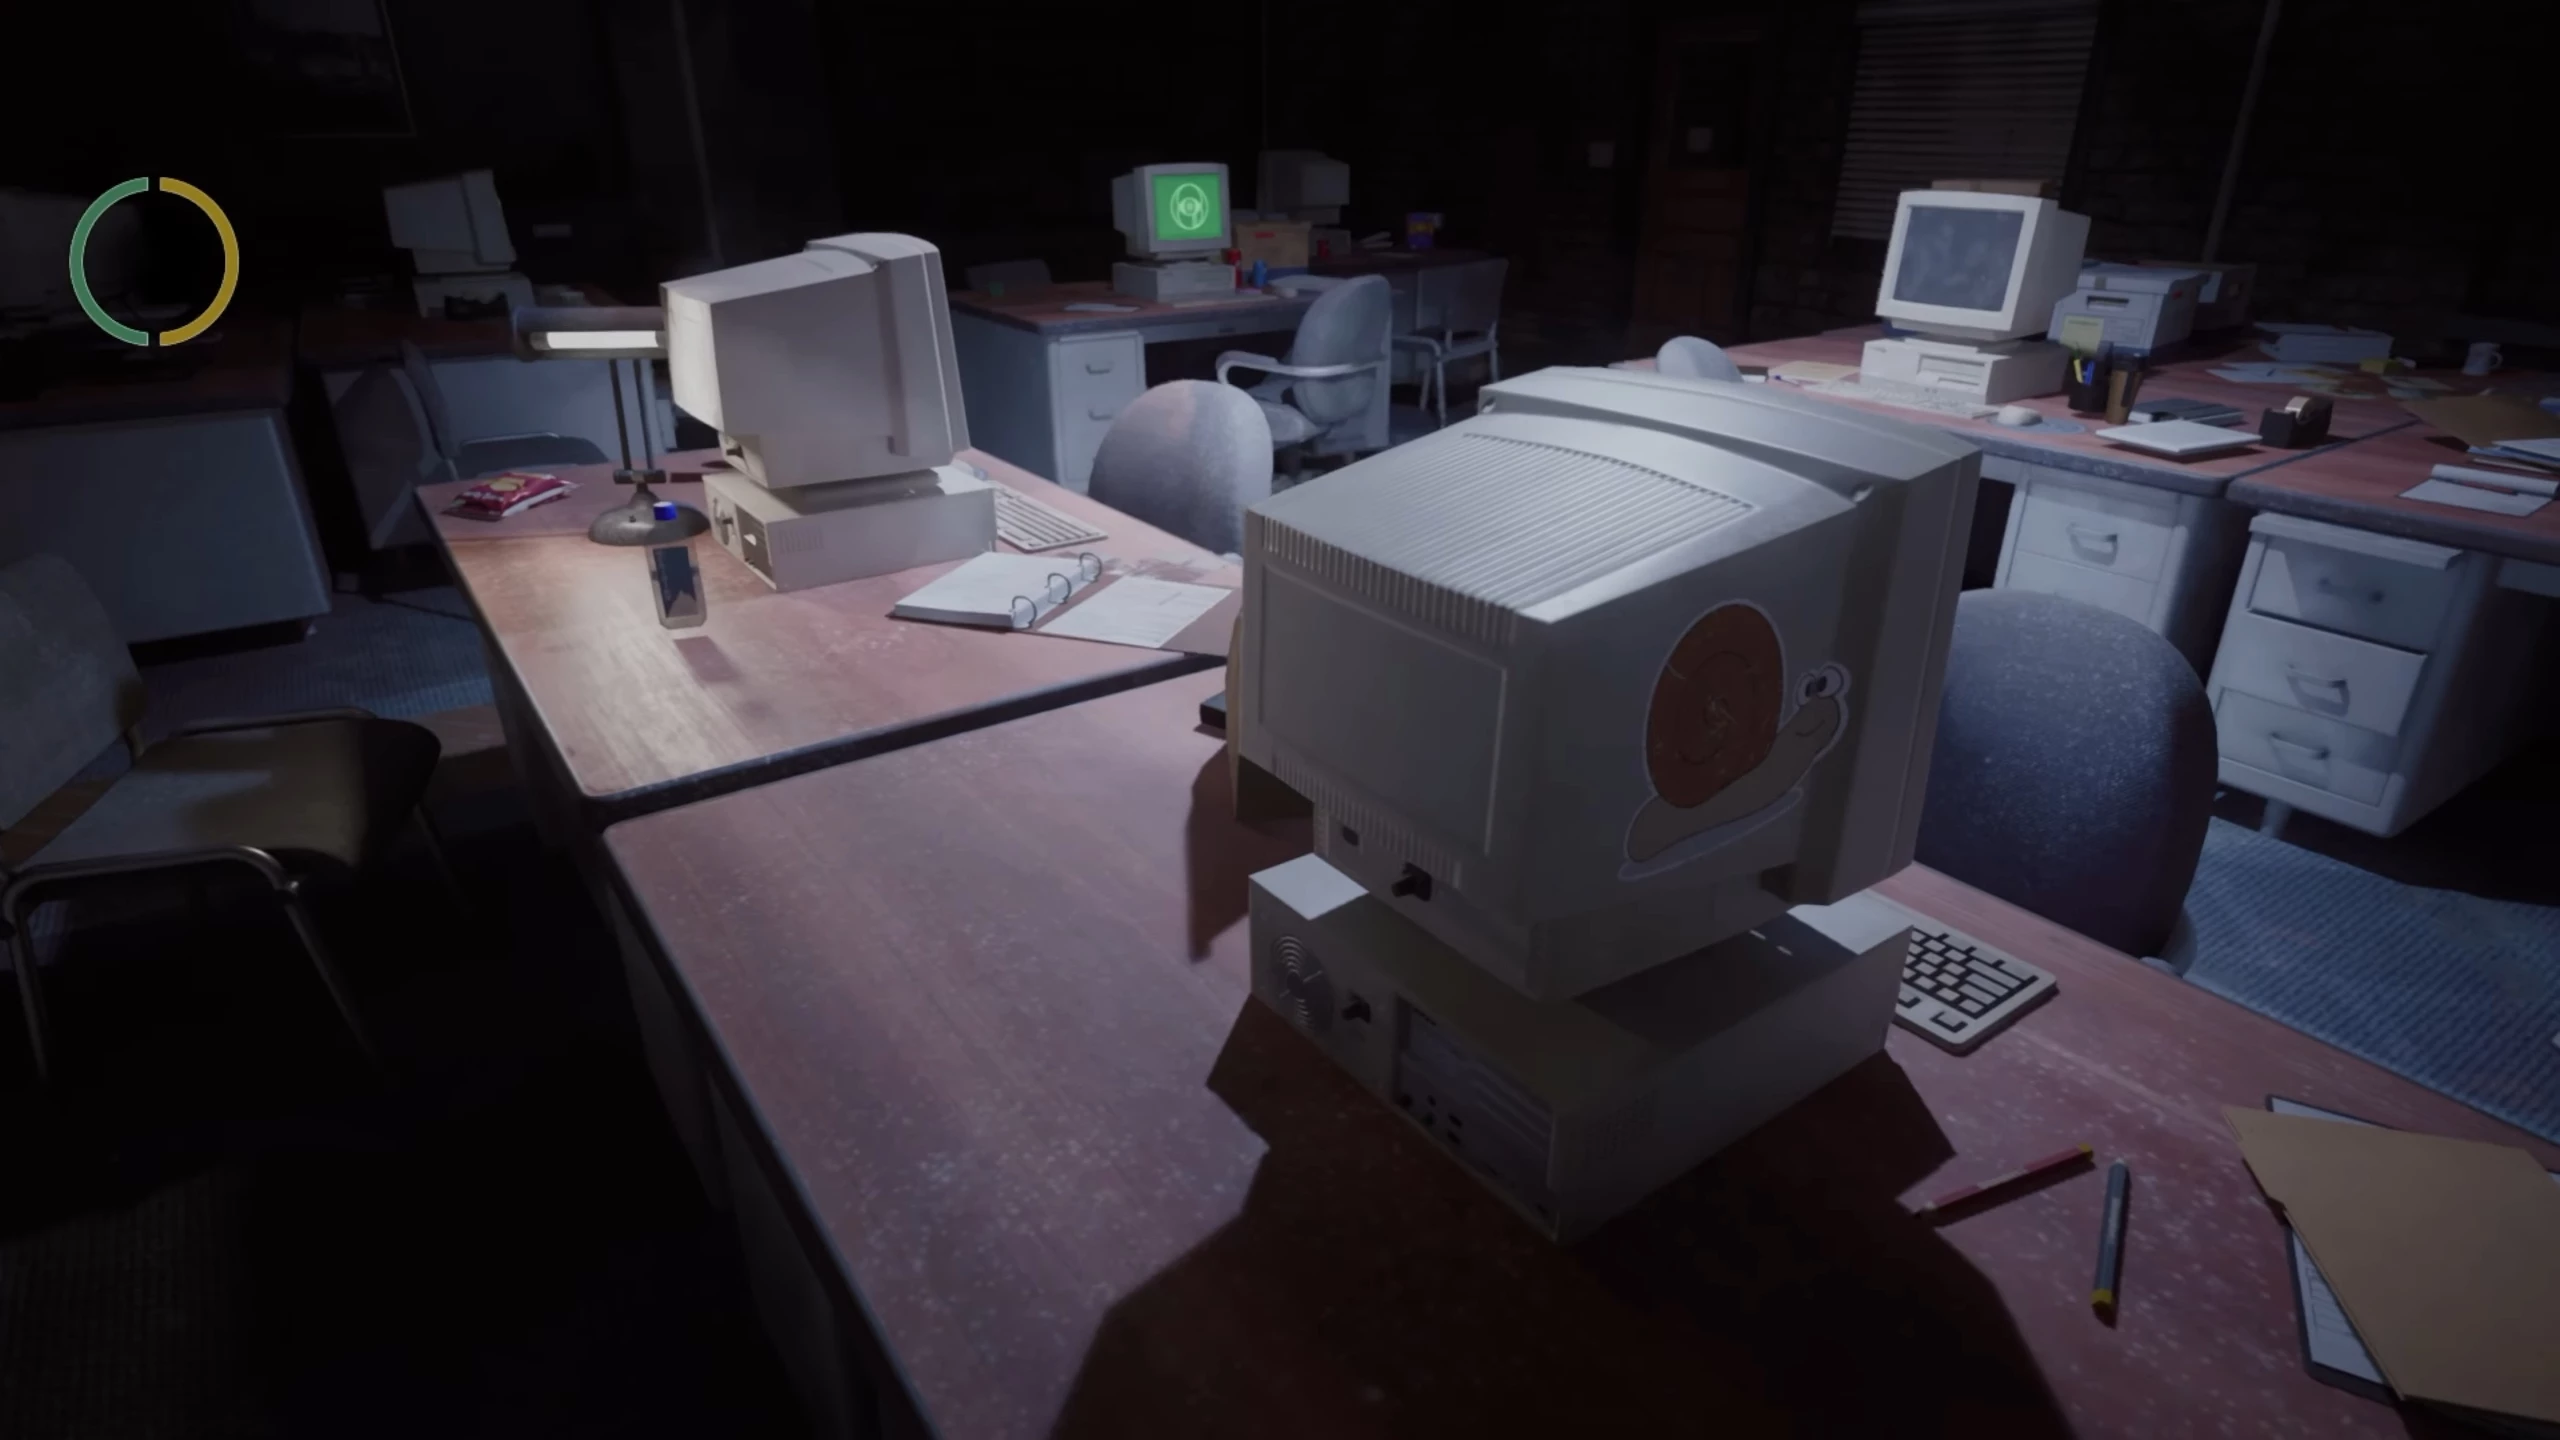
On the back of each gadget, there is a sticker: snail, turtle, rabbit, leopard. By matching the animals by their running speed (a hint under the darts says: "run faster"), the color of the image on the front and the dart values, we get the code 2535.
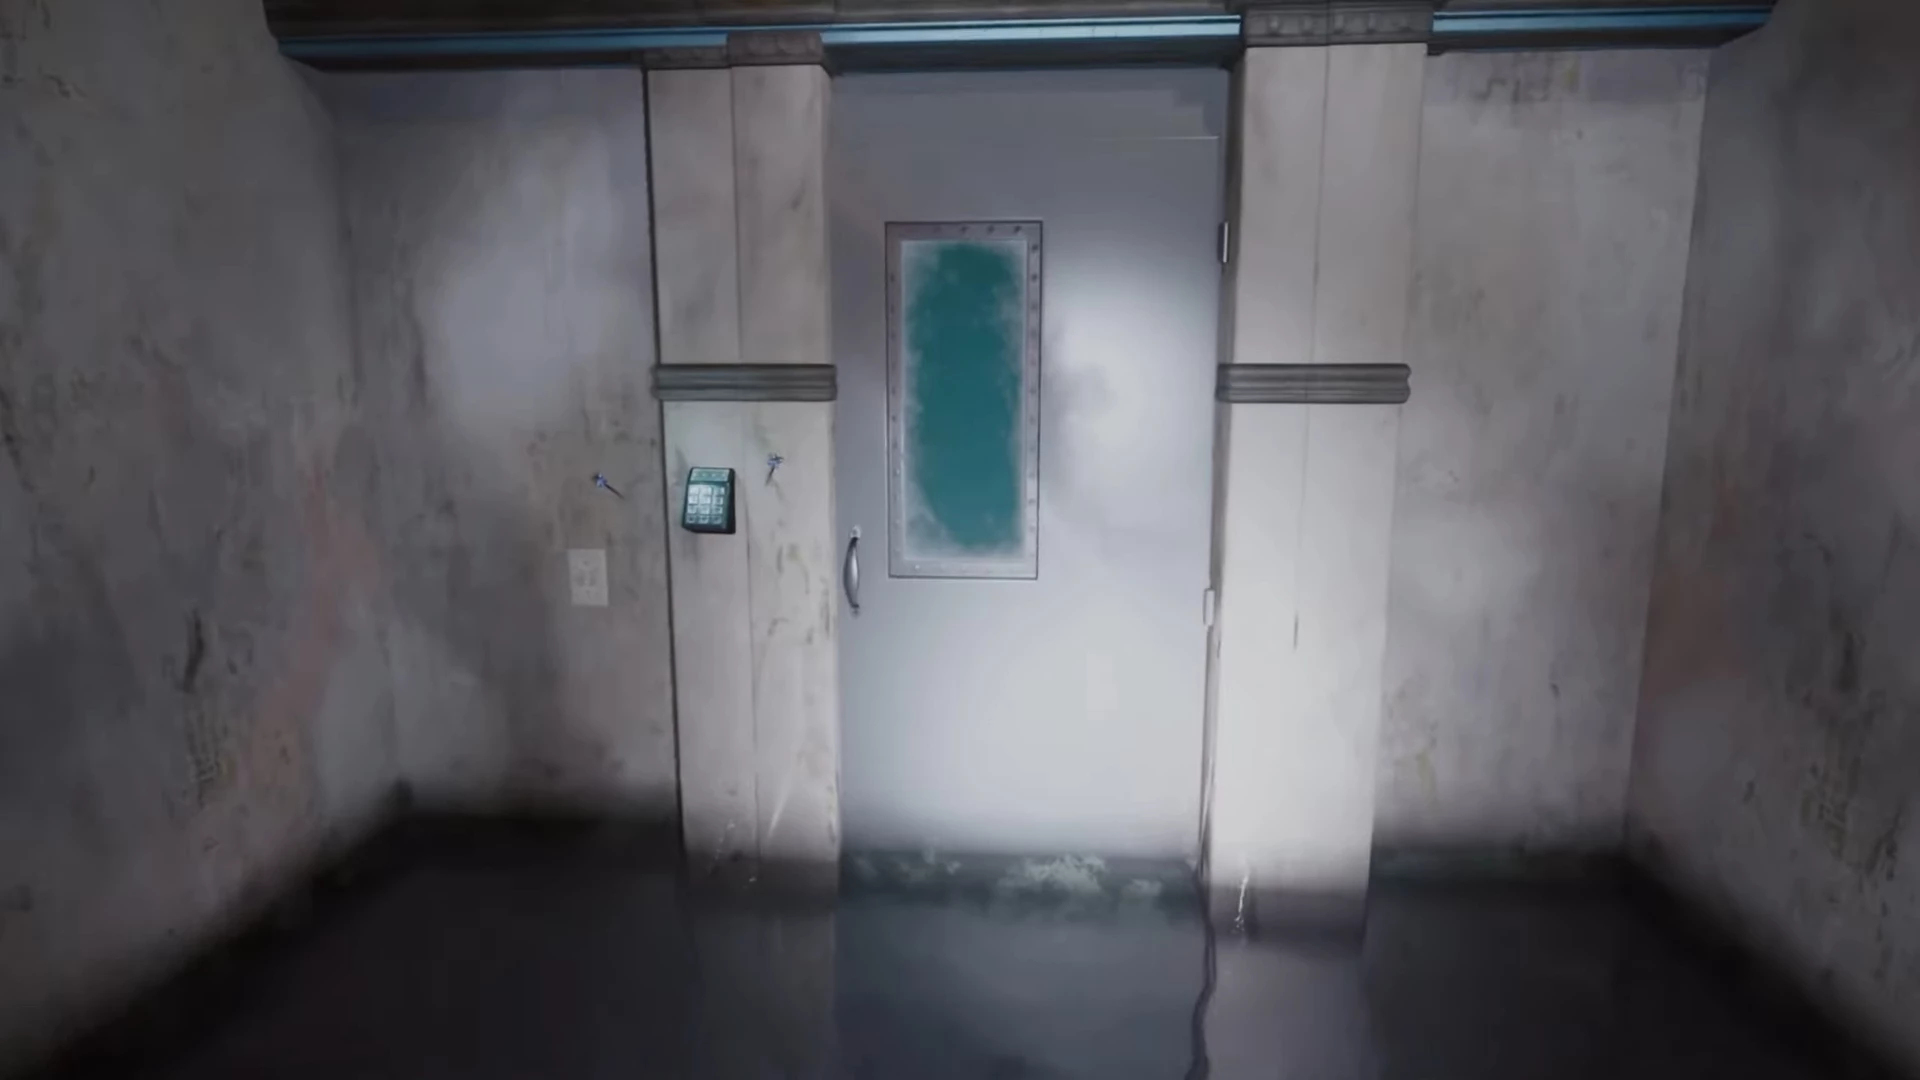
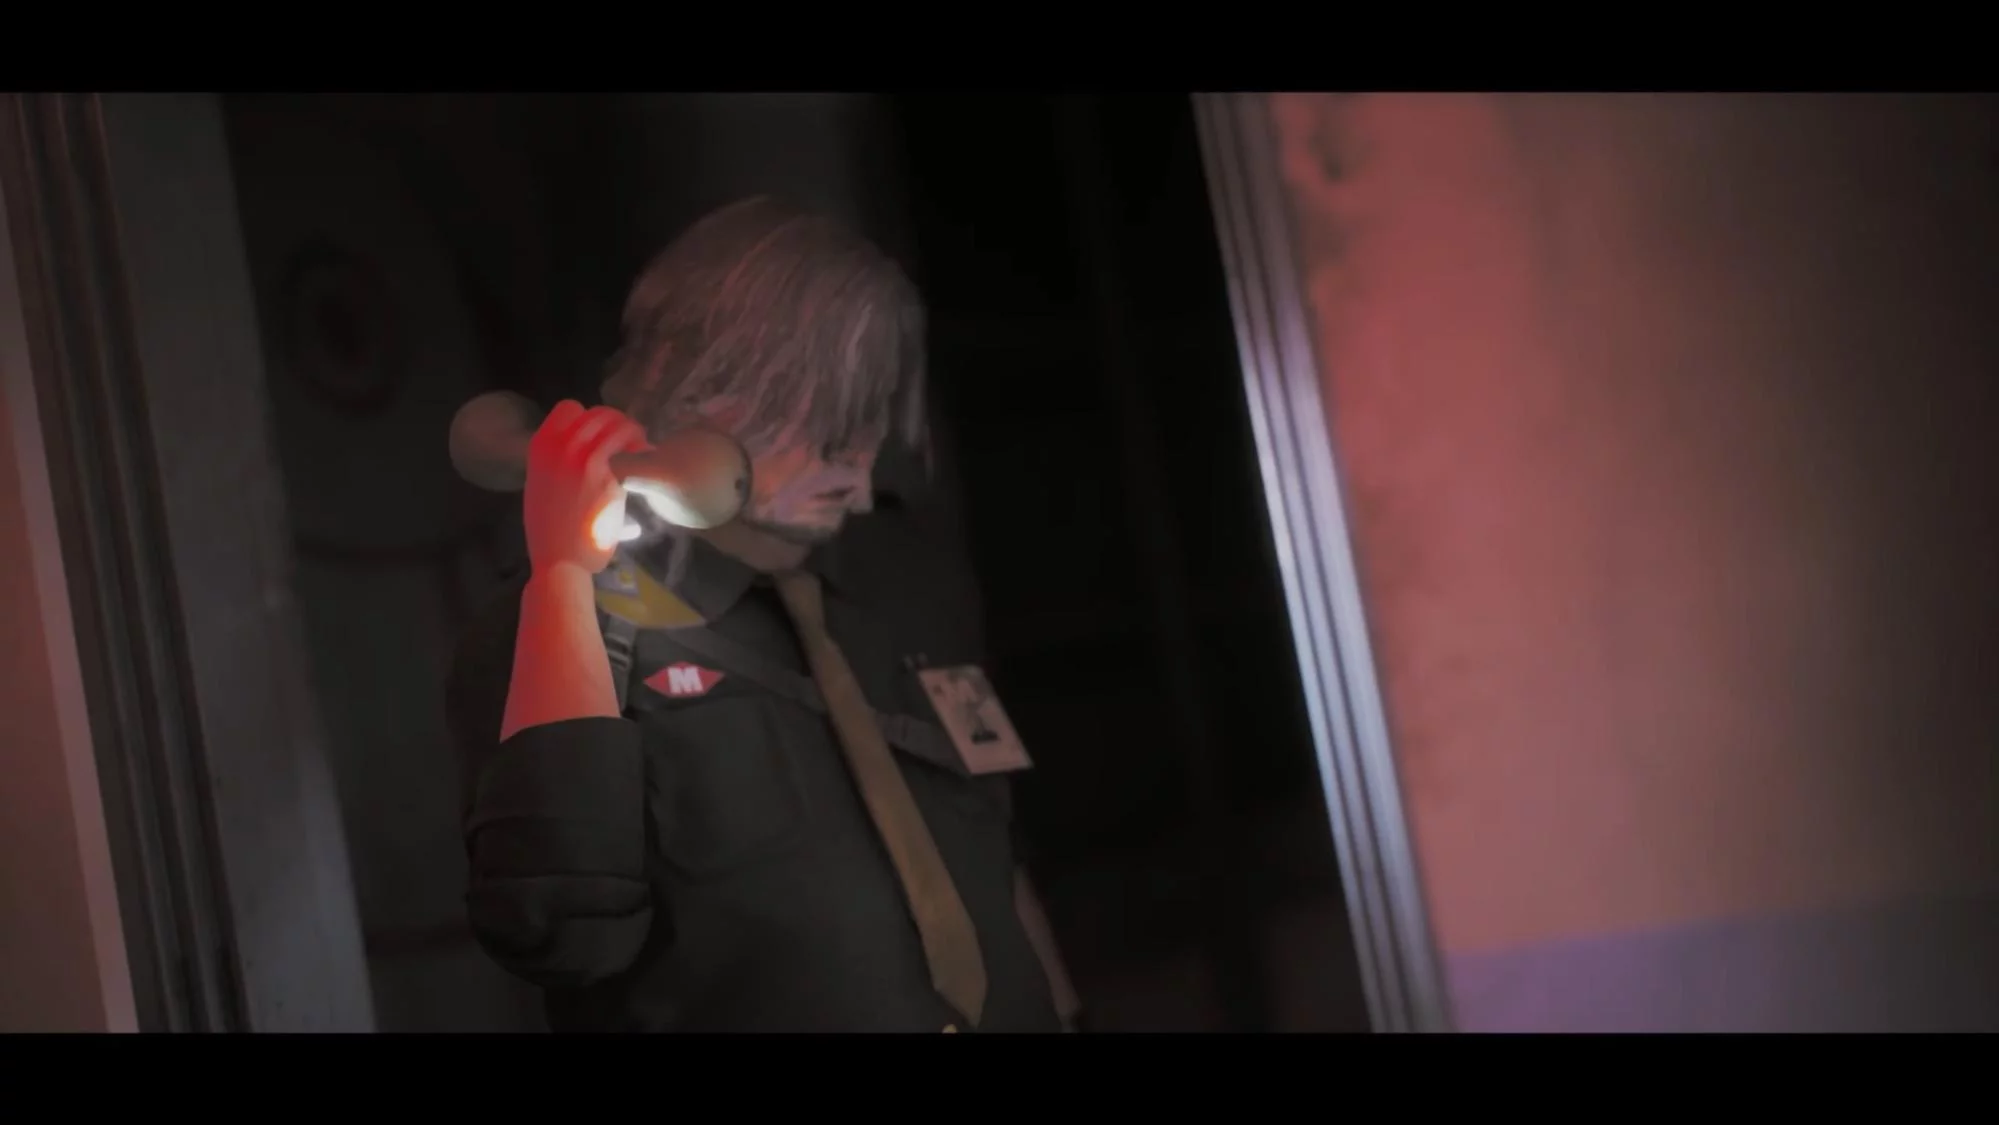
Returning to the stairs, we'll find a flashlight. There's now an underwater monster swimming below, so move cautiously and hide in rooms at any unfamiliar sounds. Be careful, as three bites from it will result in death. Upon reaching the fork, turn left and enter the code.
Proceed to the illuminated cell in the middle of the hall. On the top bunk lies keys. After picking them up, go upstairs, save, and open the room to the left of all the workstations with computers. In turn, this will give us an electronic pass.
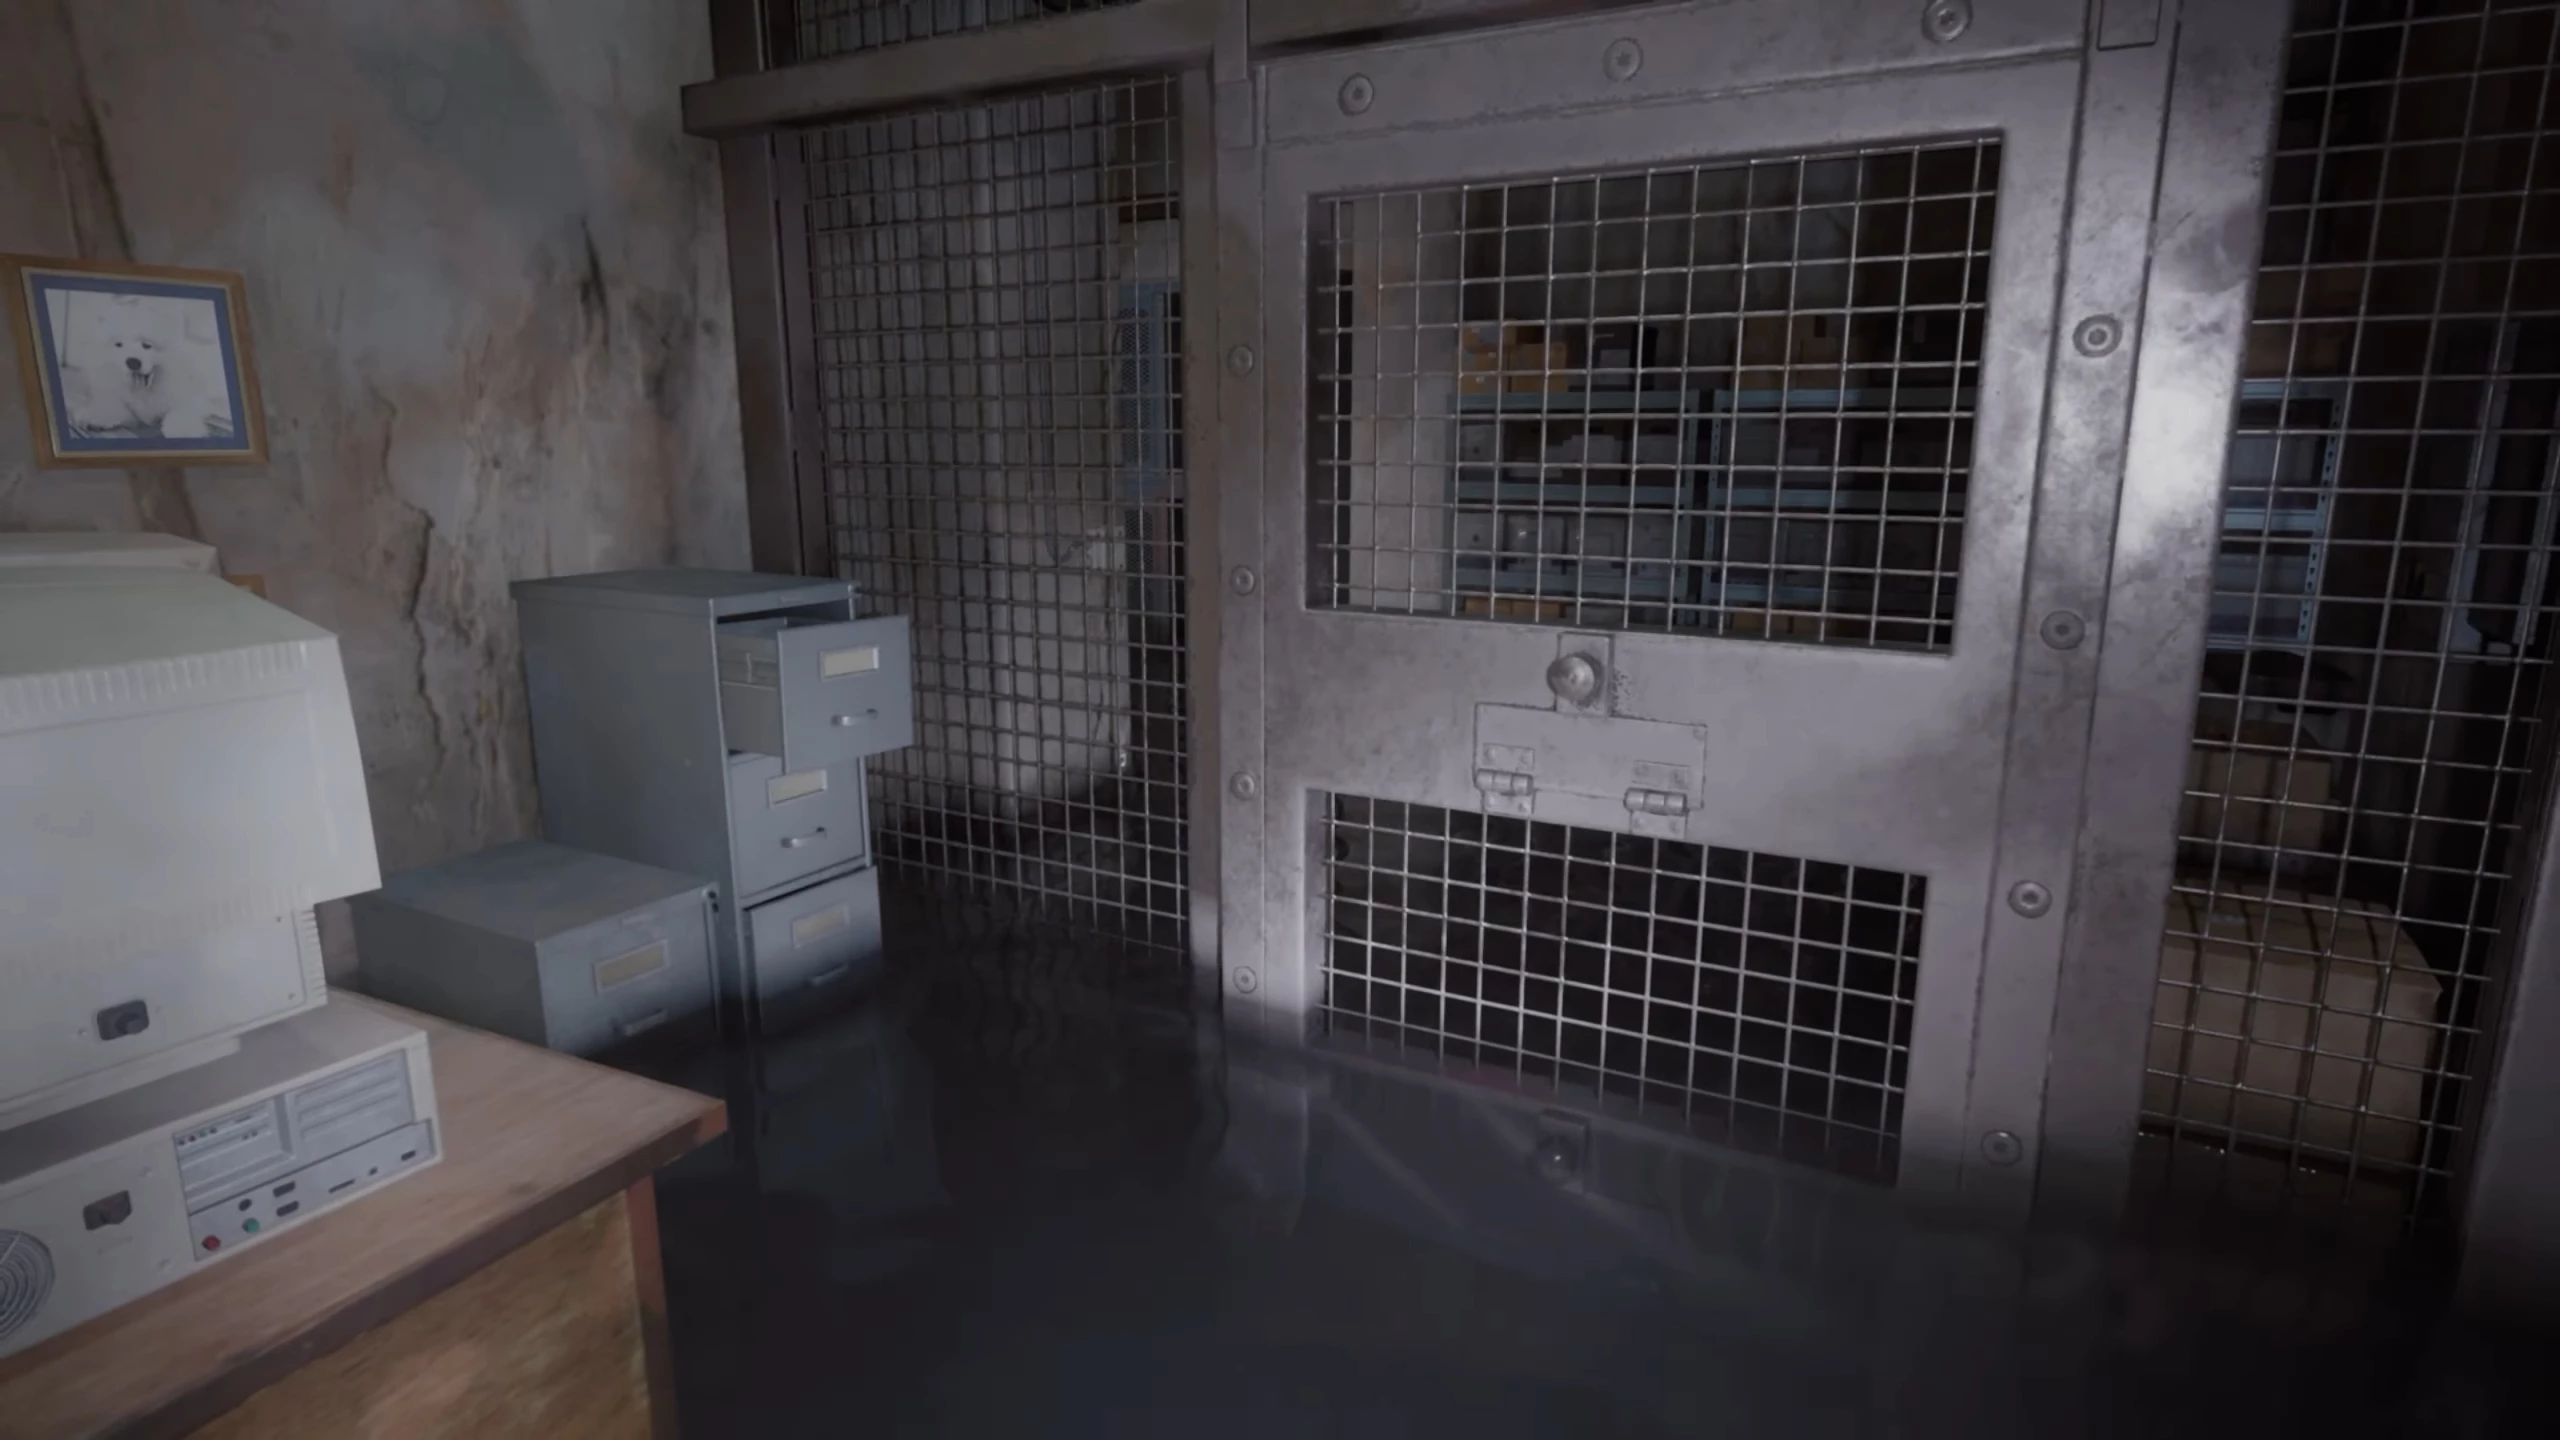
Before reaching the prison cells, enter the adjacent rusty door where the pass table and iron grate remain. Use the recent find to take the round handle behind the opened barrier.
Now exit and approach the rusty door nearby. Reaching the end of the corridor, you'll awaken again as Roman.
Hospital (Roman)
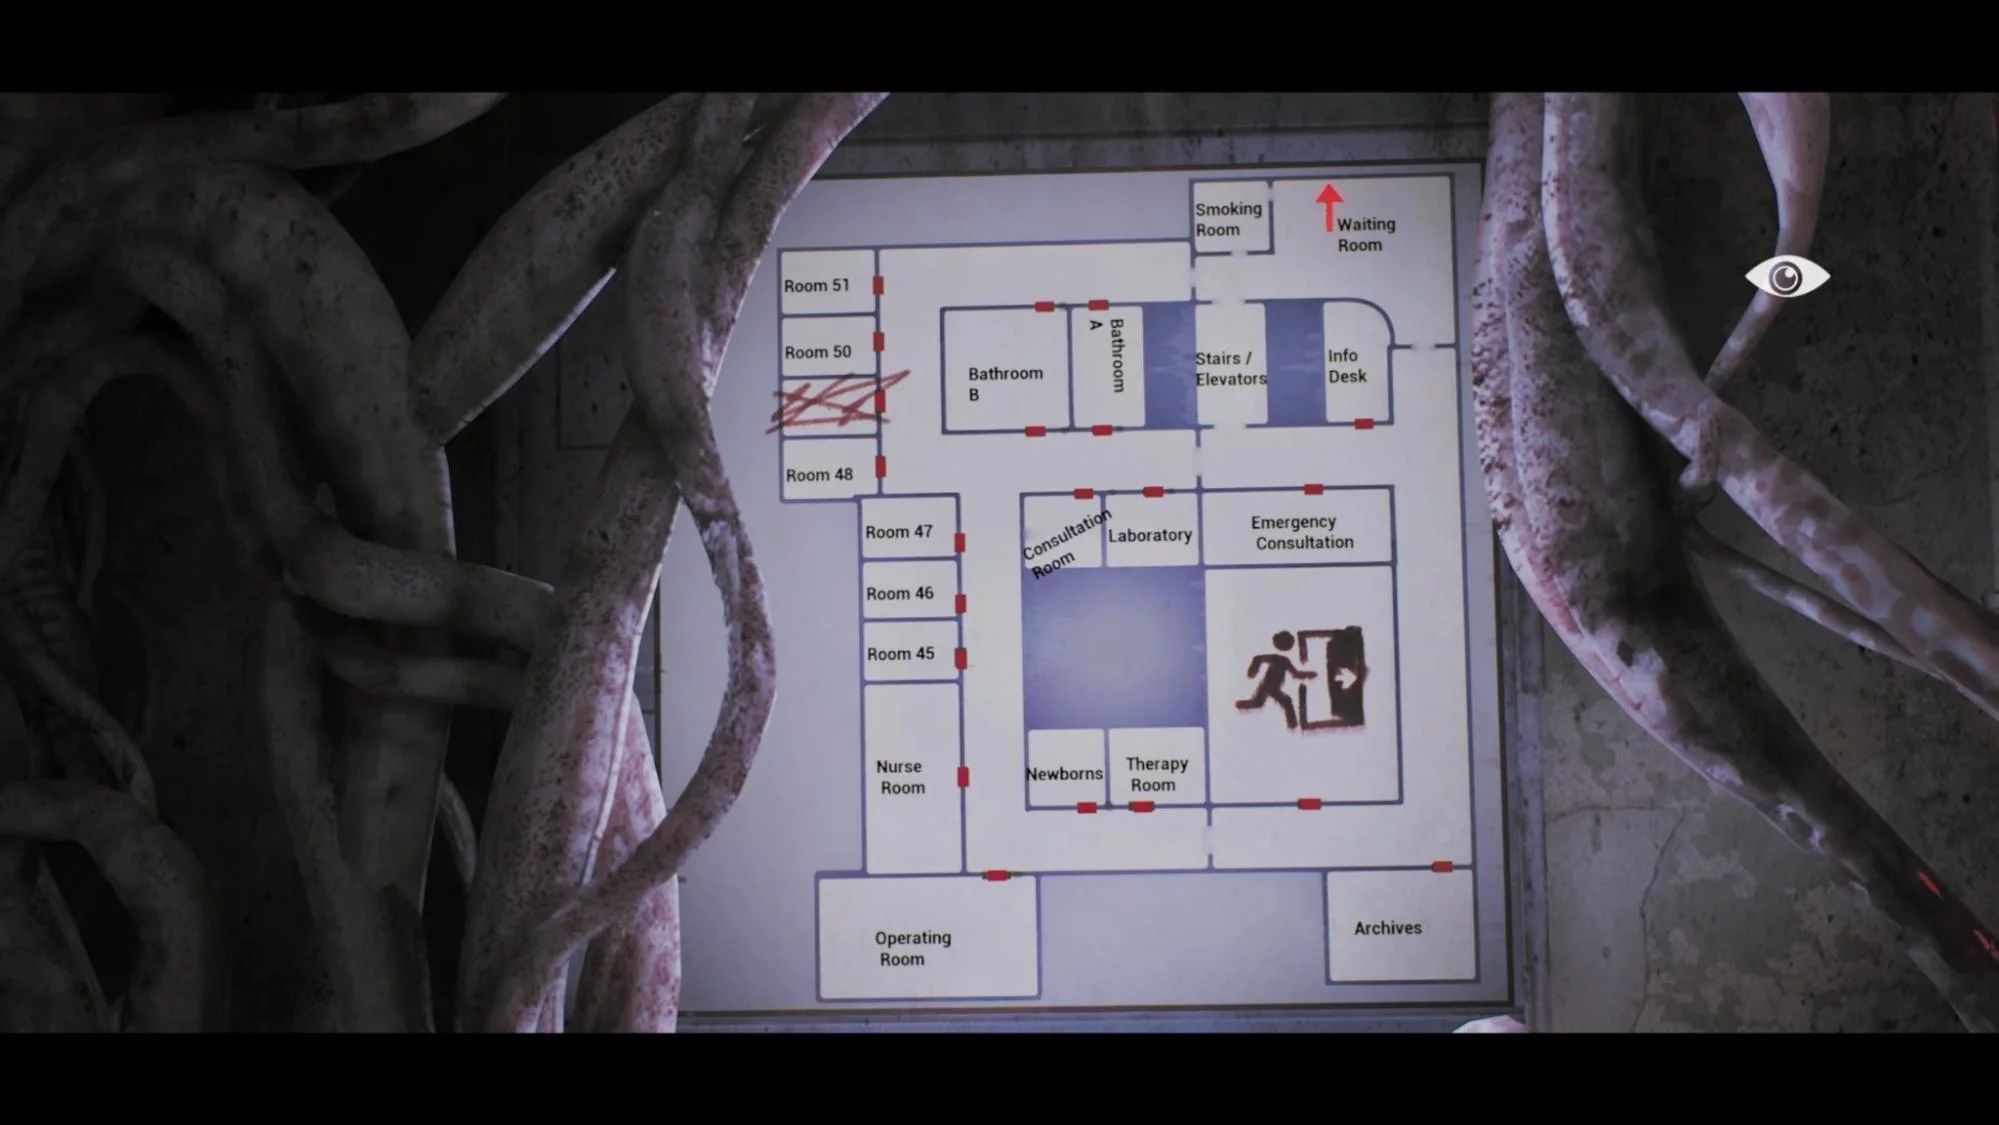
Waking up as the character, walk around the room on the left and notice the map on the wall. Since this location is very confusing, it will come in handy as a convenient guide. We are in the waiting room.
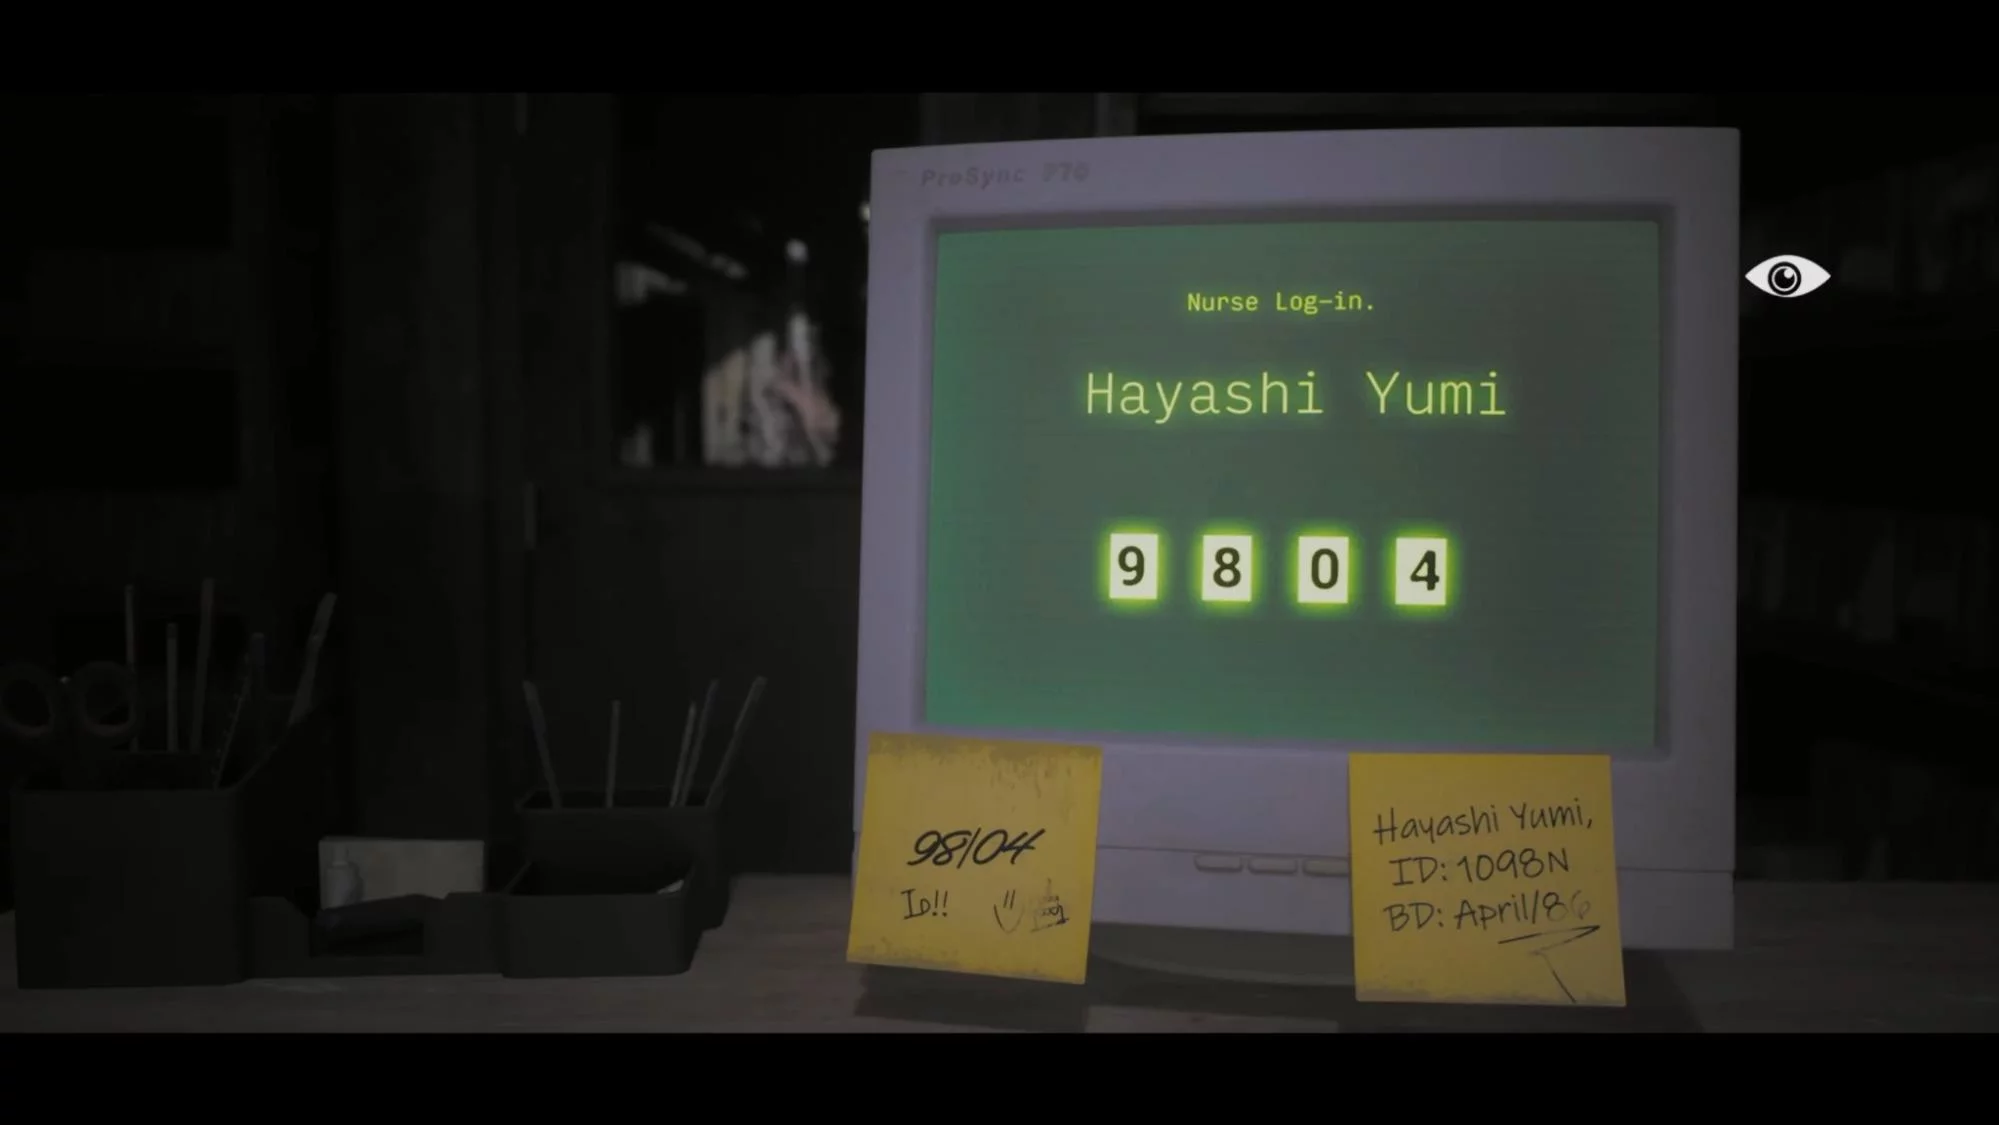
First, run straight to the archive. On the left side along the way, there will be a green cabinet where you need to take the bullets. Once you reach the office, walk around the cabinets and approach the turned-on monitor. There you will find the password of one of the employees: 9804. Note that it is made up of the last two digits of the ID and the month of birth. Enter it to see a hint on where to go next: to the ladies’ bathroom (Bathroom B). We’ll get back to this a bit later.
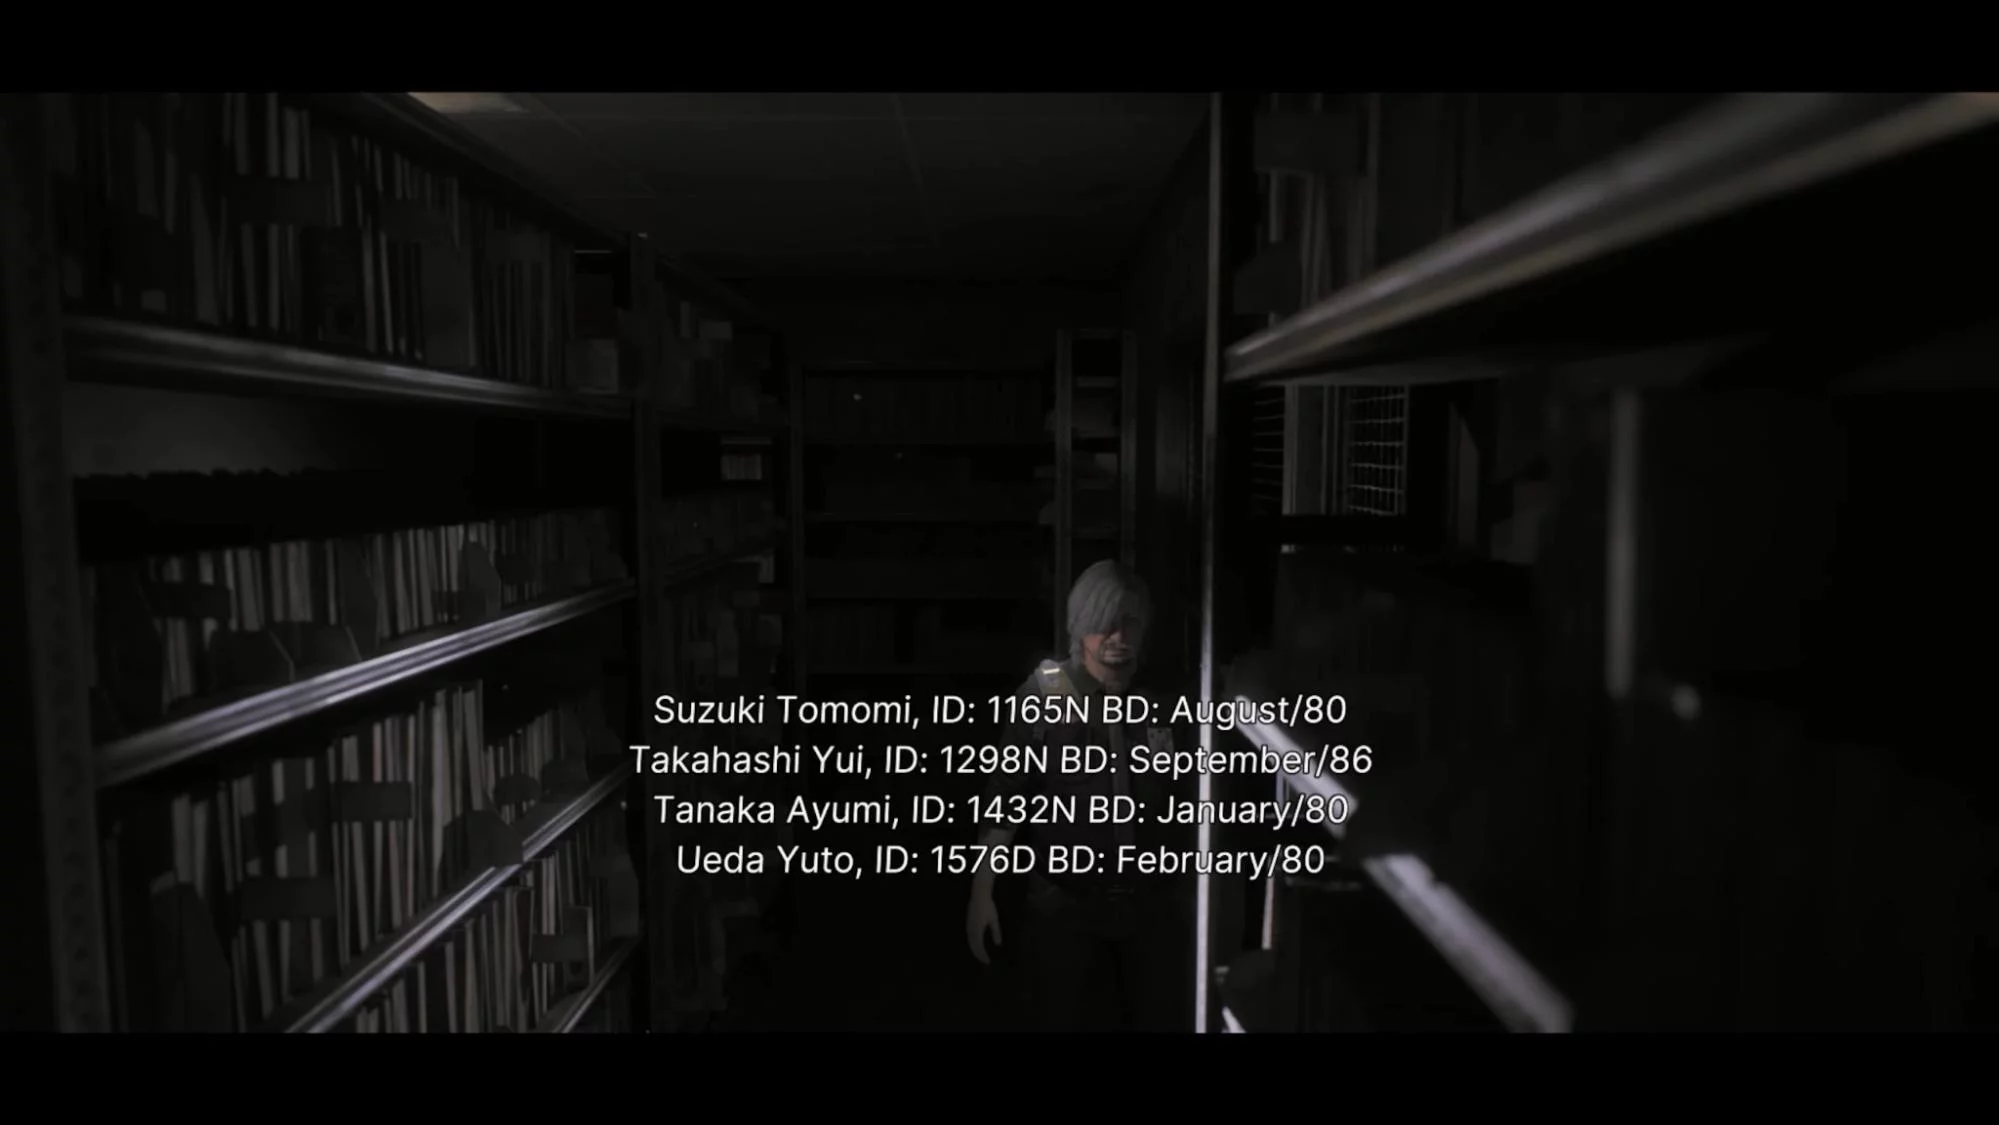
Walk past the archive shelves into the corner of the room. On one of them, there will be information about employees, including Ueda Yuto. Form the password the same way as before. You get 7602 (last two digits of the ID and month of birth). Head to the info desk.
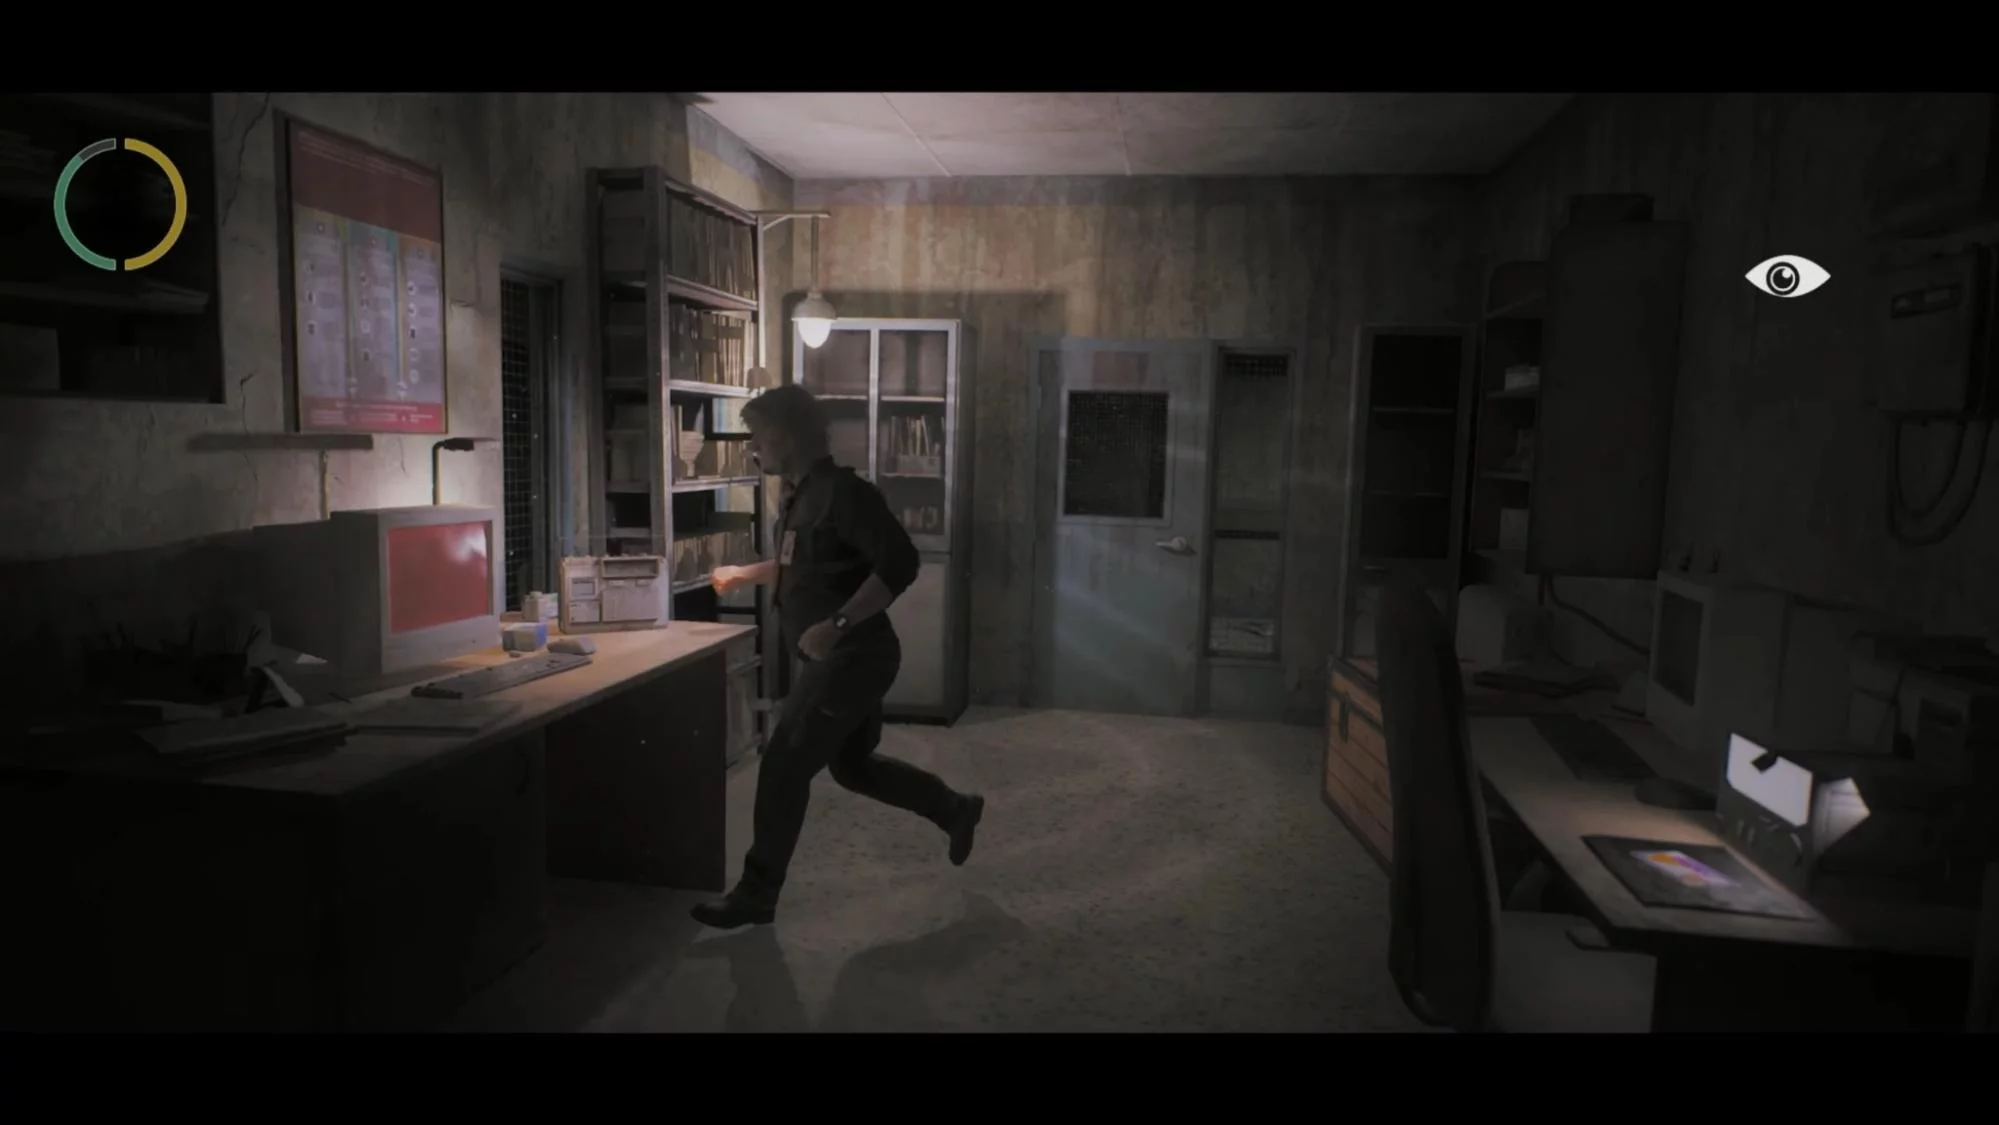
Turn the corner right before the starting point and enter the first door on the right. This is a safe zone where you can save your progress. Also, take the prepaid card from the nearby table. At the end of the room, there is a computer, and you need to find out its password. We’ve already done that — it’s Uedo Yuto’s password. An image will appear on the screen, which you’ll need to solve a puzzle.
On the opposite side of the waiting room is the smoking room. Go through the starting point, and there, use the card you found in one of the vending machines. The machine won’t give you any goods, but it will spit out a gold coin.
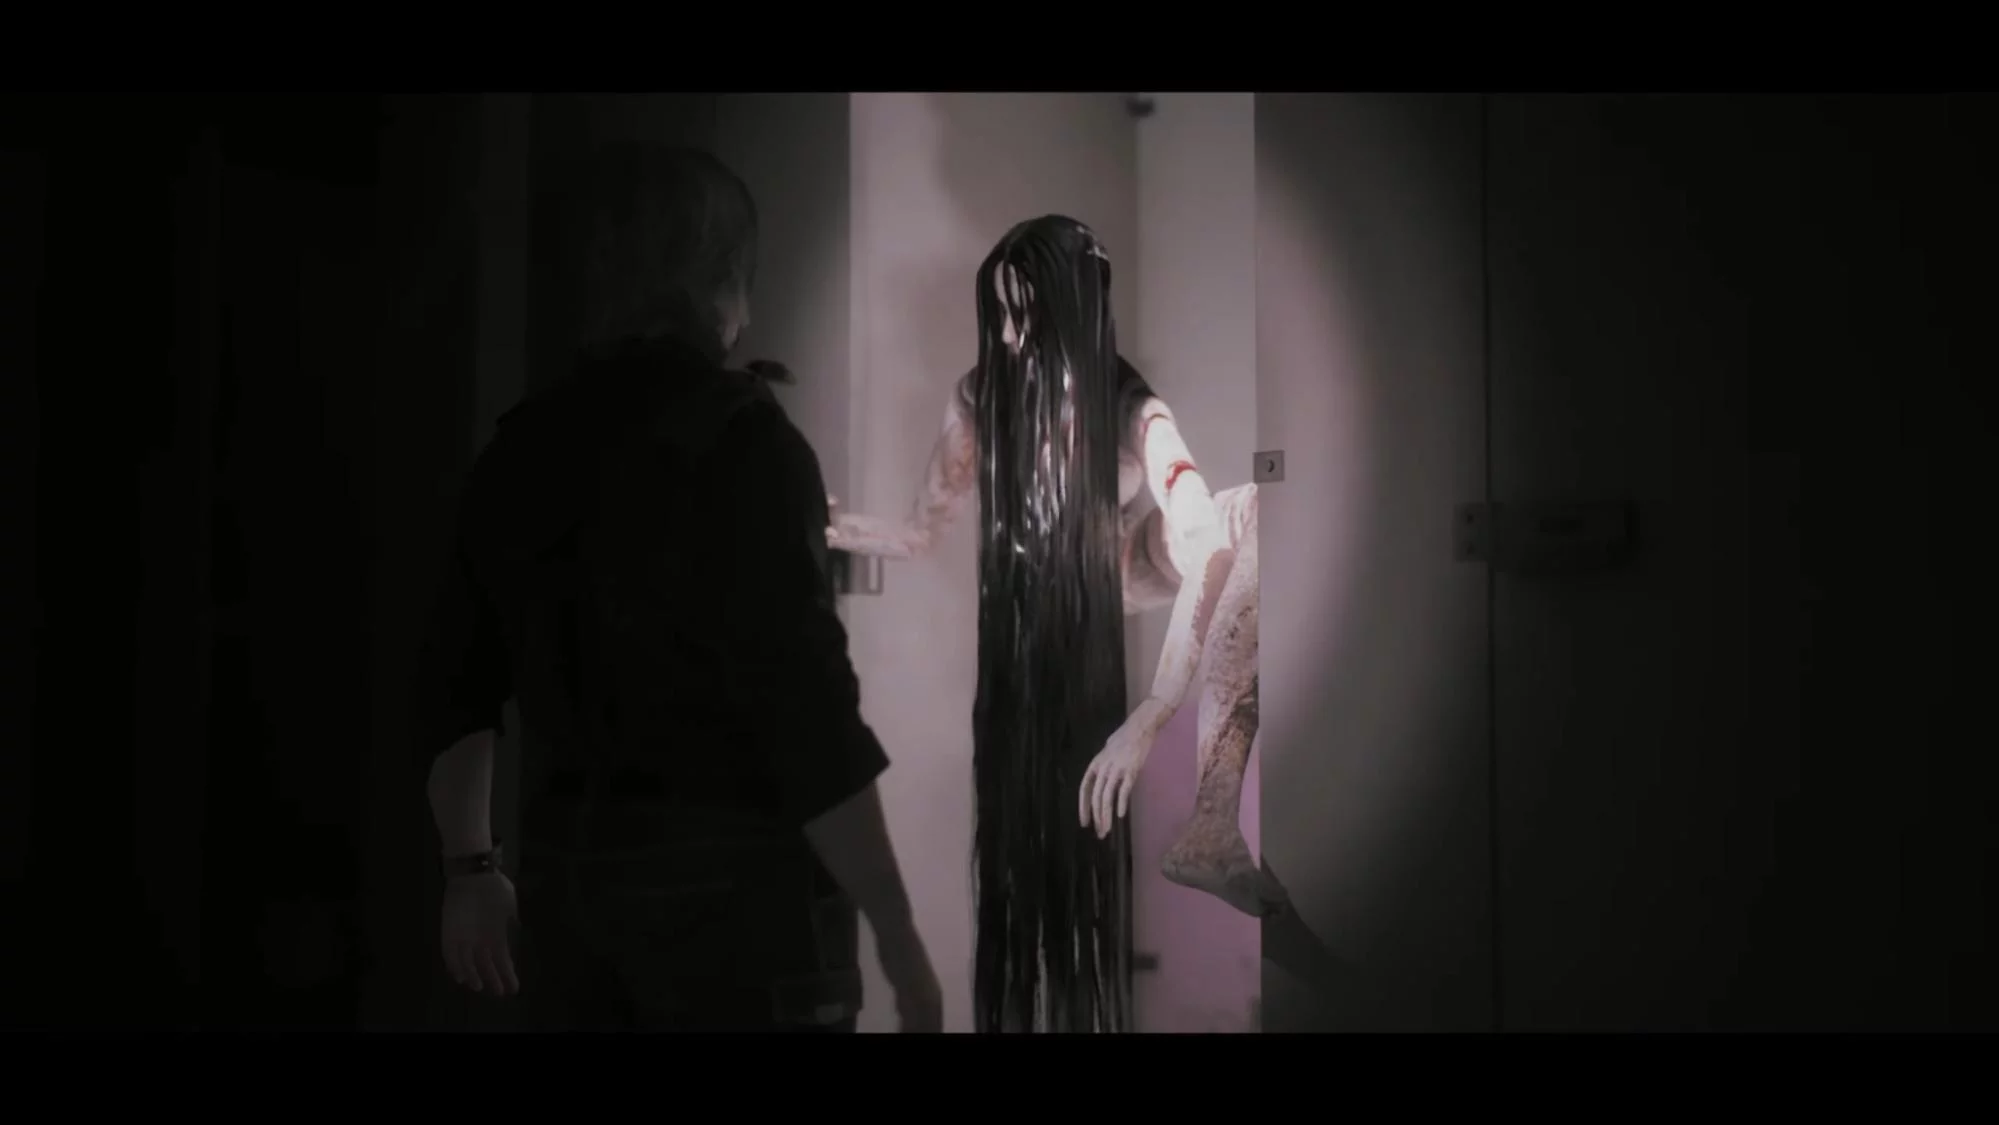
Go out into the corridor from this side and finally hurry to the ladies’ bathroom (Bathroom B). In one of the stalls sits a mannequin: you need to get the key from its hair. Run towards the emergency consultation (Emergency Consultation, opposite the info desk entrance).
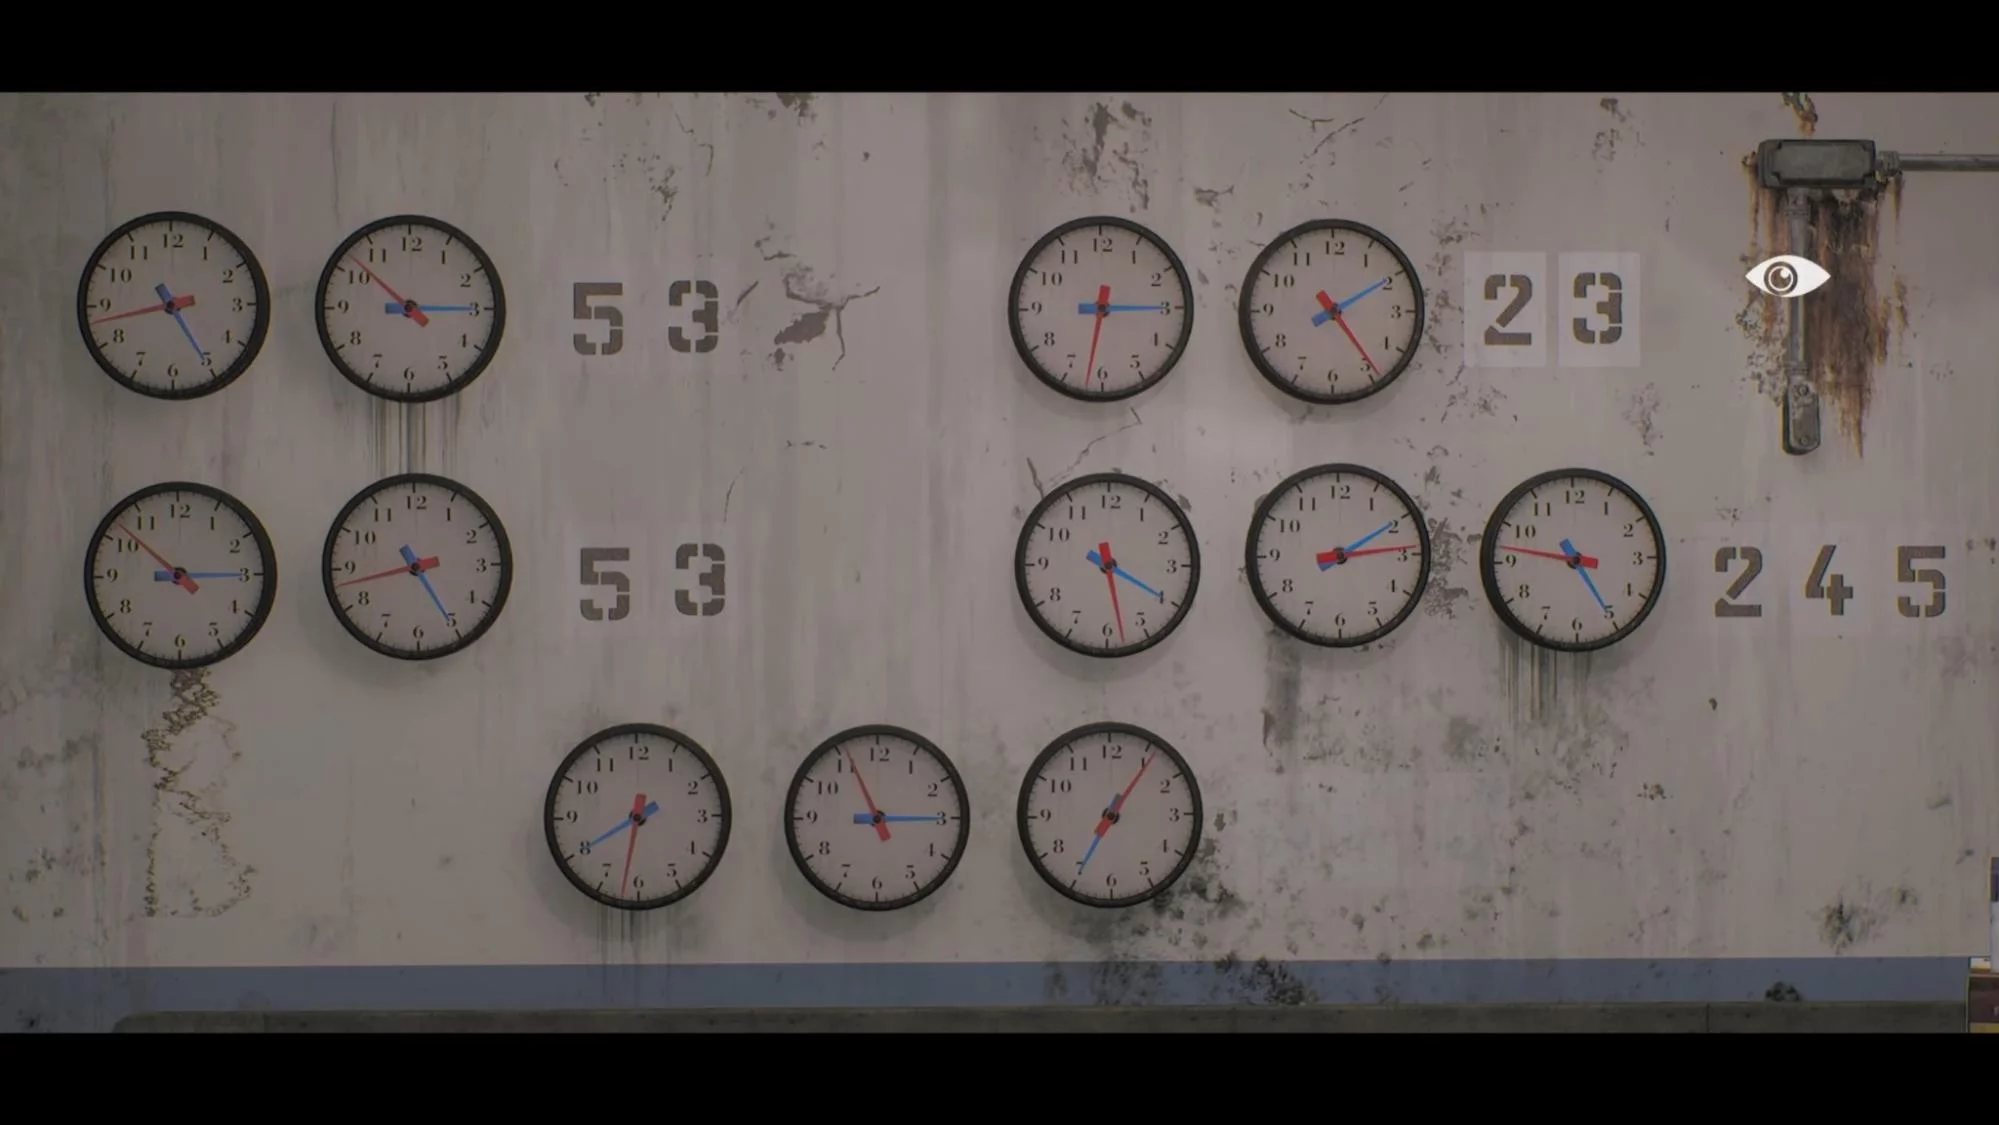
Use the key to open this room. On one of the tables, there is a sledgehammer behind a lock. To find out the code, go to one of the walls. There are several clocks hanging there. Notice that the blue minute hand always points to specific minute values, while the red hour hand indicates the position of the digit in the code. For example, the last dial shows a seven, which comes first, since the second hand stopped at one. The code is 783. Open the lock and take the tool.
Let's exit the Emergency Consultation and head towards the residential rooms. After an unexpected cutscene, a battle with a monster awaits us, so the sledgehammer will come in handy like never before. Move forward through this part of the corridor. First, open the door to the ladies’ bathroom (Bathroom B) from this side and turn at the corner opposite it.
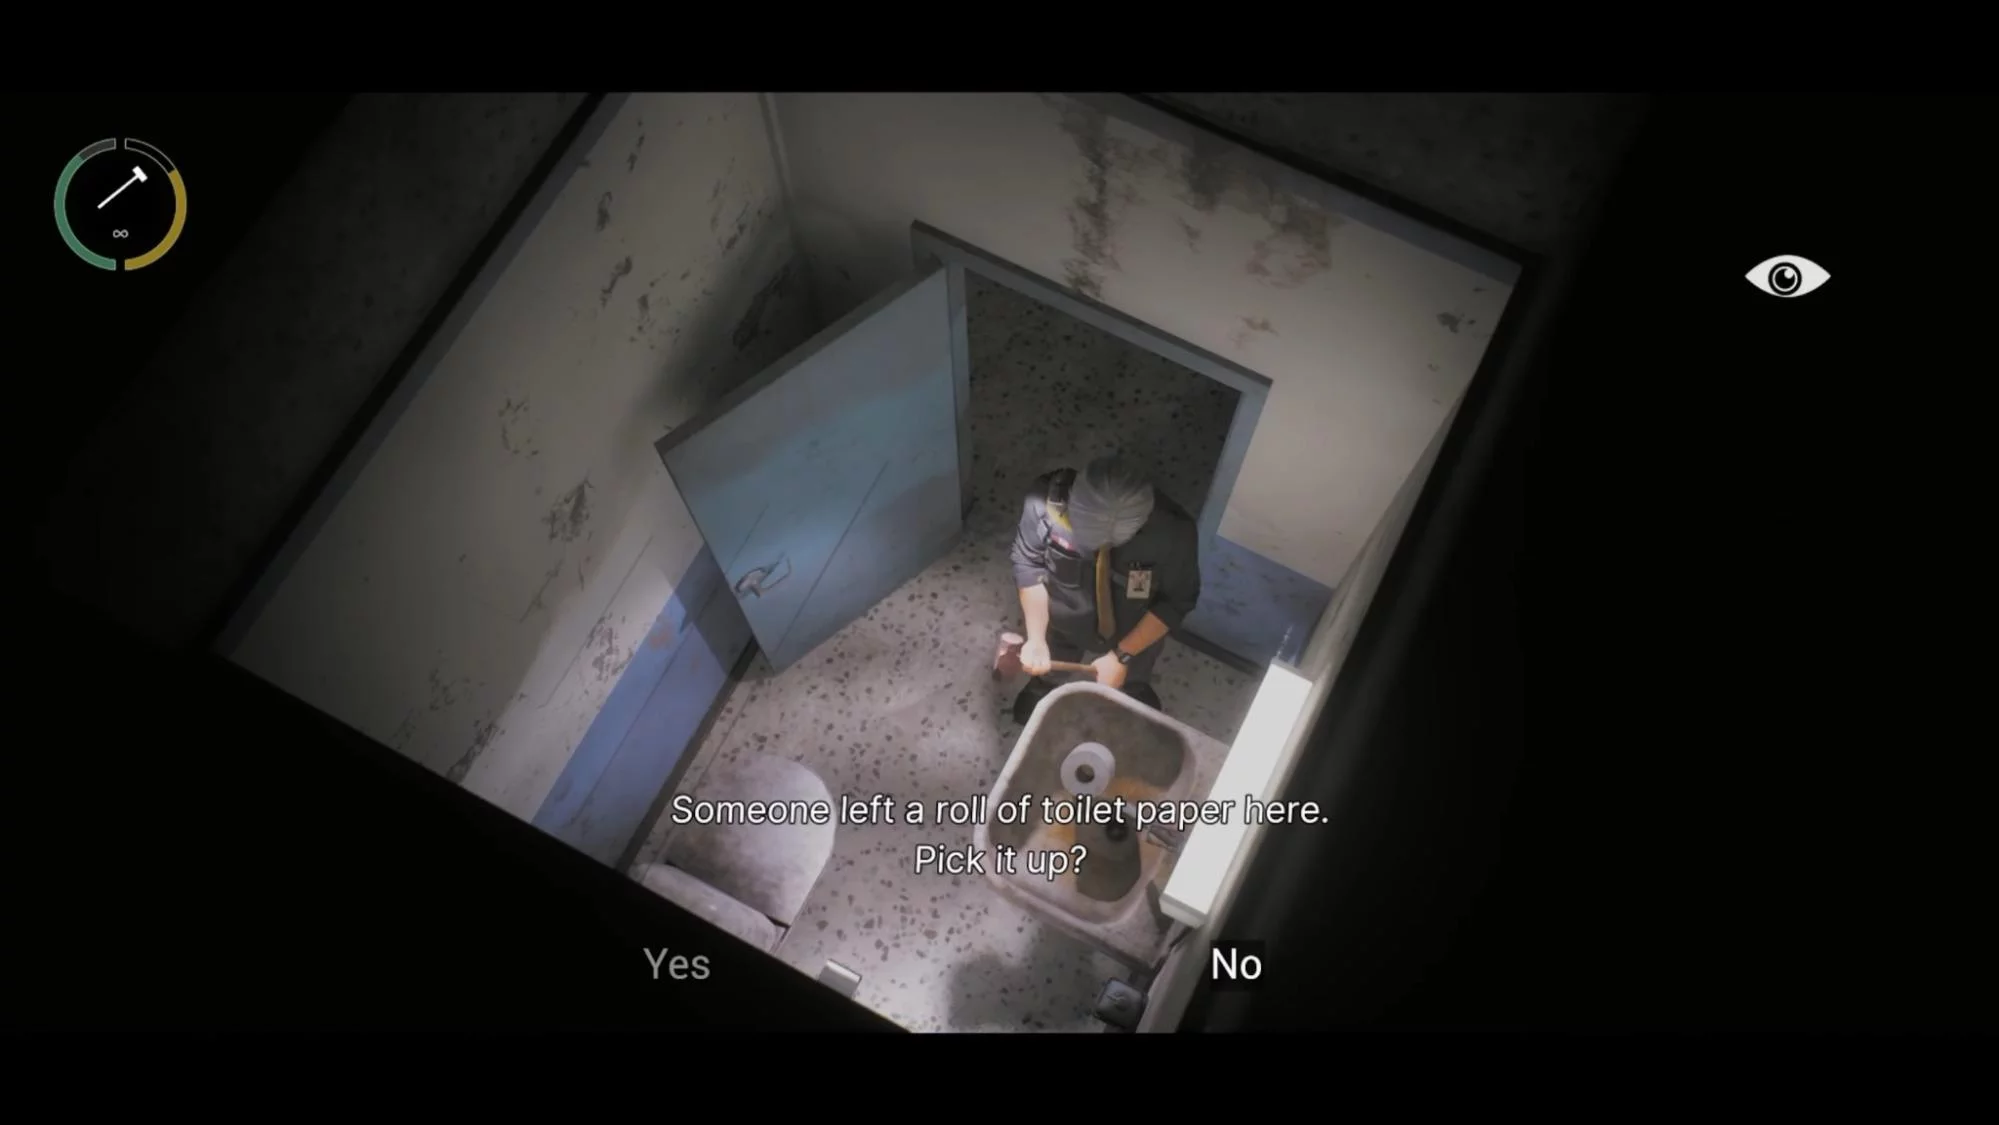
The first room we’ll encounter is Room 47. In the bathroom, pick up a roll of toilet paper and give it to the hand sticking out from one of the stalls in the ladies’ bathroom (Bathroom B). For this, you’ll receive a silver coin. By the way, be ready: a monster will be waiting for you there.
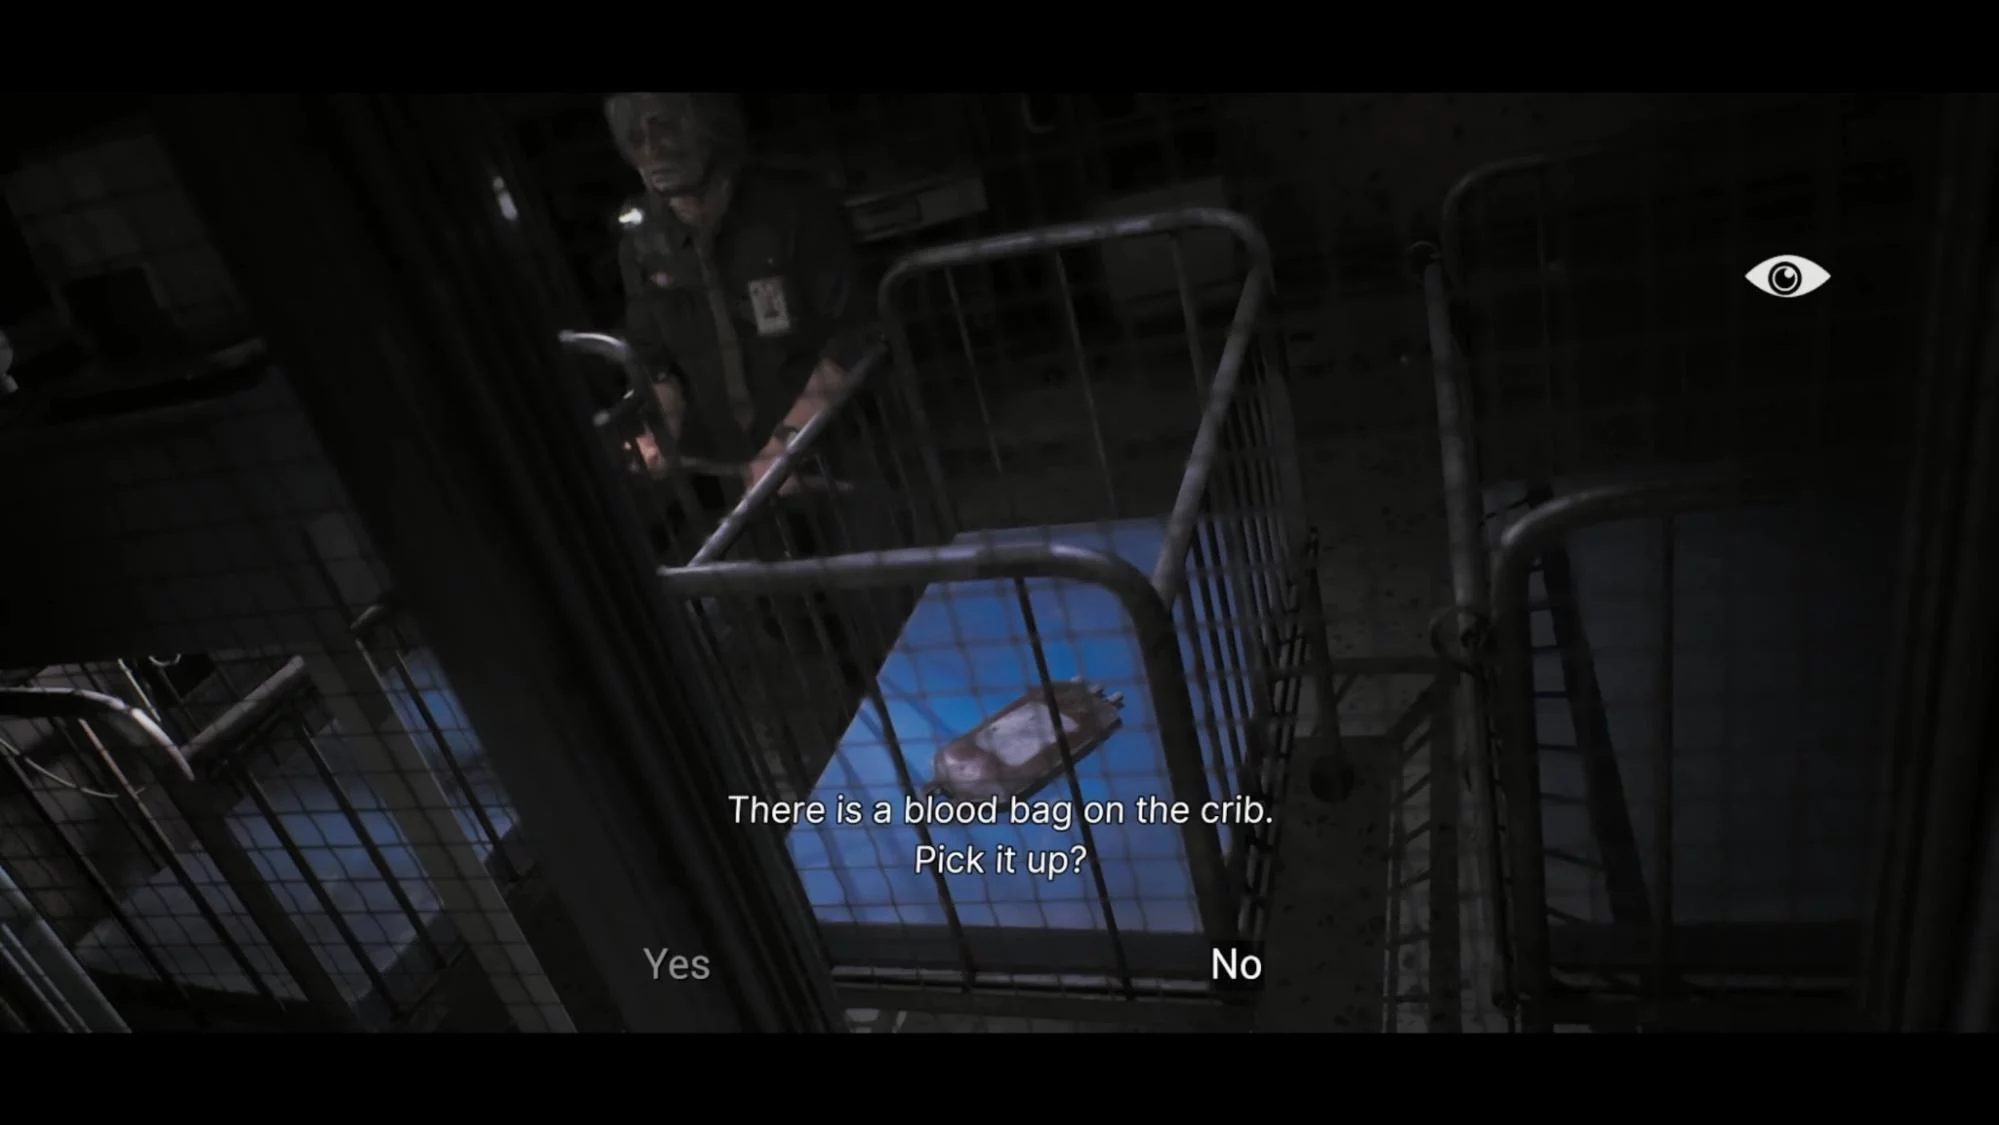
The neighboring Room 46 is important too: there’s a pistol on the bed. Reach the bend in the corridor: the first door on the left is the newborns’ room (Newborns). On the bed, a blood bag awaits.
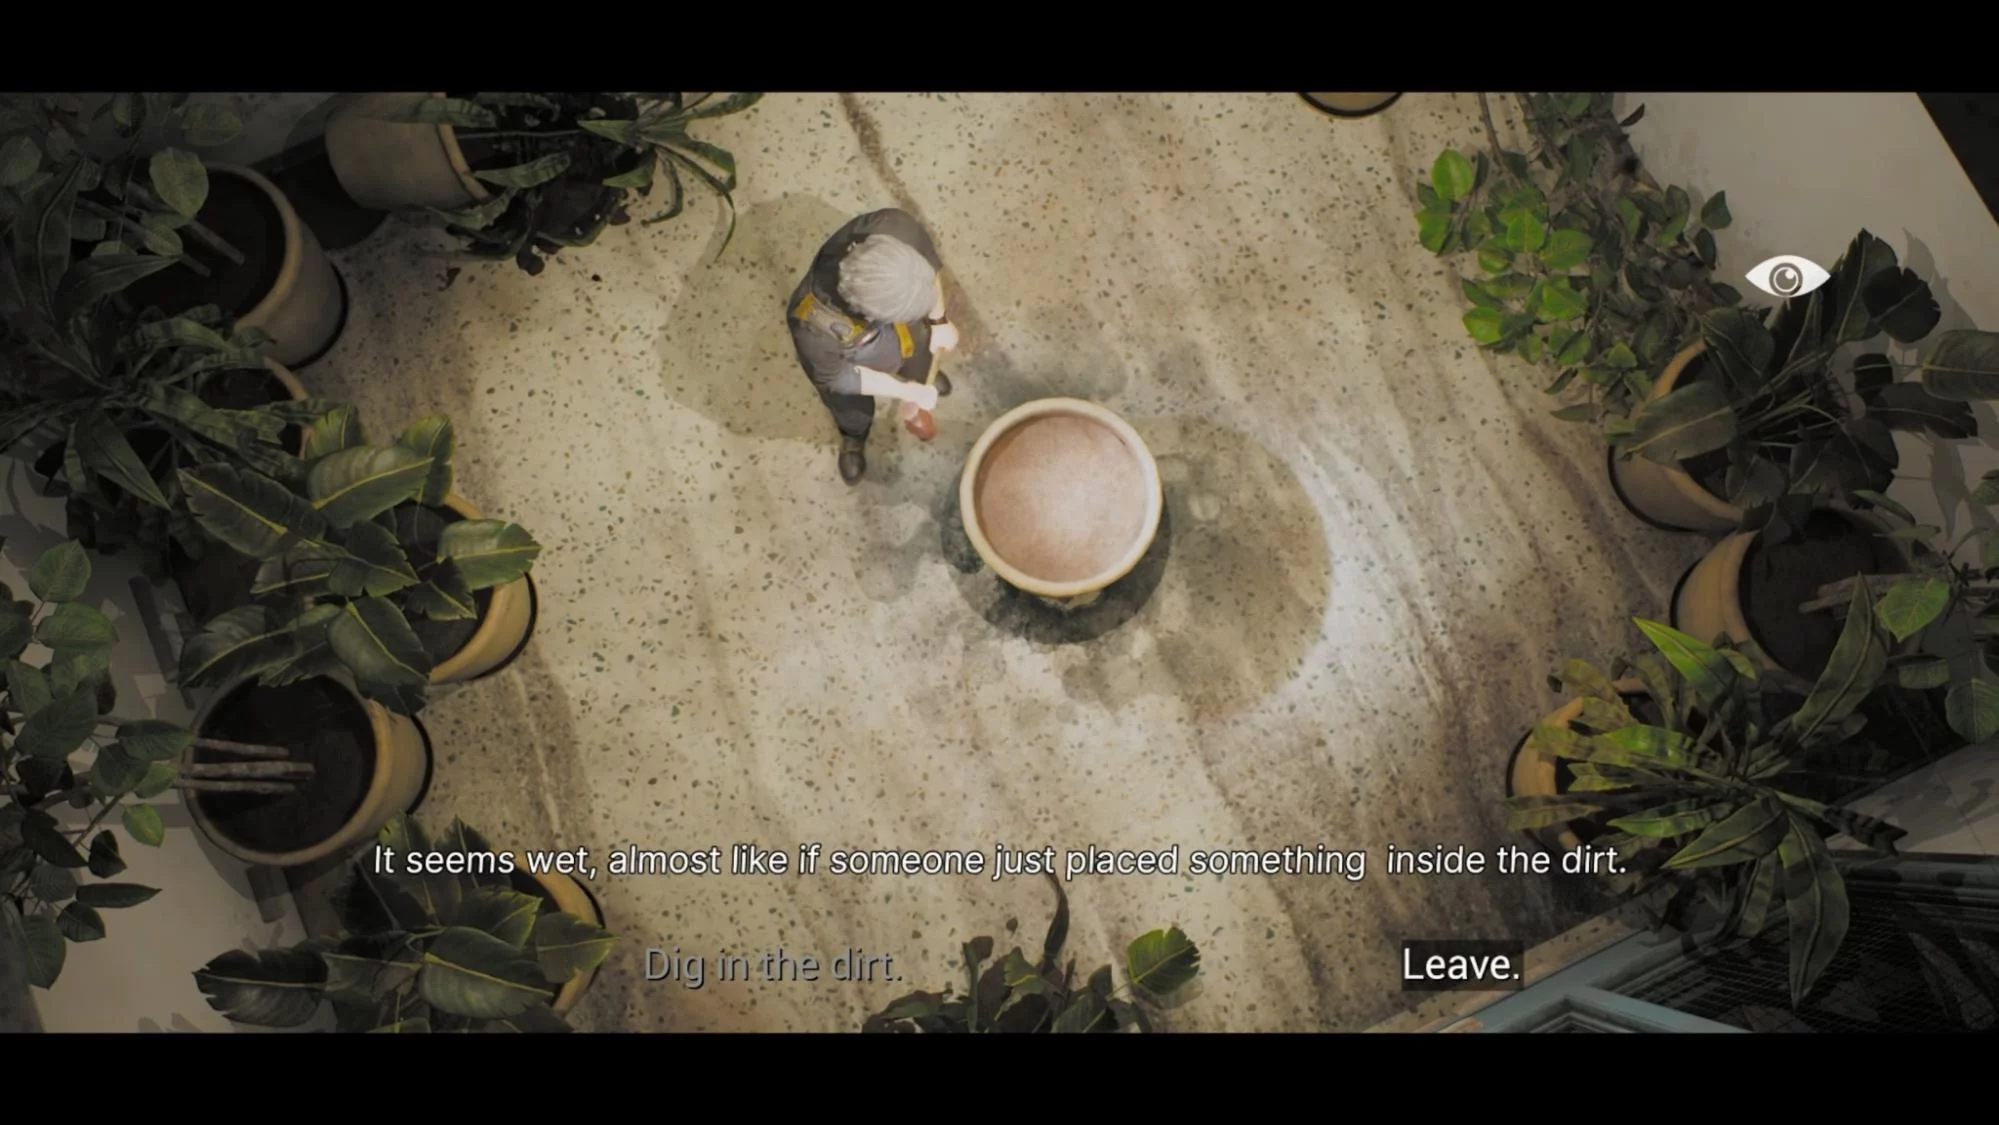
In the therapy room (Therapy Room) there’s an empty pot. Approach it to get a bronze coin. A shortcut will open up straight to the archive. Return to the ladies’ bathroom (Bathroom B) and now go straight.
In Room 51, there’s a blood bag in the sink, and another used cassette on the bed. Upon exiting, push the collapsed ceiling to clear a shortcut and return to the start of this passage, to Room 48. In the bathroom there, there’s a phone: enter once and head for the exit until you hear a ring, after which a cutscene will start.
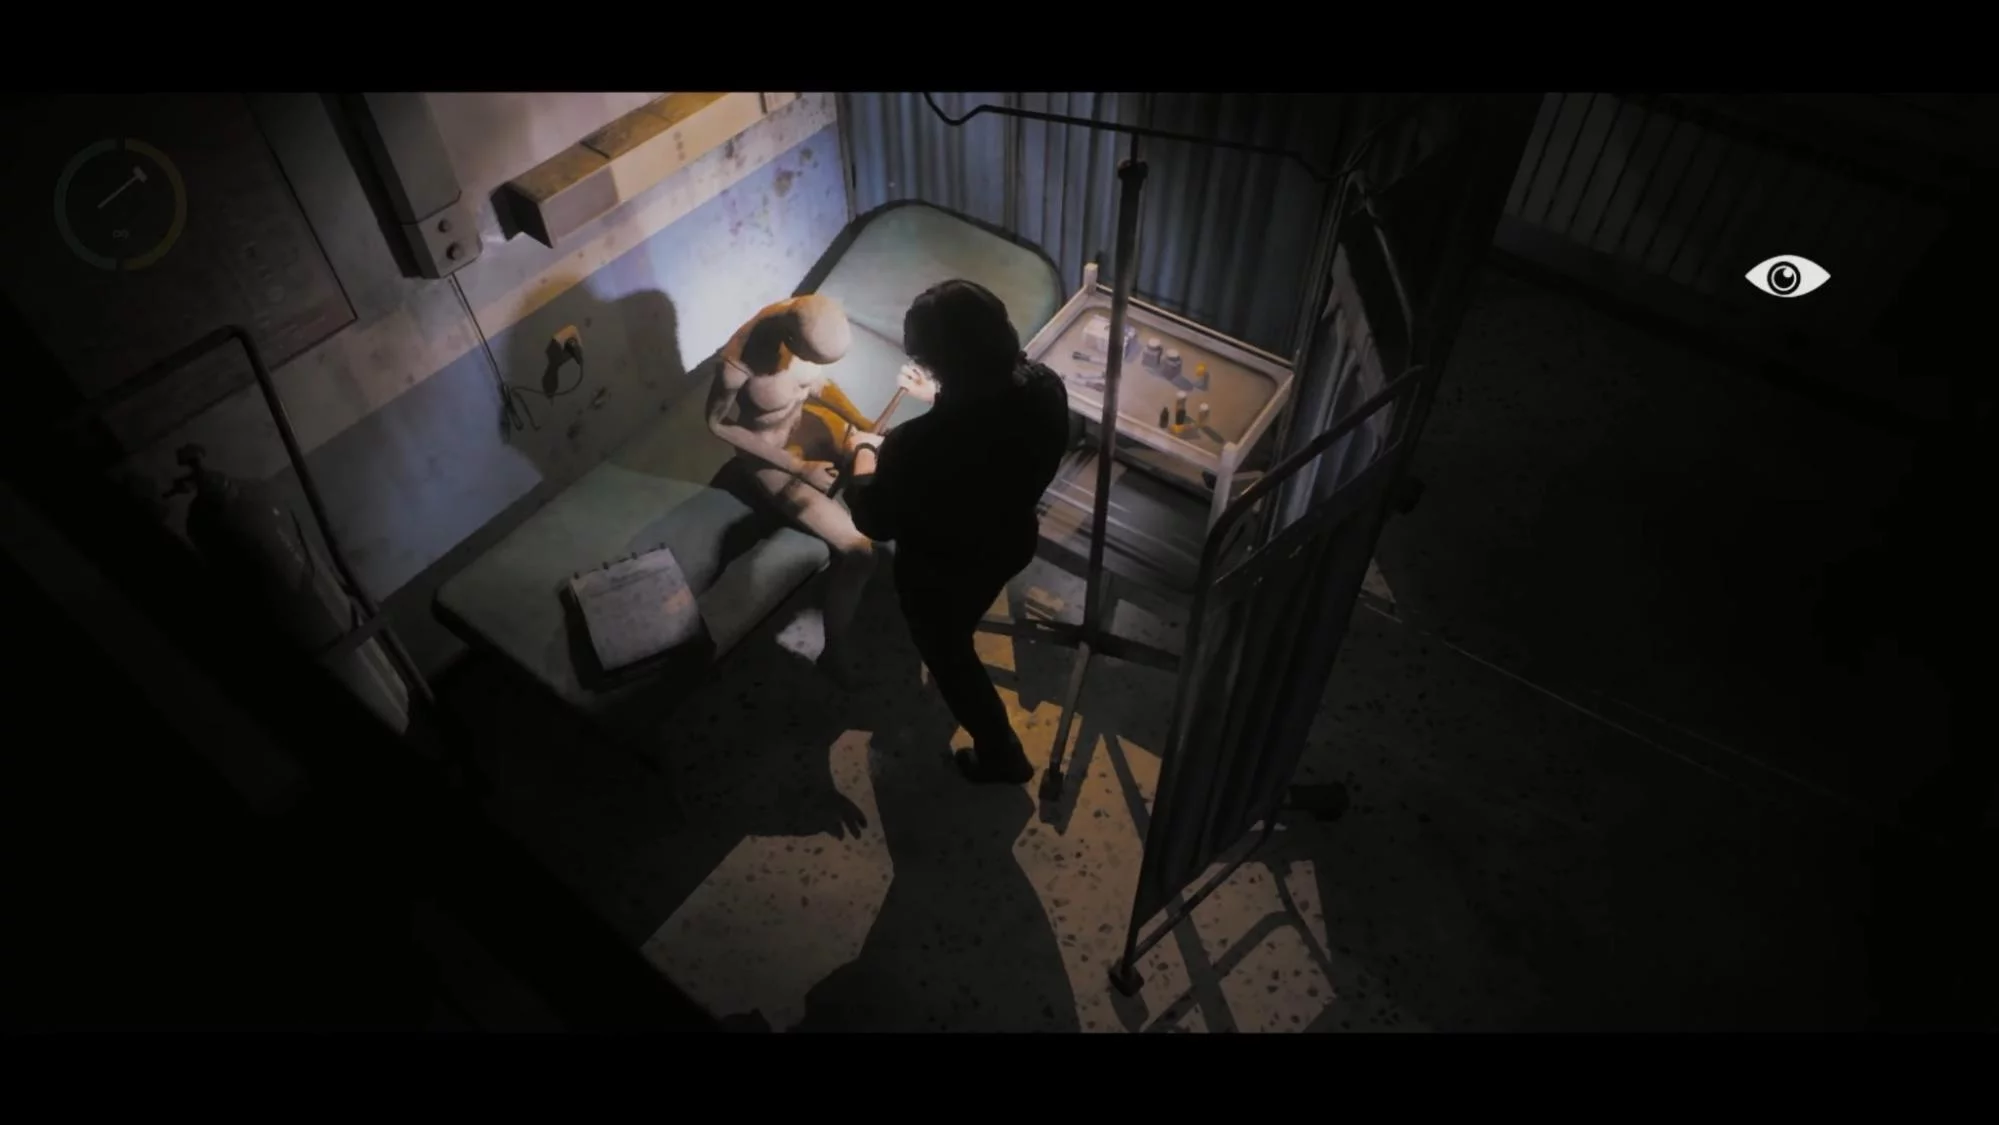
Head to the consultation room (Consultation Room) to give the mannequin behind the screen a “O-” blood bag. As a reward, you’ll get another gold coin.
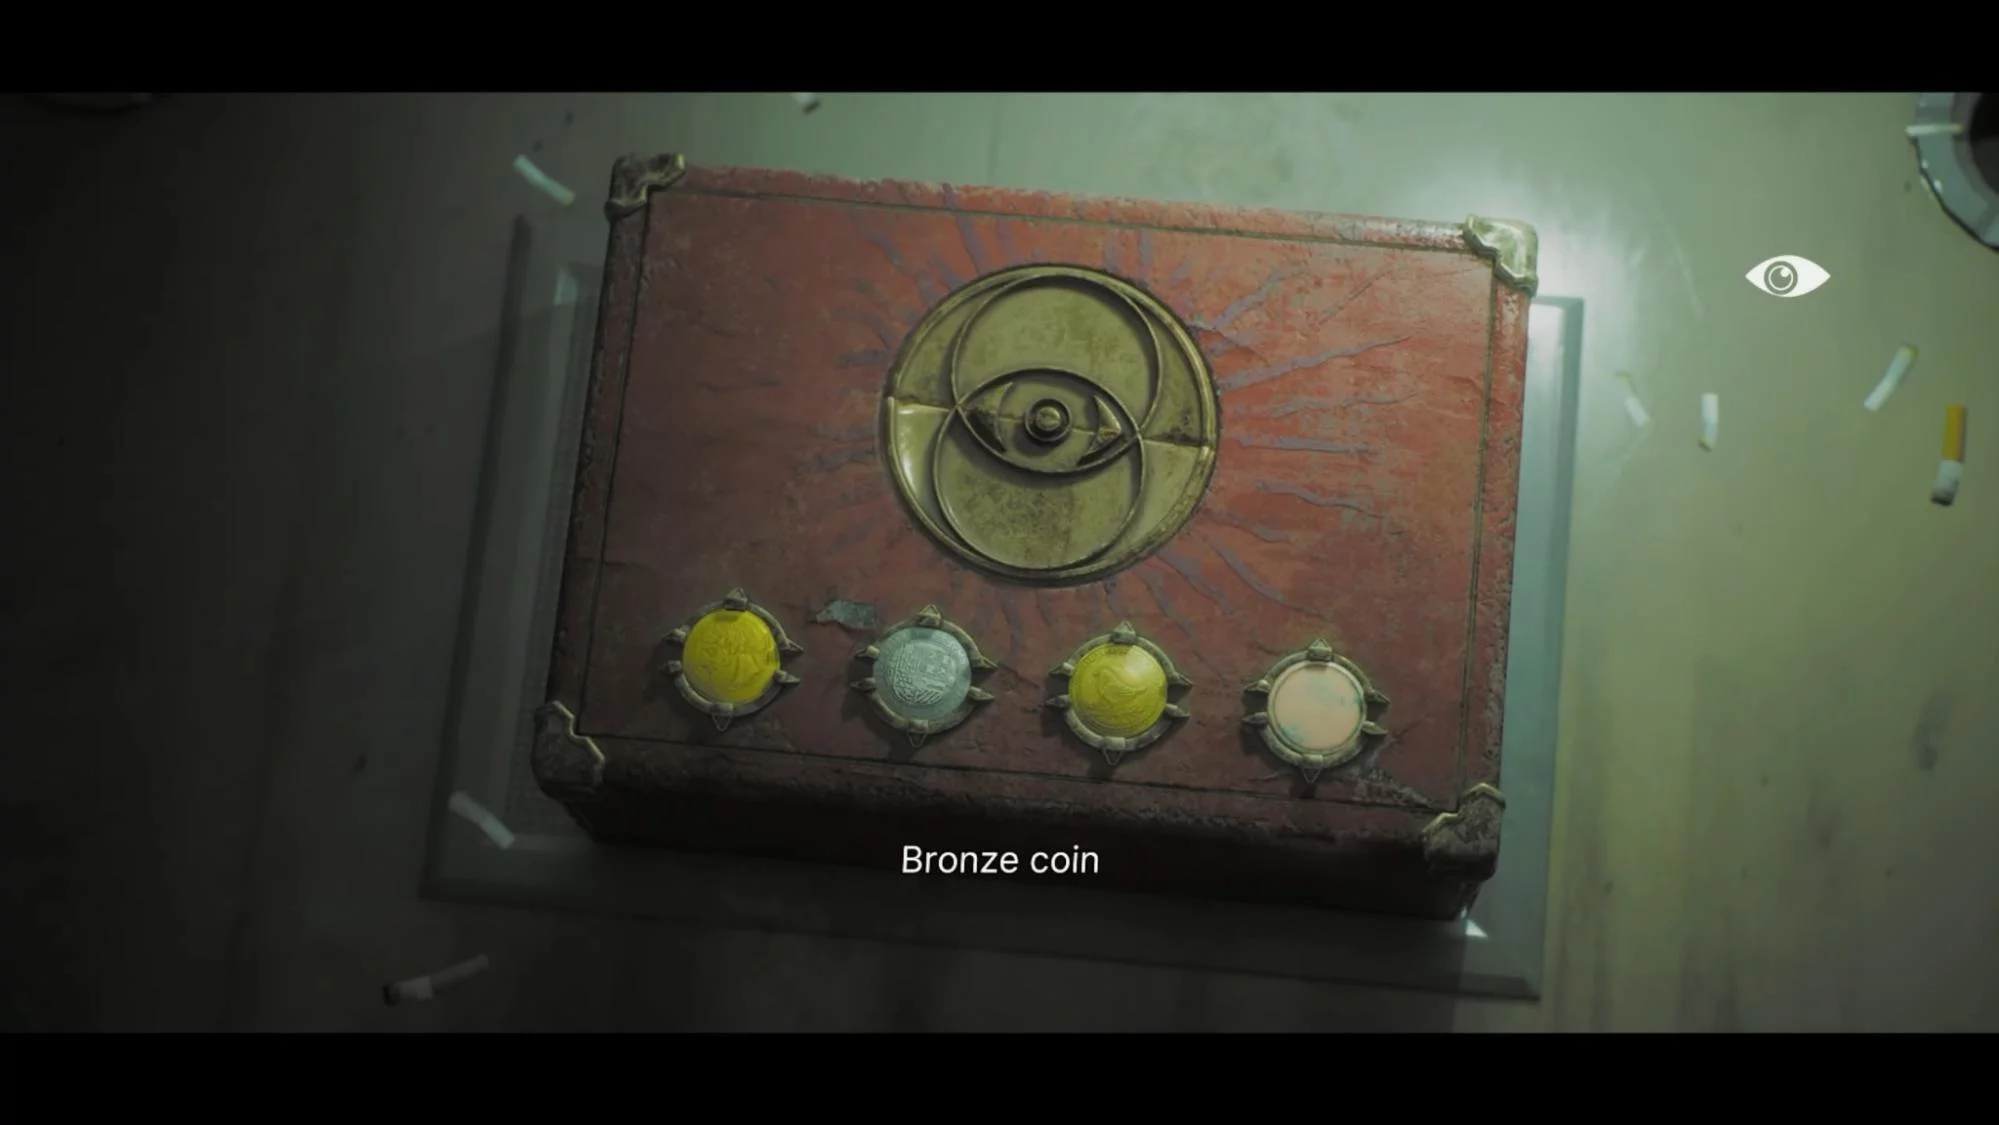
Return to the smoking room near the starting point, where you got the first coin. Opposite the vending machine is a box, where you need to place all the coins you’ve earned. The game will require them to be placed in the correct order. Recall the sequence from Uedo Yuto’s computer at the info desk (Info Desk):
- Gold coin with a face (representing vision);
- Silver coin with a shield (showing protection);
- Another gold coin;
- Bronze coin.
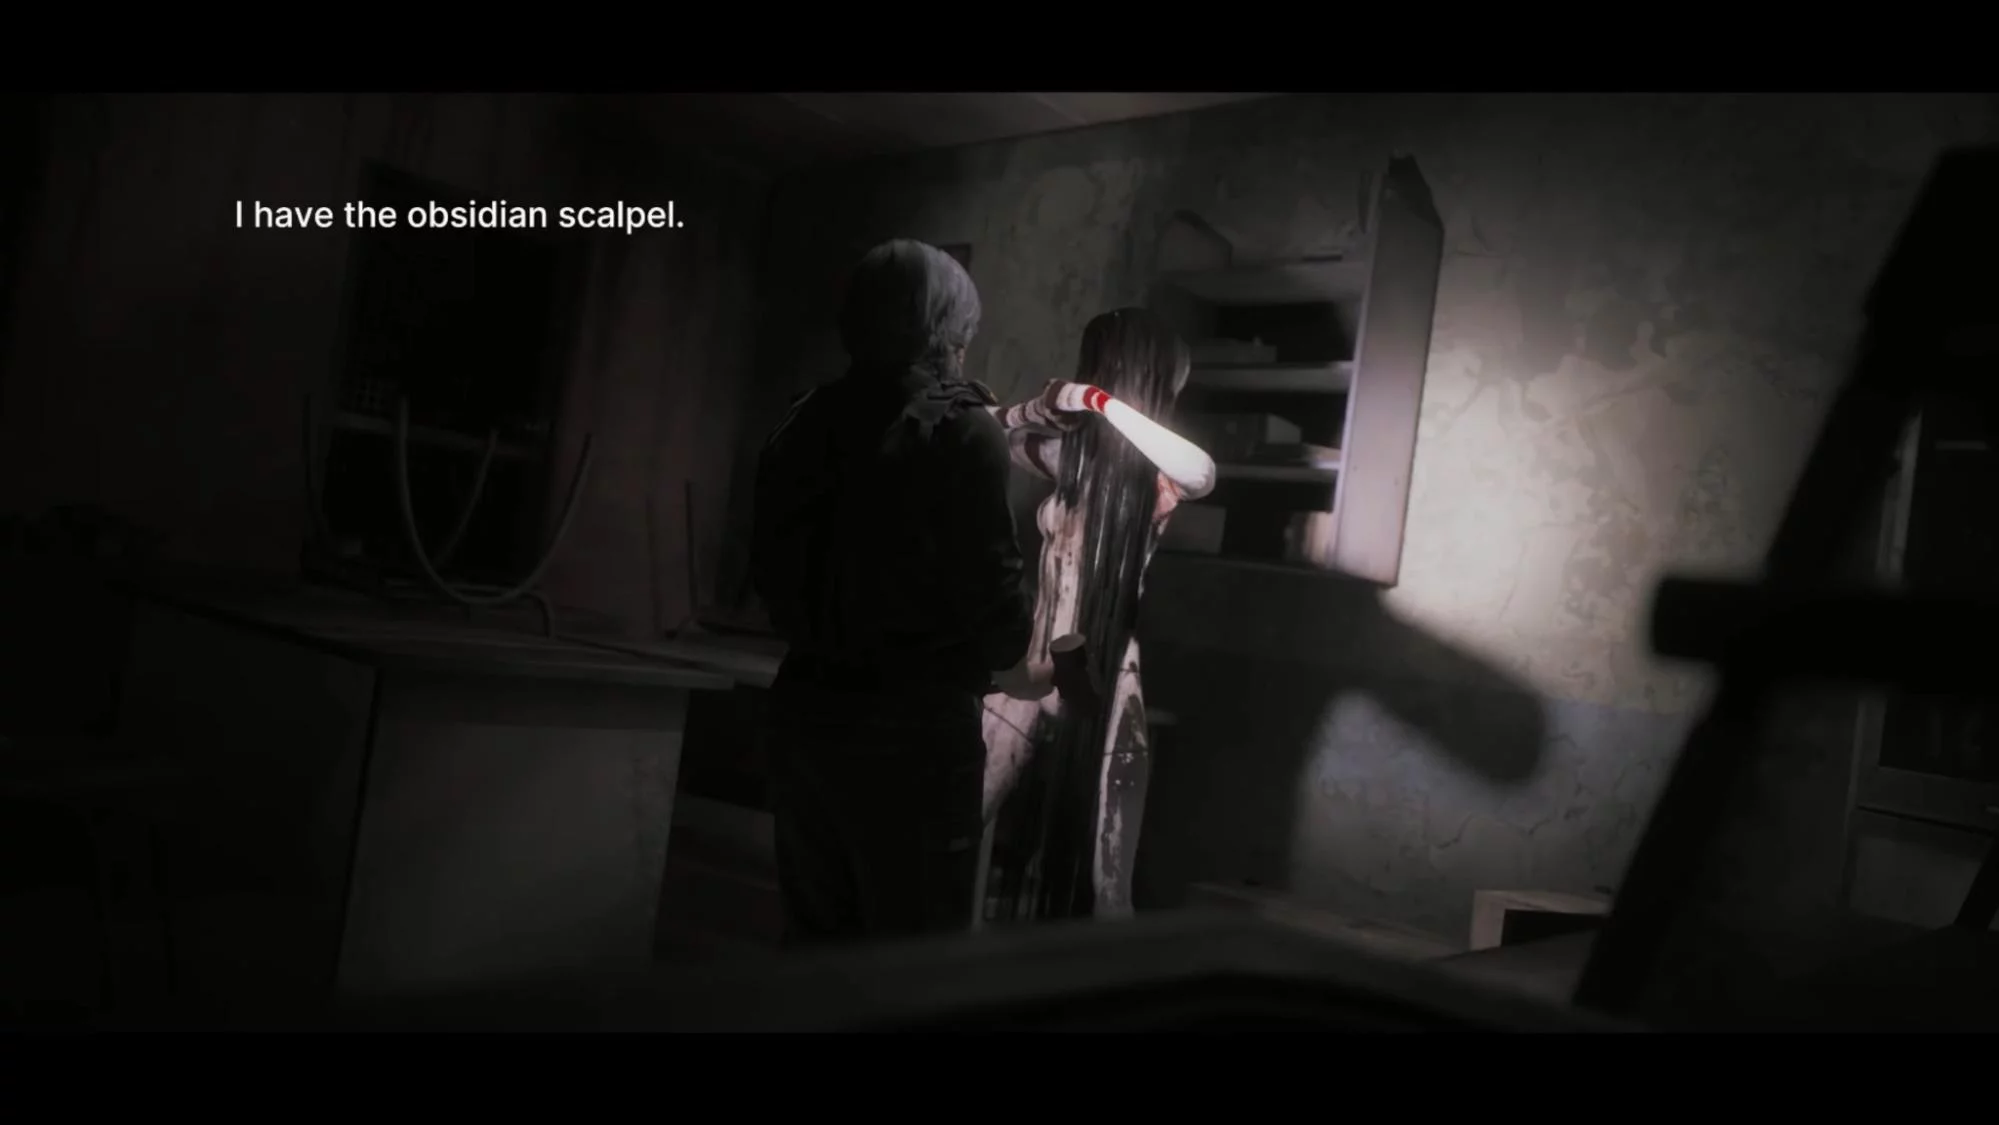
This will get you pliers. In the nurse’s room (Nurse Room), located in the opposite corner of the location, use them to get an obsidian scalpel. You’ll need it in the neighboring operation room (Operation Room): extract a small sample of flesh.
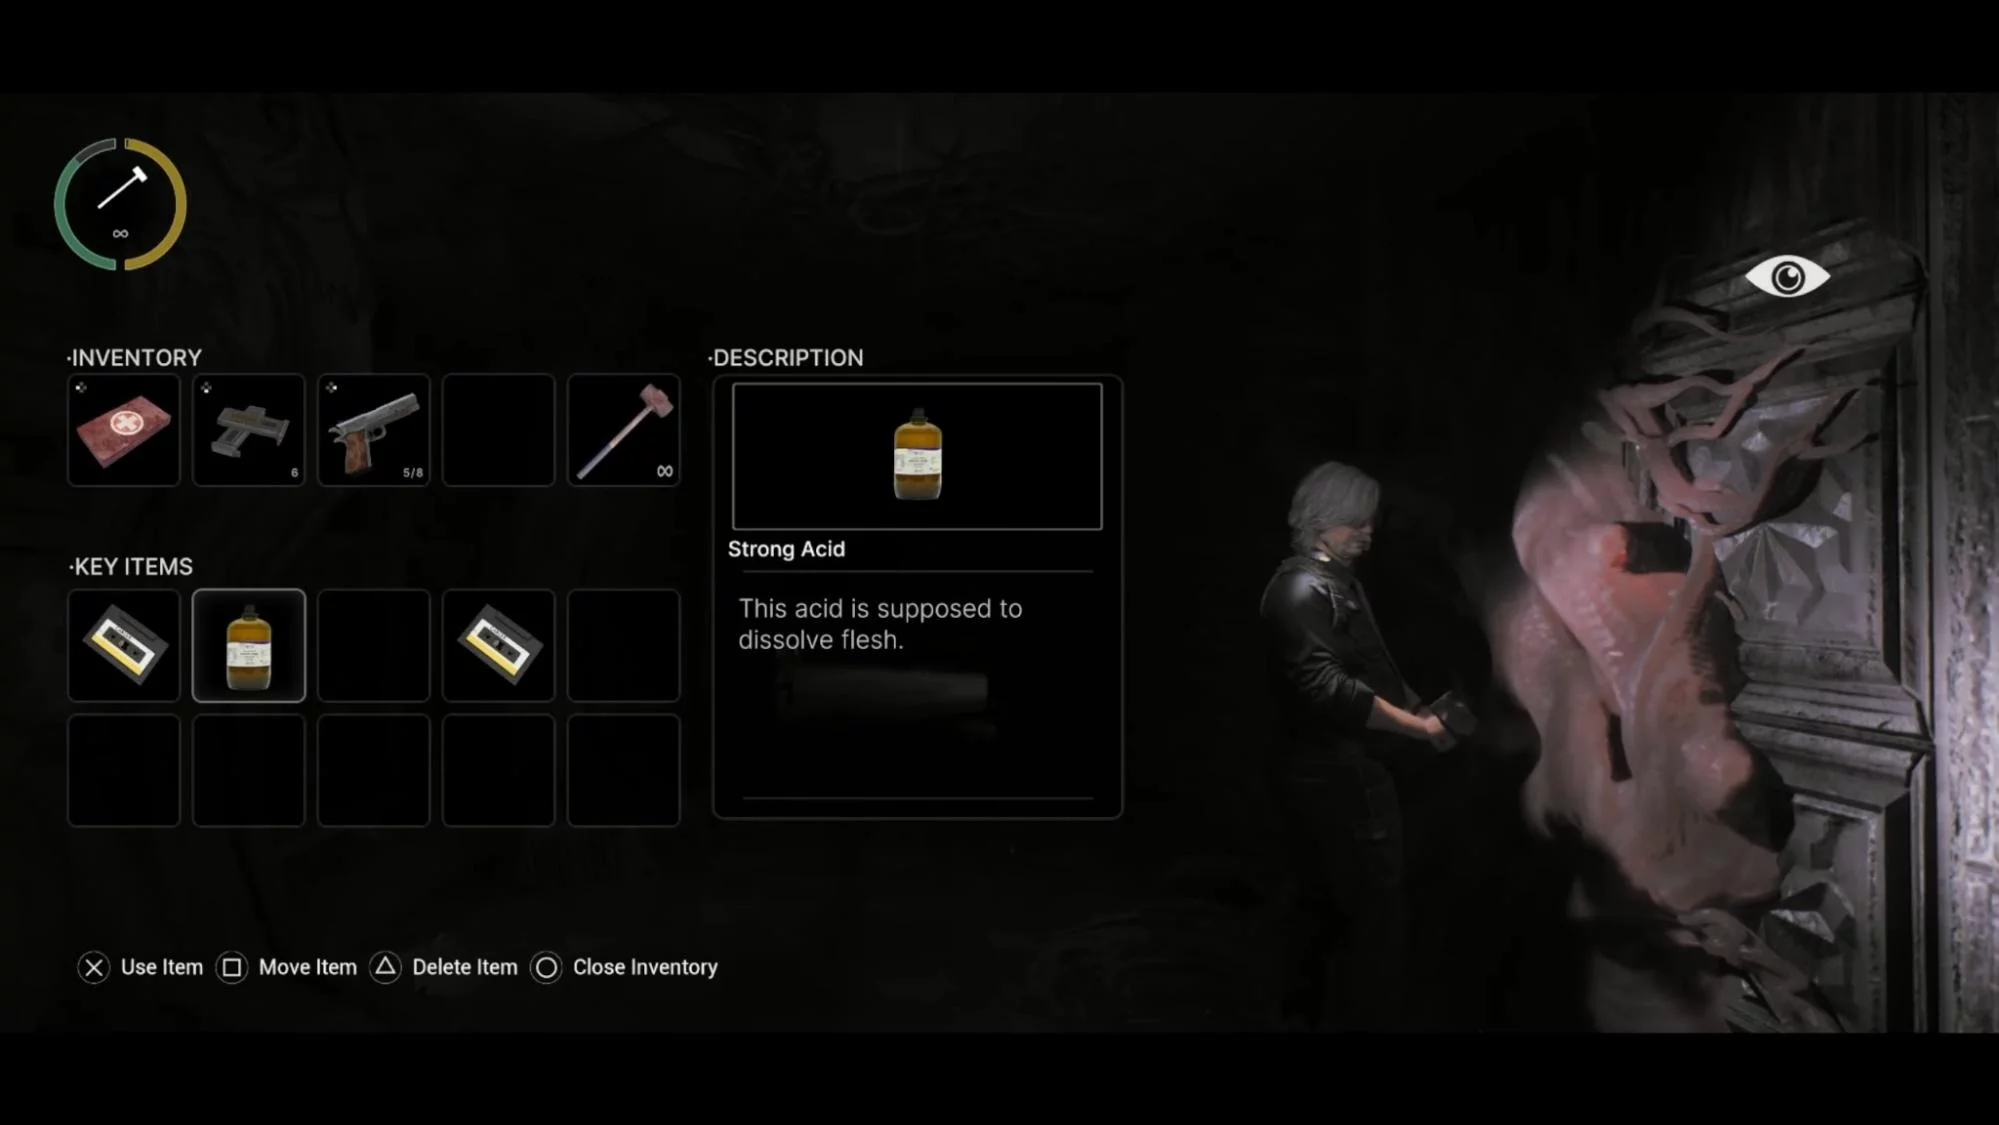
Run to the device in the laboratory (Laboratory). By mixing blood and flesh, make a strong acid. You’ll need it at the door opposite the archive, in the corridor towards the operating room, to open the passage to the exit. After a long cutscene, you’ll find yourself outside, where you just need to run forward and explore the surroundings.
School (Roman)
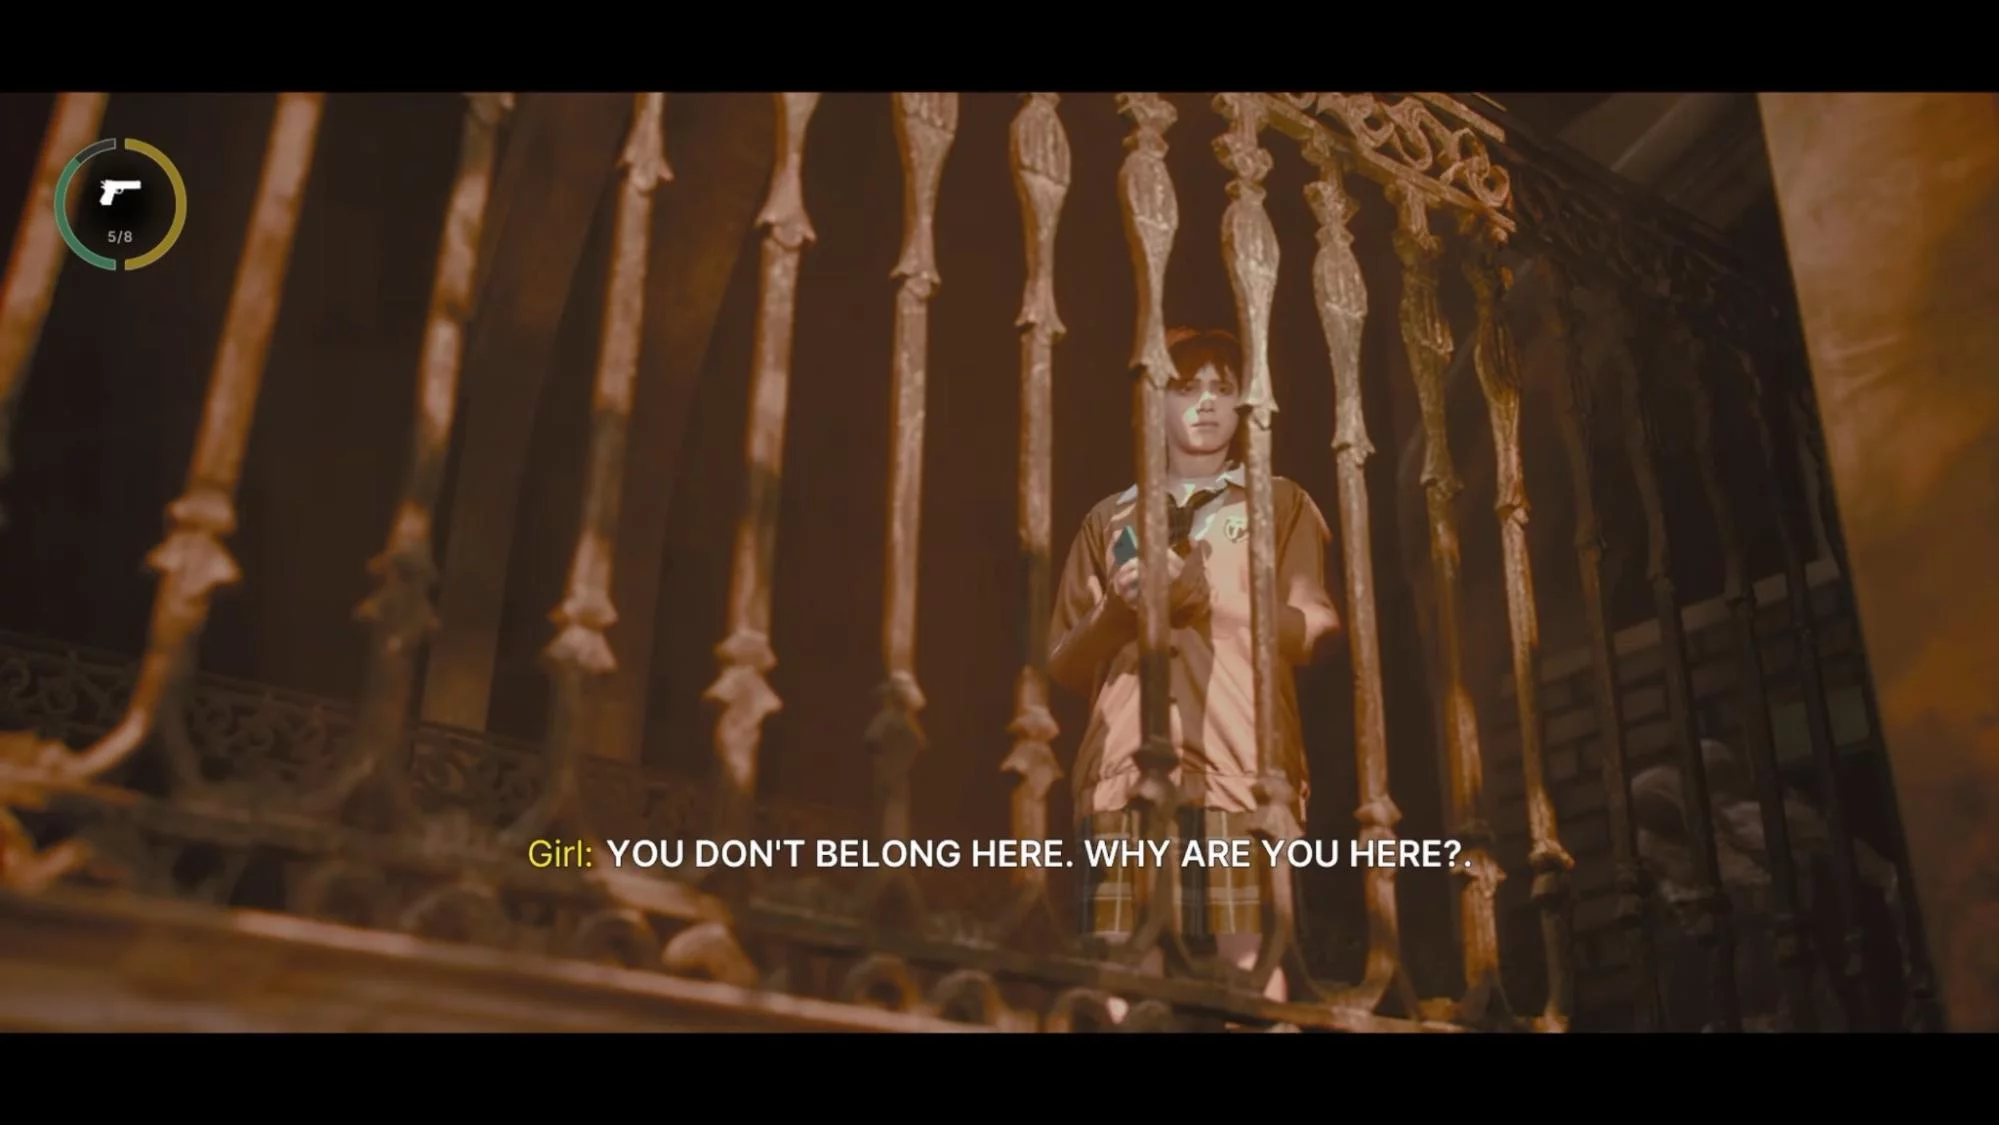
After wandering around a bit, we’ll reach the school building. There, a story about an encounter with a girl awaits us—she’ll drop her phone to us. The main entrance will be to the right of the gate.
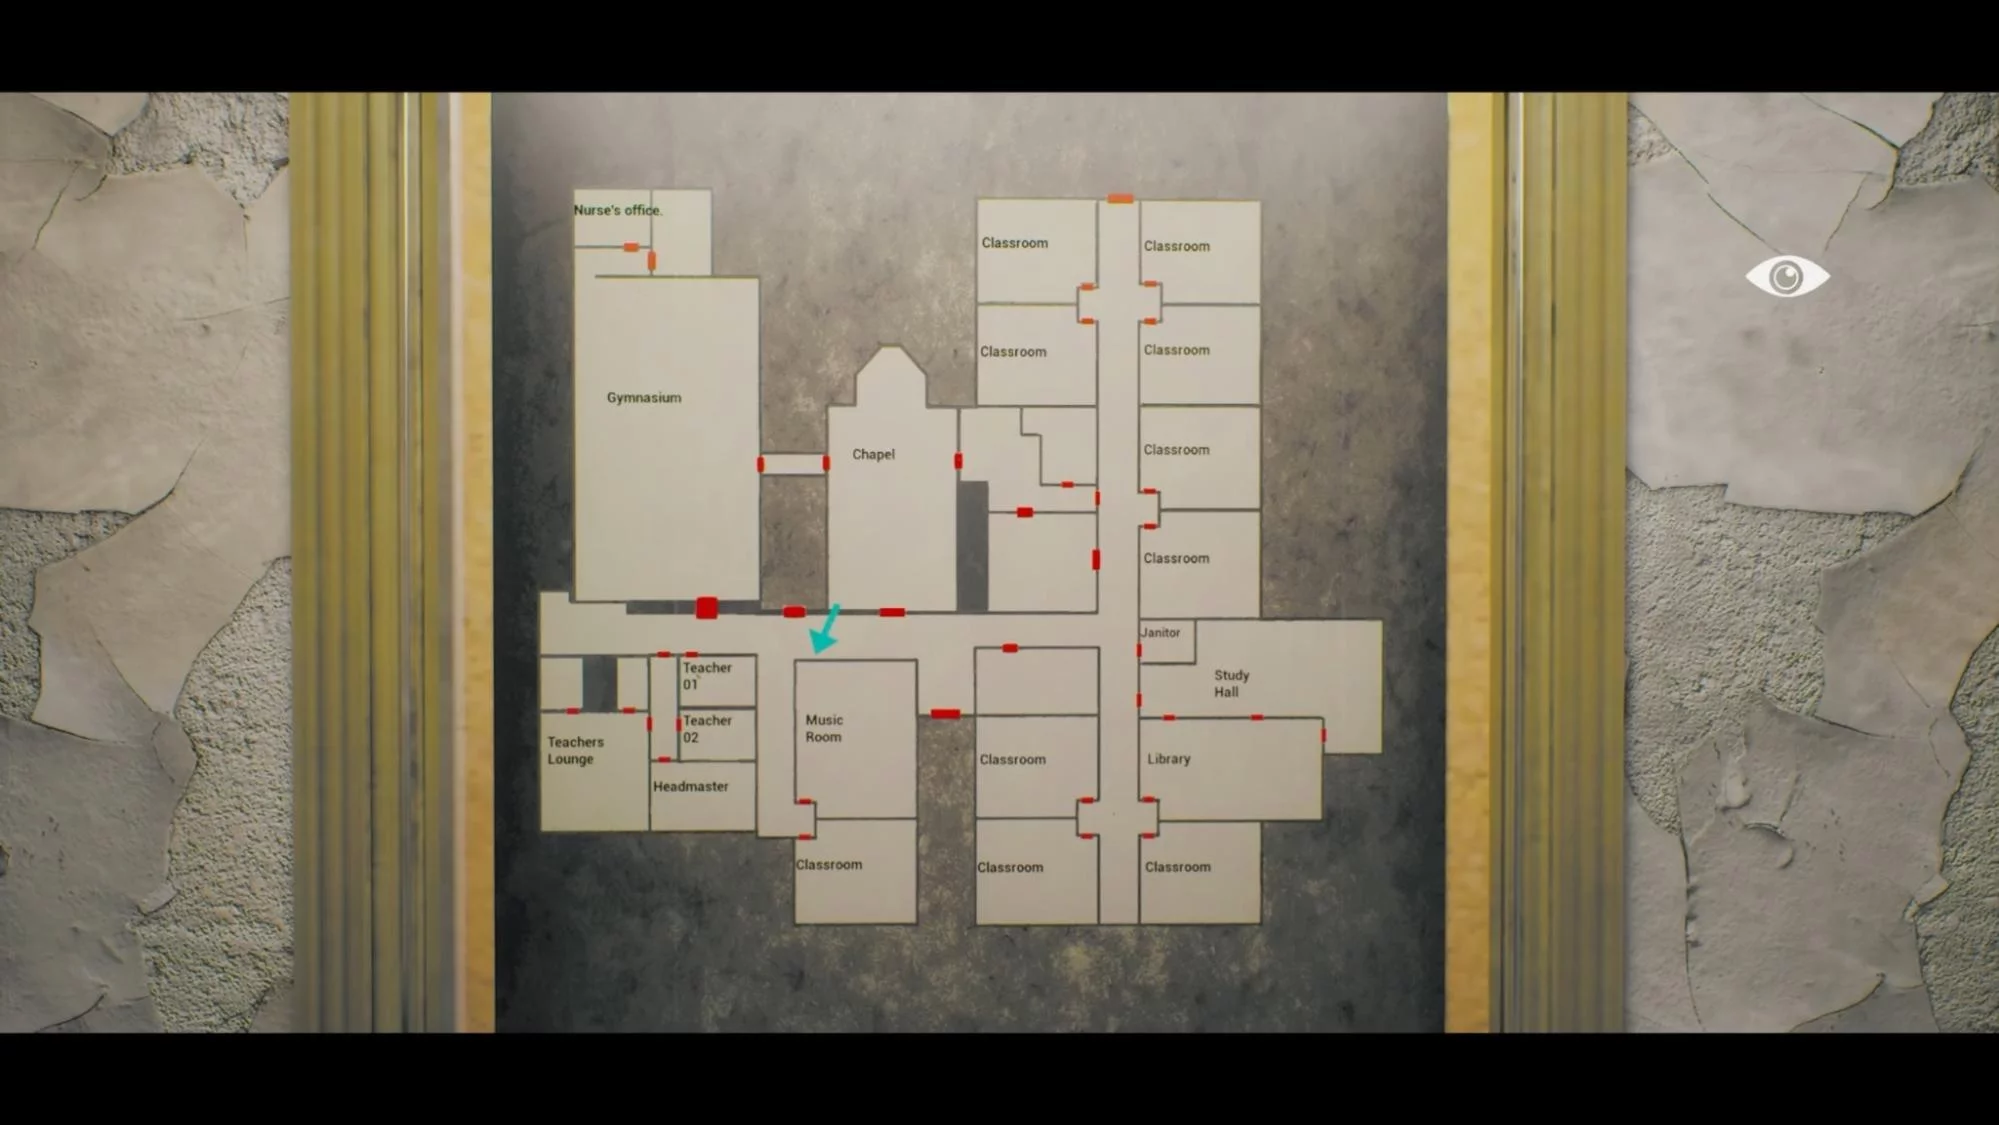
Once inside, first approach the map in front of you. Let’s record it as well, since it will be very useful. First, go to the first teachers’ room (Teacher 01). This is a safe zone where you can save your progress. On the wall, you’ll notice a red clock stopped at 10:05. Make a note of this.
If you go to the other part from the street entrance, after the recess with the locked beautiful door, you’ll find the bathroom door on the right. There is a blue clock stopped at 9:20.
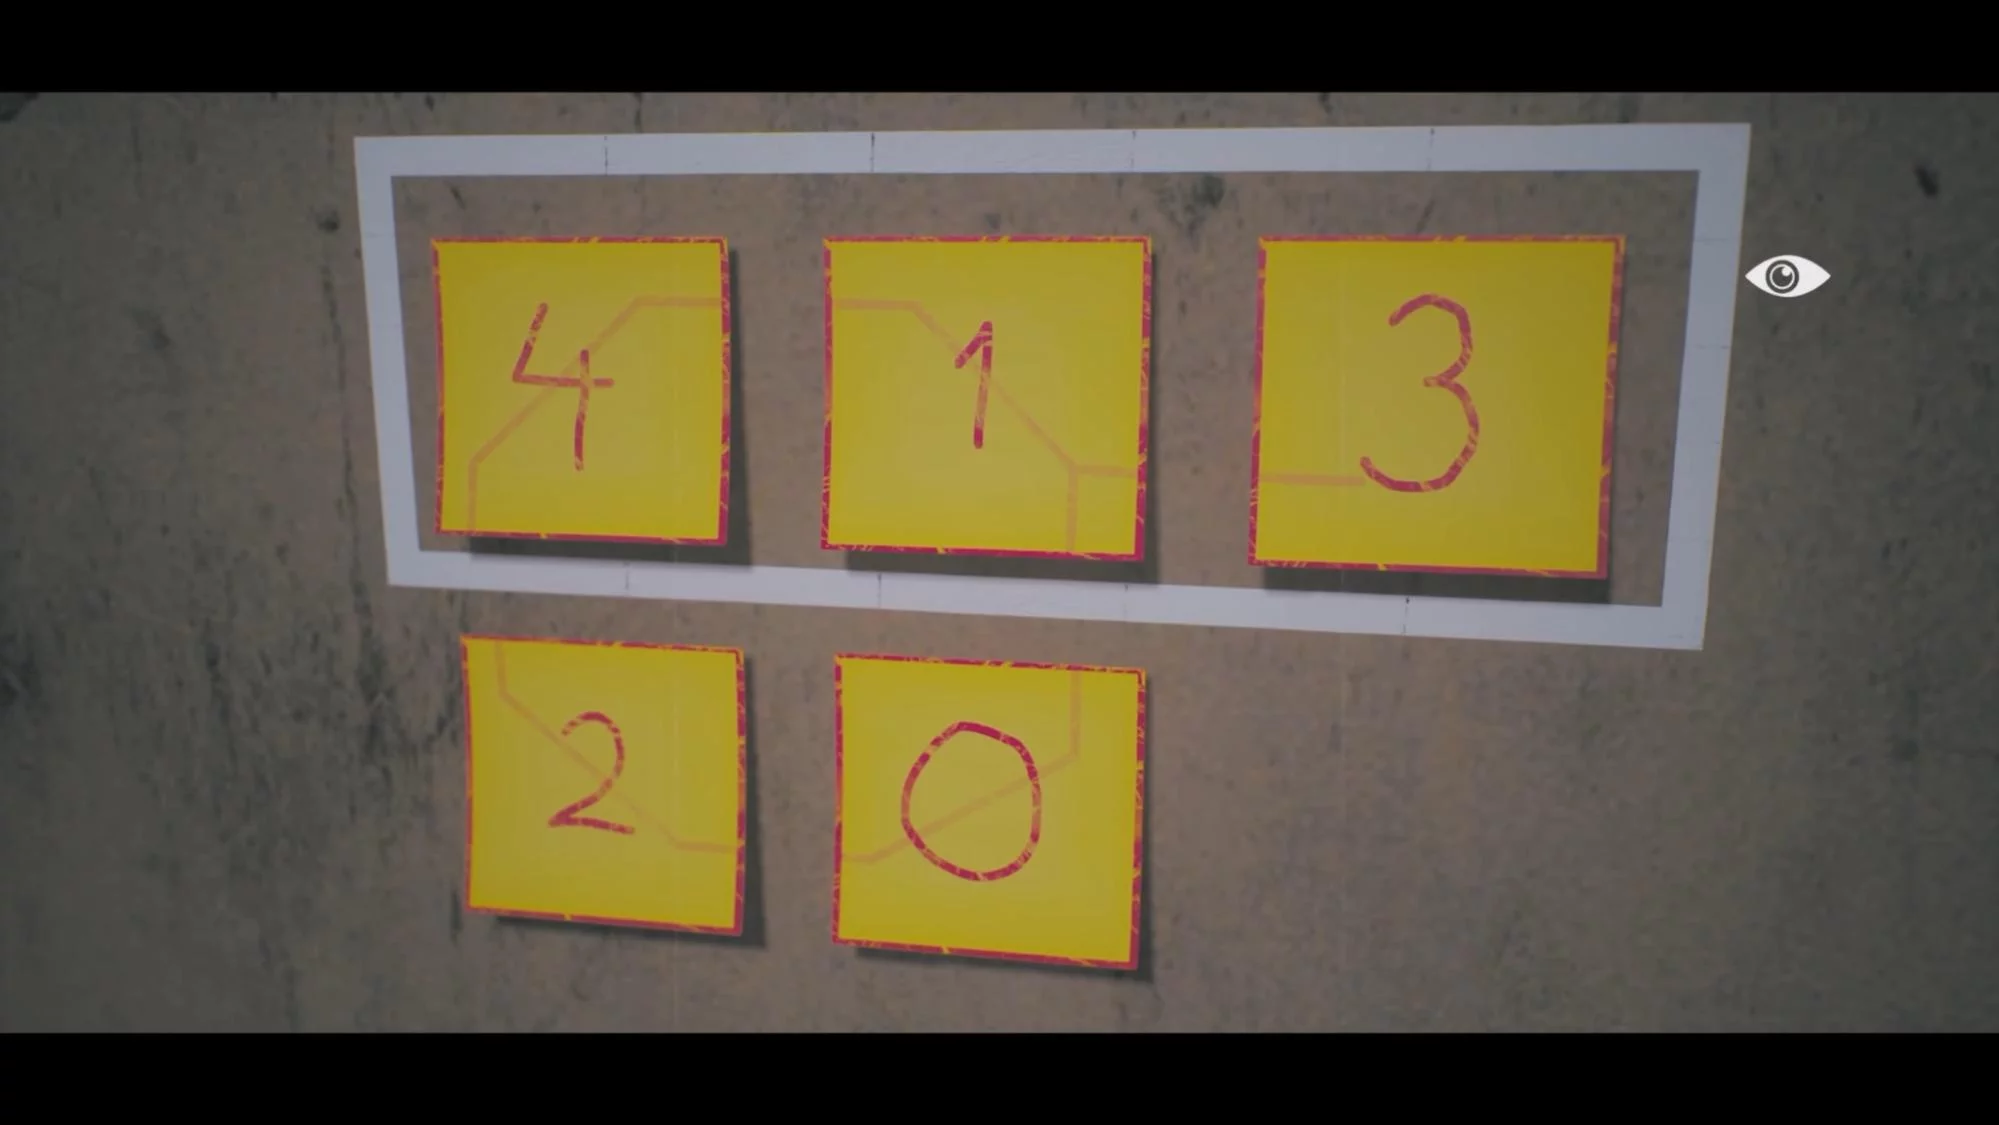
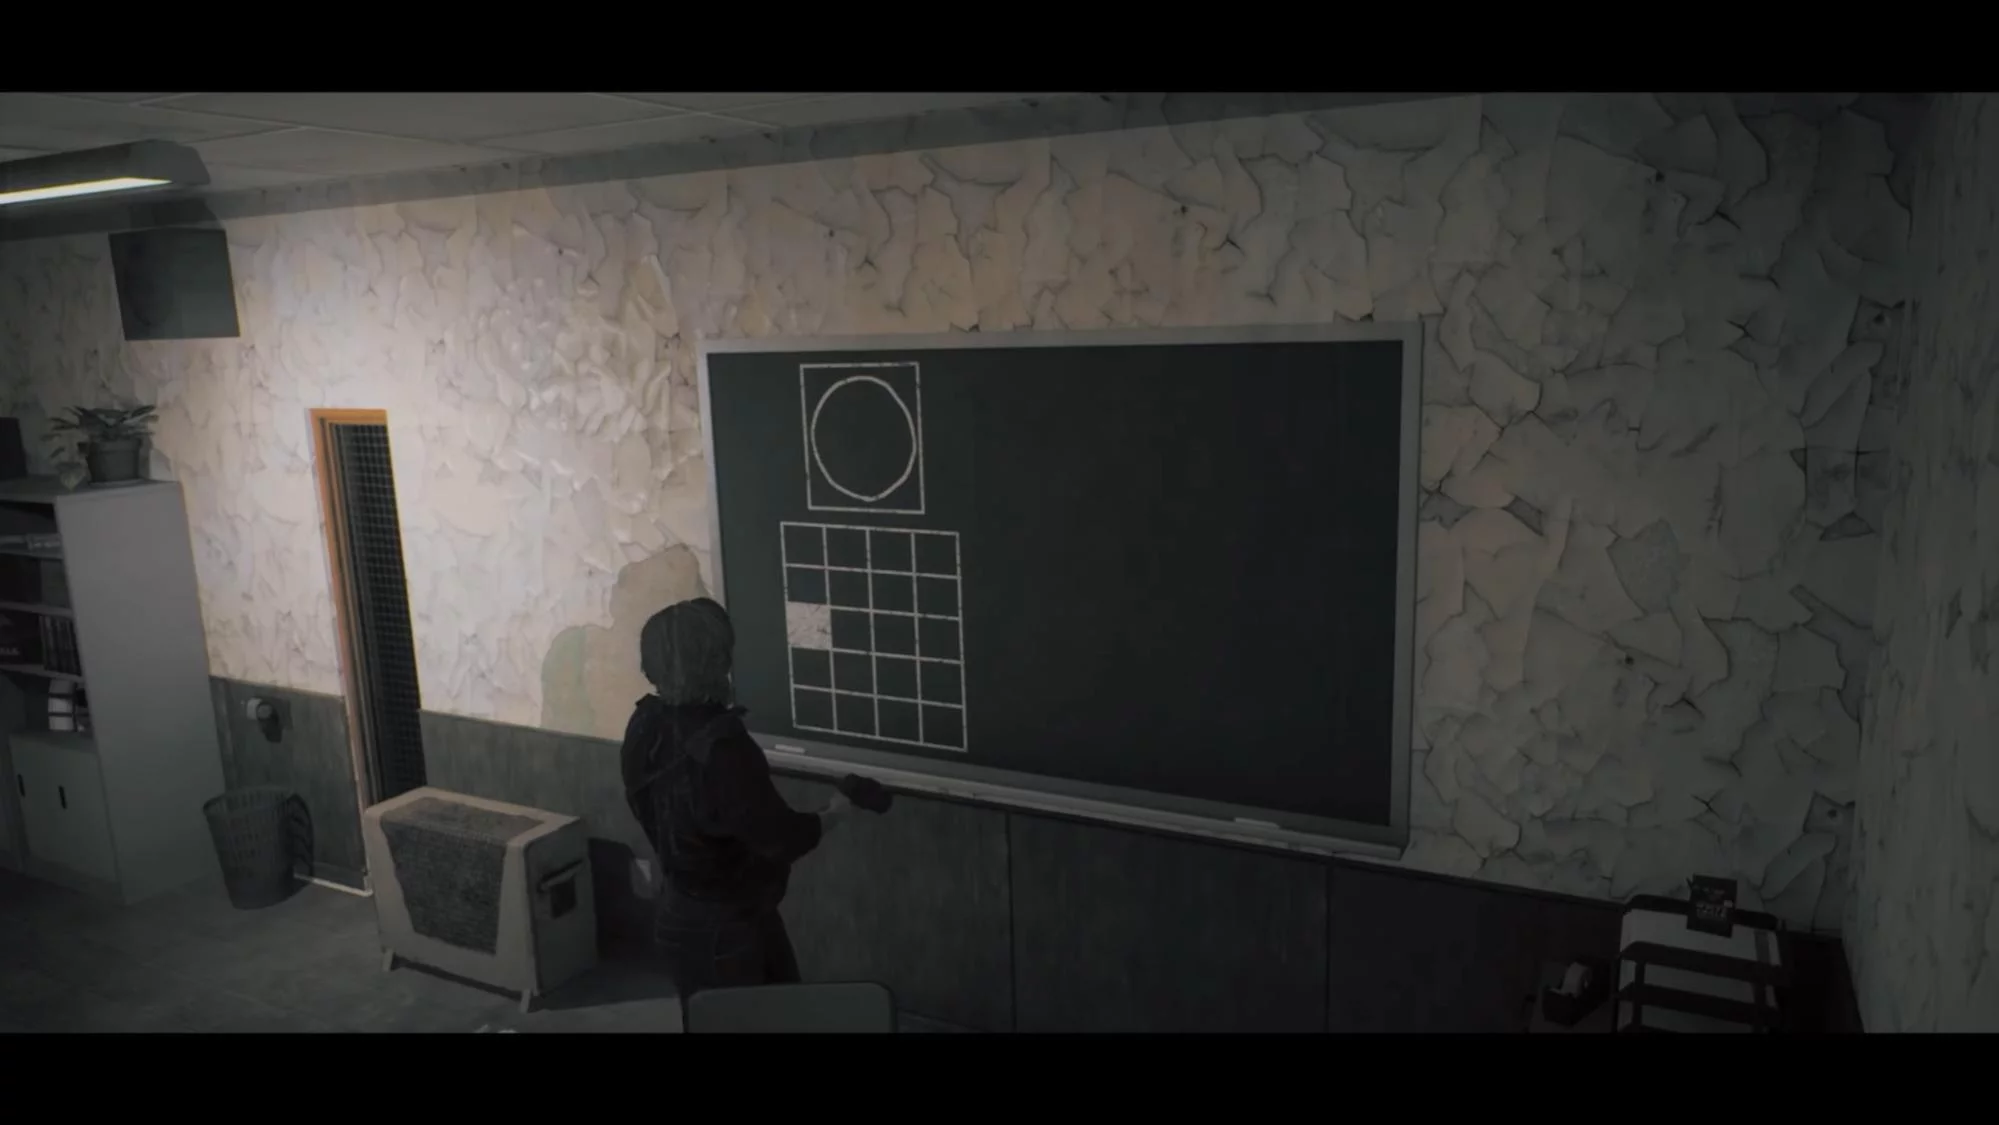
Exit and proceed to the dead end, where there is an entrance to the janitor’s room (Janitor). Inside, there’s a puzzle: a locked fuse cabinet and a board with numbers. Assemble a closed shape from the patterns to get the code 413. After unlocking the cabinet, you’ll see unusual blinking of different colors.
- This is another password: red, blue, red, green, blue.
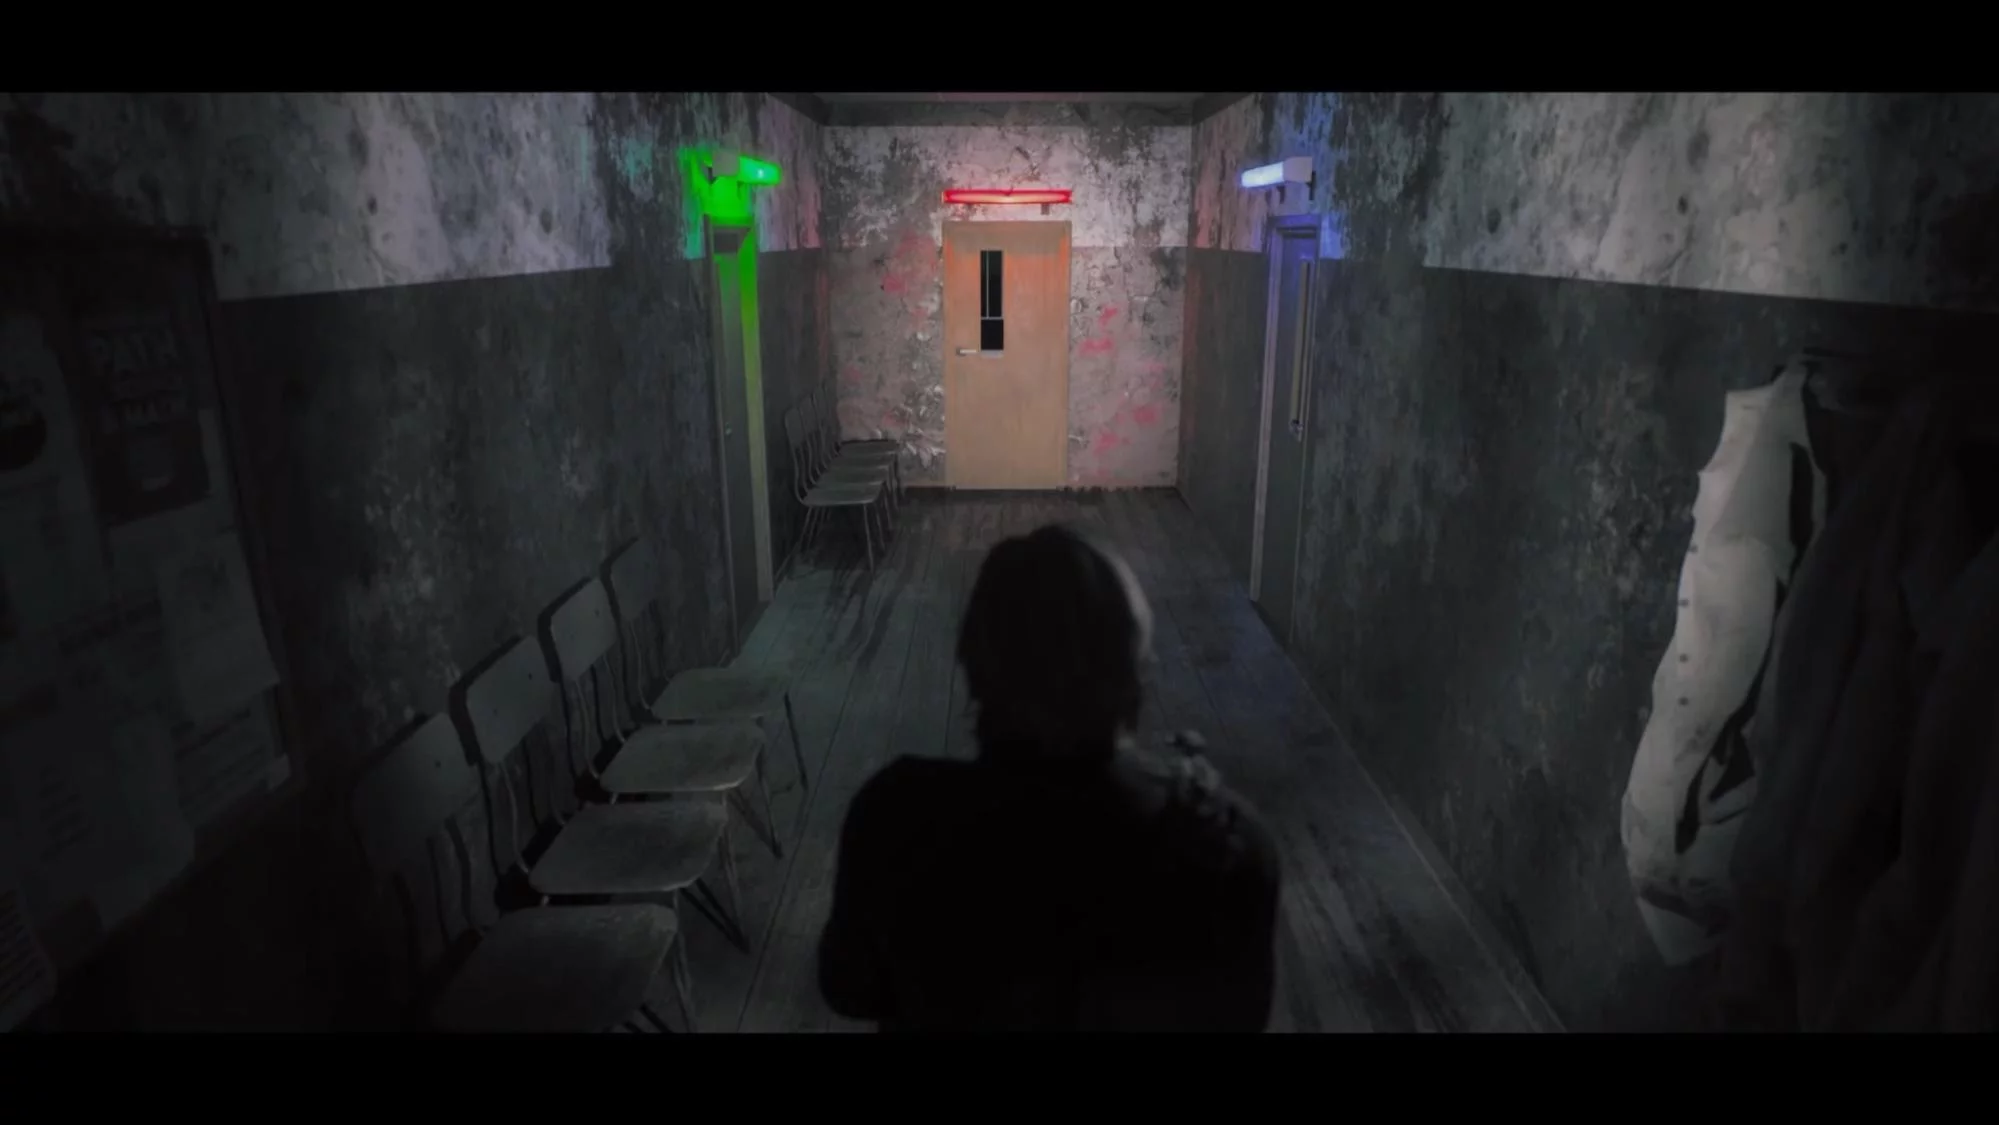
The door next to the first teachers’ room (Teacher 01) leads to a corridor with passages of the same colors. Enter them in this order, and the hall will return to its normal state. On the right, there is the teachers’ lounge. Pay attention to the yellow clock, frozen at 9:05.
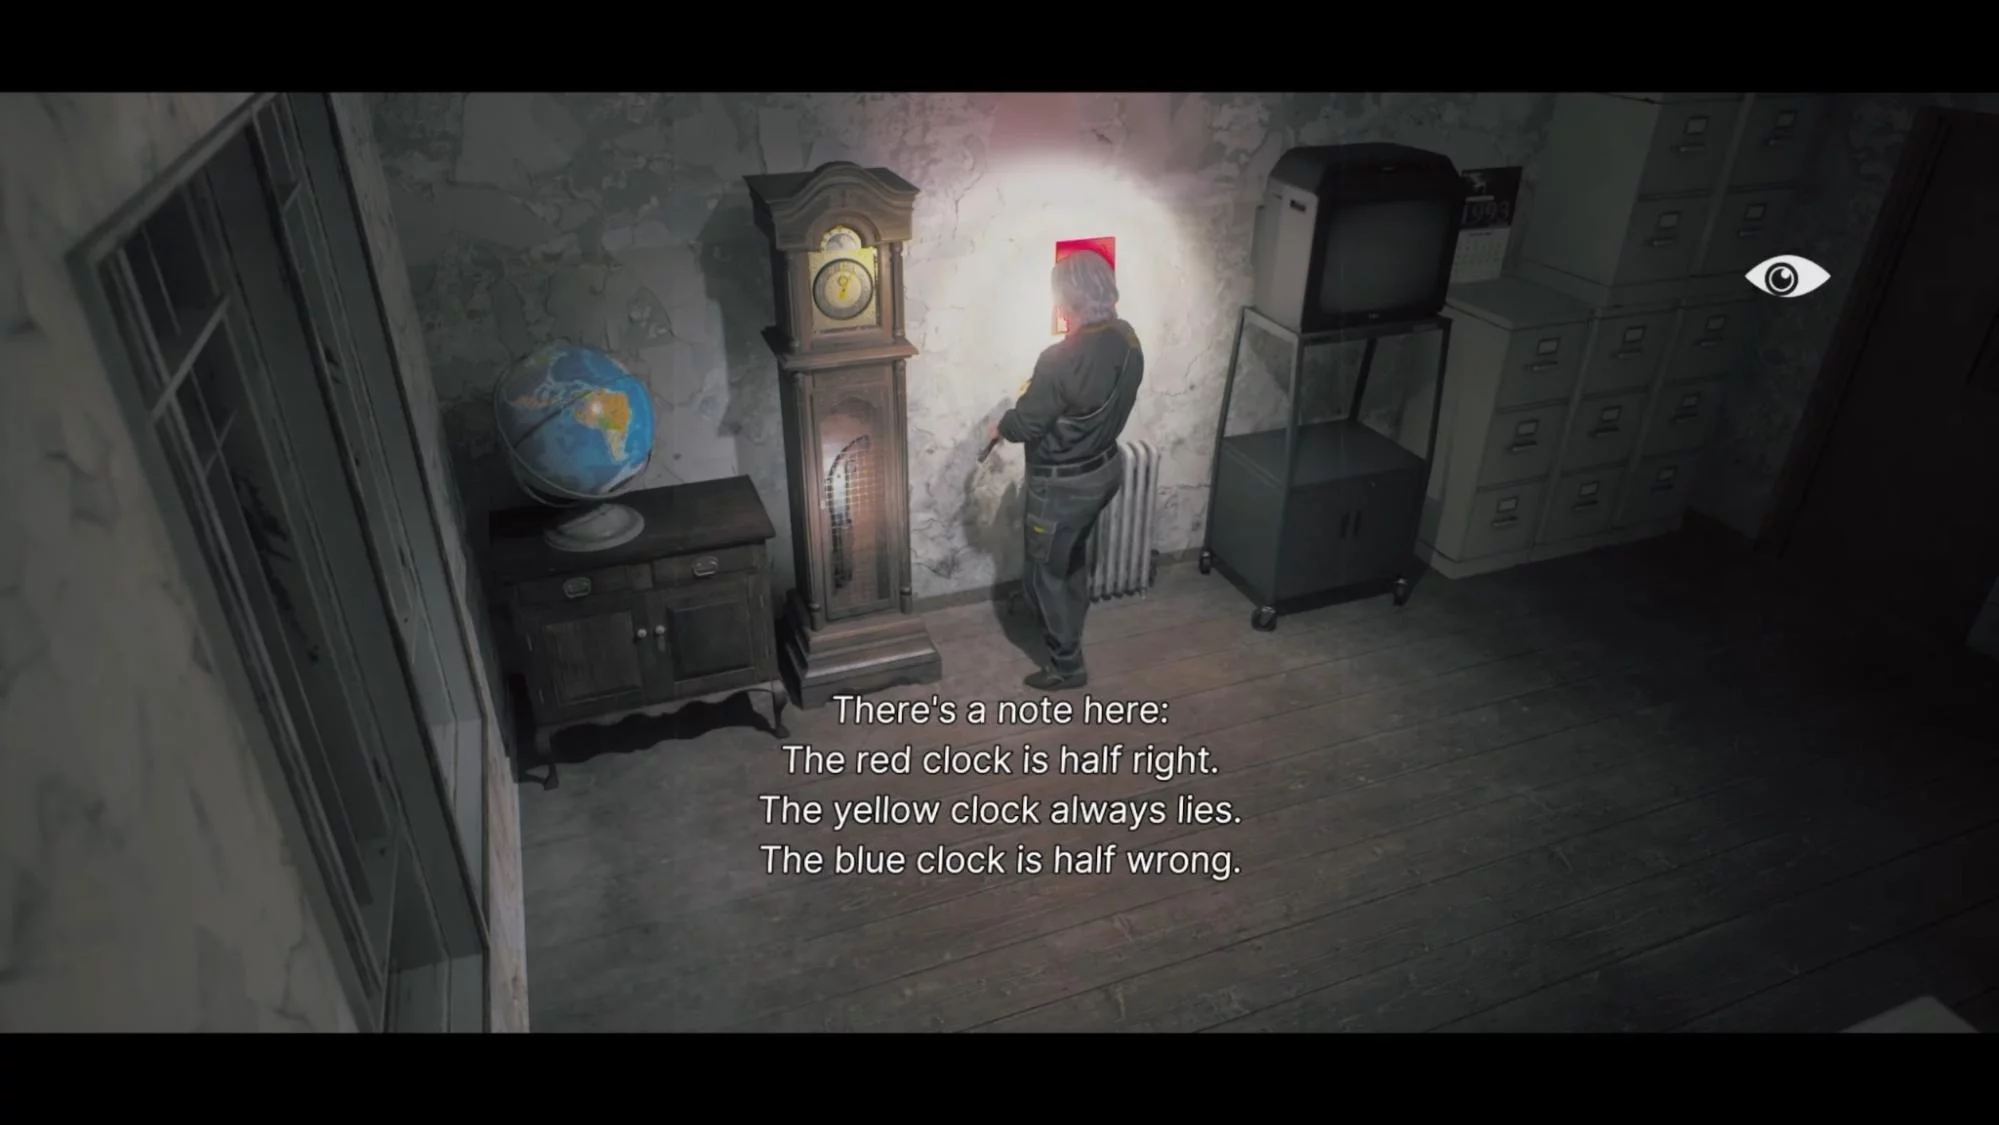
In the far section of this corridor, there is a flyer that gives a hint for solving the mystery of the nearby clocks. This is a logic puzzle, and solving it reveals the answer — 10:20. Set this value and receive a shotgun. Take the keys to some classrooms from the table.

Run to the neighboring long corridor that leads deeper inside: you can reach the classroom (Classroom) and the music room (Music Room) through it. In the first room, you’ll see planetary systems missing several models, as well as a projector showing an unusual image. You’ll need it a bit later.
Once in the music room (Music Room), destroy the monster and notice a similar scheme, which will be needed soon.
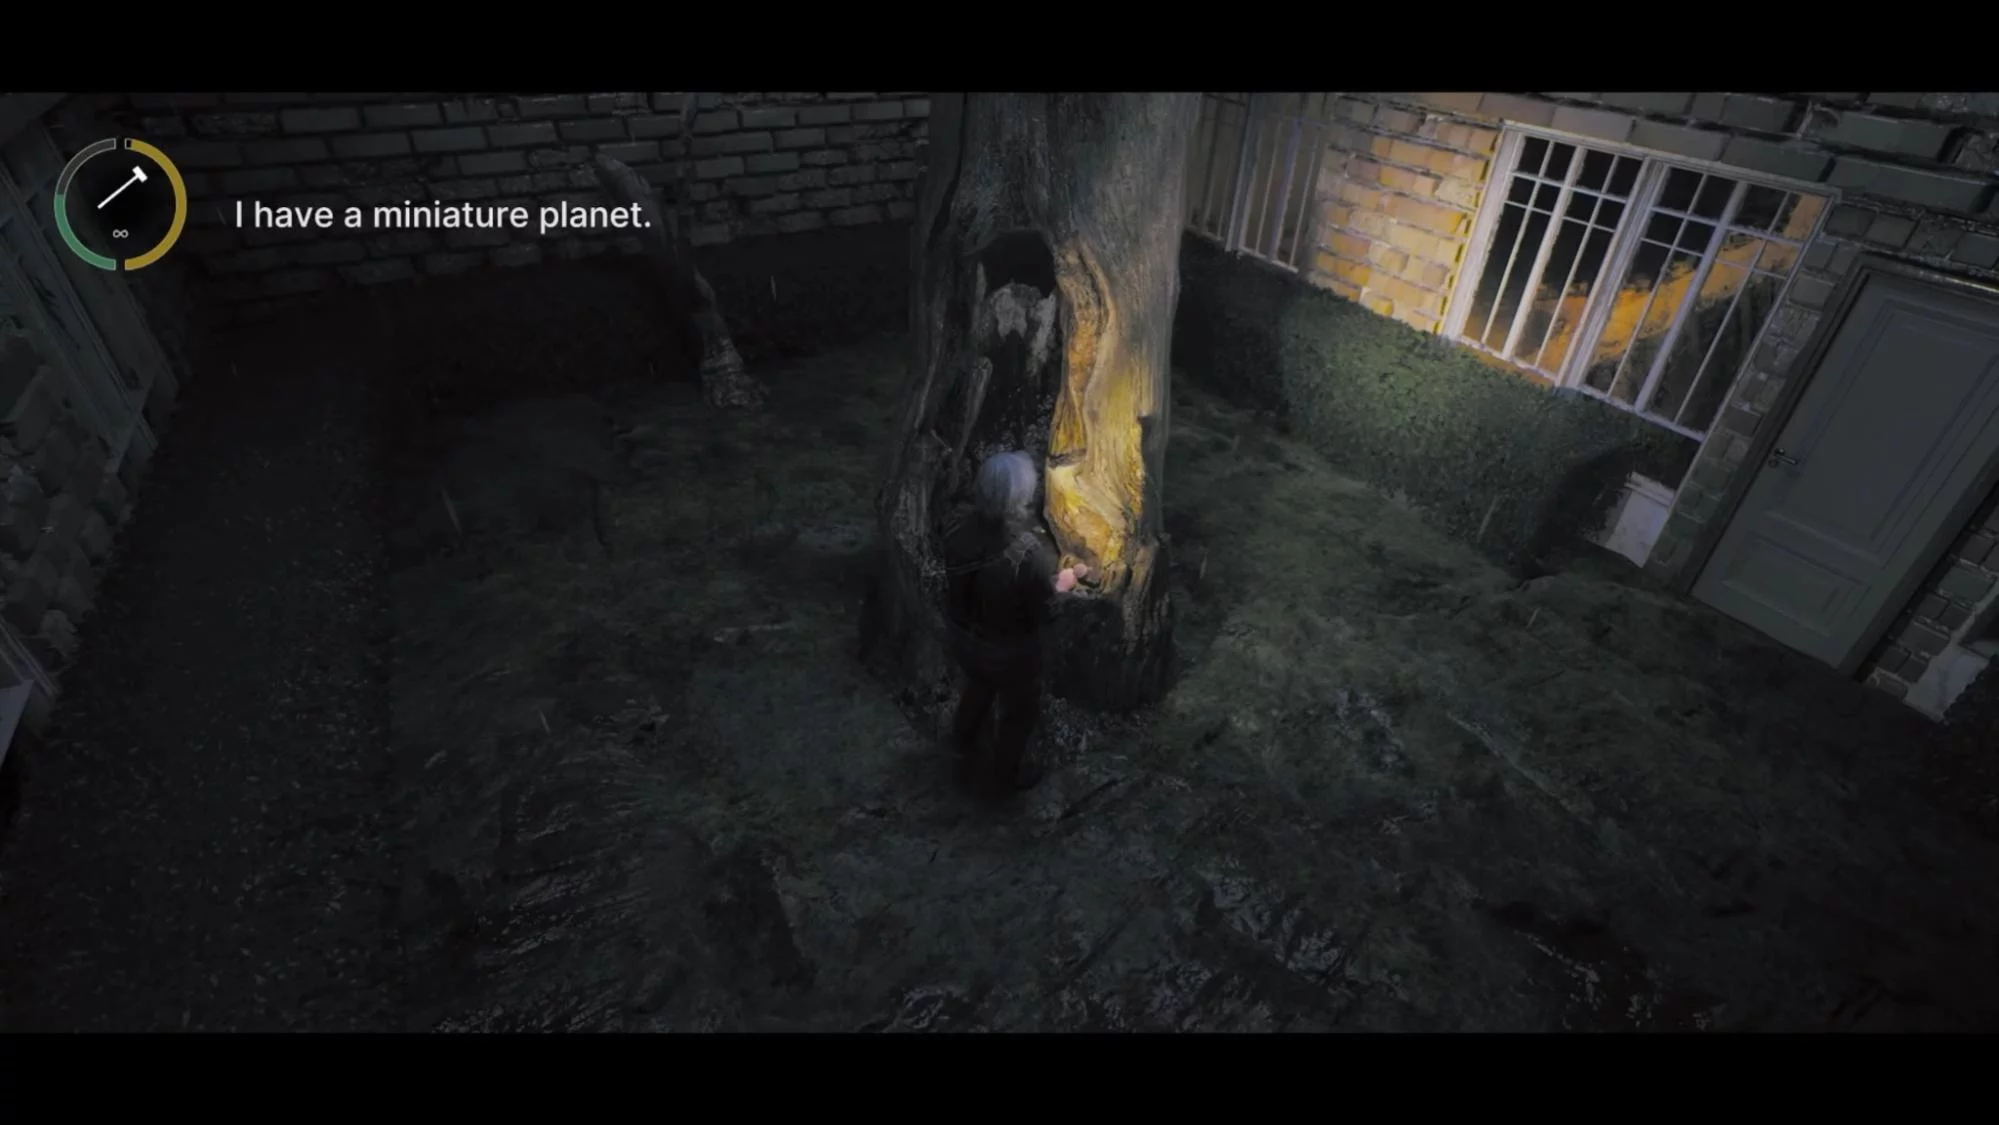
Not far from the janitor’s room (Janitor), there is a corridor going back and forth. First, go back towards the classrooms. You need the room with no sign, its door illuminated by red light. Through the right passage, you’ll get outside, where inside a tree you’ll find one planet. Opposite, in another classroom, there’s another planet: it’s hidden in the drawers of a cabinet.

On the other side from the janitor’s room (Janitor), there is a coworking area (Study Hall). First, pick up the used film at the table closest to the entrance, as well as a planet lying on a yellow book not far from the film. Place all the models in their spots in the distant classroom to receive the church key. The church is located to the right of the entrance from the street.
All that’s left is to recall the images from that distant classroom, the music room, as well as rooms A08 and A011. By comparing them, press the necessary buttons in any order.
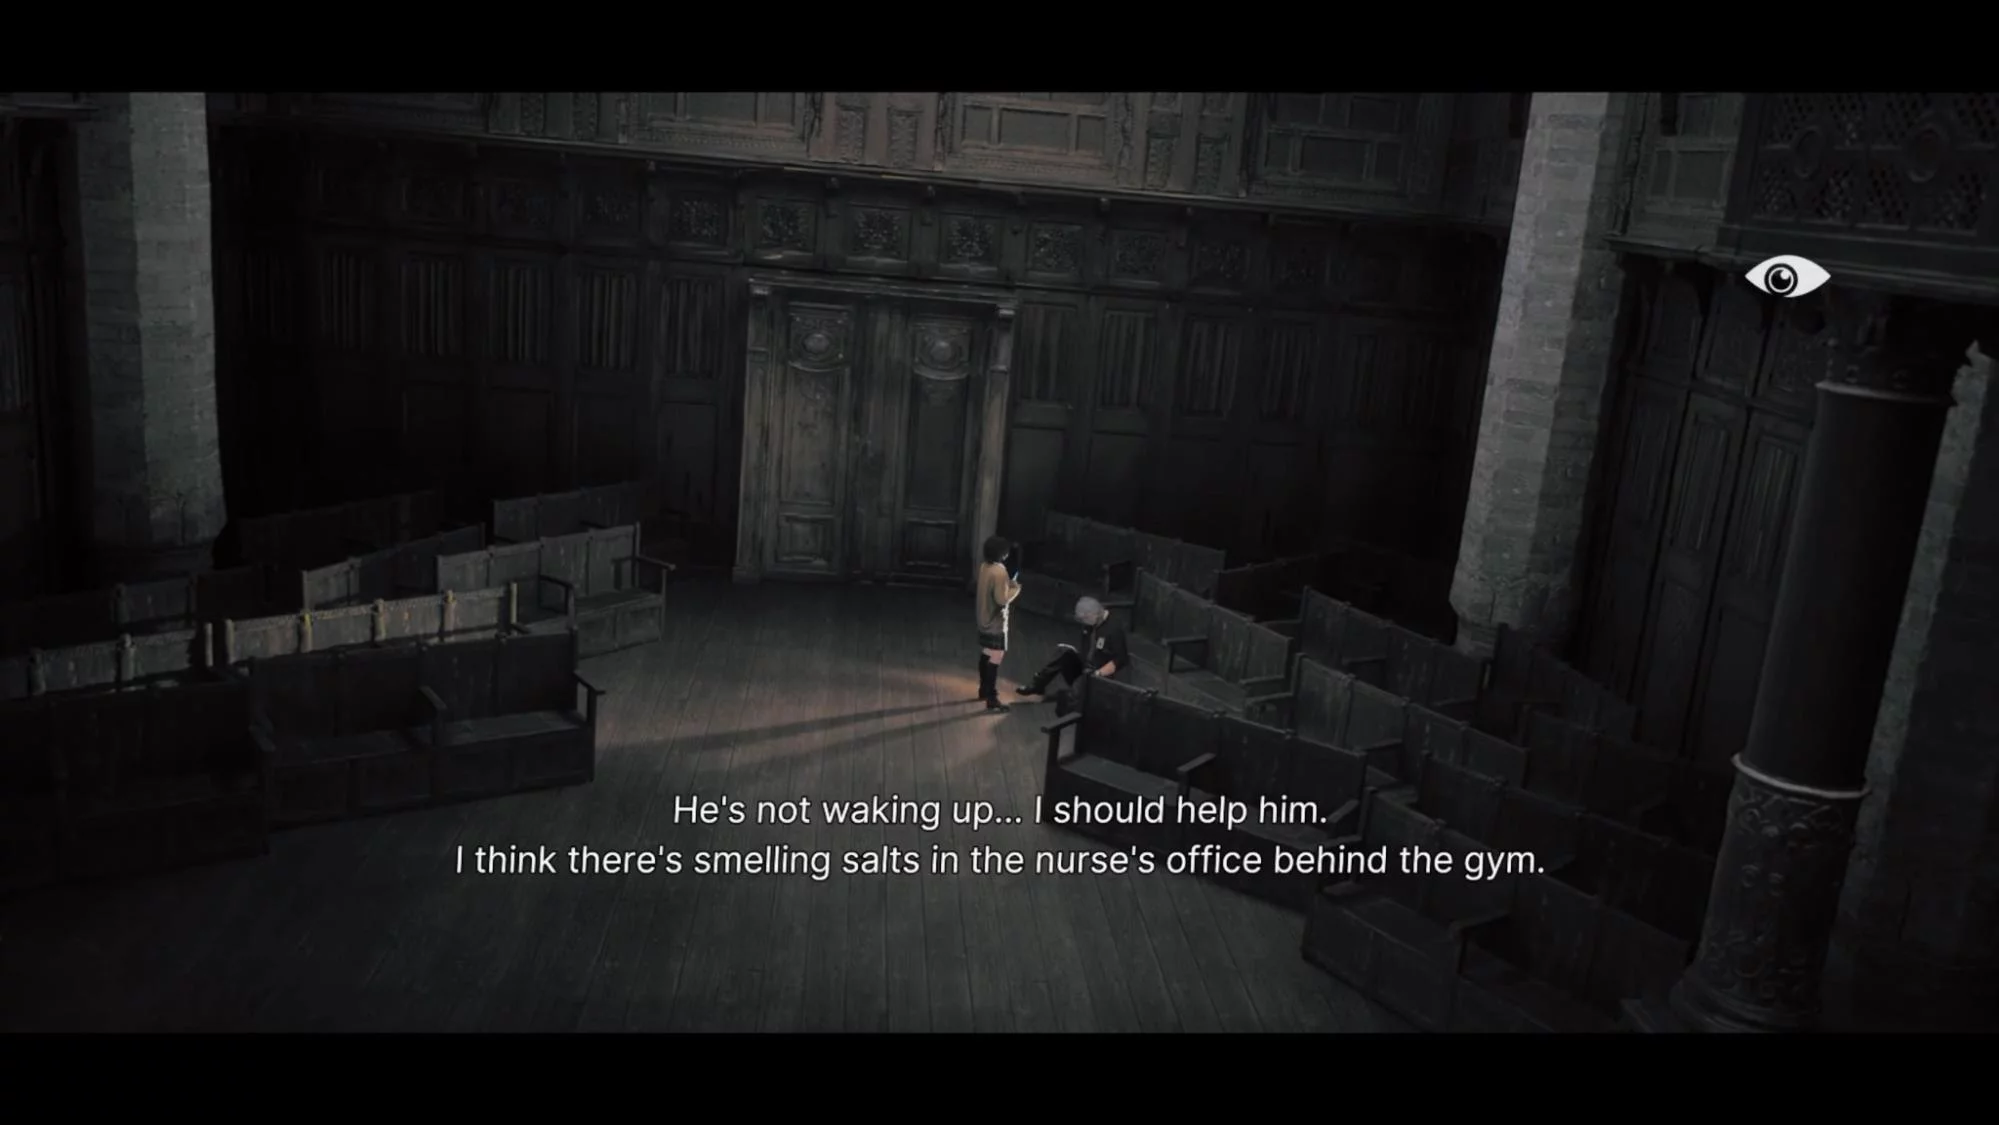
Inside, a boss fight awaits us, after which Roman will lose consciousness, so we’ll go to rescue him together with Freya.