
Tormented Souls 2 Walkthrough Guide
 Vladyslav Shamshurov
Tormented Souls is one of the standout representatives of the survival horror genre. Inspired by the early Resident Evil games and the Silent Hill series, it combines all the charms of genre classics, including fixed camera angles from different perspectives, limited ammo, rare saves, and most importantly, an oppressive atmosphere throughout the entire game. In this guide, we've prepared a walkthrough for Tormented Souls 2 with all puzzles and riddles.
Awakening
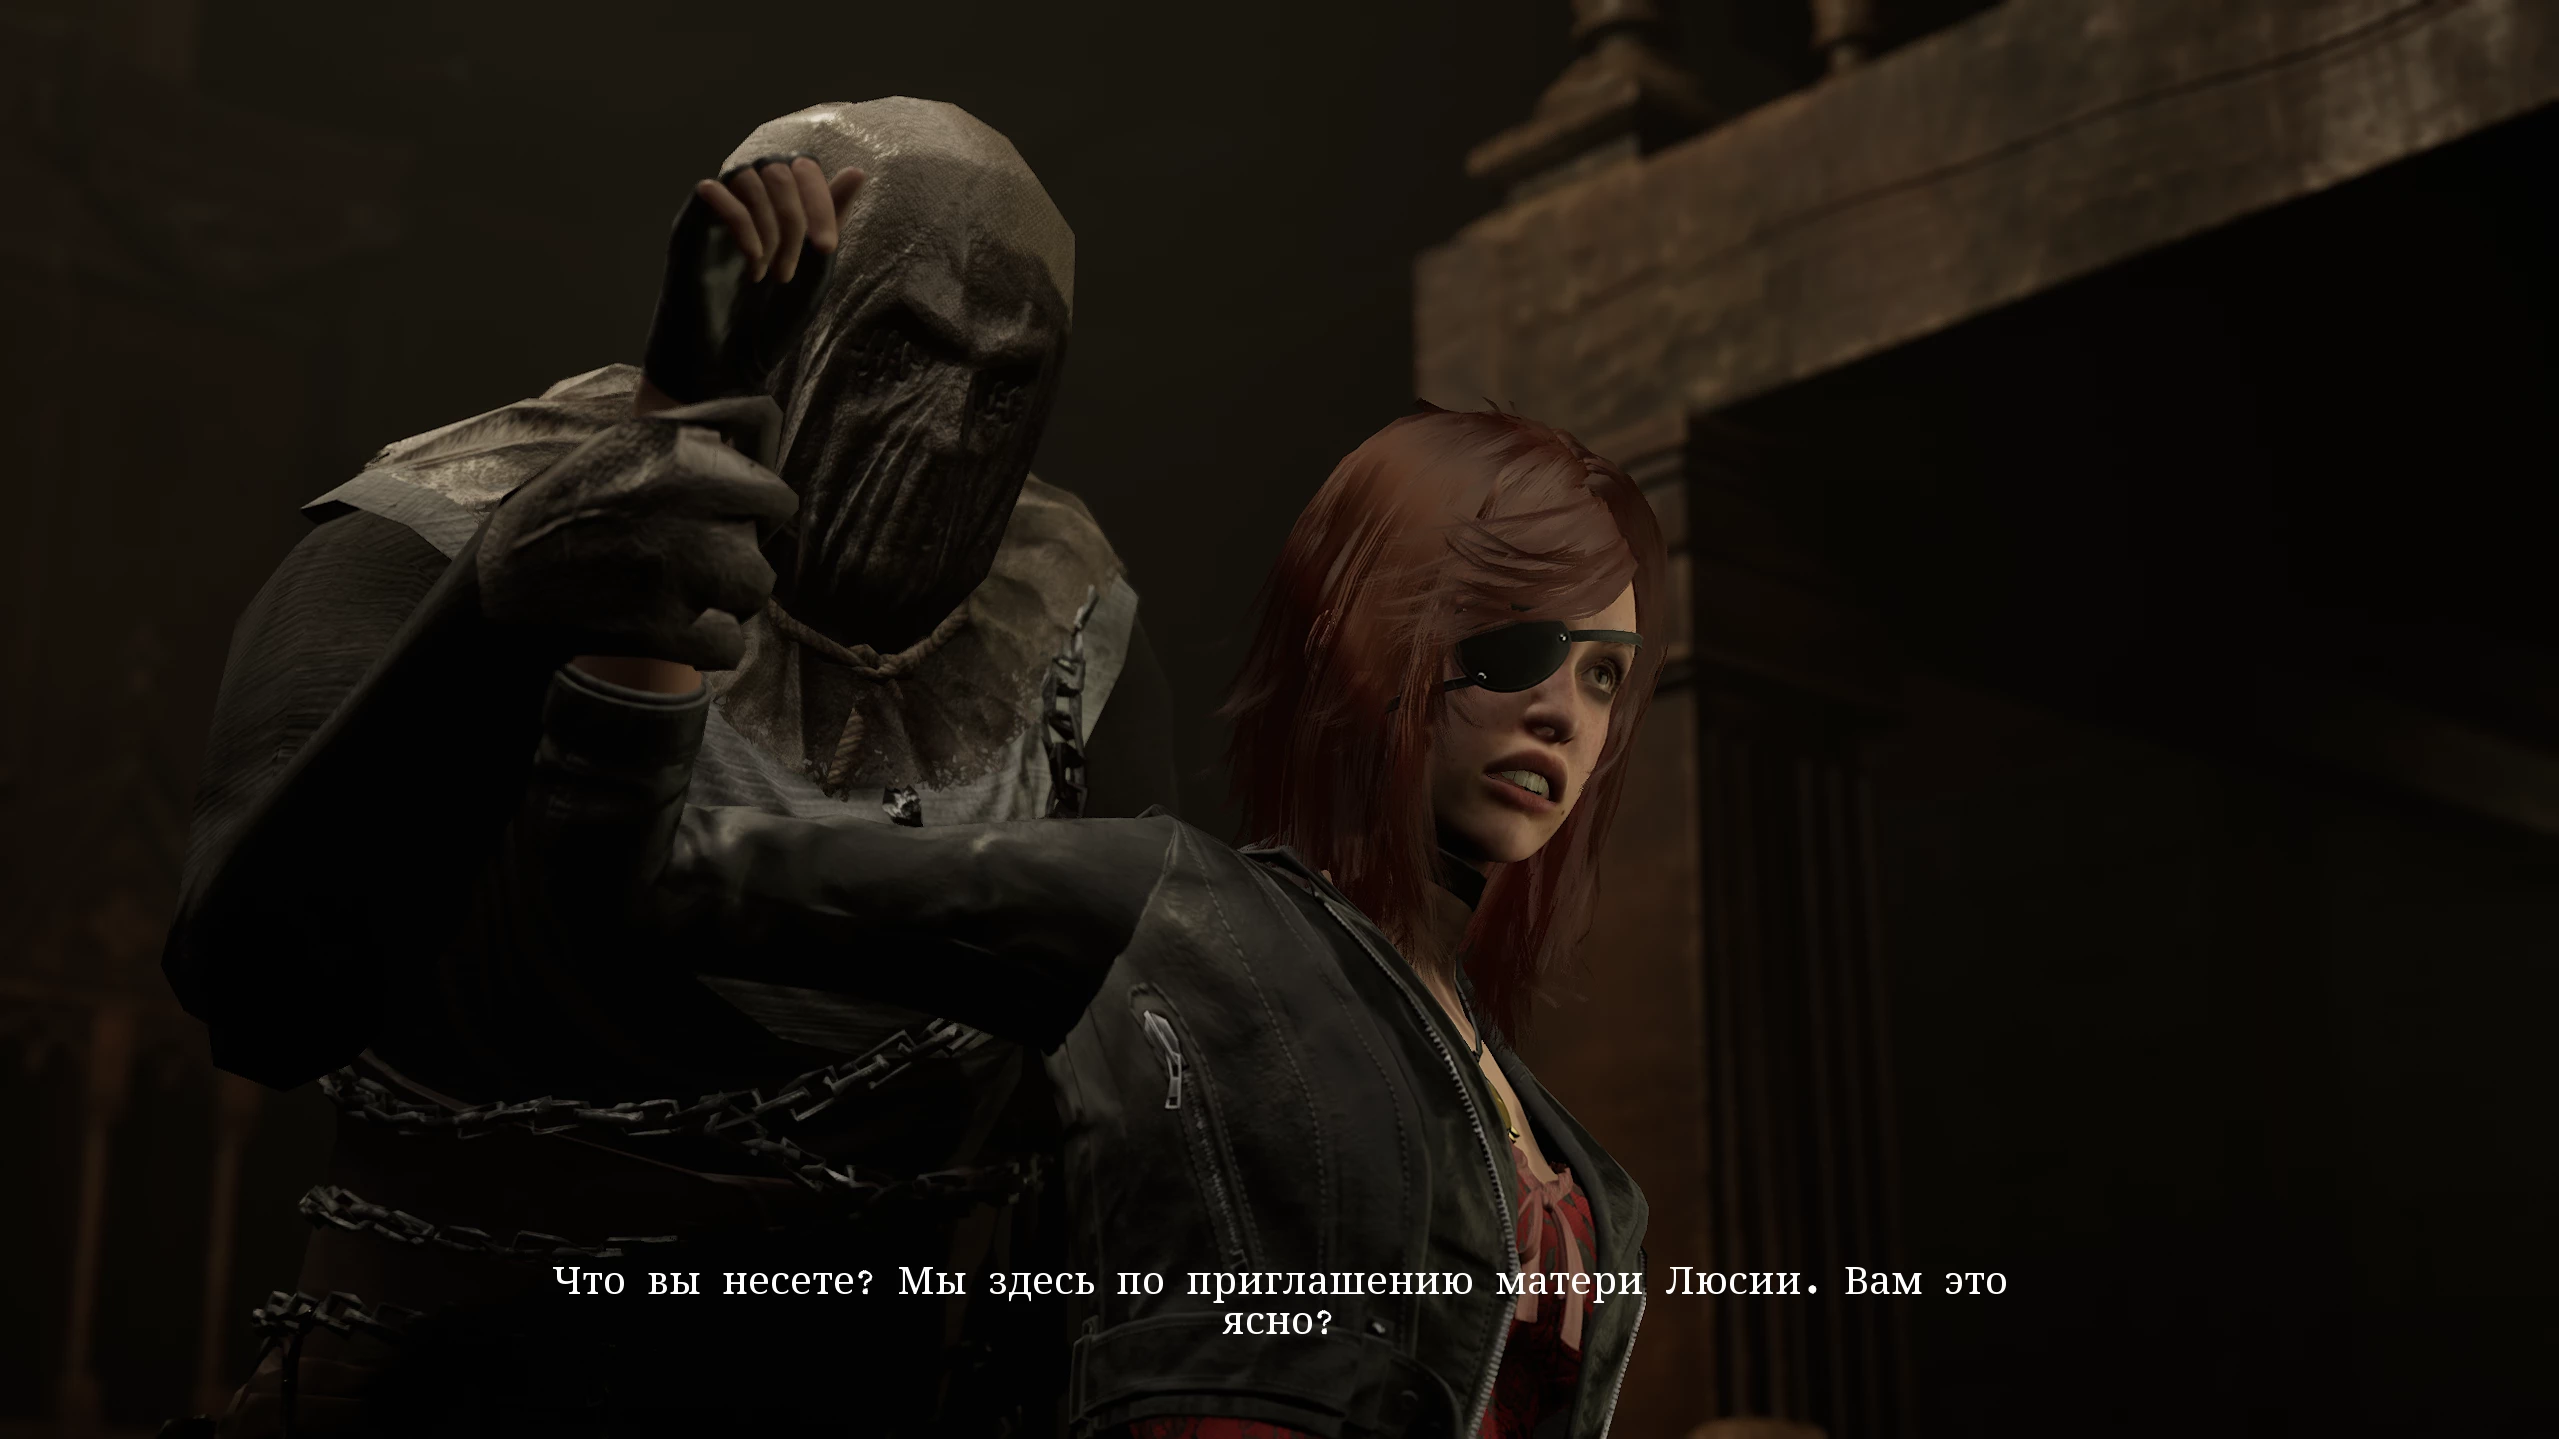
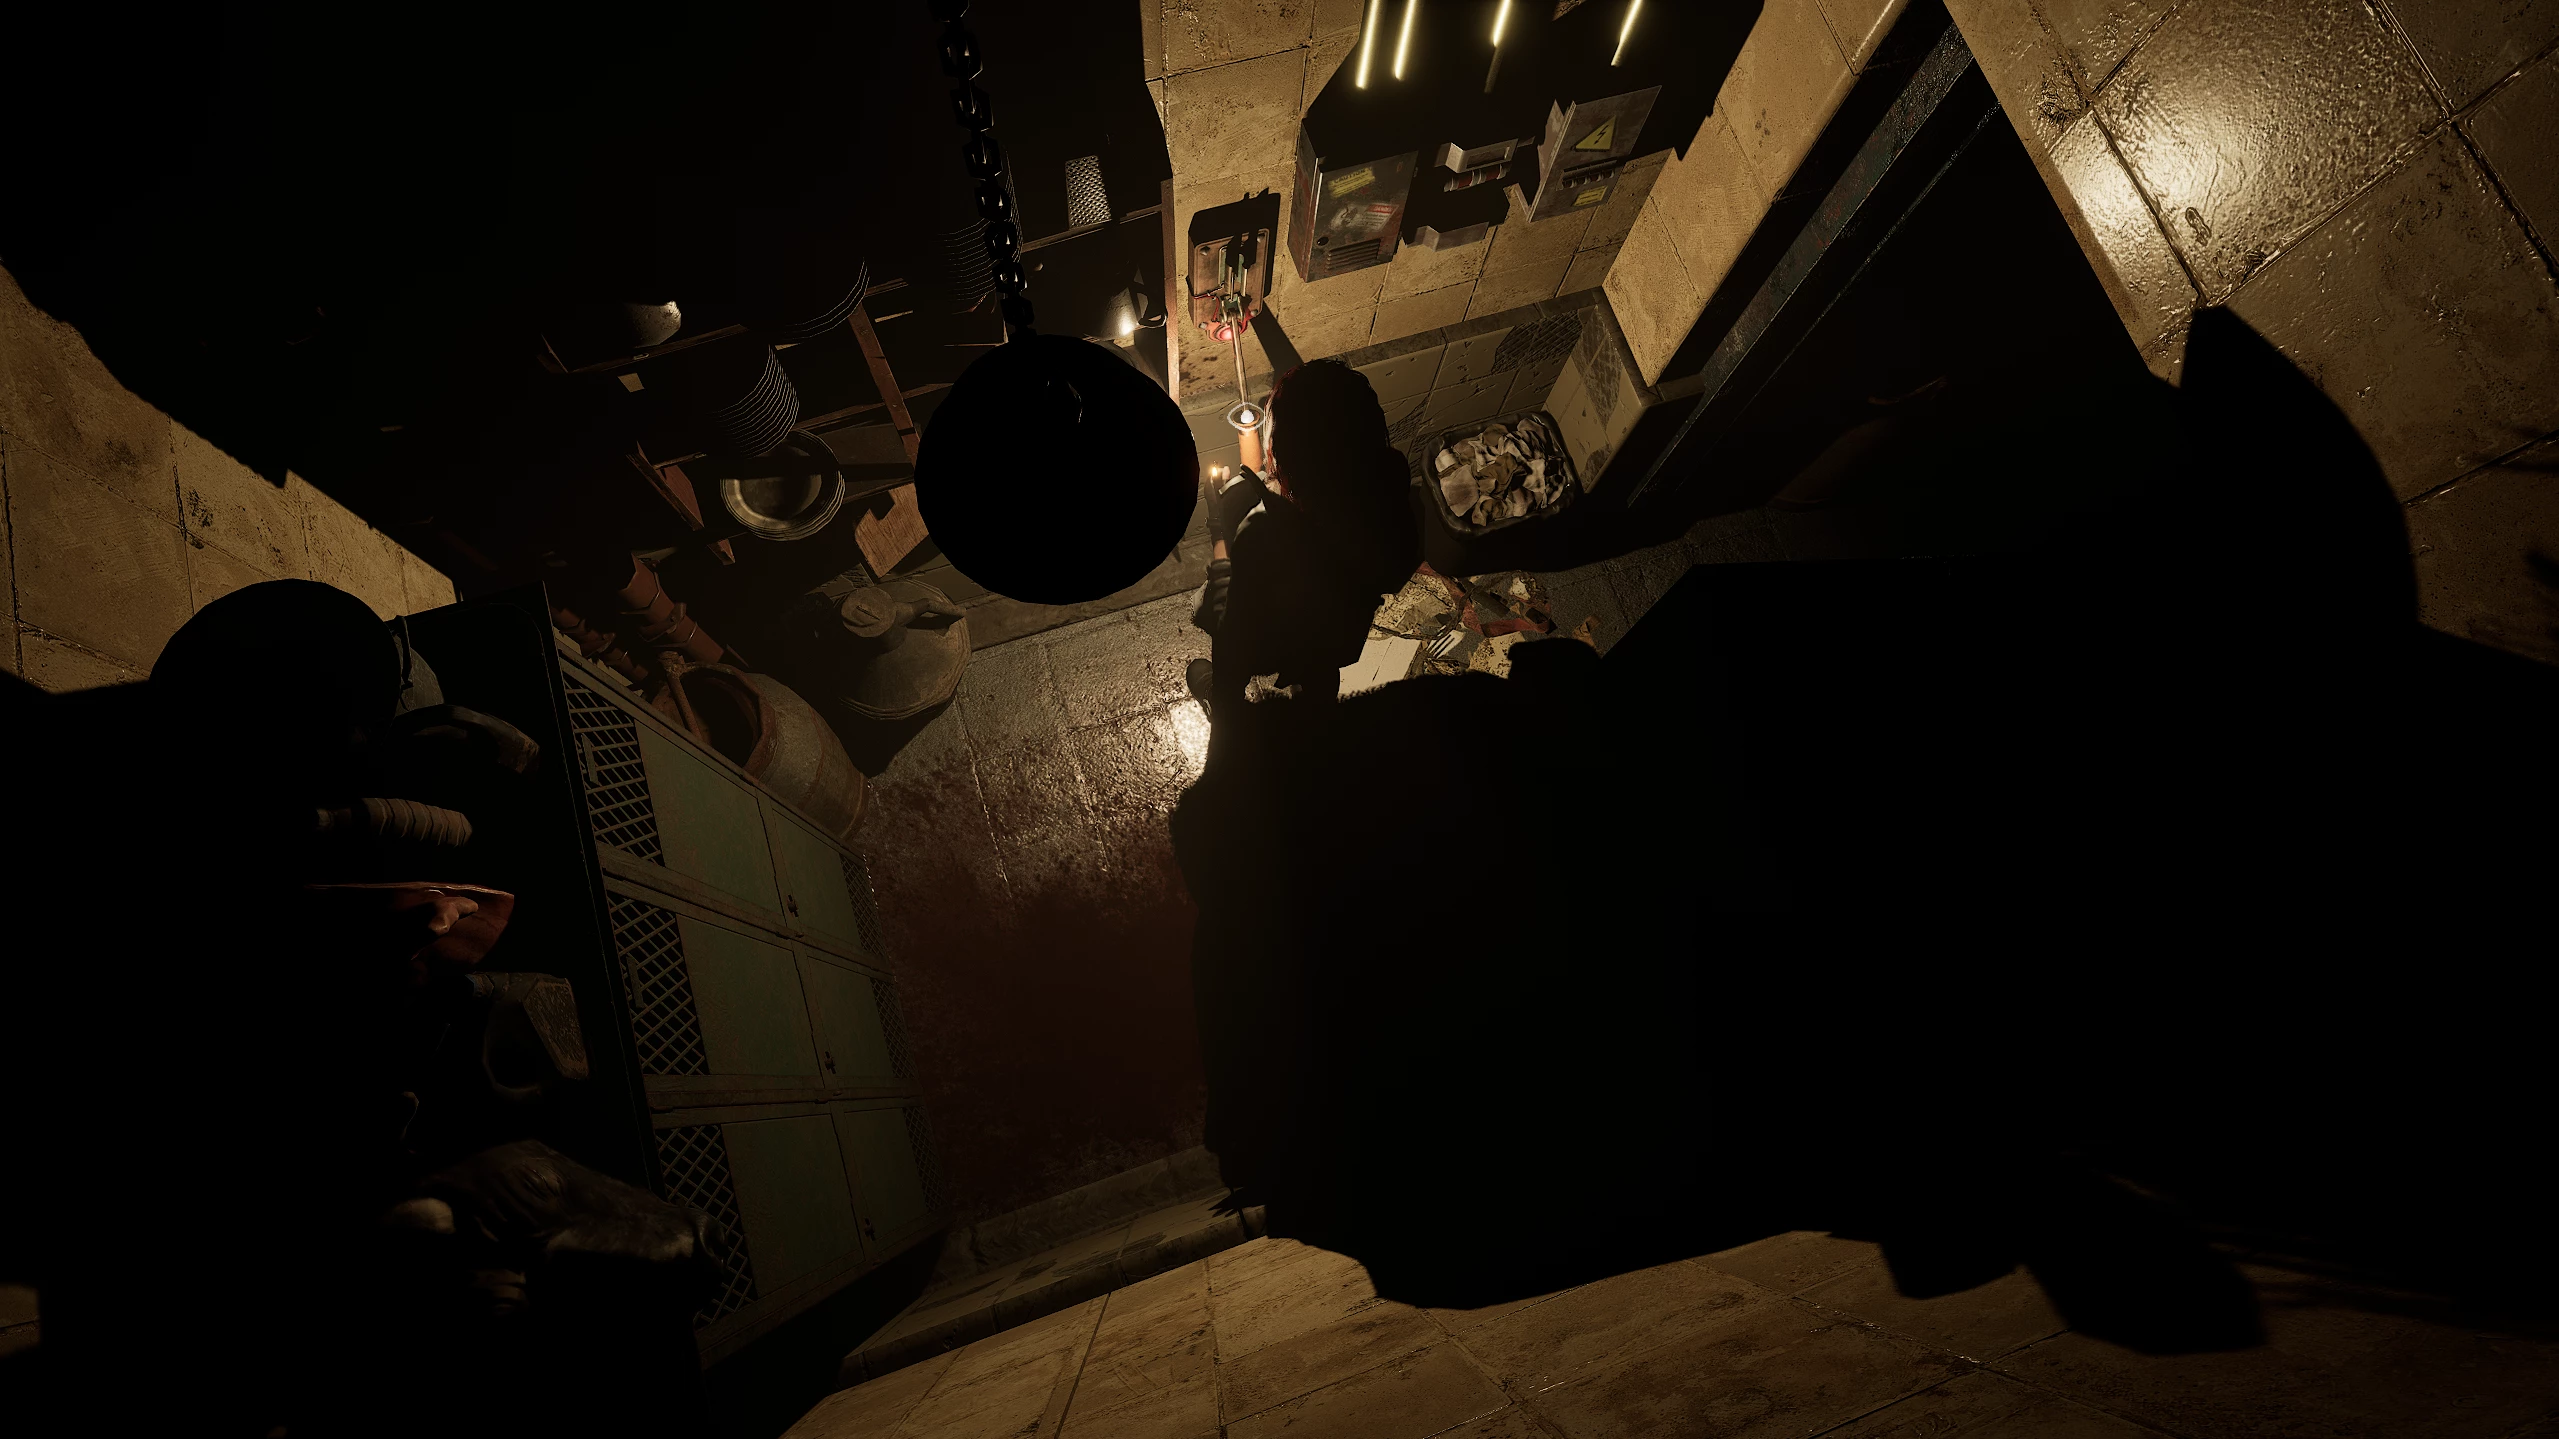
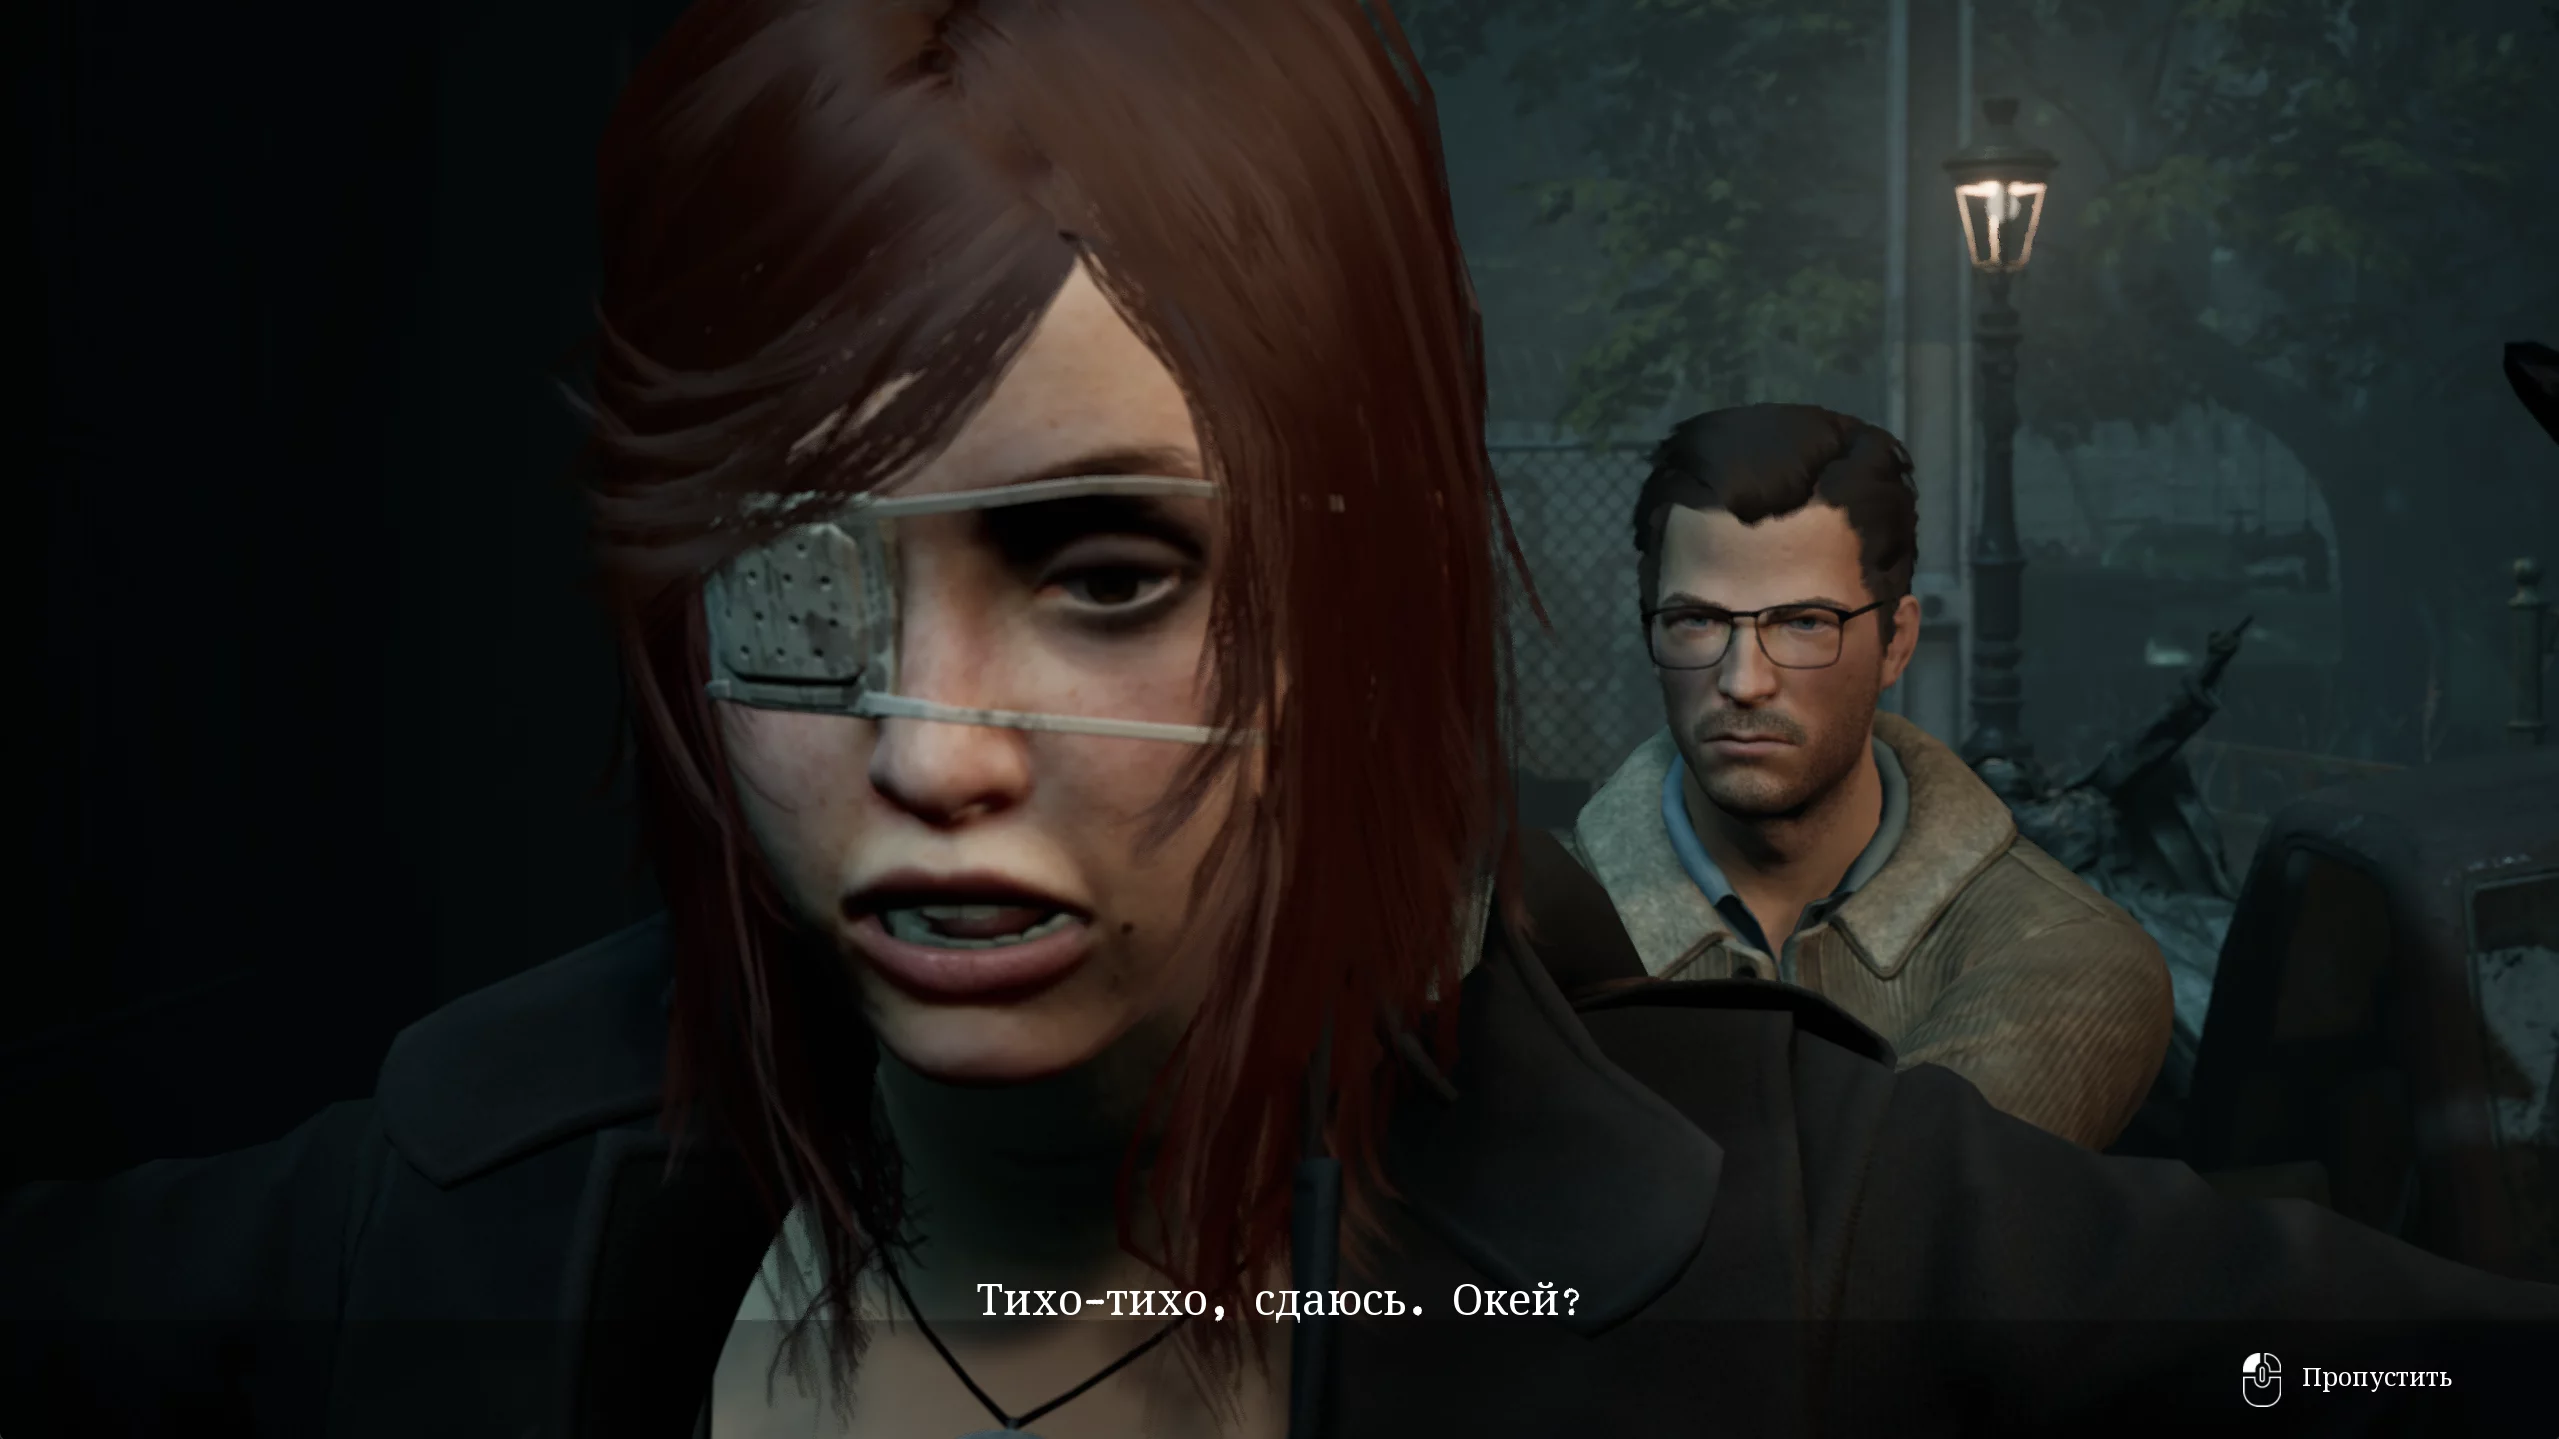
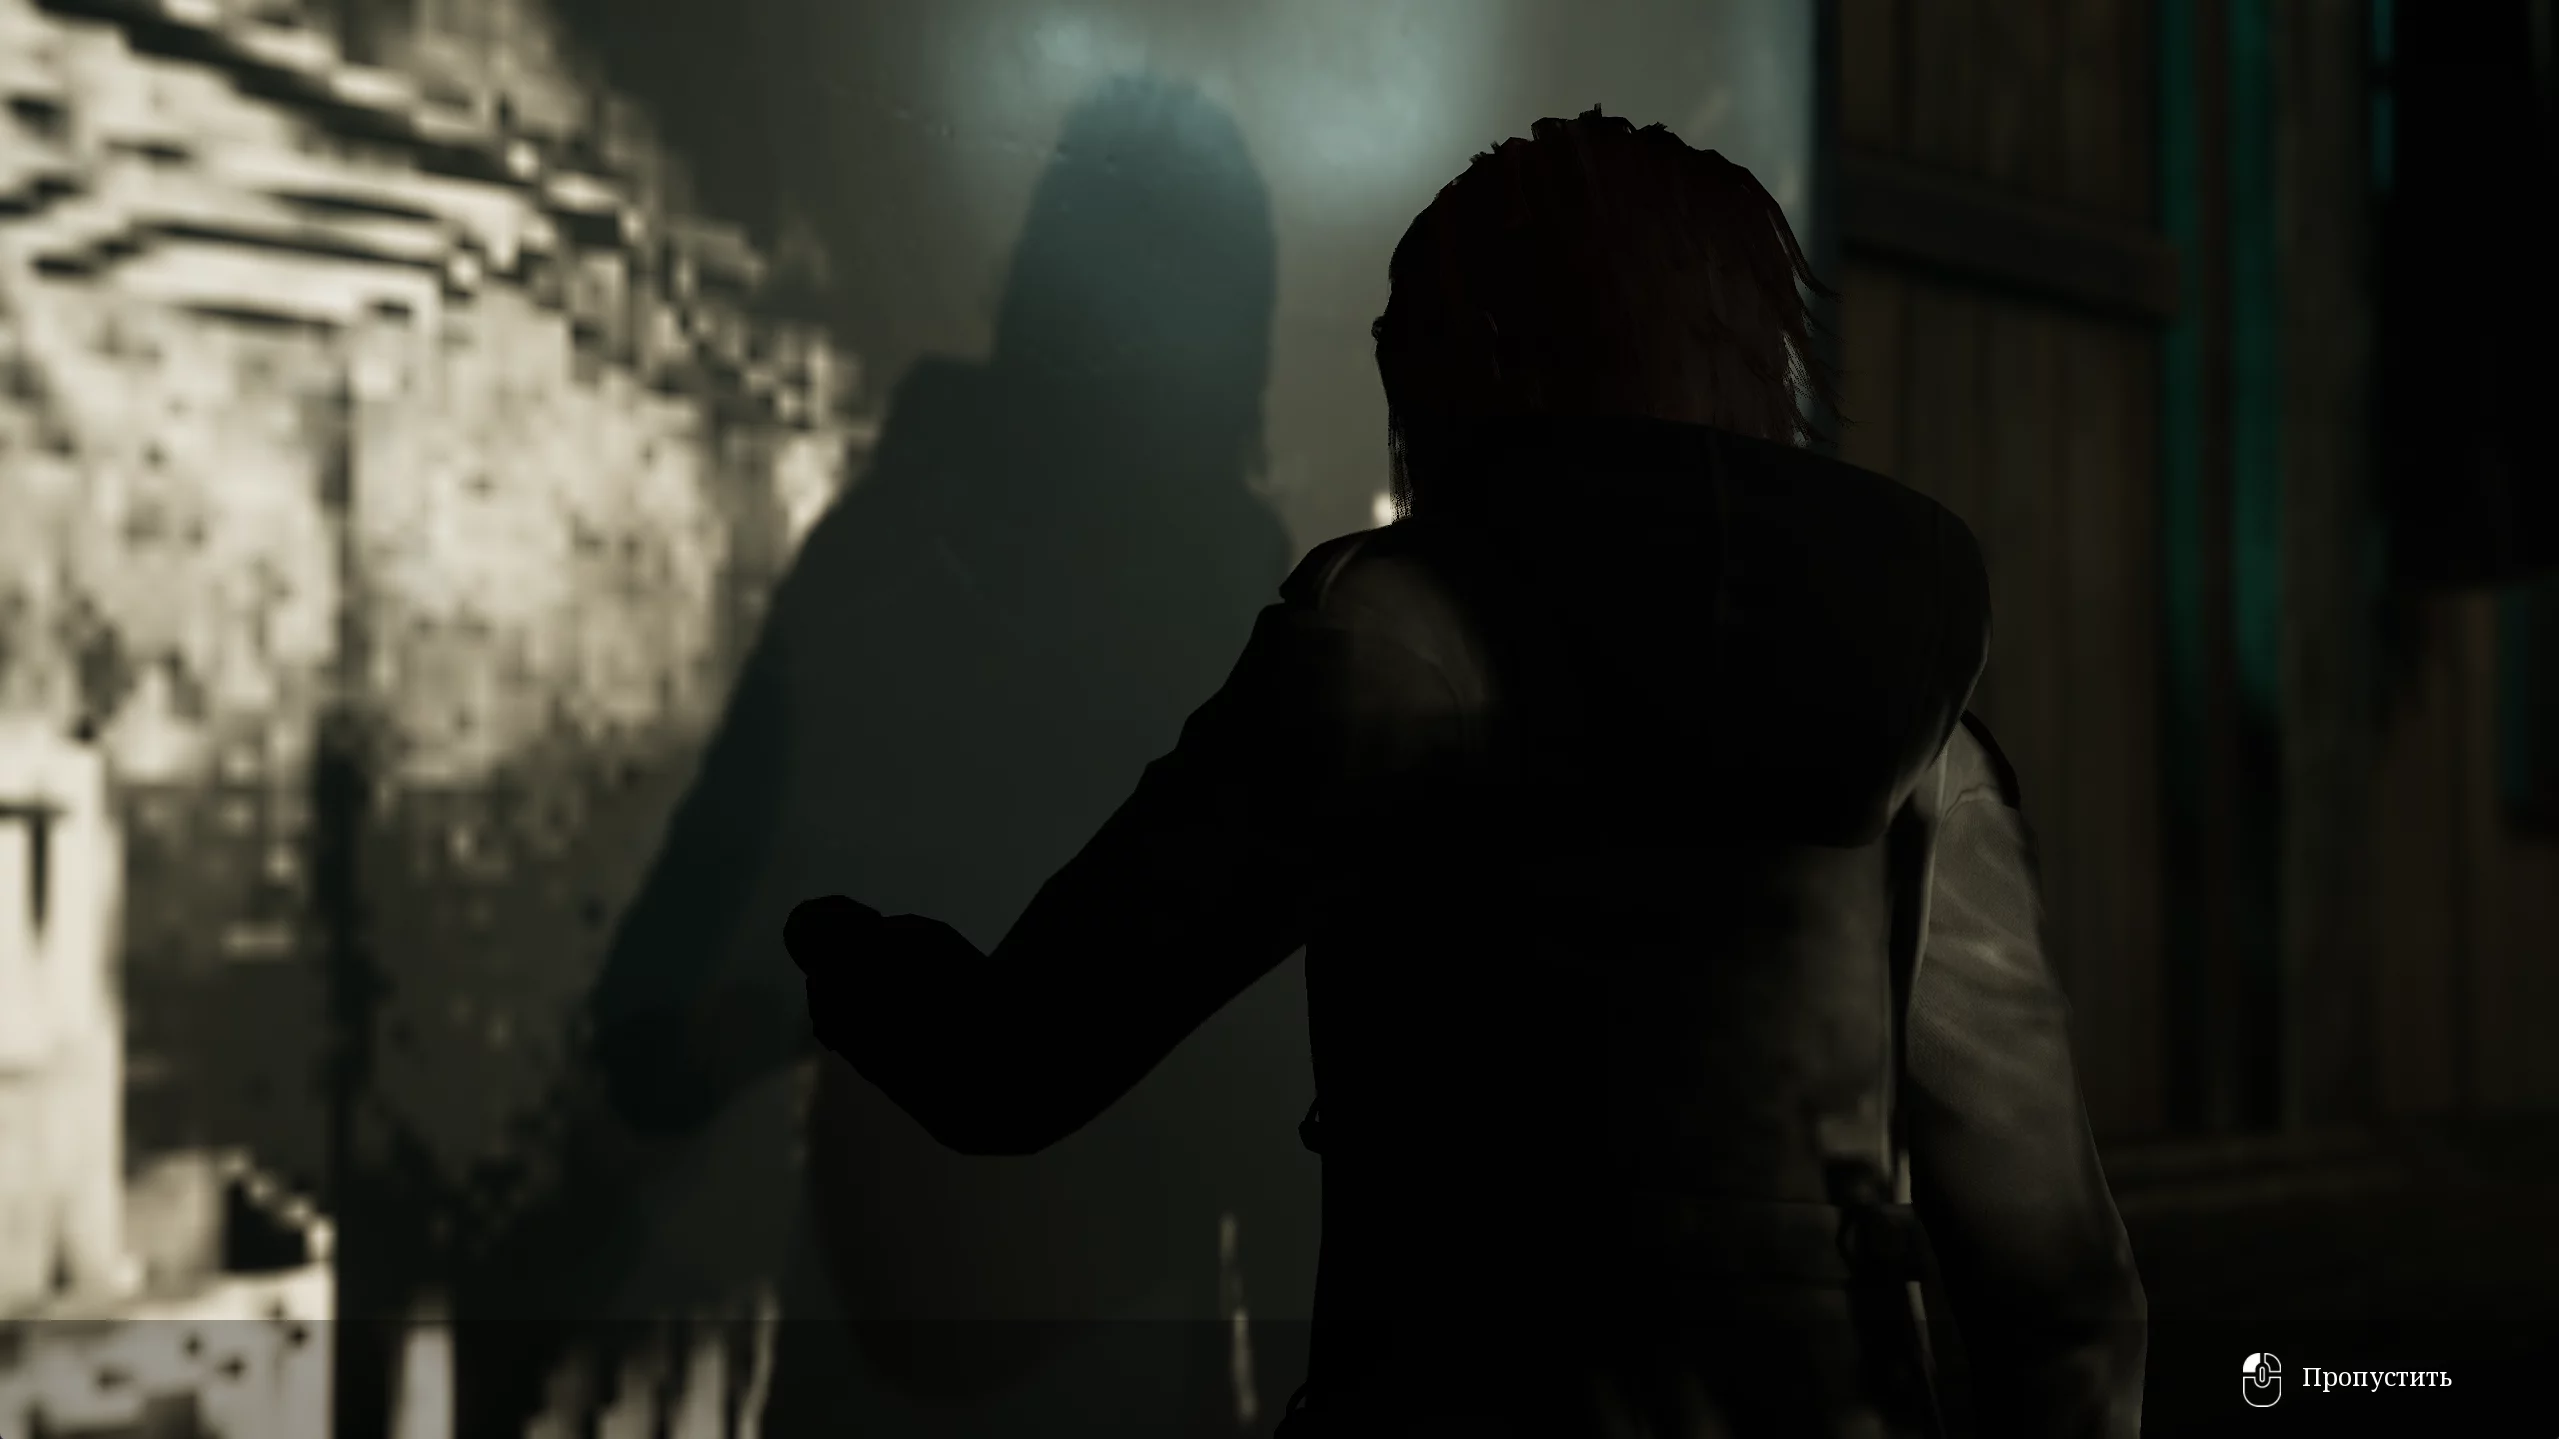
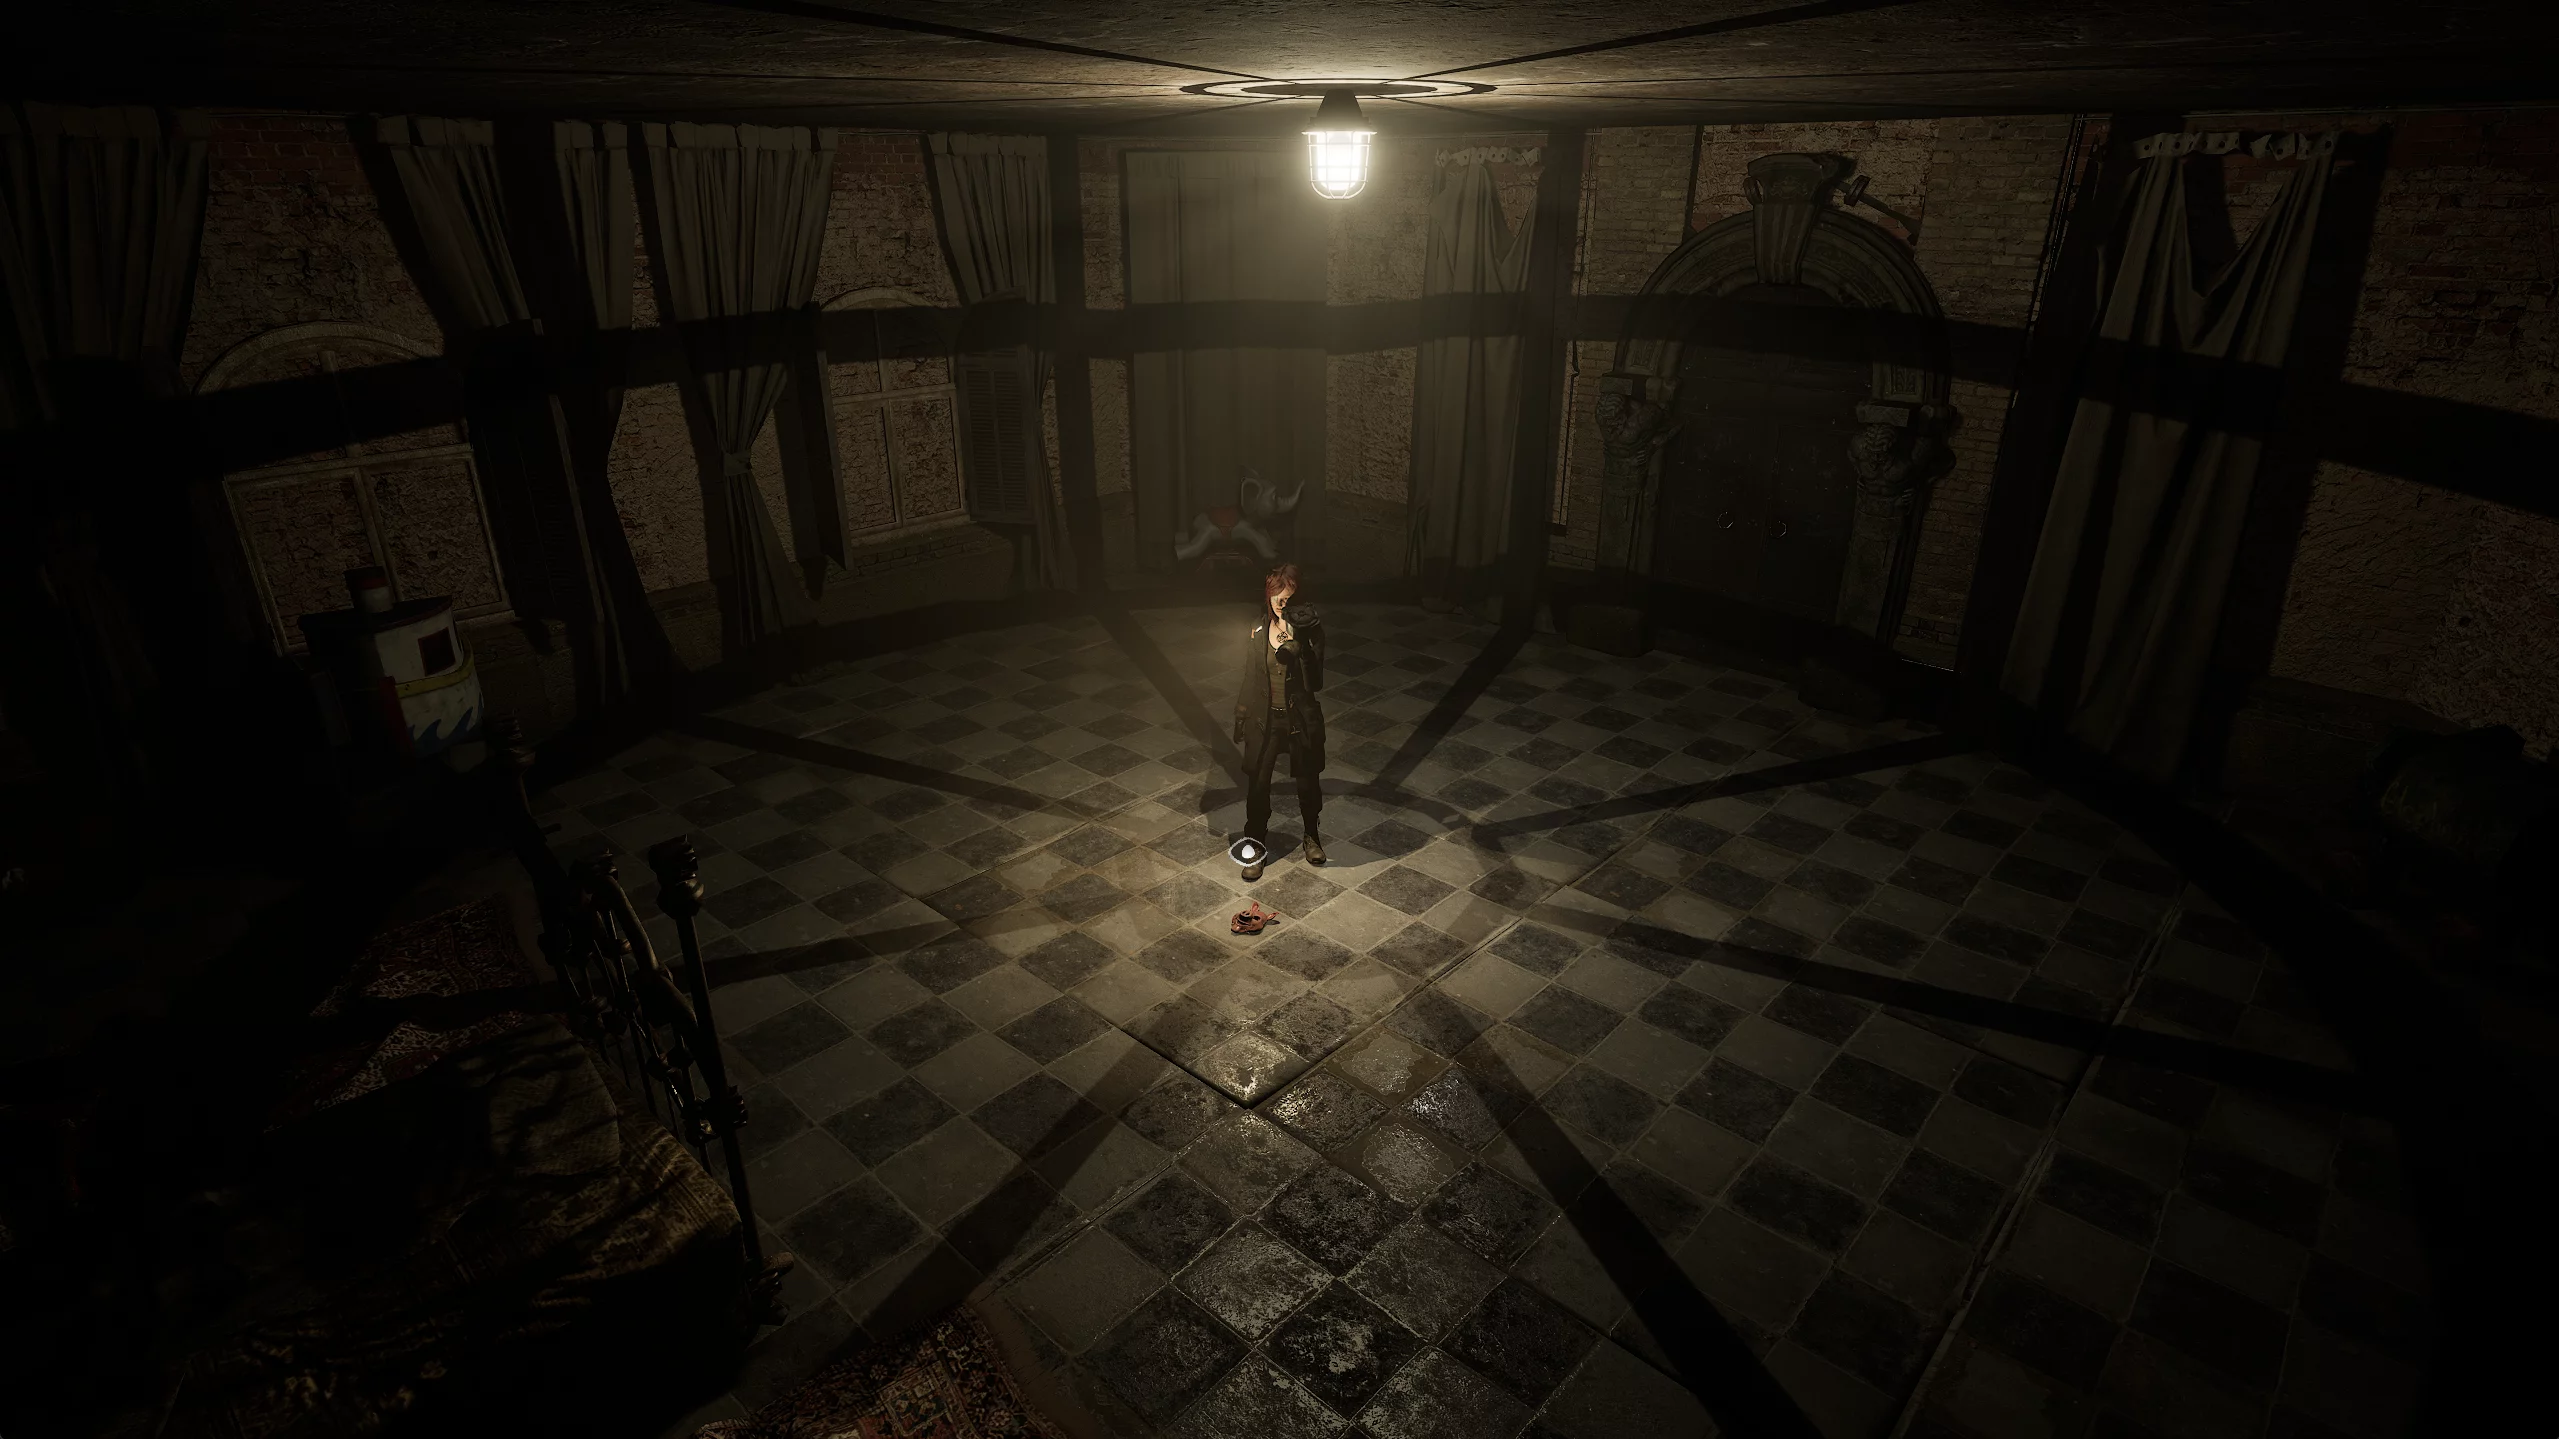
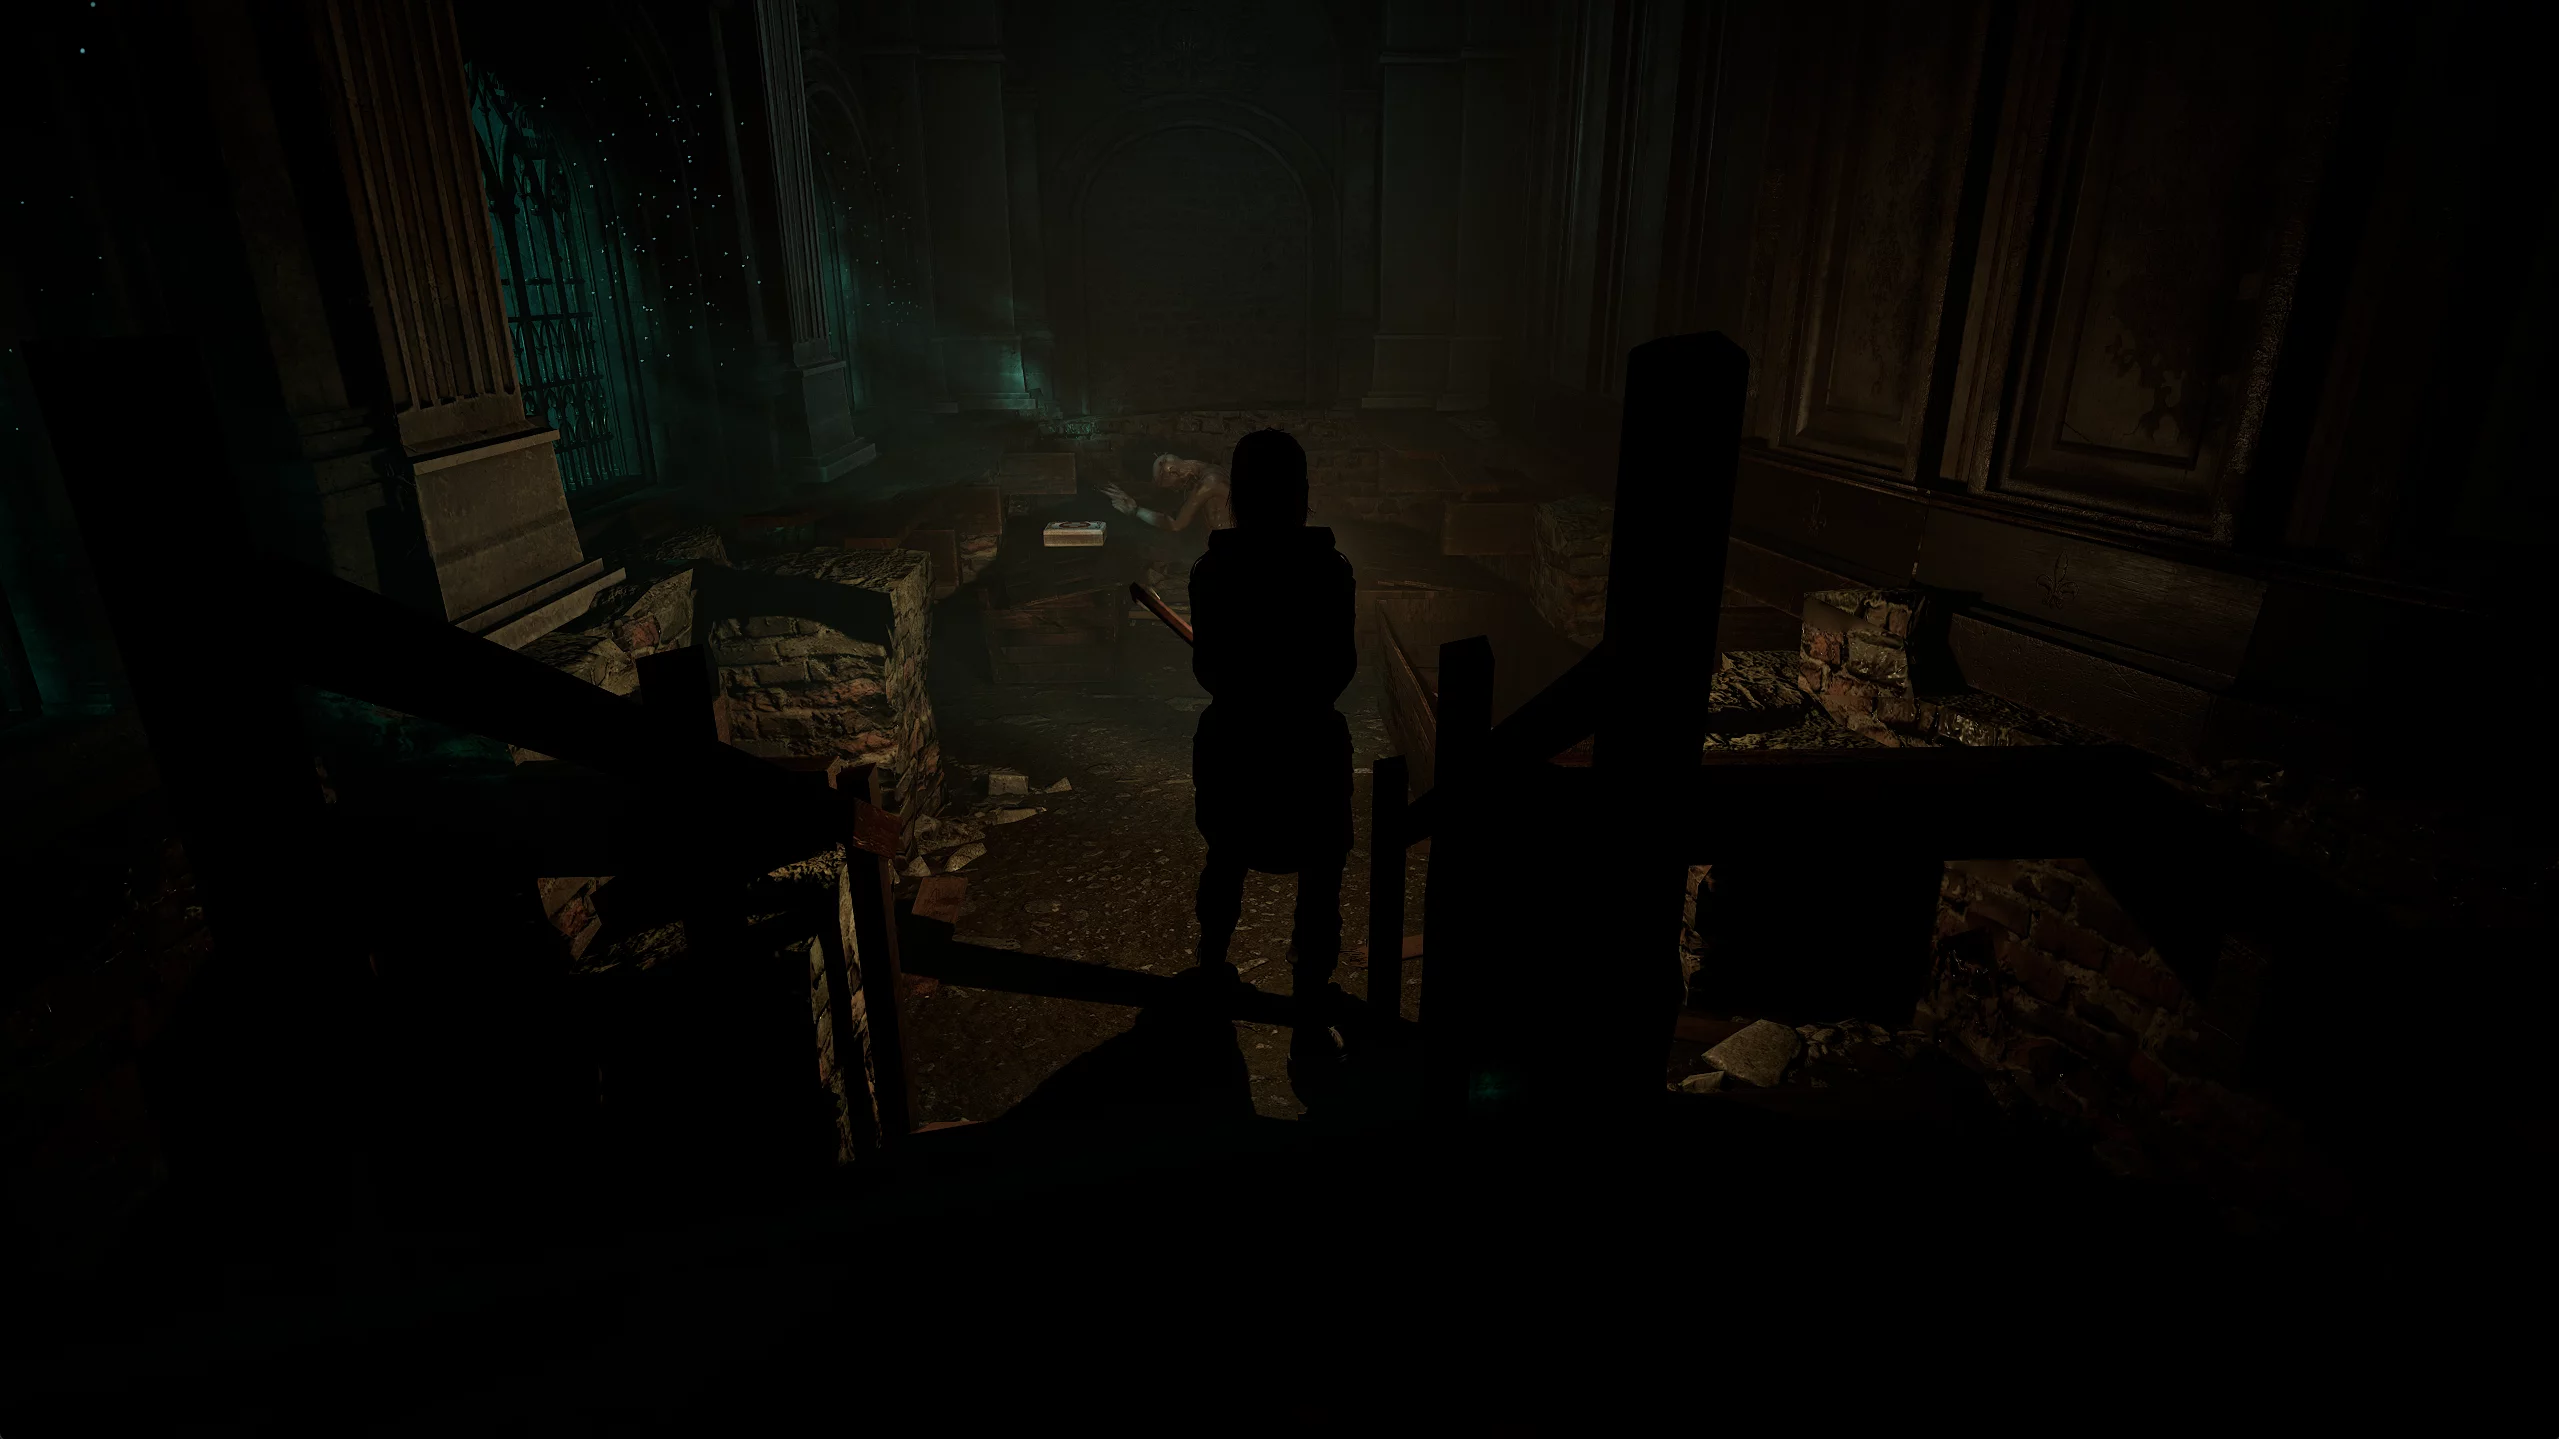
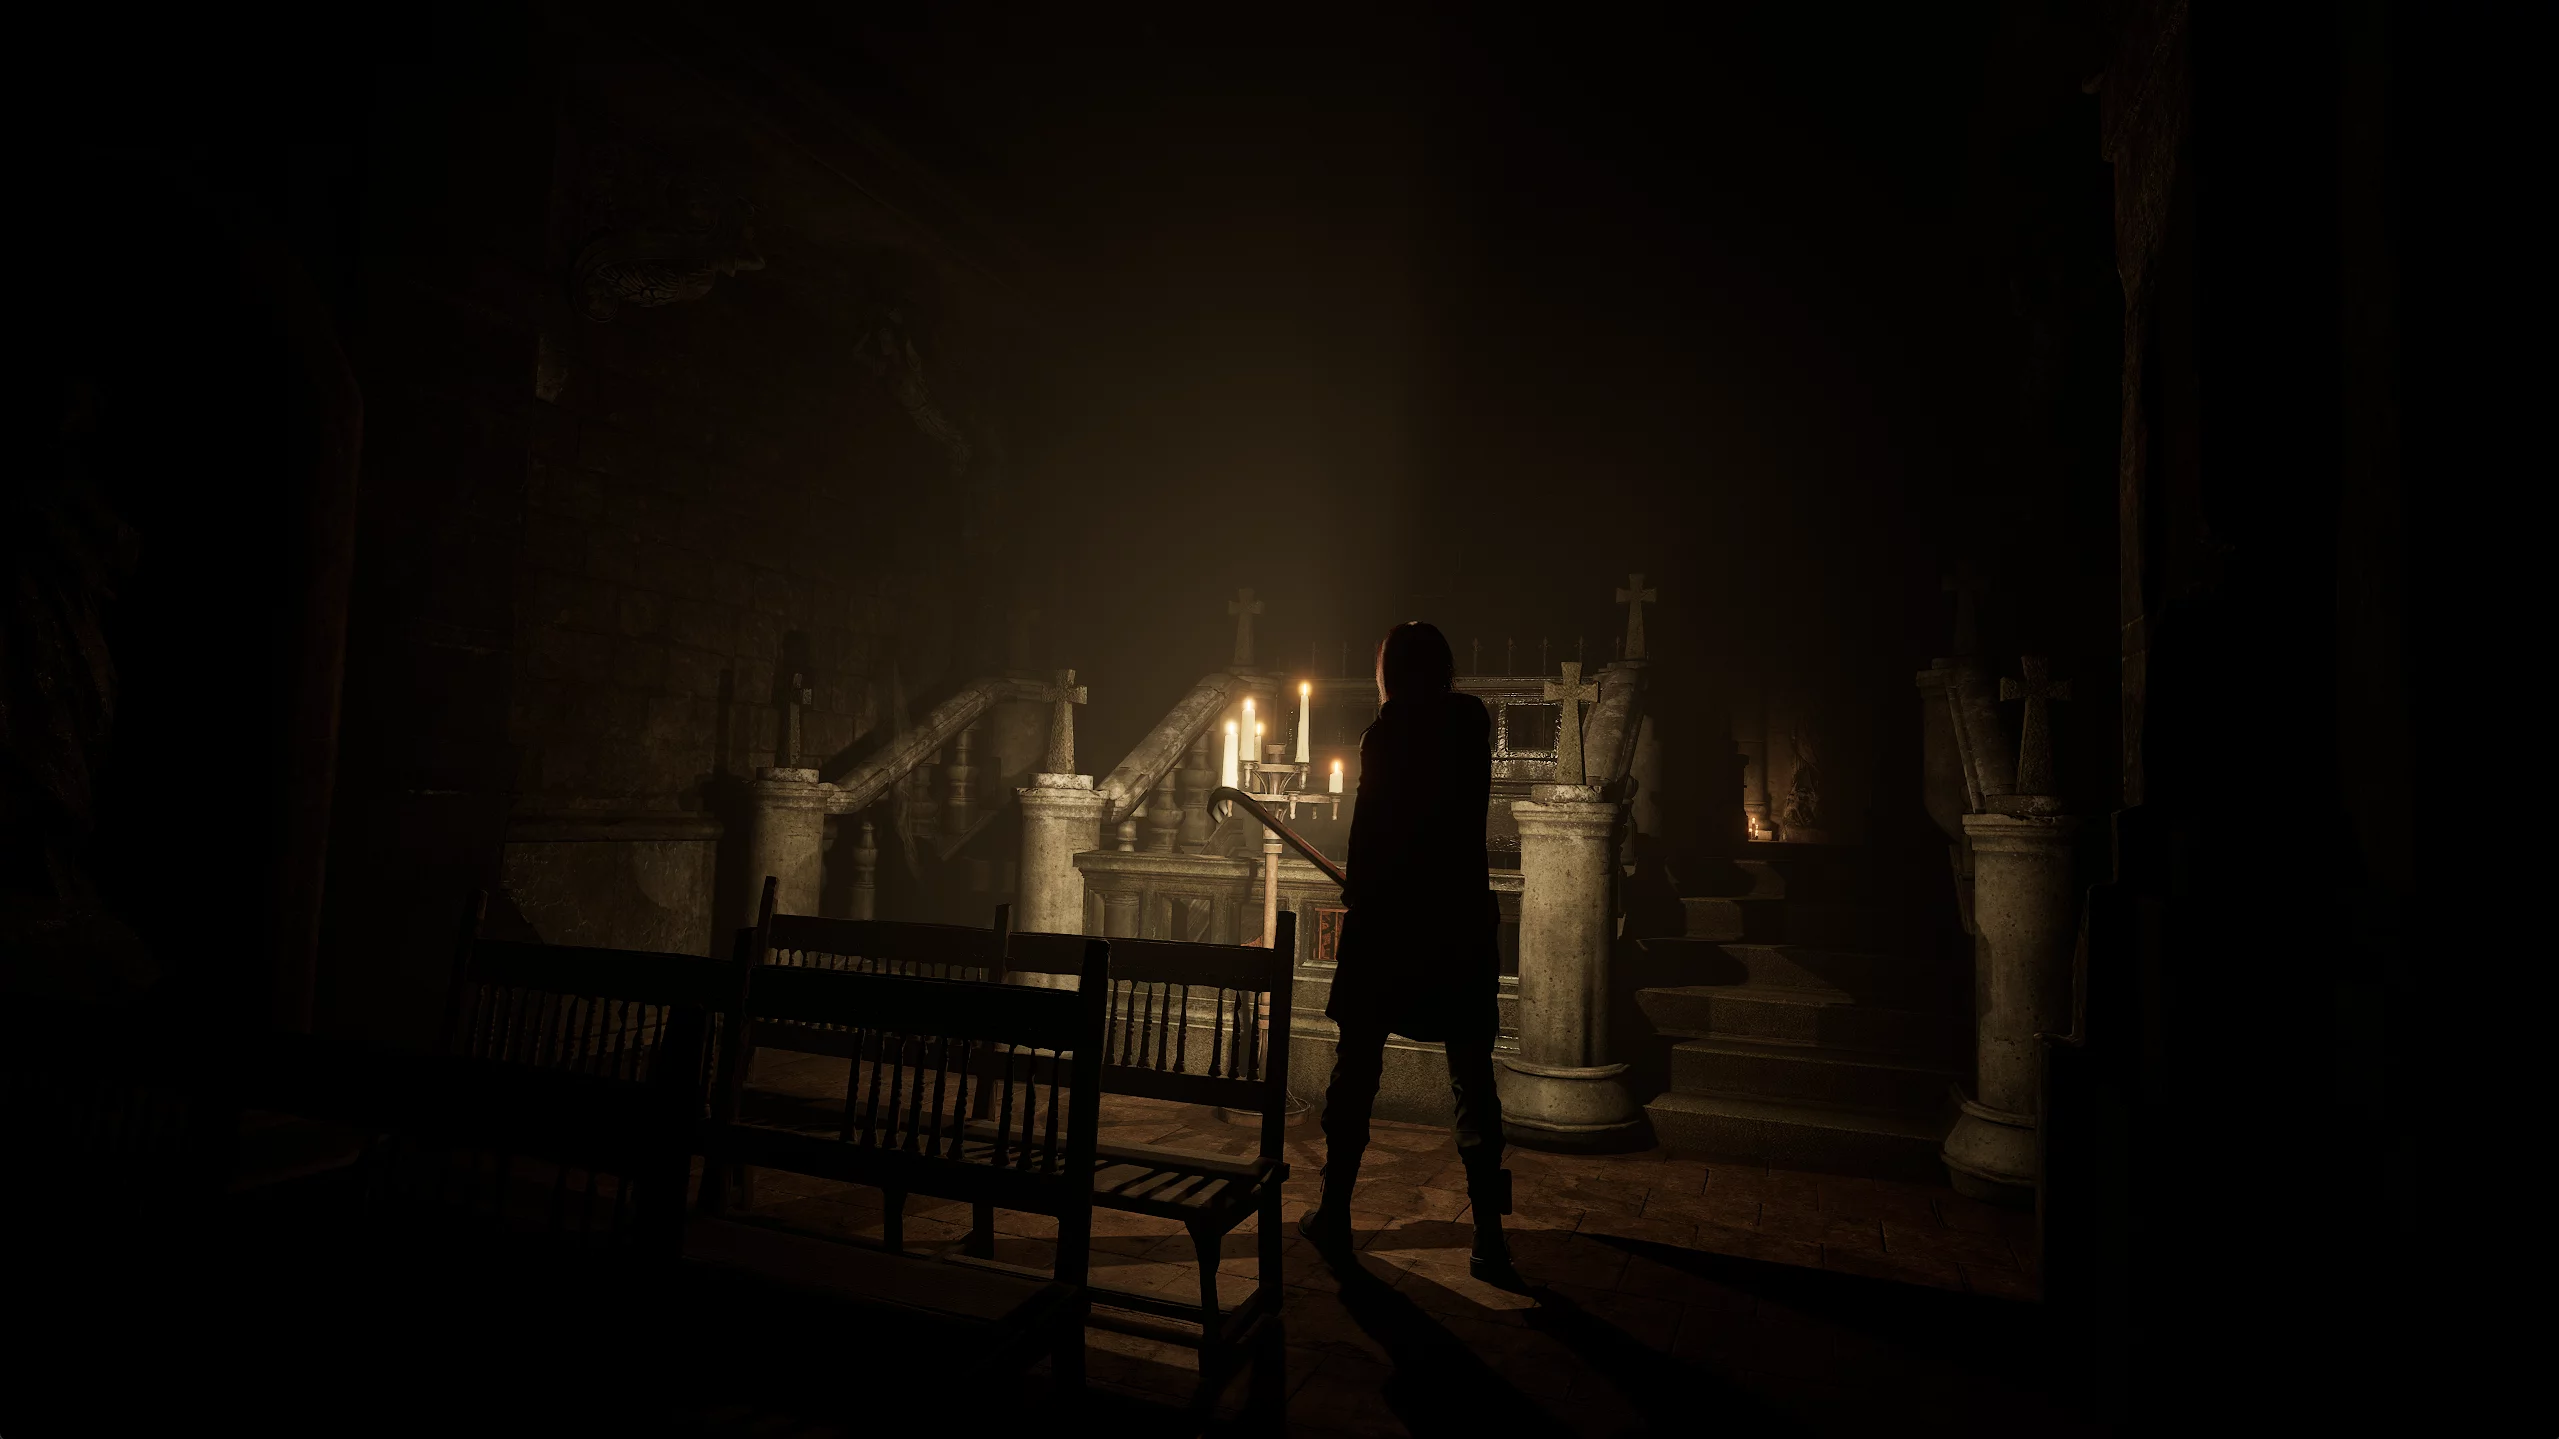
After the opening cutscene, you gain control of Caroline Walker (Wildberger). Exit the bedroom and follow the nun down the corridor. In the main hall, you'll meet Mother Lucia and her wards, who have chained Anna — the protagonist's sister. After hearing about your fate in this world, Caroline is knocked out by cultists.
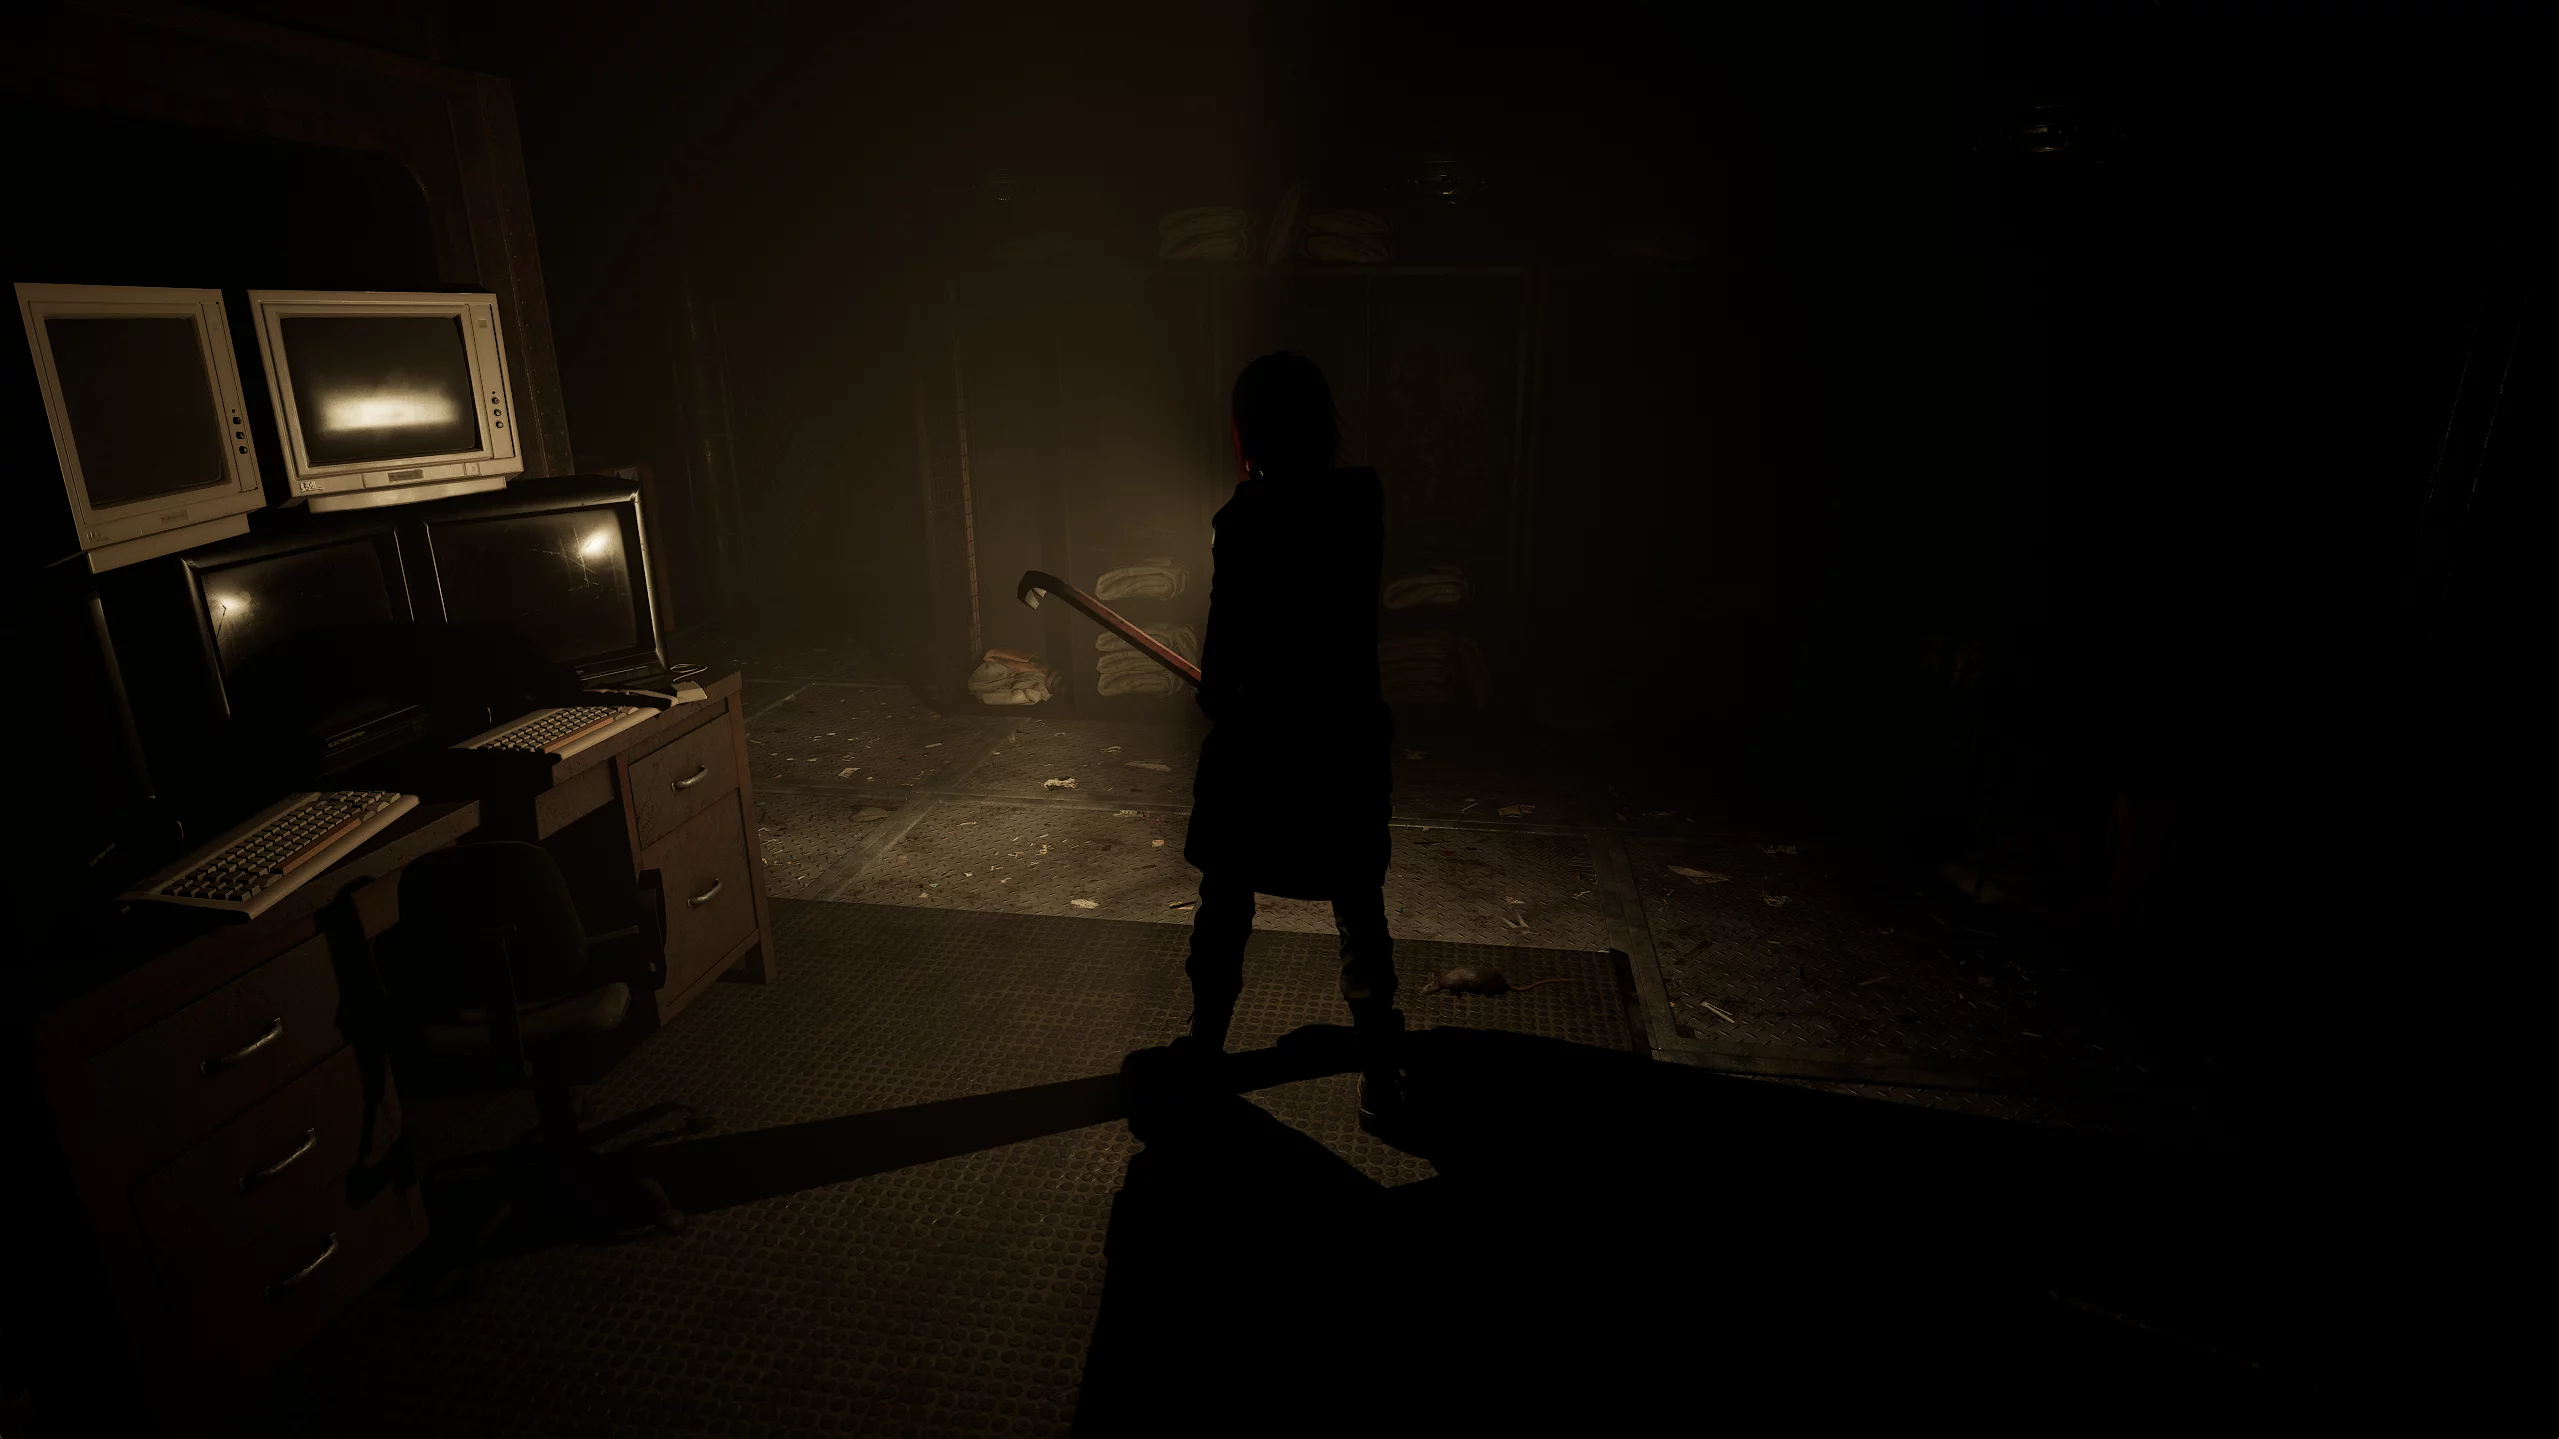
Medical Room
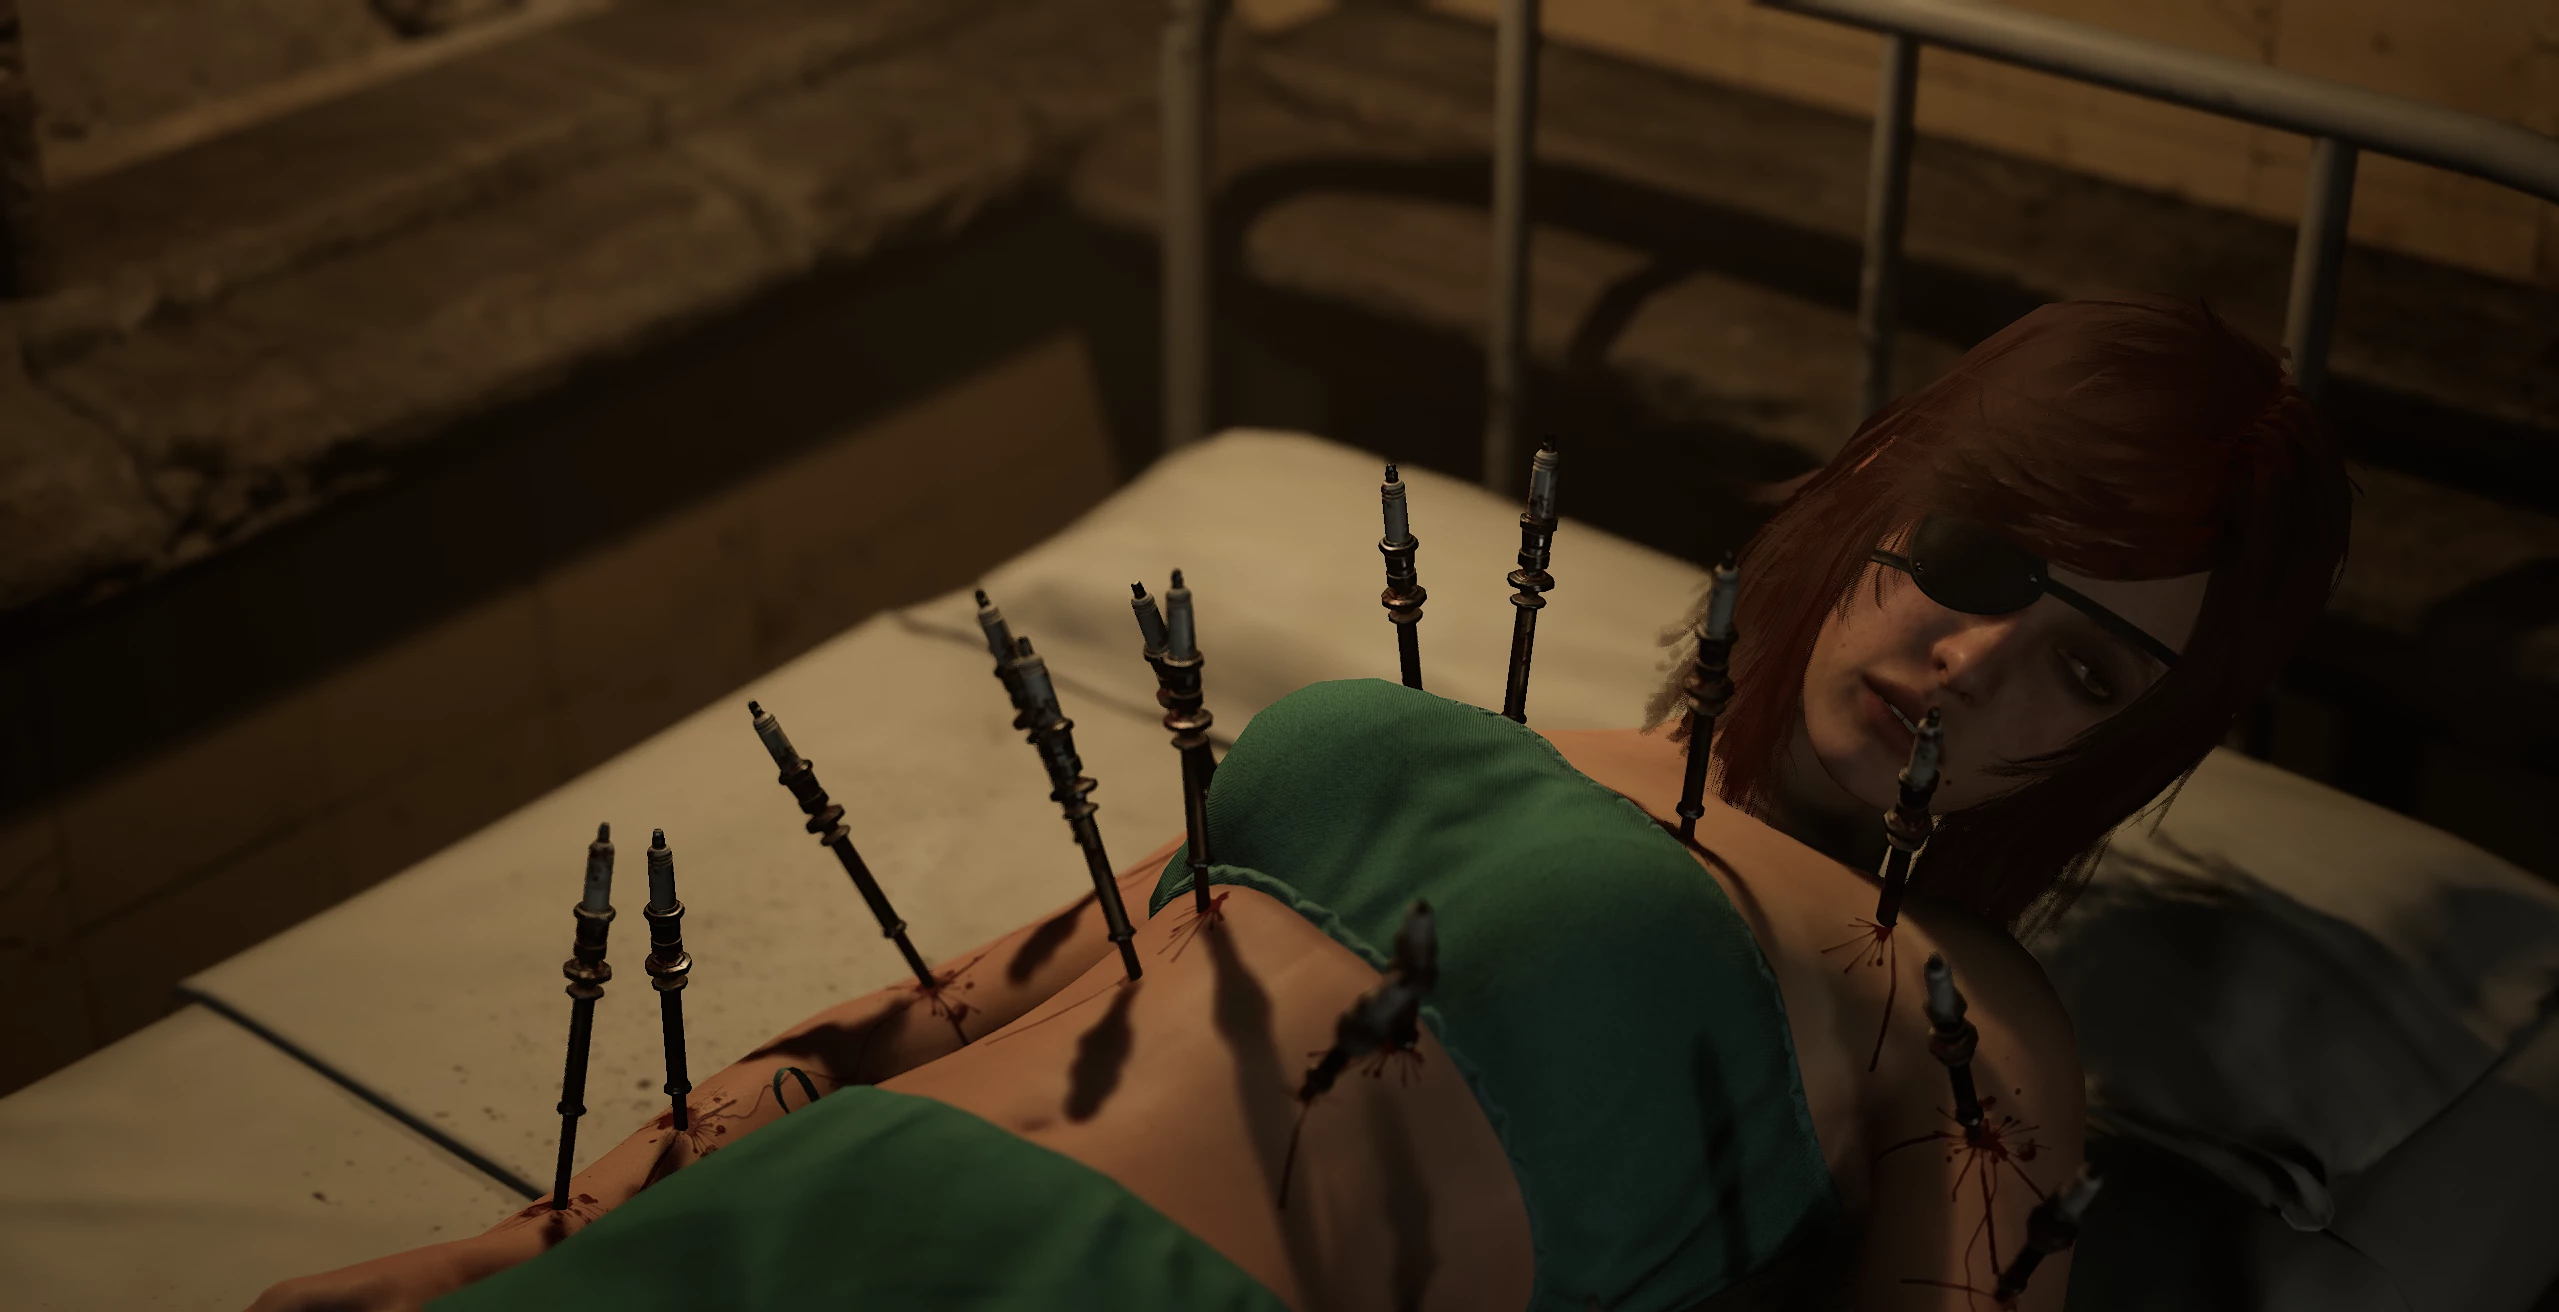
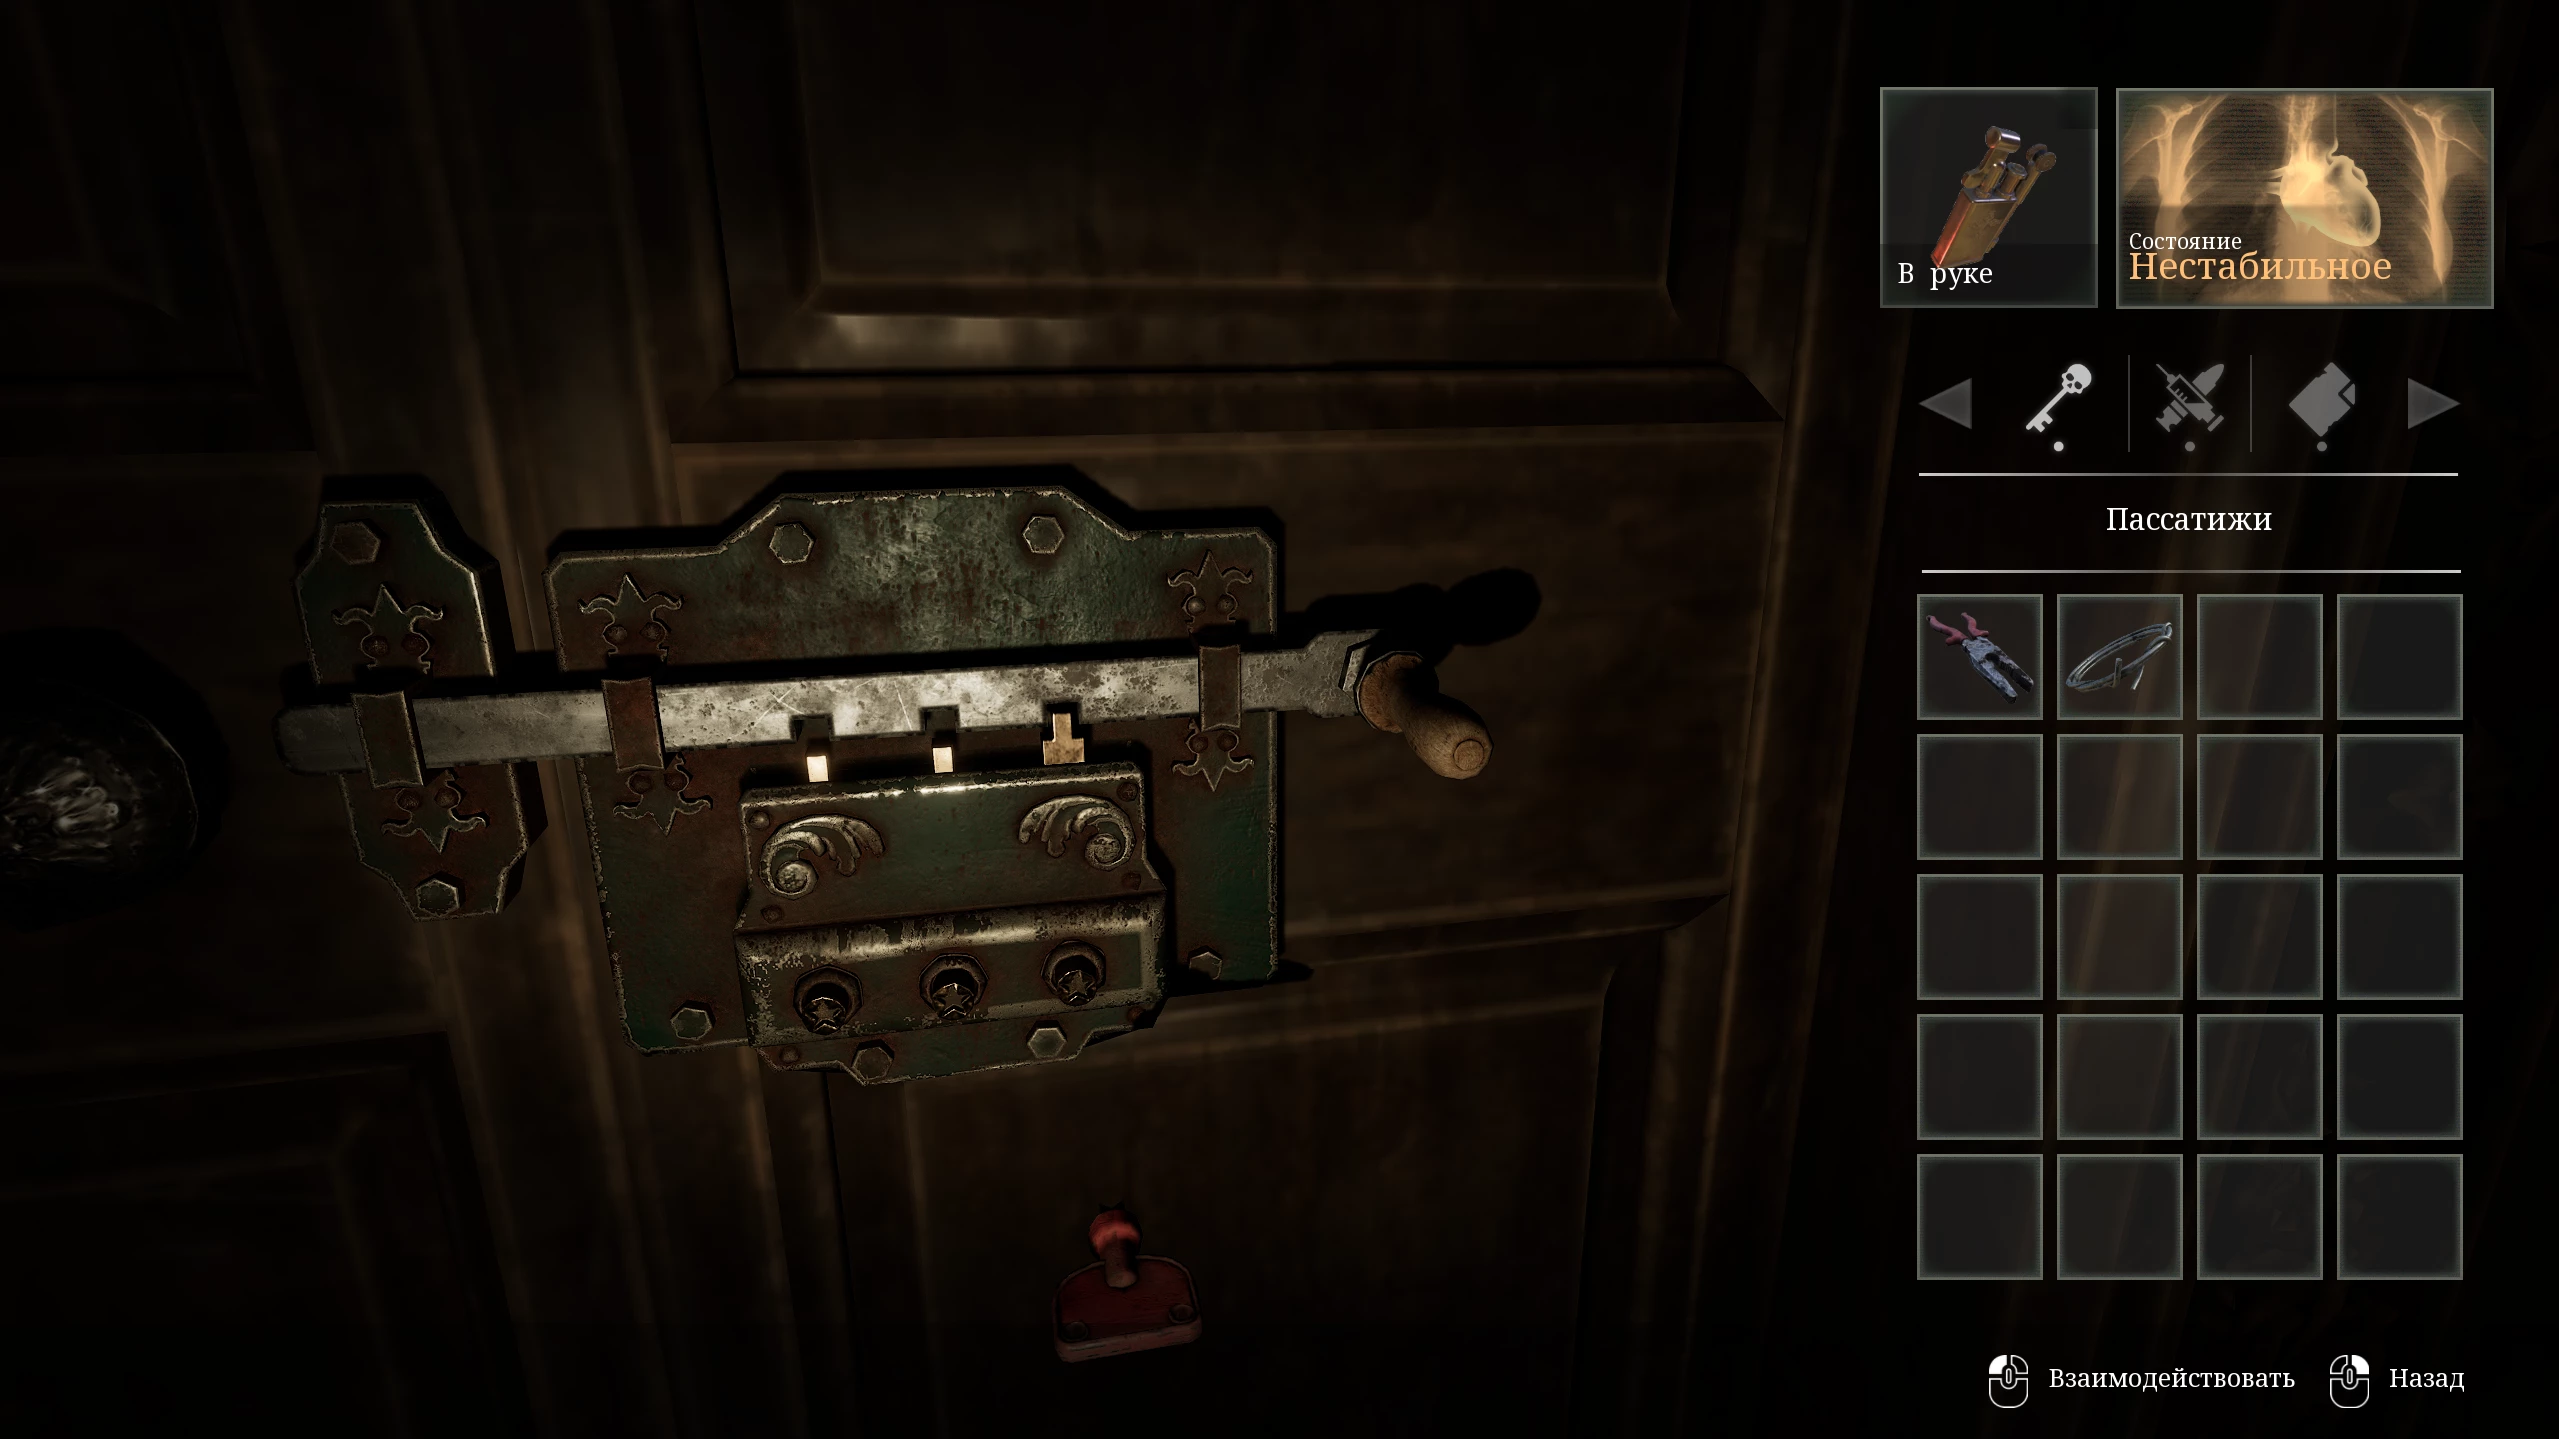
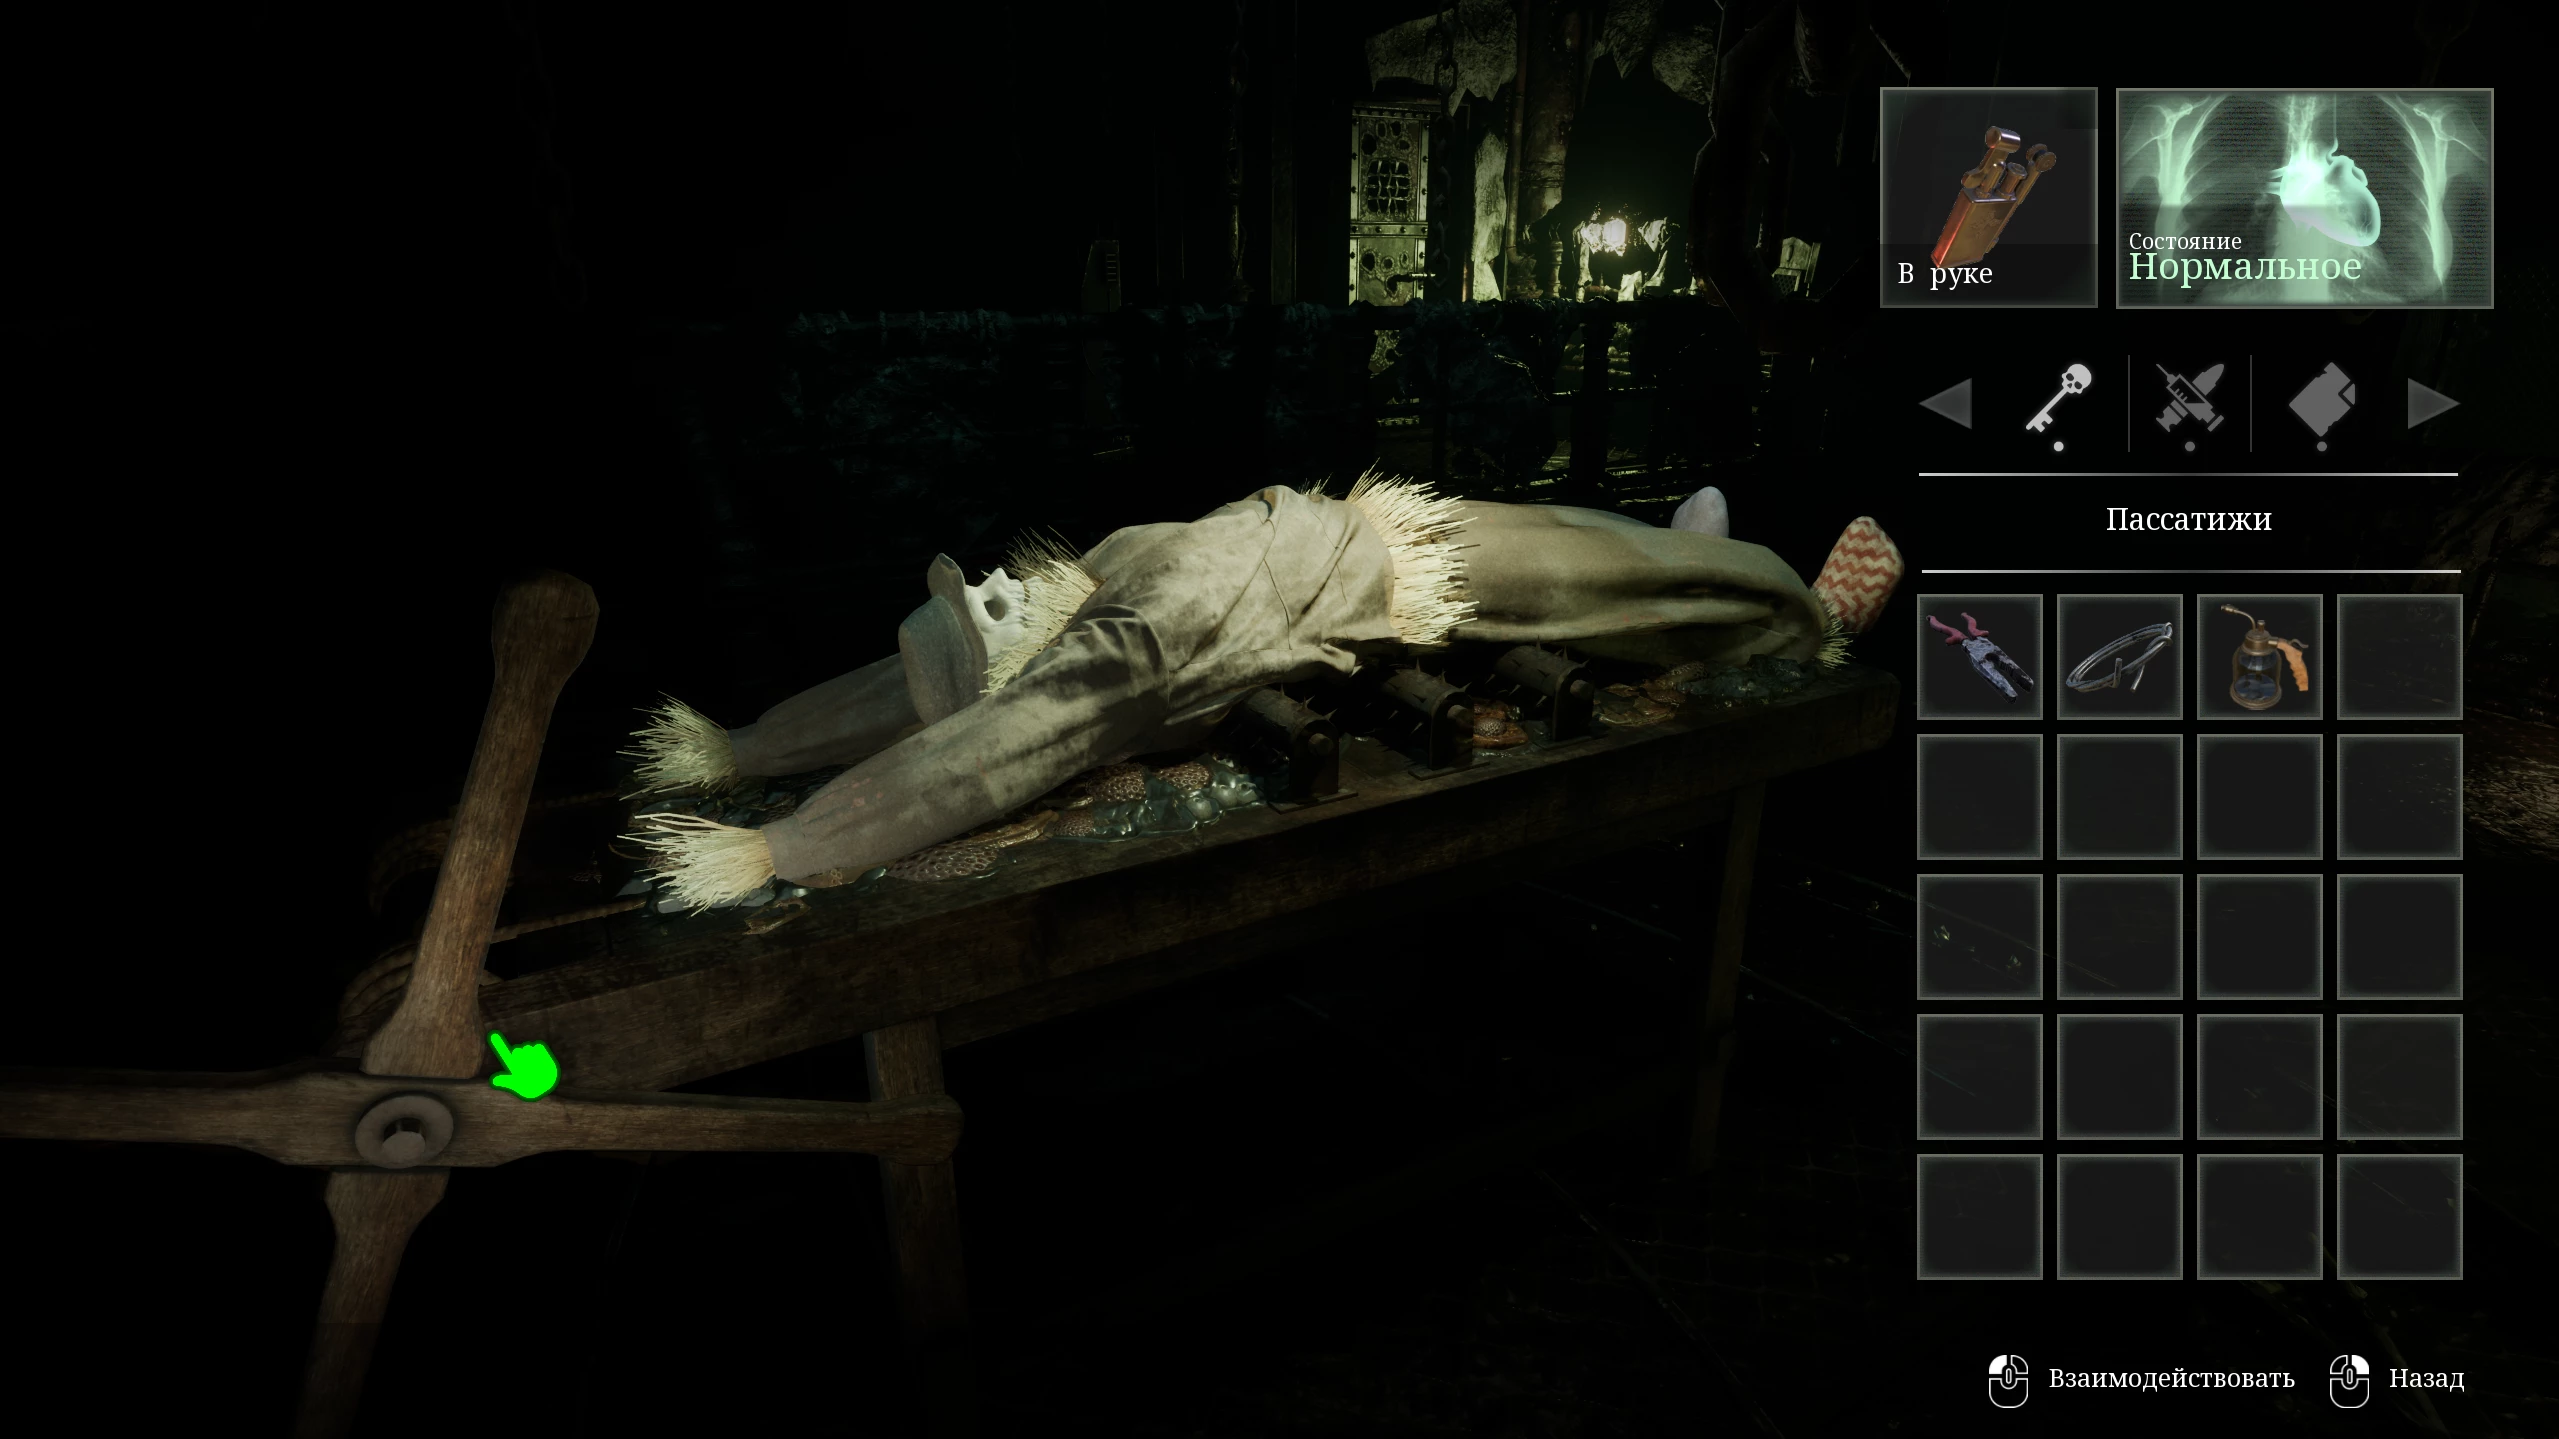
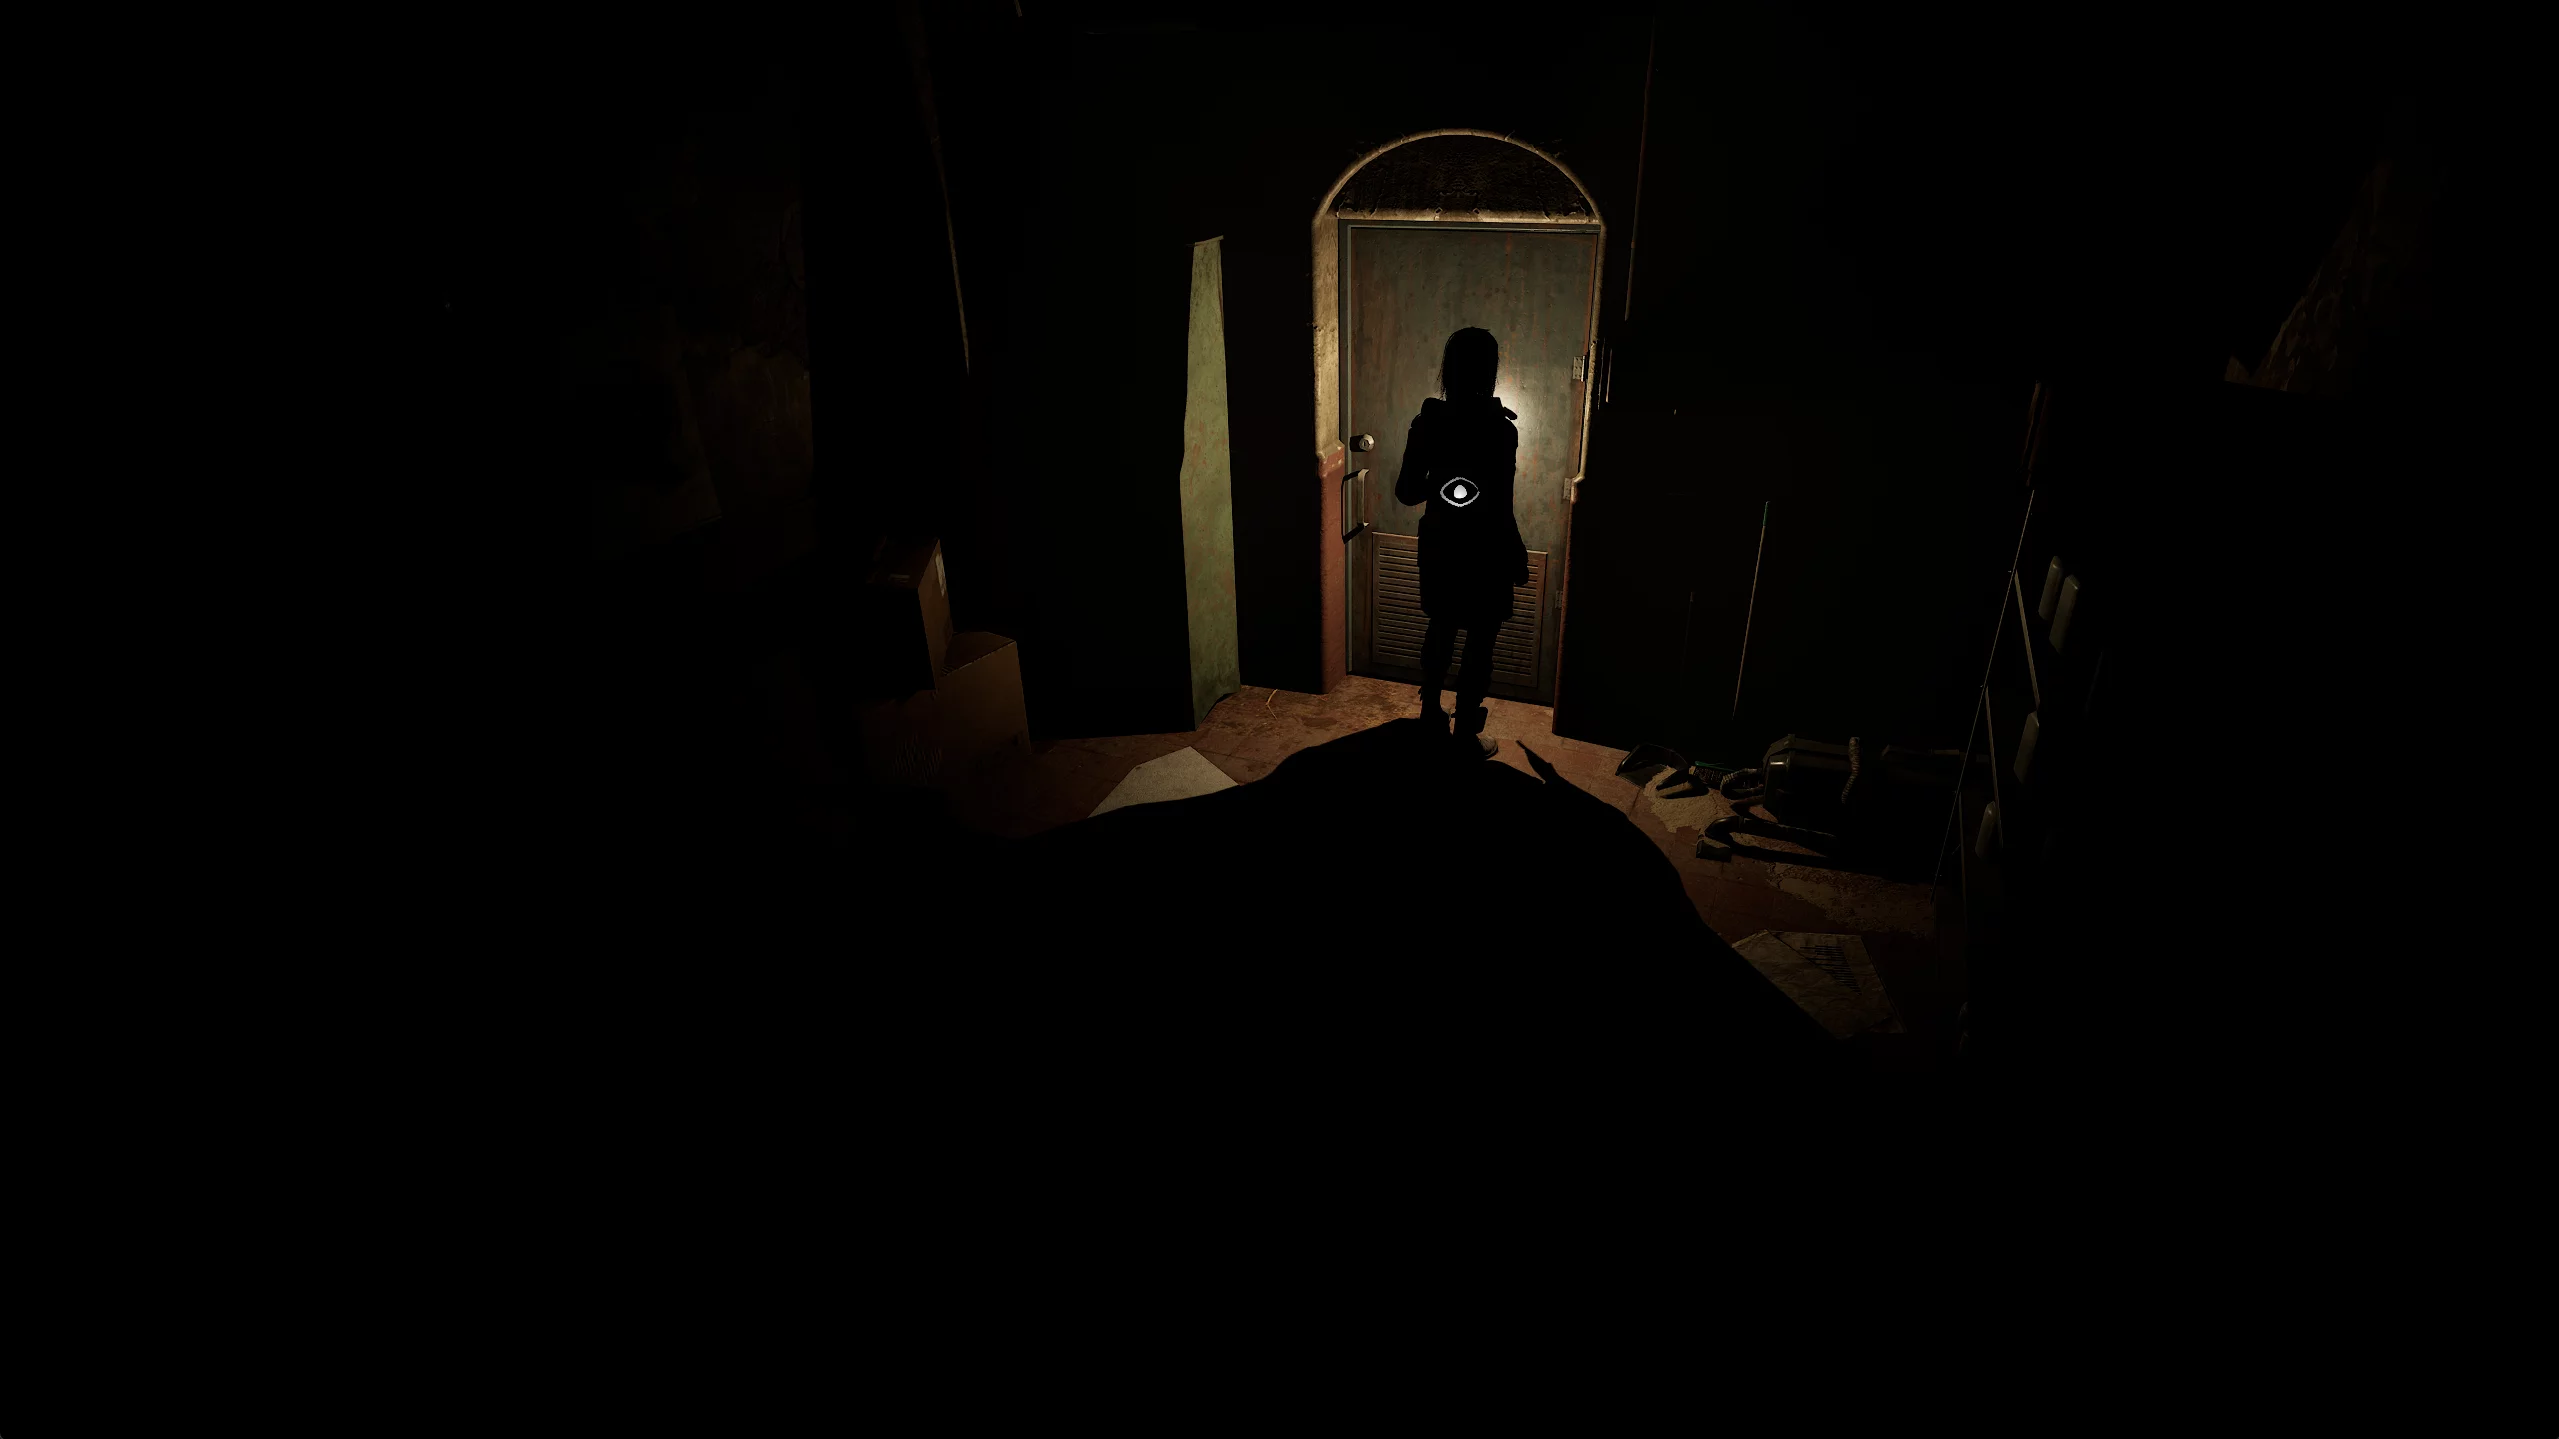
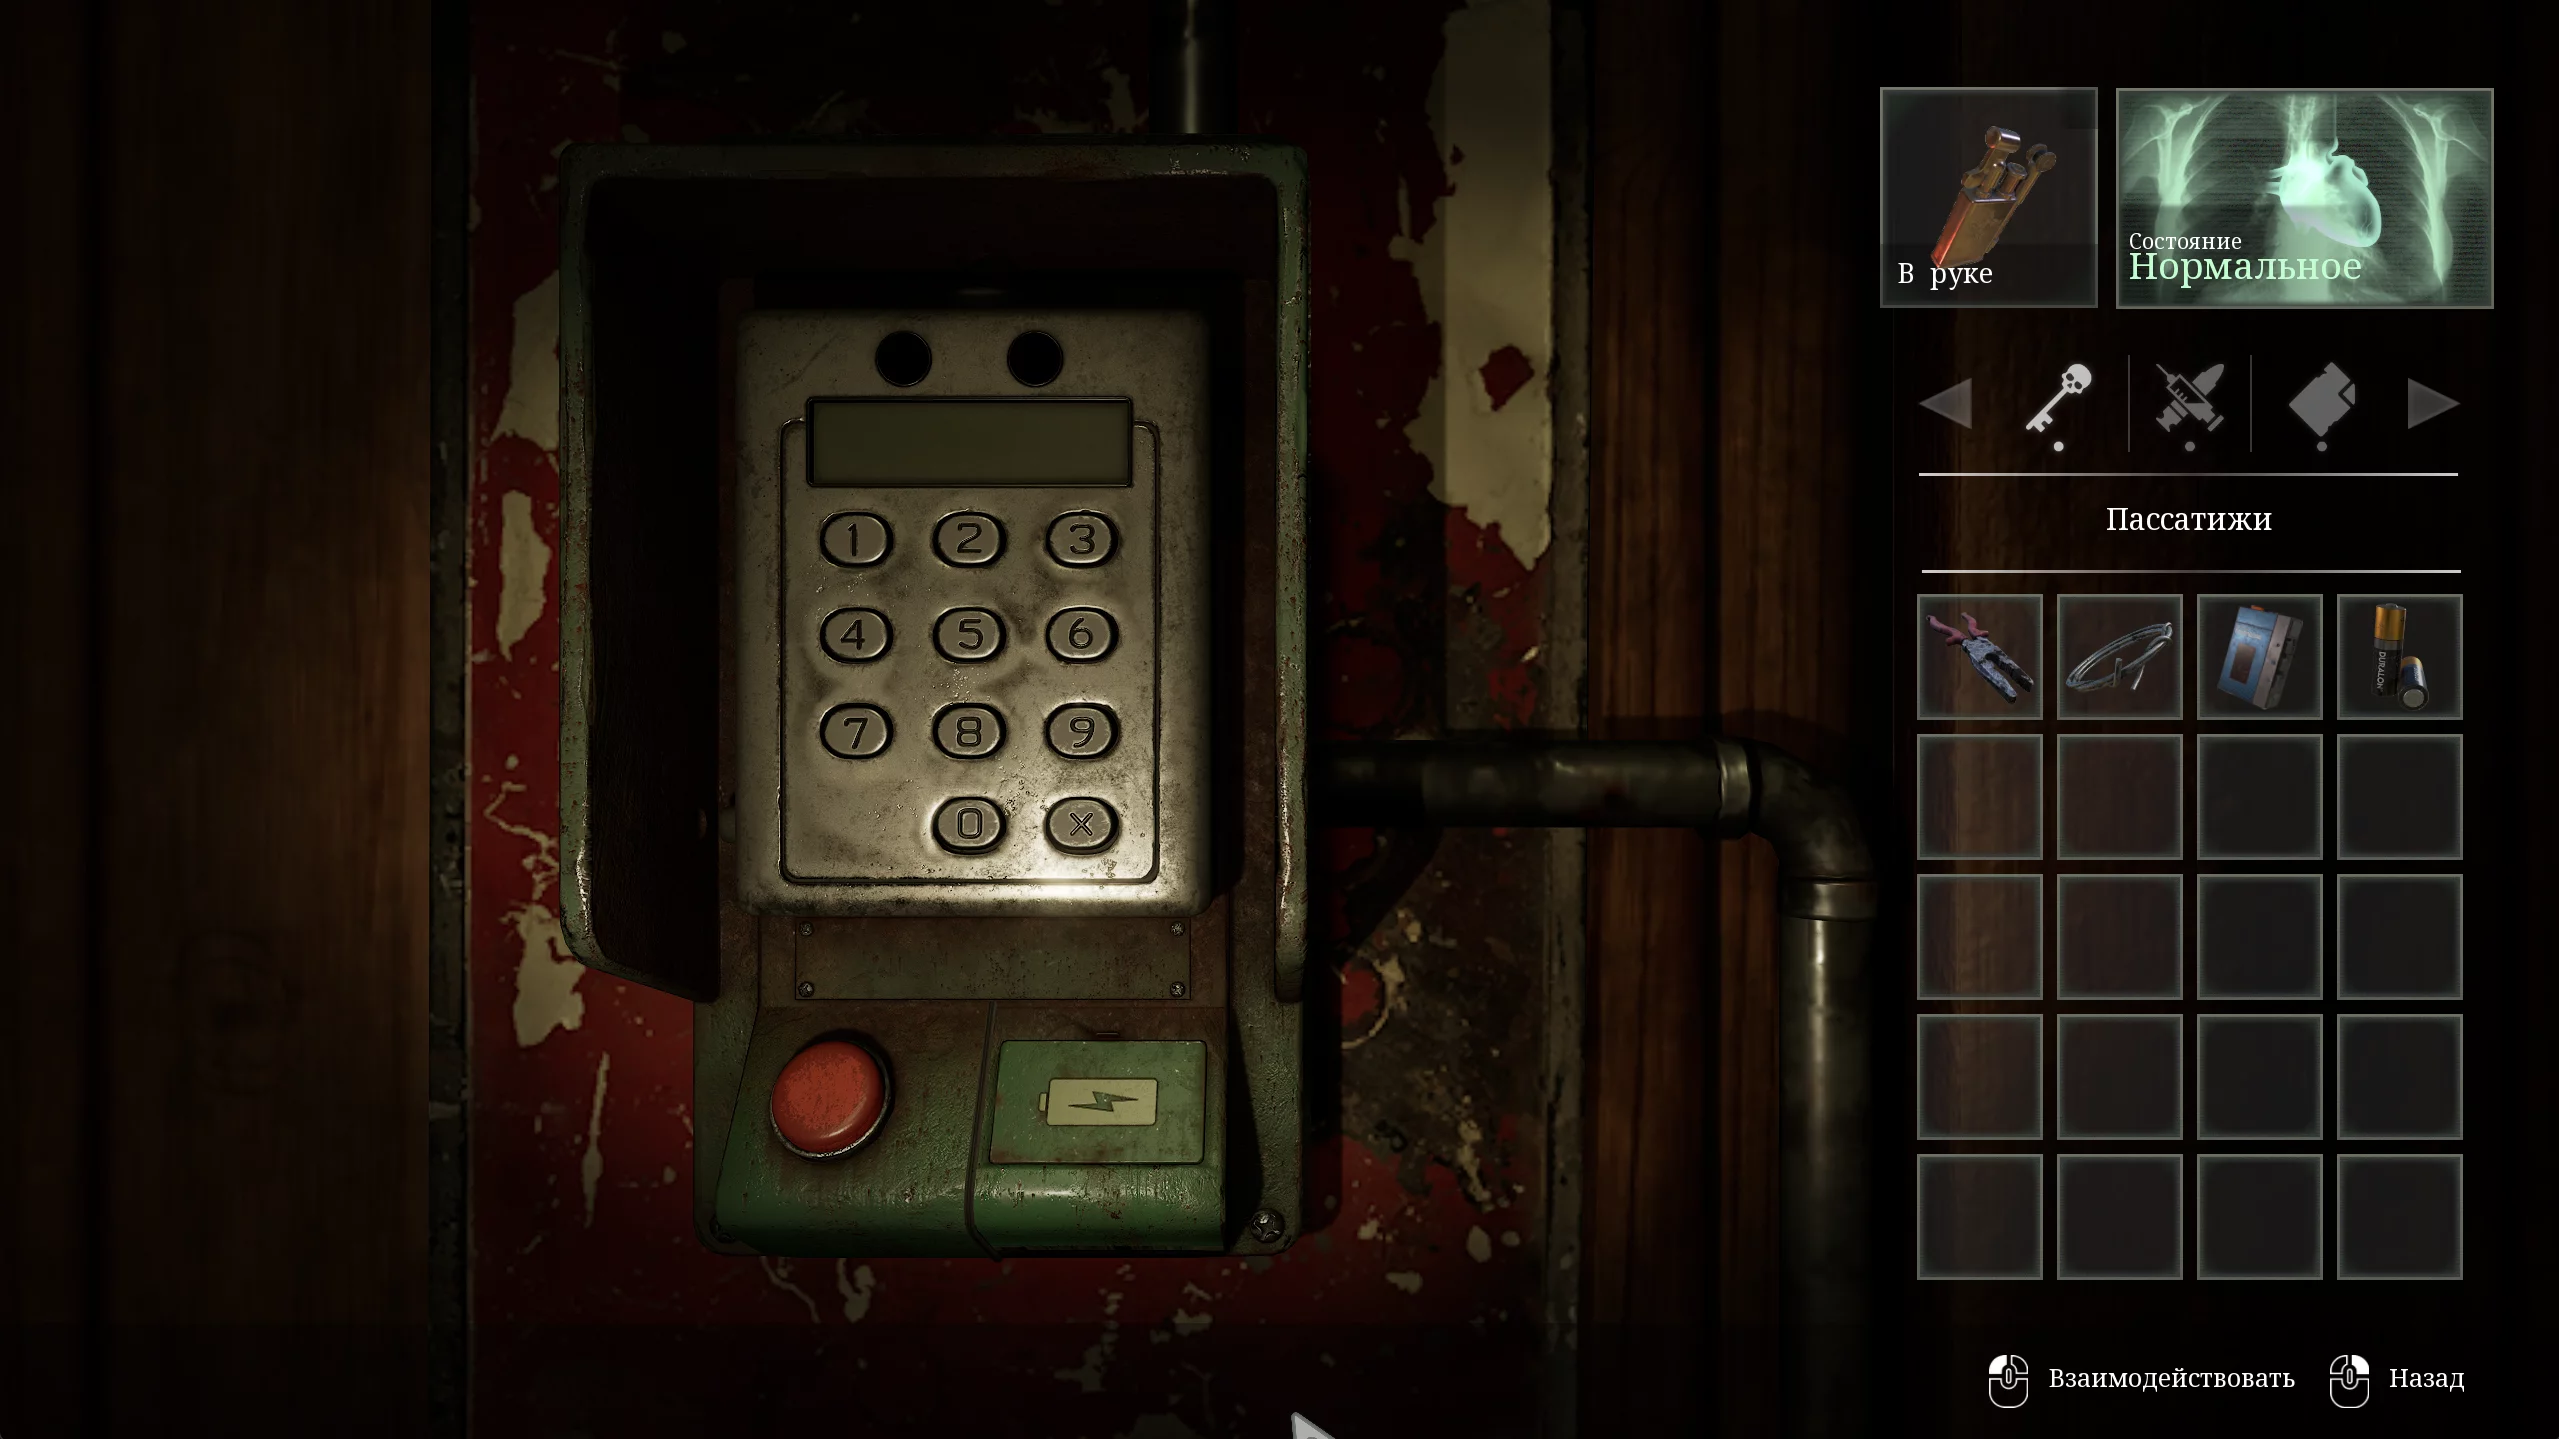
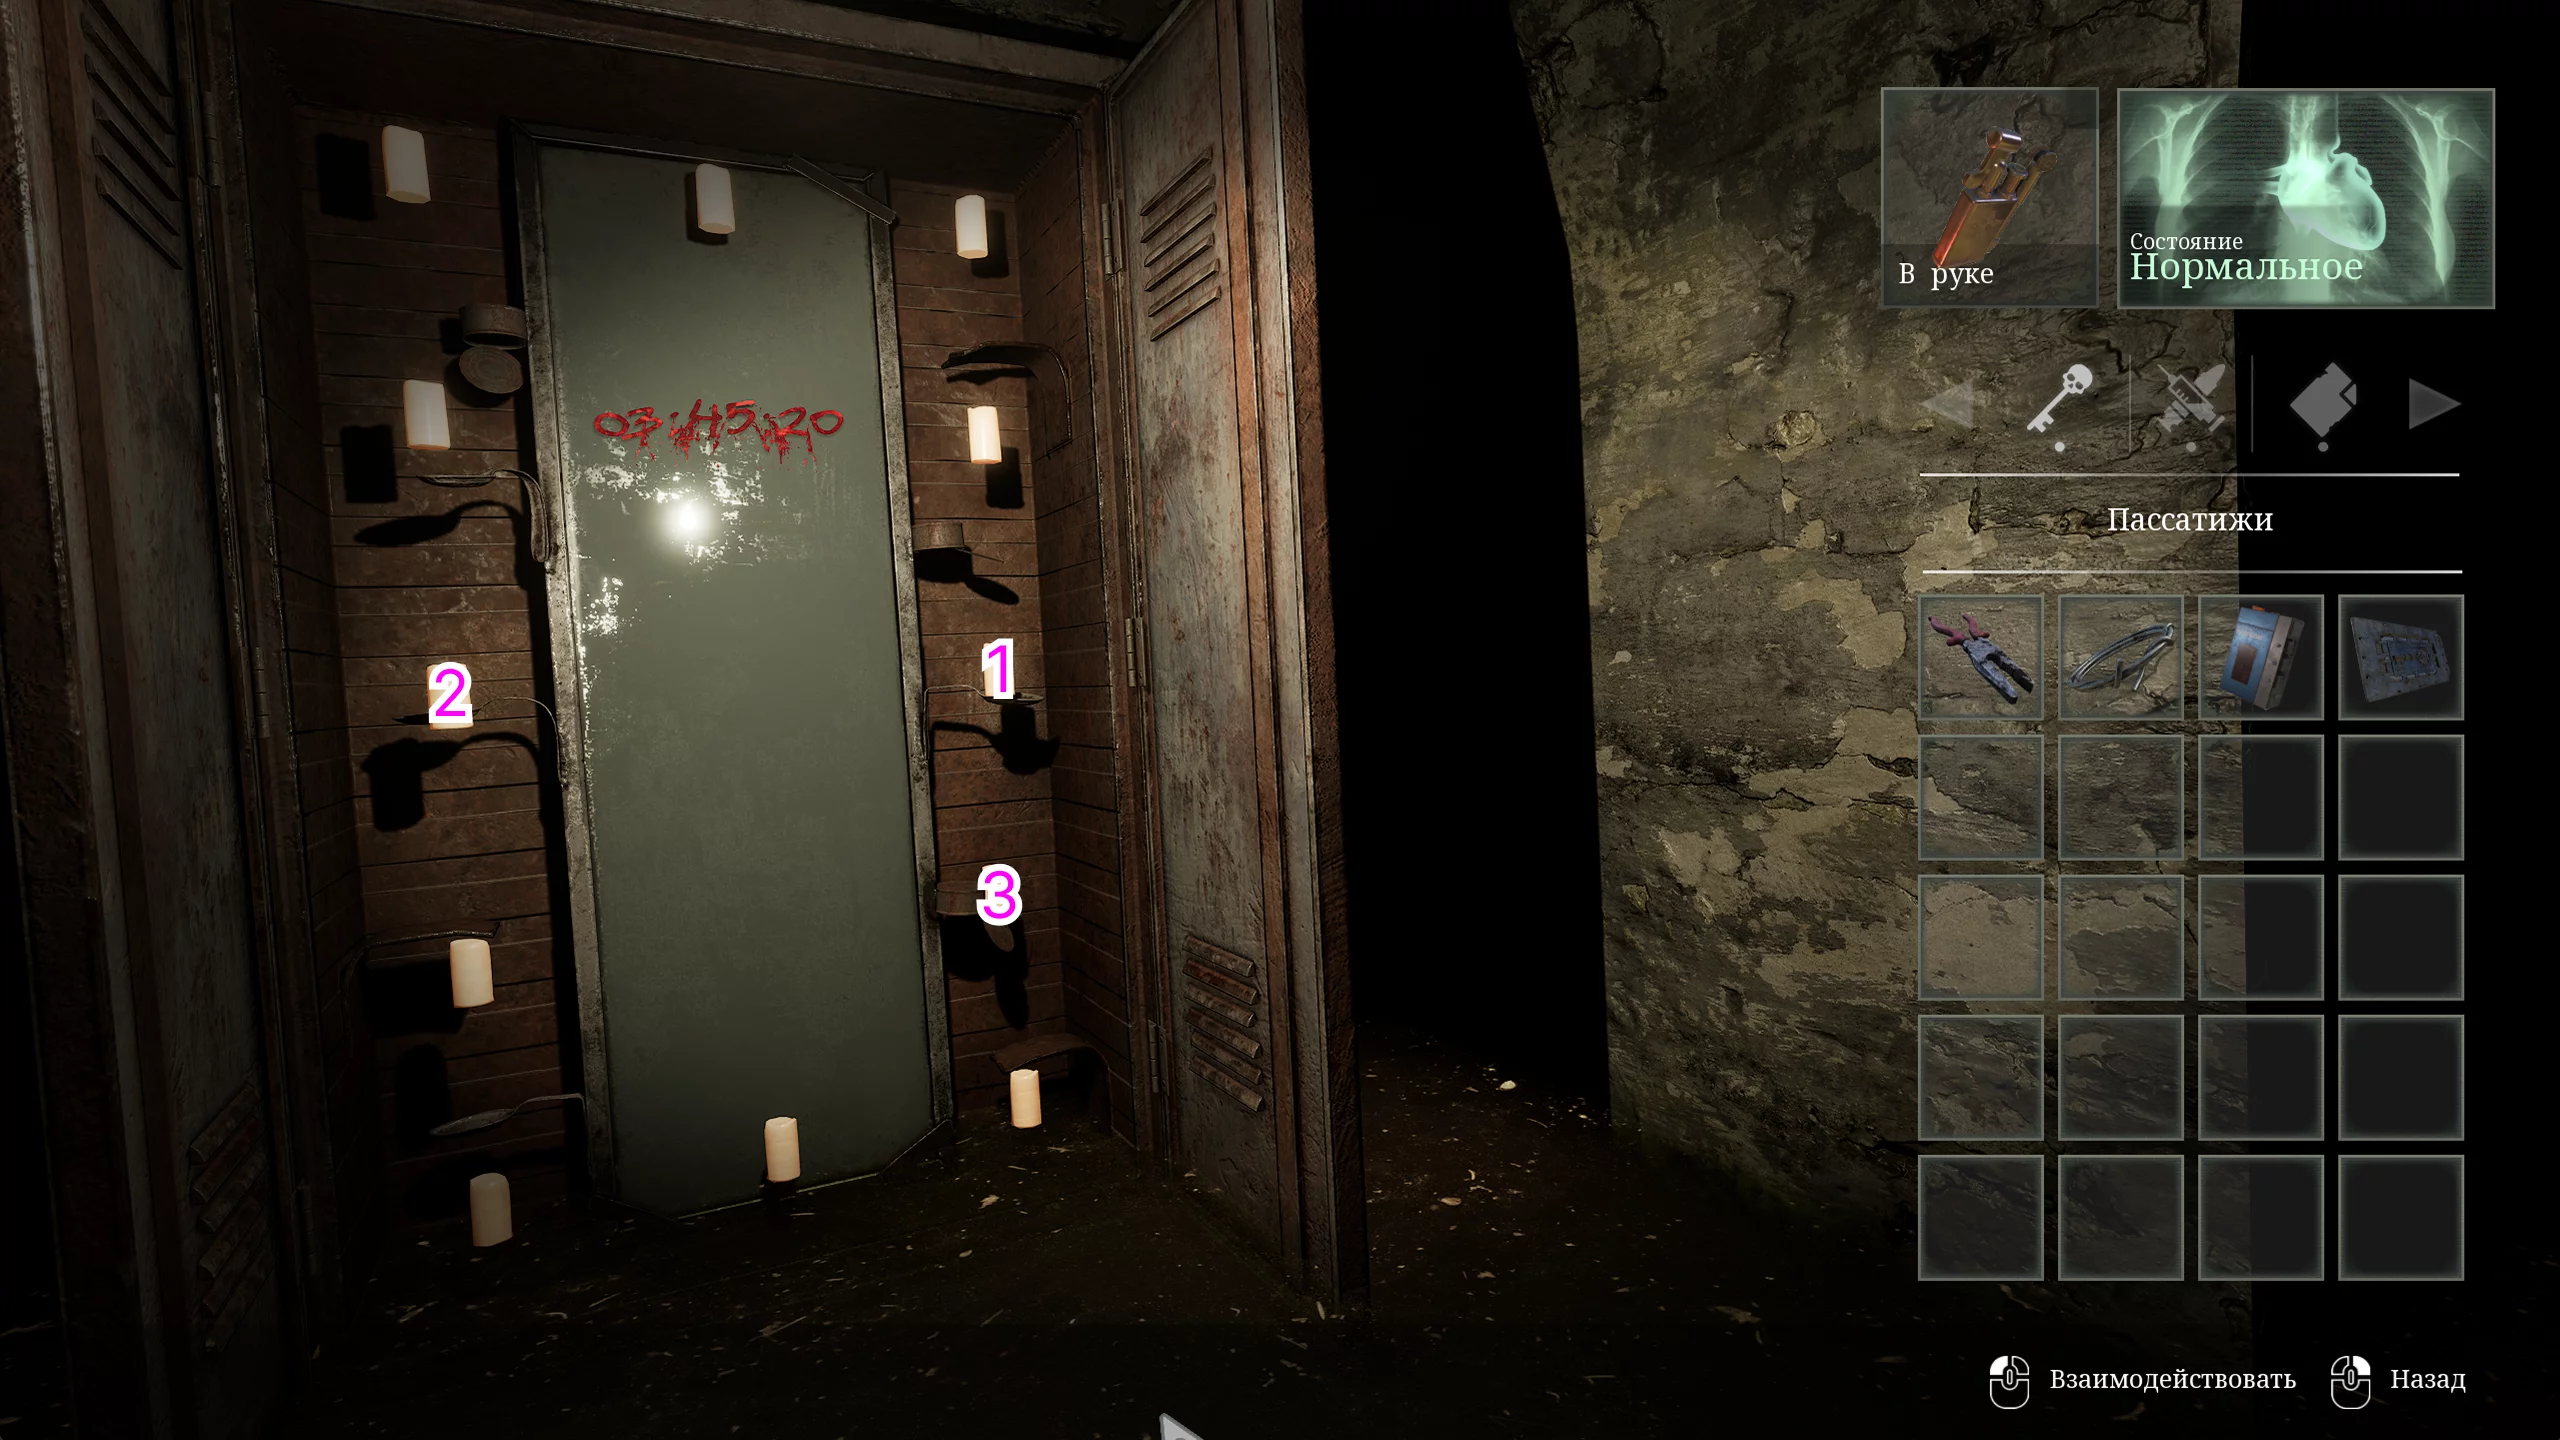
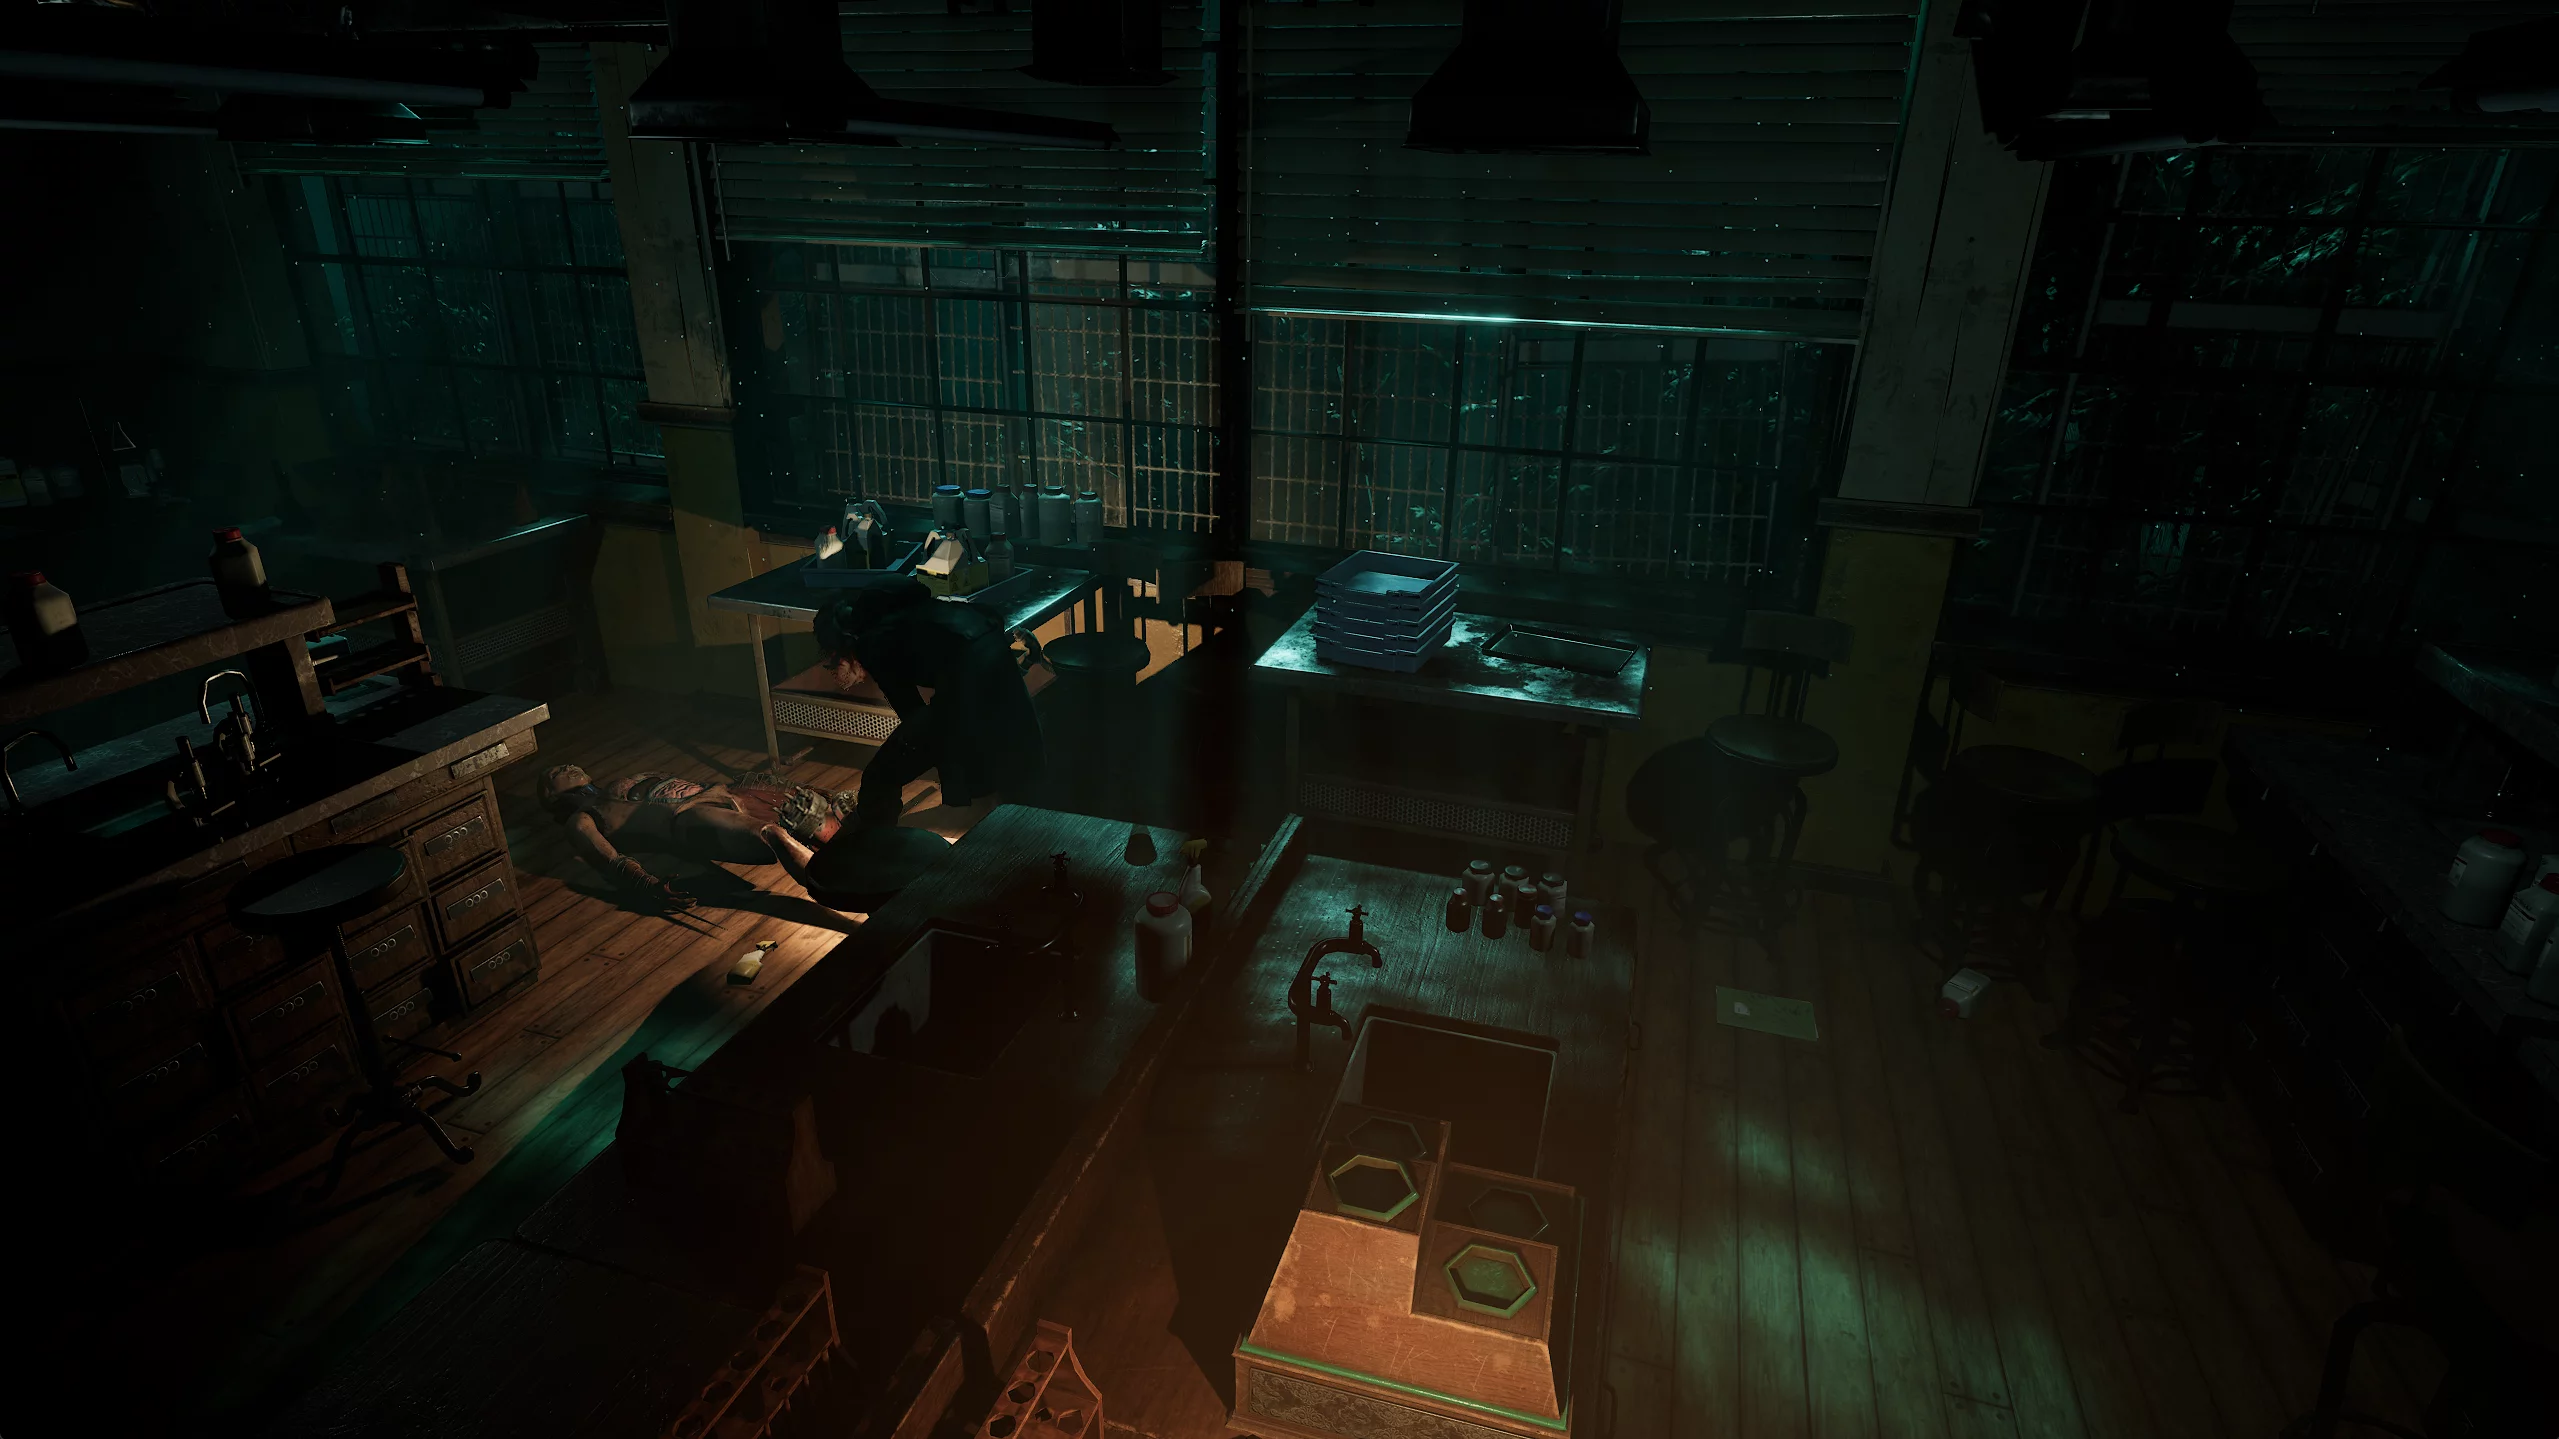
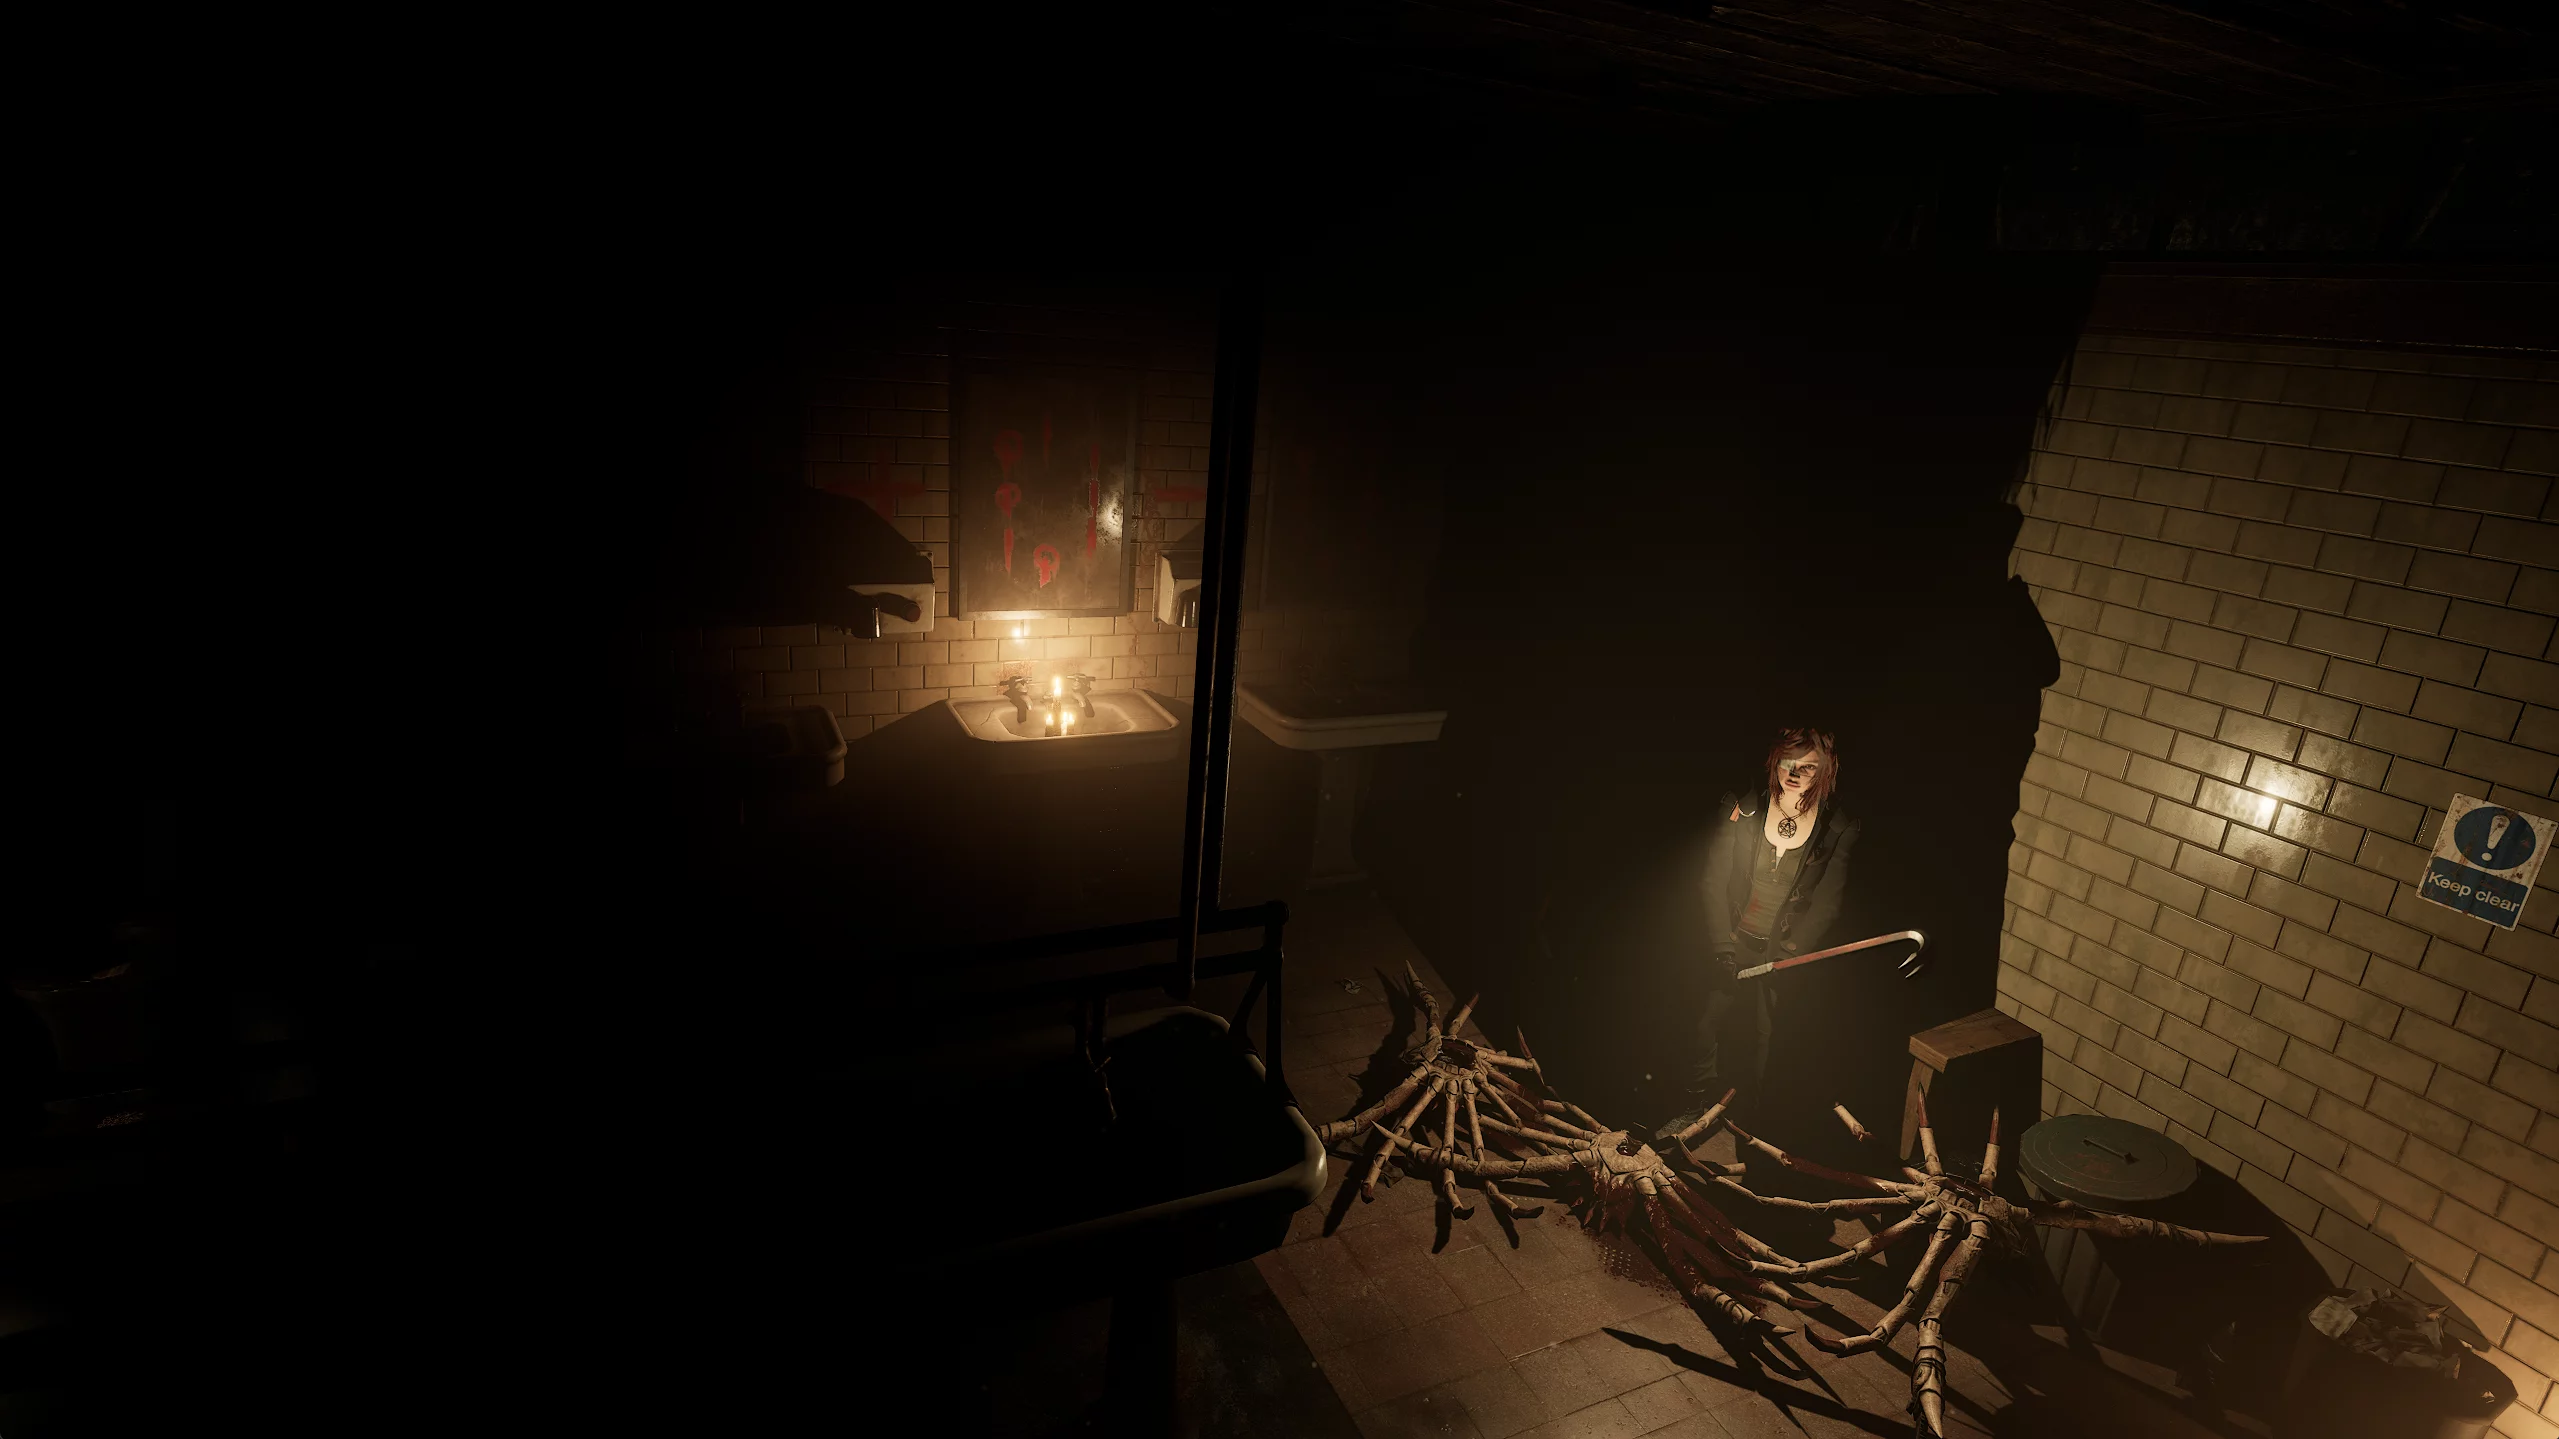
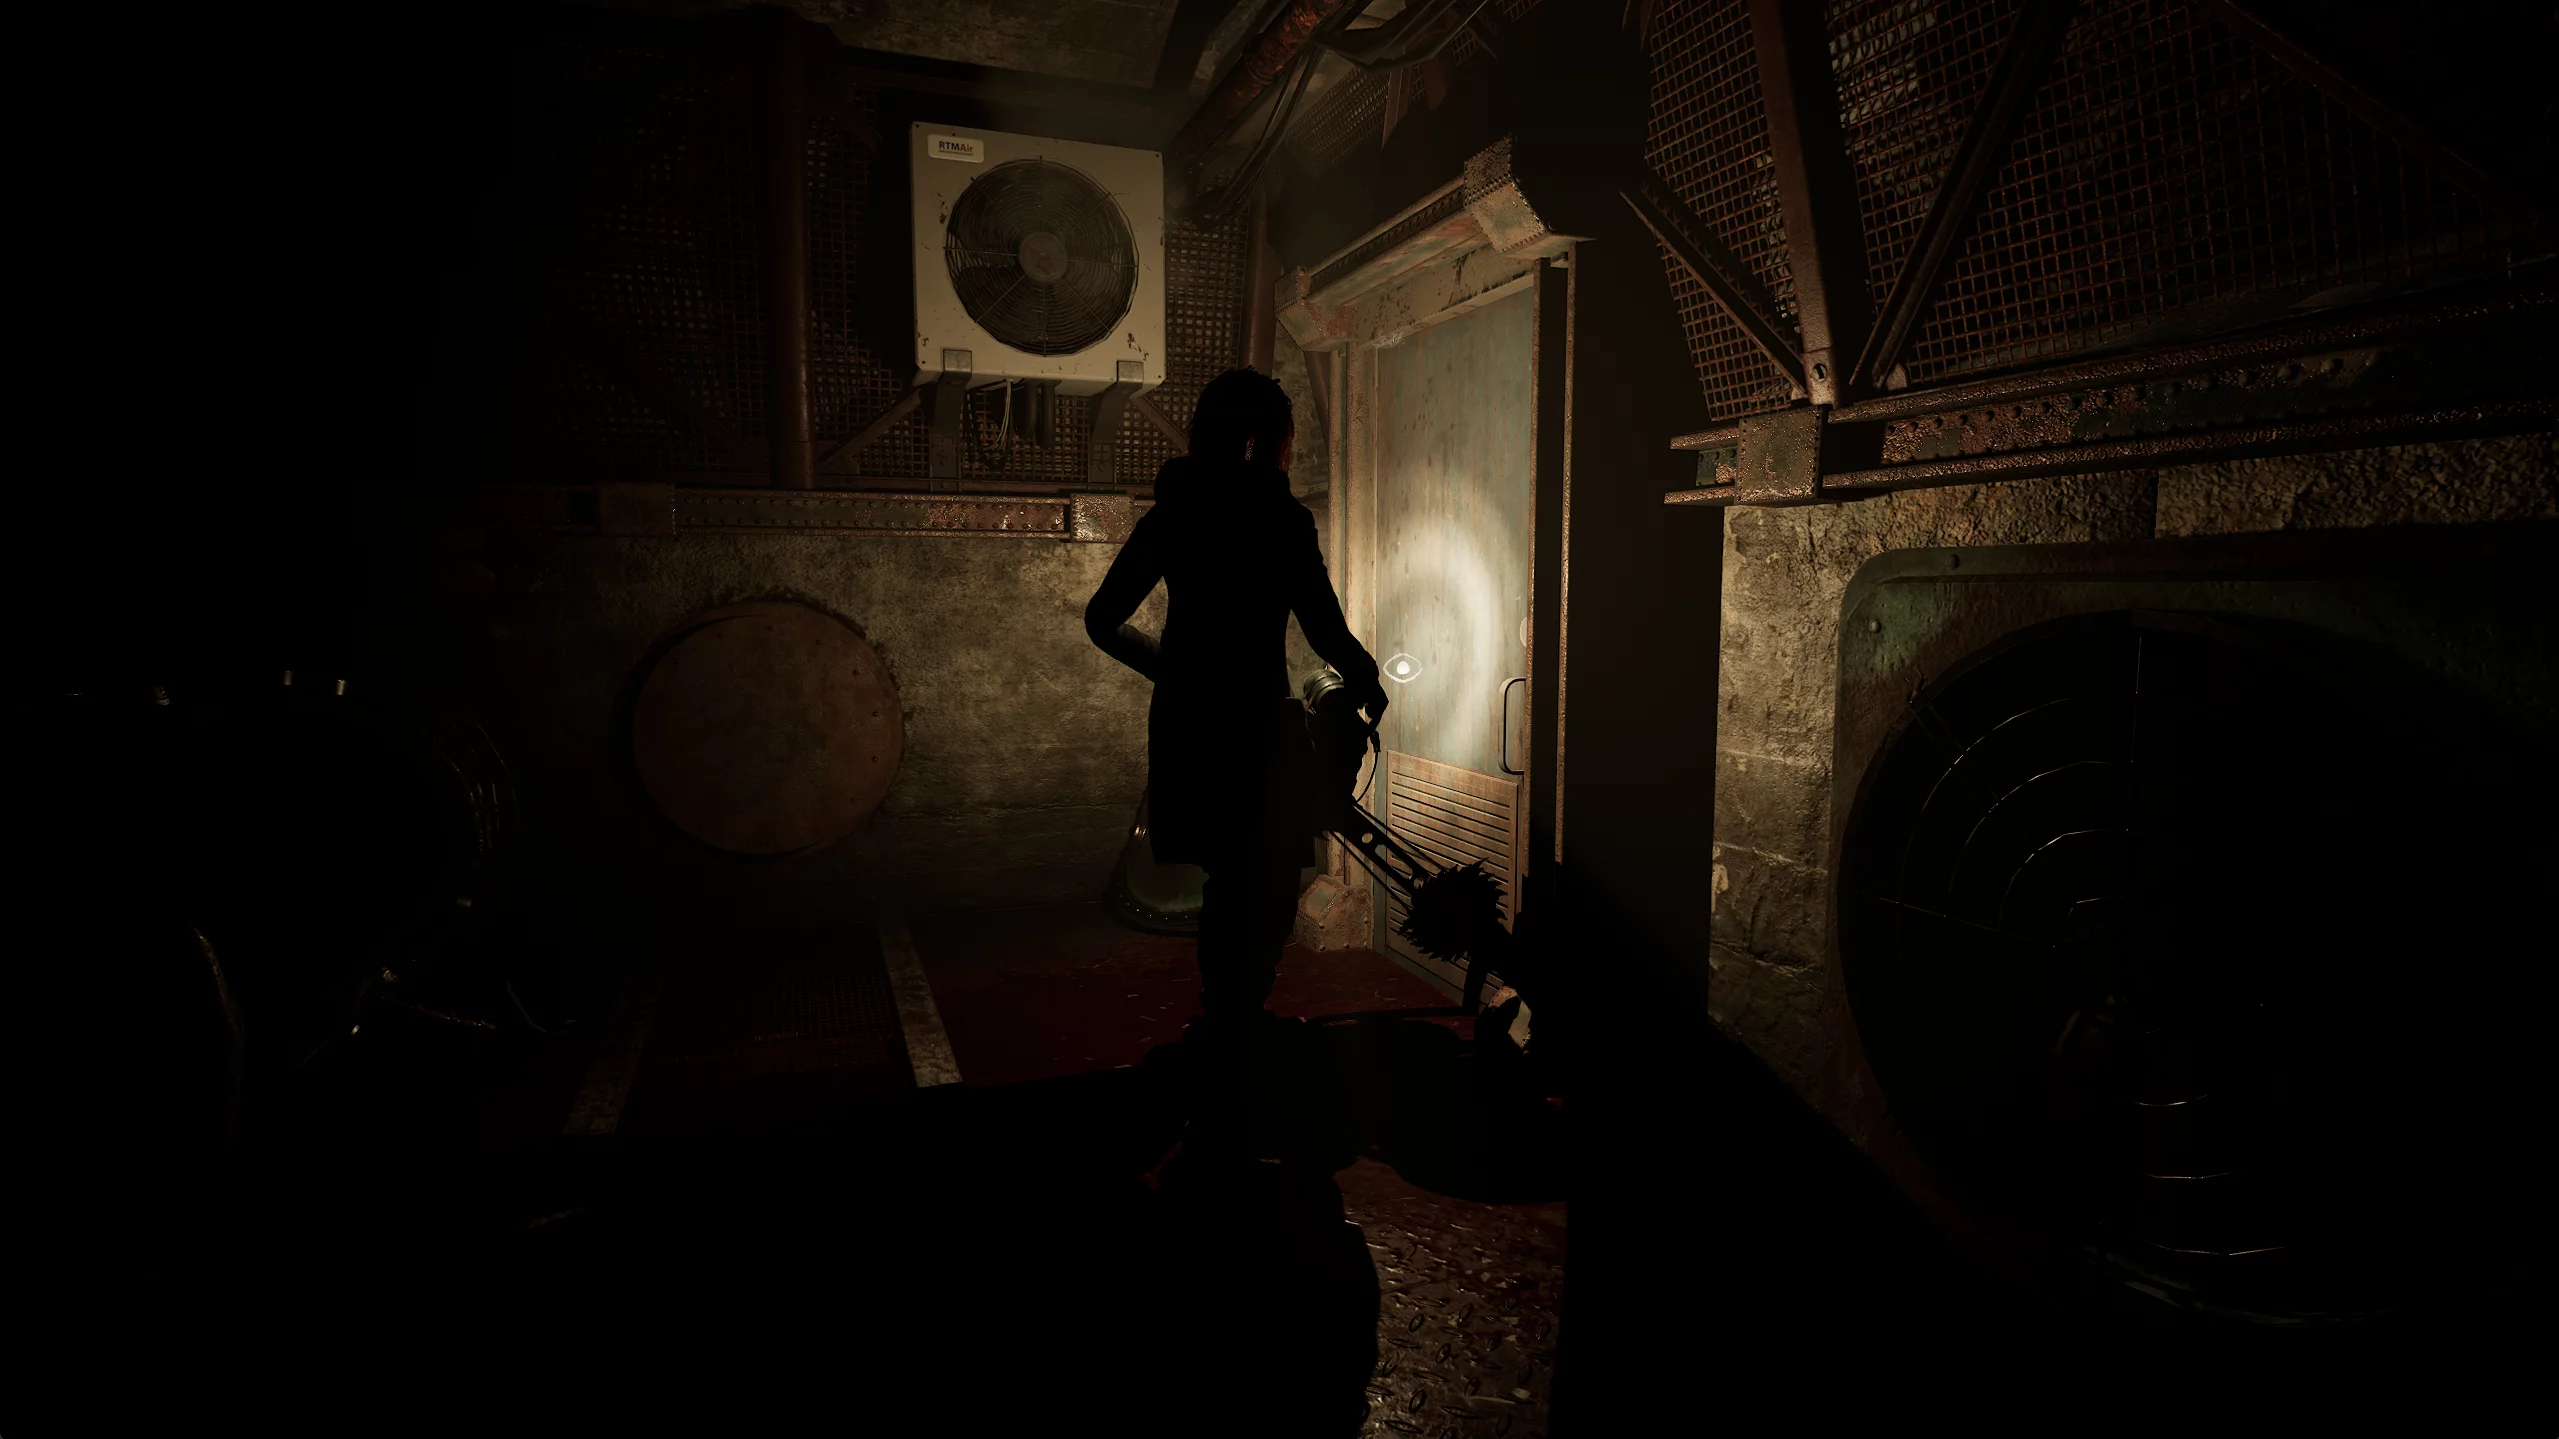
Caroline is pinned down by some spikes on a hospital bed. Through the pain, pull them out and you'll be able to wander around the facility. The way out is blocked by a metal door with a padlock.
To open it, you need the Holy Bible on the nightstand next to the other bed. The cover with the Savior is missing one more nail.
The missing element can be replaced with a push pin that's pinned to the document board in the next room.
Combine the pin with the Bible and get the key to the door.
Where to Find the Lighter
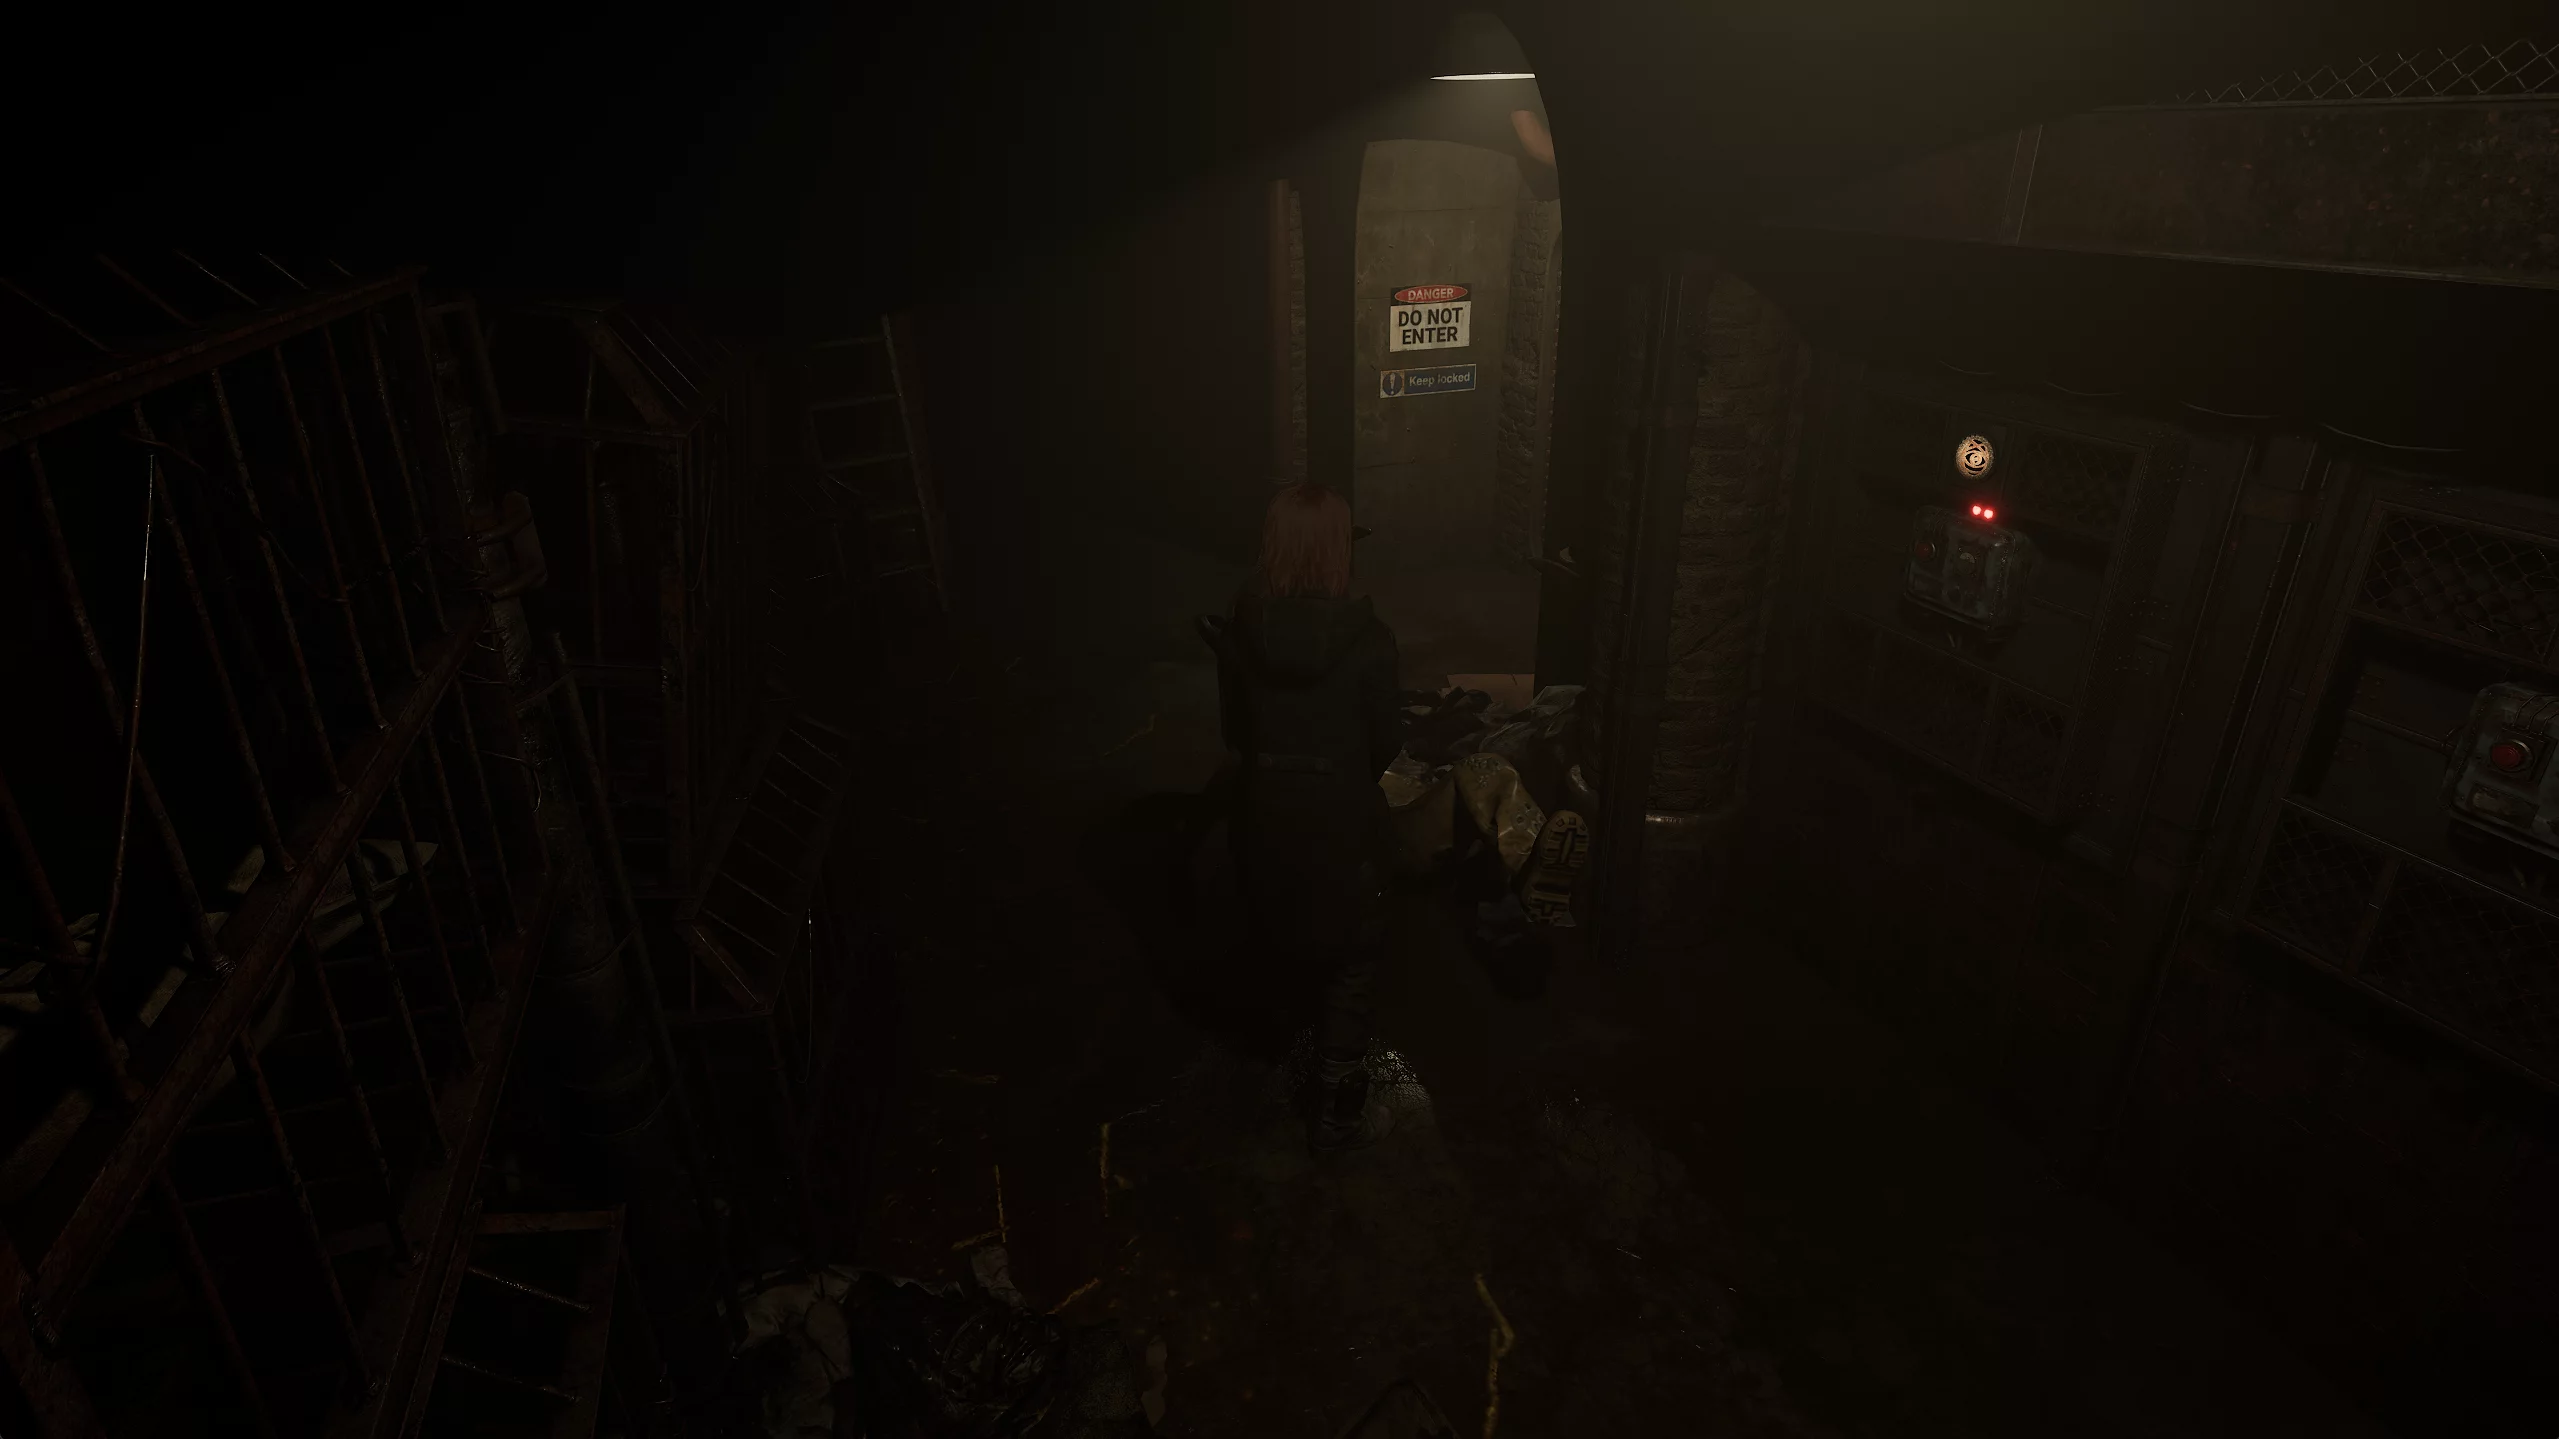
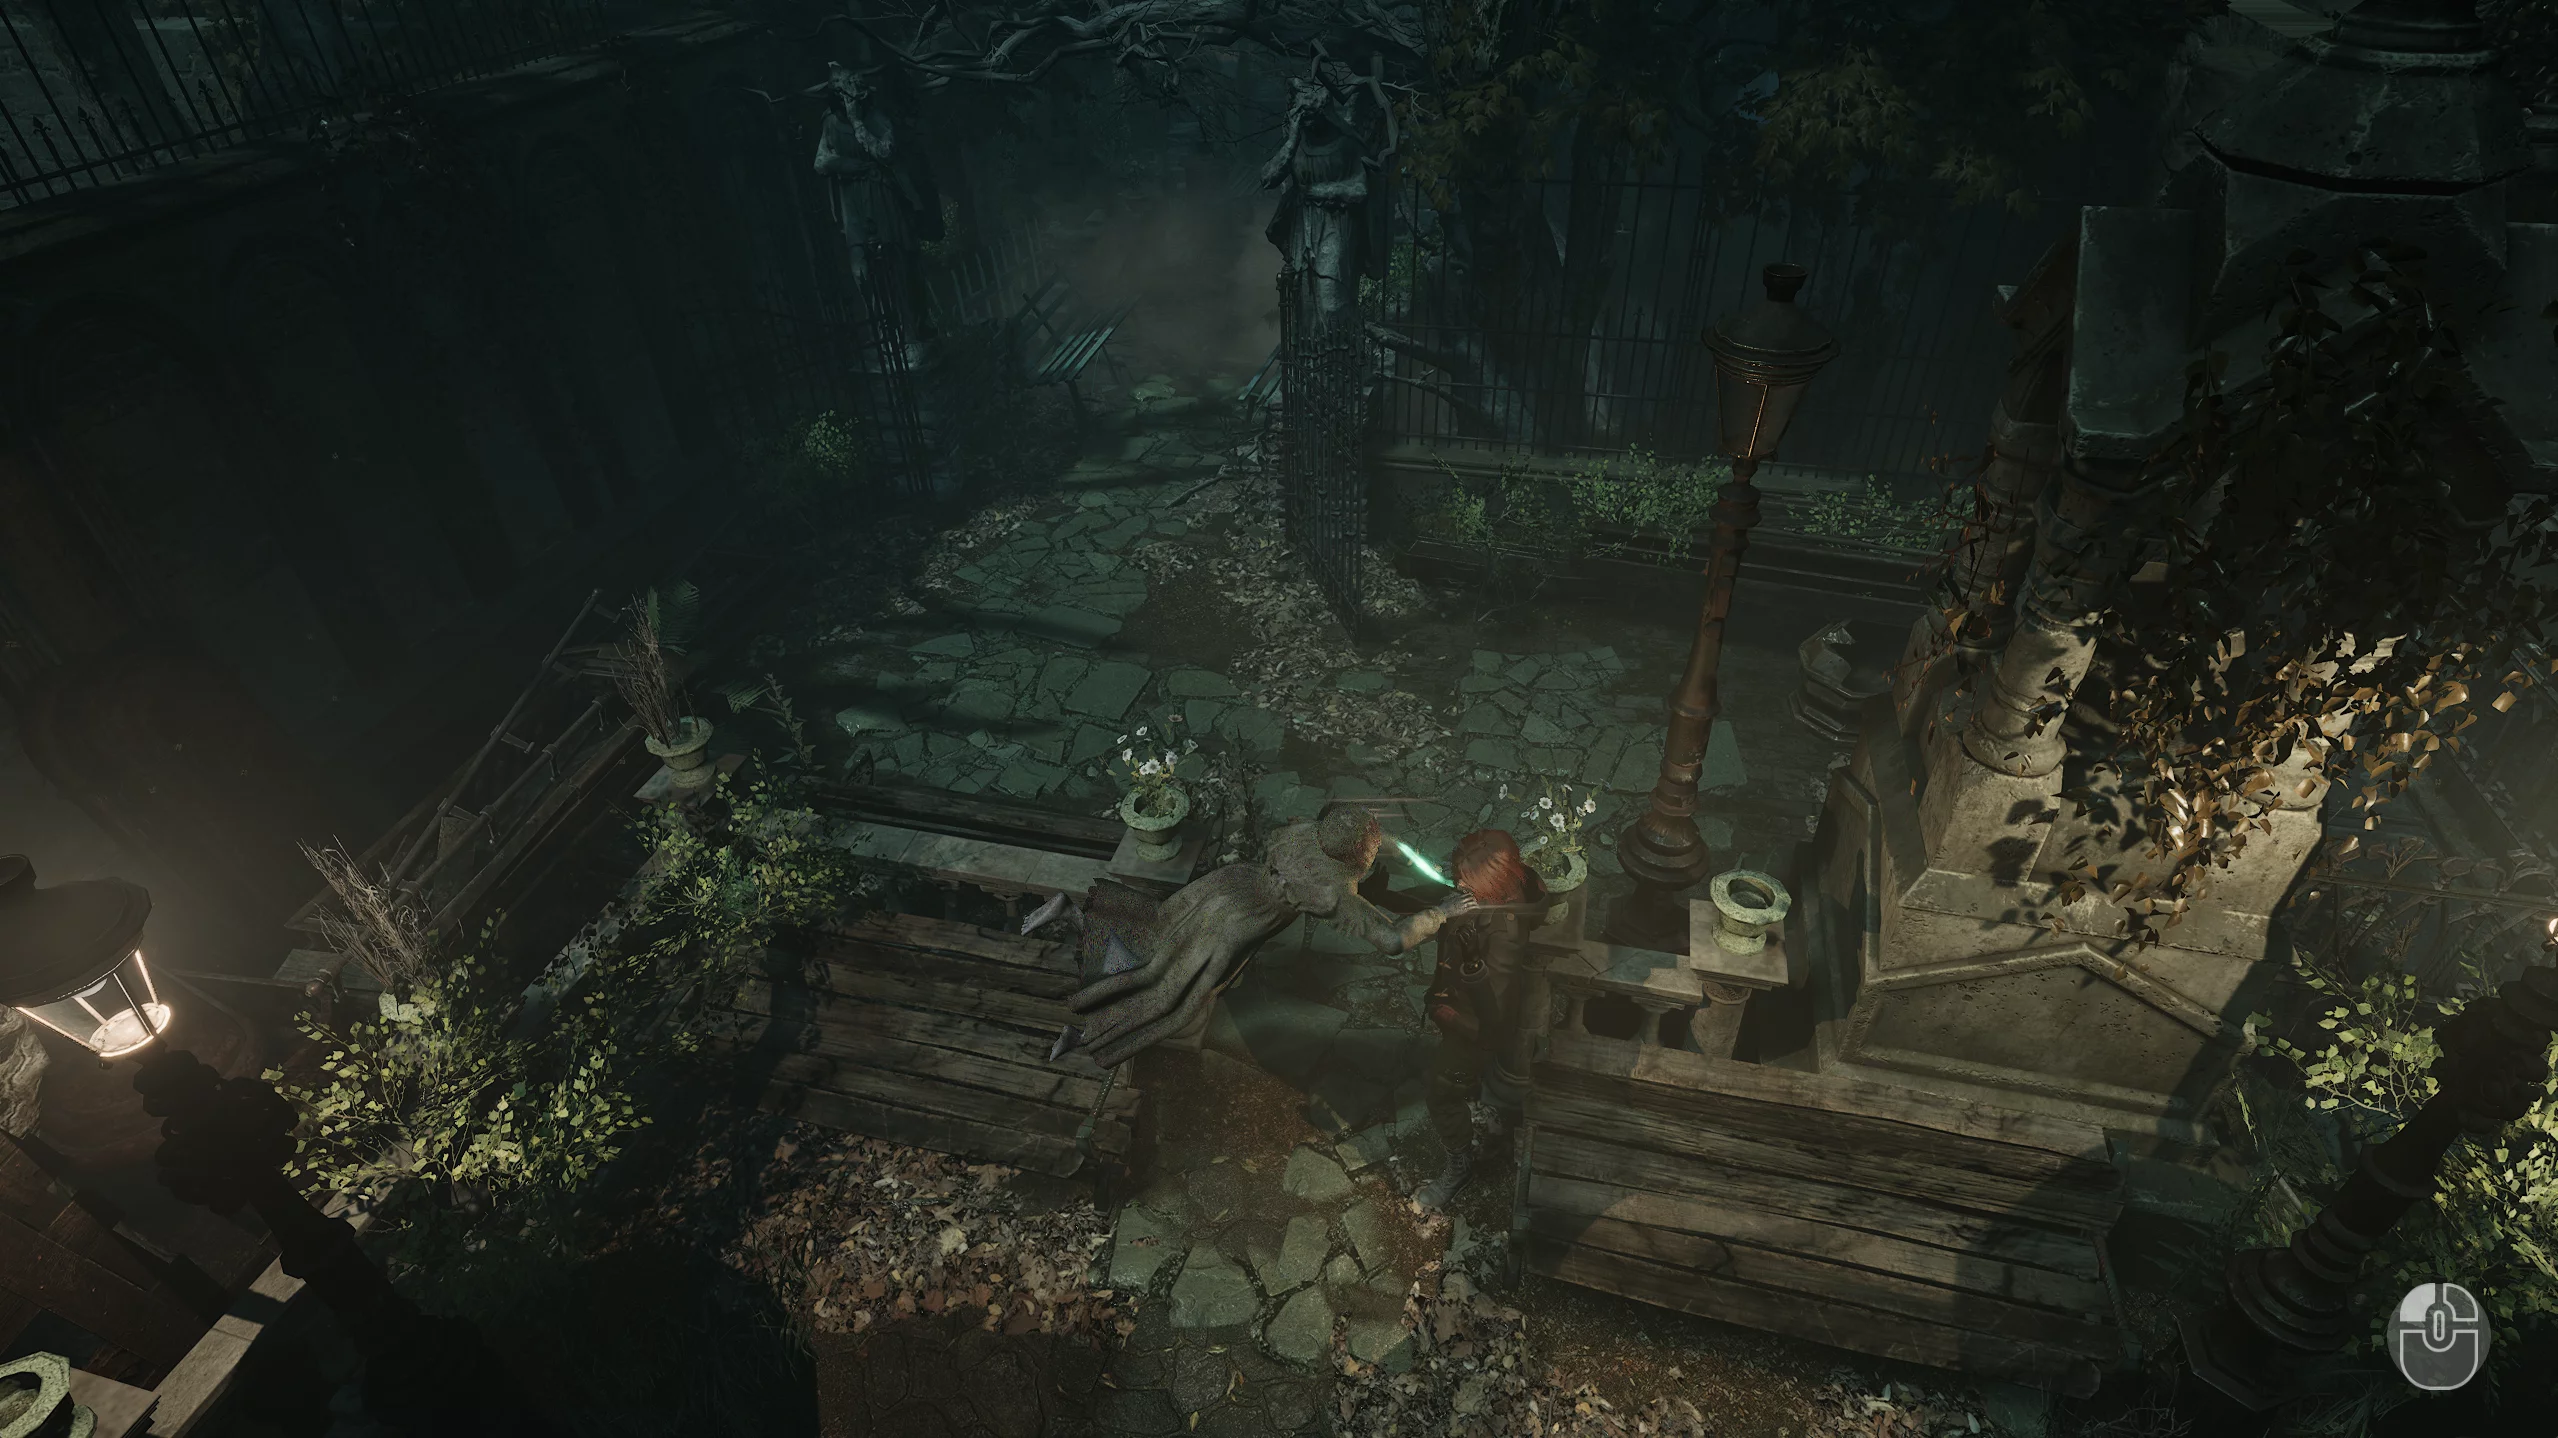
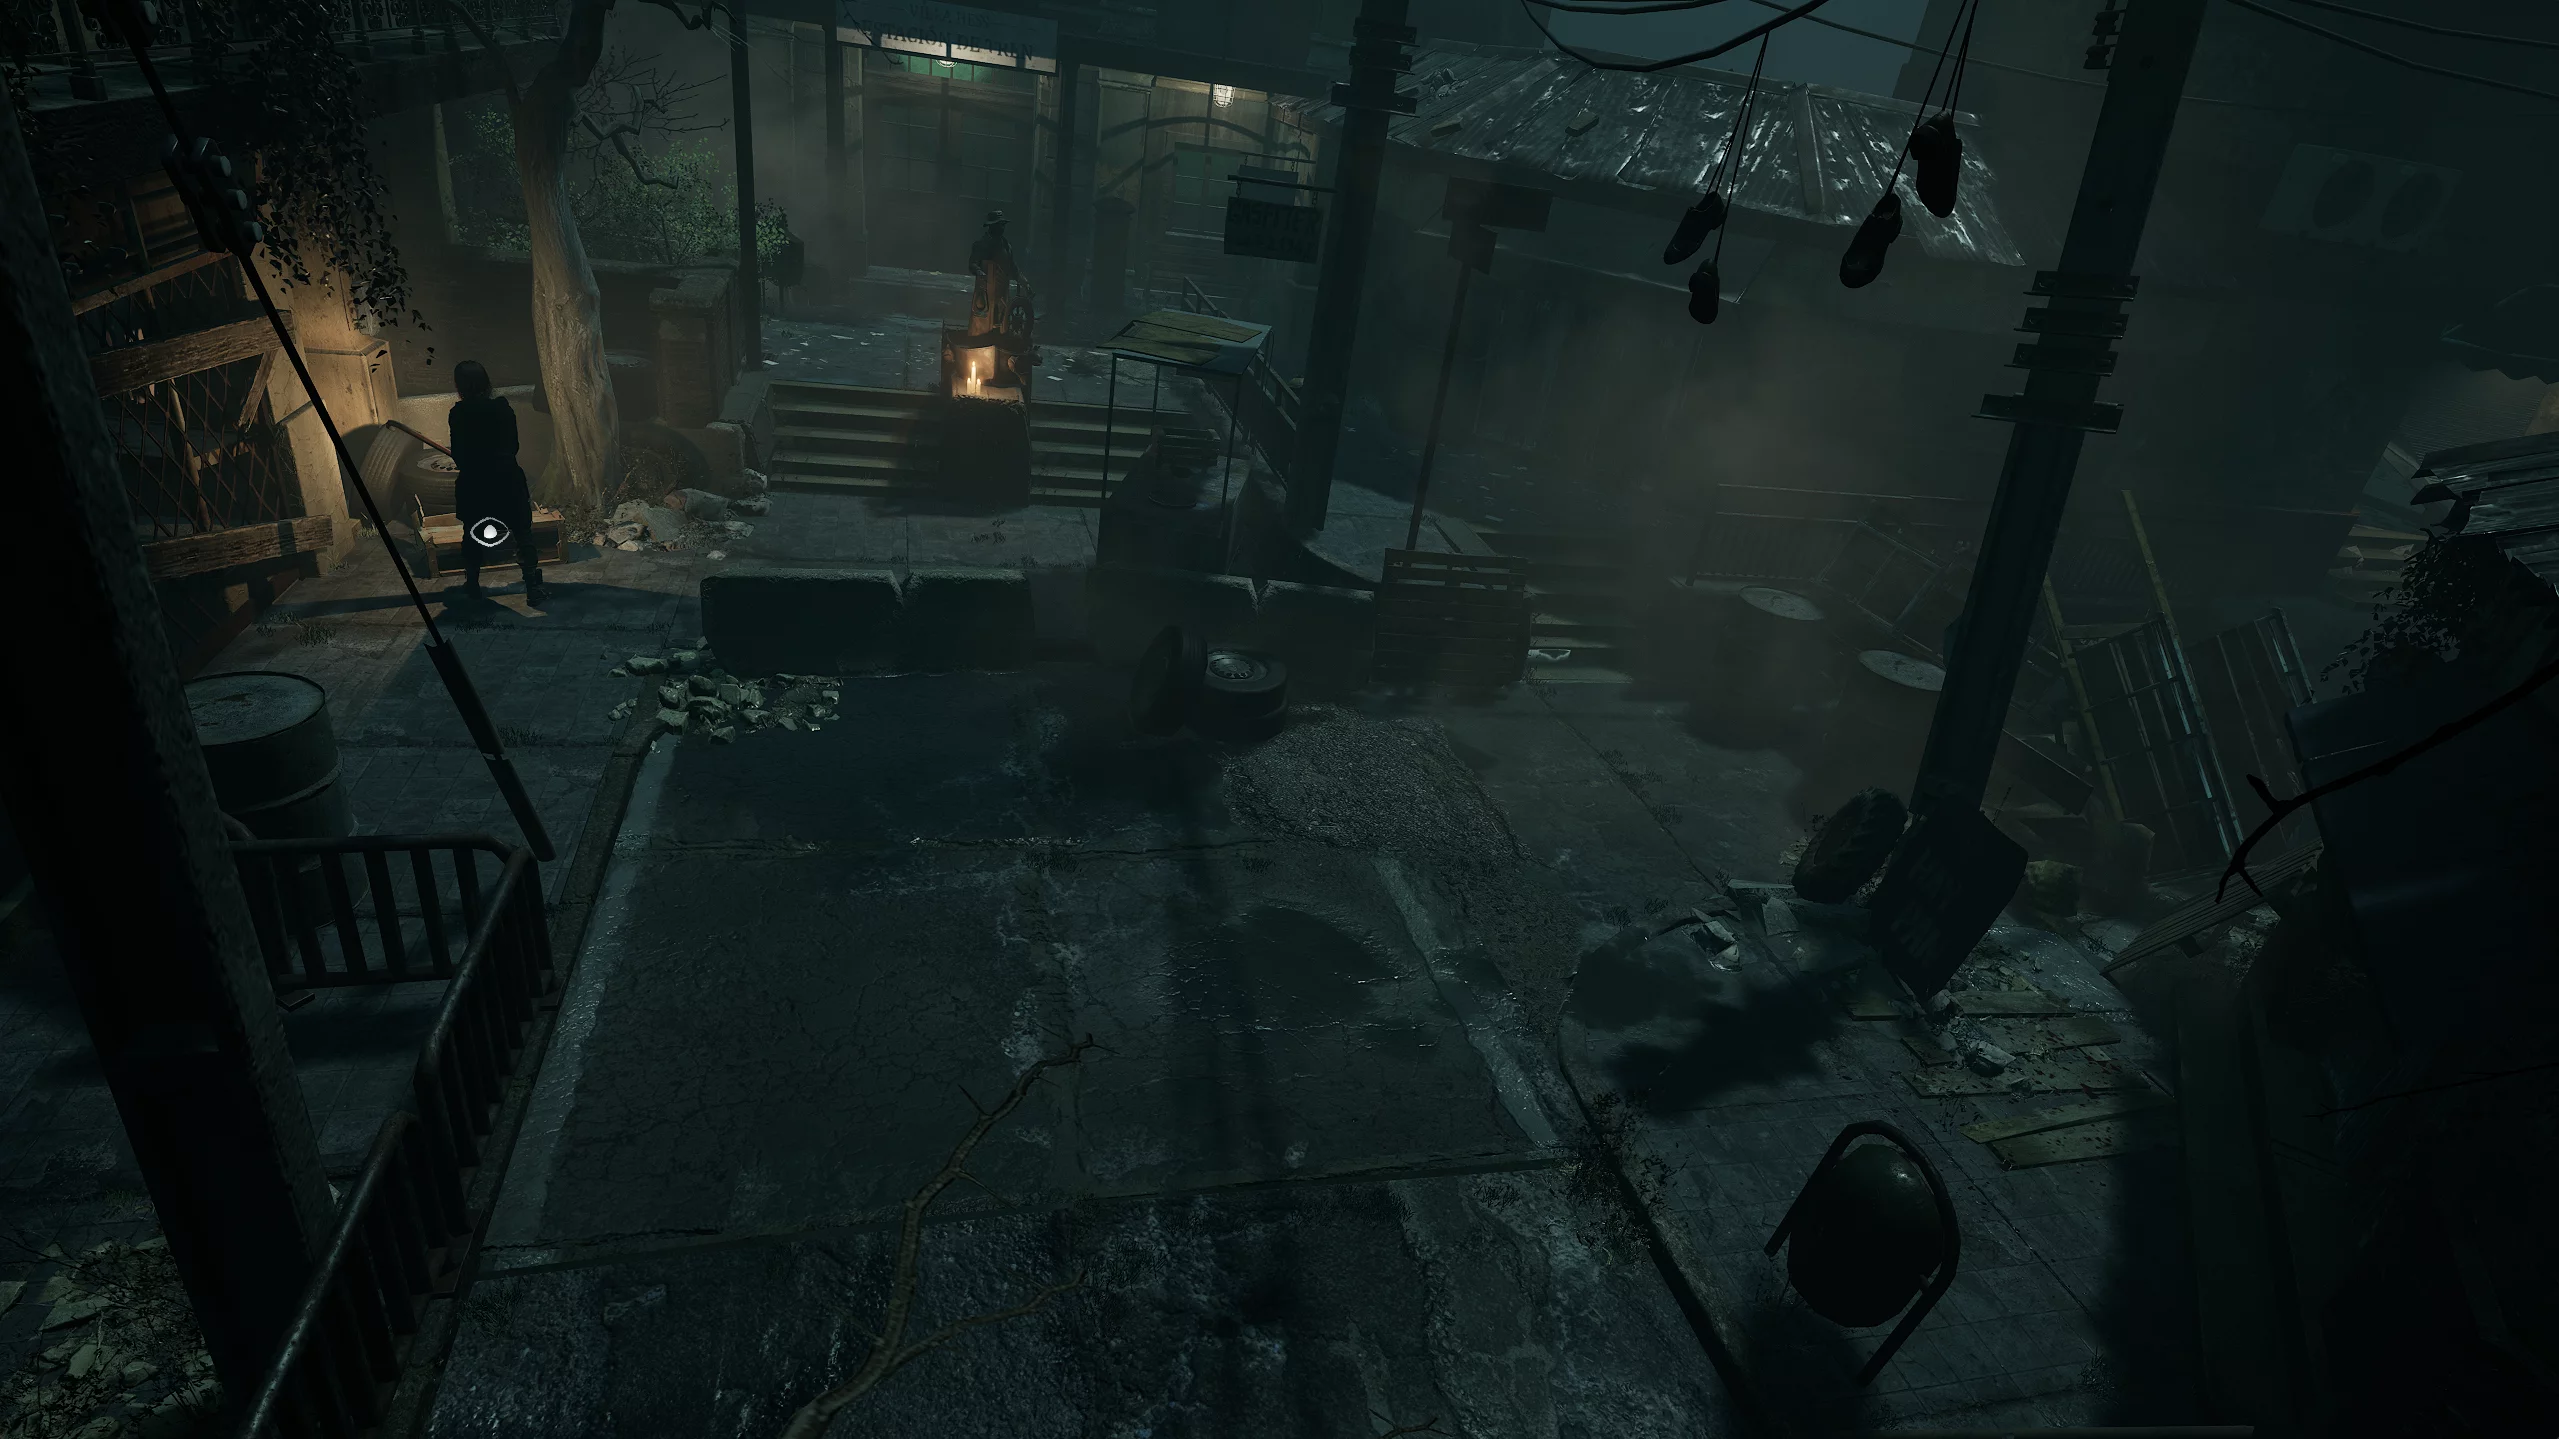
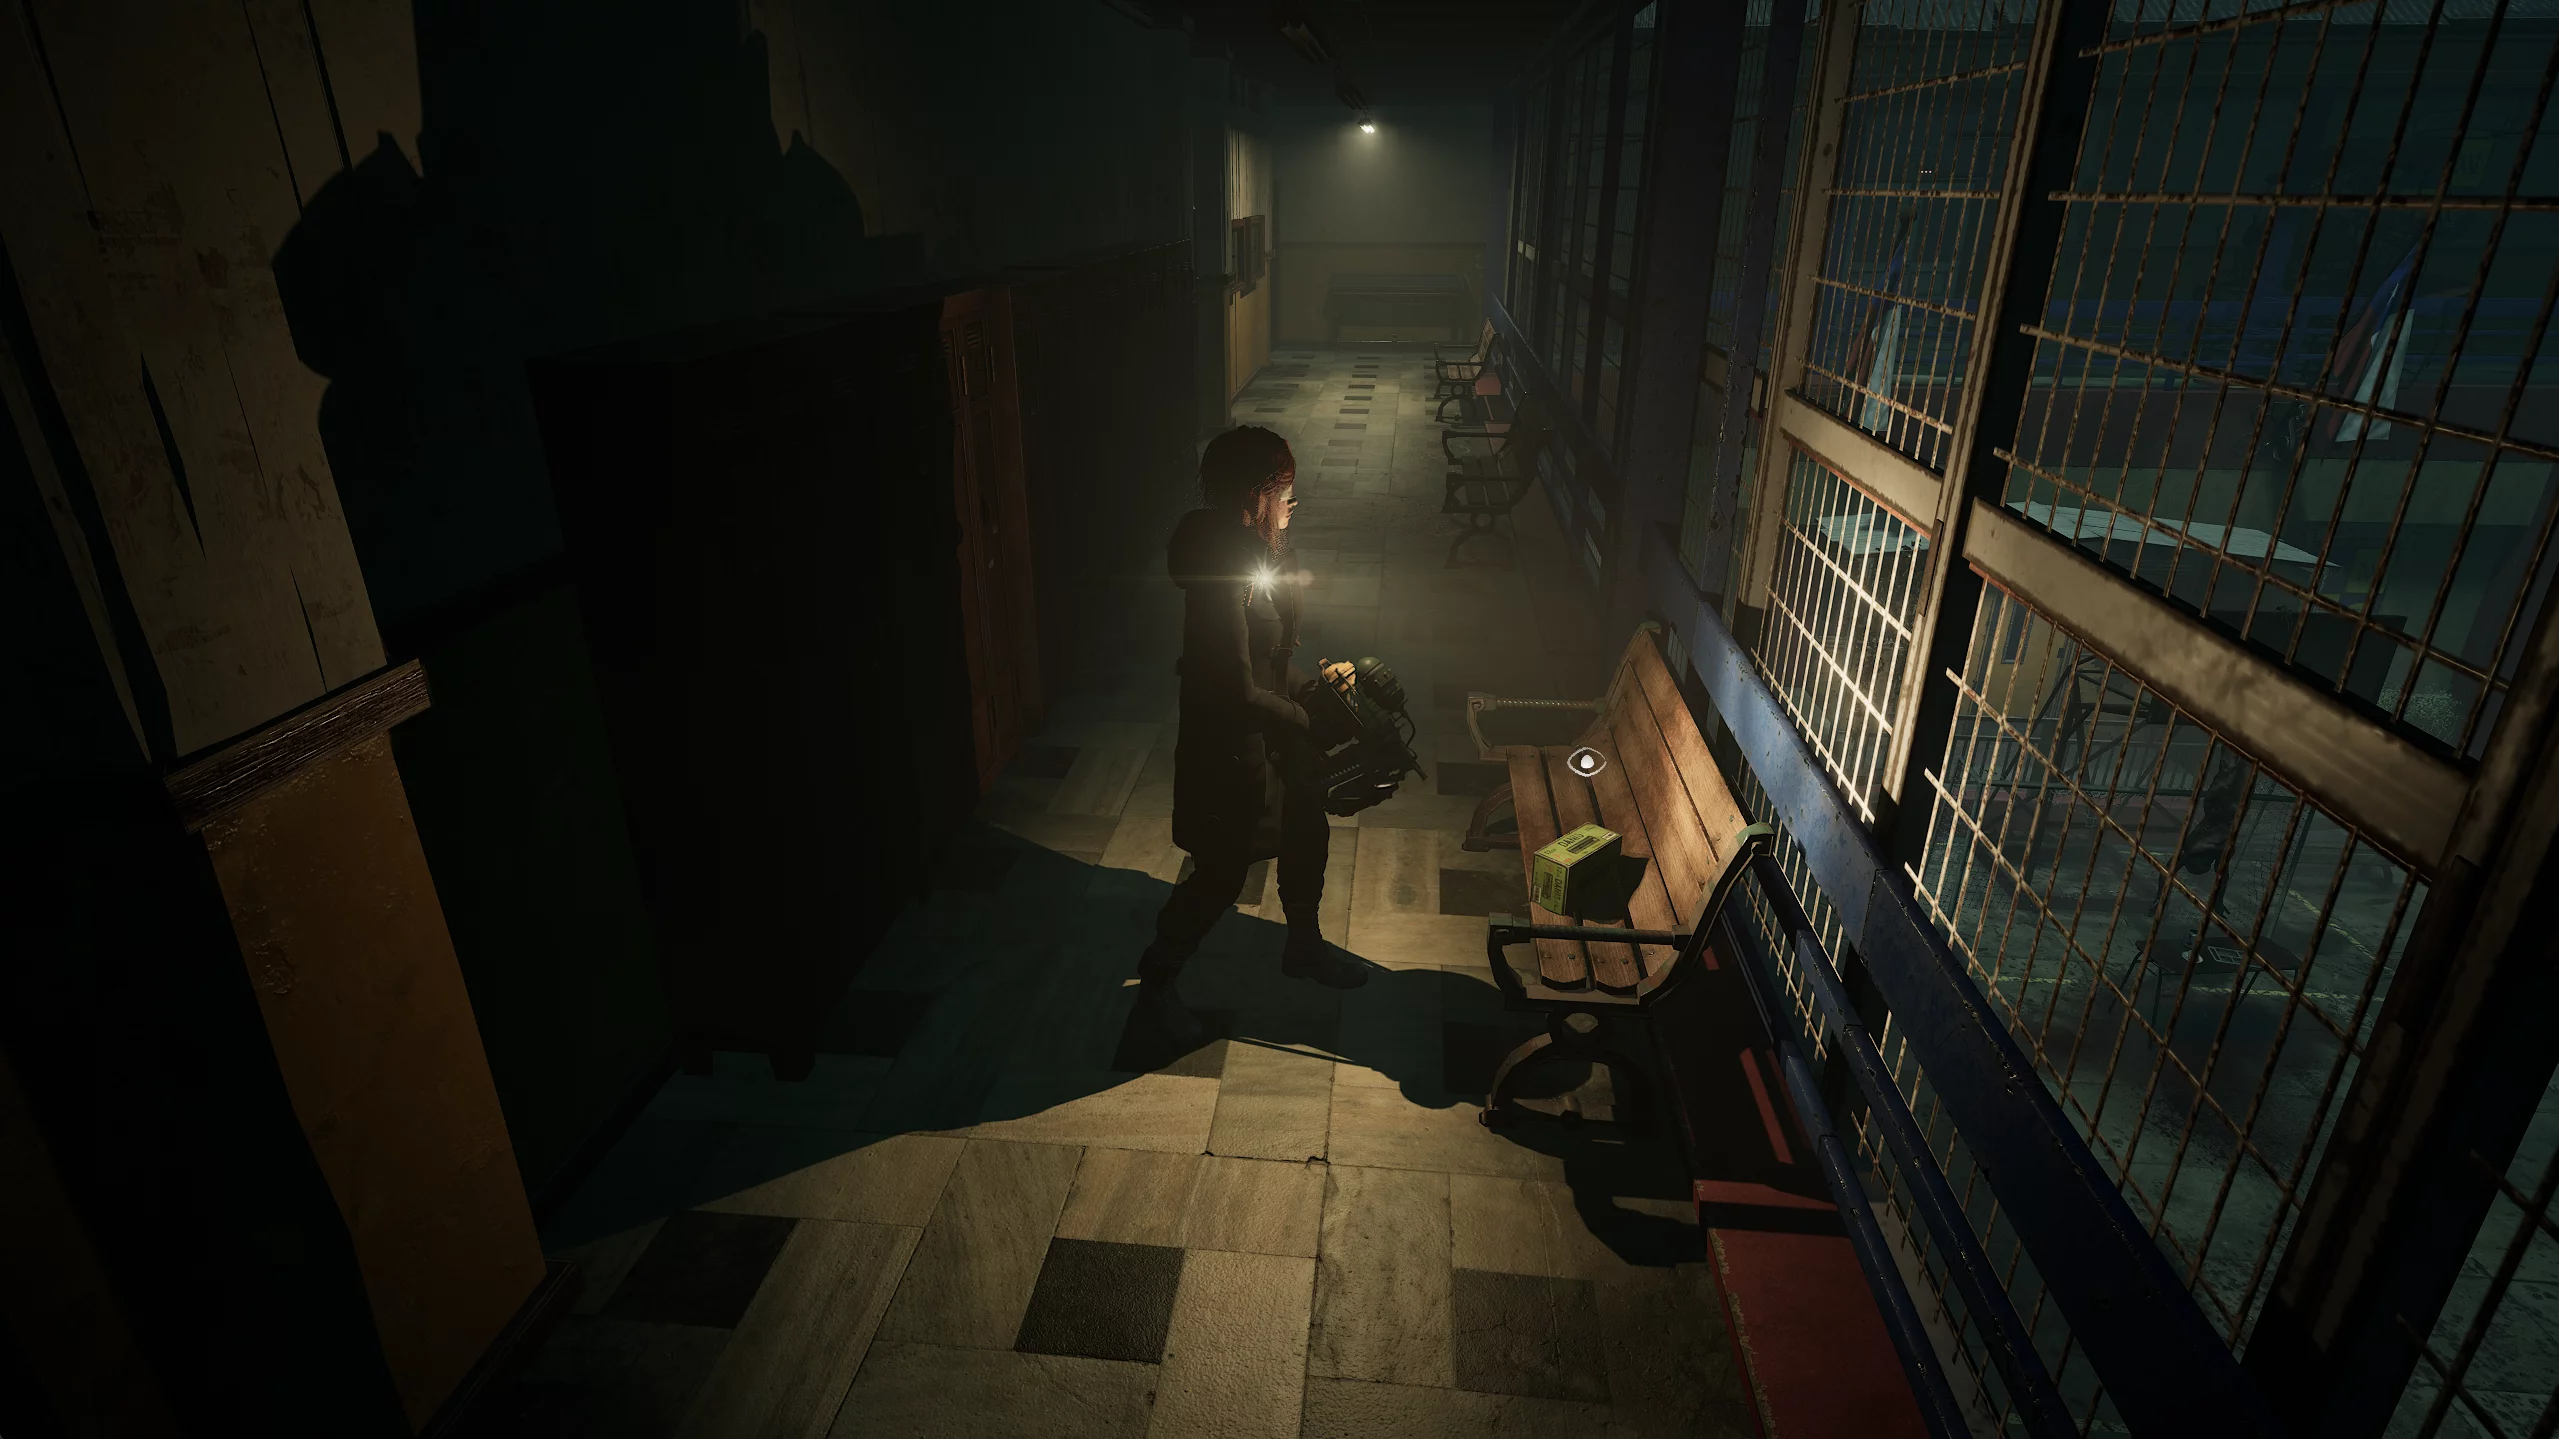
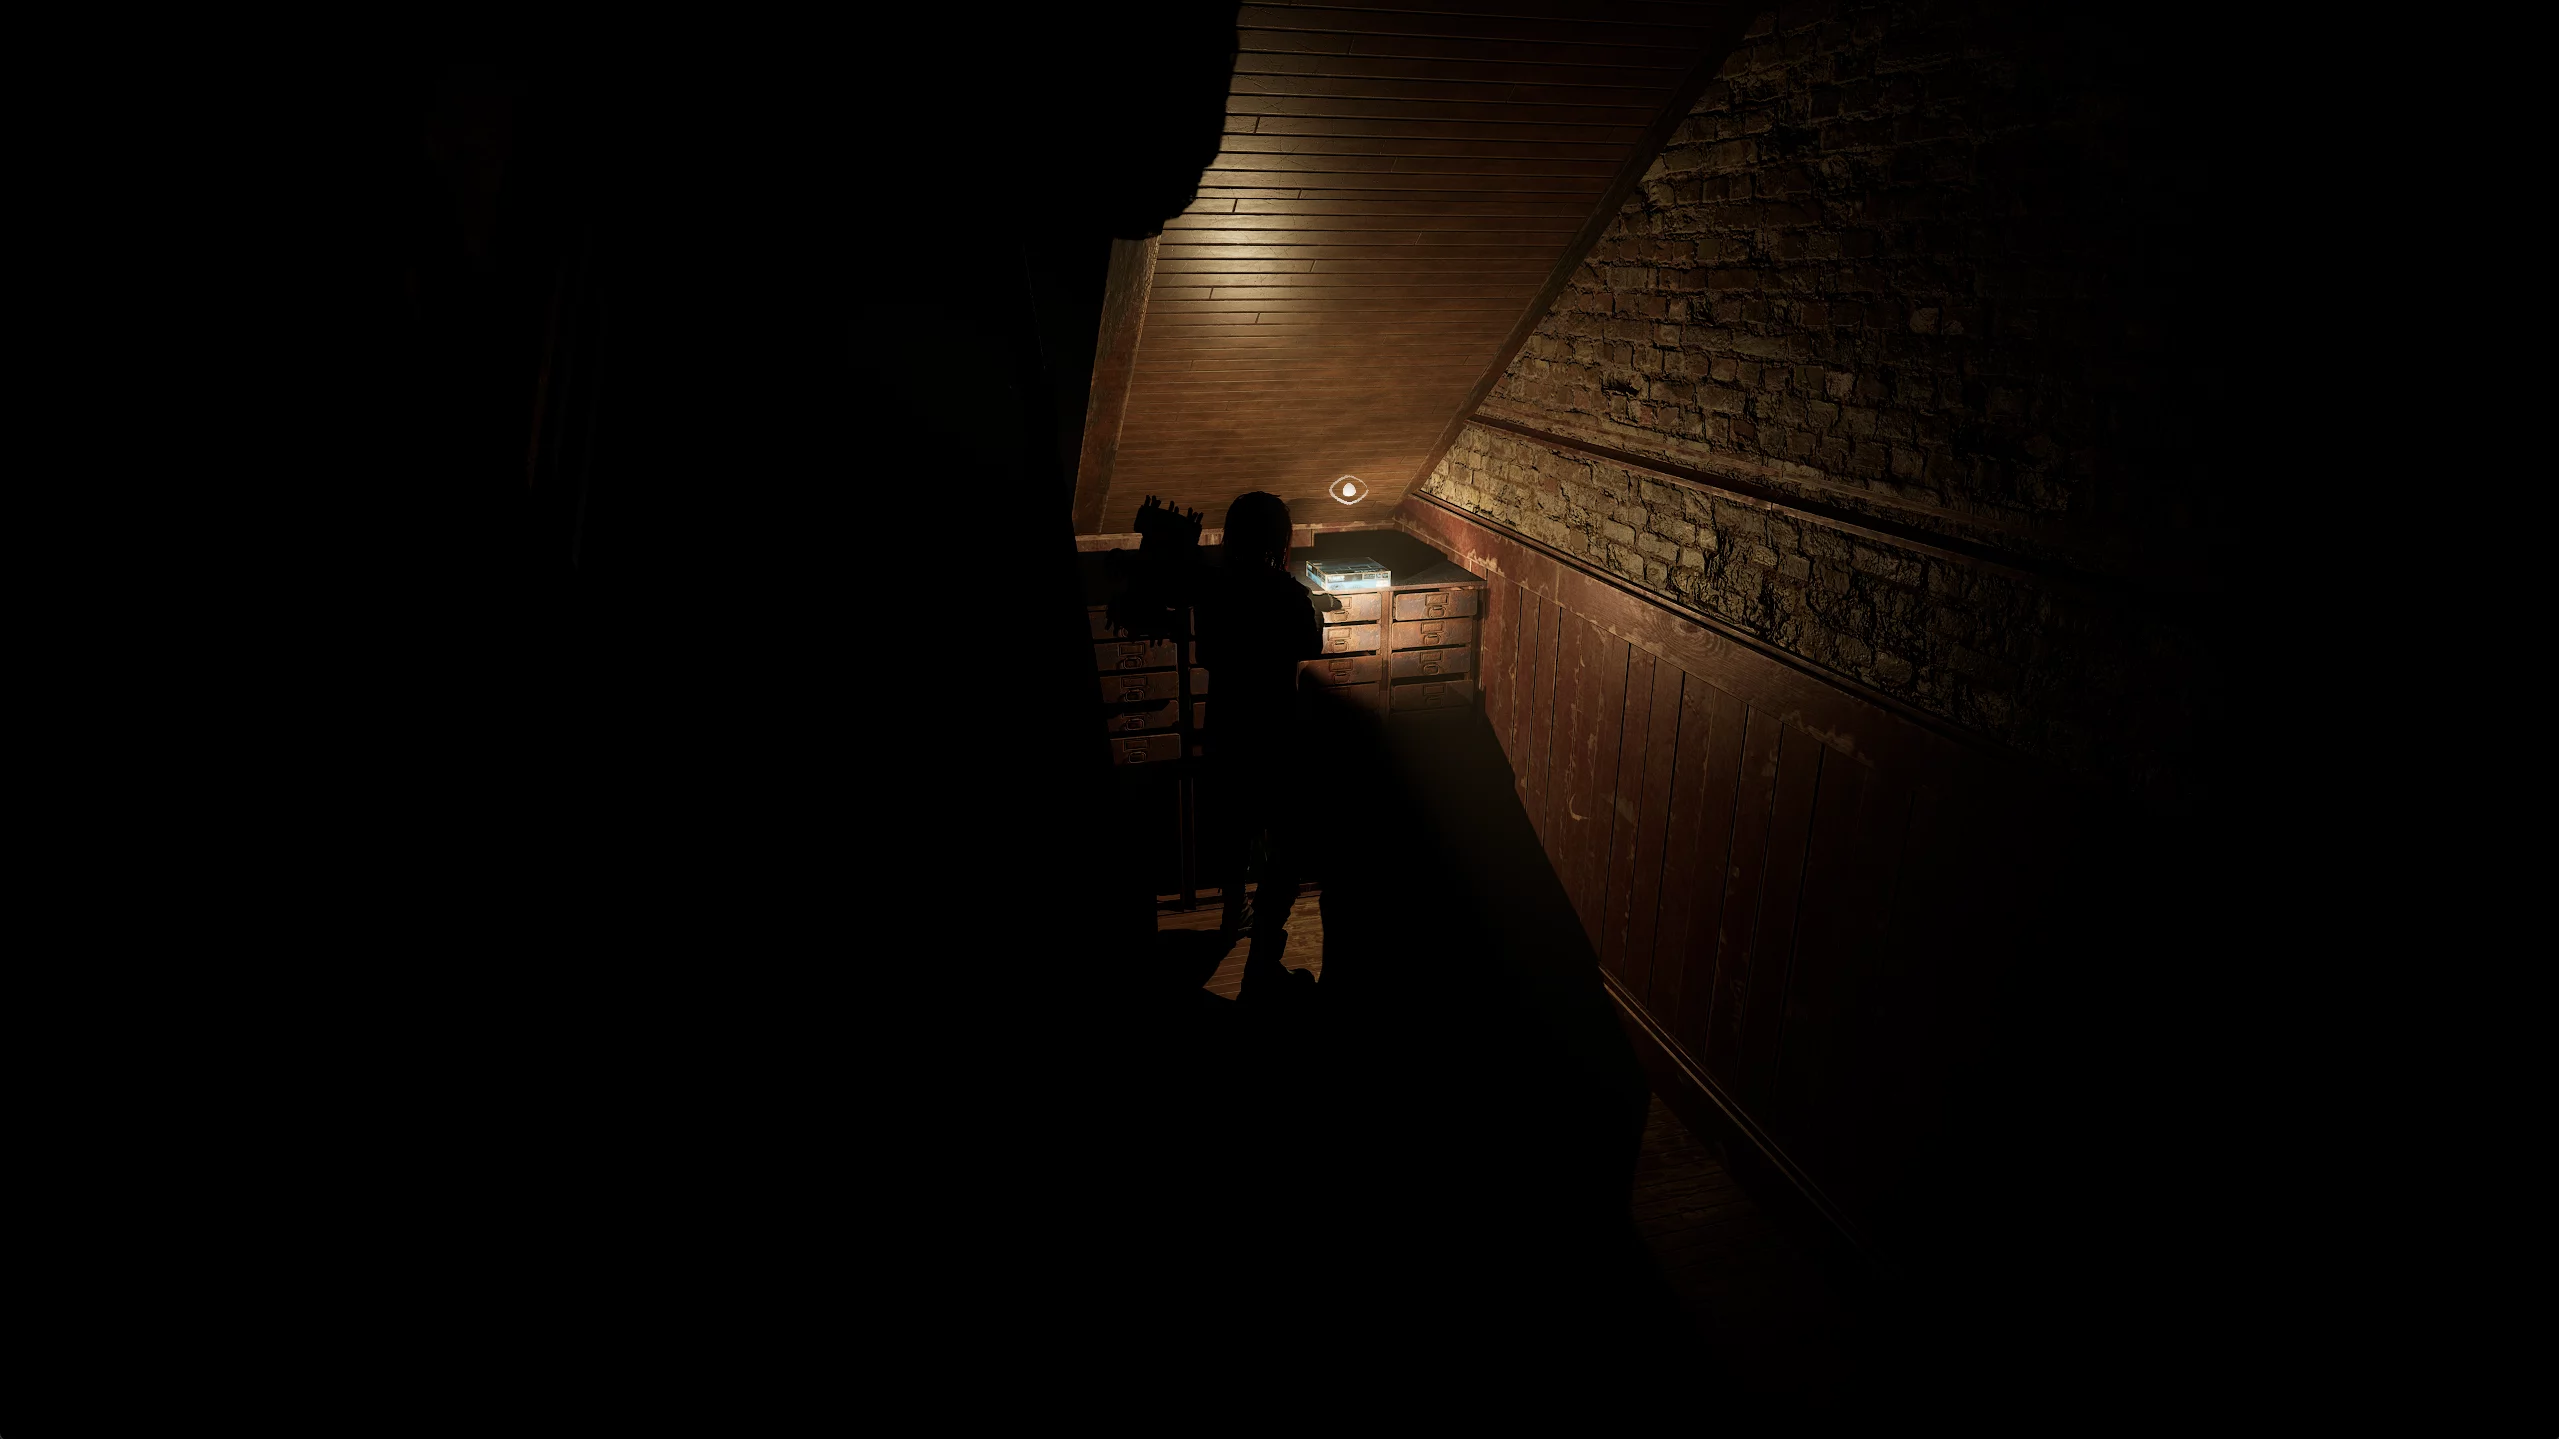
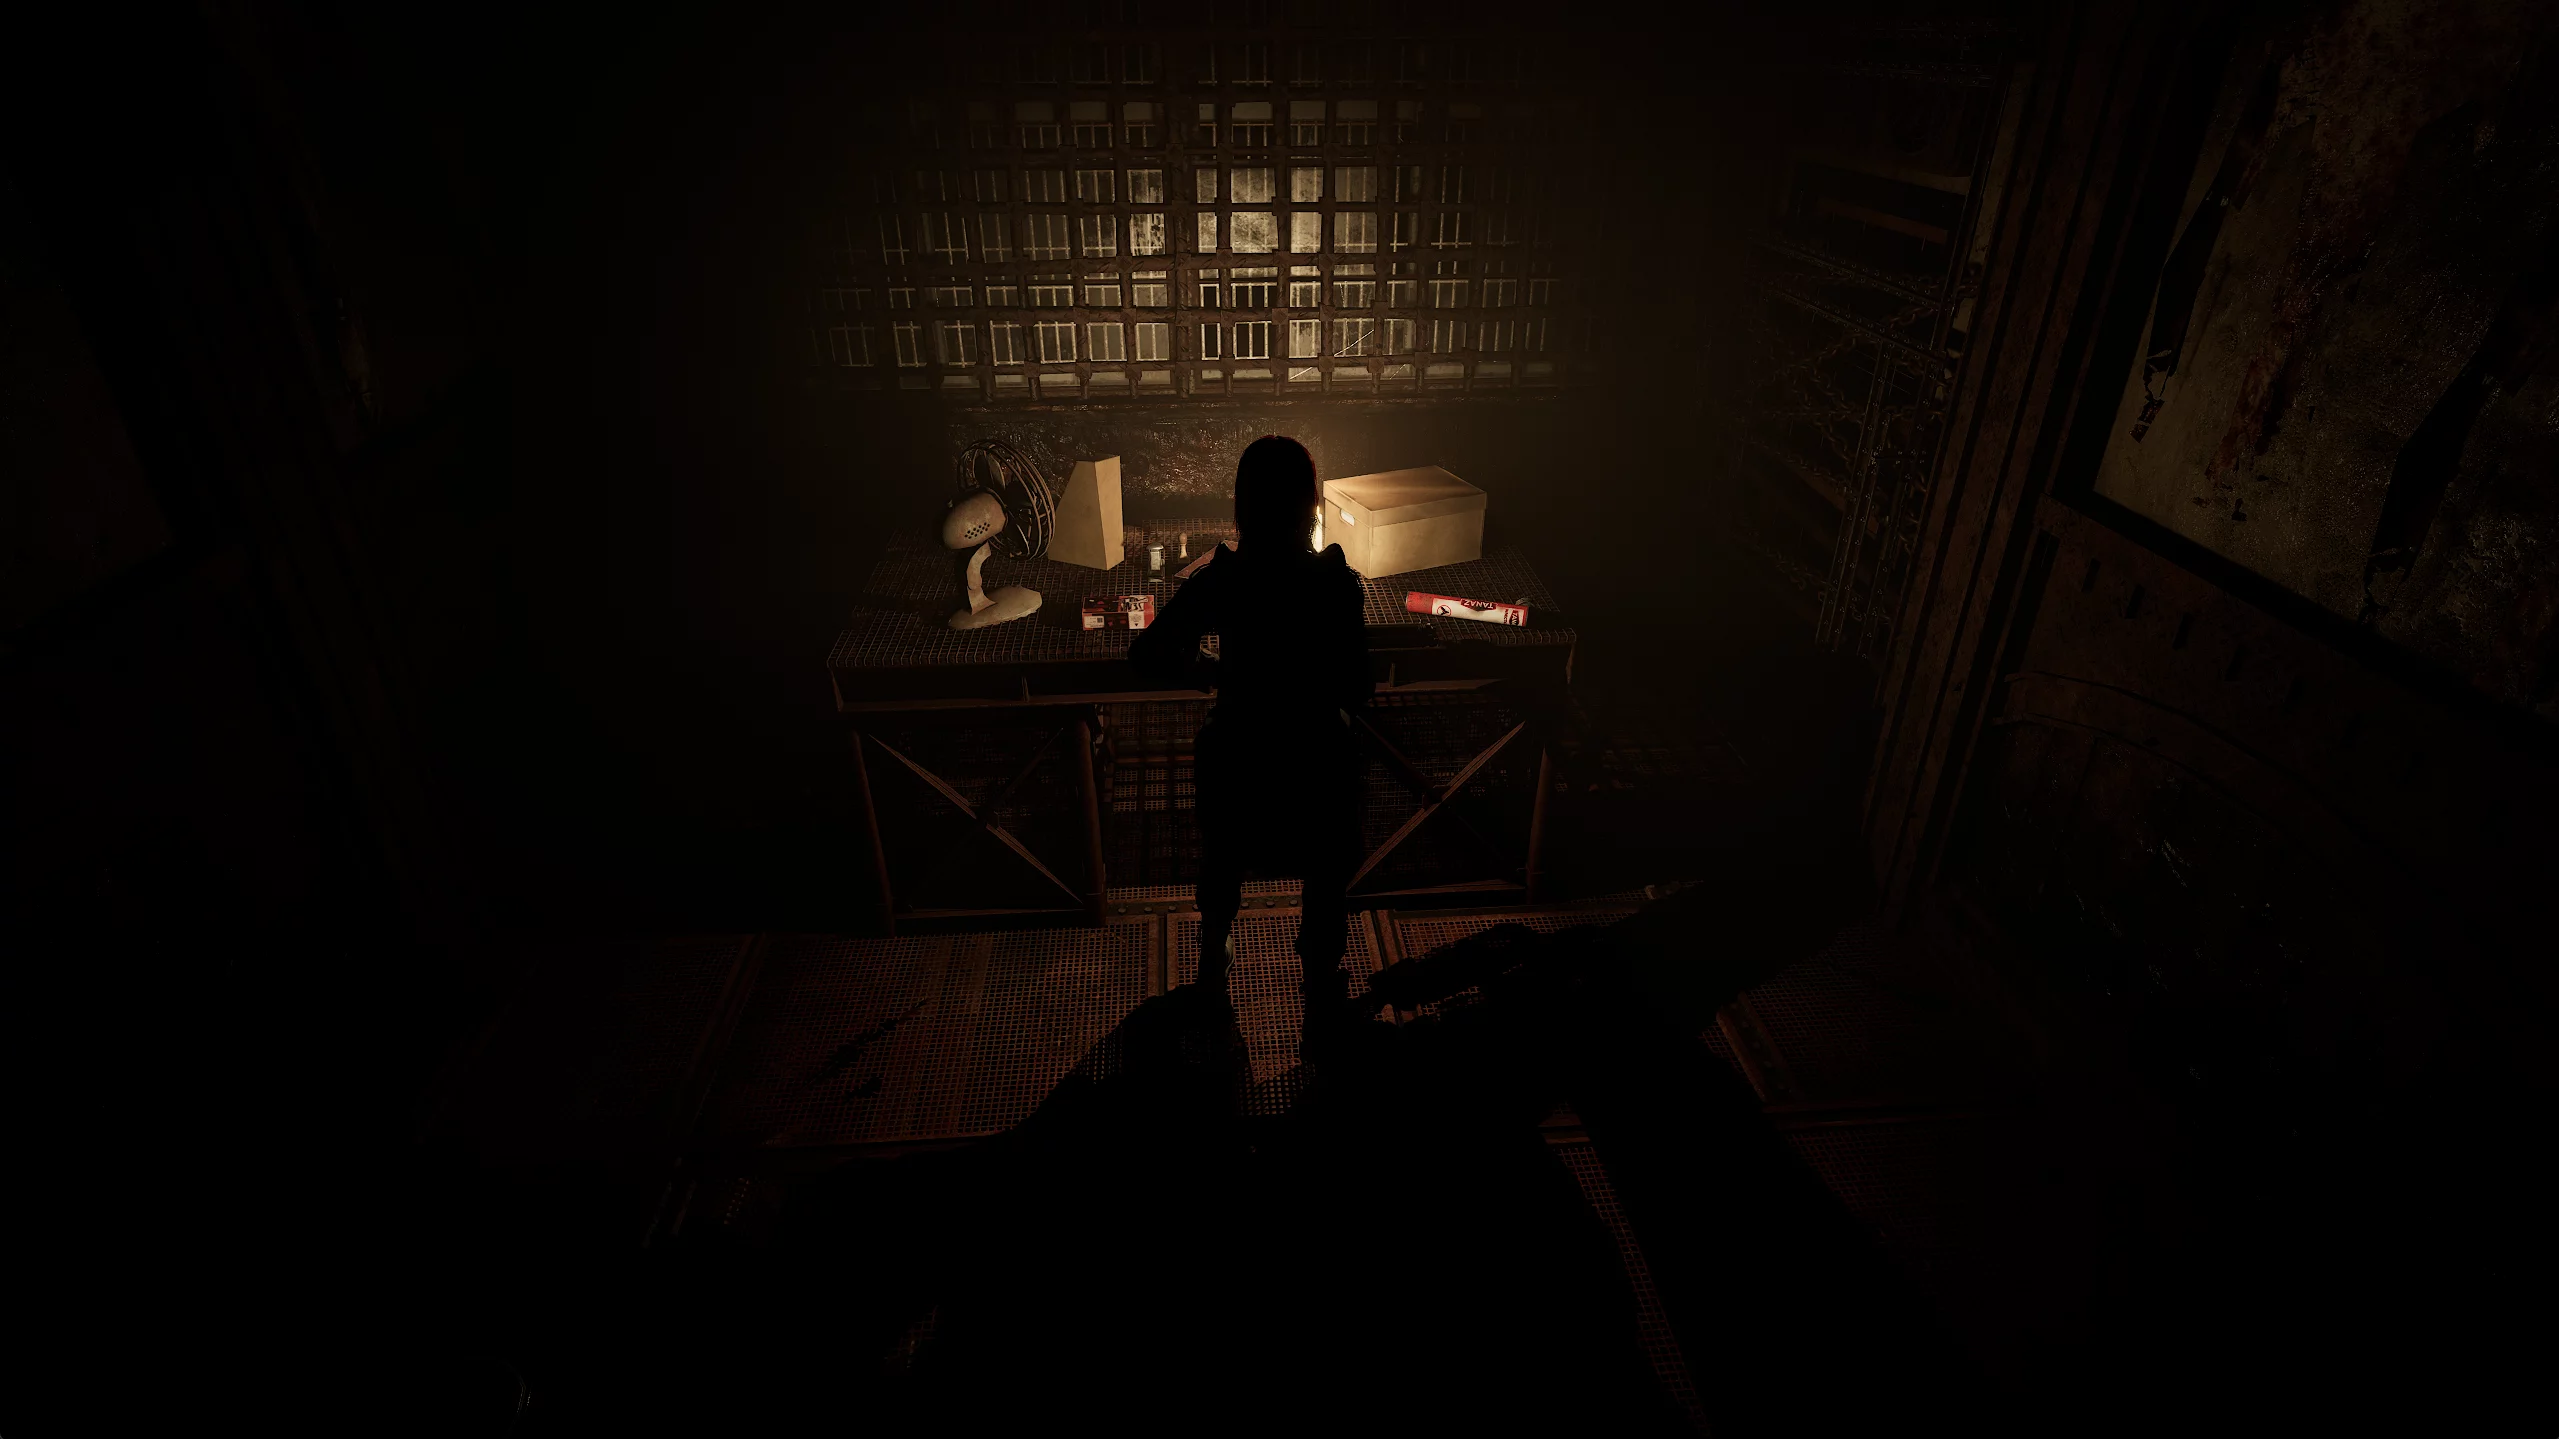
In the corridor that opens, go left and continue to the area with no light. Be careful — staying in the darkness for too long will kill the protagonist. Near the door, pick up Anna's album on the pedestal and enter the save point.
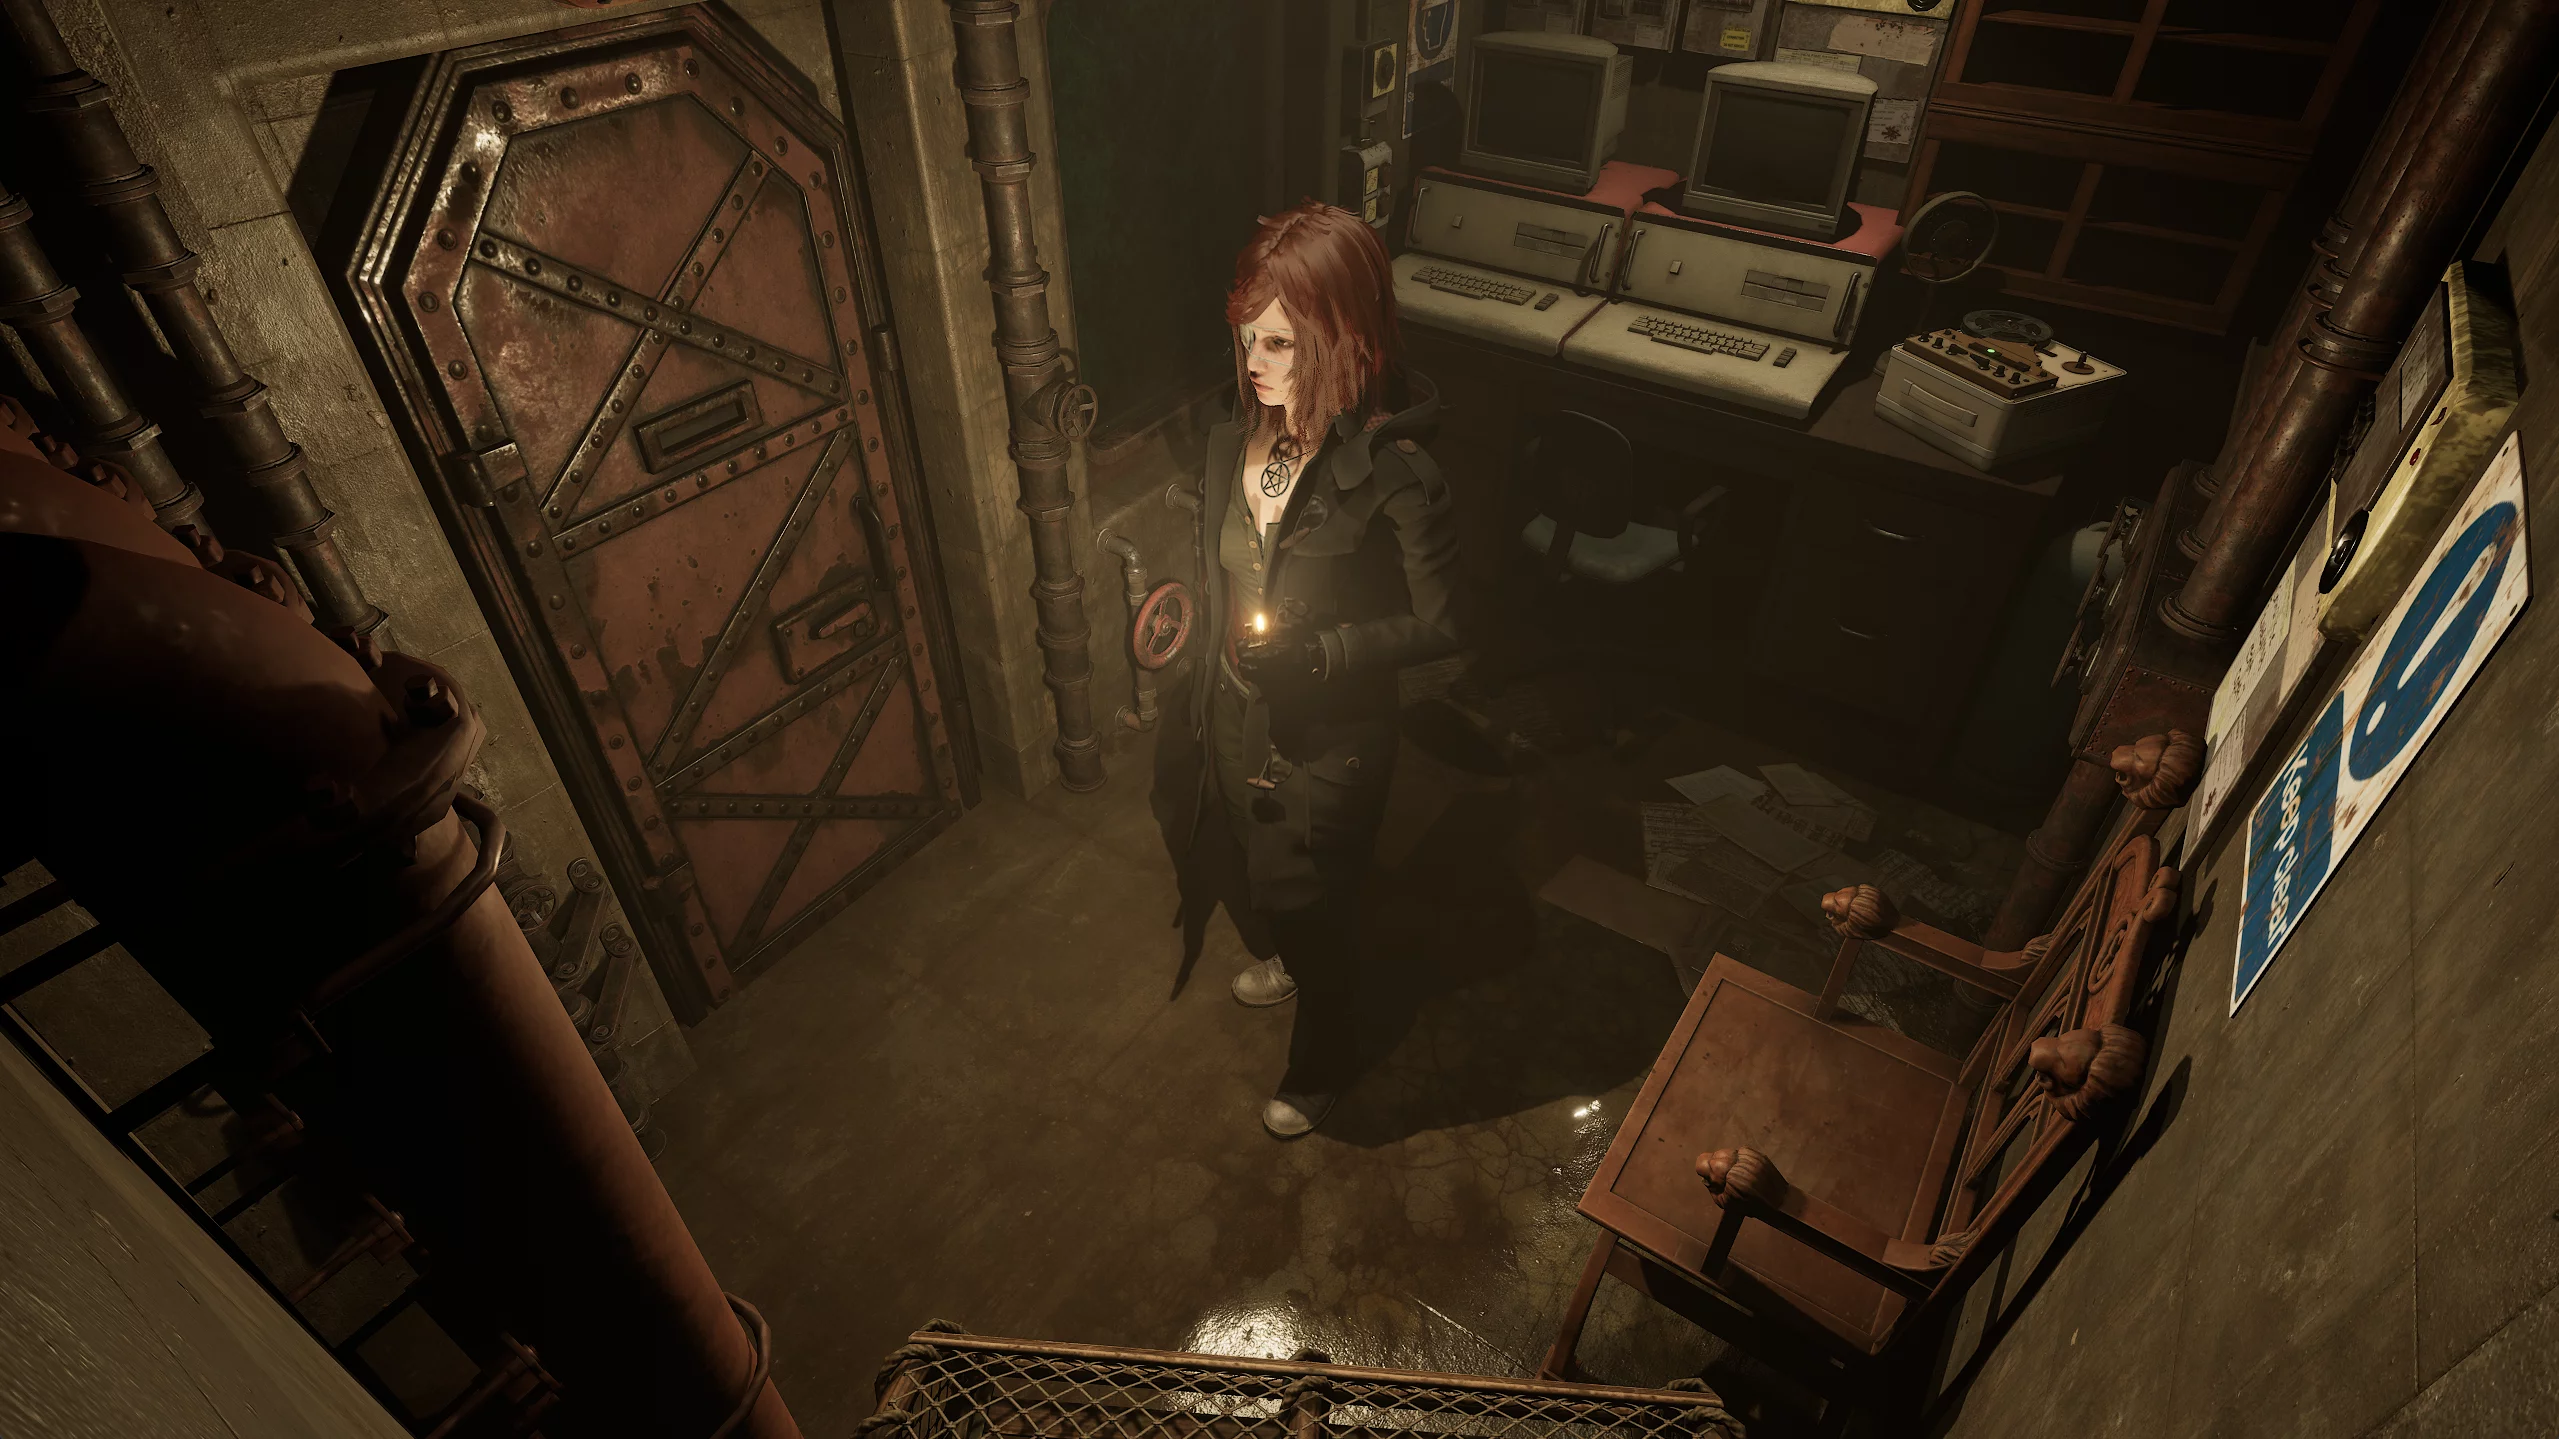
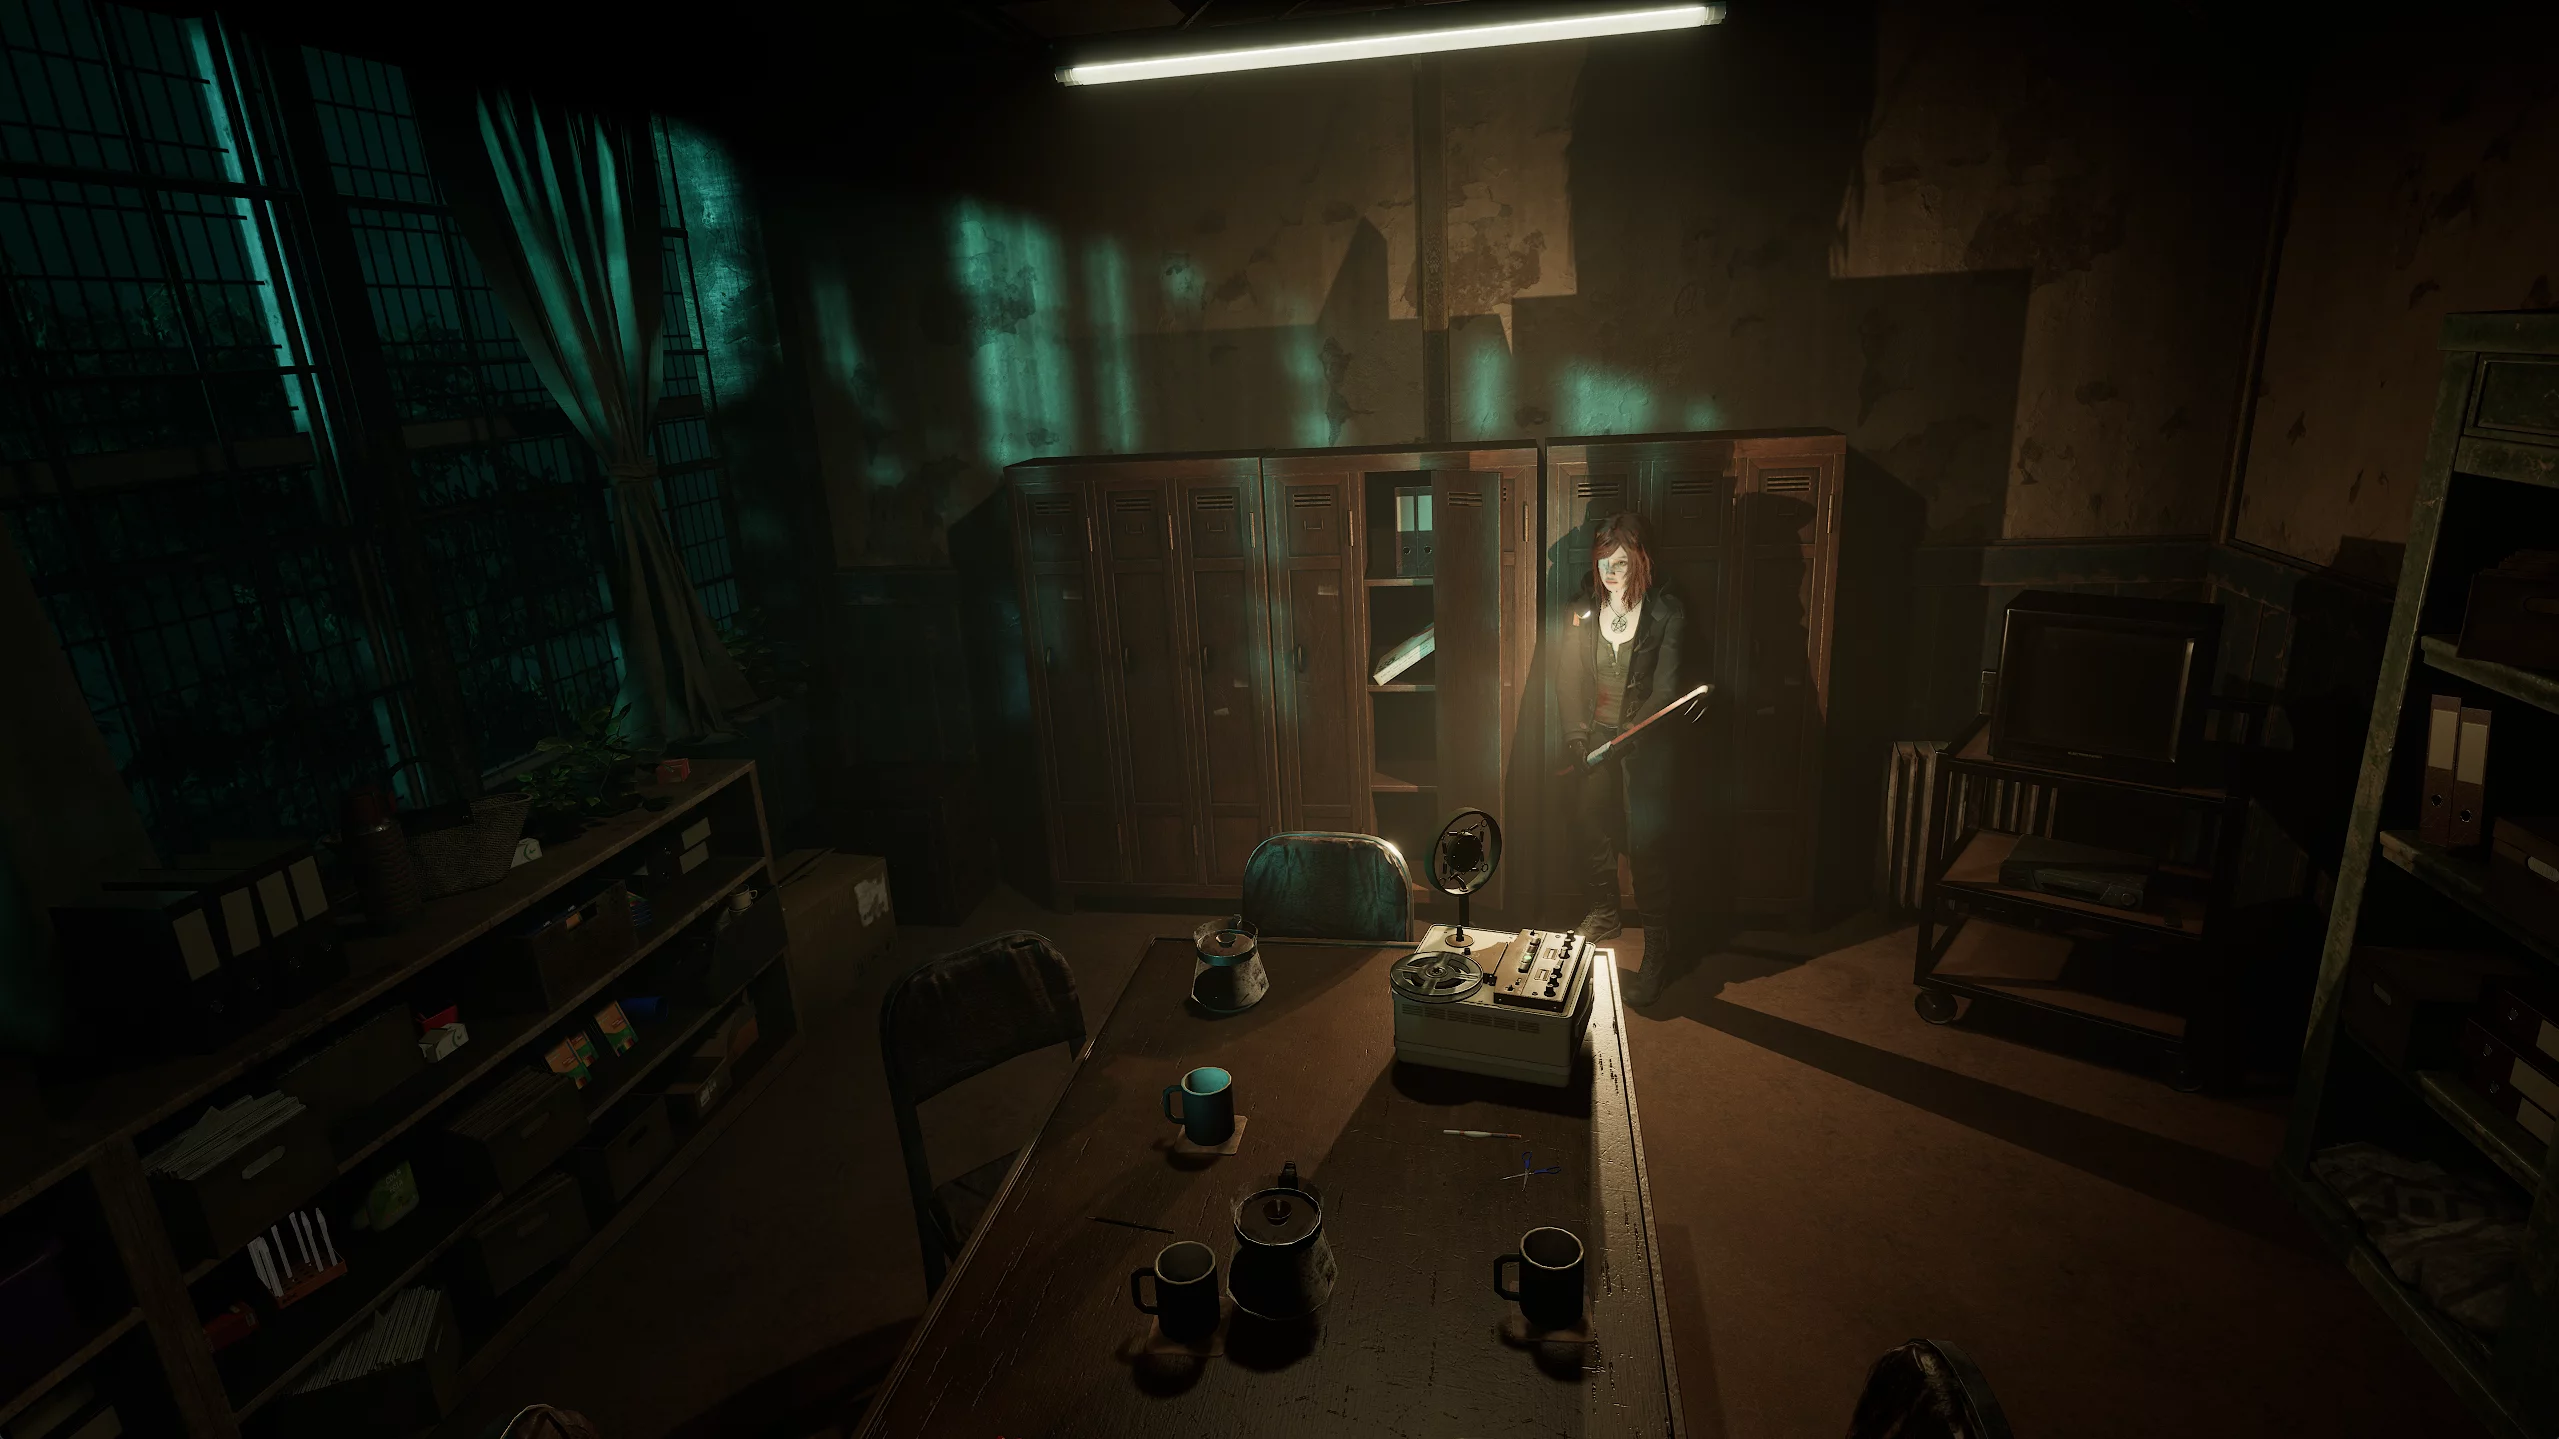
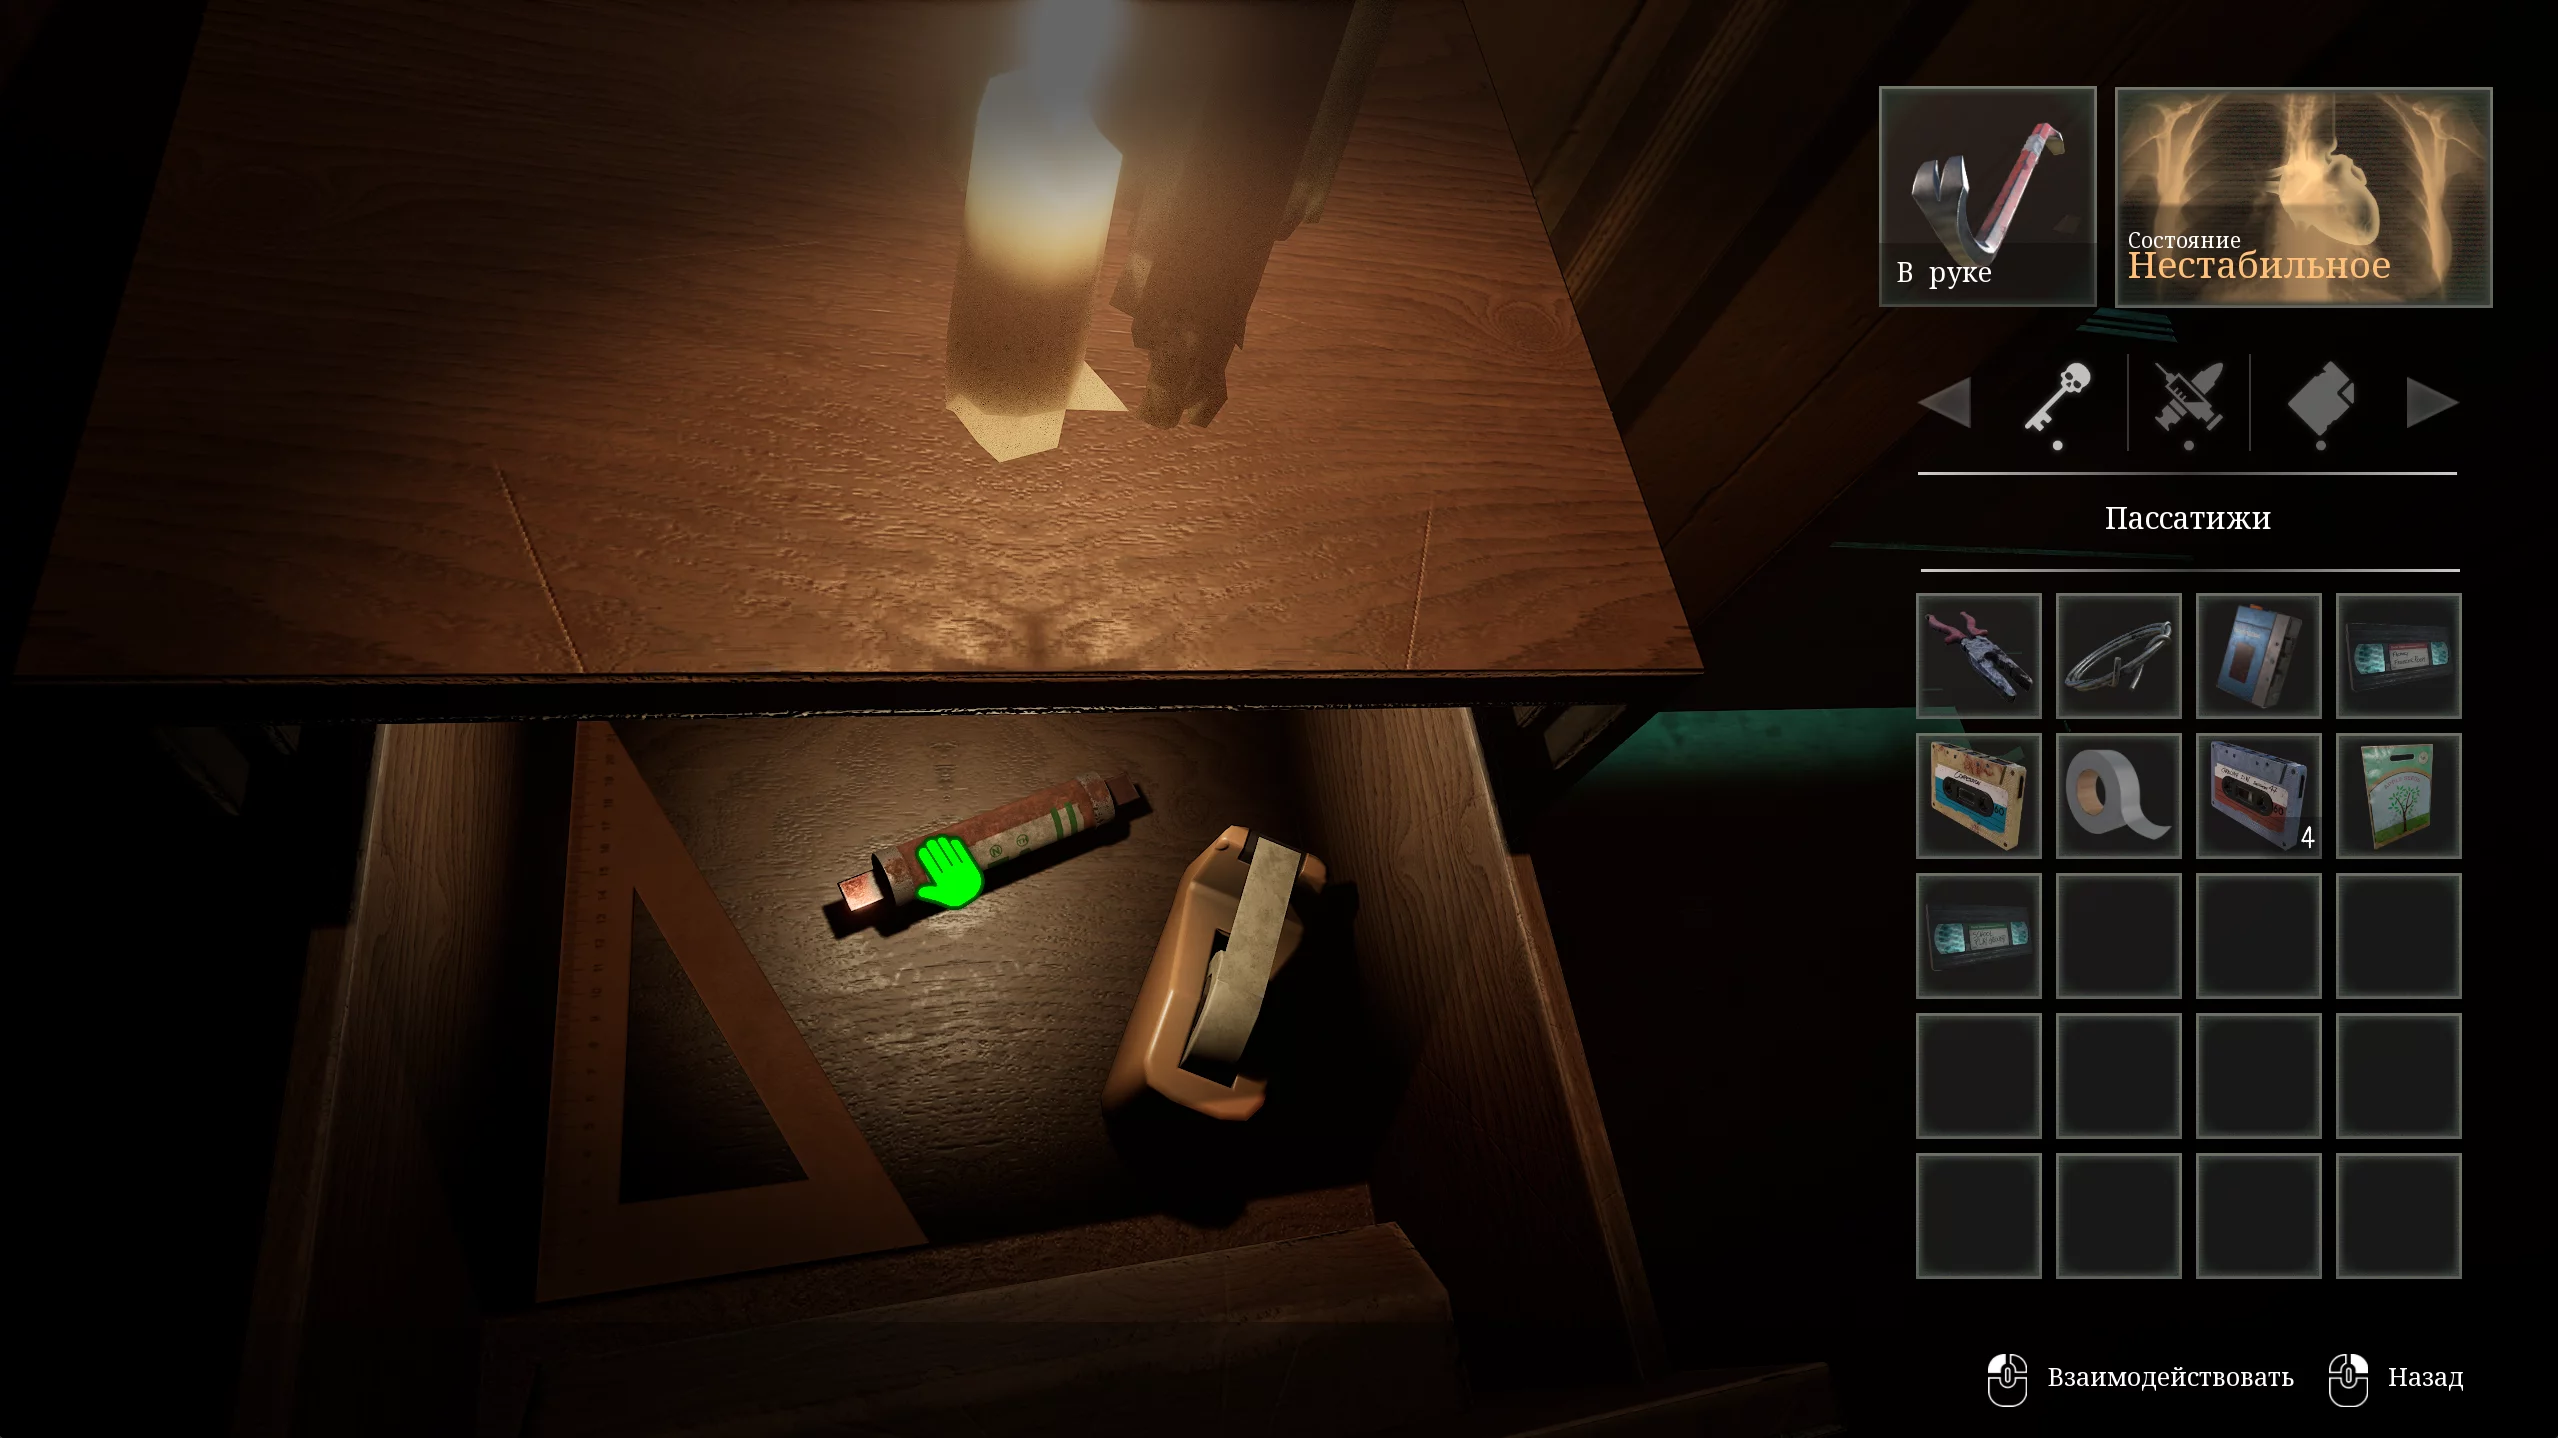
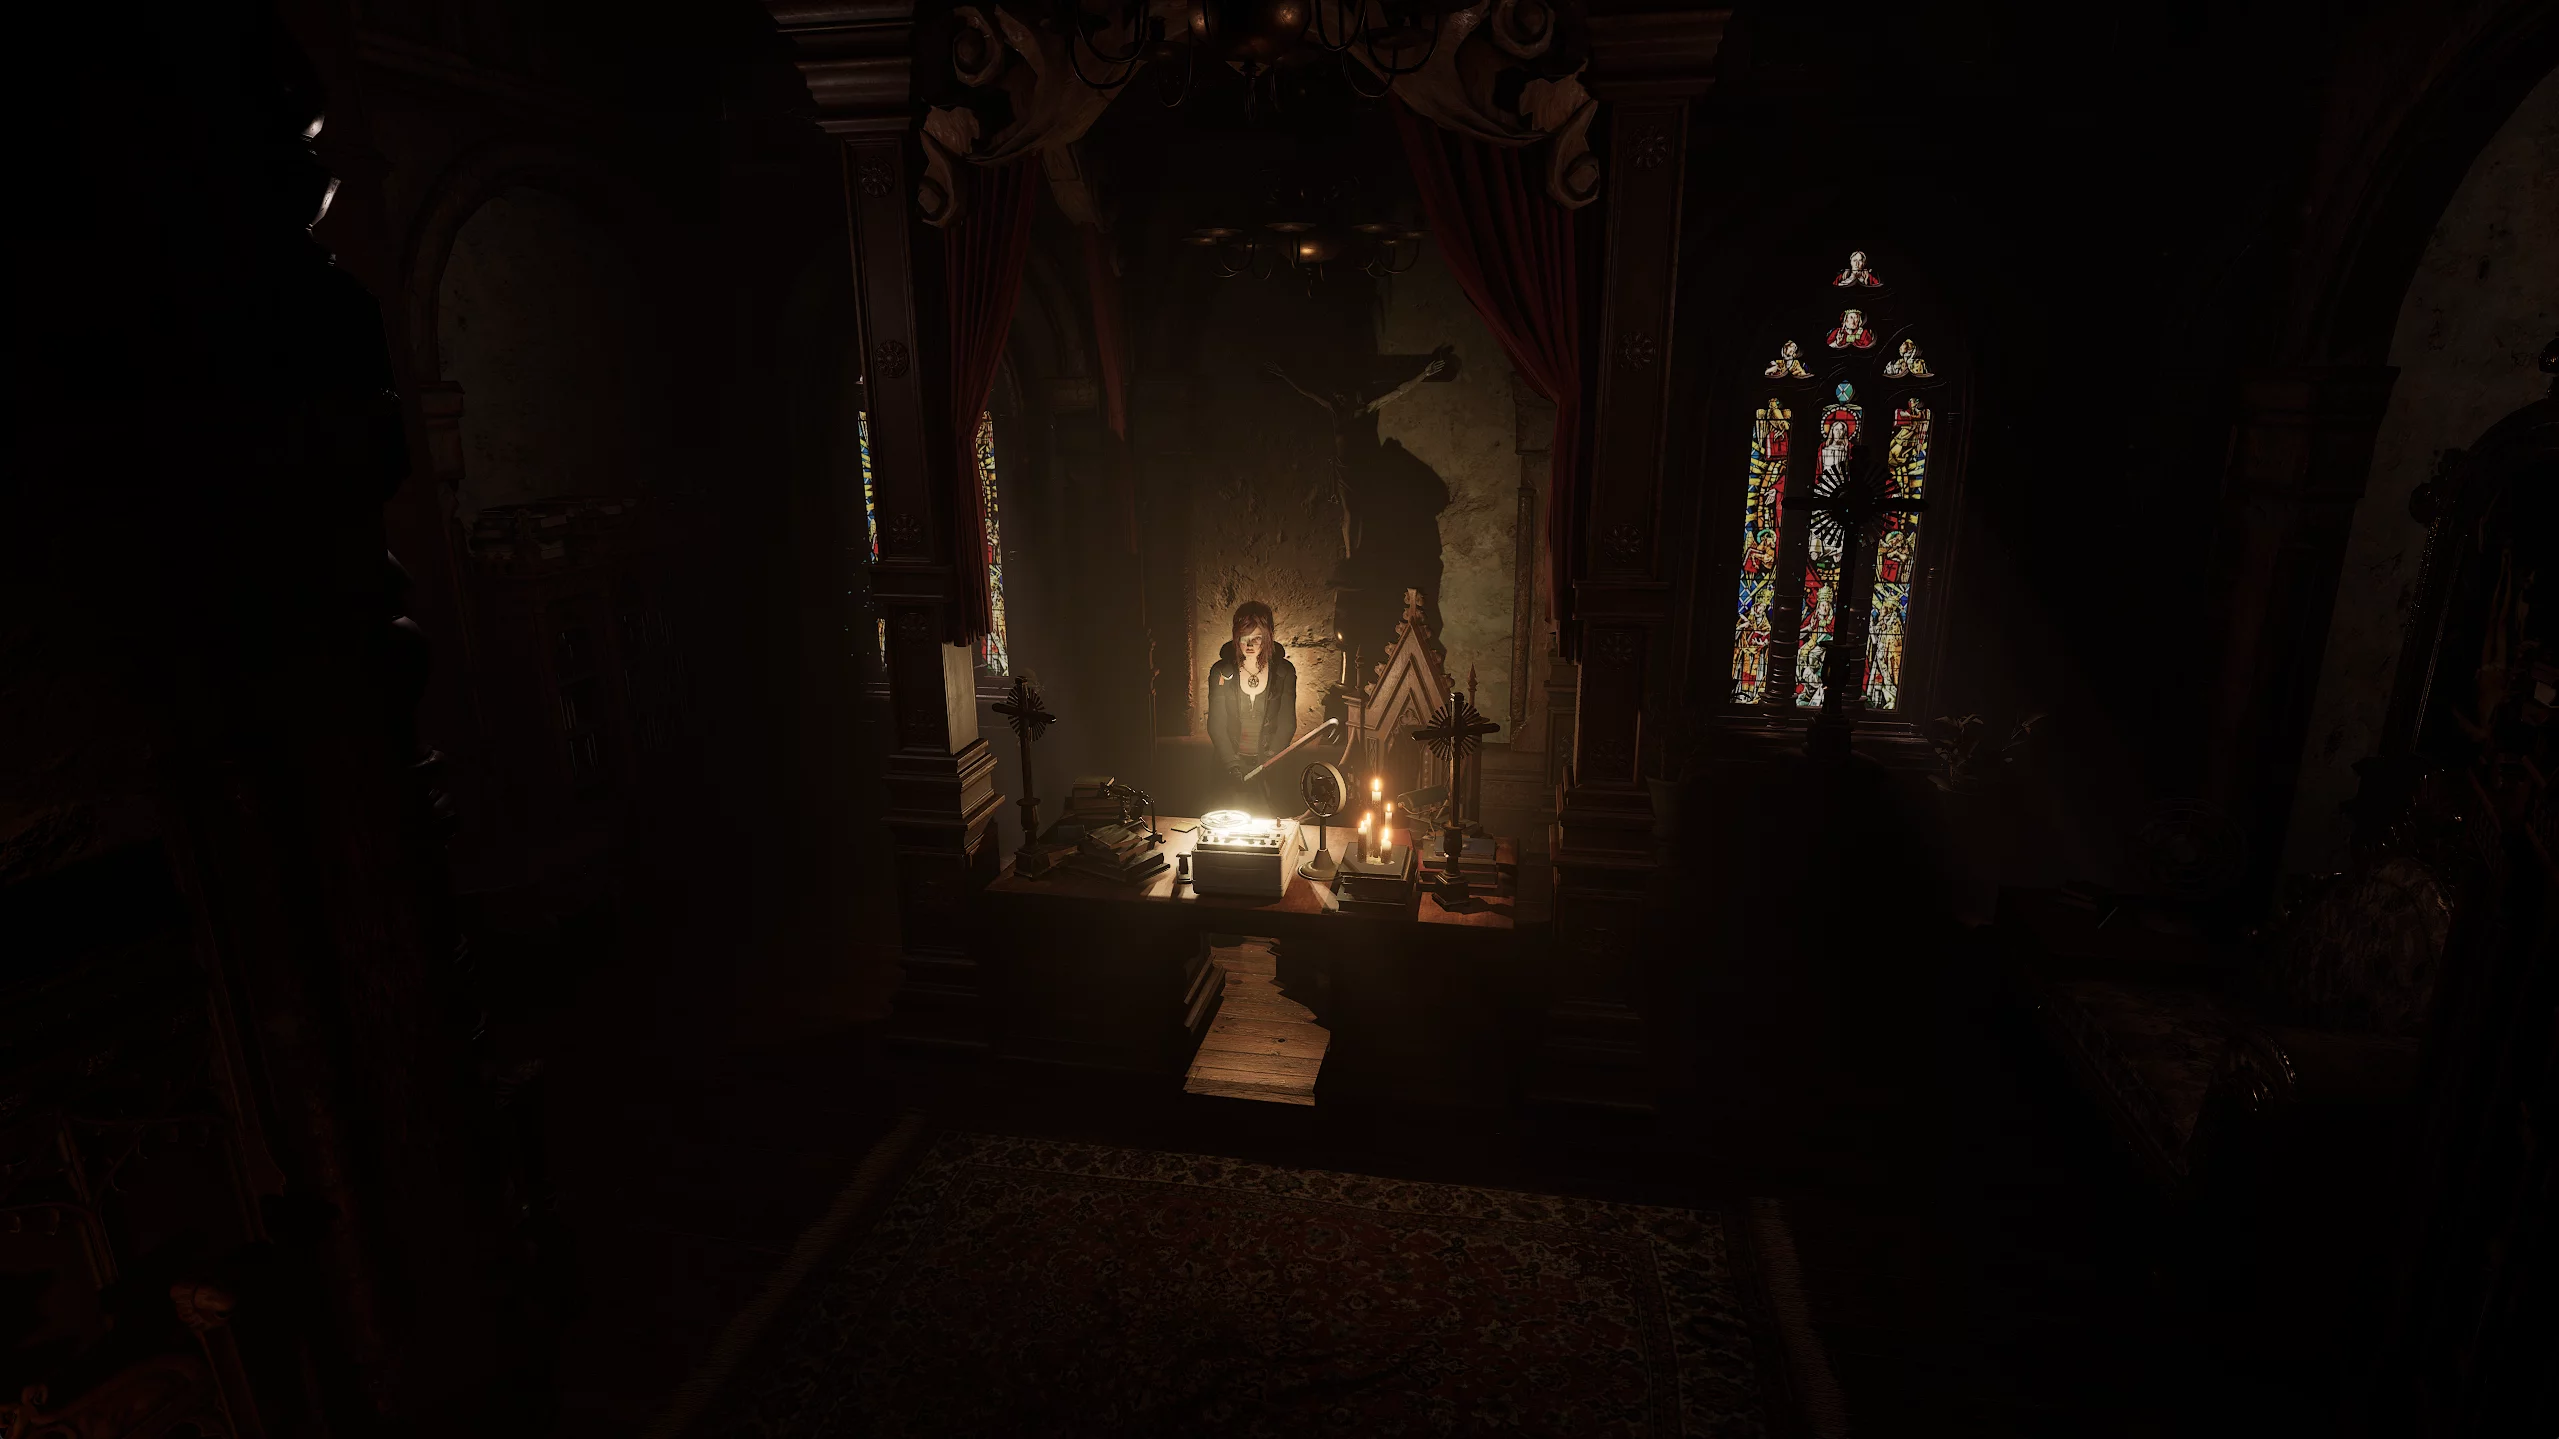
Explore the room and take the pliers from the drawer in the right corner. You'll also find medicine and magnetic tapes here — items that allow you to save your progress at special record players.
Once you've done everything you need, leave the room and, while the lights are flickering, head for the chapel. Go downstairs, break open the cage on the corpse's abdomen with the pliers, and get one of the main tools in the game — the lighter. It allows you to ward off the surrounding darkness, and you can also use it to light candles in rooms, so you always stay in the light.

With this item, return to the checkpoint and go through the corridor where there was darkness before.
How to Get the Nail Gun
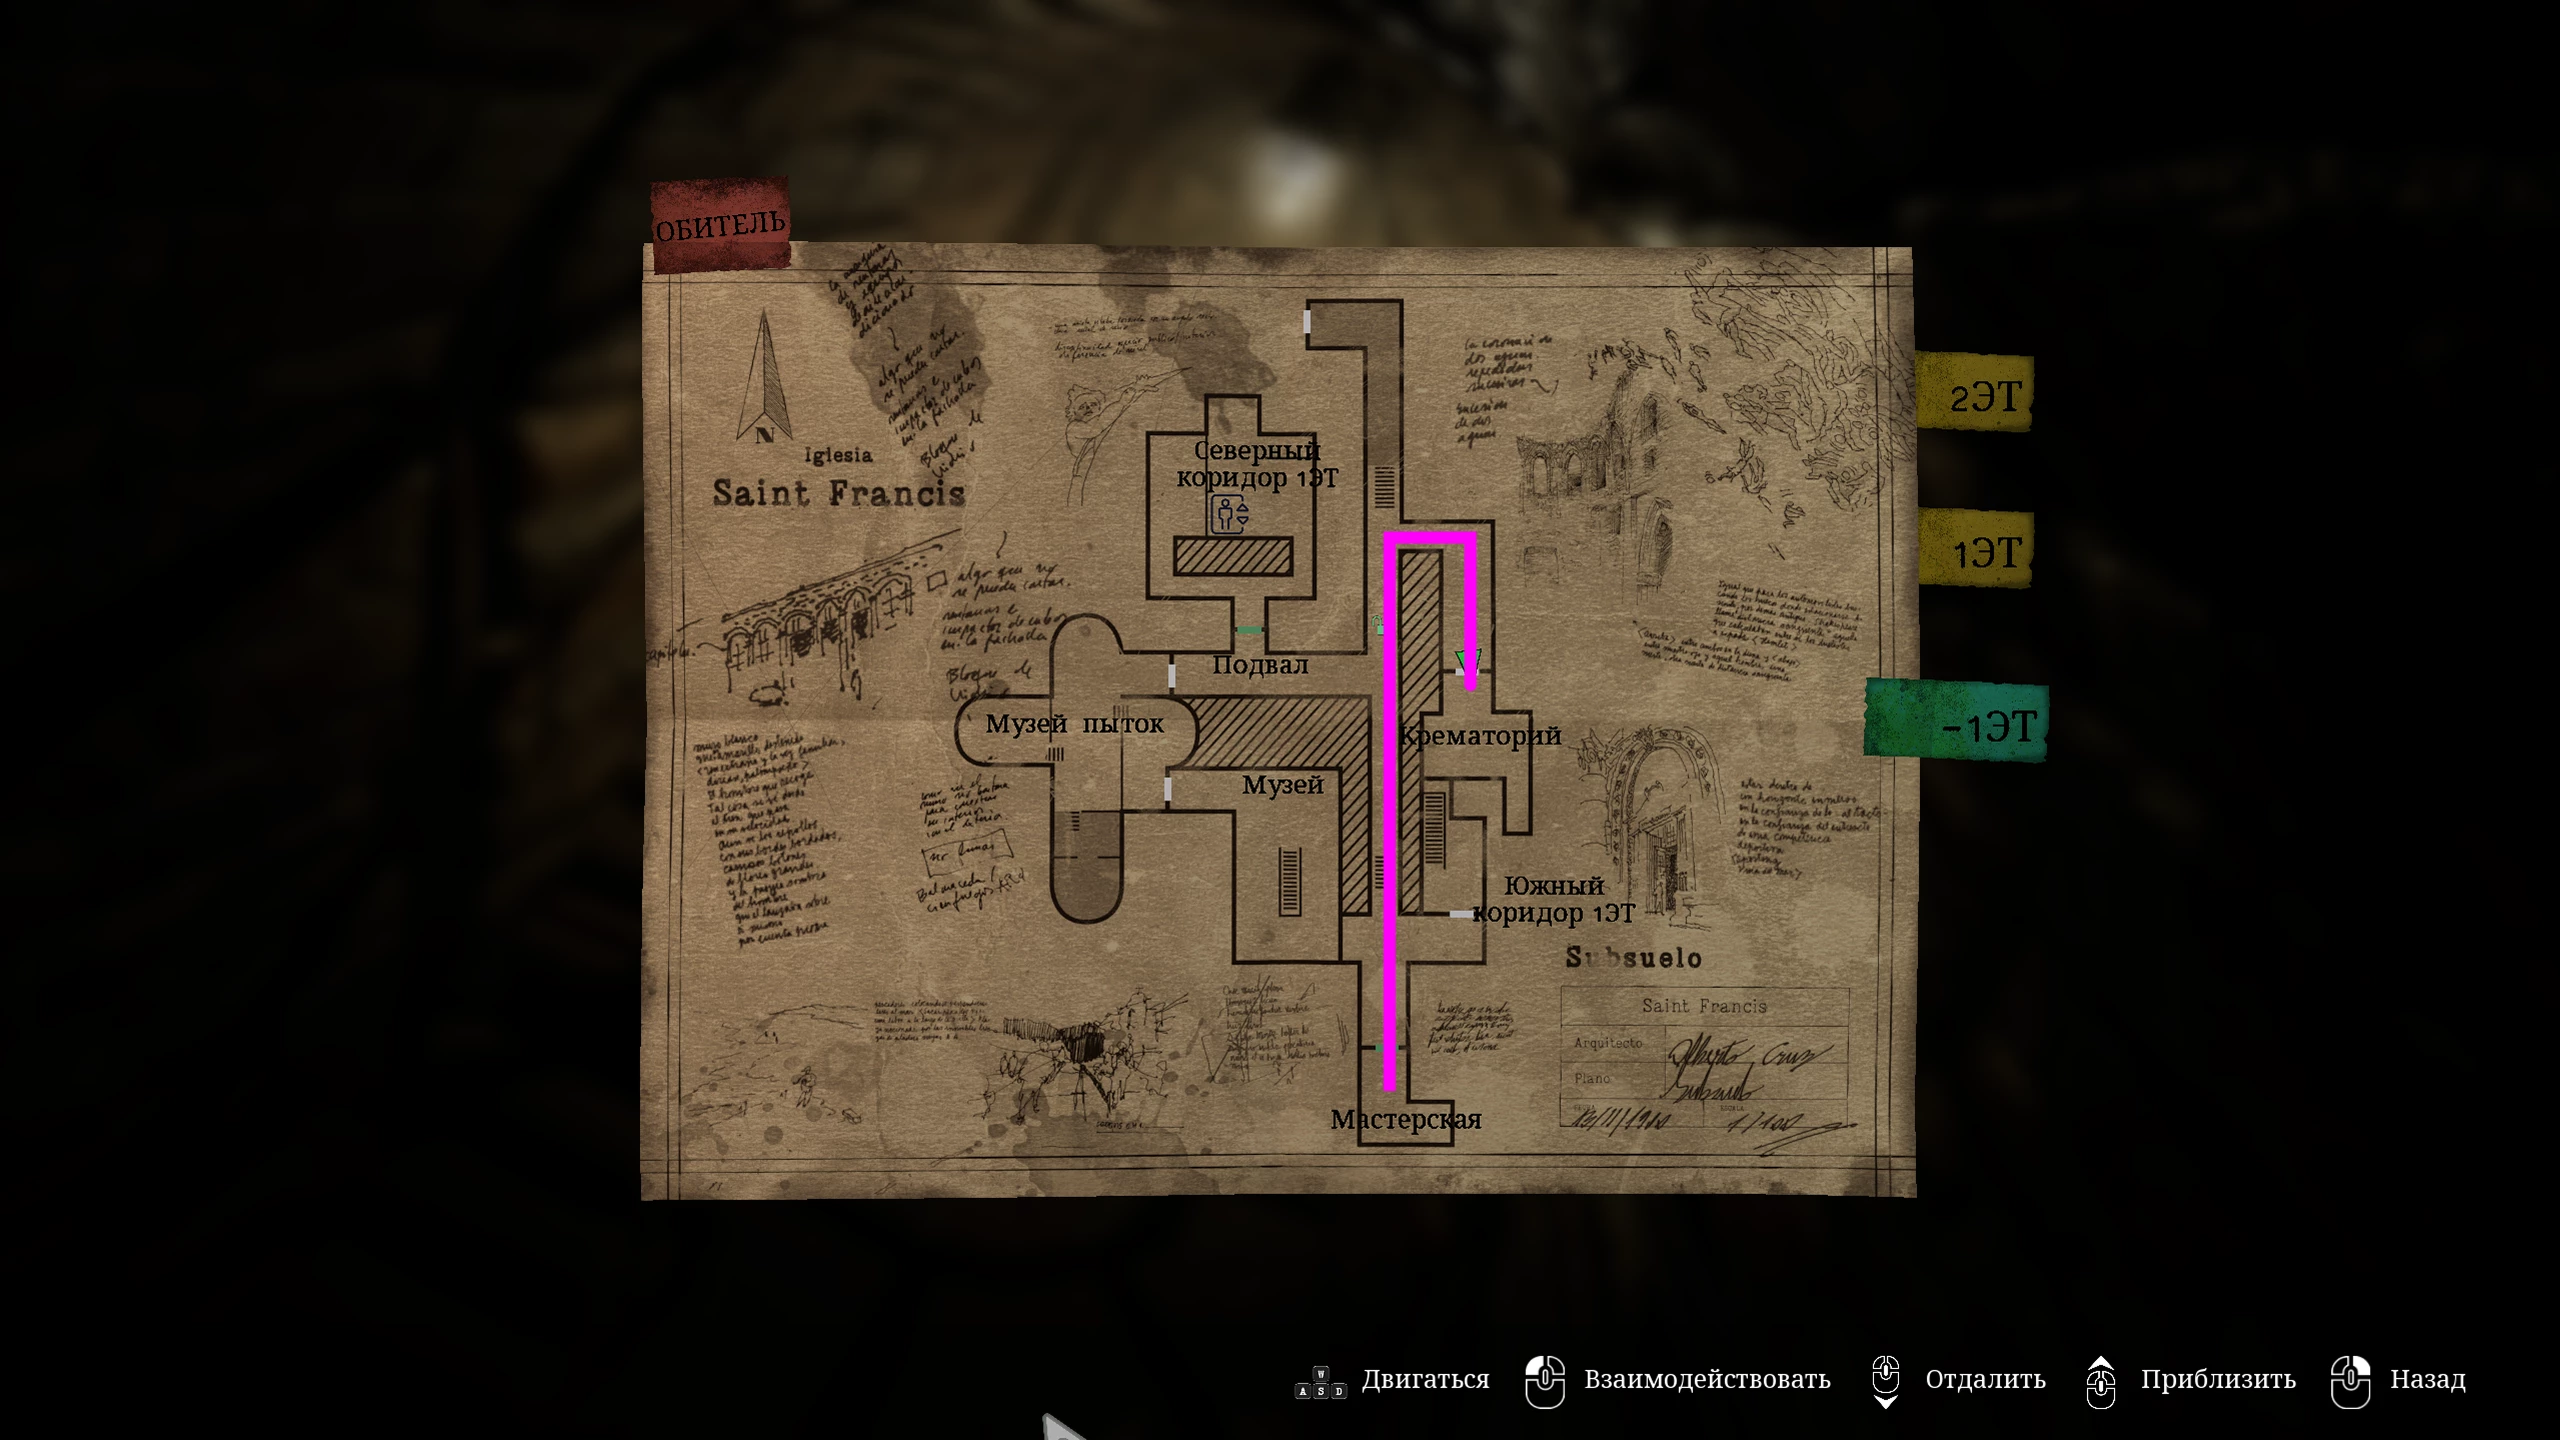
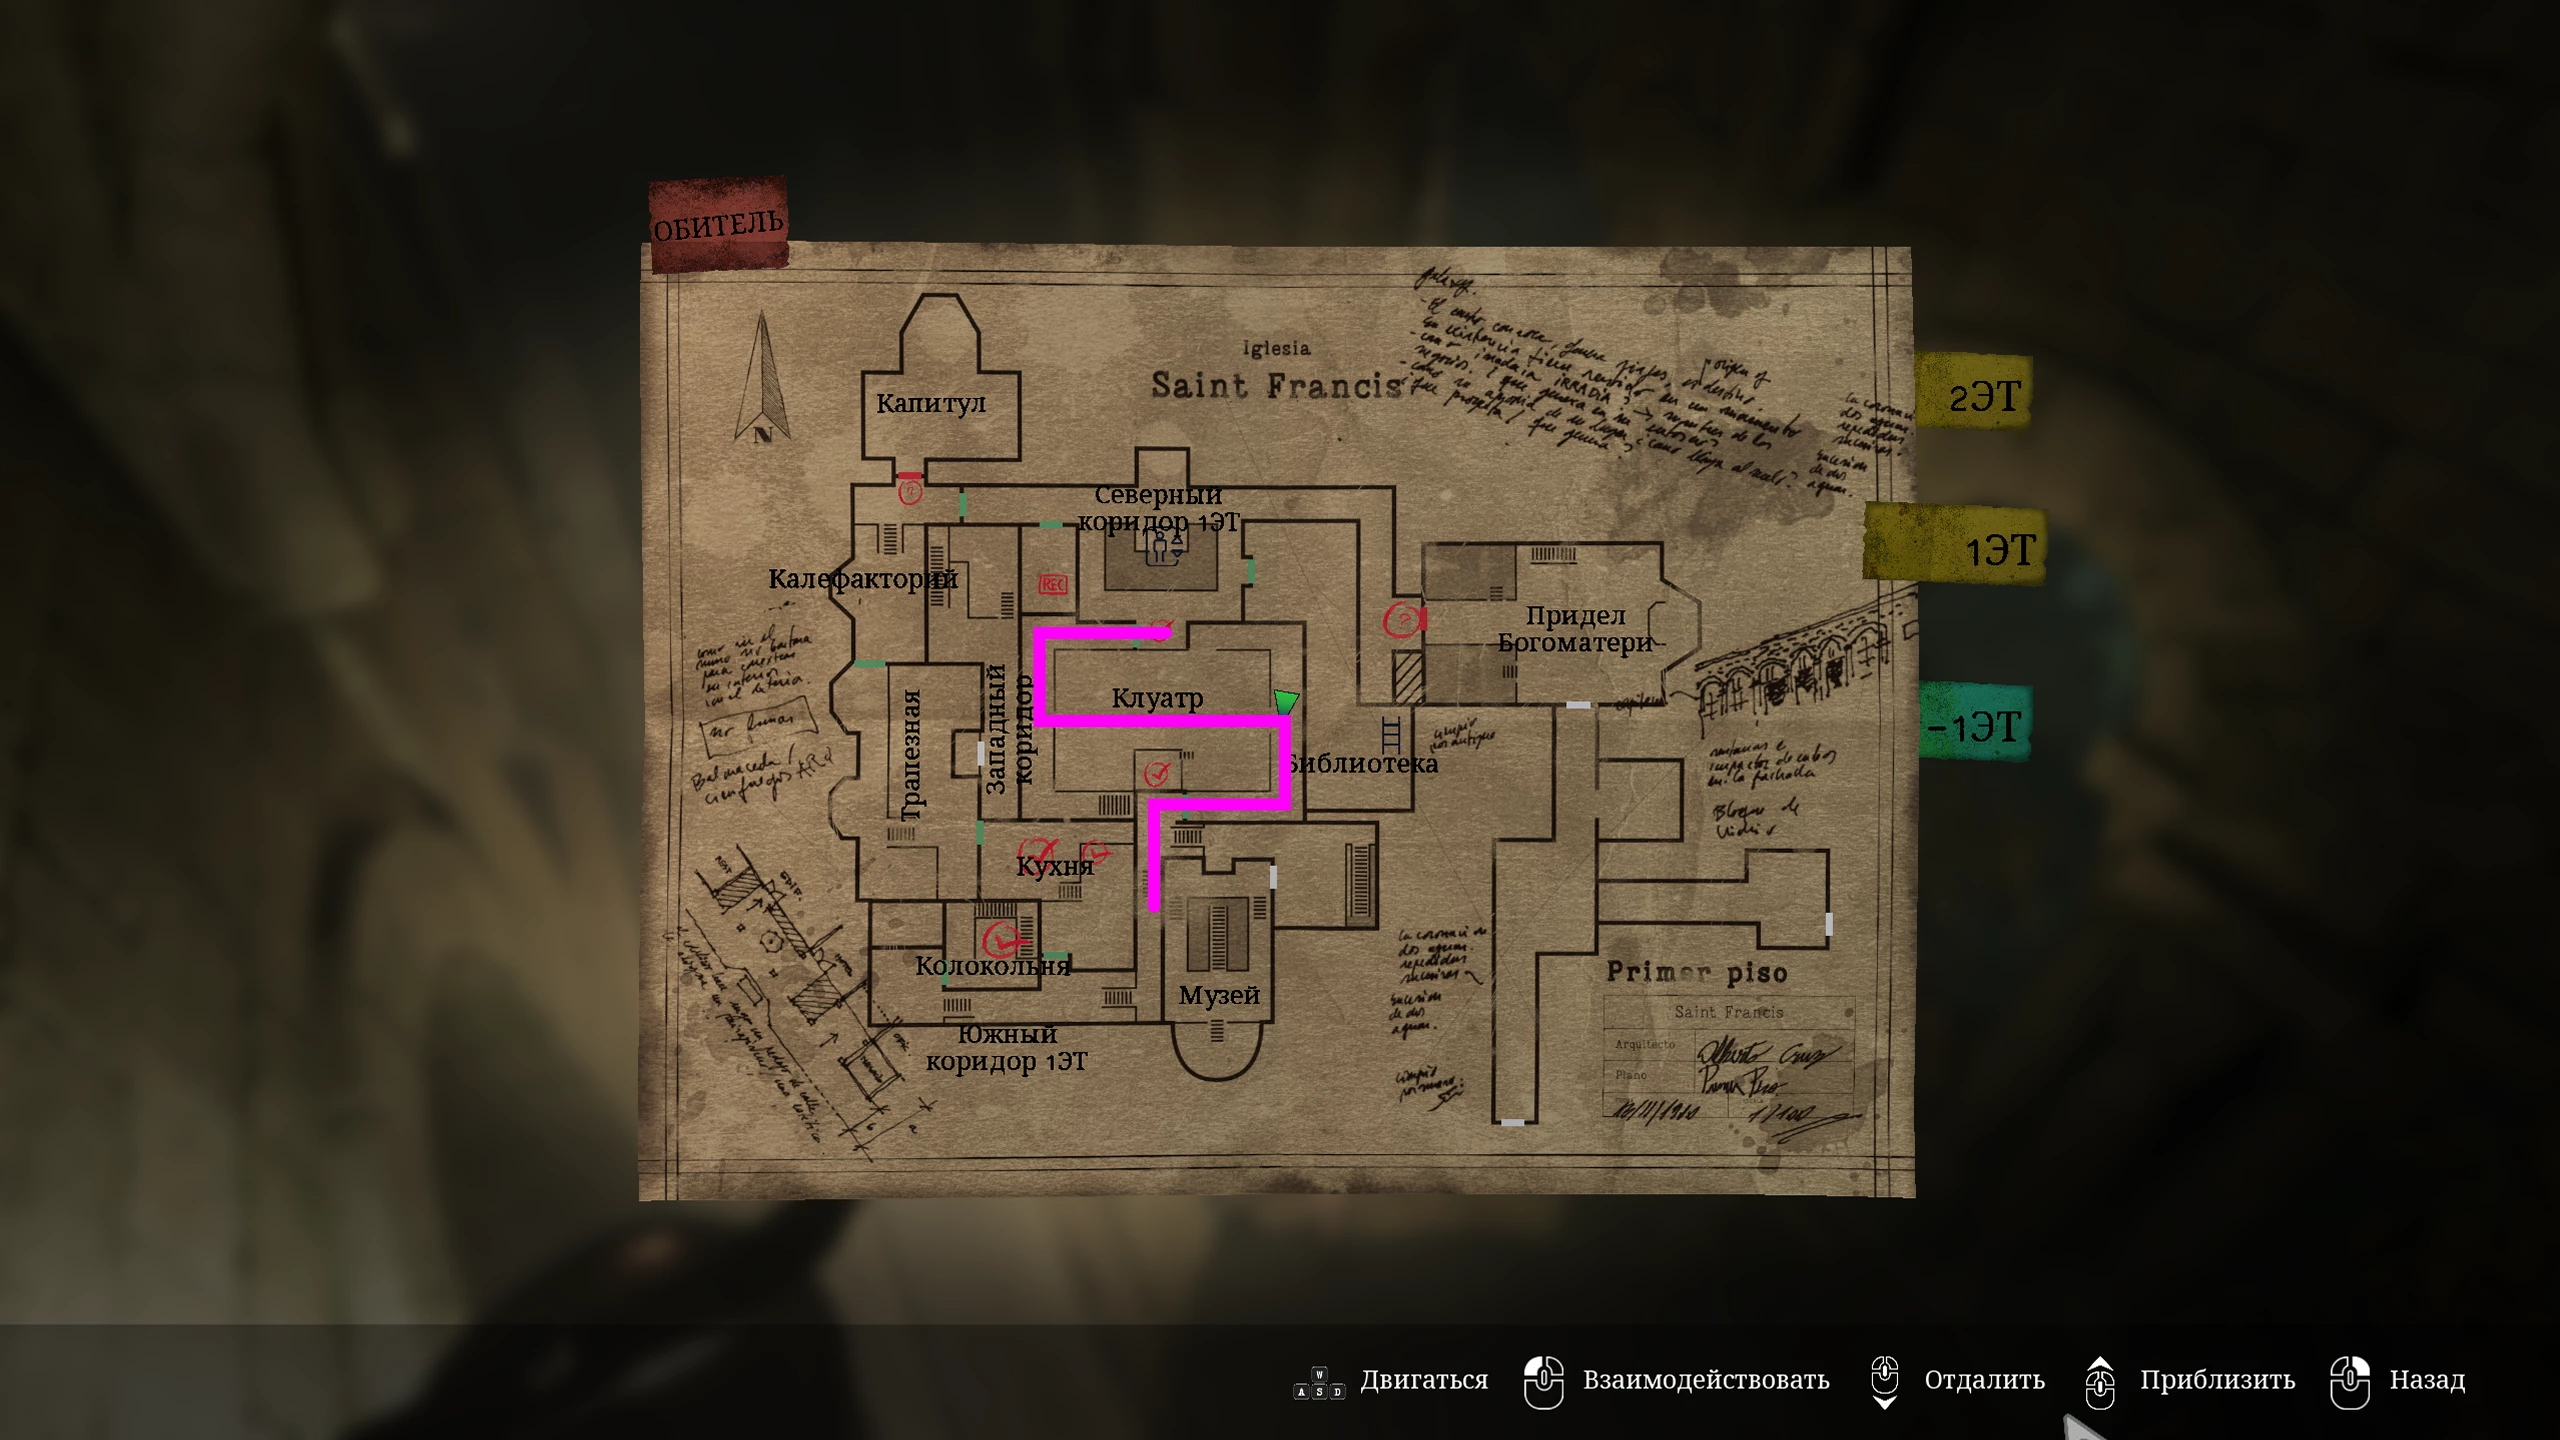
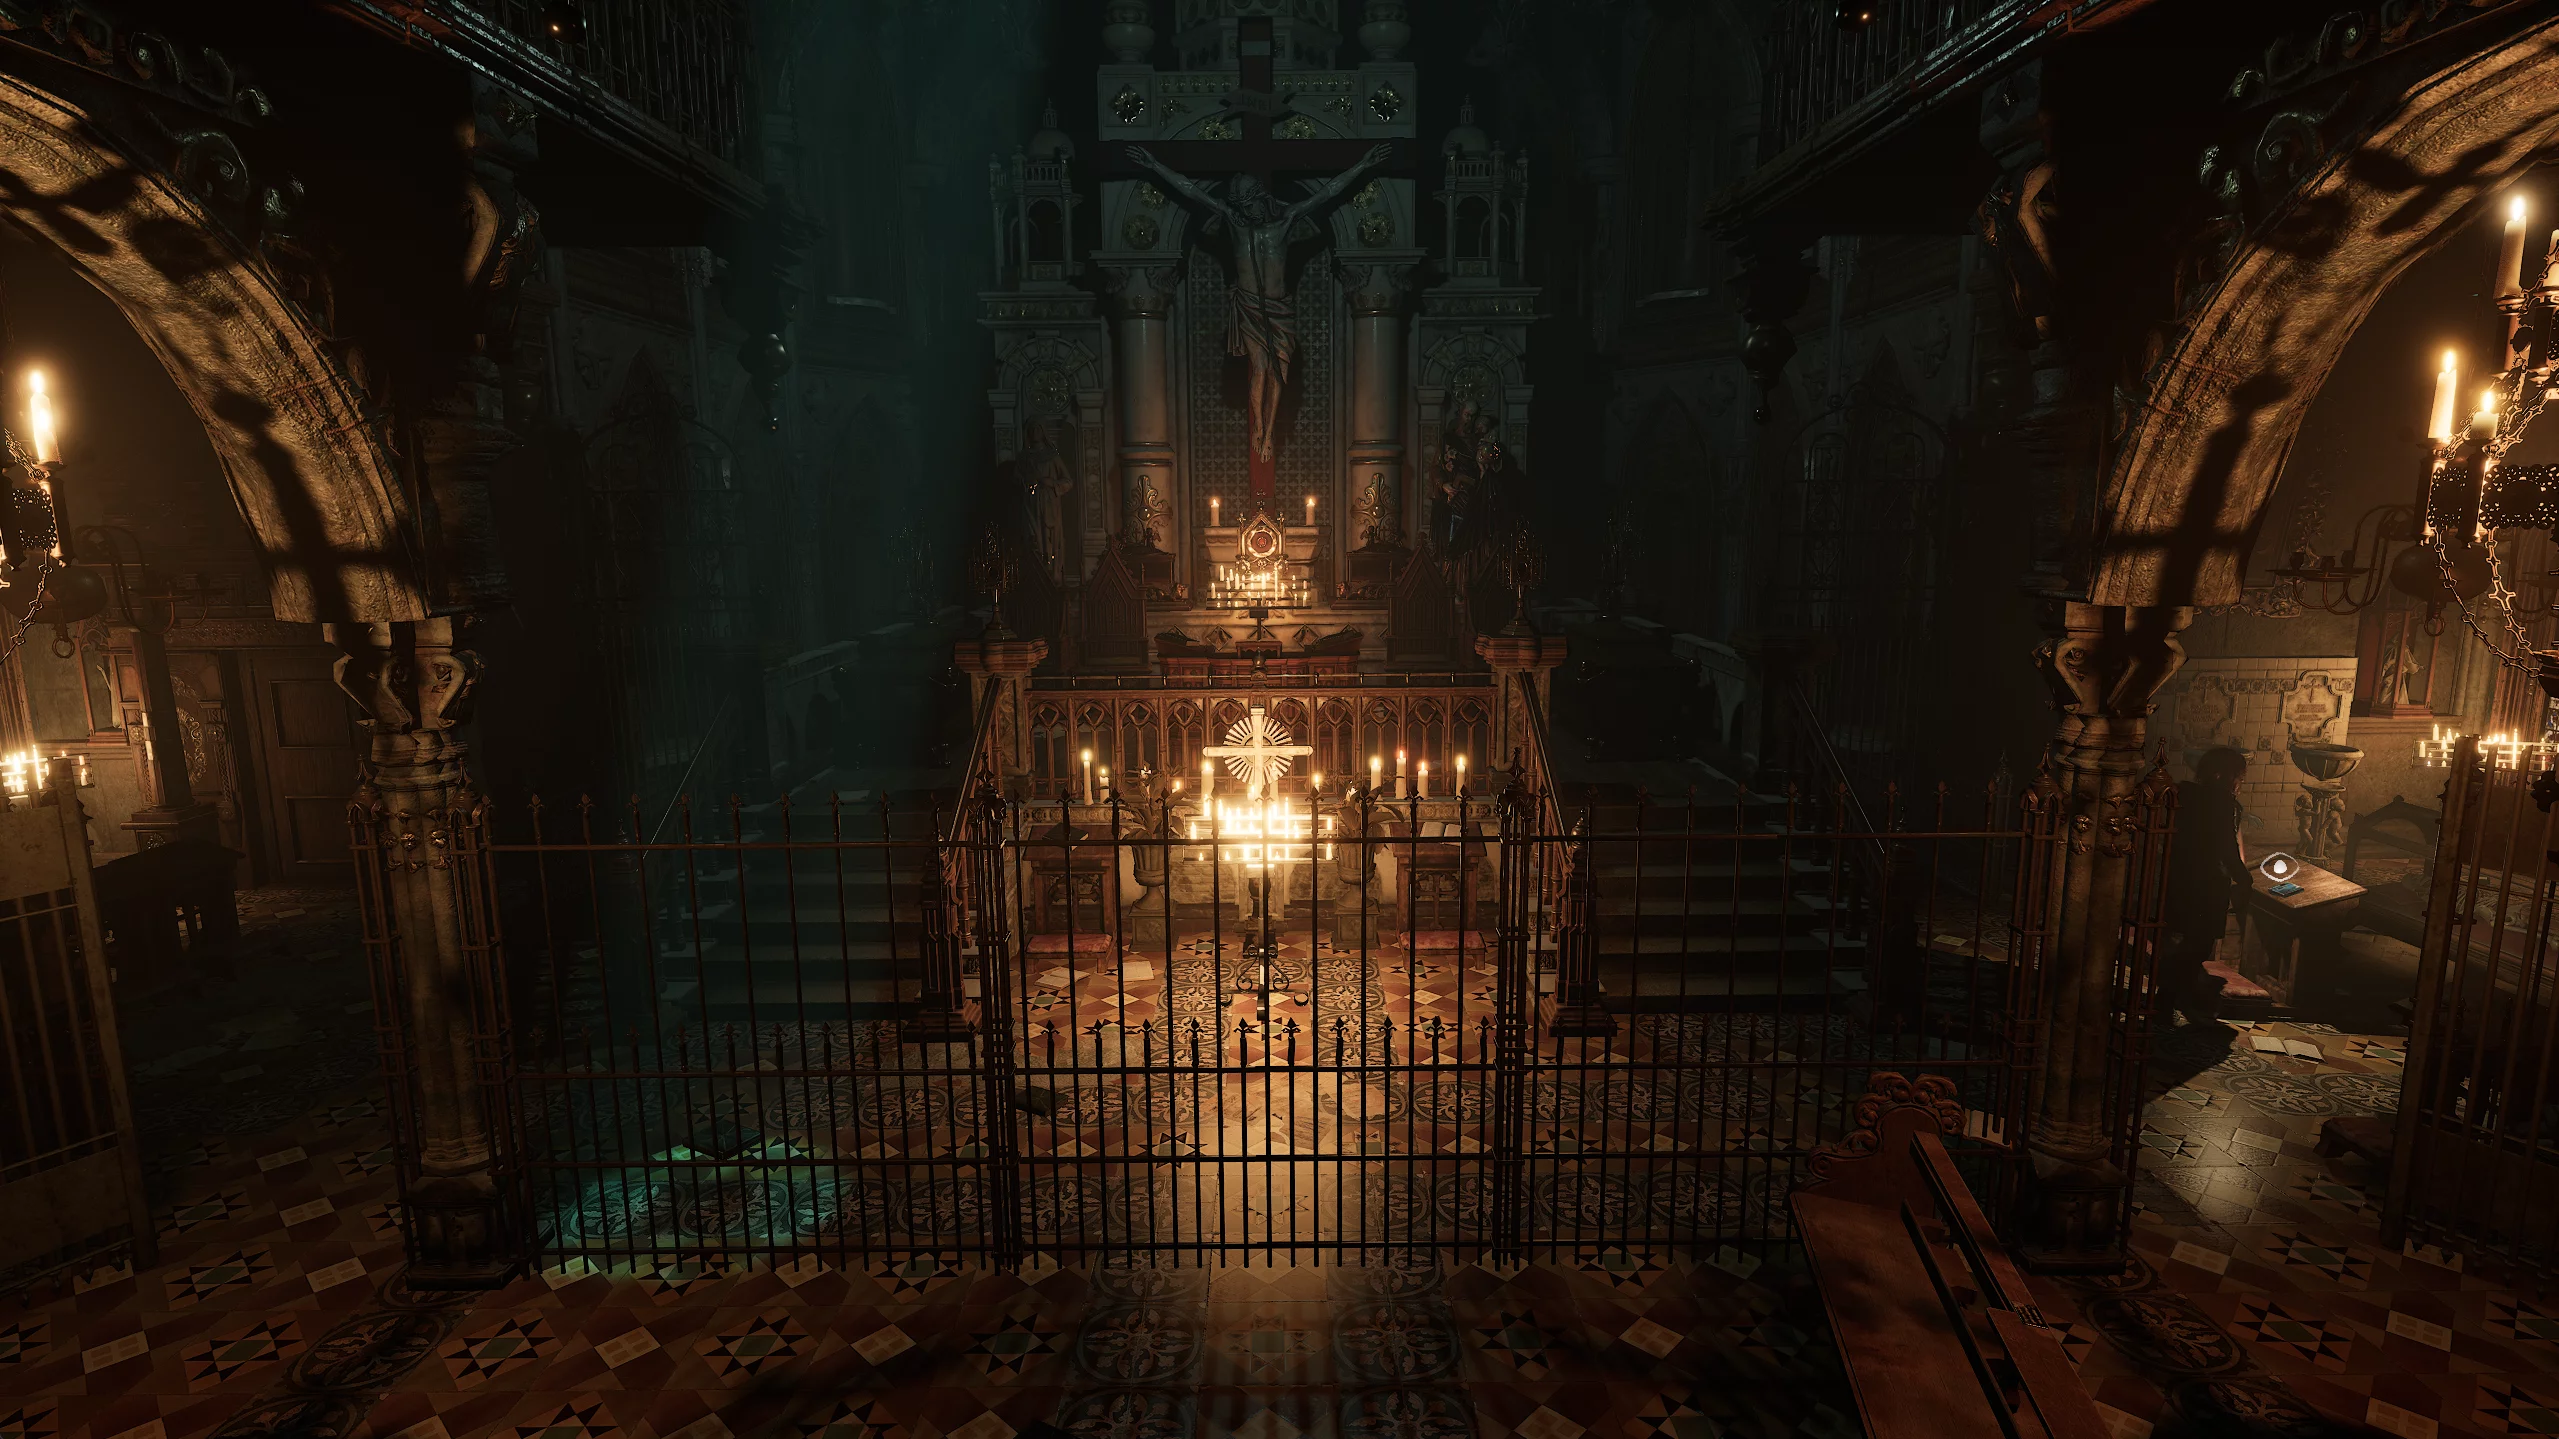
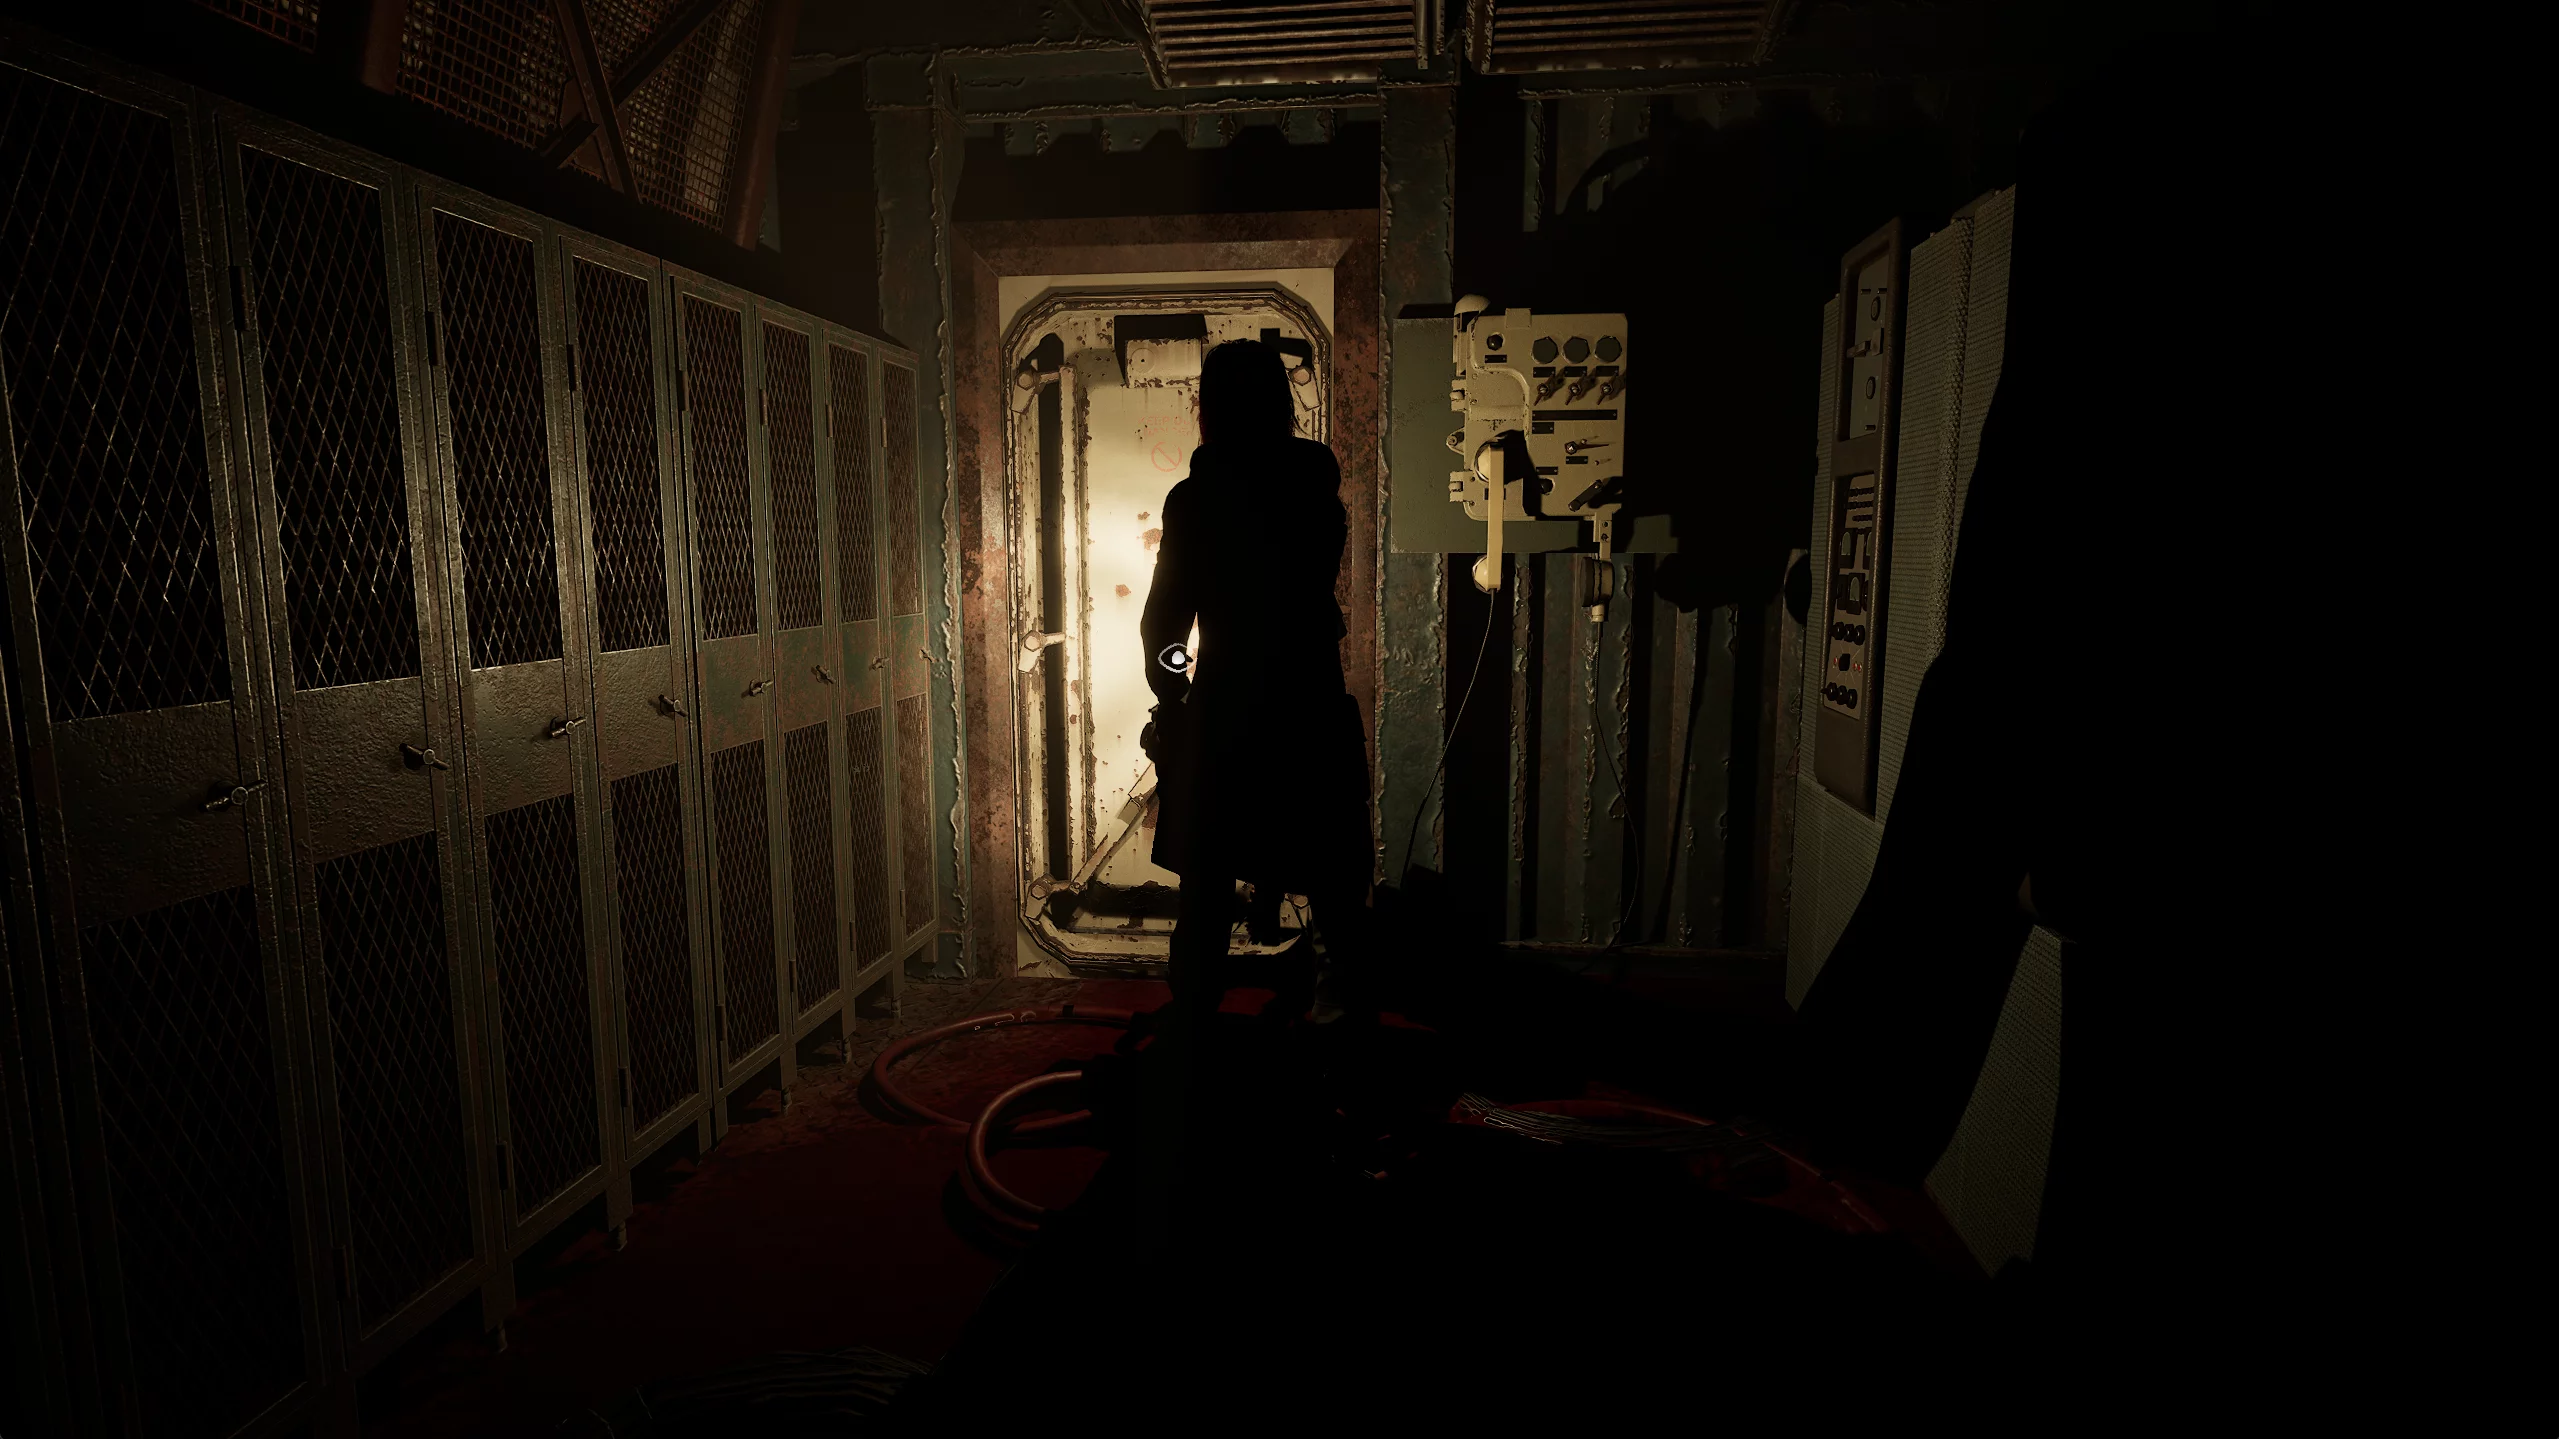
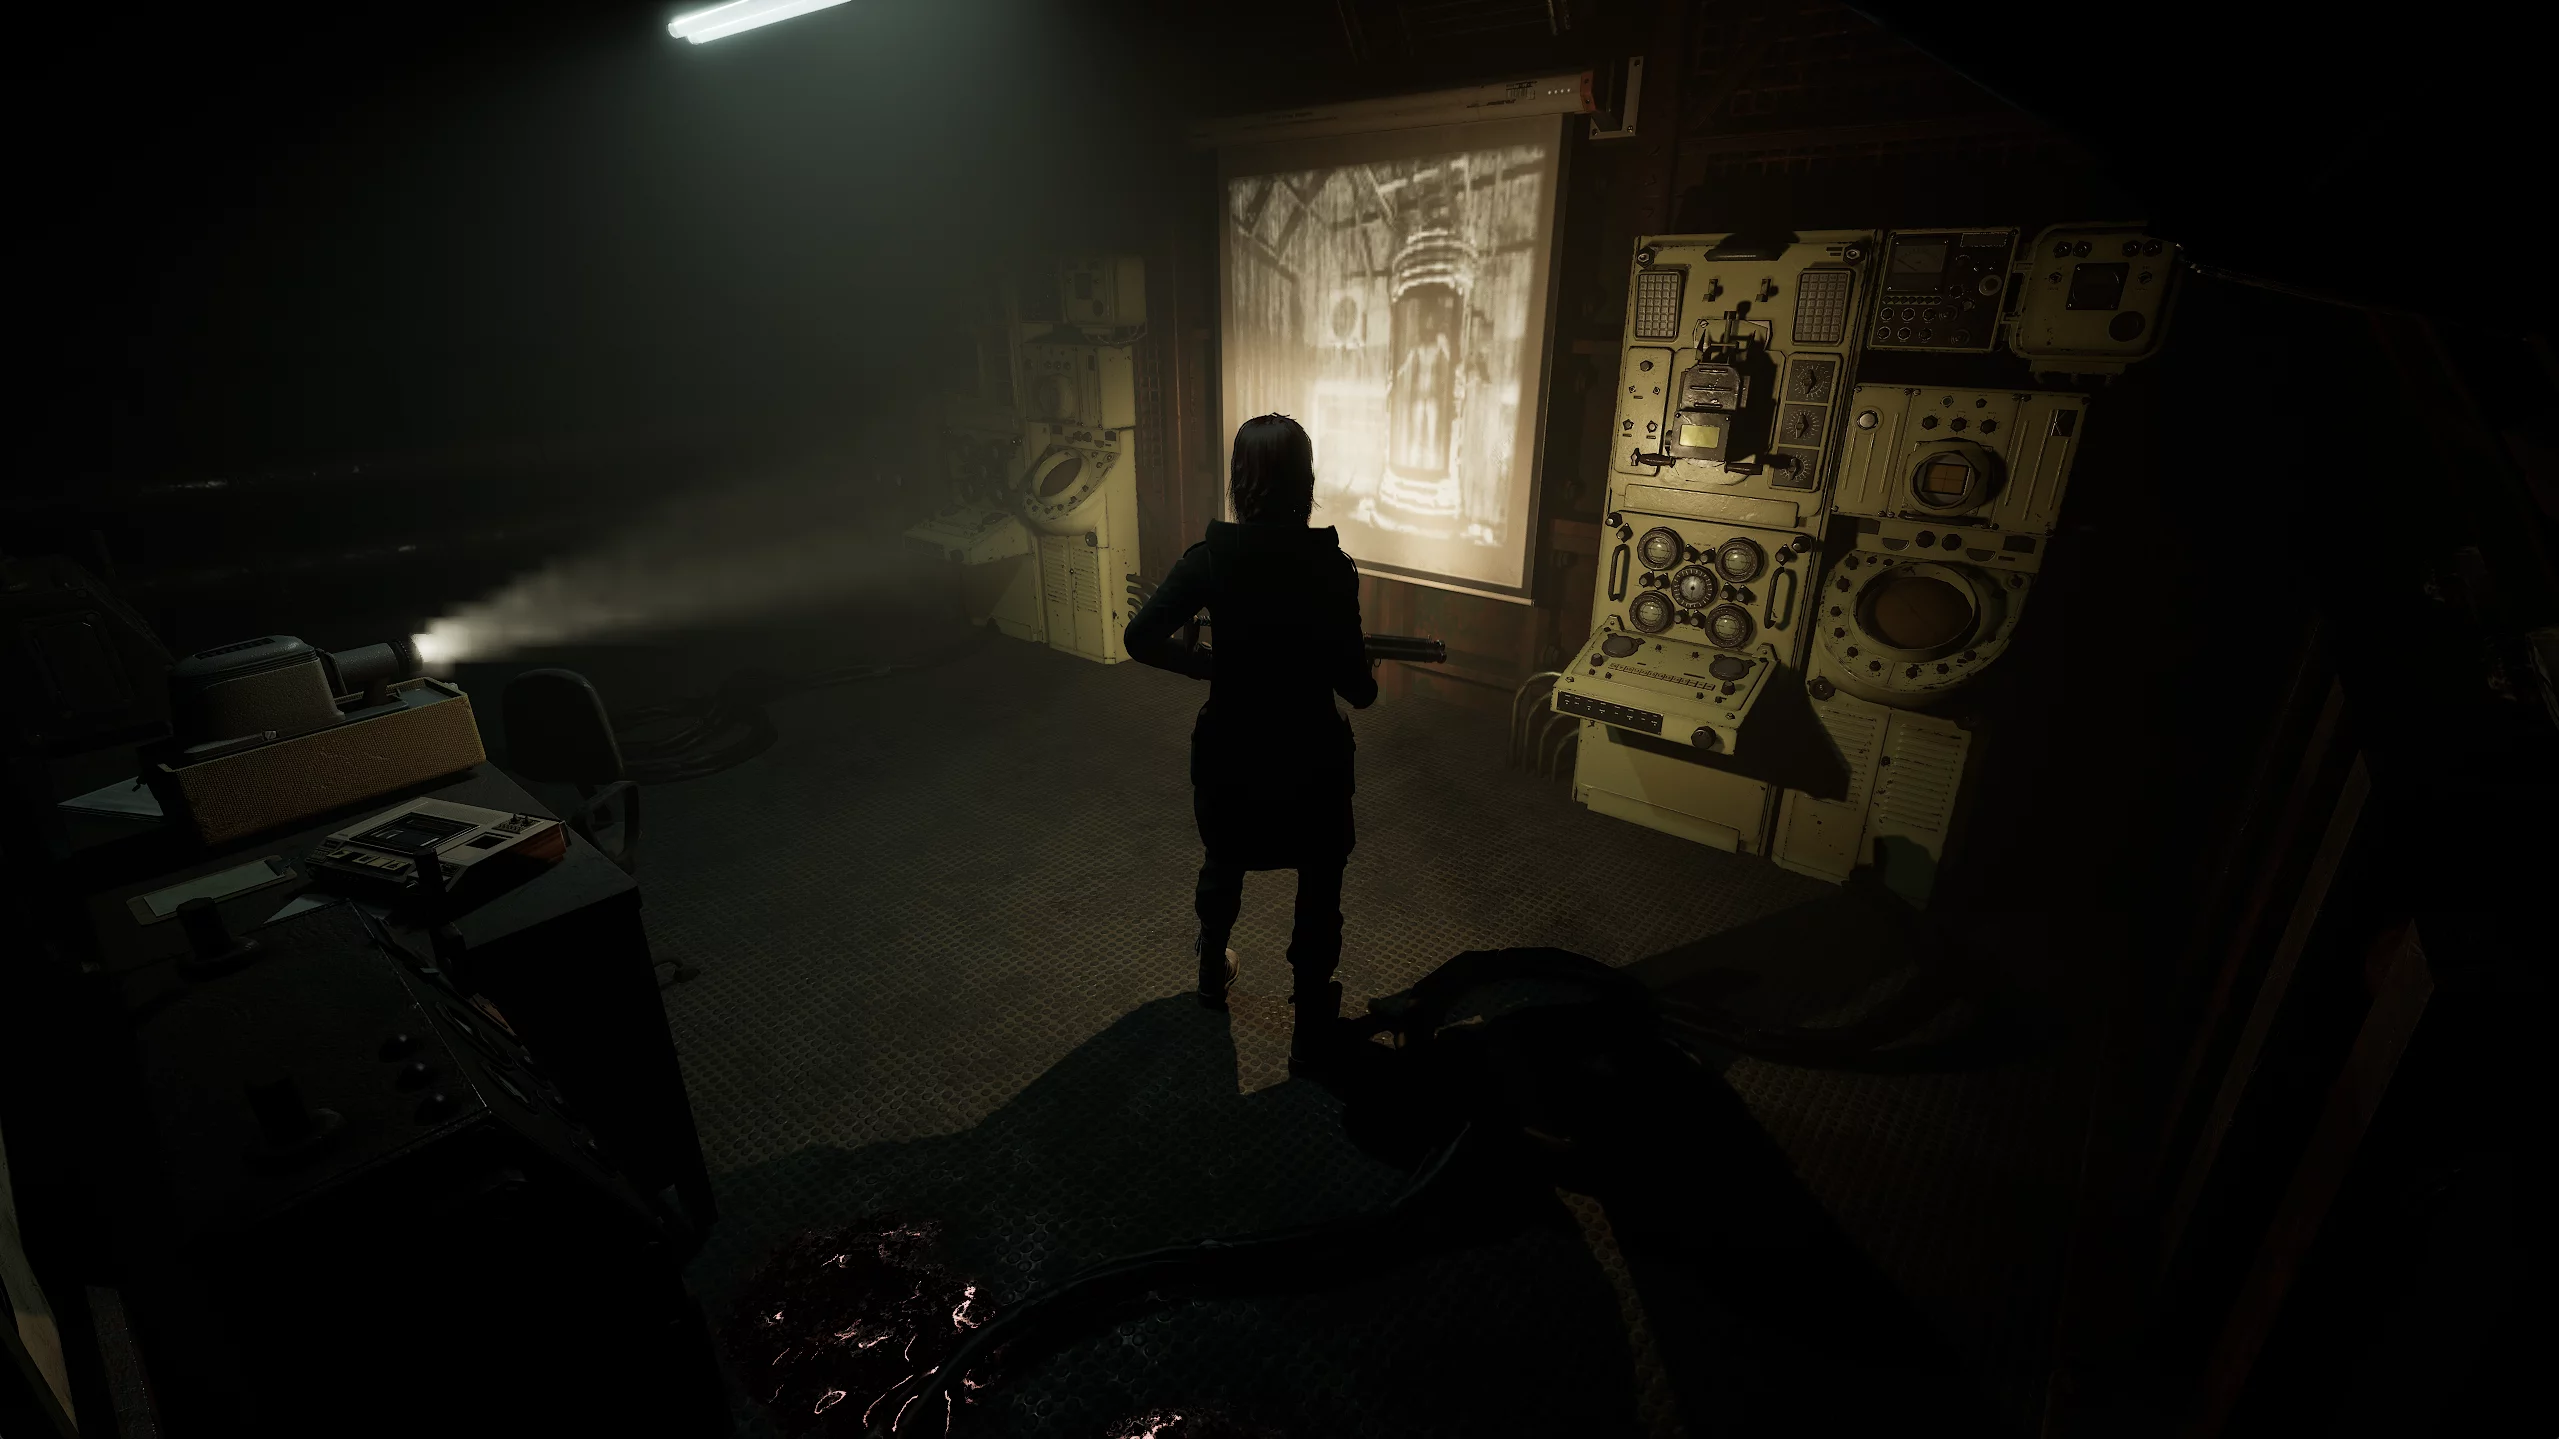
The path leads you to the library. Go down the stairs and approach the lit writing desk, where you'll find the residence map. From there, return to the north corridor on the first floor and head to the main hall where you were separated from your sister.
The red smoke at the door to the residence has cleared, and the whole surface is covered in tentacles. On the opposite side, there’s a lever that will restore the elevator in the main hall to working order.

Don’t forget to visit the room where the church nuns settled you in the morning. Here you can change the protagonist’s outfit and also get two magnetic tapes. Before the next stage, it’s recommended to use one and save your progress.
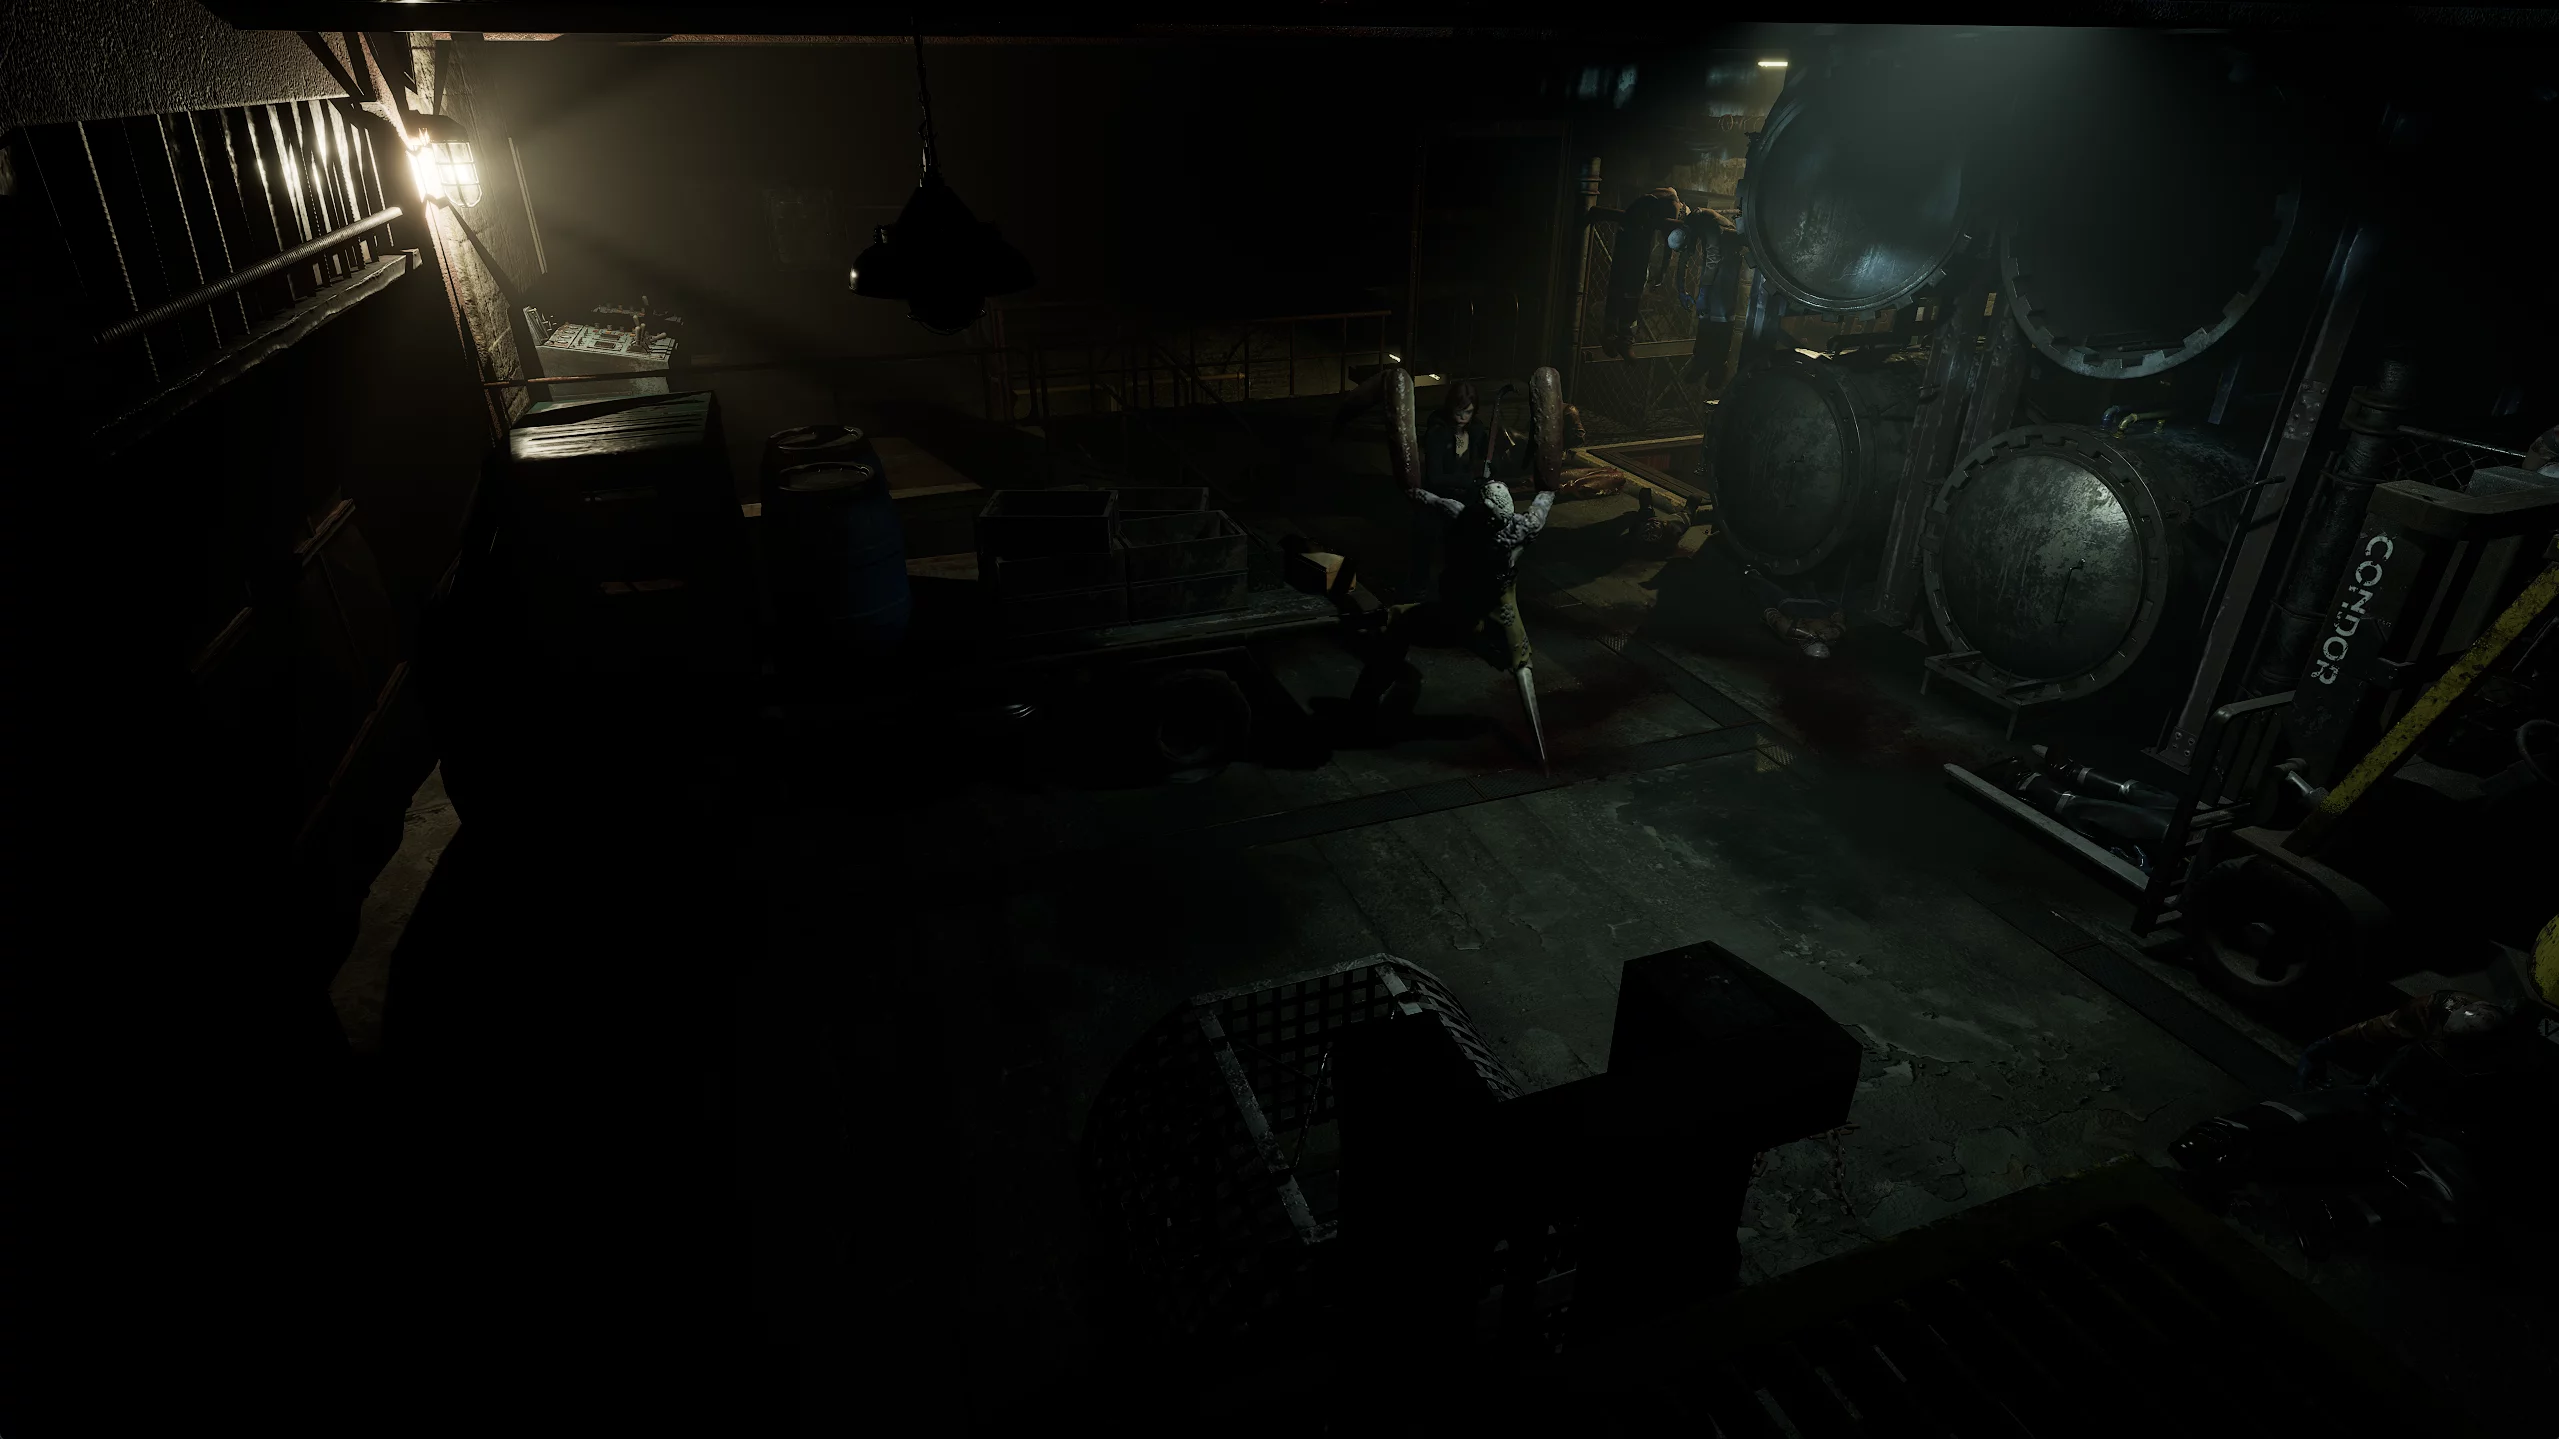
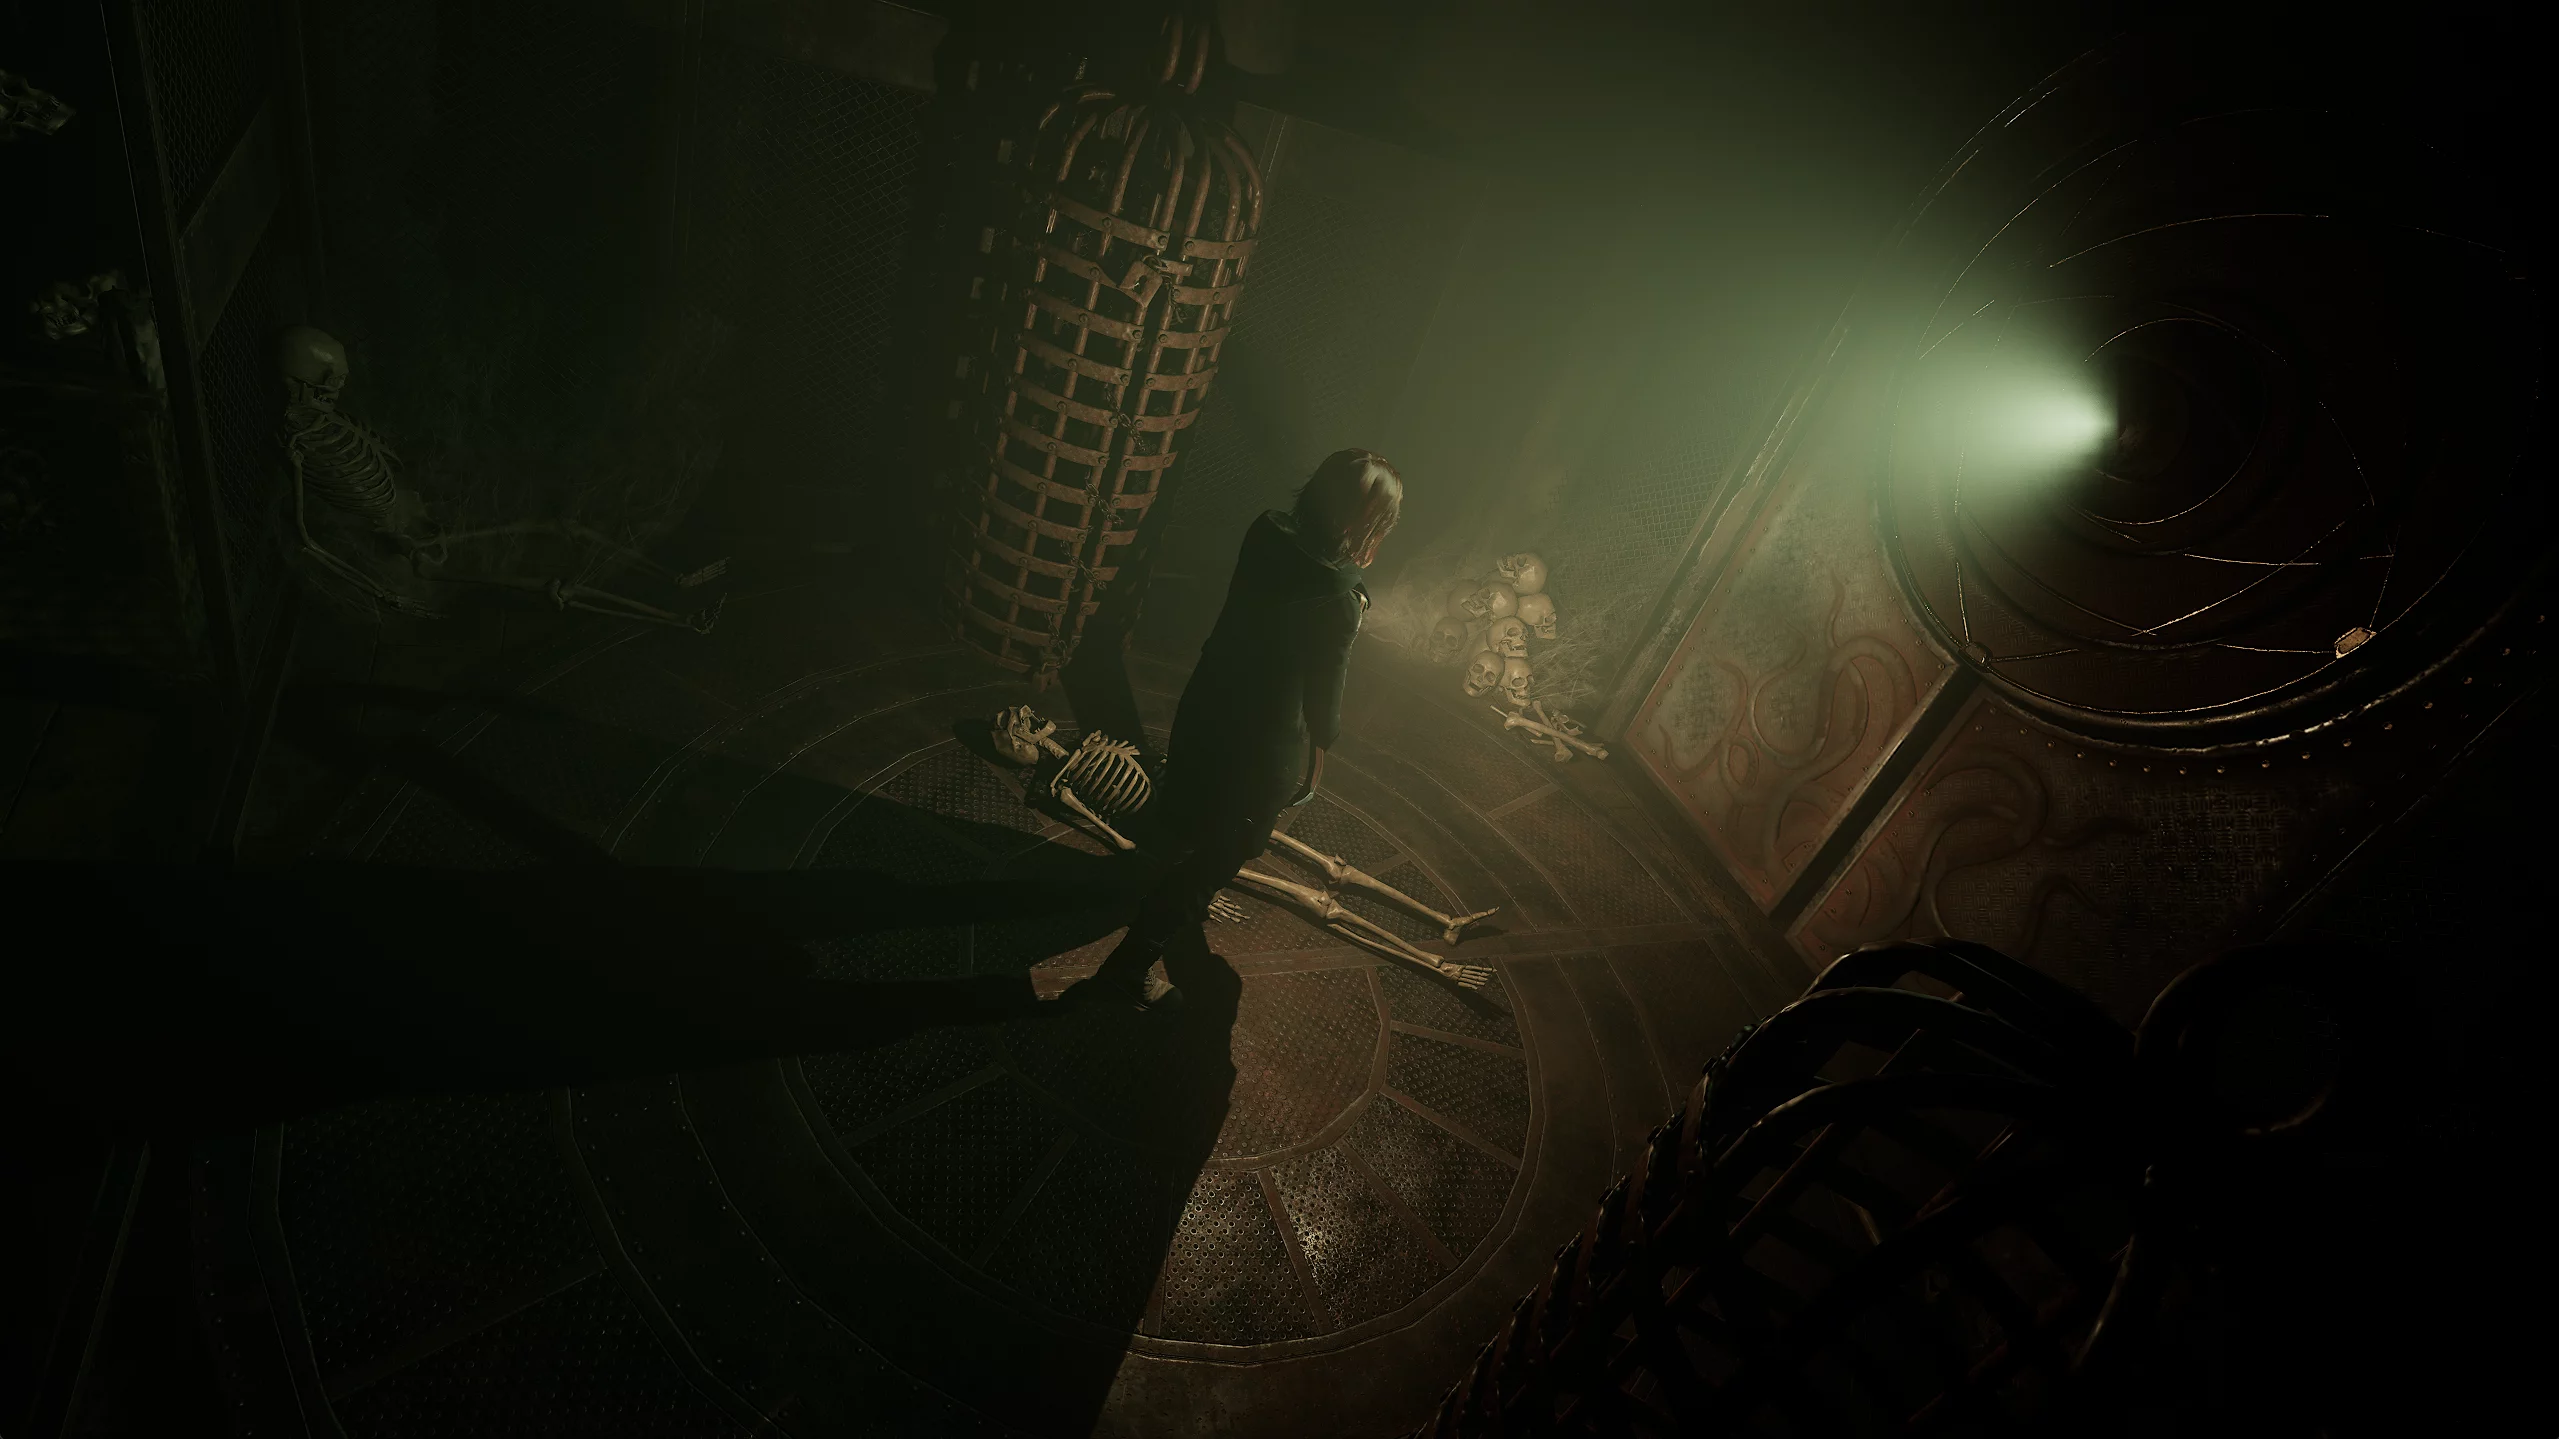
Take the elevator down to the abandoned catacombs and encounter the first enemy in the game. Run straight ahead to the workshop.
Once in the right room, search it for a compressed air tank and a nail gun handle.
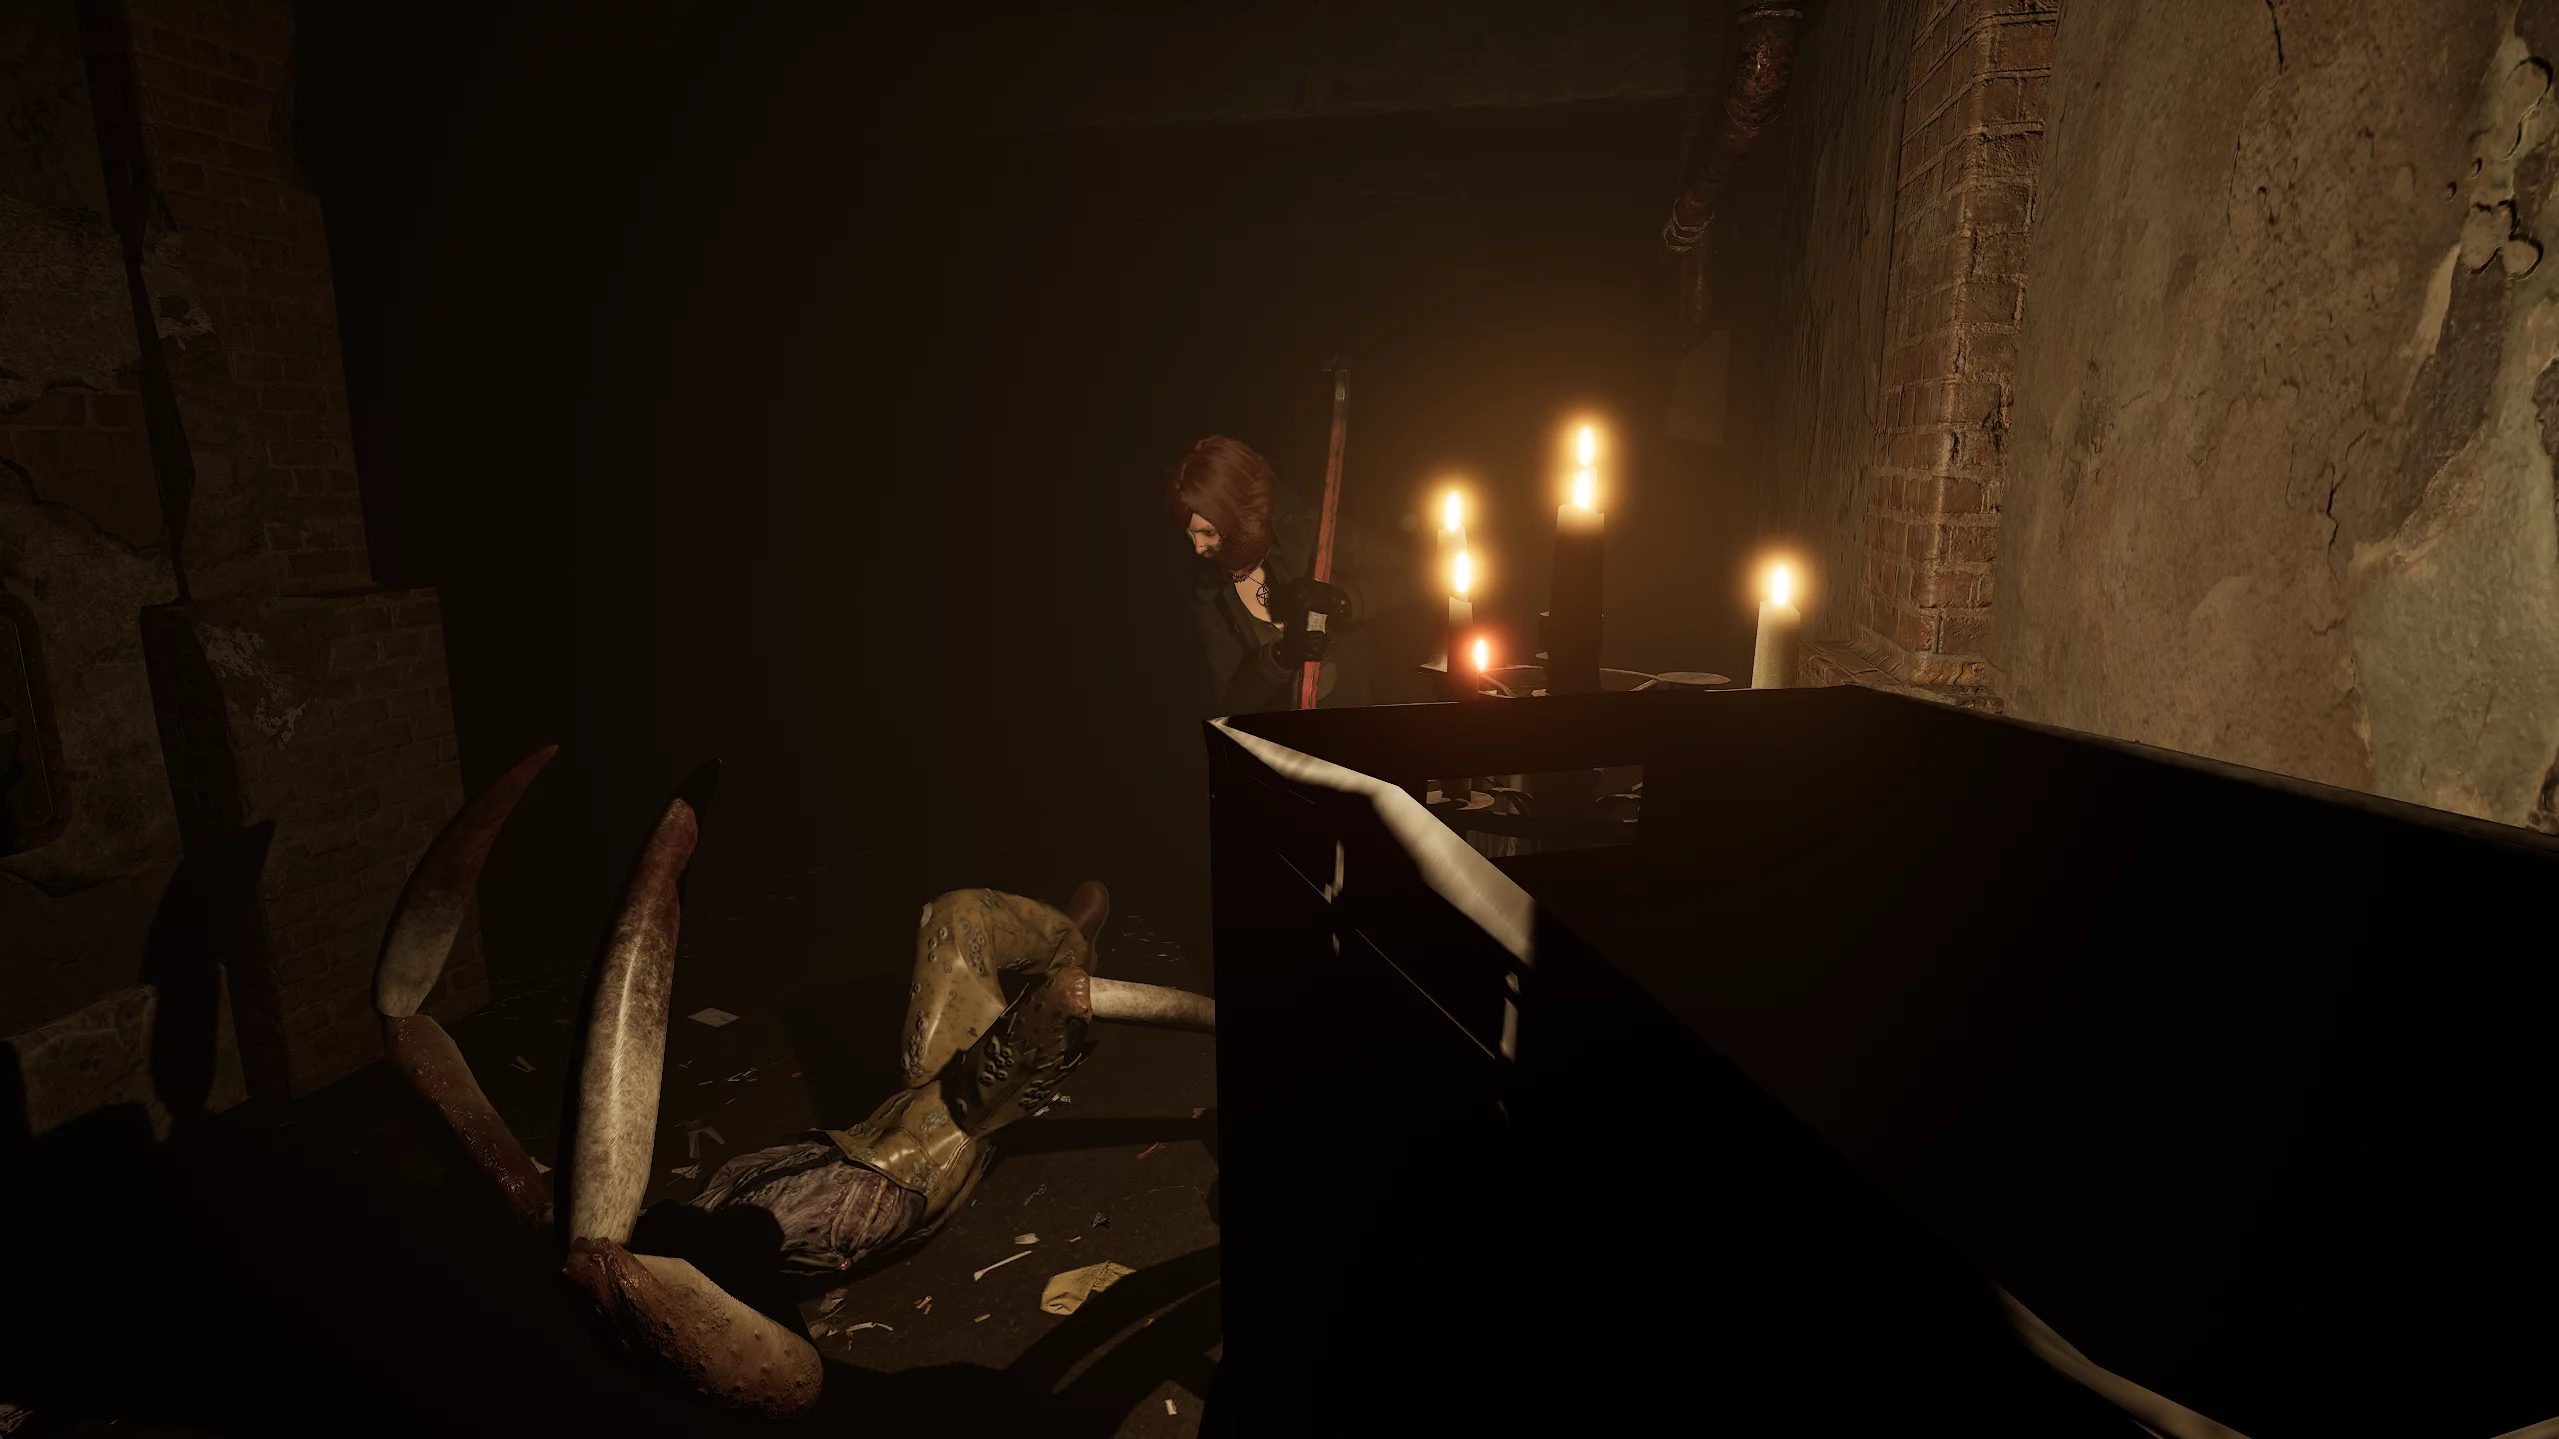
Combine the two components to get your first real weapon — the nail gun. Strangely enough, its ammunition is nails. You can find a small clip with eight rounds in the workshop. Now Caroline can fight back against the local ghouls. It takes five nails to defeat one such enemy, so don’t waste them.
Leave the workshop and head to the ghoul that was previously behind a cage. He breaks the lock and escapes. Avoid him and continue through the winding passages, dodging hidden traps everywhere, in search of the crematorium.
Searching for the Sacred Book
Go right at the turn to the far room in the basement and meet Joseph. He asks you to find the sacred book, which can help Caroline open the door to the Virgin Mary’s chapel to save Anna.
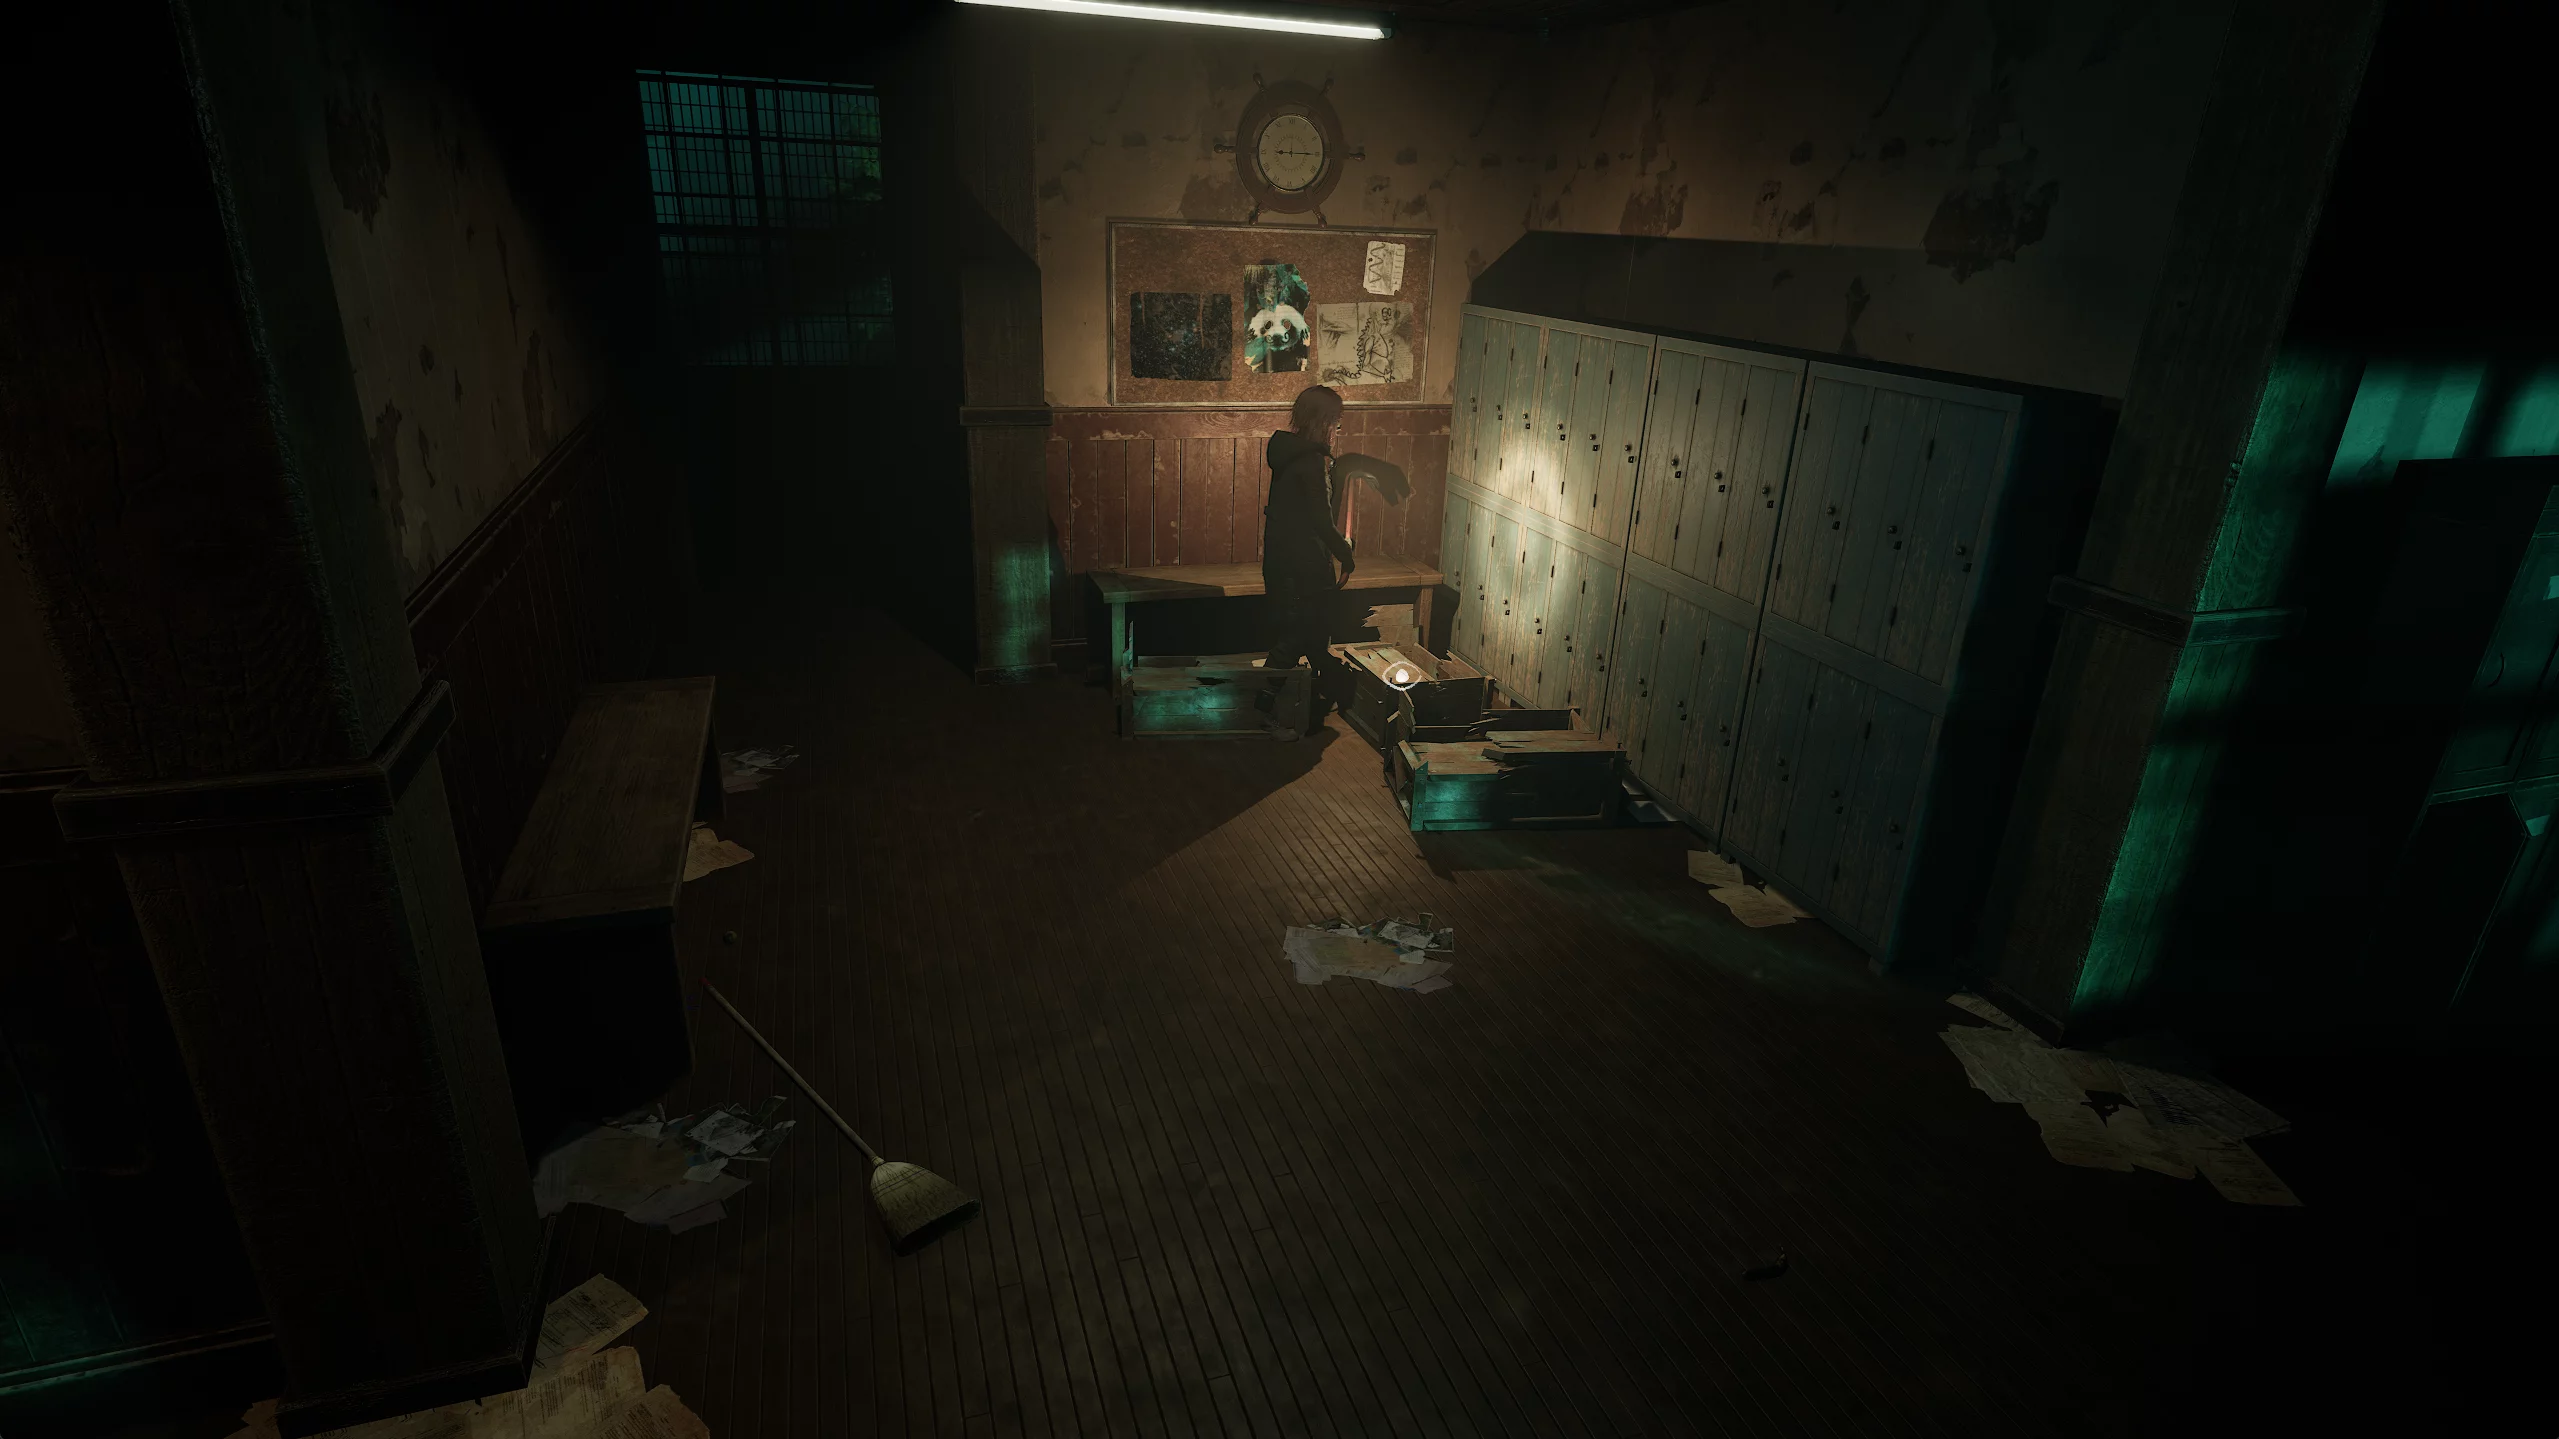
Pull the hammer from the head of the corpse in the room, search the locker for a nail gun clip, and leave the area.
The hammer is a melee weapon that helps the heroine finish off downed enemies without wasting nails. It also allows her to break certain obstacles.
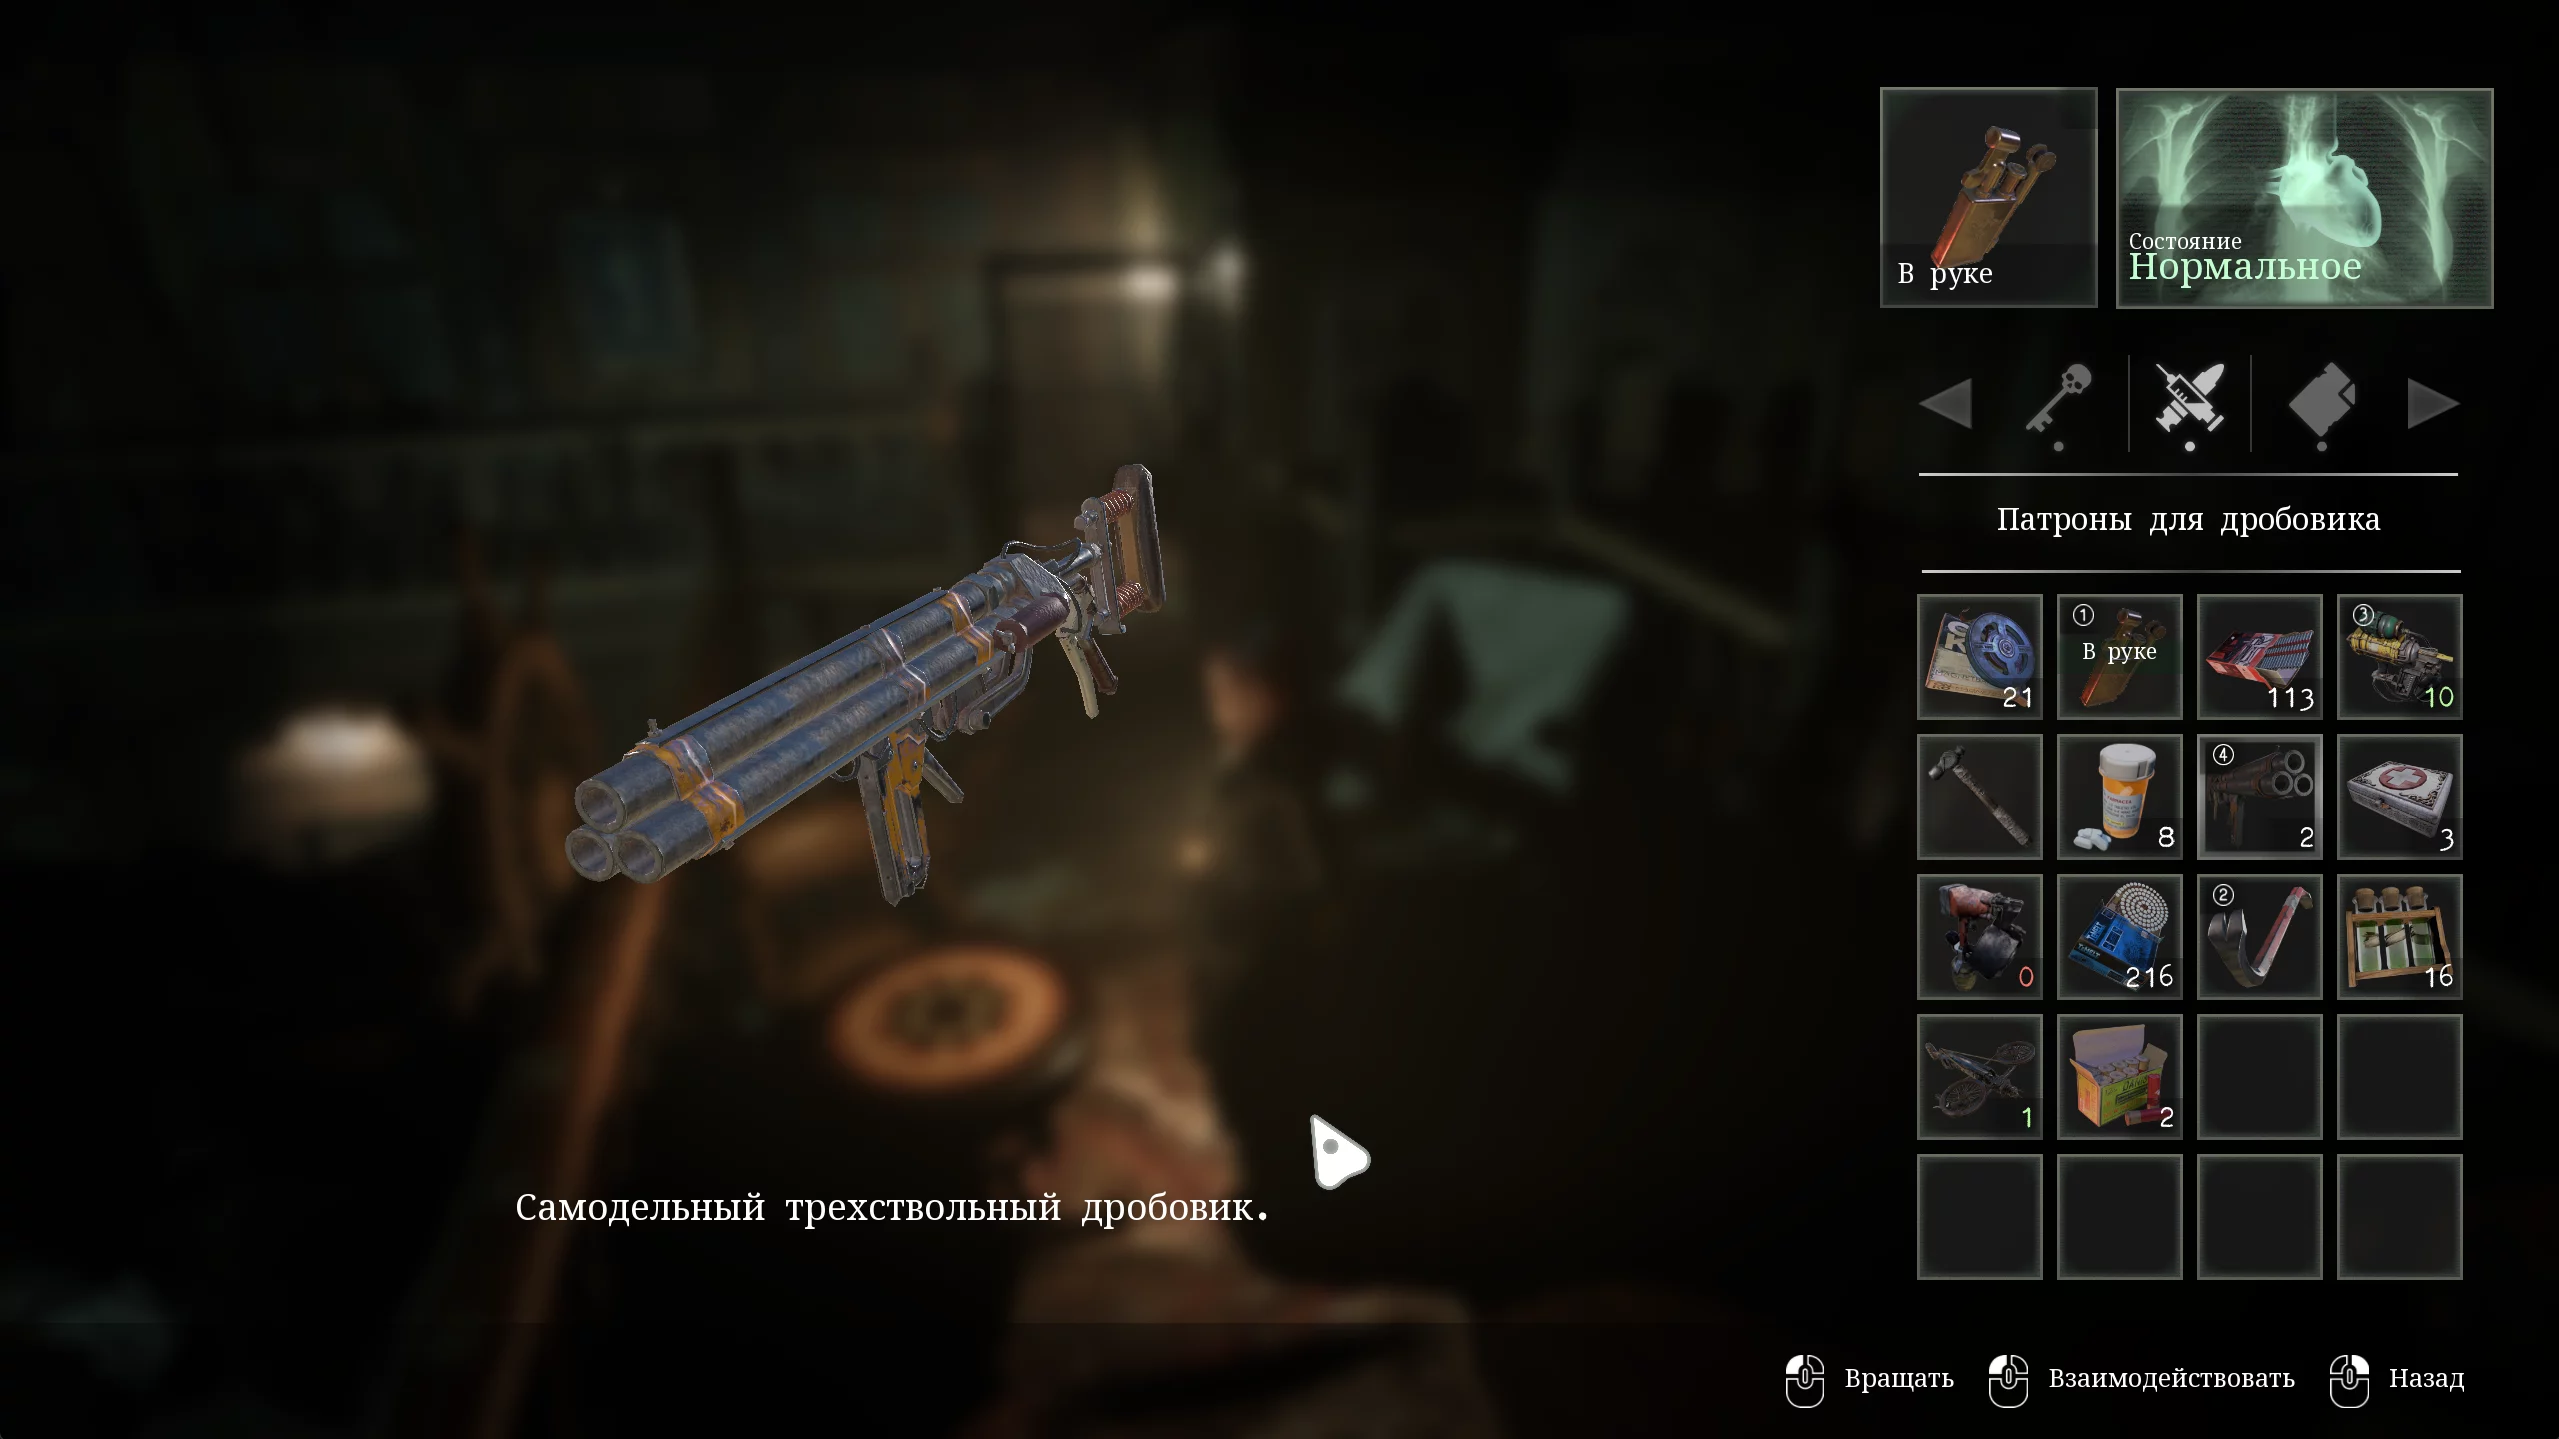
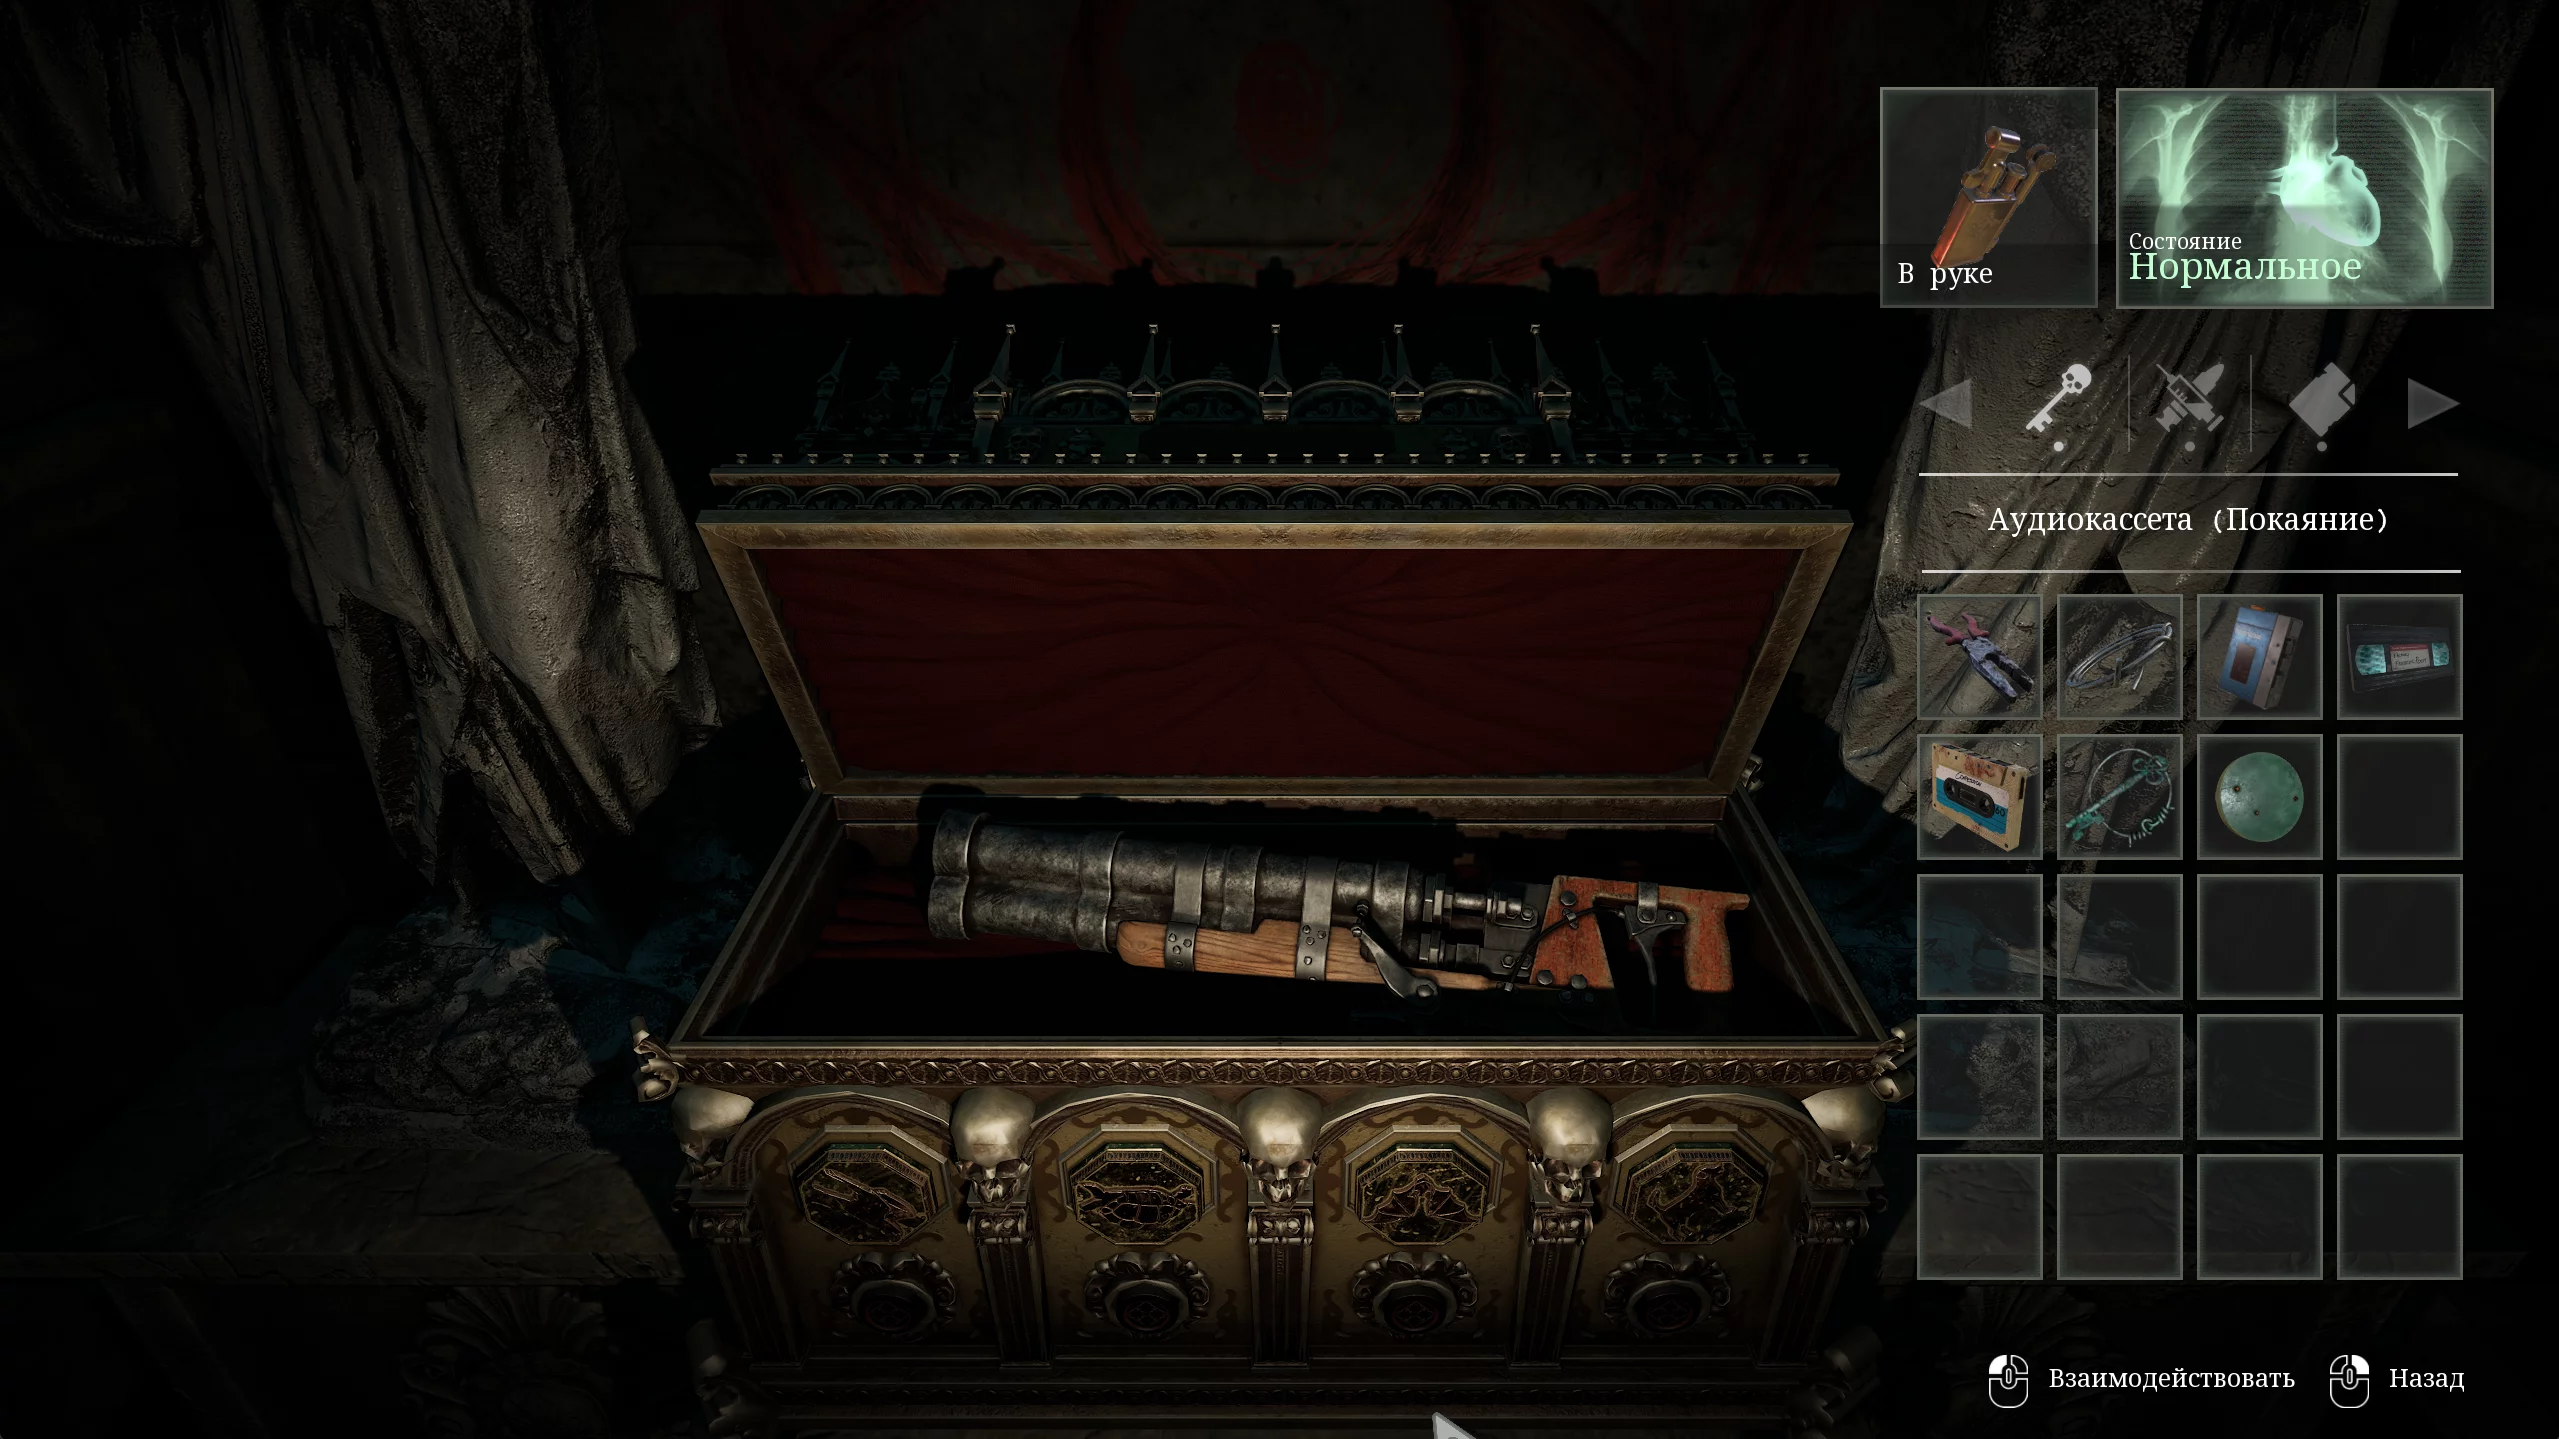
Where to Find the Shotgun

The new tool allows us to access areas previously blocked by vases. Take the elevator from the basement to the main house, then go up to the second floor through the library, and then return to the upper floor of the chapel to pick up the shotgun.
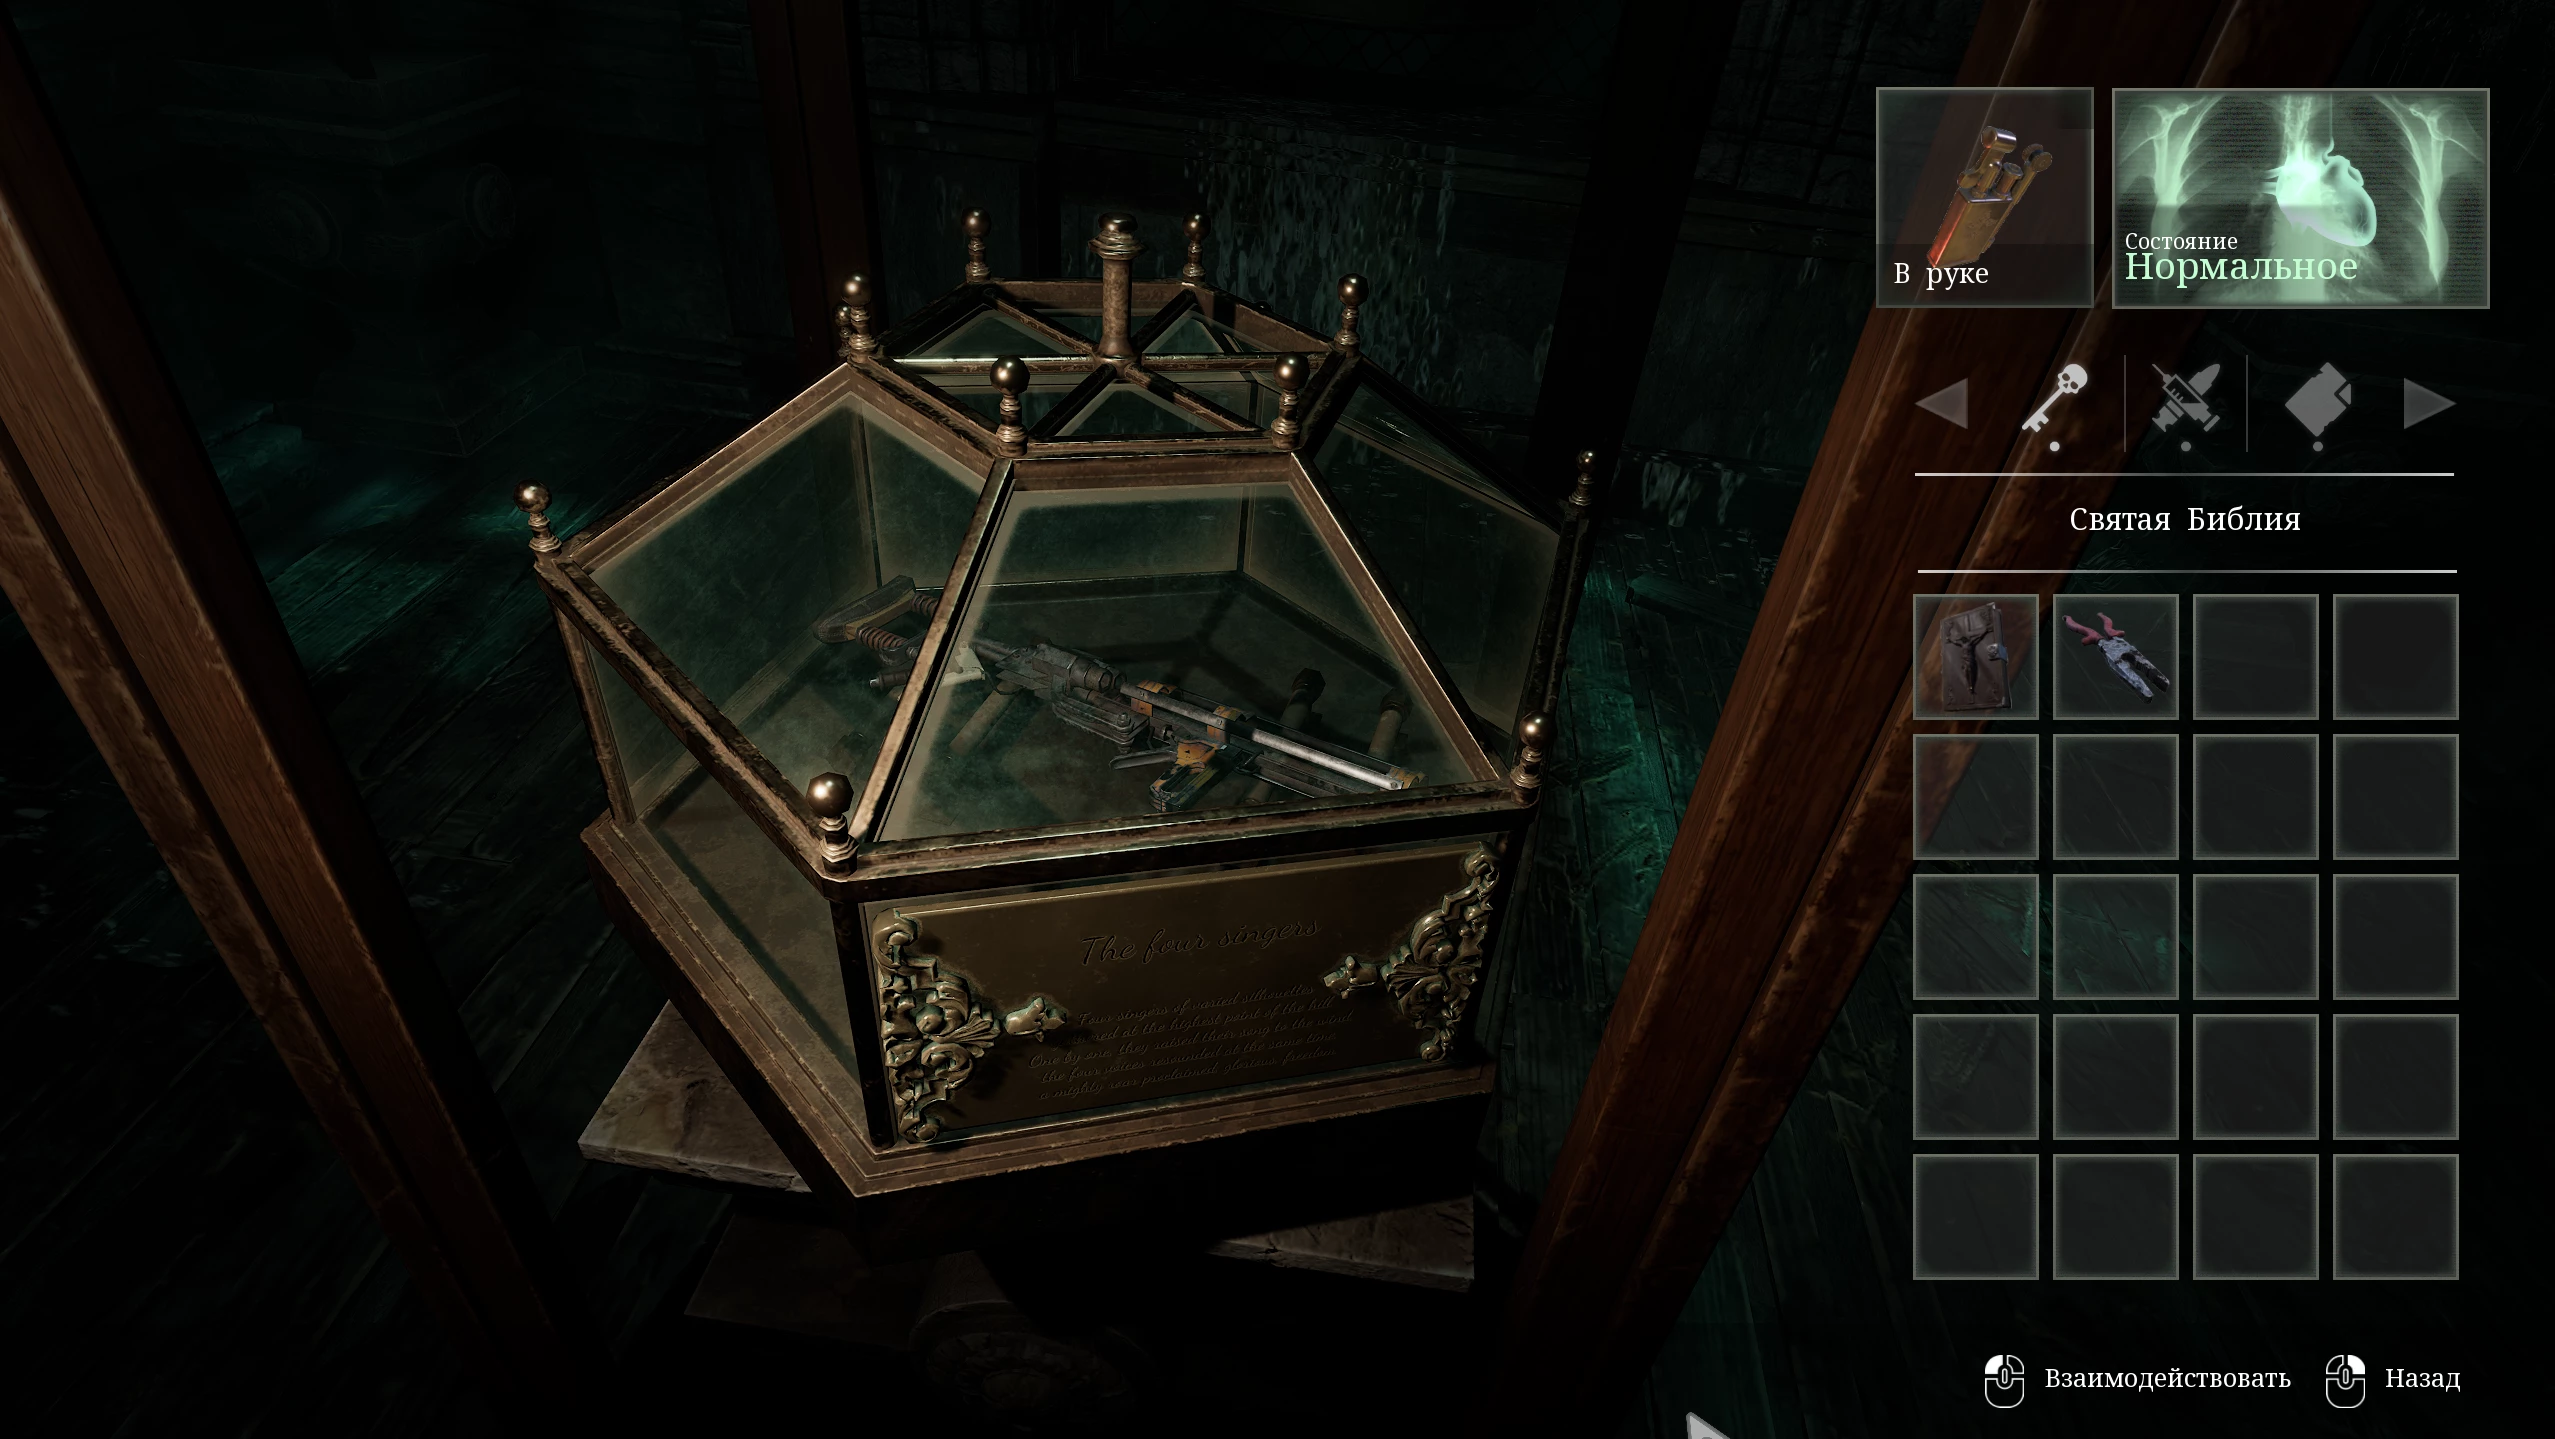
Climb the spiral staircase to the very top, and you'll see the coveted item behind thick glass. You can't break the glass with the hammer.
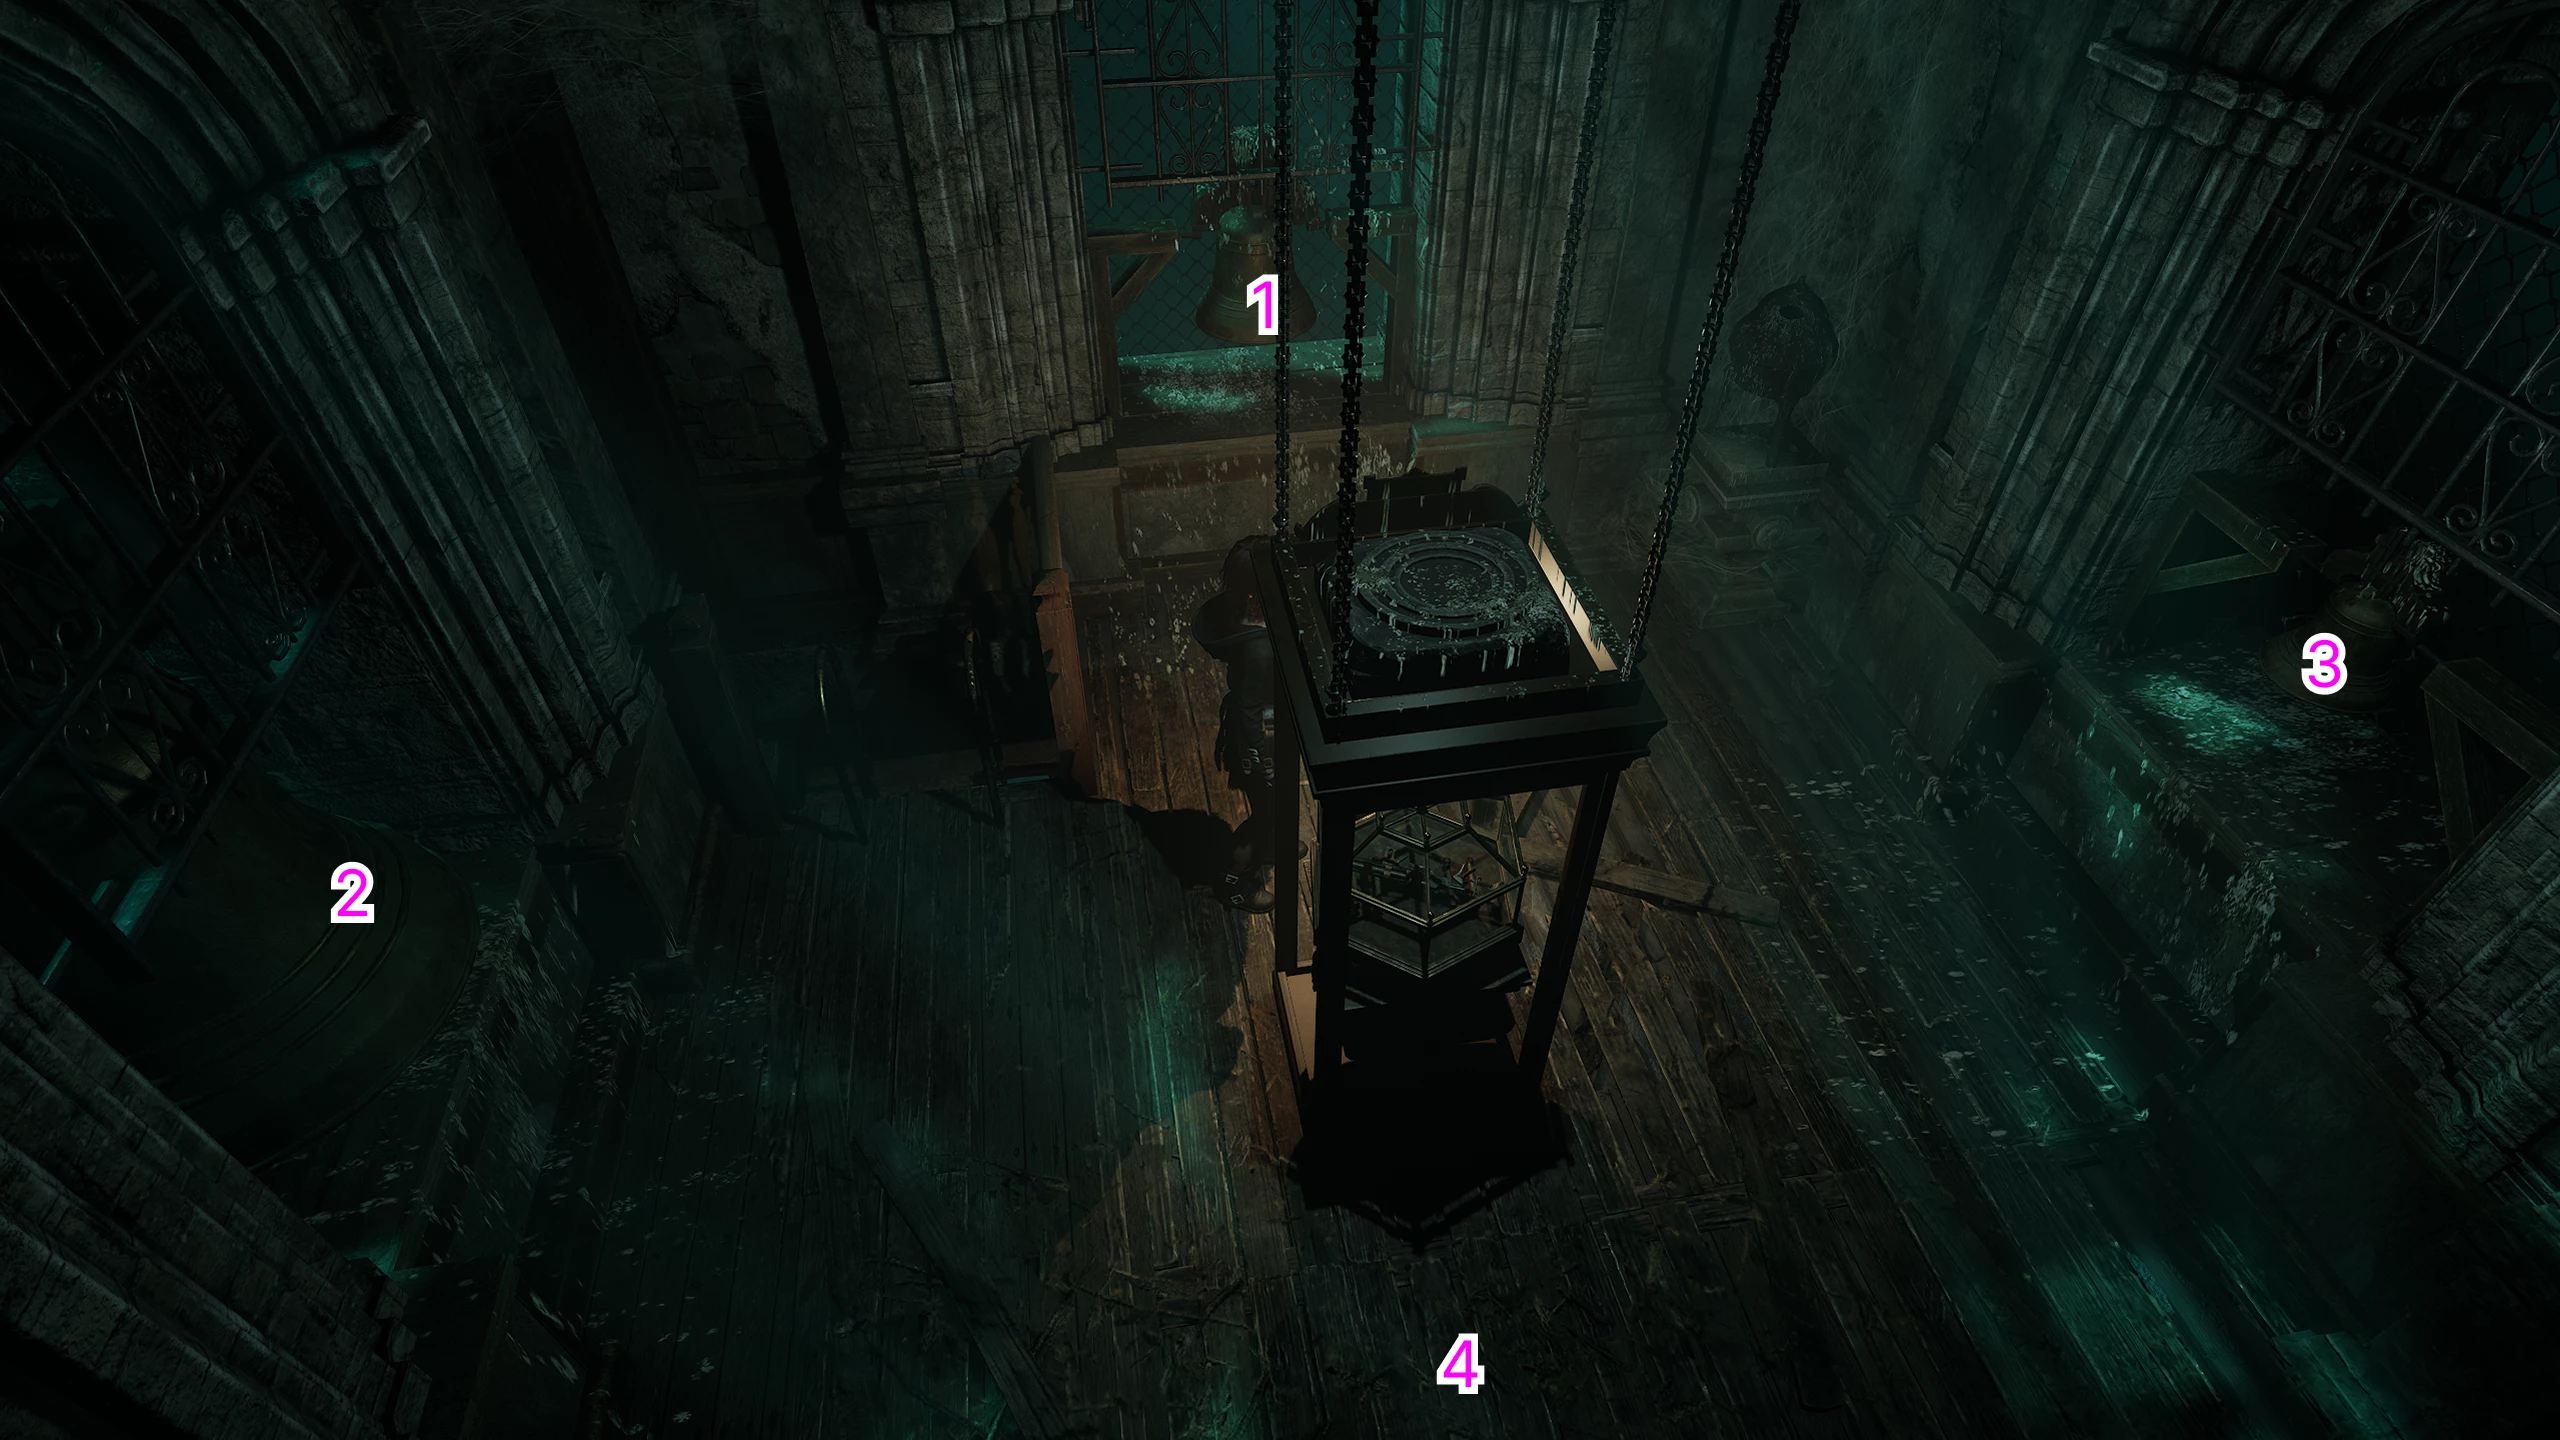
To open the safe, you need to play the bells in the correct order:
- Middle.
- Large.
- Small.
- Between the small and the middle.
The melody will give you access to a new weapon, and will also summon two ghouls for a test. The shotgun kills monsters with a single shot.
How to Get the Hacksaw
Return to the elevator on the first floor of the building and go around the hall from the other side. At the closed door, there is a rusty padlock that can be broken with the hammer obtained earlier.
Enter the Cloister and break the vases using the tool. Defeat the enemies and exit to the open area with the fountain. From here you can see a huge rusty cage with a lever. Climb up to it and lower the corpse down.
Go a little further down the garden corridor, descend to the lower section, and use the pliers to take a part of the hacksaw from the corpse’s skull. Beware of the two ghouls that will appear before the entrance to the lower level.
Exit the open area straight ahead and turn right to the south corridor of the first floor. From there, head to the dining hall.
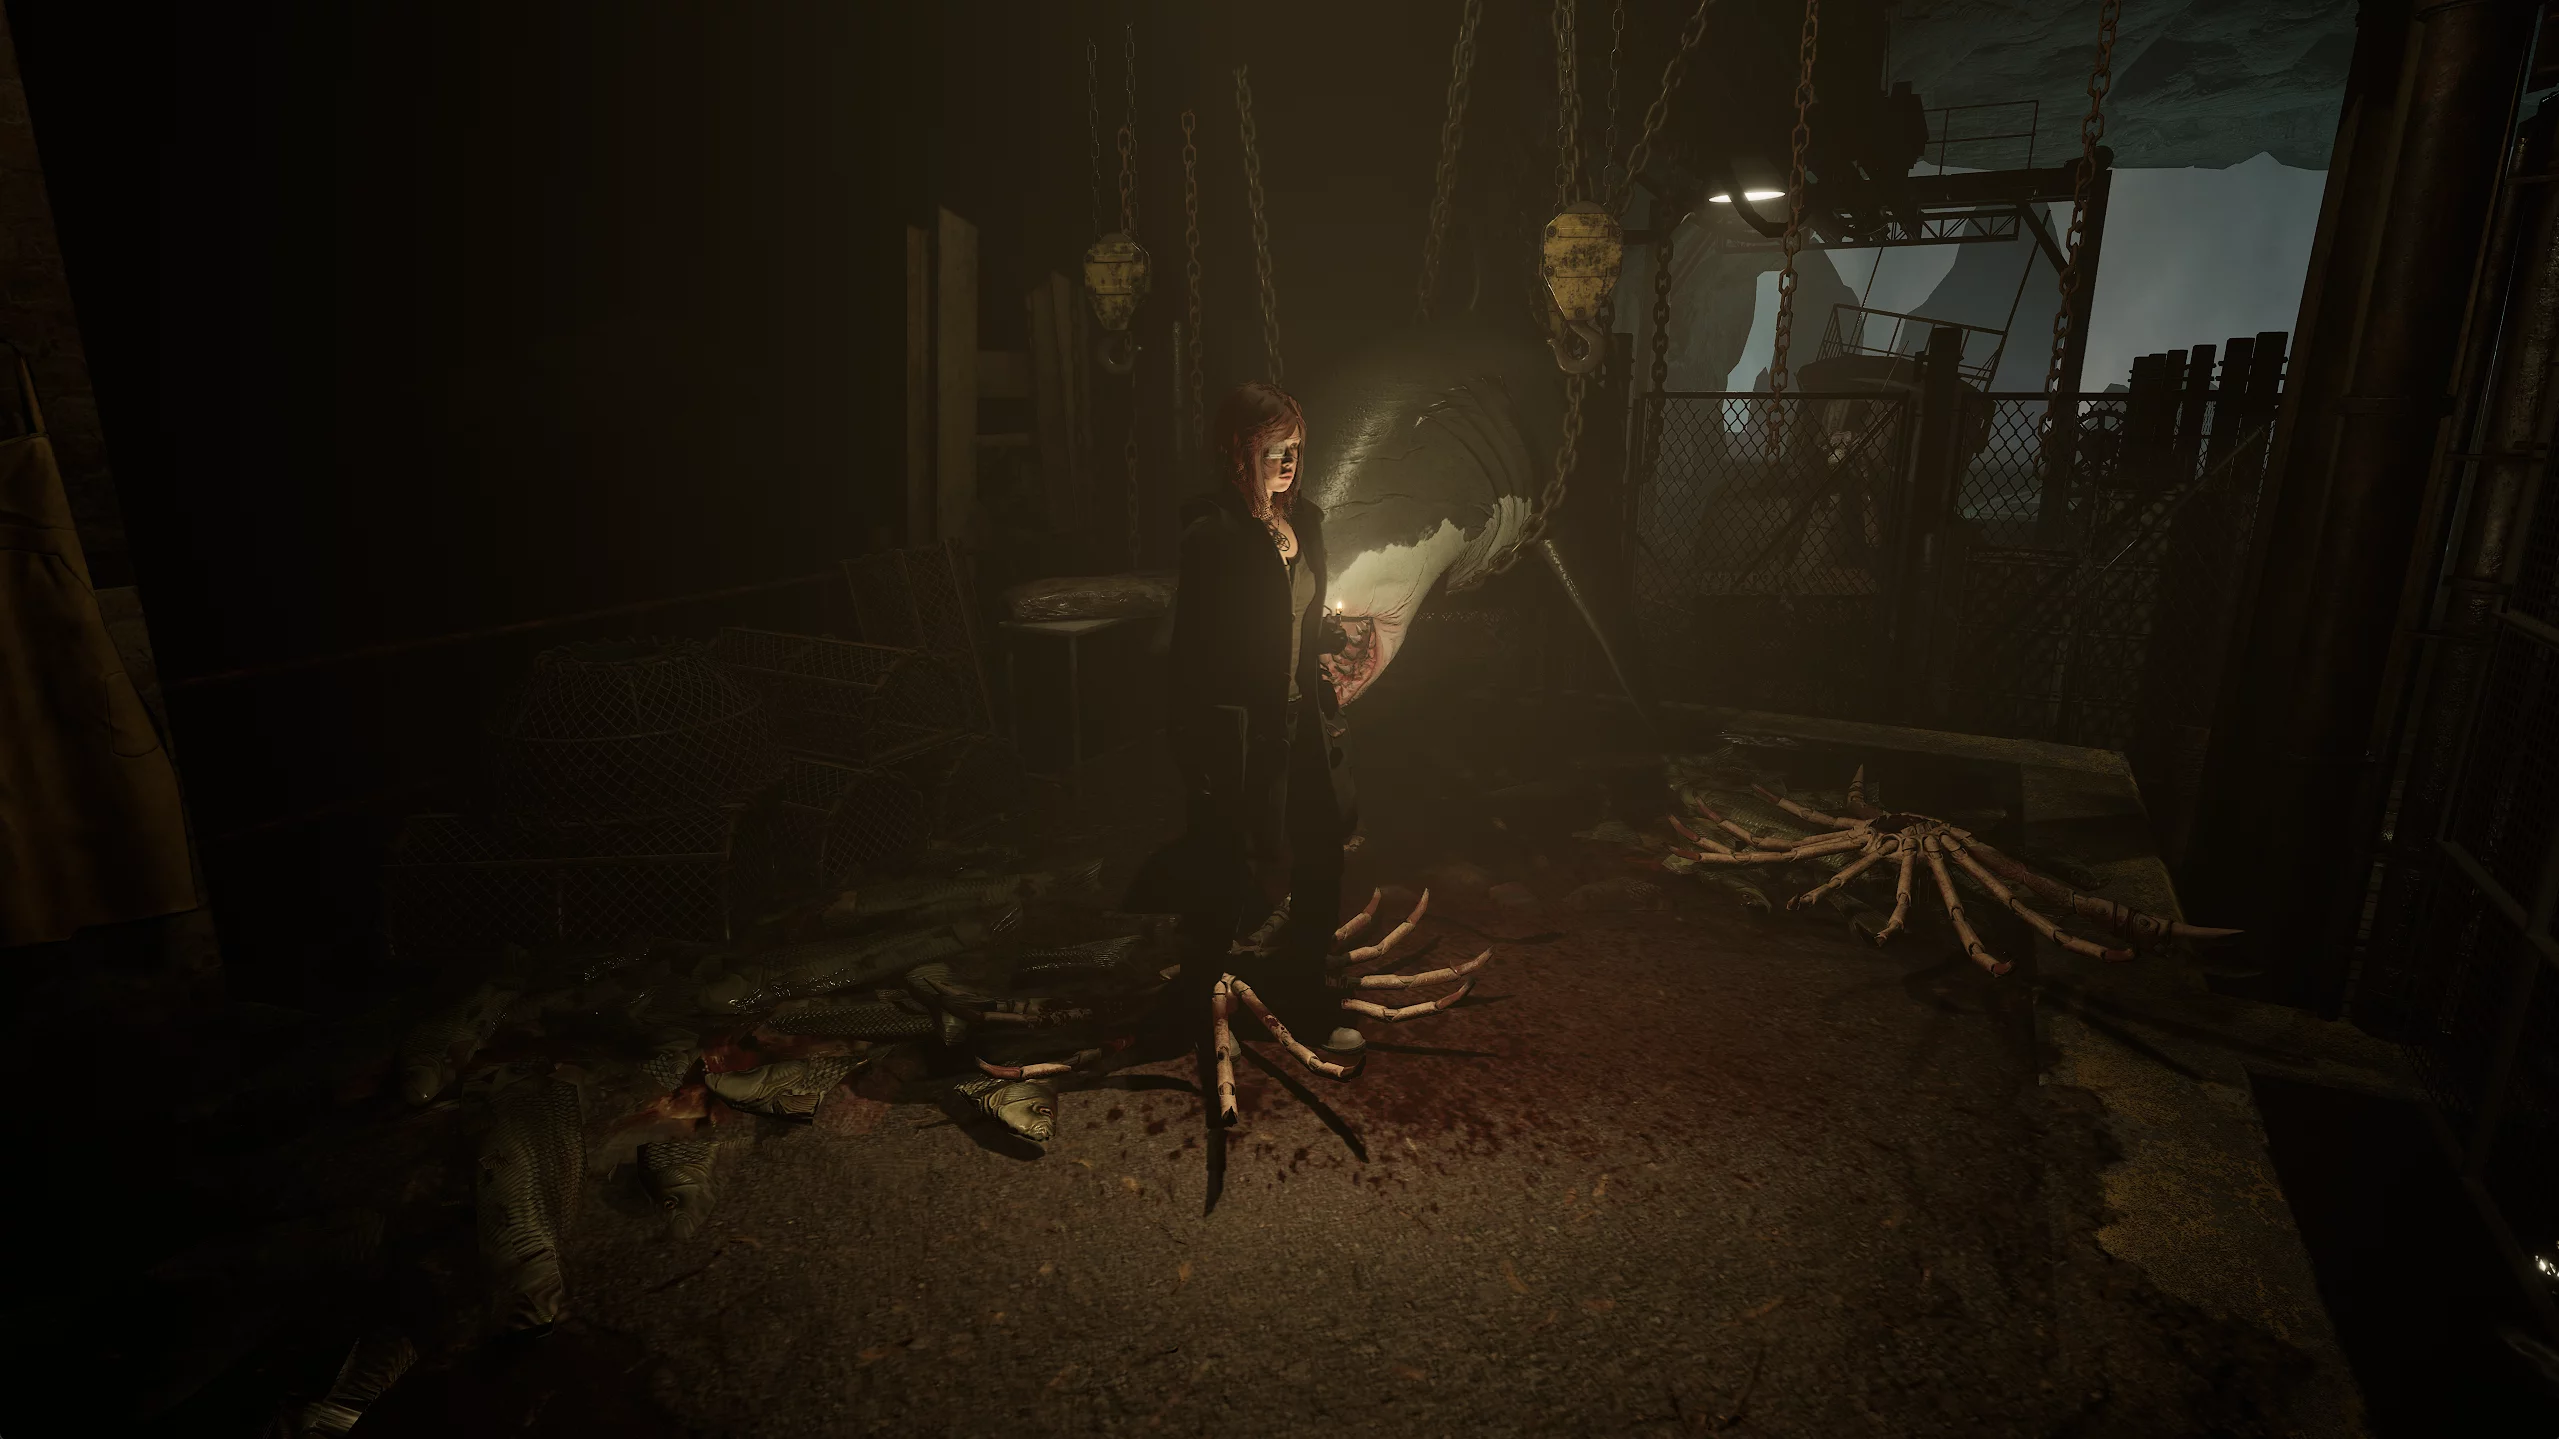
On the way, you’ll be chased by a special spider-ghoul. Turn on the lights in the corridors and, using the shotgun and hammer, kill the monster. In the same room where the attack happened, break the distant vase and take the nails. Open the shortcut to the bell tower and return to the corridor.
Now go through the wooden door with the blue symbol — it leads to the kitchen. Upon entering, prepare for another spider. After defeating the enemy, search the freezer in the far part of the room with the corpse of a nun and some item you’ll be able to get a bit later.
Go behind the kitchenware to the left to turn on the light in the room, and also take the box of nails from the cabinet. From there, head in the opposite direction to the white door, which will lead you to the dining hall.
In the dining hall, go down to the first floor and head to the northern corner to turn on the light in the room. After this, a chained ghoul will crawl out from under the table. Eliminate the monster and continue on your way.
By the south wall of the room, next to the cart, you’ll notice a crack. Move the obstacle and enter the utility room to take the second part of the hacksaw.
Combine the blade with the body to get a complete tool.
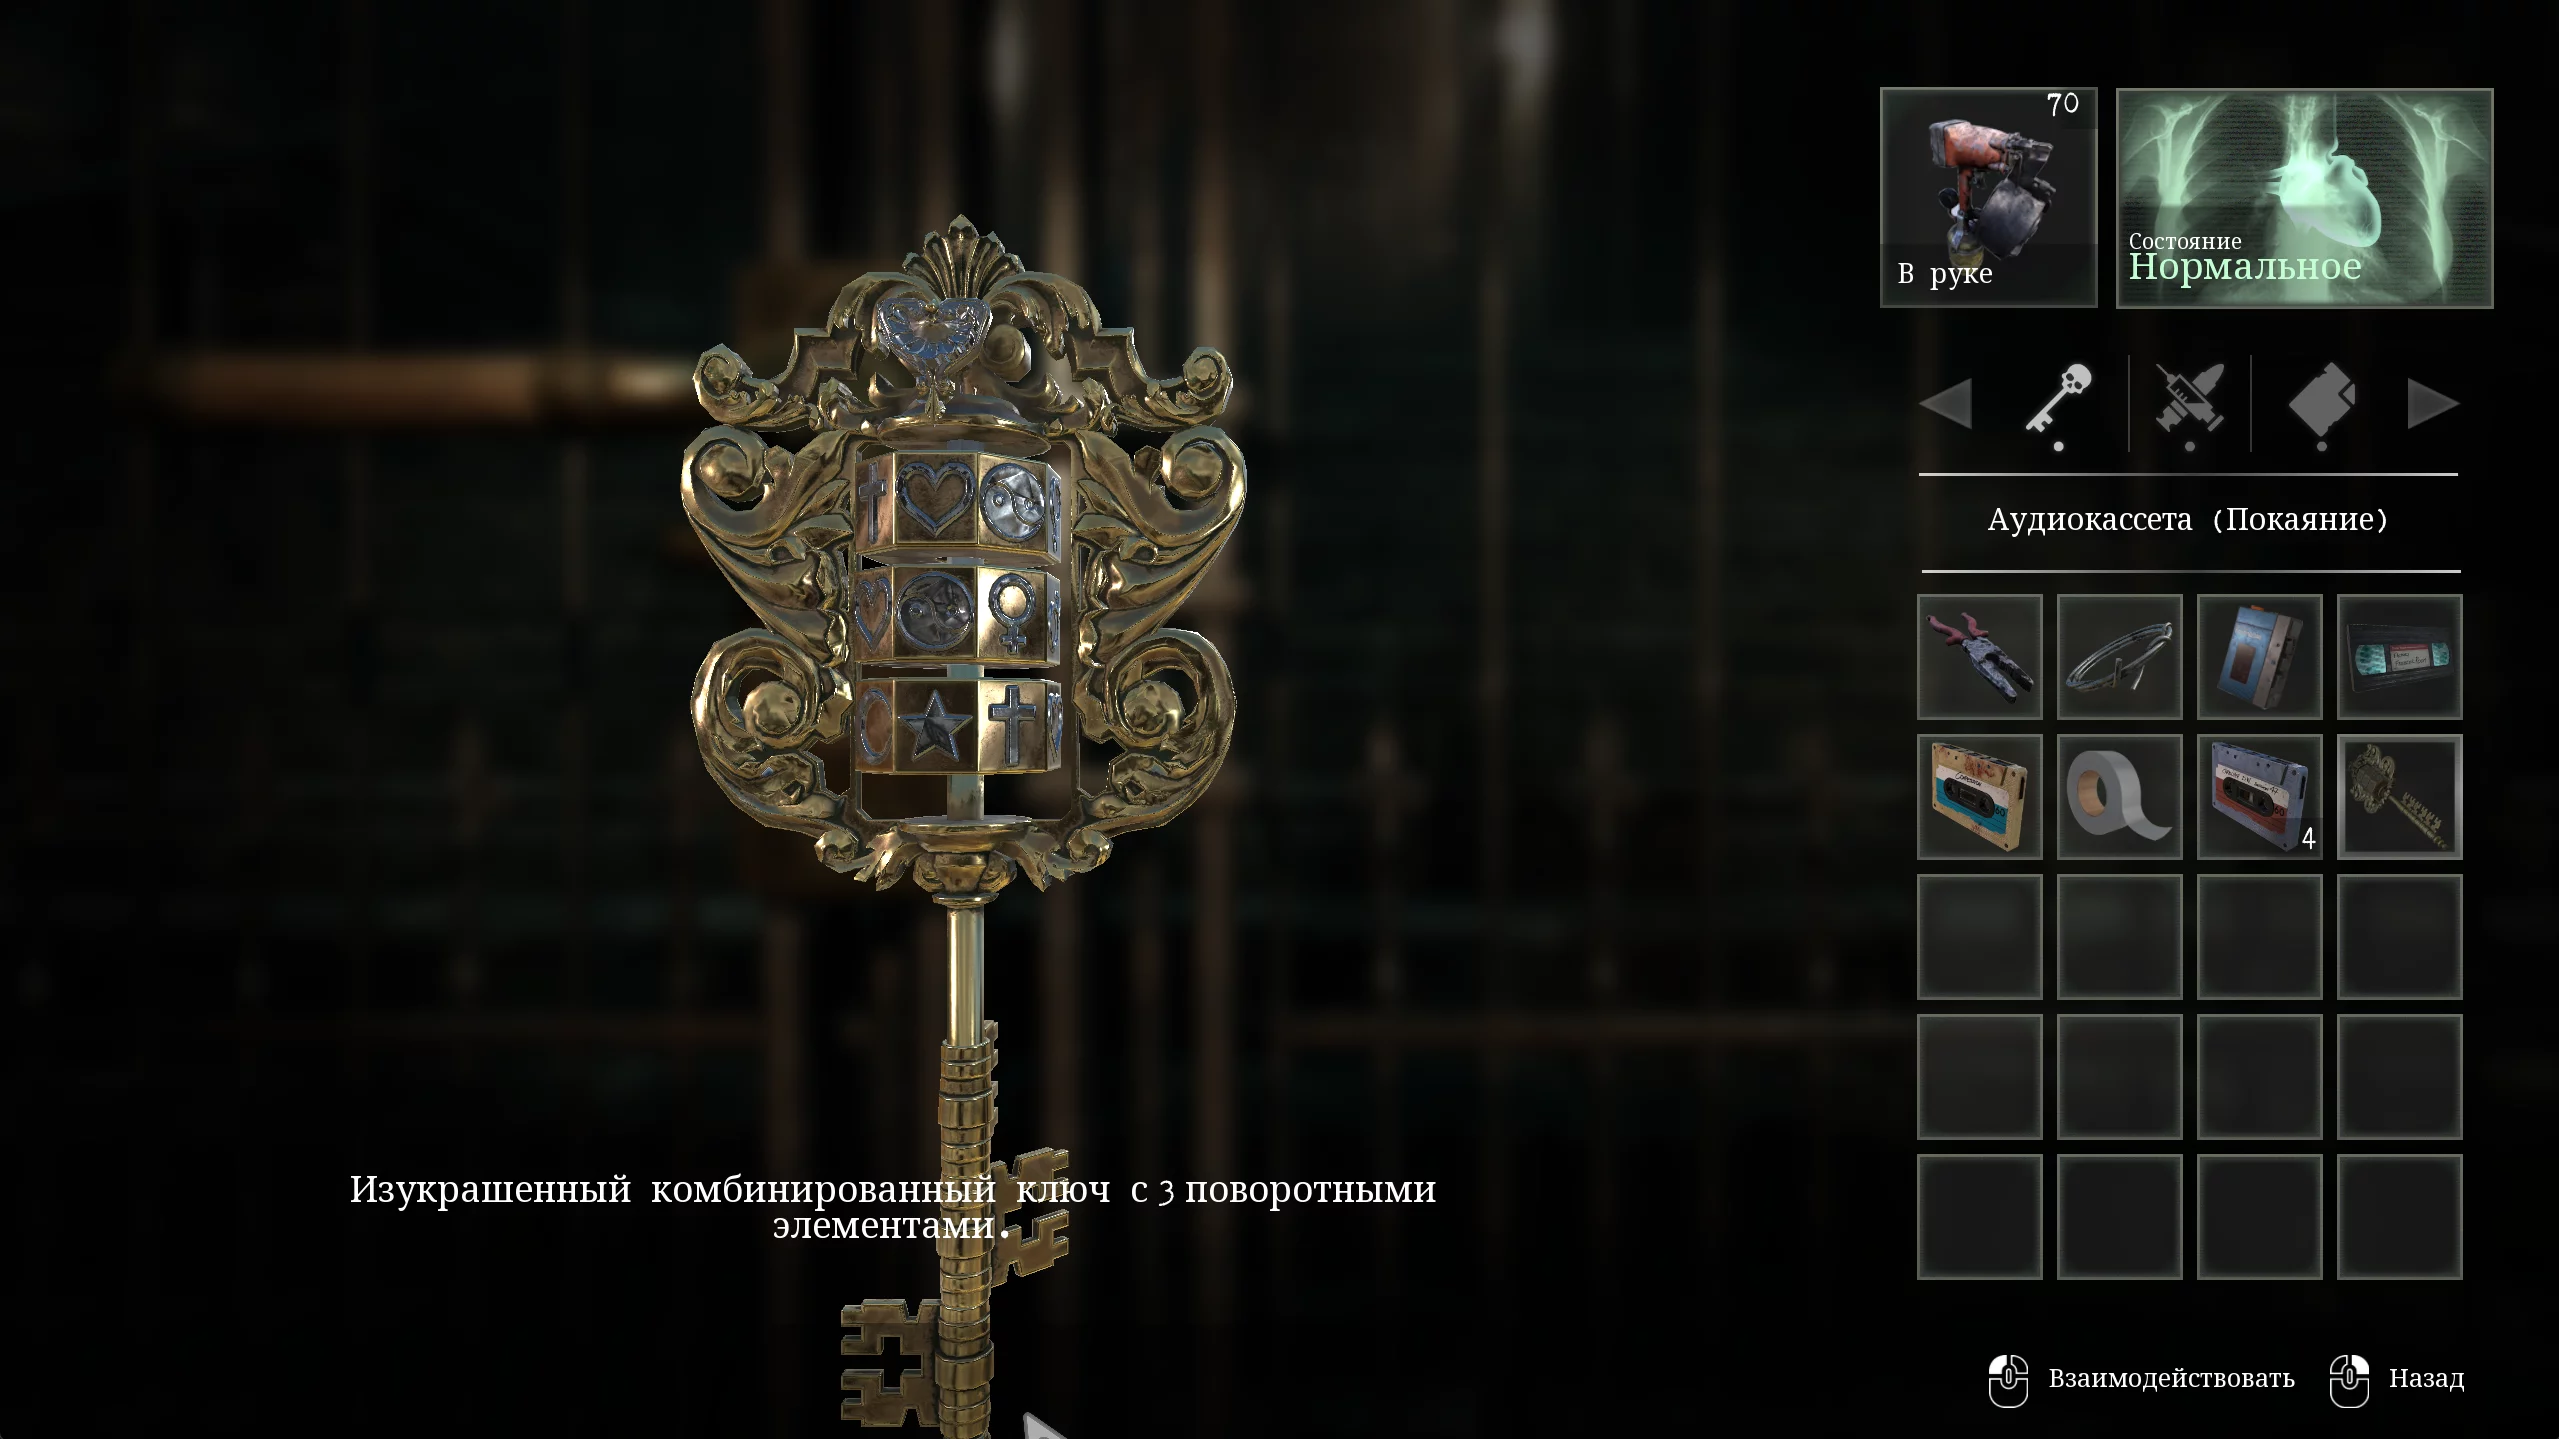
How to Find the Royal Key

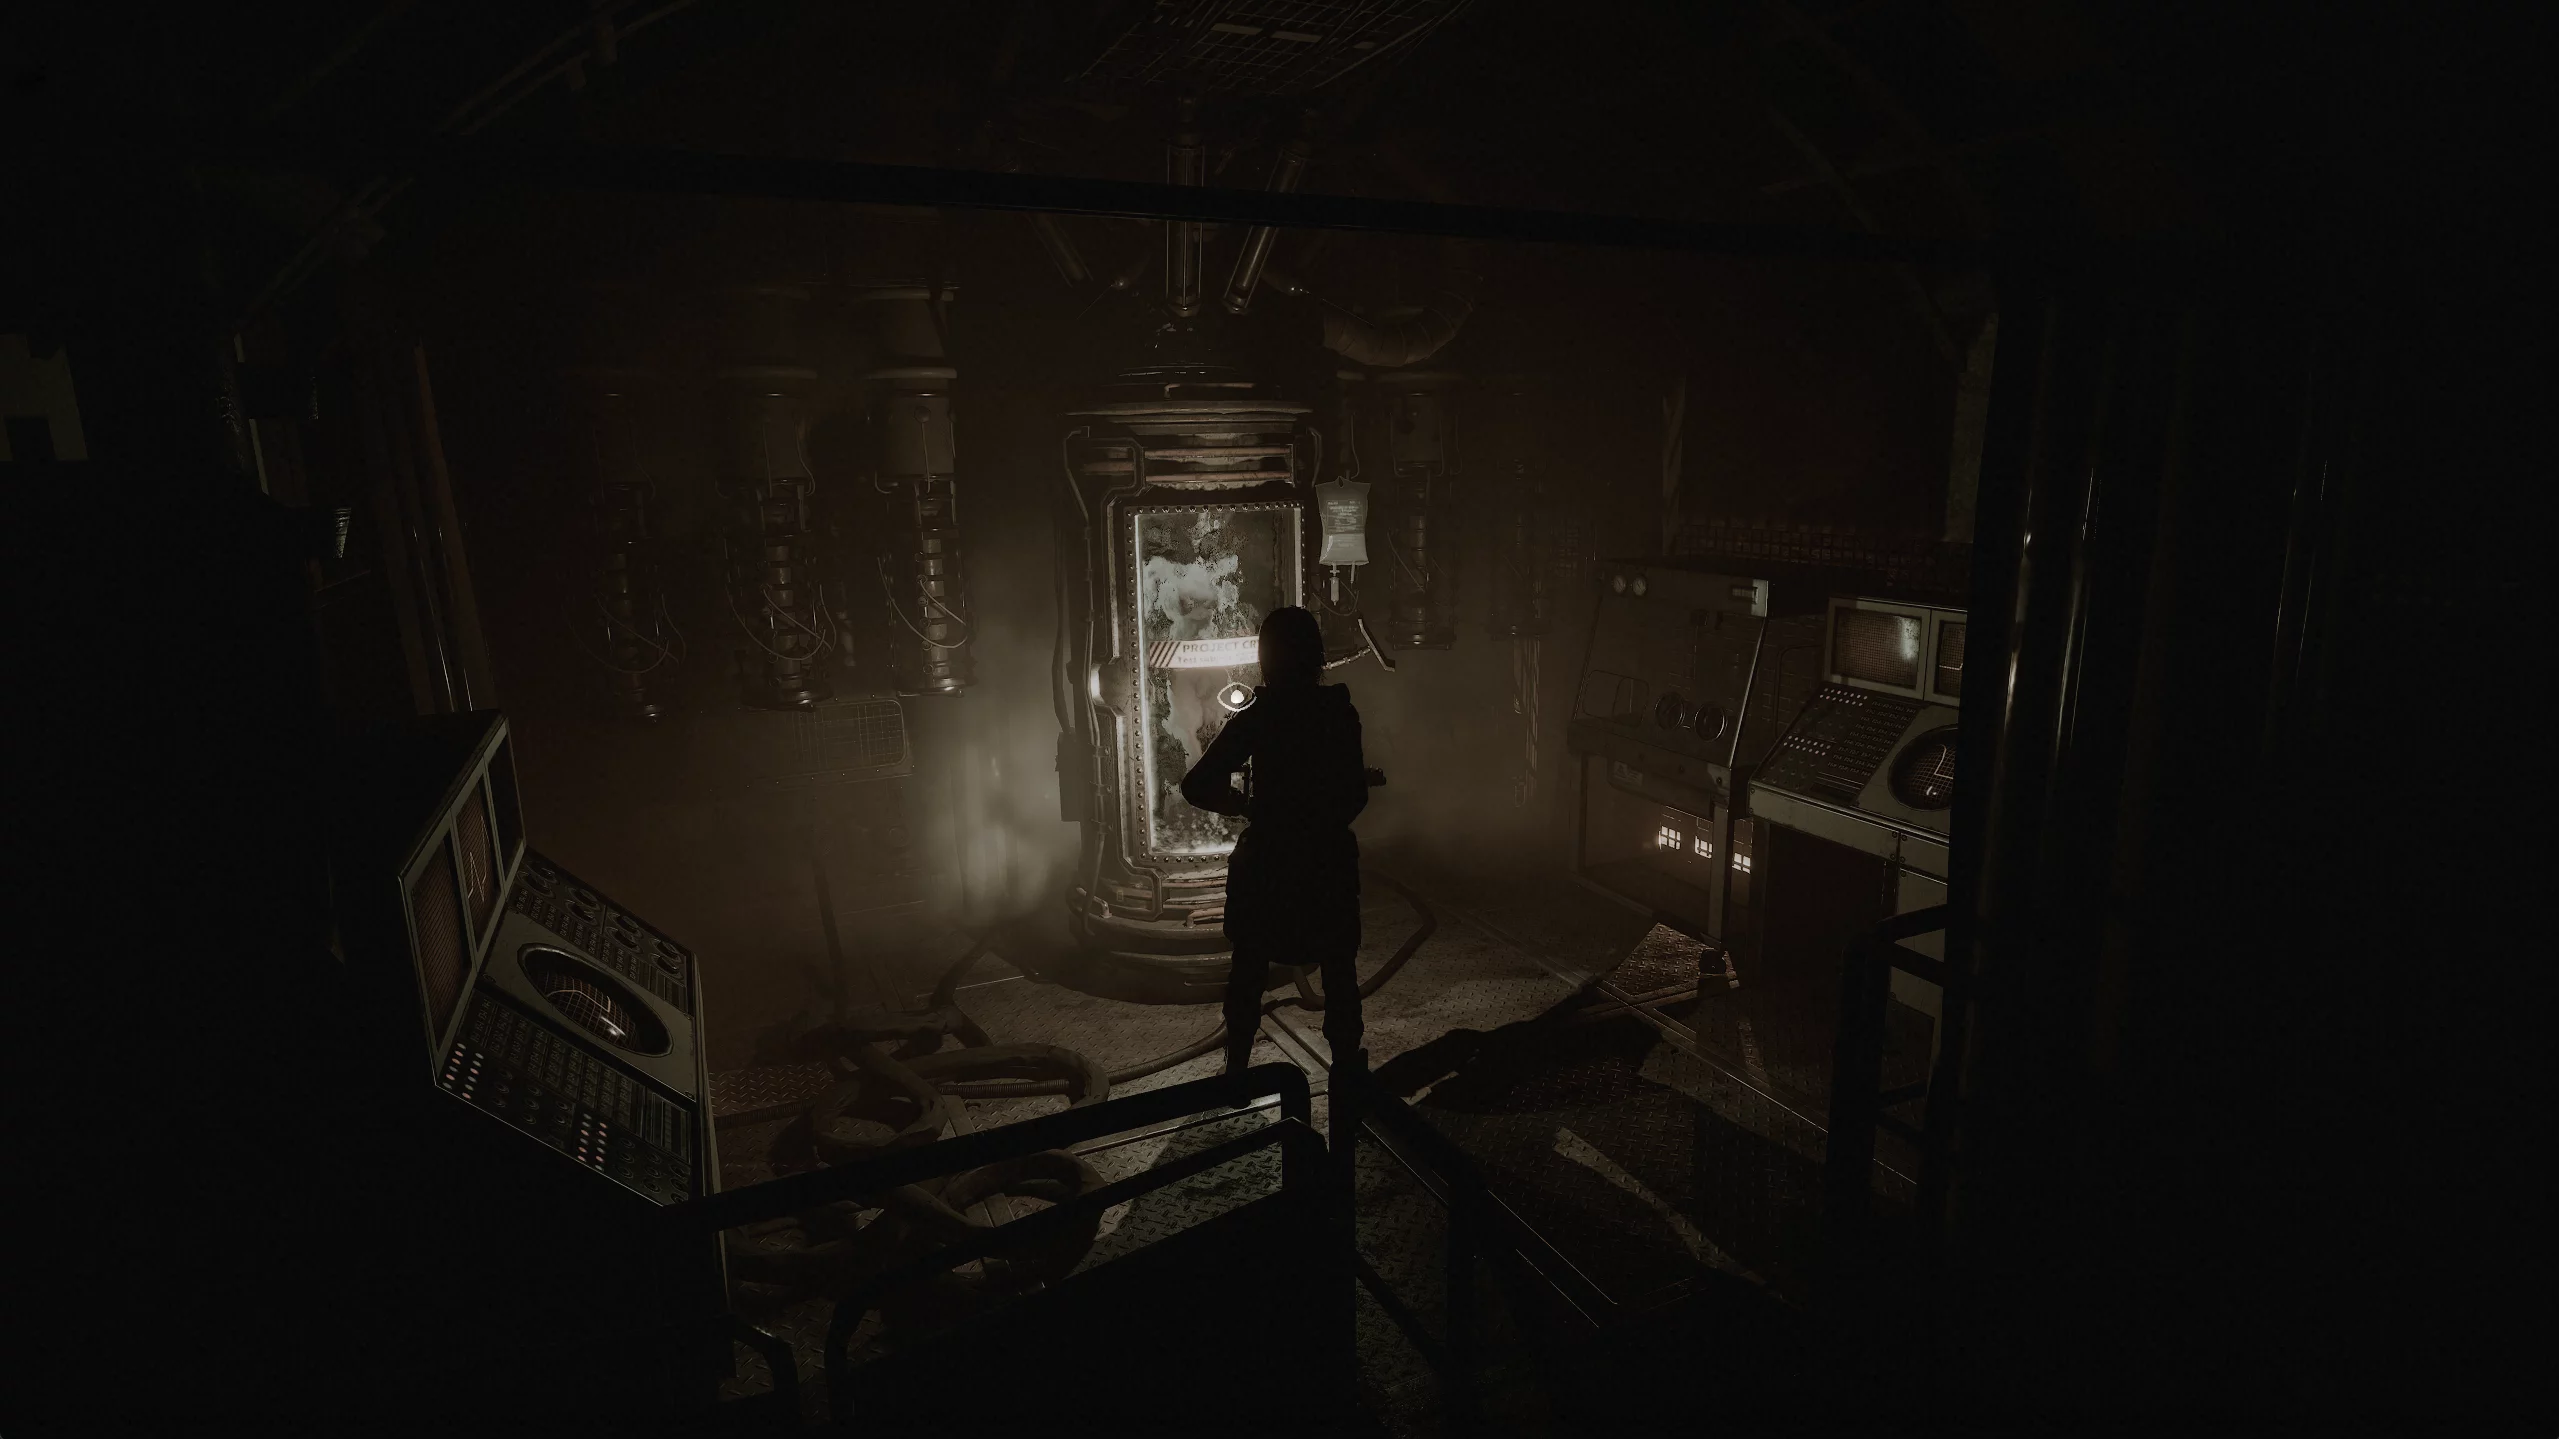
Return to the kitchen. The hacksaw will allow you to take the item from the corpse in the freezer. Saw off his hand with the tool and look for the oven, where you can melt the piece of ice. Use the lighter to light the logs and free the cryptex from its icy cage.
Chess pieces are depicted on the cryptex. To solve the puzzle, take the chess mat in the calefactory. Not far from the table with the mat, there is a sarcophagus with a first aid kit. Also, go down the small stairs and check the box on the left for magnetic tape, and break the vase on the right for shotgun shells.
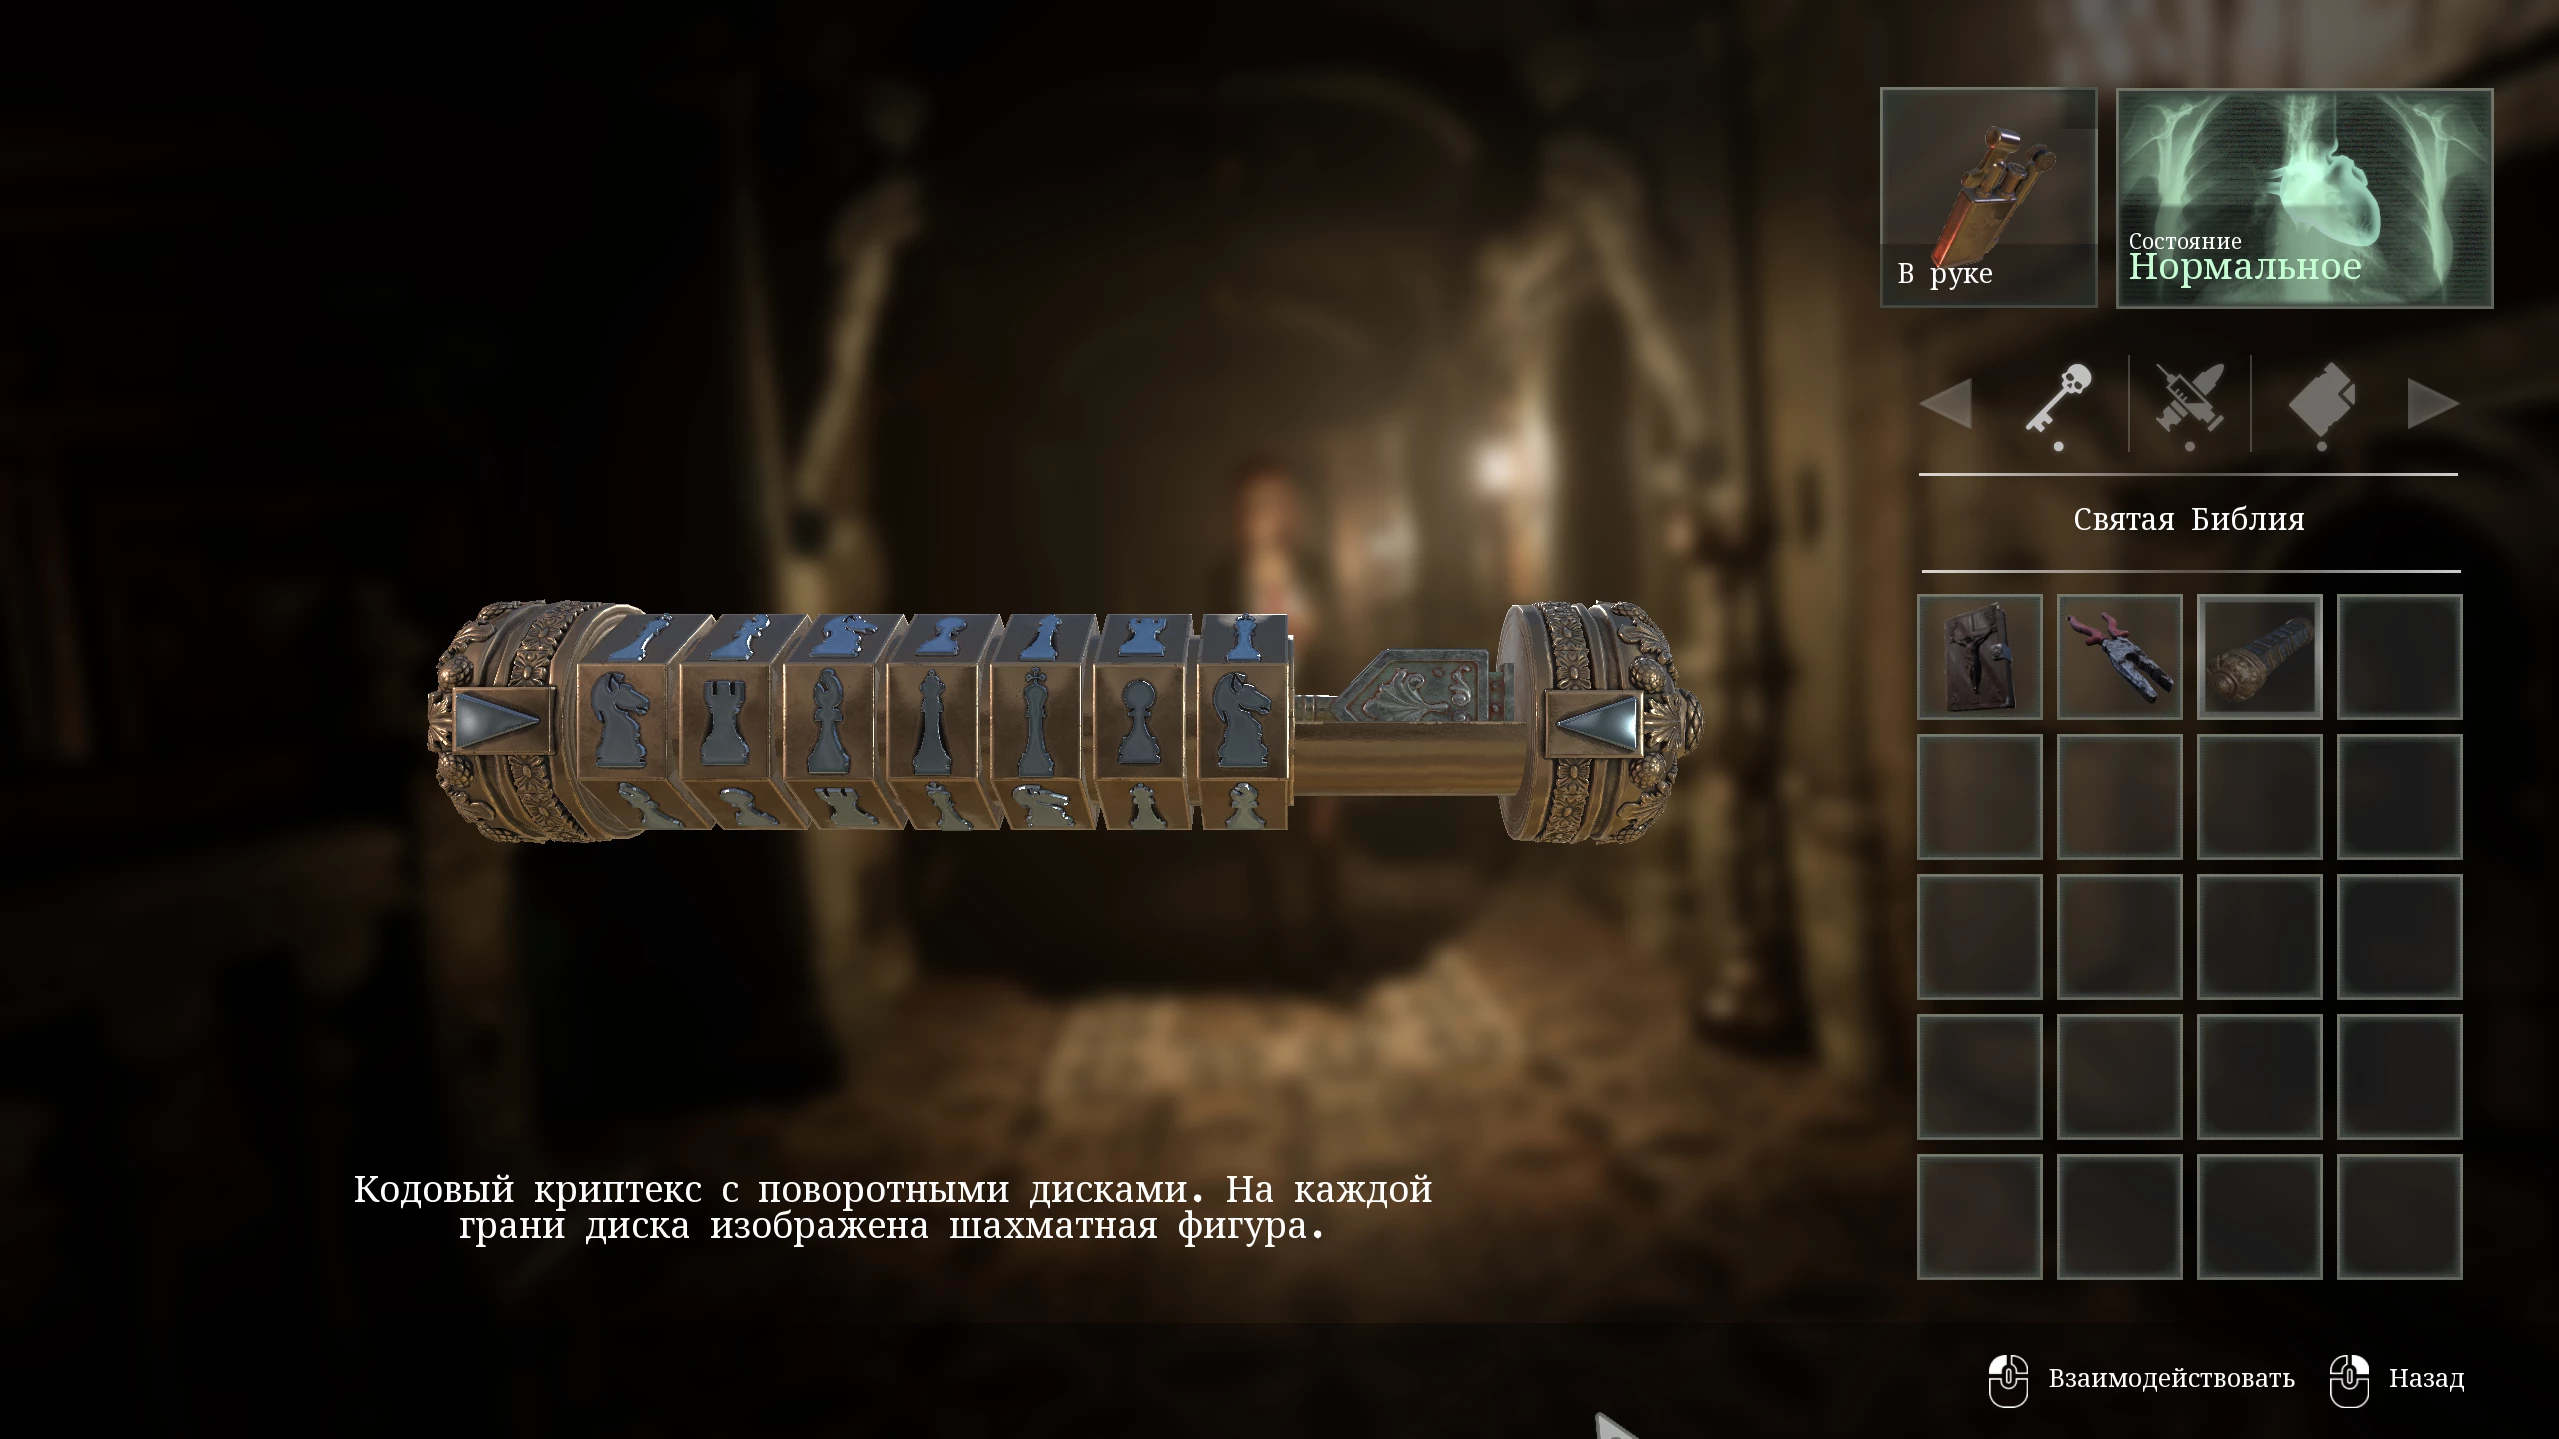
On the reverse side of the mat, there are lines representing the path of chess pieces in the game. Based on them, set the following combination on the cryptex:
- Knight
- Rook
- Bishop
- Queen
- King
- Pawn
- Knight
A crown key drops out of the small chest, which opens the royal lock in the basement. Take the elevator back down to the lower floors and, near the entrance to the crematorium, first fight off the spider-ghoul, then unlock the passage to the dungeon.
Dungeon
Go through the inactive traps in search of the matron’s room. Here you can save your progress, get an extra magnetic tape, and shotgun shells.
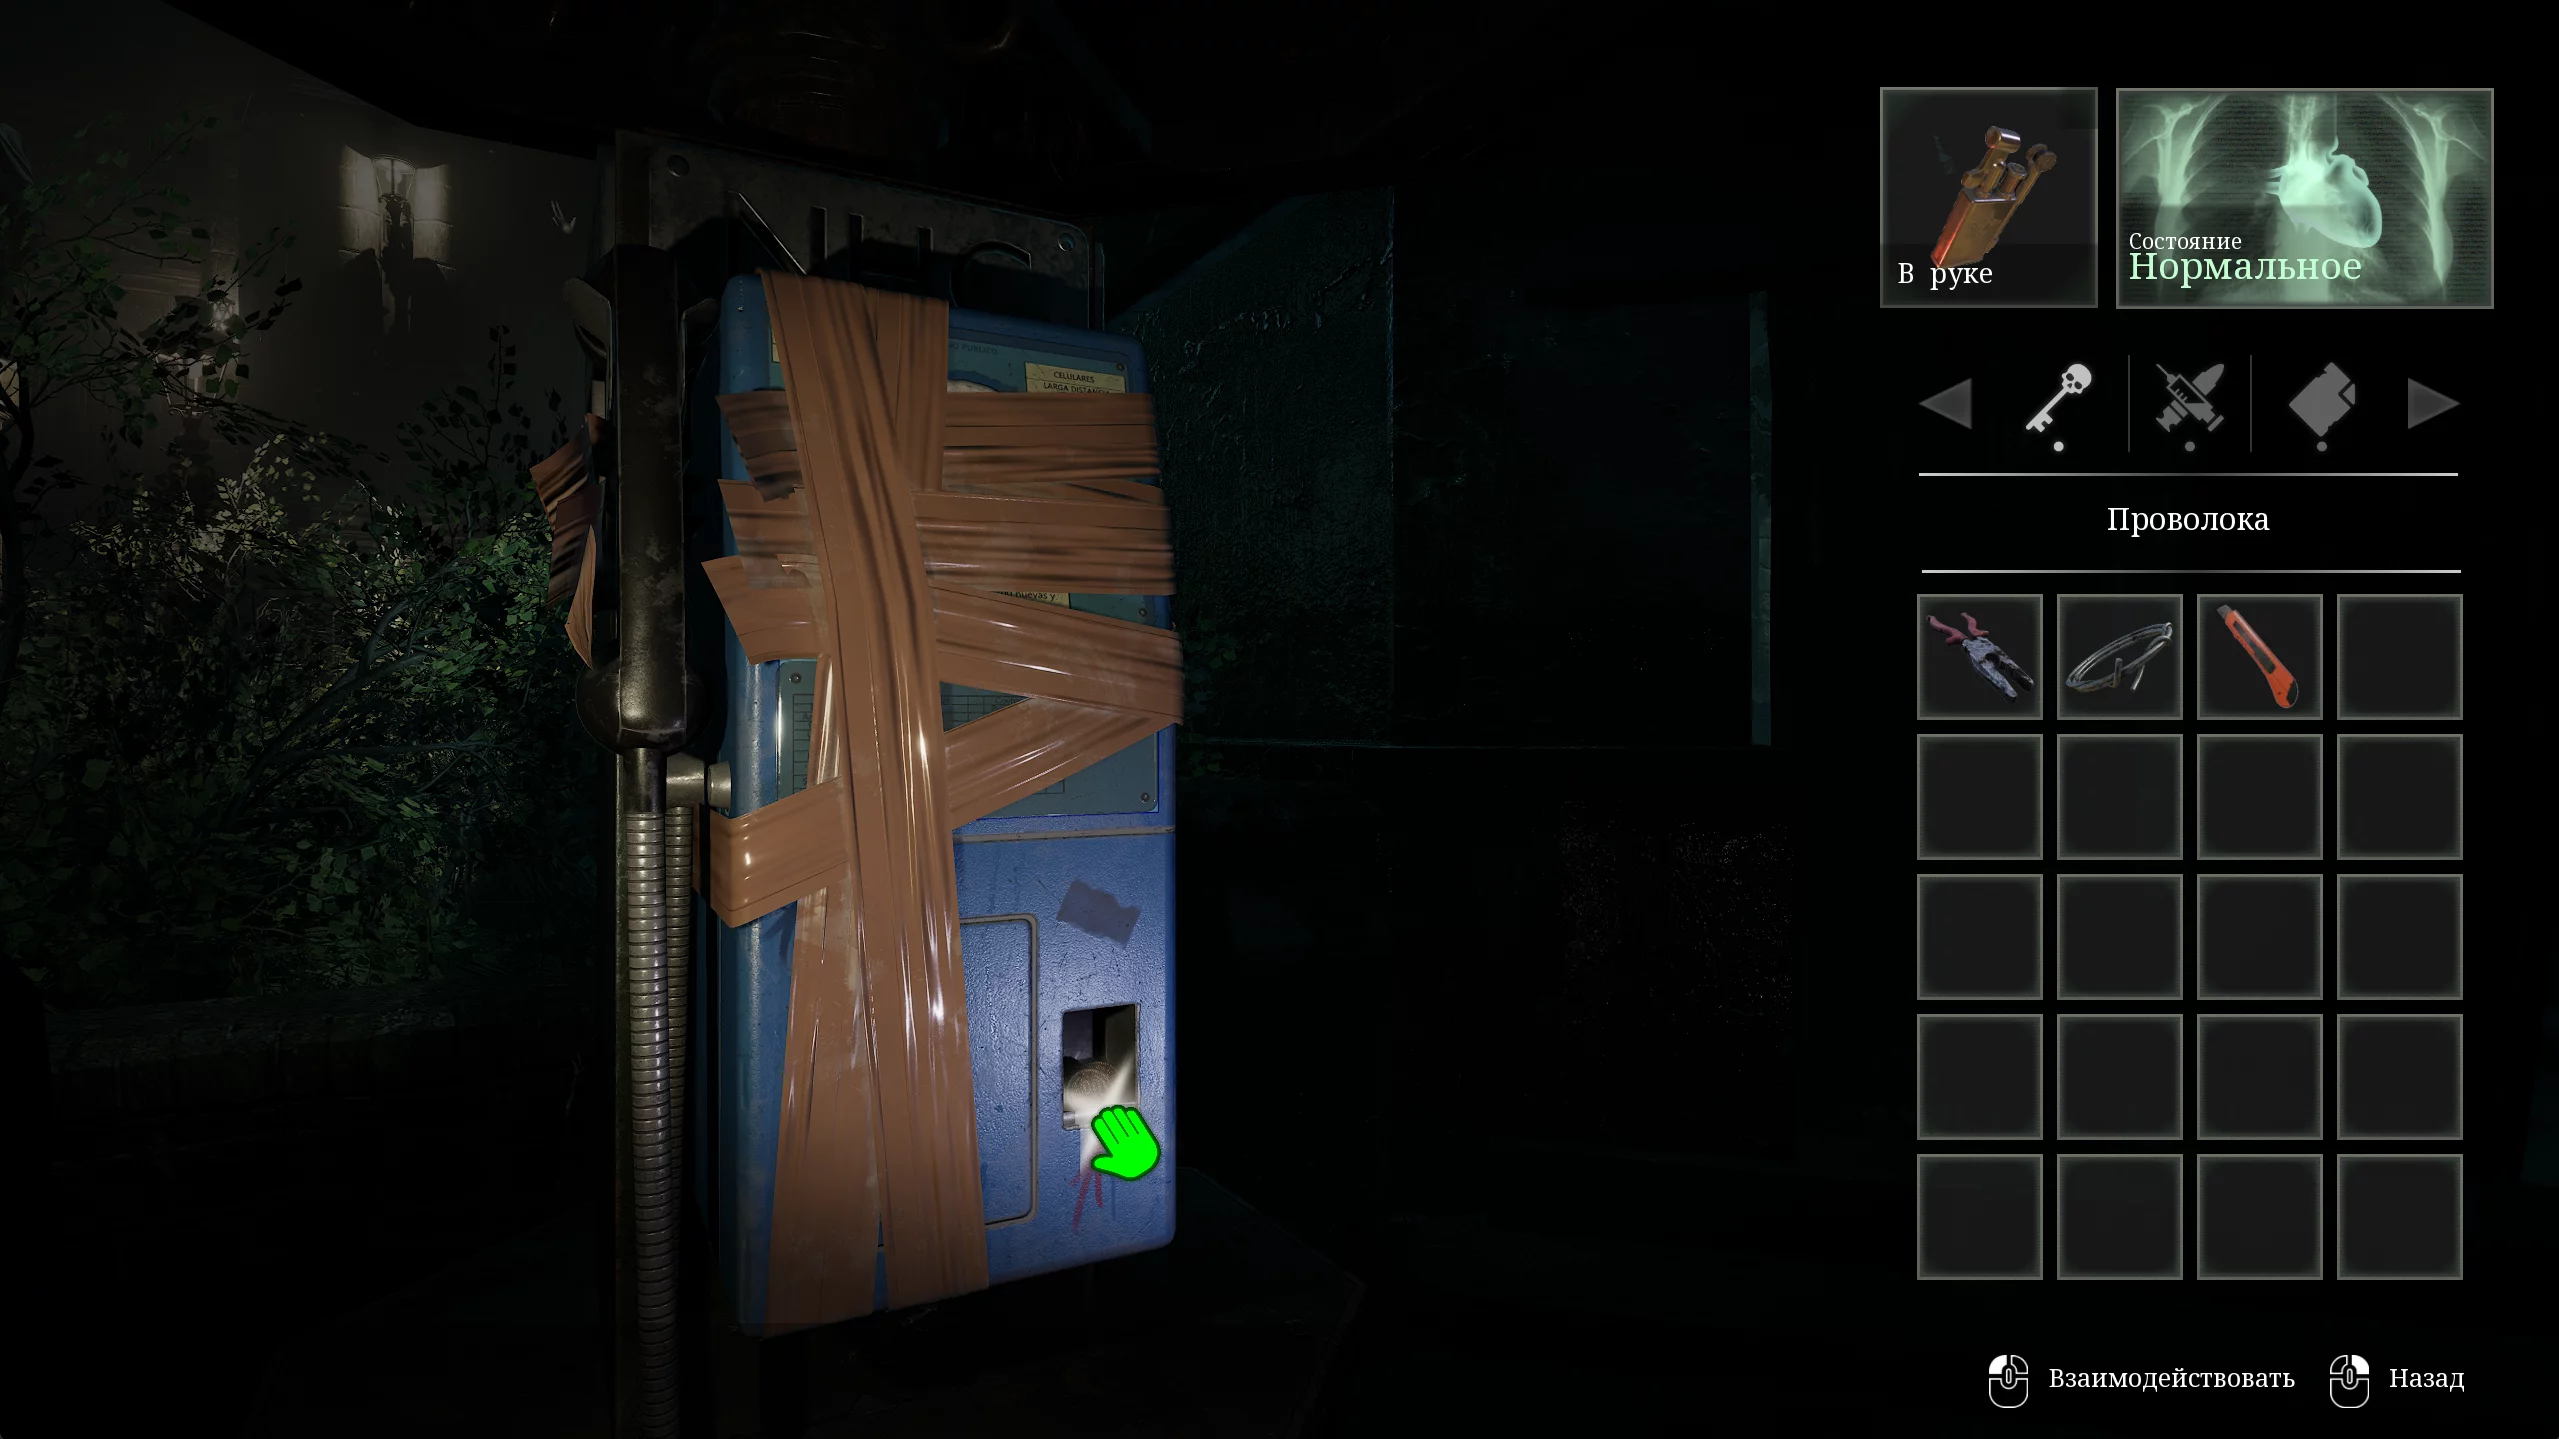
Leave the quarters and examine the red box on the left wall. Open it with the pliers to get wire and unlock a new puzzle. The solution is hidden in one of the prisoners' cells.
Once you’re deep inside the dungeon, turn on the lights in the area and examine the cells until you find one that’s open. Inside, there’s a note with symbols and text on the back: To open the cells, you first need to check the correct position of the switches on the electrical panel, and then pull the lever above the pit.
As soon as you enter the room, a spider-ghoul will attack you. Light the candles in the corner of the cell and fight off the enemy.
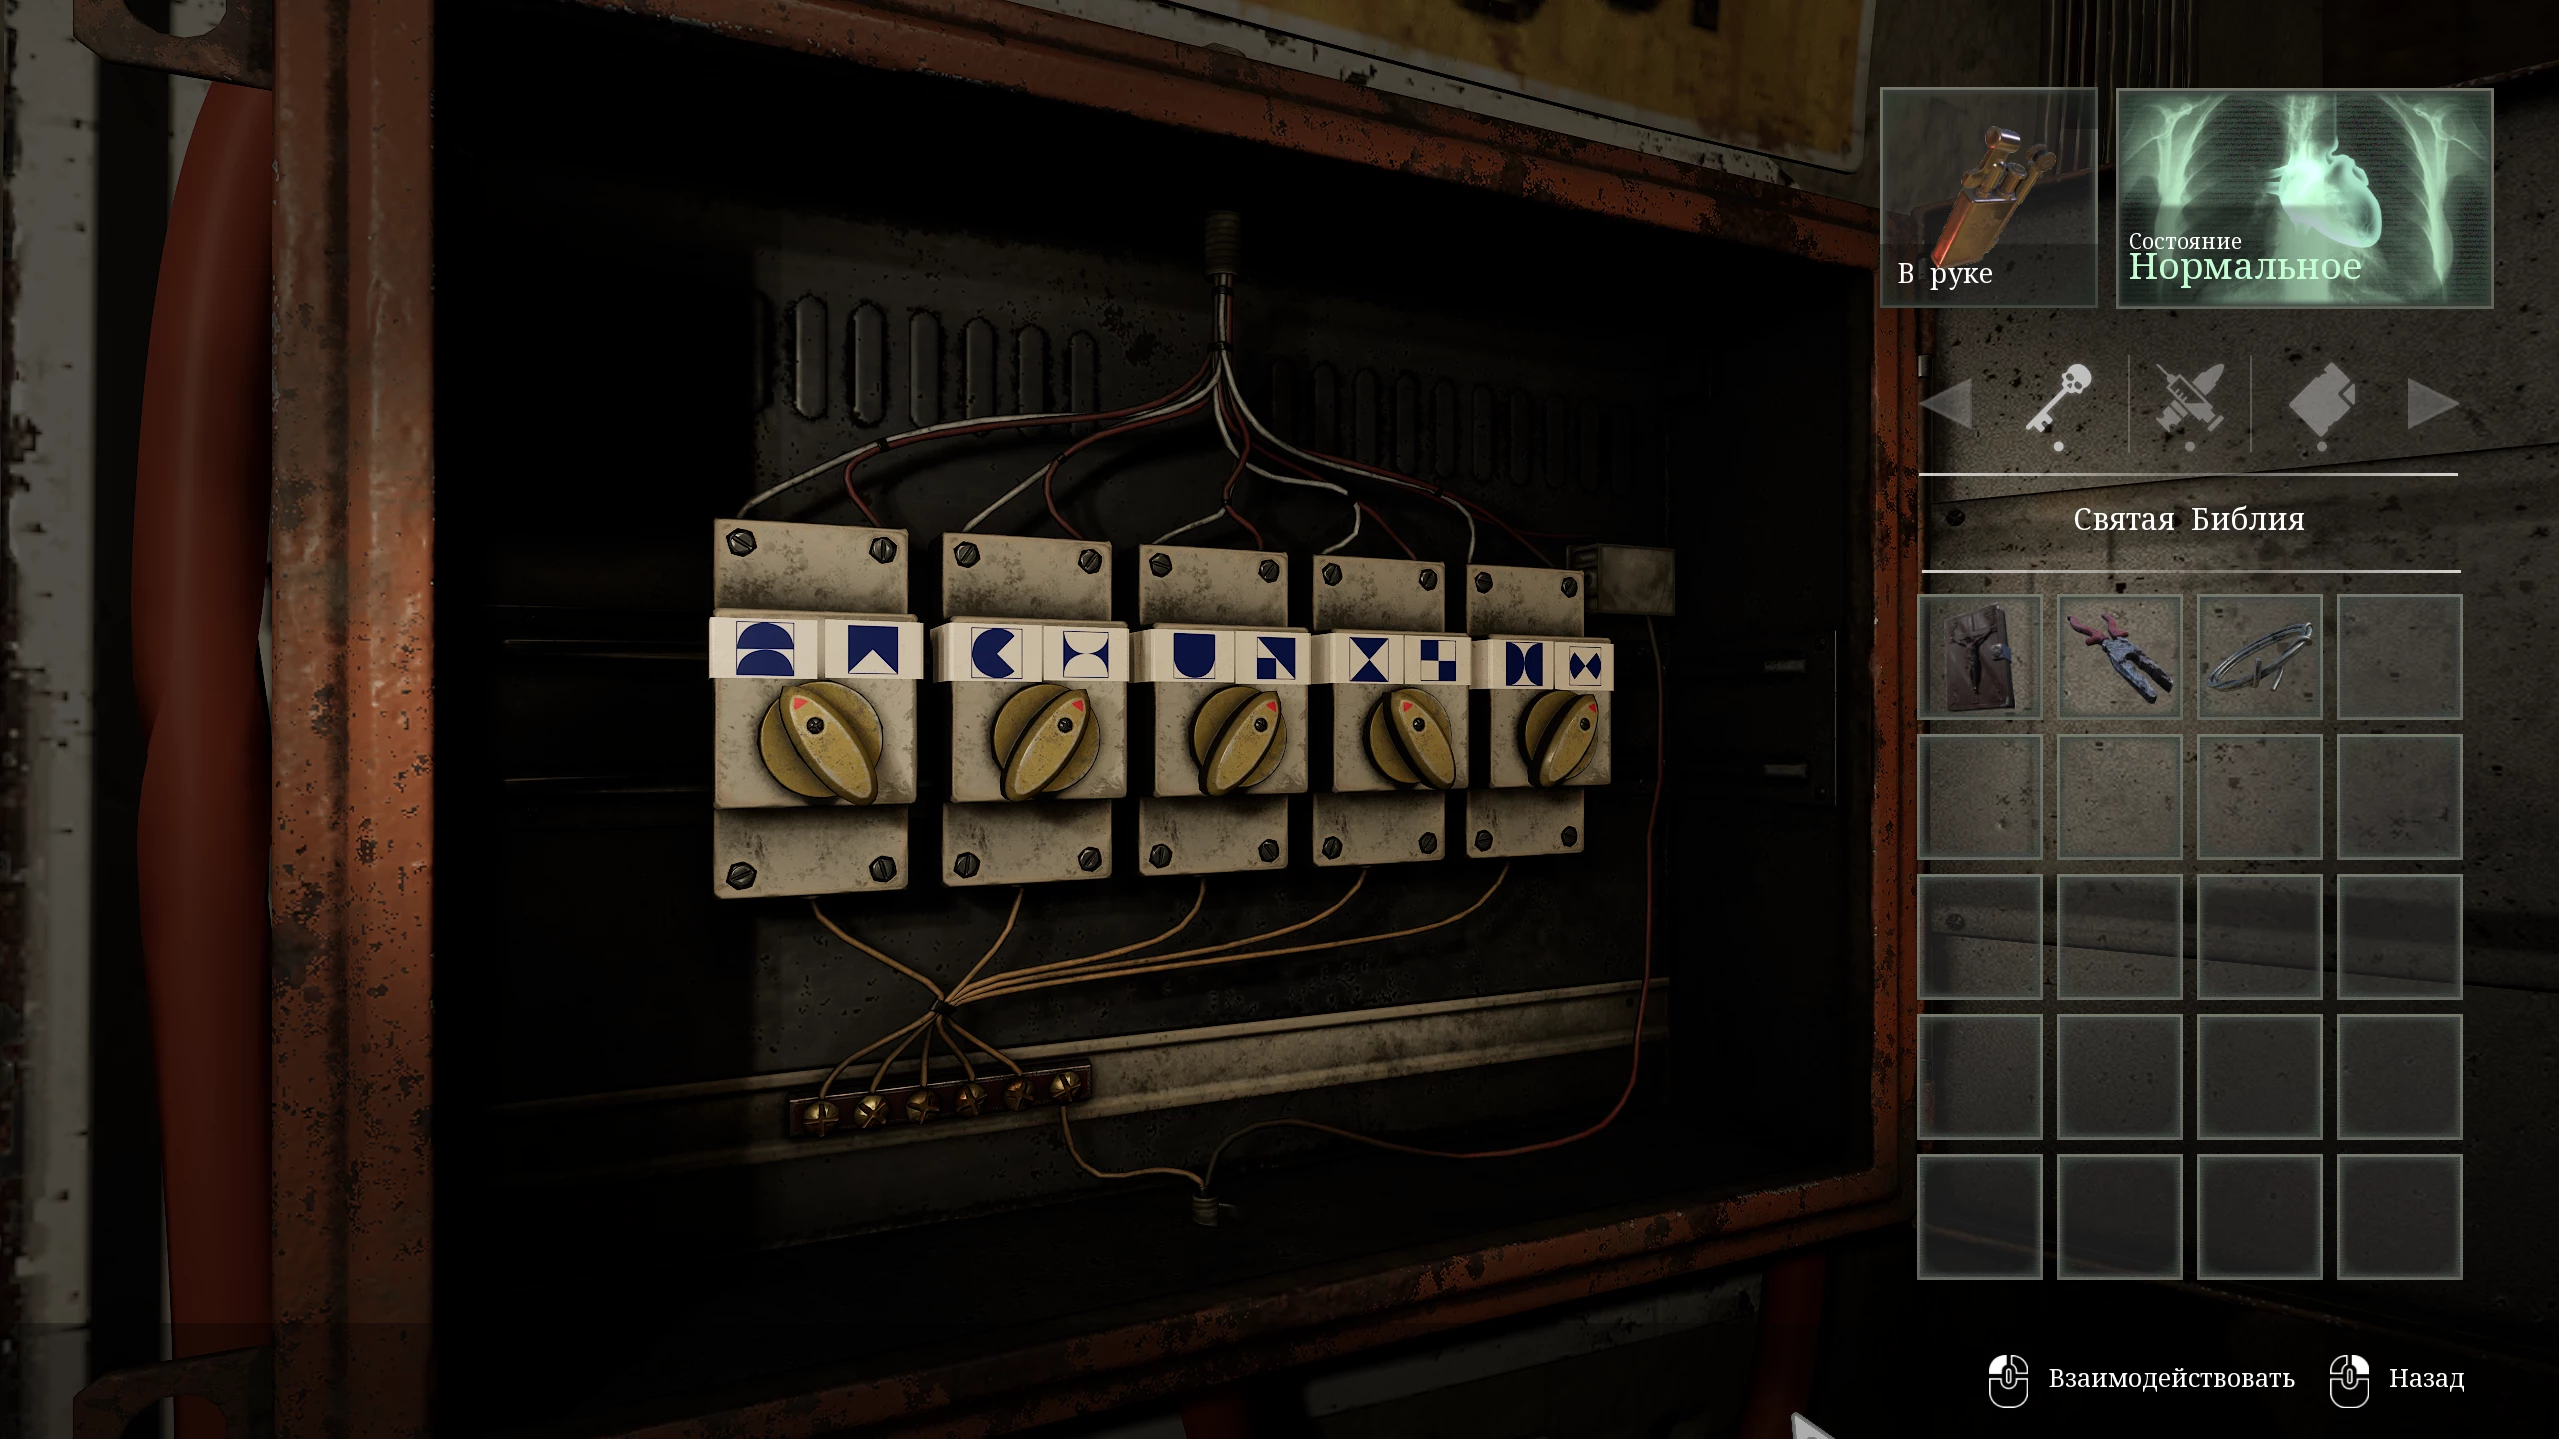
Using the note with symbols, set the switches in the following order:
- Right
- Left
- Left
- Left
- Right
Pulling the lever activates the electricity and opens all the cells. Check the very last cell and find a page from the phone book — you'll need it later.
Return to the main hall. In the fourth cell, move the cart with medicine and go down to the crypt.
There’s also a box of nails in the first cell — don’t forget to take it.
How to Find the Cursed Book
Go along the corridor until you reach the main hall with a pedestal in the center holding the cursed book. Pick it up and replace it with the Holy Bible to open the way back.

On your way up, you’ll encounter two ghouls: deal with them using the traps activated throughout the dungeon and proceed to the crematorium.
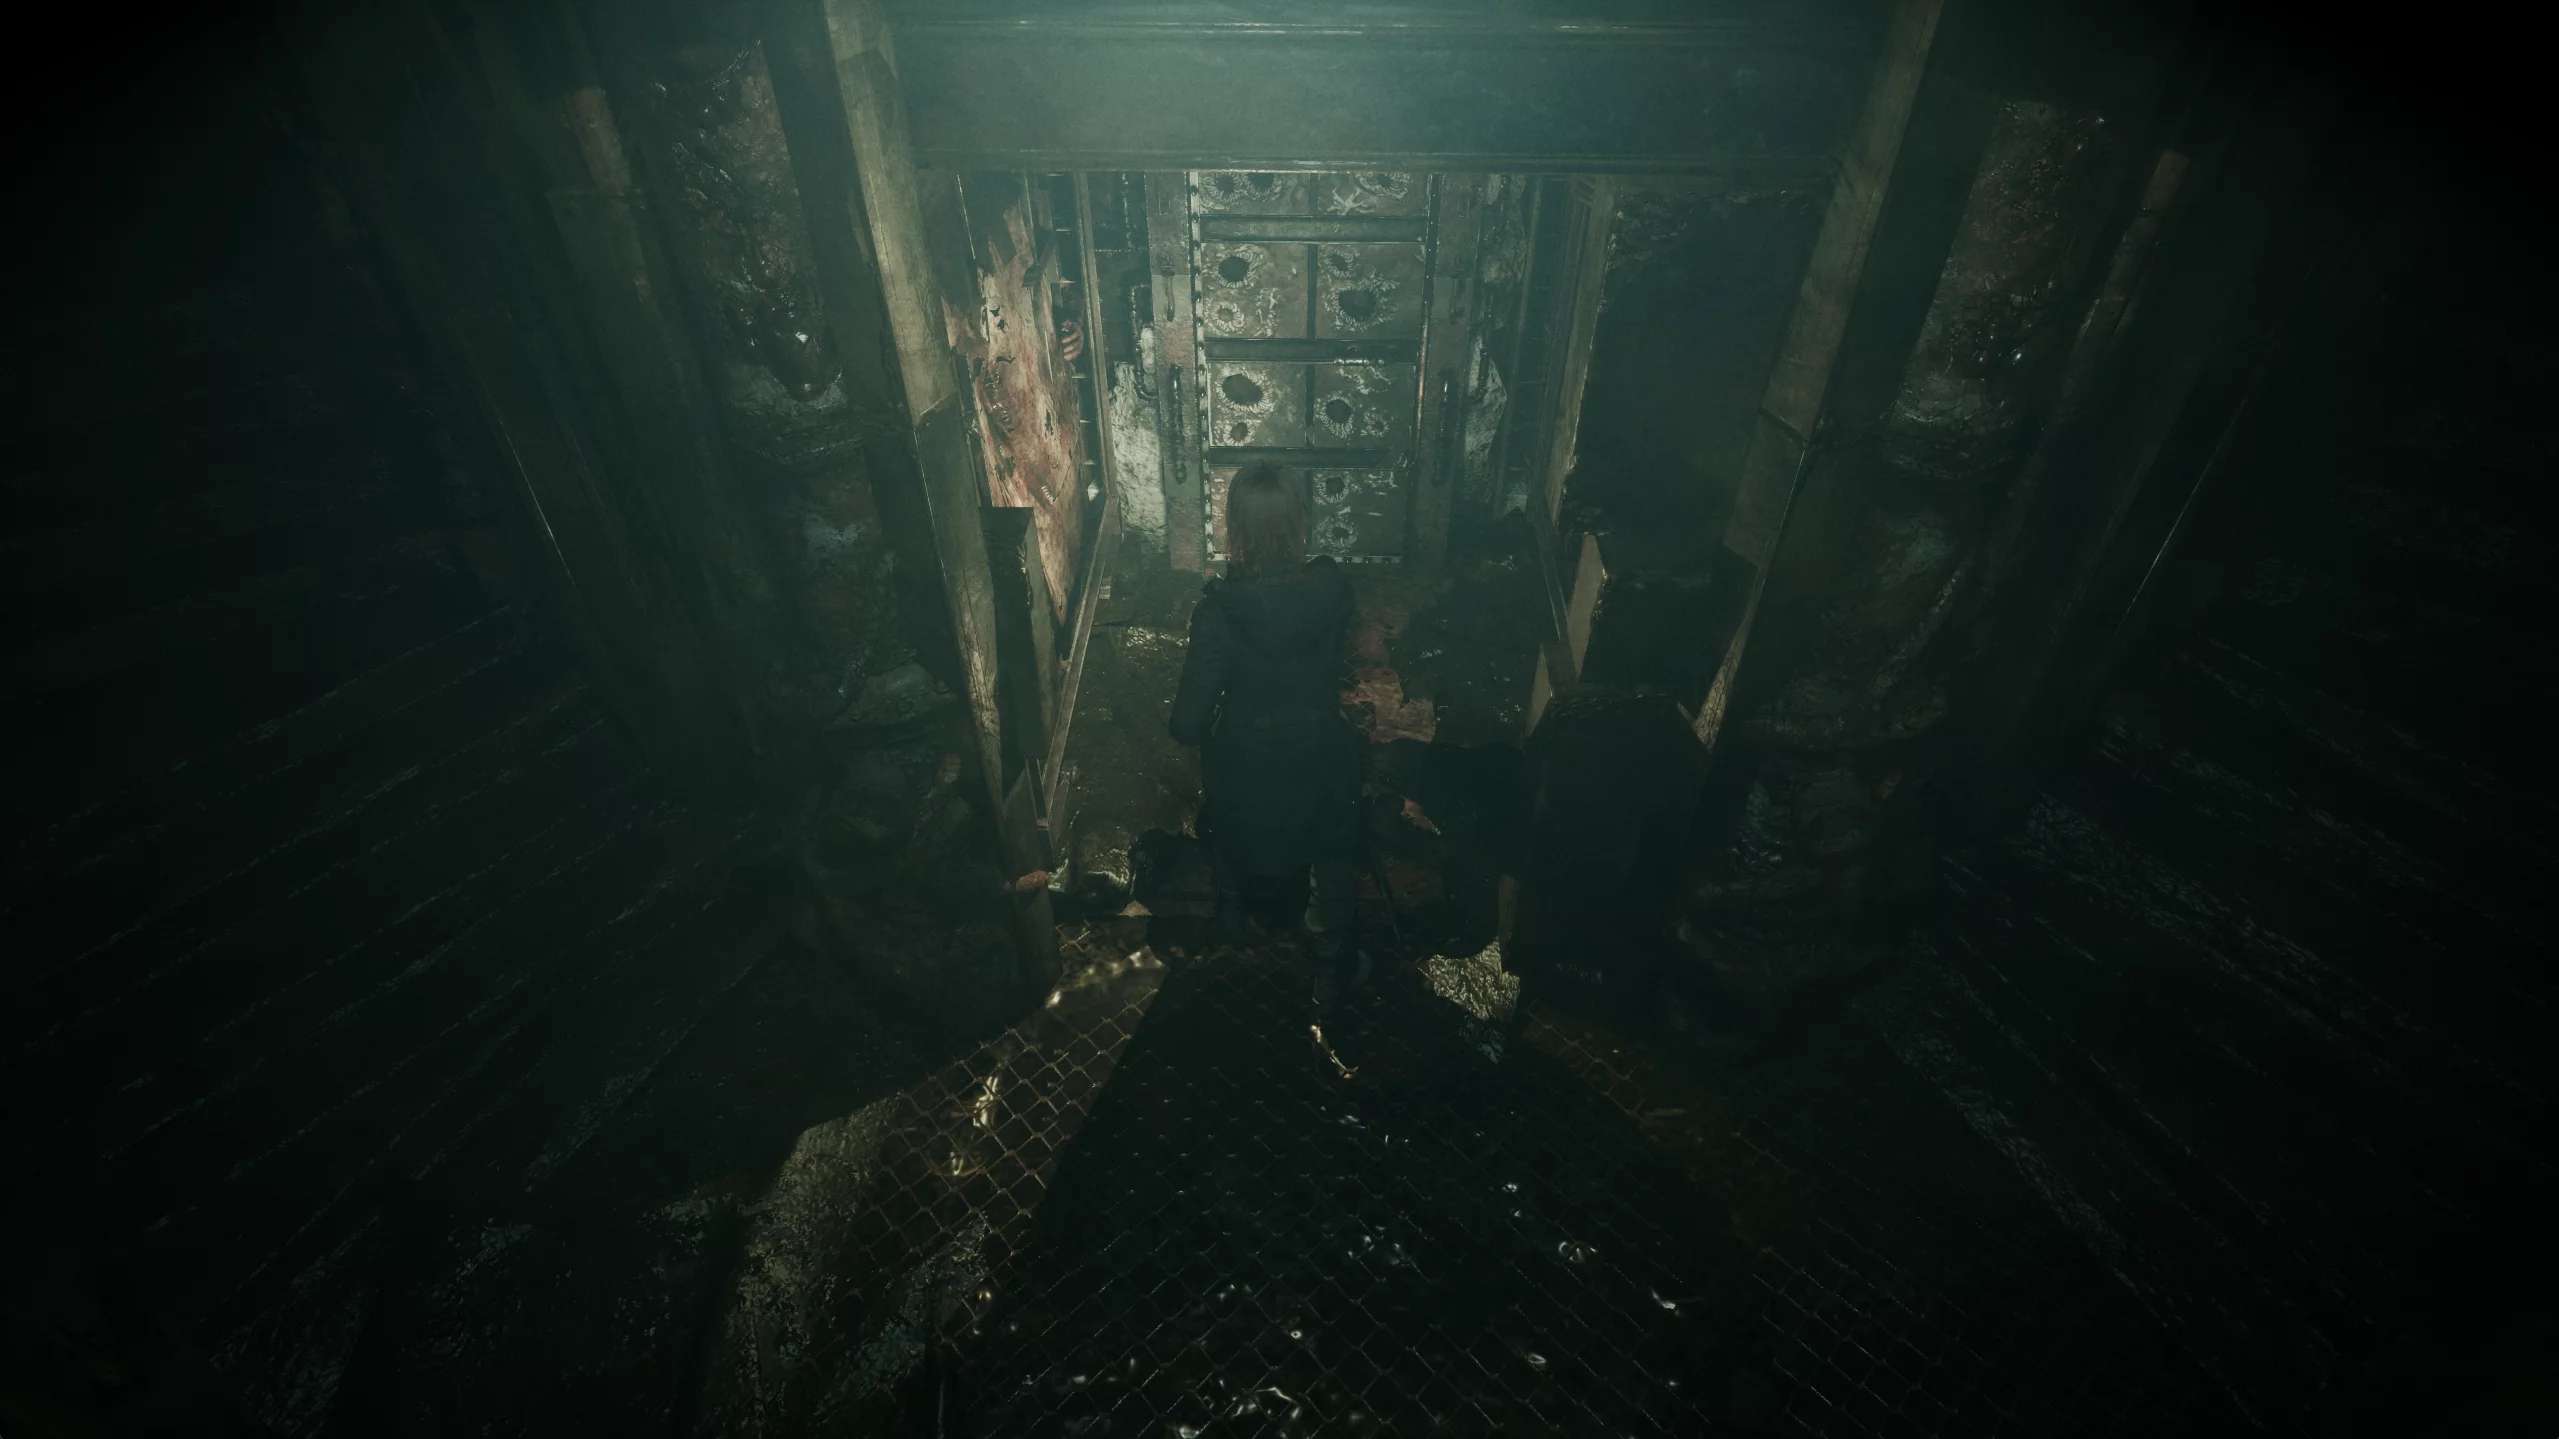
At the end of the path, open the huge rusty door and go up to the basement.
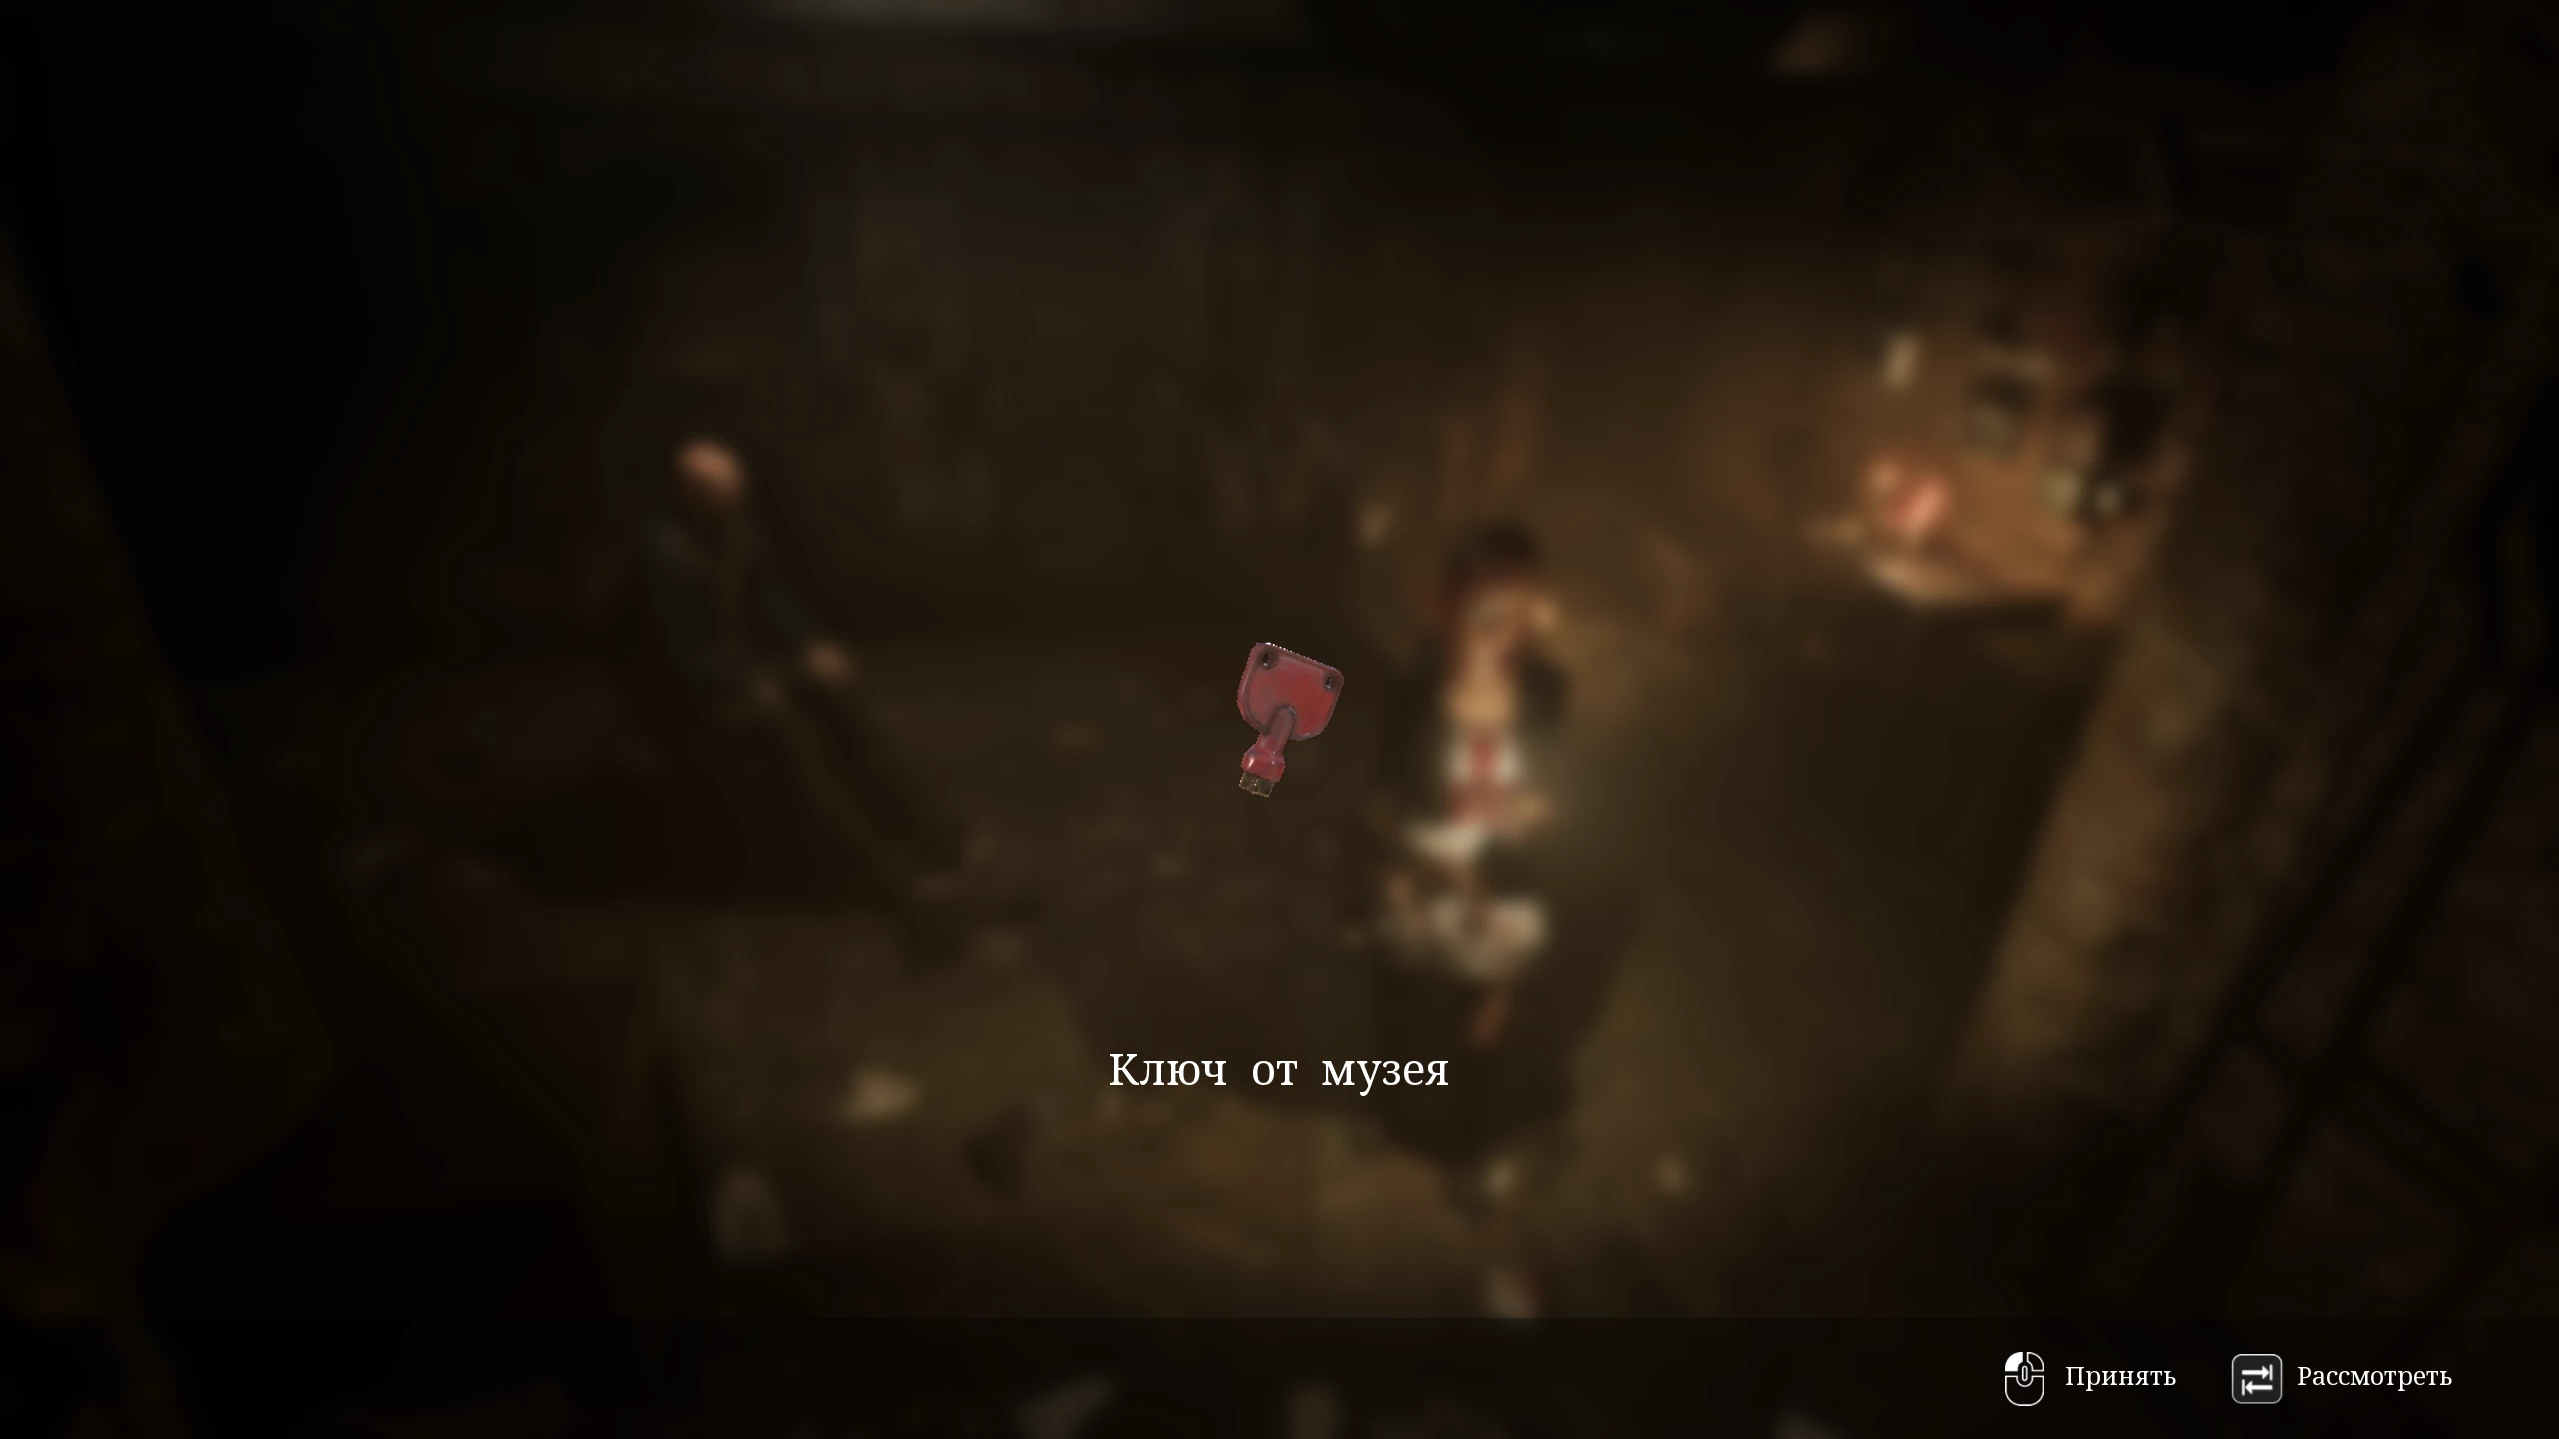
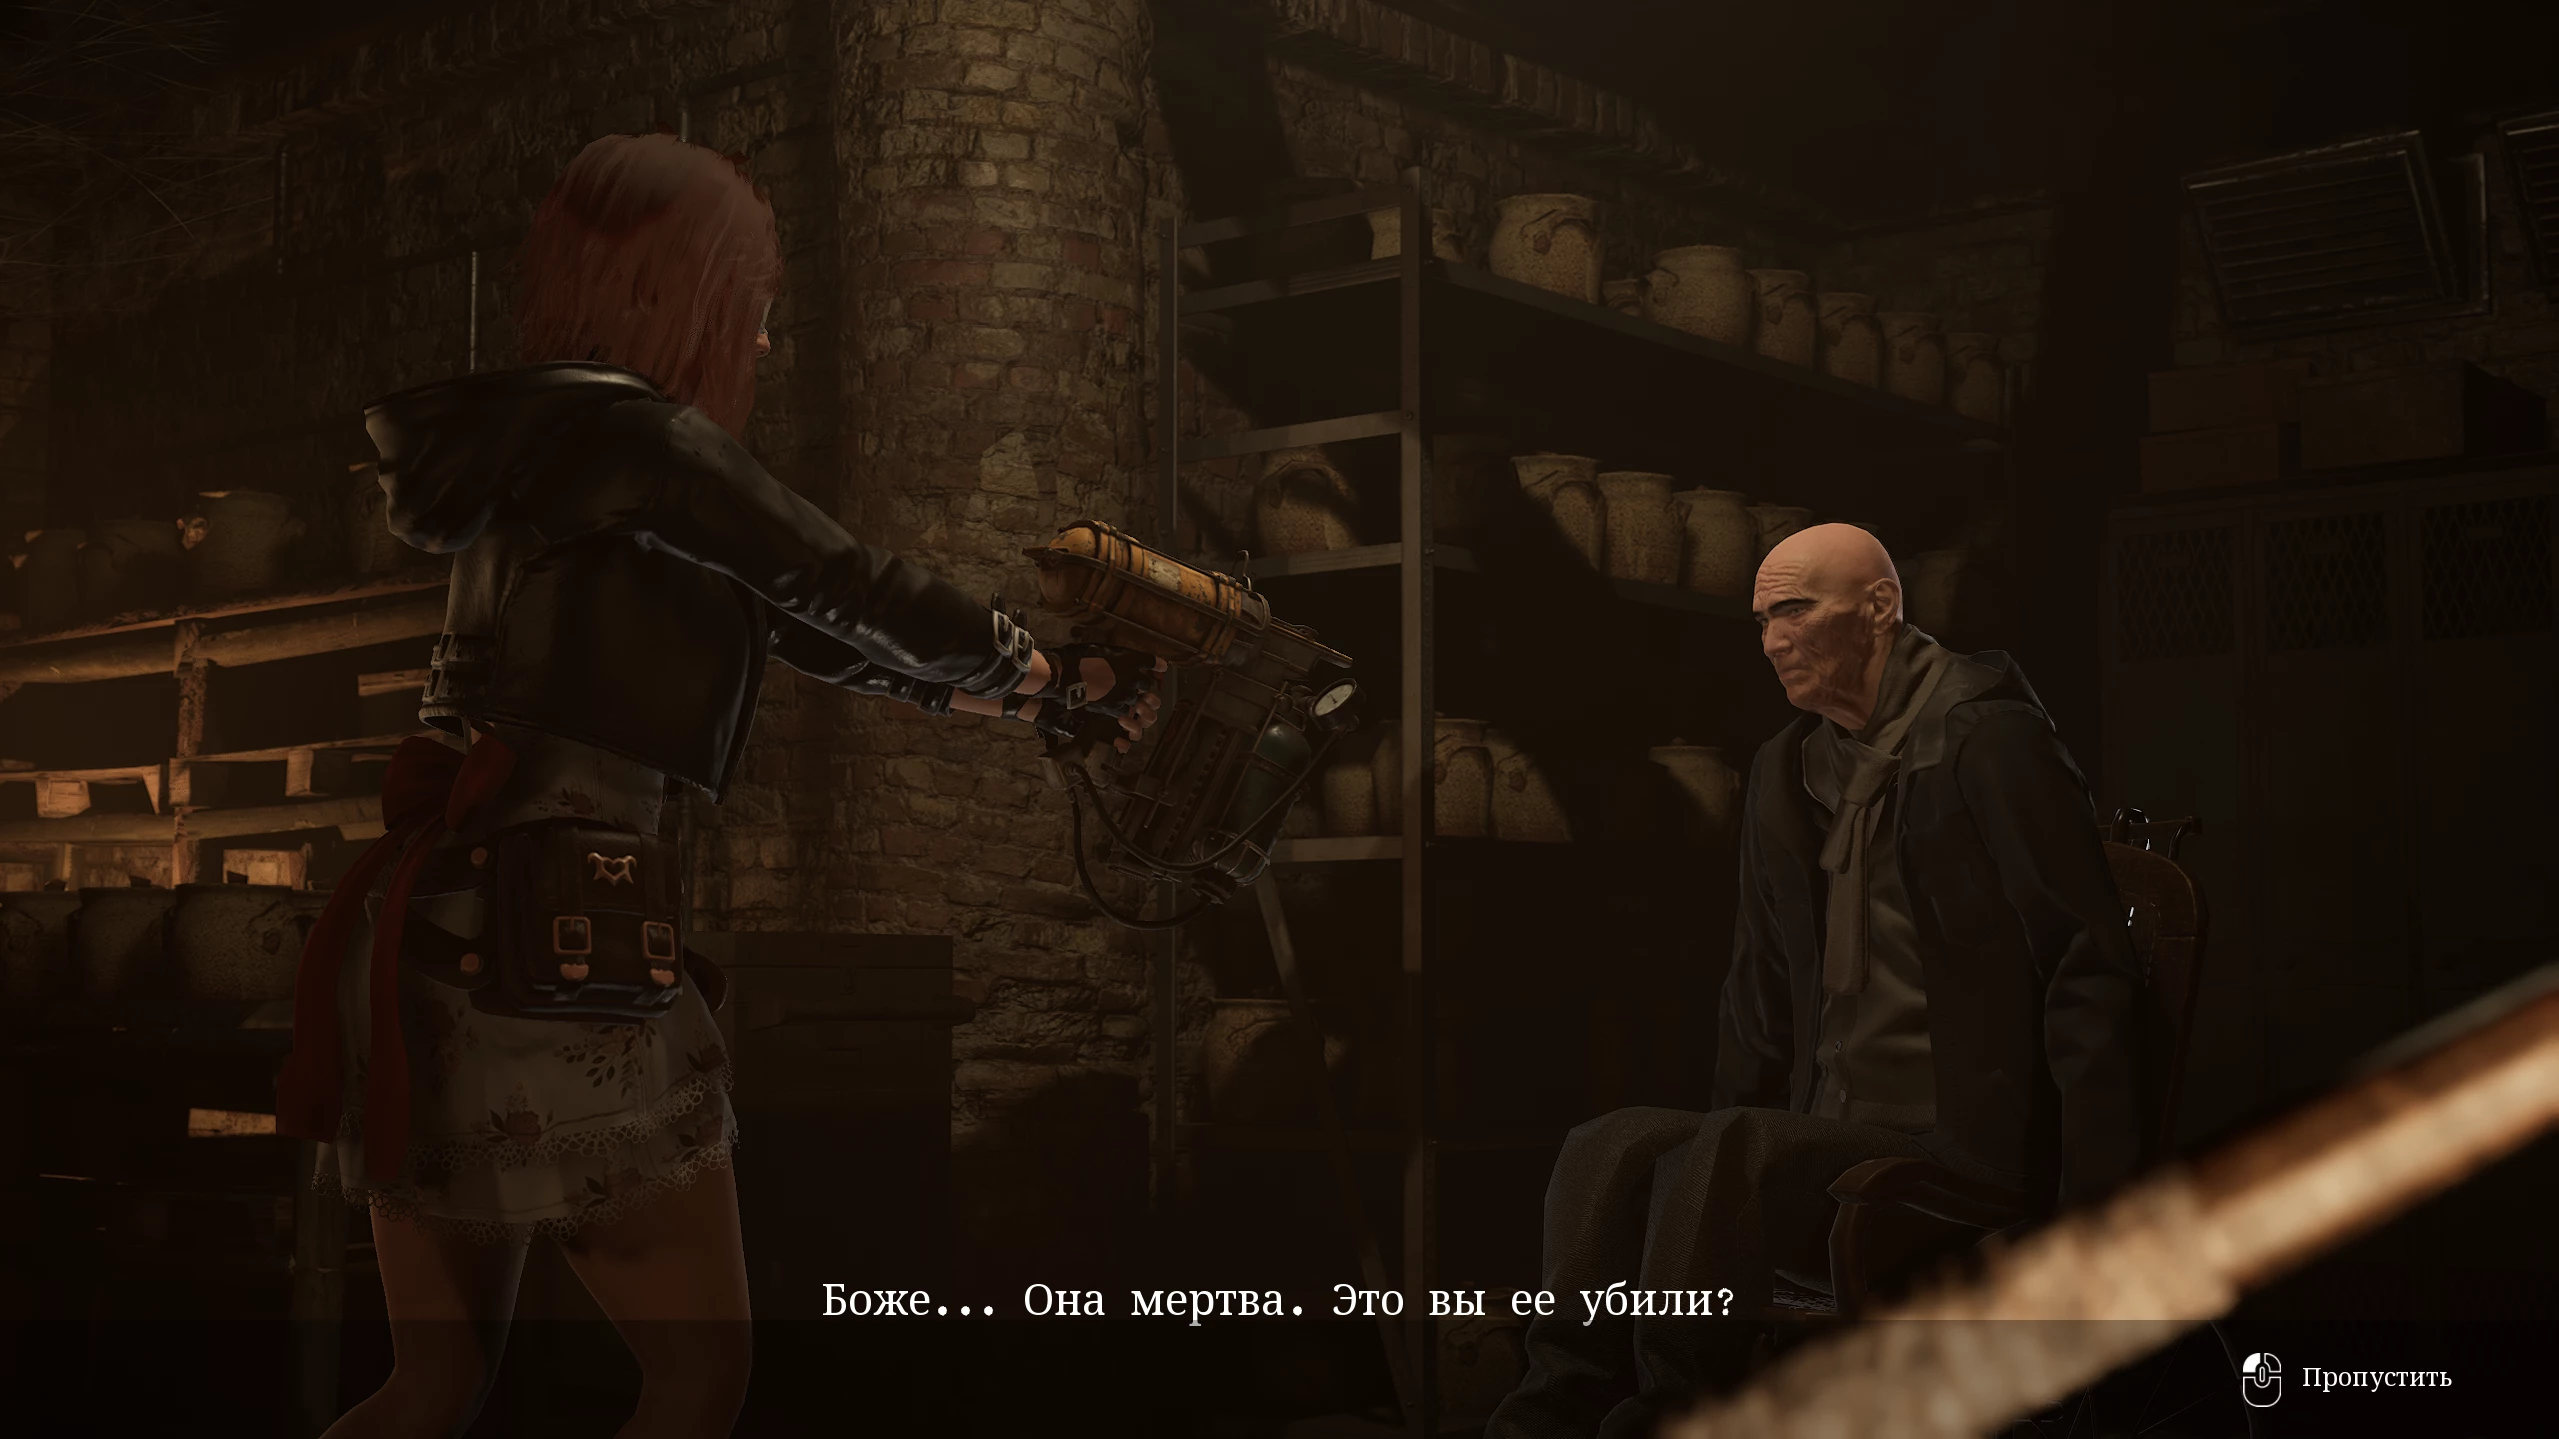
Upon arriving at the crematorium, give the artifact to Joseph. He says that the seal on the door can be broken with the tears of the saint in the museum. Receive the key from the old man and head to the new location.
How to Find the Tears of the Saint in the Museum
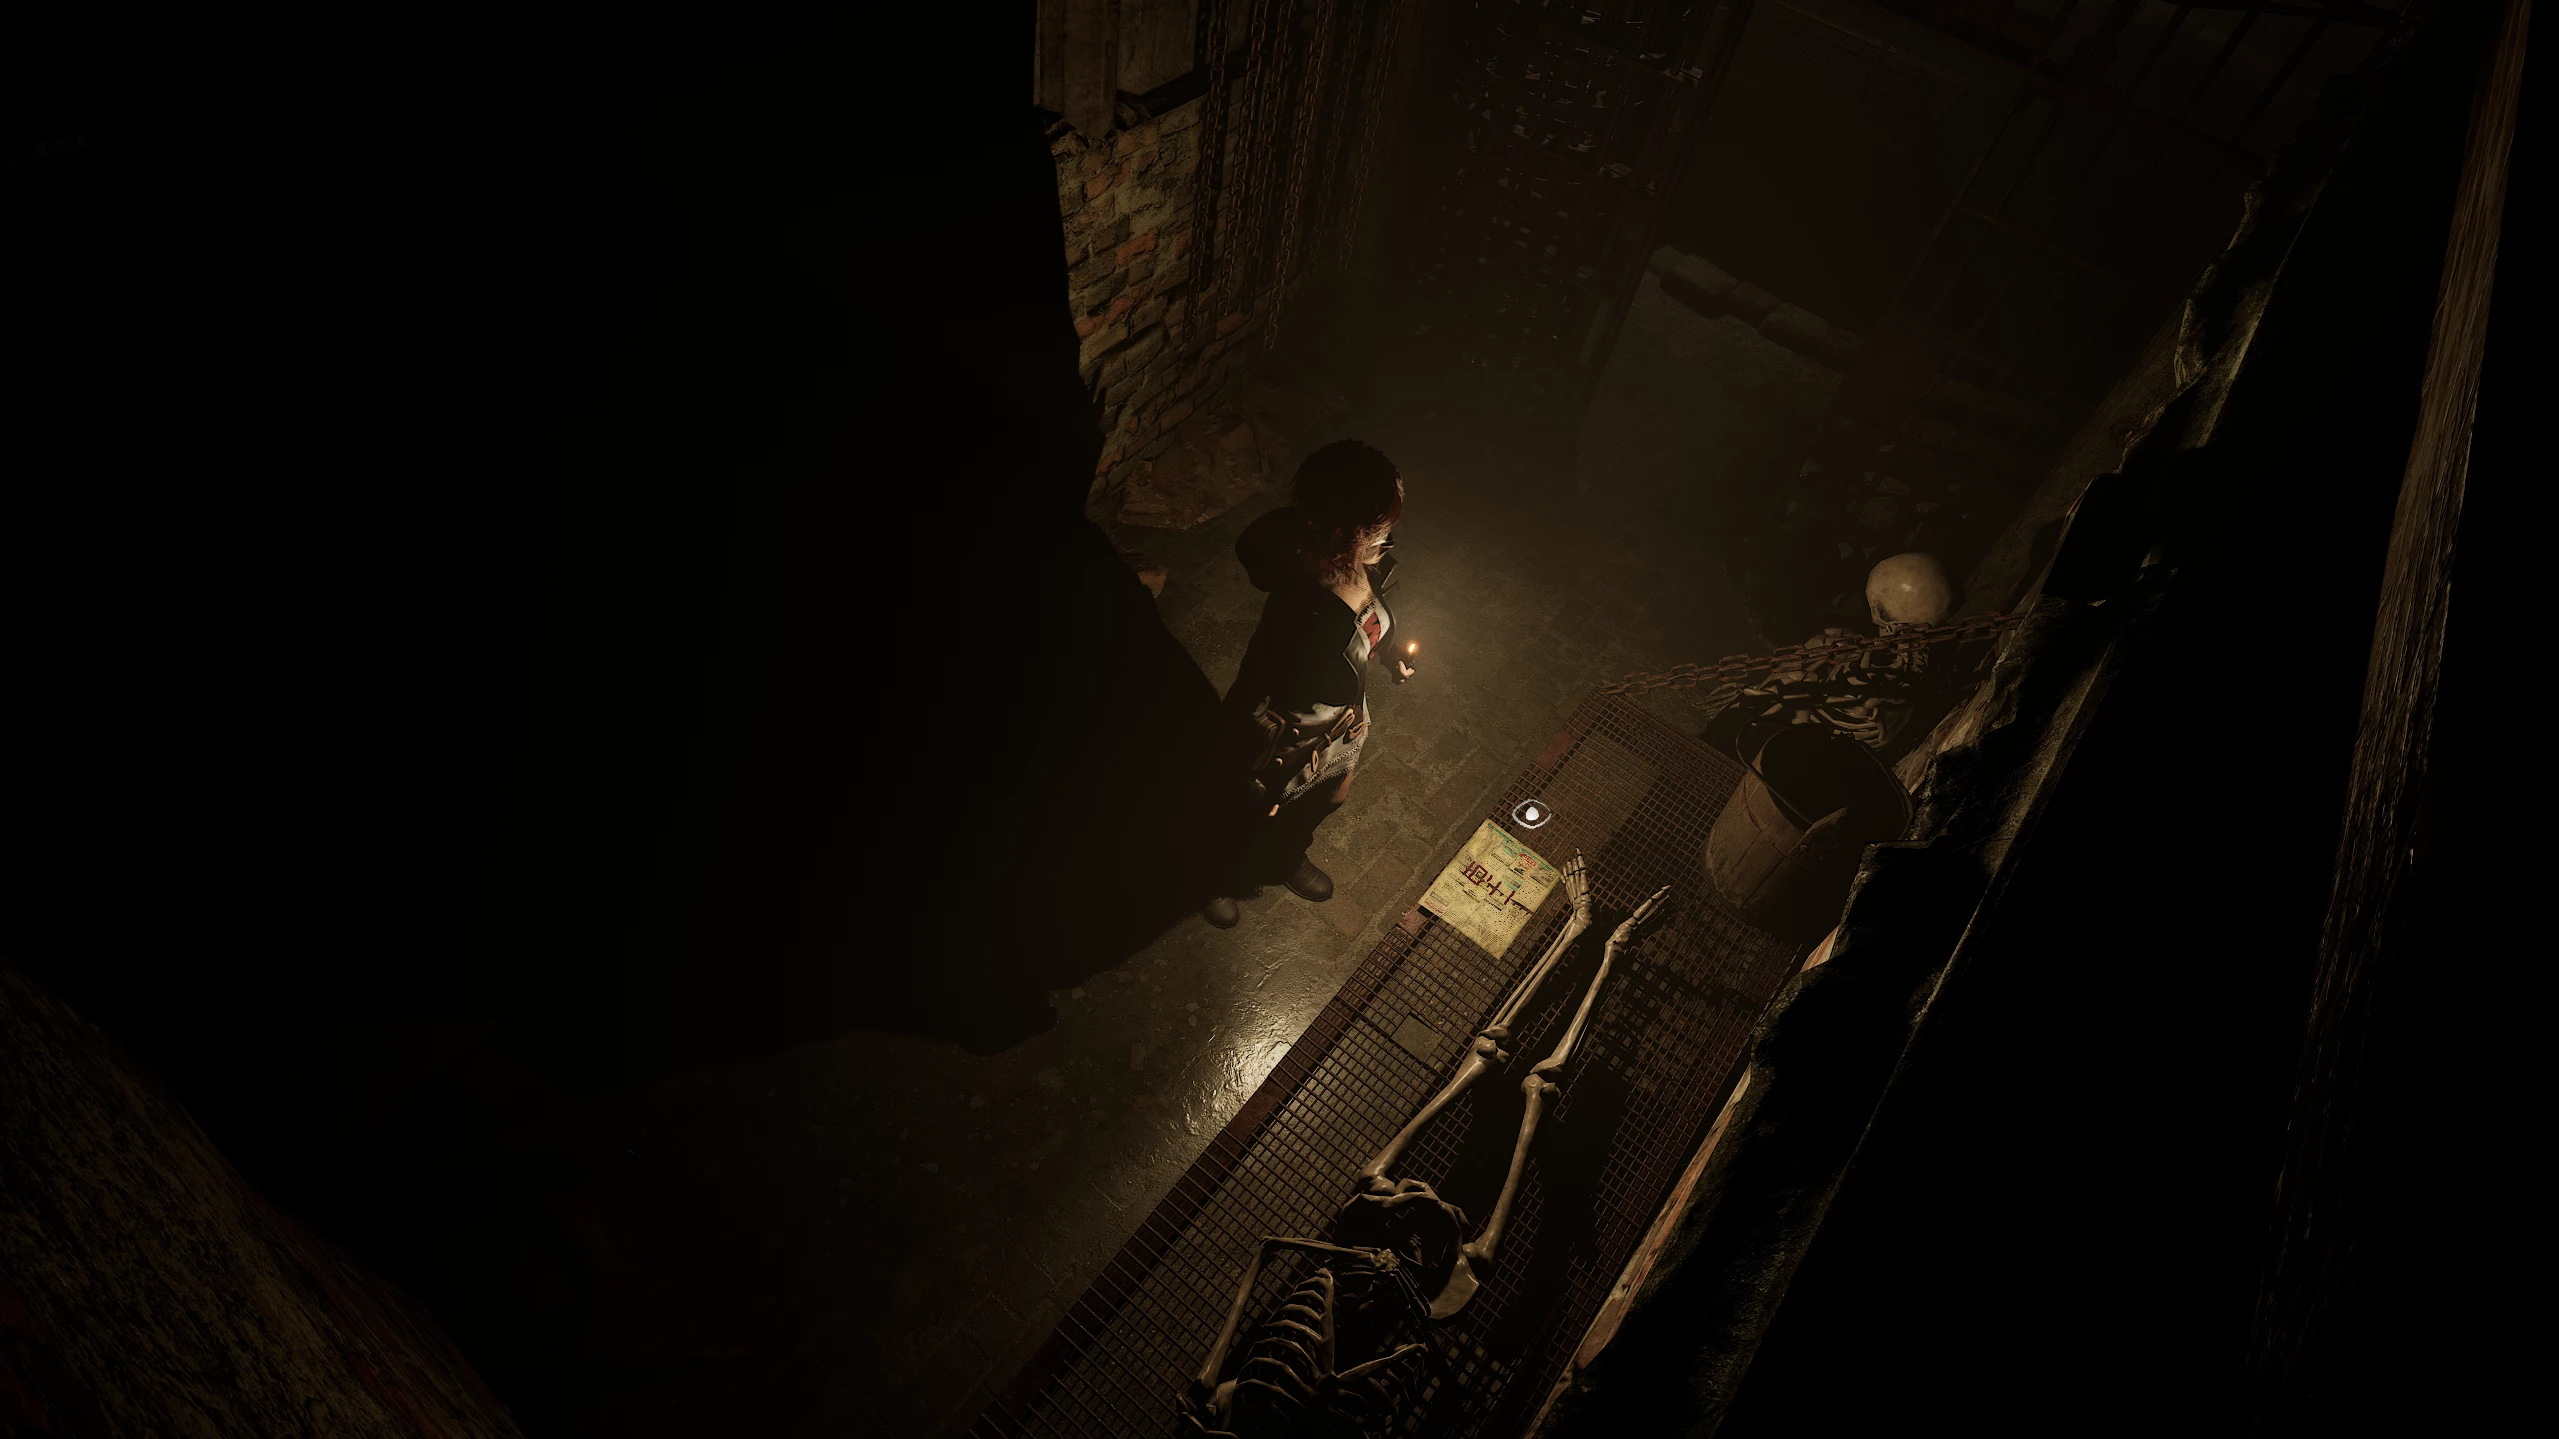
Go through the Cloister to the right spot, fight off three ghouls, and open the door leading to the museum.
To remove the blocker, you need to unscrew the bolts in the following order:
- Center
- Left
- Right
Once inside the room, break the vases for an extra nail gun clip.
Go down the stairs to the very depths of the museum, circle around to the other side, and take the jade ornament.
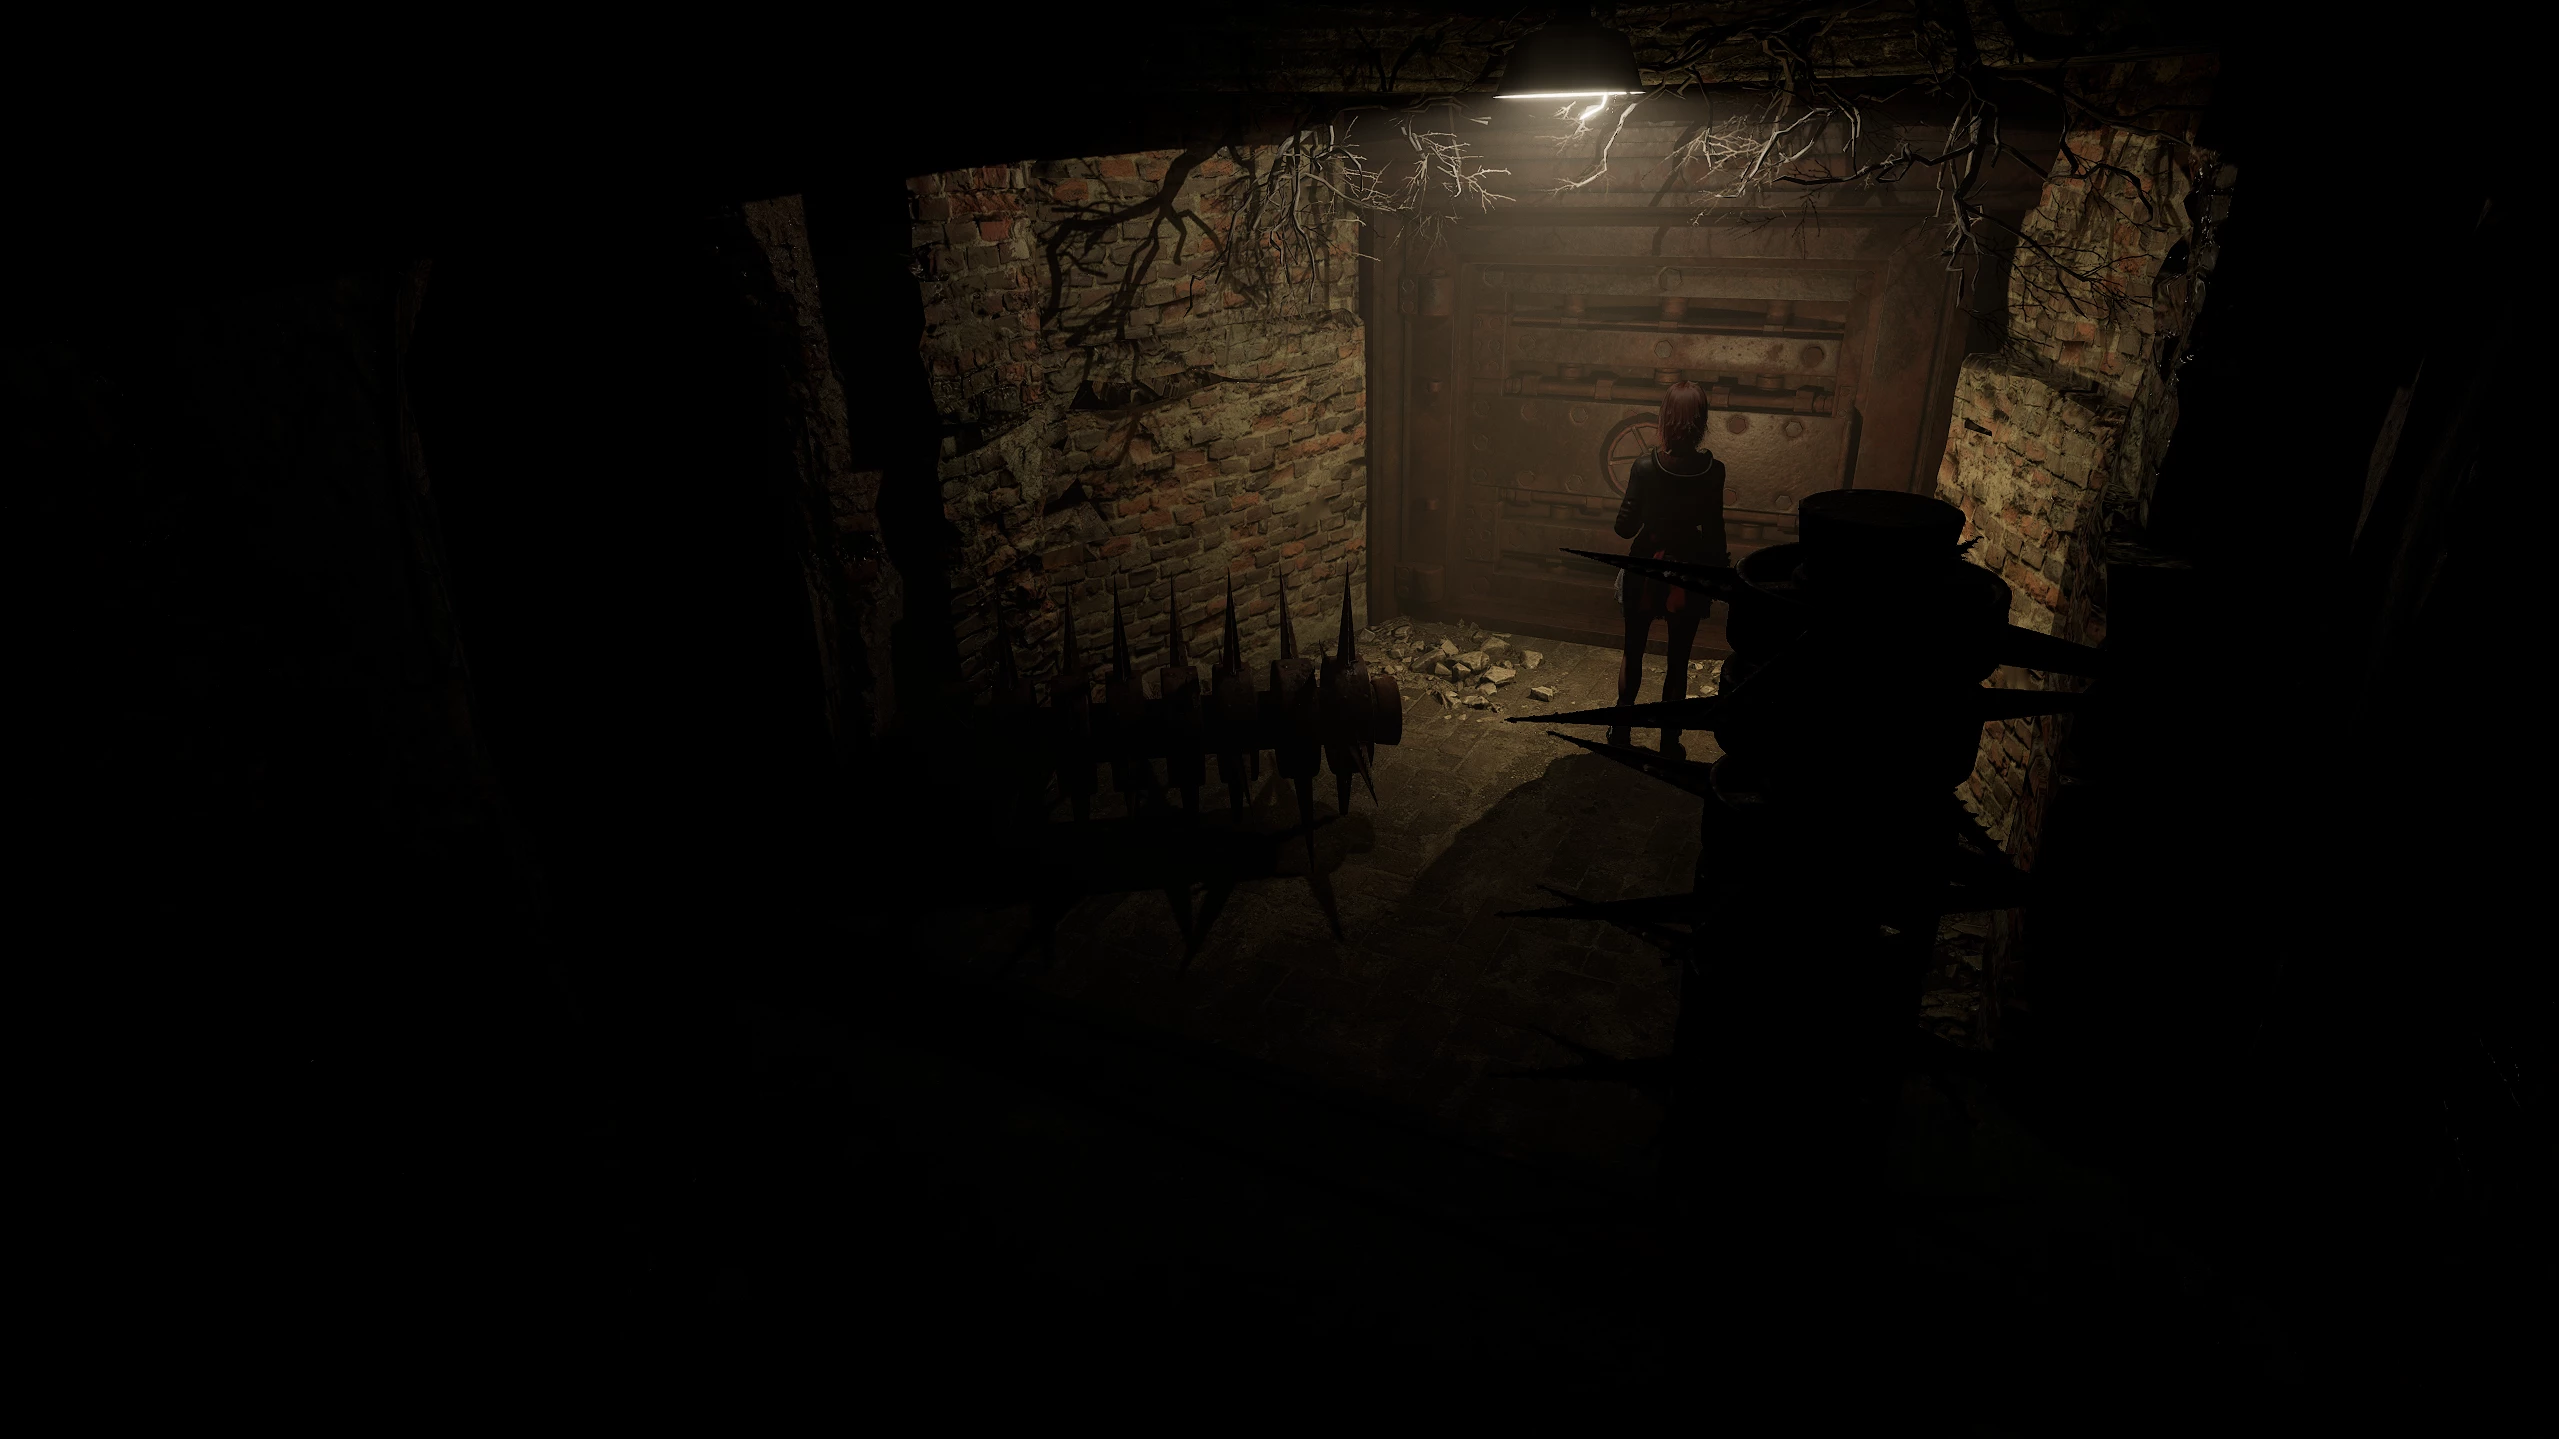
Return to the stairs and go left to the large iron door, which will lead Caroline to the torture museum. From here, go down a small staircase and walk behind the hanging chains, where you can grab a magnetic tape.
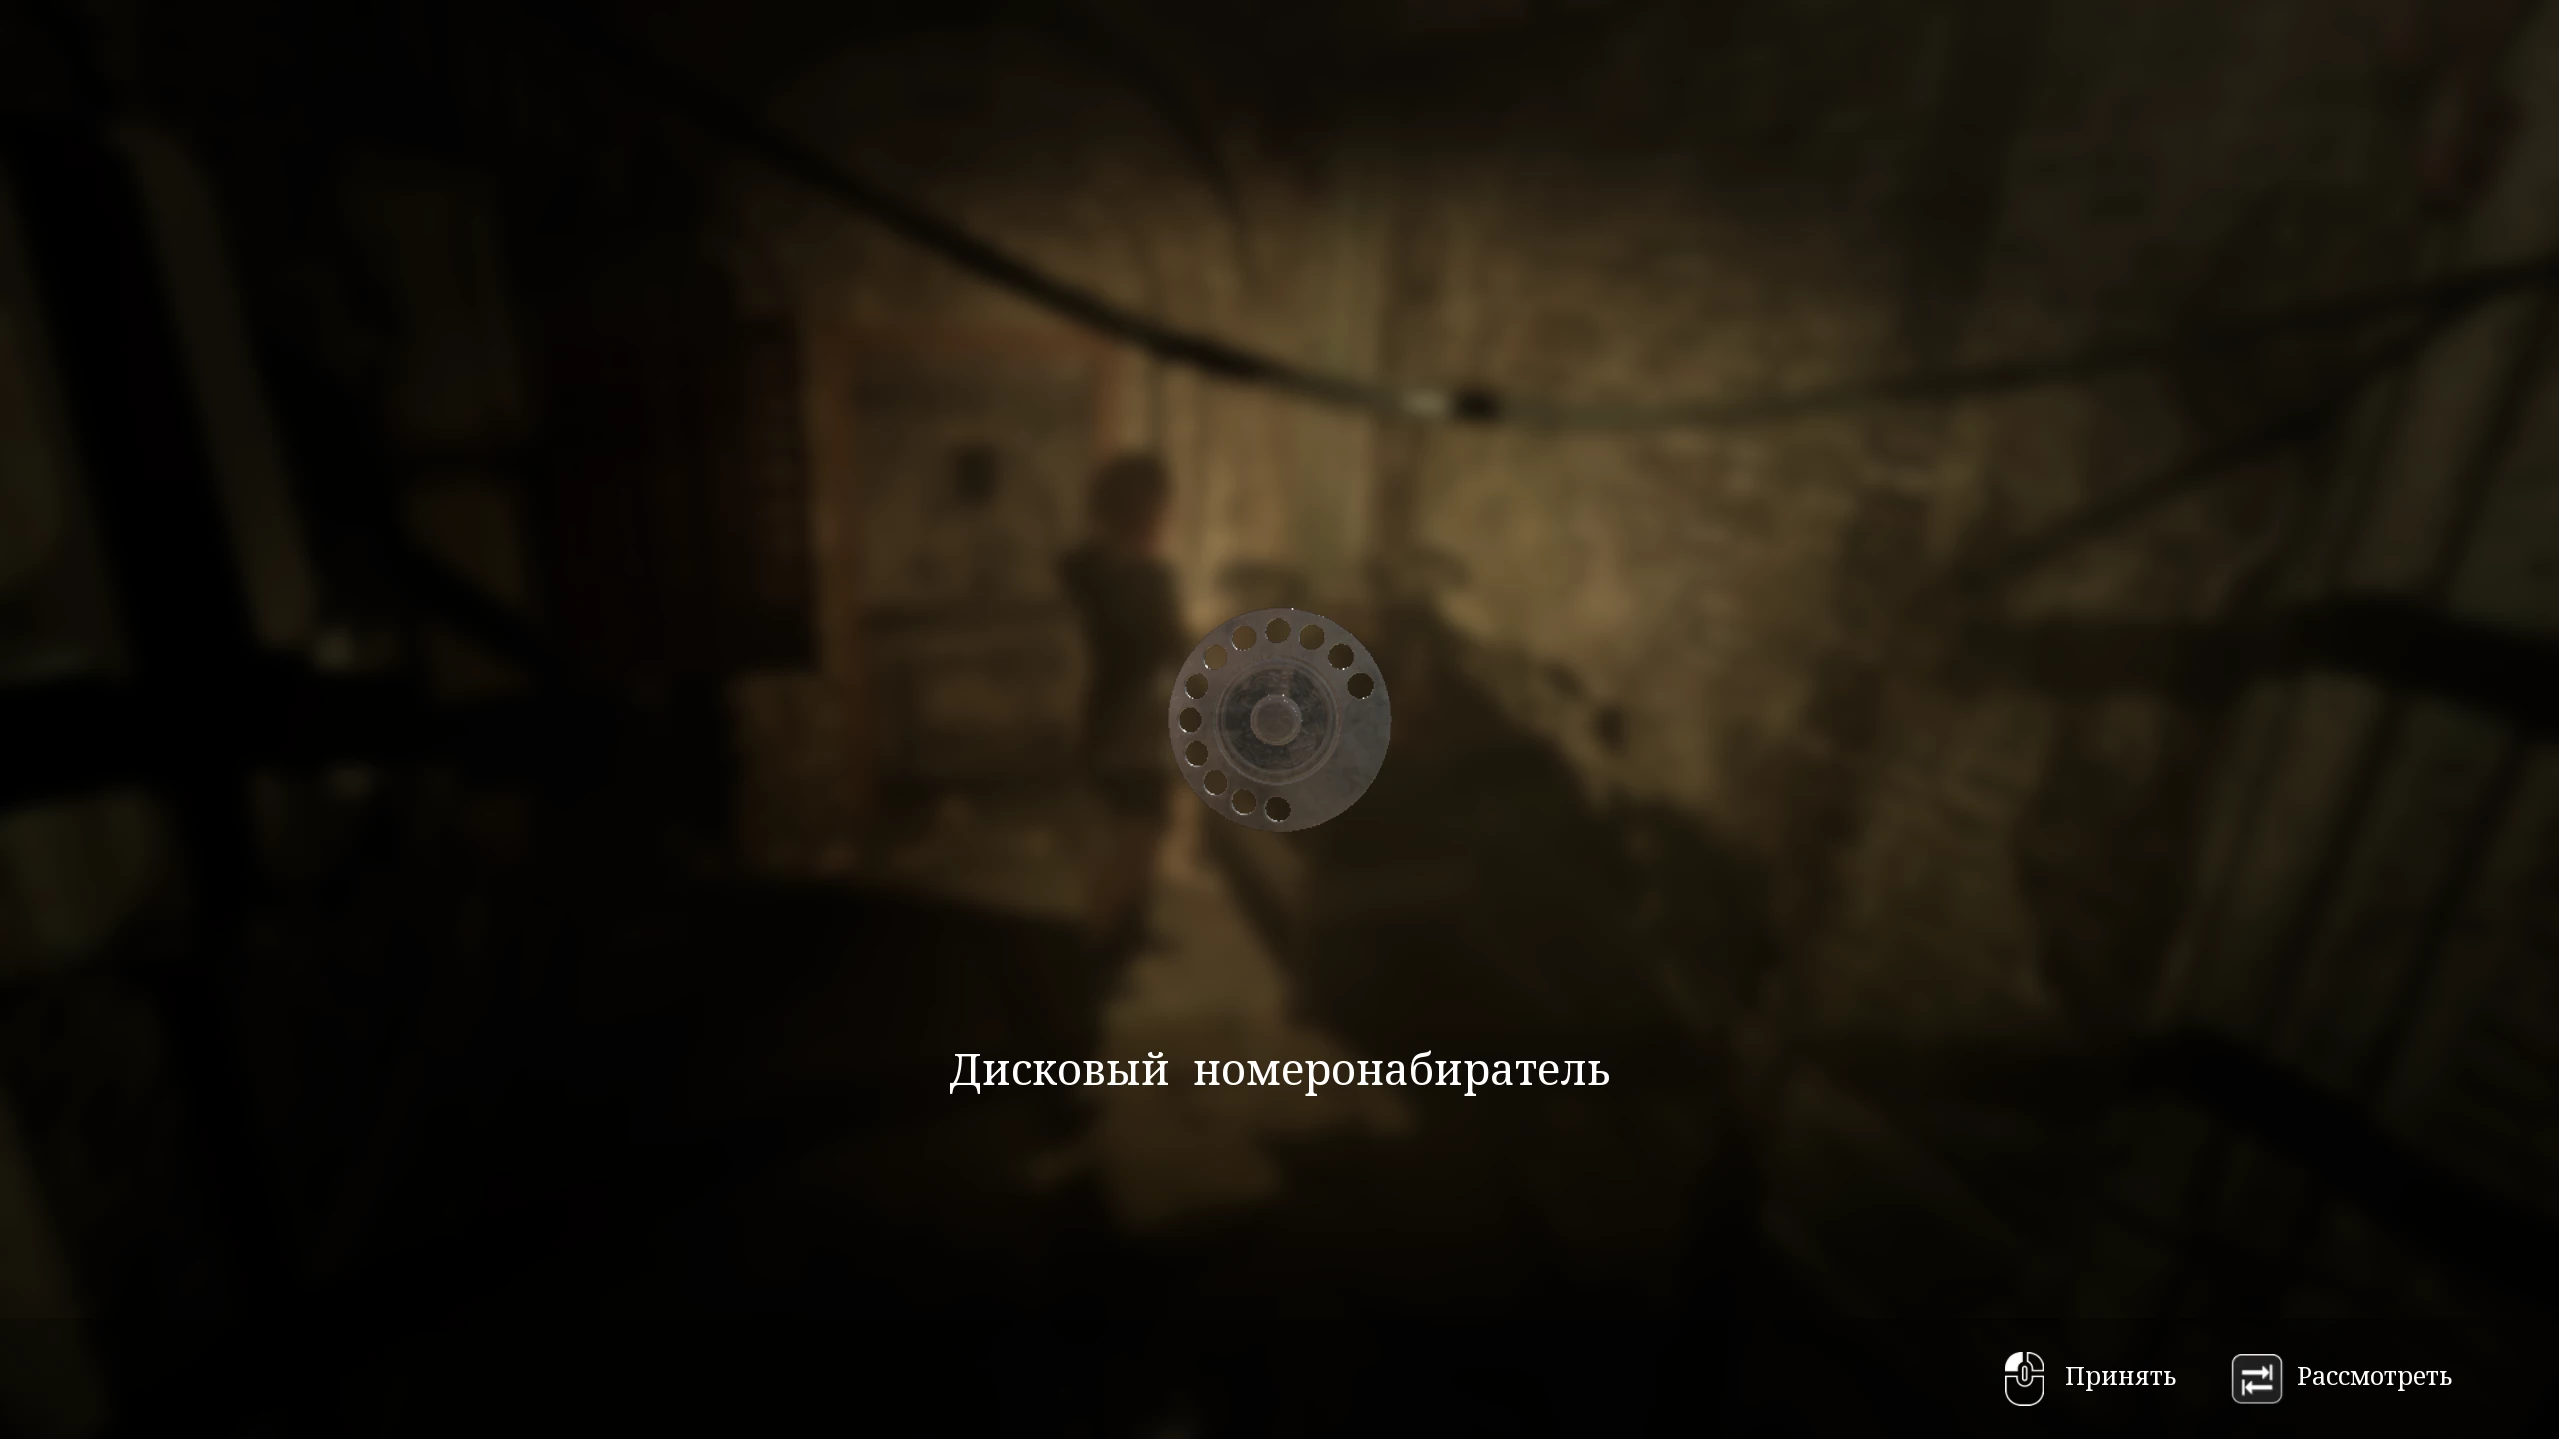
Enter the iron door and take the rotary dial among the rusty phones.
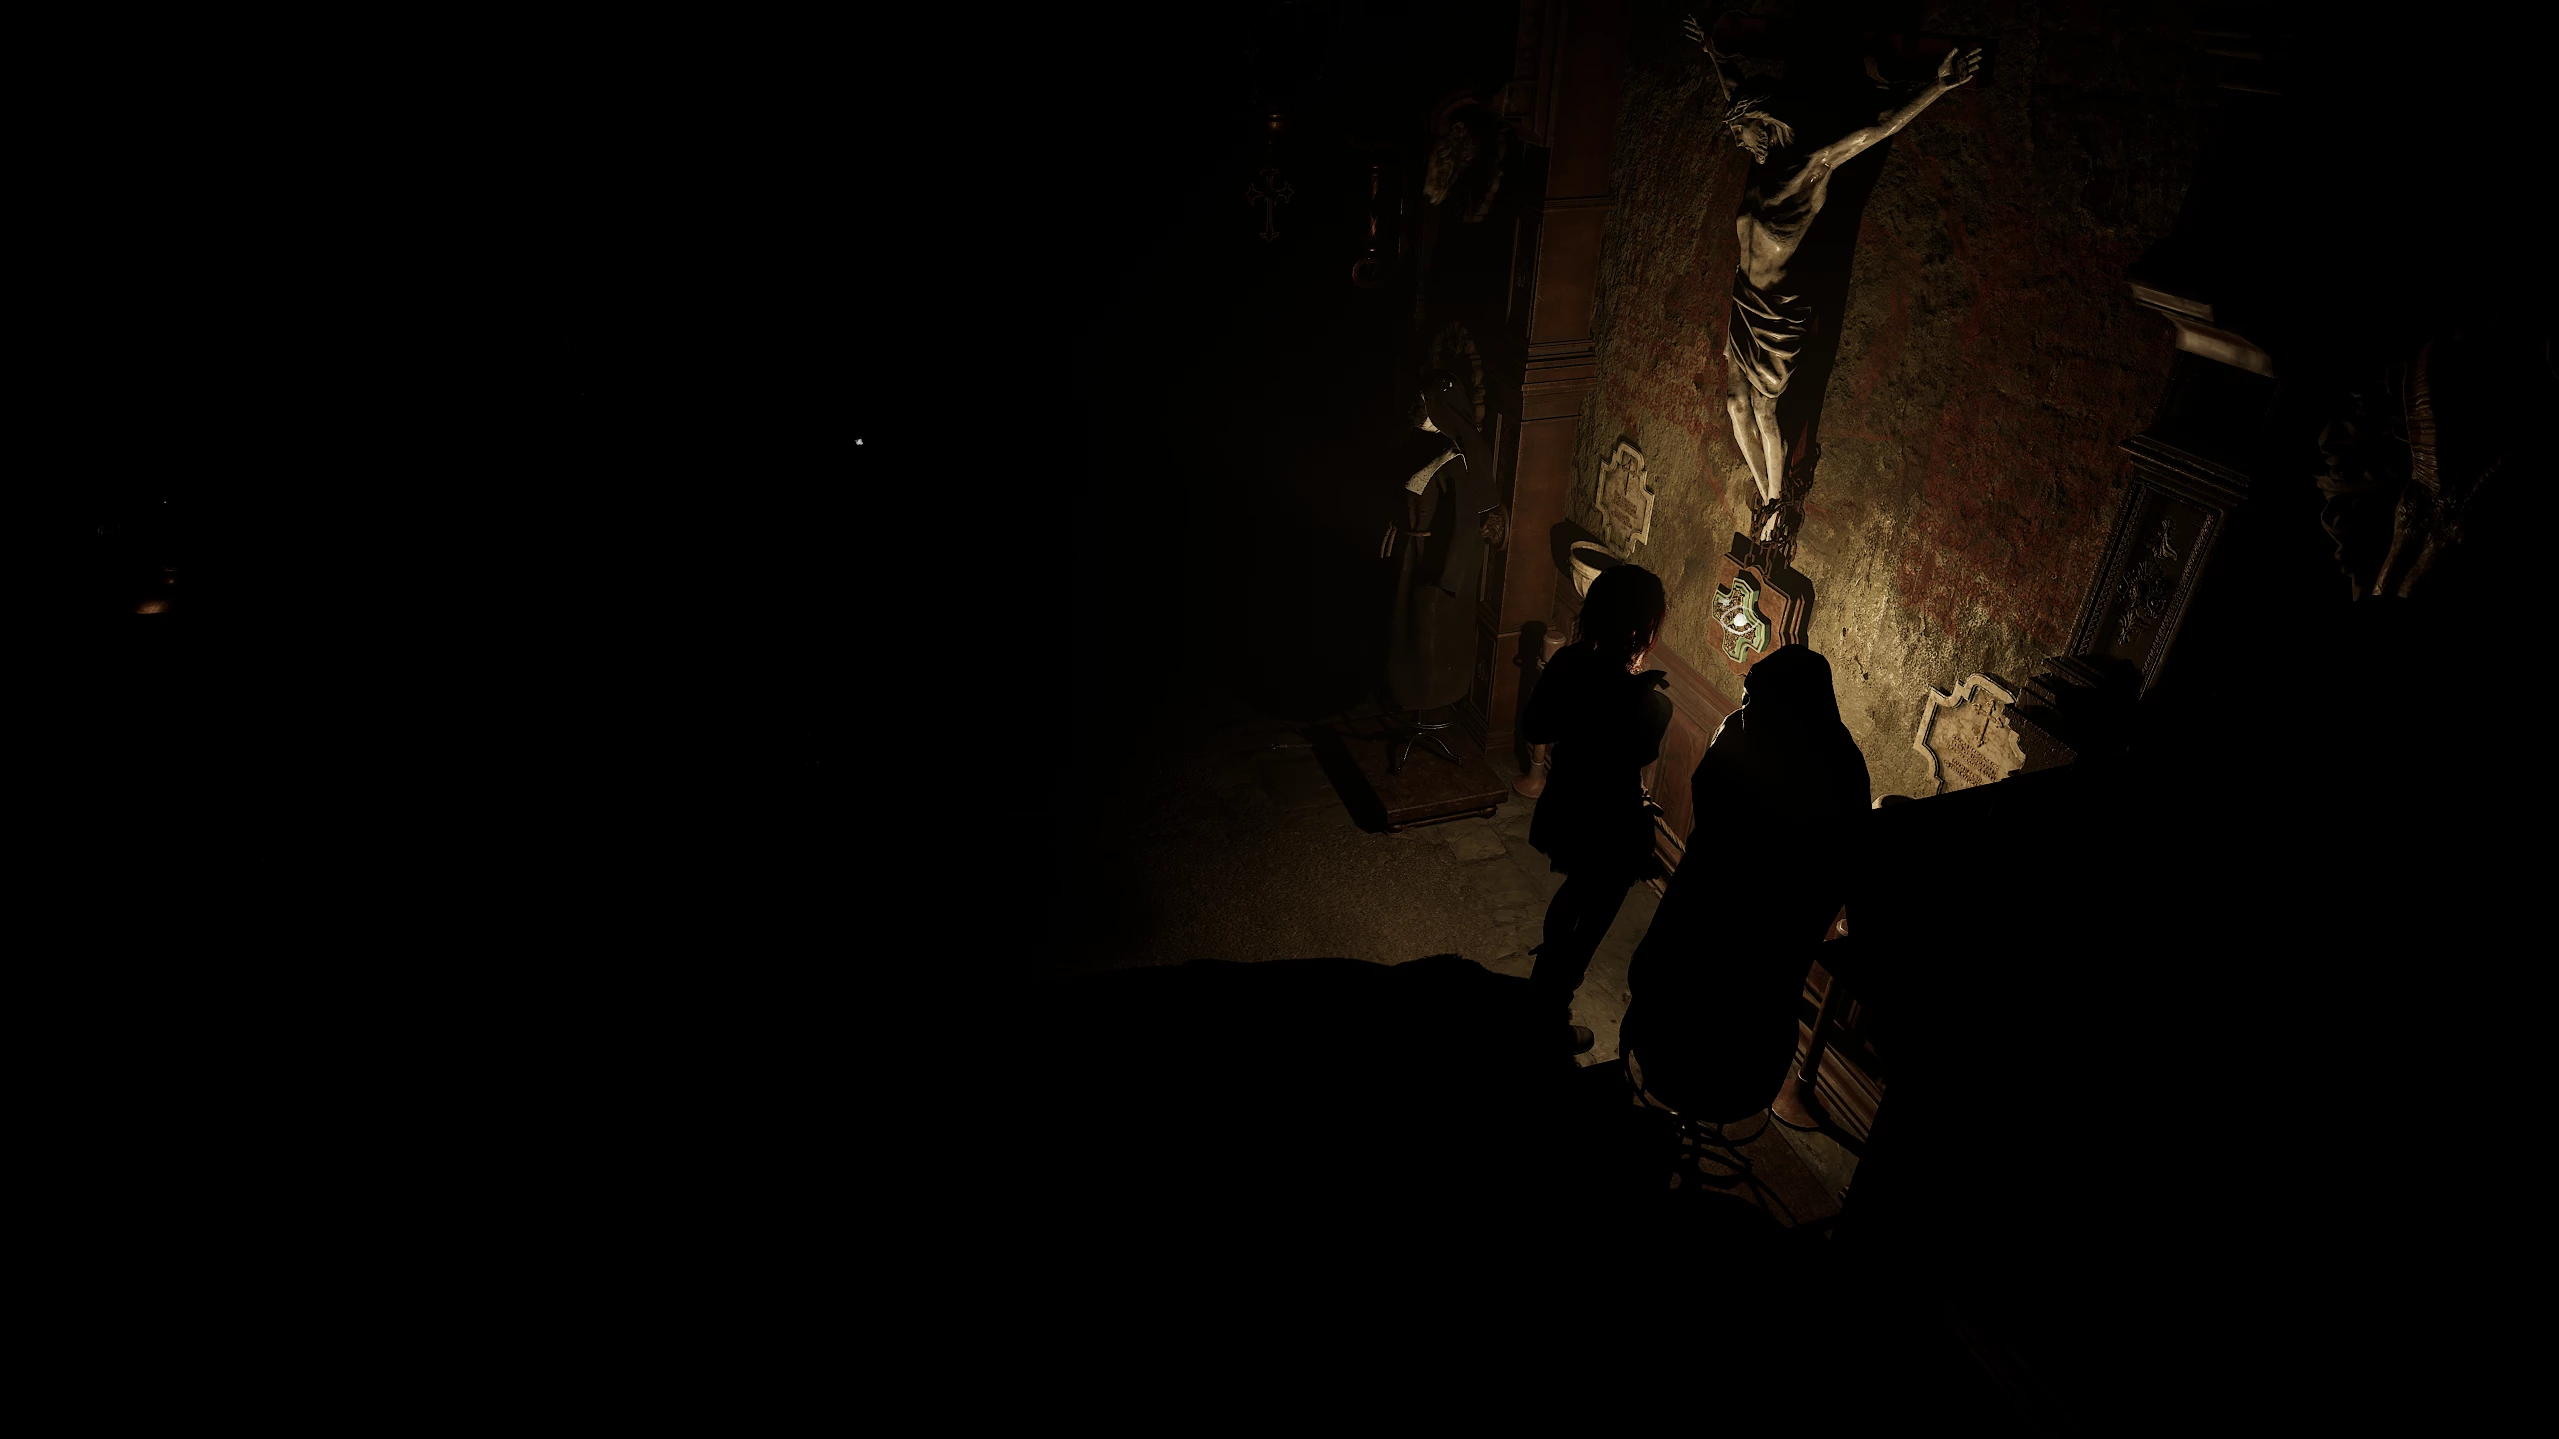
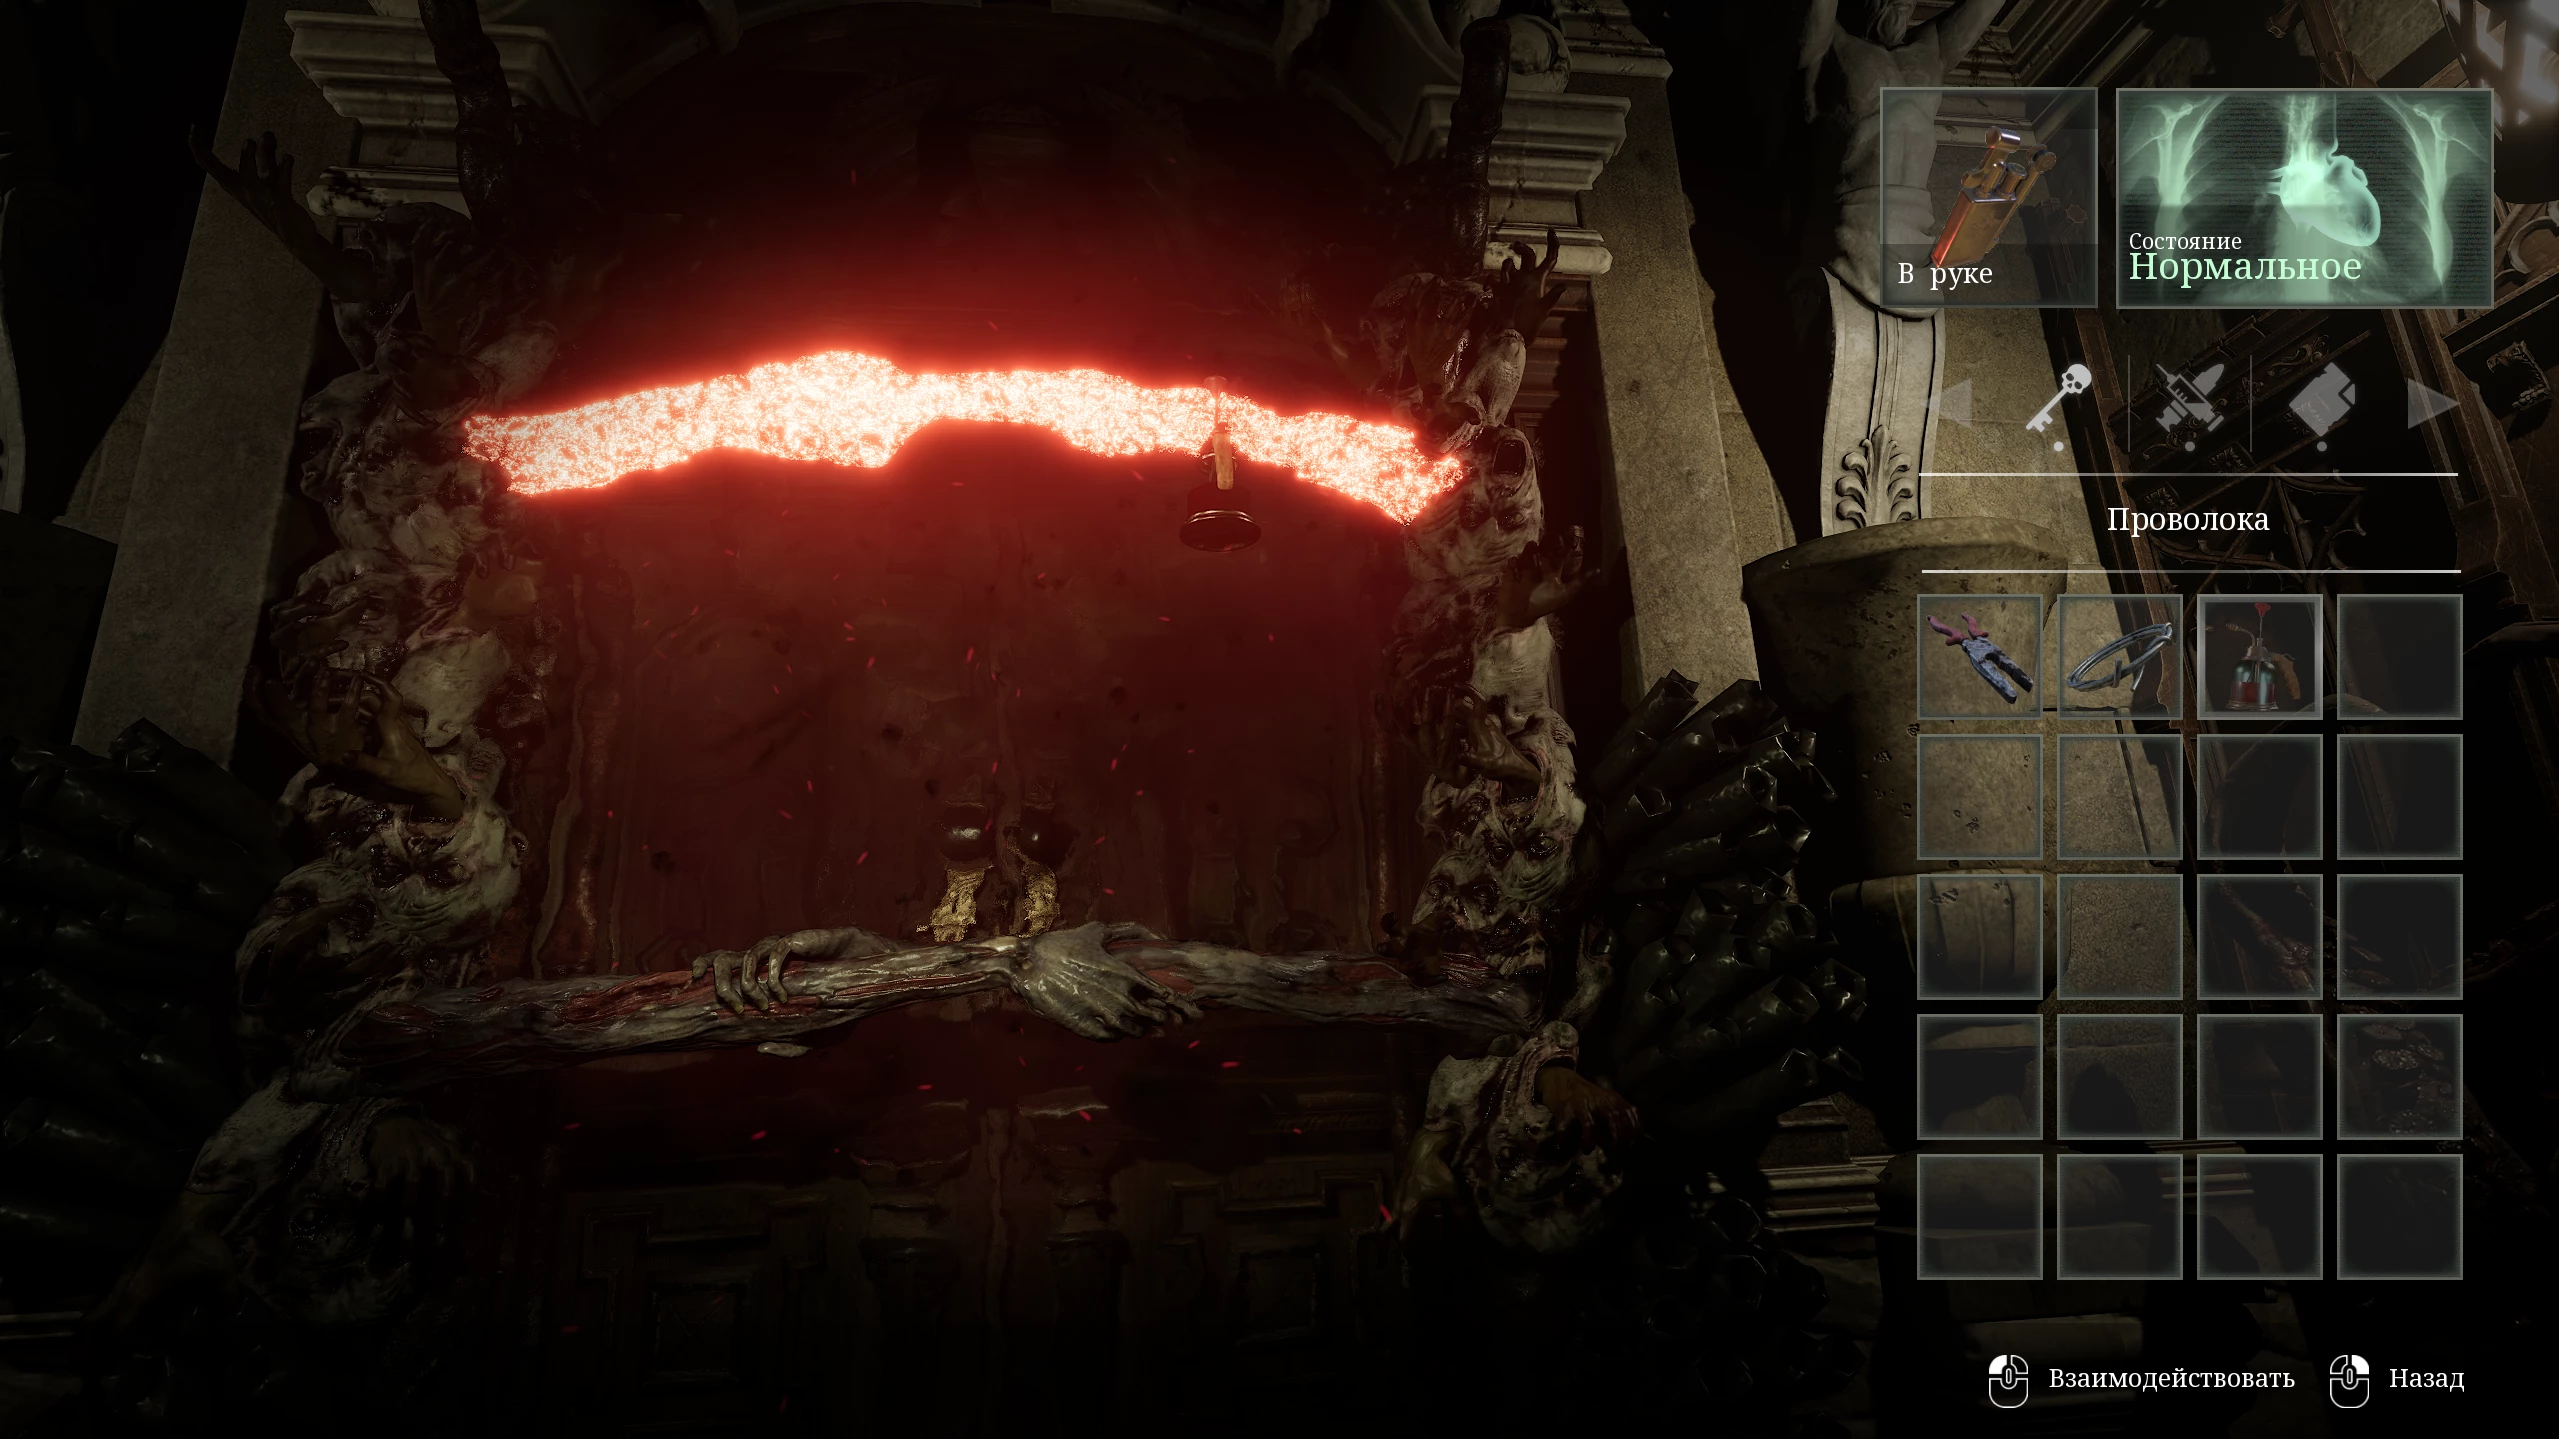
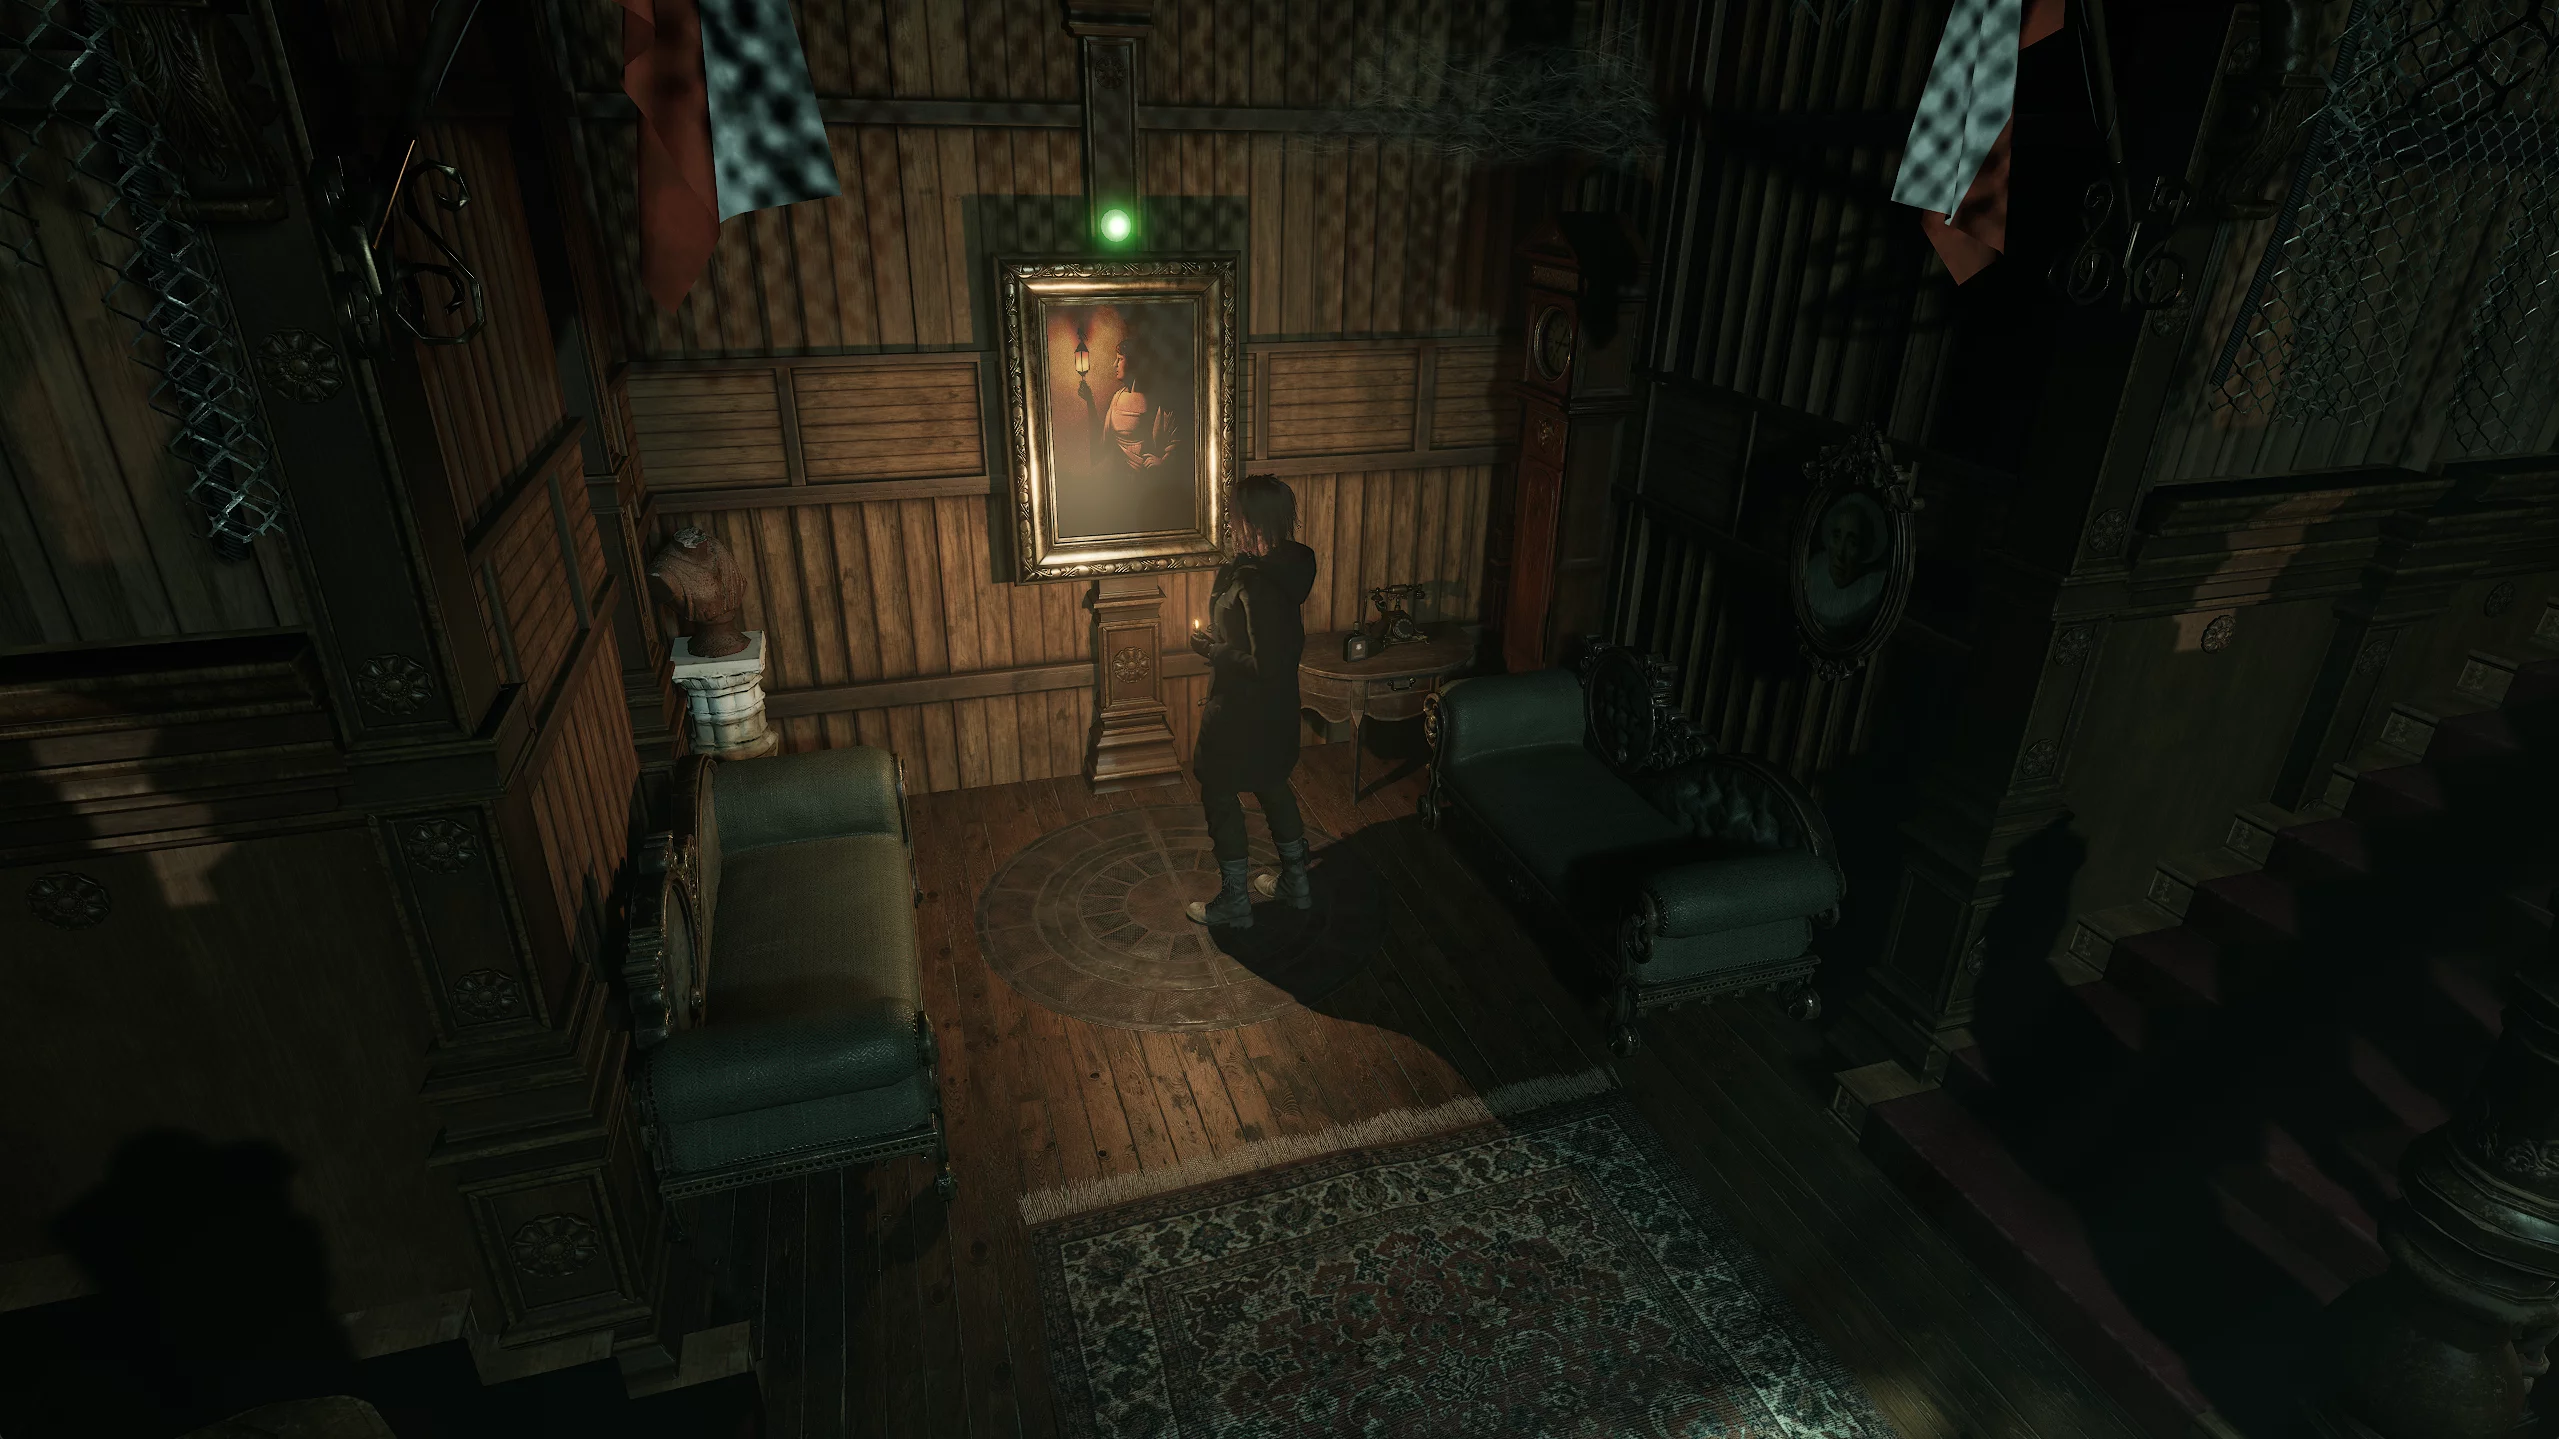
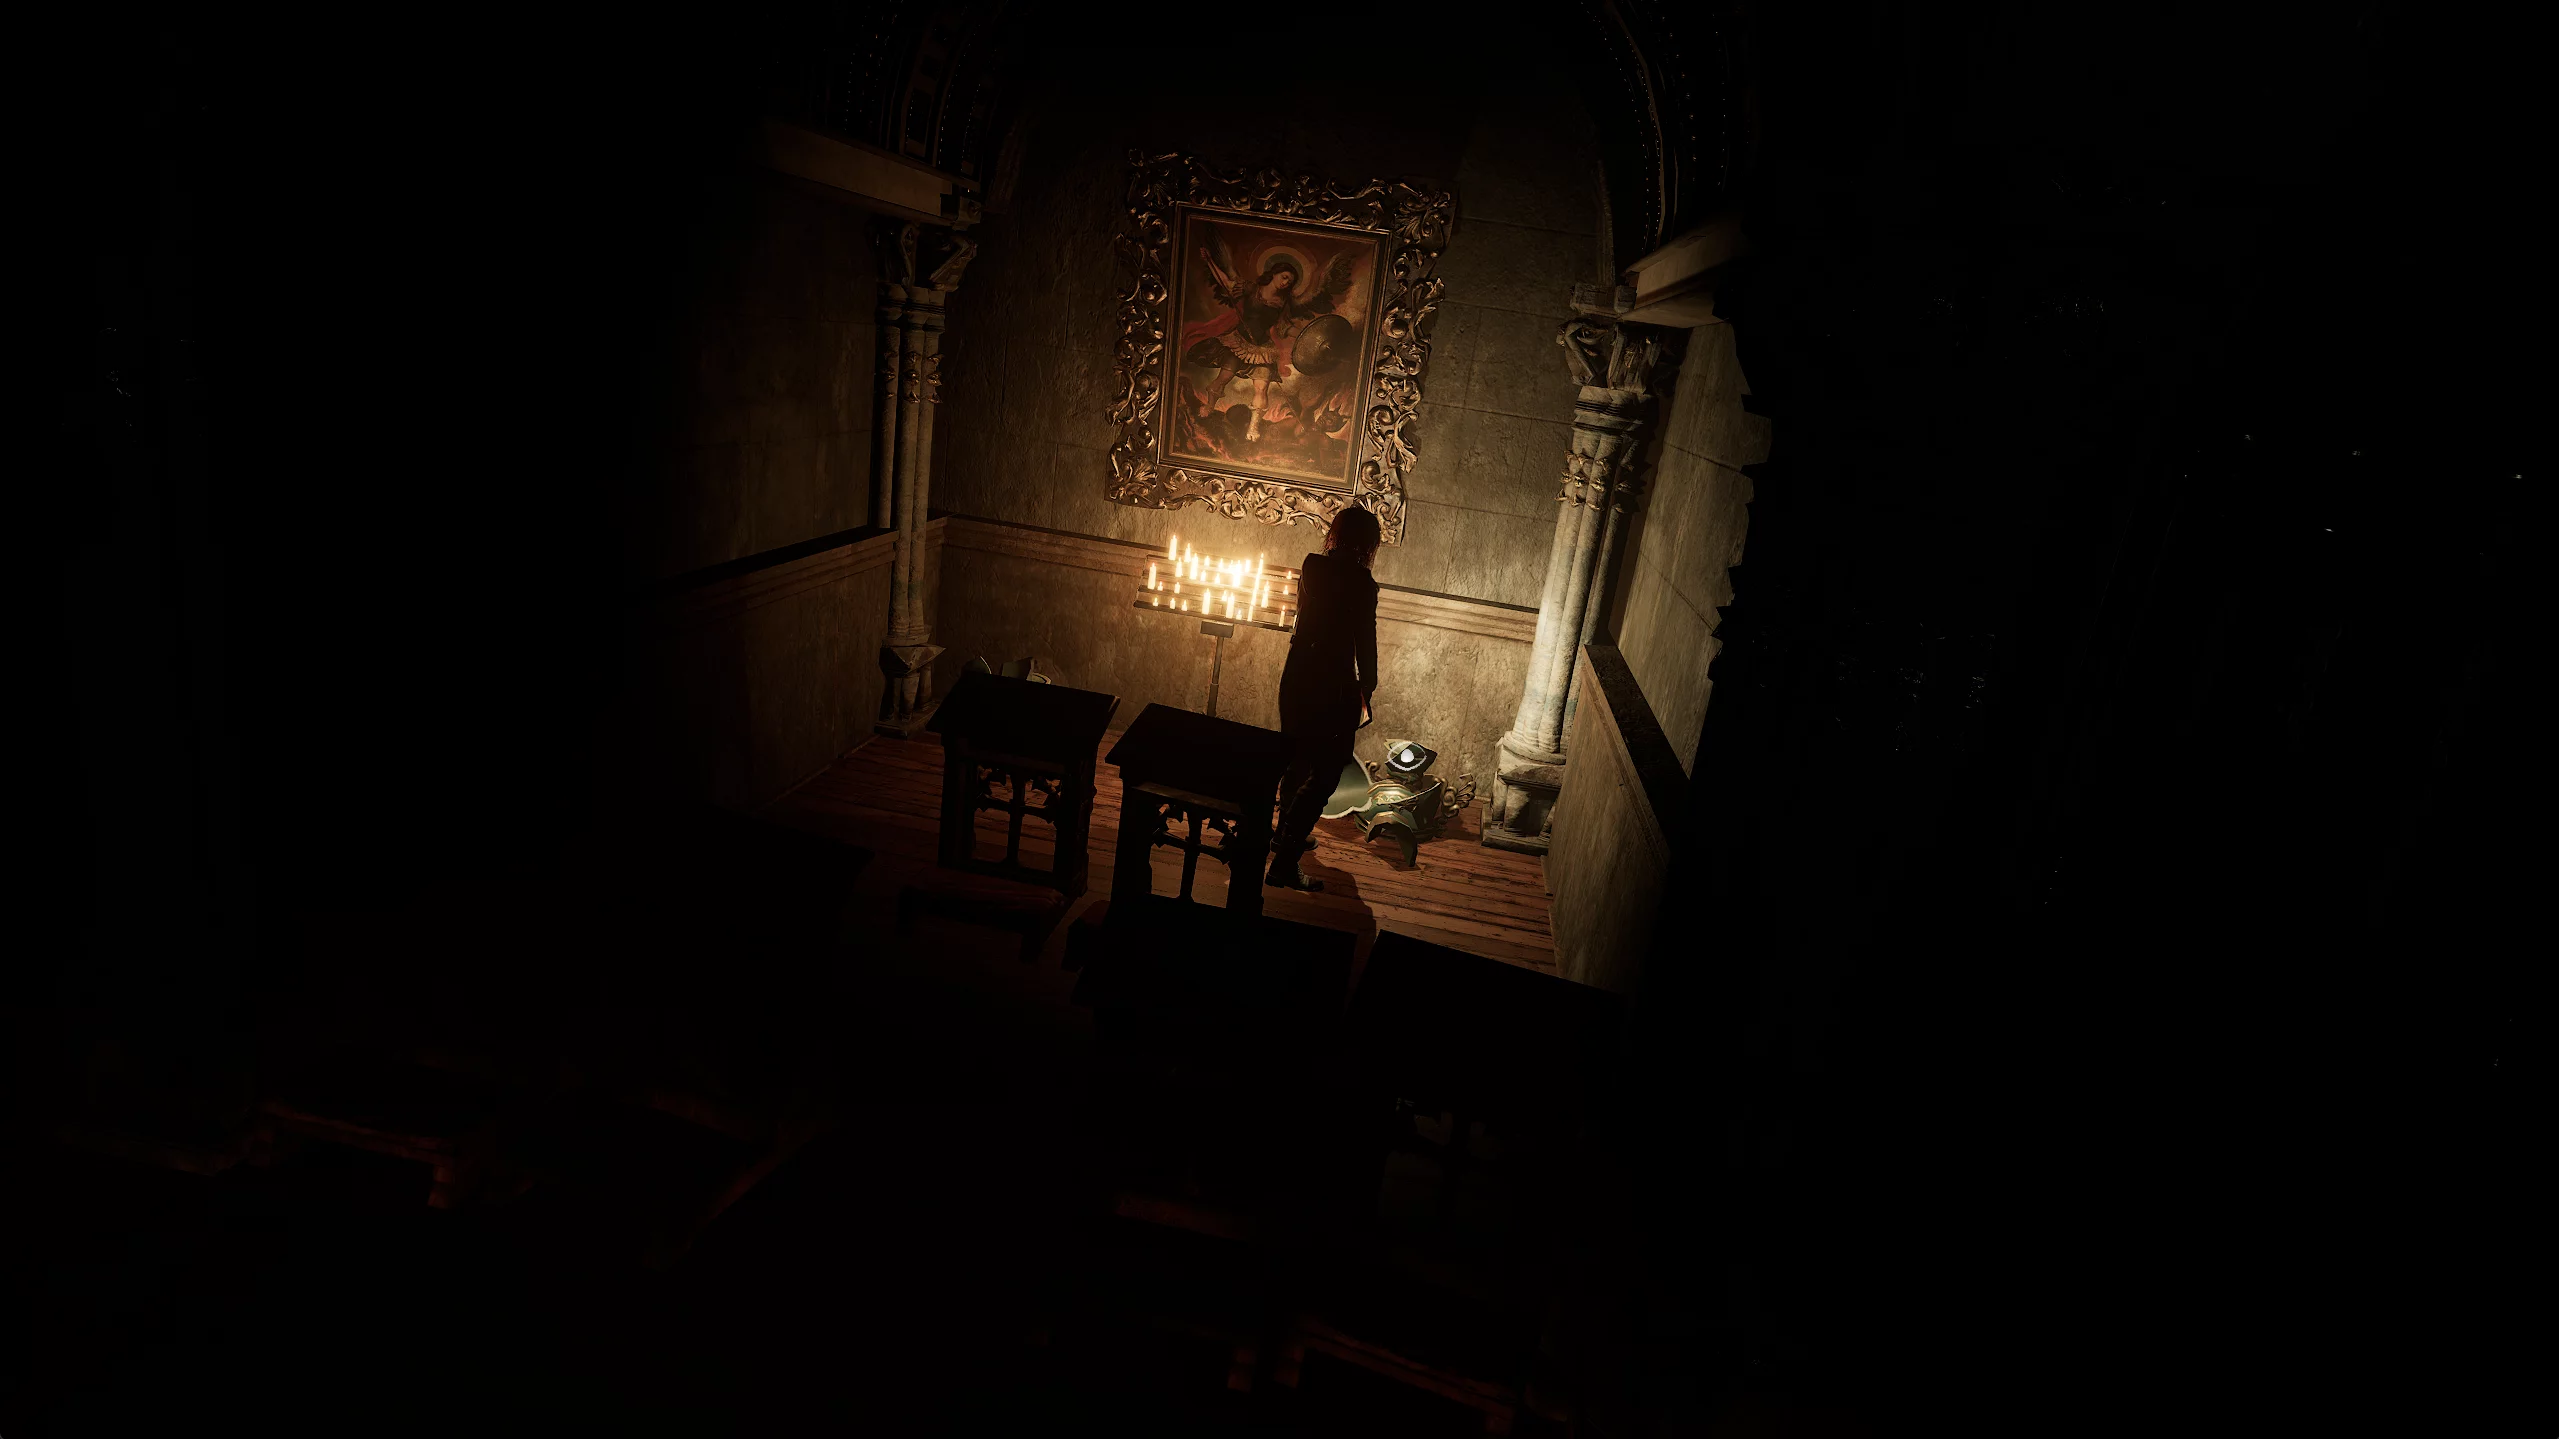
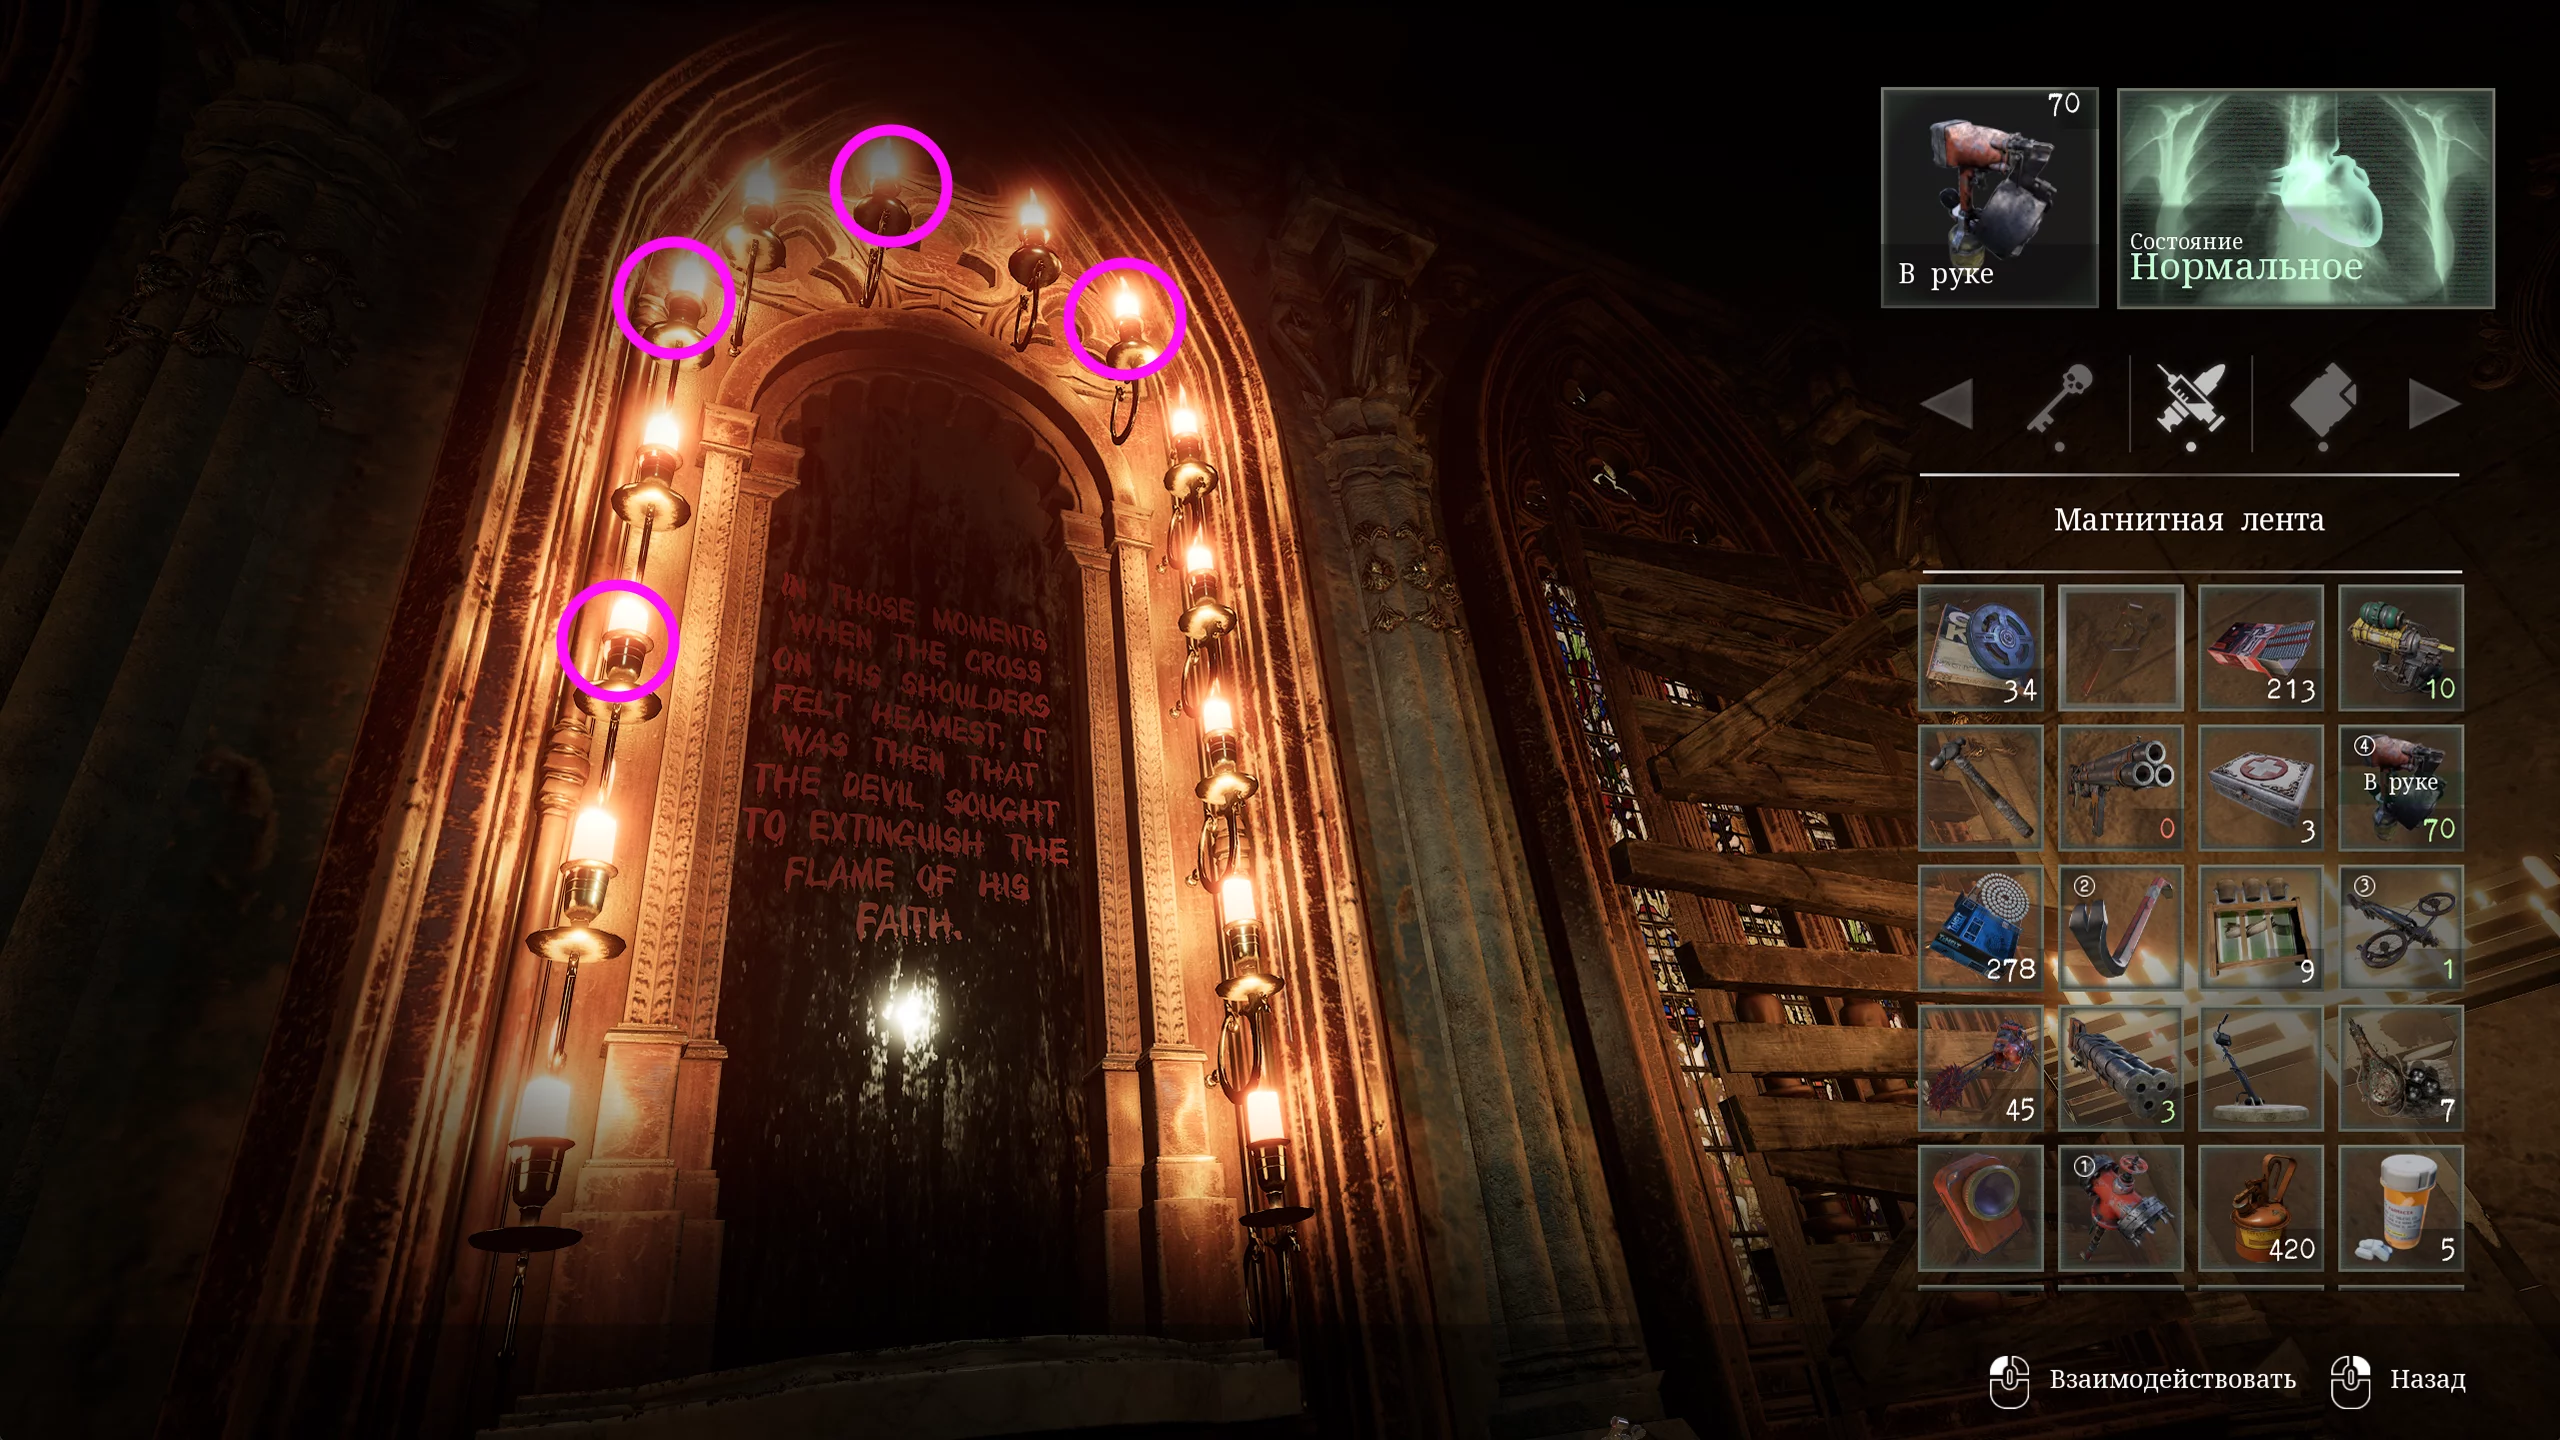
In the center of the room, there is a corpse chained to the table with wire: from here, go north to the iron grate with a rusty lock. Break it with the hammer, after which you’ll enter a room with a mirror and candles.
Light the candles in the order shown in the painting at the museum entrance:
- Bottom left
- Top left
- All right ones except the top right
The ritual will allow Caroline to enter the otherworld. She’ll be greeted by a spider-ghoul — destroy the monster and go deeper into the torture museum. Approach the mannequin on the table in the center of the room and pull the handle — this will tear the doll apart.
After these actions, in the real world, a metal pipe will appear inside the corpse. It’s an upgrade for the shotgun and allows you to load two shells at once.
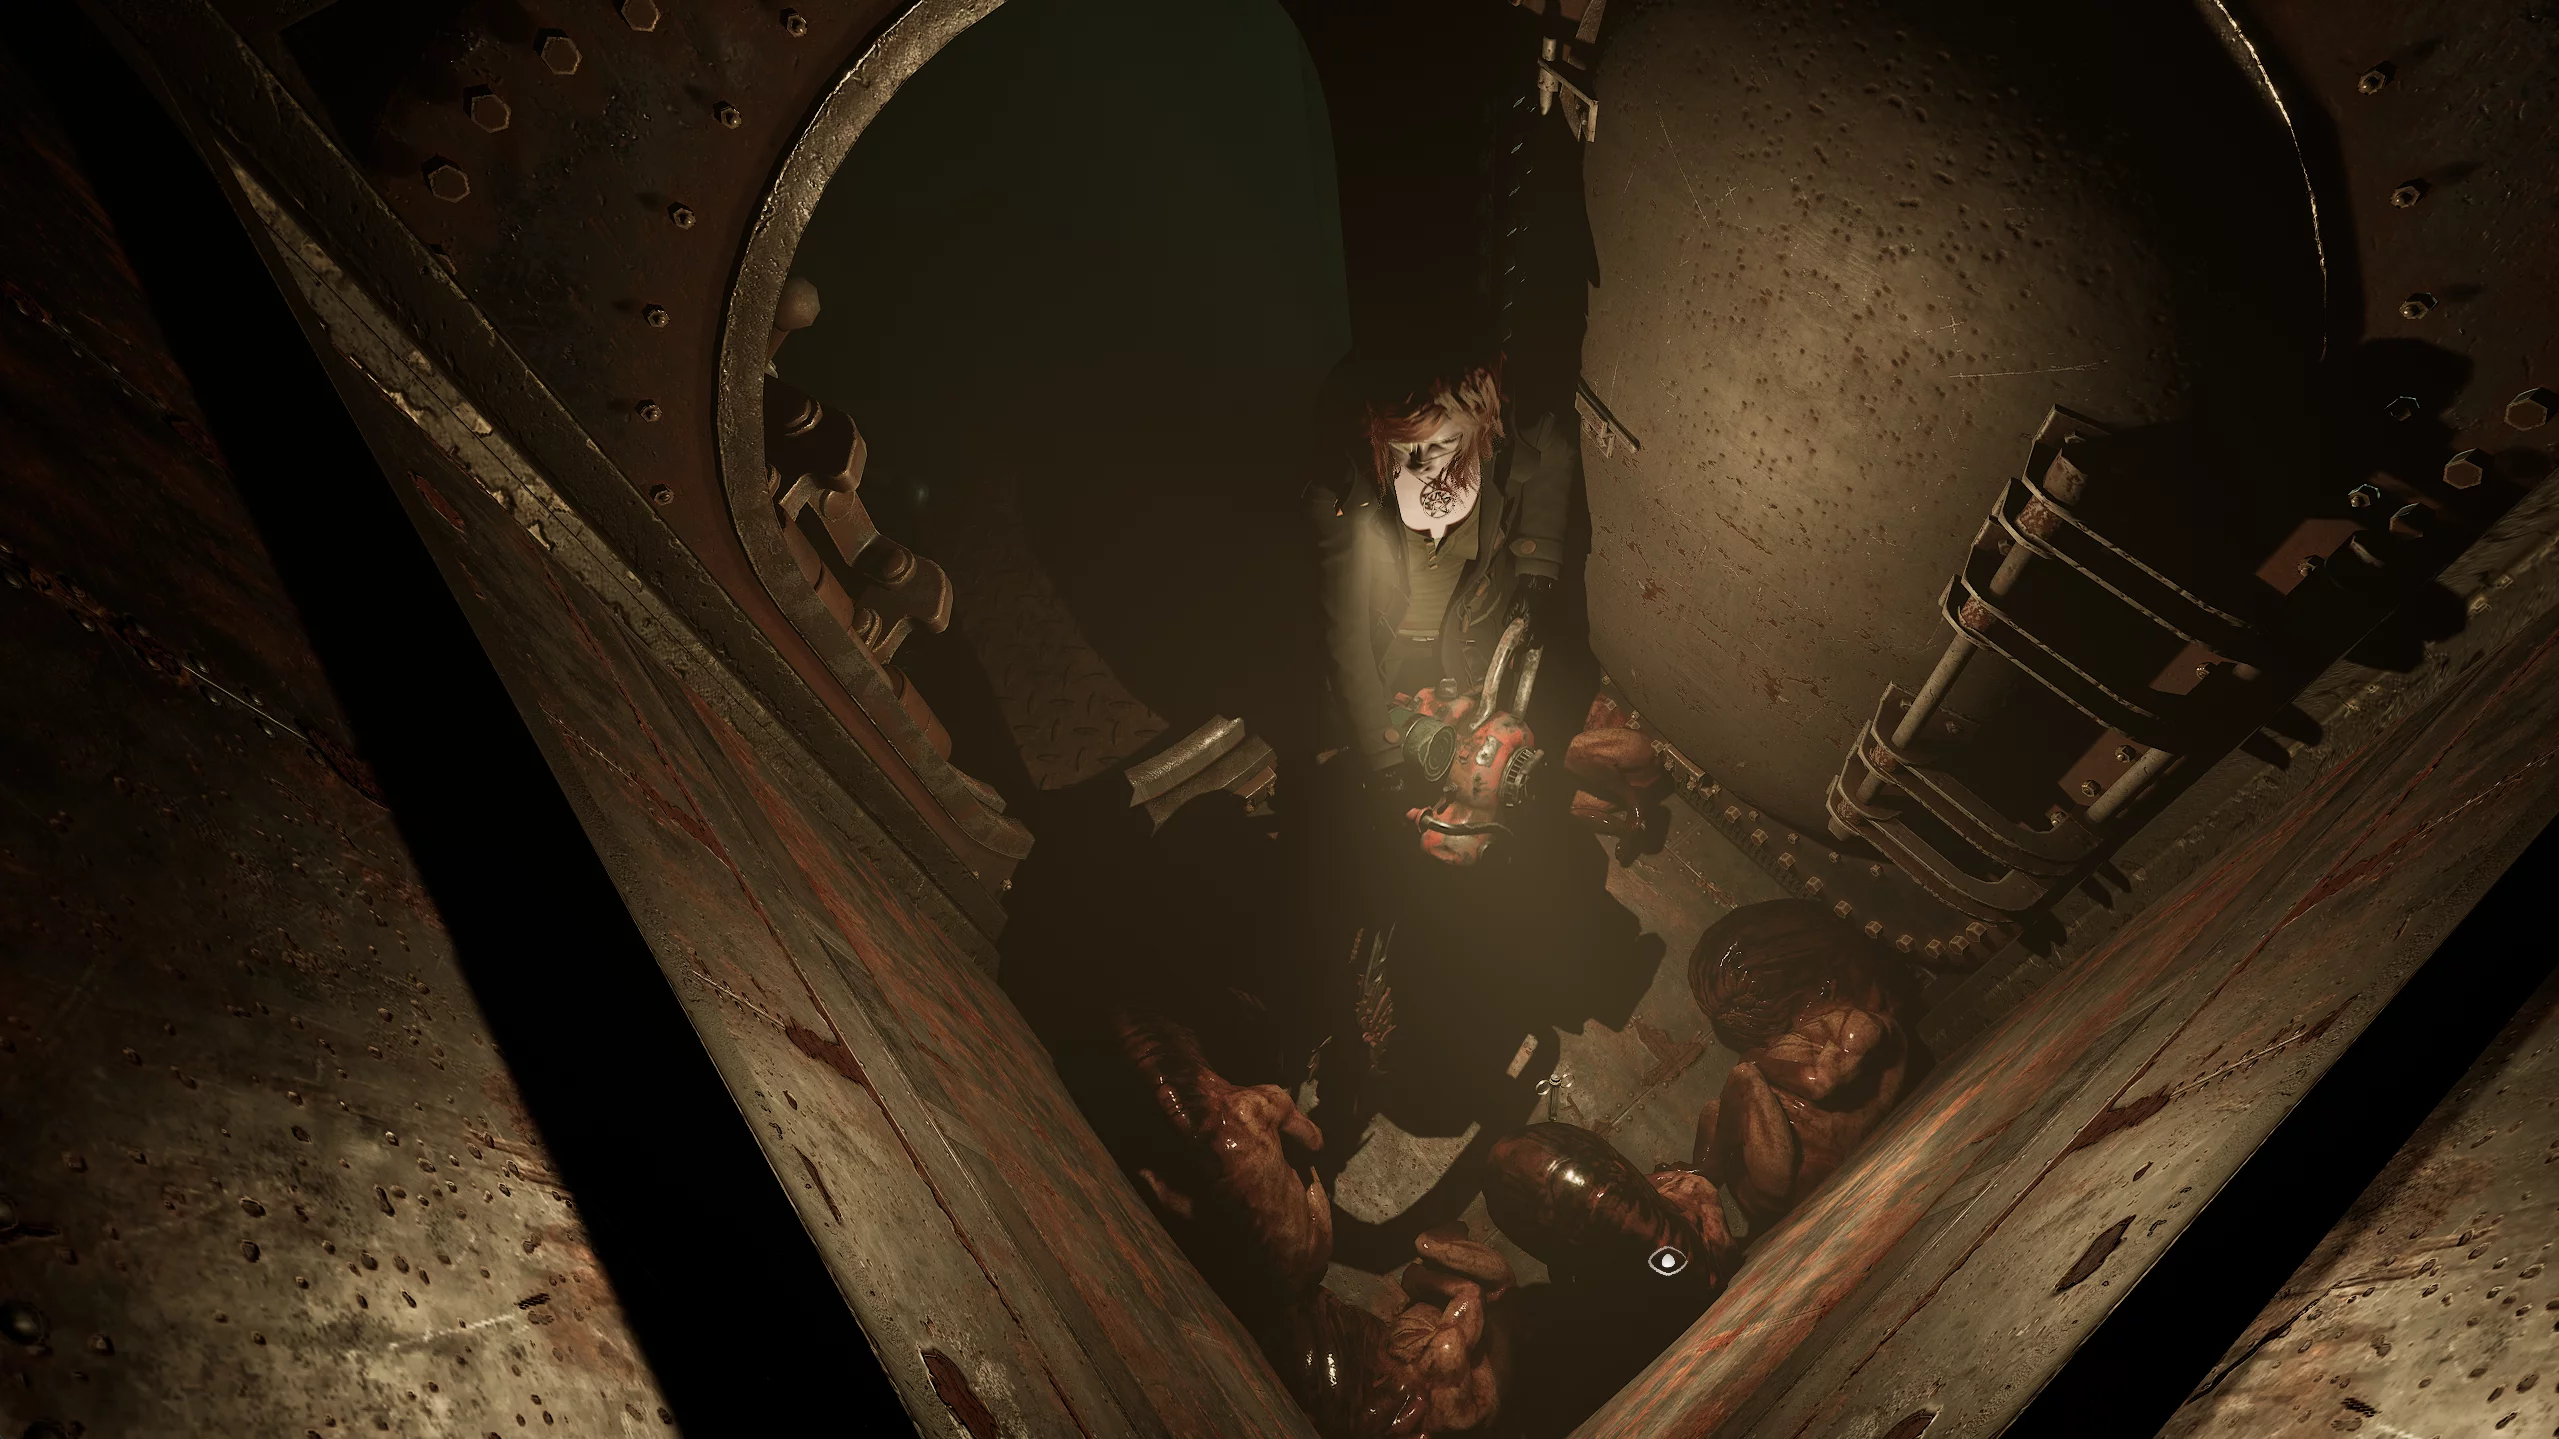
In the otherworld torture museum, go up the stairs to the angel statue. On the way, you’ll encounter a spider-ghoul. You need to burn the scroll in the angel’s hands using the lighter. Go back to the mannequin and enter the right corridor. Passing another spider-ghoul, go into the mirror.
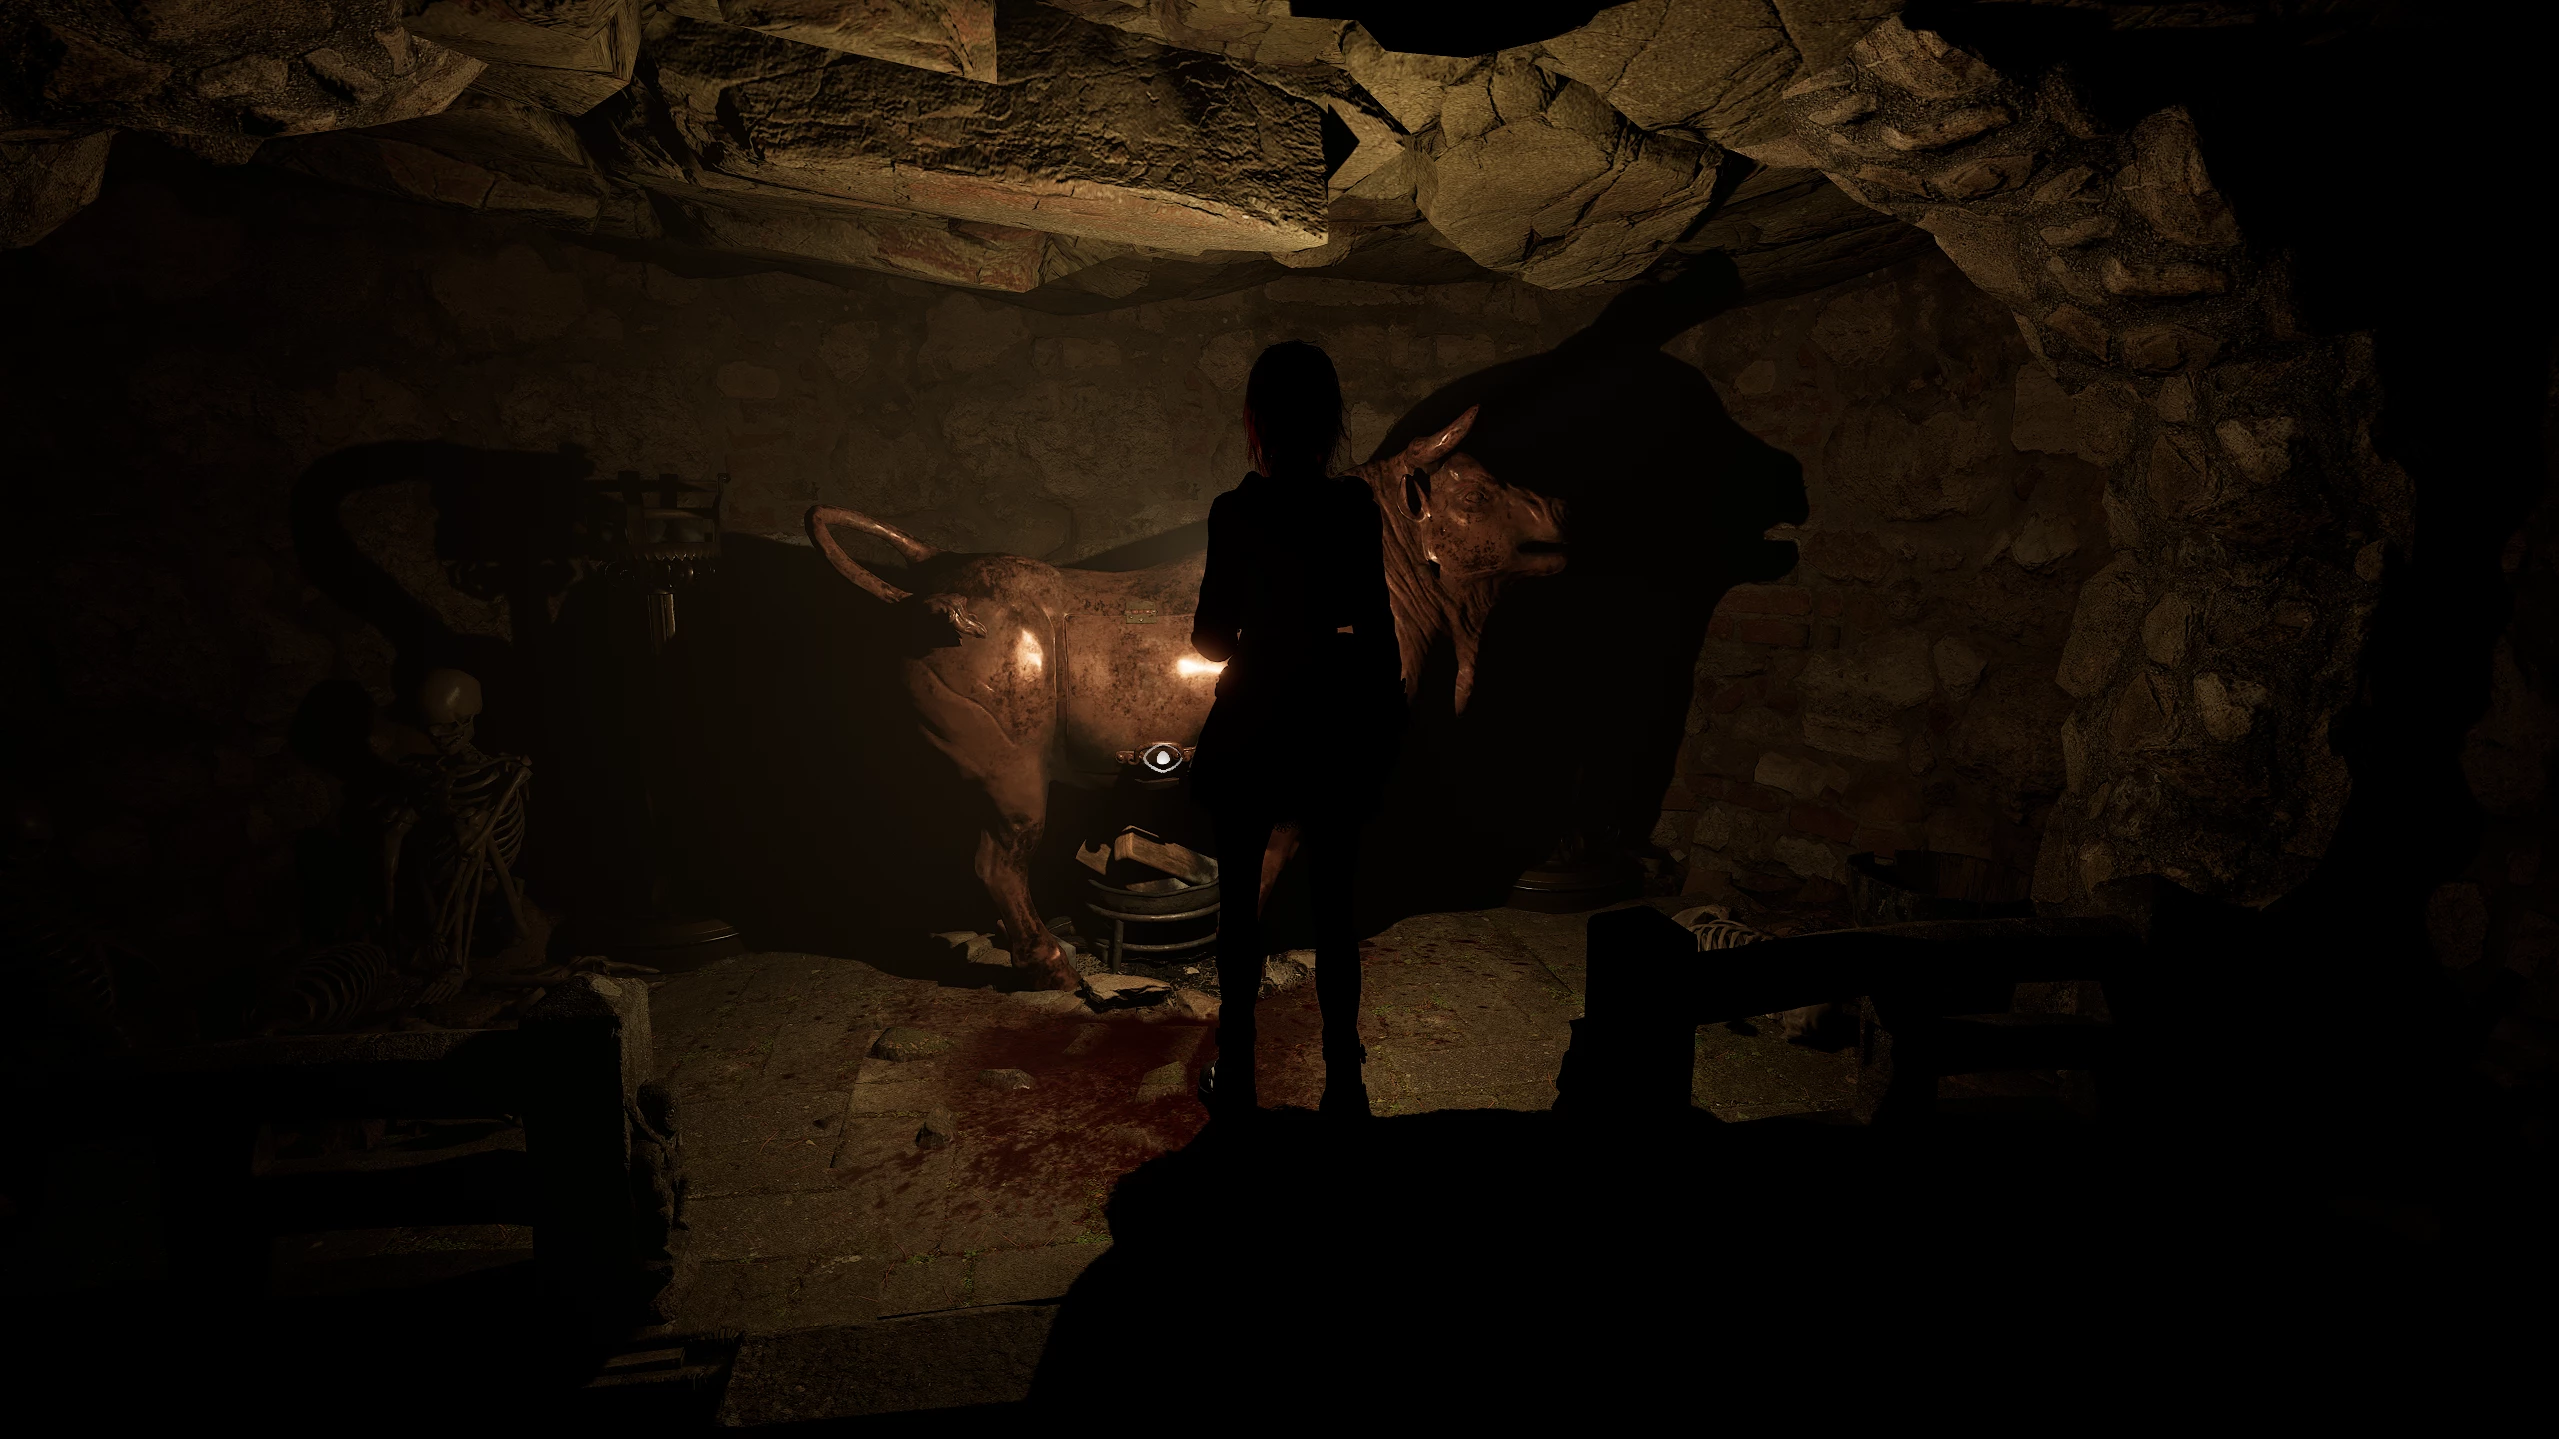
In the secret basement room, take the shotgun shells and painkillers. Regular ghouls will notice you: take out all three with a precise shotgun shot and continue searching for important items.
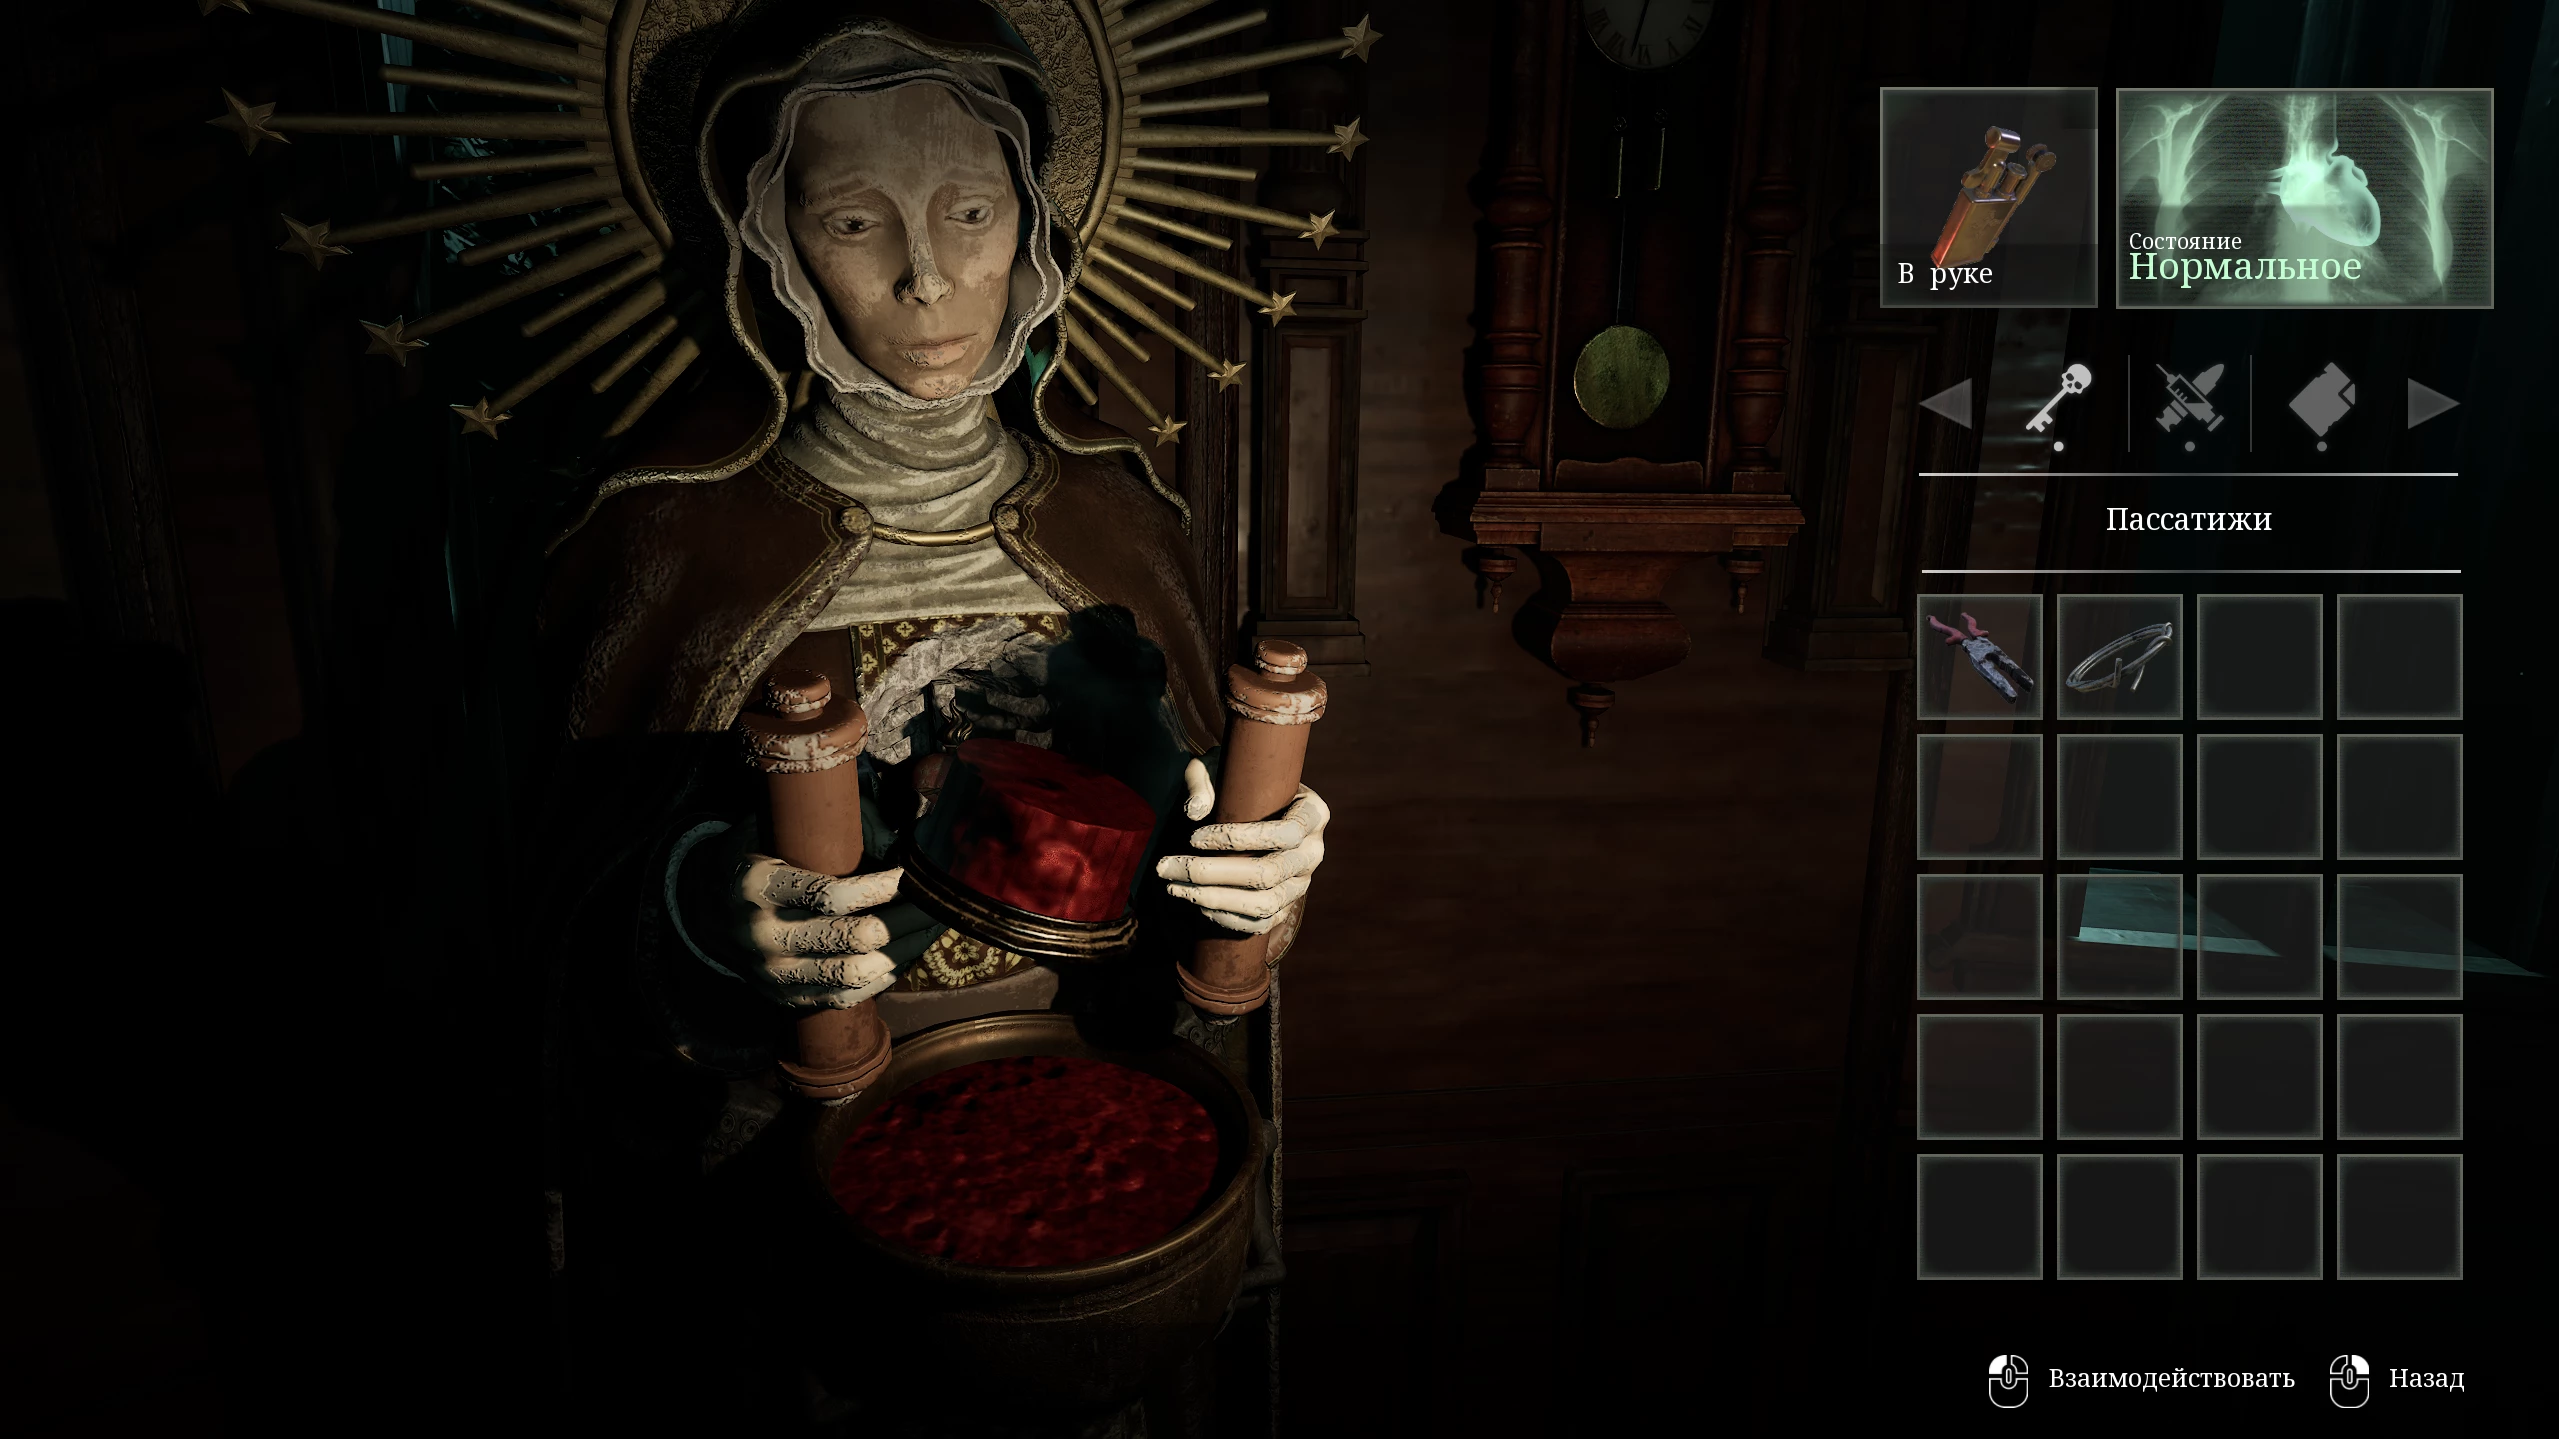
At the back of the room is a huge bronze bull. Open its belly and take the carved stone heart. Go through the left corridor and use the lever to activate the passage in the wall, which will lead you back to the torture museum.

Go up to the angel statue and insert the carved stone heart into it. Bloody tears begin to flow from it, which are needed to open the cursed door.
How to Find the Sprayer

With the items obtained, return to the second floor of the library, killing a spider-ghoul on the way. Once in the right room, go to the southern corner. On the table, there will be a phone without a dial. Attach the disk and call the number 3890*.
This action will open a secret compartment behind the painting with the nuns. The last part of the jade ornament is hidden there.
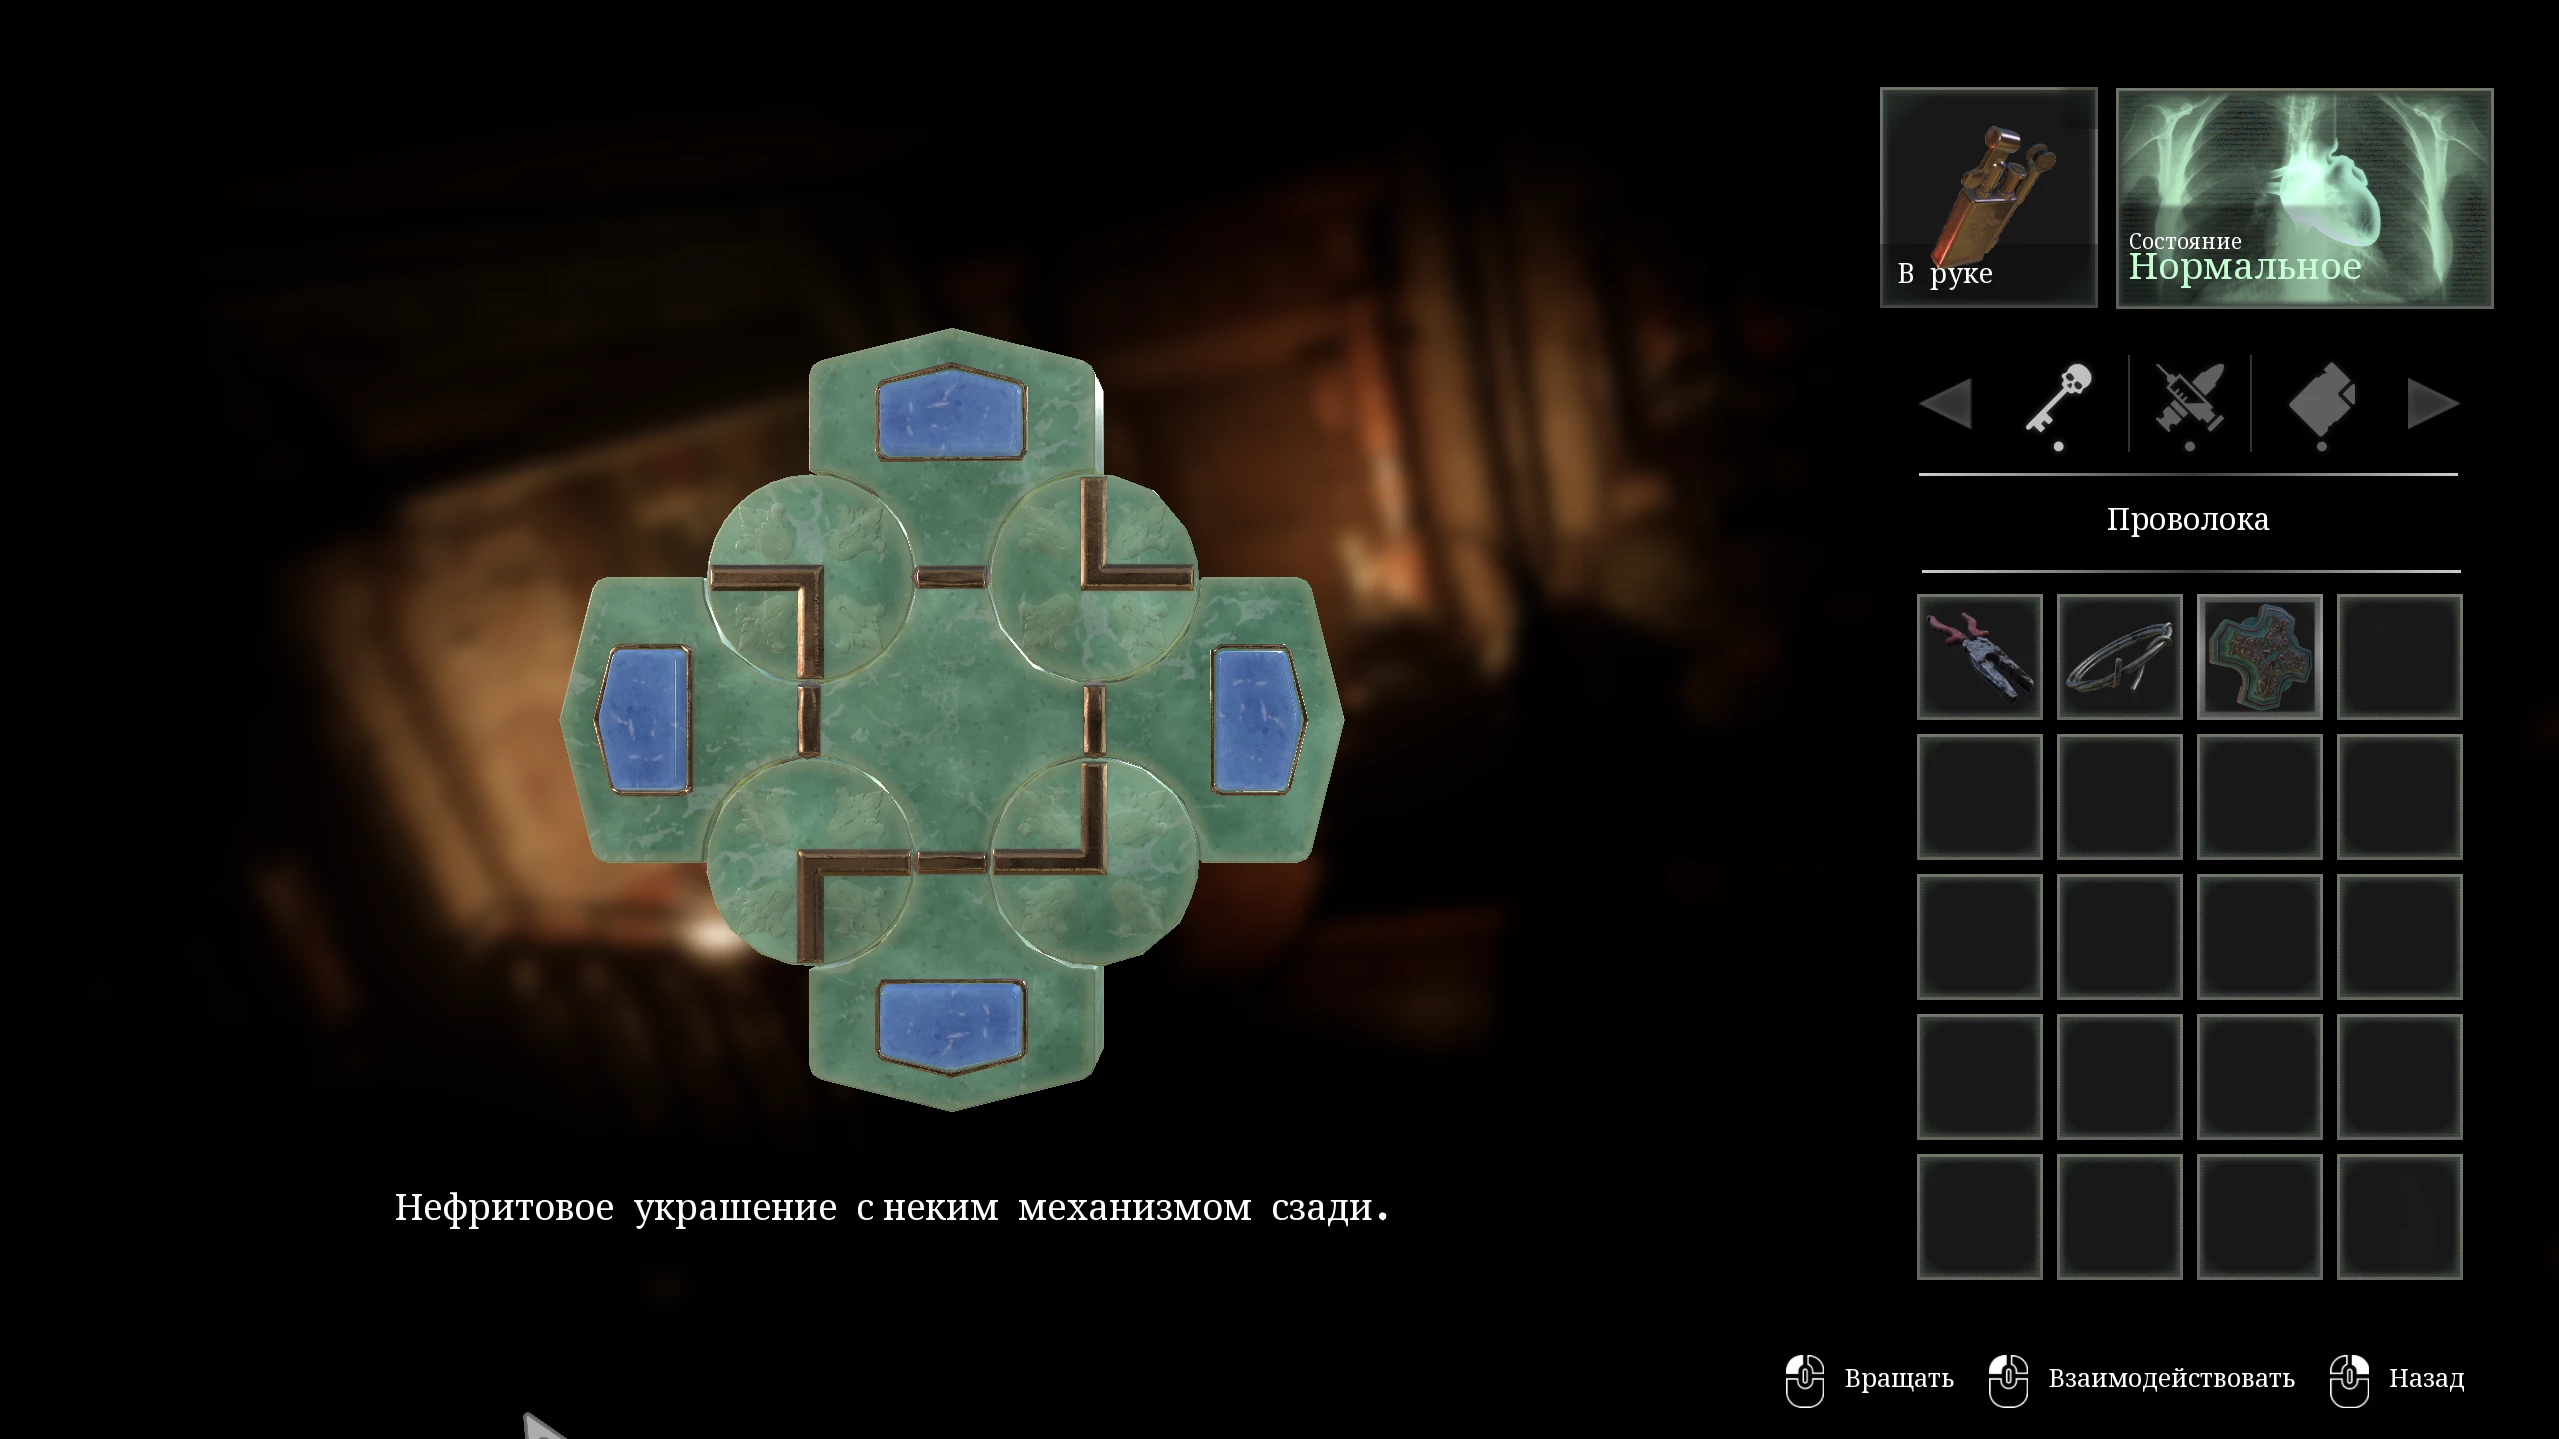
Combine the jewel with the missing disk and solve the puzzle by pressing the buttons in the following order:
- Right
- Bottom
- Left
- Right
- Right
Take the completed artifact to the door to the Chapter House in the northwest part of the building.
At this point, it’s recommended to save your game, because after entering the Chapter House you won’t be able to go back.
Enter the room, after which the door is sealed. While exploring the area, you can find shotgun shells and a sprayer in the central hall. After picking it up, three ghouls will appear from a hole in the floor. Deal with them and the seal will disappear.
Return to the museum for the saint’s tears and use the vial on the bowl of blood. Press the red button to create pressure inside the sprayer.
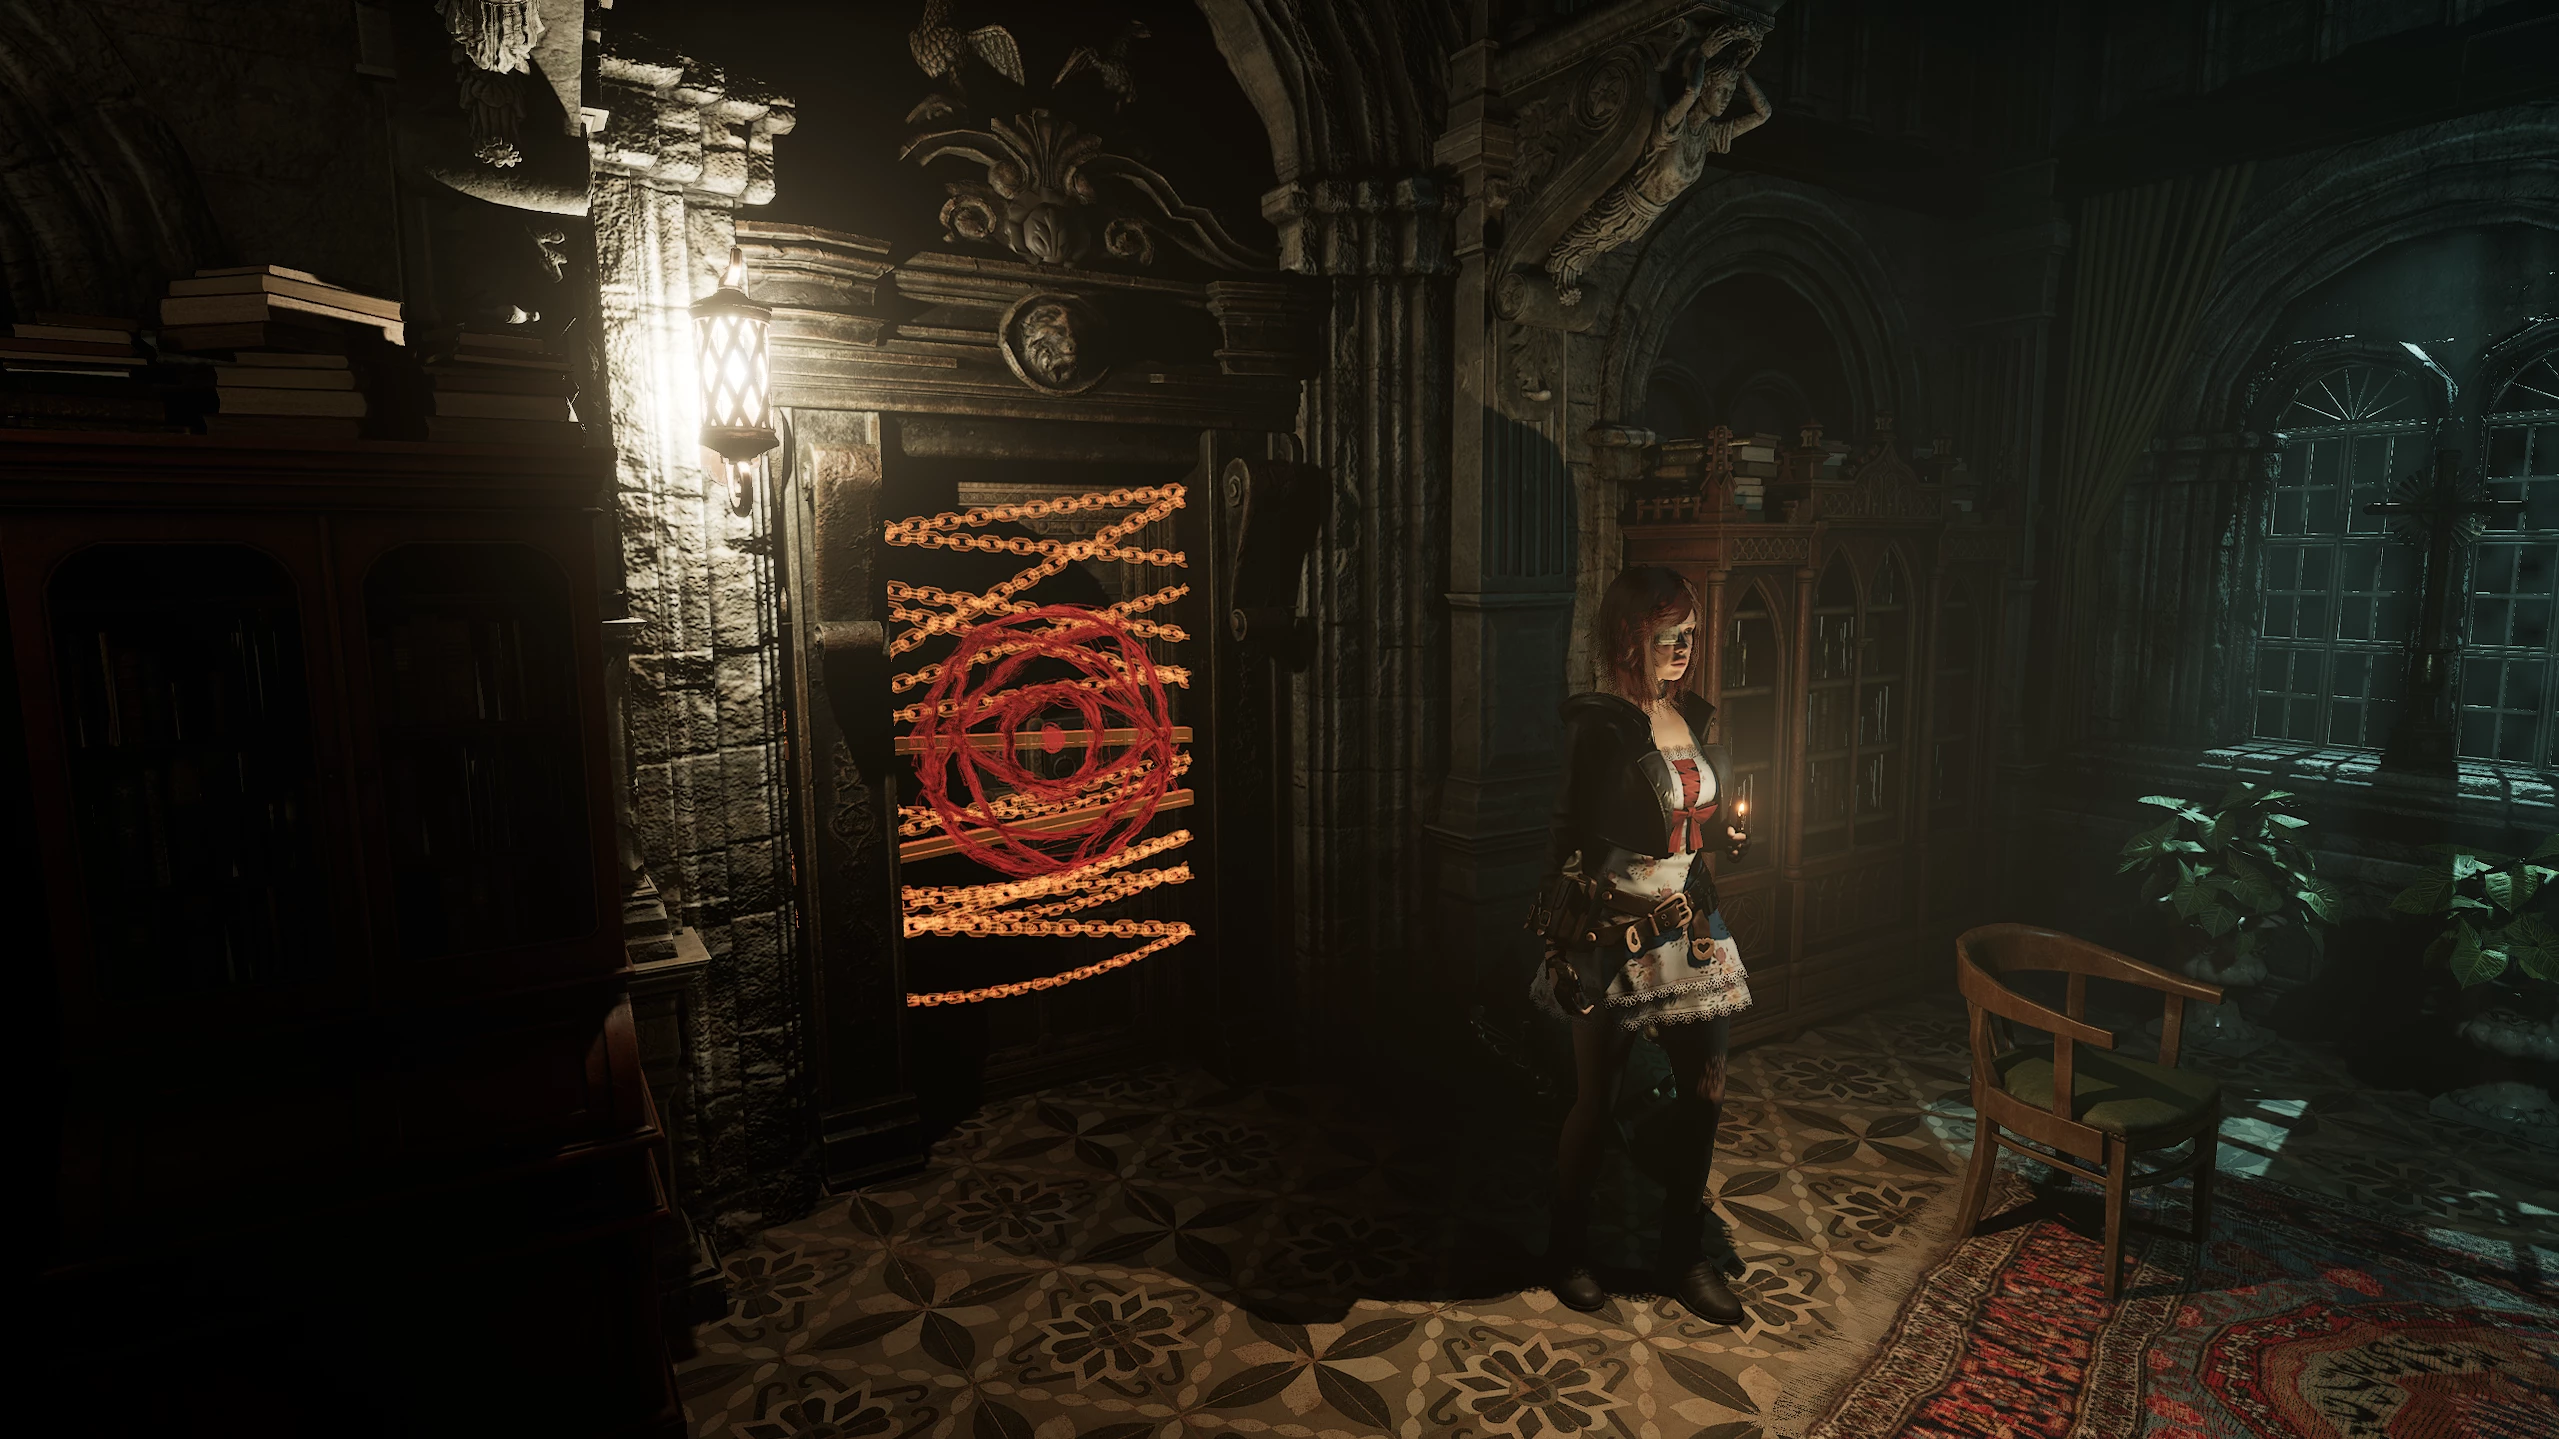
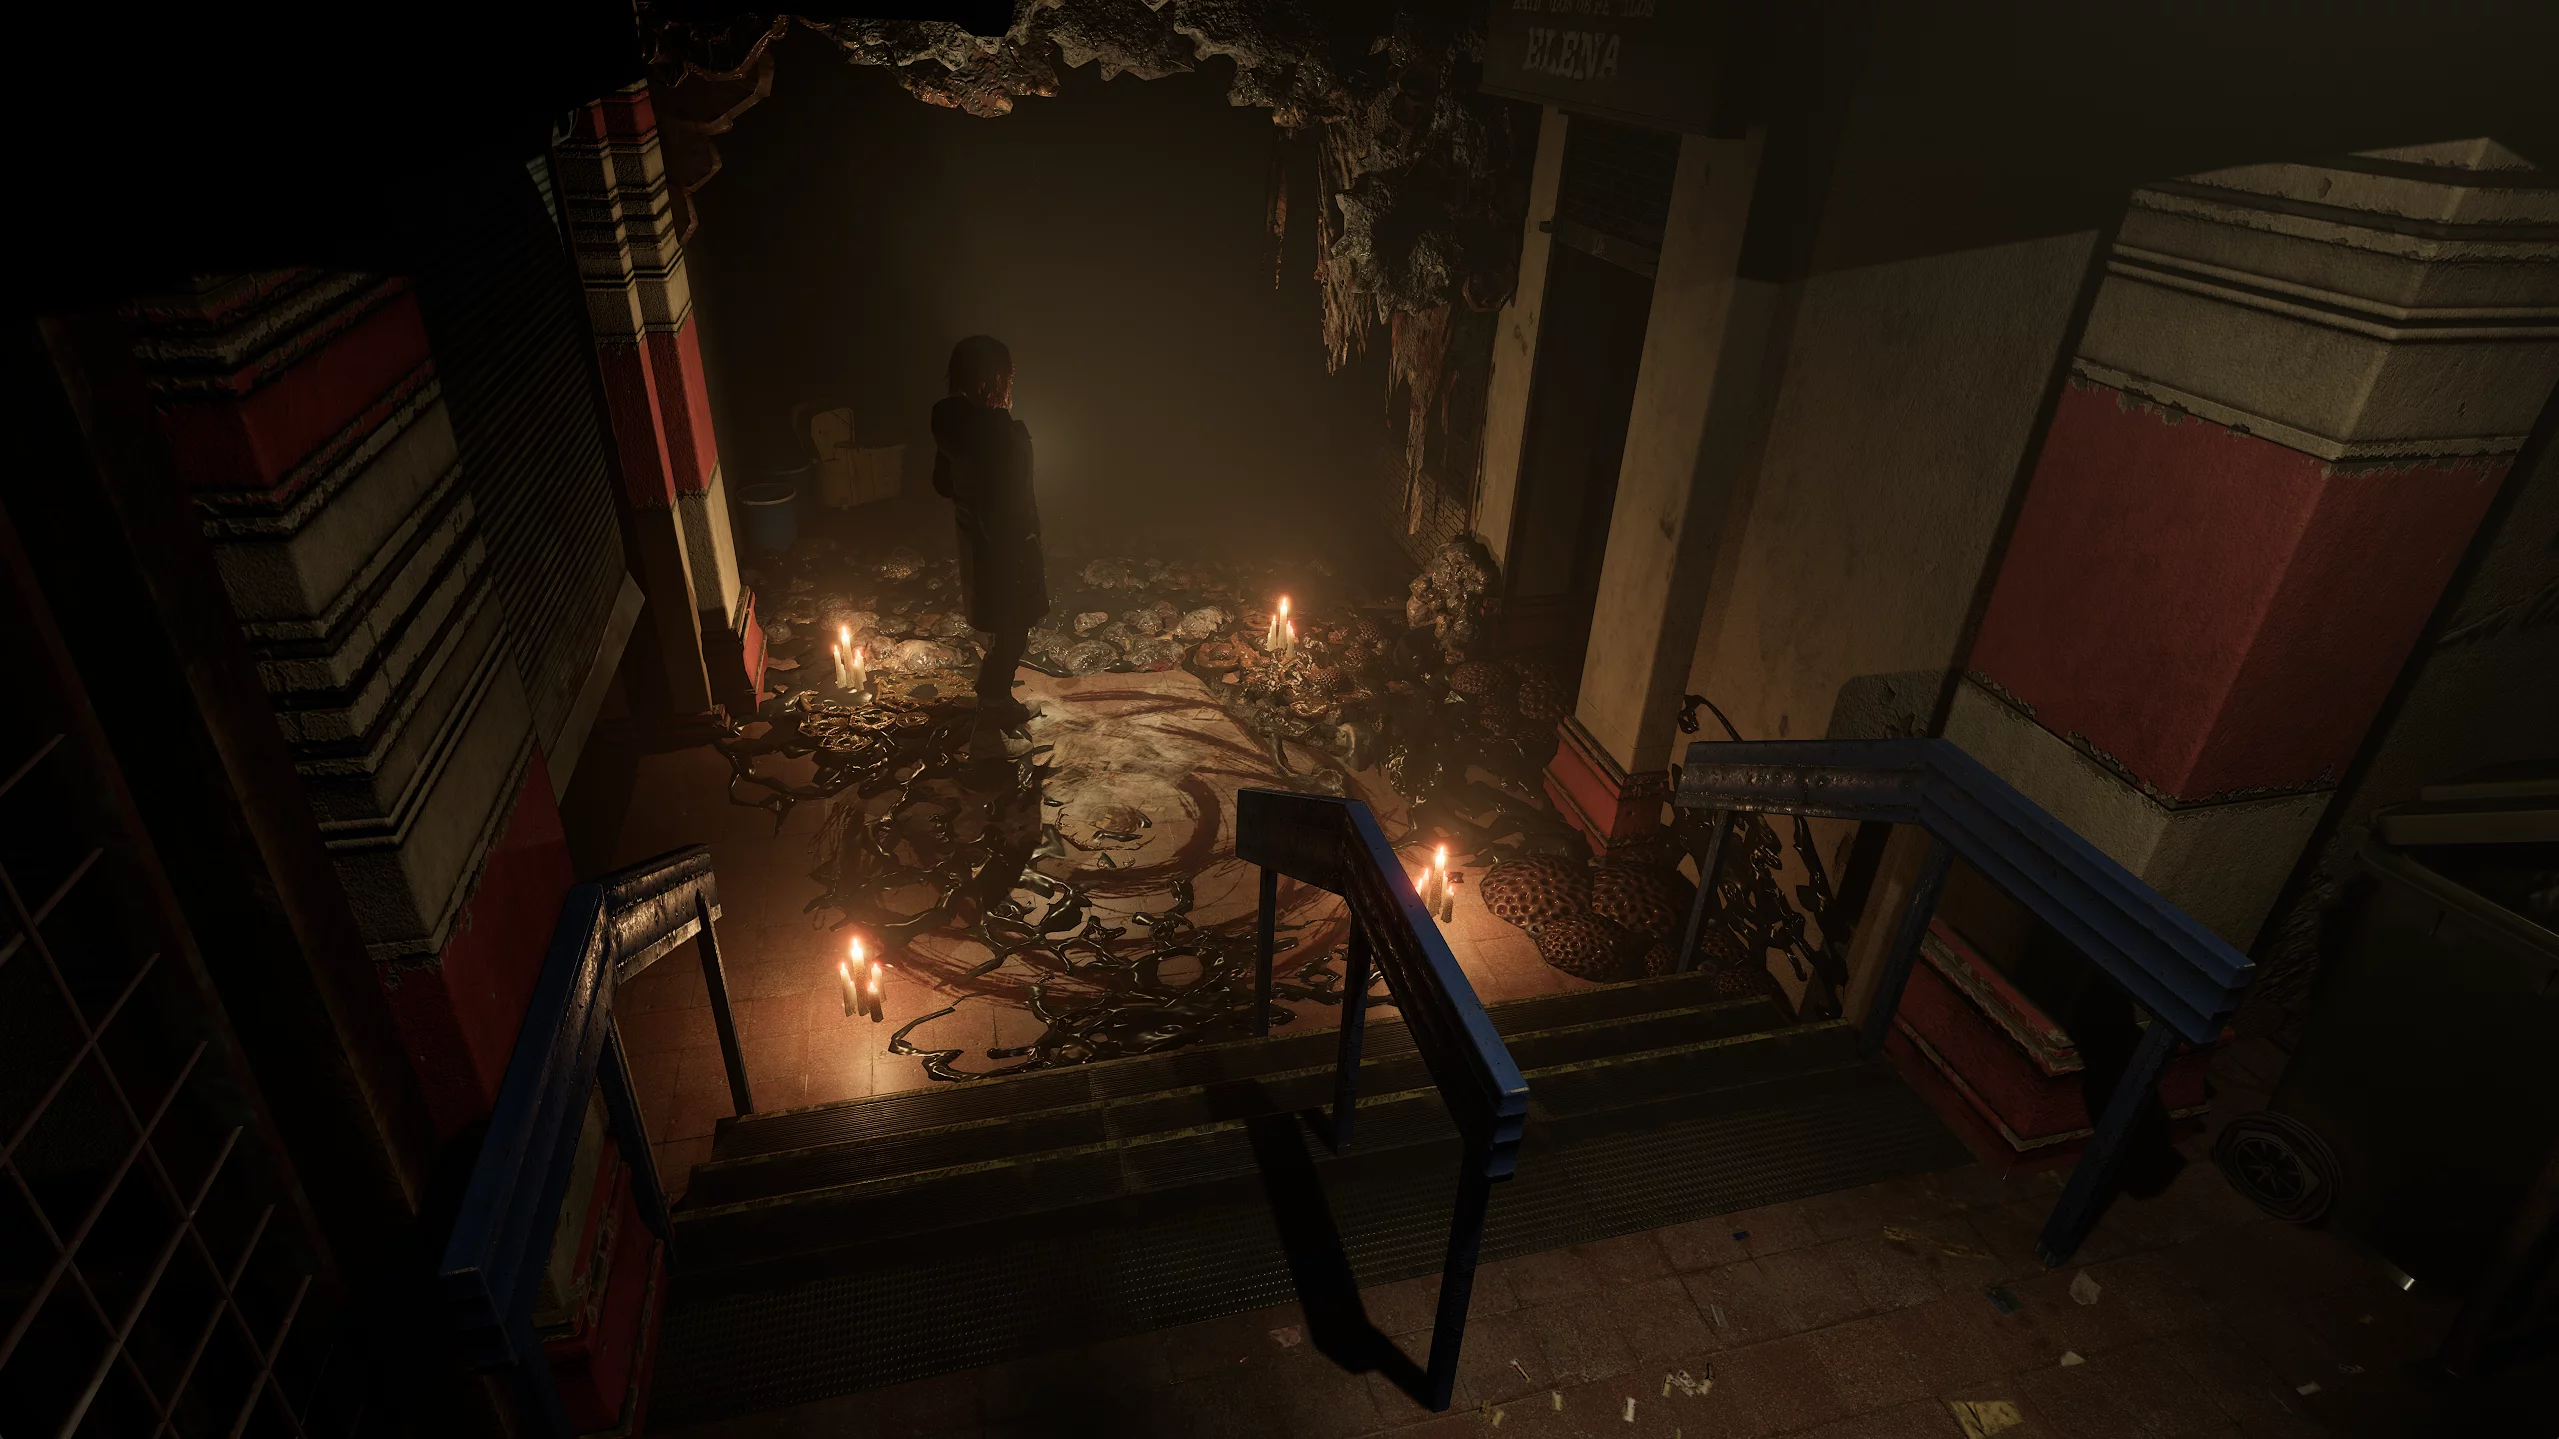
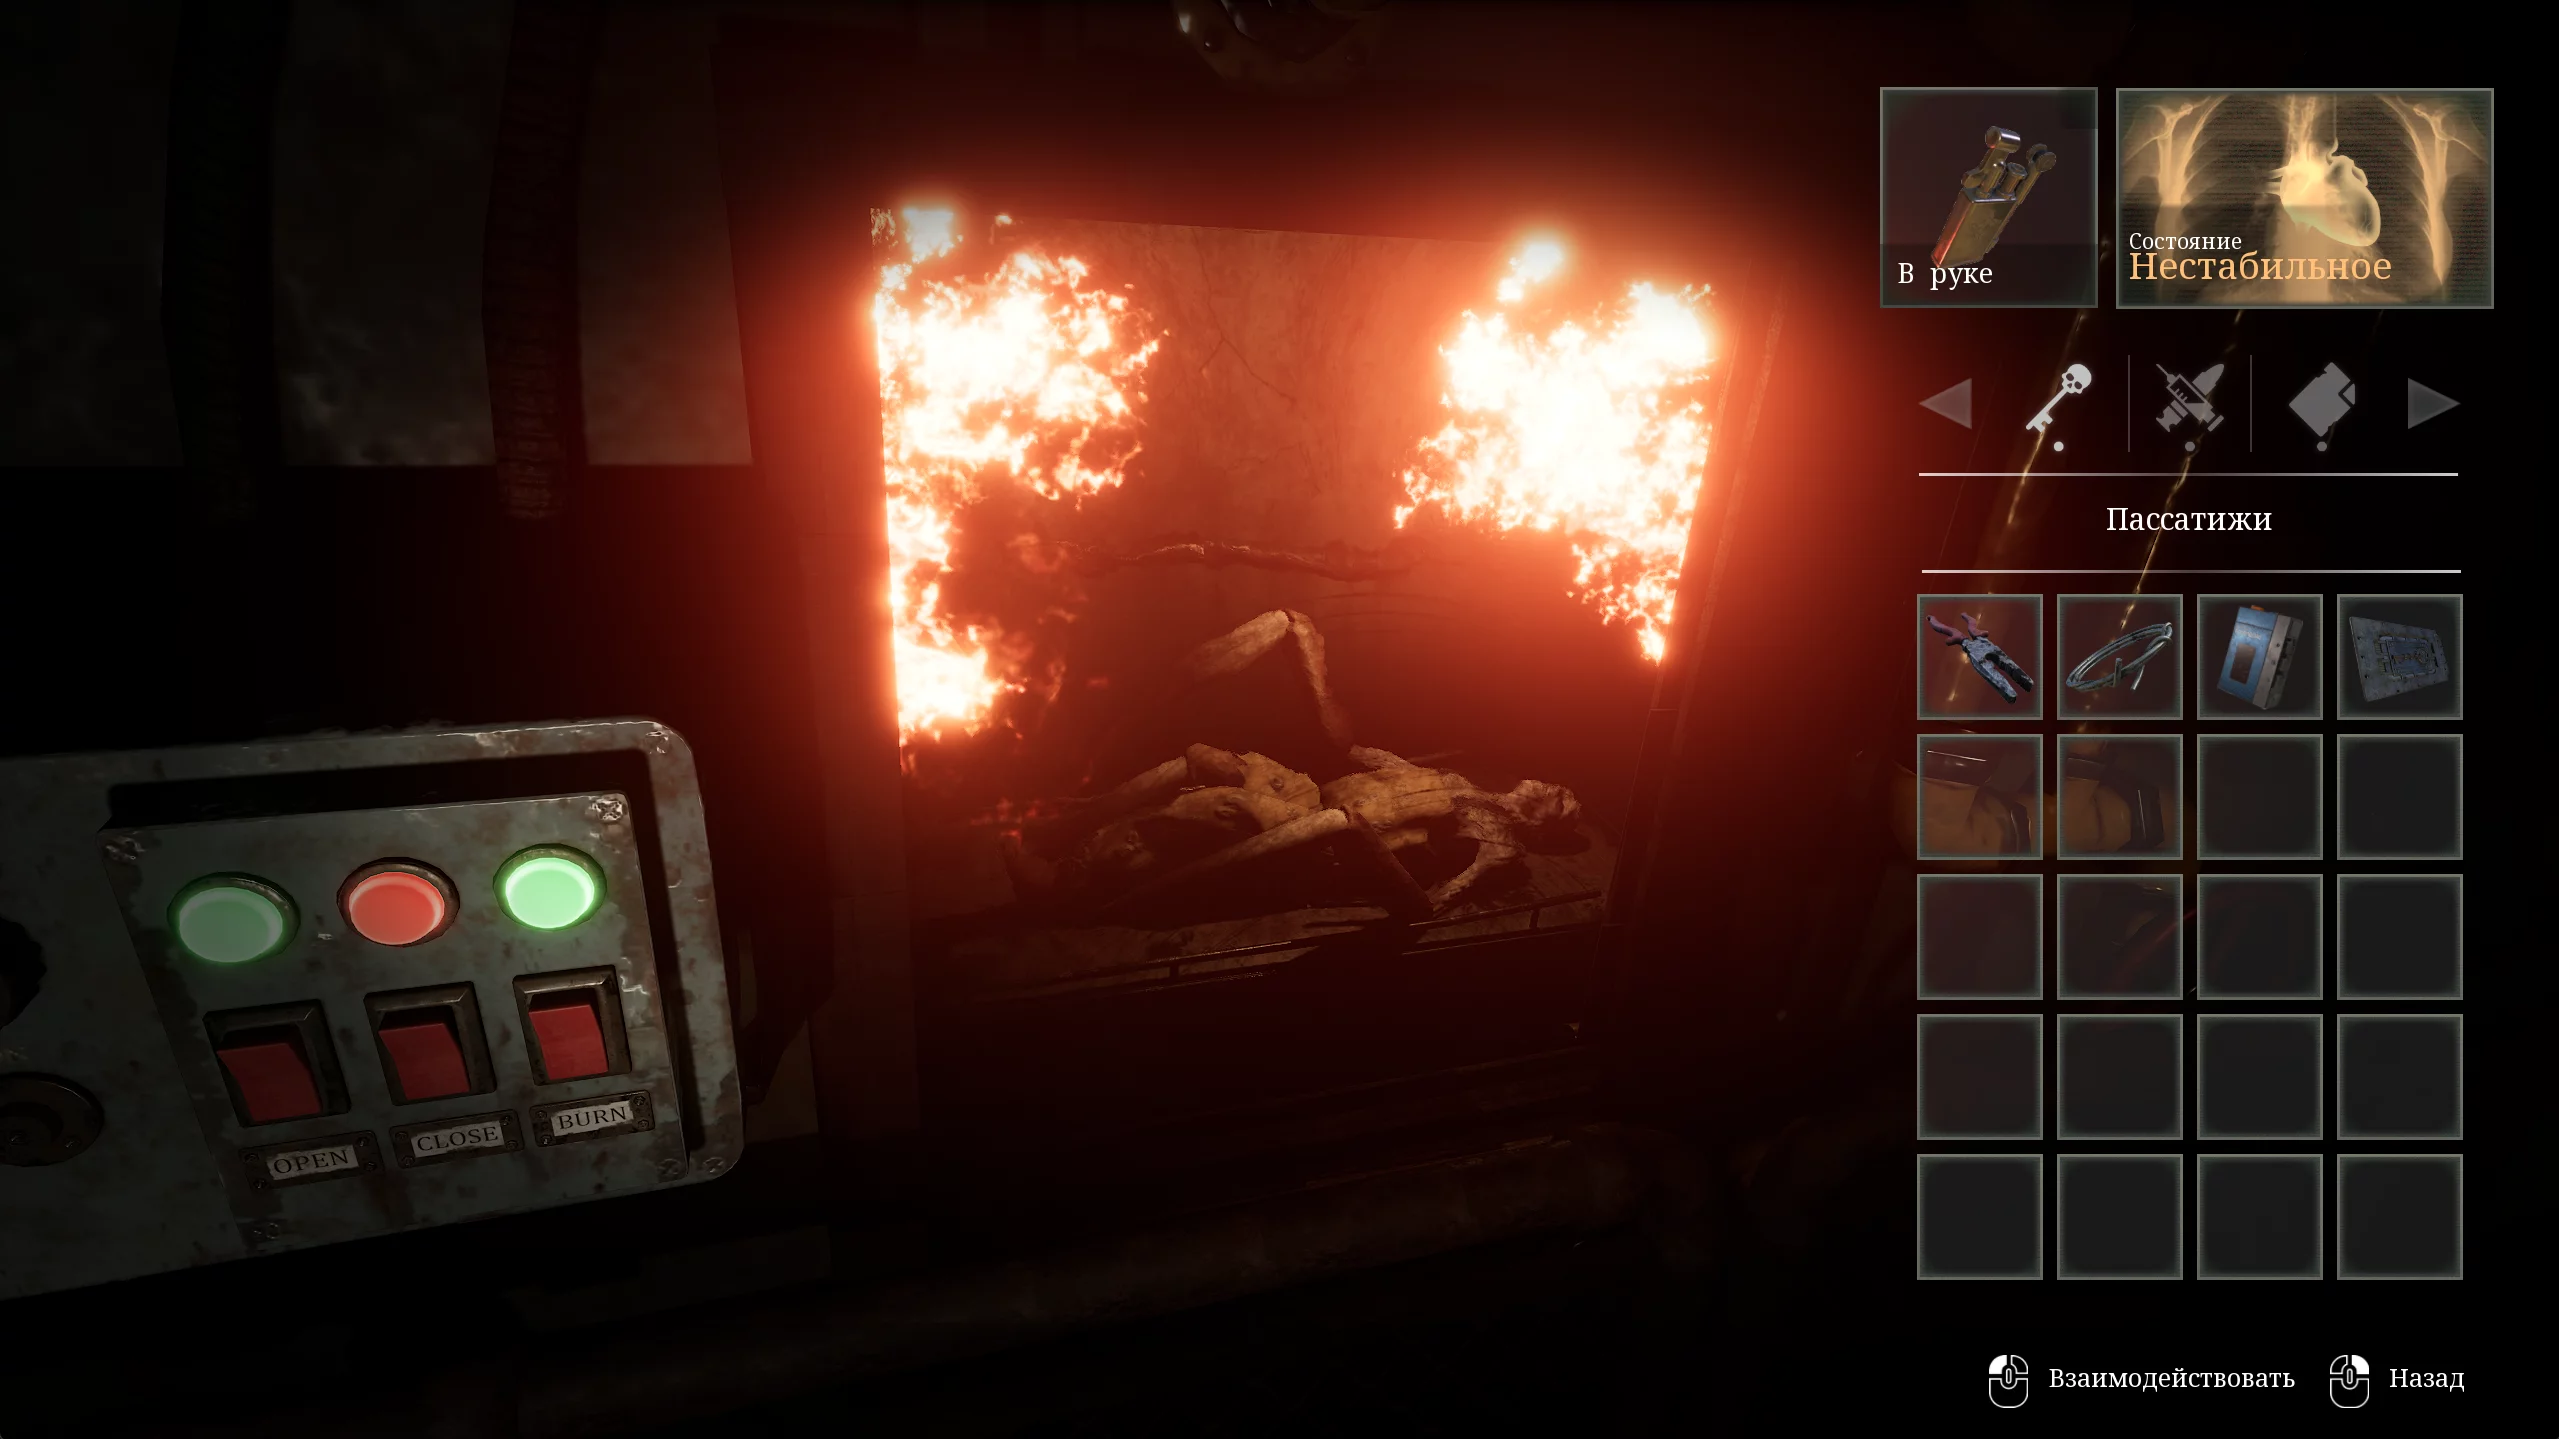
Cursed Door
After obtaining the saint’s tears, head back to where it all began — the Chapel of the Virgin Mary. All the lights in the abbey are out. Use the lighter to make your way to the cursed place and use the blood-filled sprayer on the door.
It’s best to save here, because behind the door a boss fight awaits you.
In the hall, you’ll be met by a martyr in a mask of suffering wielding a huge spiked hammer. The boss is rather slow, but can quickly dash from one point of the arena to another. Shotgun ammo is scattered around the arena, so remember to reload in time.
To kill the cultist, you need to pull special daggers from corpses and stab them into the monk’s eyes. The mask will open once you’ve dealt enough damage.
Repeat this twice and finish off the cultist. His death dispels the illusion in the prayer hall and allows you to move freely around it. While exploring the hall, you can find shells, magnetic tape, and a mini compressed air tank — combining it with the nail gun will increase the weapon’s rate of fire.
The newly opened passage in the center of the hall will let you move on to the next stage of the game.
Shopping District
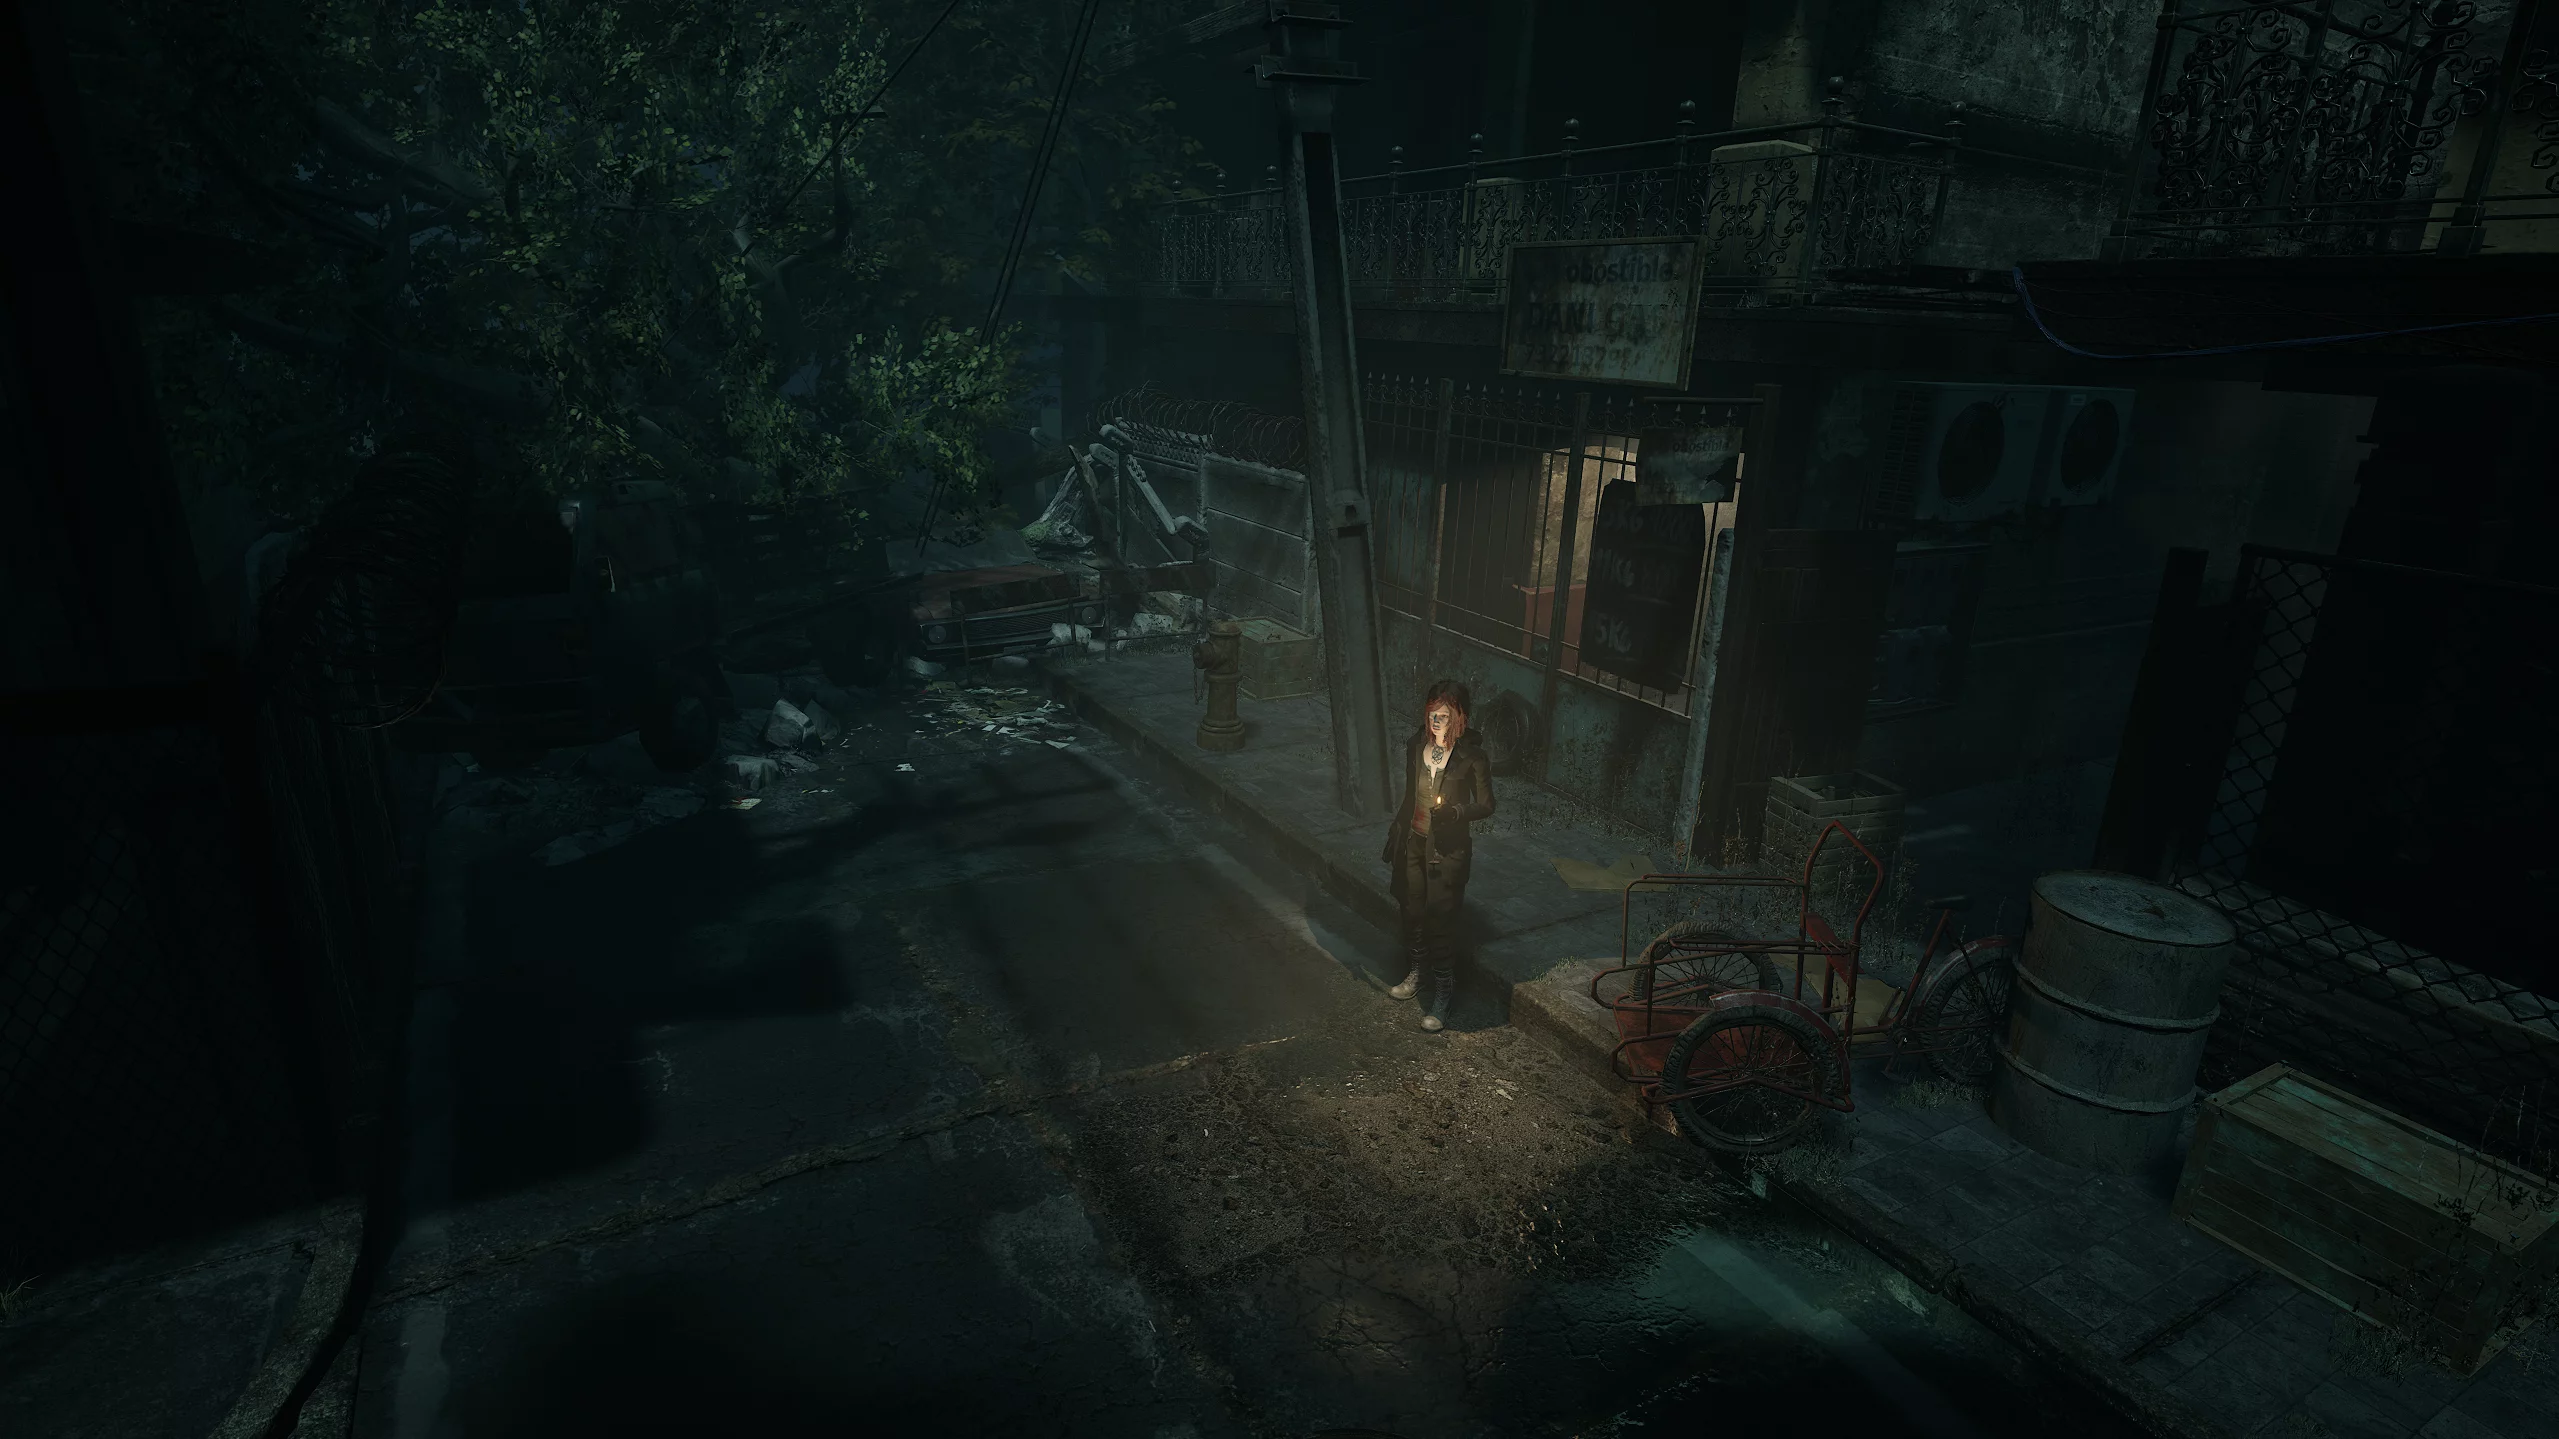
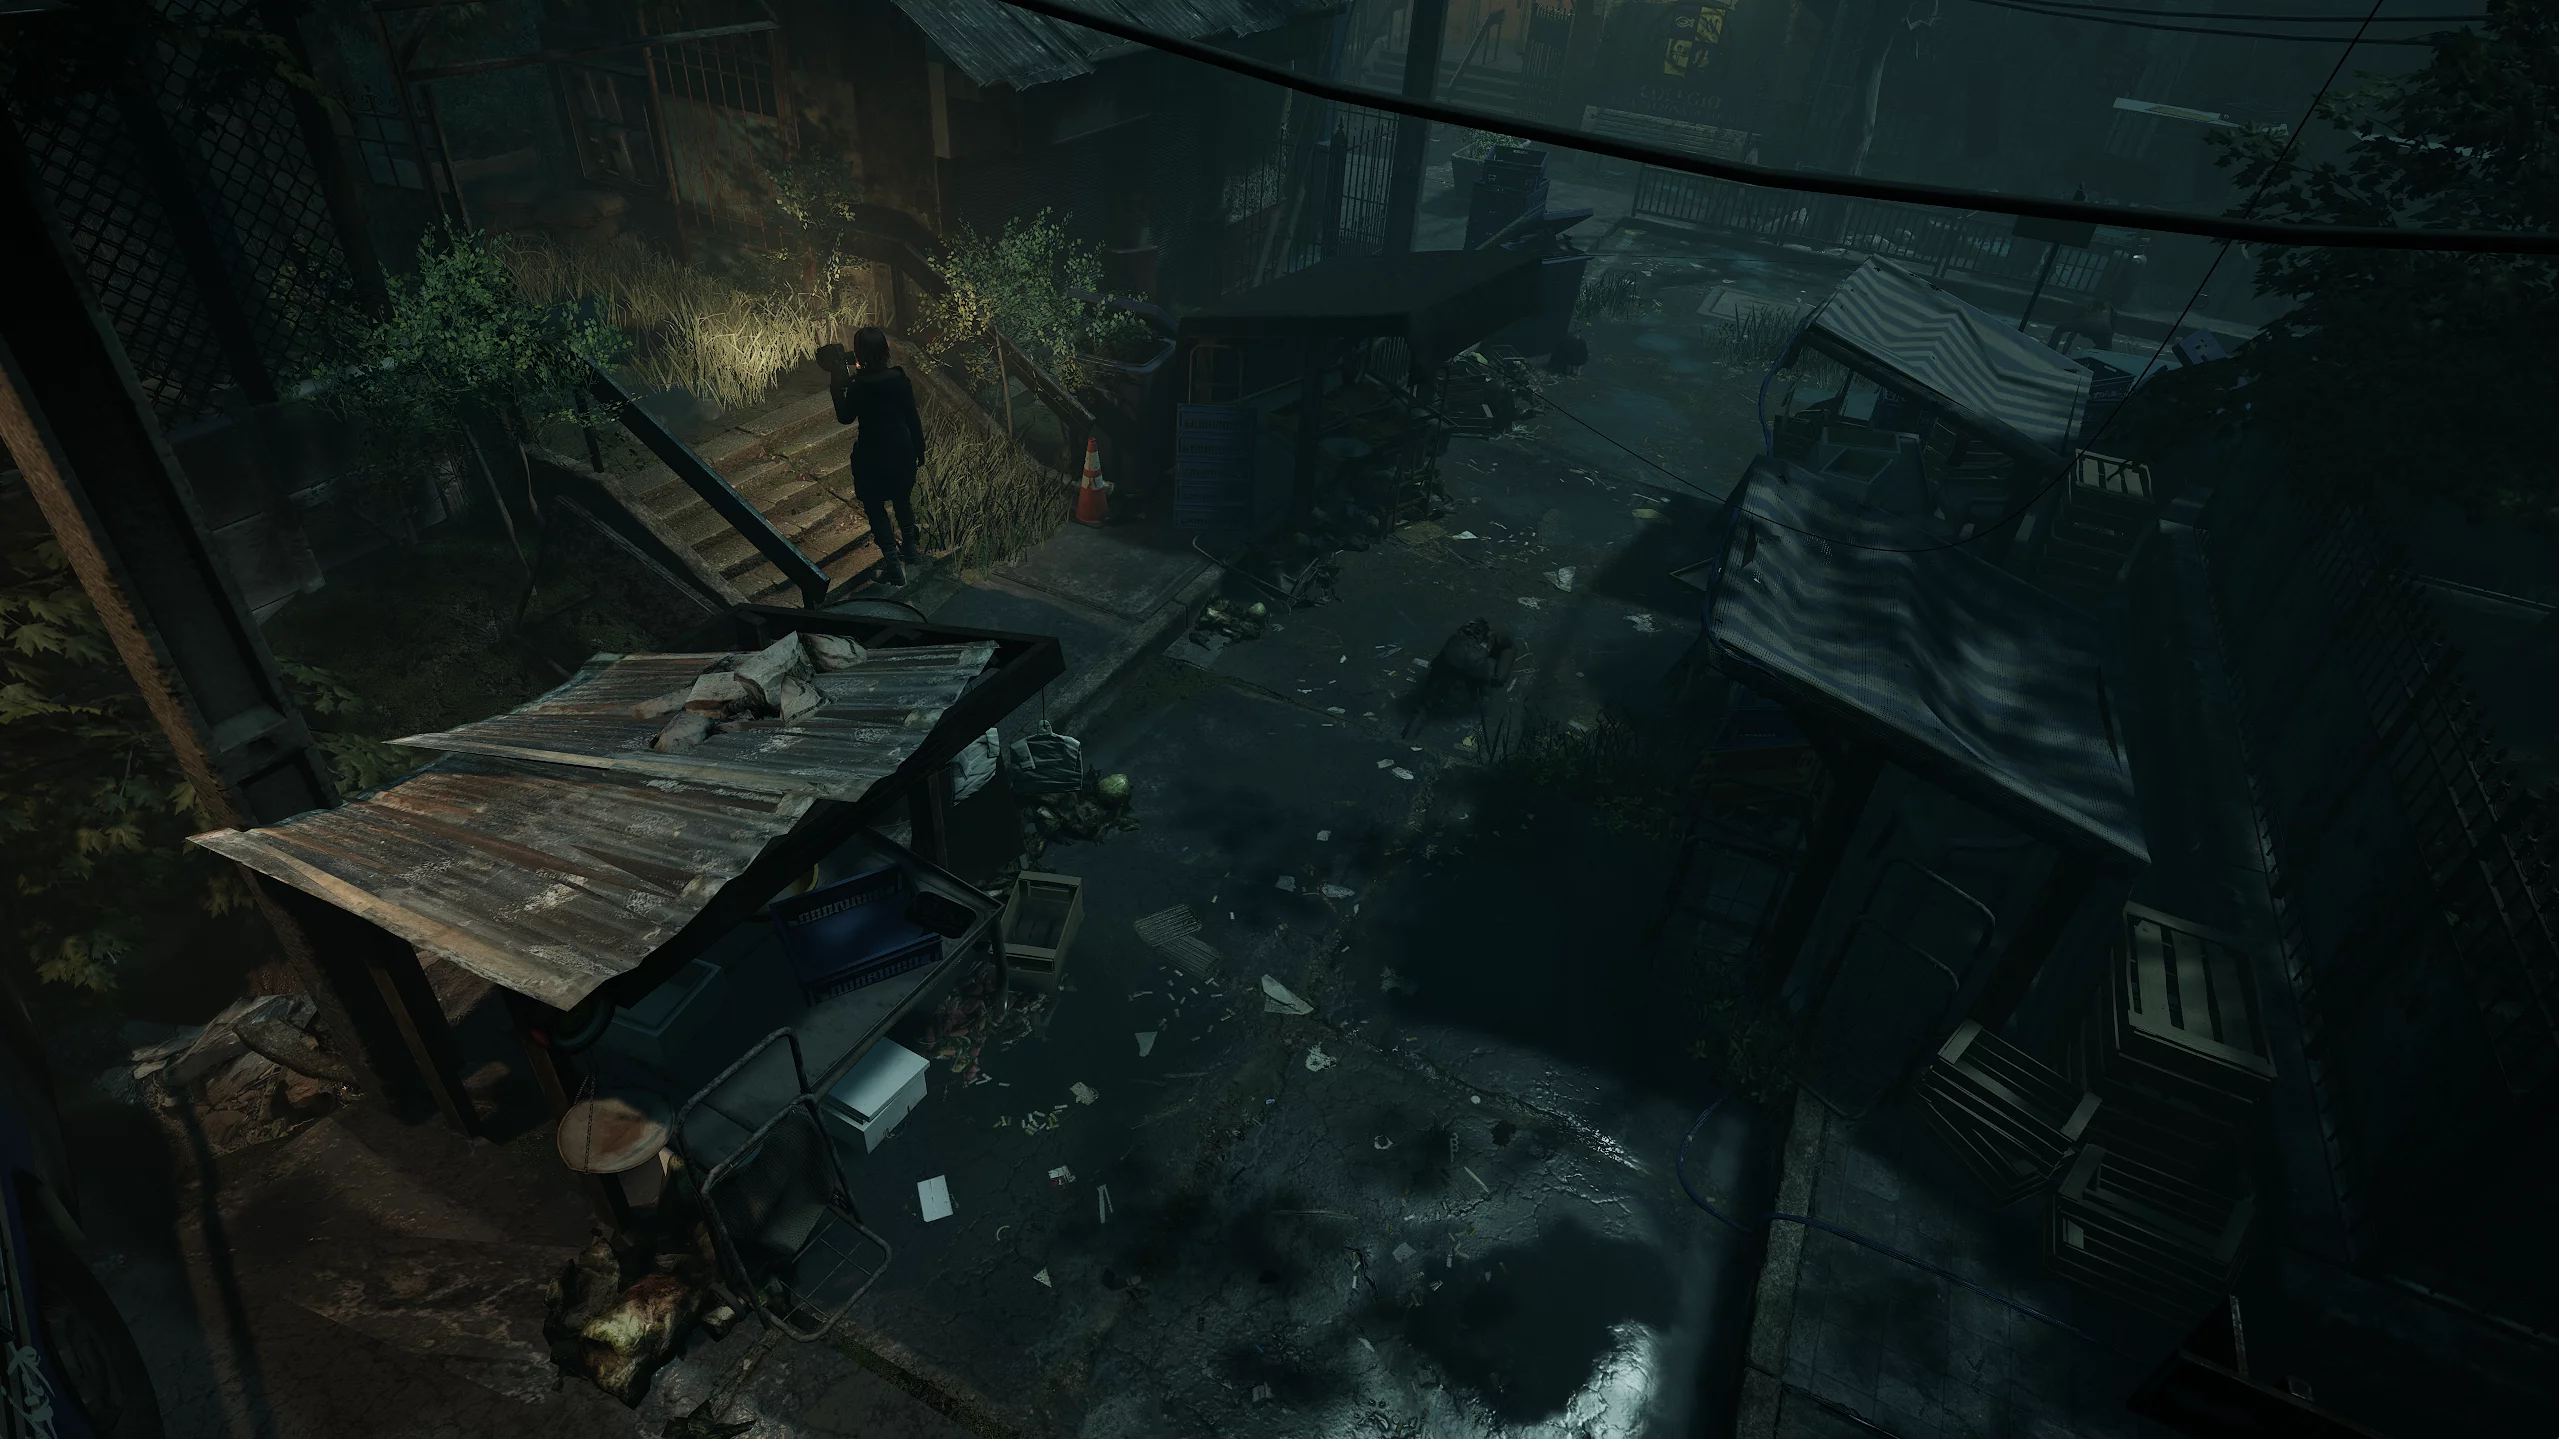
After defeating the cultist, we gain access to the main area of the city. Run past the gallery and you'll enter the shopping district. From here, you can reach any location in the game.
Opposite the exit from the sanctuary is the call center. Inside, you'll find a magnetic tape, a box of nails, and you can save your progress.
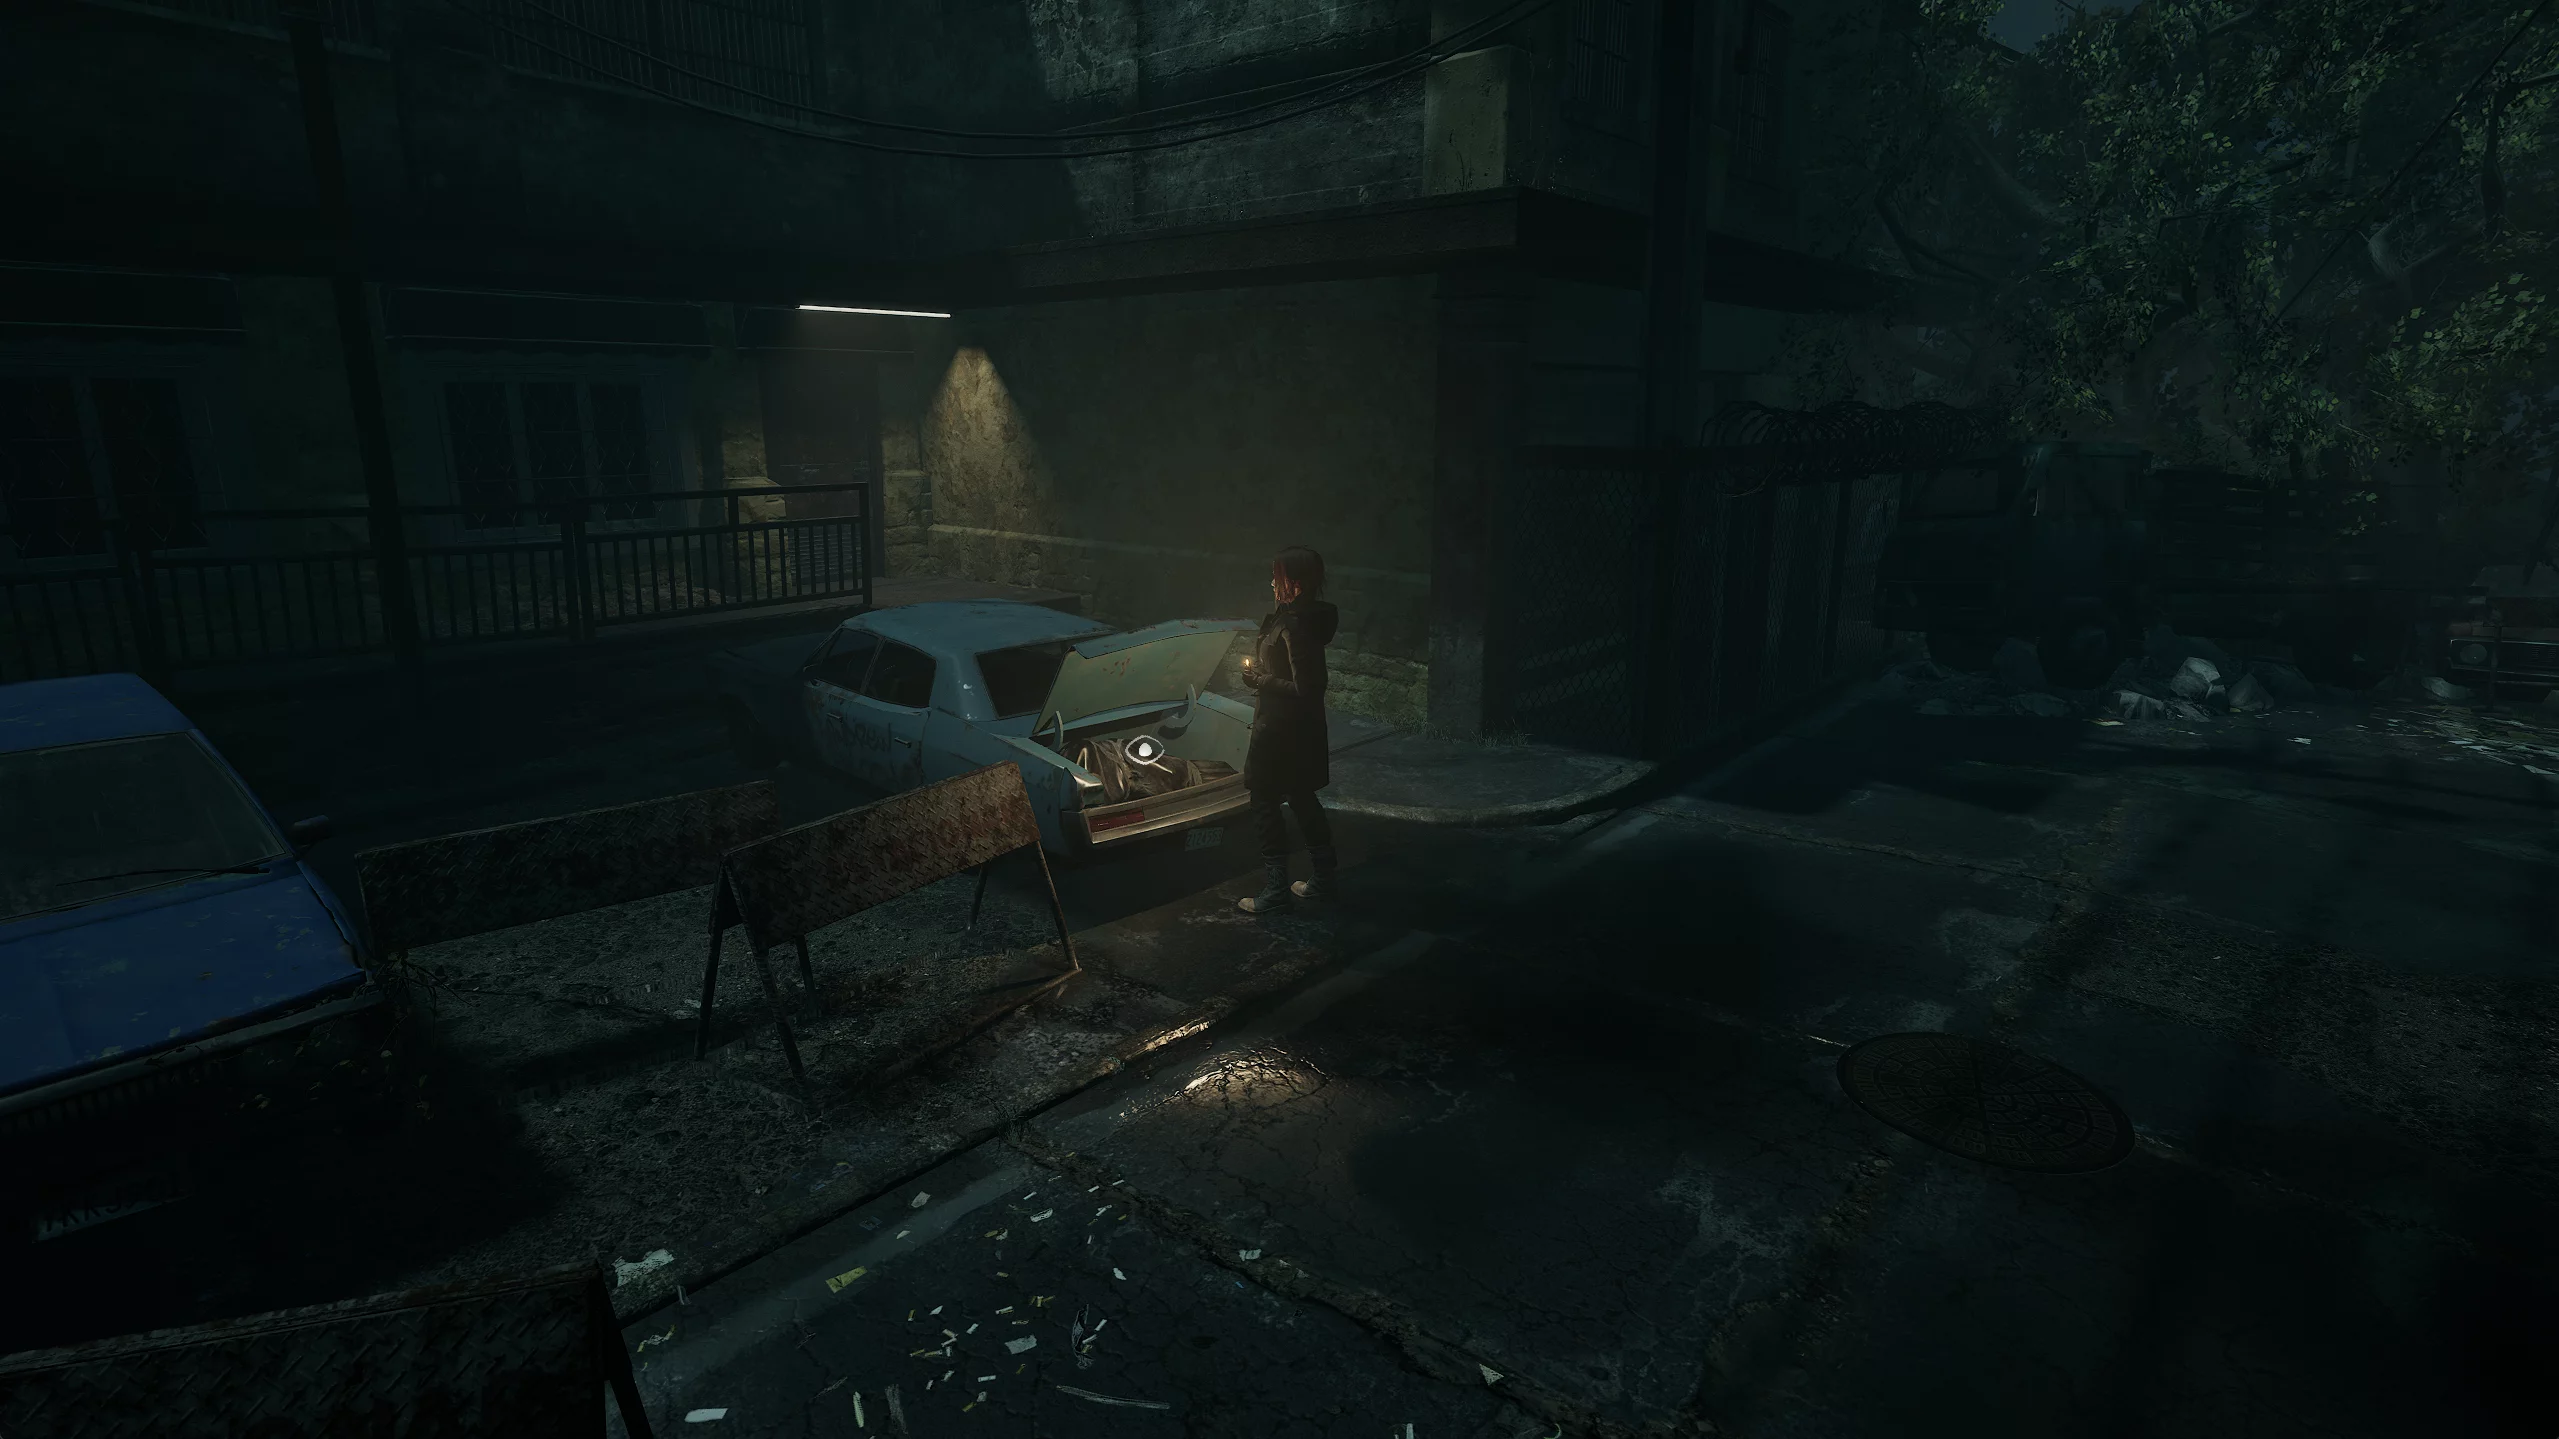
After leaving the building, open the trunk of the car parked nearby — inside, take the shotgun shells.
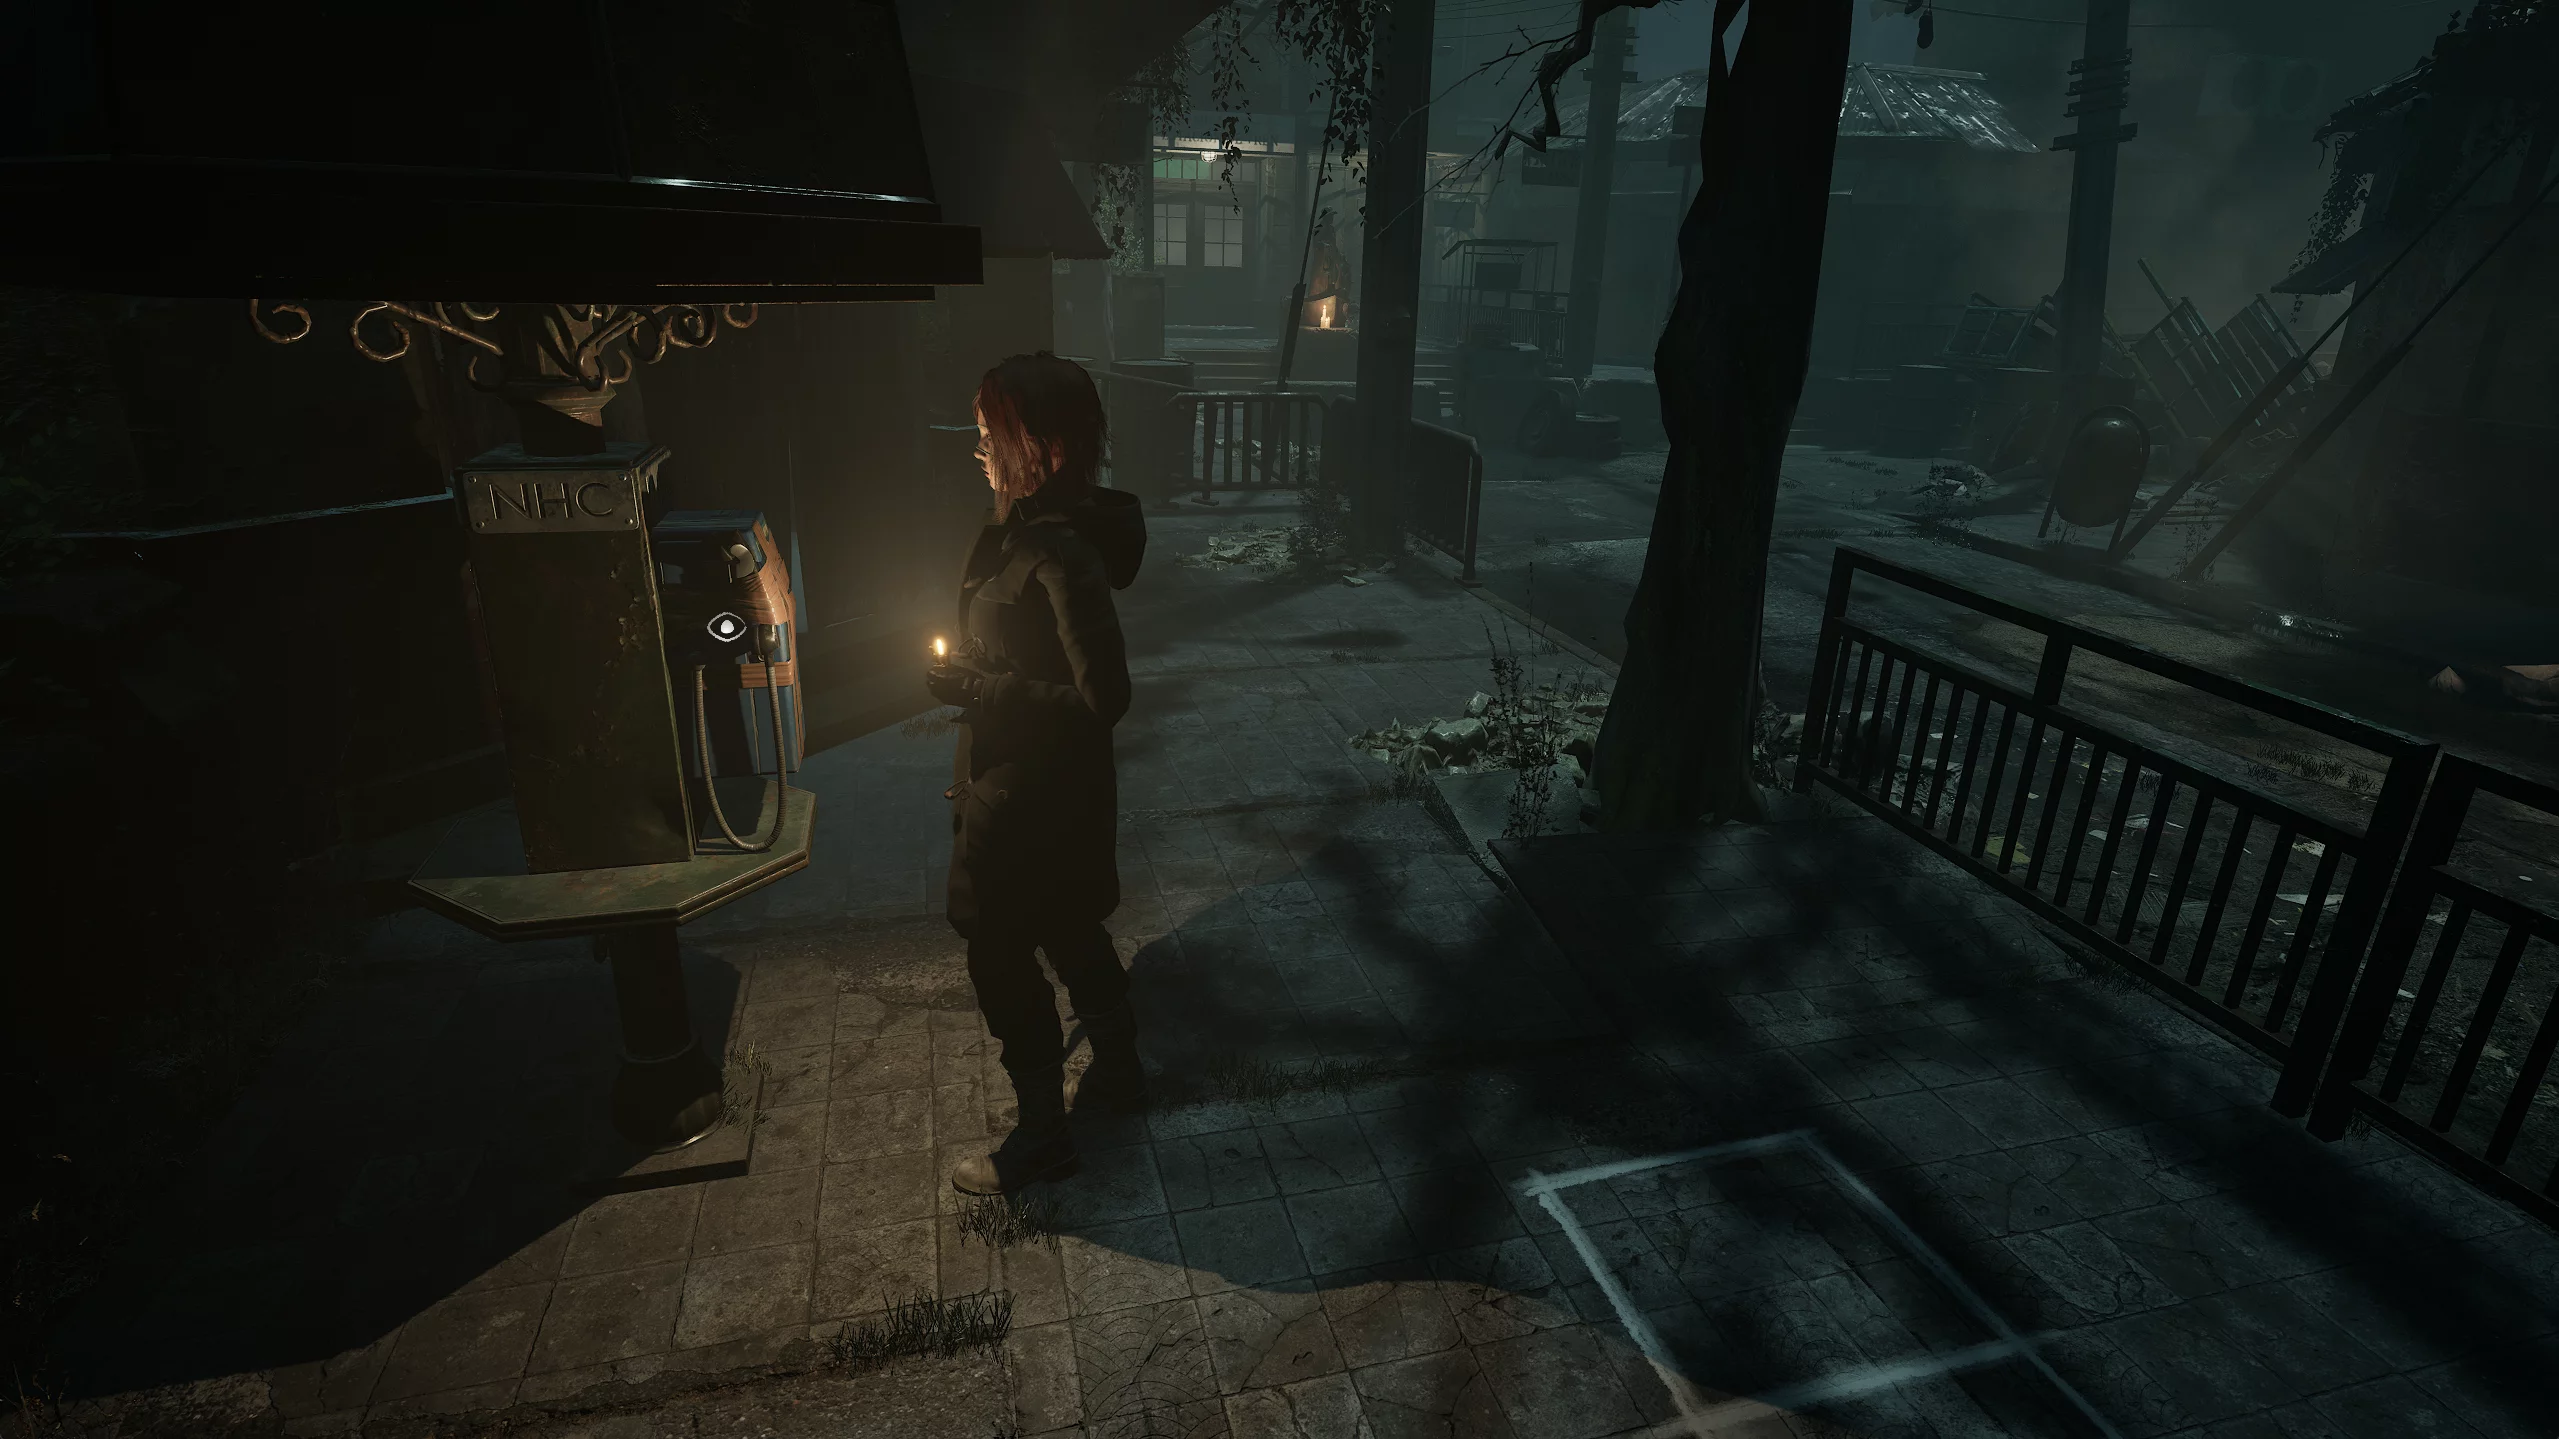
Continue down the street, turn onto the sidewalk to the left leading to the church gates, and remove the Villa-Es map from the window of the newsstand. After this, a street phone will ring — remember its location.
Go around the barricade to the right of the station and enter the garage in the backyard — there you'll find painkillers.
Next, go through the broken gates into the butcher shop.
How to Get the Mall Keys

Pick up the povidone behind the counter. Go deeper into the building, grab a box of nails, and follow the bloody trail on the floor leading to the butcher's basement.
Run past the hanging pig carcasses and take the medkit in the room. Then return and enter the right corridor. The mall employee key is pinned to a corpse. Take it and run back.
One of the pigs will start chasing you. You can't kill it now, so escape from the enemy and head to the mall.

Opposite the butcher shop is an alley with a door. Use the mall employee key to get inside.
How to Get the Dojo Key
Go around the stairs and unlock a shortcut to the shopping district from the back entrance.
Enter the shop on the left: behind the counter, take the mall map from the bulletin board, and in the corner by the ladder, grab a box of nails.
Go back a bit, go up the stairs, walk around the platform, and descend the other stairs into the pharmacy.

Right behind the counter on the shelf, take the povidone. Then go down to the back room and look for an instant photo on the bench, and take painkillers from the locker.
Here you can find a certain box, but it doesn't work without electricity. Remember its location and move on.
Go down the stairs and exit through the door to the lower floor of the mall.
Squeeze through the crack in the wall to the video rental store. On the way, take the magnetic tape from the table.
Next, go out through the raised grate back to the lower floor of the mall.
Right by the door, you’ll meet a man in chains. This stage of the game is focused on freeing him. To progress further, enter the shop opposite the video rental, go through the entire cafeteria, and through the gate on the right, you'll get to the barbershop.
This section of the mall is a save point. Pick up the magnetic tape on the table, a large supply of nails on the nightstand, and go deeper into the room to save your game.
Leave there and walk down the corridor to the end. Take a box of nails and turn on the electricity for the entire mall.
Now various enemies will appear throughout the mall. Be careful on your way and watch out for reanimated pig carcasses.
Open the blue grate opposite the sign with the rocket and enter the nearest restroom: on the corpse you’ll find an automatic nail gun.
Opposite the restroom, unlock a shortcut to the first floor of the mall.
With the electricity on, you can now solve the mini-fridge puzzle in the pharmacy. Go back to the video rental, breaking vases along the way to collect nails.
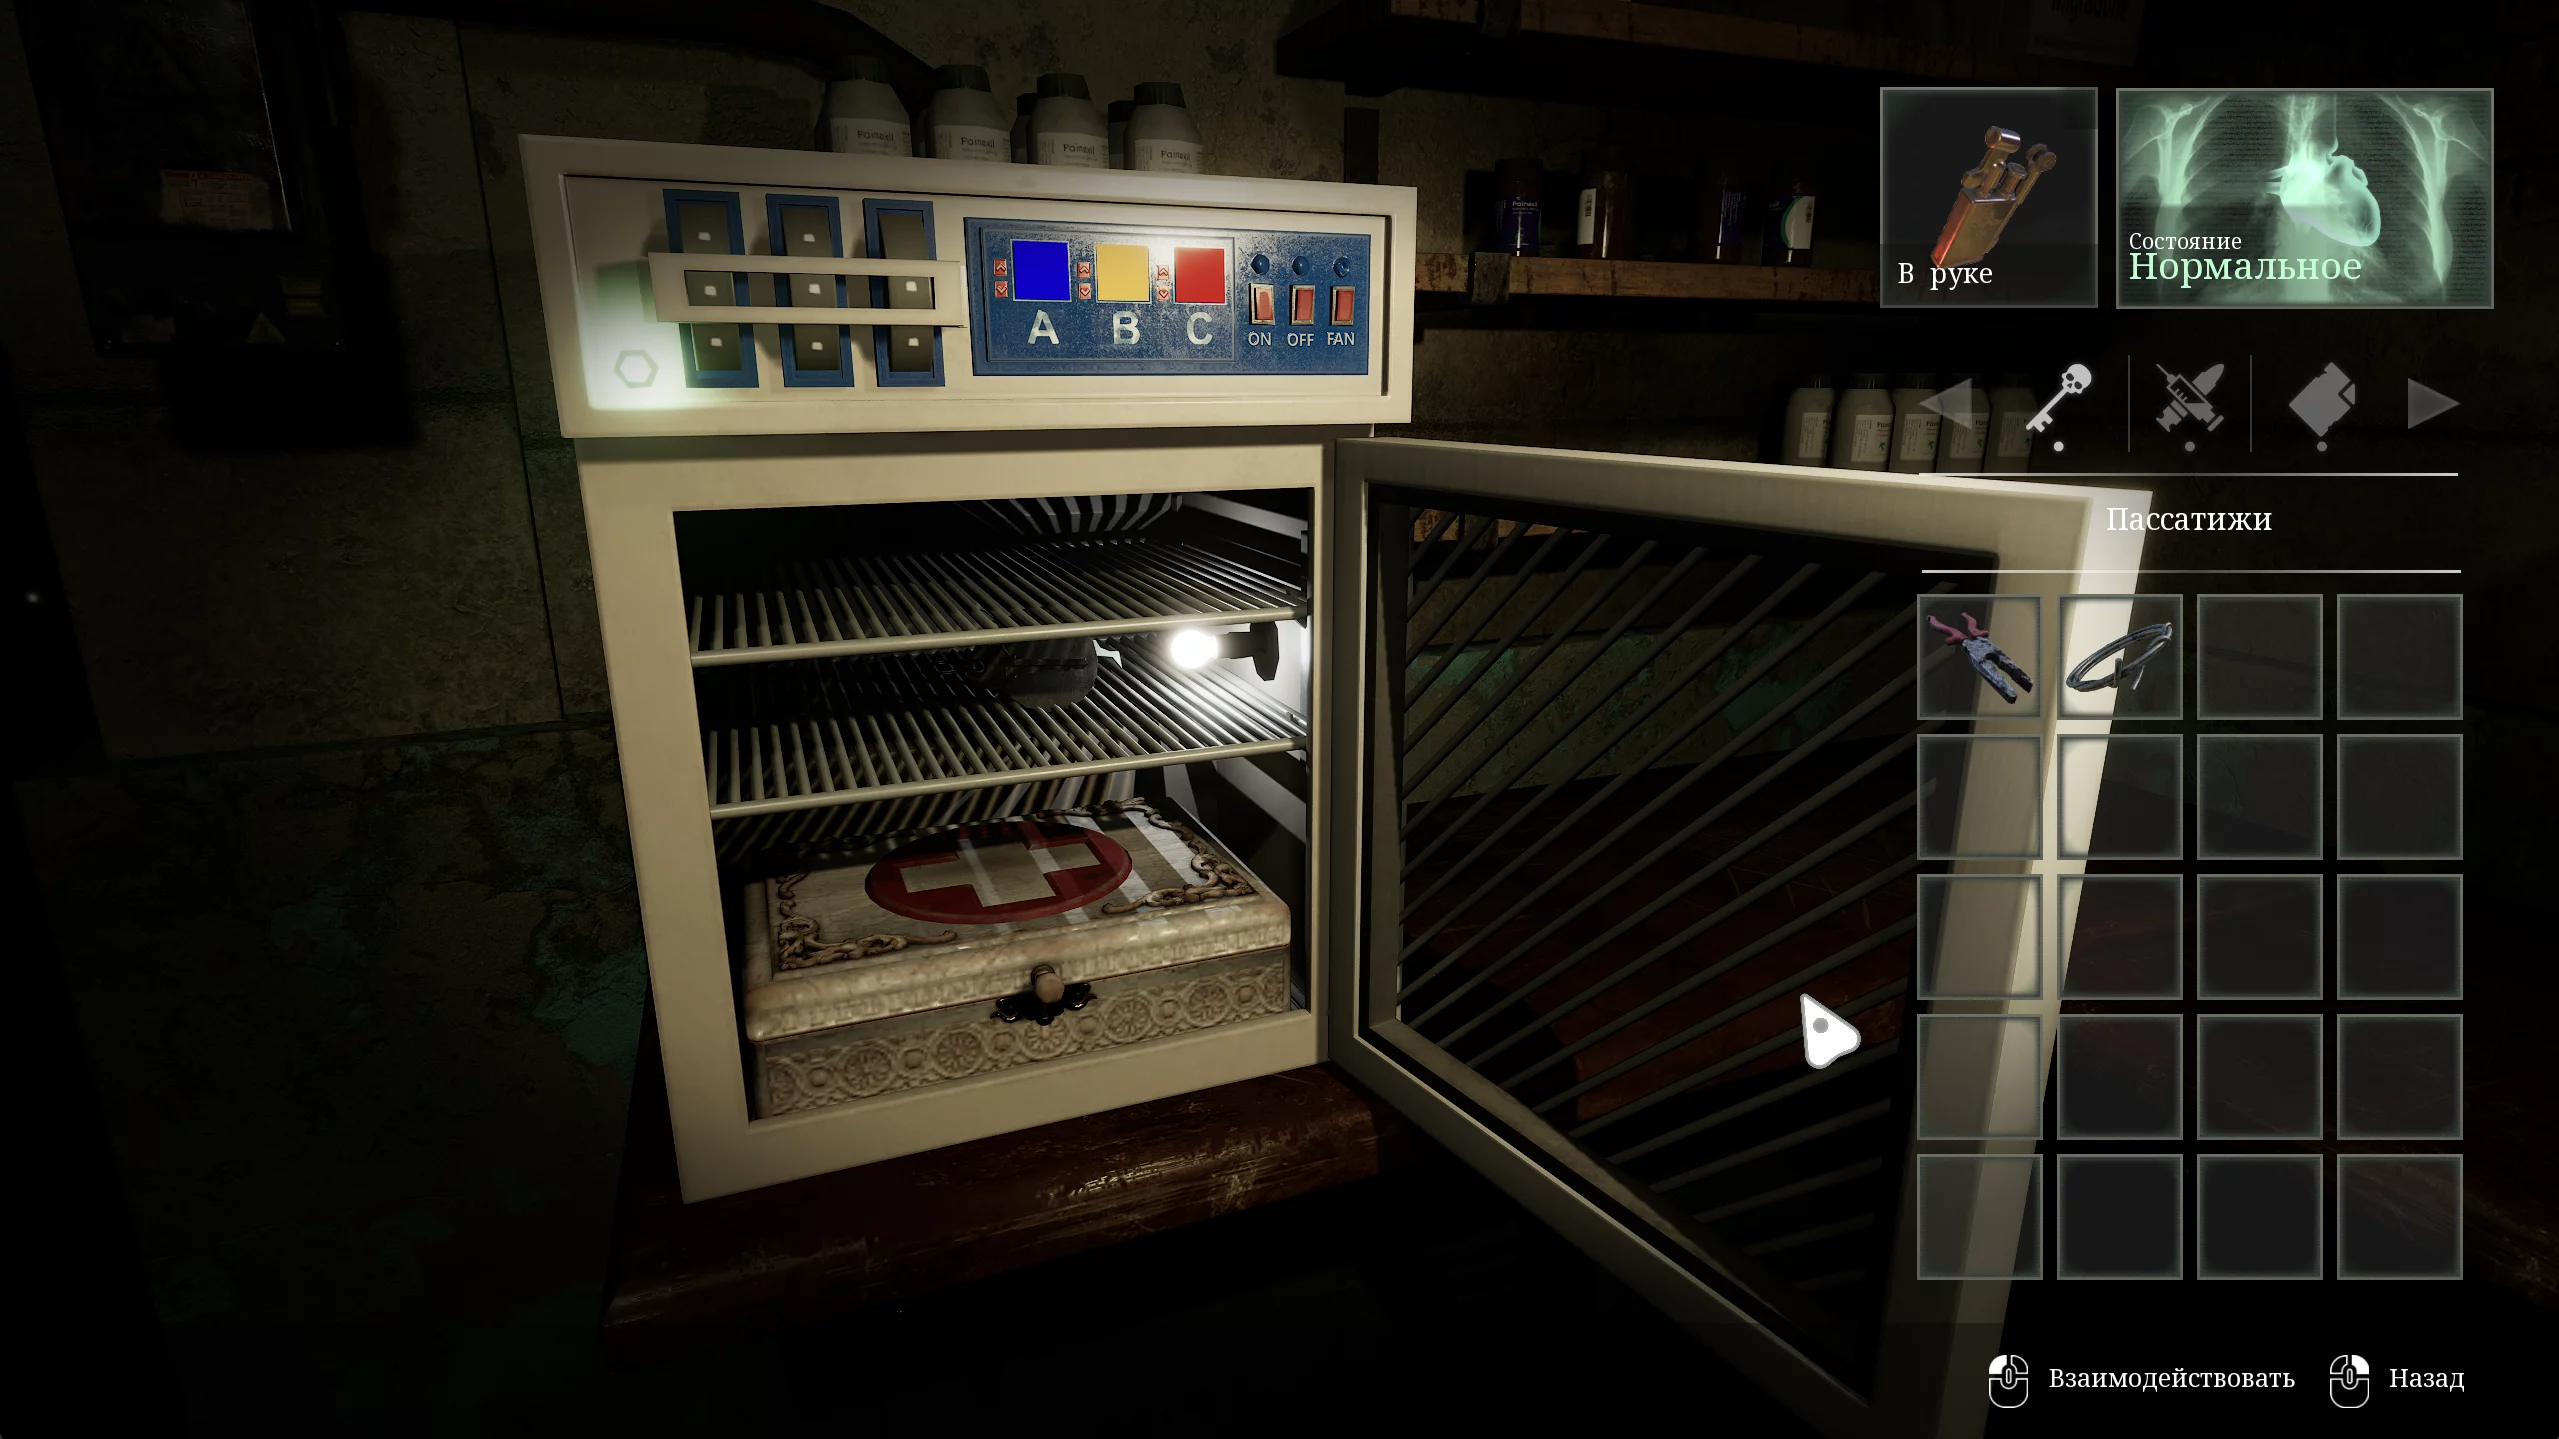
Two ghouls have settled in the pharmacy: kill them. Approach the mini-fridge on the wall and set the colors according to the back of the instant photo:
- A — blue.
- B — yellow.
- C — red.
Inside the fridge you’ll find a strong medkit and the dojo key.
How to Get the Utility Knife
On the way to the gym, be careful: when you enter the main hall of the mall, you’ll encounter three spider ghouls. After killing the monsters, go up to the second floor and enter the dojo.
In the room itself, on the chair to the left, there are shotgun shells, and in the restroom at the back of the room, you’ll find a utility knife. Pick it up and kill the reanimated corpse.
How to Get the Gold Ring

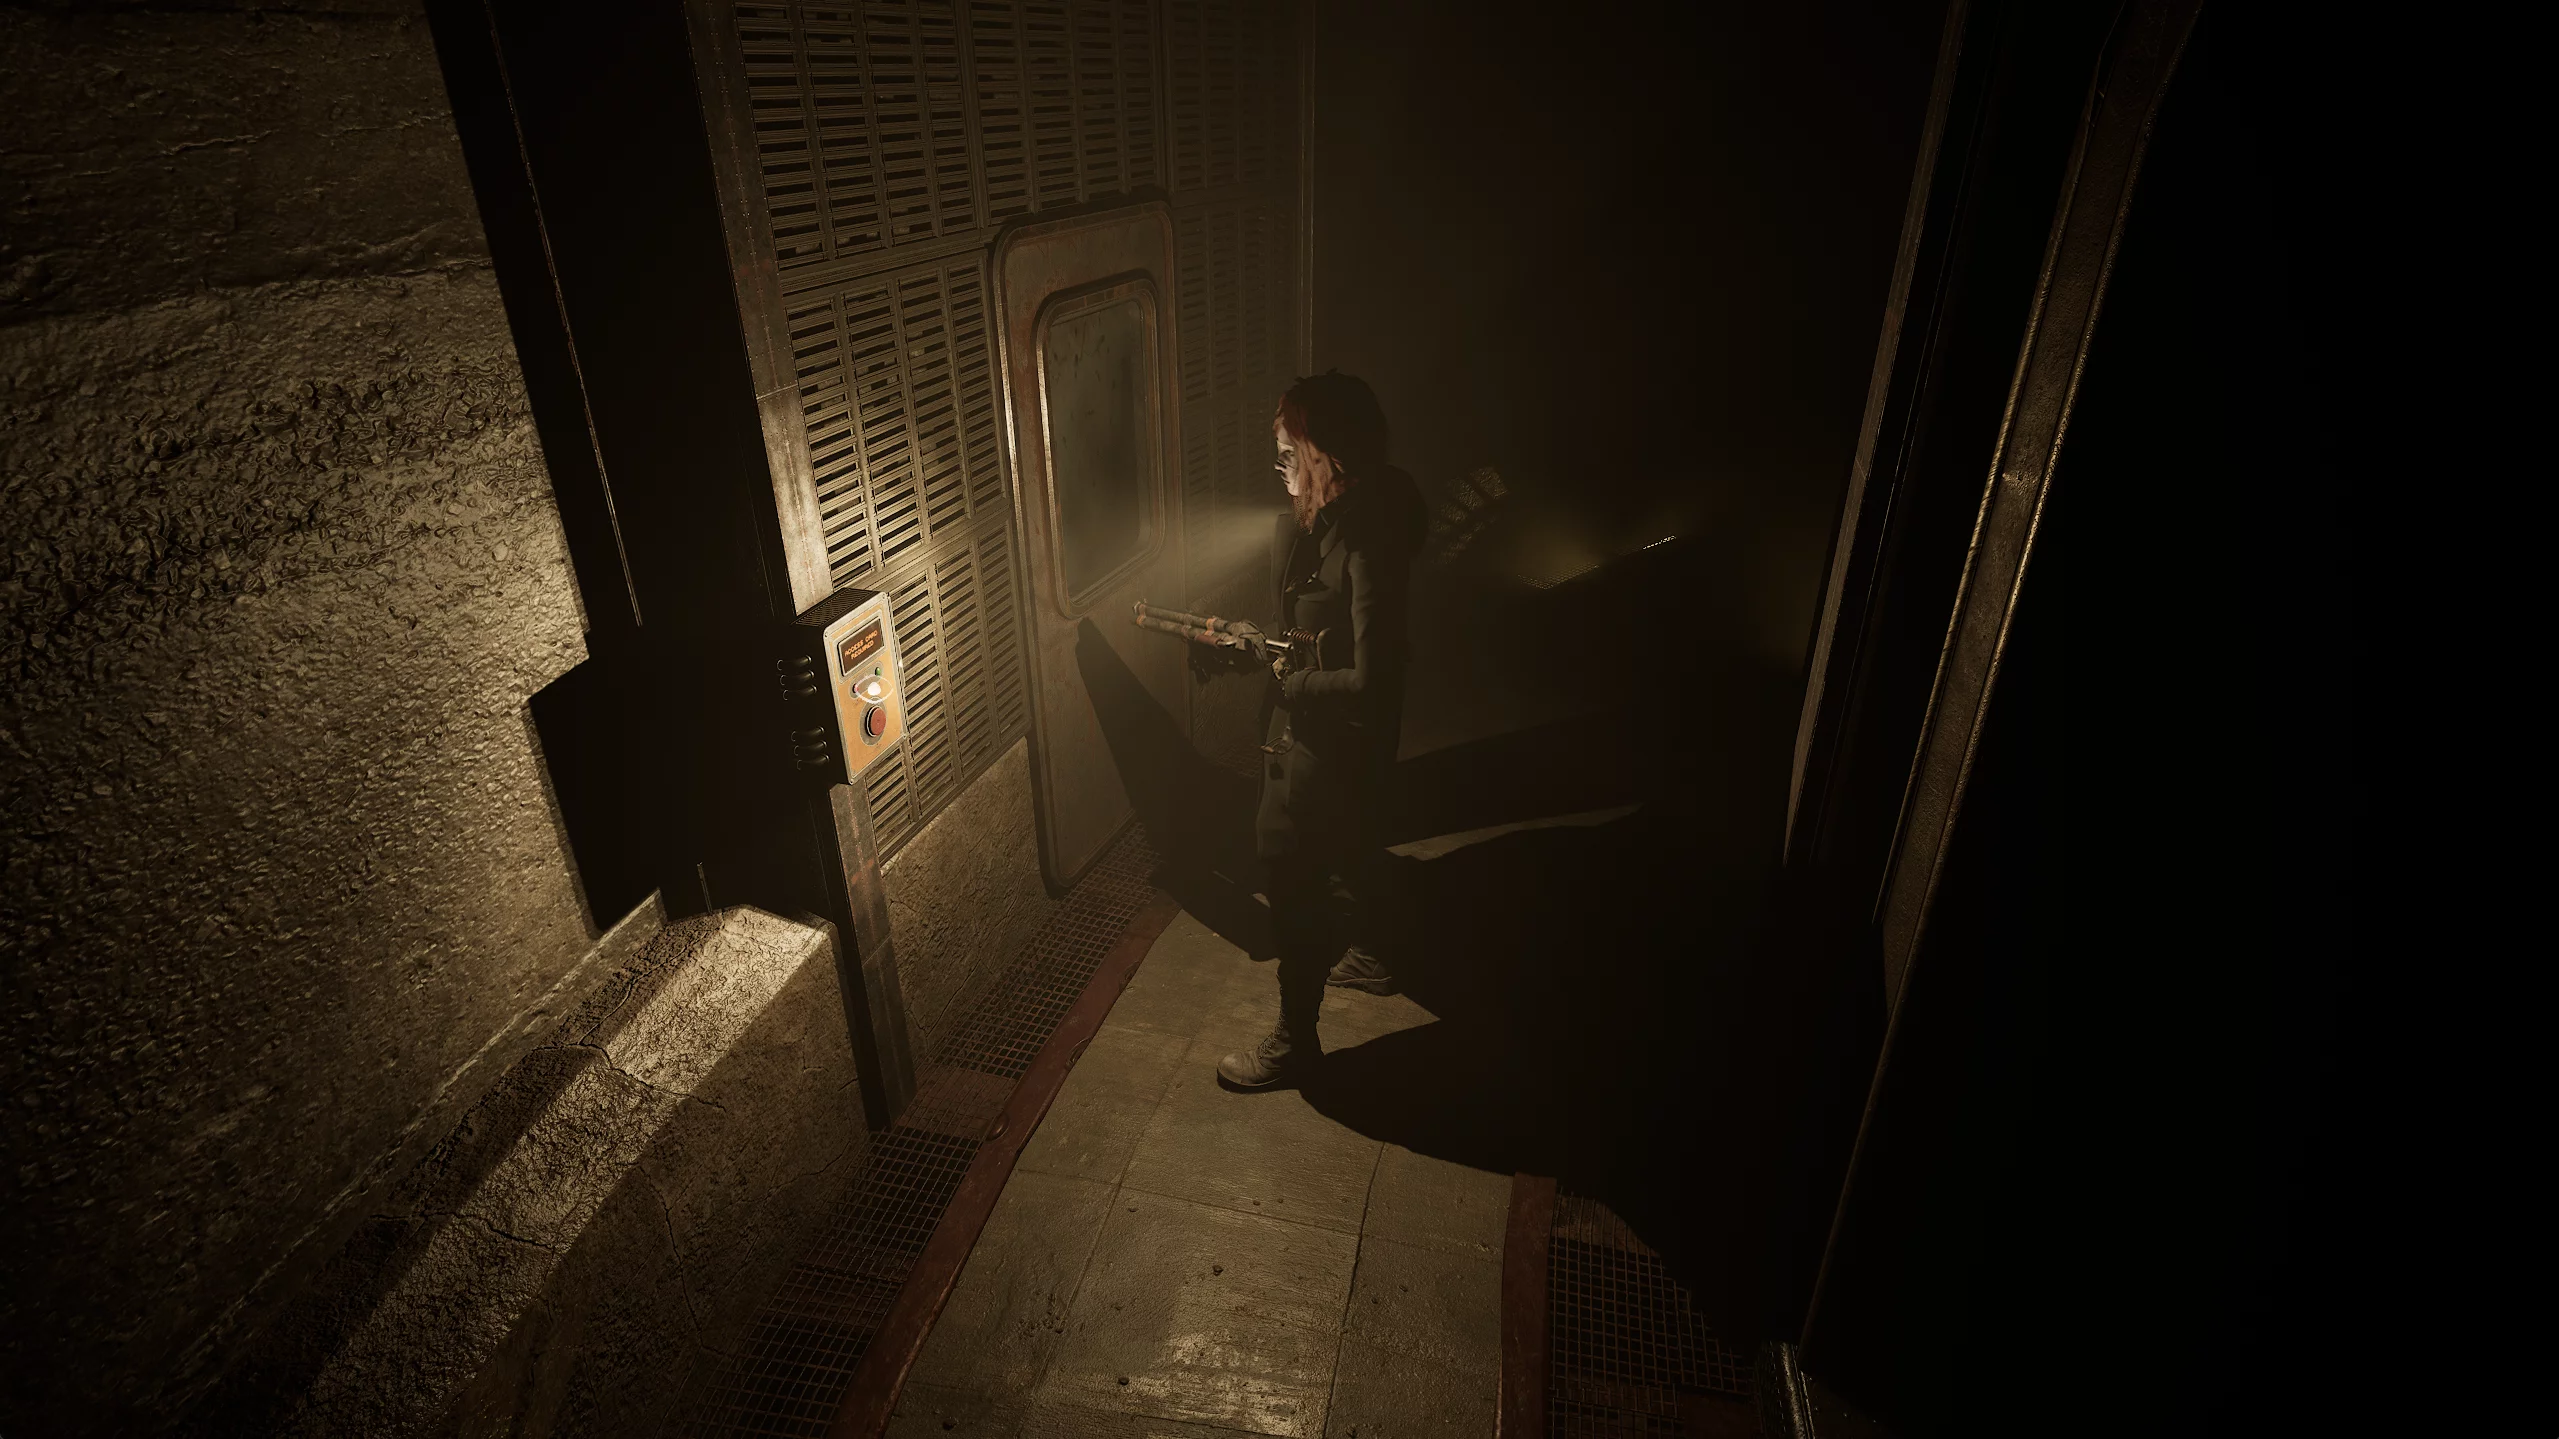
With the utility knife, you can open the ringing phone in the shopping district.
On your way down to the exit, you can use the vending machine to get a box of nails.
Cut the tape off the phone receiver and answer Anna’s call. She’s locked in a place with a lot of fish. After the conversation, take the coins from the coin slot.
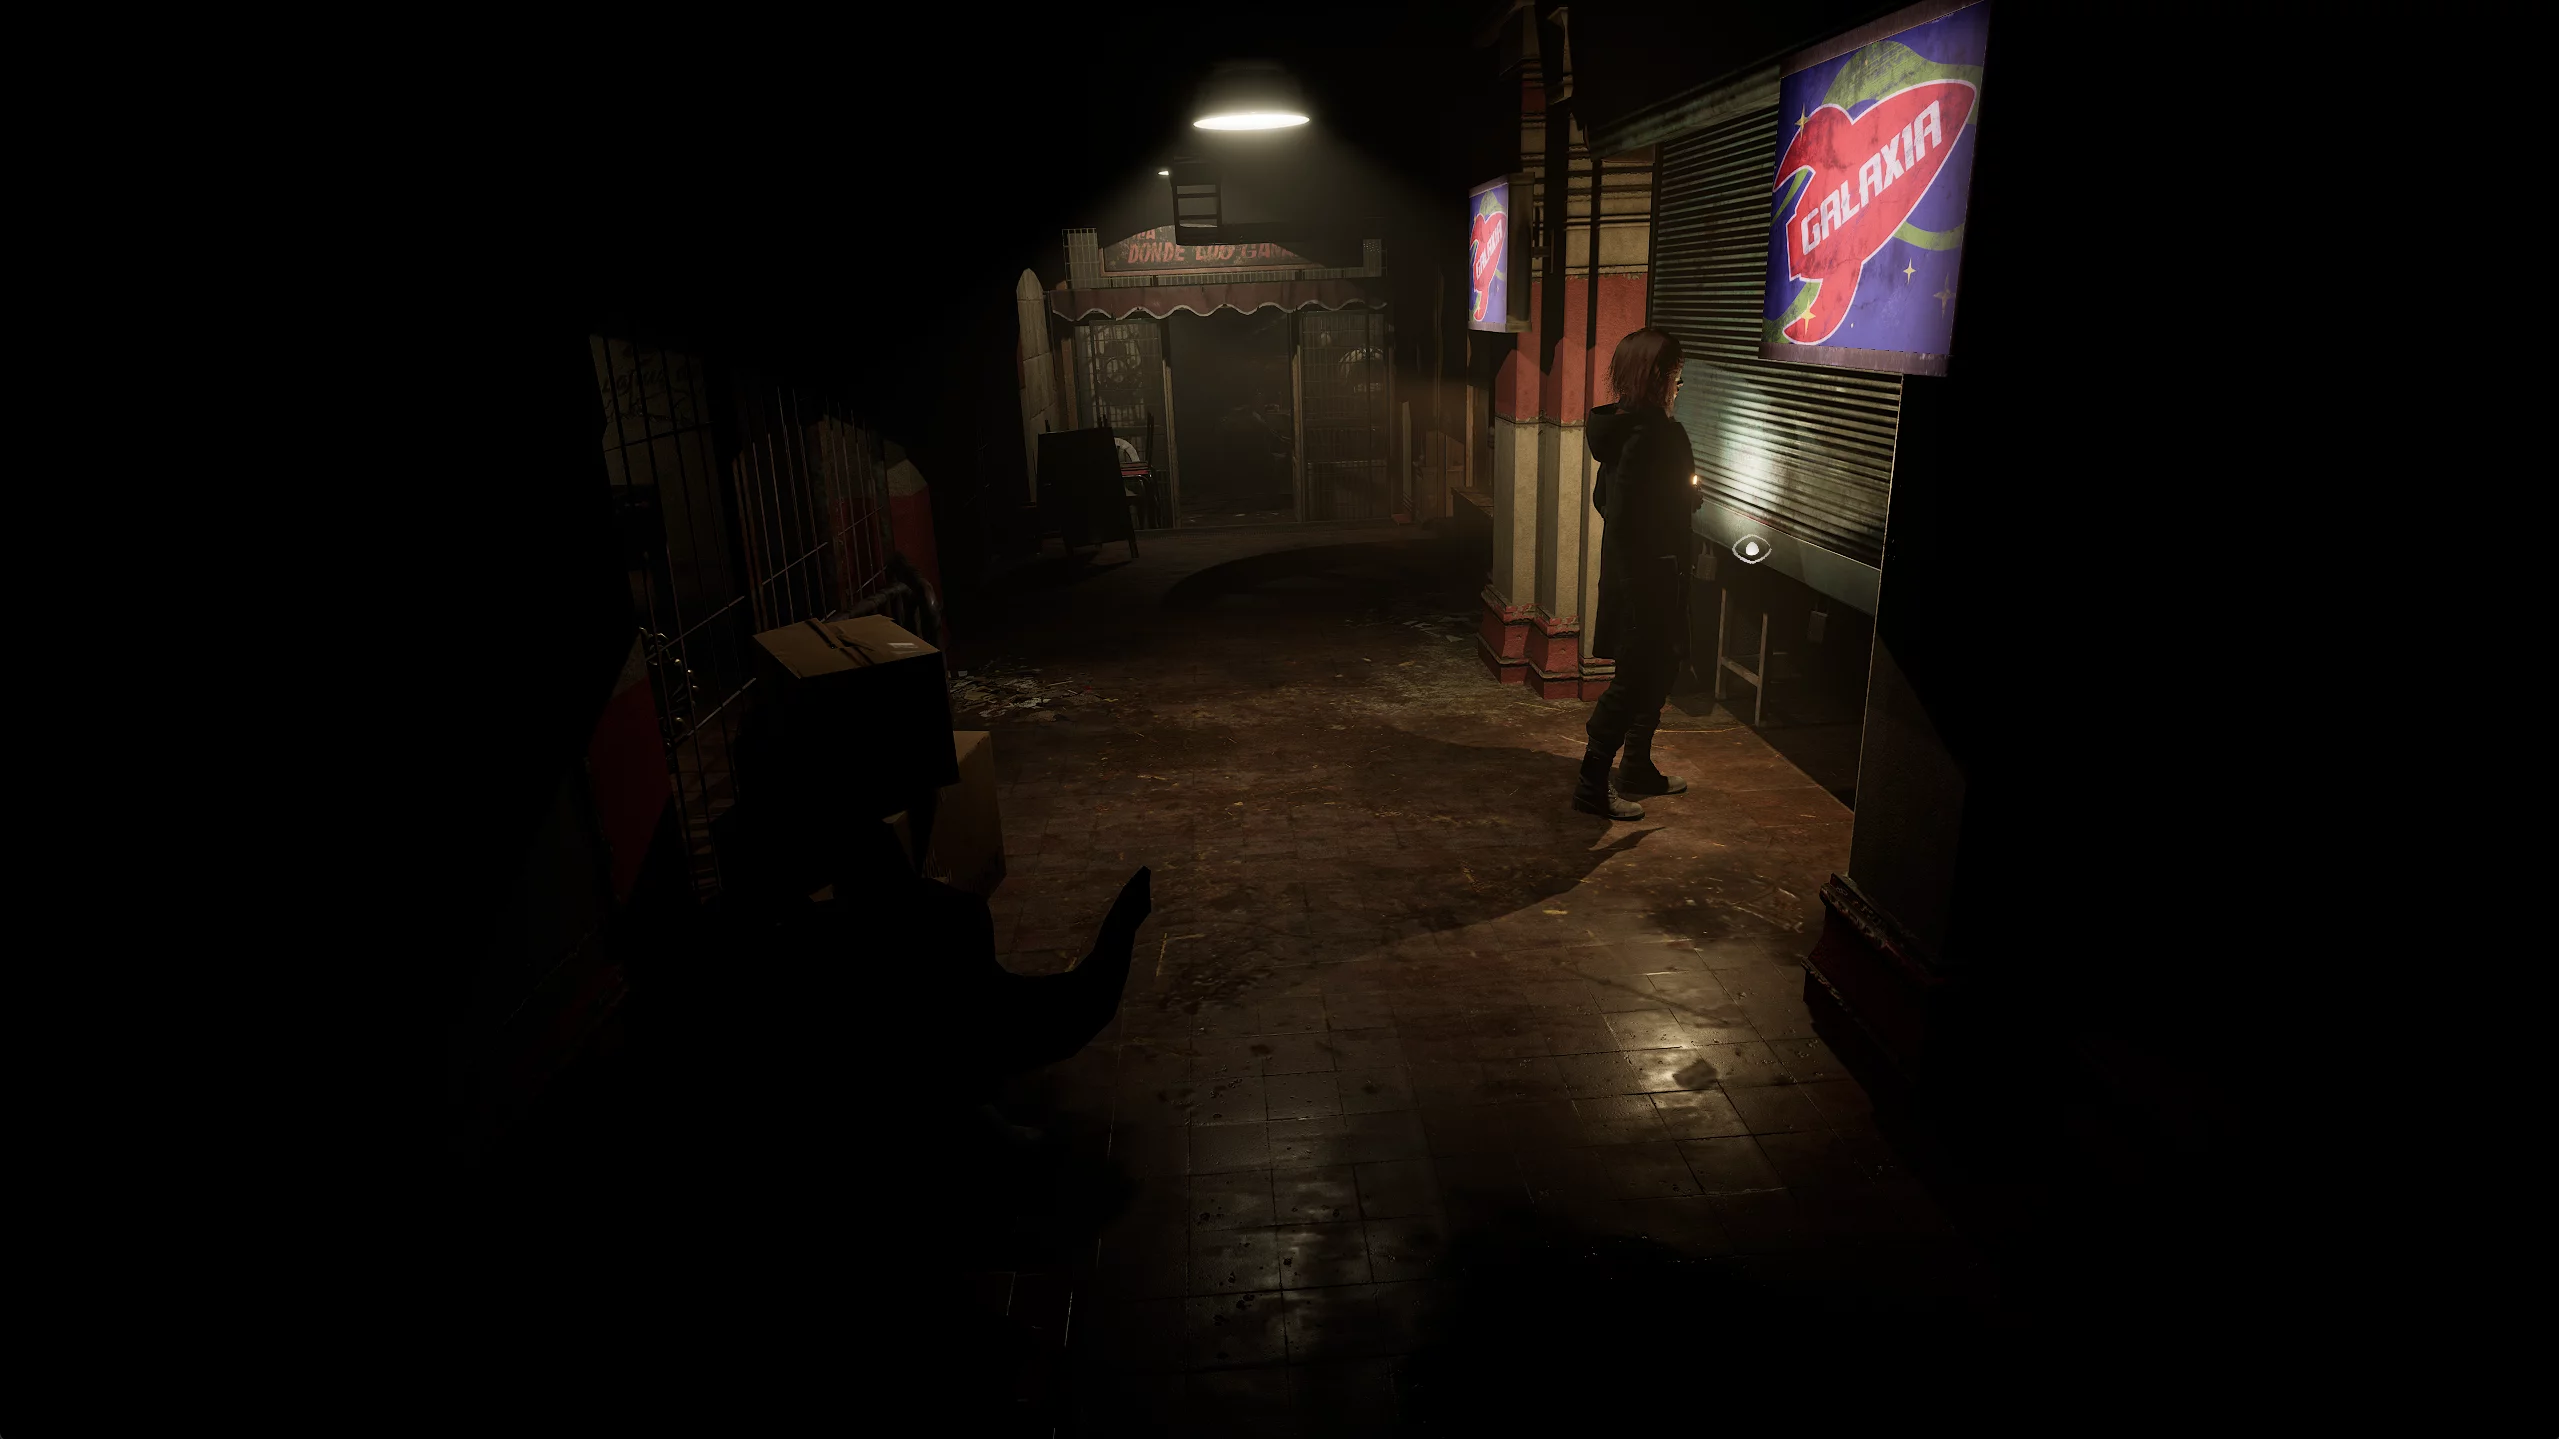
Return to the mall and enter the arcade with the red rocket sign.
Use the coins in the claw machine with teddy bear toys. You need to catch the one-eyed teddy bear. Once the cute toy is in your inventory, cut its belly open with the utility knife and take the gold ring.
The Path to the Fish Factory
Go back to the chained martyr and put the ring you received on his left hand. The corpse disappears and opens a passage to the back alleys.
At the end of the street, there will be a section with crates — remember them. They will be useful later in the walkthrough.
Go back and head in the other direction. A cutscene starts where you meet Miguel, the only sane person in this city and an important story character.
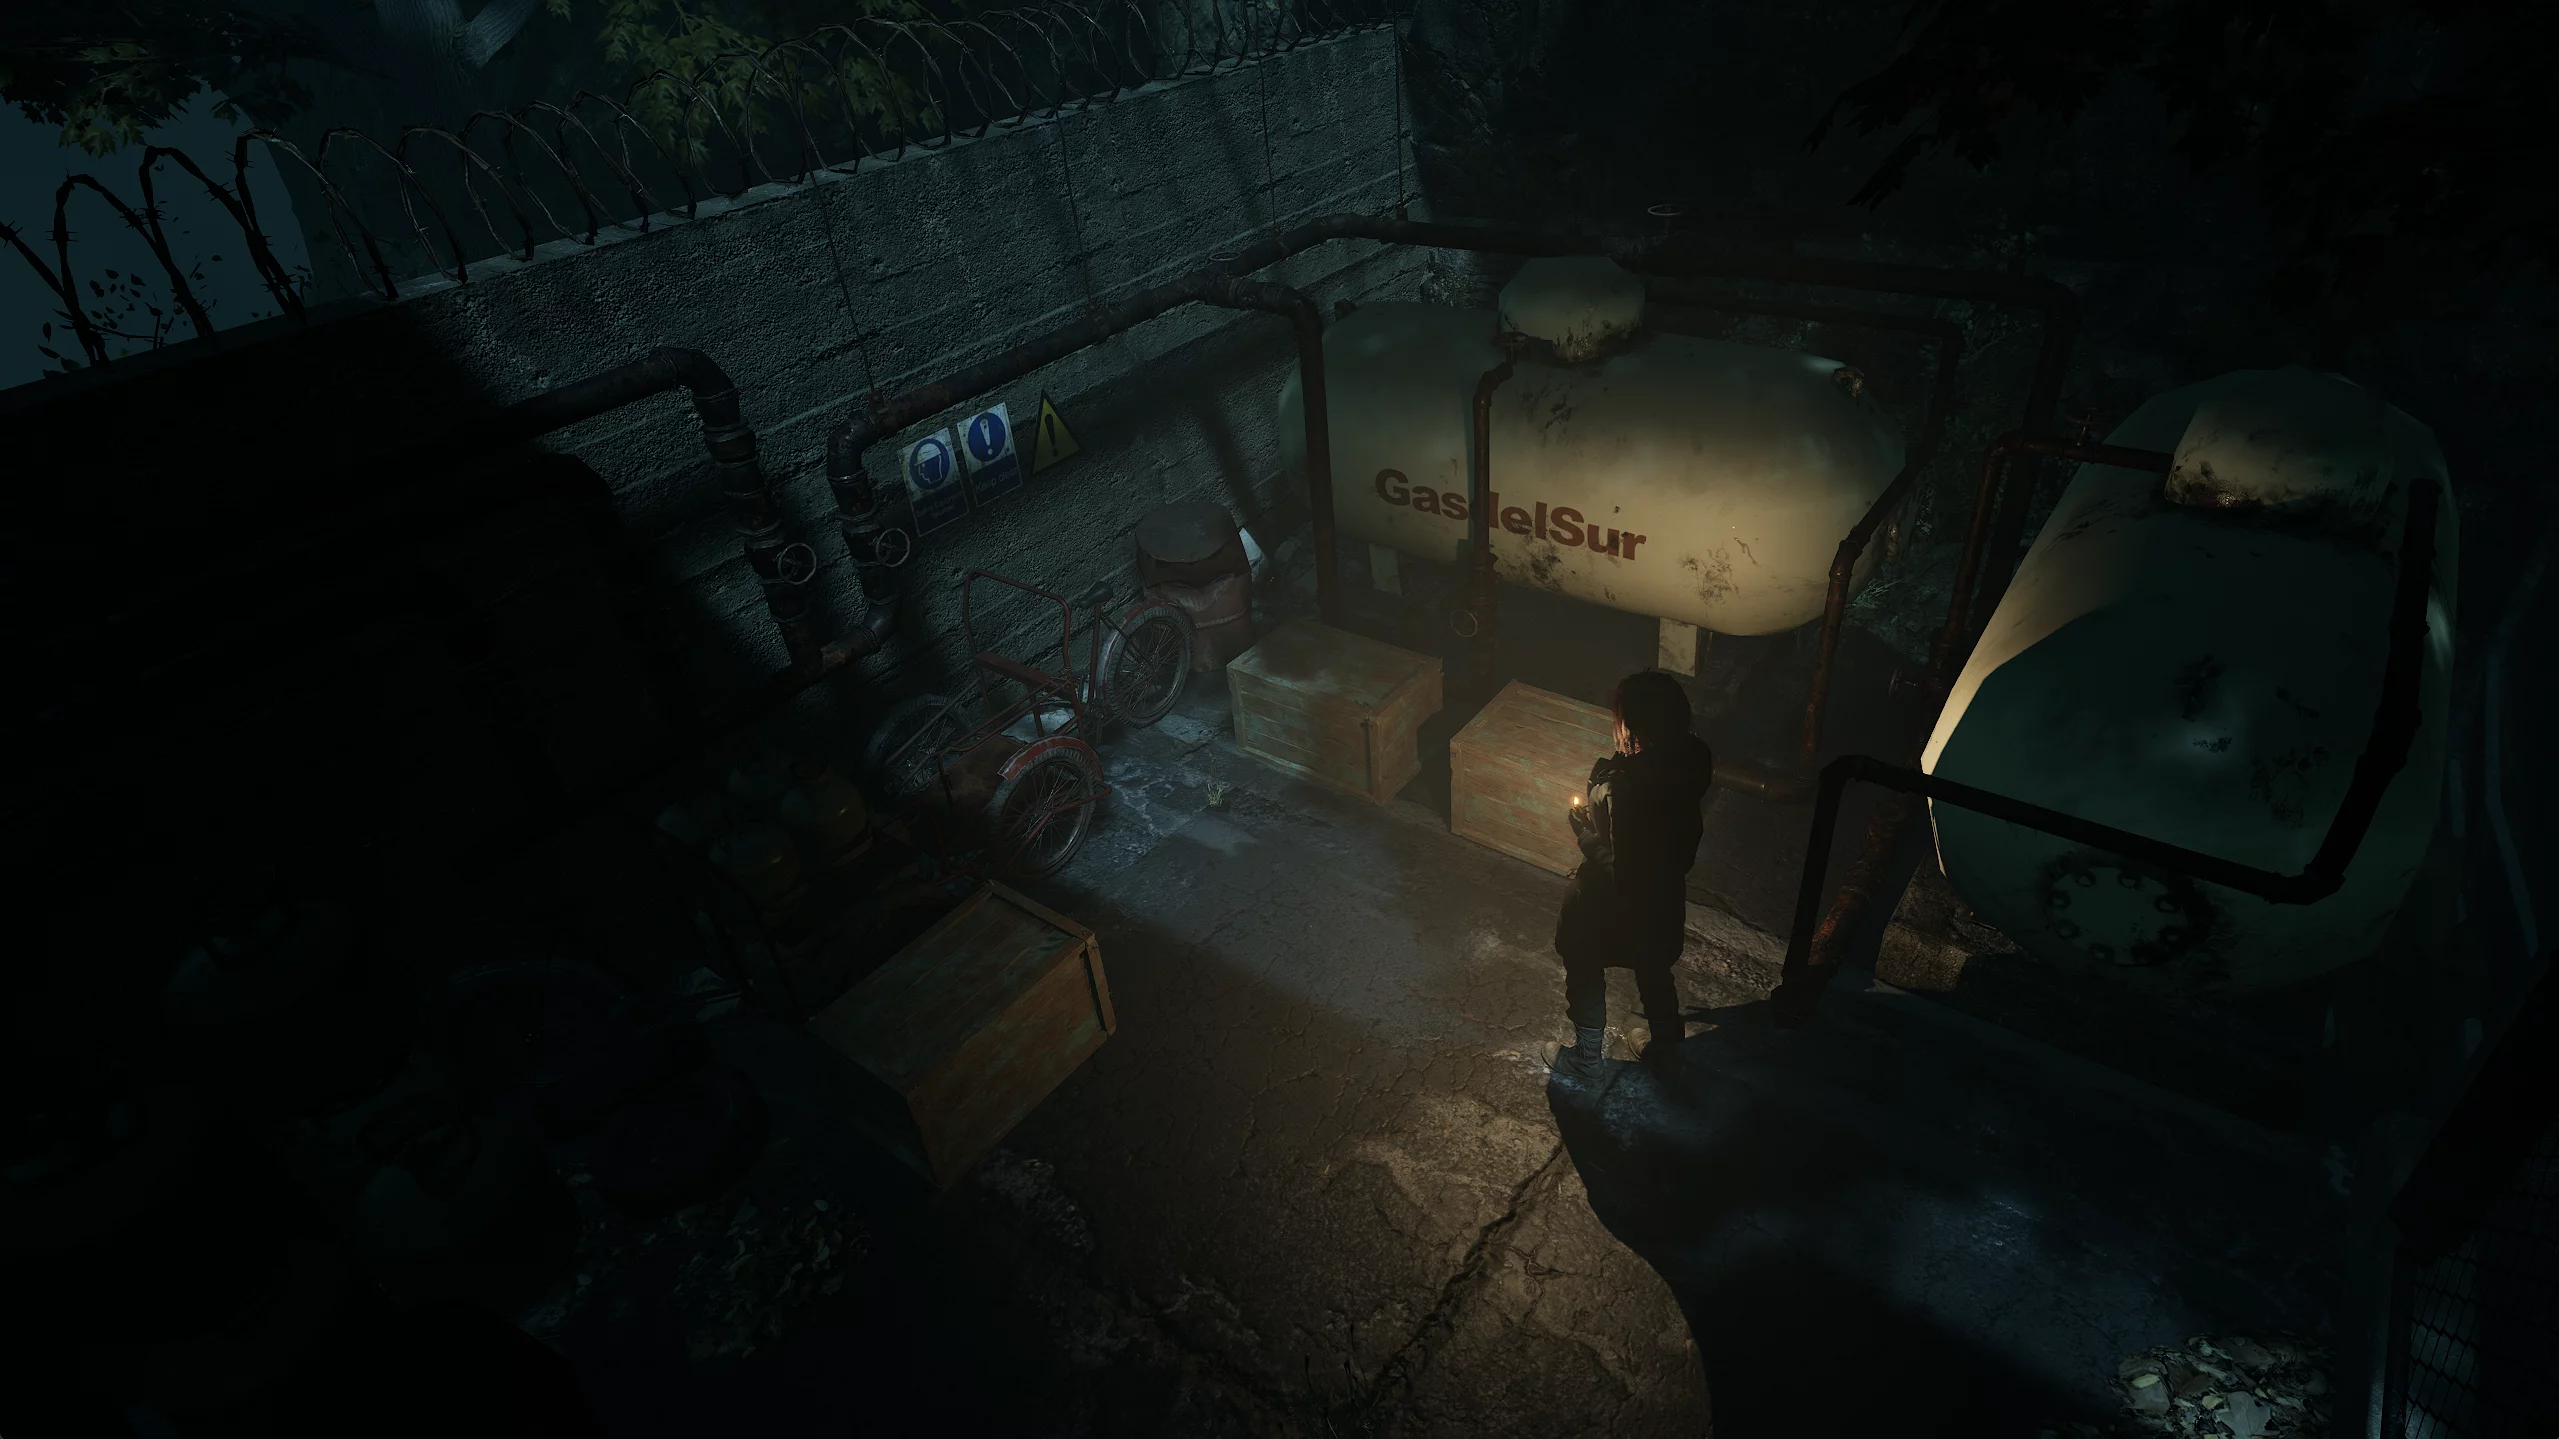
After talking to him, enter the van to get a box of nails. Go back and climb the stairs to the construction container. On the way, take the box of nails from the table.
The office in the container has a recording device. Take the povidone from the cabinet, and there’s a magnetic tape on the nightstand. After collecting useful resources, save your game. For an extra painkiller, go around the container on the left side and take the item from the barrel.
Go through the gate, take the box of nails from the bench, and proceed to the next stage of the game — the fish factory.
Fish Factory
After reaching the first floor of the fish factory, go through the left door. Walk past the meeting hall, collecting a box of nails, and go up the stairs.
In the corridor, break two vases to get povidone. Out of the two doors, first open the right one for a shortcut, then return to the left. You will enter the upper wing, go up the stairs and enter the first available door.
There is a recording device for saving in the storage room. If you go a bit further and climb the stairs, you’ll find a room with monitors. Here, take the magnetic tape from the couch and proceed deeper inside.
Take the bike parts from the table, grab a box of nails opposite, and head back down to the corridor. Remember the set of numbers on the board — you’ll need them for a puzzle later.
Go all the way to the end, where a cutscene will start with a worker being killed by some creature. Then, through the open door on the right, pick up the fish factory map and a box of nails from the table.
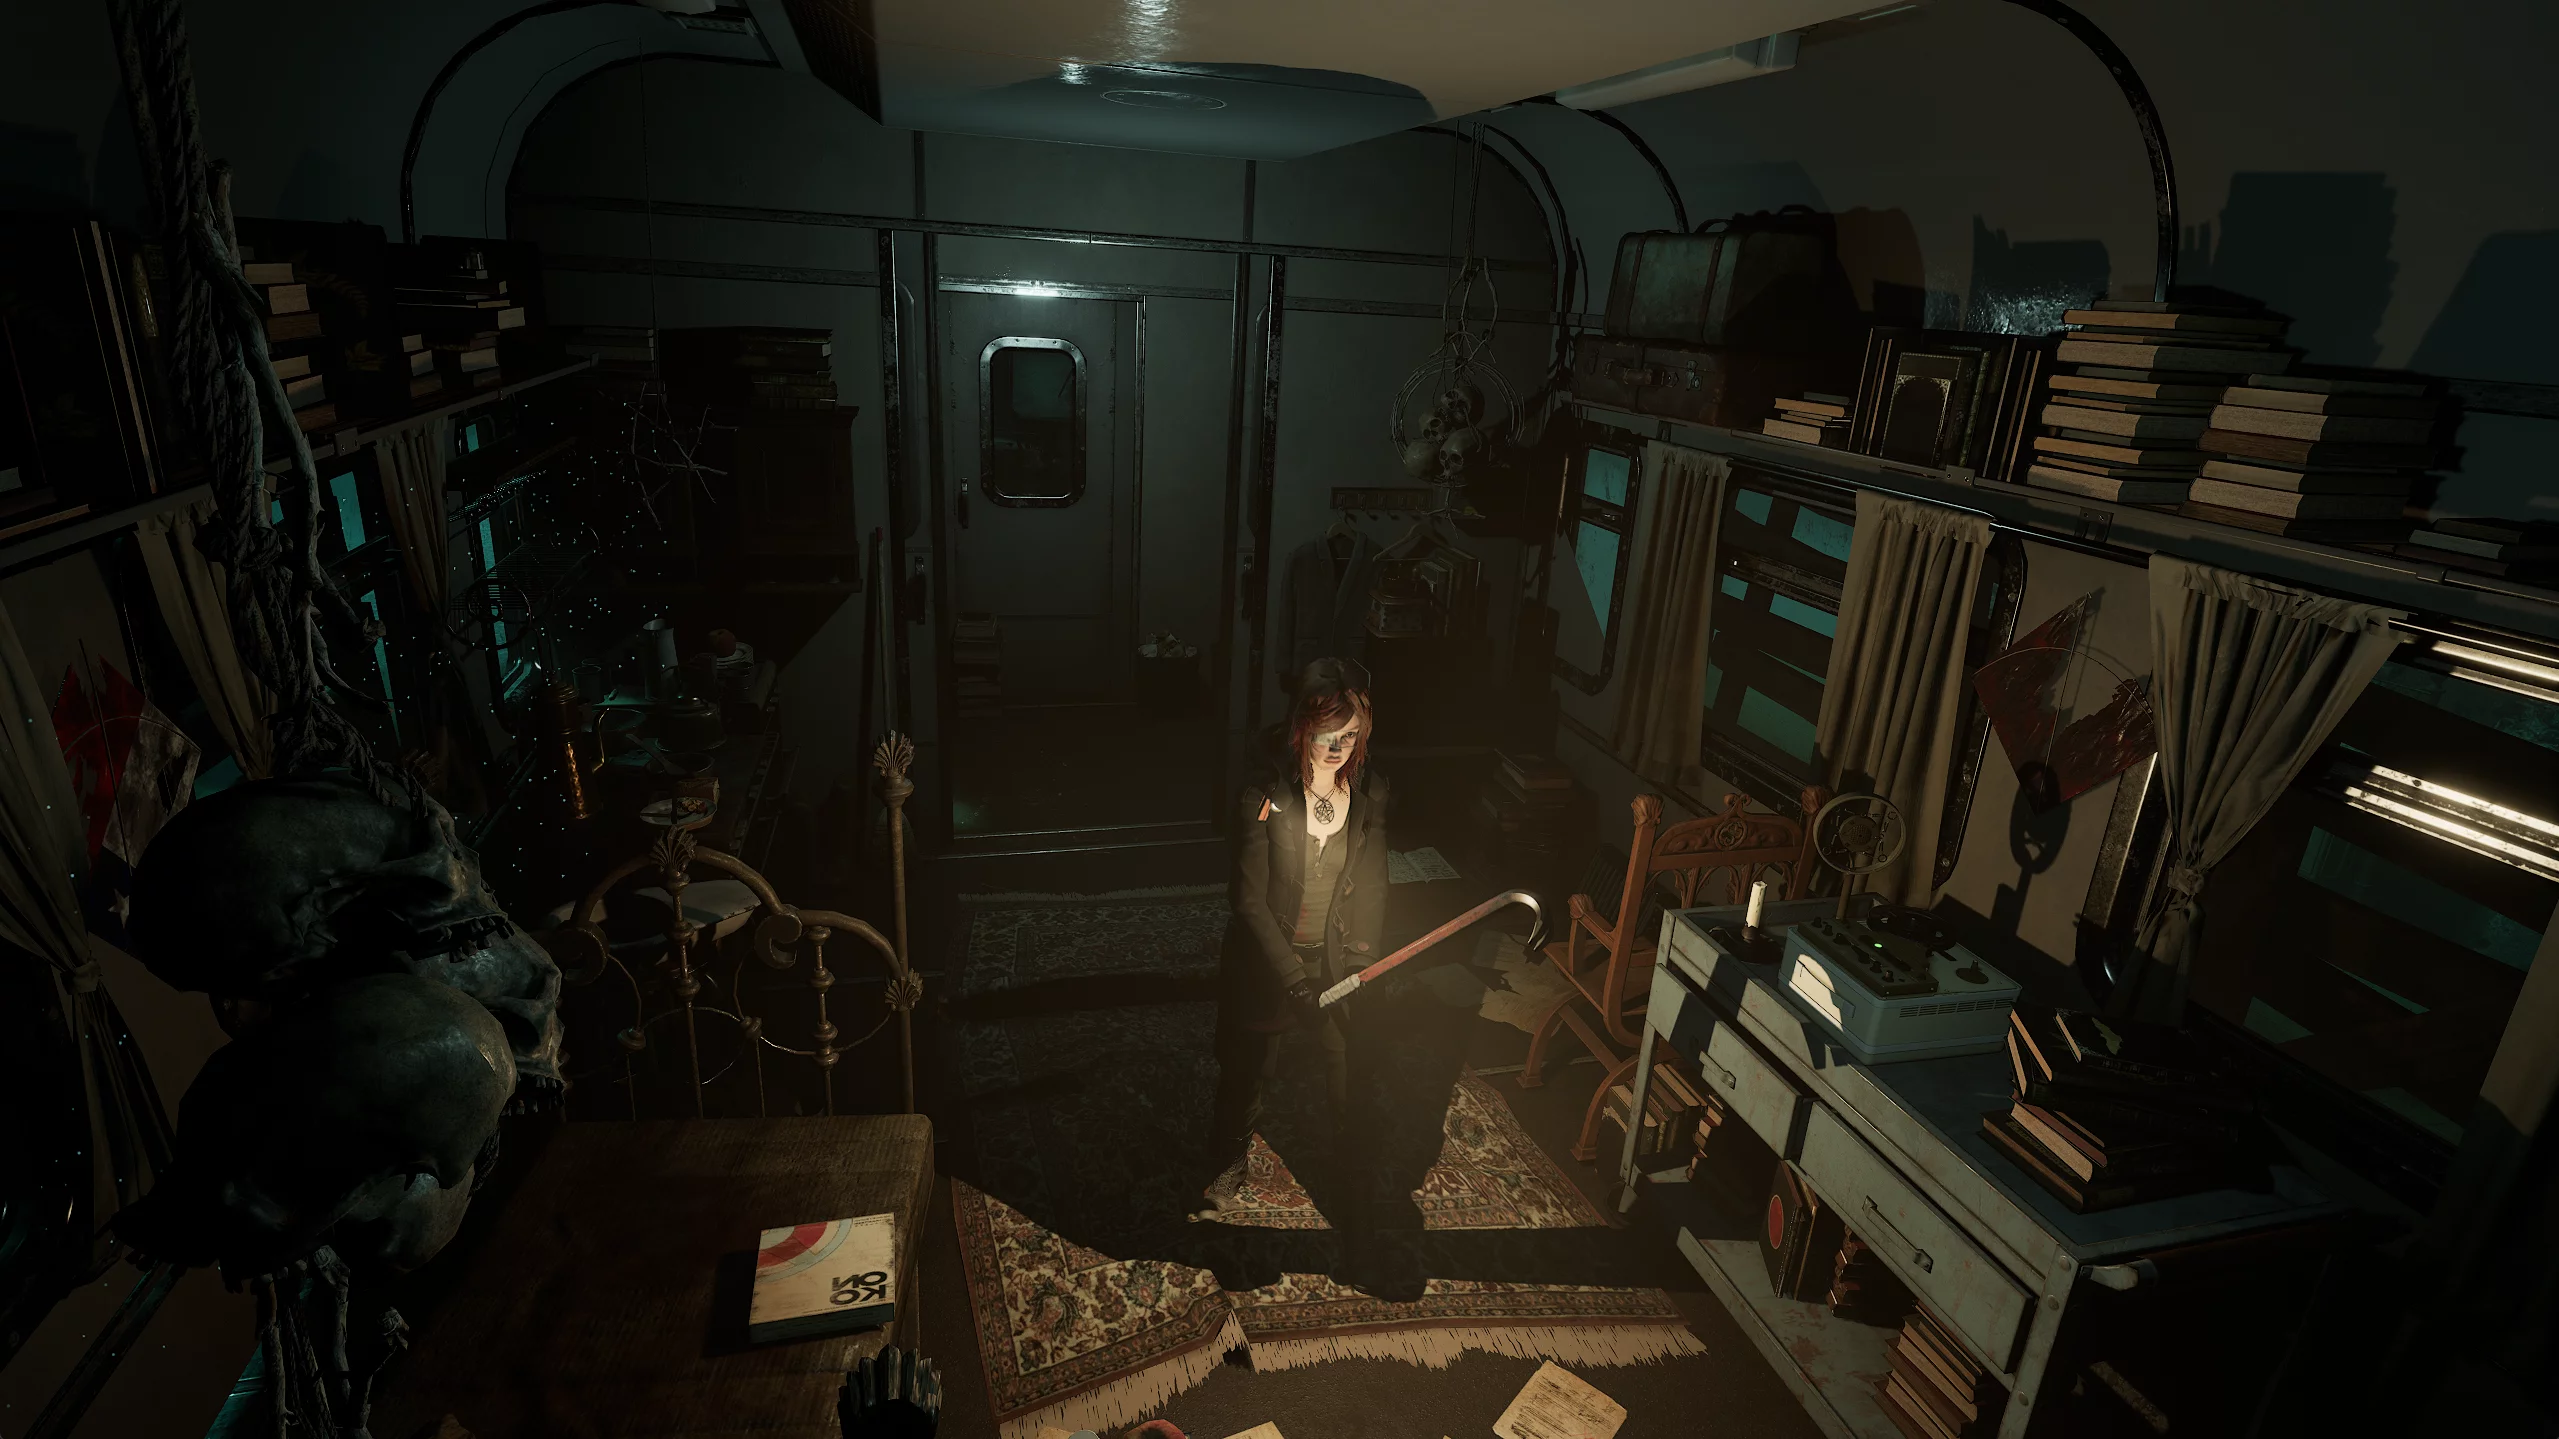
Where to Find the Crowbar
Return to the corridor and enter the lit door on the left. This will lead Carolina to the dormitory.
Go through the green door and talk to your old acquaintance Joseph. After the conversation, take the crowbar from the corpse — the next melee weapon — and in the restroom next to him, grab a box of nails. In the dorm room with a pile of corpses, you can also pick up povidone.
Where to Find the Freezer Tape
Go to the end of the corridor and take the acid vials from the bench. There’s nothing else to do on the upper floor: go downstairs and encounter a new enemy jumping out of the vent — the crab ghoul. Kill the monster and proceed to the first floor. Here, use the crowbar to break the crates blocking the way to the elevator.
Once in the basement, go down the corridor until you encounter a crab ghoul. The lights will go out, so light the nearest candles and kill the enemy.
Next, use the crowbar to break the crates and go even lower. Behind the stairs, pick up a box of nails and go through the iron door leading to the freezer.
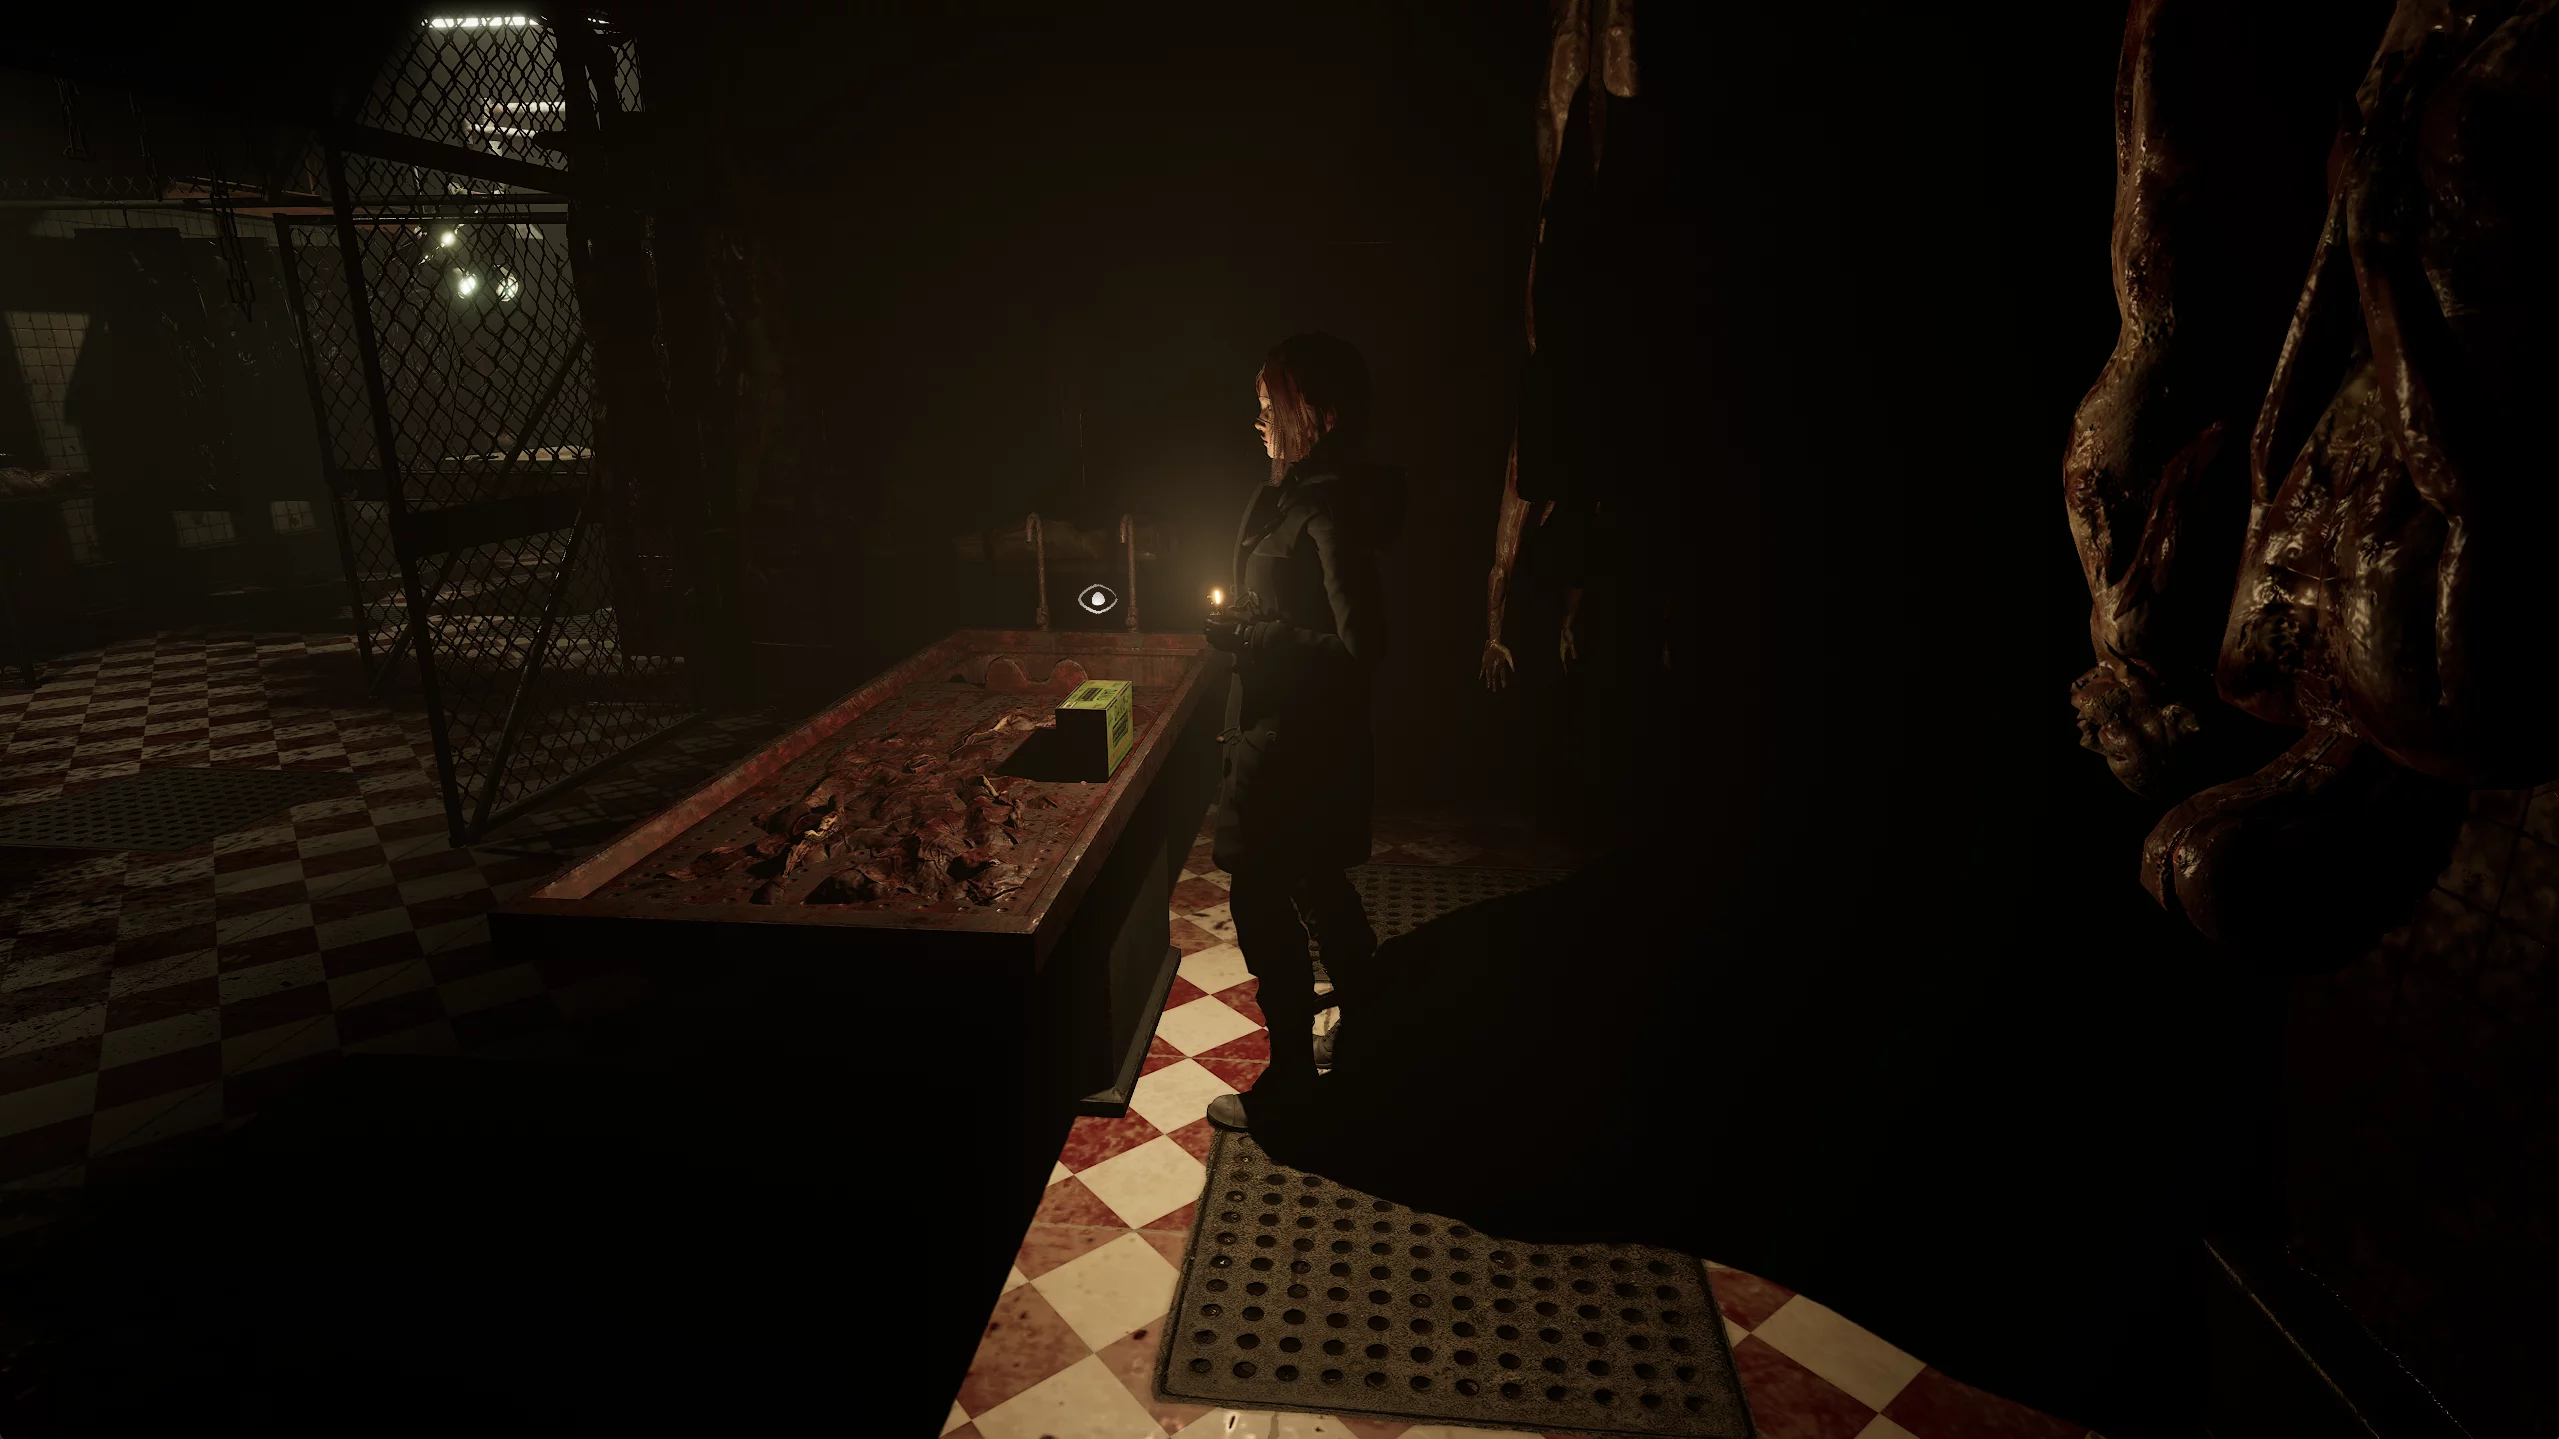
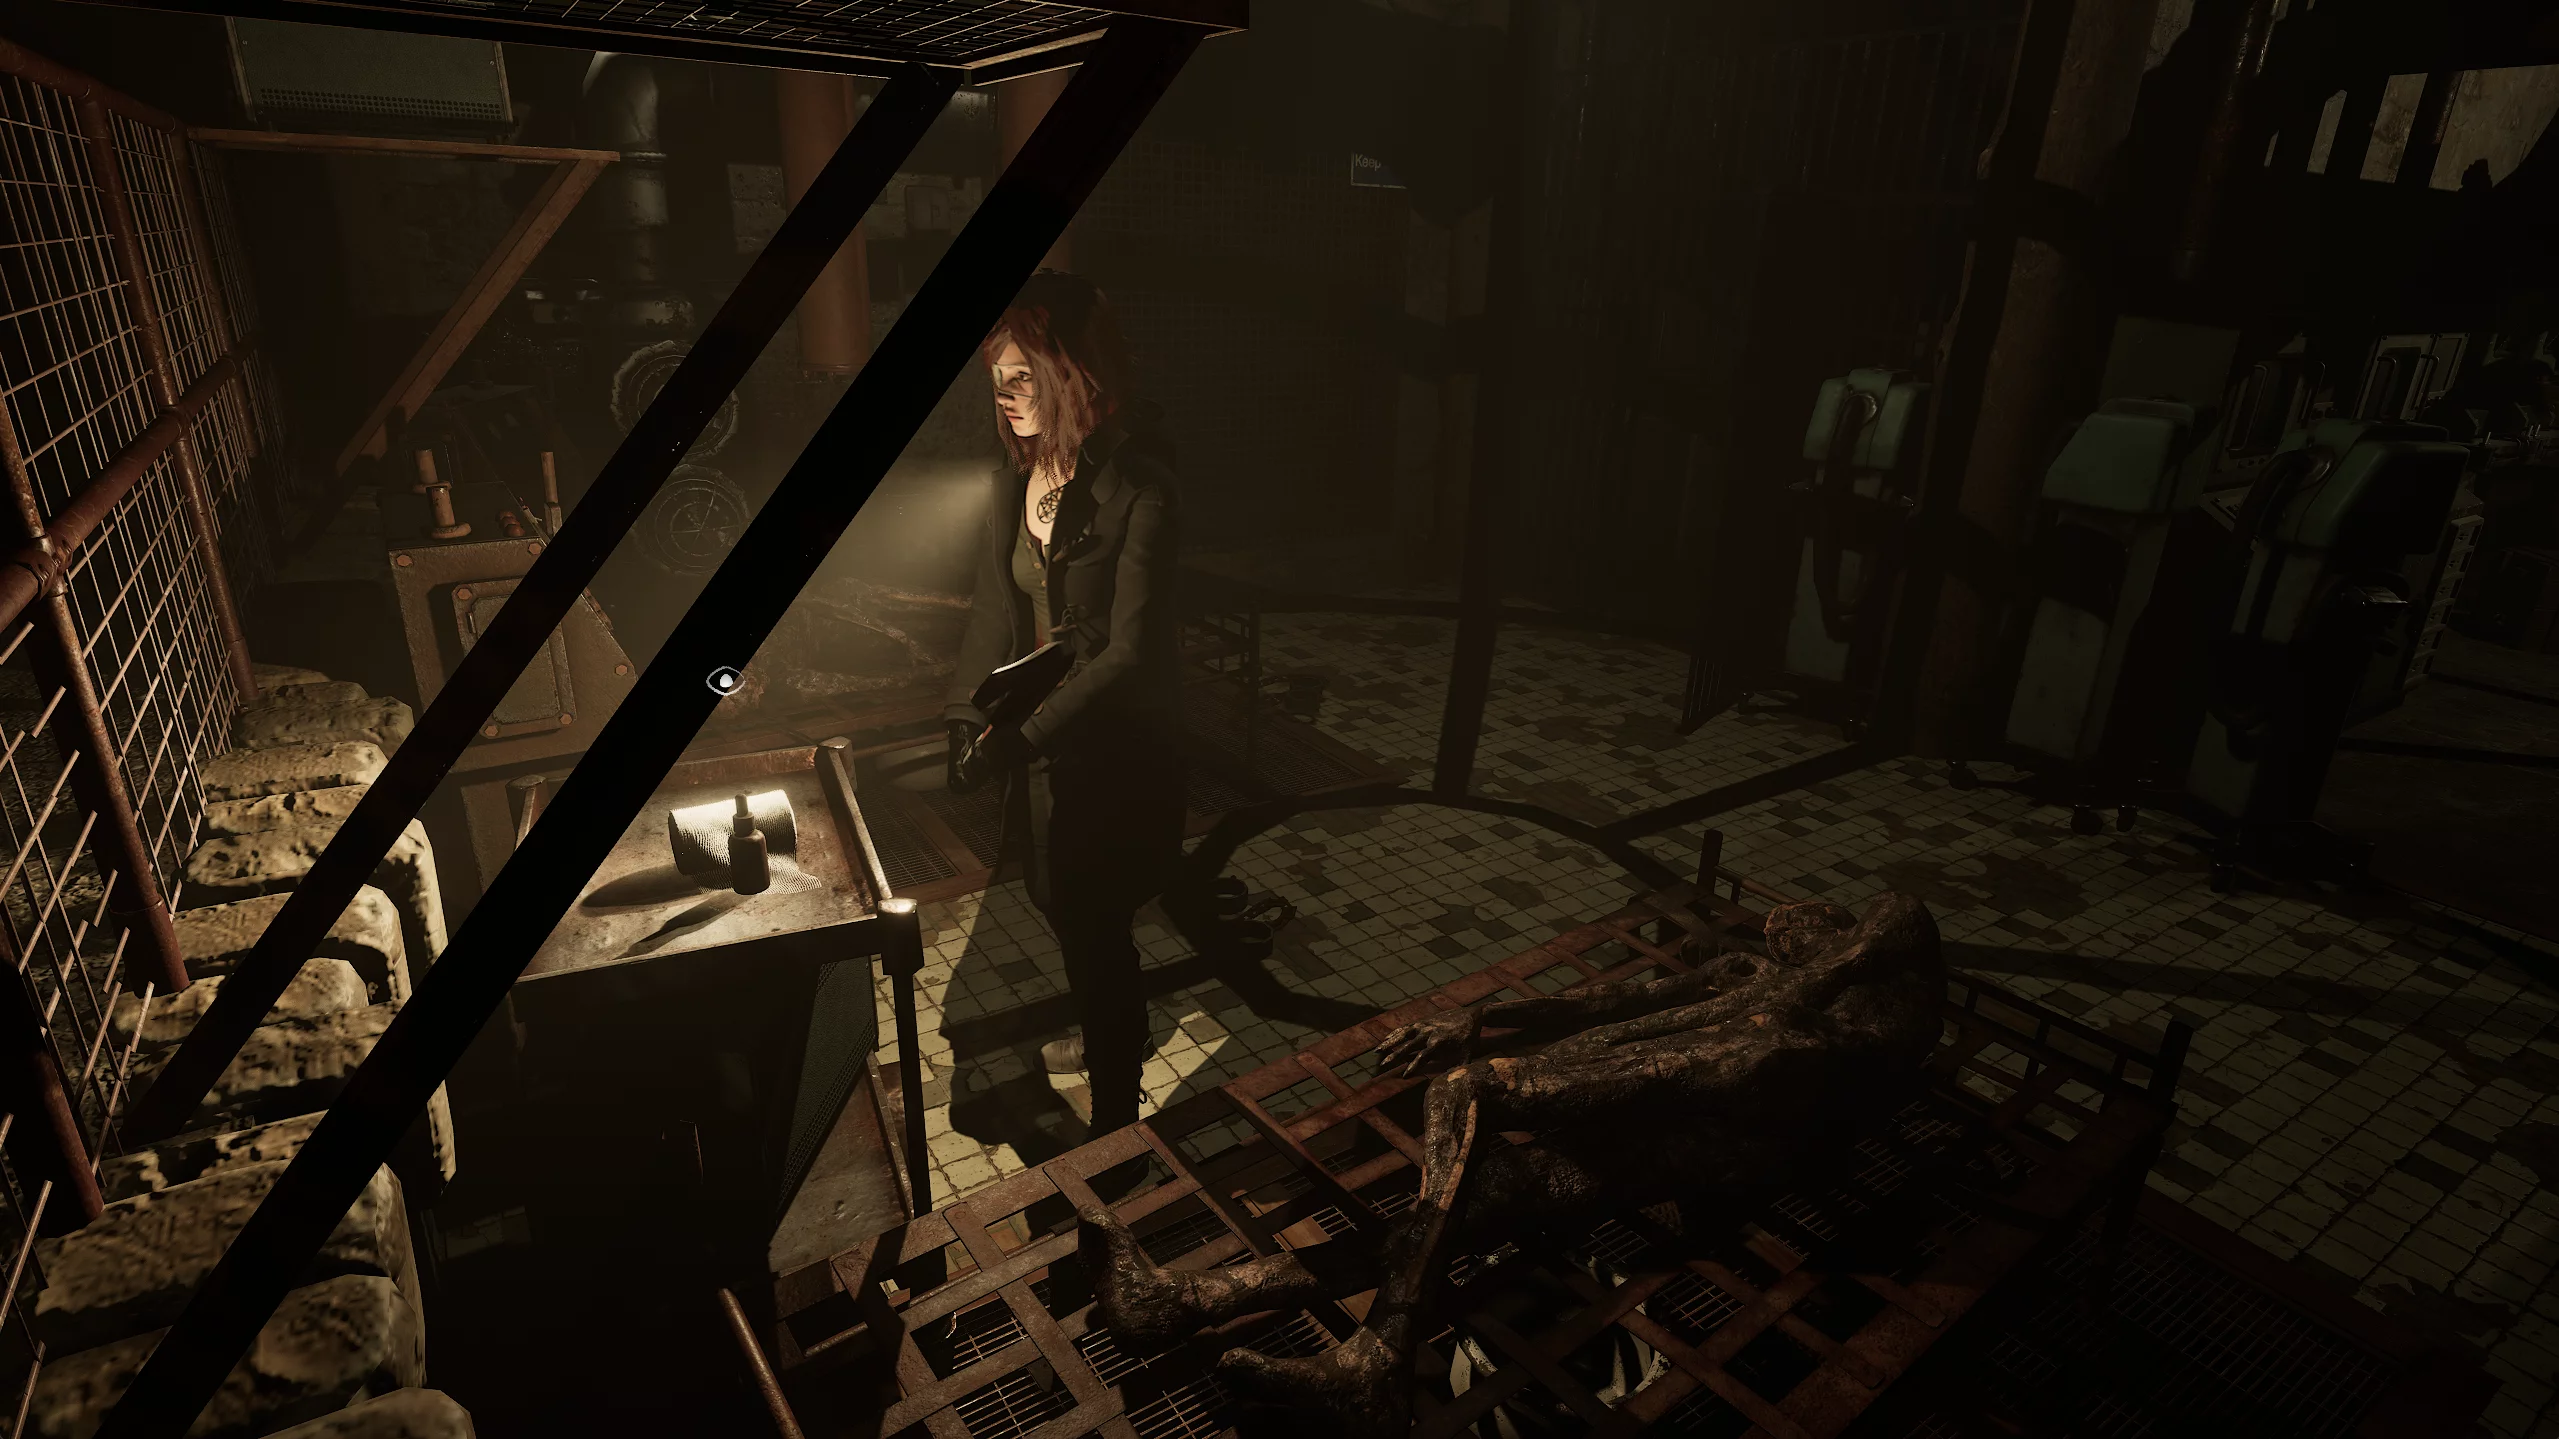
After entering the room, look for a box with povidone near the stairs, then go down. Walk past two freezer chambers until you reach the last room with a No Entry sign in the passage.
Here, interact with the painting and press the secret button near the neck of the girl in the center. This will open a hidden passage at the end of the corridor. After entering it, pick up the nails from the table.
Go all the way to the end and press the red button on the panel. This action will open the iron door in front of you. In the opened room, take the tape from the bed and a box of nails from the nightstand.
Lower Docks
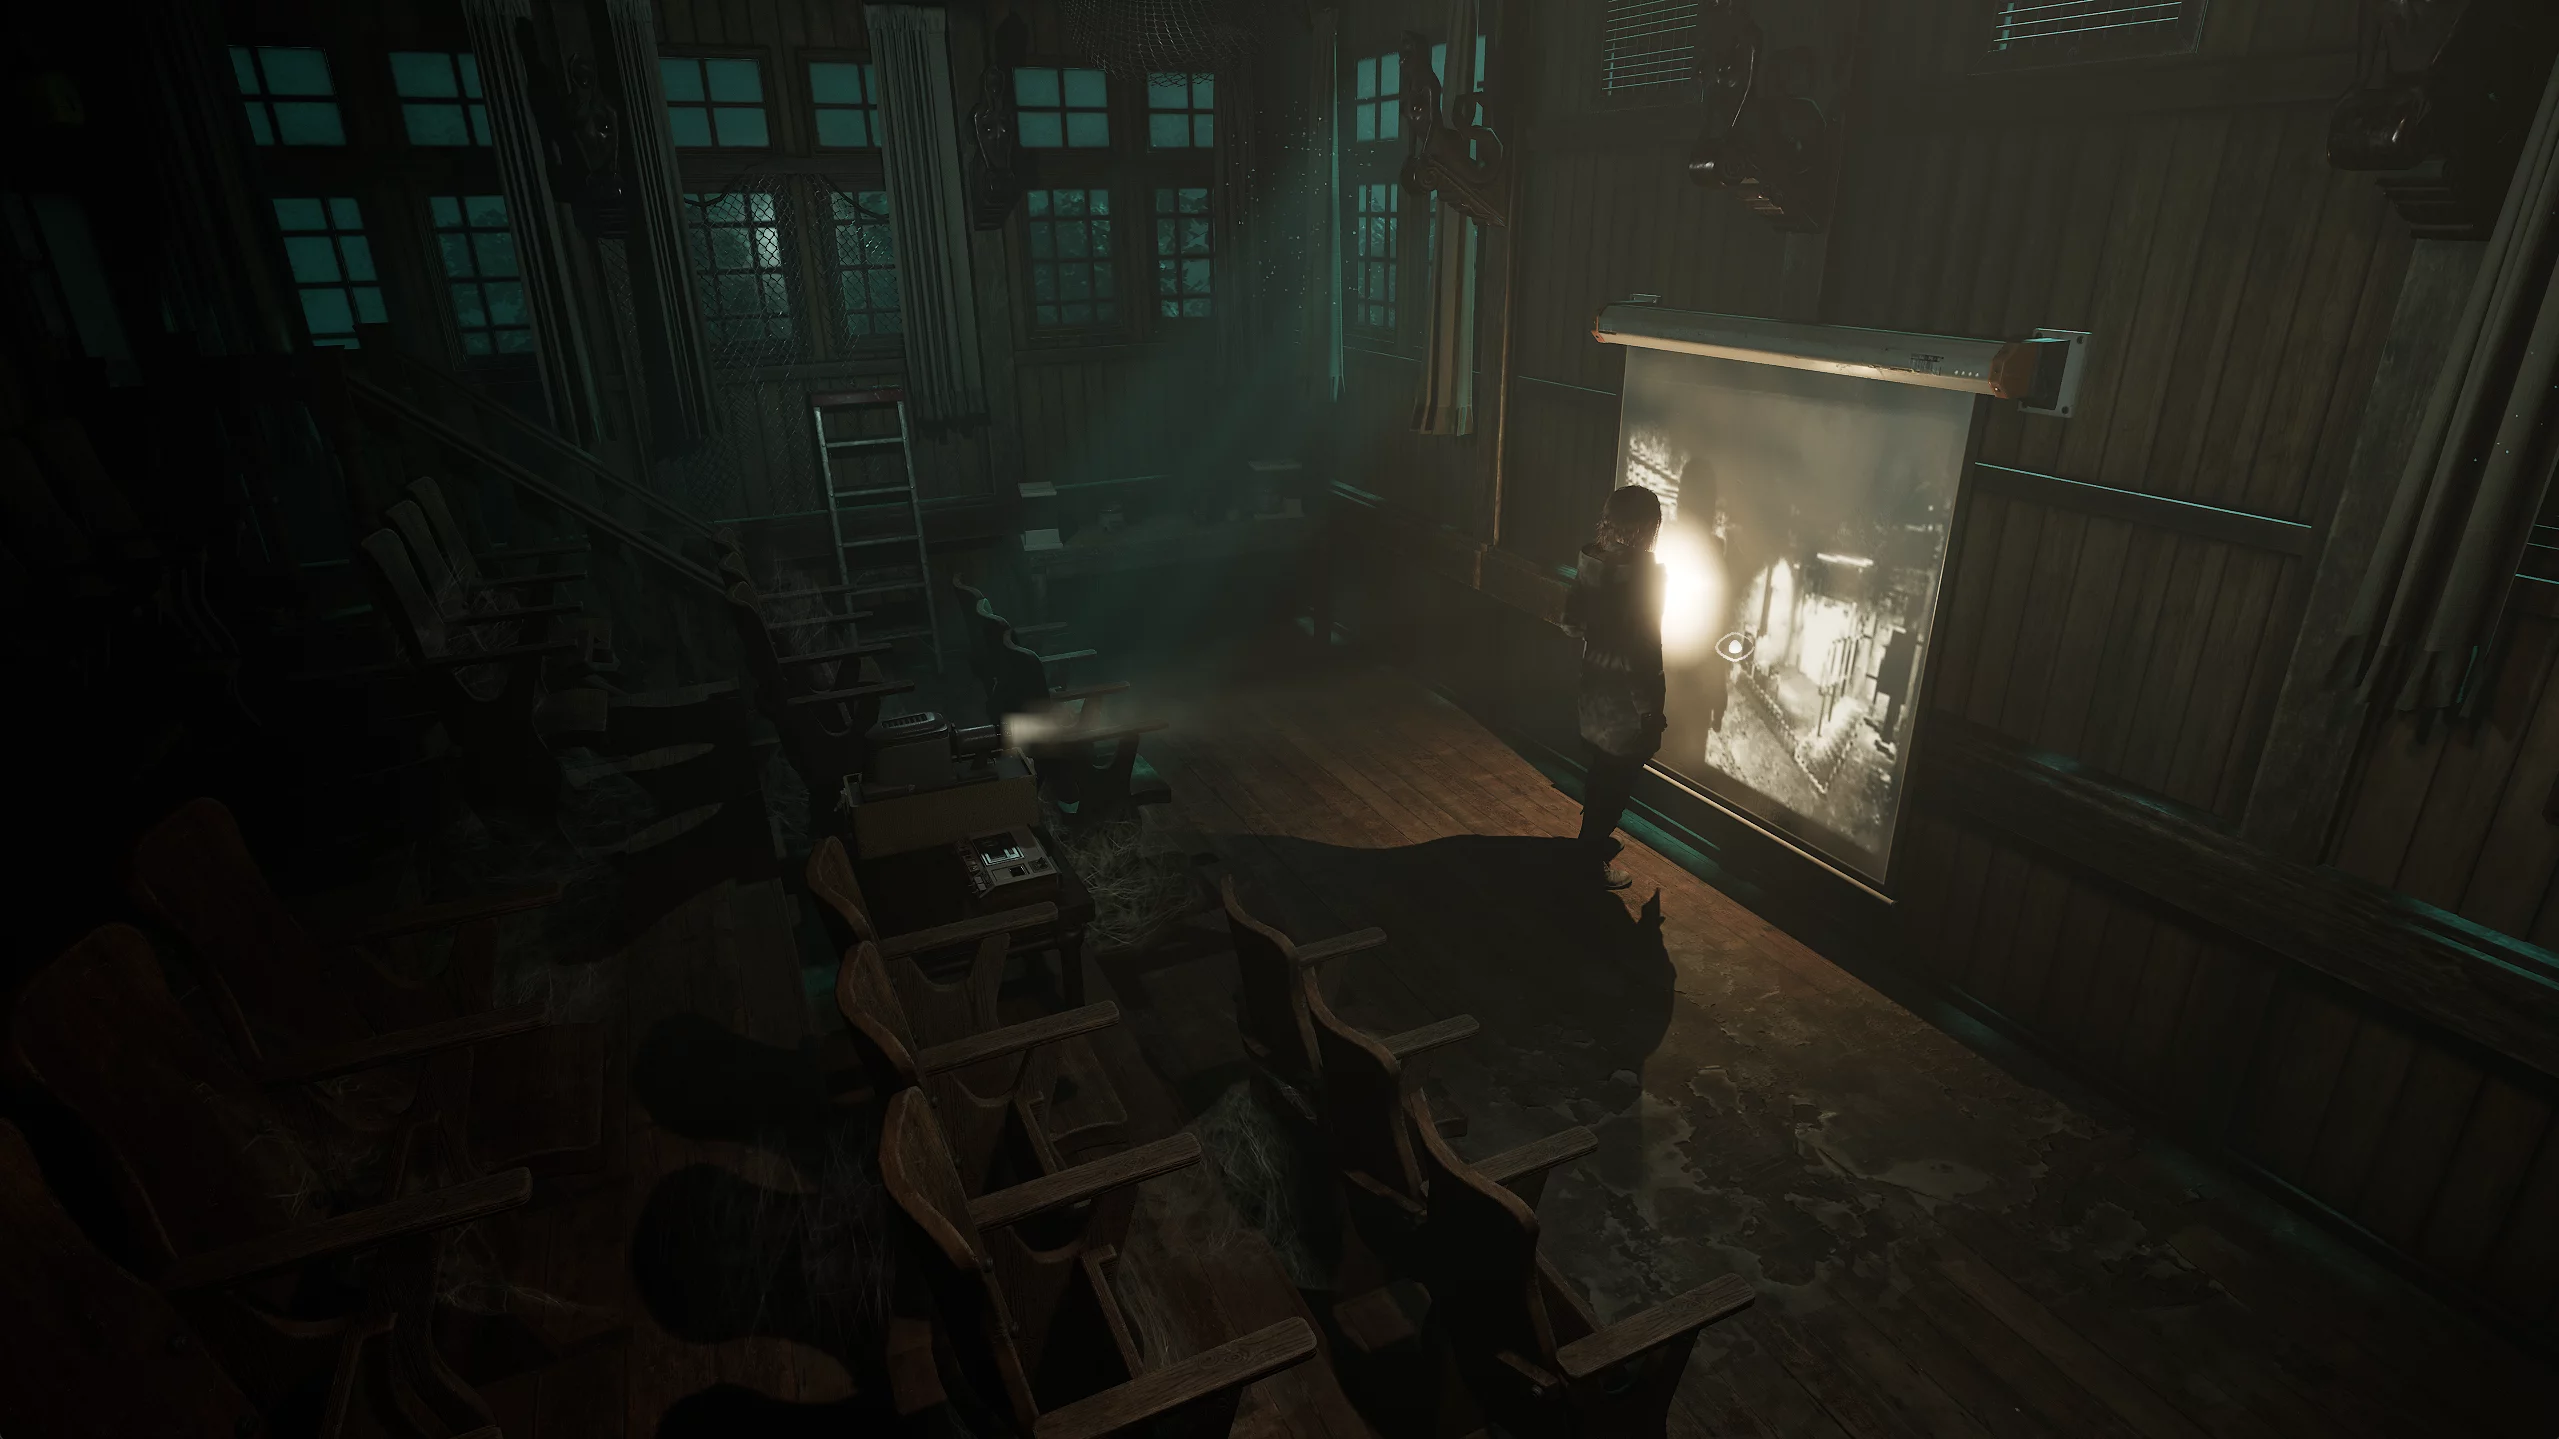
You can use the tape with the projector in the meeting hall on the first floor of the factory — return there by elevator.
Insert the tape into the player and open a portal to the freezer room from the past.
Go to the room where you took the tape and block the ventilation with the cabinet. When you return to the real world, a crab ghoul will be waiting for you — be careful.
Now, head back to the same freezer chamber where you blocked the ventilation.

After arriving at the required location, a cutscene will start where Anna apparently blames her older sister for leaving her for fourteen years. After the commotion, she locks Carolina in the chamber.
Take the light bulb from the lamp and use the nail gun to open the door outside. Exit the basement and head to the reception. On the way, pick up Anna's diary.
Once in the right room, take the acid vials from the table, go further and insert the light bulb into the socket on the wall.
Turn on the light in the corner and break the boxes on the floor with the crowbar.
Behind them was an elevator. Take it down to the very depths of the fish factory and pick up painkillers from the boxes. Climb the ladder, go through the iron door, and you'll find yourself in the underground docks. Beware of gas pipe traps.
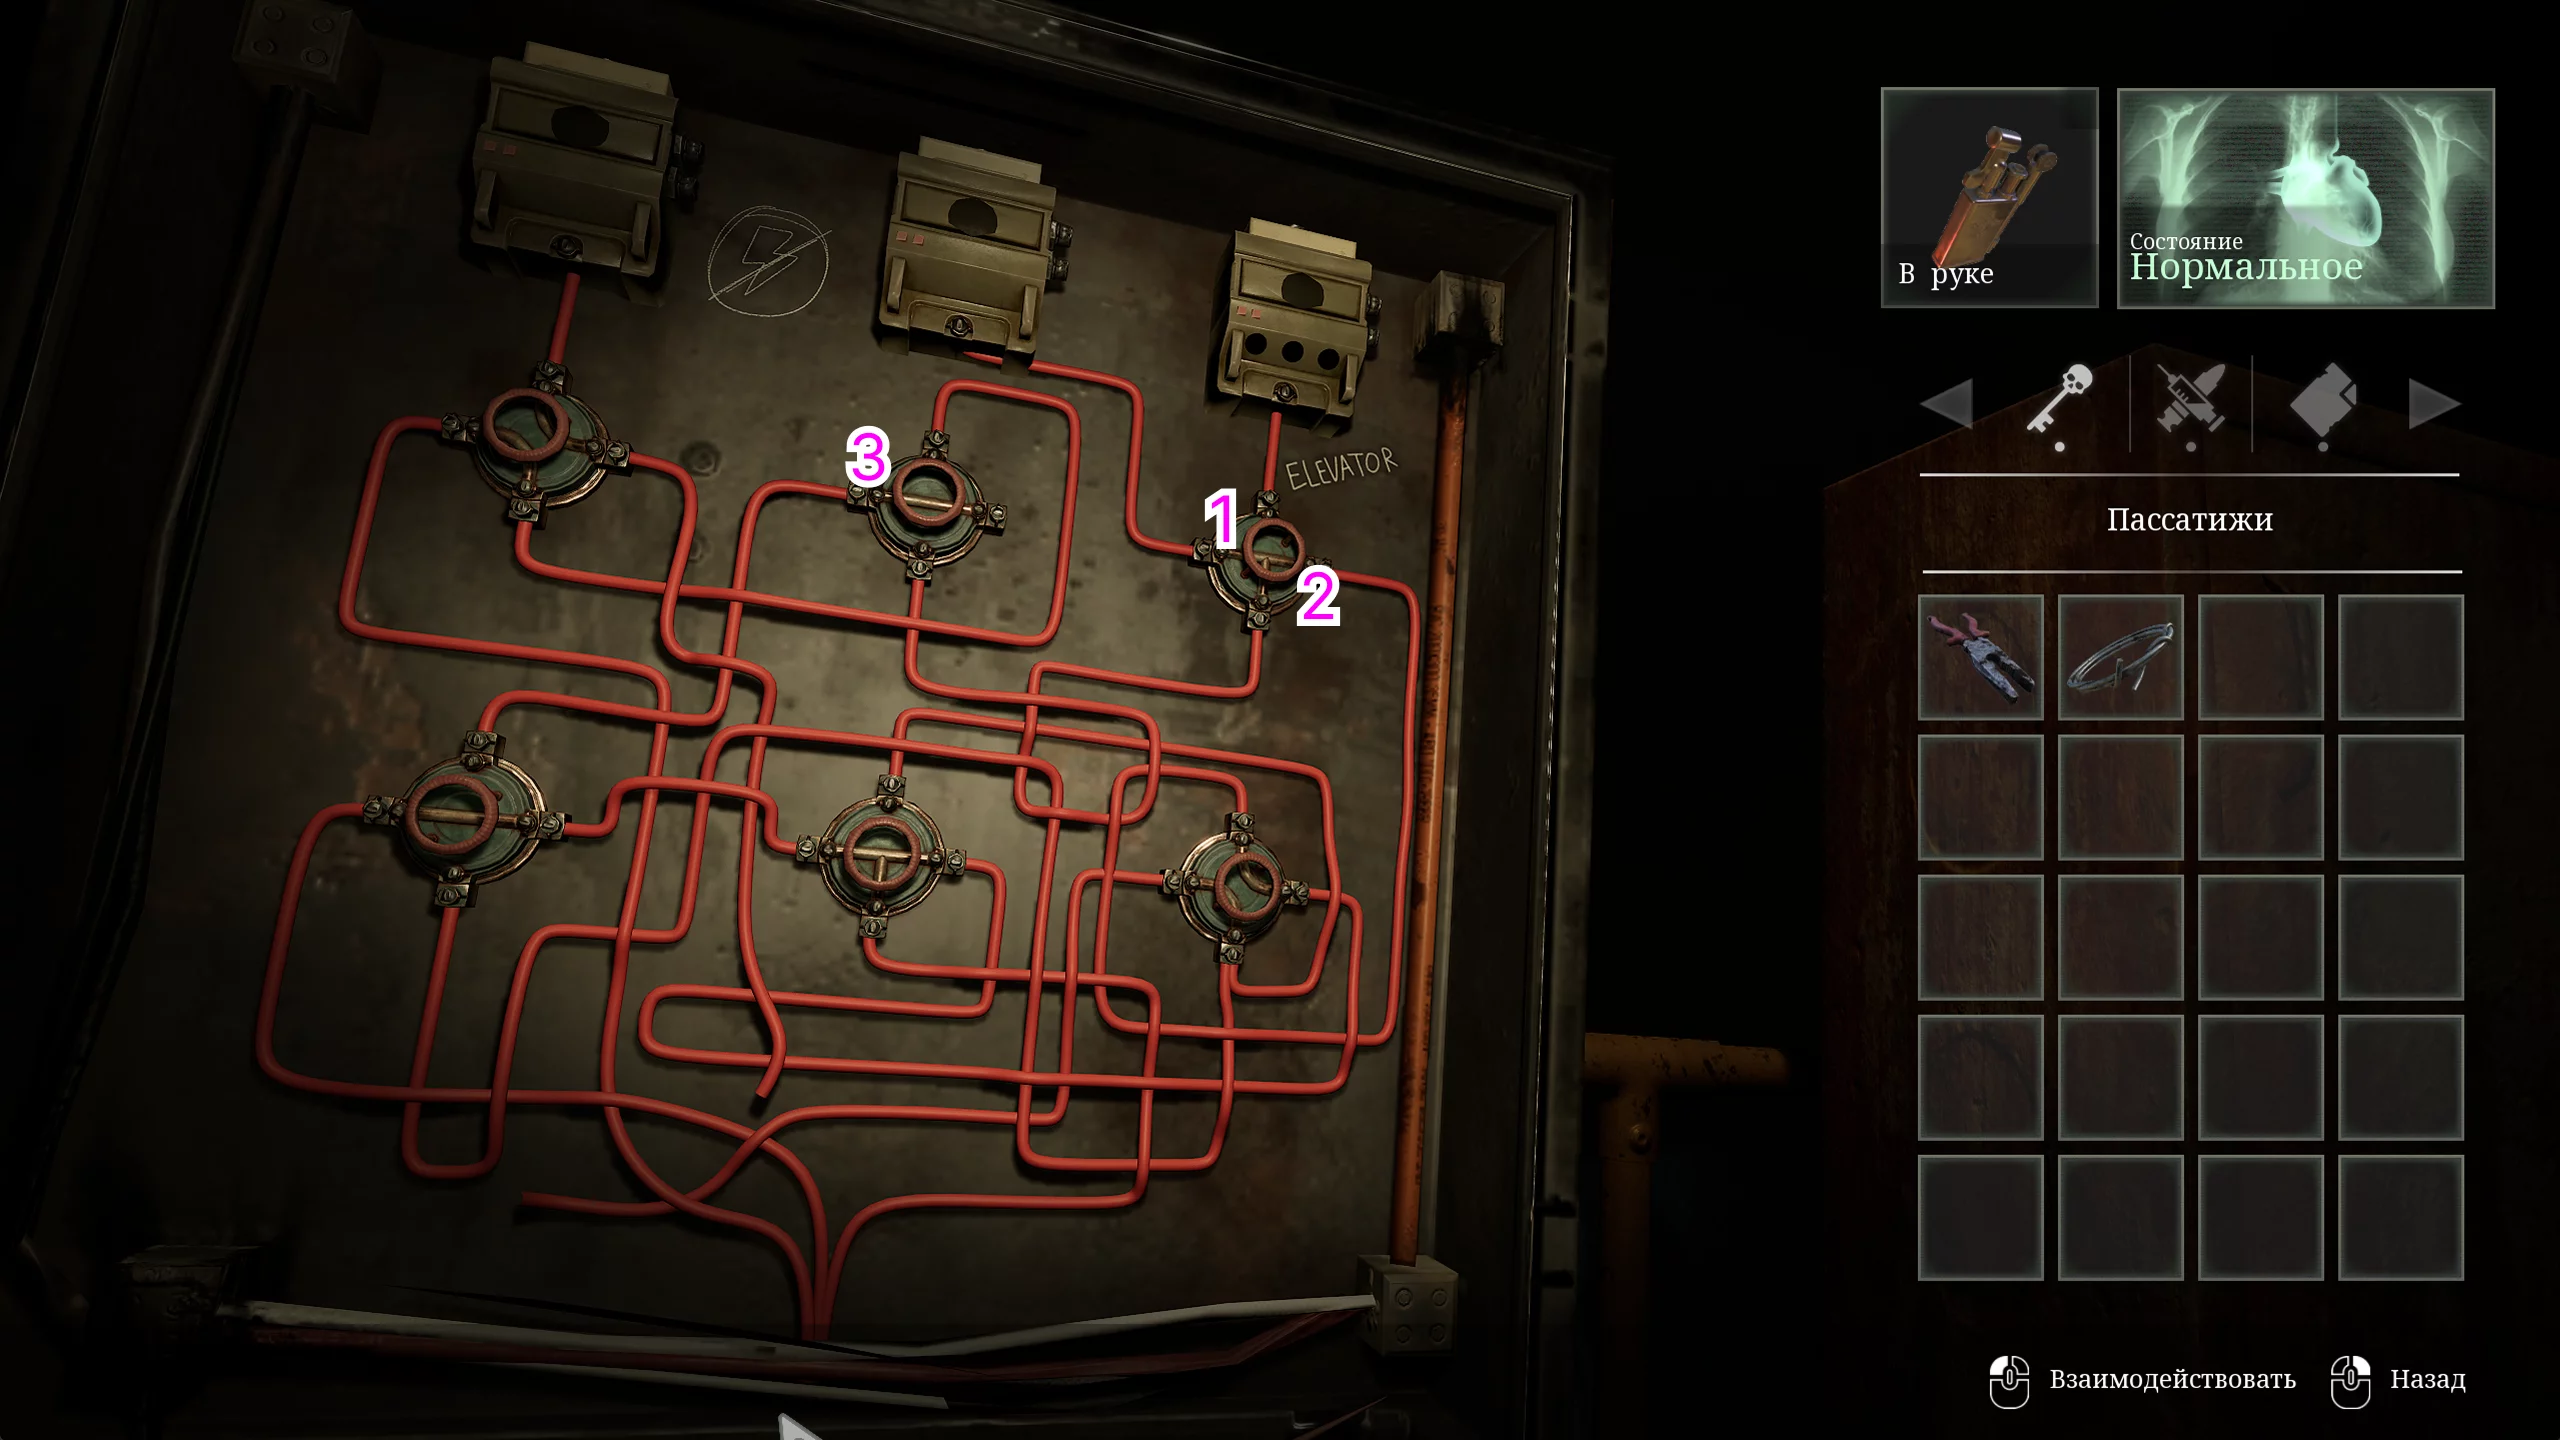
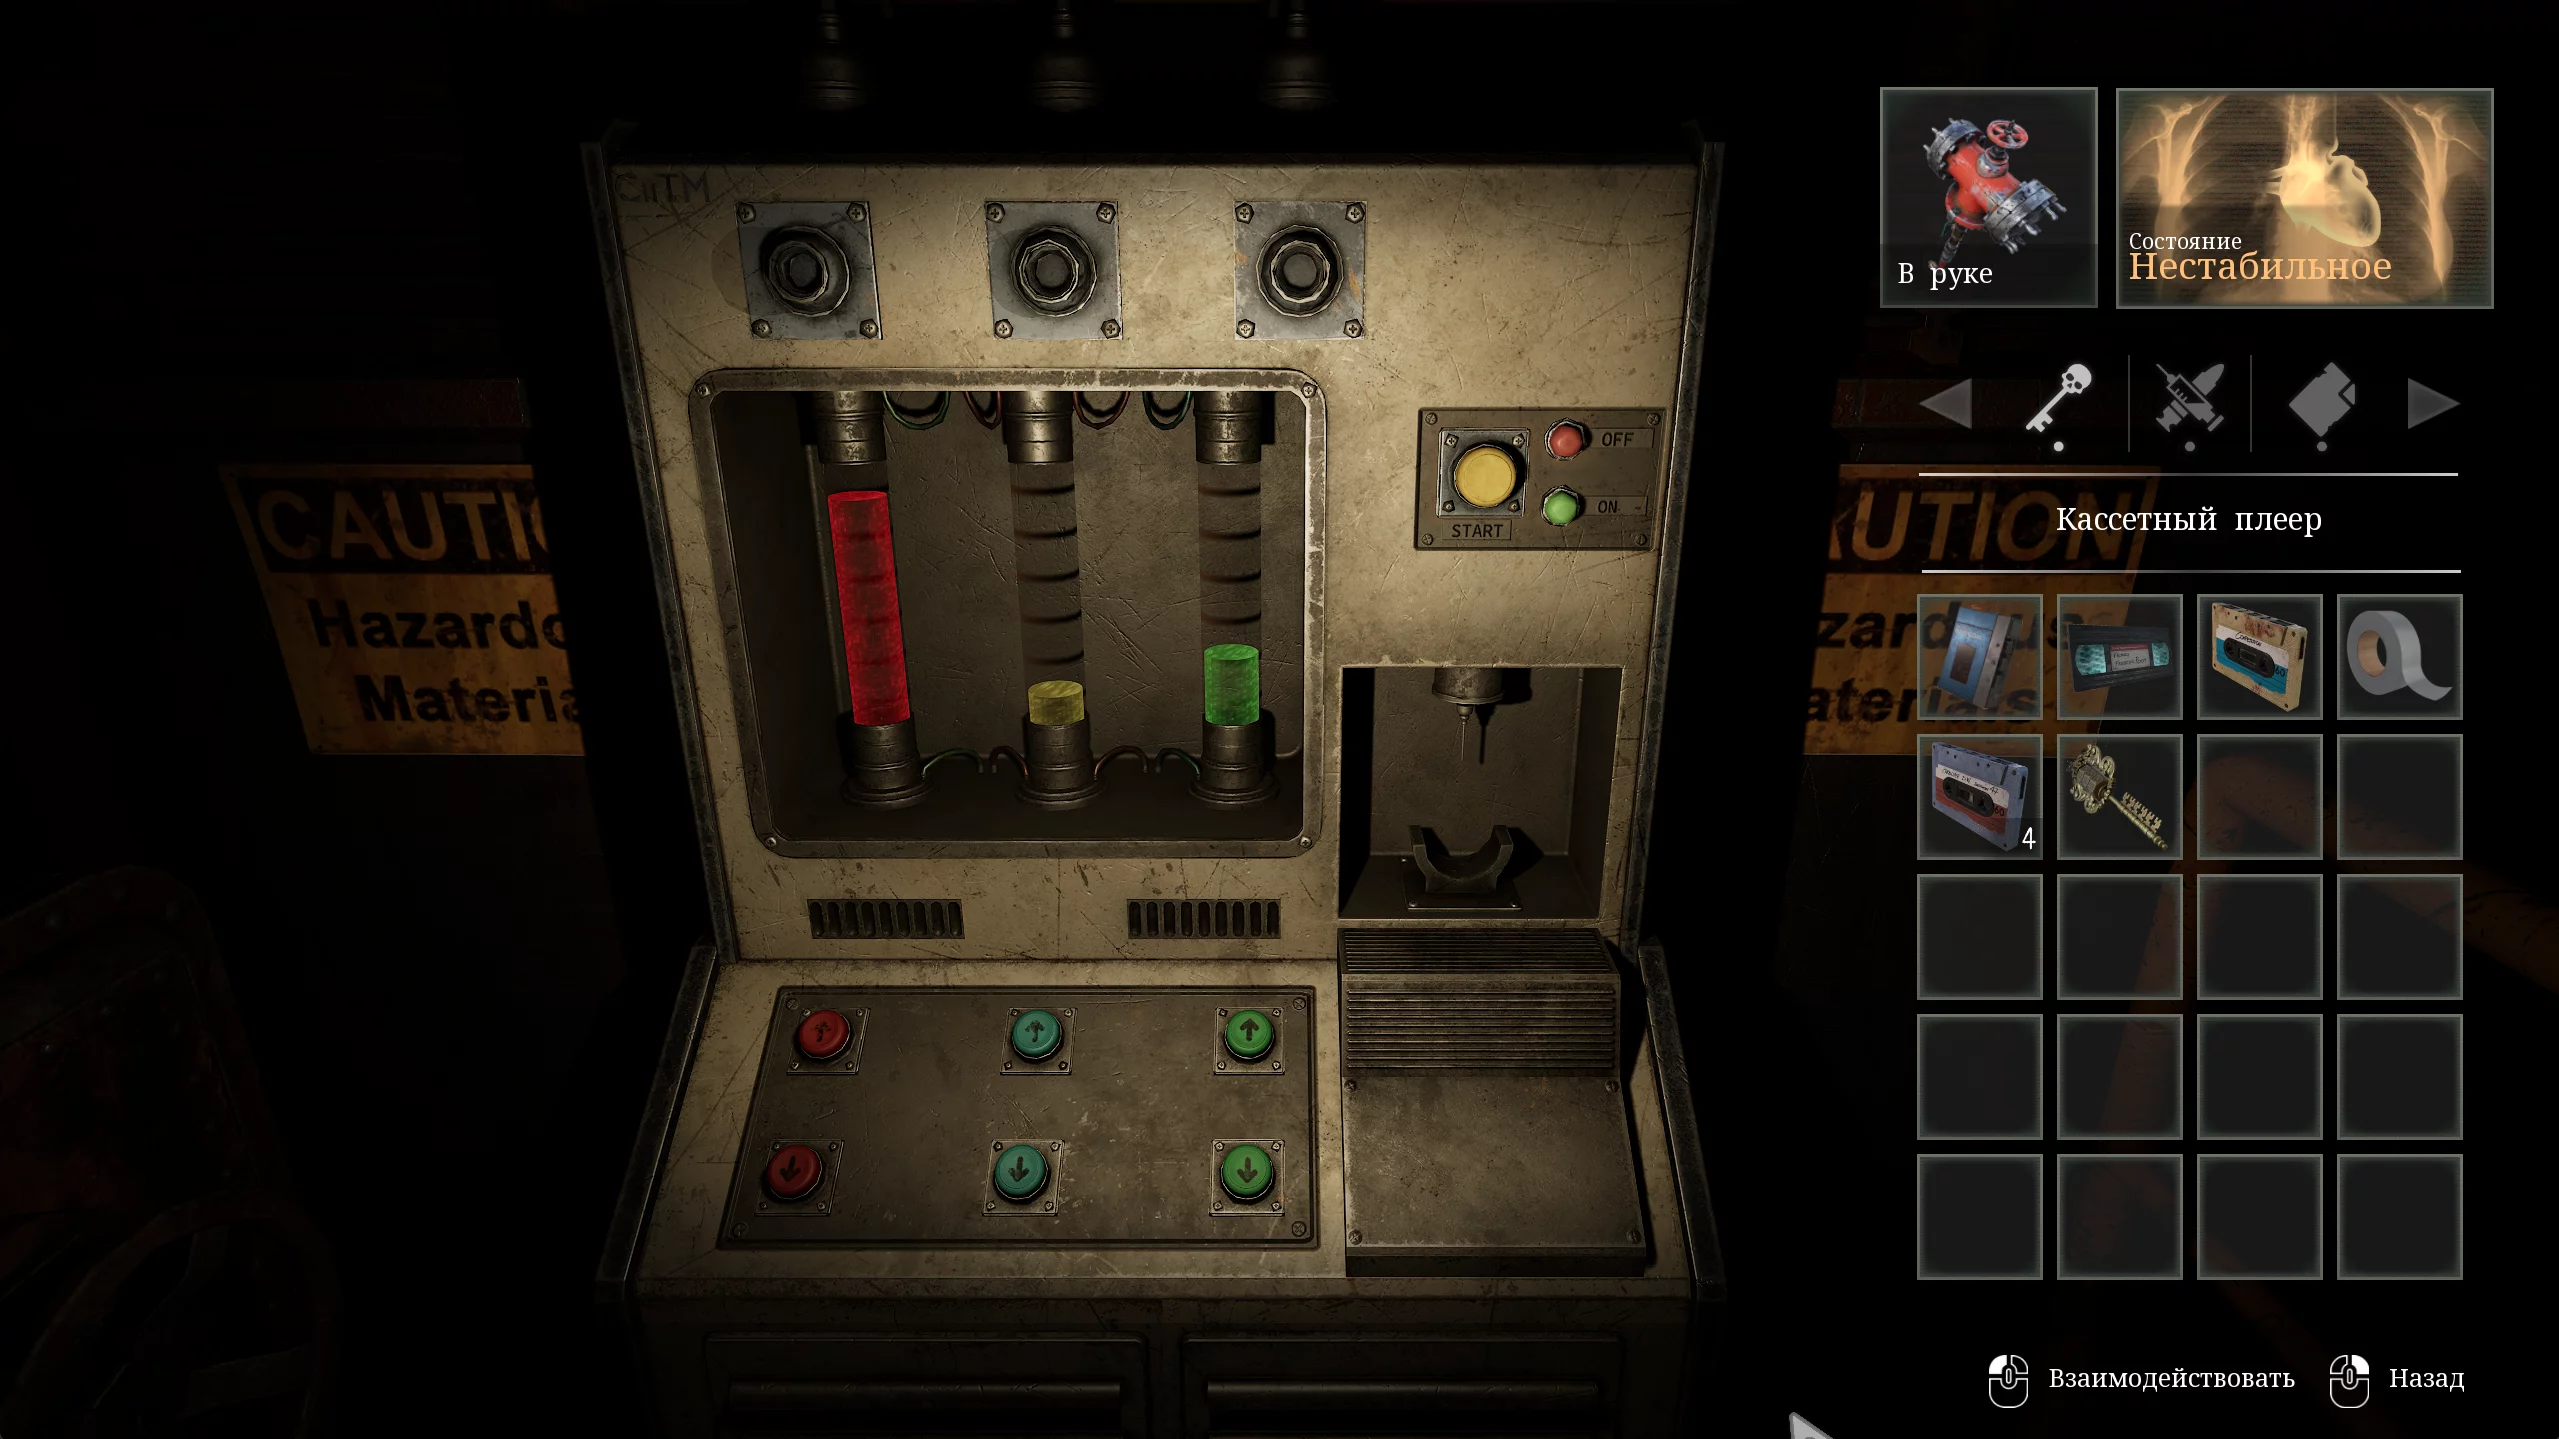
Unfortunately, the elevator in the docks is without power. To activate it, you need to solve the wire puzzle at the pier. To do this, turn the top right valve twice and the top middle valve once.
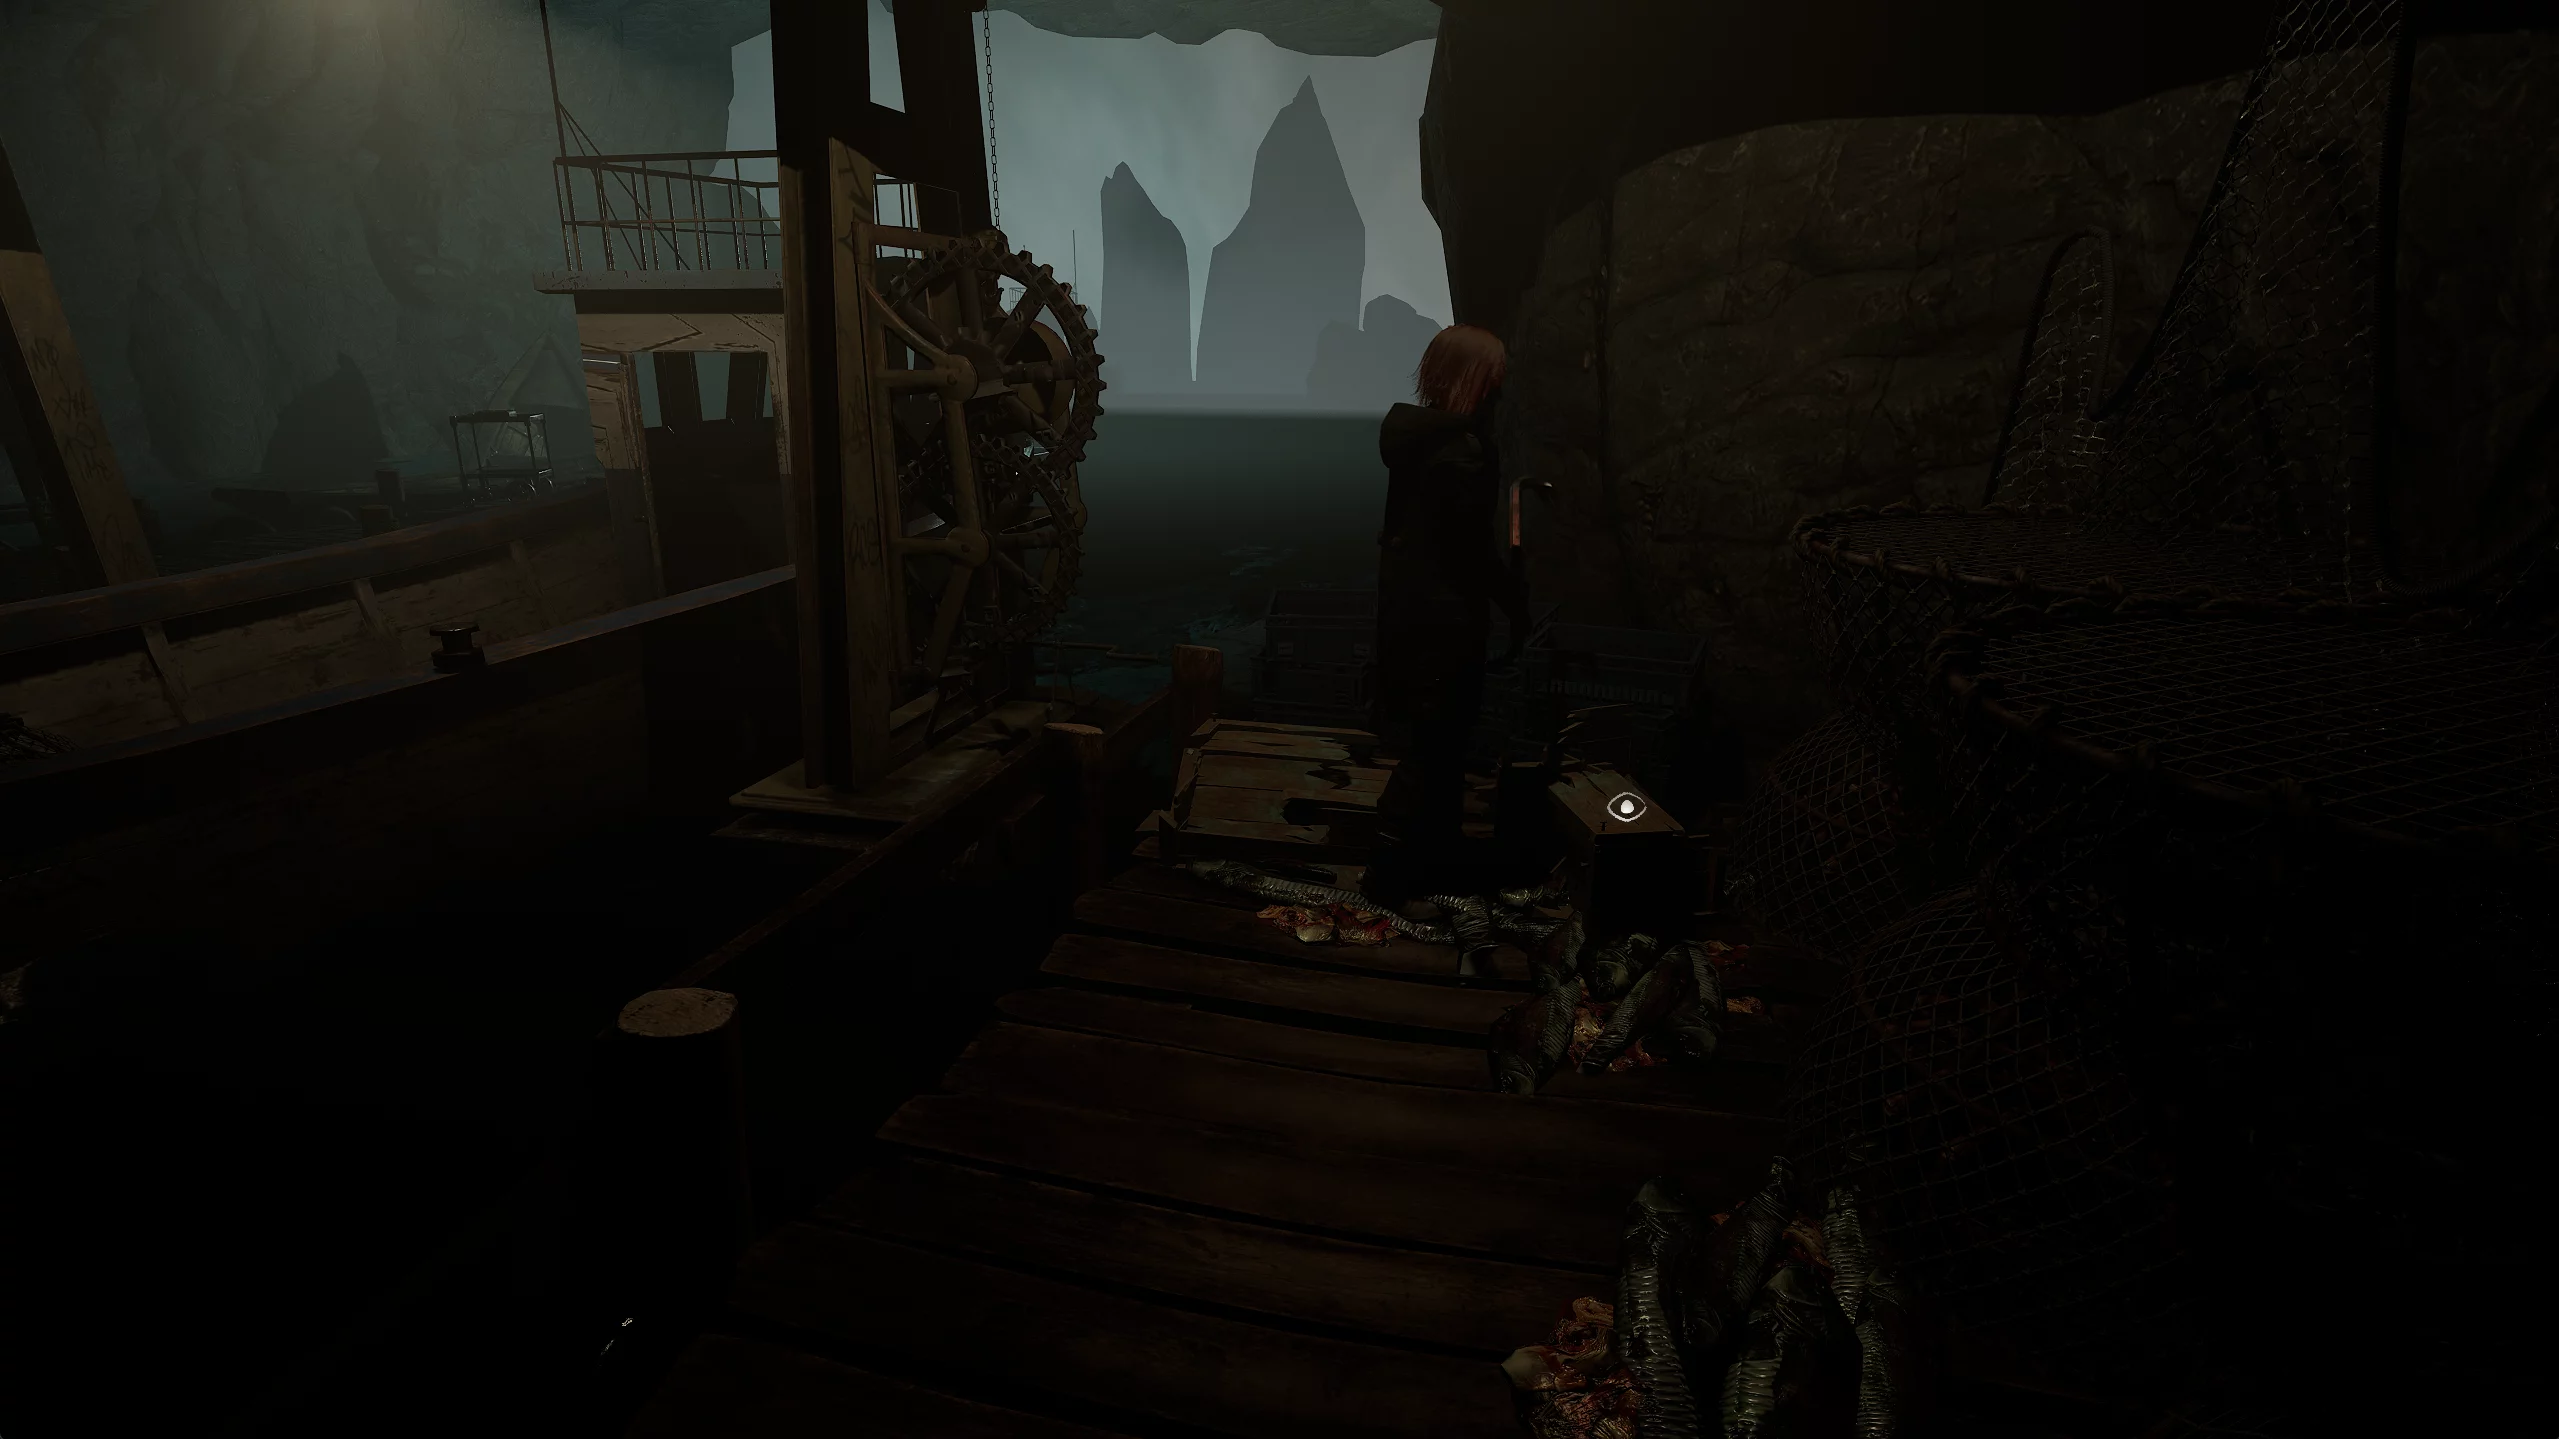
After exiting the elevator, approach the ferry on the left and break the crates for shotgun shells.

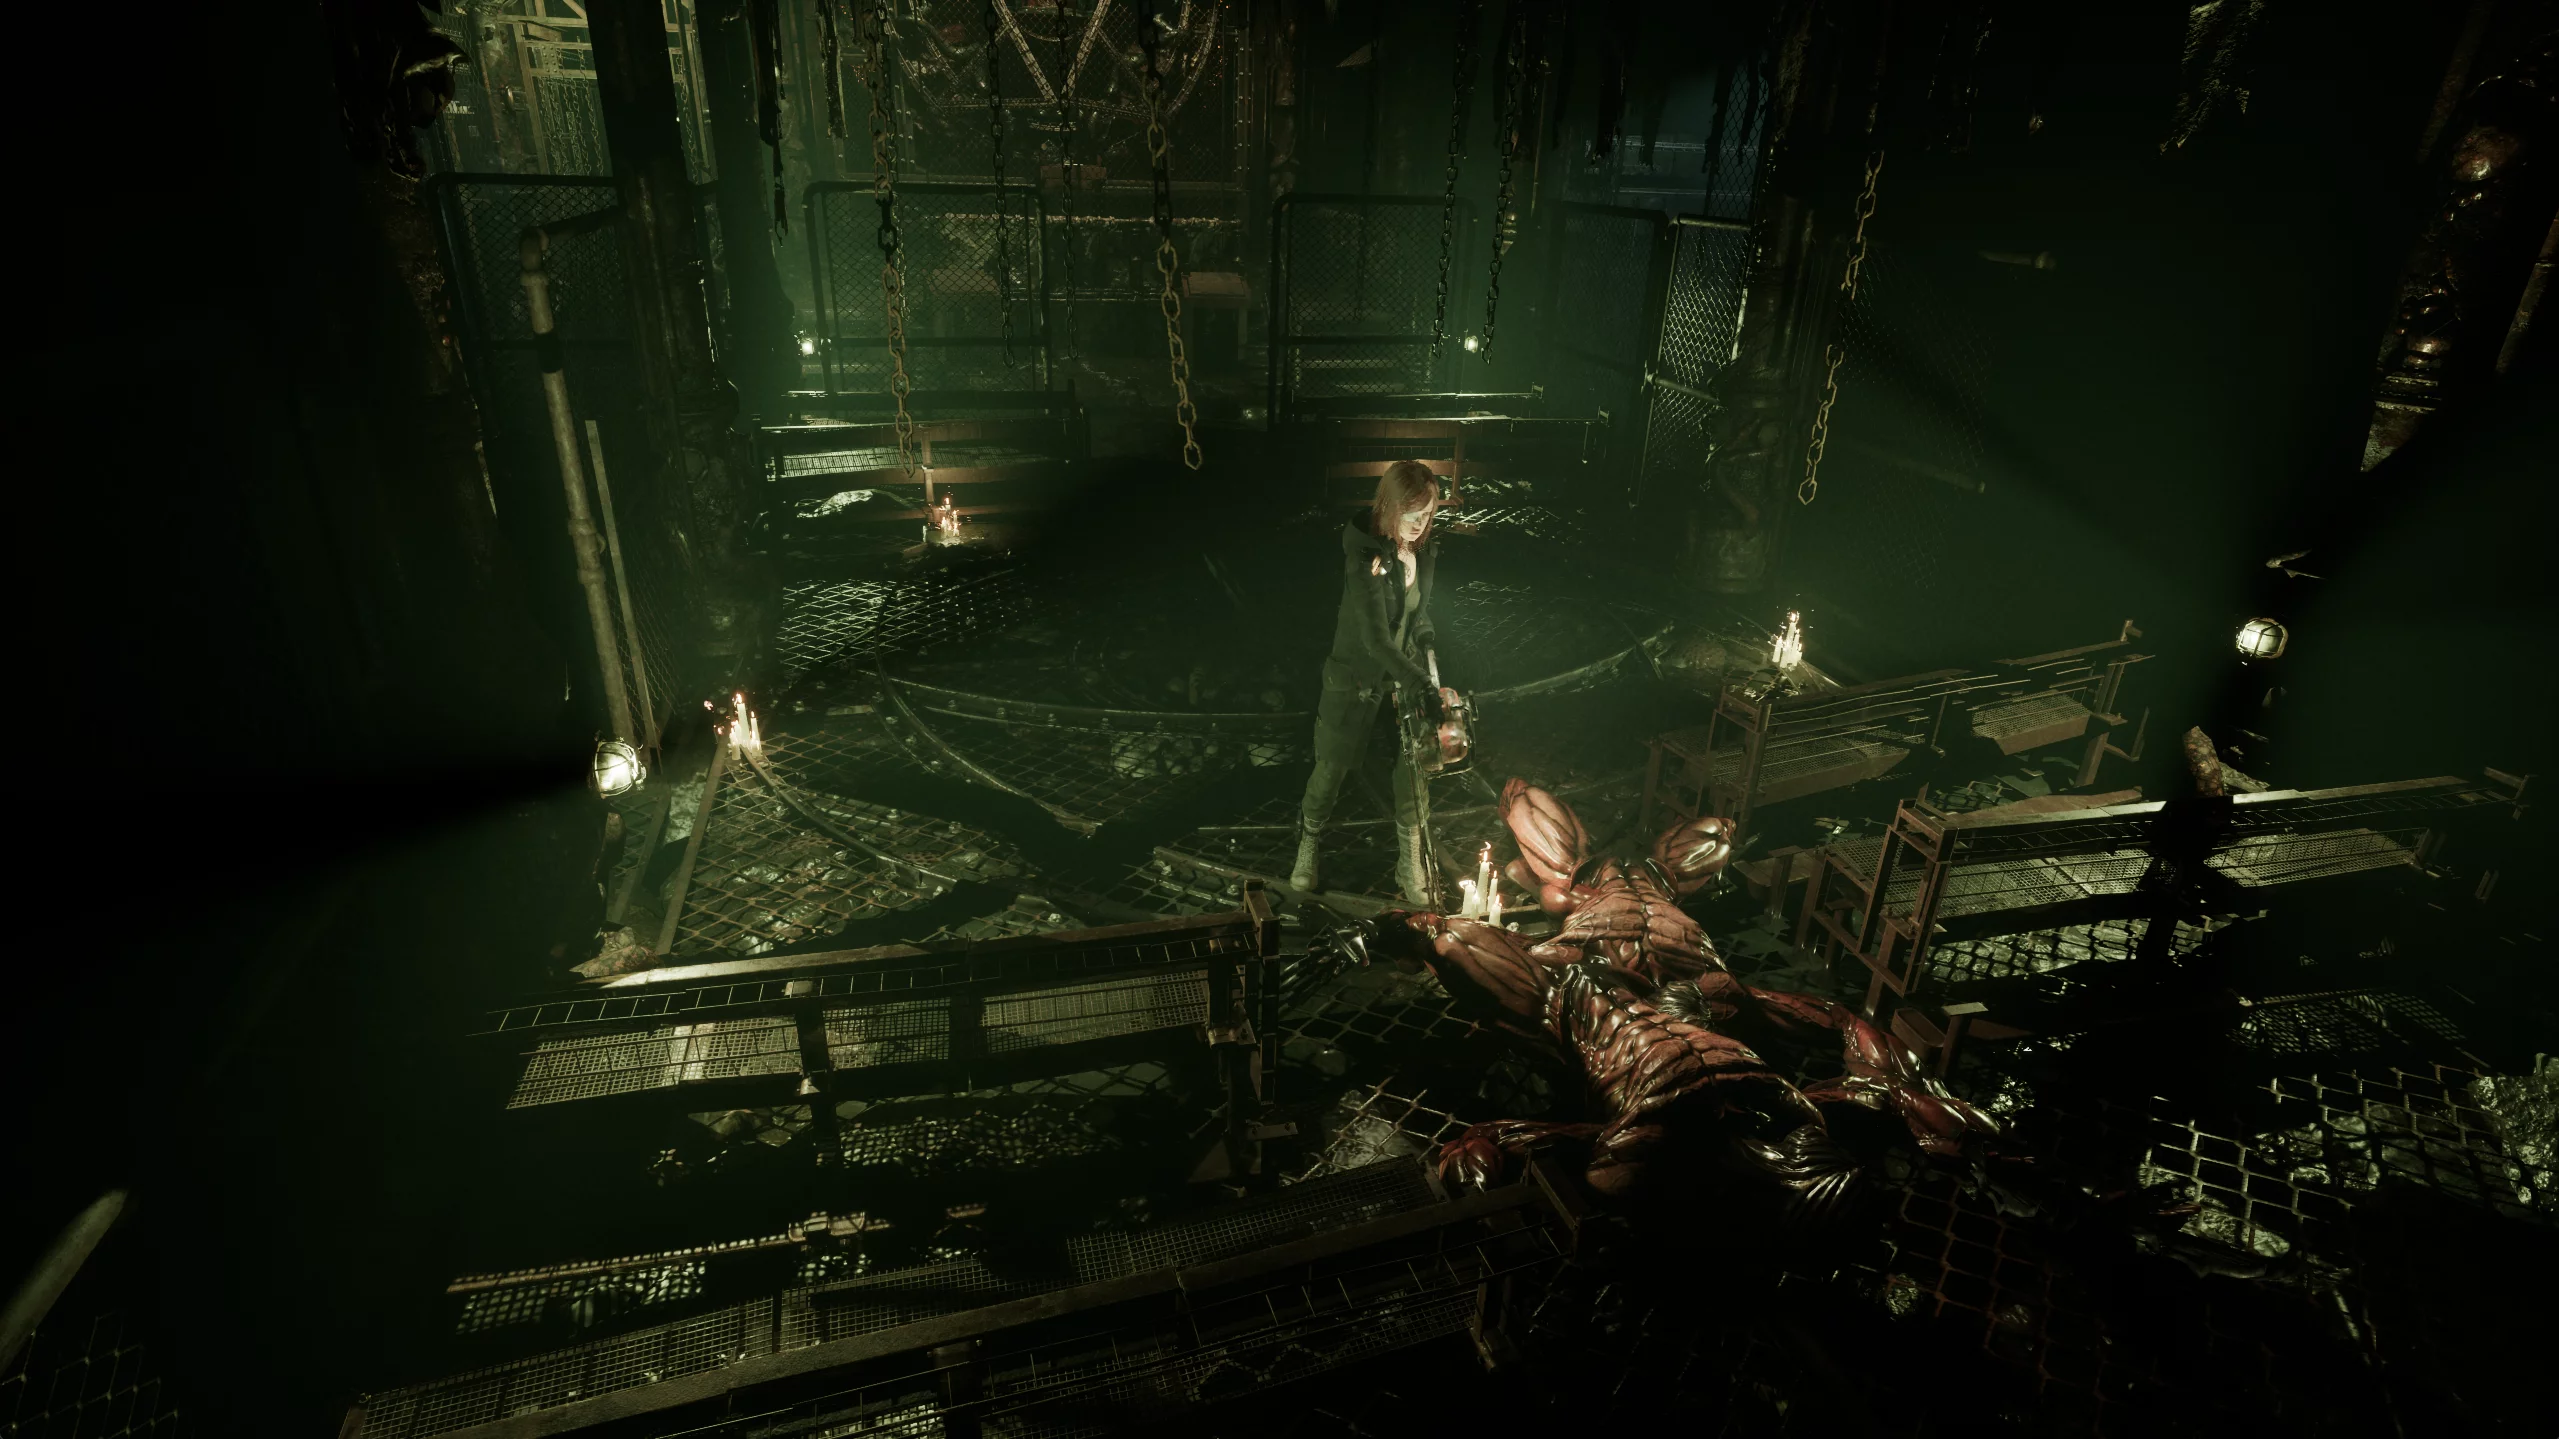
Go straight into the docks and kill two new enemies — small crabs. They are easy to take down with melee attacks, so don't waste ammo for ranged weapons.
On the opposite side of the pier, you can pick up a medic kit, and if you climb onto the boat and kill the small crab at the helm, you'll get painkillers.
Open the iron grate near the pier, take the cassette player from the sailor's corpse, and fend off the incoming crab army. They can also be easily killed with the crowbar, despite their large numbers.
Where to Find the Crossbow
With your new find, you can open the door on the second floor of the factory. Return to the upper wing, kill the crab ghoul on the way, and save in the storage room.
Go to the end of the corridor, find the electronic panel, insert the batteries from the cassette player, and enter the code 1765 — you saw it on the second floor of the storage room.
The door leads to a very large cafeteria, with a painting of a person performing different actions hanging in each wing.

Right at the entrance to the cafeteria is a painting of a woman holding a lamp, and the indicator above it lights up when Carolina approaches with a lighter. On the stair landings above, there are three more images: with a ballerina, archer, and blacksmith. We’ll figure out how to light them up a bit later.
For now, go down to the first floor, find the room with a table, and pick up a box of nails from the nightstand.
On the way, enter the room on the stair landing, take povidone from the table, and deal with the crab ghoul. Go higher and a shortcut to the lower wing will open. If you go down, Carolina will enter the offices.
Go up and take the metal base from the table next to the corpse and the chemical vials from the nightstand. After that, kill two regular ghouls and return to the kitchen.
Go lower and open the iron barred door. Take a box of nails from the table, break the vase for povidone, and take the metal plate with an eye from the diver.
Obviously, the diver isn't happy about this. The statue comes to life and attacks Carolina, and the door behind closes with a magical seal, so the battle is inevitable. Kill the enemy and exit. To the right down the corridor is a door leading to the kitchen.
Go inside and take the painkillers from the table, and also break the vases for povidone. Go up the stairs to the second floor, meet your old acquaintances — chained ghouls — and kill them.
After that, interact with the corpse on the floor to take the crossbow frame.

Combine the frame with the bike parts to create a powerful weapon. It fires using chemical vials scattered around the factory. Don't use it too often, as you'll hardly find ammo for it outside the factory.
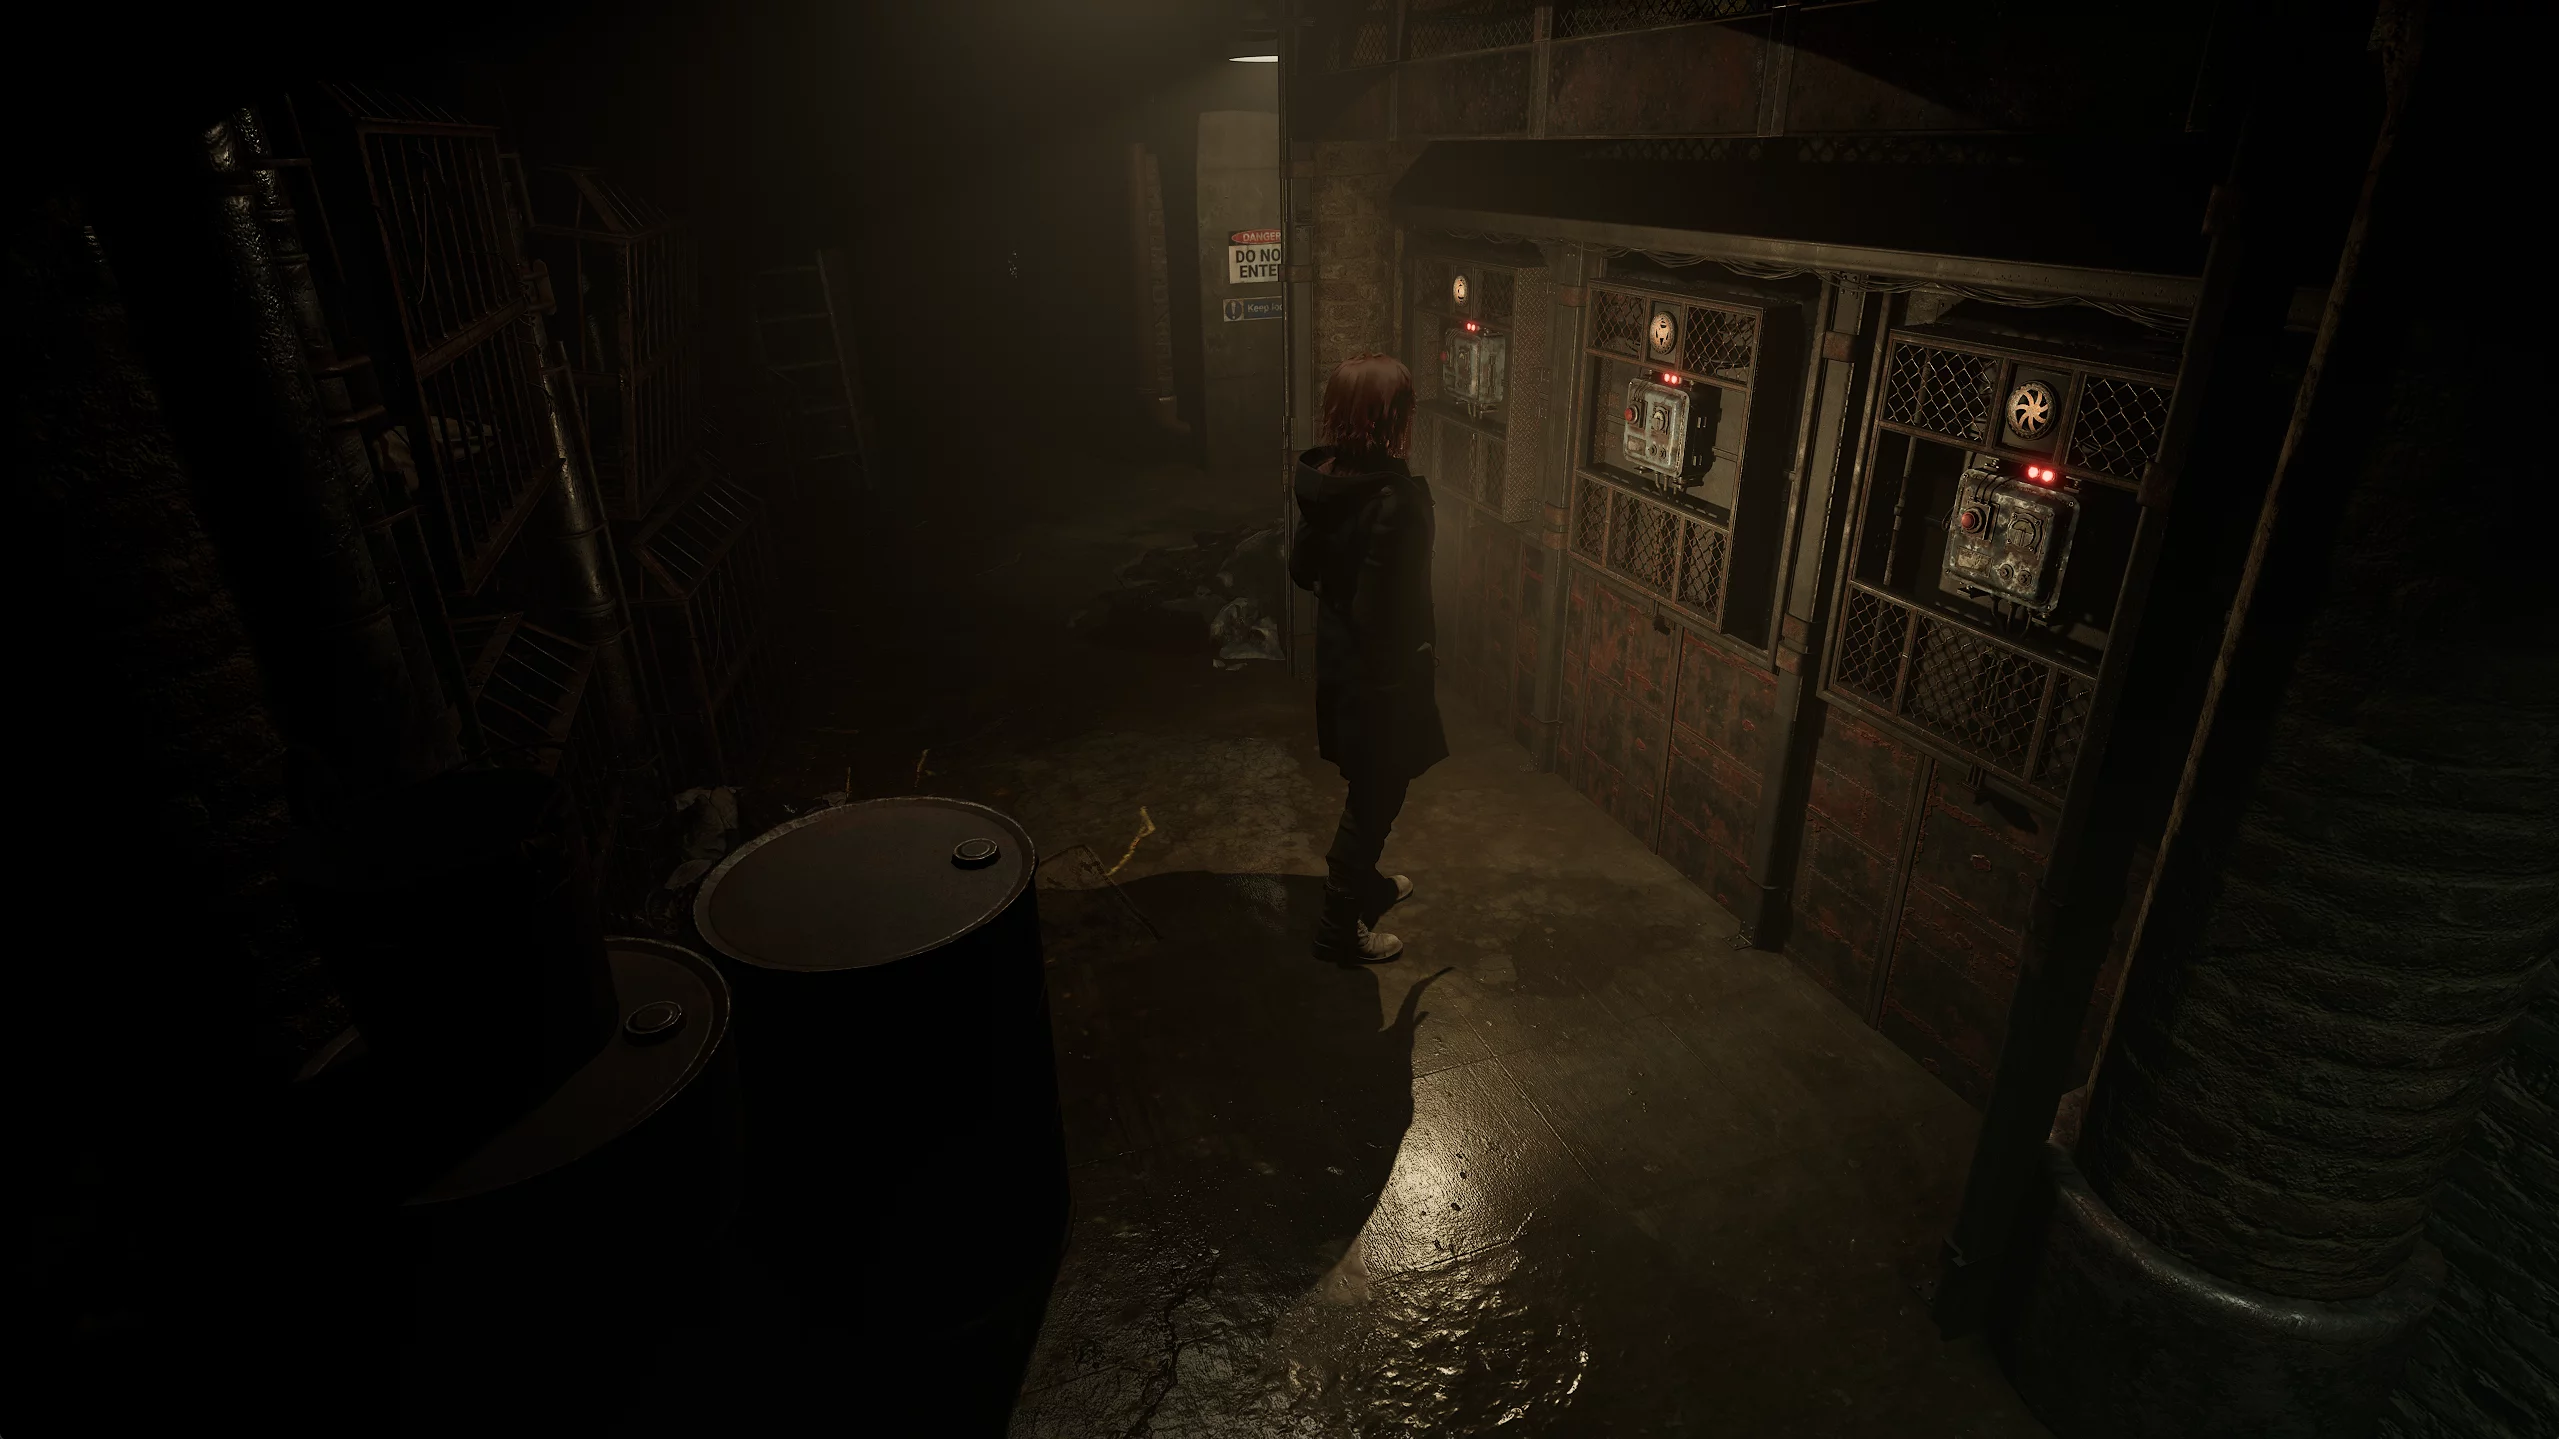
How to Open the Generator Room
On the second floor of the kitchen, open the shortcut to the upper wing and exit to the electronic panel you used to enter the cafeteria. Take the batteries from it and return to the kitchen. Go back down and move the cart by the wall, then go into the opened hatch.
Once in the sanitation block, go down. Further along the corridor, break the crates and open a shortcut to the basement. Return to the stairs and go left, then turn right at the fork. At the end of the corridor, a crab ghoul will be waiting. Kill the monster and enter the room on the right.
The sanitation office will please Carolina with magnetic tape and a recording device. Save your progress and continue exploring the sanitation block.
Go down the corridor where you recently killed the ghoul. At the end, there will be a device you need to press. This will activate two capsules around the player.
Go to the right one and take the acid vials, then return to the right capsule near the room's exit. There will be a Repentance tape next to the corpse.
Return through the previously opened shortcut to the basement and look for the iron door with the voice identifier straight down the corridor. Near it, insert the batteries into the cassette player and play Repentance. Approach the control panel and press the red button when the recording says: Password is Long Pig.
Generator Room
Access to the generator room will open. Walk through the liquid on the floor, beware of gas pipes, and pick up a box of nails from the table along the way. You'll see something drag an ordinary worker into the ventilation, then enter the X-ray room. Here you can pick up painkillers and a box of nails.
Exit from there and continue down the corridor to the next steel door — this time to the disposal room.
Inside, pick up shotgun shells on the left and get acquainted with a new type of trap: if previous gas pipes were activated after you walked past them, these new ones will go off before you even approach. Be careful and stop in time before them.
How to Get the Spiral Metal Plate
Go around the area with the cart and climb the stairs to the warehouse. Before activating the elevator to the second floor, walk around the area and climb the ladder to pick up acid vials from the table. Go a bit further and a crab ghoul will attack you, so be careful.
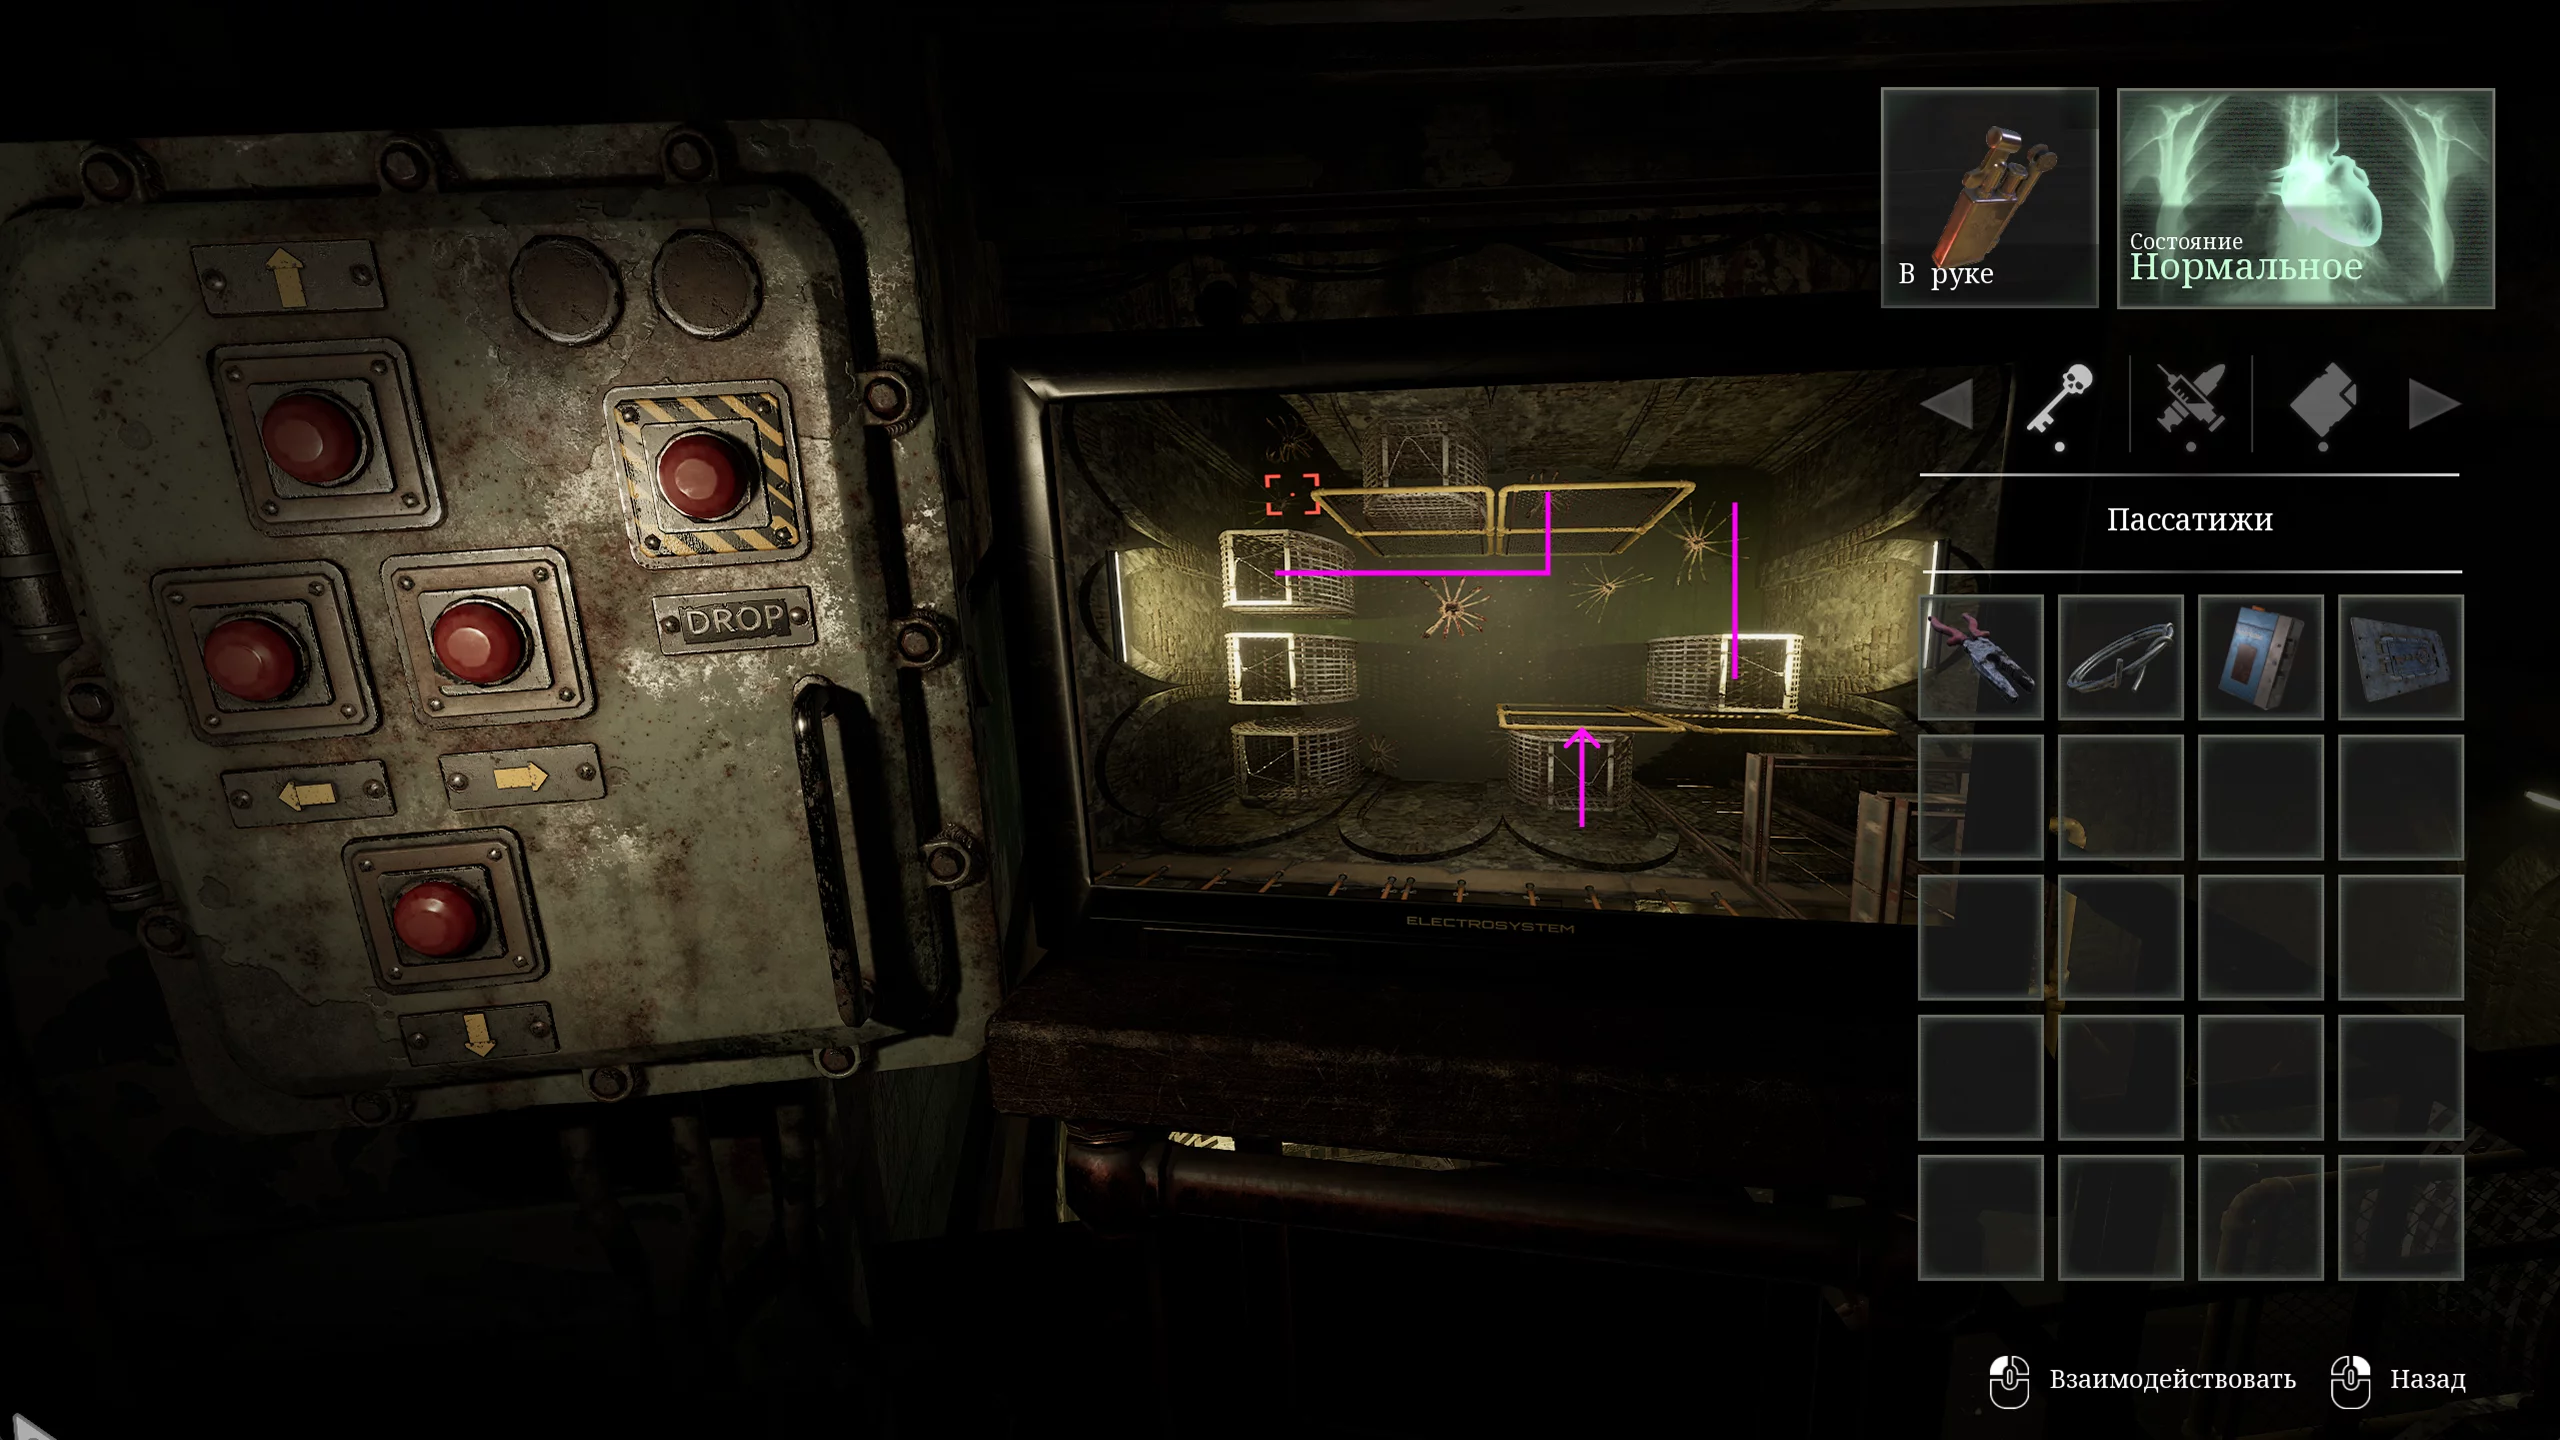
After killing the monster, find the panel with the puzzle. You need to move the boxes to specific points:
- Move the upper left box to the center of the first row.
- Move the right box near the grate to the first row as well.
- Lift the lower box and do not lower it.
After opening the passage, find the cabinet with candles. Light them in the following order:
- Right, middle.
- One below the previous one.
- Left, middle.
Now you can use it to enter the other world.
Climb the stairs through the boxes and encounter a new dangerous enemy. If you have enough resolve, you can kill it, but it's better to avoid the monster.
Take the mutant toy from the table behind it, then go down into the hatch a bit higher up.
In the disposal room of the other world, take the painkillers and head down the stairs to the incineration chamber. Don't be afraid of the large crab on the ceiling — it won't attack you. Place the mutant toy on the table and return to the real world.
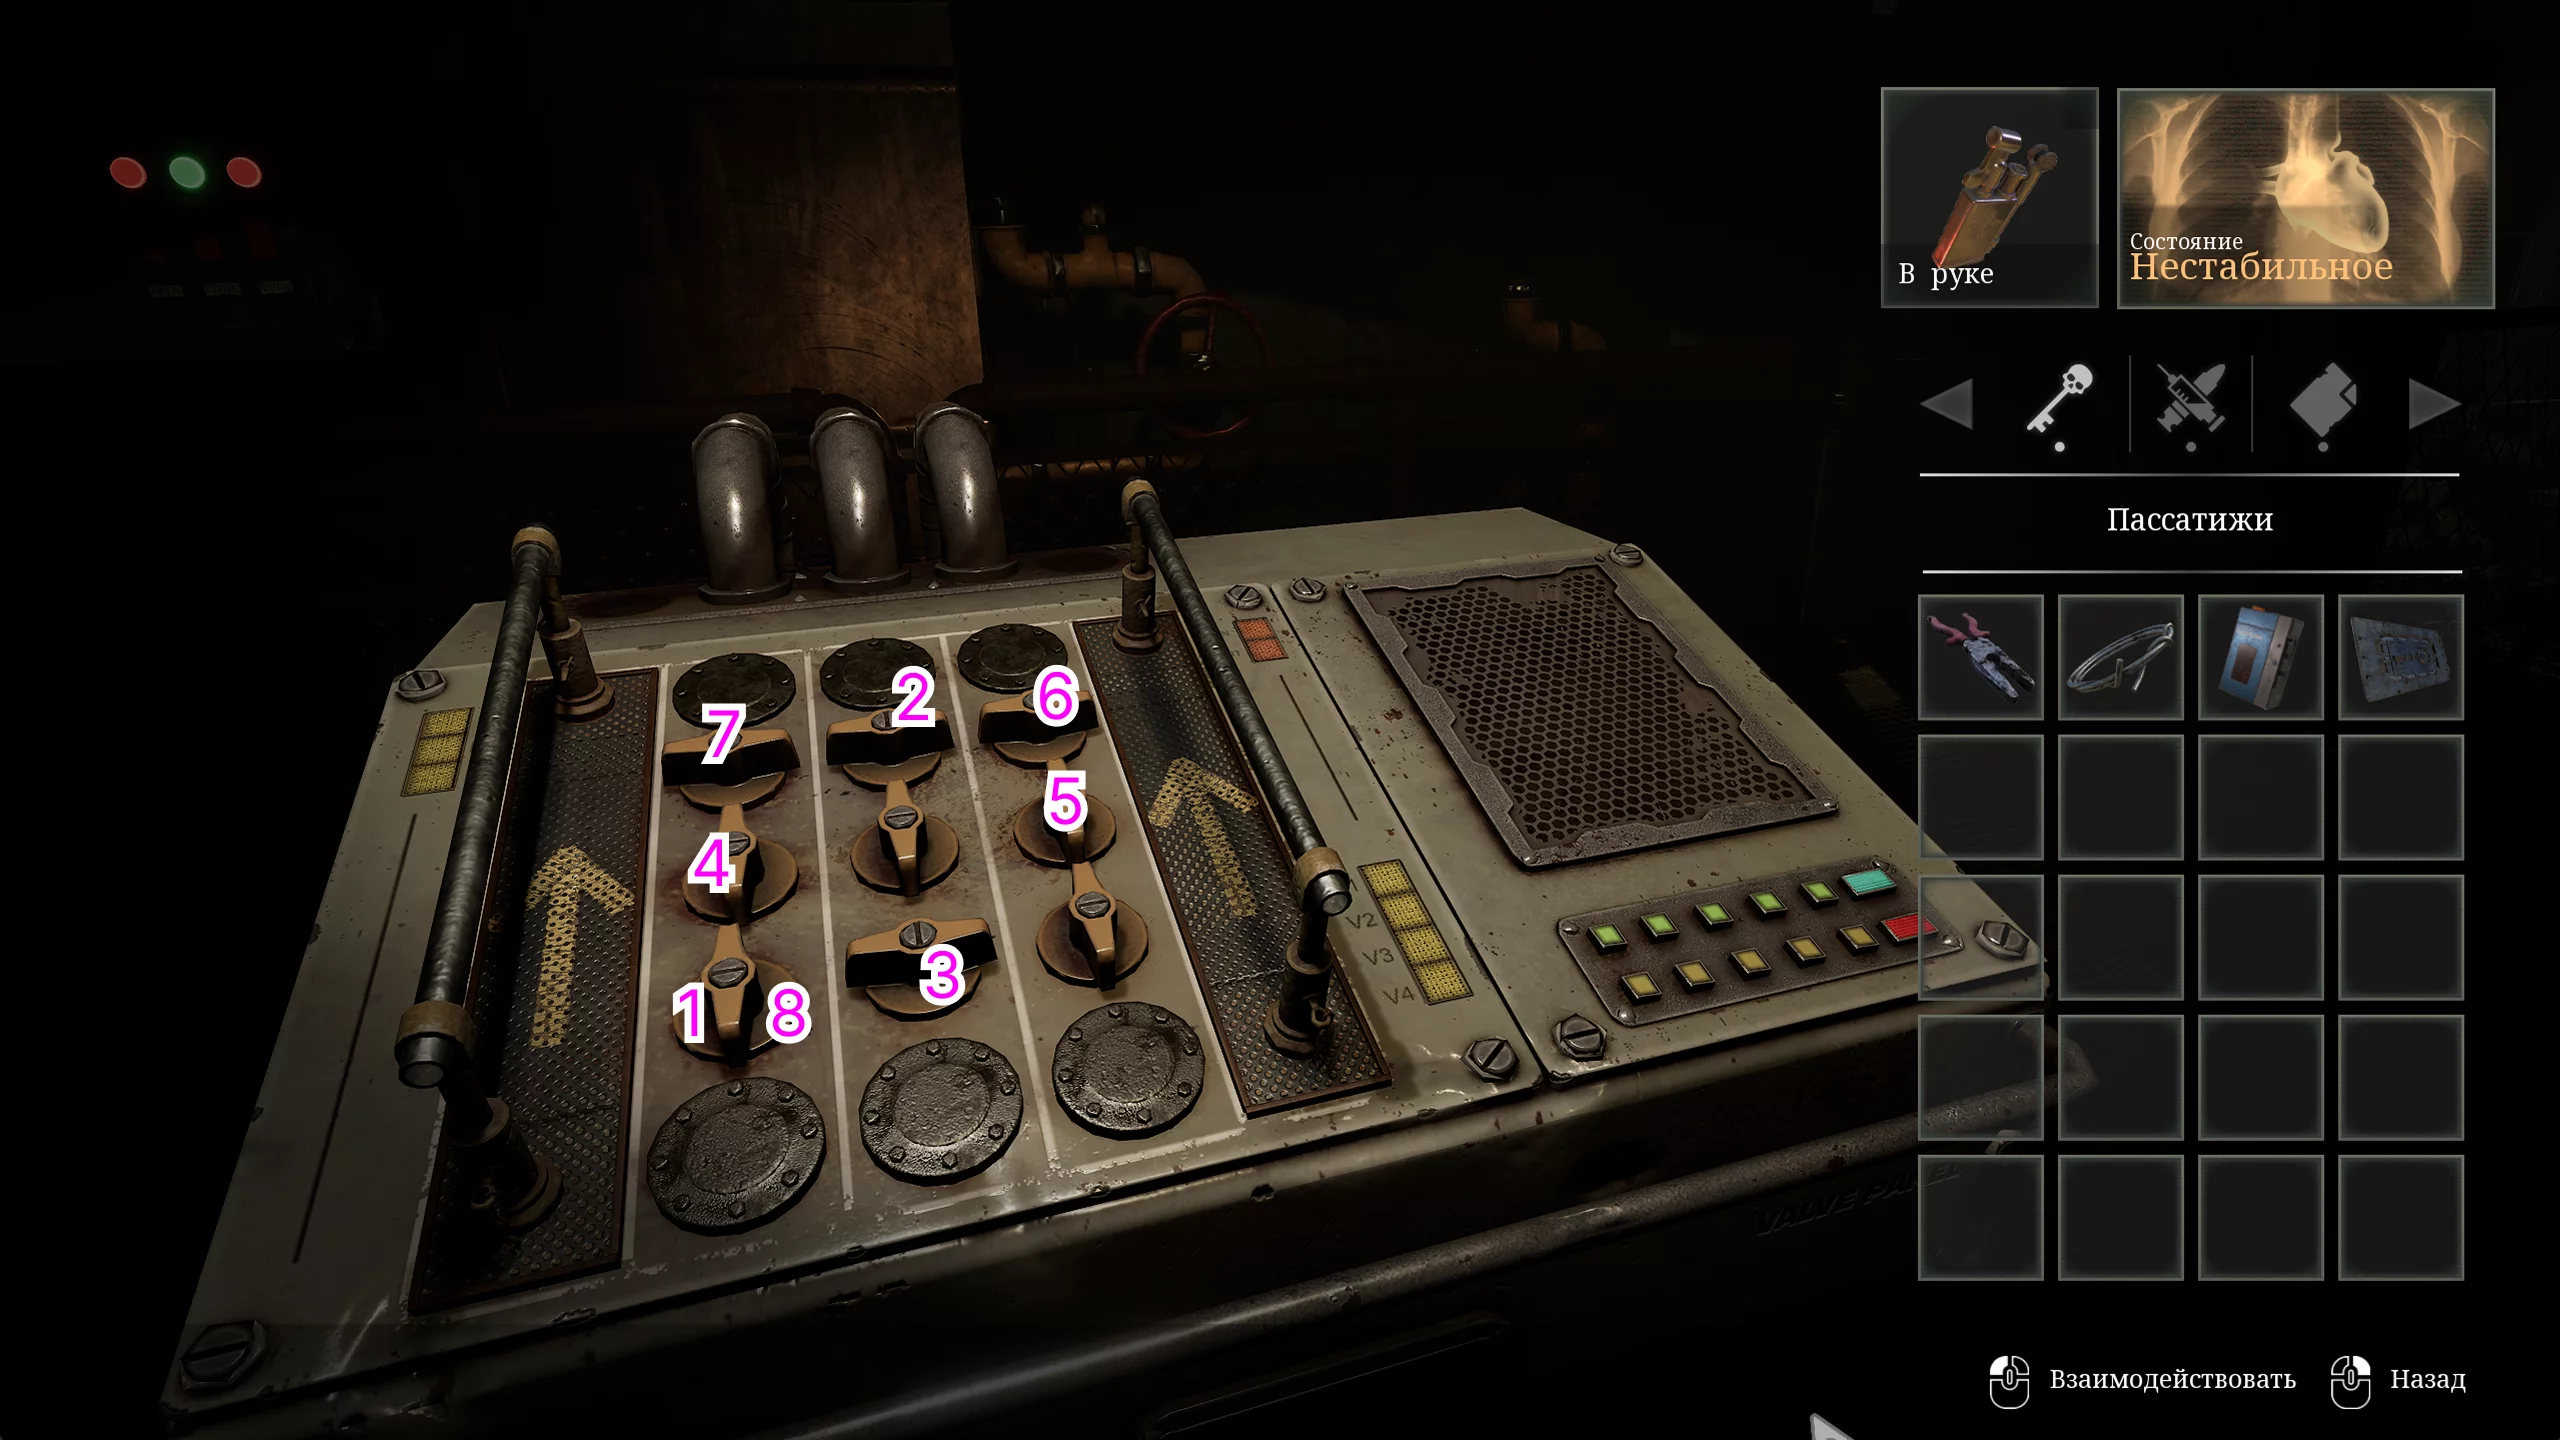
Return to the same room where you placed the toy in the other world and find the control panel. Set all the levers so that they are vertical:
- Seventh.
- Second.
- Eighth.
- Fourth.
- Sixth.
- Third.
- First.
- Seventh.
When everything is in place, interact with the panel opposite. Close the door, burn the monster, and open the passage again.
Among the ashes on the table, pick up the second Spiral metal plate. Combine it with the metal plate base from the offices to get a full key.
How to Get the Shotgun Upgrade
Fend off the incoming crab ghouls and go up to the second floor of the warehouse. Here, fight off two more monsters and continue down the corridor. There are shotgun shells behind the boiler — don't forget to pick them up.
When you reach the door, go inside and you'll find yourself in another passage. Along the way, pick up painkillers. The final door will lead you to the cafeteria and to the iron tube on the table.
By combining the tube with the shotgun, it will be able to hold up to three rounds at once.
How to Solve the Painting Puzzle
Open the door and return to the paintings. To light up the paintings, you need to perform special actions in front of them:
- Woman with a lamp at the entrance to the cafeteria. Simply approach her with the lighter in your hand.
- Ballerina on the right wing of the stairs. Spin around near her.
- Archer on the left wing of the stairs. Equip the crossbow in front of the painting.
- Blacksmith on the lower floor. Hit with the hammer.
When all the paintings are activated, the statue below will loosen its grip, and you can take the jack.
How to Open the Iron Door in the Sanitation Block
After getting it, return to the shark in the underground docks. Go down to the basement from the first floor, head down the corridor to the reception, and from there take two elevators to reach the desired location.
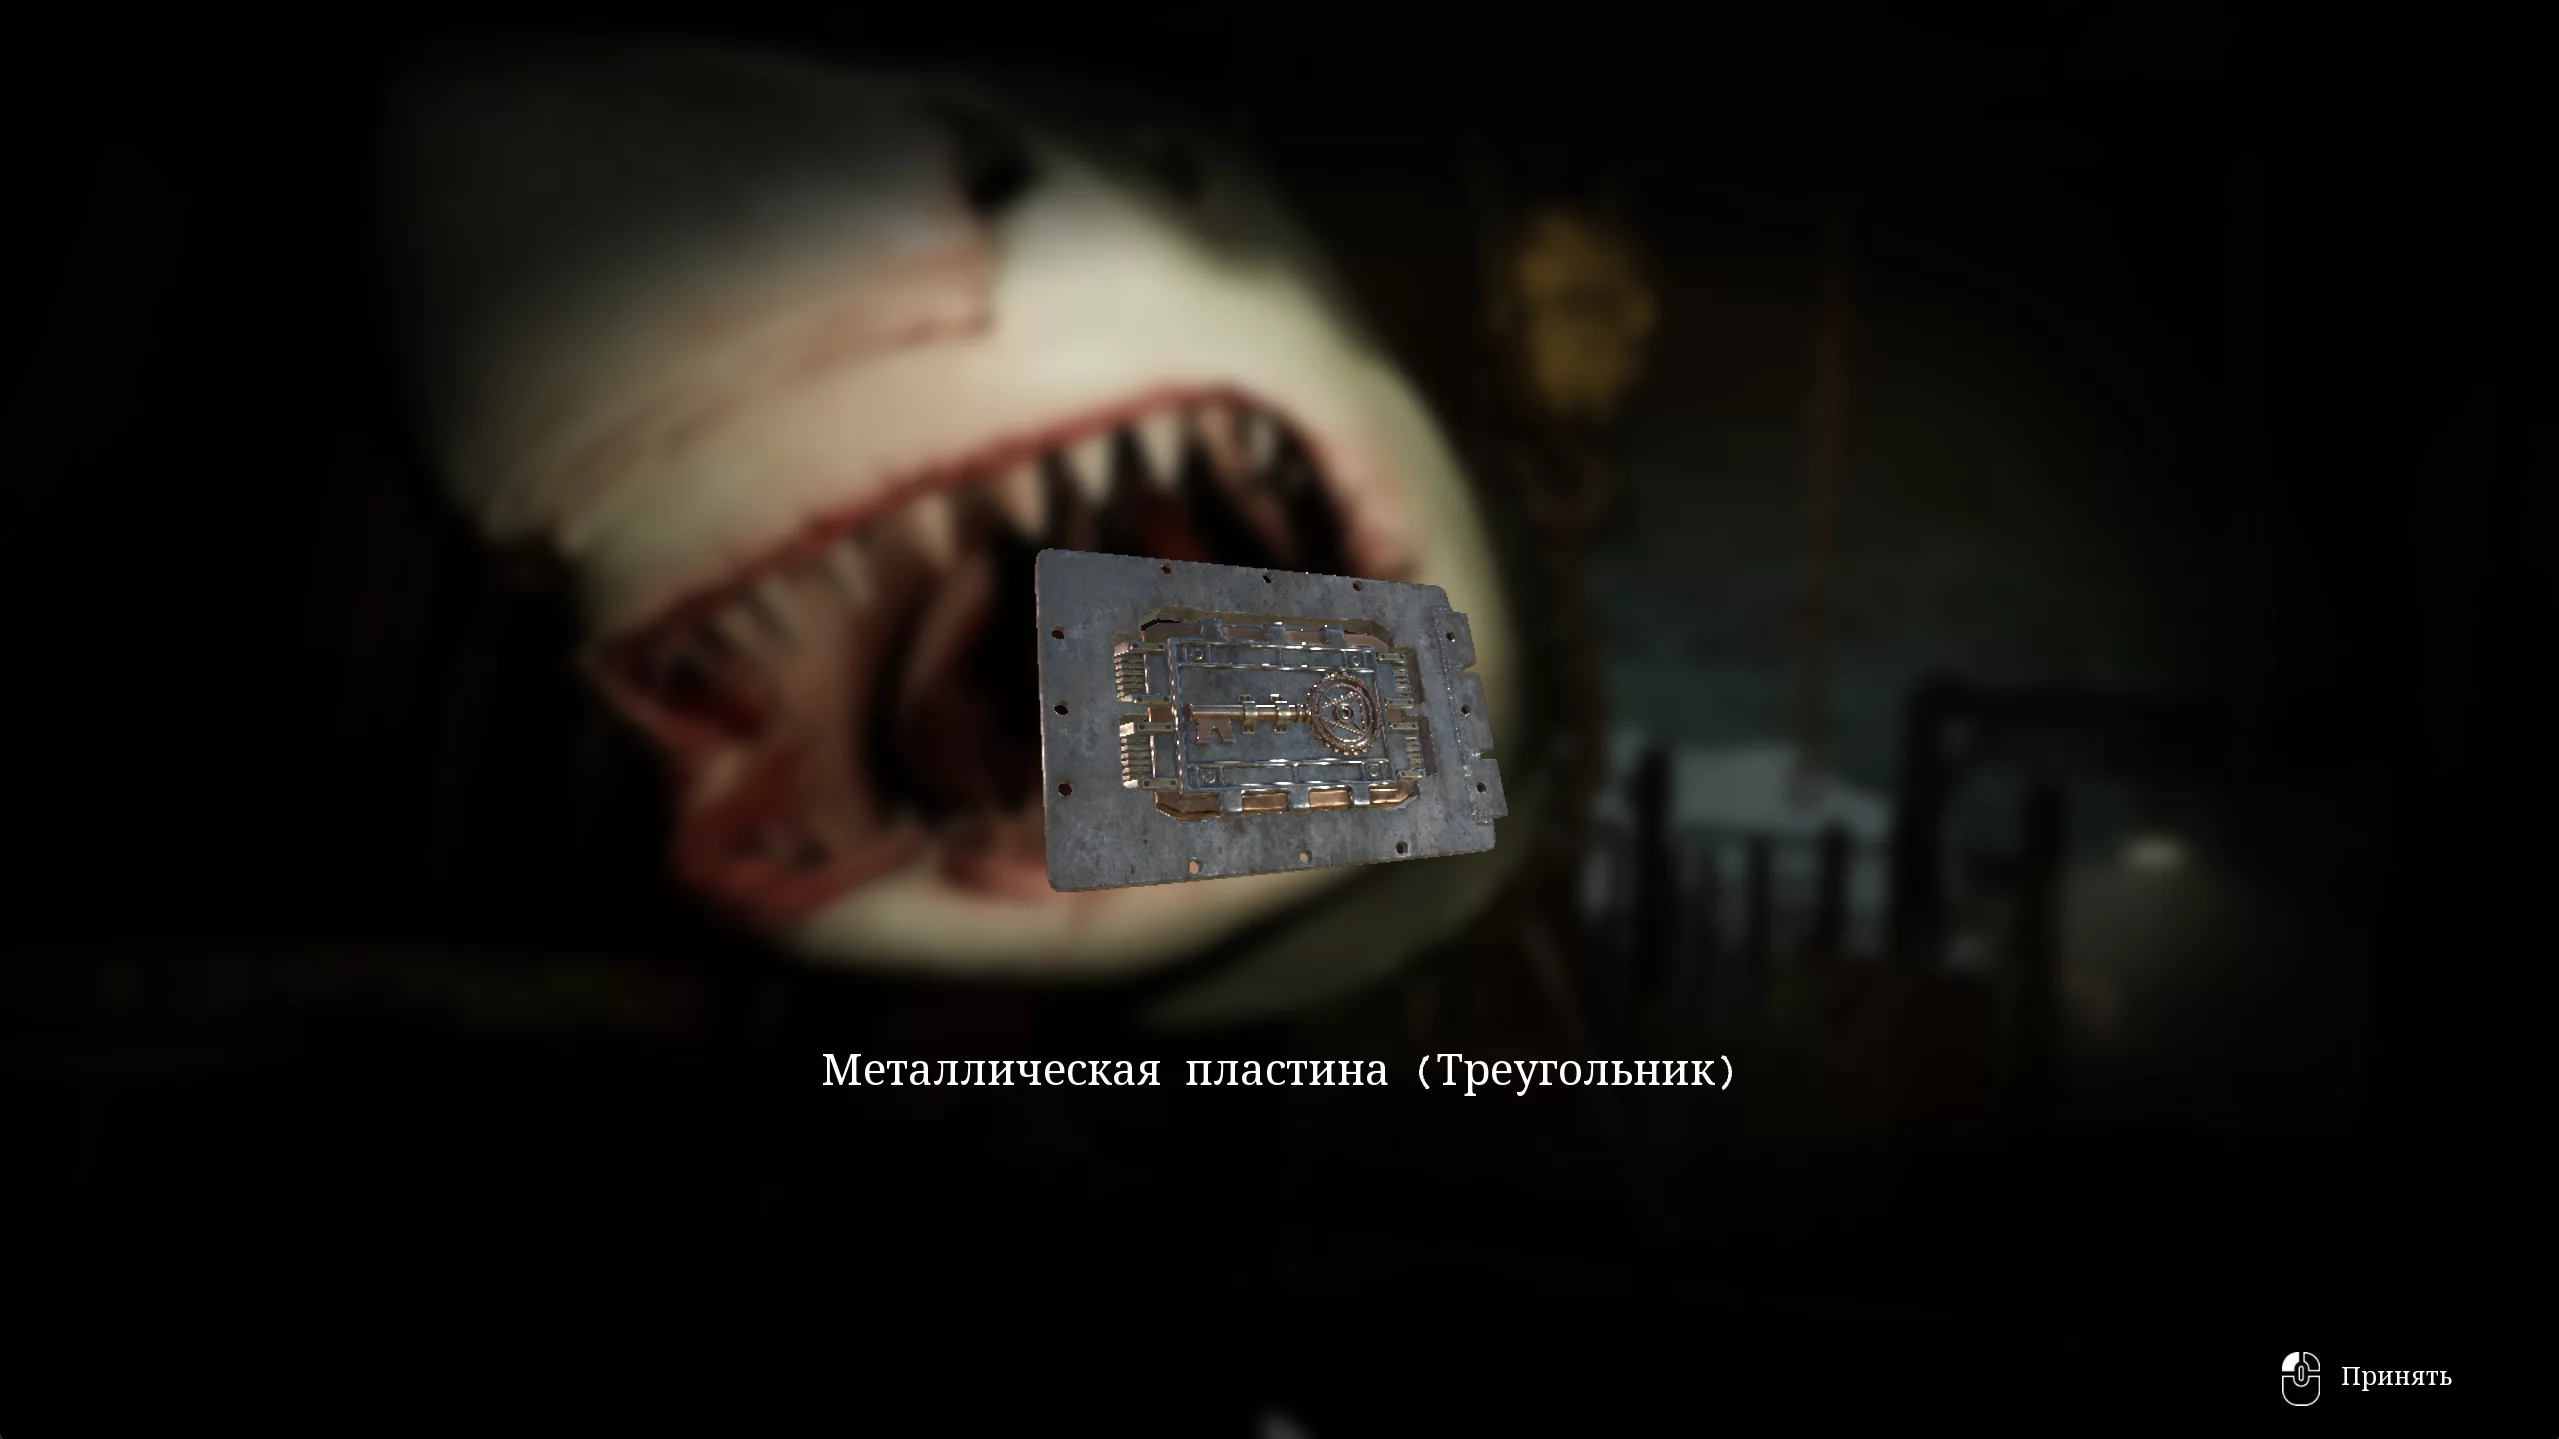
Before the shark, you'll encounter three little crabs — take them out with the crowbar and proceed to the bigger fish. First, use the crowbar, then the jack to open its mouth and take the Triangle metal plate.
Two more crabs will emerge from the predator's mouth — the crowbar will help you again. With this progress, it's a good idea to save, as the final boss of the location is ahead. Go to the sanitation office, save your progress, and return to the huge door in front of it.
A bit further on, you'll notice three red panels where you need to insert the plates:
- Eye.
- Triangle.
- Spiral.
Press the red buttons three times and go through the open door.
Slaughterhouse
Run past the corpses and enter the Slaughterhouse. Here, go down the corridor, pick up shotgun shells from the table, and enter the center of the room to start the boss fight.
The strategy against him is simple. You need to pick up the harpoon right behind you, load it into the cannon opposite, and force the boss into a broken state by dealing damage: at this moment, blue sparks will fly out of him and the boss will start moving very slowly. As soon as the boss slows down, pull the harpoon using the lever at the top of the arena and activate it with the panel on the opposite side. Repeat until the boss is dead.
Path to the Cemetery
After killing the monster, a saw blade will fall off him. Take the part, as well as Anna's diary from the table, then go down the hatch on the right.
At the bottom, take the chainsaw body from the box and combine it with the blade. After getting the new weapon, open the rusty cage and head to the reception. Go up through the basement to the lower wing and head towards the exit from the factory.
Saw through the board using the chainsaw and go down the stairs.
If you remember, before entering the factory you found crates in the backyard of one of the buildings. Return there using the crowbar and get shotgun shells and nail gun ammo.
Return to the van near the stairs and open the passage to the sewer using the chainsaw. Run through the entire corridor, escaping from the crab army. Don't even think about fighting them — they'll win anyway. At the end of the chase, you'll find yourself at the next stage of the game — the cemetery.
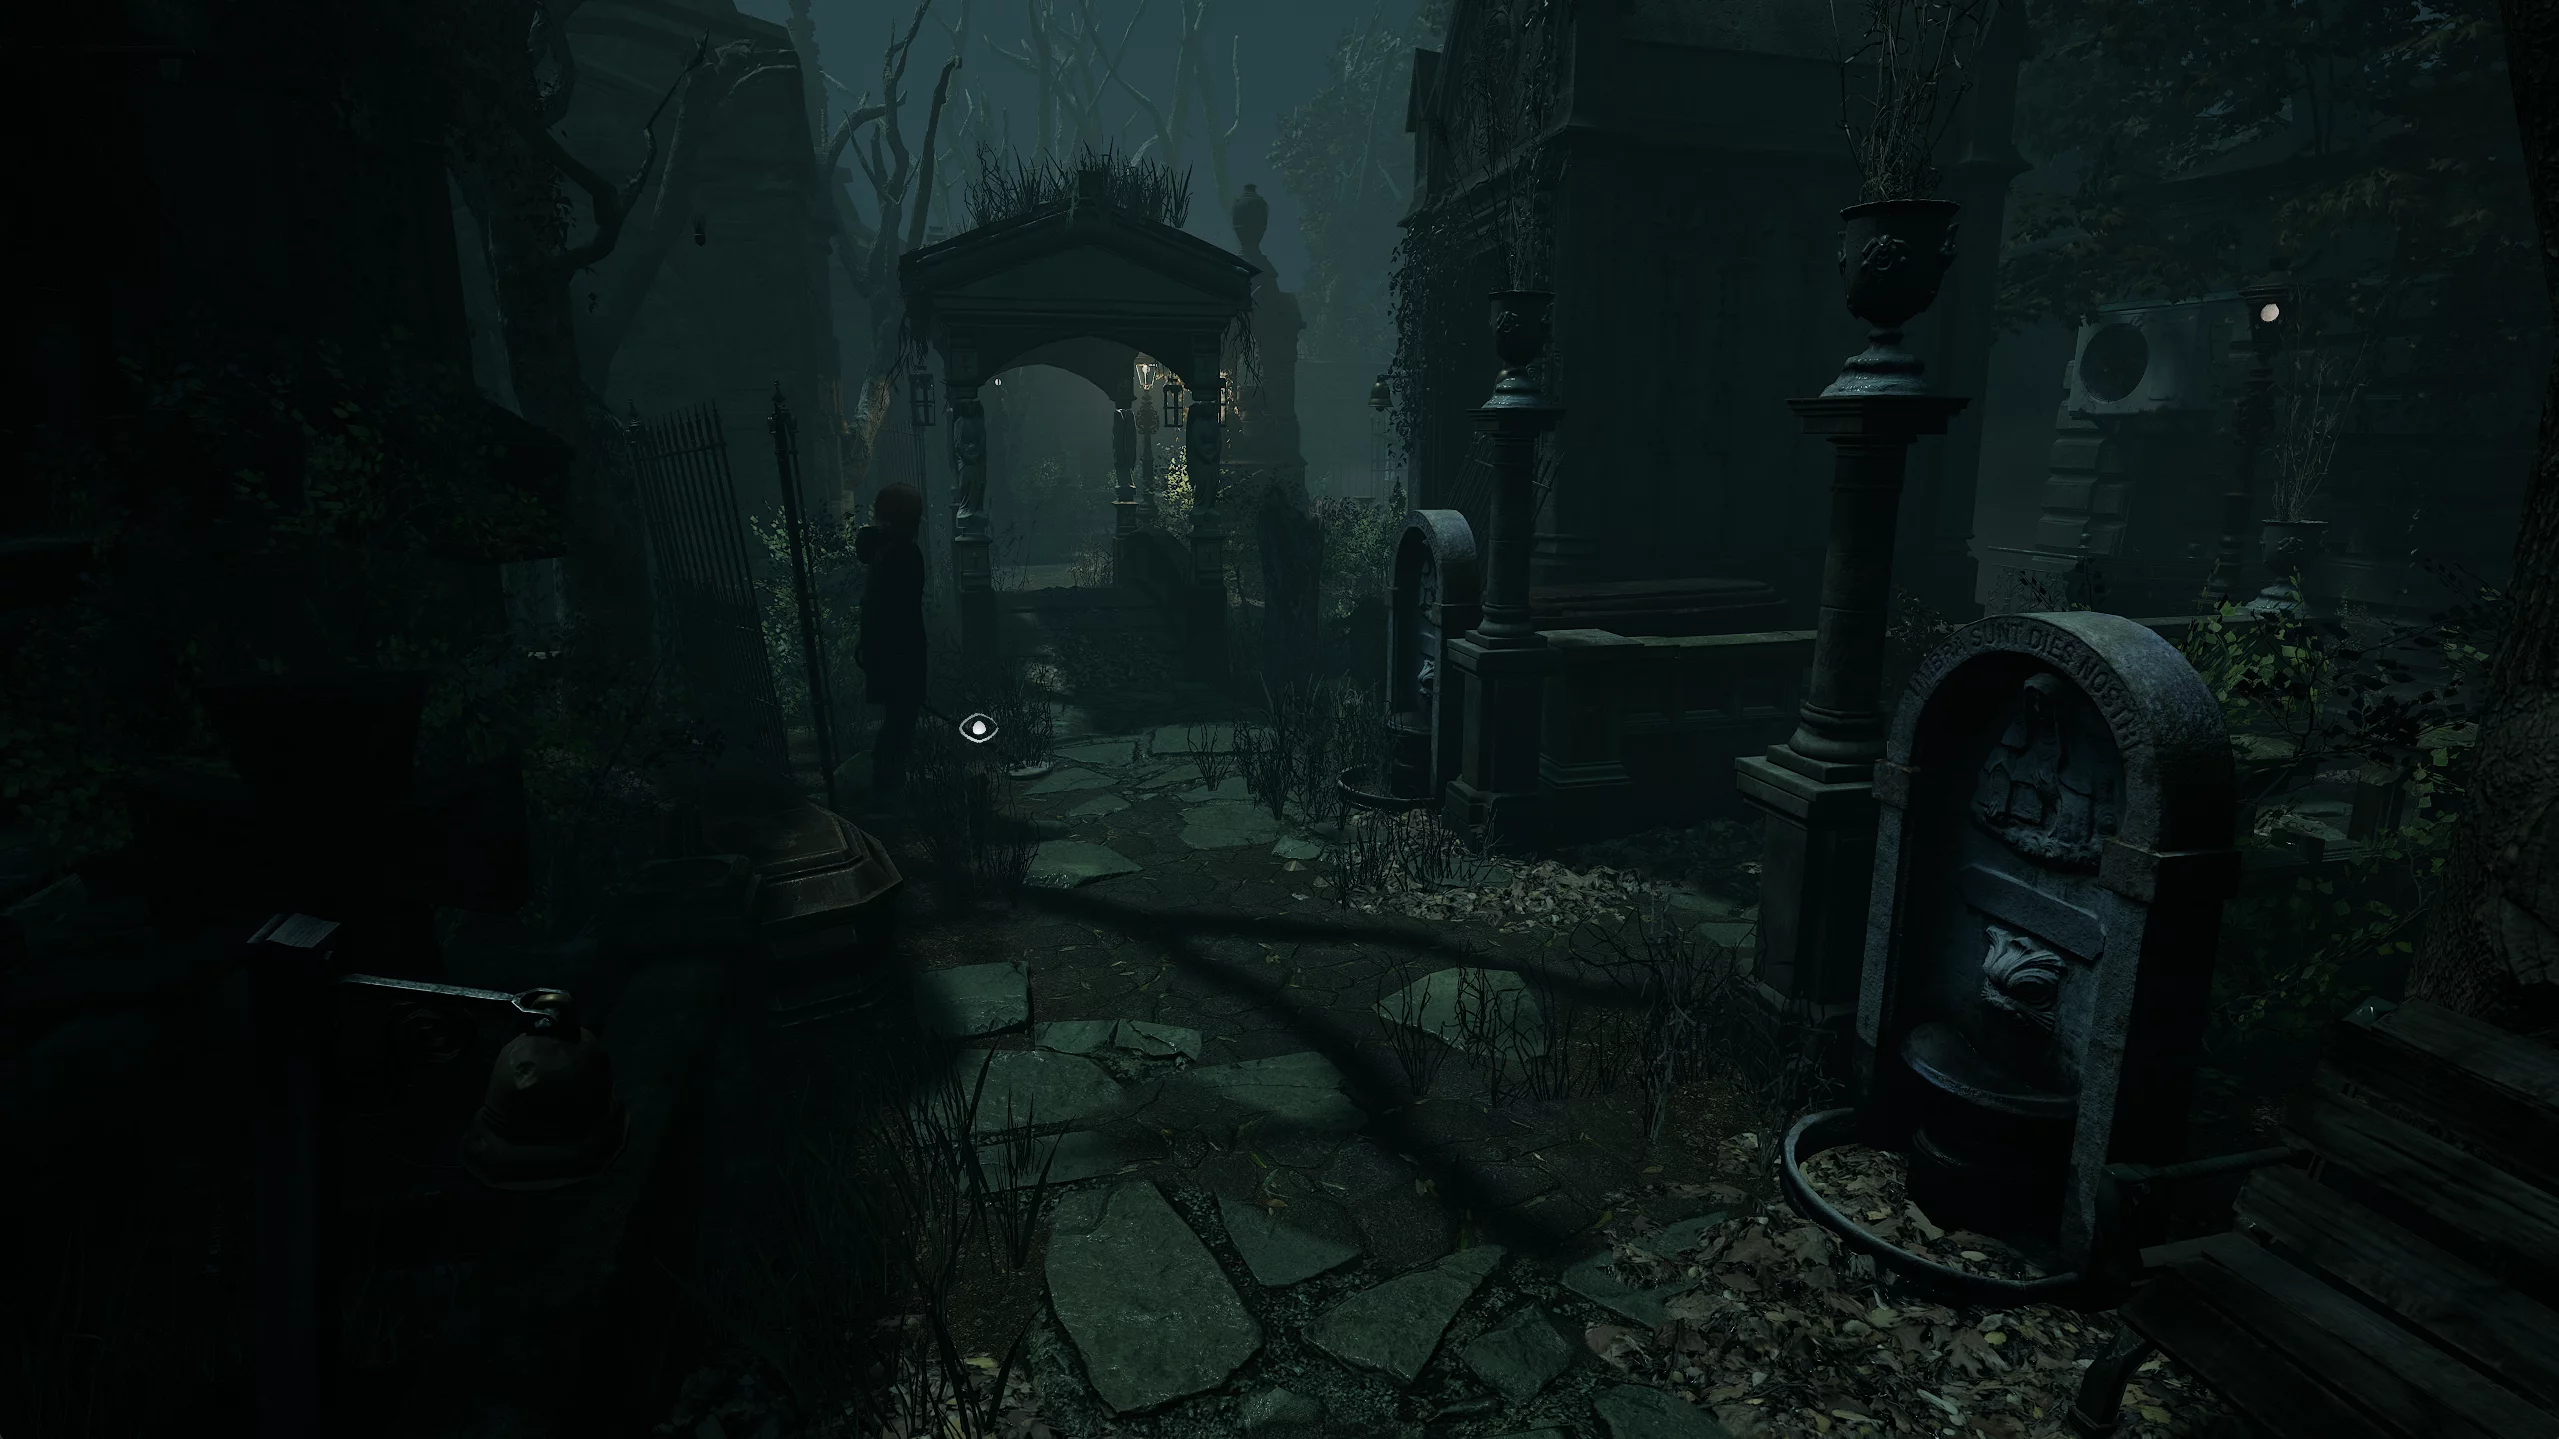
Graveyard
Once you enter the graveyard, go forward and head to the bridge over the river. Cross it and turn left again. You will find yourself in the graveyard office, where you can pick up painkillers, magnetic tape, and a map of the area. Save at the record player and continue exploring the location.
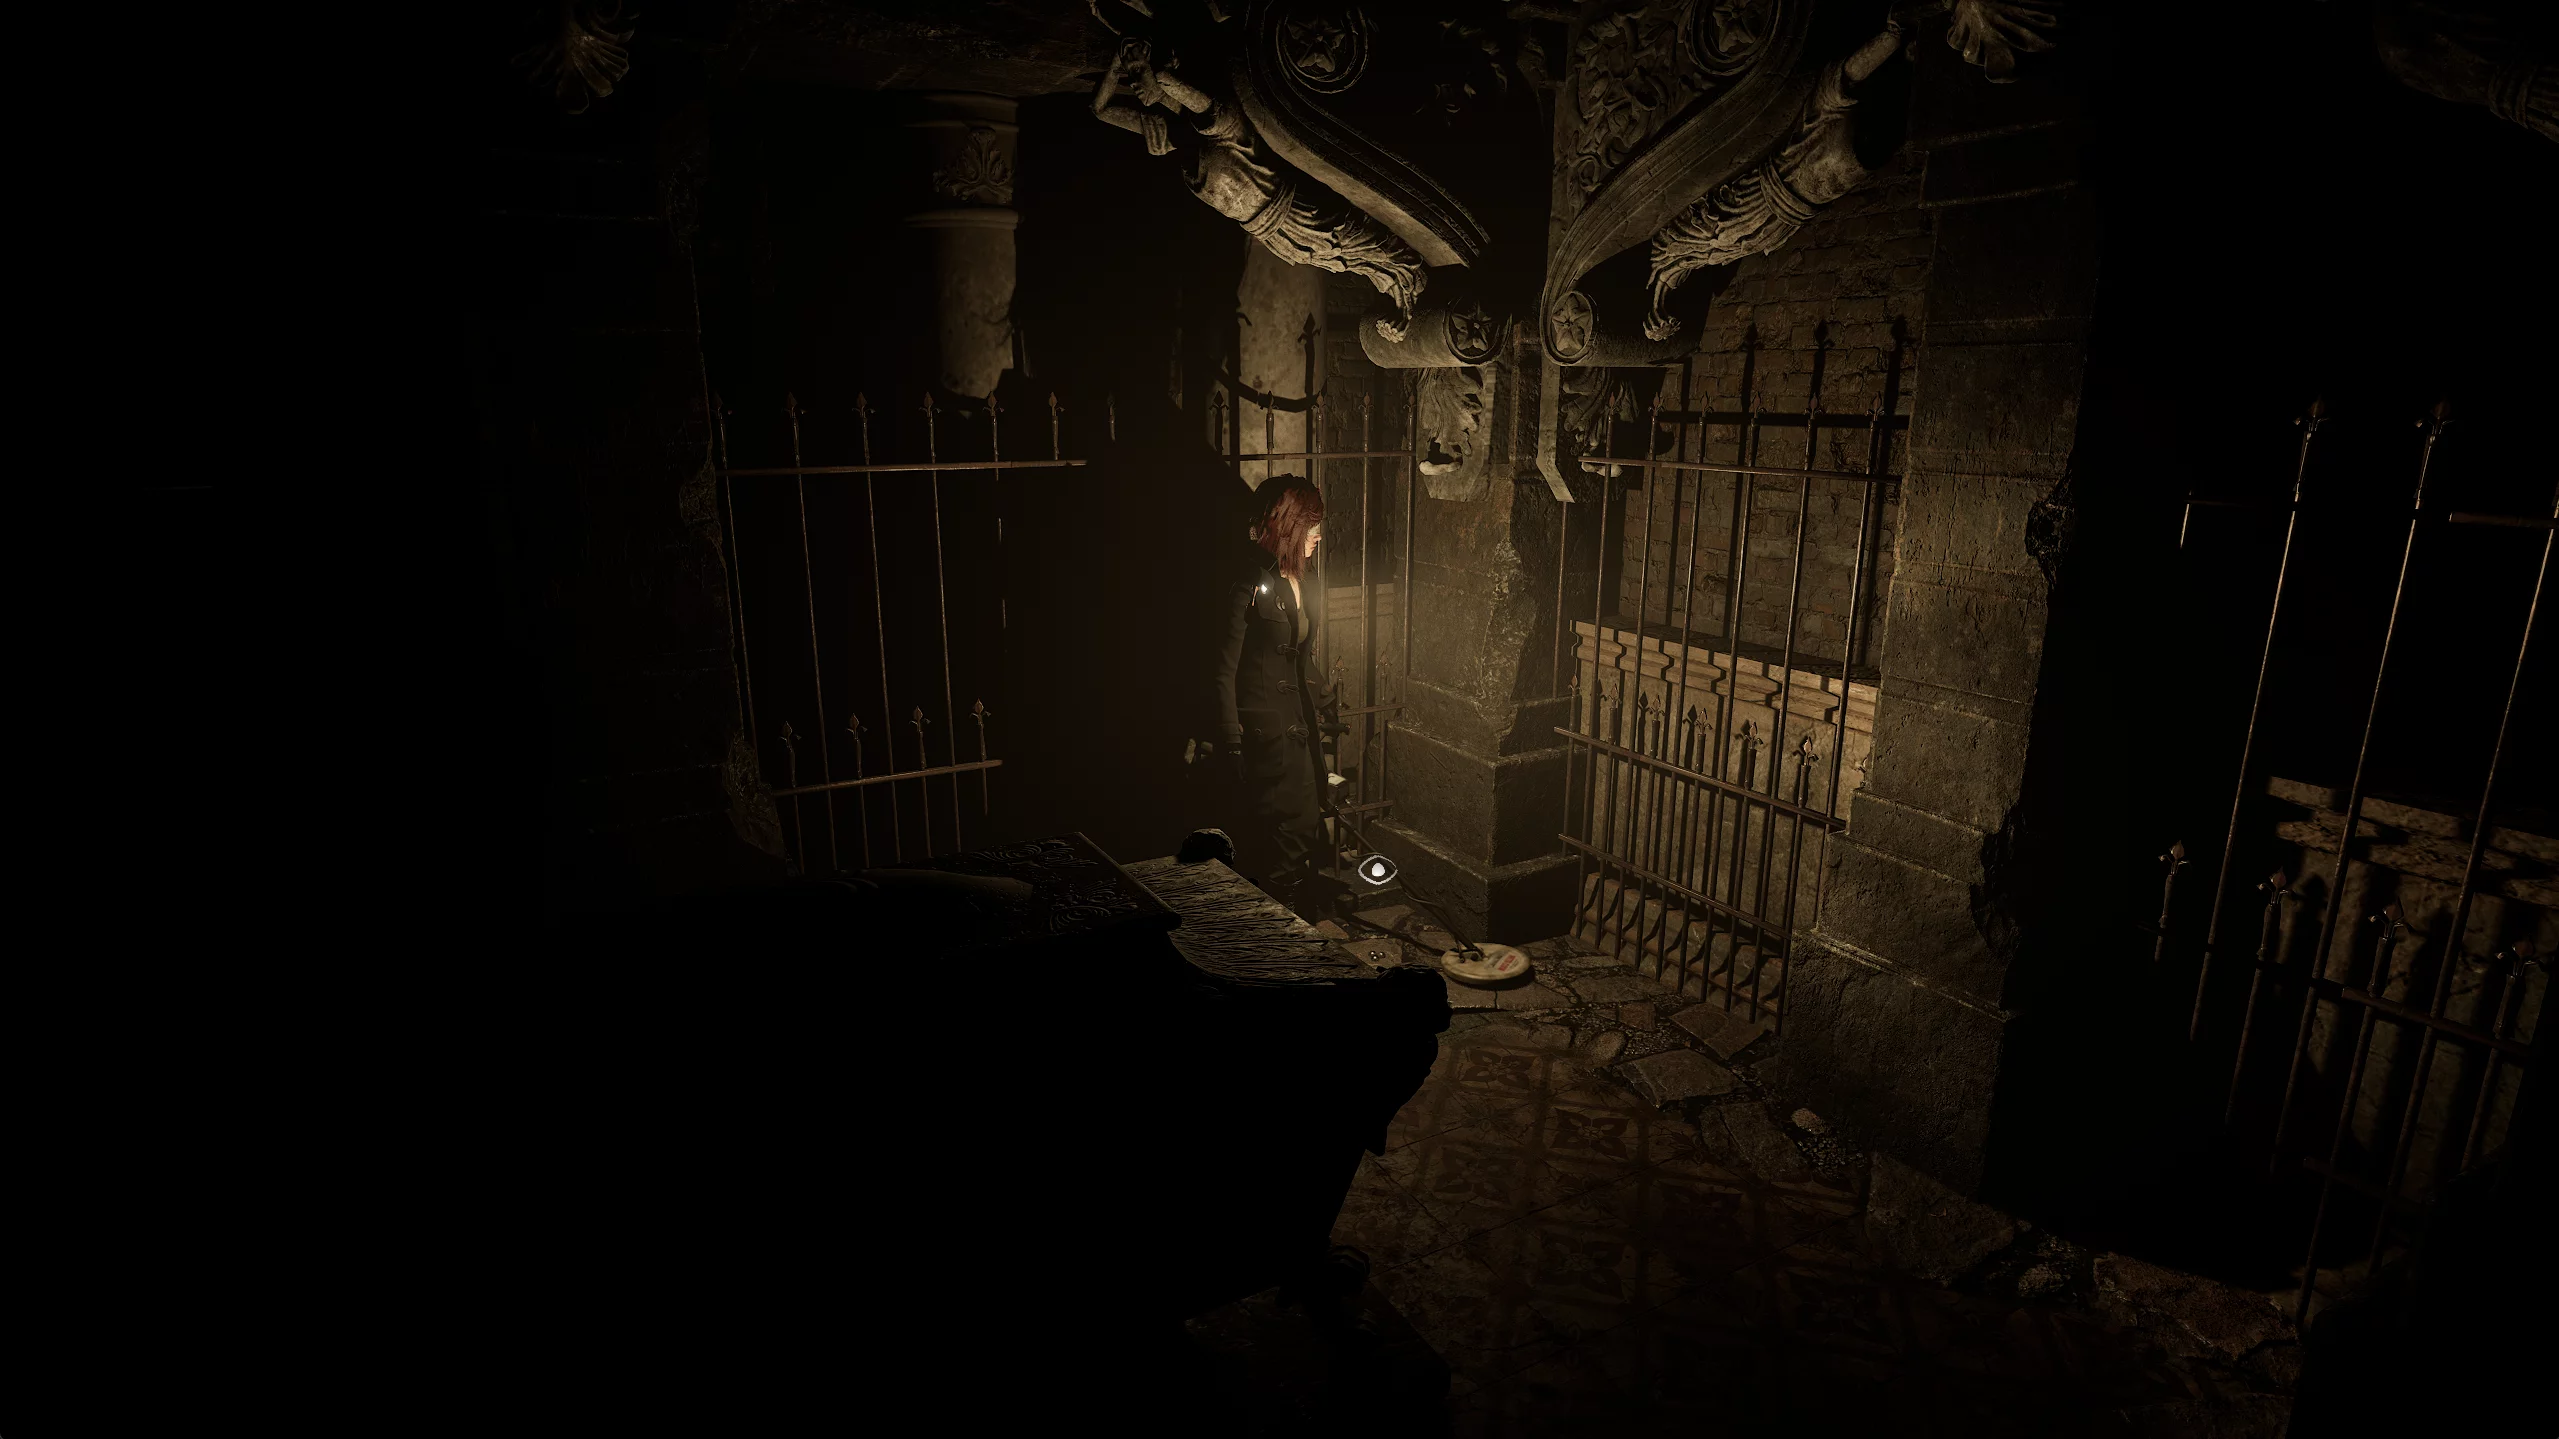
How to Collect All Animal Discs
Return to the fork at the entrance to the graveyard and head to the right. Before the door, turn left—towards the tree with the hanged nun. Take the shamrock key behind her, and on the bench nearby, grab a box of nails.
On your way back, you will encounter a lost ghost. The tactic against it is simple: dodge its attack at the last moment and beat the ethereal creature with a crowbar.
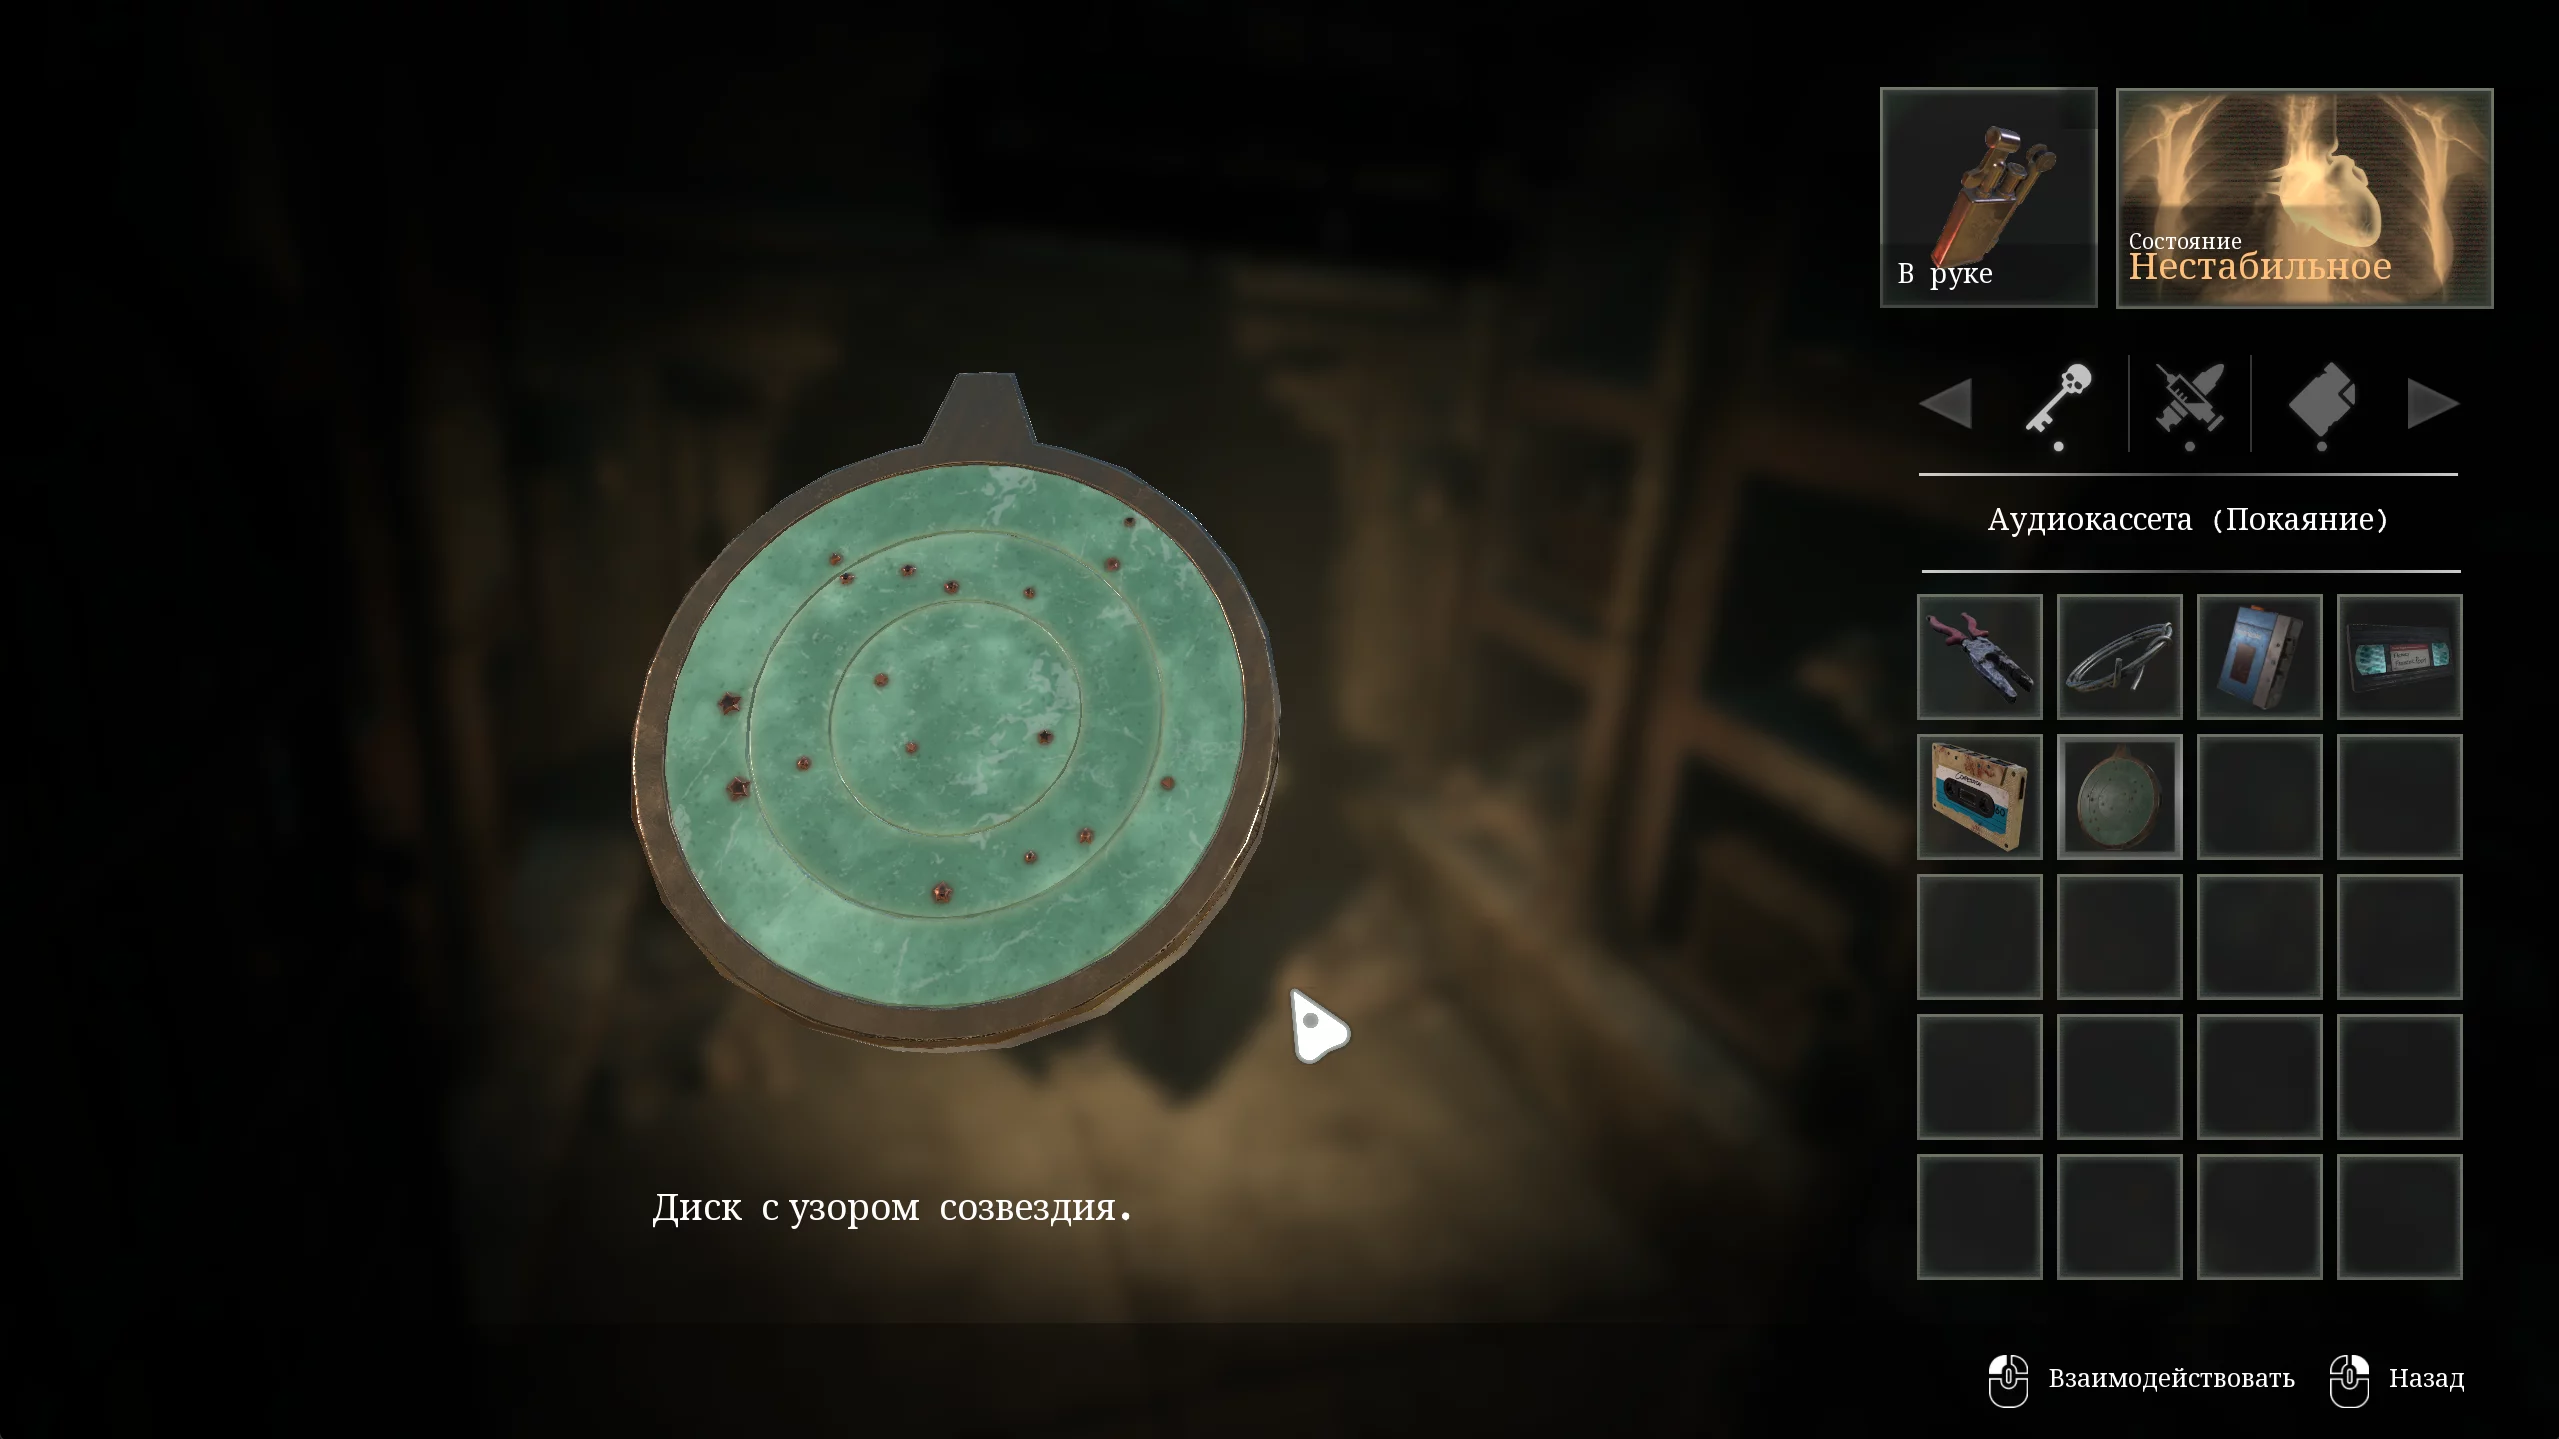
Enter the tomb to the right of the bridge and search the coffin for a bat disc.
Return again to the graveyard office and go down the hatch behind the counter.
In the tomb, besides the statue puzzle below and the crumbling wall on the other side, you are interested in the constellation disc piece on the right side of the balcony.
Return to the large sealed gates and enter the left mausoleum first—for extra nails, and then the right one for the turtle plate in the coffin.
Go down the stairs and turn left to enter the graveyard grounds. Immediately turn left and head to the cabinet with the protruding coffin. A ghost will attack you: dodge the spirit and beat it with a crowbar. In the coffin, find the dog disc.
Go around the graves with statues until you find an iron grate that opens access to the stairs to the second floor. Climb up, fend off the ghost, and turn right to grab the painkillers. Return to the fork and continue along the balcony until you find another staircase.
Go around the wall behind it to get a supply of nails, then go down.
Right at the exit, open the coffin and take the bird disc.
To the left behind the stairs, you can find povidone on boxes near the zodiac sign plaques. On your way back, go a bit further for another portion of povidone.
How to Get the Hand Cannon
From the stairs, go outside and turn right to open a shortcut, then head back down. Enter the lit door into the mausoleum with the chest.
Insert the animal discs you found earlier in the following order:
- Bird.
- Turtle.
- Bat.
- Dog.
Then turn each disc a certain number of times according to the inscription on the chest:
- One.
- Four.
- Four.
- Seven.
After performing these actions, the chest will open and you will get the most powerful weapon in the game — the hand cannon. Ammo for it is very rare, so it’s best to use it against bosses.
How to Open the Twin Mausoleum
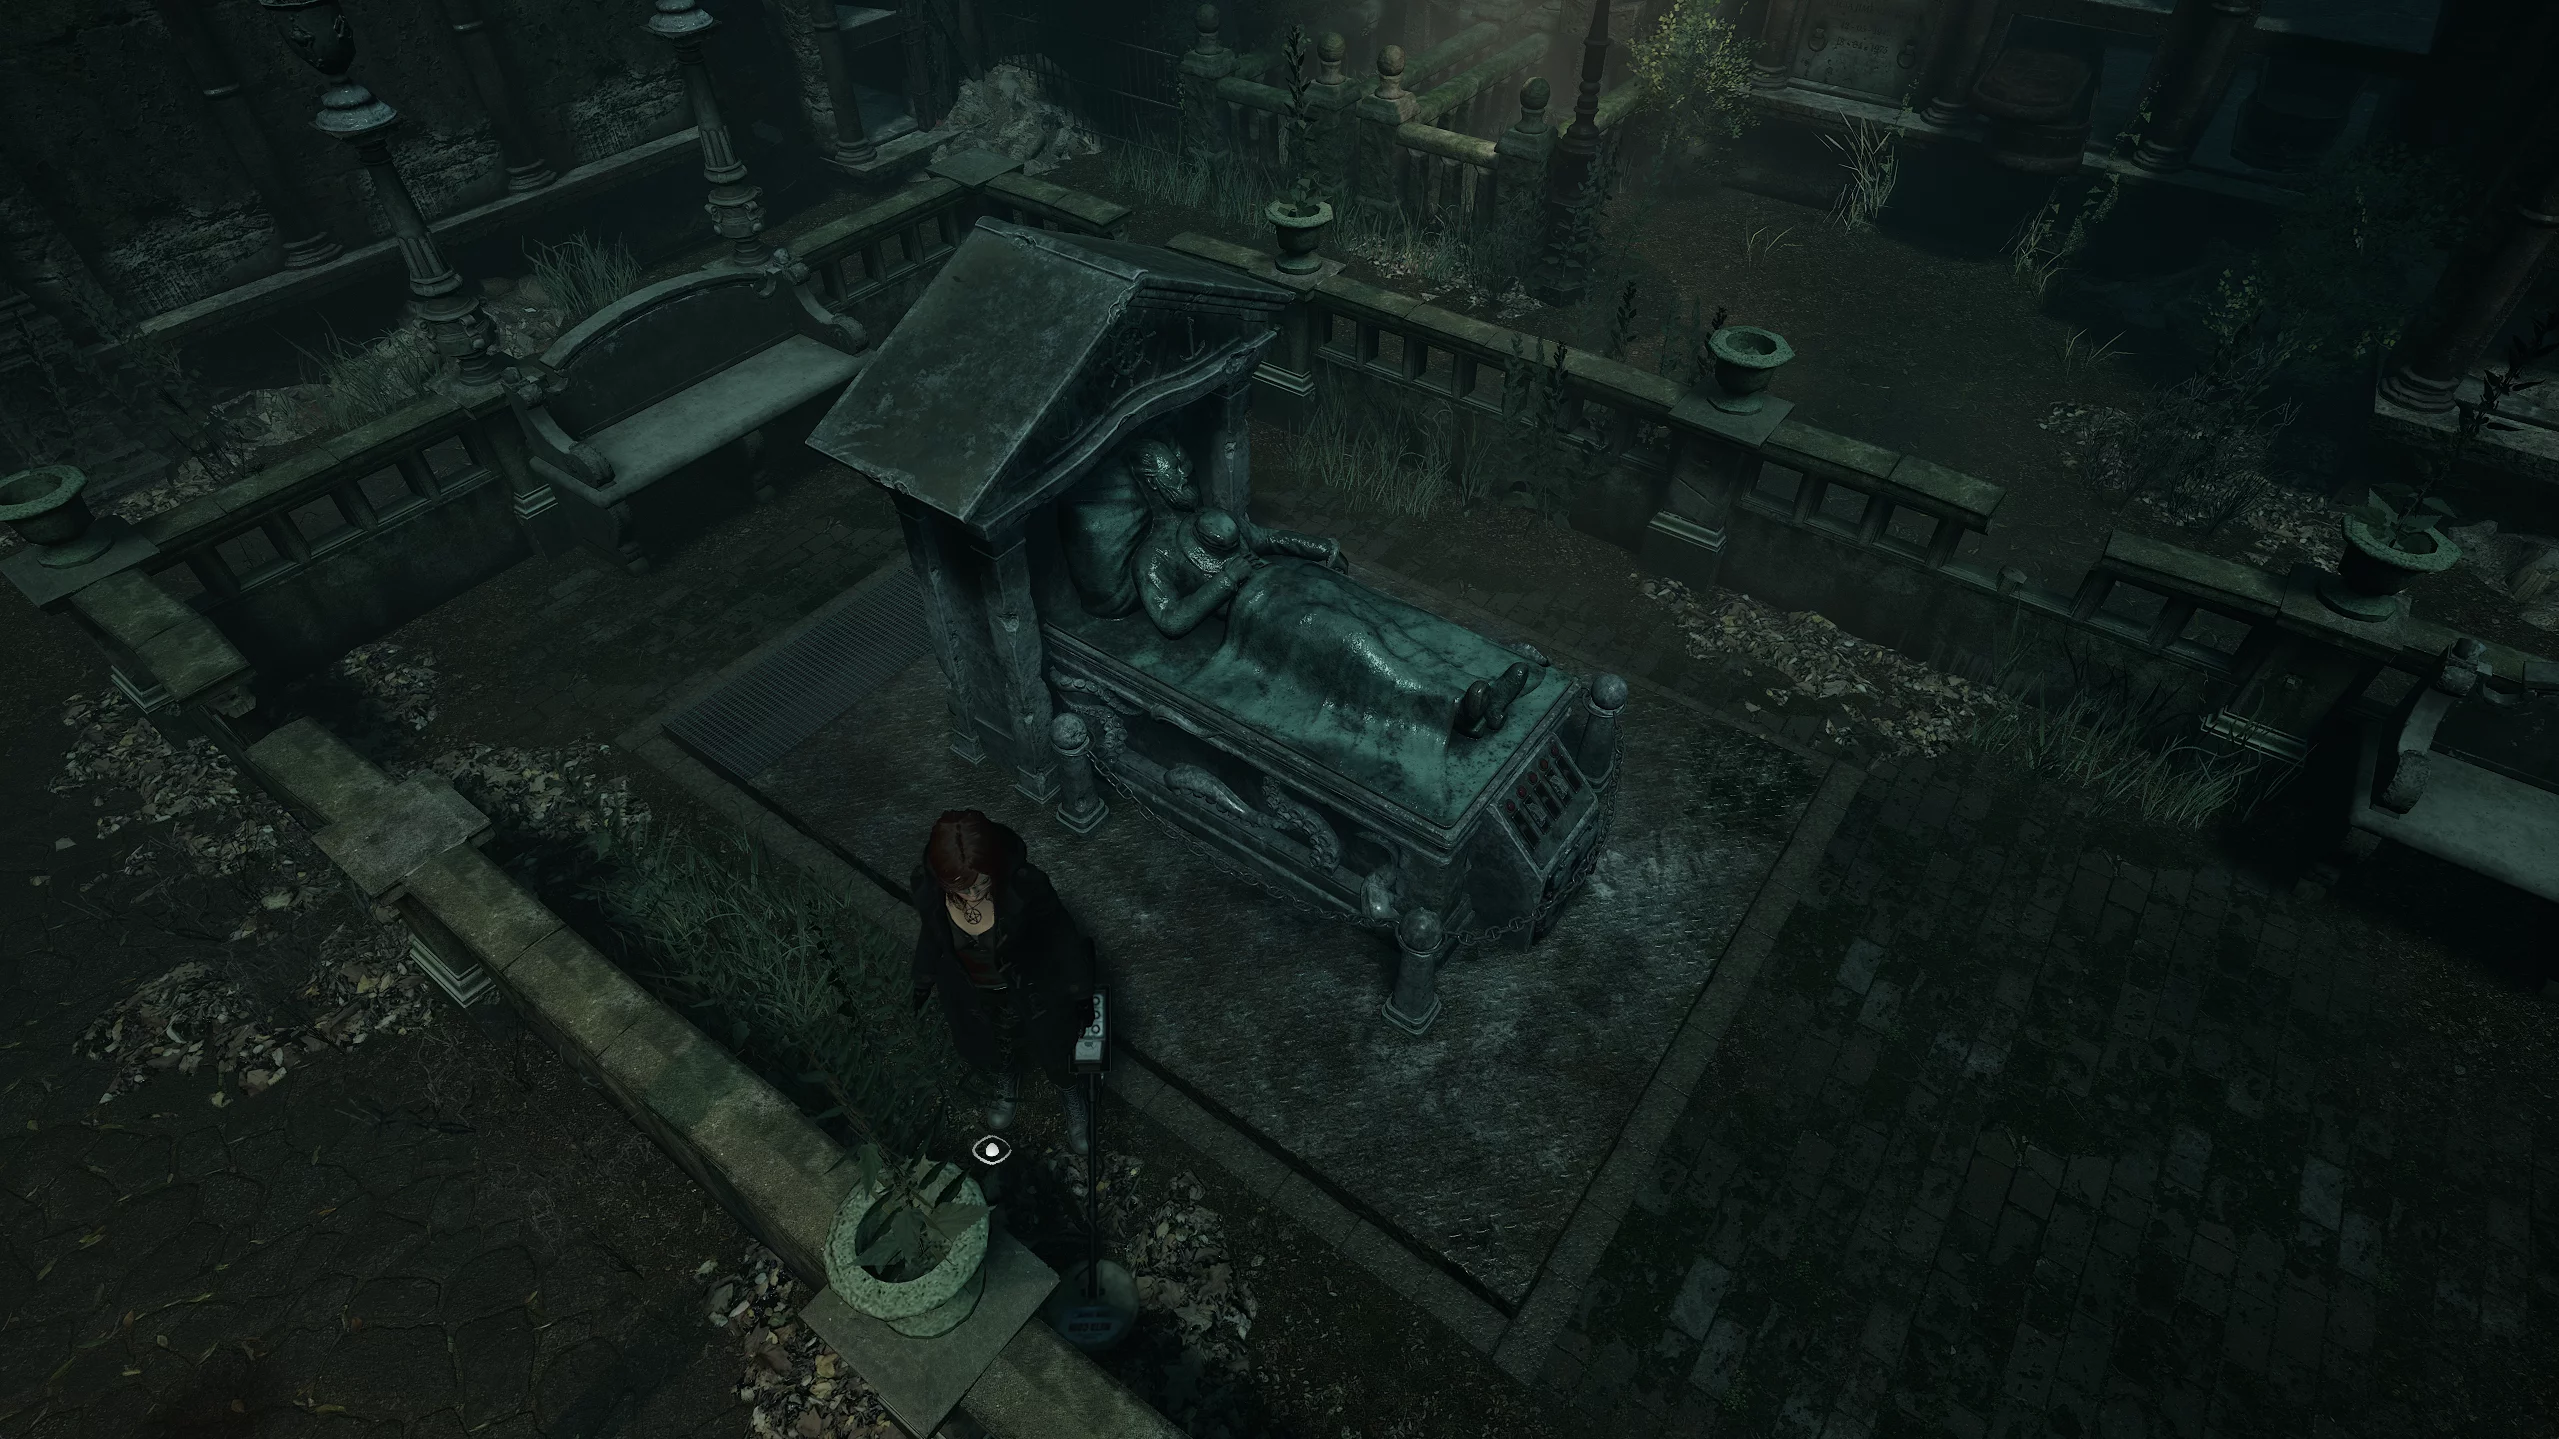
Go deeper into the graveyard, passing the graves of Anna Wildberger and Caroline Walker. Open the door on the left to unlock a shortcut to the graveyard area, then turn right and enter the mausoleum for shotgun shells. After searching every corner, go forward and use the shamrock key.
Drive away the lost spirit and search the tomb. Here you will find shotgun shells and a constellation disc.
Combine it with the previously found piece and solve the puzzle by turning the rings to form the Gemini constellation:
- Turn the inner ring seven times.
- The middle ring — two times.
- The outer ring — five times.
Exit the tomb, calm the ghost, and return to the graveyard entrance, then head to the tree with the hanged nun. Once there, proceed to the mausoleum ahead, dealing with another spirit along the way.
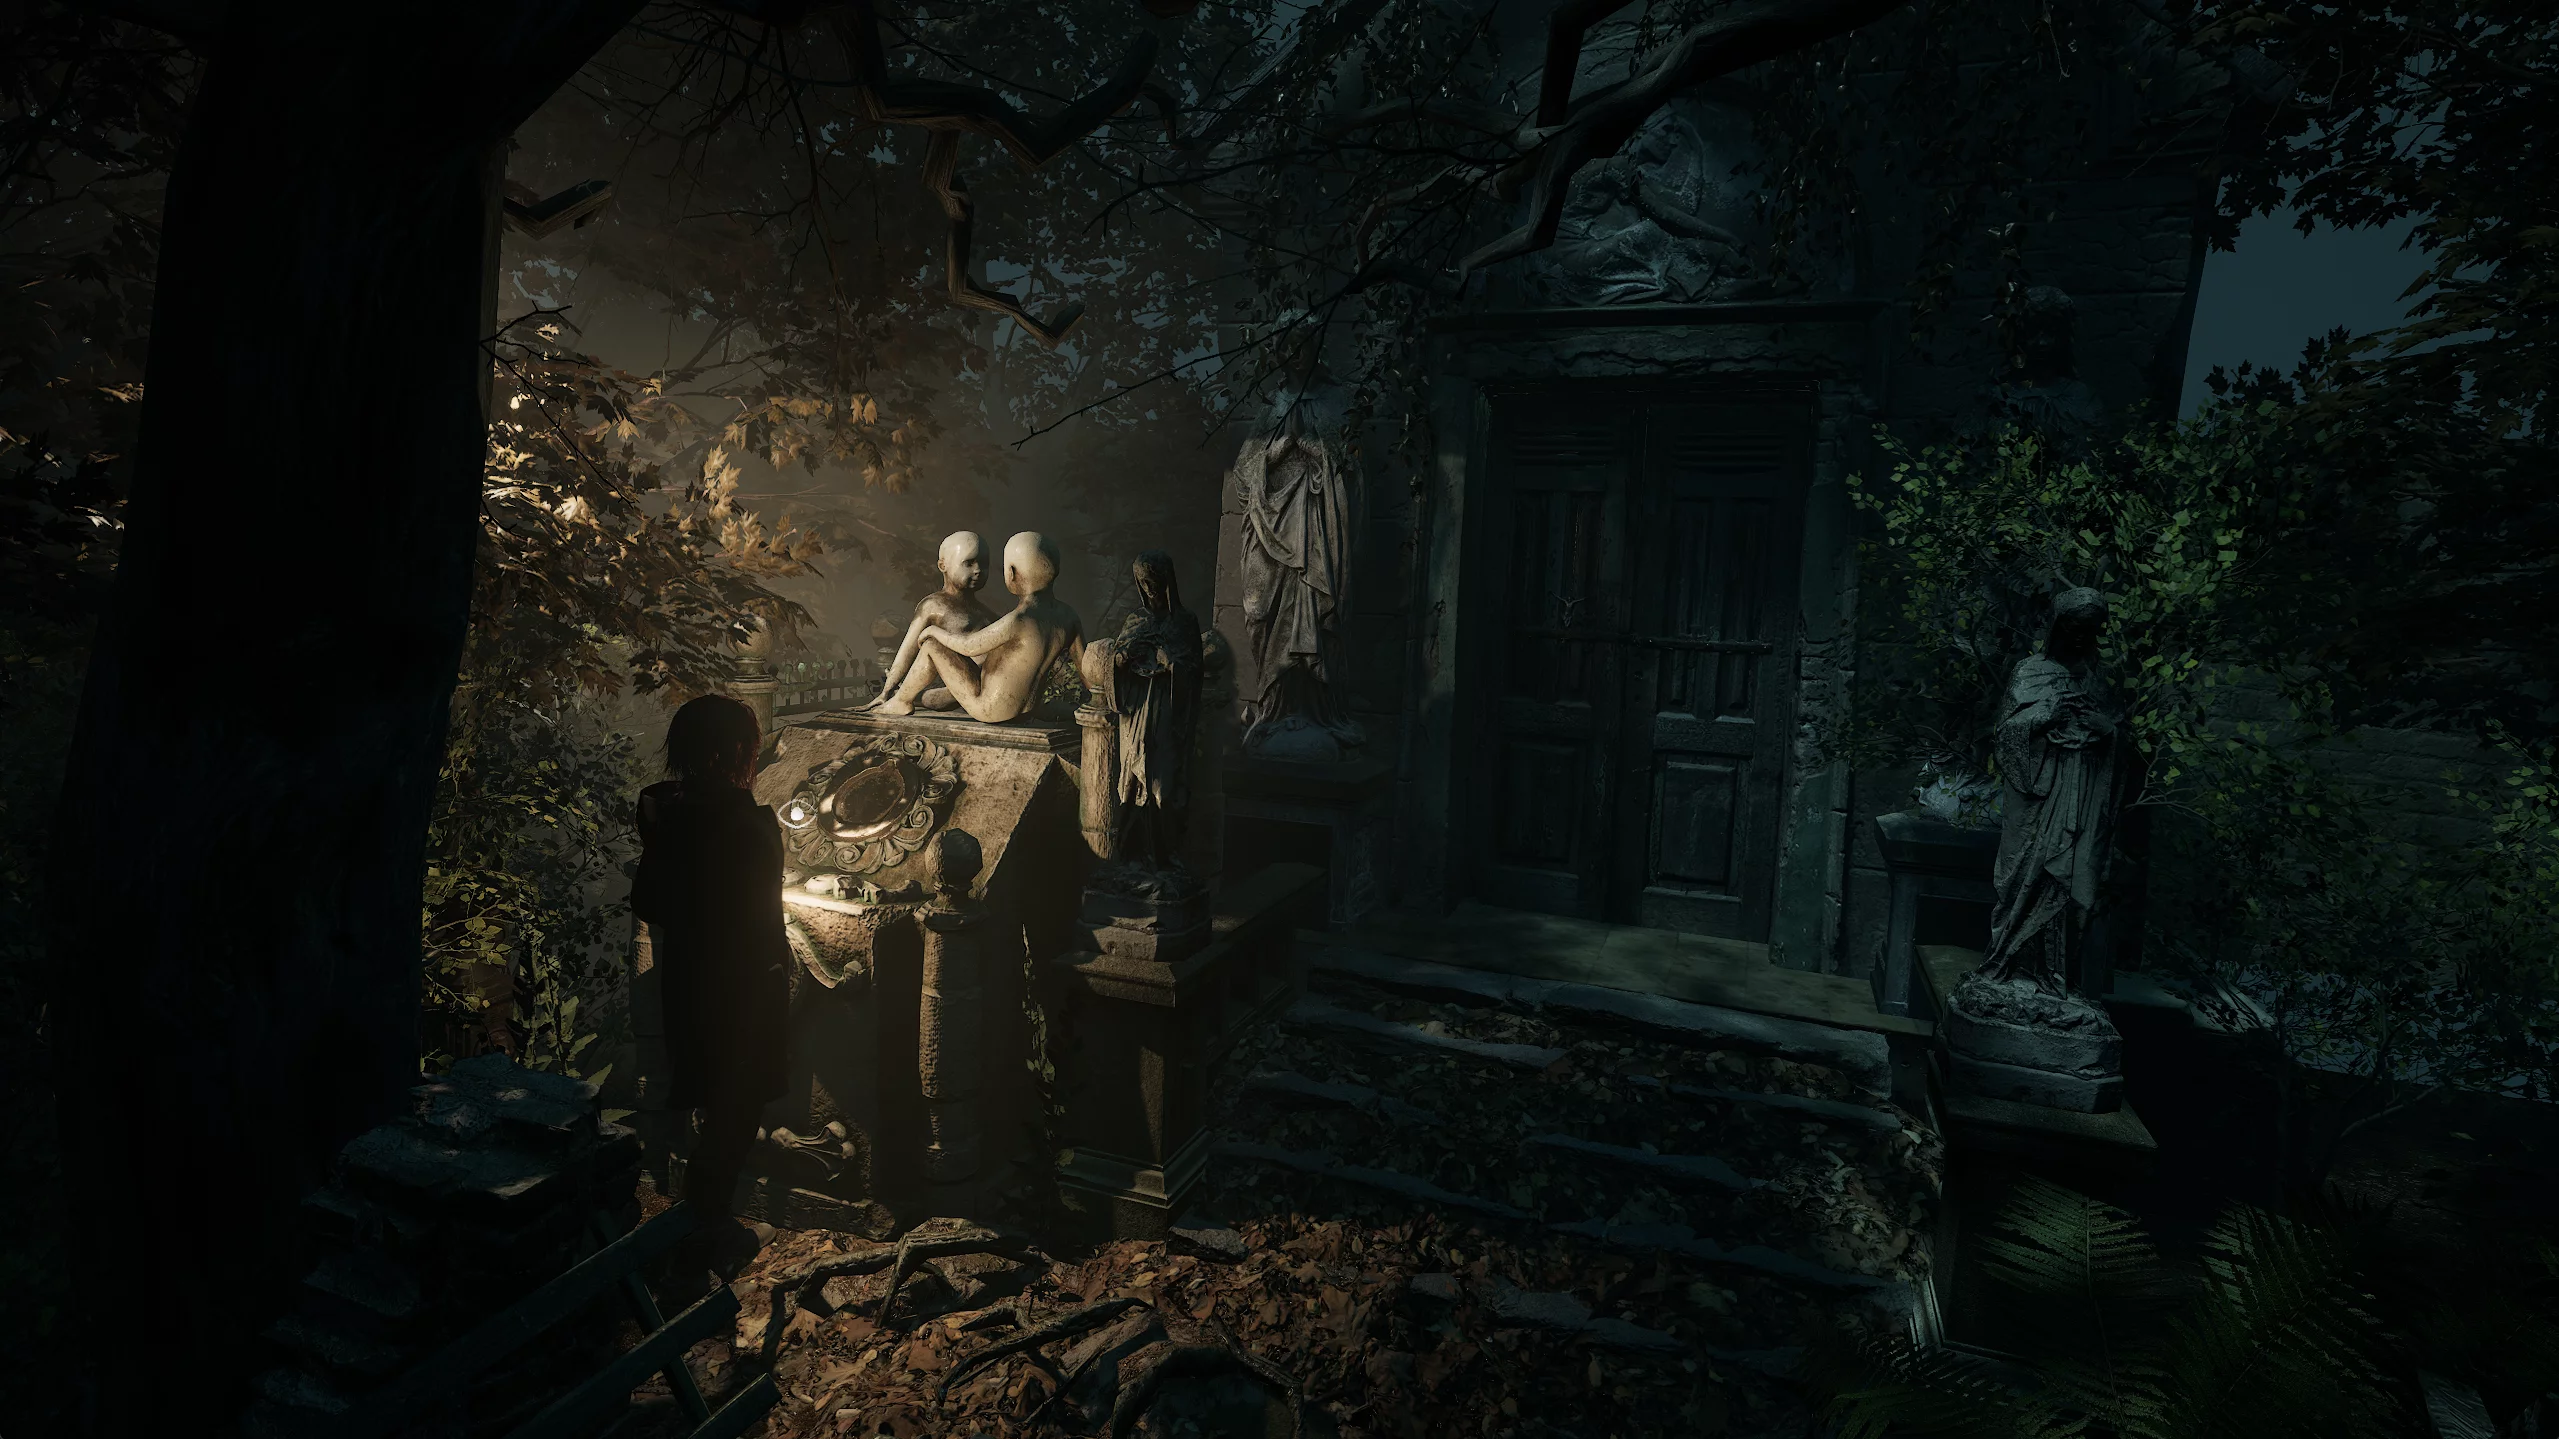
Insert the constellation disc into the recess by the statue and enter the room.
In the Twin Mausoleum, take the metal detector from the cabinet and the grim drawings on the wall near the entrance. They show three places where you need to use the tool you just received.
How to Find All Octagons
First, head to the nun on the tree with the metal detector in hand. Approach the fence in front of the tree and dig up the bronze octagon.
Head to the bridge leading to the graveyard office and use the metal detector near the grass. After a prolonged beep, dig up the silver octagon.
The last piece is hidden in the graveyard area where the dog disc was found. Go to the shortcut opposite the mausoleum where the constellation disc was found and use the detector near the gate. After the sound signal, take the golden octagon.
Obtaining the third puzzle piece will trigger bells throughout the graveyard, signaling the appearance of new enemies in the location. Be careful.
Catacombs
With all three polyhedrons, head to the large grave in the center of the graveyard. There you can use the metal detector to find hand cannon ammo. Beware of the zombie horde along the way.
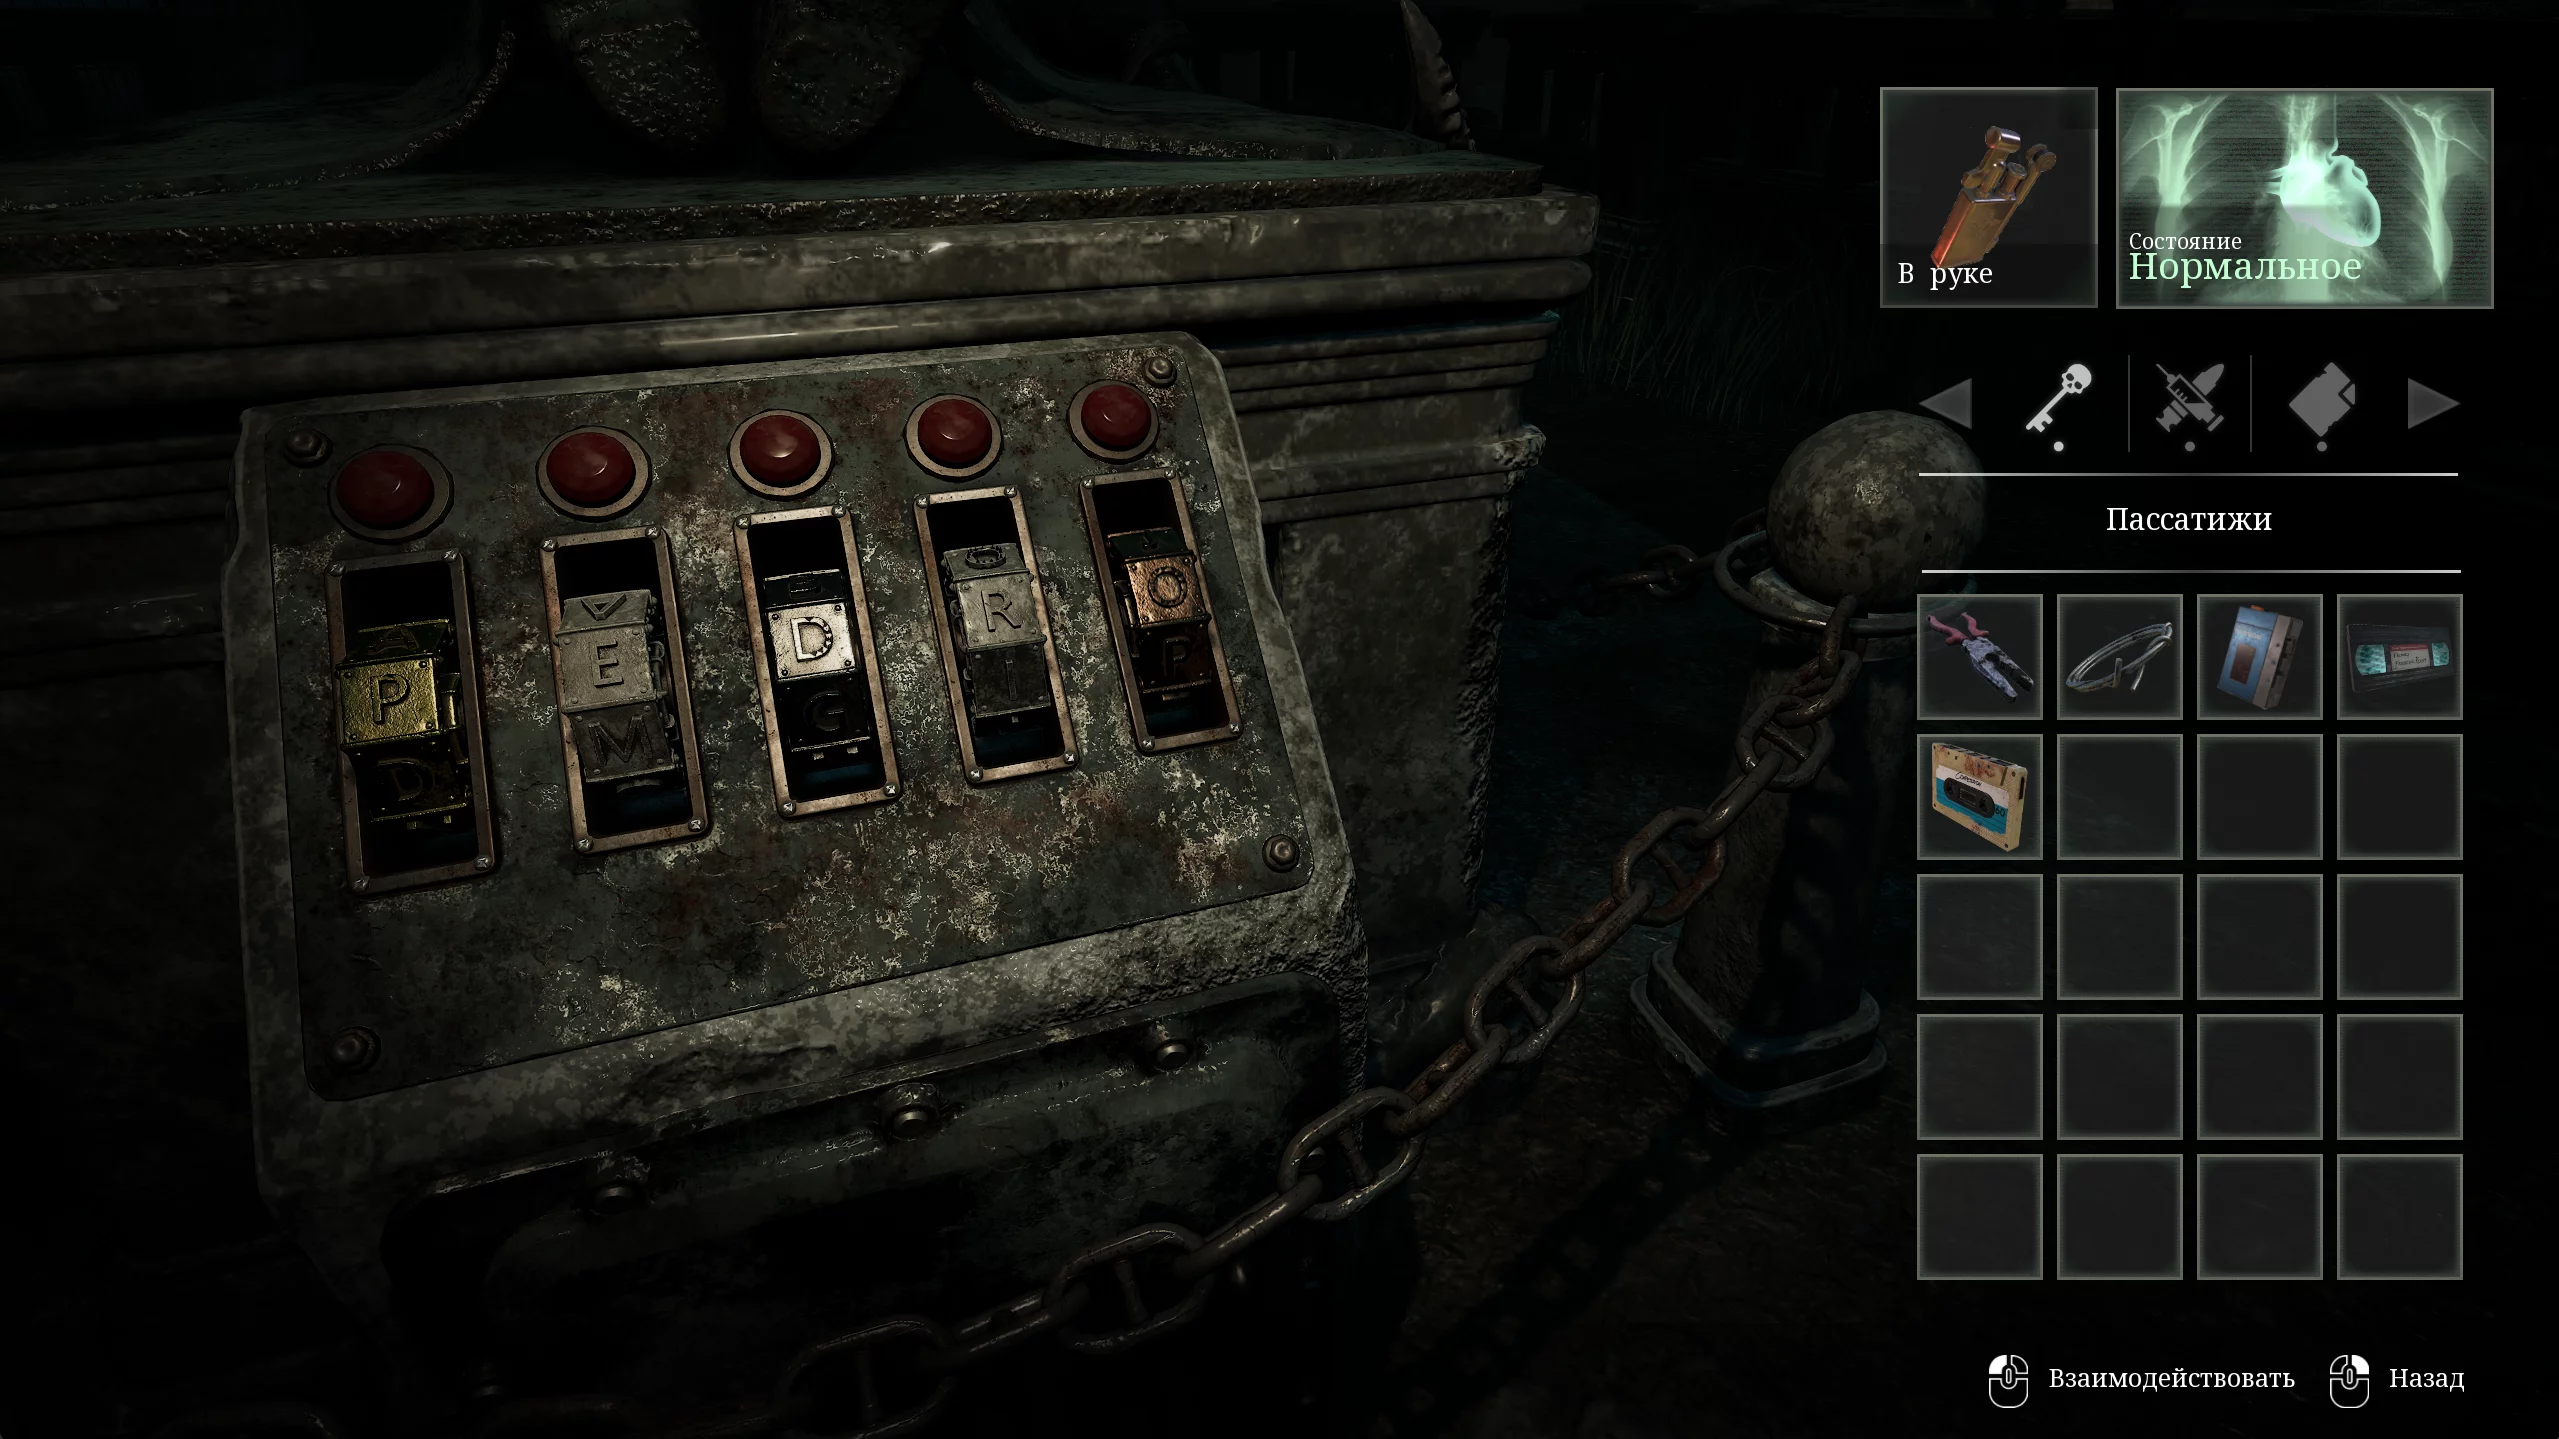
Use the polyhedrons on the mechanism in the following order:
- Gold.
- Silver.
- Bronze.
Once all the pieces are in place, form the word PEDRO. This will open the control panel on the back side of the grave. Press the button and descend into the catacombs.
Go forward, light the candles, and break the boxes with a crowbar to get shotgun shells. At the fork, turn right to take the old photo, then keep moving forward. The wooden door leads to the tomb under the graveyard office—open the shortcut and return to the catacombs.
After descending to the very bottom, light all the candles and pick up useful items like painkillers and a box of nails from the tables.
Climb onto the pedestal and take the marble sword from the stone coffin. After this, the door will close and zombies will rise in each corner of the room. Deal with the horde by any means available and return through the shortcut to the tomb.
On your way back, two more zombies will chase you—lose the monsters and enter the room.
How to Solve the Statue Puzzle
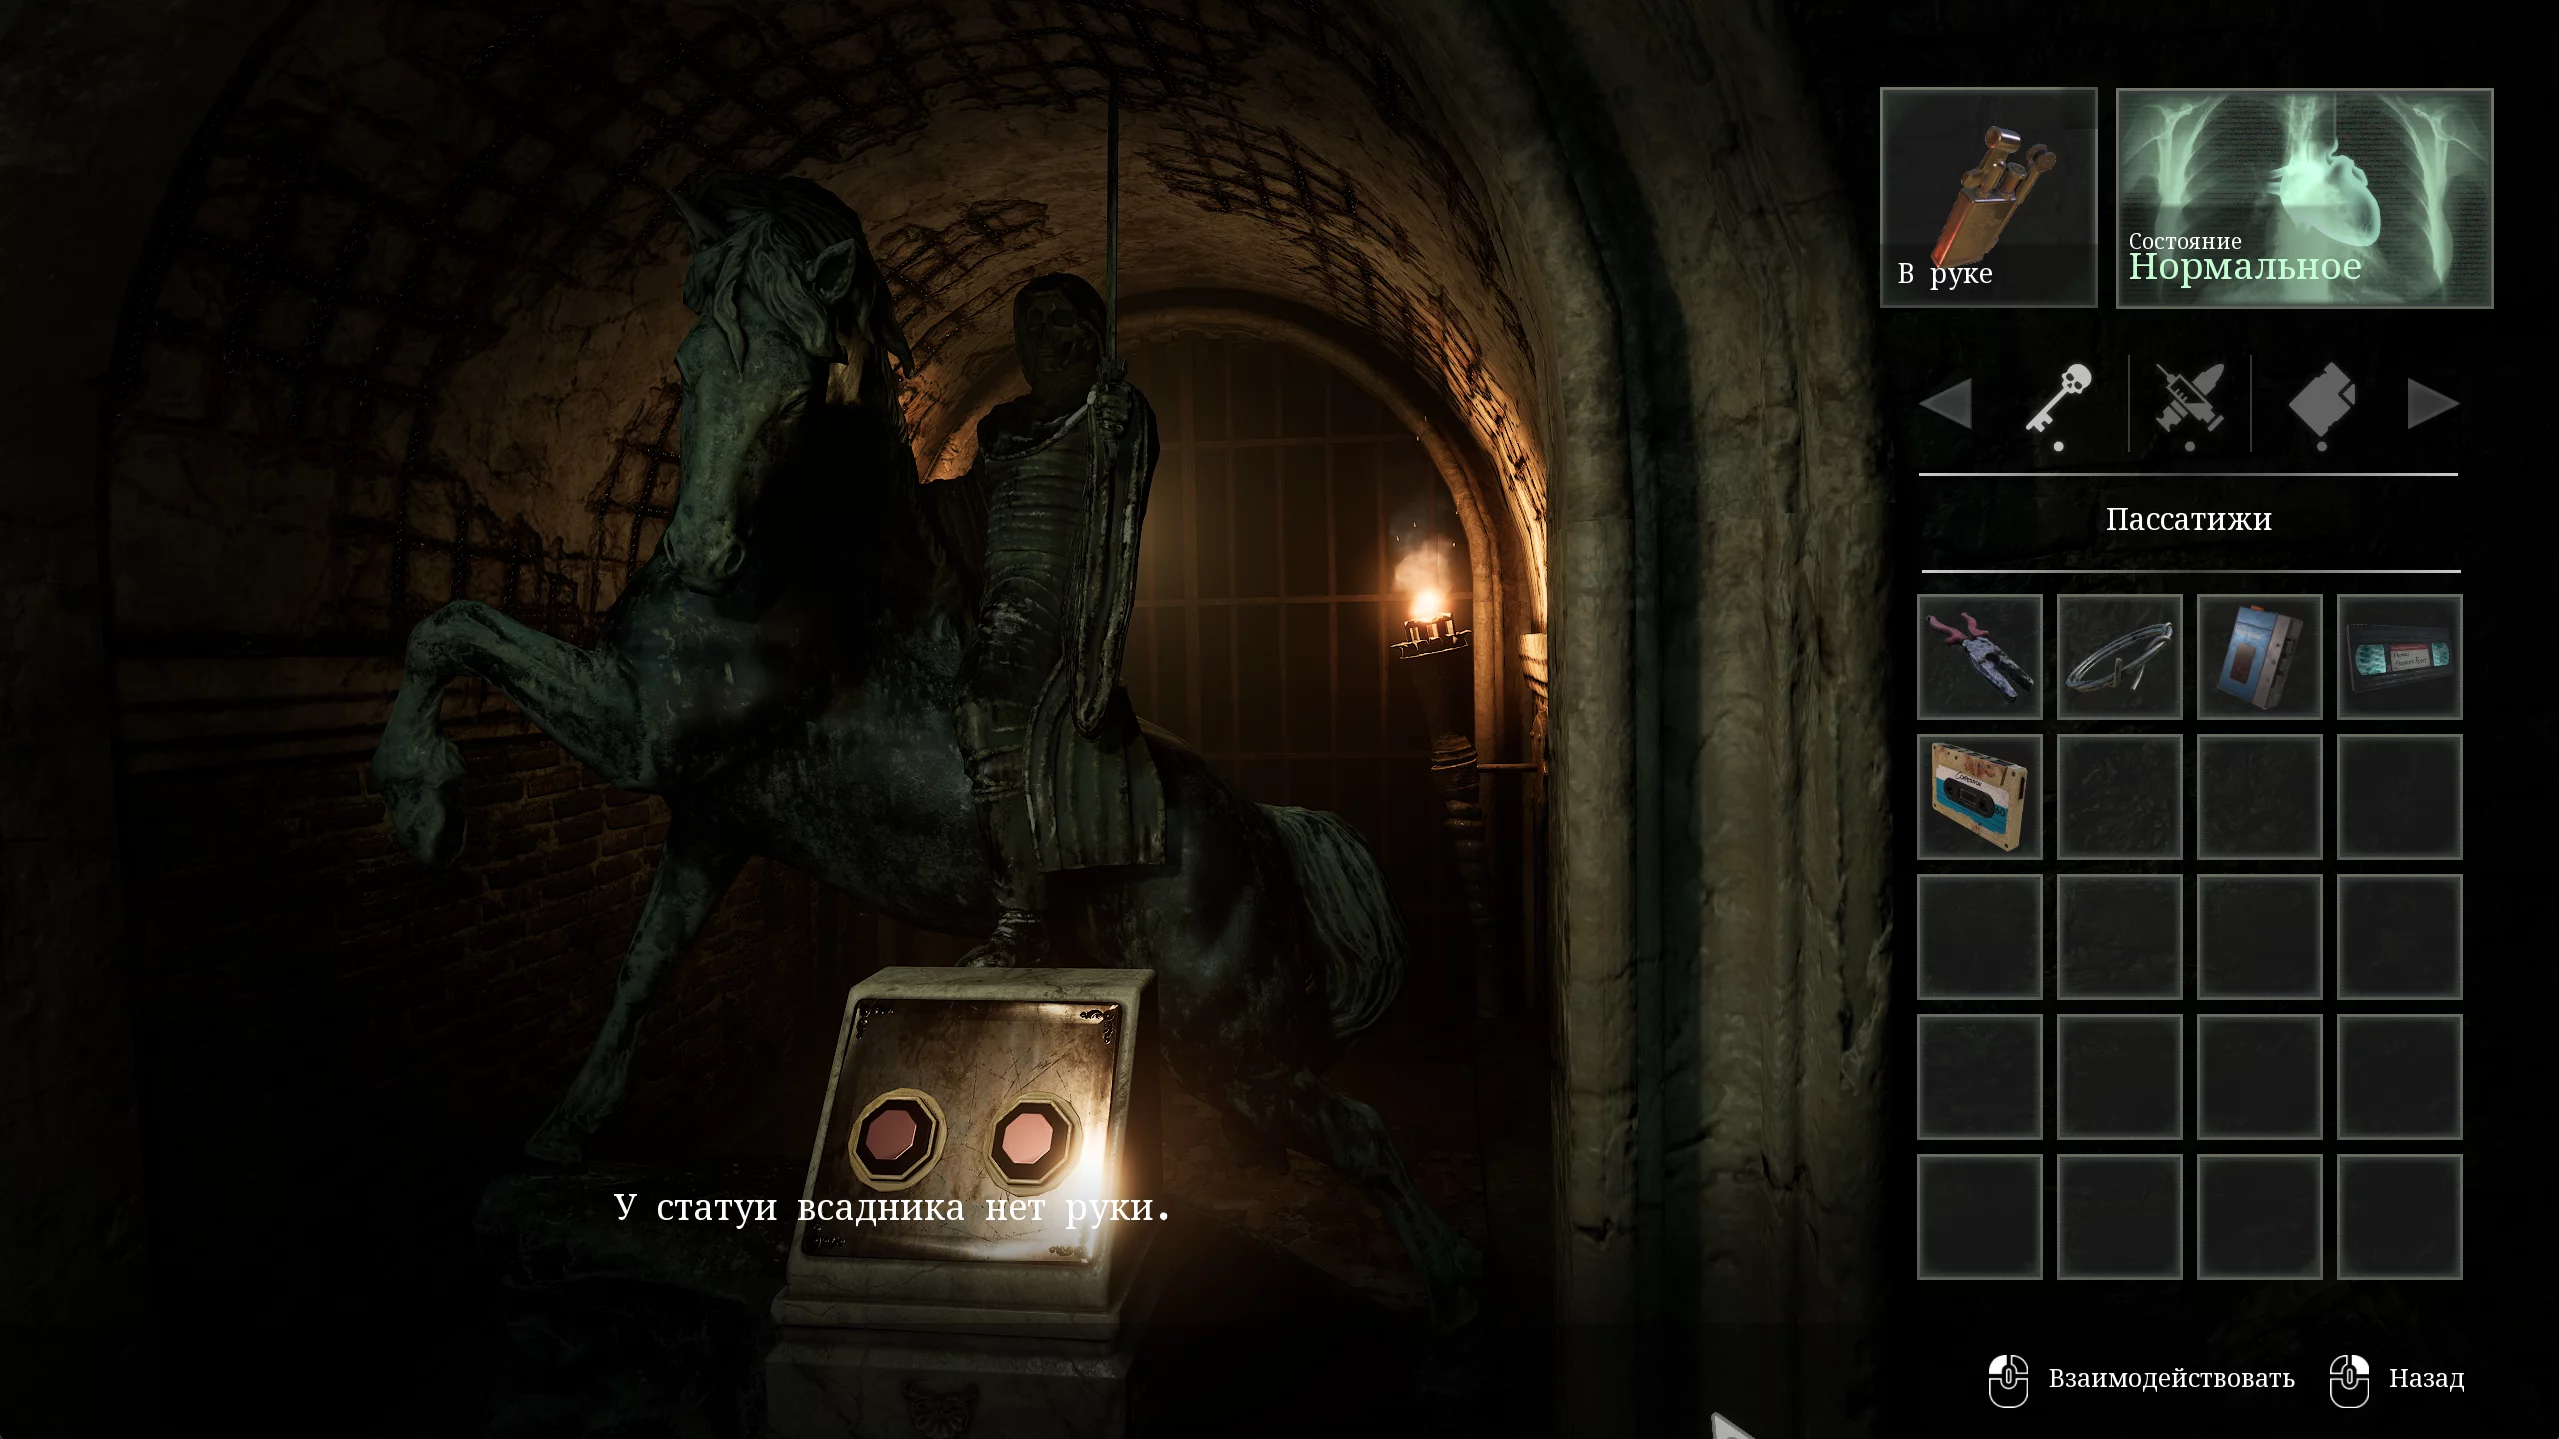
Go down to the statues with riders and find the one with the missing arm. Use the marble sword on it and set the correct arm positions for each statue:
- Skeleton rider: once to the left.
- Thin rider: three times to the right.
- Rider with a crown: do not touch.
- Knight rider: six times to the left.
After all the swords are in place, the lift in the center will rise. It's recommended to save your game, as a boss fight will begin after you descend.
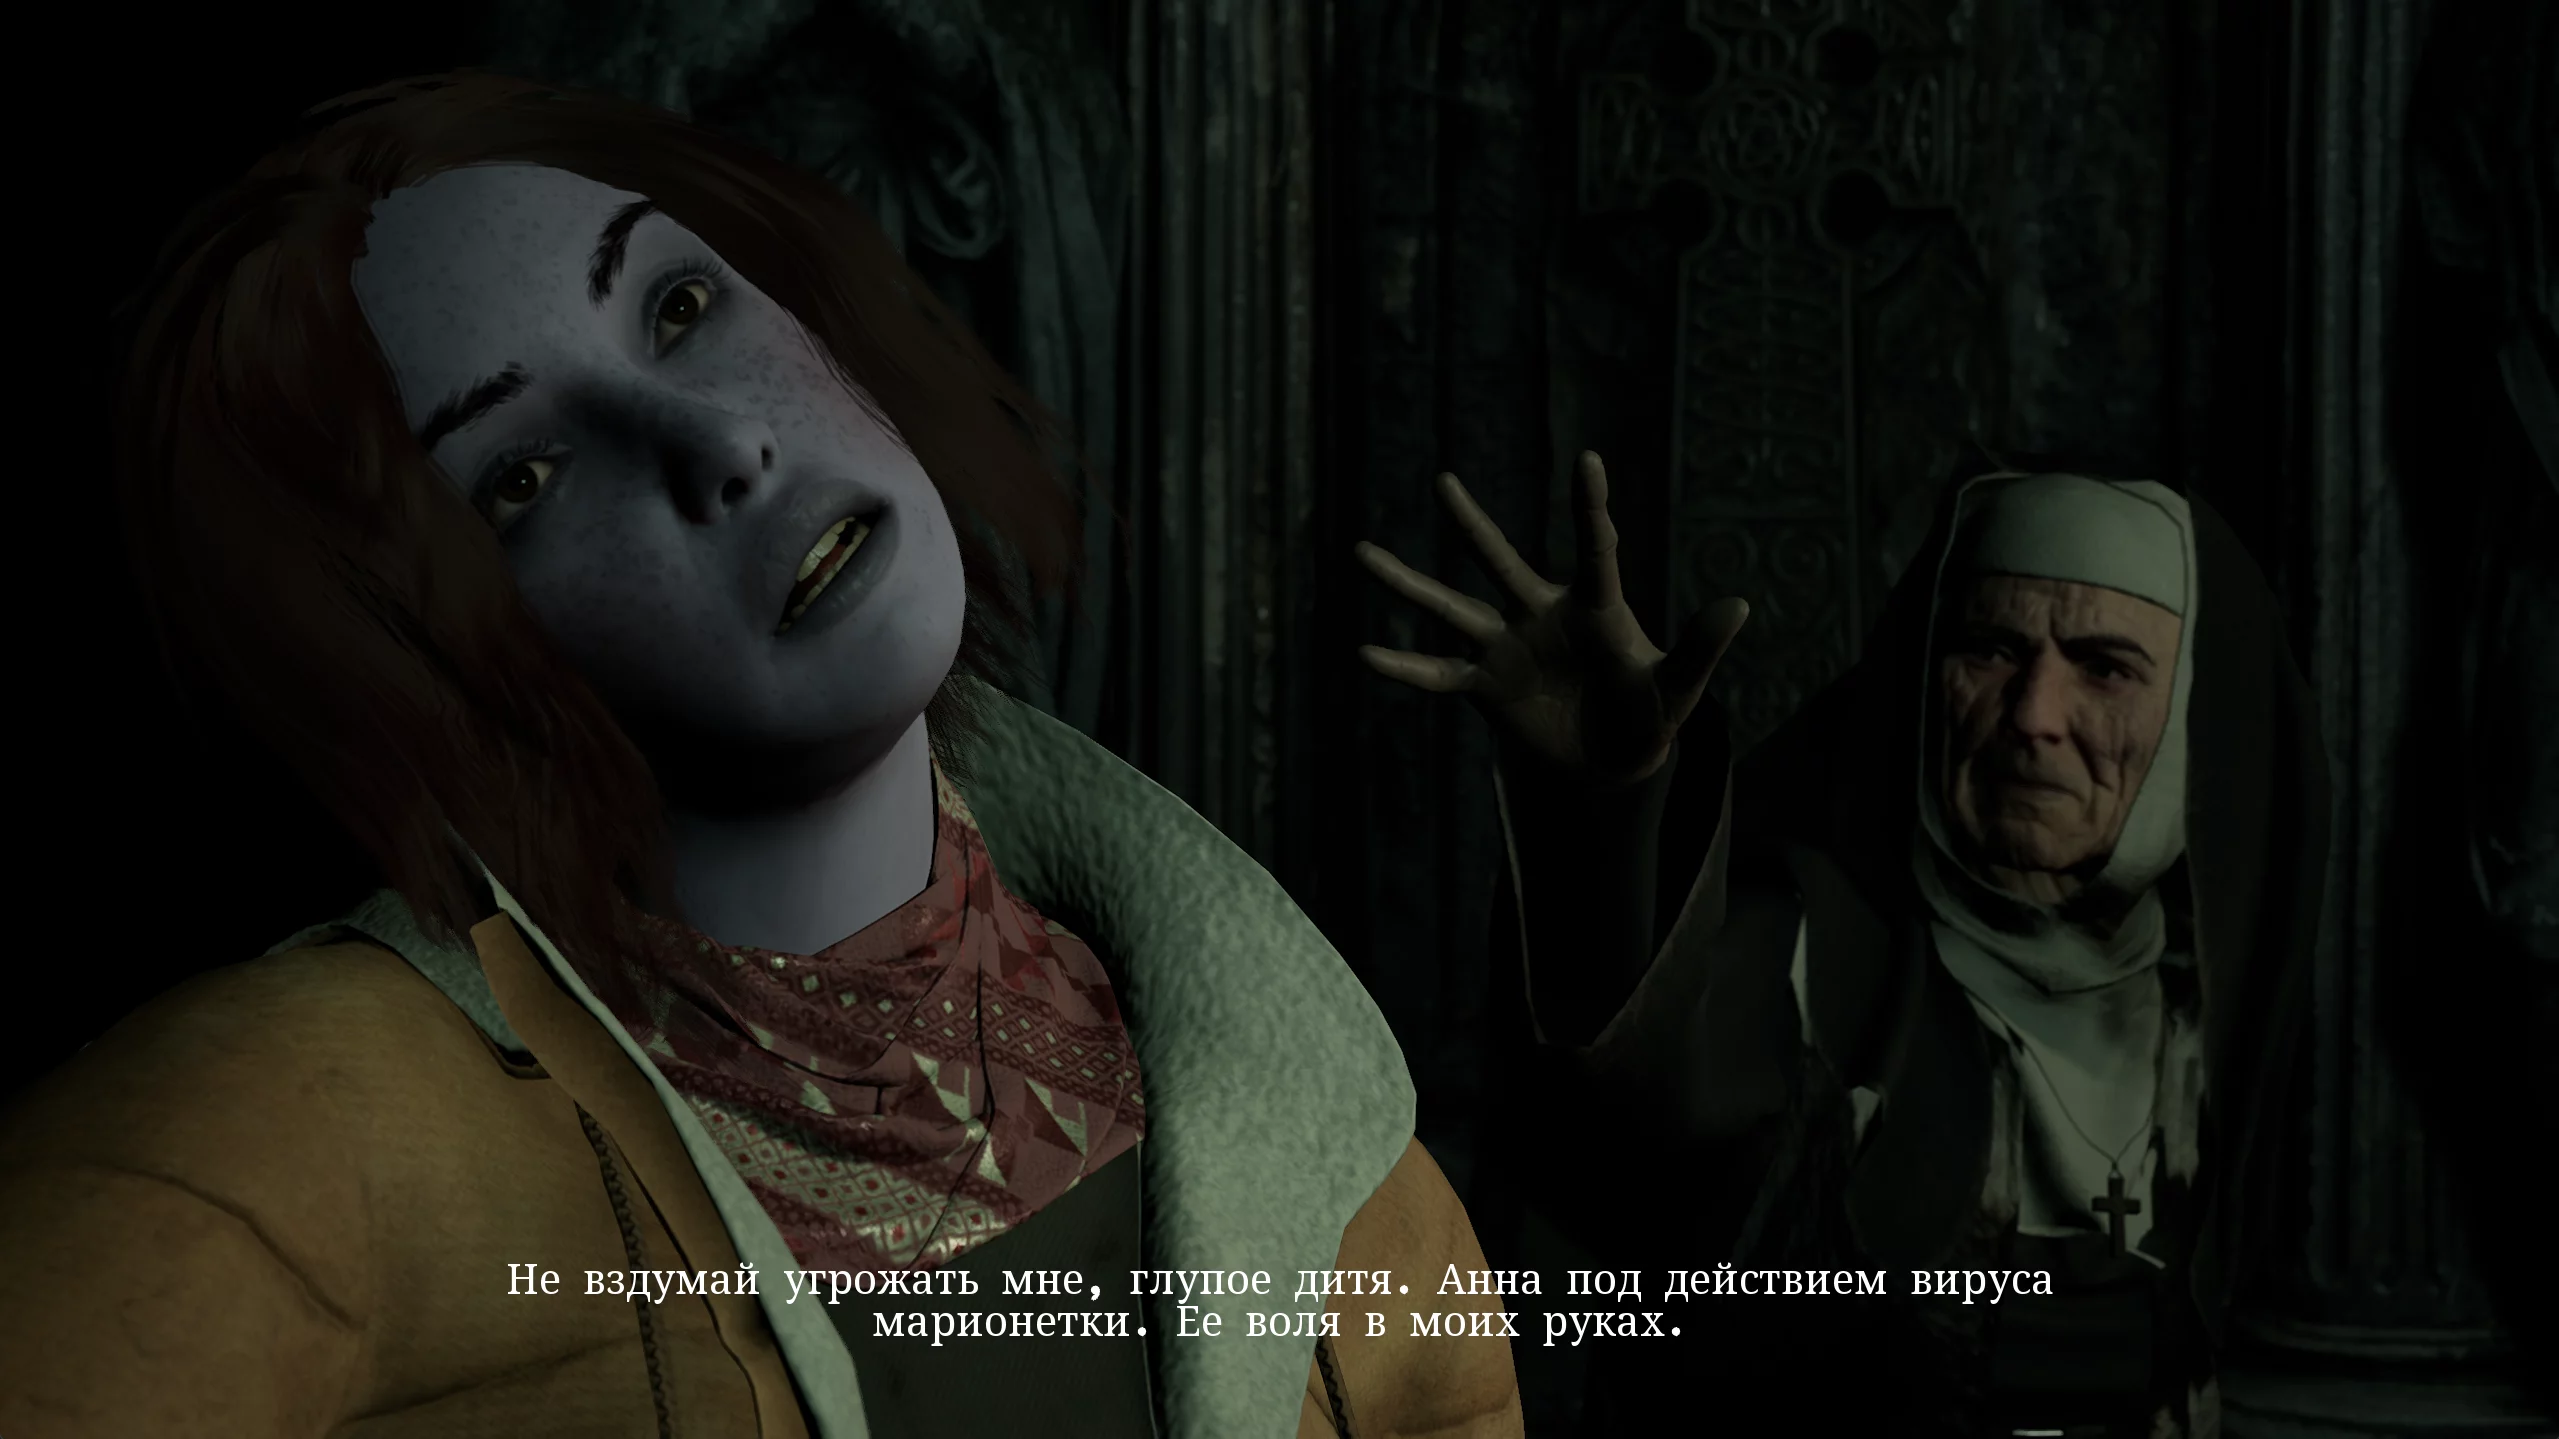
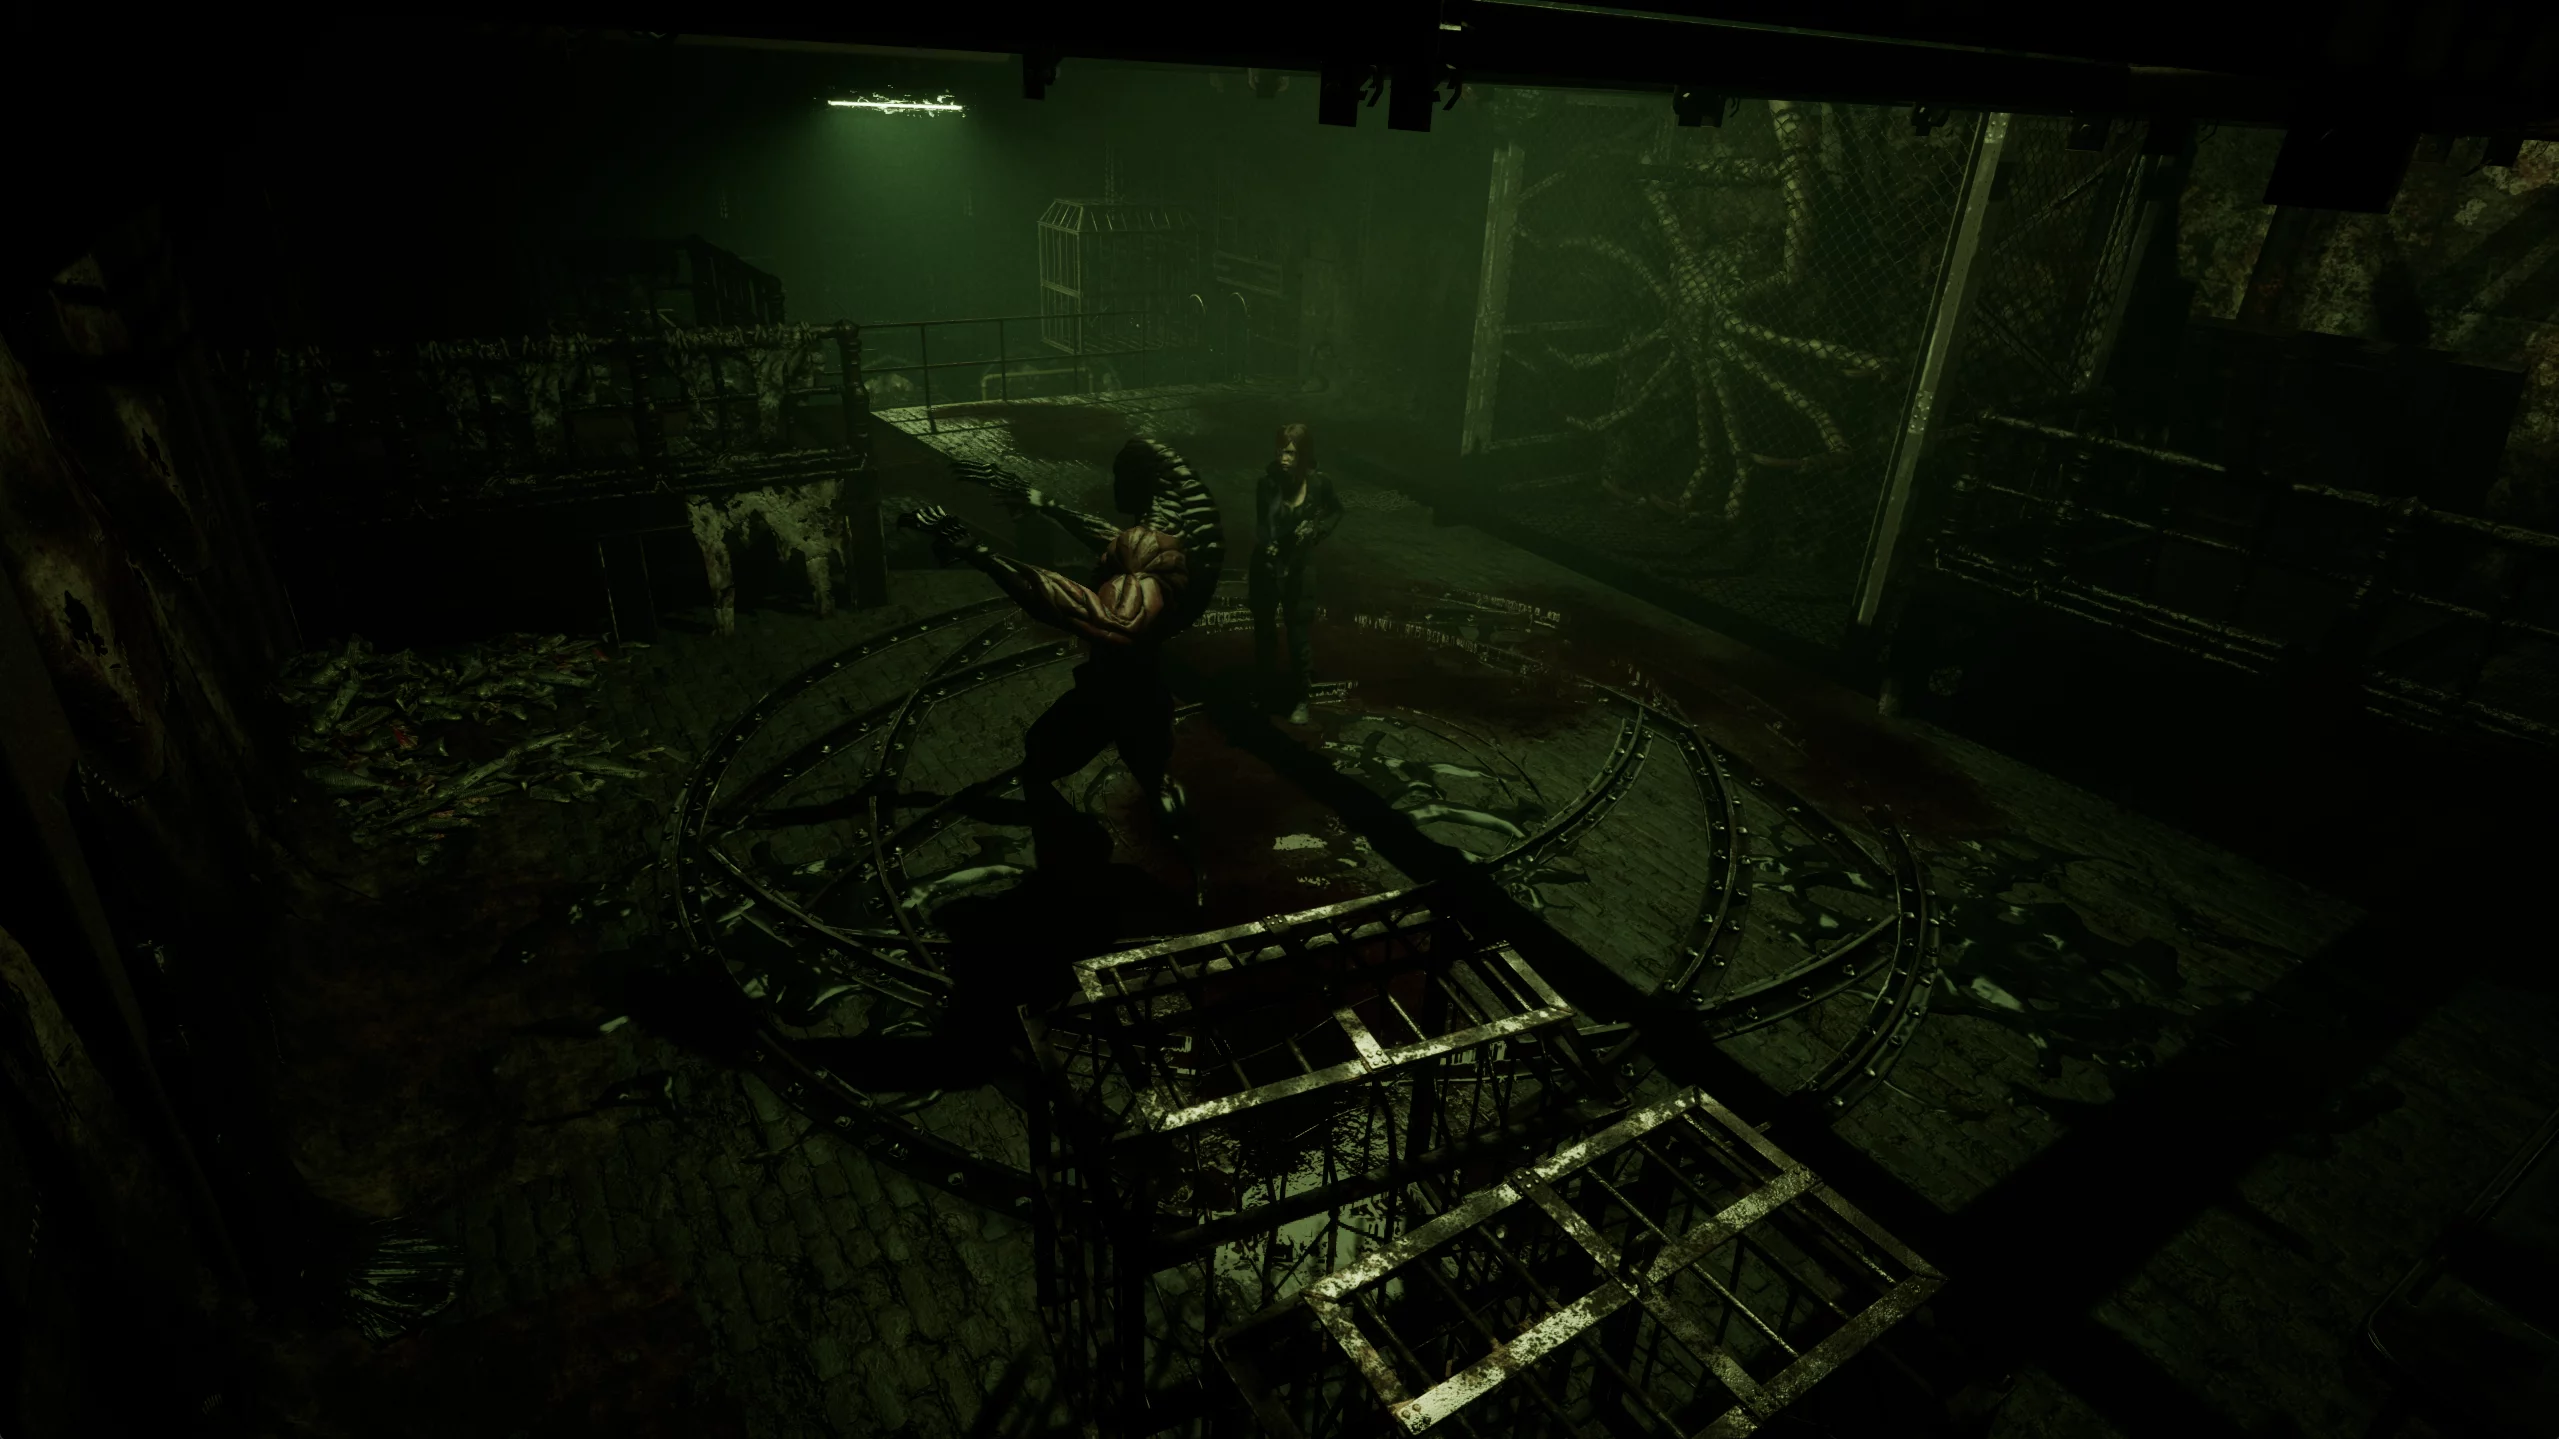
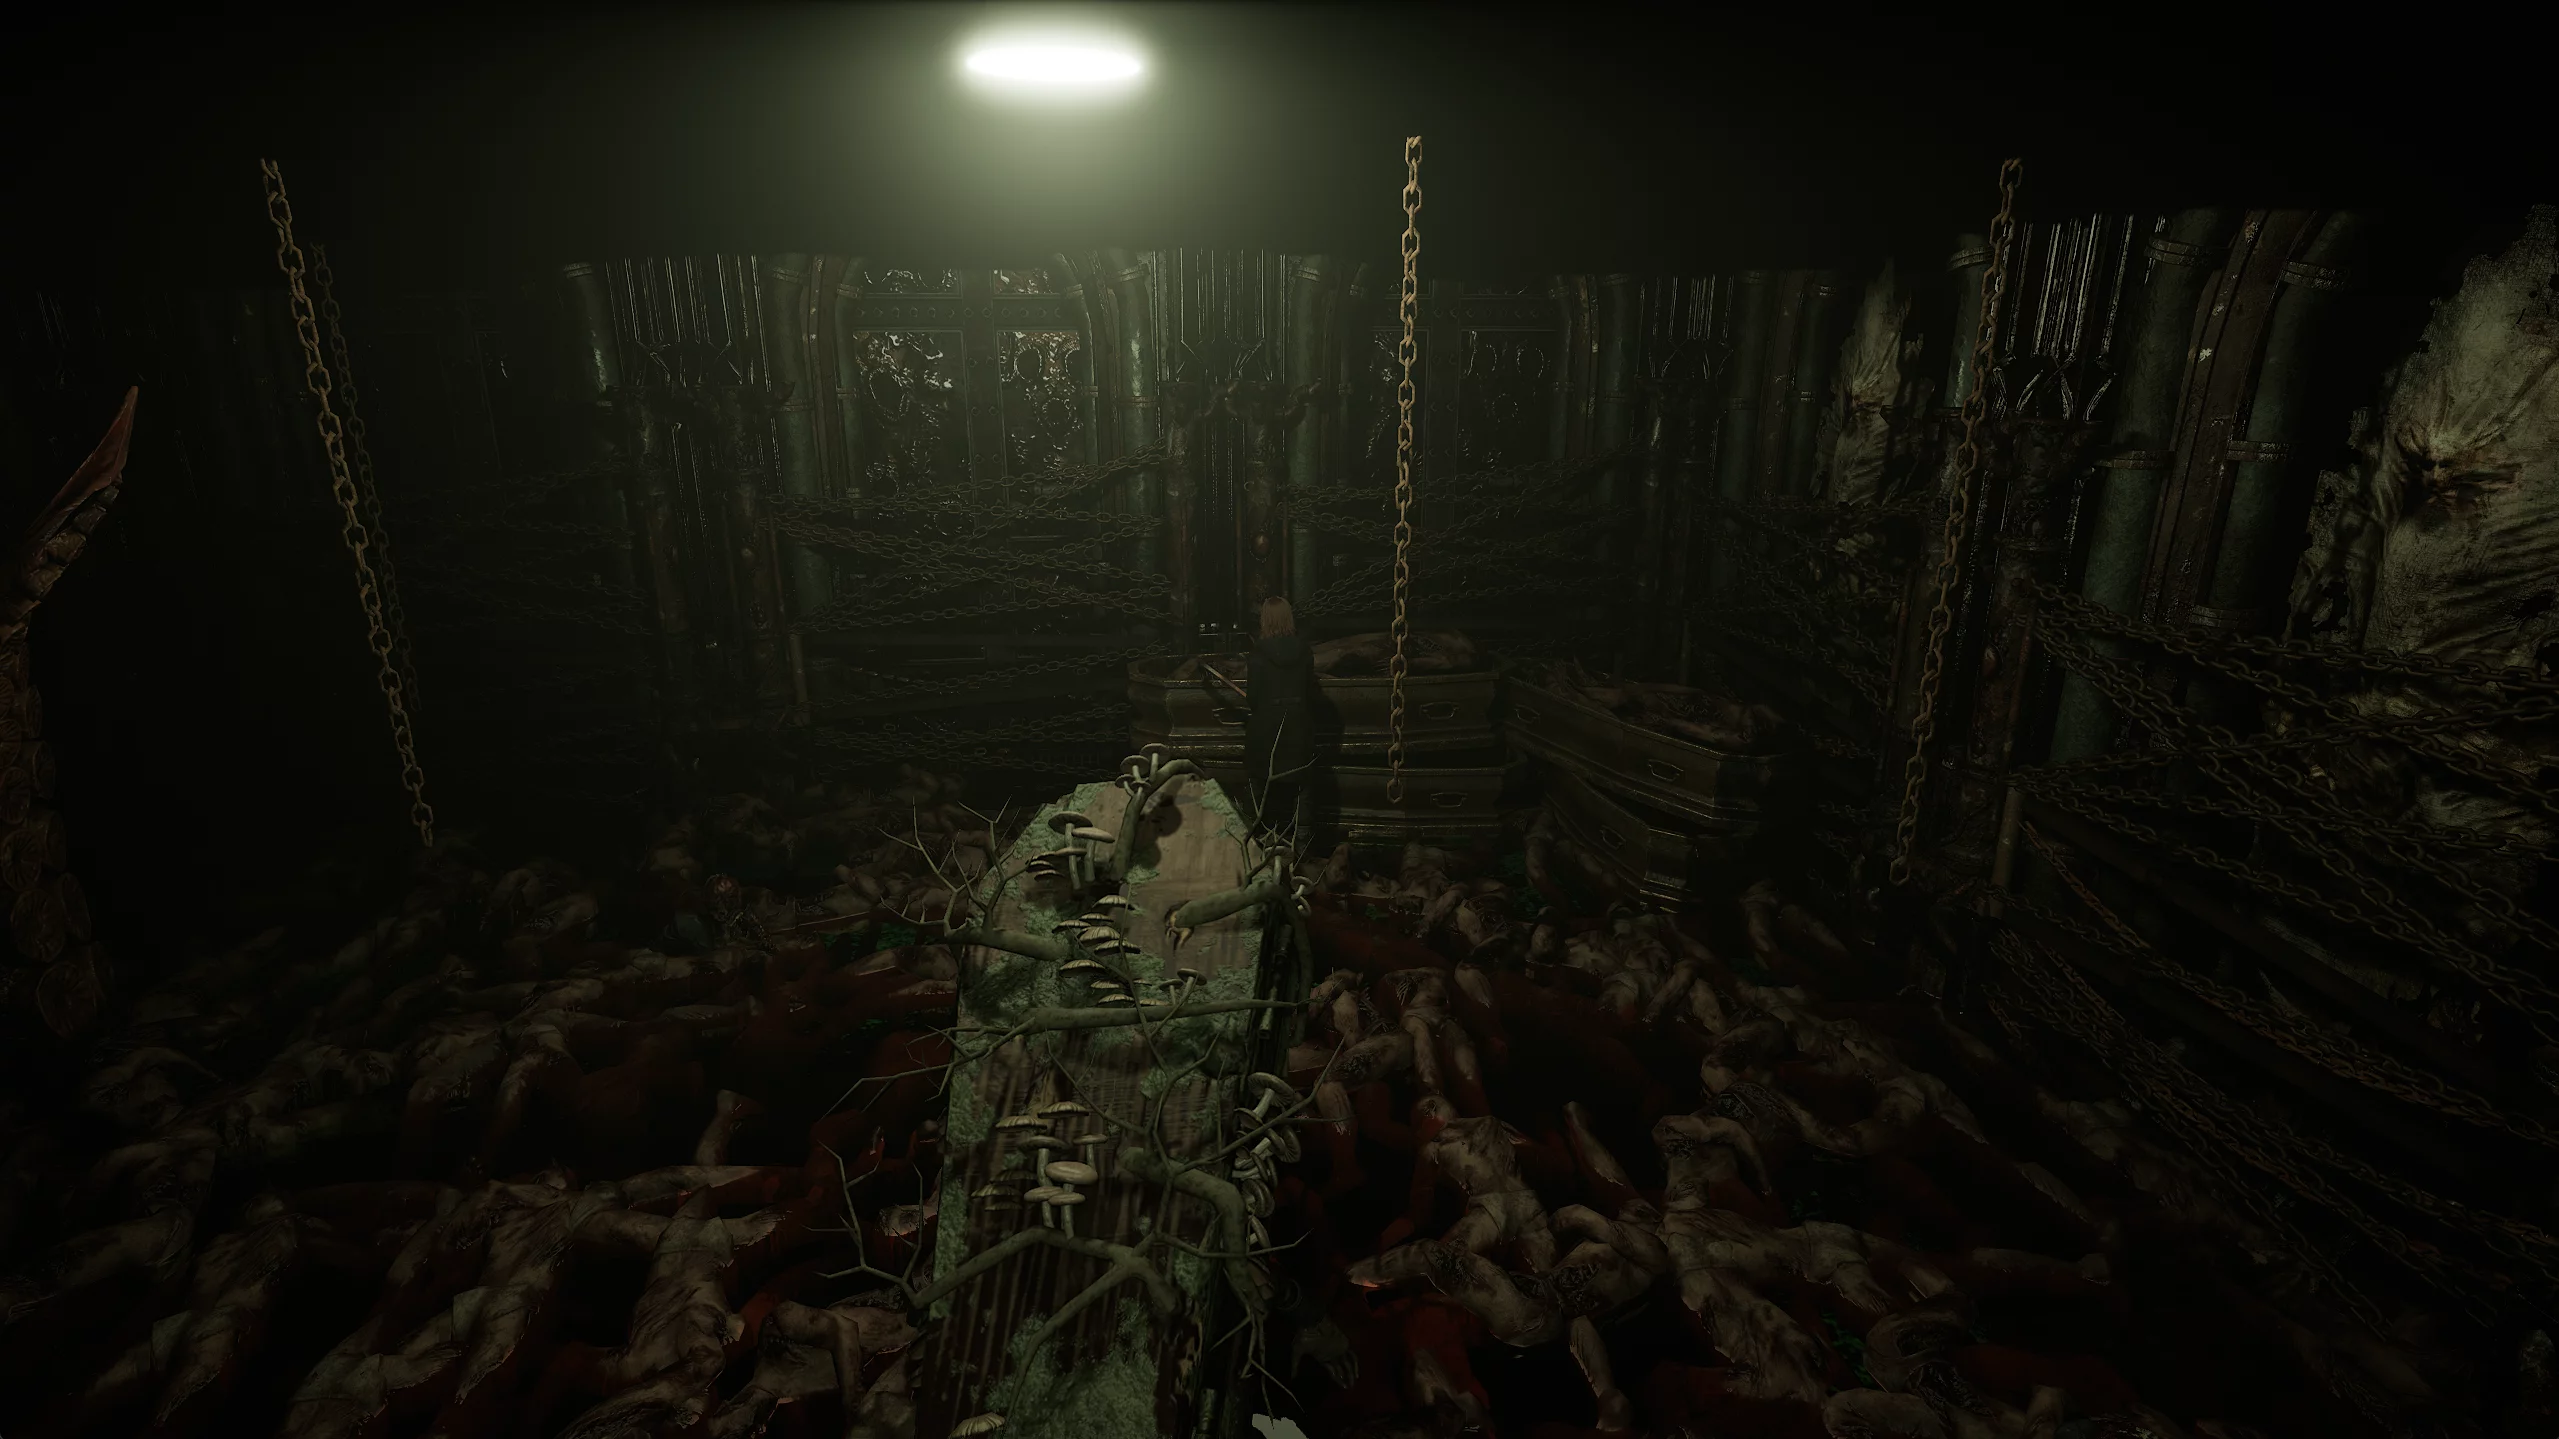
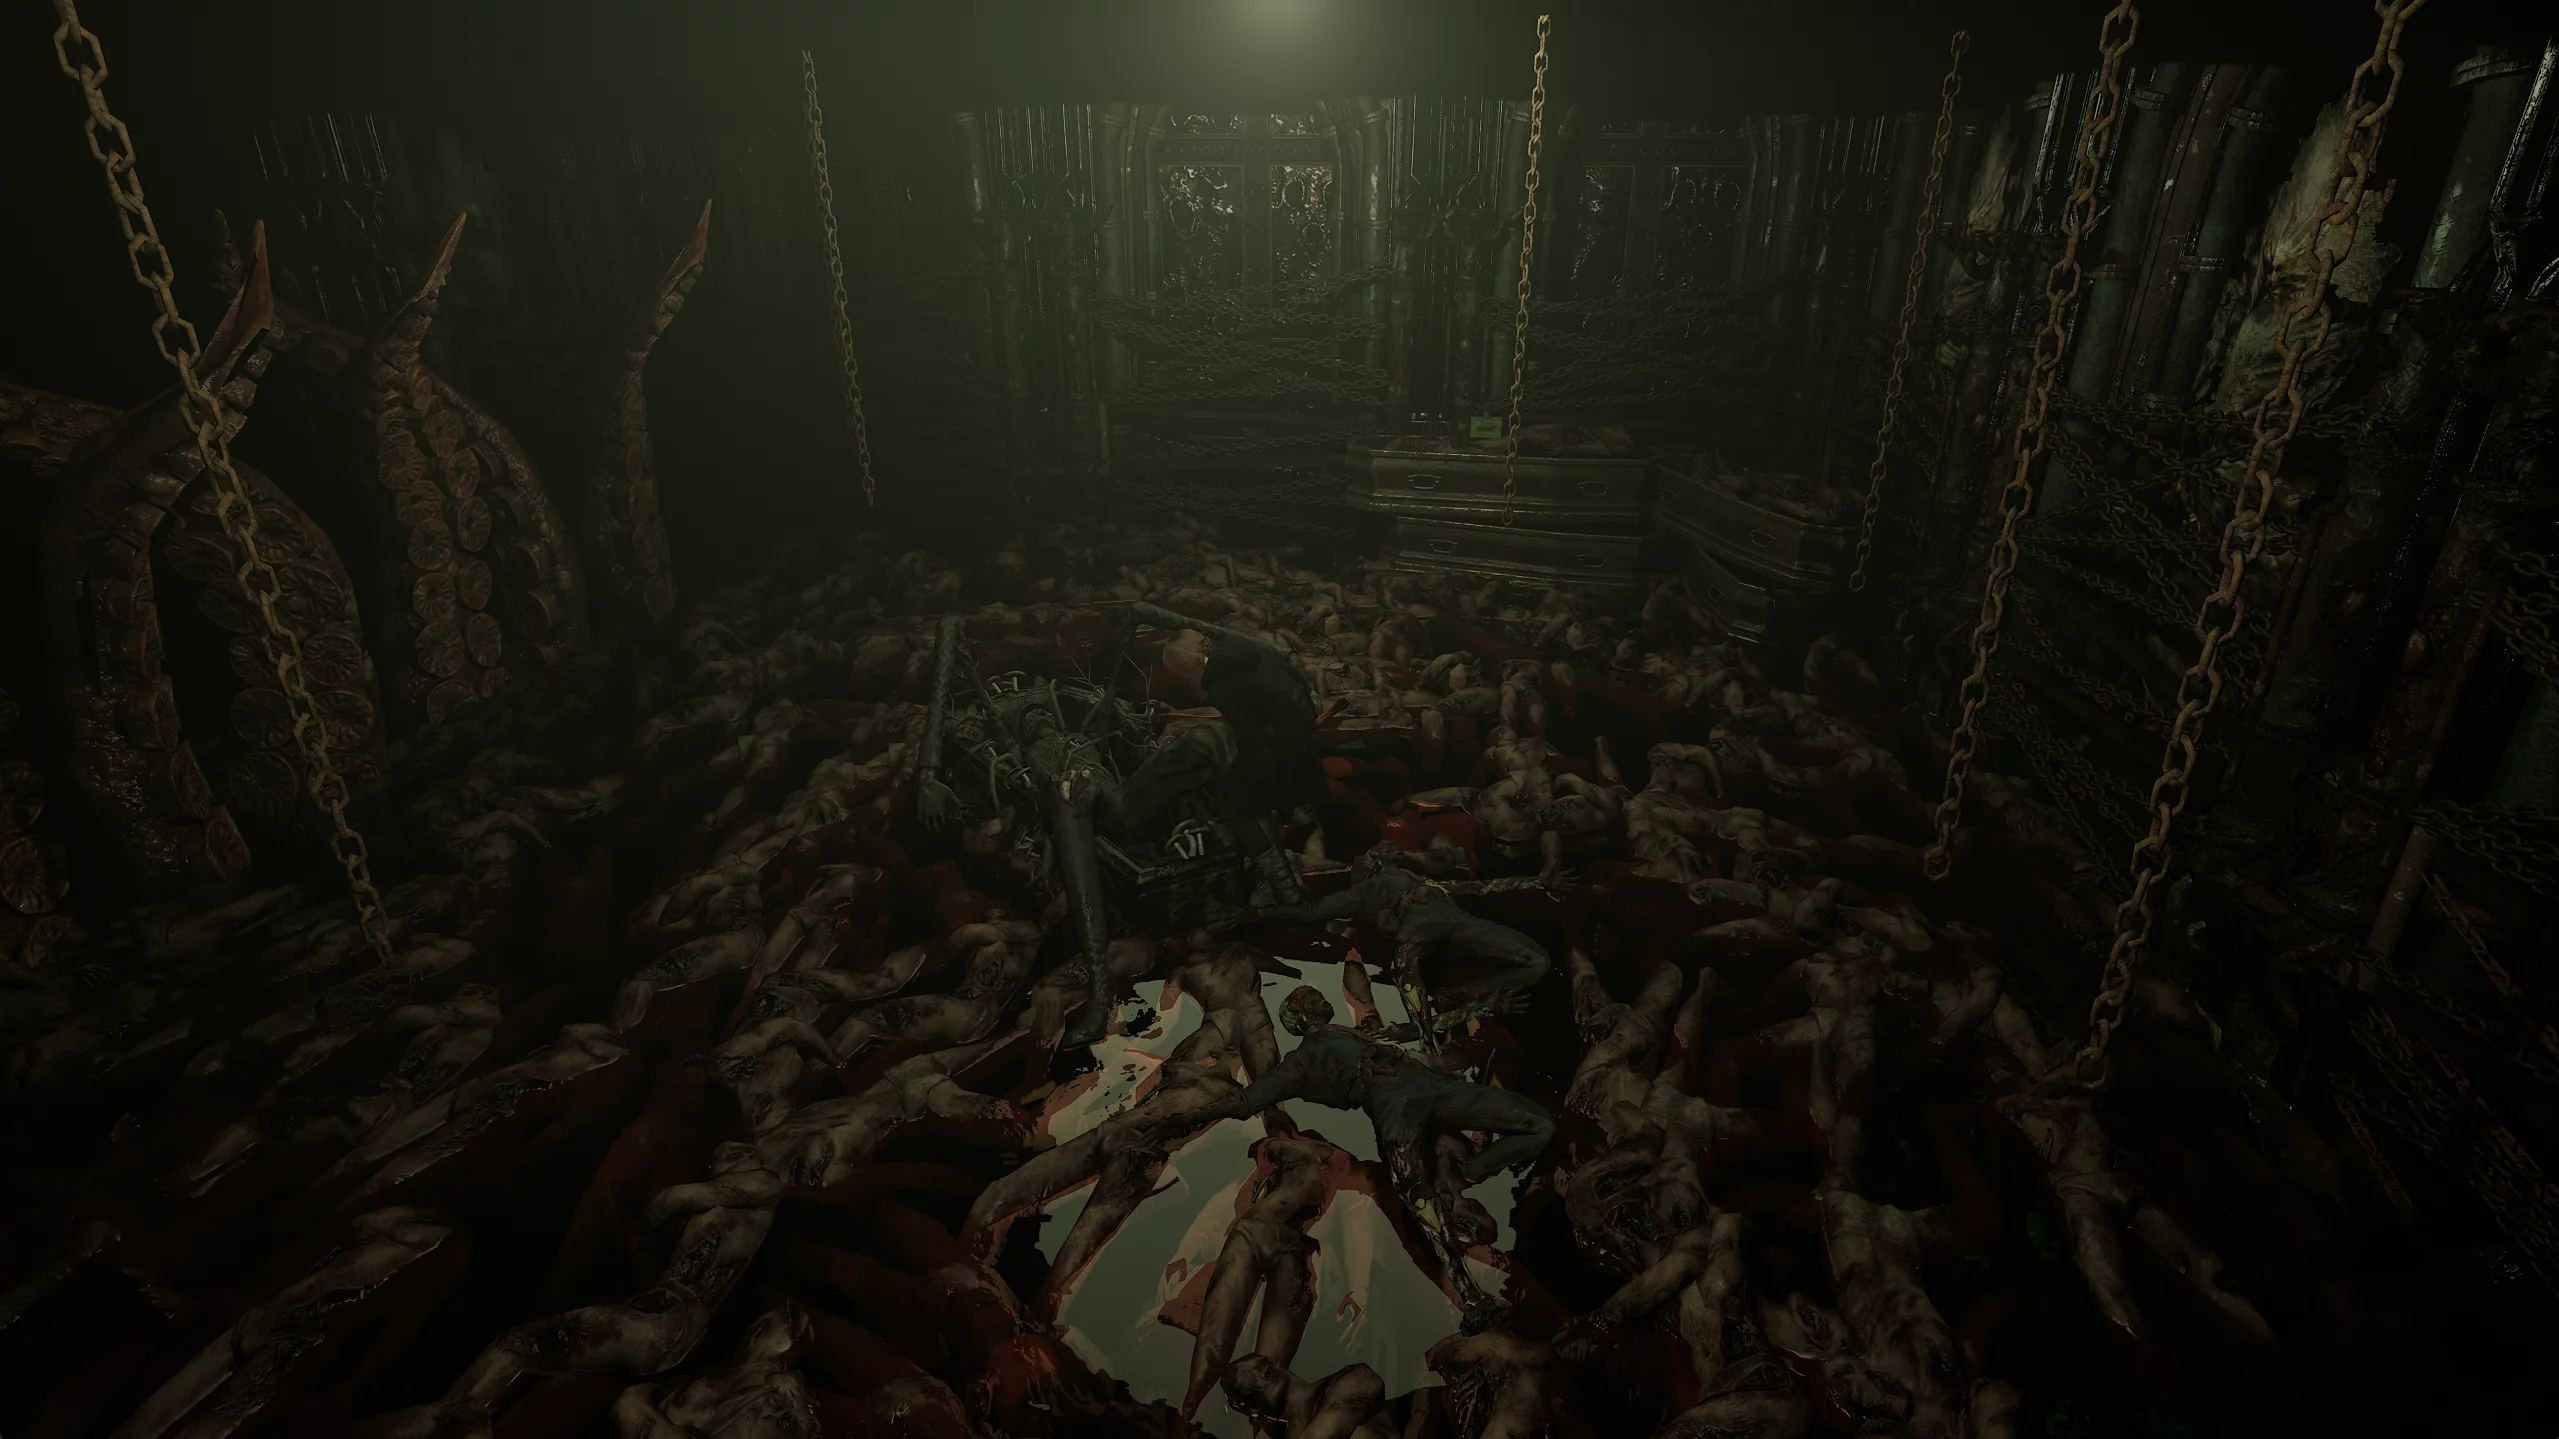
As soon as you step off the lift, a cutscene will play where Mother Lucia recruits our younger sister using some sort of puppet virus. Caroline stumbles and a mysterious hand drags her into a hole in the middle of the room.
The boss fight with the Groom isn't particularly dangerous. It's the type of battle where waves of monsters are thrown at the player. There are four waves in total. Try to group the enemies together so you can take them out with a single shot from the shotgun, crossbow, or cannon.
There's a medkit hidden in the coffin behind you, and if you go to the other corner of the arena, you can pick up shotgun shells. Once a wave is cleared, the Groom will fall on his back and sparks will fly from him. In this state, he becomes vulnerable. It's best to use the crowbar against the monster, since the whole fight is based on the number of waves rather than the boss's health. Be careful not to let the enemies corner you—this will almost certainly lead to instant defeat.
Once the Groom is defeated, you'll gain access to the mirror. In the mass grave, go to the other side for a supply of nails, then head to the exit from the underground.
On a pedestal along the way, you'll find the most important item in the entire game—the portable flashlight. Thanks to this, you won't need the lighter anymore. Just take batteries from the cassette player, insert them into the flashlight, and equip the item.
Break the boxes in your way with the crowbar and climb the stairs to the tomb. Take Anna's album from the chair and turn right—to the staircase leading to the Twin Mausoleum. Save in the graveyard office, passing zombies along the way, then go to the exit from the location.
Enter the passage to the sewer, fight off the army of crabs, and break the boxes by one of the walls. The breach behind them will lead Caroline into a hidden cave. After running past the skeletons, you'll find yourself at Joseph, who has once again killed a poor worker with a heavy weapon. Ask him for directions to the School and take the sledgehammer from the corpse's head.

Go around the cave from the other side, pick up shotgun shells, and exit to the passage to the sewer. Break the brick wall with the sledgehammer, fight off the attacking crabs, and return to the graveyard.
Earlier, you may have noticed a similar wall in the tomb beneath the graveyard office. Head to the underground section and break the bricks. Search the coffin behind them to get an upgrade for the automatic nail gun. Now it can hold twice as many rounds. The sledgehammer allows you to obtain many resources throughout the city.
Return to the first floor of the mall, kill the ghoul-crab, and head to the video rental store. Use the sledgehammer to break the boxes and get hand cannon ammo.
In the shopping district, break similar boxes for ammo, medical supplies, and other resources.
Following Joseph's tip, head to the butcher's shop basement. Kill the pig, go right, and break the brick wall with the sledgehammer. Go down the open hatch into the sewers and move forward. Kill the ghost and pick up a supply of nails from the countertop.
Turn at the stairs on the left, go up, and collect shotgun shells along the way. Kill the wandering spirit again and turn left into the blue door.
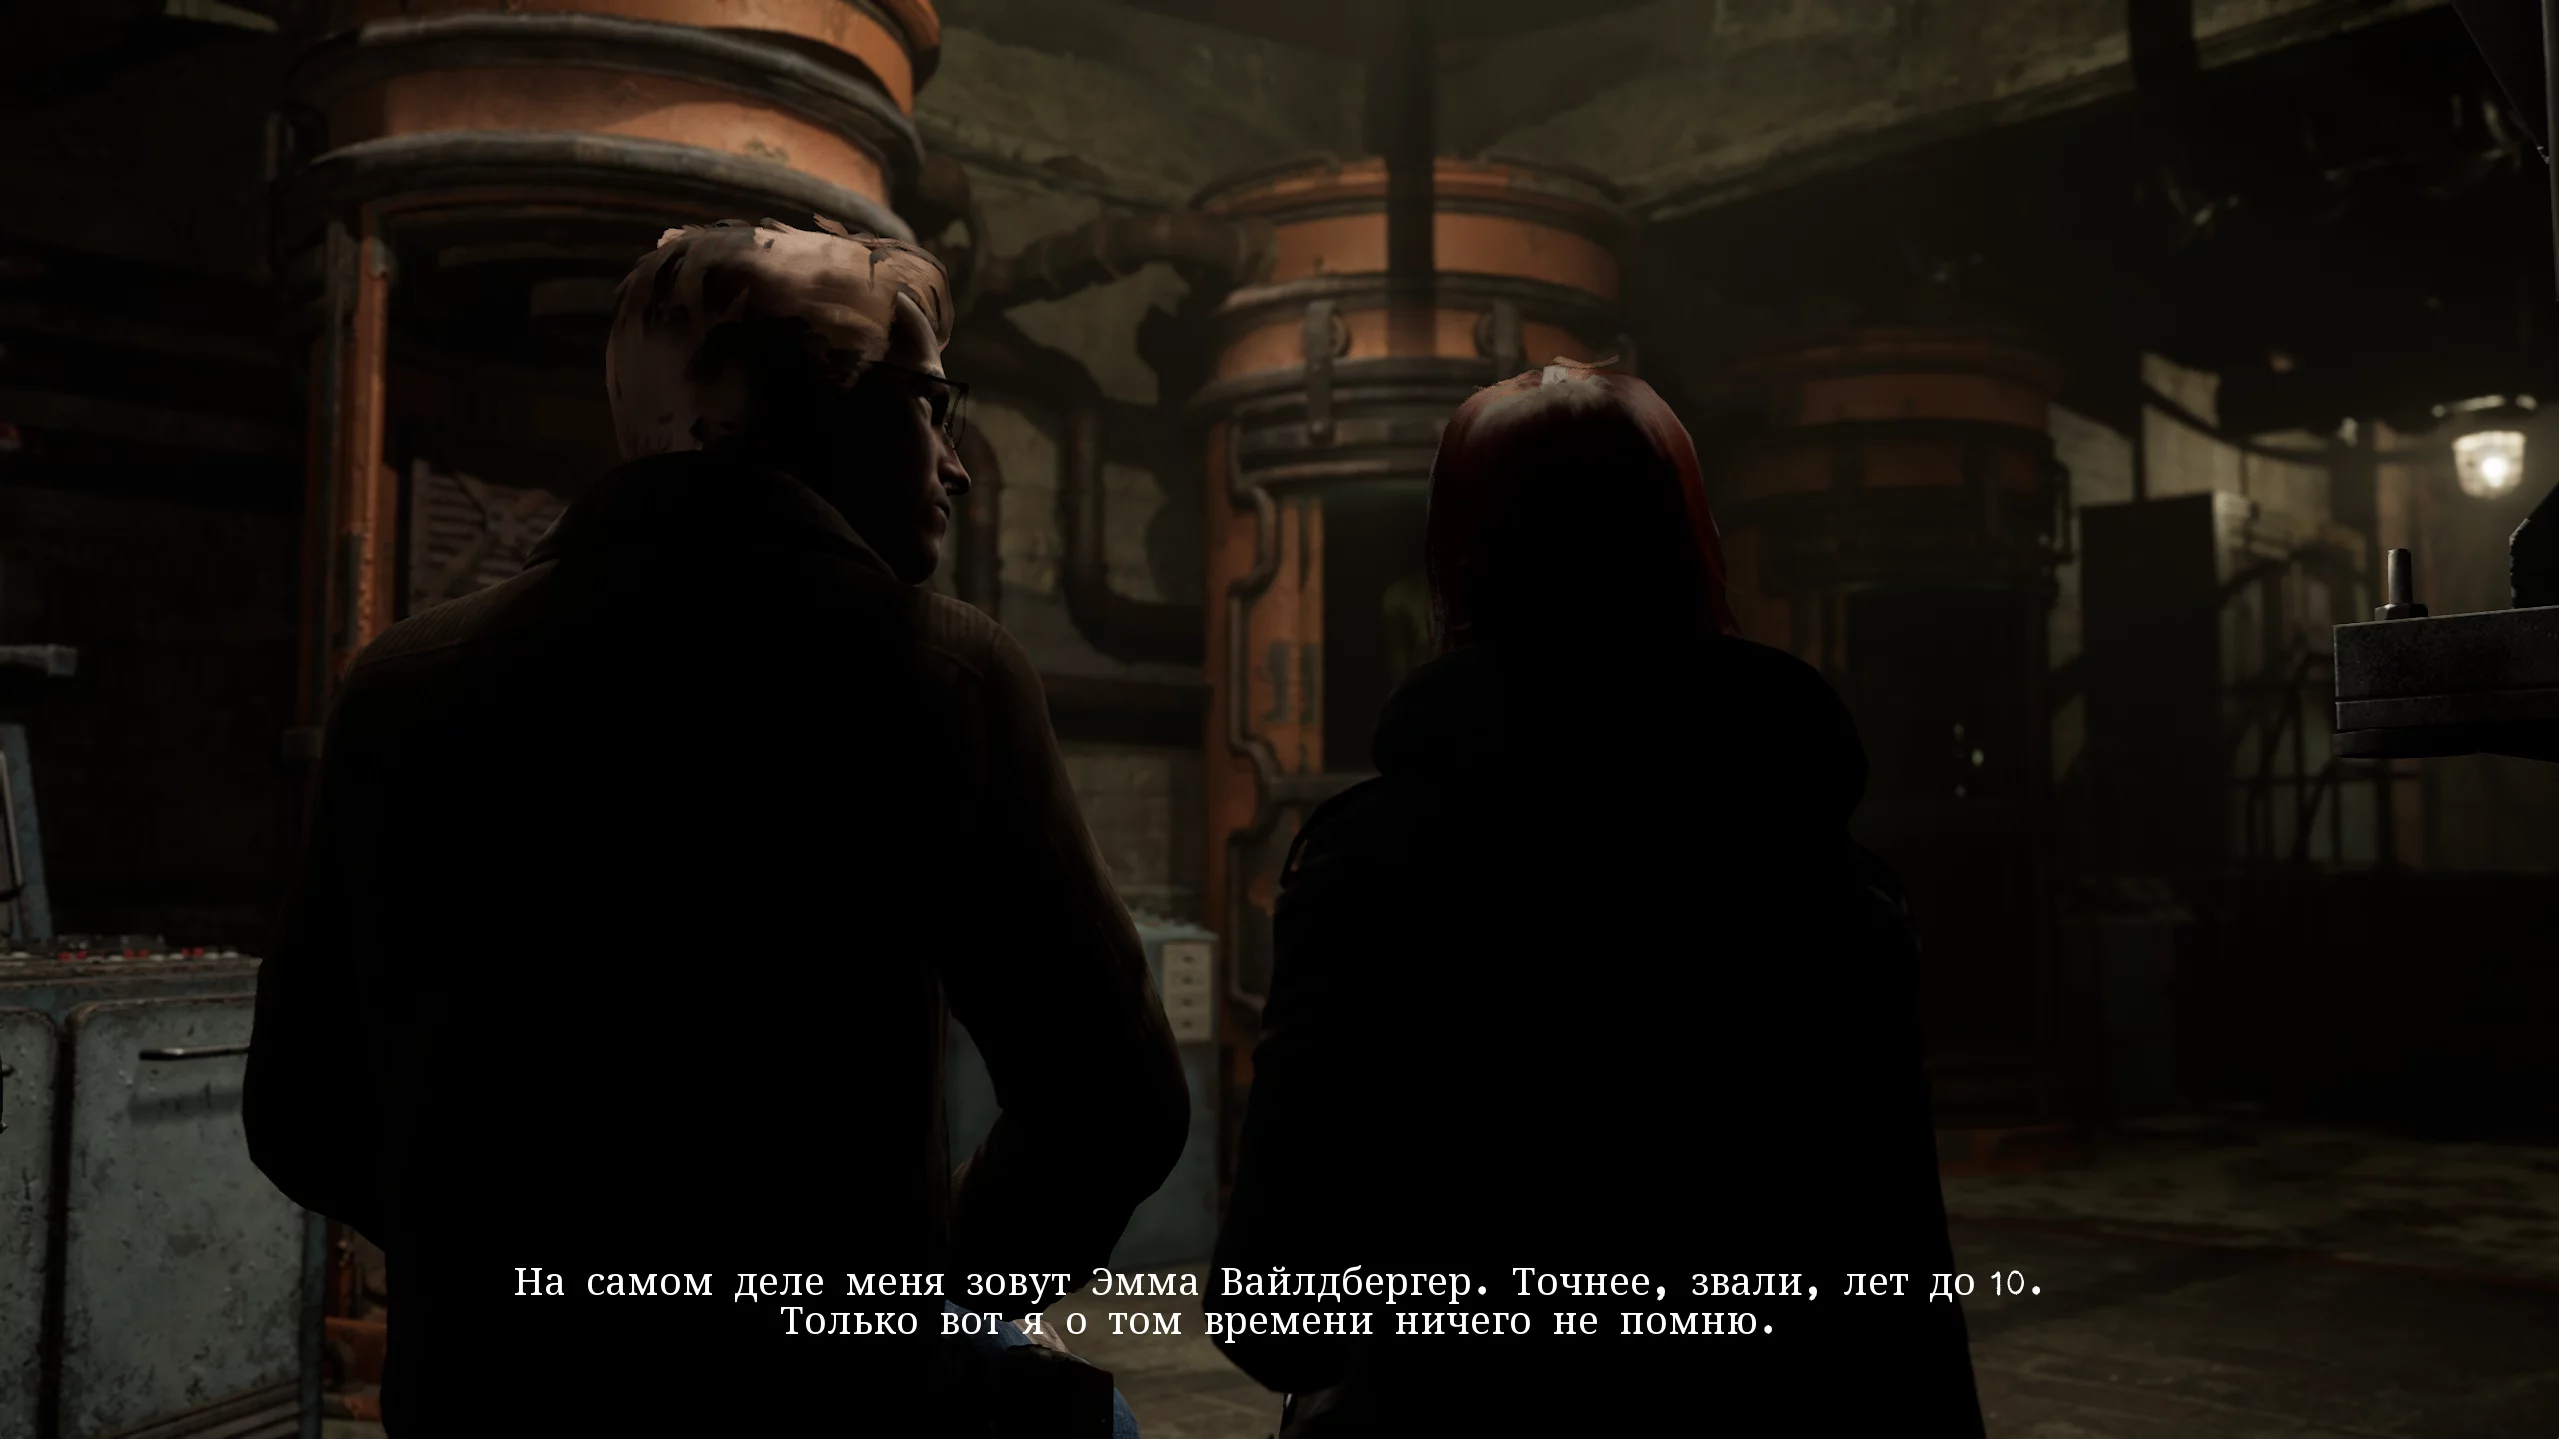
A cutscene begins, in which someone knocks out the main character and puts her in a capsule. It gradually fills with water, putting Caroline in a deadly situation. Miguel appears in the basement and saves her. They have an interesting conversation that reveals the past of the elder Wildberger and the events of the first game.
After the conversation, take the povidone from the table, go to the other corner of the room, and pick up a box of nails from the crate.
Return to the stairs and go past the iron grate into the sewers. Go to the end of the corridor, take the fuel from the cabinet, and open the shortcut from the collector. Go back to the fork, calm the ghost, and climb the stairs to the school district.
Break the boxes nearby and go down to the train station. Turn left and go to the end to get shotgun shells.
Walk along the tracks to the station, turn left, and use the machine to get povidone. Enter the nearby room to pick up magnetic tape.
Exit there and open the central door from the train station to the shopping district. Go back in and head to the train car.
In the train car, you'll find painkillers, magnetic tape, and a record player. Save your progress and move on to the next stage of the game—the school.
School
From the carriage, head to the school district. Go around the bus, pick up the fuel on the barrel next to it, and a bit further, grab the povidone from the box.
Climb the stairs to the abandoned house. In front of it, pick up shotgun shells from the table, and inside the building, break the box for a nail kit. A bit further, you can pick up the "Session 47" tape. Go into the bathroom and take the painkillers from the sink.
Exit the house and head to the school ahead. First, turn right to the car trunk to get shotgun shells, then proceed to the main building.
The doors lock, and you find yourself in the lobby. From here, go up the stairs, then turn left into the printer room. Near one of the printers, pick up the school map.
Return to the lobby and go up the stairs to the left into the break room. Here you can find a magnetic tape in the closet and also save your progress.

Leave the break room and turn left into the principal's office. Pick up shotgun shells and return to the lobby.
Go up the unexplored staircase from below and head to the school library. On the second front shelf, take the painkillers, then go down the stairs a bit and break the vase with povidone.
How to get the first fuse
Exit the library into the east corridor and break the box near the sink for a nail kit. Go up the stairs and enter the art classroom. Here, you’re interested in the sheet music on the stage and the nail supply on the windowsill. Climb up and take the paper into your inventory. There’s a projector on the table—remember its location and return to the east corridor.
Go to the end of the corridor, enter the door on the left, and you’ll find yourself in the kindergarten.
Here you can get a lot of different things: a xylophone, painkillers on the shelf, a first aid kit in the restroom, and also scratches on your body from the animated dolls. The little pests only have enough health for one accurate hammer strike, so always be ready.
Return to the east corridor and go deeper past the Beethoven statue until you reach the door to the west corridor on the first floor. From here, you need to go to room 103. To do this, turn left and enter the first door along the corridor.
After a creepy cutscene, take the apple seeds from the table near the corpse and head to the schoolyard.
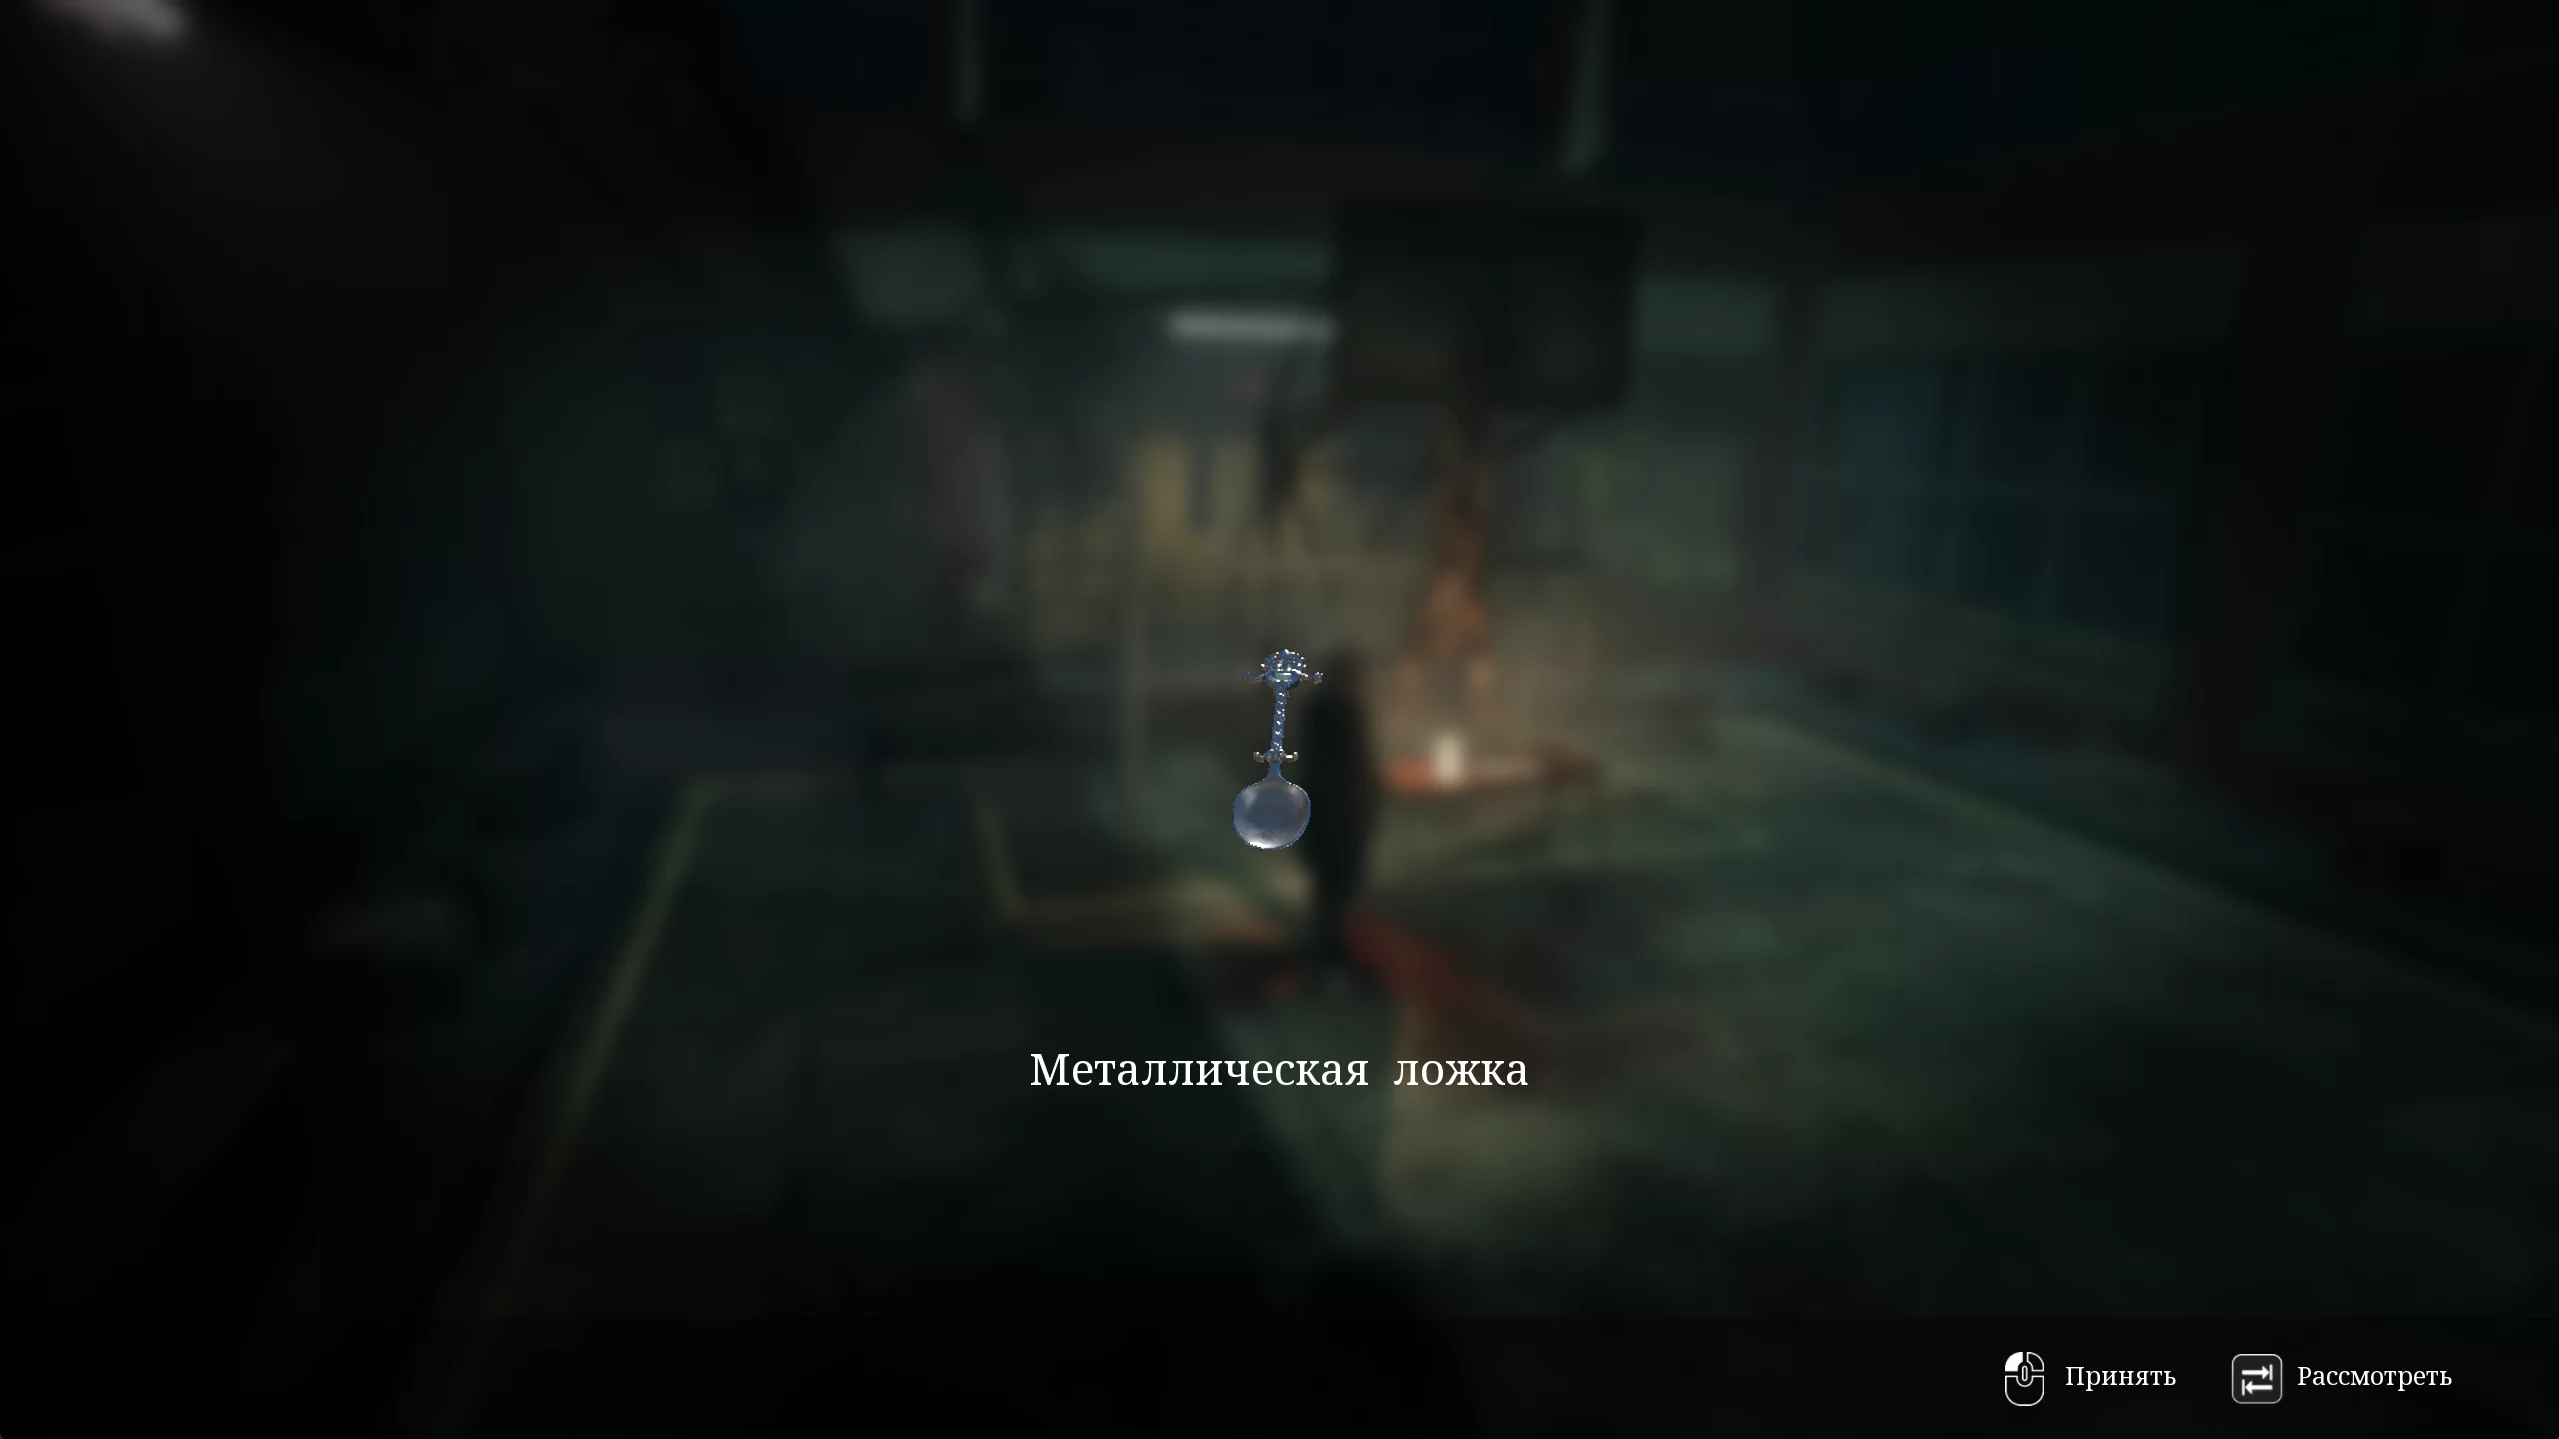
Once there, break the boxes to get shotgun shells, then pick up the spoon from the table.
Go to the Beethoven statue, combine the xylophone with the metal spoon, and play the melody by striking the keys in the following color order:
- Purple
- Yellow
- Green
- Blue
- Red
- Blue
- Yellow
- Red
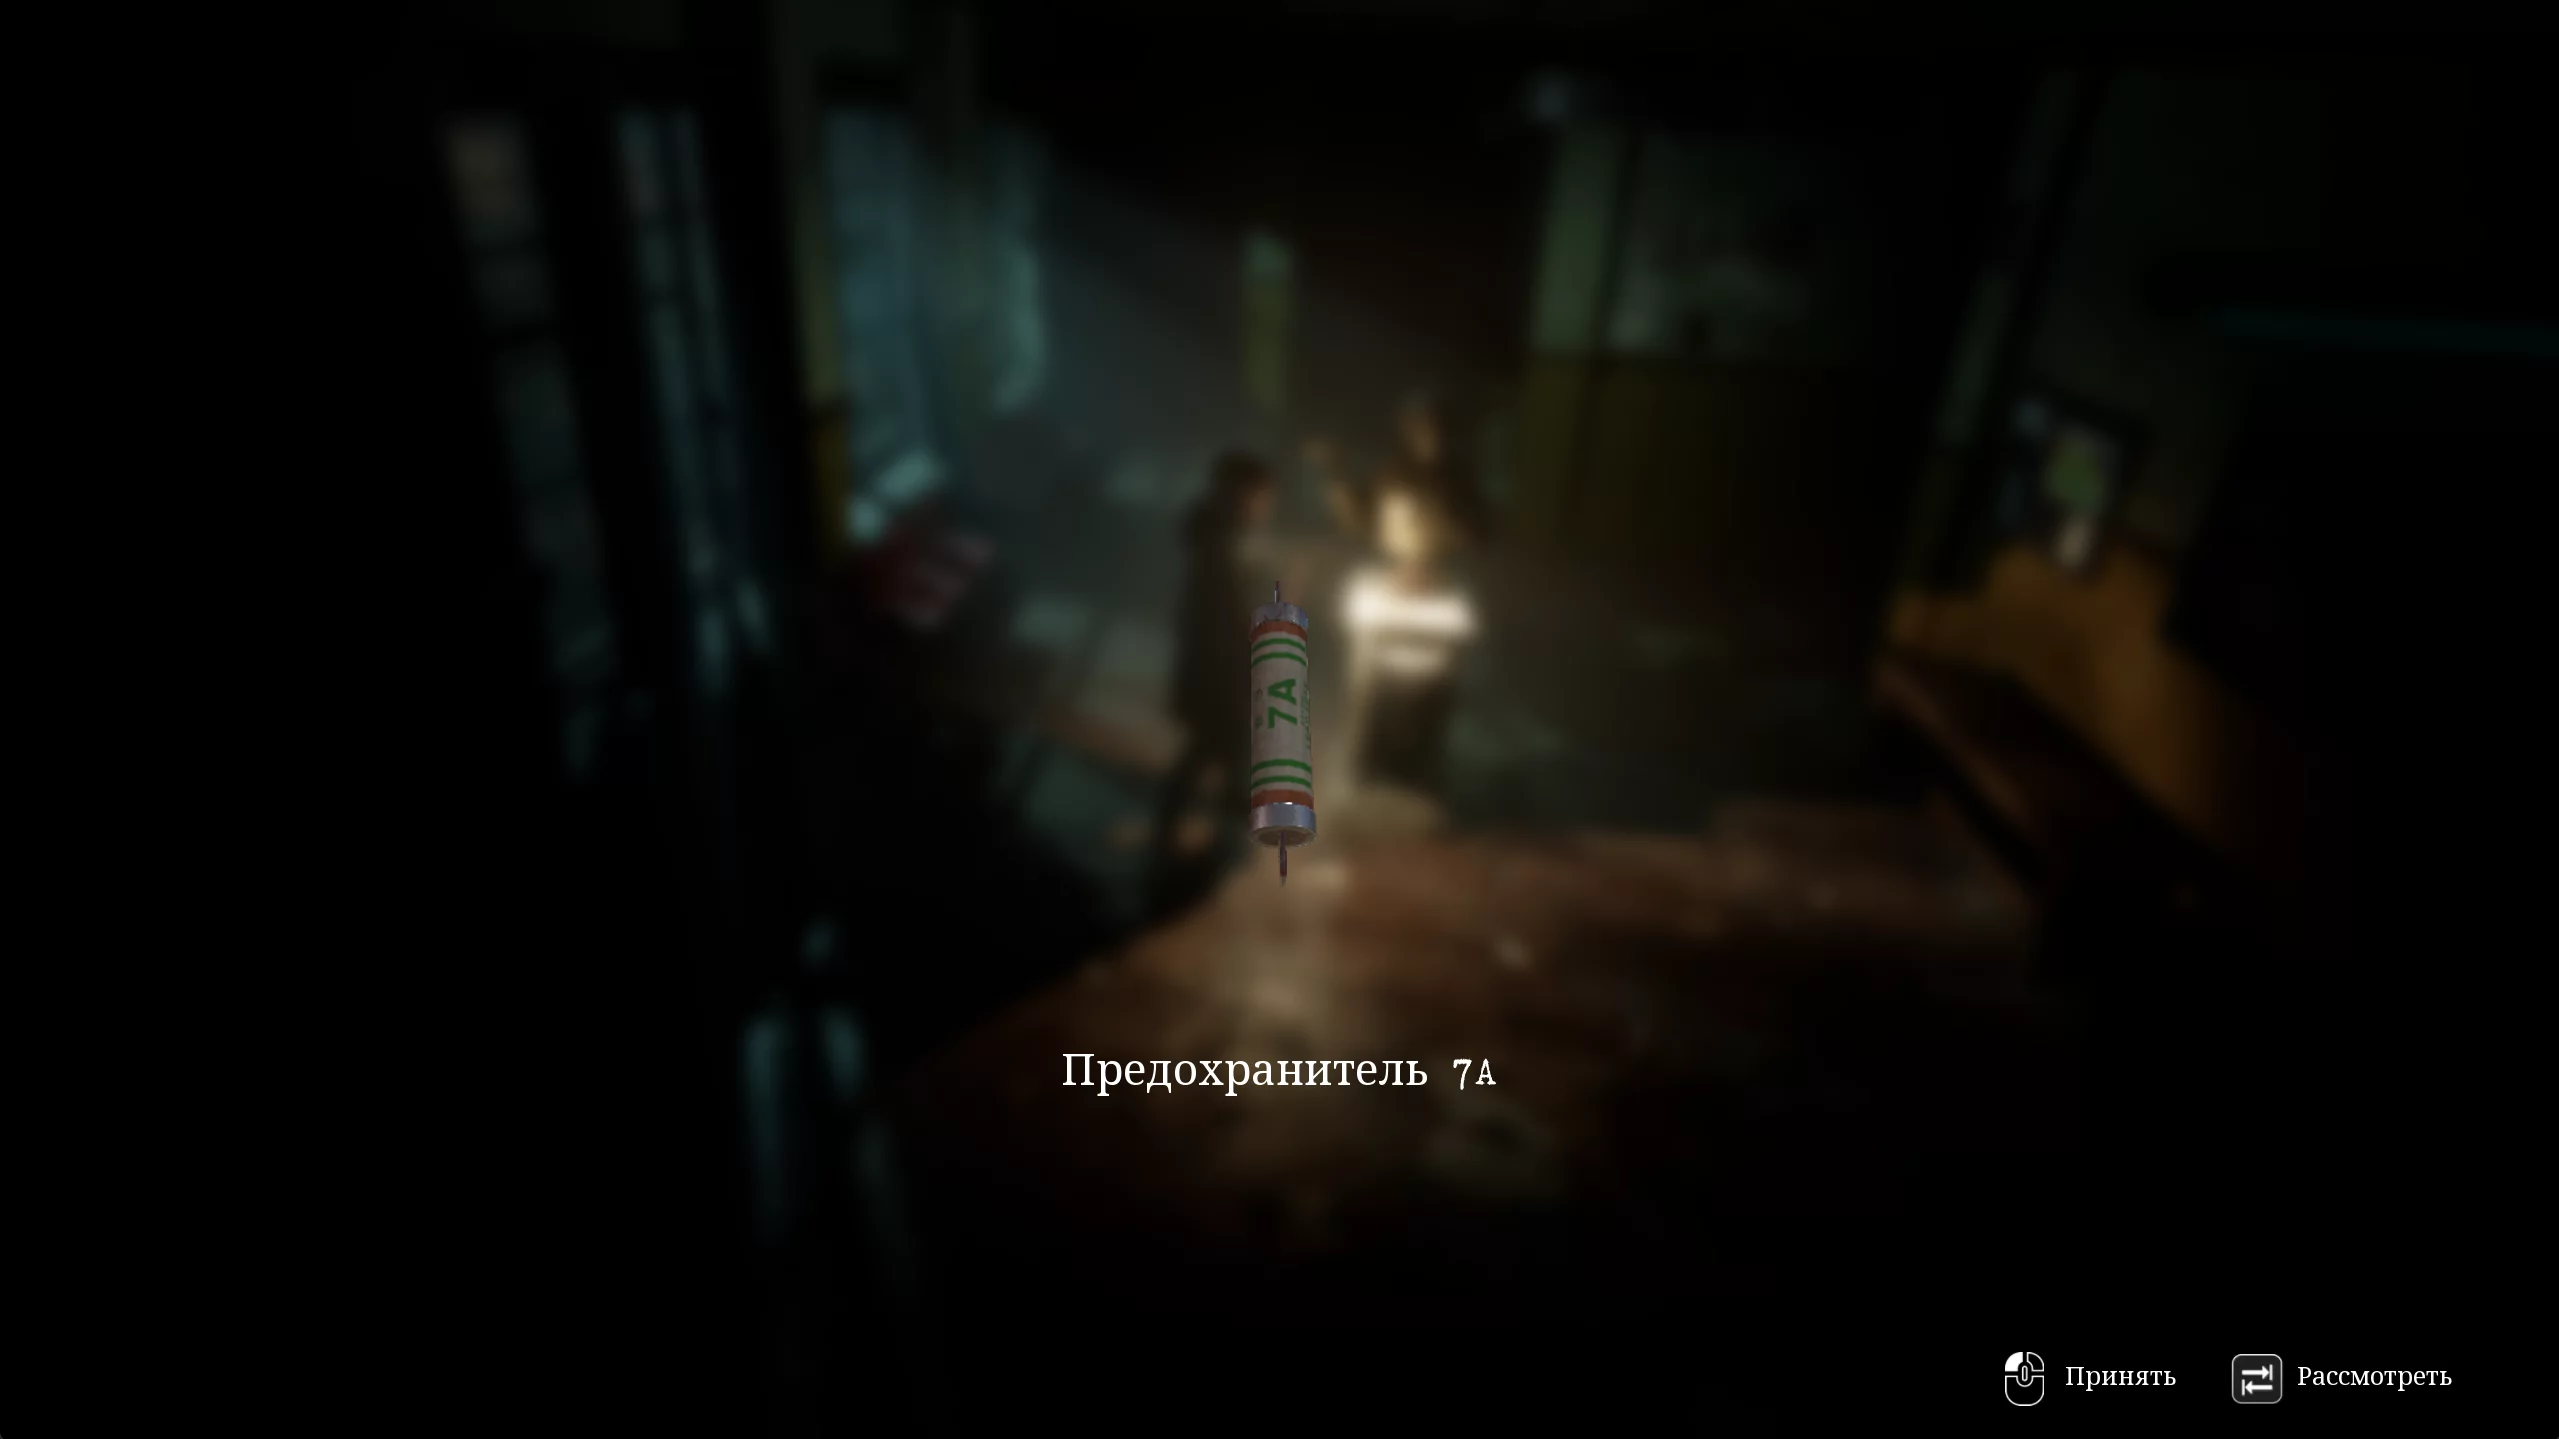
After hearing the melody, the Beethoven statue will grant you the 7A fuse.
How to get the second fuse

With the obtained item, go down the west corridor to the generator room.
Here, pick up the gasoline on the cart in the corner, then use the fuse to restore power to the elevator.
Return to the east corridor and enter the elevator, selecting the second floor. From there, immediately turn left and enter the science classroom.
Pick up the painkillers from the table and walk past the mannequin, which will come to life a moment later. Destroy the animated object and pick up the acid vials from the nearby table.
Exit the classroom and head to the sewing classroom, passing through the lobby.
Once inside, the doors will close behind Carolina. Pick up the povidone from the table and go deeper into the classroom for shotgun ammo, as well as the computer room keys. After you get the keys, four dolls will come to life. Defeat the little ones and head to the schoolyard through the second floor.
Go left, open the barred door, and break the vase for another portion of povidone. Return and go down to room 203, where after killing the mannequin you can pick up medicine from the cabinet.
Go even further down, grab the shotgun shells from the bench, and in the cabinet opposite you can take painkillers. A bit further, break the vase for a nail kit.
Now go to the elevator and descend to the basement. Move deeper and open the computer classroom door using the keys. Take the magnetic tape from the front shelf, head further into the classroom, and fend off the ghoul-spider. On the cabinet to the left, you'll find painkillers.
Next, go behind the metal grate straight to the janitor's room.
After a scary cutscene, take the nails from the nightstand and go through the metal door behind. Walk down the dark tunnel and kill two approaching mannequins. At the end of the path, pick up the fuel and climb the ladder to unlock a shortcut to the first floor lobby.
Return to the janitor's room and enter the door next to the TV.

The door leads to the school basement. Here, kill two dolls with a precise hammer strike and pick up a nail supply from one of the desks on the right.
Move forward and go through the large door leading to the east corridor A. Pick up a nail supply from the nightstand and go up the stairs.
Turn right and break the boxes nearby for shotgun shells.
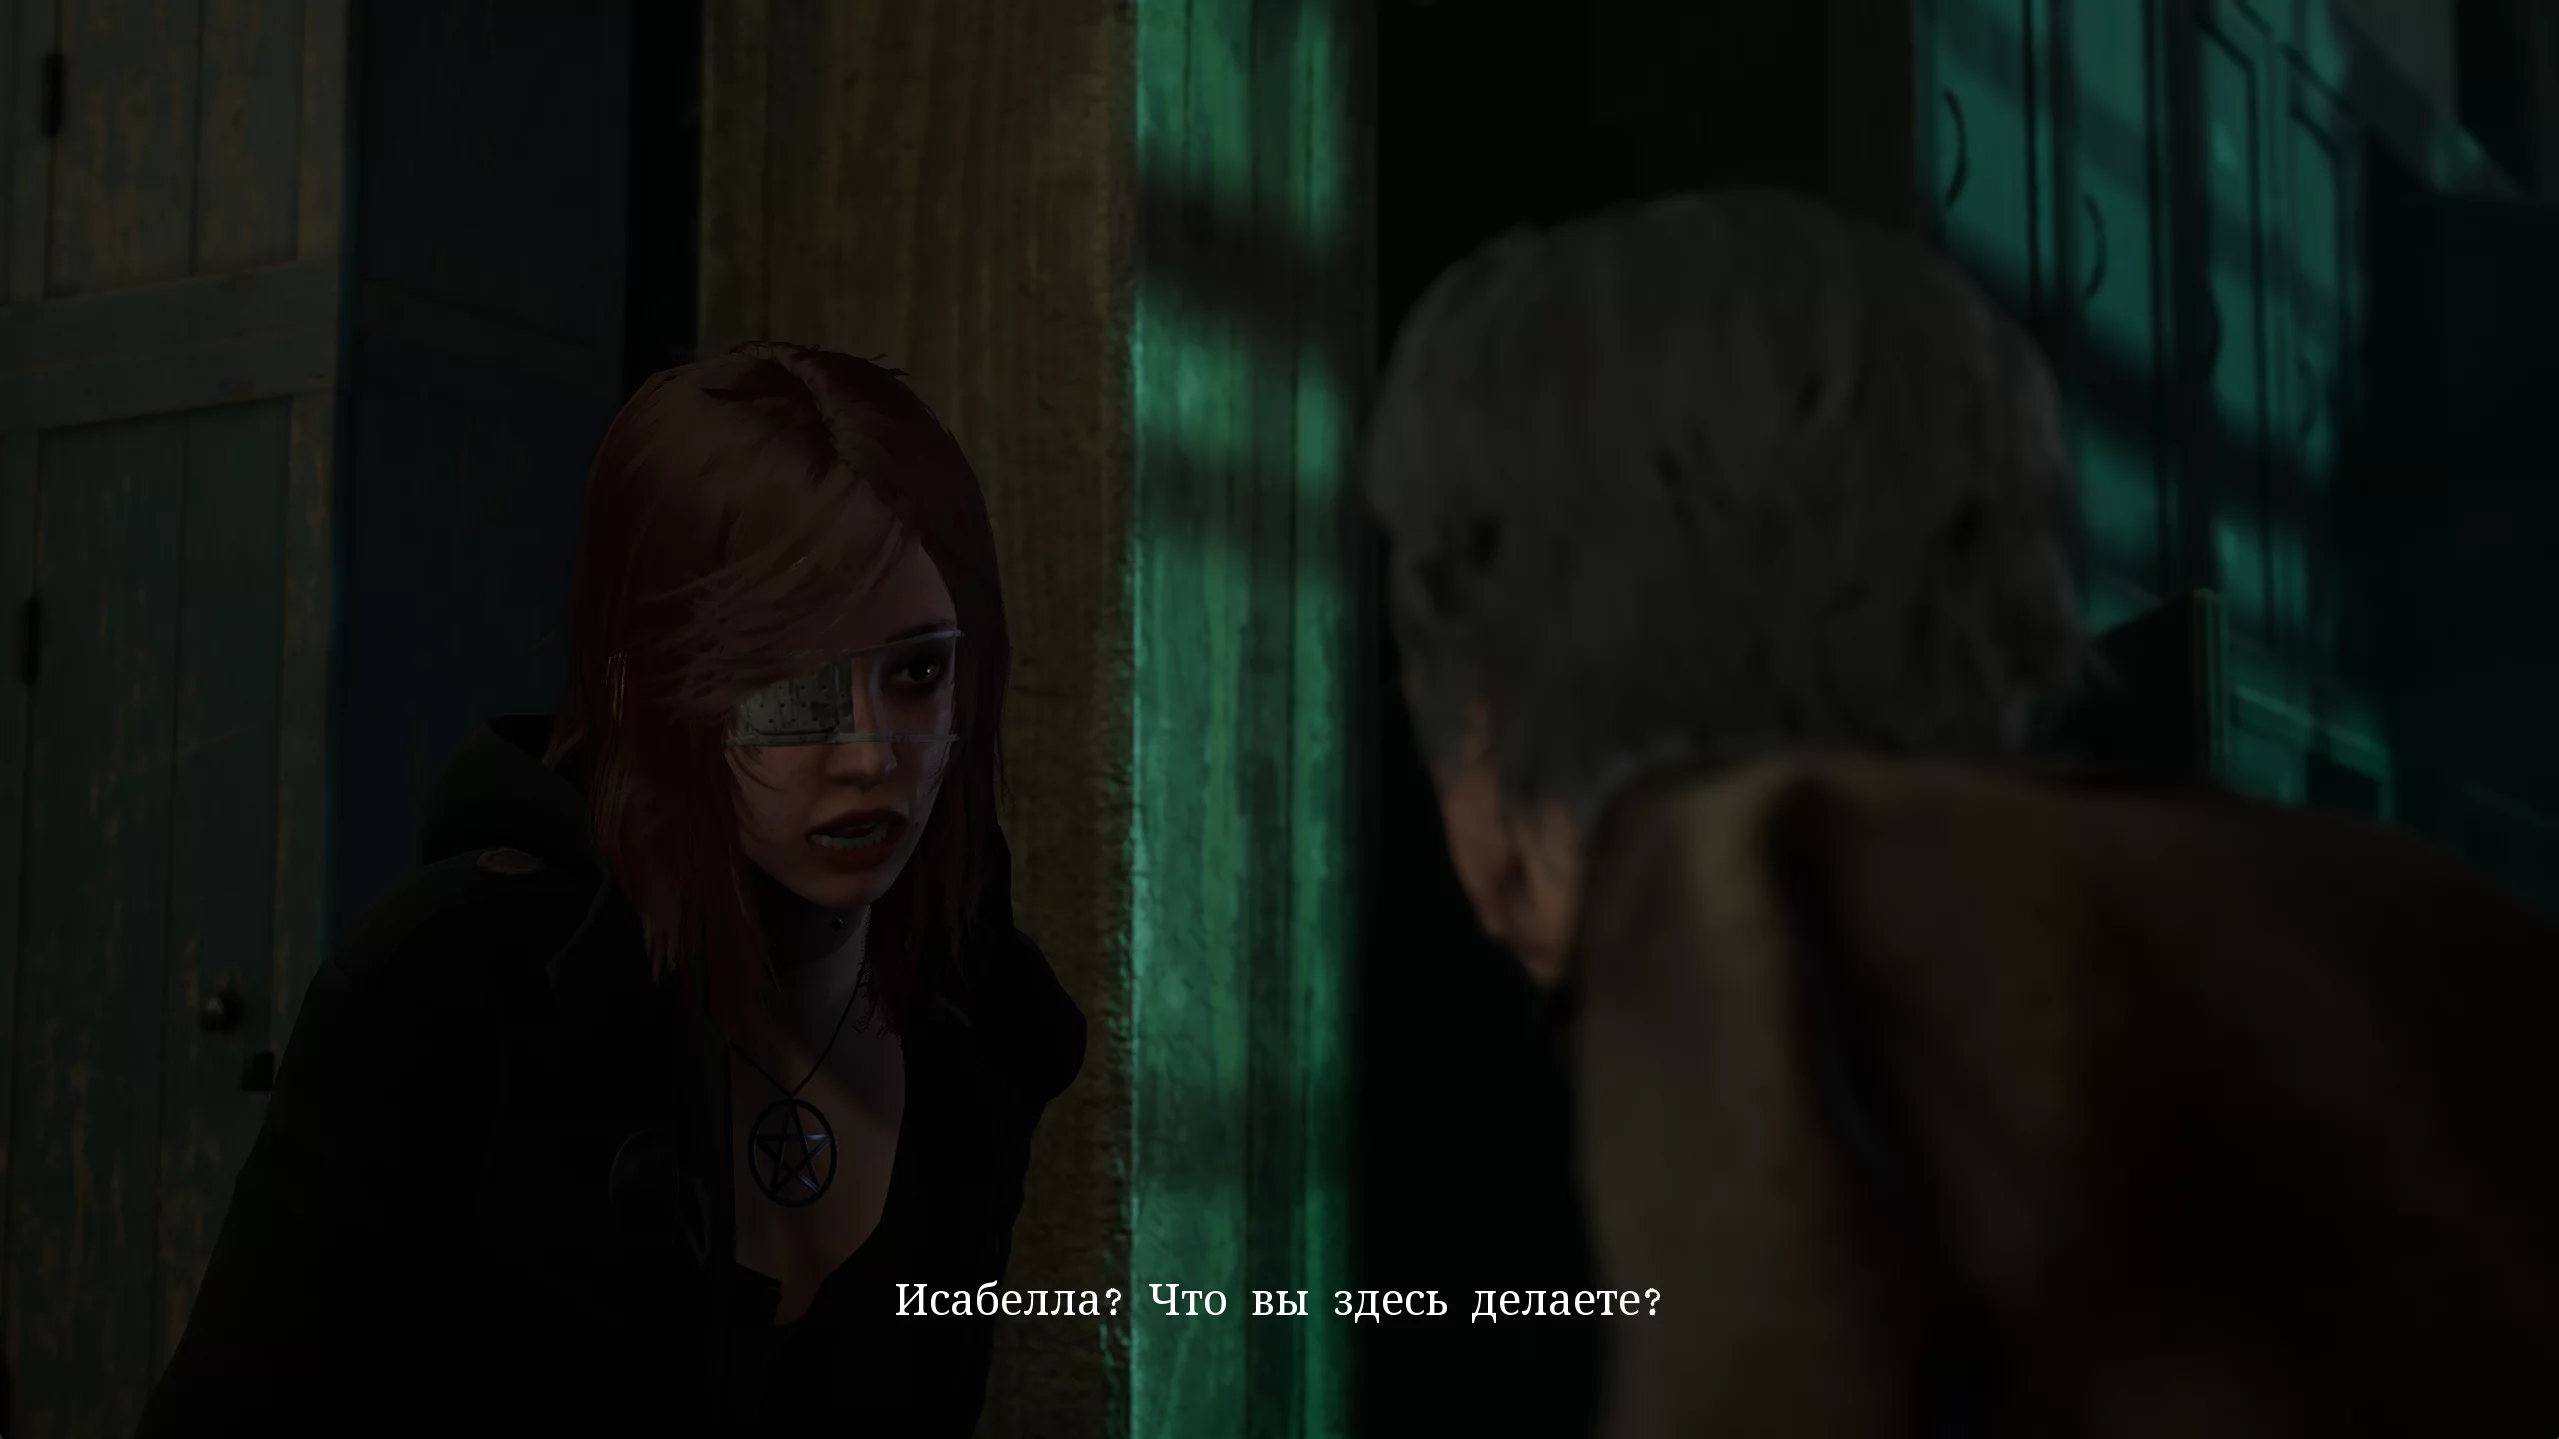
A little further on, a cutscene will start where Carolina nearly dies from a floor trap. This time, she is saved from death by an old acquaintance—Isabella.
Carolina asks the old lady for help and inquires if she knows where the room Anna drew in her journal is located. Isabella gives a hint about the Archives in the principal's office, but asks you to avoid the Pig-headed One hiding there.
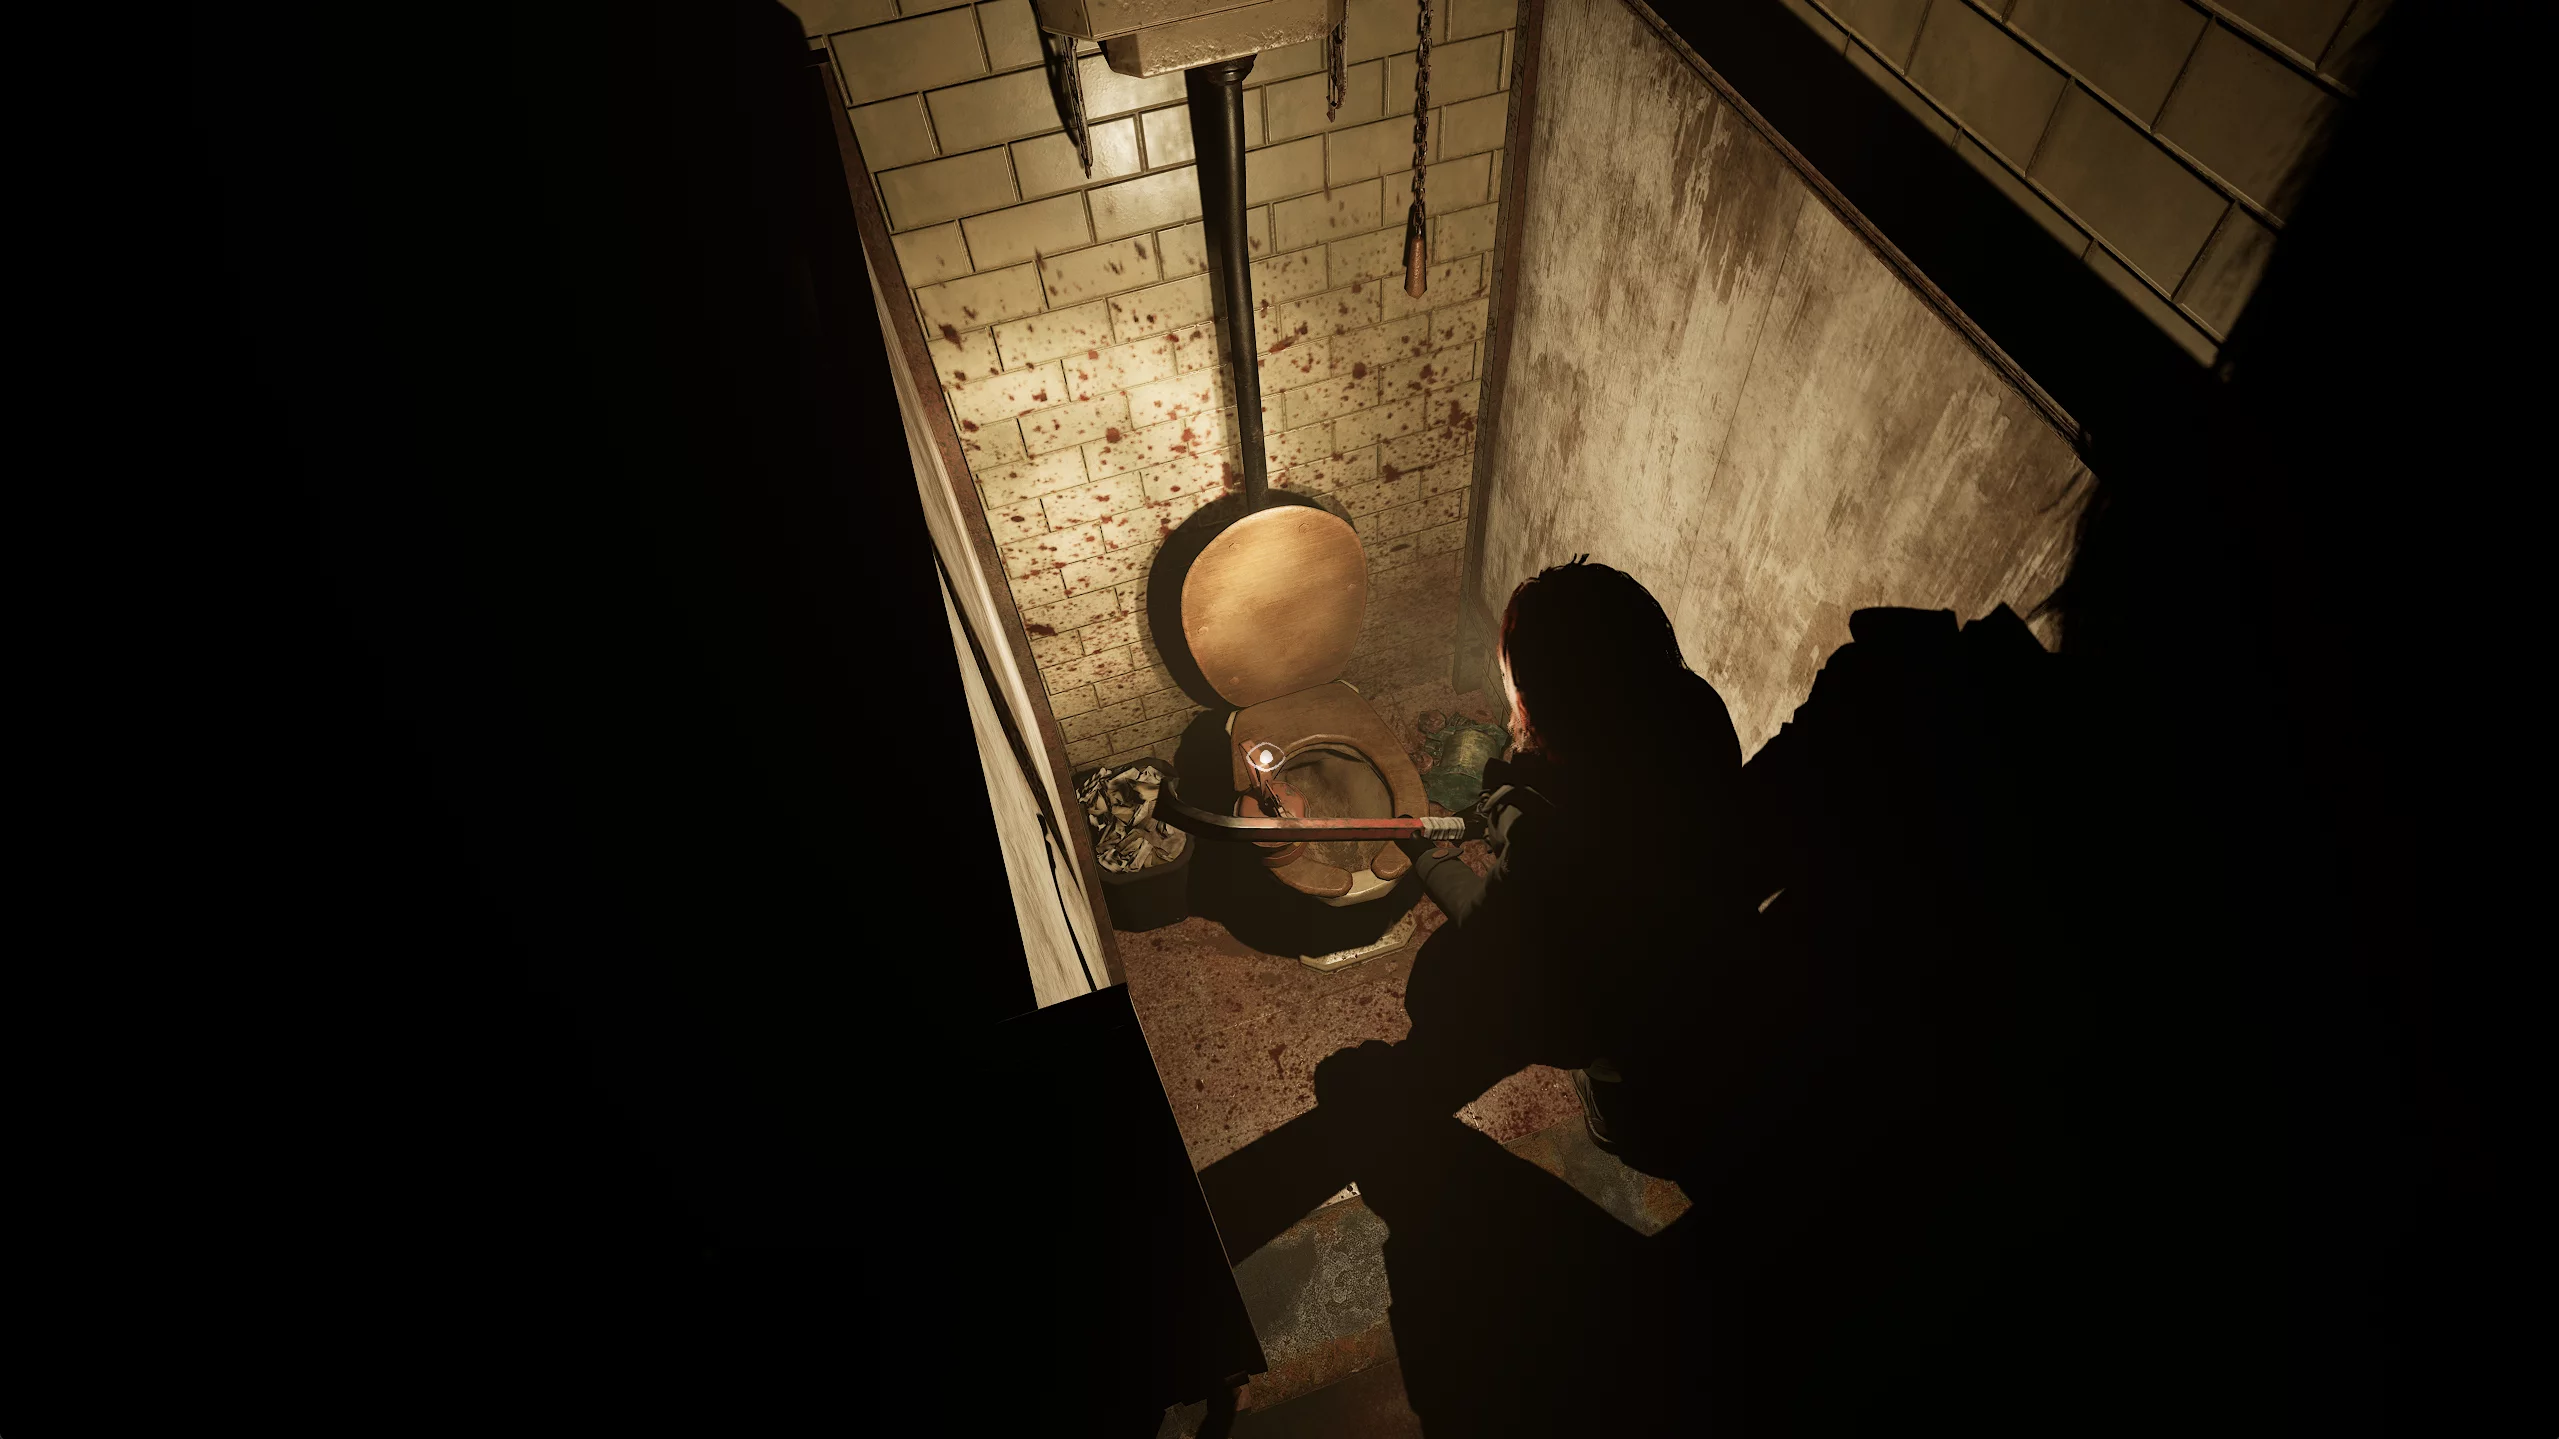
After the conversation, turn right and enter the men's restroom. Go to the last stall, beat up the crab in the cubicle, and take the chainsaw fuel.
Return to the corridor and head to the door boarded up with planks. Pry it open with a crowbar and go out to the yard. Turn three local pigs into cutlets with a sledgehammer and pick up a nail kit from the swings.
Go to the left door and unlock a shortcut to the kindergarten. Now head to the generator room and move the fuse from the elevator to the first floor slot. After that, return to east corridor A through the playground and go through the electronic door into the west corridor of the first floor.
Turn left and enter room 104. Ignore the strange man in the pig mask: he is definitely not the Pig-headed One Isabella warned you about. Take the povidone from the cabinet and also the "Playground" tape under the TV.
Go back into the corridor and unlock a shortcut to the schoolyard, fending off a mannequin along the way. Continue deeper down the corridor, break the box for a nail supply, and enter storage room 102. Watch out for the floor trap.
In the storage room, you can save your progress and find a magnetic tape on the windowsill. Save your game and go through the door into room 102. Kill two dolls and break the vases on the other side of the room for a nail kit.

Return to the door and solve the puzzle on the nightstand lock. Set the dials to match the following images:
- Book
- Ruler
- Compass
- Sharpener
In the opened drawer, you'll get the second 7A fuse.
How to get the combined key
Open the door at the end of the room and return to the west corridor on the first floor. In the last unexplored room on this floor—room 101—you'll find povidone on the cabinet and Elena's notes, which contained hints for opening the nightstand in room 102. Watch out for the trap in the middle of the room.
As we remember, there's a projector in the art classroom near the schoolyard. Head there, killing two mannequins in the yard and two more in front of the art classroom along the way.

Once inside the classroom, kill three dolls and insert the "Playground" tape into the projector.
You'll be transported to the past and should plant the apple seeds in the pot on the left, then move the cart under the dripping faucet.
Return to the playground in the real world and pick the apple from the grown tree.
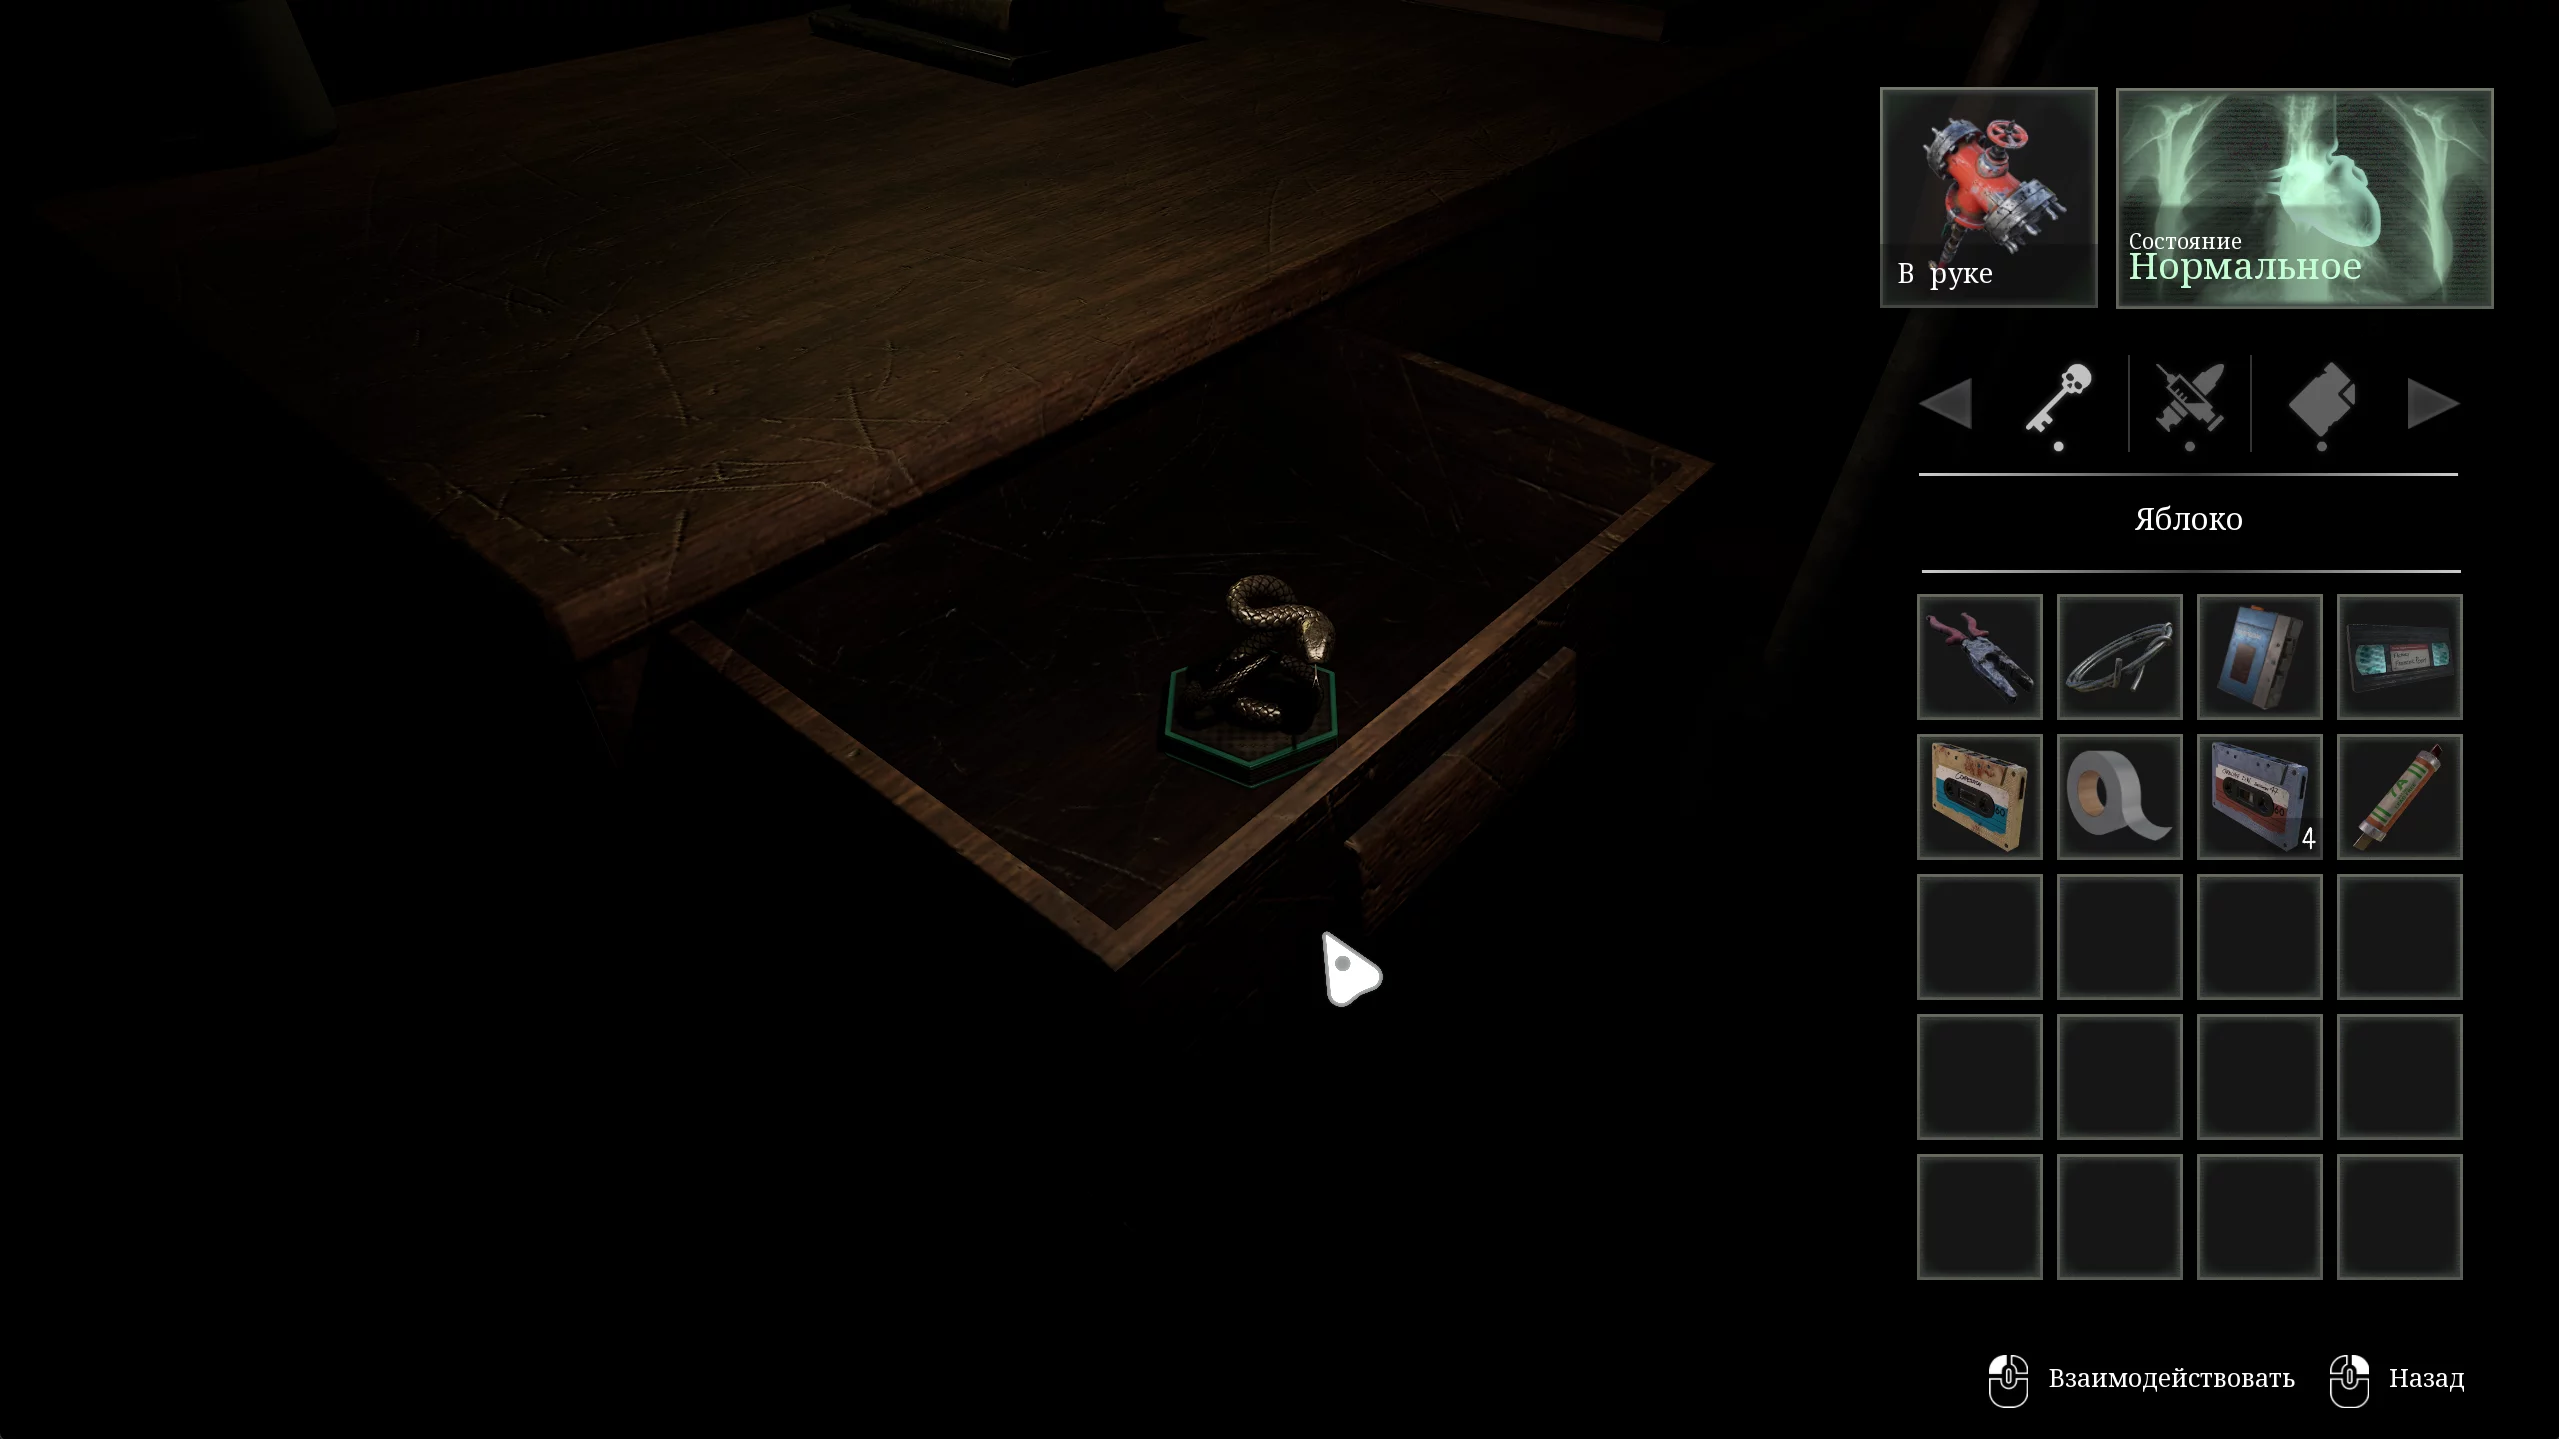
Share the delicacy with the teacher in room 103. The creature will disappear, and a drawer with a snake figurine will open at its desk.

Now go to the generator room and place the fuses in the elevator and second floor slots.
Go upstairs and go through the electronic door on the right side of the corridor. Turn left, kill the mannequin using the trap, and go to the end of the corridor. Unlock a shortcut to the west corridor of the first floor and return to room 201. In the closet, pick up painkillers, then proceed to the room's storage.
Search the cabinet on the left for insecticide, then exit to the corridor. Watch out for the trap before the exit.
Turn right and go to the women's restroom below. Beware of the trap and kill the mannequin.
Go into the restroom, kill three crabs, and pick up povidone from the bench. Turn right to the mirror with candles.
As with all previous mirrors, you need to light the candles in a specific order. The hint is on the glass near the sinks behind you:
- Bottom left
- Left middle
- Top middle
Enter the other world and leave the restroom. On the nightstand ahead, there will be a nail kit. Further down the corridor, you'll find another kit as well as a dangerous butcher enemy. Kill the monster and go into room 202.
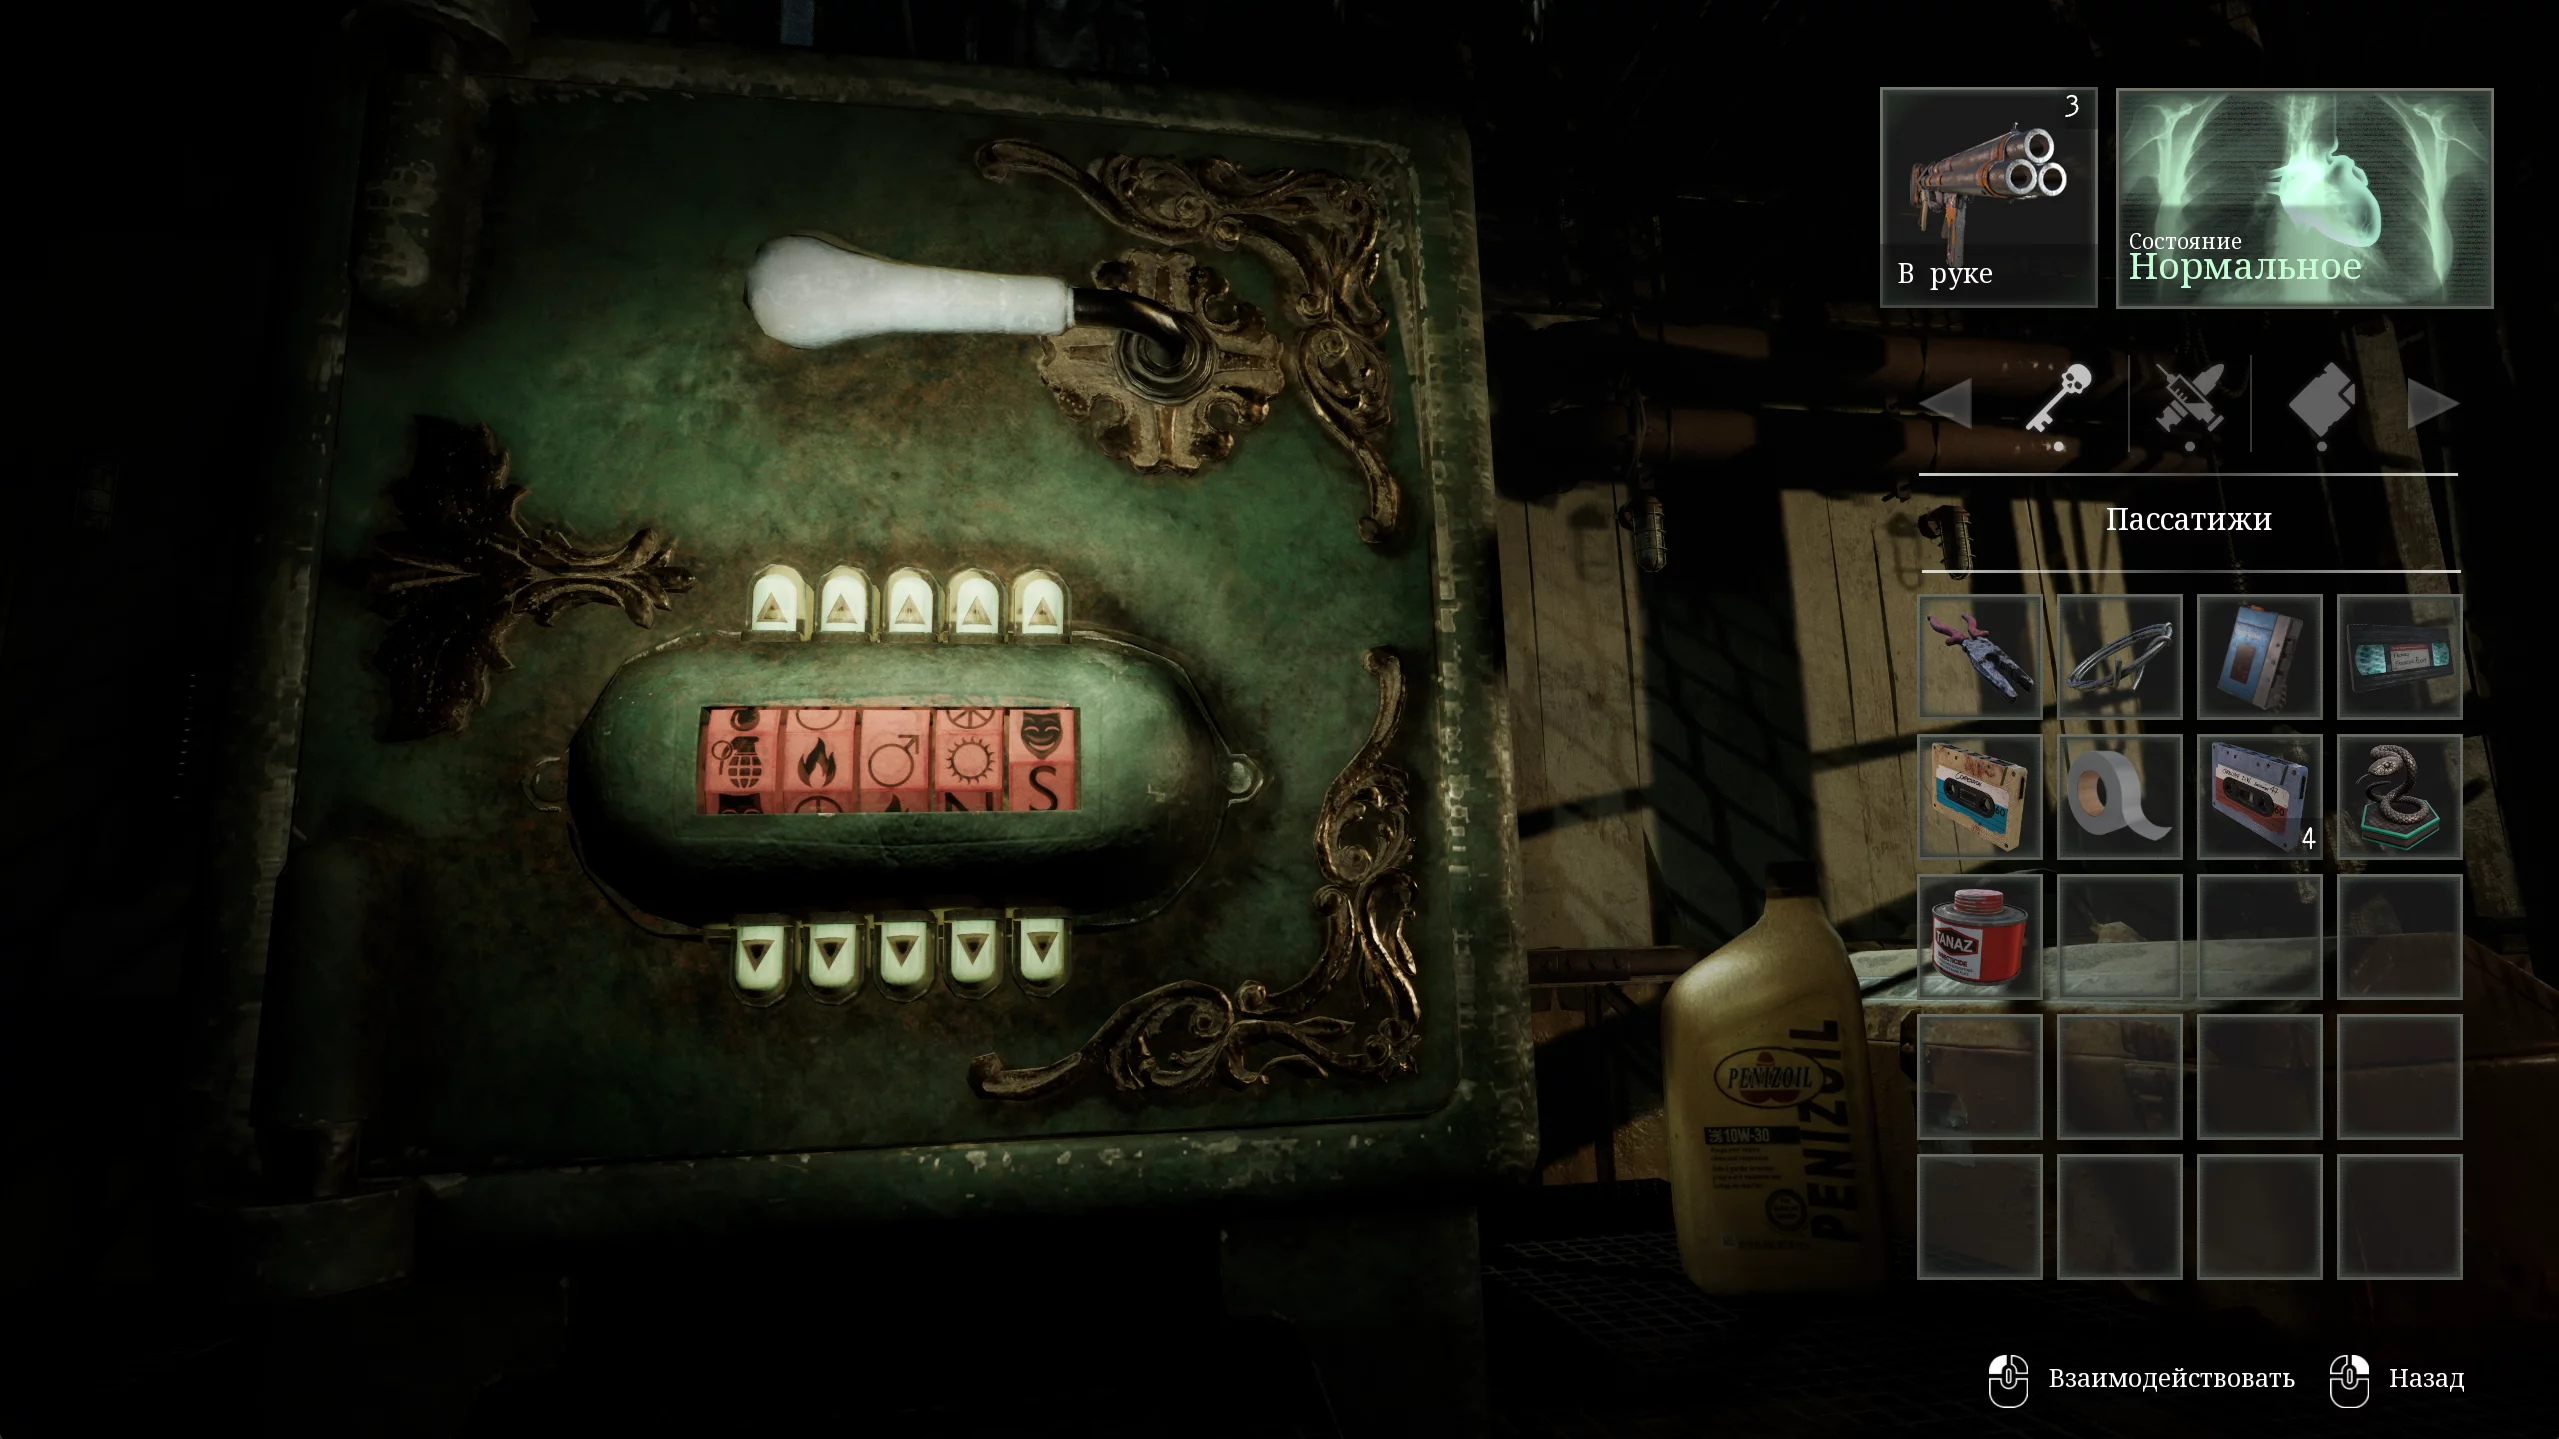
In the room, kill the mannequin and open the safe on the table with the following combination:
- Grenade
- Fire
- Mars (male symbol)
- Sun
- Mask of joy
After opening the safe, you'll find a bird corpse inside.
Exit to the corridor and kill the second brute. Go to the end and descend the stairs to the schoolyard. Here, kill two large monsters and head to the principal's office via the stairs on the right.
In the office, take the nail kit from the table and the insecticide canister.
Exit the office and go to room 203. Go up the stairs to the second floor and enter the room. Here, pick up a nail kit from the nightstand and take the frog figurine from the corpse in the middle of the room.
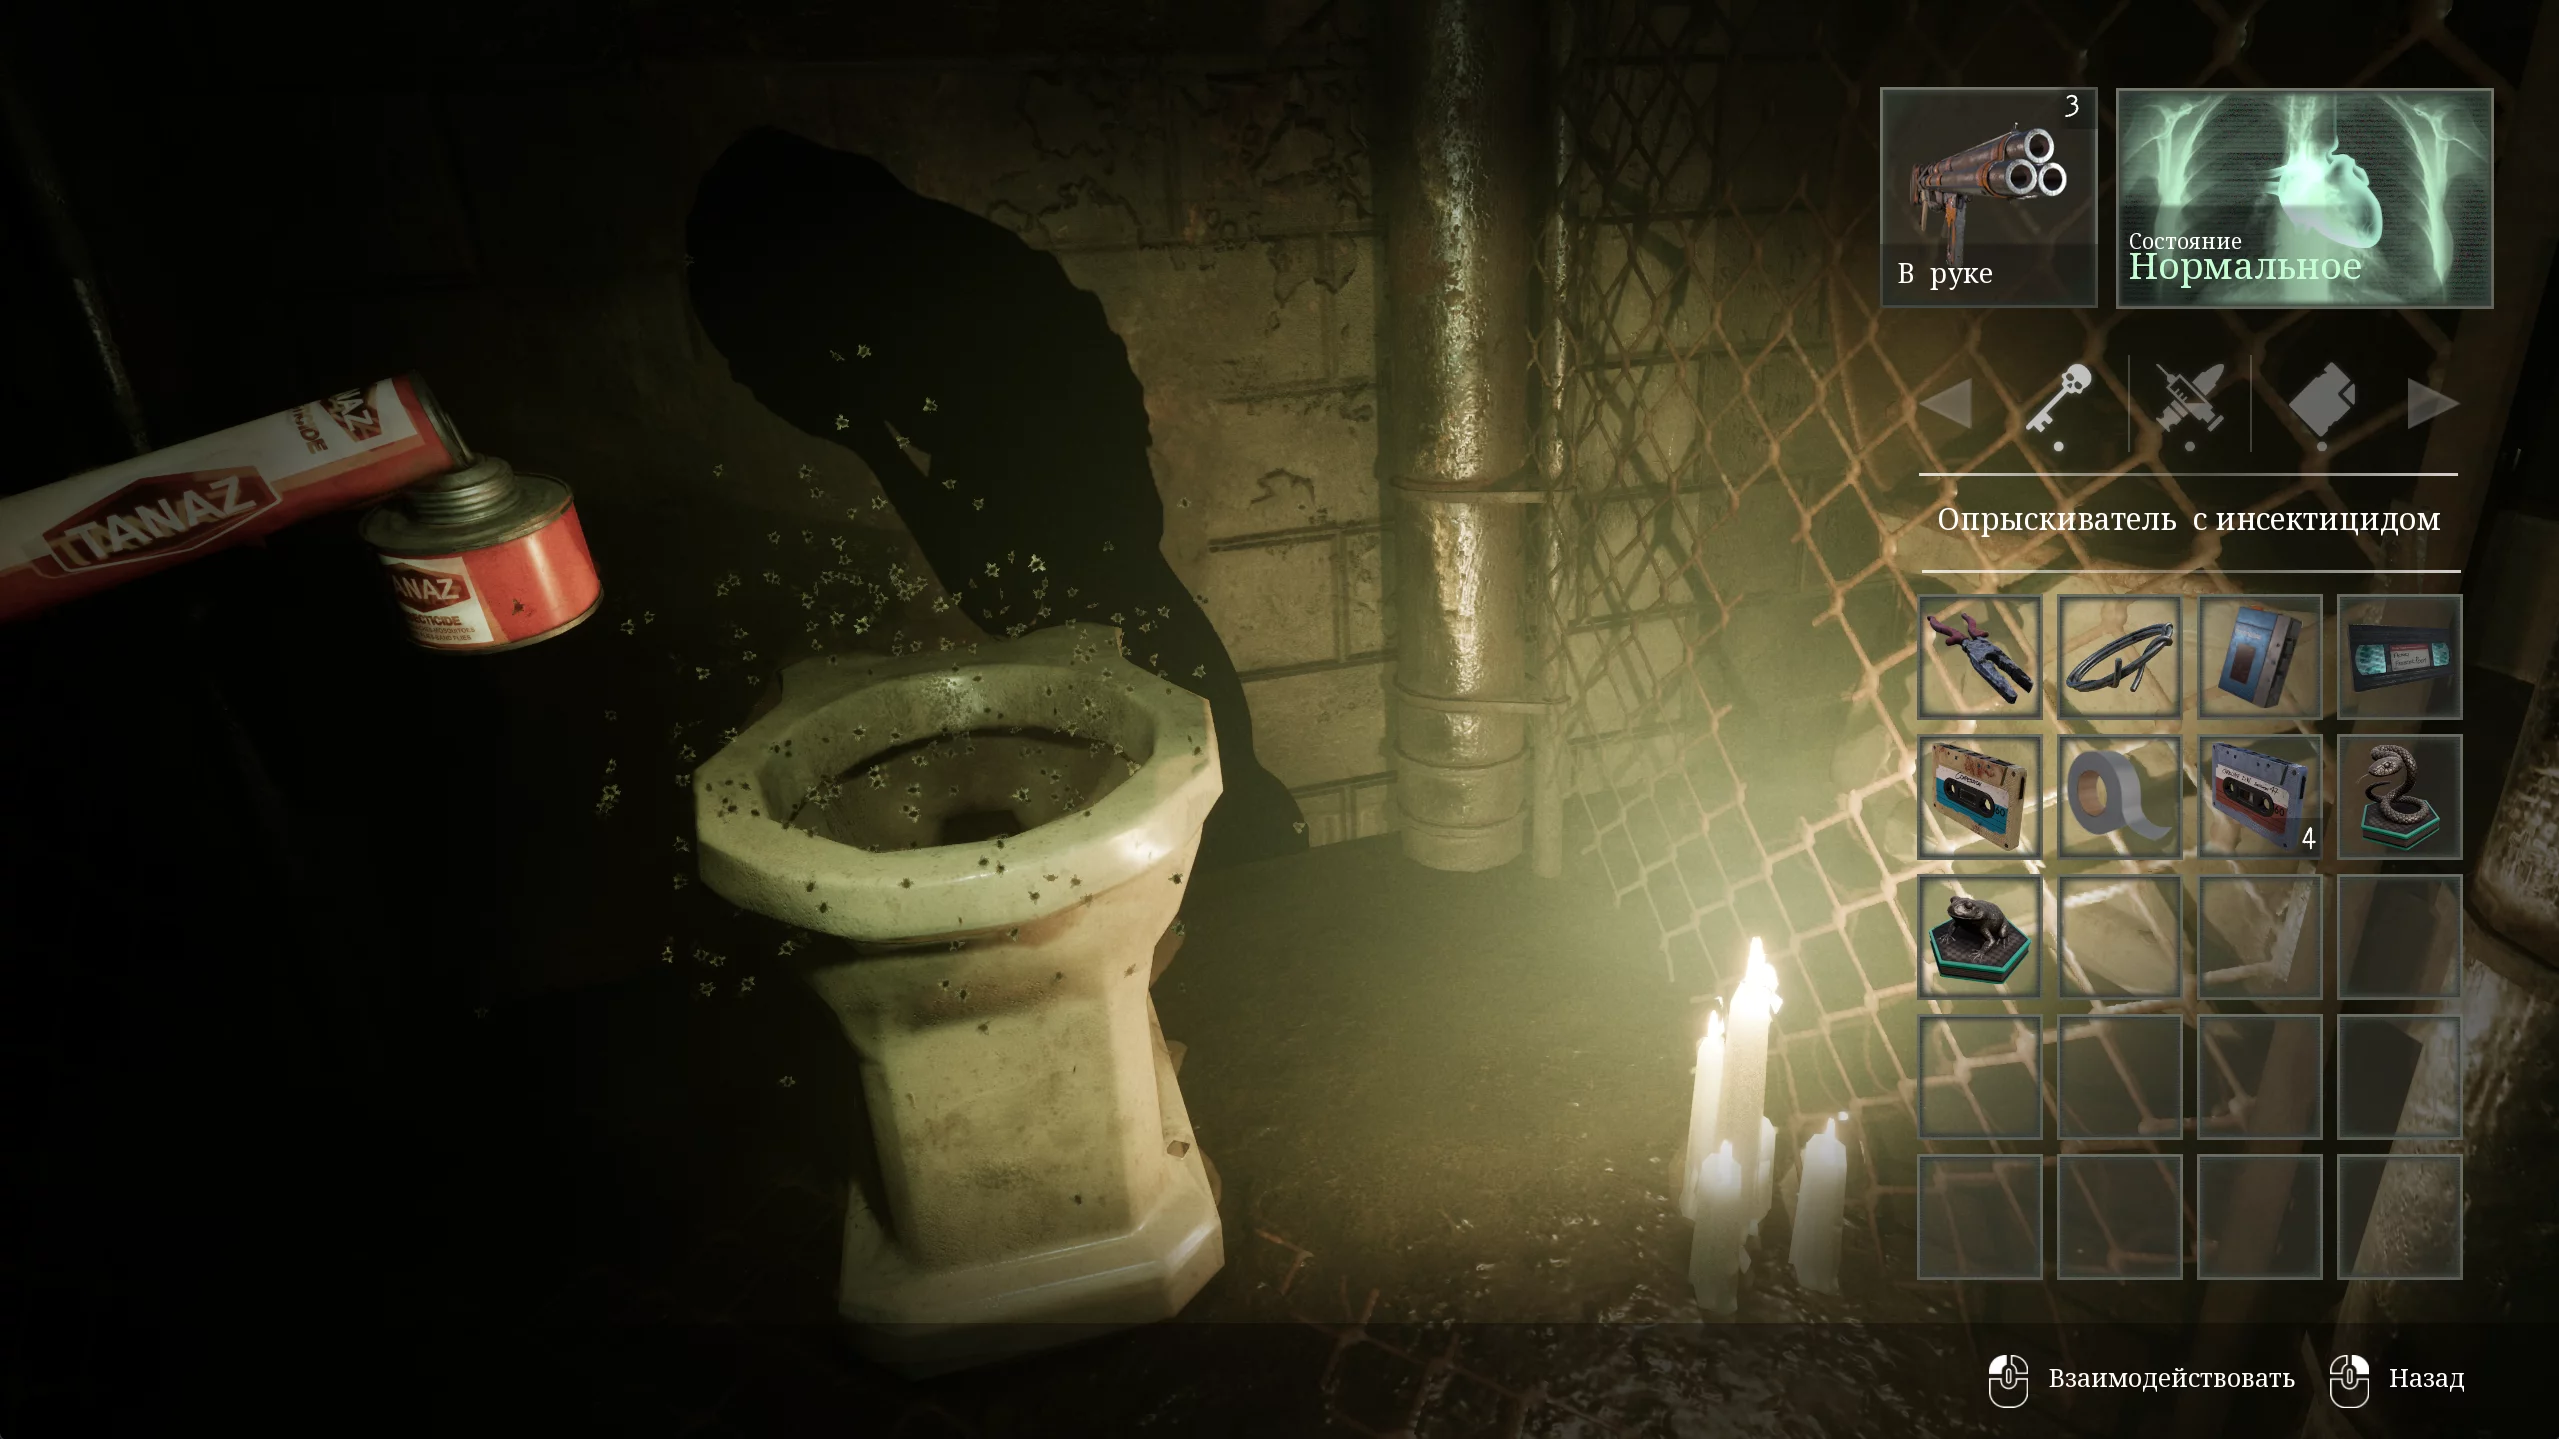
After collecting all the necessary items, return to the women's restroom, combine the empty canister with insecticide, and drive the flies out of the toilet.
Return to the real world through the mirror, approach the toilet, and pick up the fly figurine.
Leave the room and go to room 203. Break the boards with the crowbar, find a nail kit on the cabinet, and take the hawk figurine from the cage.
With all the collected figurines, go to the science classroom to the box on the table. Enter the room and calm down the two animated mannequins by any means necessary.

Arrange the figurines on the box in the order of the food chain:
- At the very bottom — fly
- Above — frog
- The frog is eaten by the snake
- Hawks hunt snakes
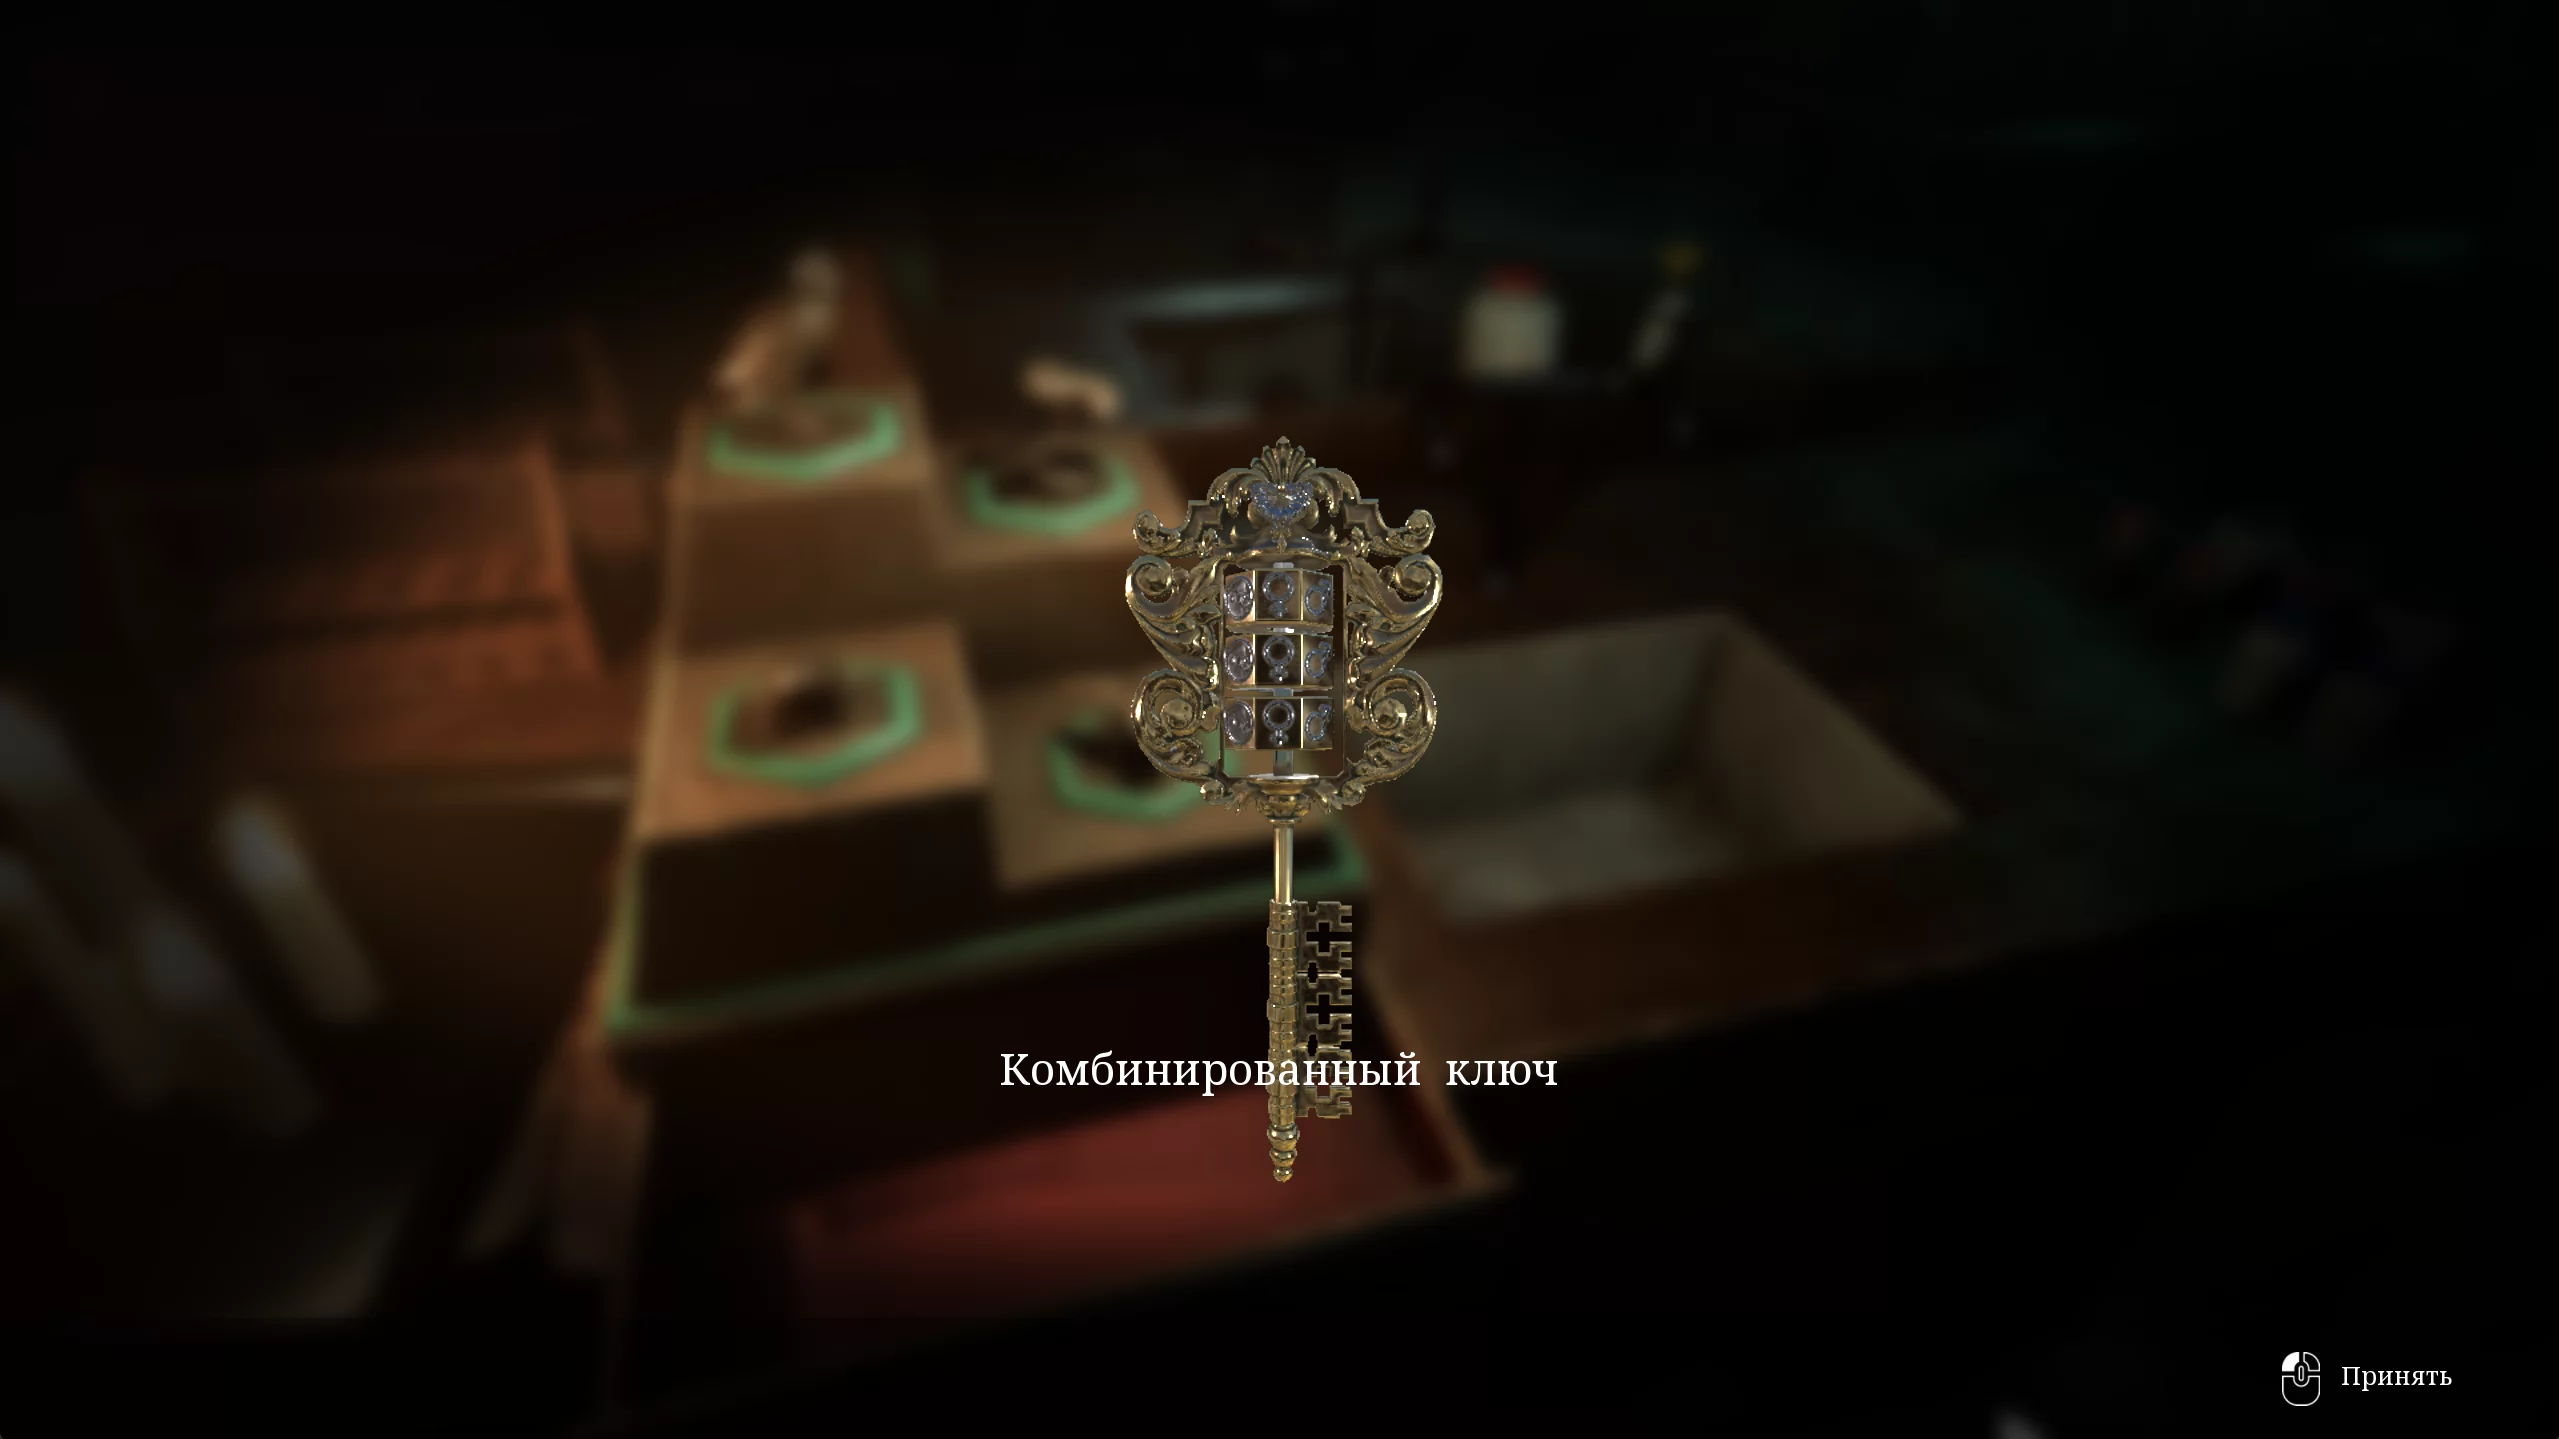
In the opened drawer lies the combined key, which can be used to open the archives in the principal's office.
How to get the Handgun Upgrade
But before going there, go down to the computer classroom in the basement and approach the locker with the special lock. On the combined key, set the following symbols:
- Sun
- Heart
- Mars (male symbol)

Open the locker and take the spring, which, when combined with the handgun, will reduce recoil when firing.
Pig-headed One

Now return to the principal's office. It is recommended to save in the break room, as a boss fight awaits ahead.
Set the following symbol combination on the key:
- Venus (female symbol)
- Cross
- Moon
With this key combination, open access to the archive.
Inside, move between the cabinets with dolls, watch out for the trap in the center of the room, and take the painkillers from the stair railing.
After that, go downstairs and turn left. Again, you'll come across a tripwire underfoot and continue down the corridor made of cabinets.
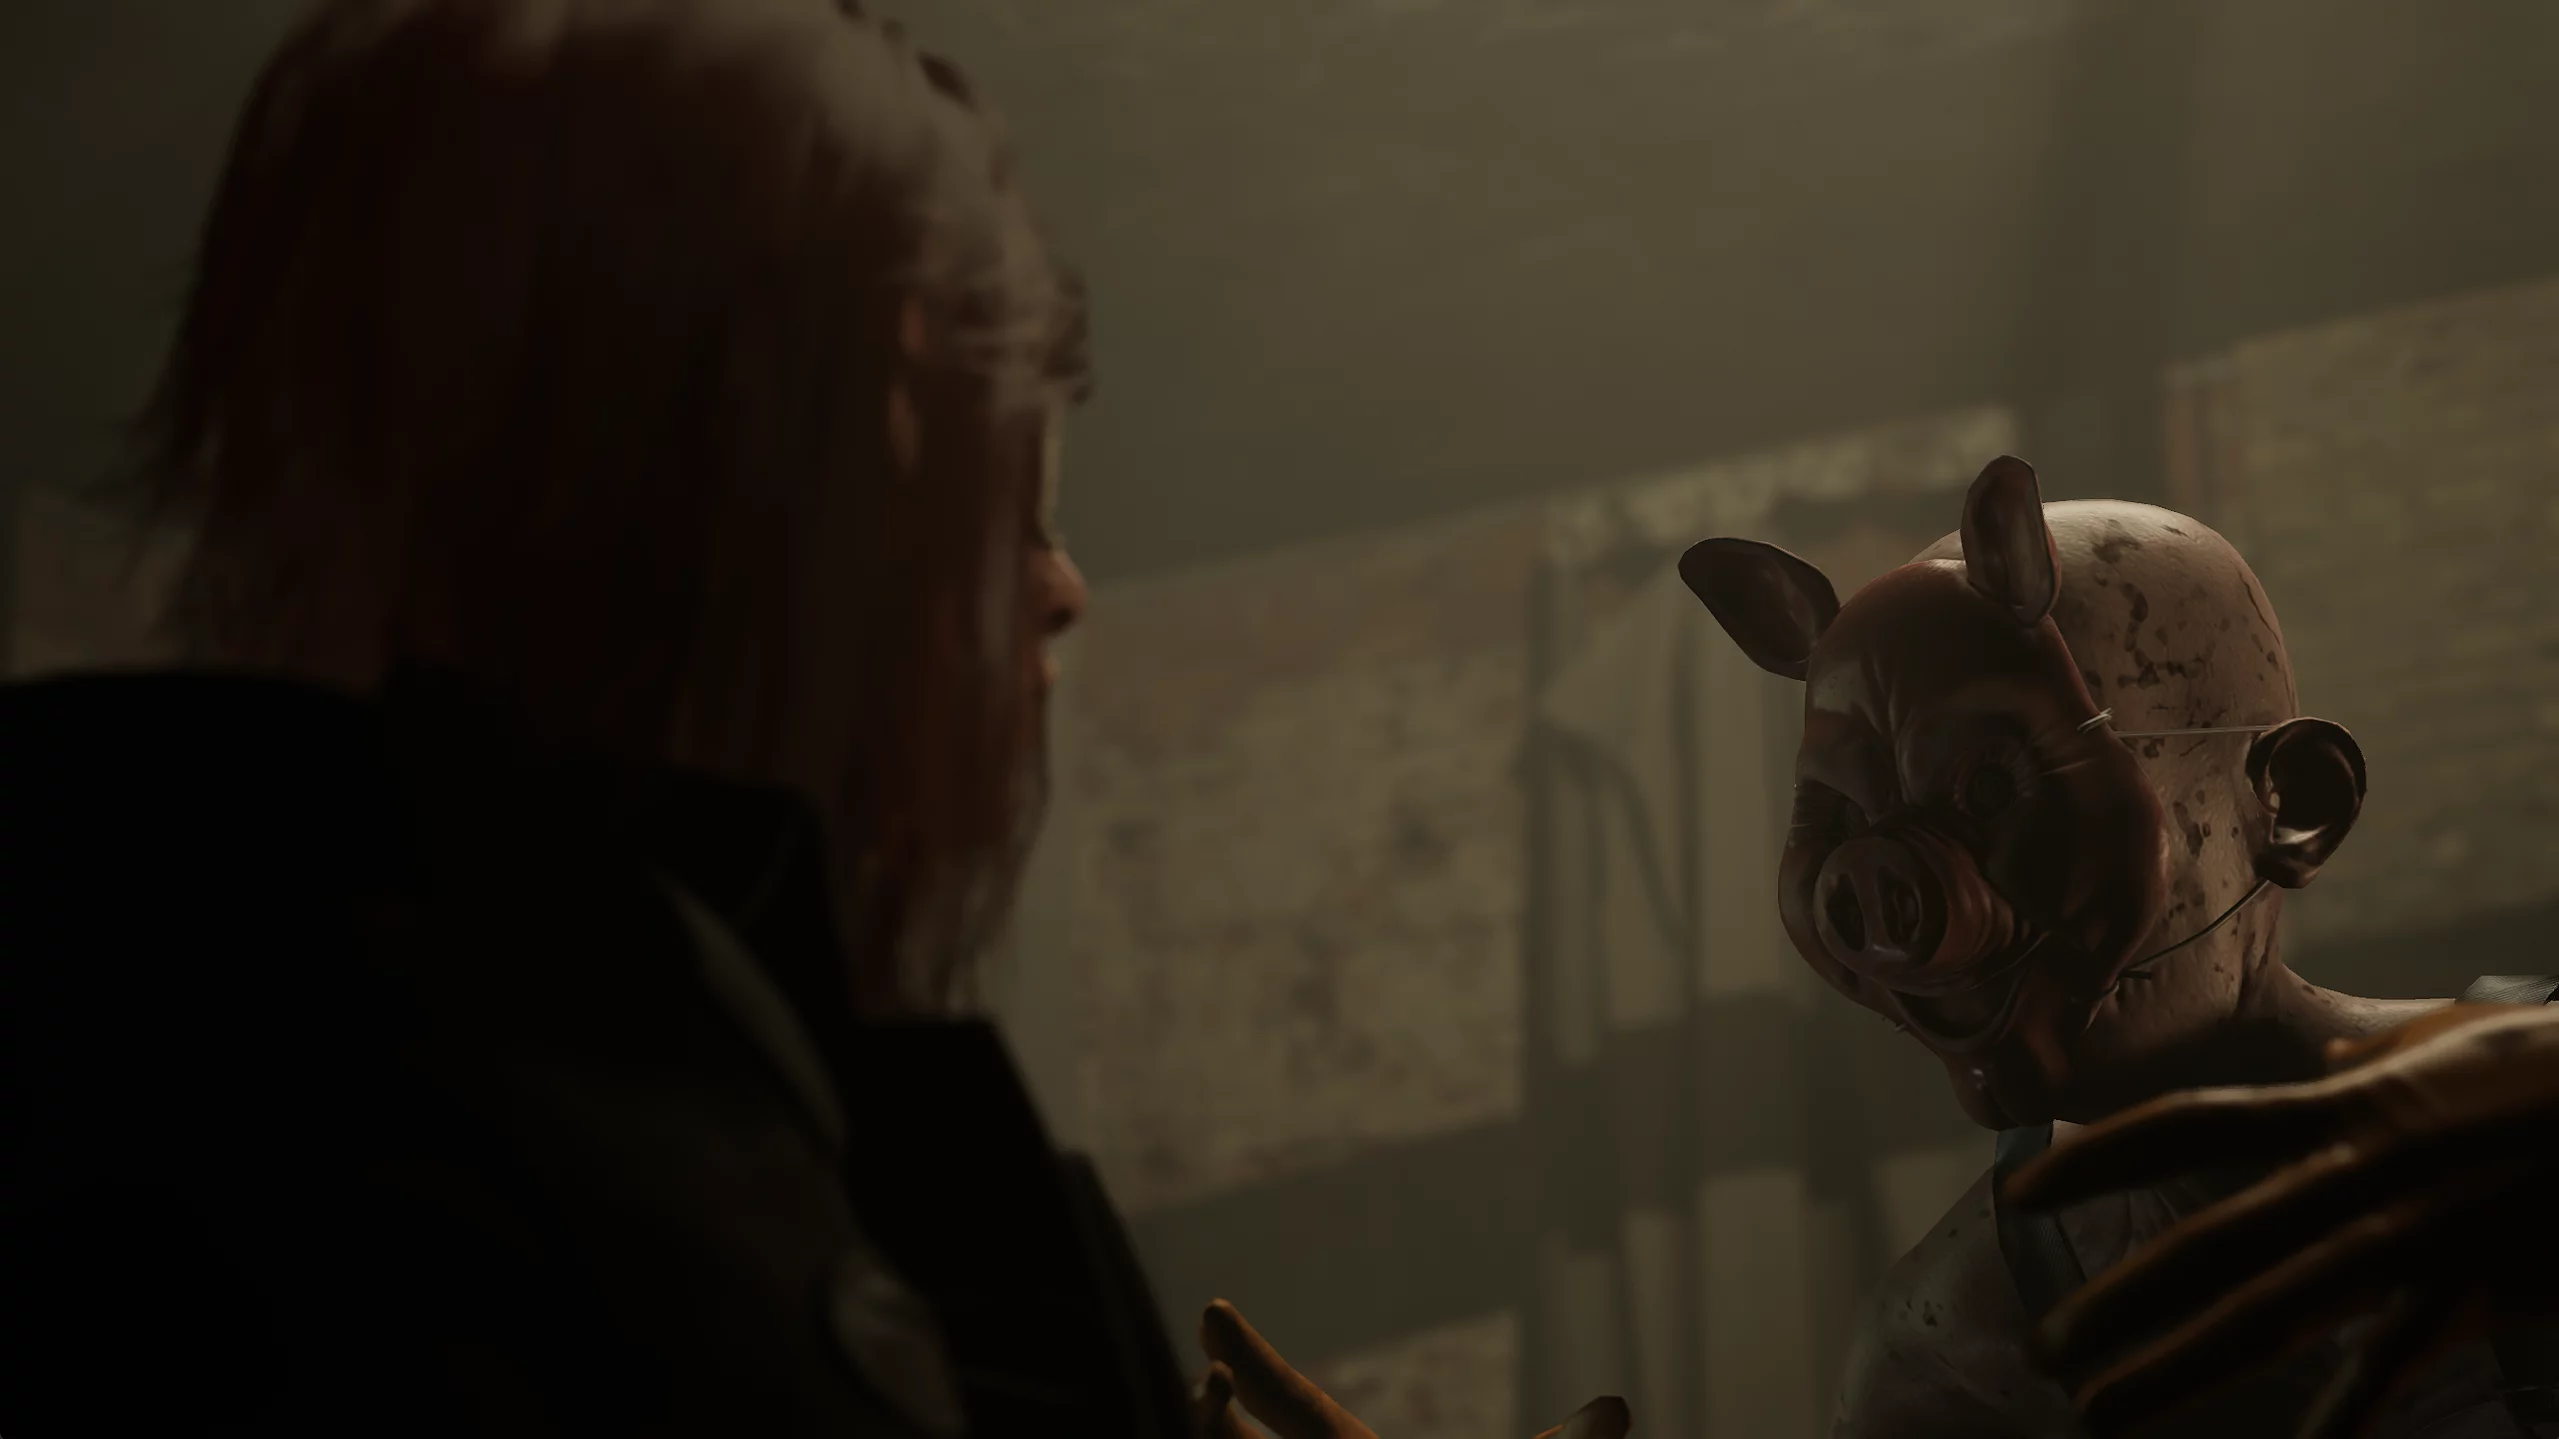
In the secret room, the Pig-headed One grabs you by the neck. Miguel chops off the monster by stabbing it with the butcher's knife. After this, the main boss fight begins. It is not difficult and follows a simple strategy.

There are three machines emitting sparks around the arena. Knock the boss into a stunned state with any weapon. After a short interval, he will get up and run straight at you. At this moment, stand in front of a sparking machine so that the Pig-headed One runs into the electric discharge and gets shocked. Repeat this action three times, and the fight will end.
After the victory, pick up the pig mask from the floor and return to the principal's office.

After another cutscene, go down to the janitor's room to give the pig mask to the hand coming out of the TV.
The hand accepts the gift and opens the door from the school back to the street.
Escape the building, passing by the resurrected zombies along the way, and head to the game's final location—the church.
Church
From the school quarter, head to the train station, and from there go to the shopping district.
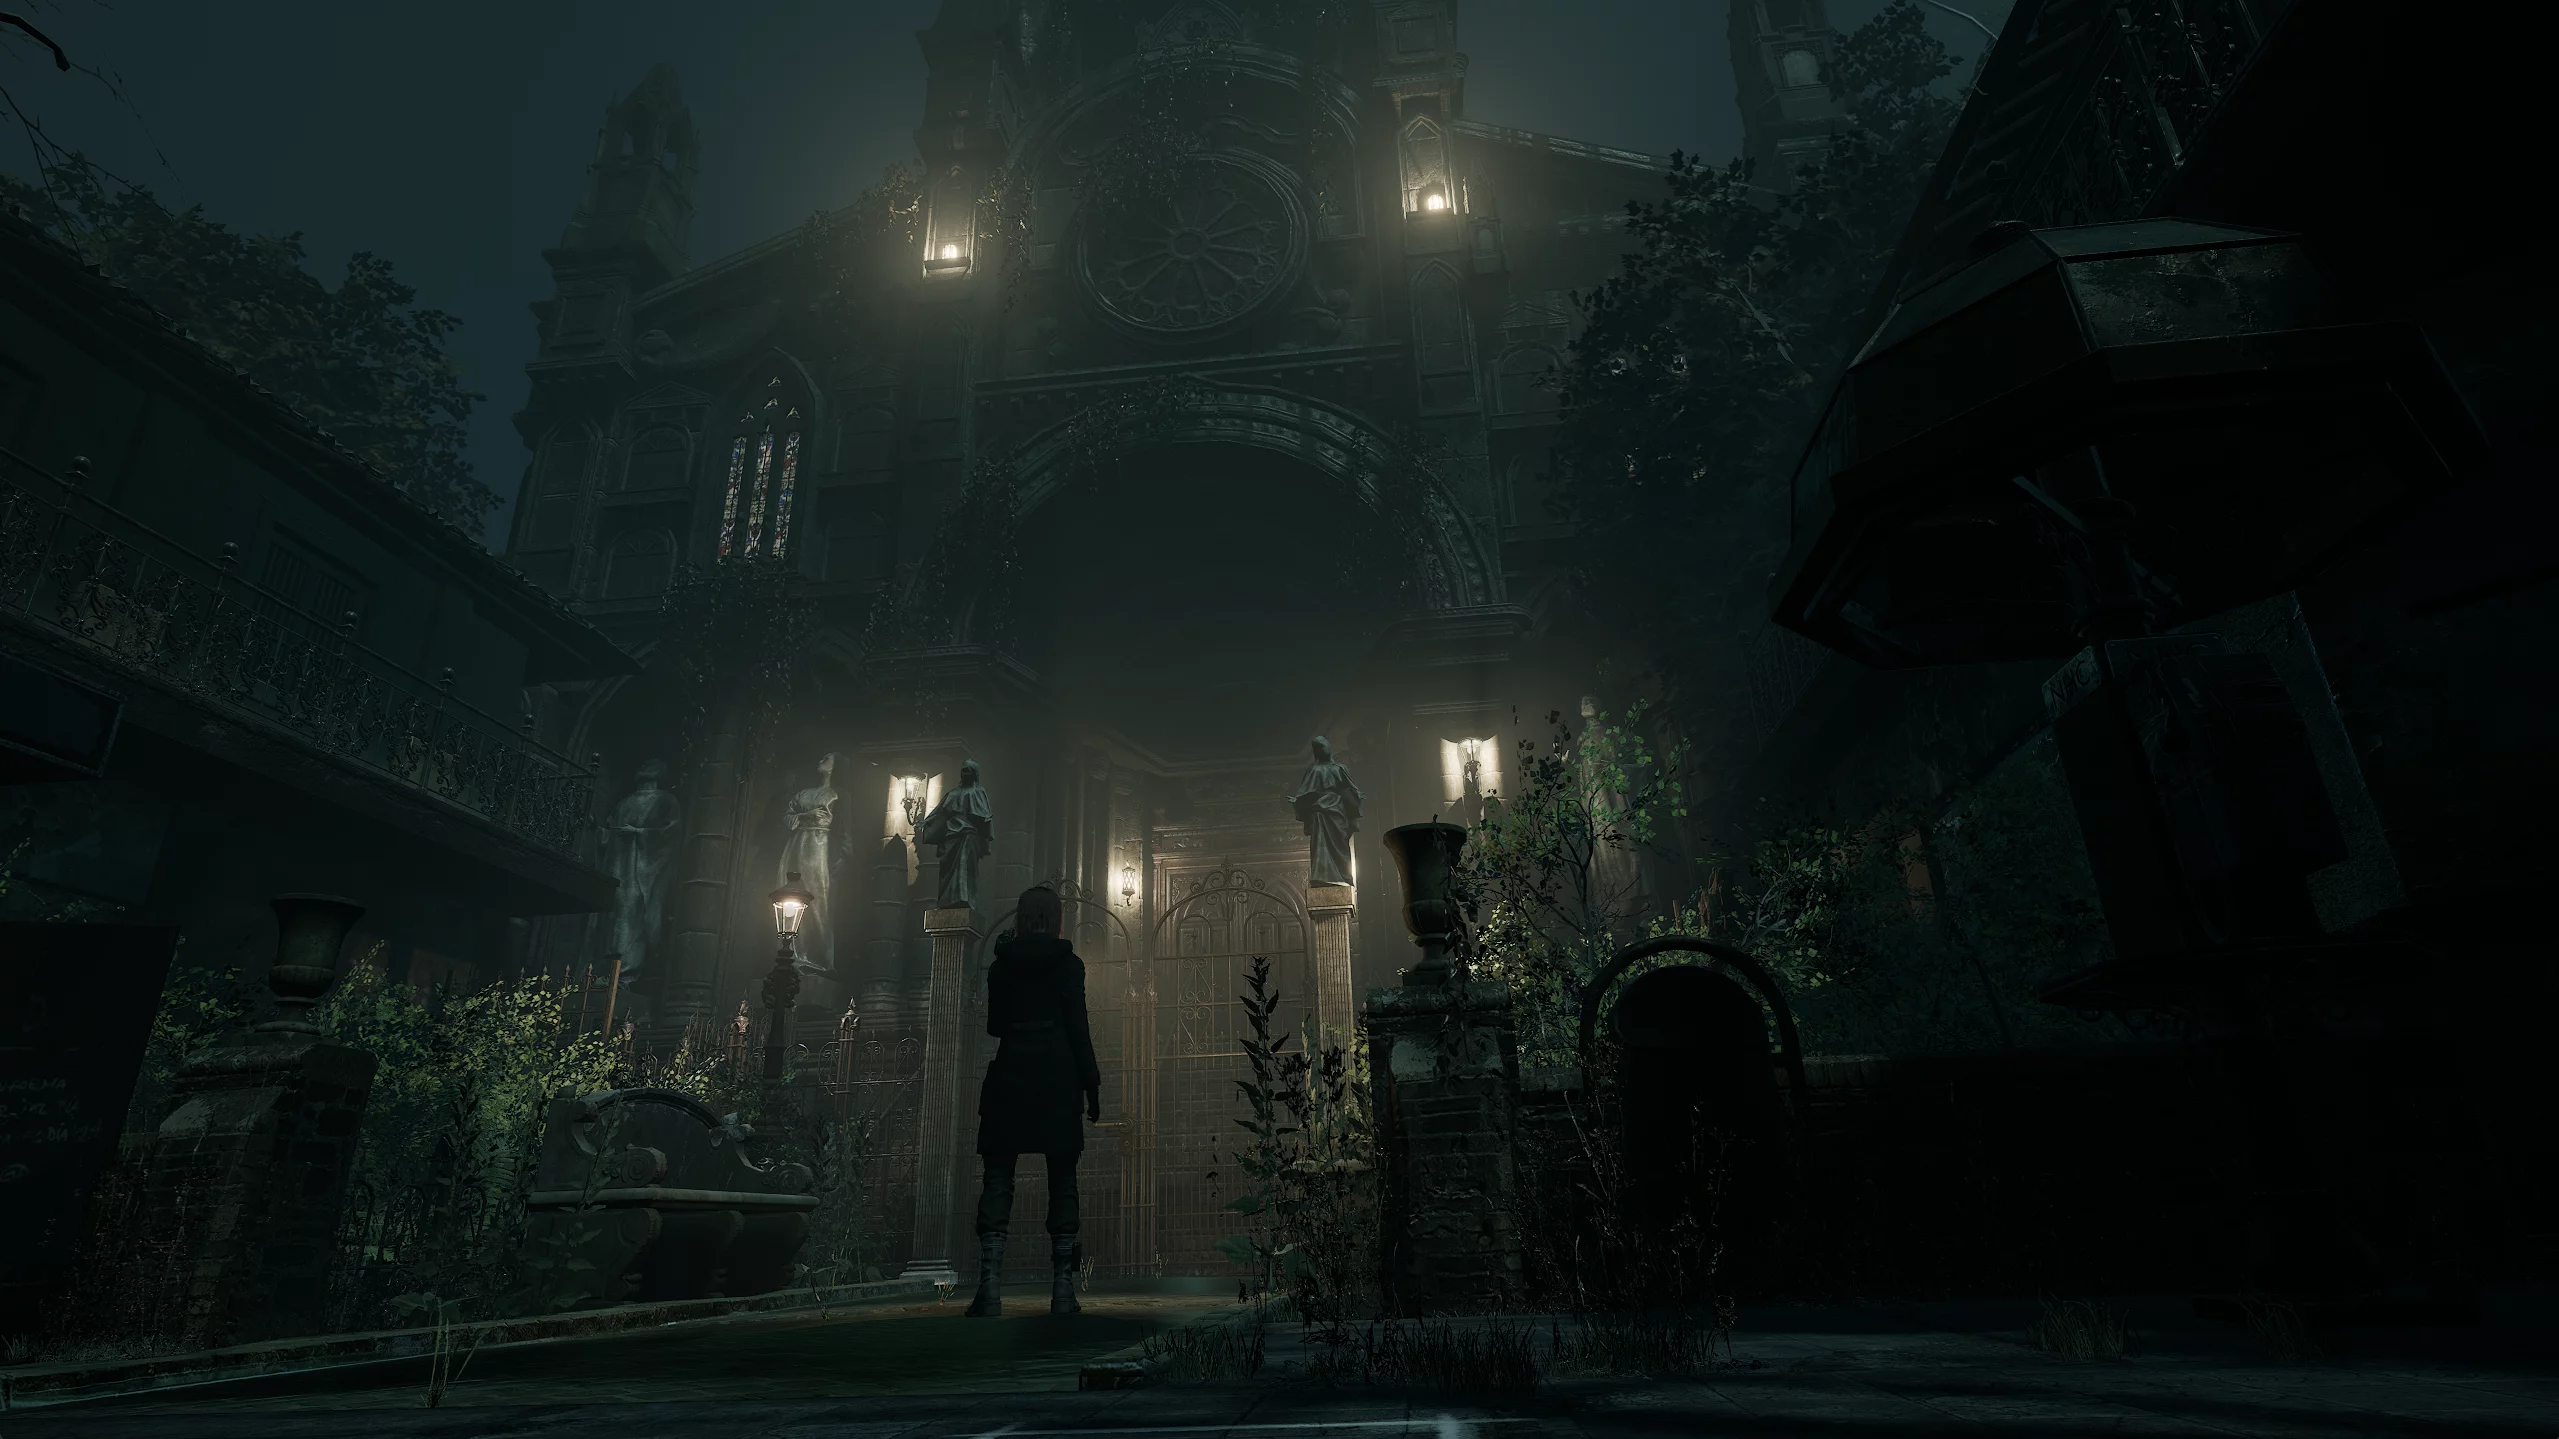
Save at the call center opposite the sanctuary and proceed to the church gates.
Take out the combined key and set the dials to the following symbols:
- Heart
- Balance symbol (Yin-Yang)
- Star
The gates open, and you get the opportunity to enter the building itself.

Immediately after entering, a cutscene plays where Mother Lucia tells Carolina to meet her in the dungeon of this structure.
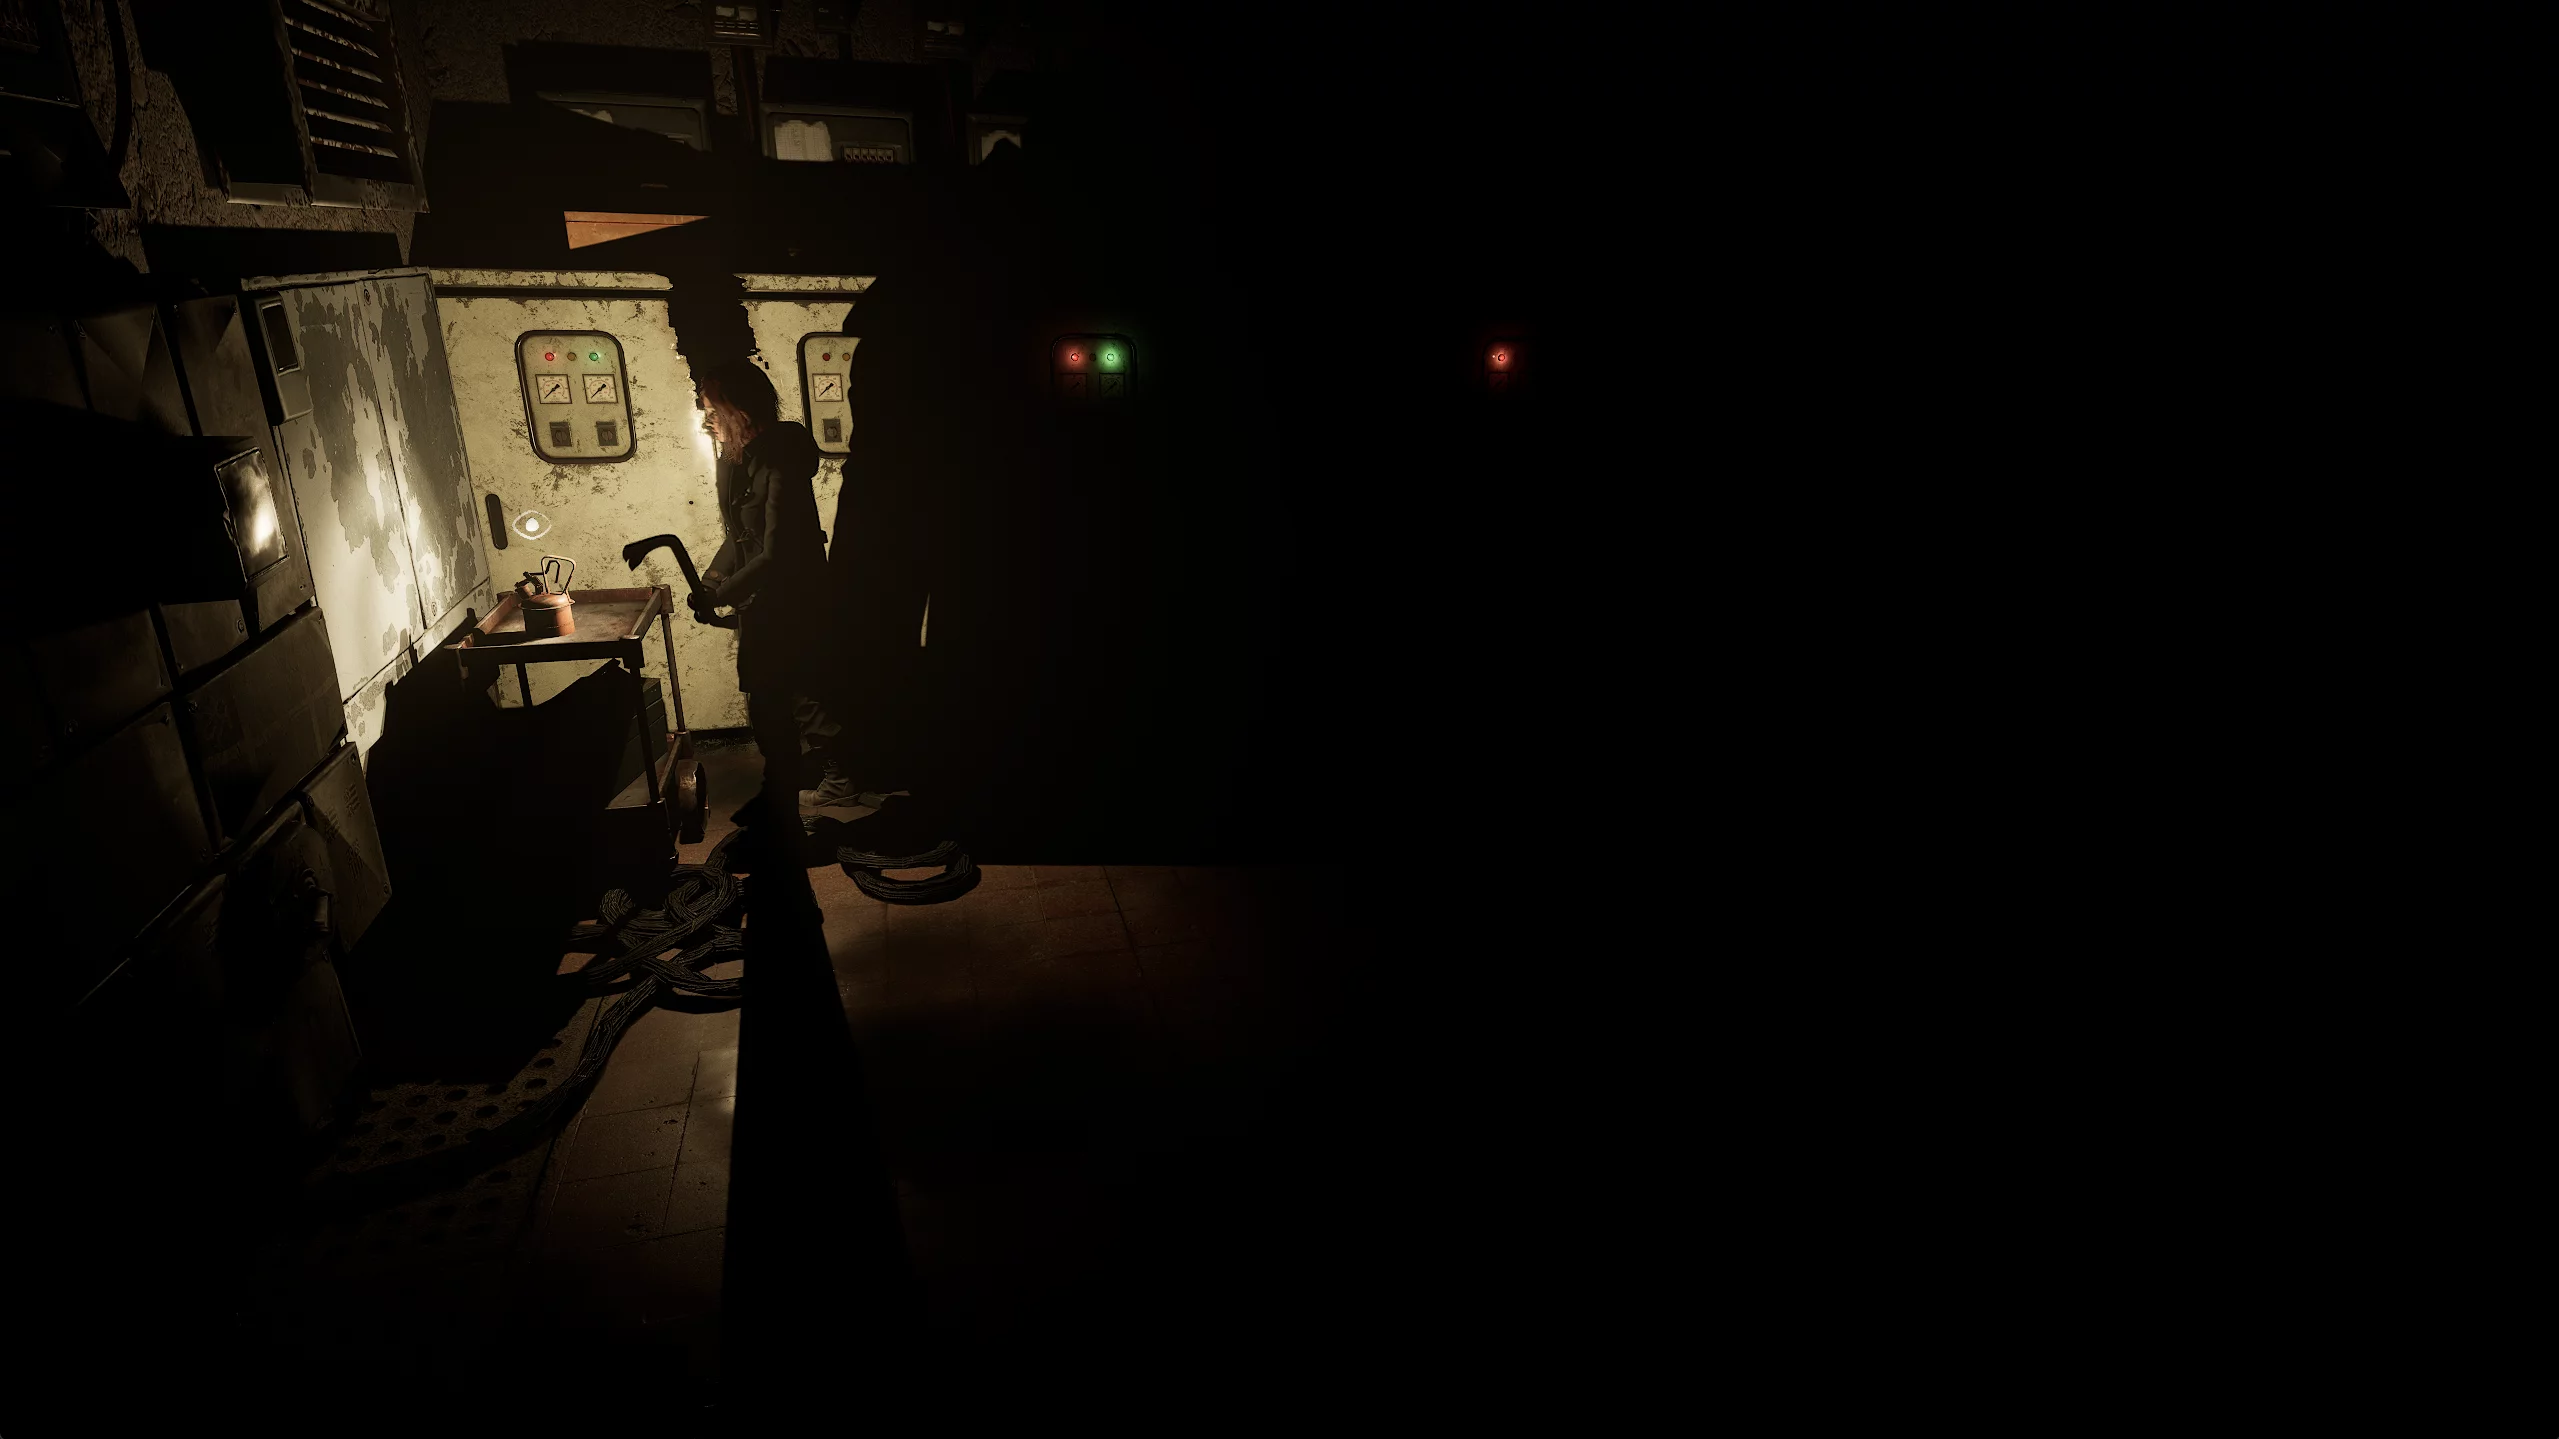
How to Fix the Elevator
After that, break the vases in the room to get nailgun and shotgun ammo. Next, look for the door boarded up on the left. Break the obstacle with a crowbar and enter the memorial room. From here, go upstairs to the pedestal and open the door to the storeroom.

In the closet, take the rubber hose and return to the main hall. Kill the ghoul-spider on the way and look for the elevator panel in the lower corner of the room.

Repair the block next to it with the rubber hose, secure it with the wire from the sanctuary dungeon, and finally twist the wire tightly with pliers.
Sacristy
After these actions, go upstairs. Walk past the organ and break the vases along the way for a nail kit.
Go to the end of the corridor and pick up shotgun shells and painkillers from the counter. Three zombies will attack you from behind, so be ready to fight back.
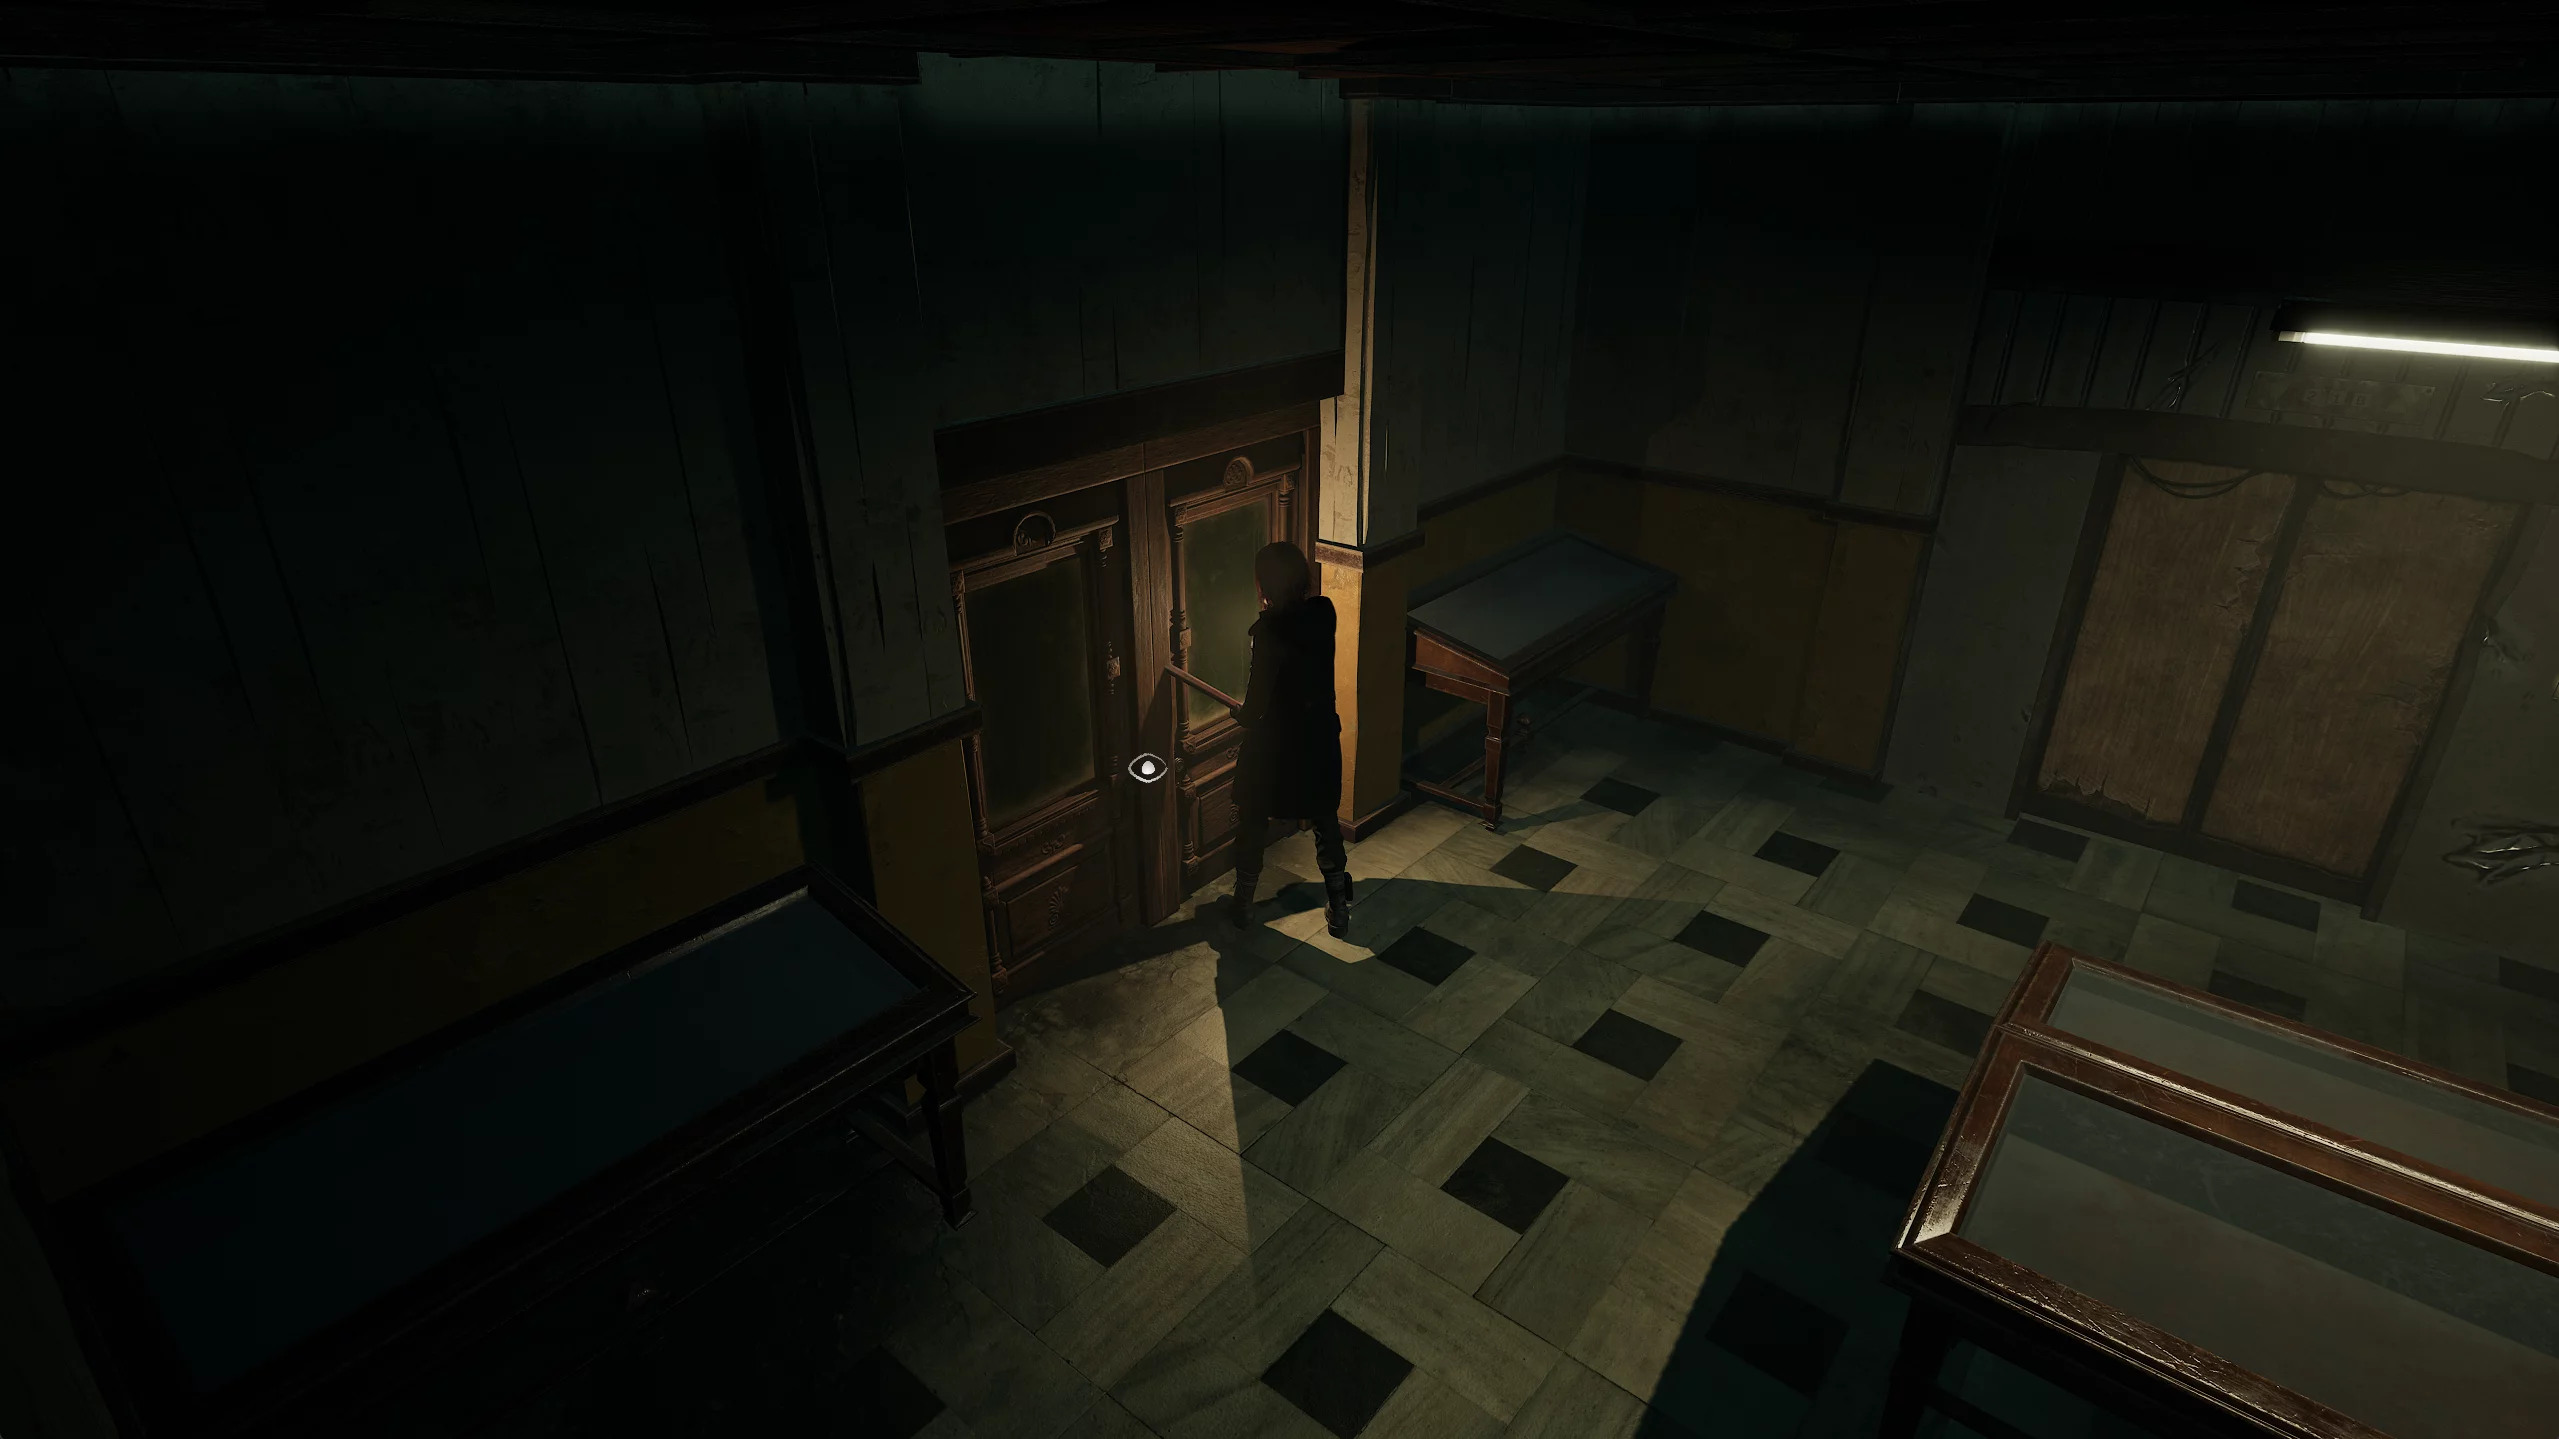
Return to the fork and cross the bridge to the other side of the balcony until you find the door to the sacristy.
Go down the wooden stairs and walk around them from behind. Break the vases for a nail kit and go right. Here, in a small alcove, a ghoul is praying to a medkit on the table. You obviously need it more than he does, so distract the monster from his prayer, eliminate him by any means, and take the medkit for yourself.
Return to the stairs and go through the door ahead.
The administrative office is the church's save point. Pick up the medkit and nail kit from the bench and save your progress using the player.
Exit the office and unlock a shortcut to the main hall, then unlock both barred doors from there and take the nail supply from the stand.
How to Solve the Mirror Puzzle
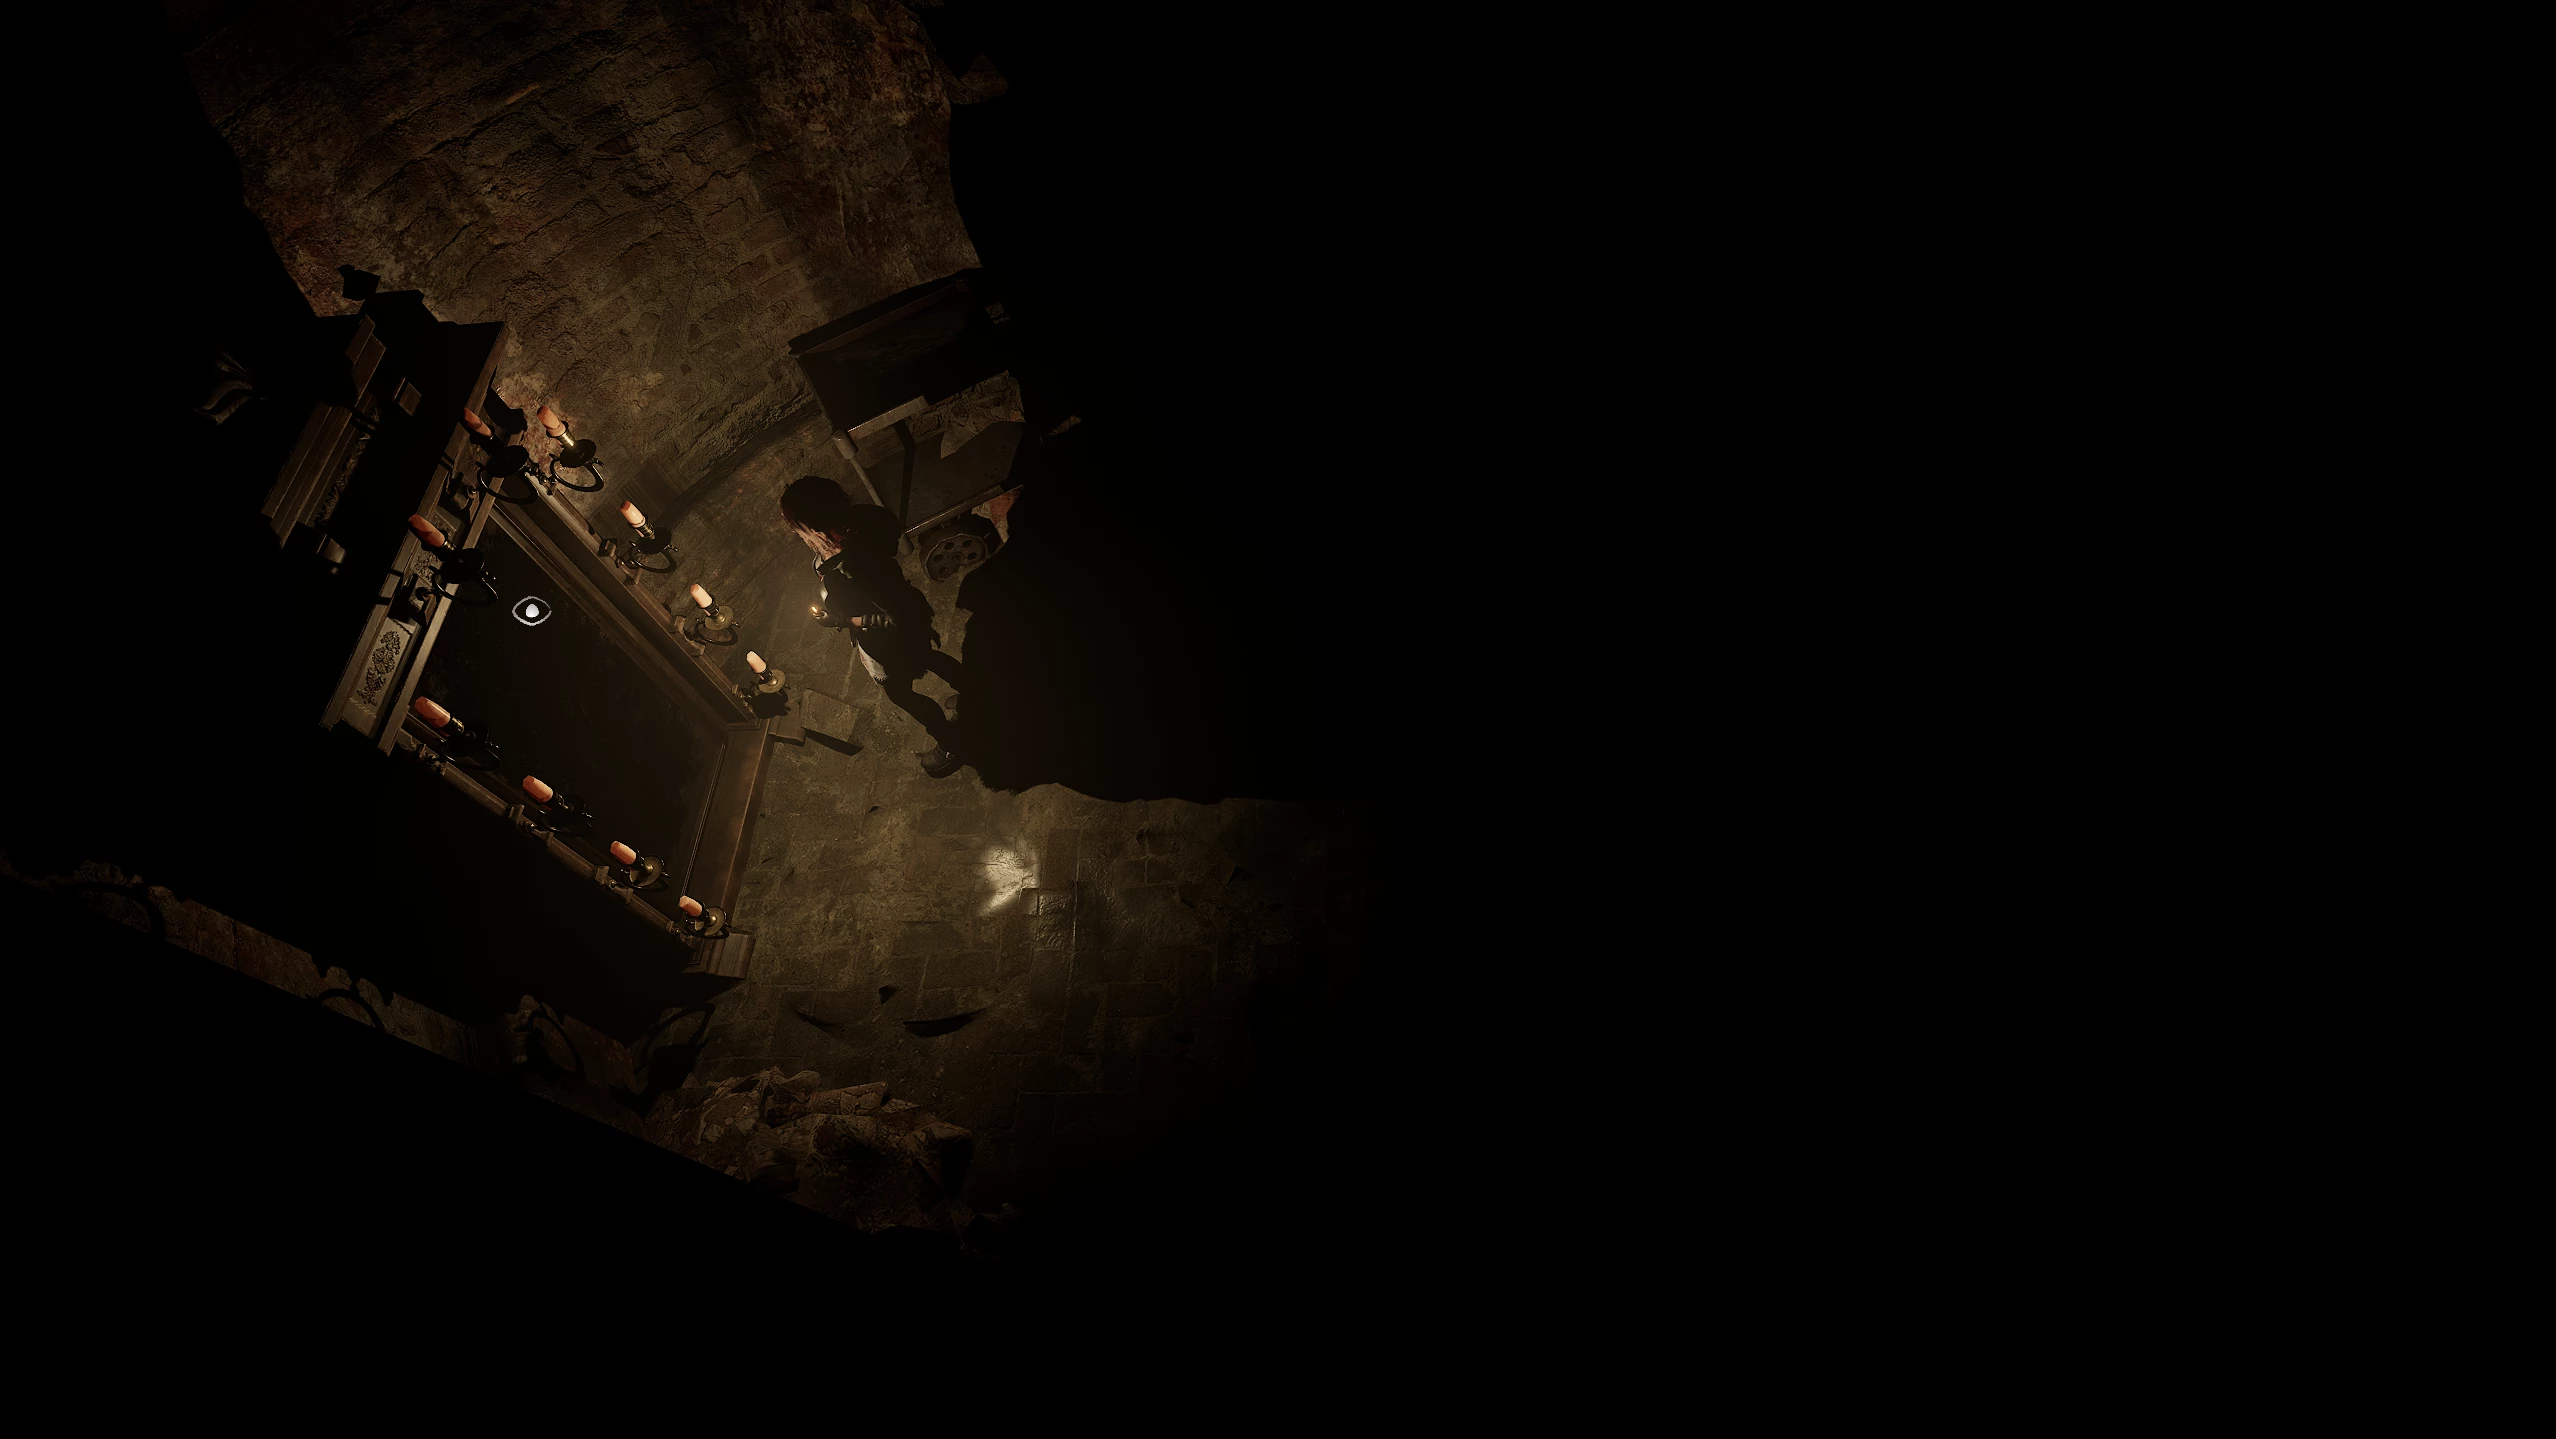
To the right of the Savior statue, there will be a mirror with candles. The clue to the solution is the inscription on the glass, as well as paintings depicting Jesus Christ. The numbers of the paintings where Jesus was brought down under the weight of his cross correspond to the numbers of the candles that should be extinguished.
Thus, light all the candles on the mirror except:
- Third
- Fifth
- Seventh
- Ninth
Go through the mirror and enter the otherworld church. Walk along the rusty grates and kill the brute on your way.
Move to the center of the hall and get rid of two more monsters.
Climb up the ladder to pick up the medkit behind the counter, and go left. Go down the stairs to the door under the stage and enter the otherworld crypt.

Move forward and kill the large demon. At the end of the path, collect shotgun shells and turn right until you find a mirror leading to the real world crypt.
How to Open the Steel Door
Go to the stone coffin and take the metal detector. In the upper right corner of the room, pick up handgun ammo and continue through the crypt.
Reach the hall with chairs, turn left, and break the vases for a nail kit.
Head in the opposite direction from this hall and open the iron door into the church hall. Pick up the medkit from the nun's corpse and open the iron bars on both sides of the exit.
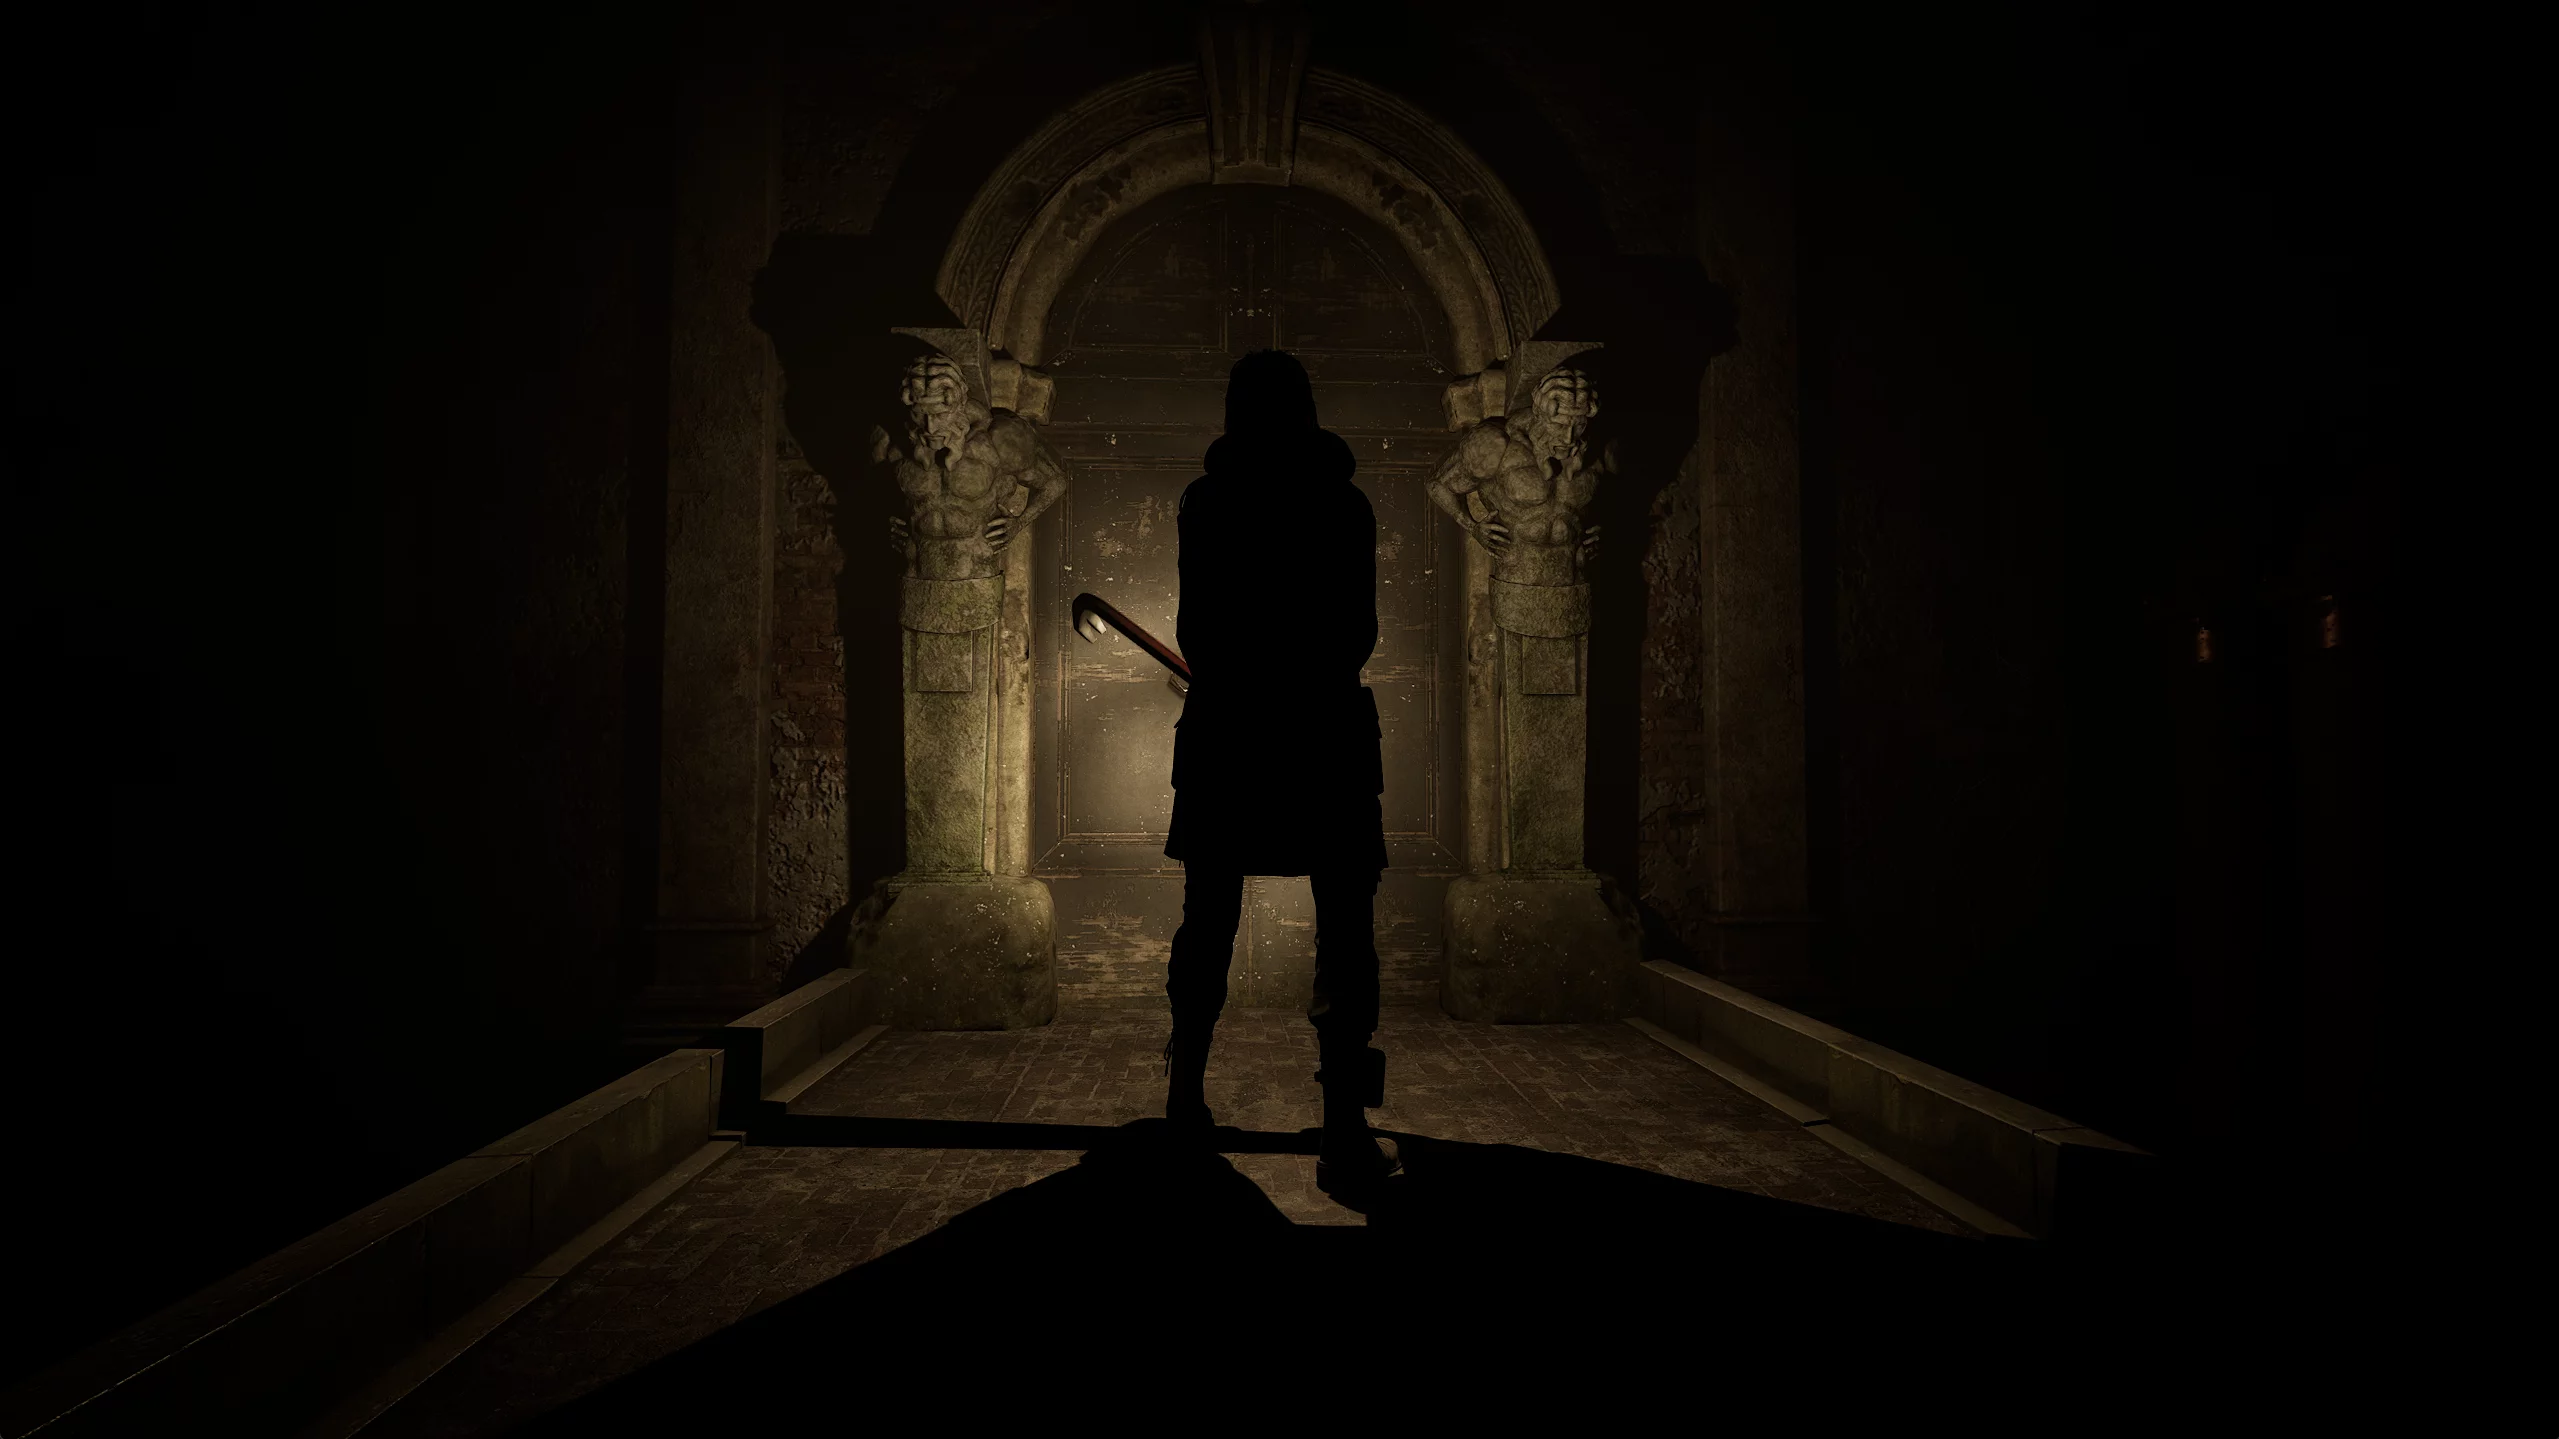
Return to the crypt and notice a huge door with some symbols. The book in front of it says that only those strong in spirit, ready to surrender to darkness, will pass further.
Follow the advice: blow out the candles nearby, approach the door, and turn off your flashlight.
After a few moments, just before total darkness, a green glow will appear from the door, driving away the surrounding darkness. The gates open, and behind them is an elevator leading to the bunker under the church.
Bunker
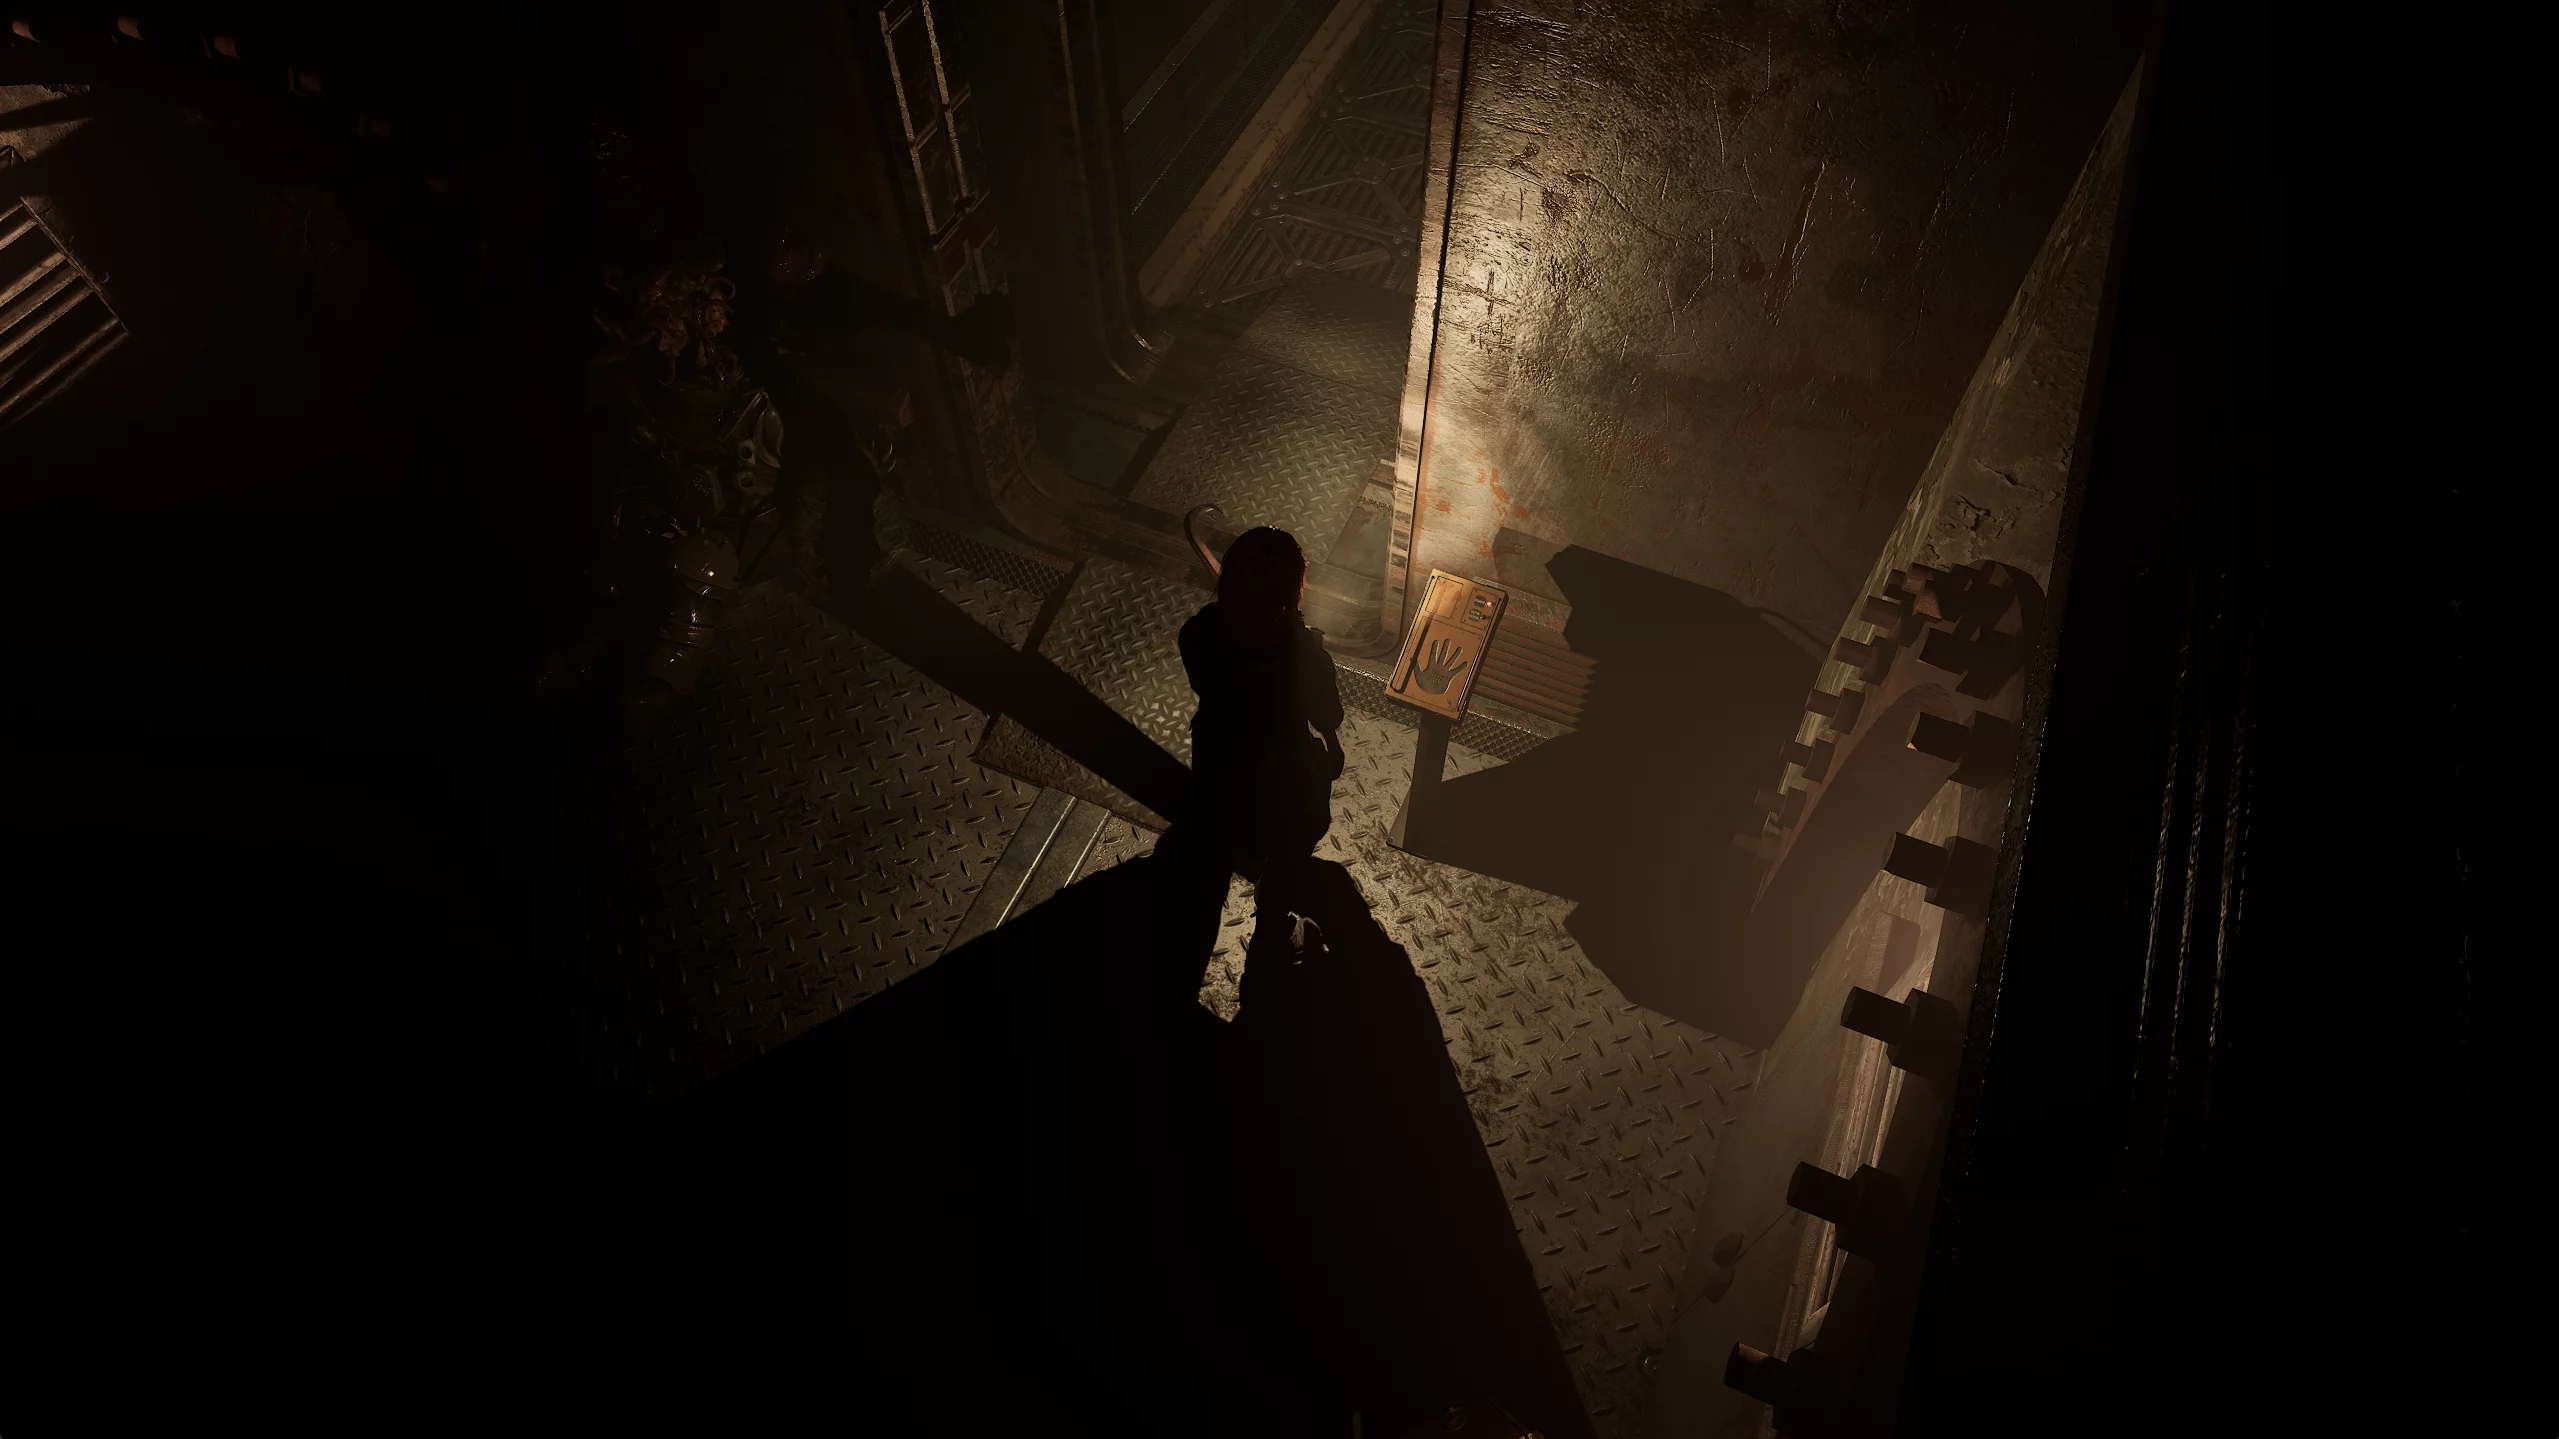
After an incredibly long descent, you find yourself in the cultists' secret bunker. Go deeper and place your hand on the scanner. It will open the way further into the apartments.
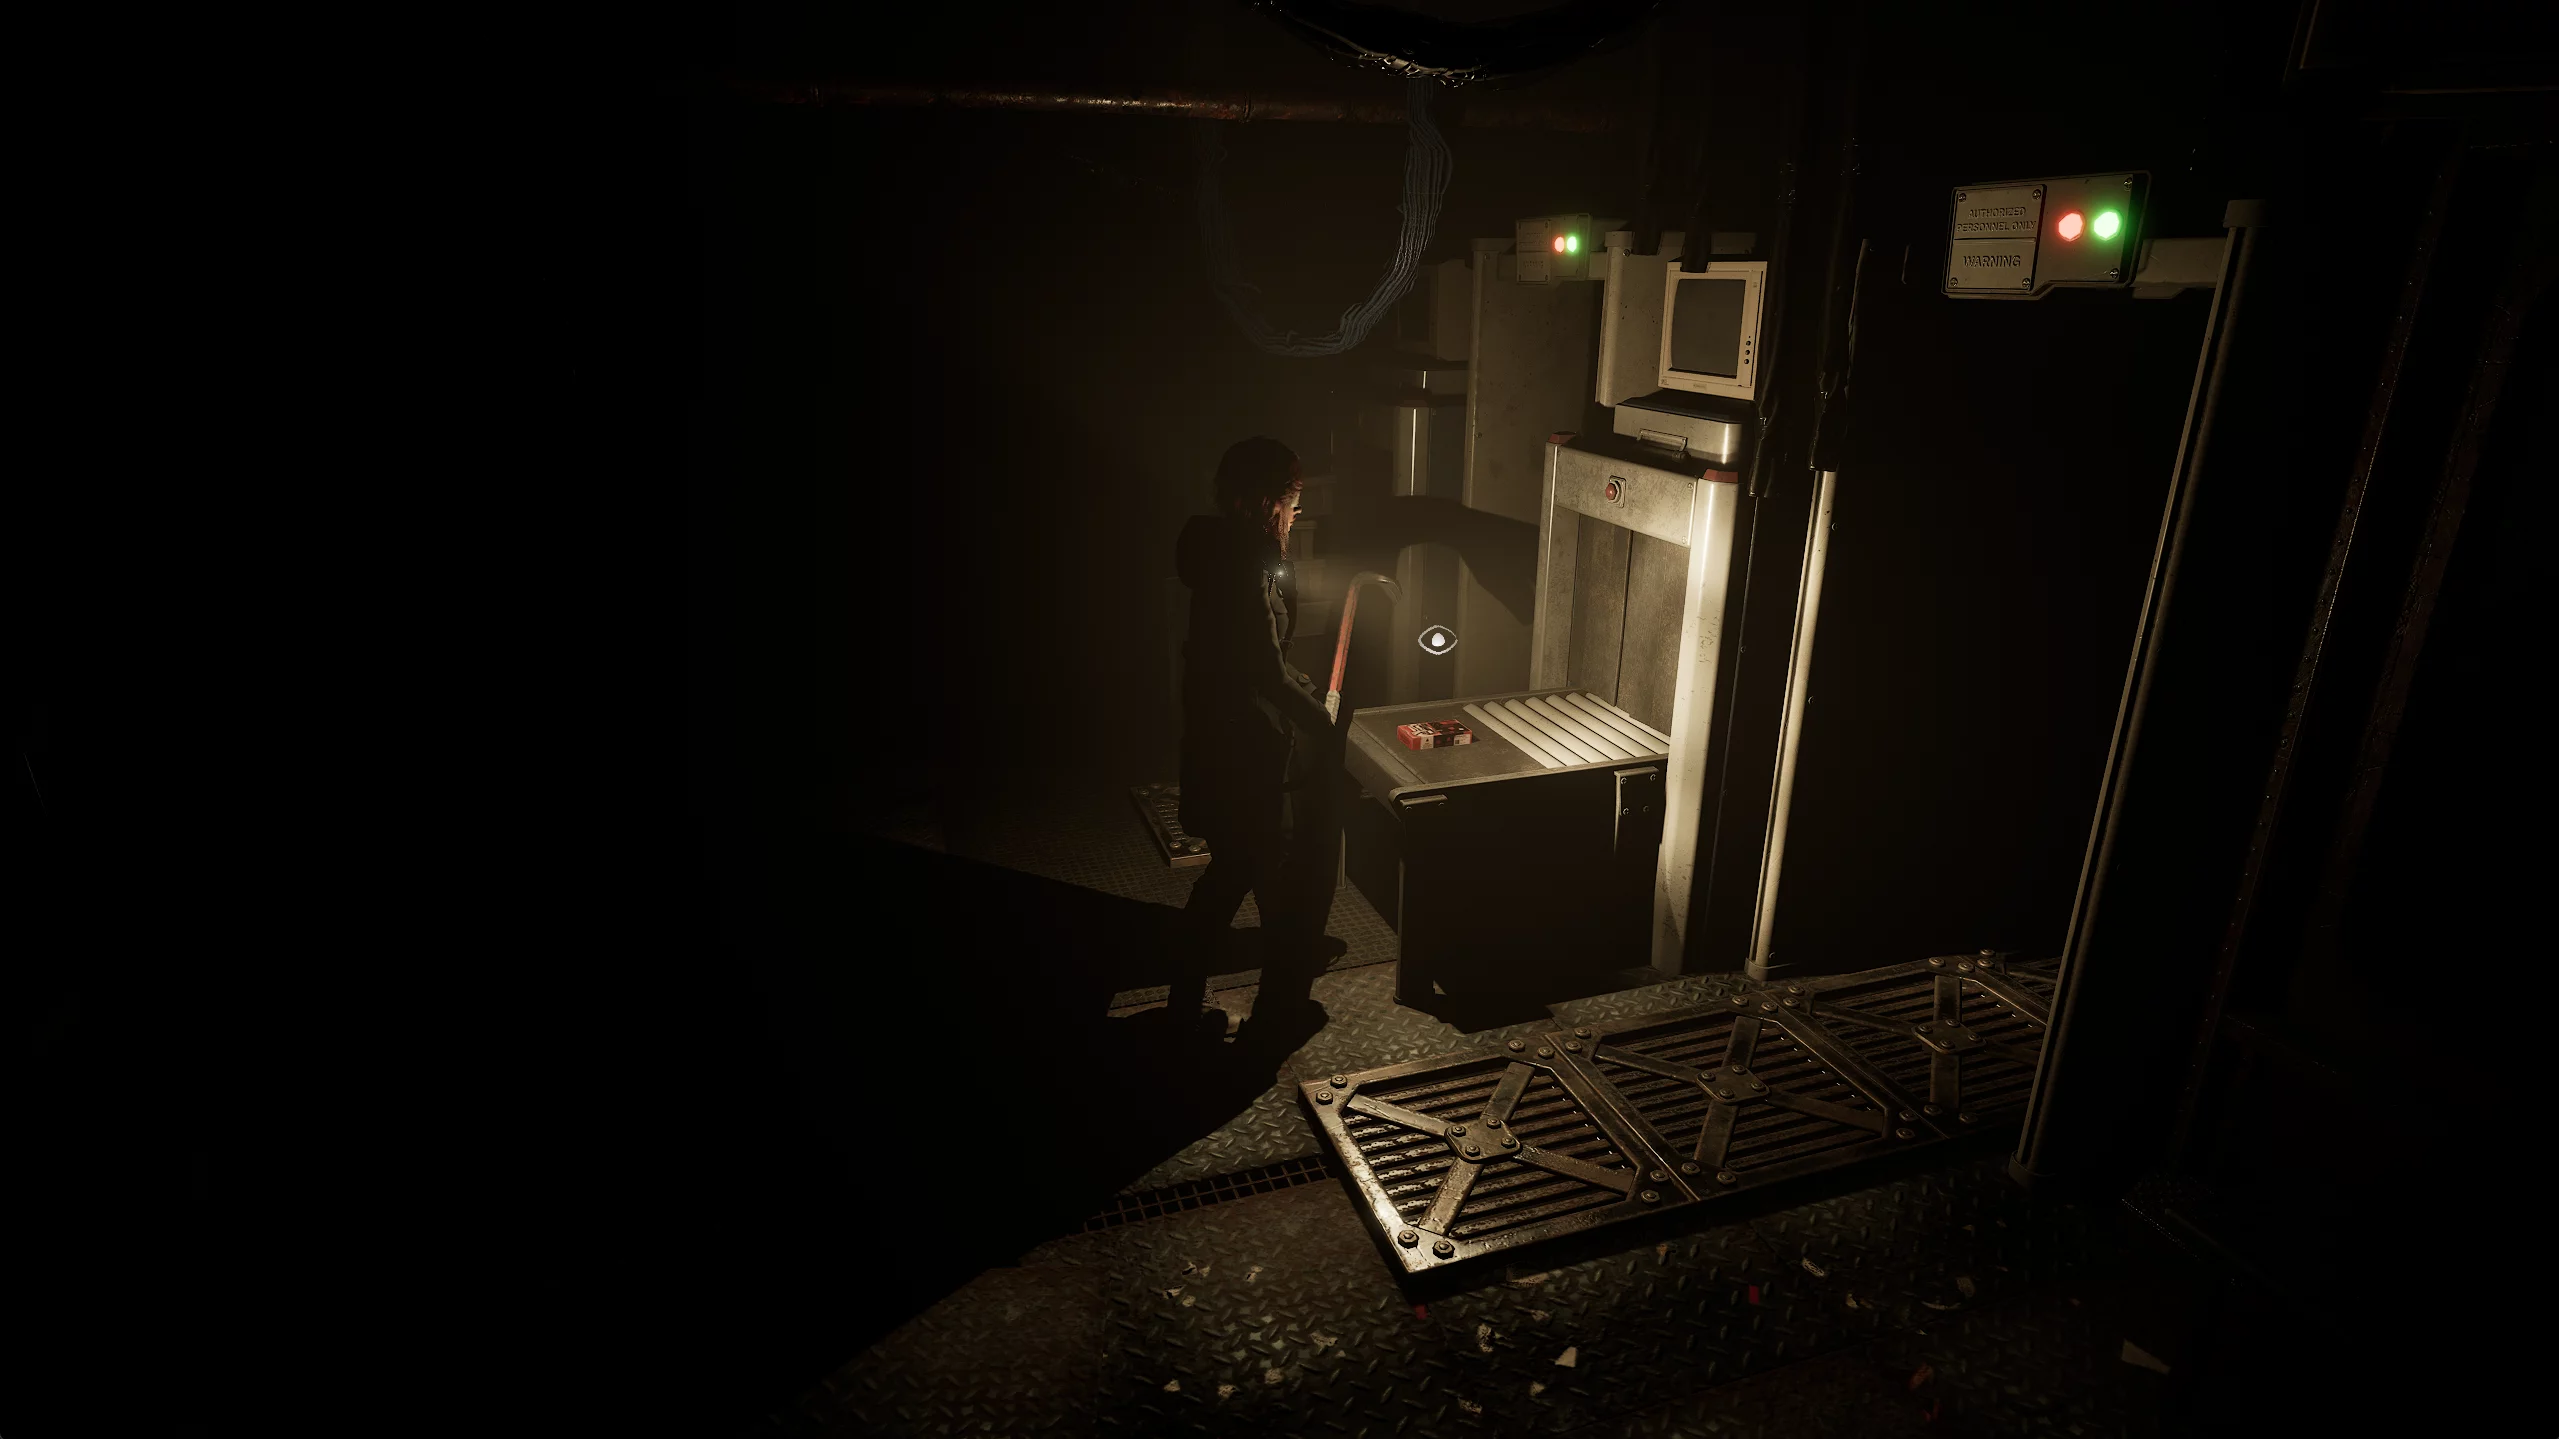
Pick up the nail kit in the next room and enter the iron door on the right.
In the corridor, turn left twice to reach the bunker office. Save your progress and return to the room with the conveyors, fighting off the revived diver along the way.
There, go down the ladder in the upper left corner and find the device with liquids.
Use the buttons to set the liquids to the correct levels:
- Red — six divisions
- Yellow — one division
- Green — two divisions
Place your palm under the needle and press the yellow button to inject the marionette virus into yourself.
If everything goes well, the health icon will change to purple; otherwise, Carolina will die instantly. That's why we saved in the bunker office.
Return to the generator corridor and go straight to the end. Then turn right into the elevator gallery. There, pick up the medkit from the shelf, painkillers from the medical equipment on the right, and a spark plug from the gurney on the left.
Return to the corridor and go down the stairs to the blue door. Place your hand on the scanner and proceed into the generator room.
Once in the room, go up the stairs on the right and insert the missing spark plug into the generator. Go a bit further to pick up shotgun shells.
Start the generator at the panel on the right and pull the lever on the left, then return to the gallery. Go right, call the elevator, and head to floor B3.
Upon arrival, turn left toward the green door.
In the furnace, go down to the central tentacles, then pick up the nail kit from the table and shotgun shells from the corpse.

Climb up to take the lab keycard at the feet of the dead worker.
Return to the elevator, run away from the ghoul-spiders, and go to floor B2.
In the room with research equipment, head to the white door and exit into the rotunda corridor. Pass the second white door, heading to the end of the corridor.
In the cell block, pass the room with the projector and take the elevator down to the incubator area. Walk past all the embryos until you reach the capsule. Here, take the empty syringe from the creature's head and return to the rotunda corridor, killing two butcher brutes along the way.
Go to the second white door and kill the two divers in the passage. Enter the testing room and go down the stairs to collect shotgun shells from the table. Proceed to the room with the giant flesh creature and pull the lever nearby. Go up to the second floor, press the panel on the left, and start the extractor, which will pierce the creature's head.
Go to the mechanism on the right, insert the syringe, and take the blood sample from the extractor.
Return to the corridor and use the lab access card on the card reader, then enter inside.
Go straight to the iron gates, pick up a nail kit from the panel on the right, and enter the room with the bed. In it, pick up the videotape "Laboratory", then return to the storage cell block.
Go up the stairs, insert the tape into the projector, and enter the laboratory of the past.
On the left, find the Carolina from the past, locked in a capsule with liquid, and pour the previously obtained vaccine sample into her solution. Now you have immunity to the marionette virus.
Return to the present and go to the elevator. Go down to floor B3 and proceed to the end of the corridor, fighting off two reanimated diving suits along the way.
Ancient Temple
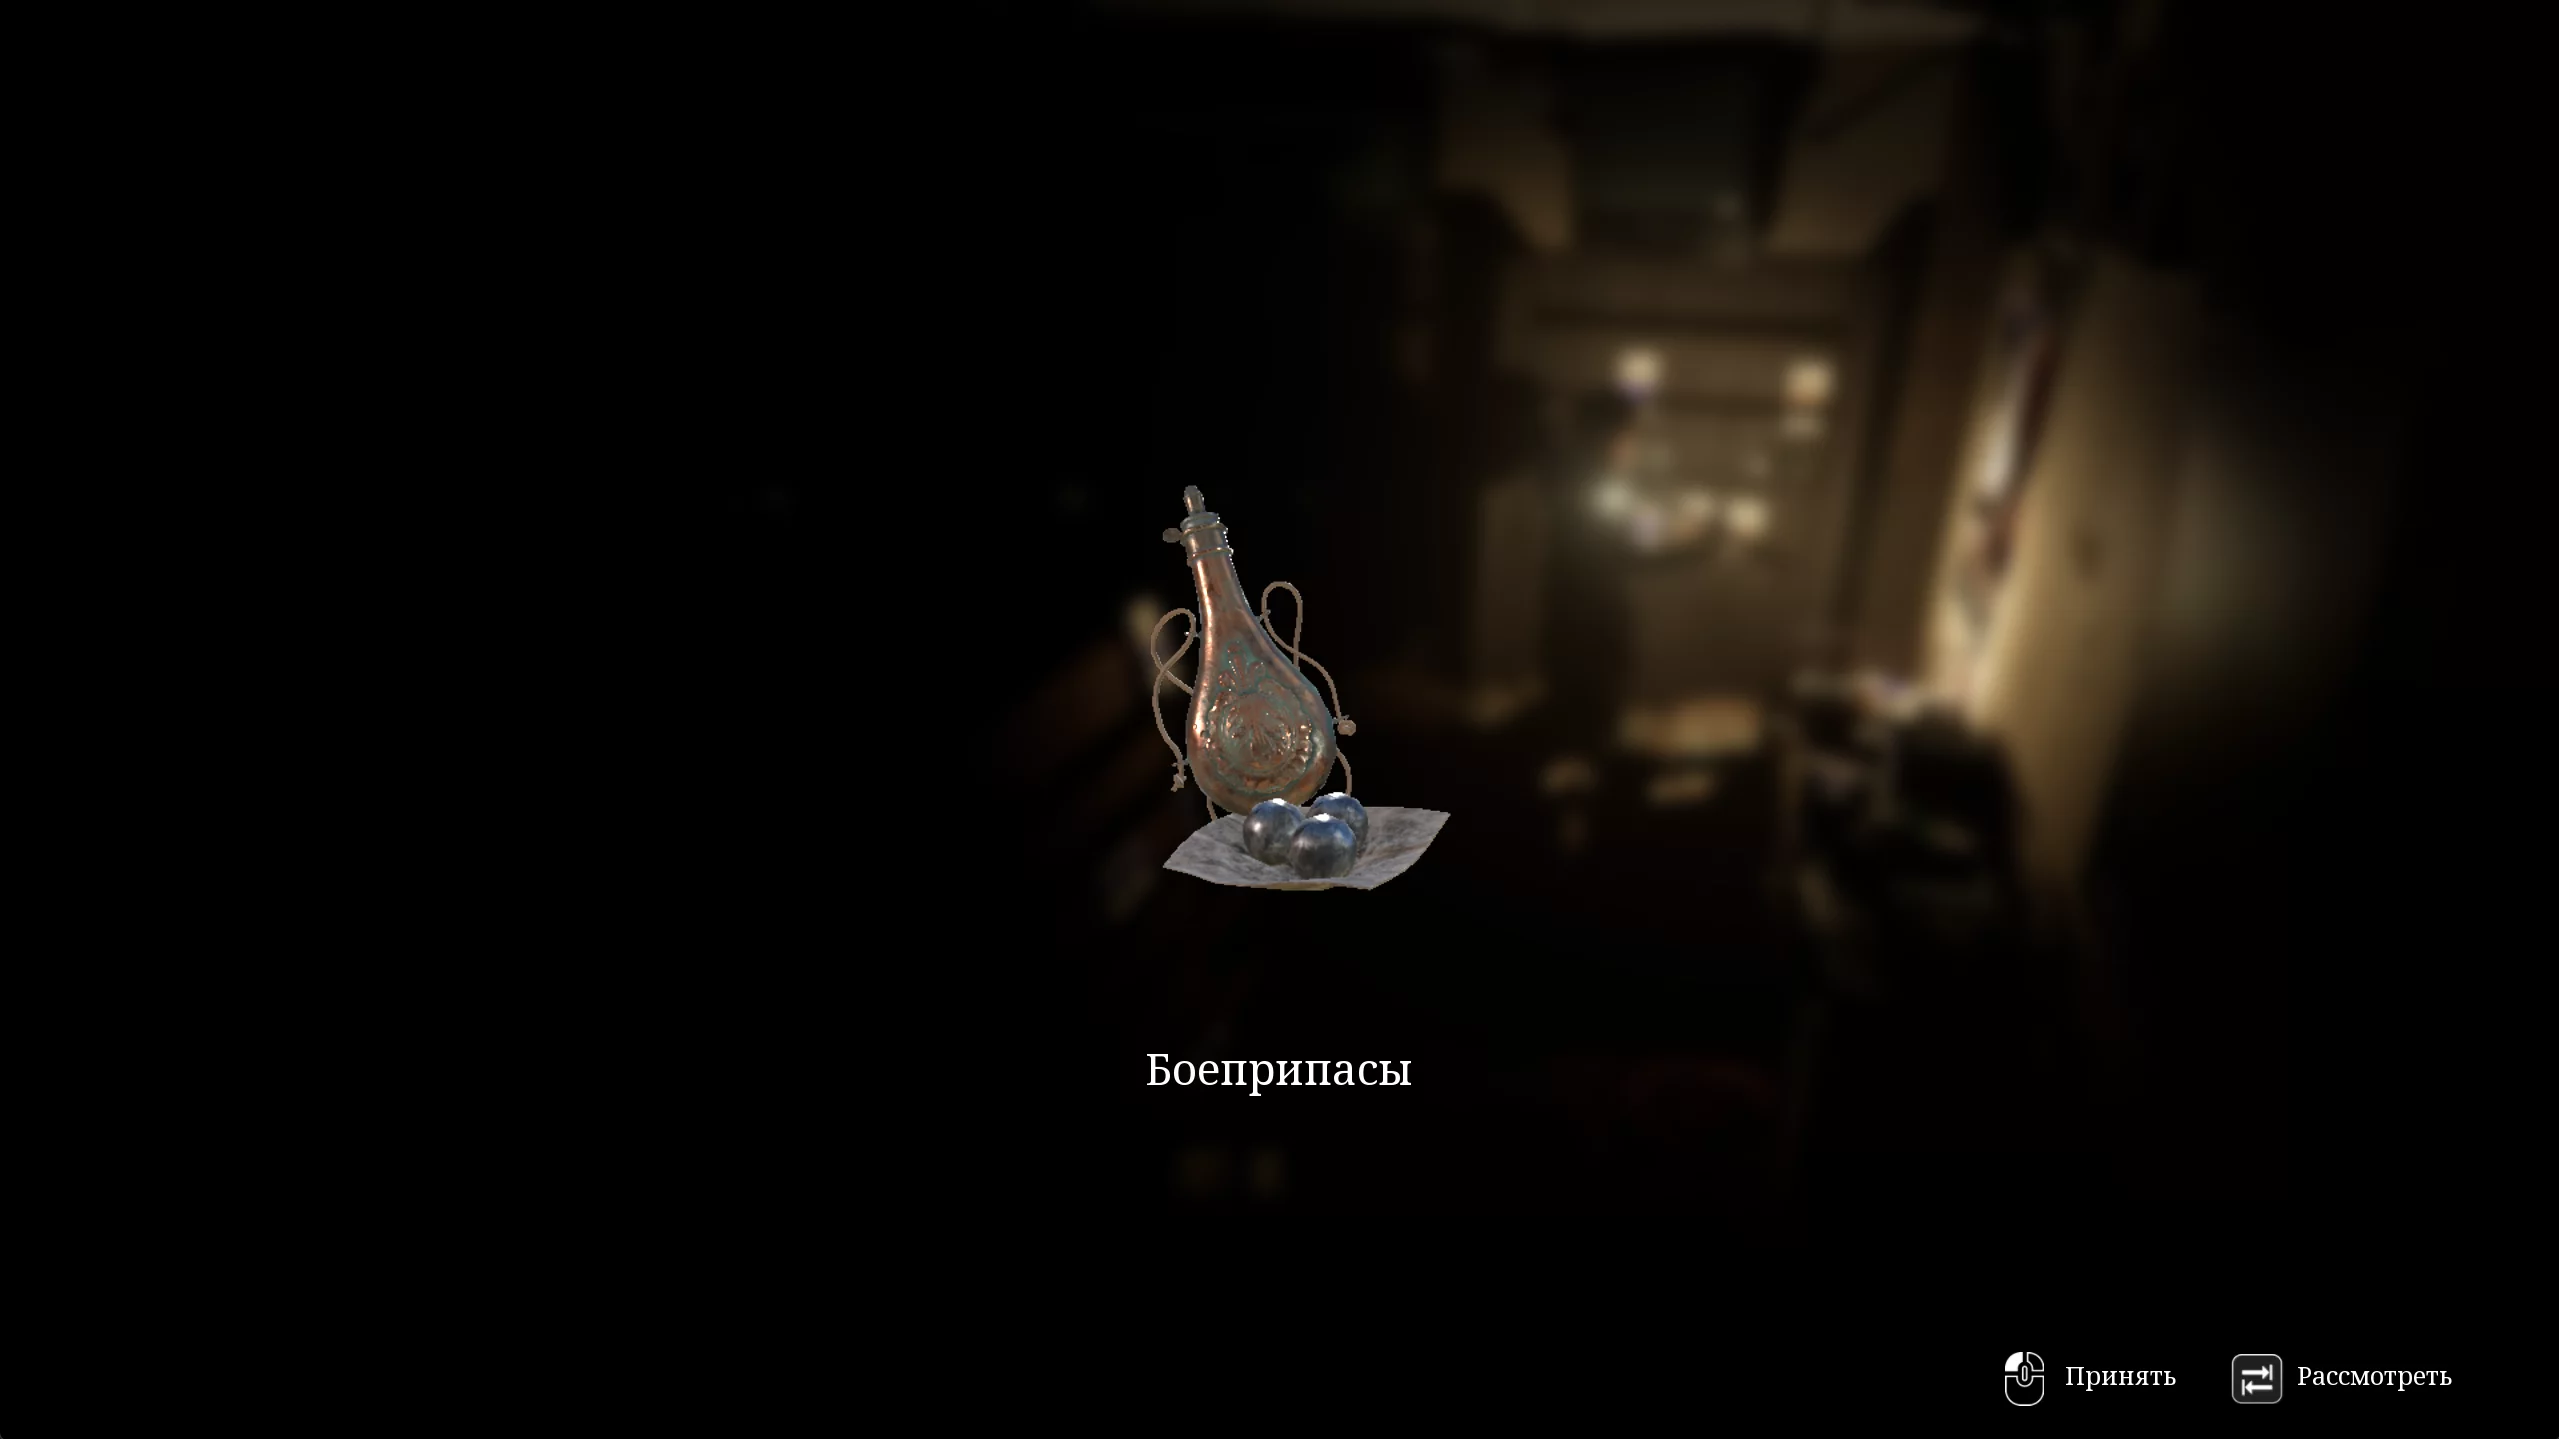
The elevator takes us to the ancient temple beneath the church. Go into the fissure and turn right toward the tent among the crates. Inside, open all the chests for magnetic tape, nails, and bottles of chemical solution.
This is the last save point before the main boss fight of the game. Save your progress and head across the scaffolding to the room ahead.

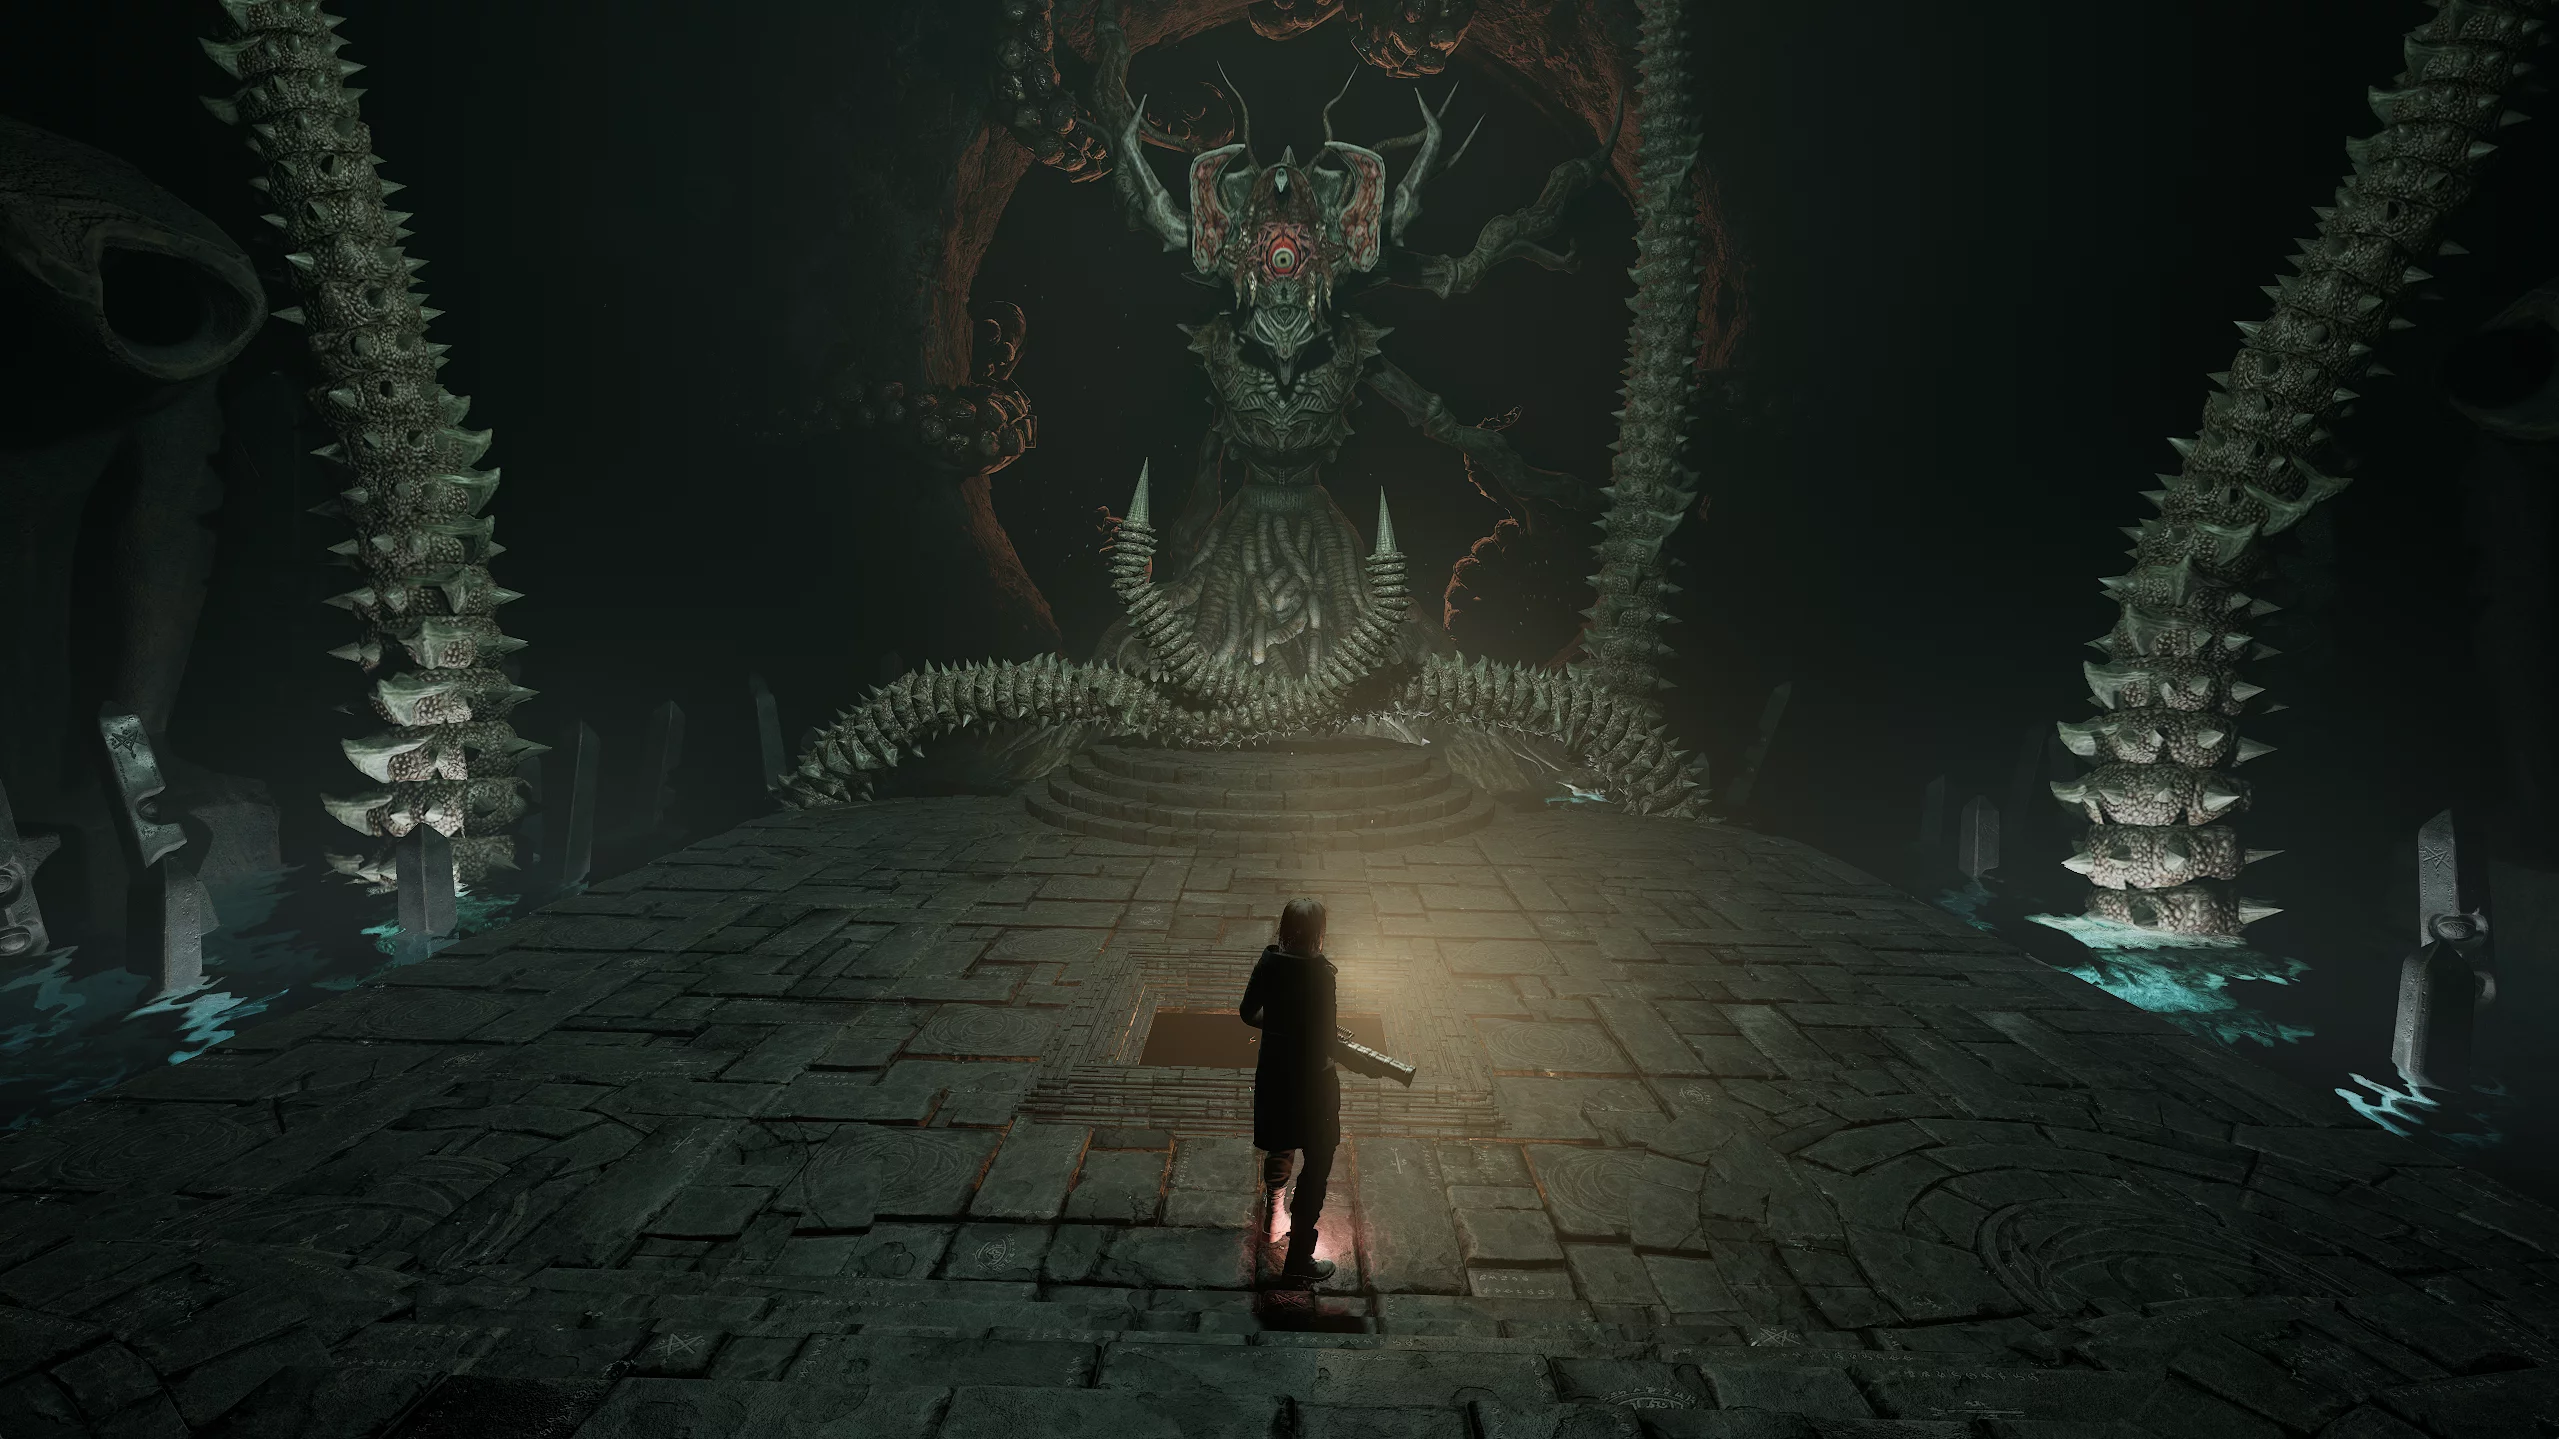
In the sanctuary of rebirth, Mother Lucia orders the Wildberger sisters to take part in the birth of the deity, threatening Anna, the elder, with death. Do as the nun commands, and awaken Nautilus.
The main strategy for the fight is to run around the arena and dodge the nearby tentacles. To defeat the deity, you need to destroy its tentacles, which will fall to the ground one after another.
Once all four appendages are destroyed, Nautilus will fall, and you'll be able to expose its weak spot. Use the crowbar to open the skull and shoot the eye with the handgun or another weapon.
After this, the boss enters the second phase, where it starts shooting lightning from its eyes. Dodge the explosion at the last moment to avoid taking damage. You can tell the laser is charging by looking at the eye. Again, shoot off all the tentacles and hit the demon's eye.
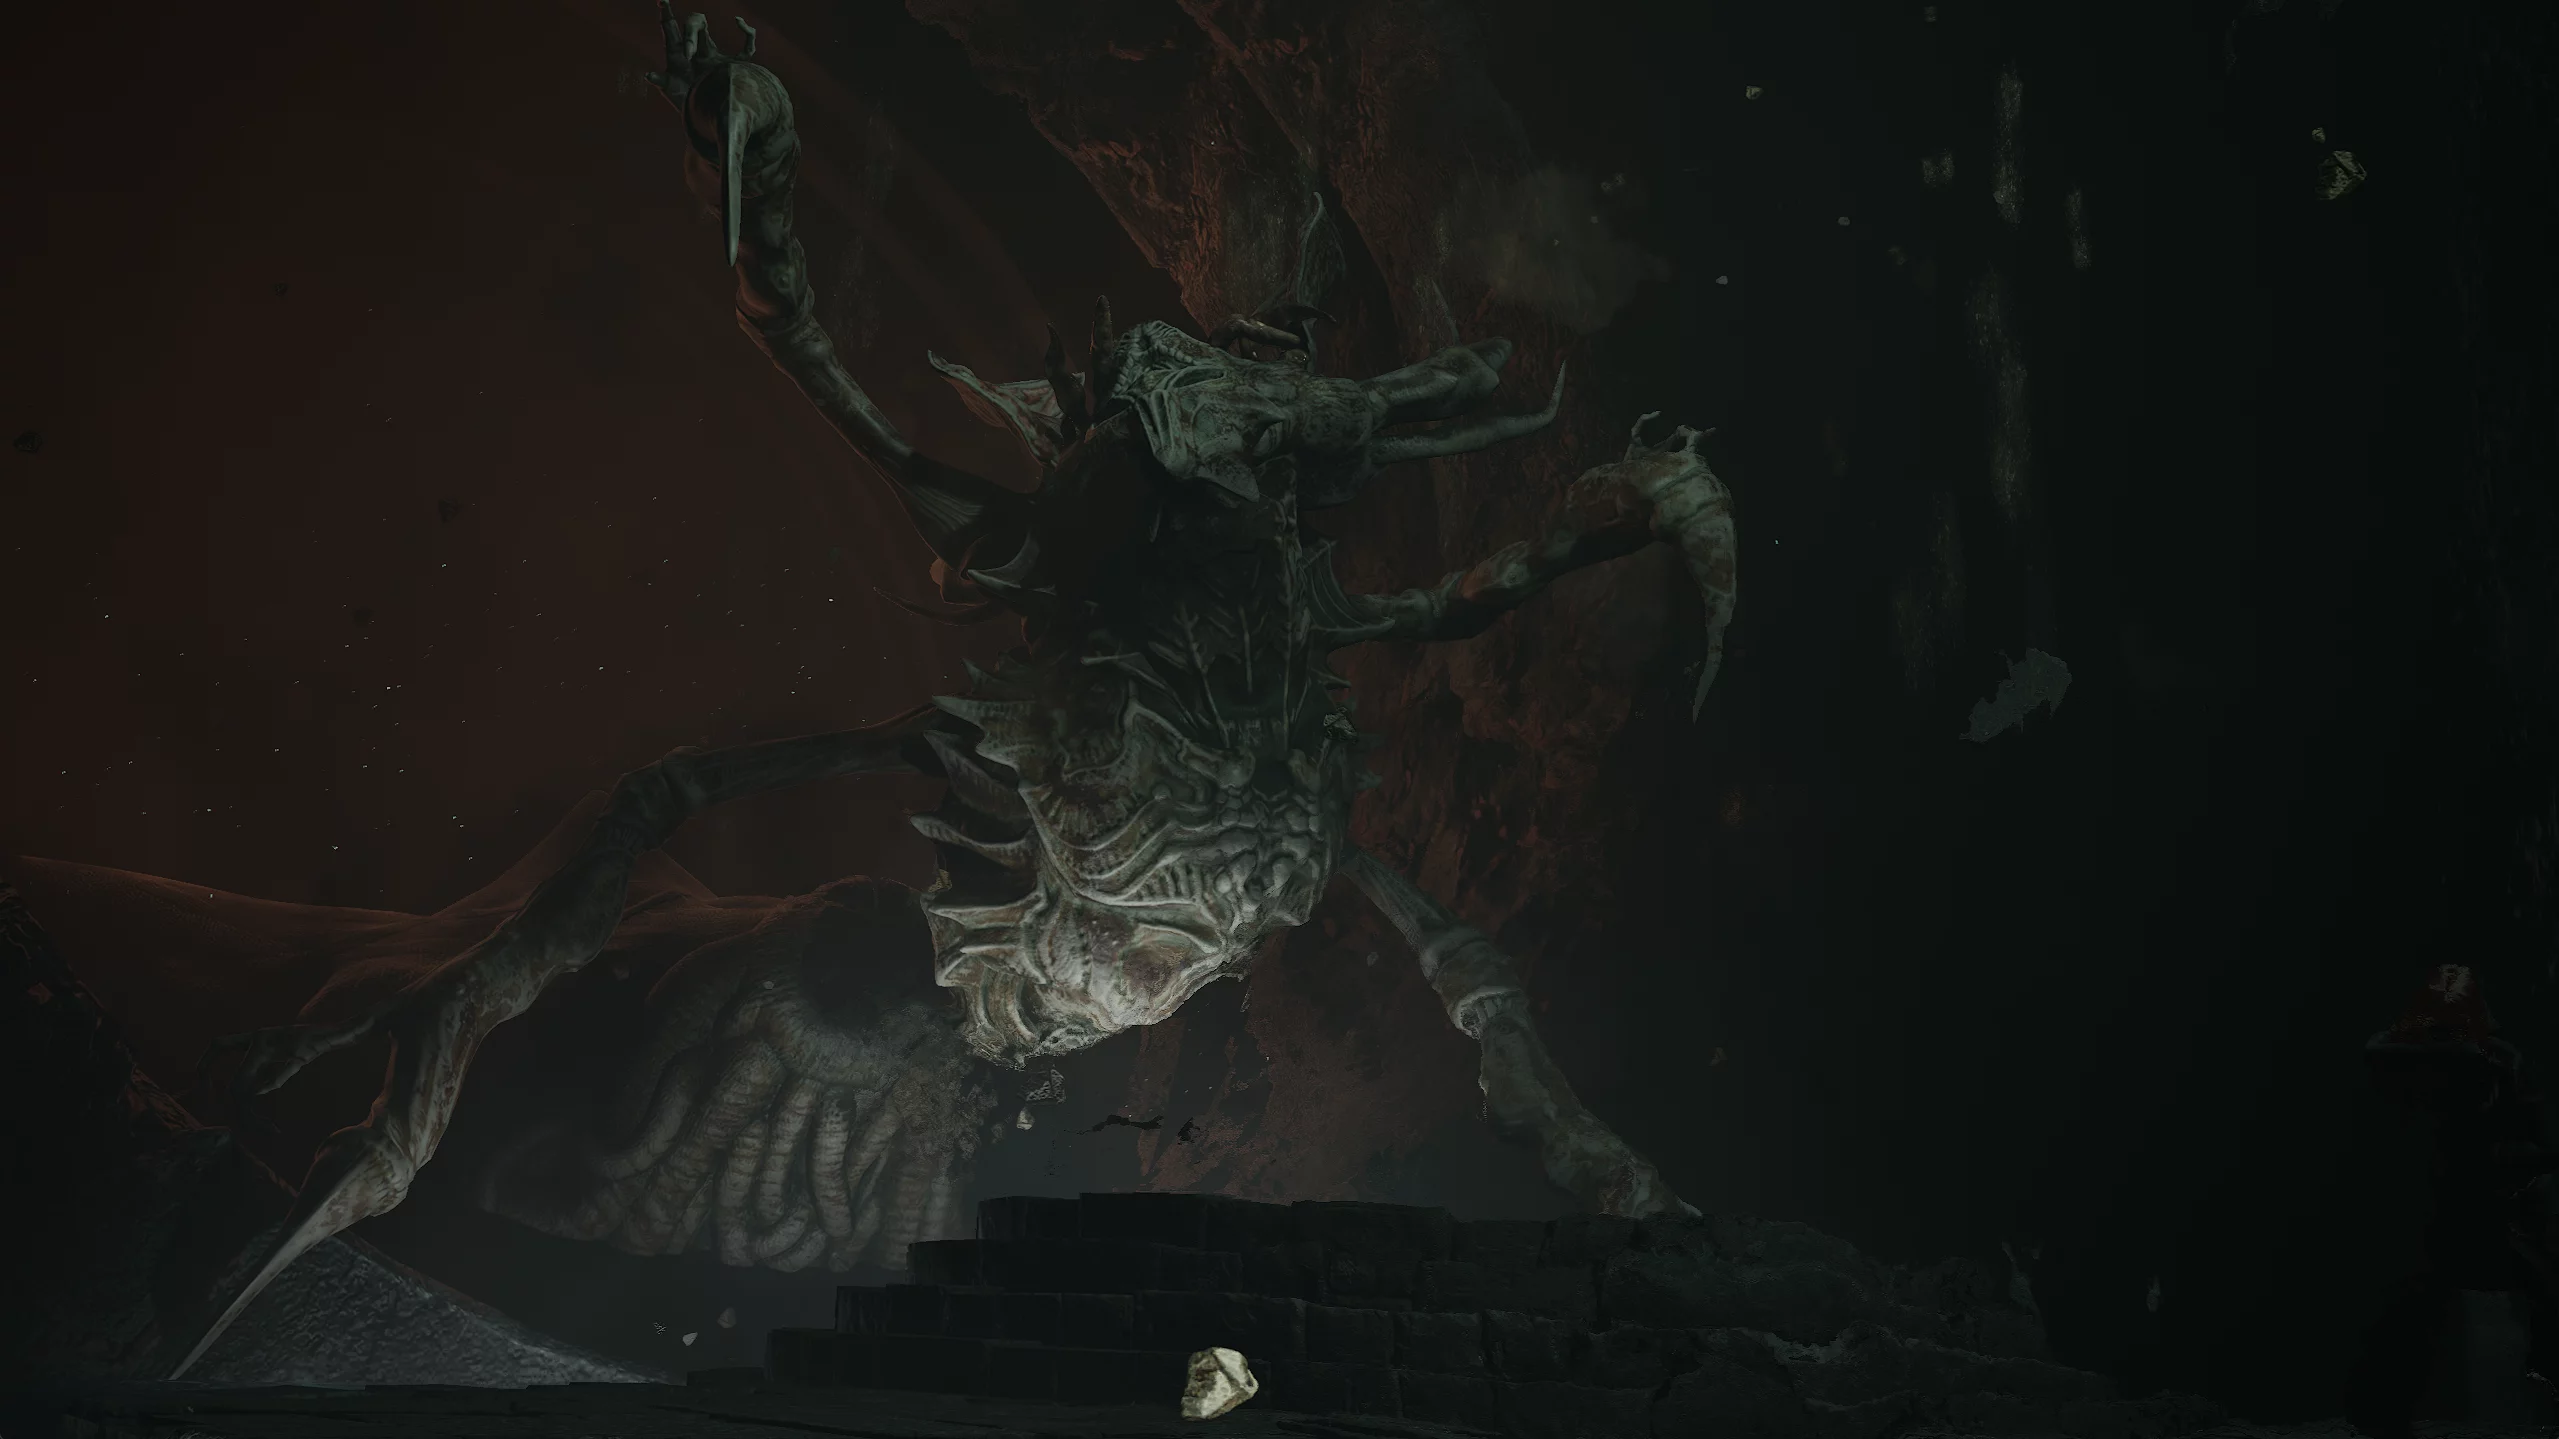
After two shots with the handgun, the monster will fall, and its body will return to the otherworld from where it came.
This concludes the walkthrough, unlocking the bad ending of the game. How to get the good ending will be covered in the next guide.
Other guides
- Tormented Souls 2: Complete Puzzle and Riddle Answers
- Tormented Souls 2 Diaries Locations Guide — How to Find All Diaries
- All Endings in Tormented Souls 2: How to Unlock Every Ending
- How to Unlock All Weapons and Upgrades in Tormented Souls 2: Complete Guide
-
 All Endings in Tormented Souls 2: How to Unlock Every Ending
 -
 Tormented Souls 2: Complete Puzzle and Riddle Answers
 -
 Tormented Souls 2 Diaries Locations Guide — How to Find All Diaries
 -
 How to Unlock All Weapons and Upgrades in Tormented Souls 2: Complete Guide
 -
 Palworld 1.0 Best Pals for Early Game, Combat, Bases, and Mounts