

KILL IT WITH FIRE! 2 is the highly anticipated sequel to the hit indie game. Players step into the shoes of a fearless exterminator, arm themselves with a trusty slipper, and take on hordes of nasty spiders. In this guide, we’ll walk you through all the story chapters. You’ll learn how to unlock every dimension, open the gates to the core, and where to find the Spider Goddess.
Prologue
The main goal of the game is to destroy spiders. The walkthrough starts in the bedroom. First, you need to find three insect stickers:
- Under the tape recorder on the nightstand.
- In the second drawer from the right in the dresser.
Walk around the room a bit and wait for the cutscene.
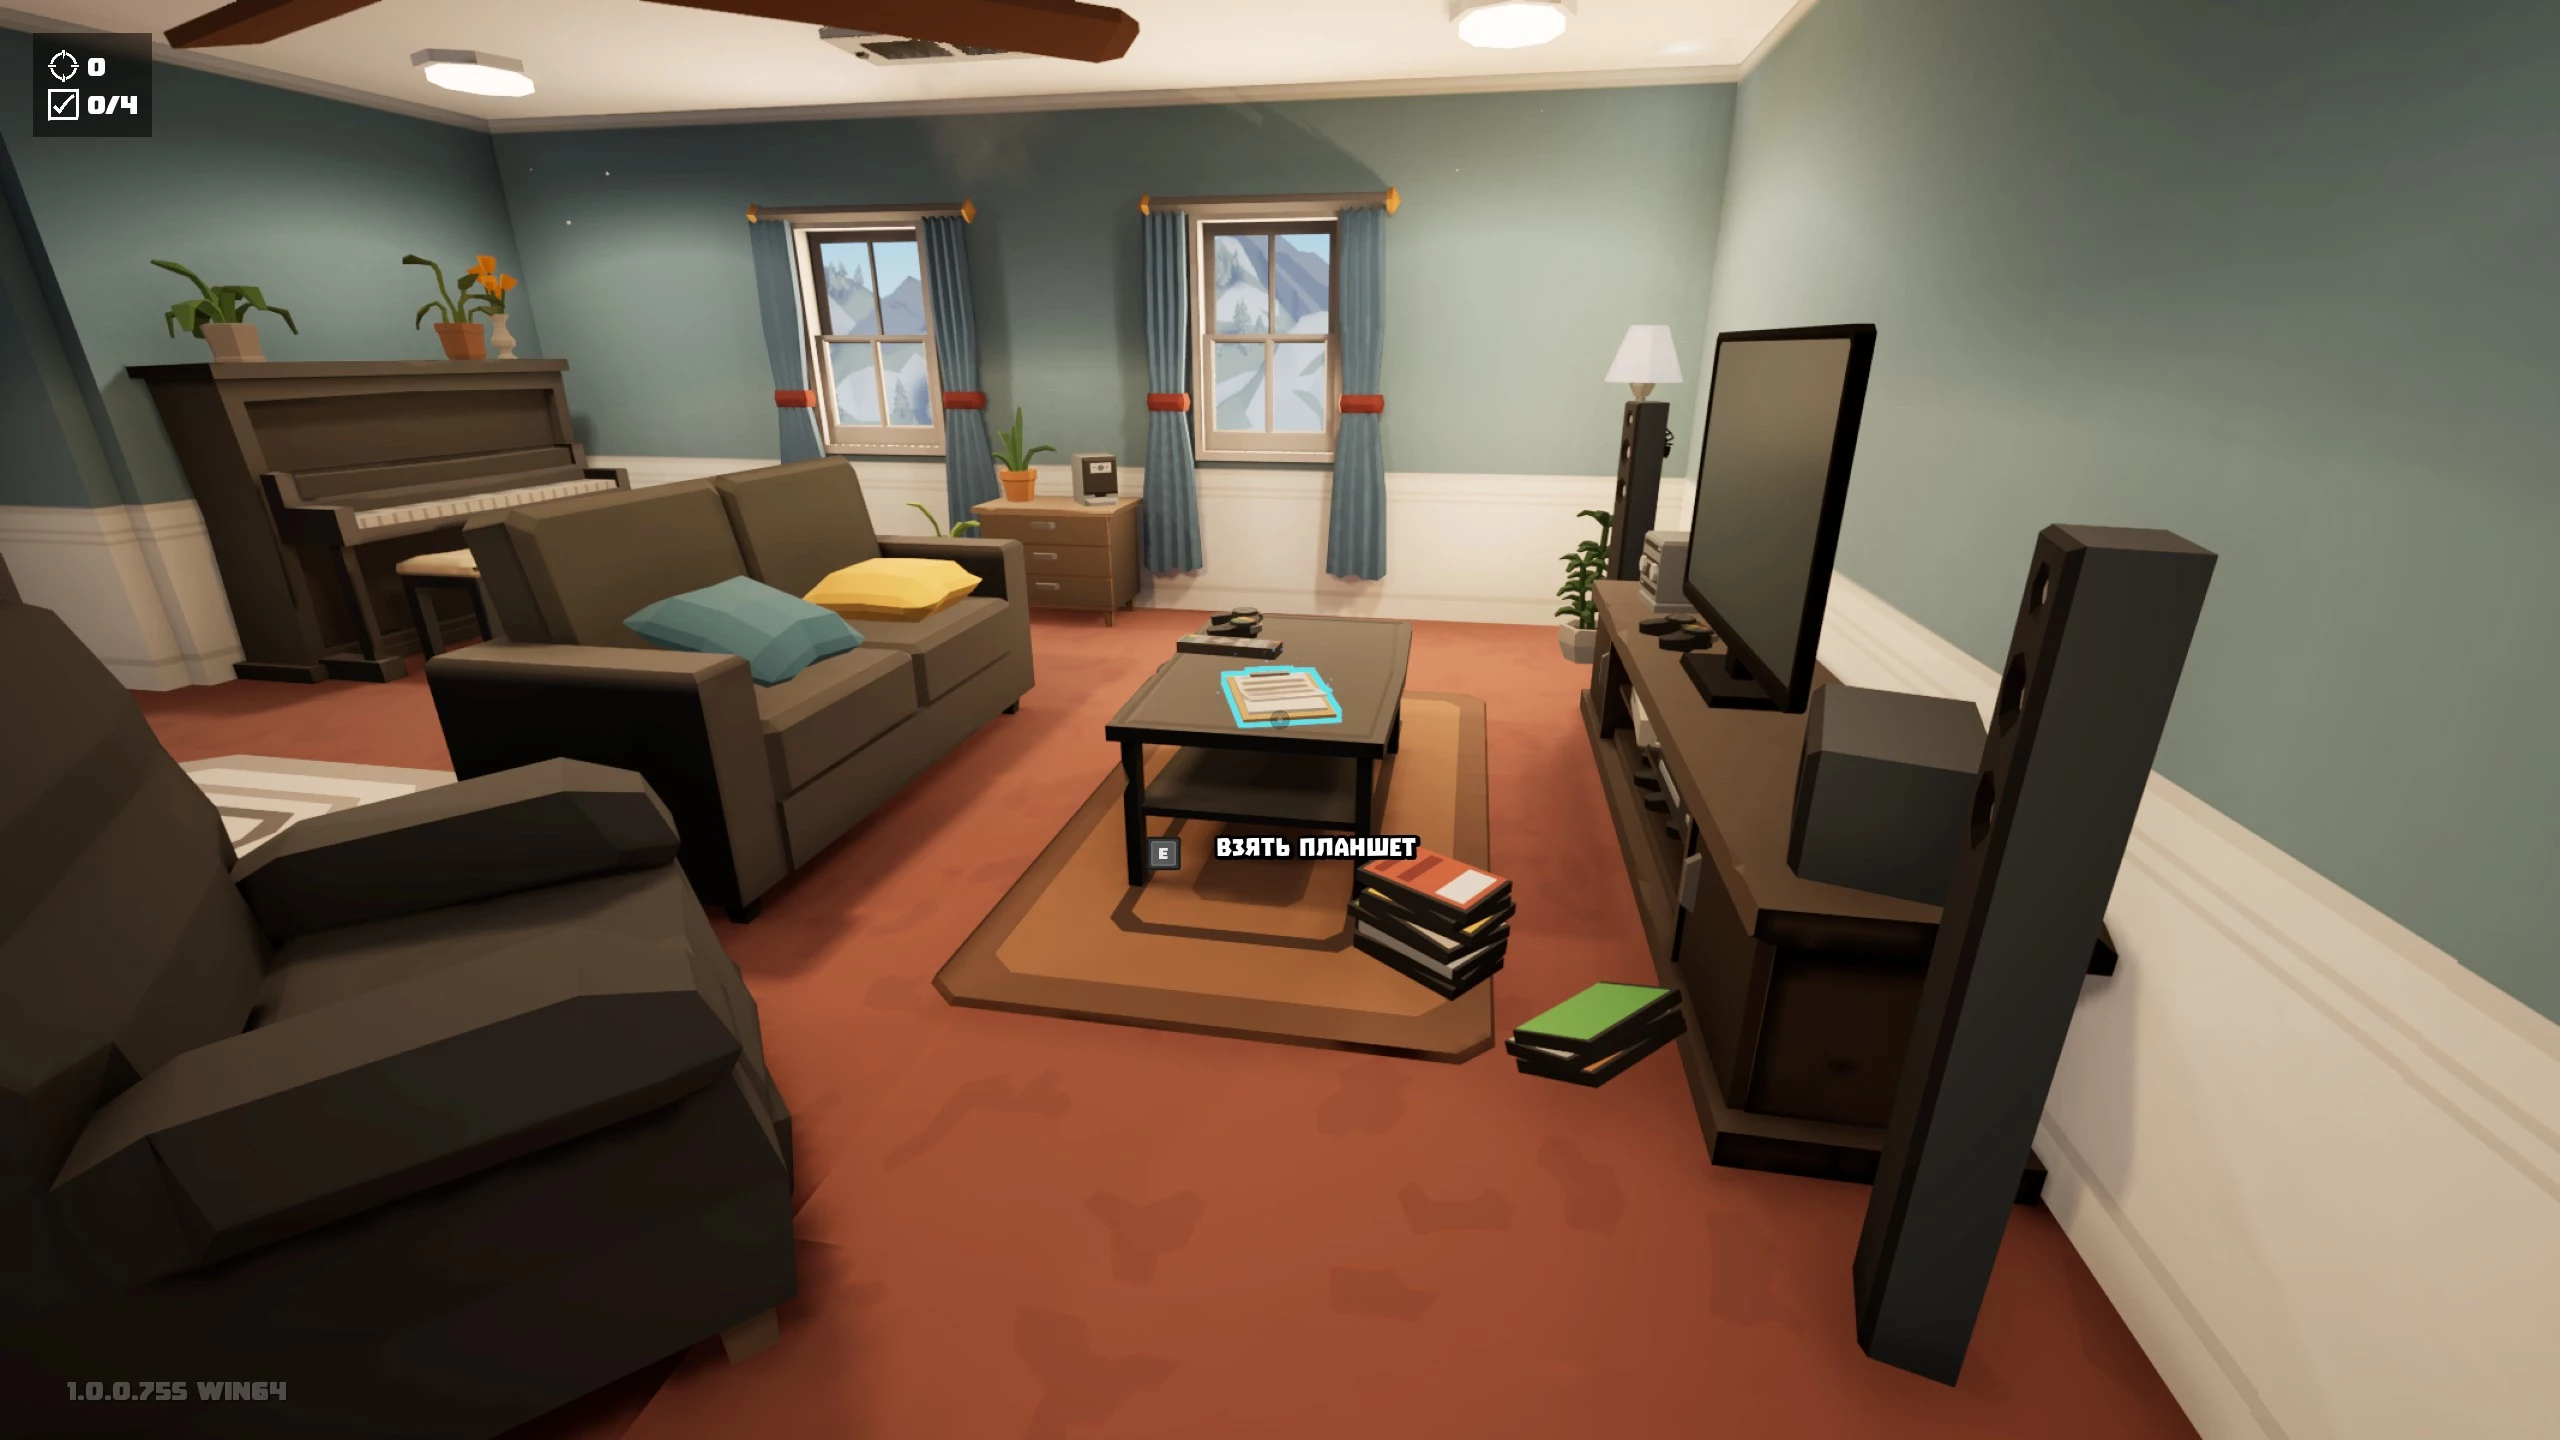
Open the door to the living room and pick up the tablet from the coffee table. This shows your current and completed objectives, and also serves as your main weapon against spiders.
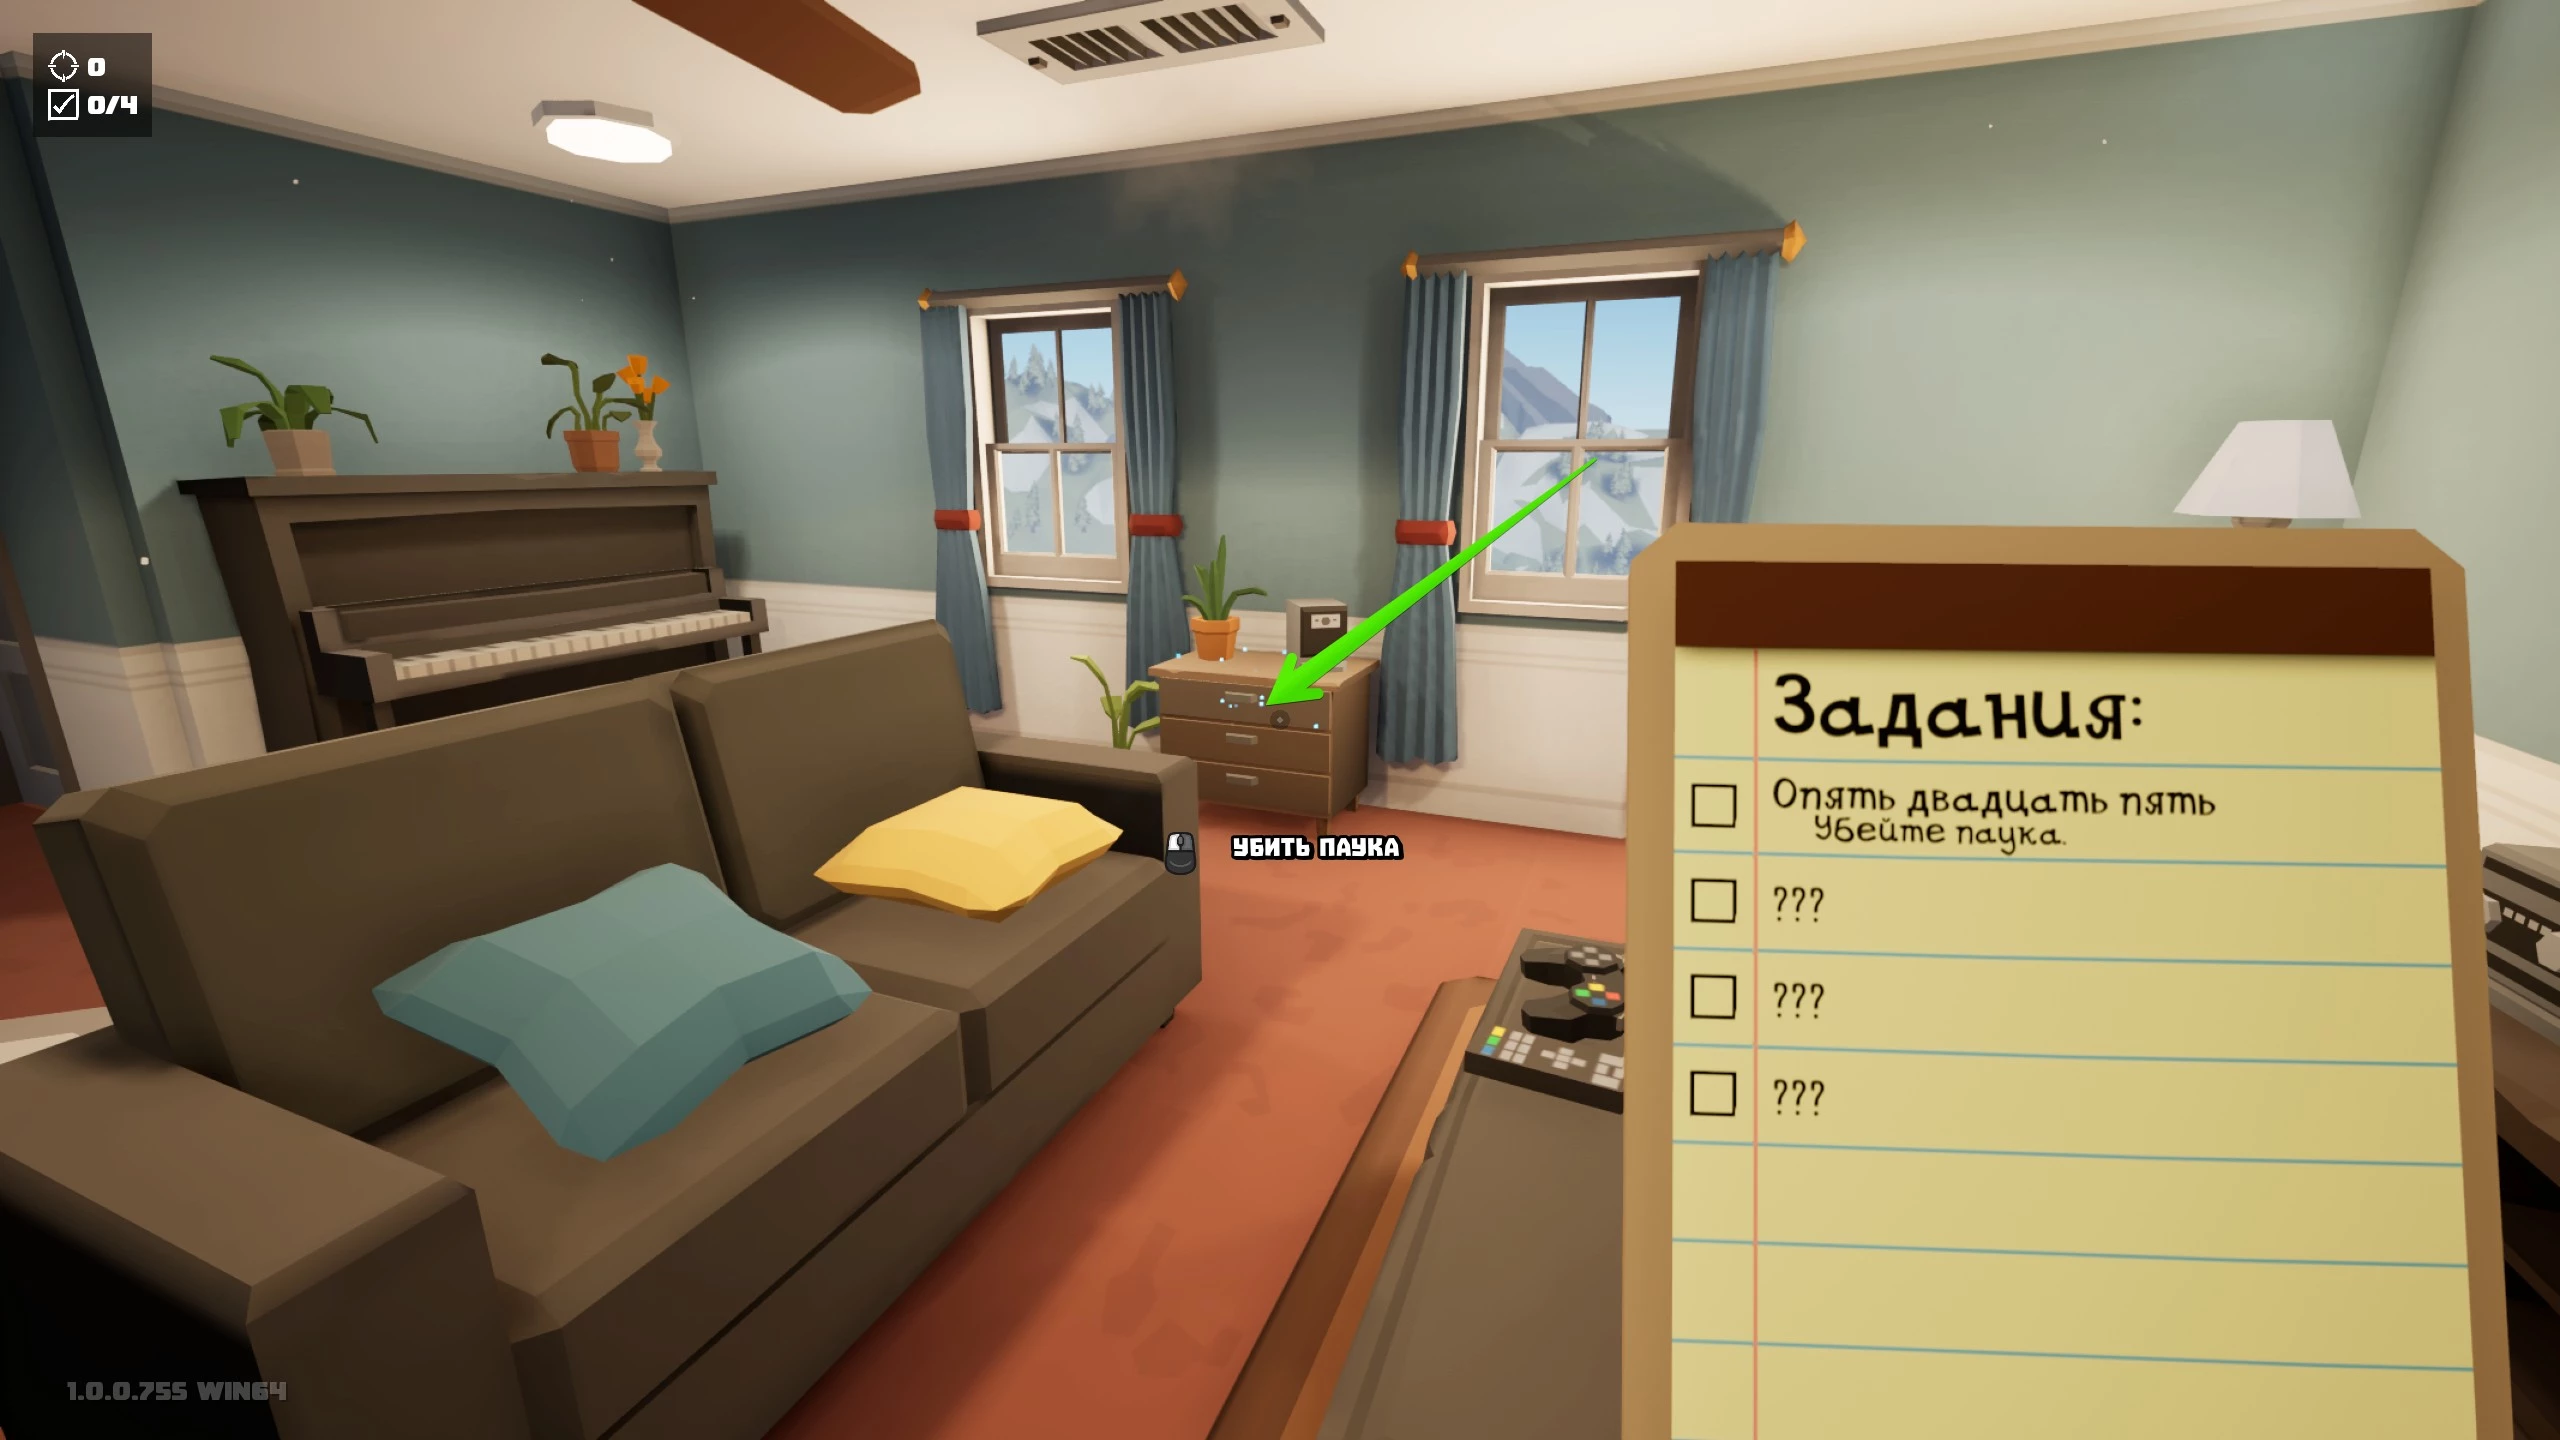
The gameplay works like this: to unlock each new area in a location, you need to complete the objectives listed on the tablet. In this case, you need to kill the first spider. It’s hiding in the top drawer of the nightstand by the window. Another bug will appear on the table right after. This will unlock the foyer.
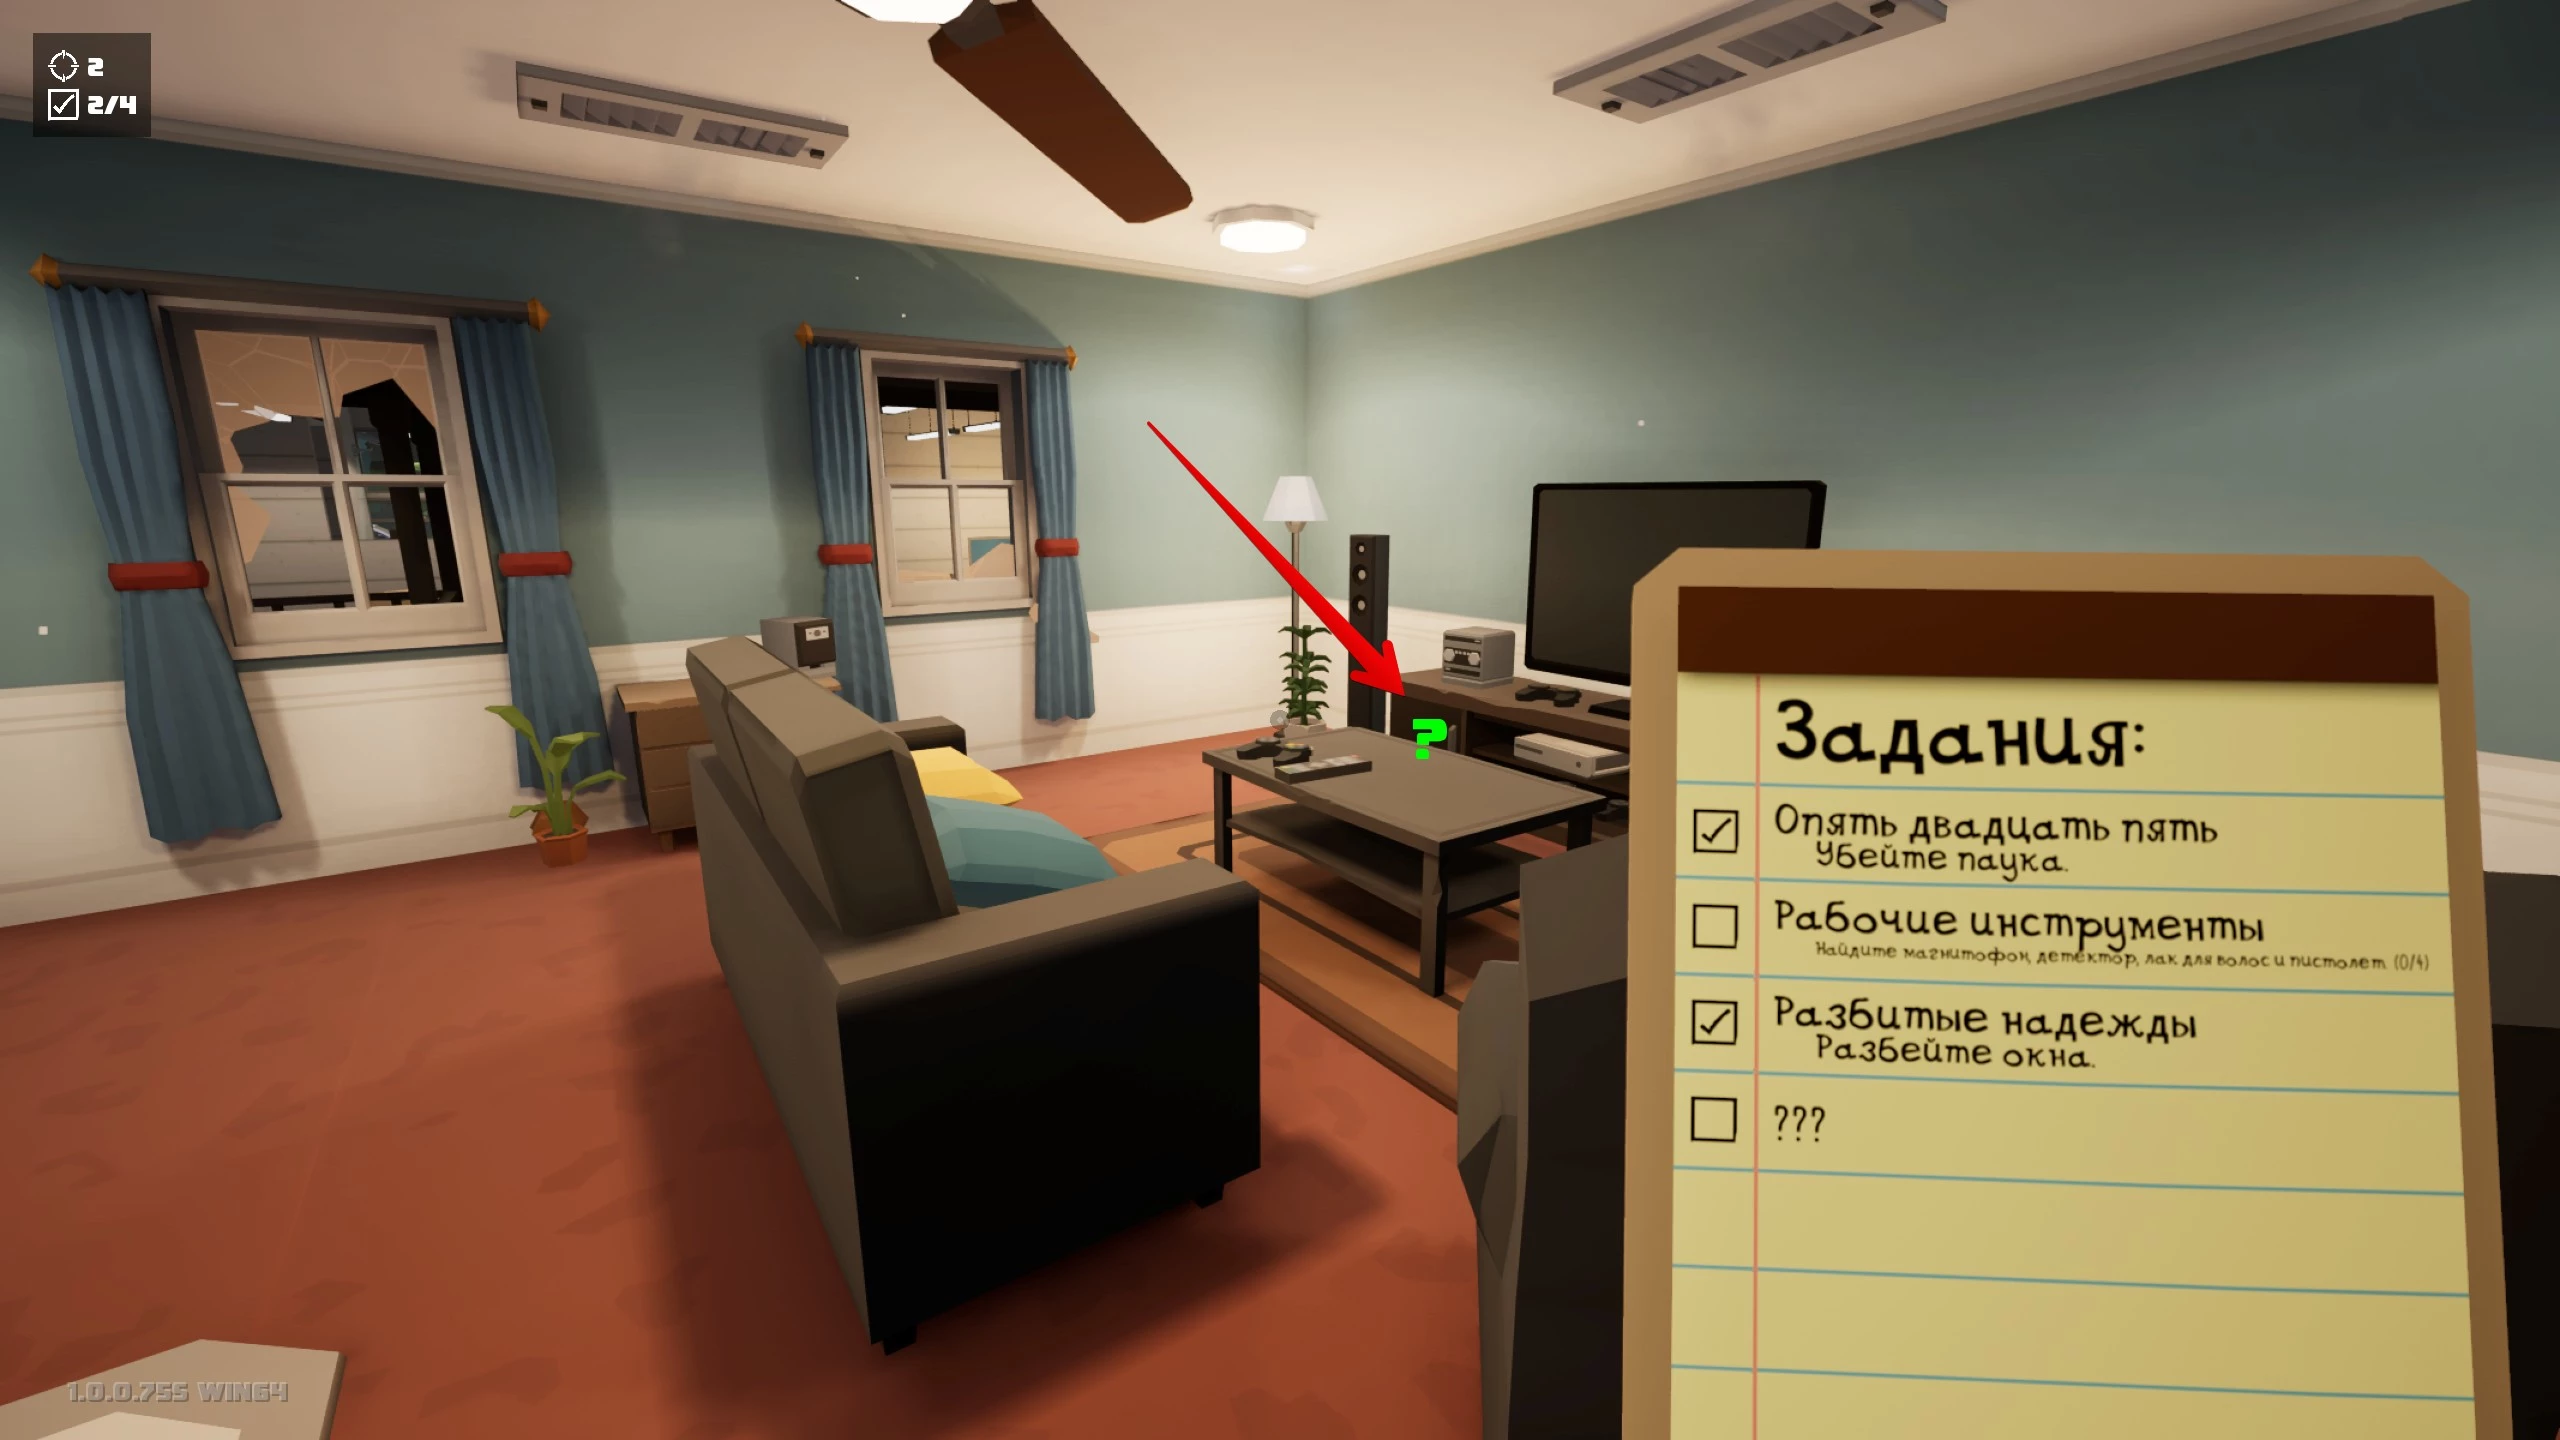
Spiders hide everywhere, so they can literally be anywhere. Each location has lots of interactive items to check out: books, paintings, boxes, TVs, and more. Plus, spiders make a distinctive noise, so it’s a good idea to play with headphones. For now, you don’t need to frantically search for every bug, since you’ll get a tool for finding them later. Just enter the foyer and interact with the next door to unlock a new task. You need to find your work tools: tape recorder, detector, hairspray, and gun.
Go back to the living room, walk up to the TV stand, and interact with the left door. It will be locked. To open it, you need to break any five windows. Each room has two window frames. When you’re done, you’ll get the tape recorder. You won’t need it just yet—it’ll come in handy in the next chapter.
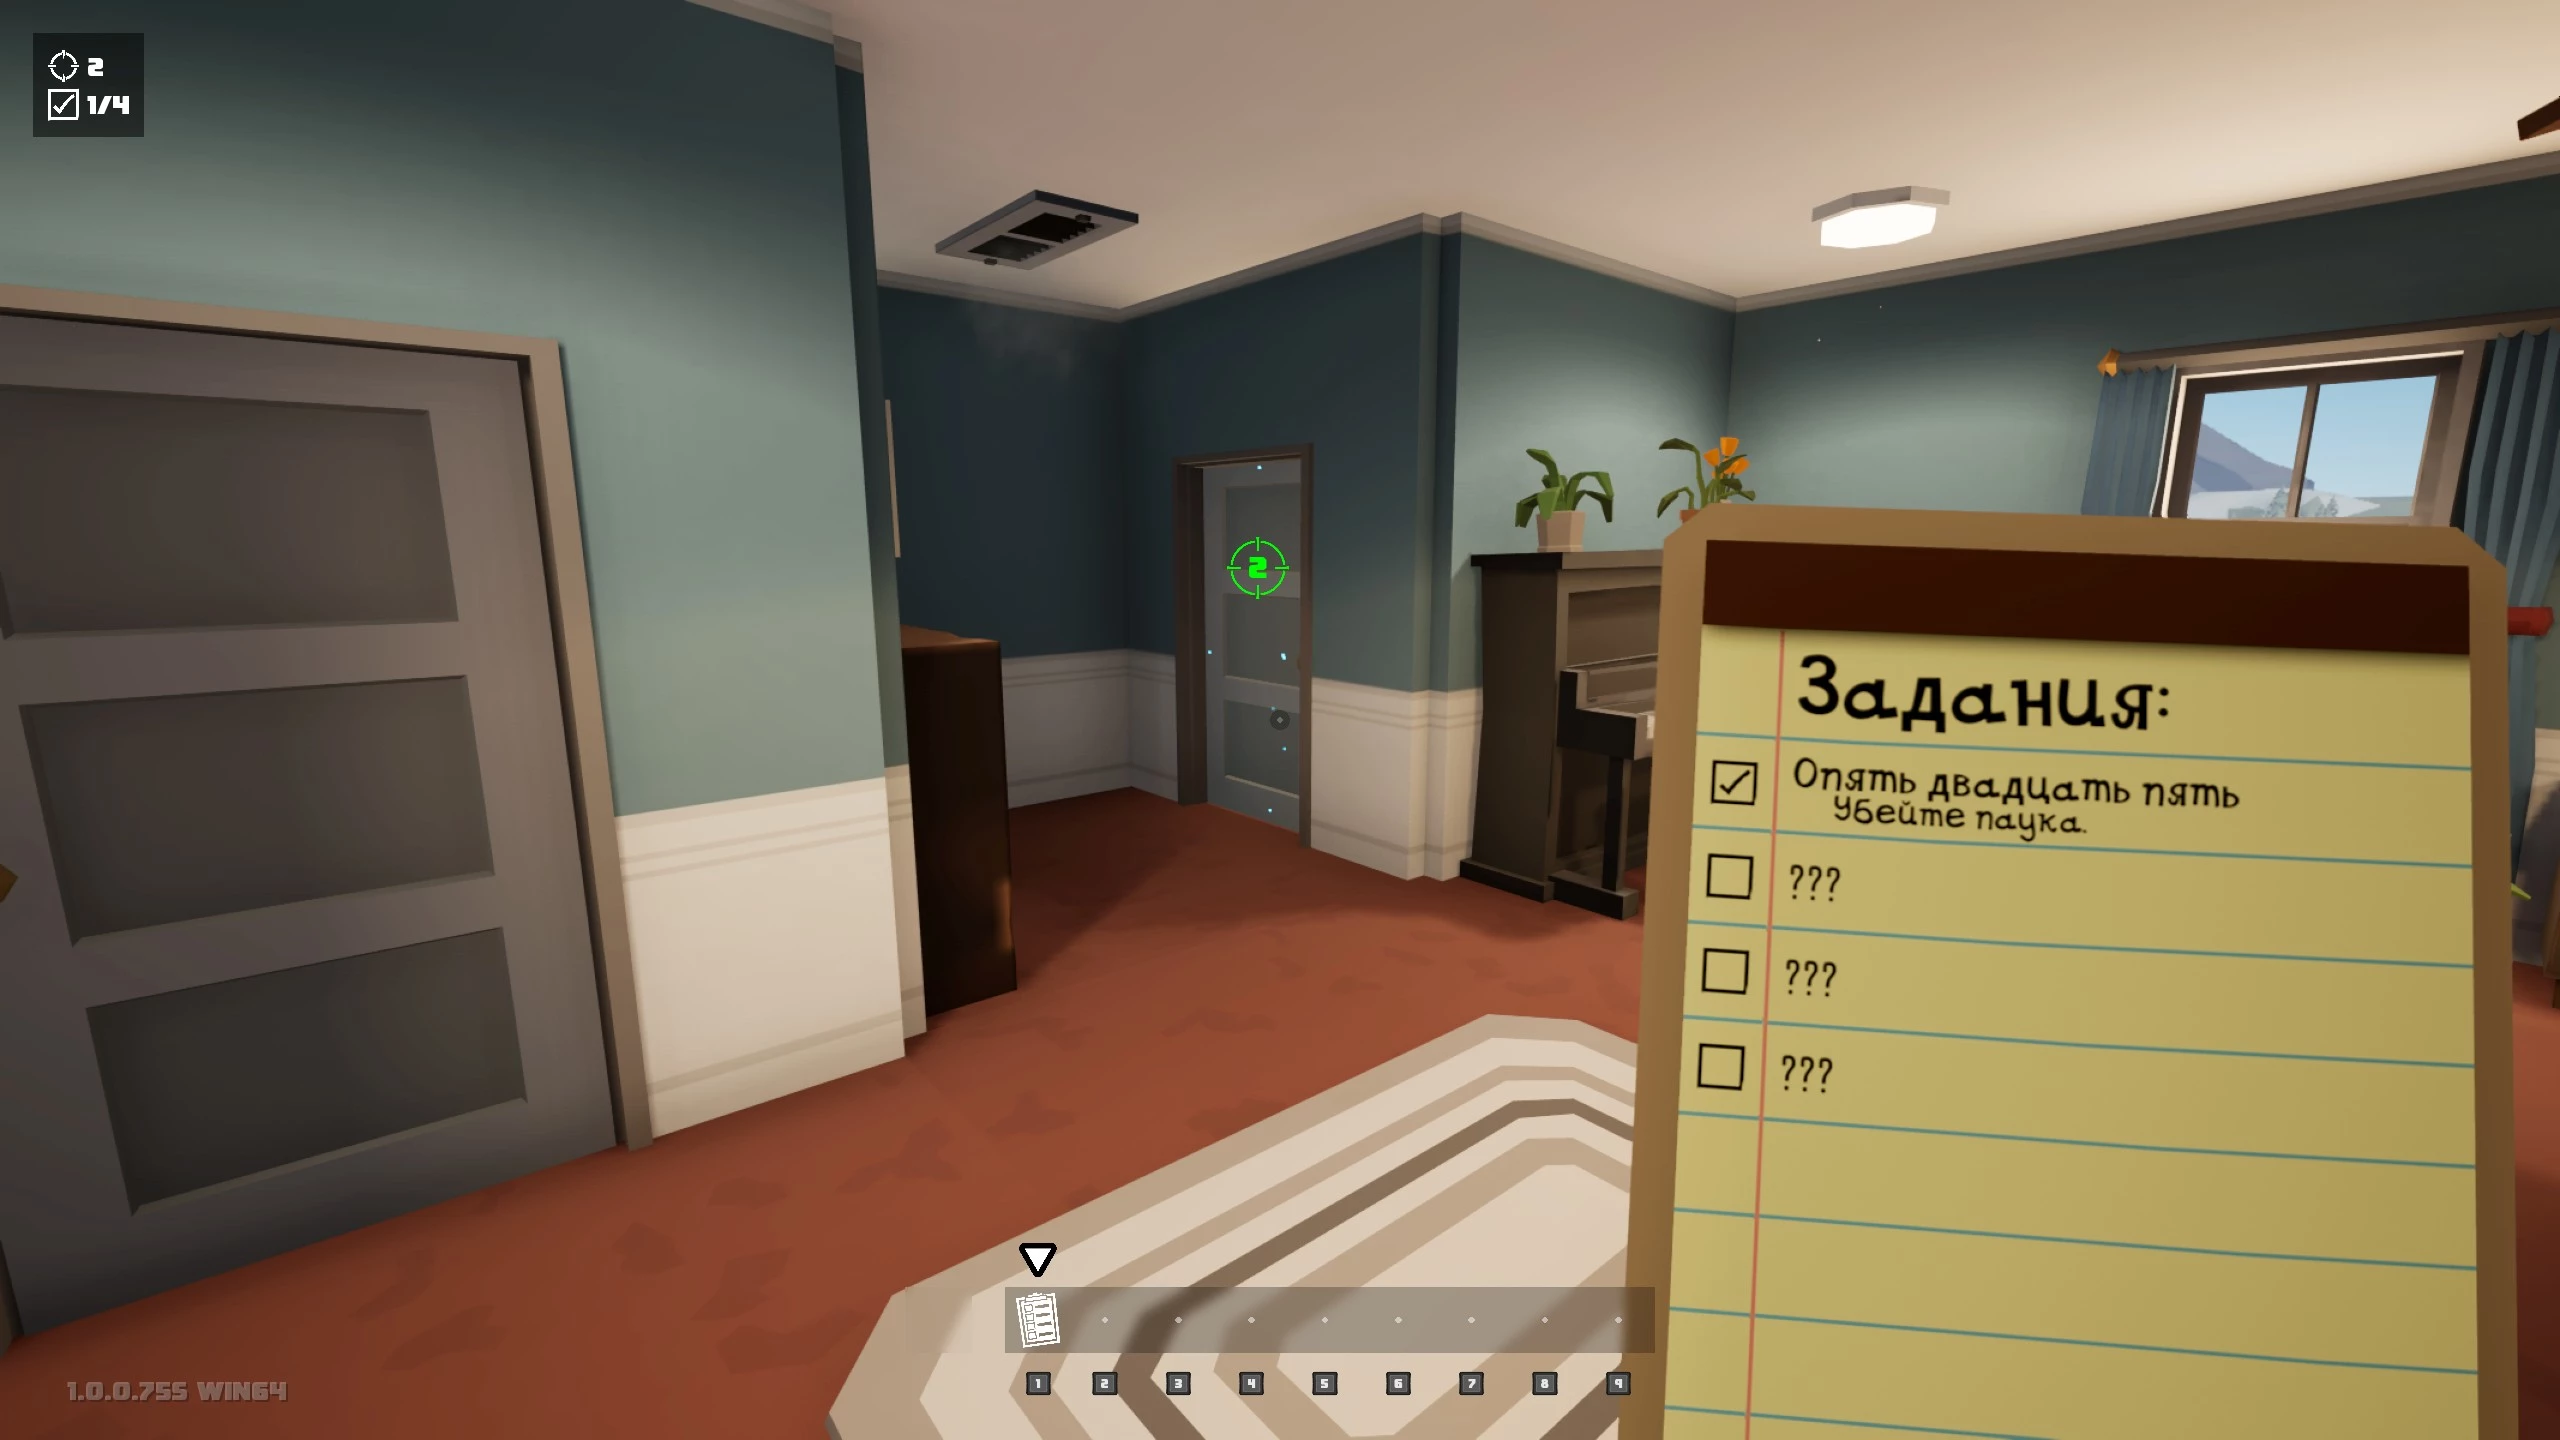
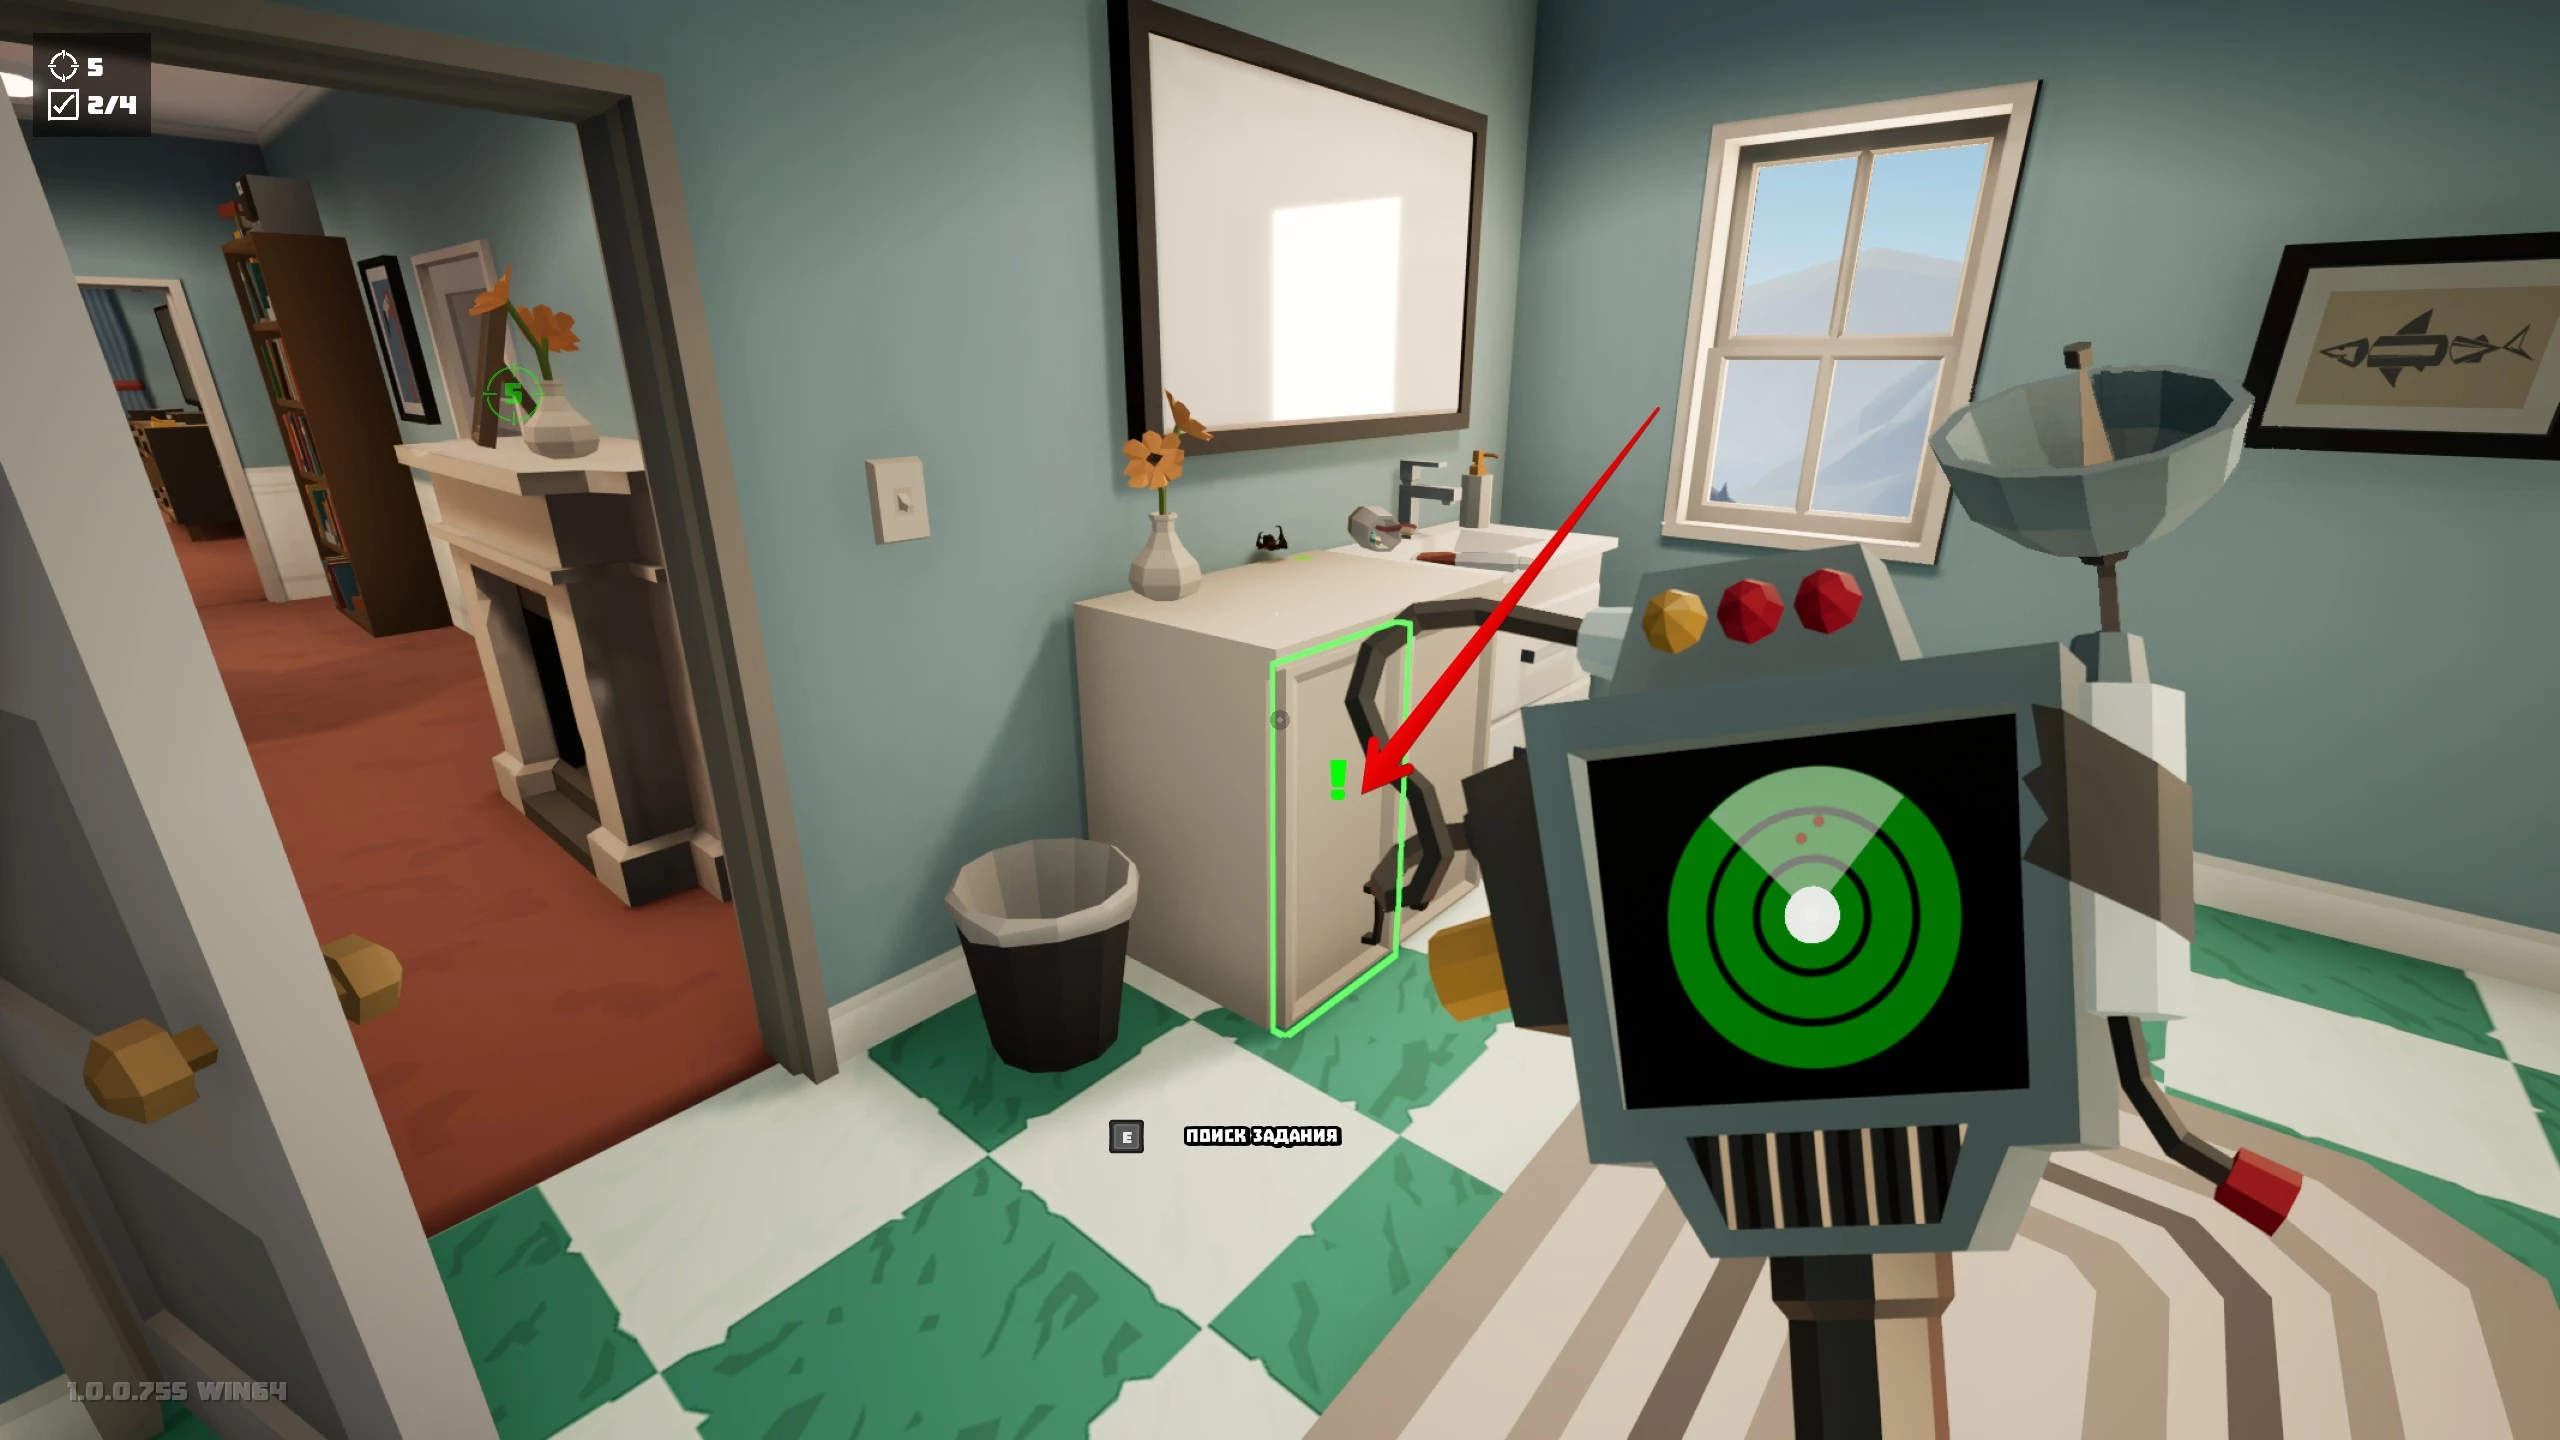
Next, you need to open the bathroom door. To do this, you have to squash three spiders. Kills are counted from the start of the chapter. You’ll definitely find one under the yellow pillow and another in the TV stand if you open the right door. The detector with a radar is on the bathroom dresser—it helps you locate insects.

Interact with the left door of the dresser, return to the bedroom, and erase the writing from the board. Head back to the bathroom and grab the hairspray from the dresser—it acts as a flamethrower. There are also a couple of bugs here. Now you can open the closet and pick up the gun from the third shelf.
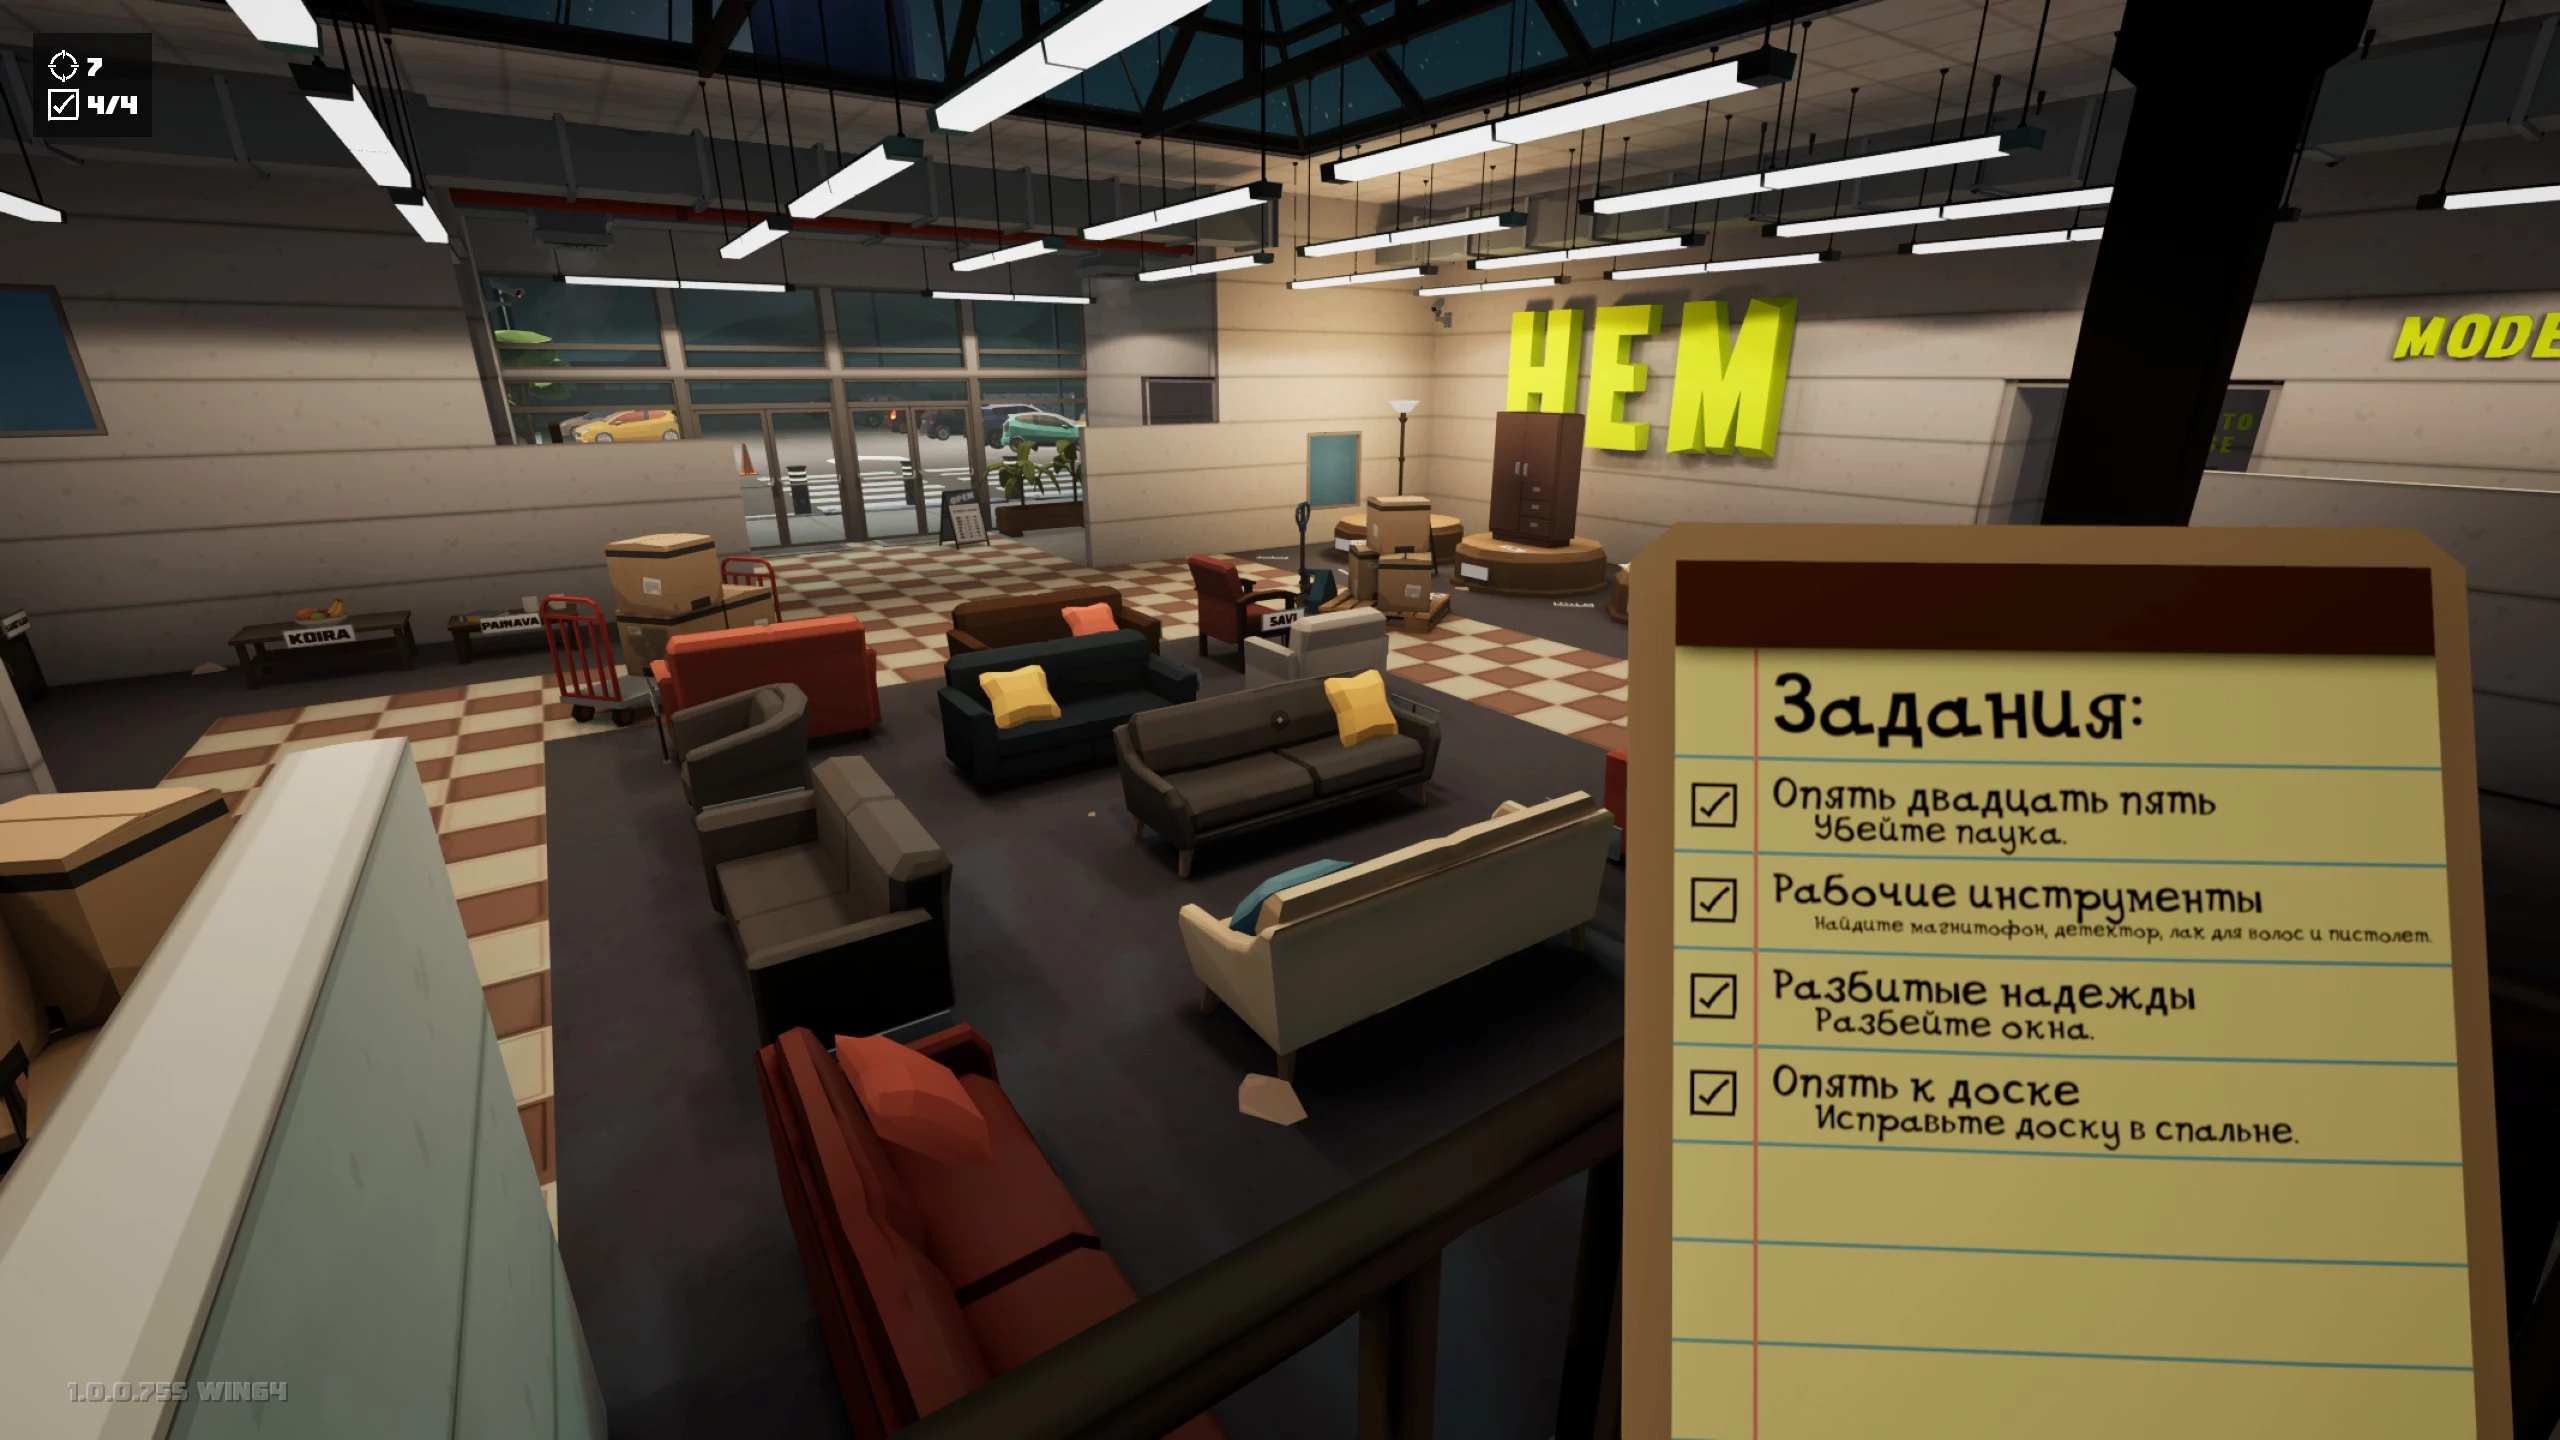
Once you’ve gathered all the tools, you can return to the foyer and unlock the final area of the location. That’s the end of the prologue walkthrough. If you want, you can hunt down any remaining spiders. To leave the level, go down to the exhibition hall and stand between the sofas. Your character will be picked up by a spaceship, which starts the next chapter.
PMC "Punisher"
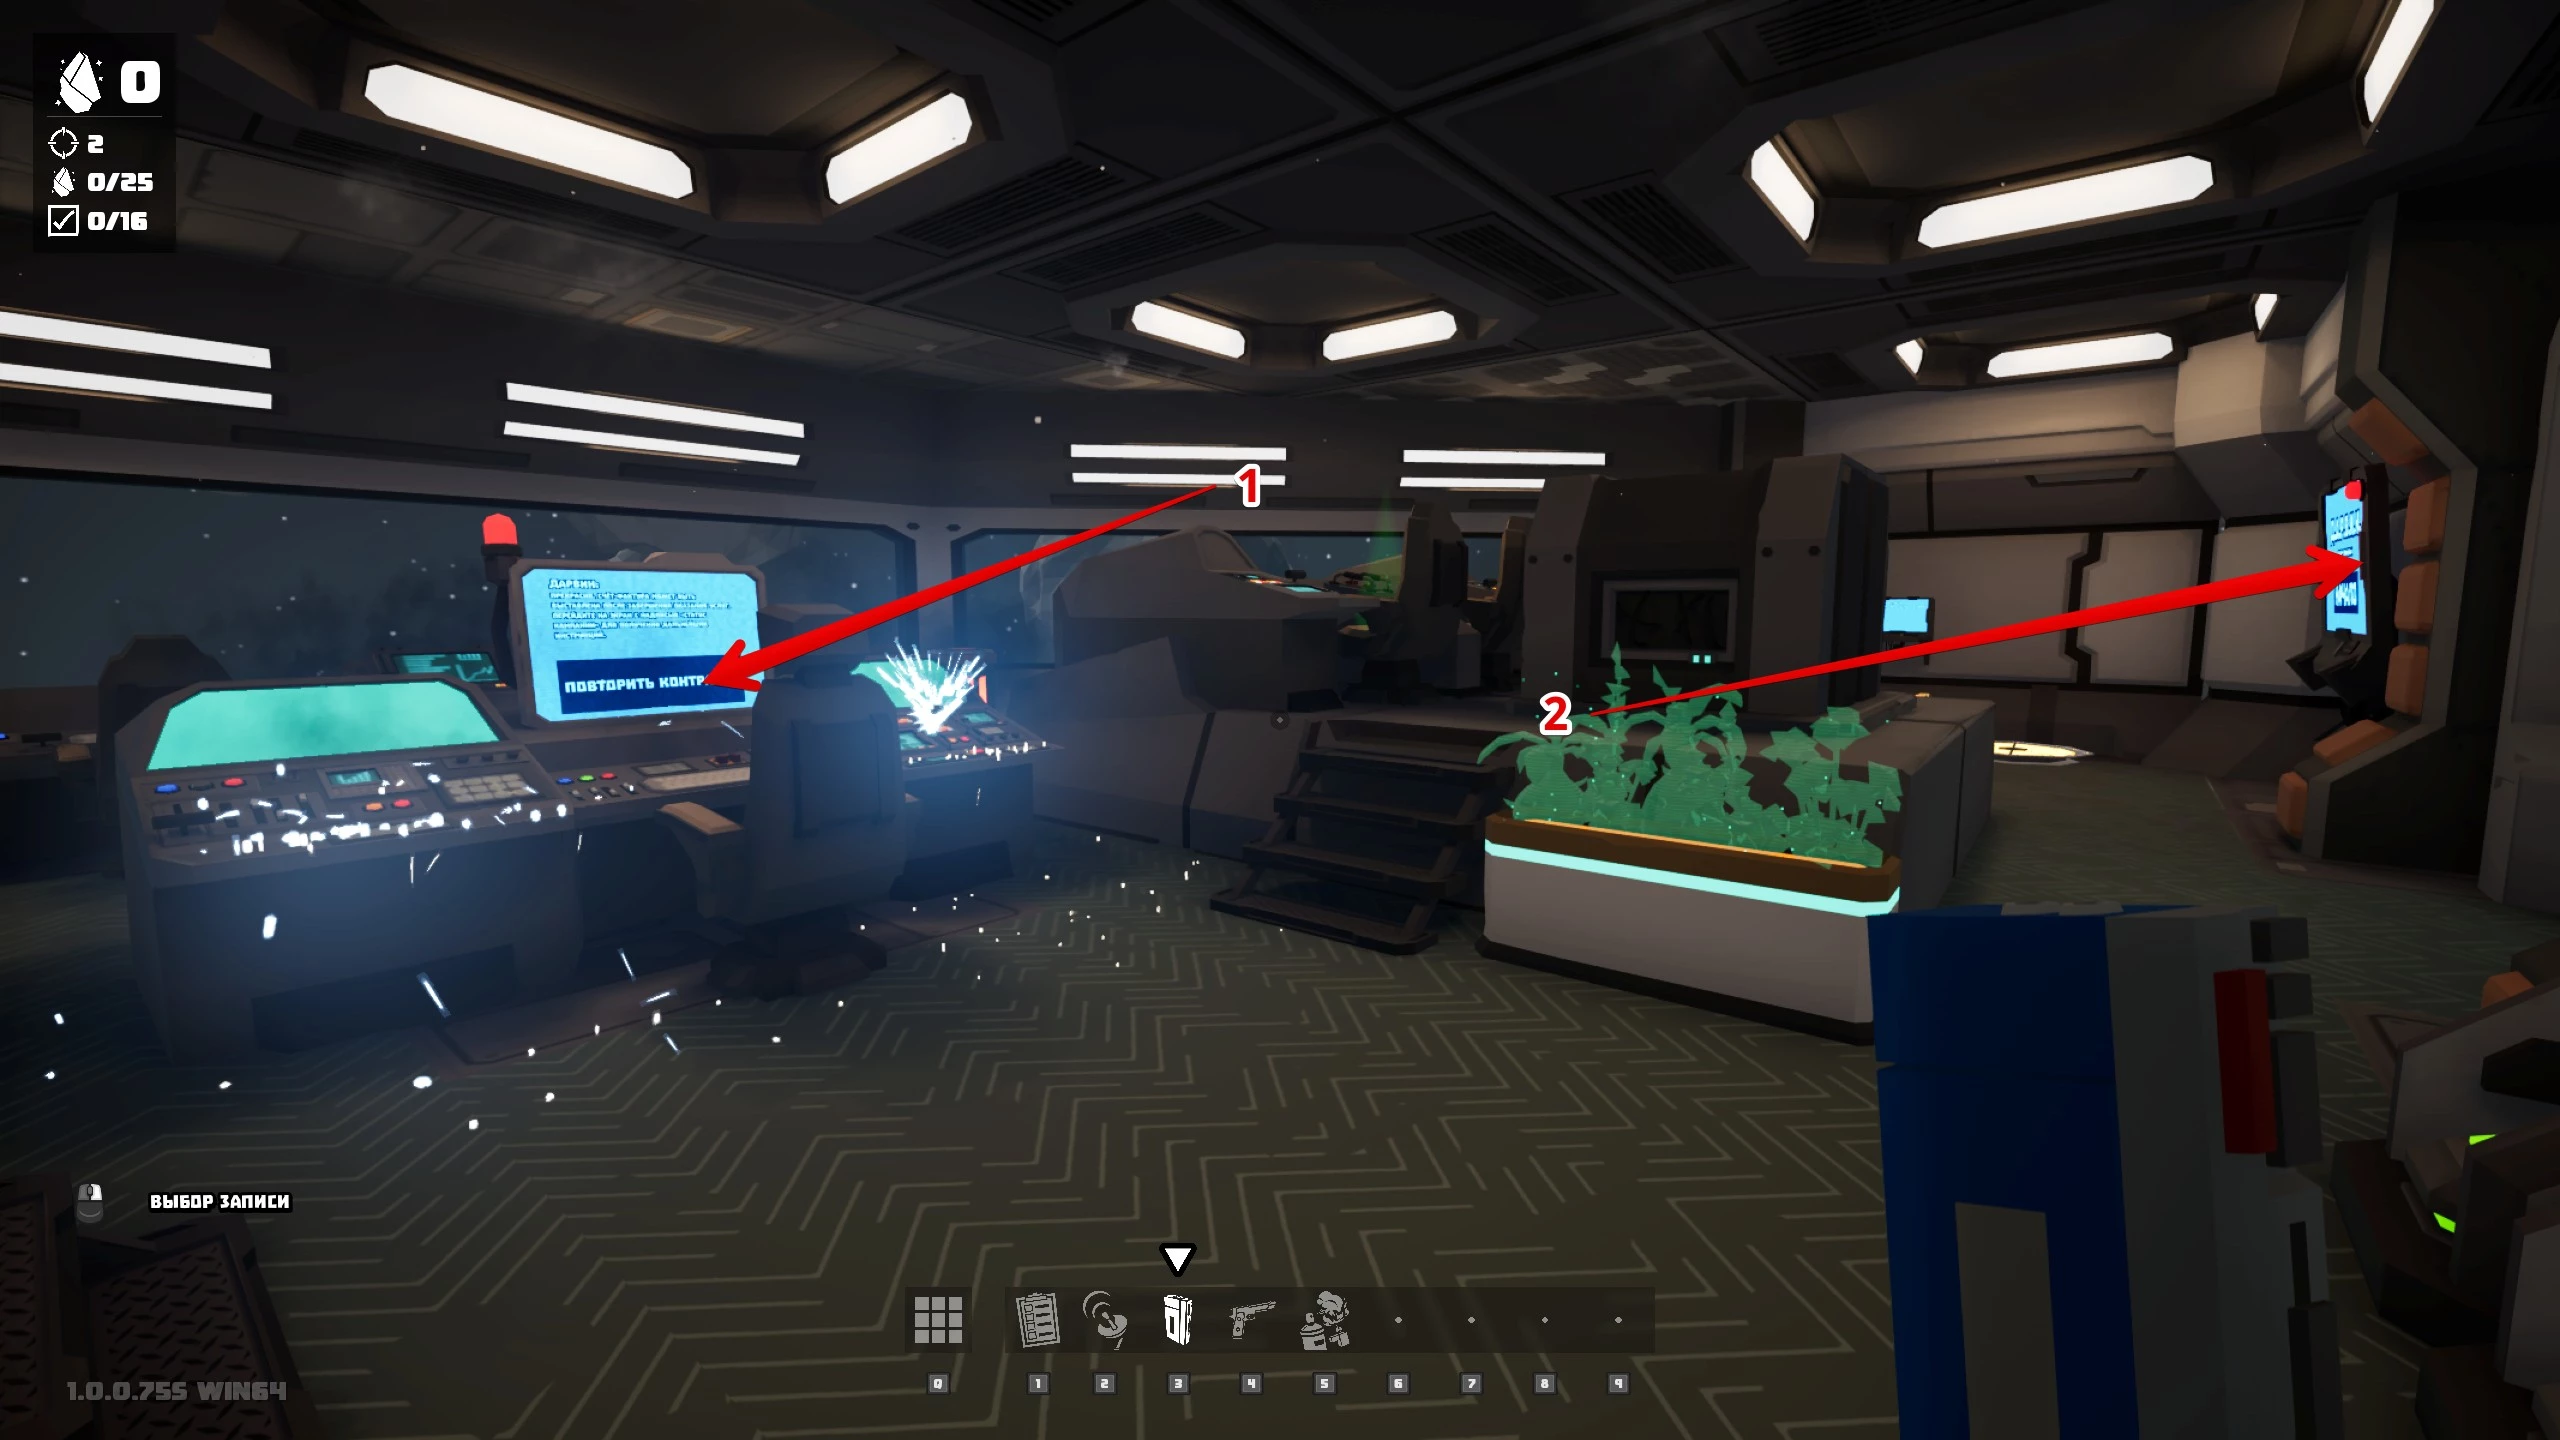
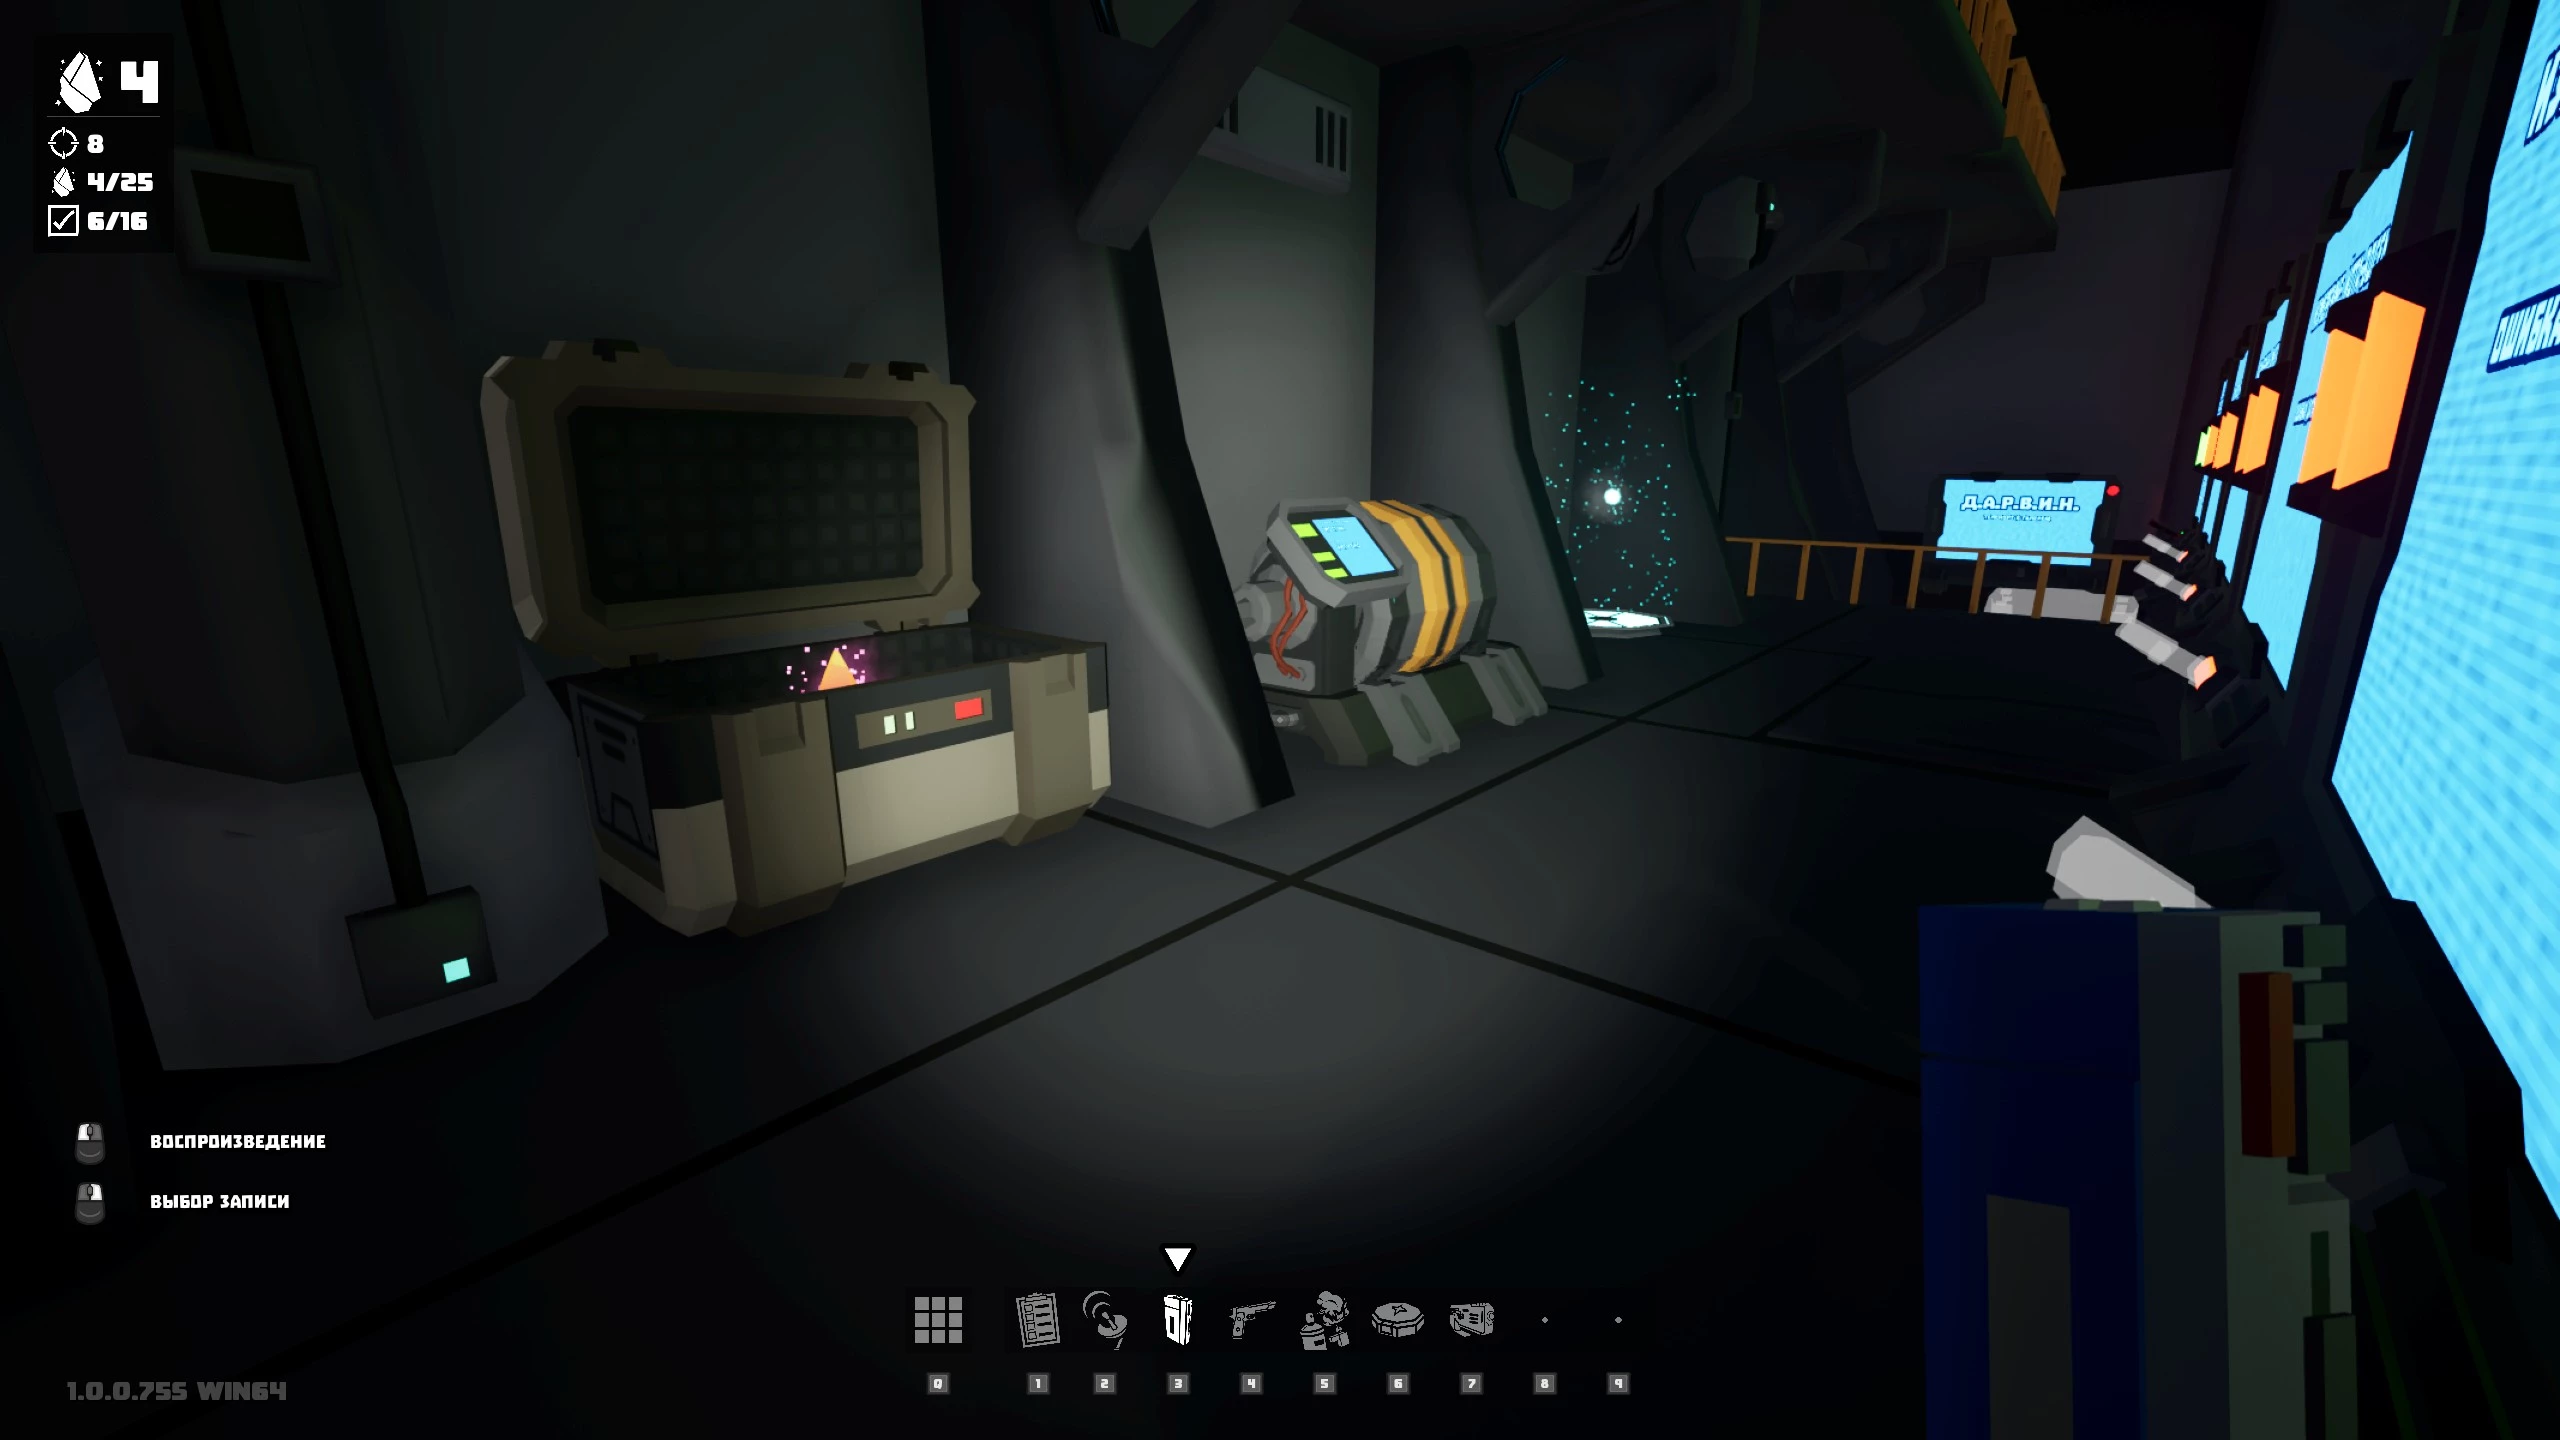
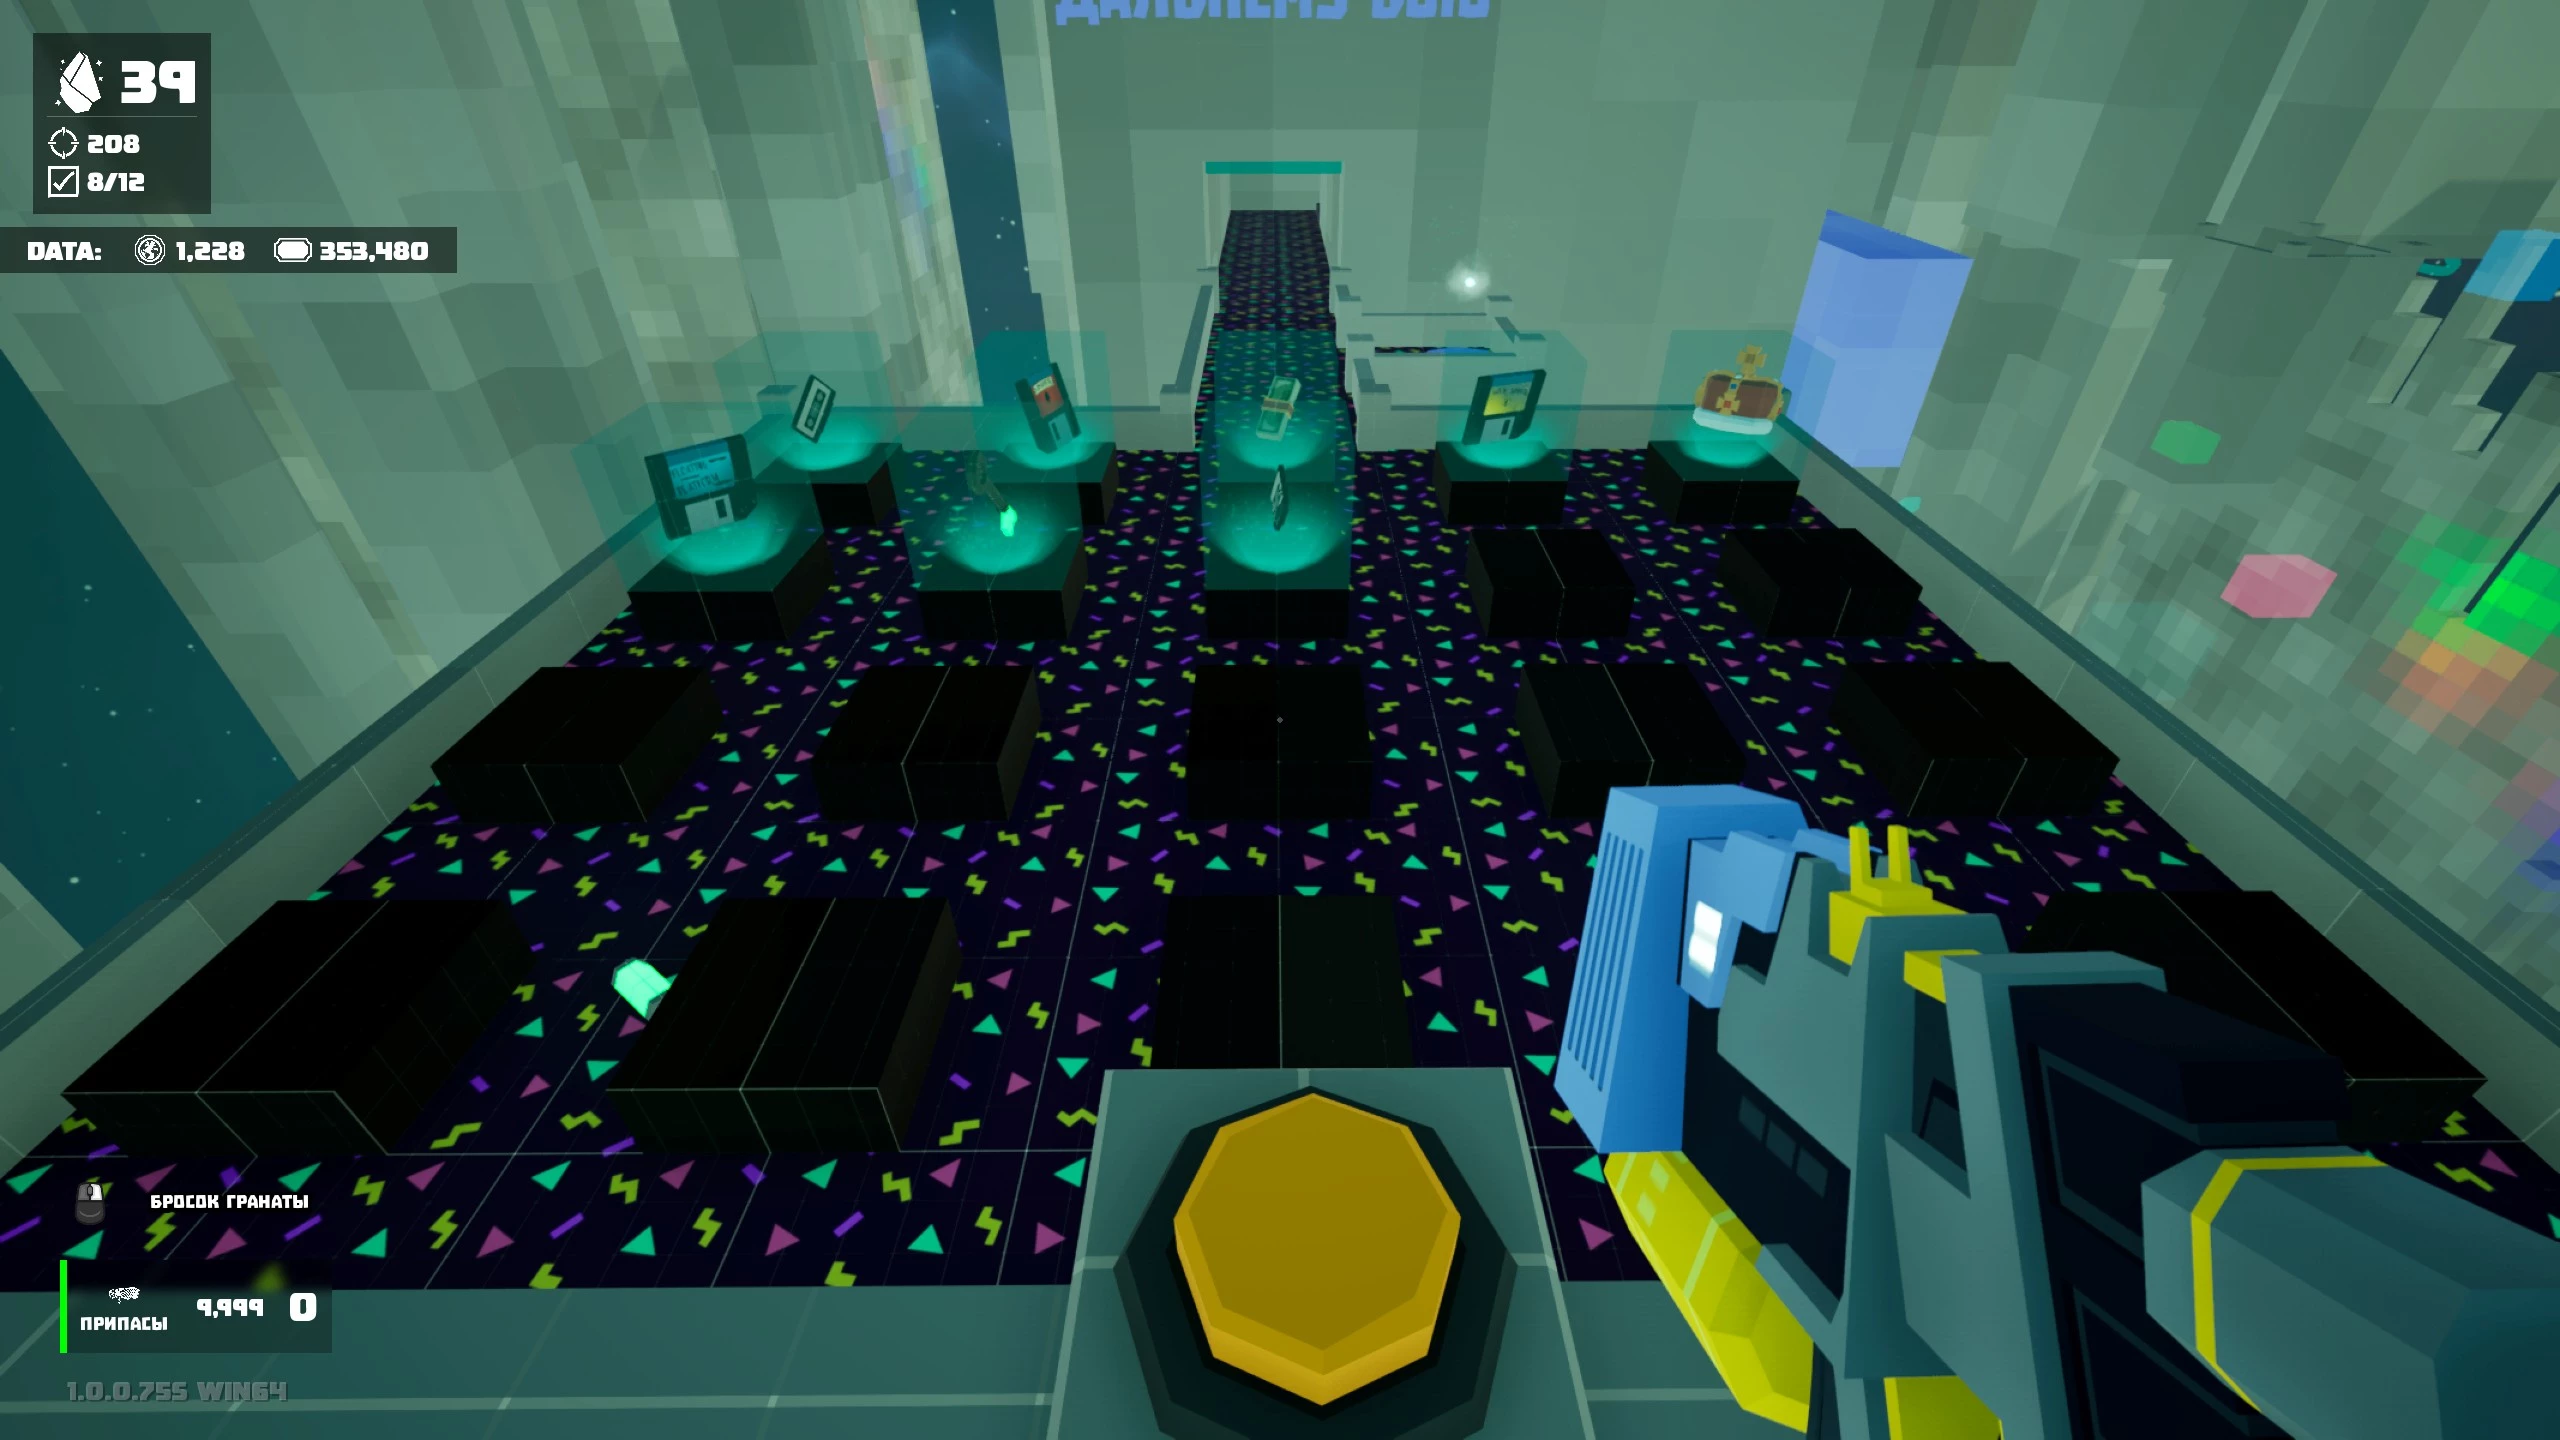
The hero finds himself on the bridge of an intergalactic research station. In the center of the hall is the D.A.R.V.I.N. supercomputer, with which you need to make a contract for pest control services across all dimensions. There’s a “Crew Log 0001” tape on the chair. Now go to the company status panel to the left of the door to the command section. This displays your overall game progress.
Next, head over to the PMC “Cartel” panel on the opposite side from the “Company Status.” Take the Substance X crystal from the chest and use it to unlock the hangar. Pick up the compact in the hallway to personalize your character. There are capsules on both sides. In the central one on the right, you’ll find a “Crew Log 0093” tape.

Enter the hall and try to open the case with the crystal. To unlock it, you need to find ten dumbbells and place them on the rack. Note that one of the weights hides a morph-spider, which can transform into any object and also interferes with the detector’s radar.
- Table to the right of the door to the scientist section.
- Bed.
- Red bench by the lockers. “Crew Log 0166” tape
- On the ping-pong table.
- Under the ping-pong table.
- Under the bench by the ping-pong table.
- Chair at the workstation to the left of the bridge door.
- Bench by the dining table.
- On the floor by the exercise bike.
- On the floor by the triangular table near the scientist section door.
If you’ve collected all three tapes and killed all morph-spiders (Dumbbell, Flamethrower Fuel, Guns), you’ll be able to open the lockers and get two crystals.

Go into the hangar and approach the computer. Solve a simple puzzle by switching the blocks with the zip icon. This will open a box with the Psi-6 dimension data chip. Use it to activate the portal. This allows you to travel between worlds. Technically, this stage is now complete, but we recommend sticking around to complete the side activities.
Go around the installations behind the computer and you’ll see a case. Activate the panel on the right to repair the teleporter between the hangar and the bridge. This will open a box with a crystal.
Arthur’s Manor — Psi-6 Dimension
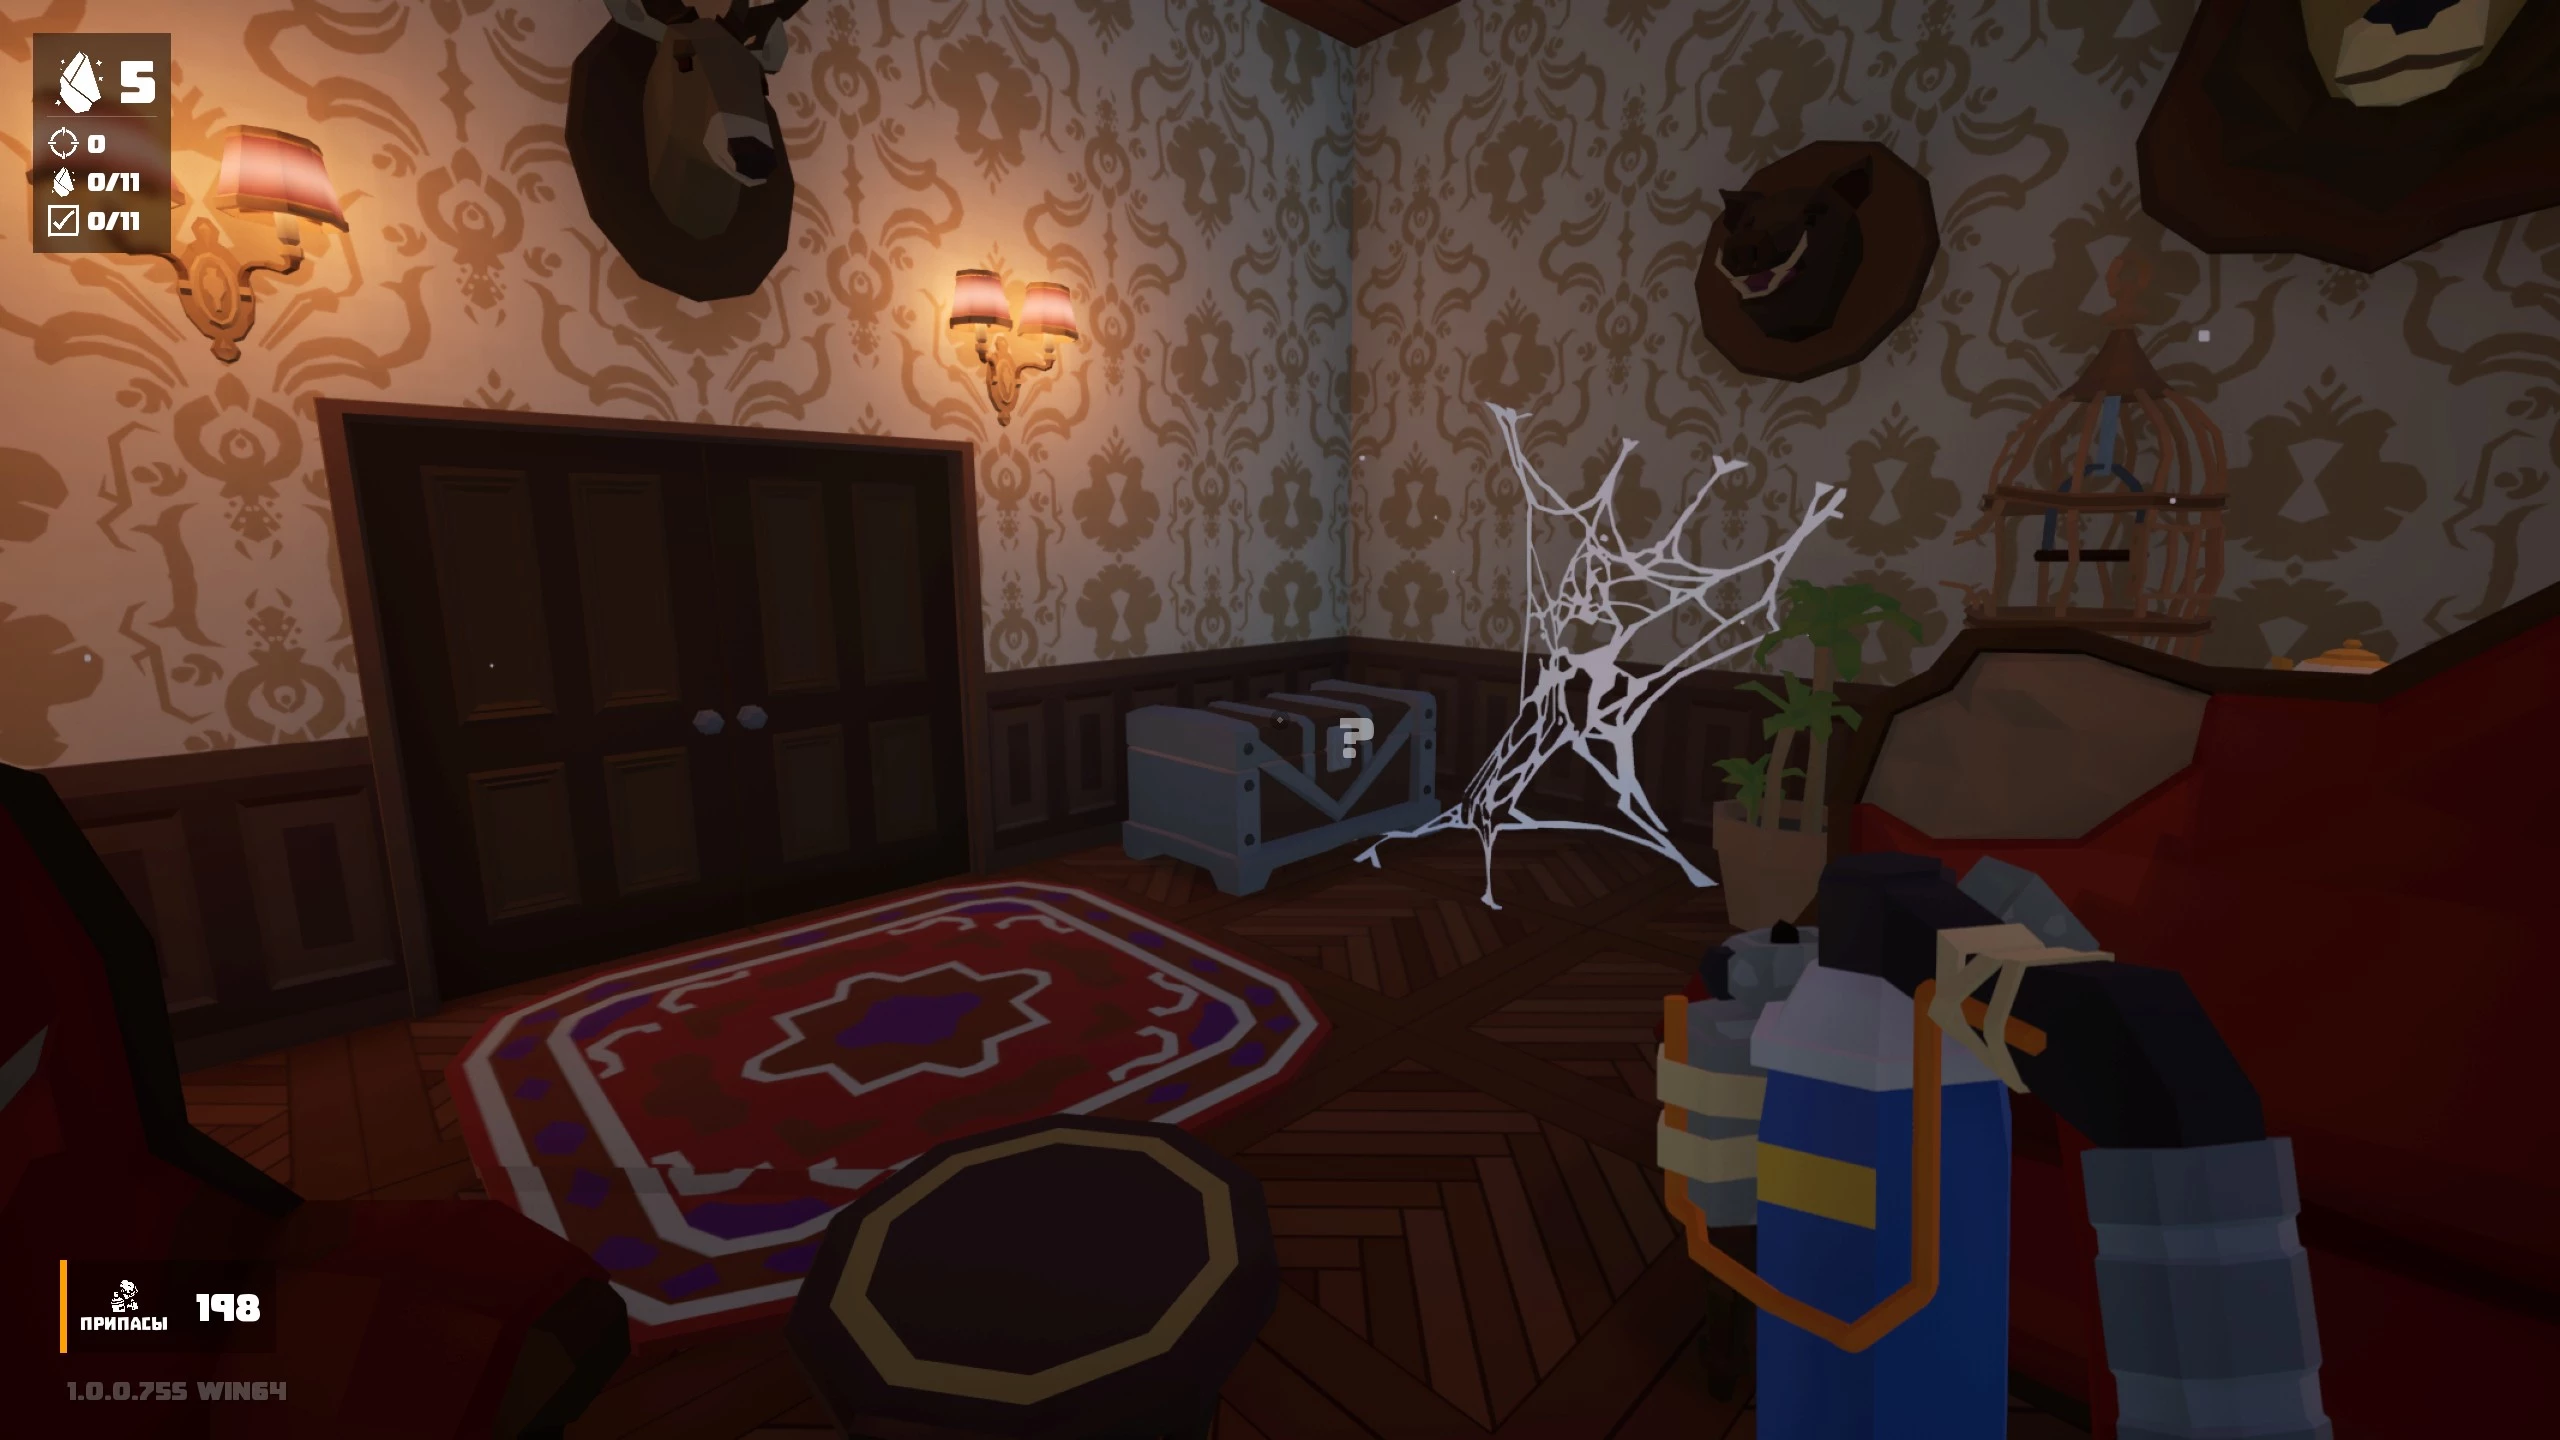
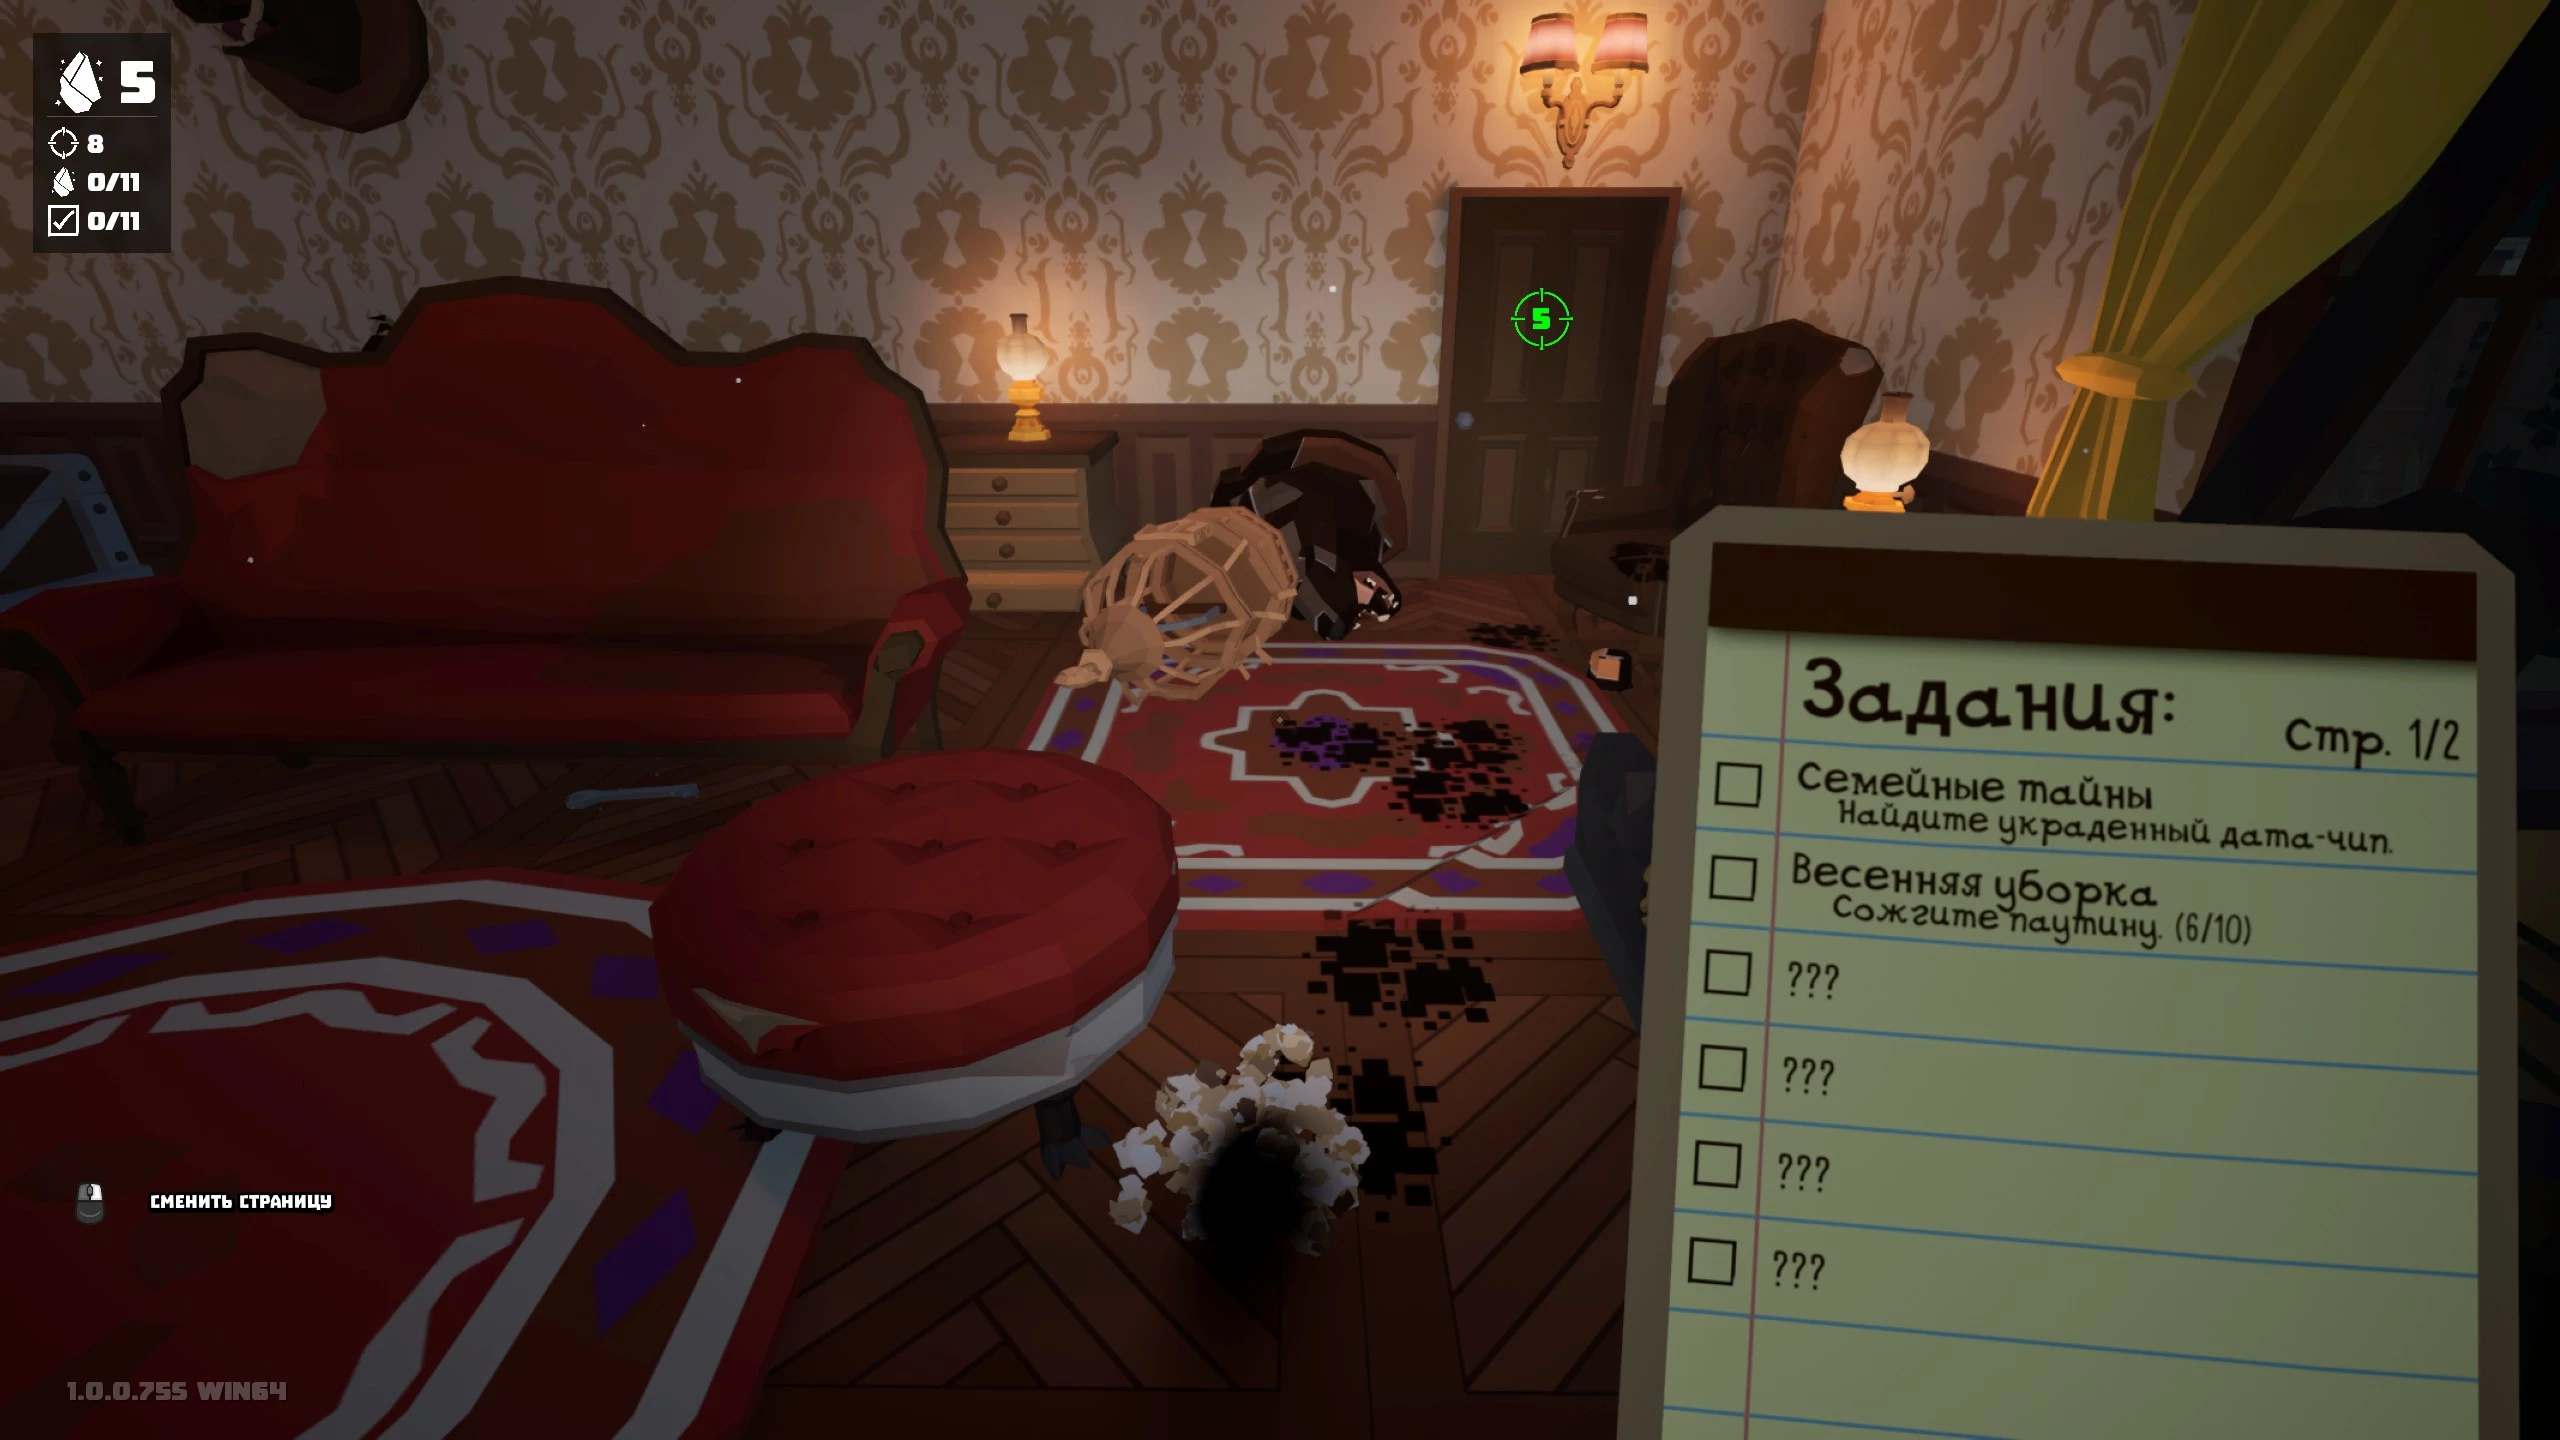
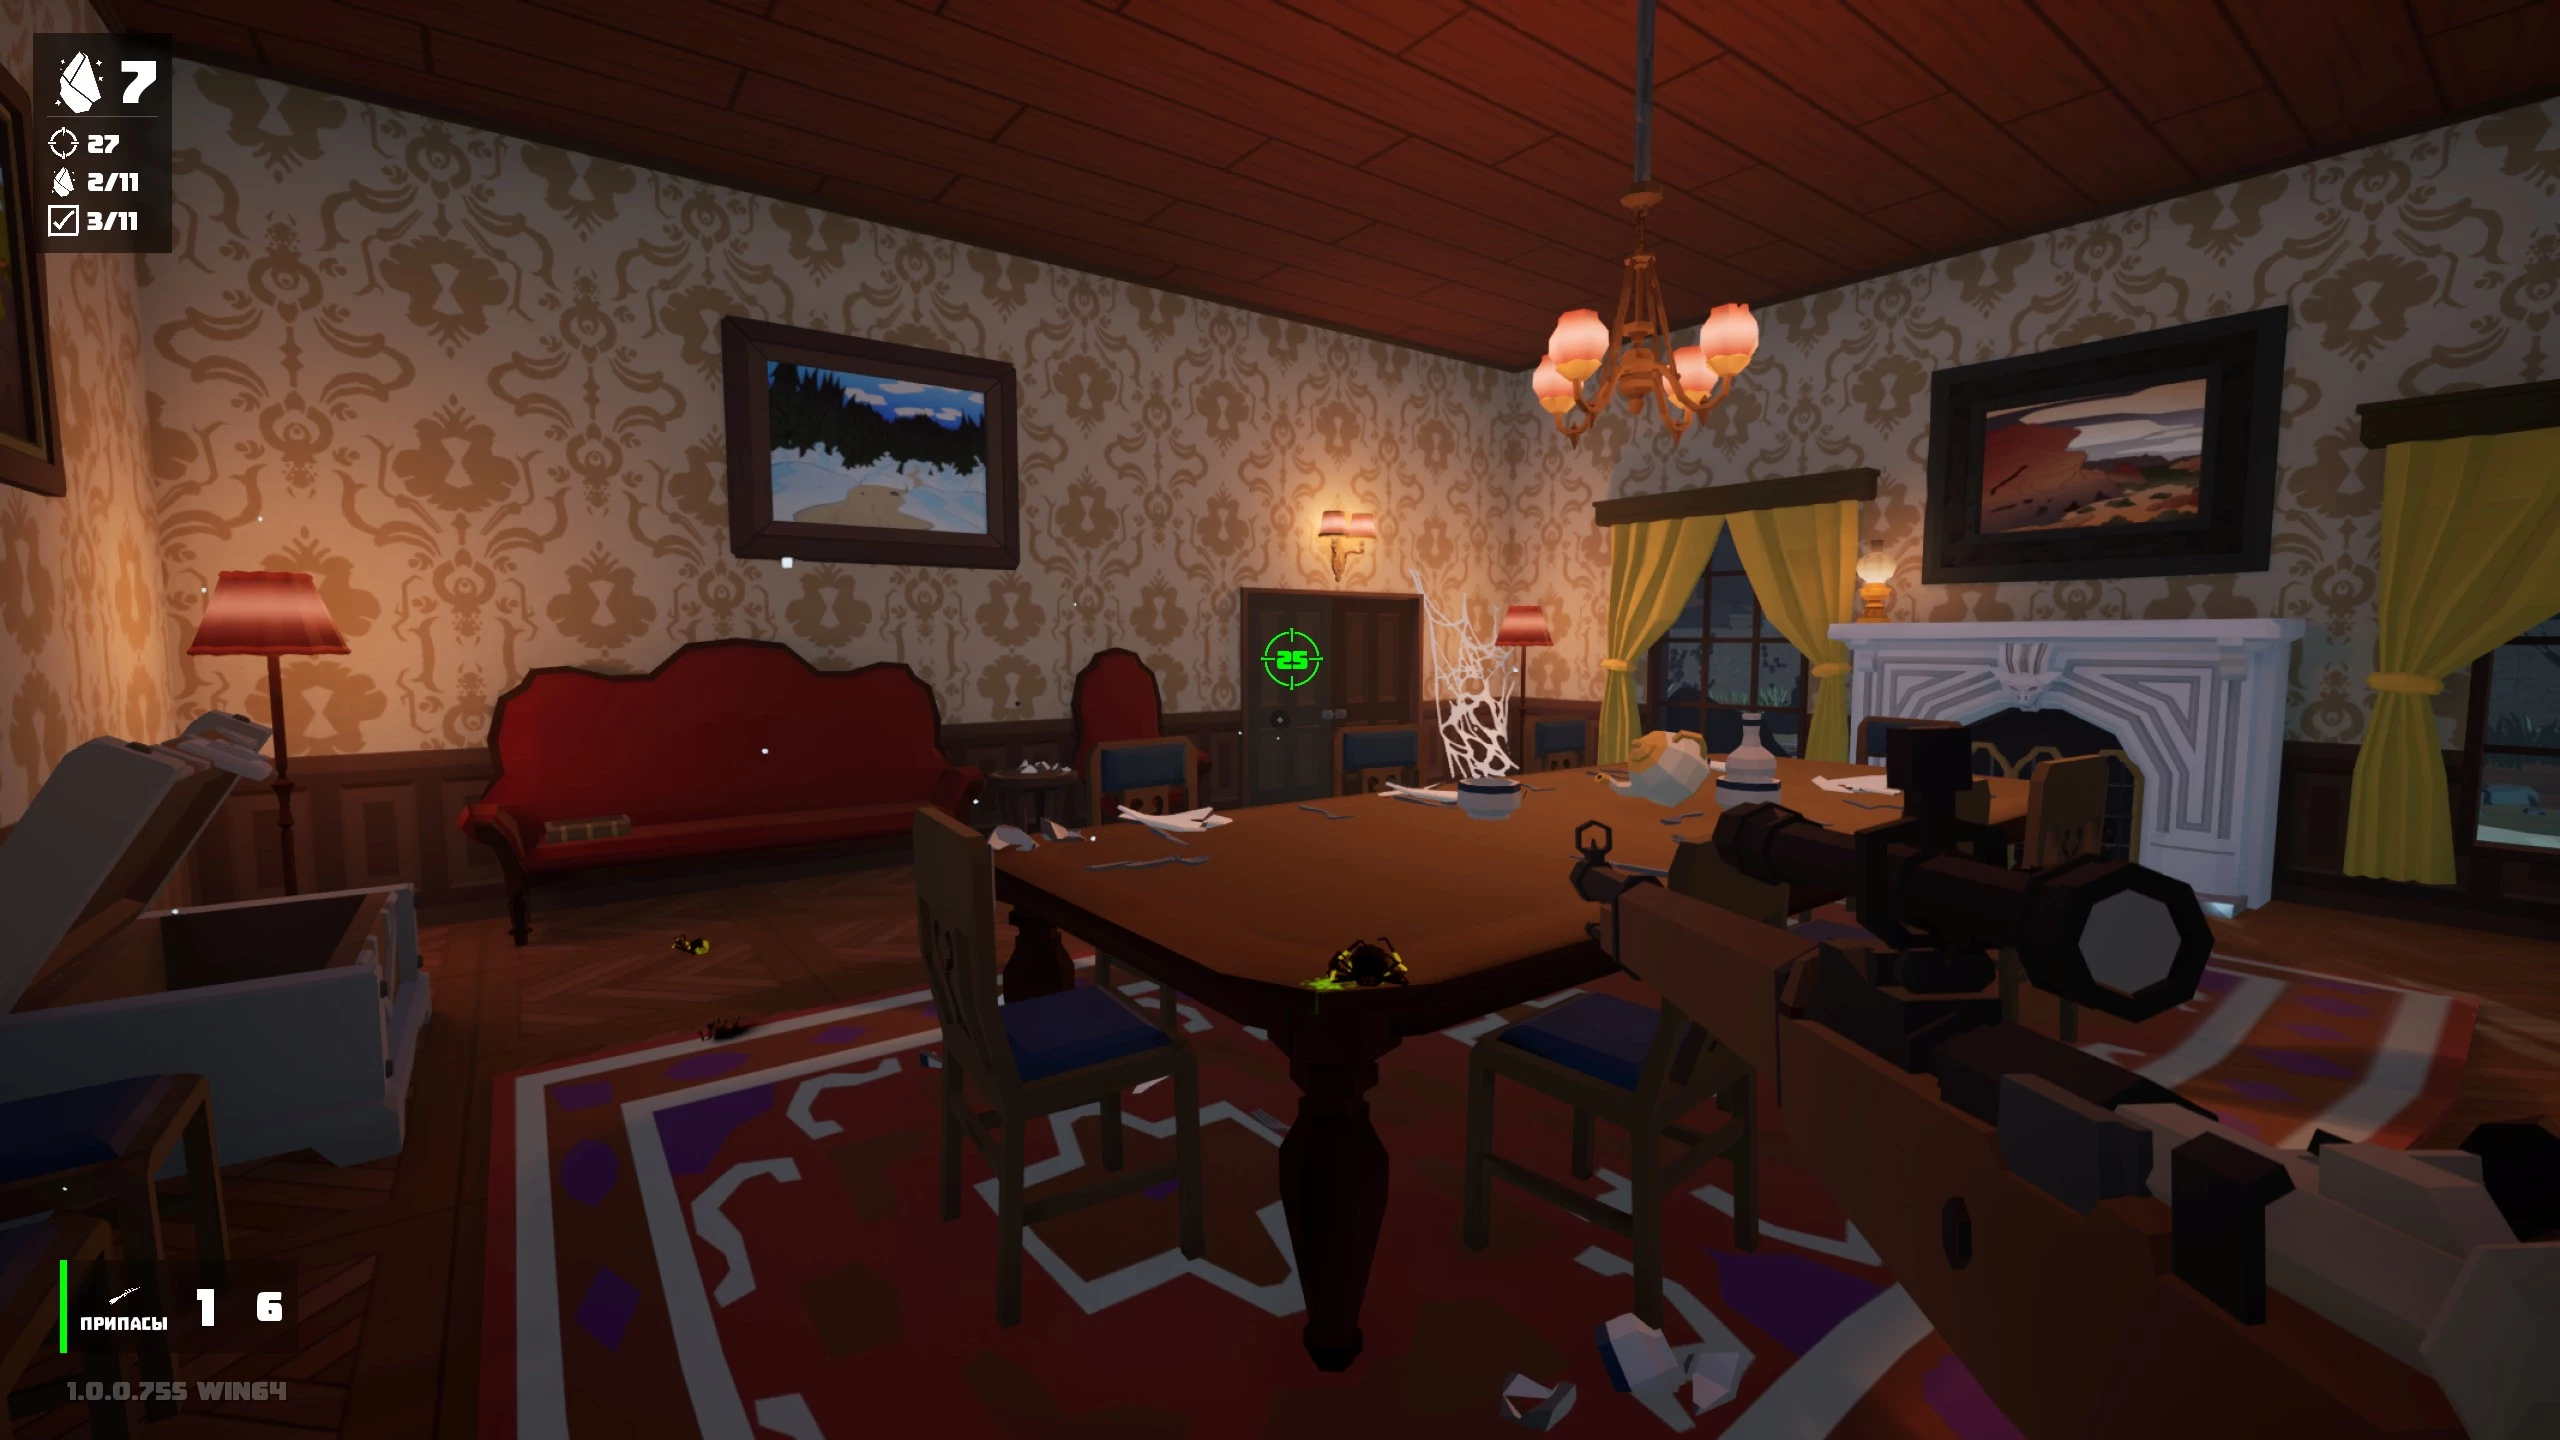
The main goal of this chapter is to find the Lambda-3 dimension data chip. First, interact with the case by the door. To open it, you’ll need to burn ten spider webs using the hairspray-flamethrower. One quick spray is enough to destroy a web. In the bottom drawer of the nightstand, you’ll find the “Sophia’s Story” tape, and there’s an upgrade module (a wrench) under the red sofa.
There are only six webs in the starting room, so you’ll need to grab the detector and kill five spiders to unlock the hallway. Pick up the nail gun and burn the remaining webs. Return to the hall and collect the vacuum from the case. The vacuum can suck up and blow out small objects as well as spiders. If you run out of ammo, there’s a fuel canister under the floor lamp at the spawn point.
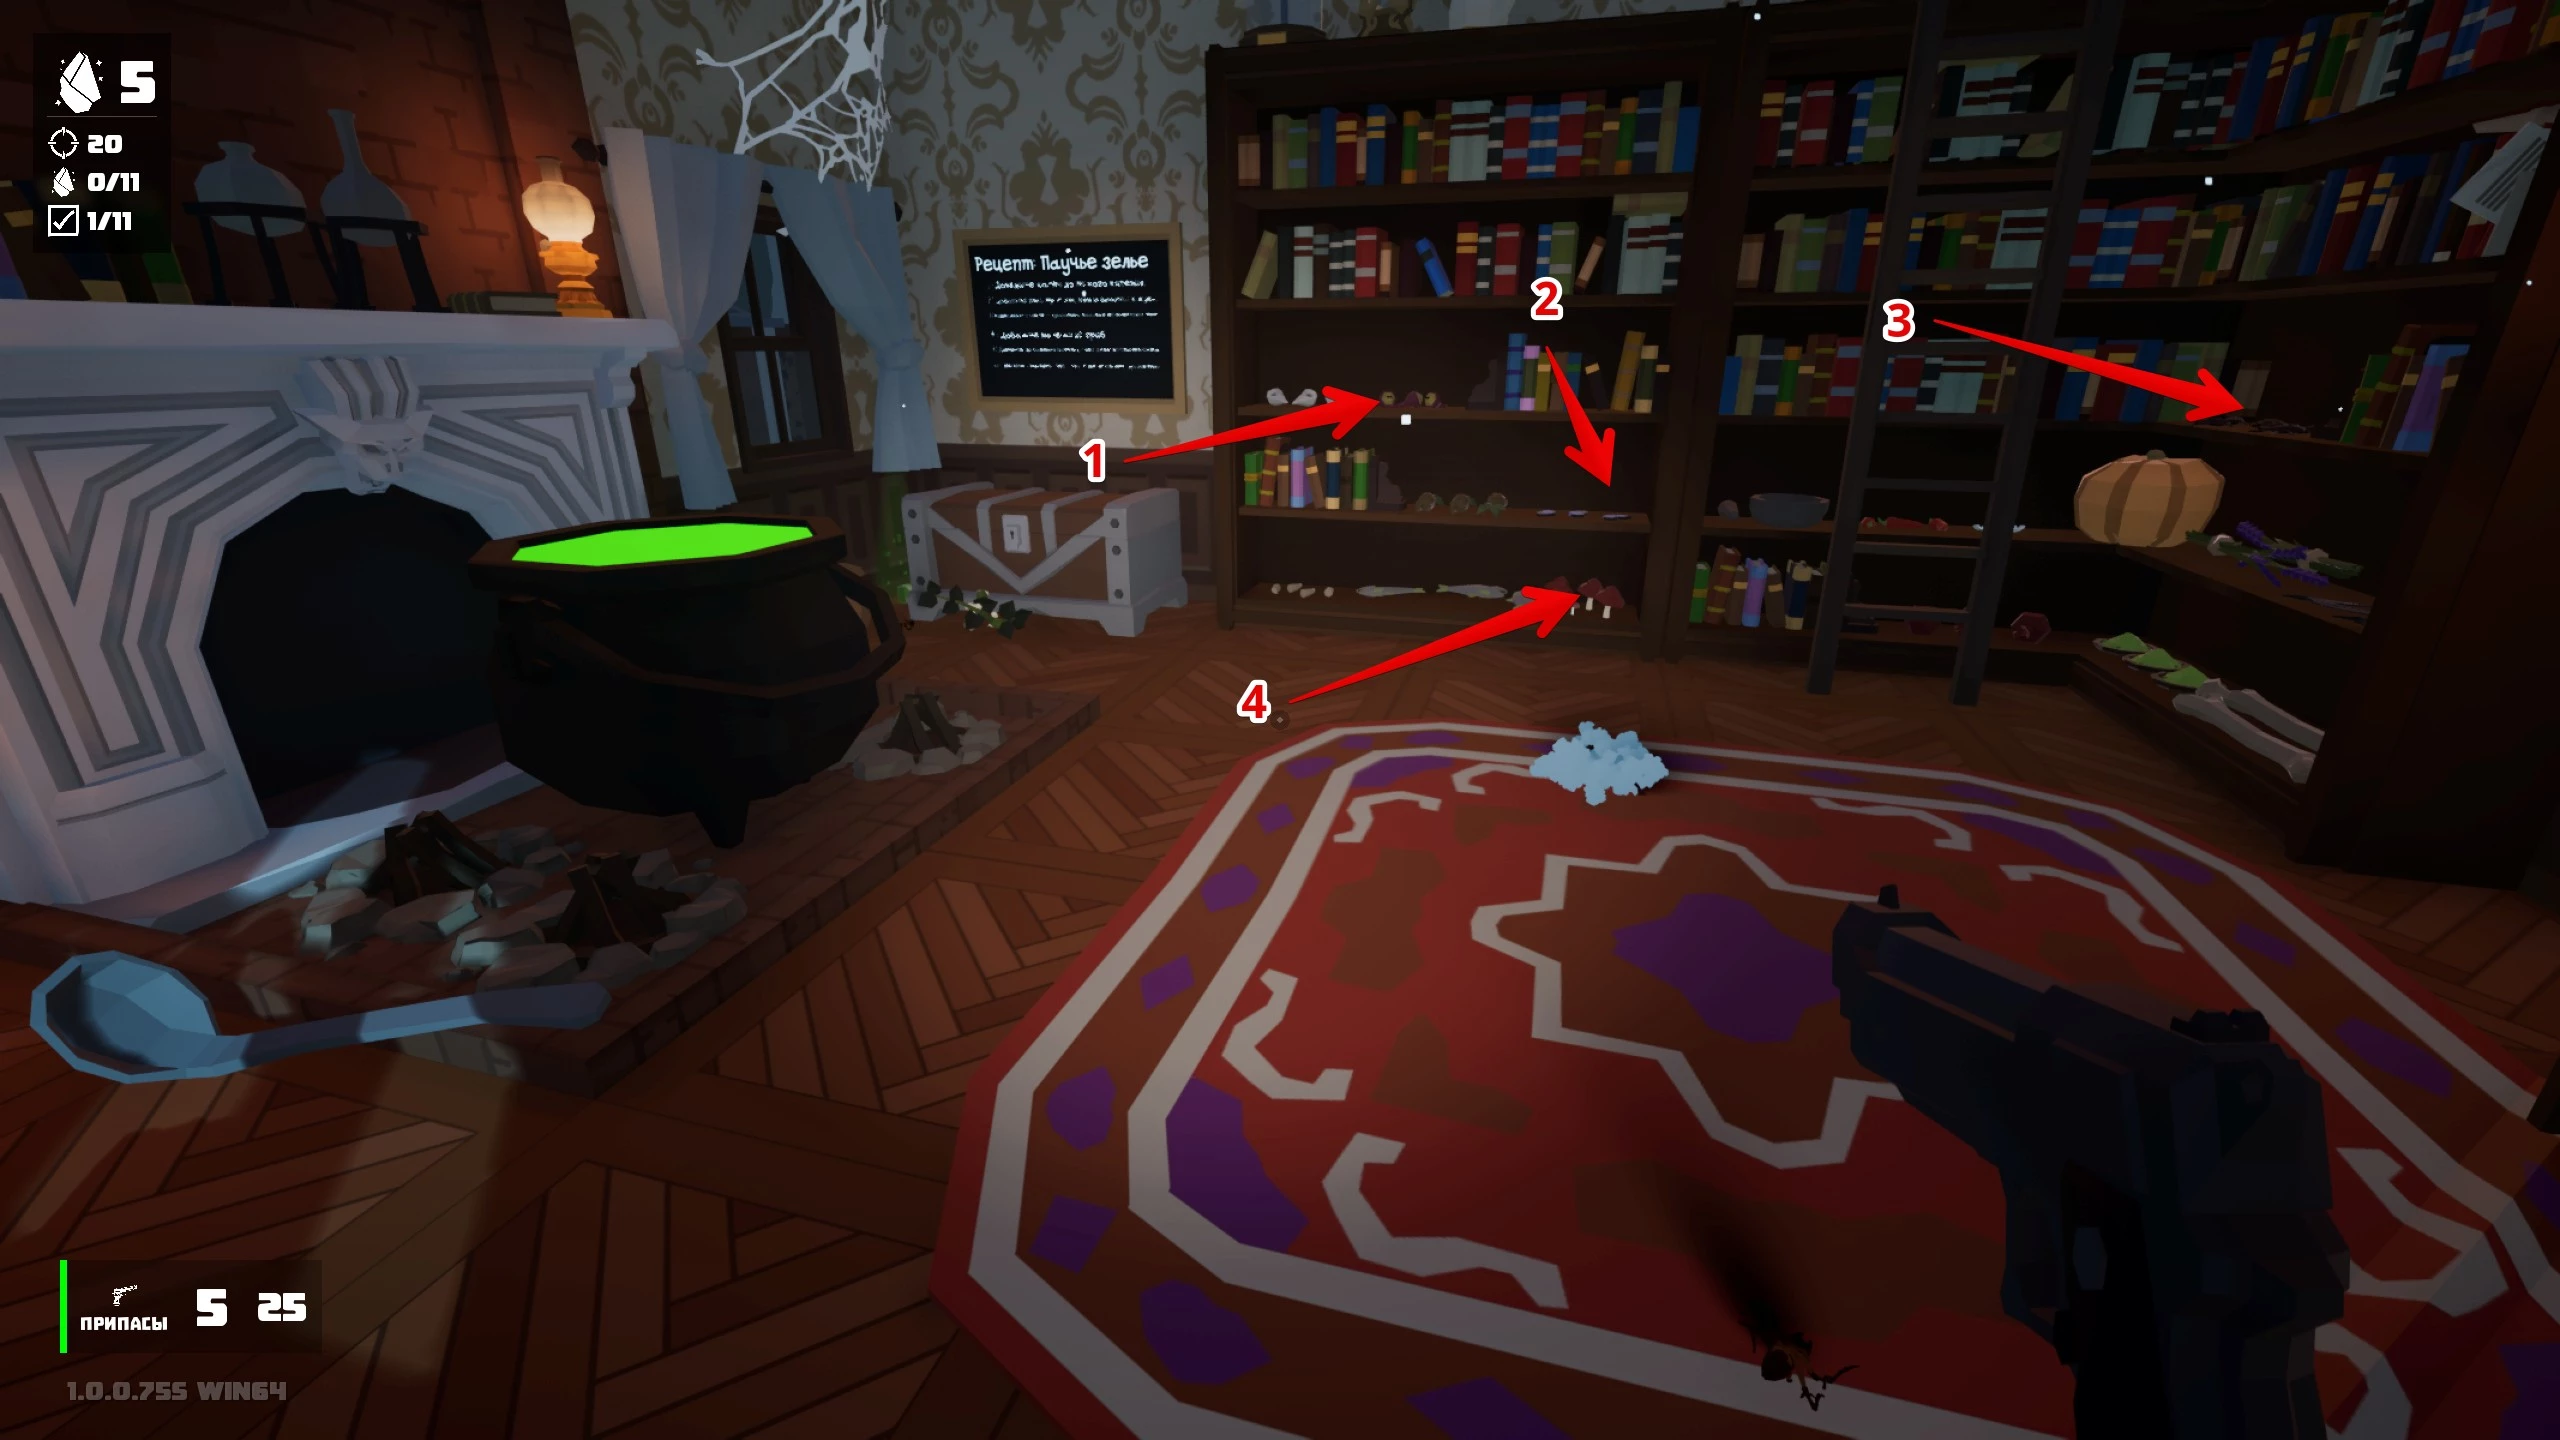
Eliminate ten spiders and find the door to the alchemy lab in the hallway. Inside you’ll see a cauldron on four fires and a ladle, with a chest holding a crystal nearby. Here you can brew various potions—recipes will be found as you progress through the game. To open the case, you need to brew a spider potion, which lets your character transform into an insect.
Follow these steps:
- Light two of the fires.
- Put into the cauldron: Newt’s Eye, Butterfly Wing, Beetle.
- Light the third fire.
- Wait until the liquid turns brown.
- Add a small red mushroom.
- Light the fourth fire.
- Wait until the liquid turns blue.
- Take the ladle and stir the potion until it turns orange.
- Fill a flask by pressing the “Interact” button on the cauldron itself.
If the cauldron cracks, it means you made a mistake. In that case, leave the lab, close the door, and rotate the camera to the left so your character spins about four times counterclockwise.
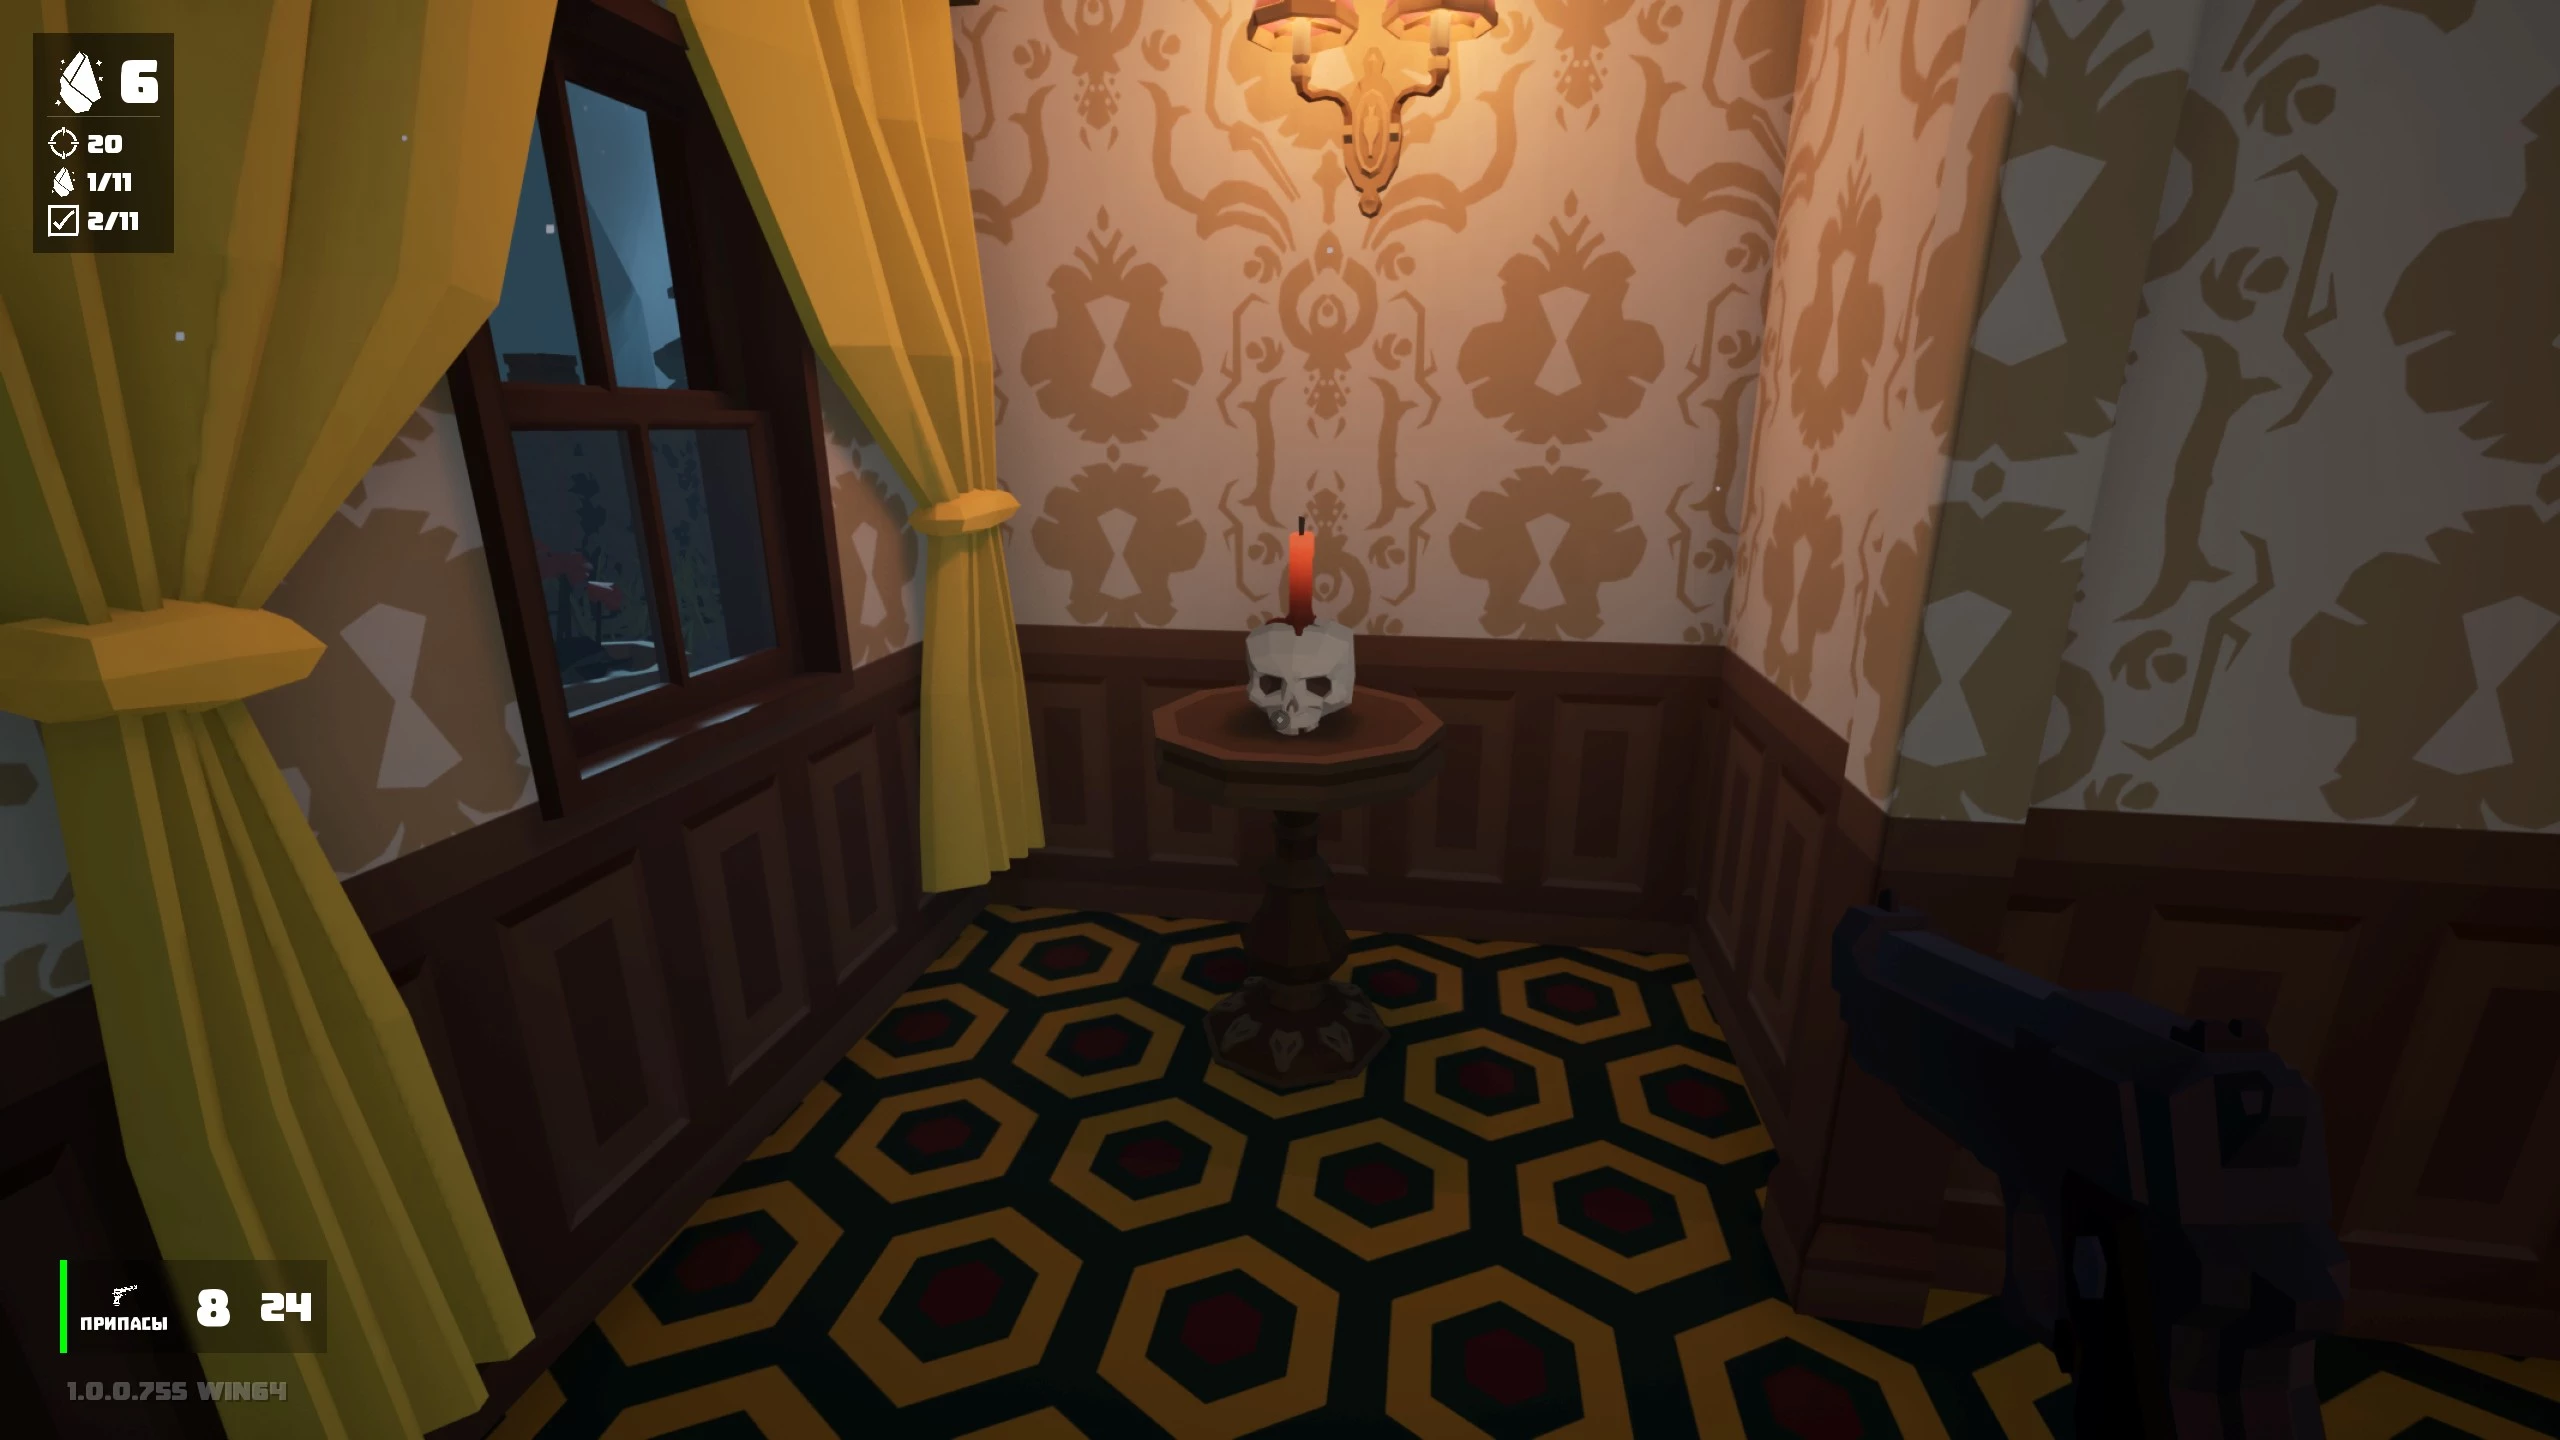
In one branch of the hallway, there’s a statue that starts the “Hide and Seek” challenge when activated. You need to extinguish three candles on skulls. The main rule is not to run into the statue—if you do, your character dies. The statue only moves when your back is turned to it. So, memorize all the candle locations and walk to them while facing the statue, then carefully circle around it. When you finish, an upgrade module and the “Francis’s Story” tape will appear at the challenge’s starting spot.
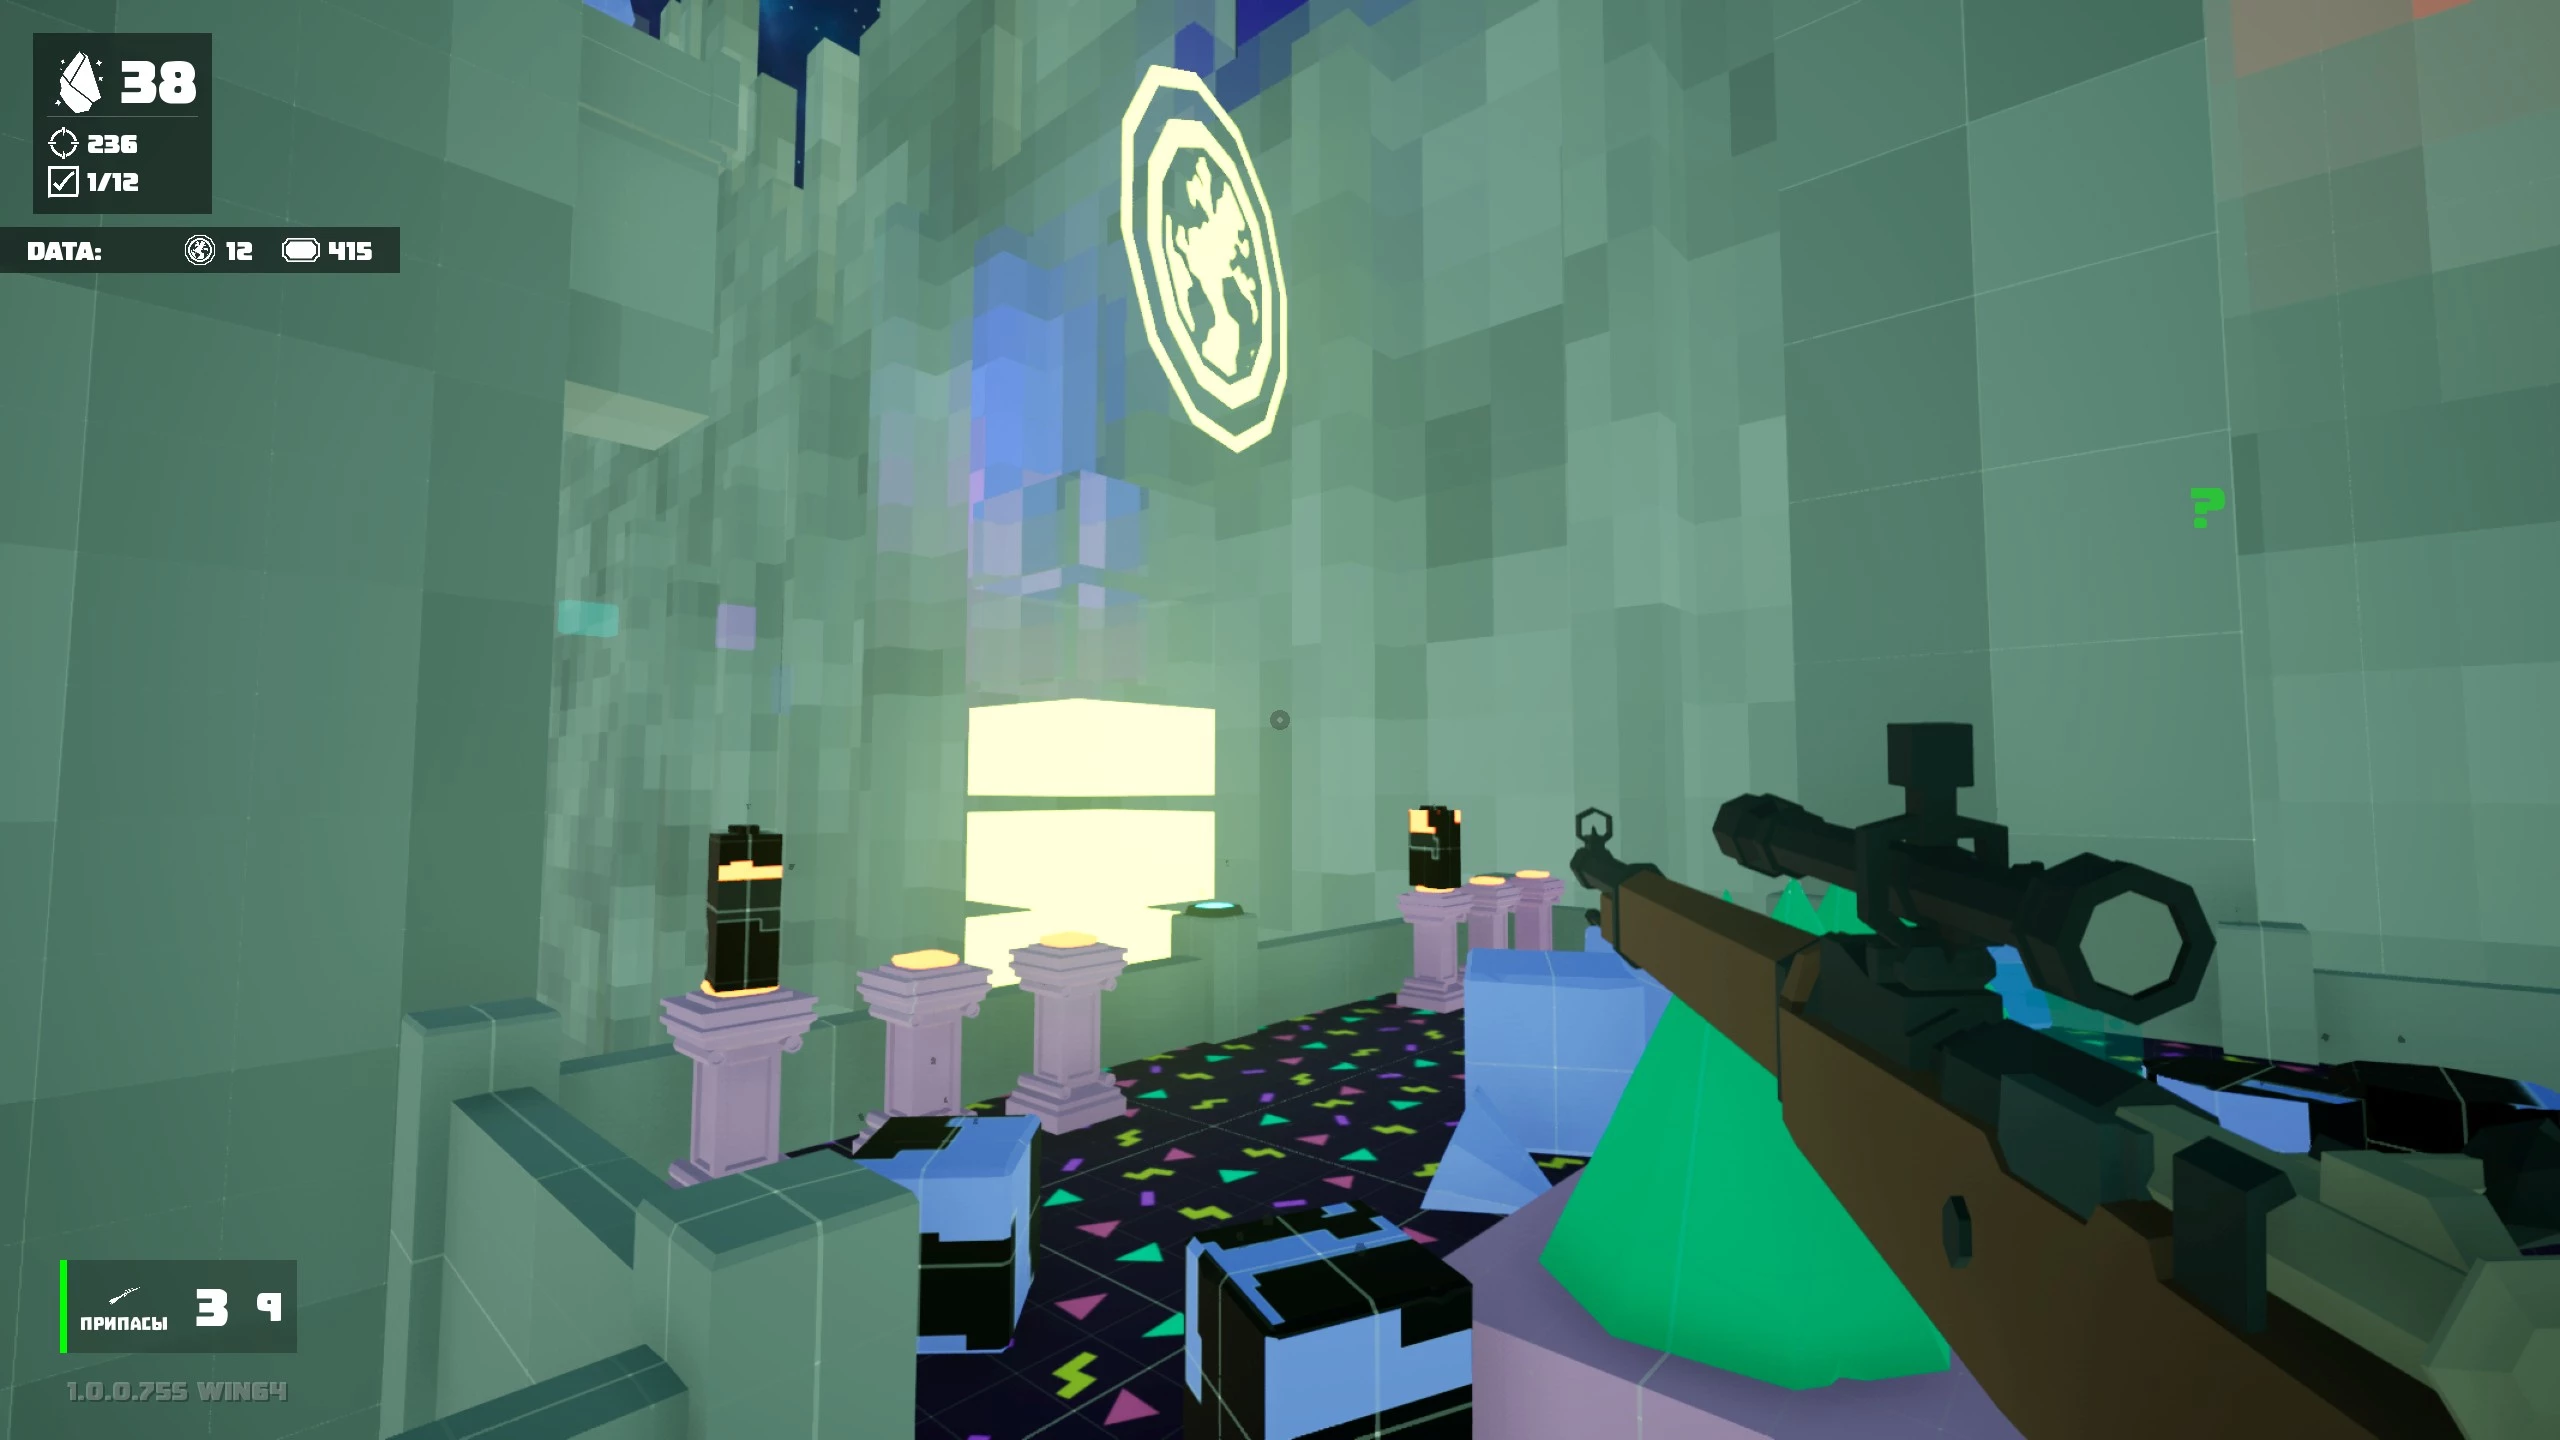
Take out 20 spiders to unlock the dining room. To get the crystal, pick up the sniper rifle and shoot five bugs. Grab the upgrade module from the table with the gramophone. The “Carl’s Story” tape is on the red chair by the foyer door, which you’ll unlock after defeating 25 spiders.
In the foyer, you’ll see the Lambda-3 dimension data chip. But before leaving the level, it’s a good idea to go upstairs and collect the “Bella and Donna’s Story” tape and the “Sapphire” helmet color. There are still unexplored areas in this location. To access them, you’ll need to collect more Substance X crystals. For now, head back to the ship.

We recommend stopping by the arsenal. There’s a chest with a crystal here, which you can open by upgrading any piece of equipment once. You’ll also find an equipment upgrade panel and three upgrade modules.
- On the table by the panel.
- Behind a box on the bottom shelf of the metal rack.
- On the workbench, second drawer from the right.
To upgrade equipment, you need to meet the requirement and spend an upgrade module. For example, to buy a silencer for your pistol, you must kill ten spiders without being seen.
Arachnotopia Center — Lambda-3 Dimension
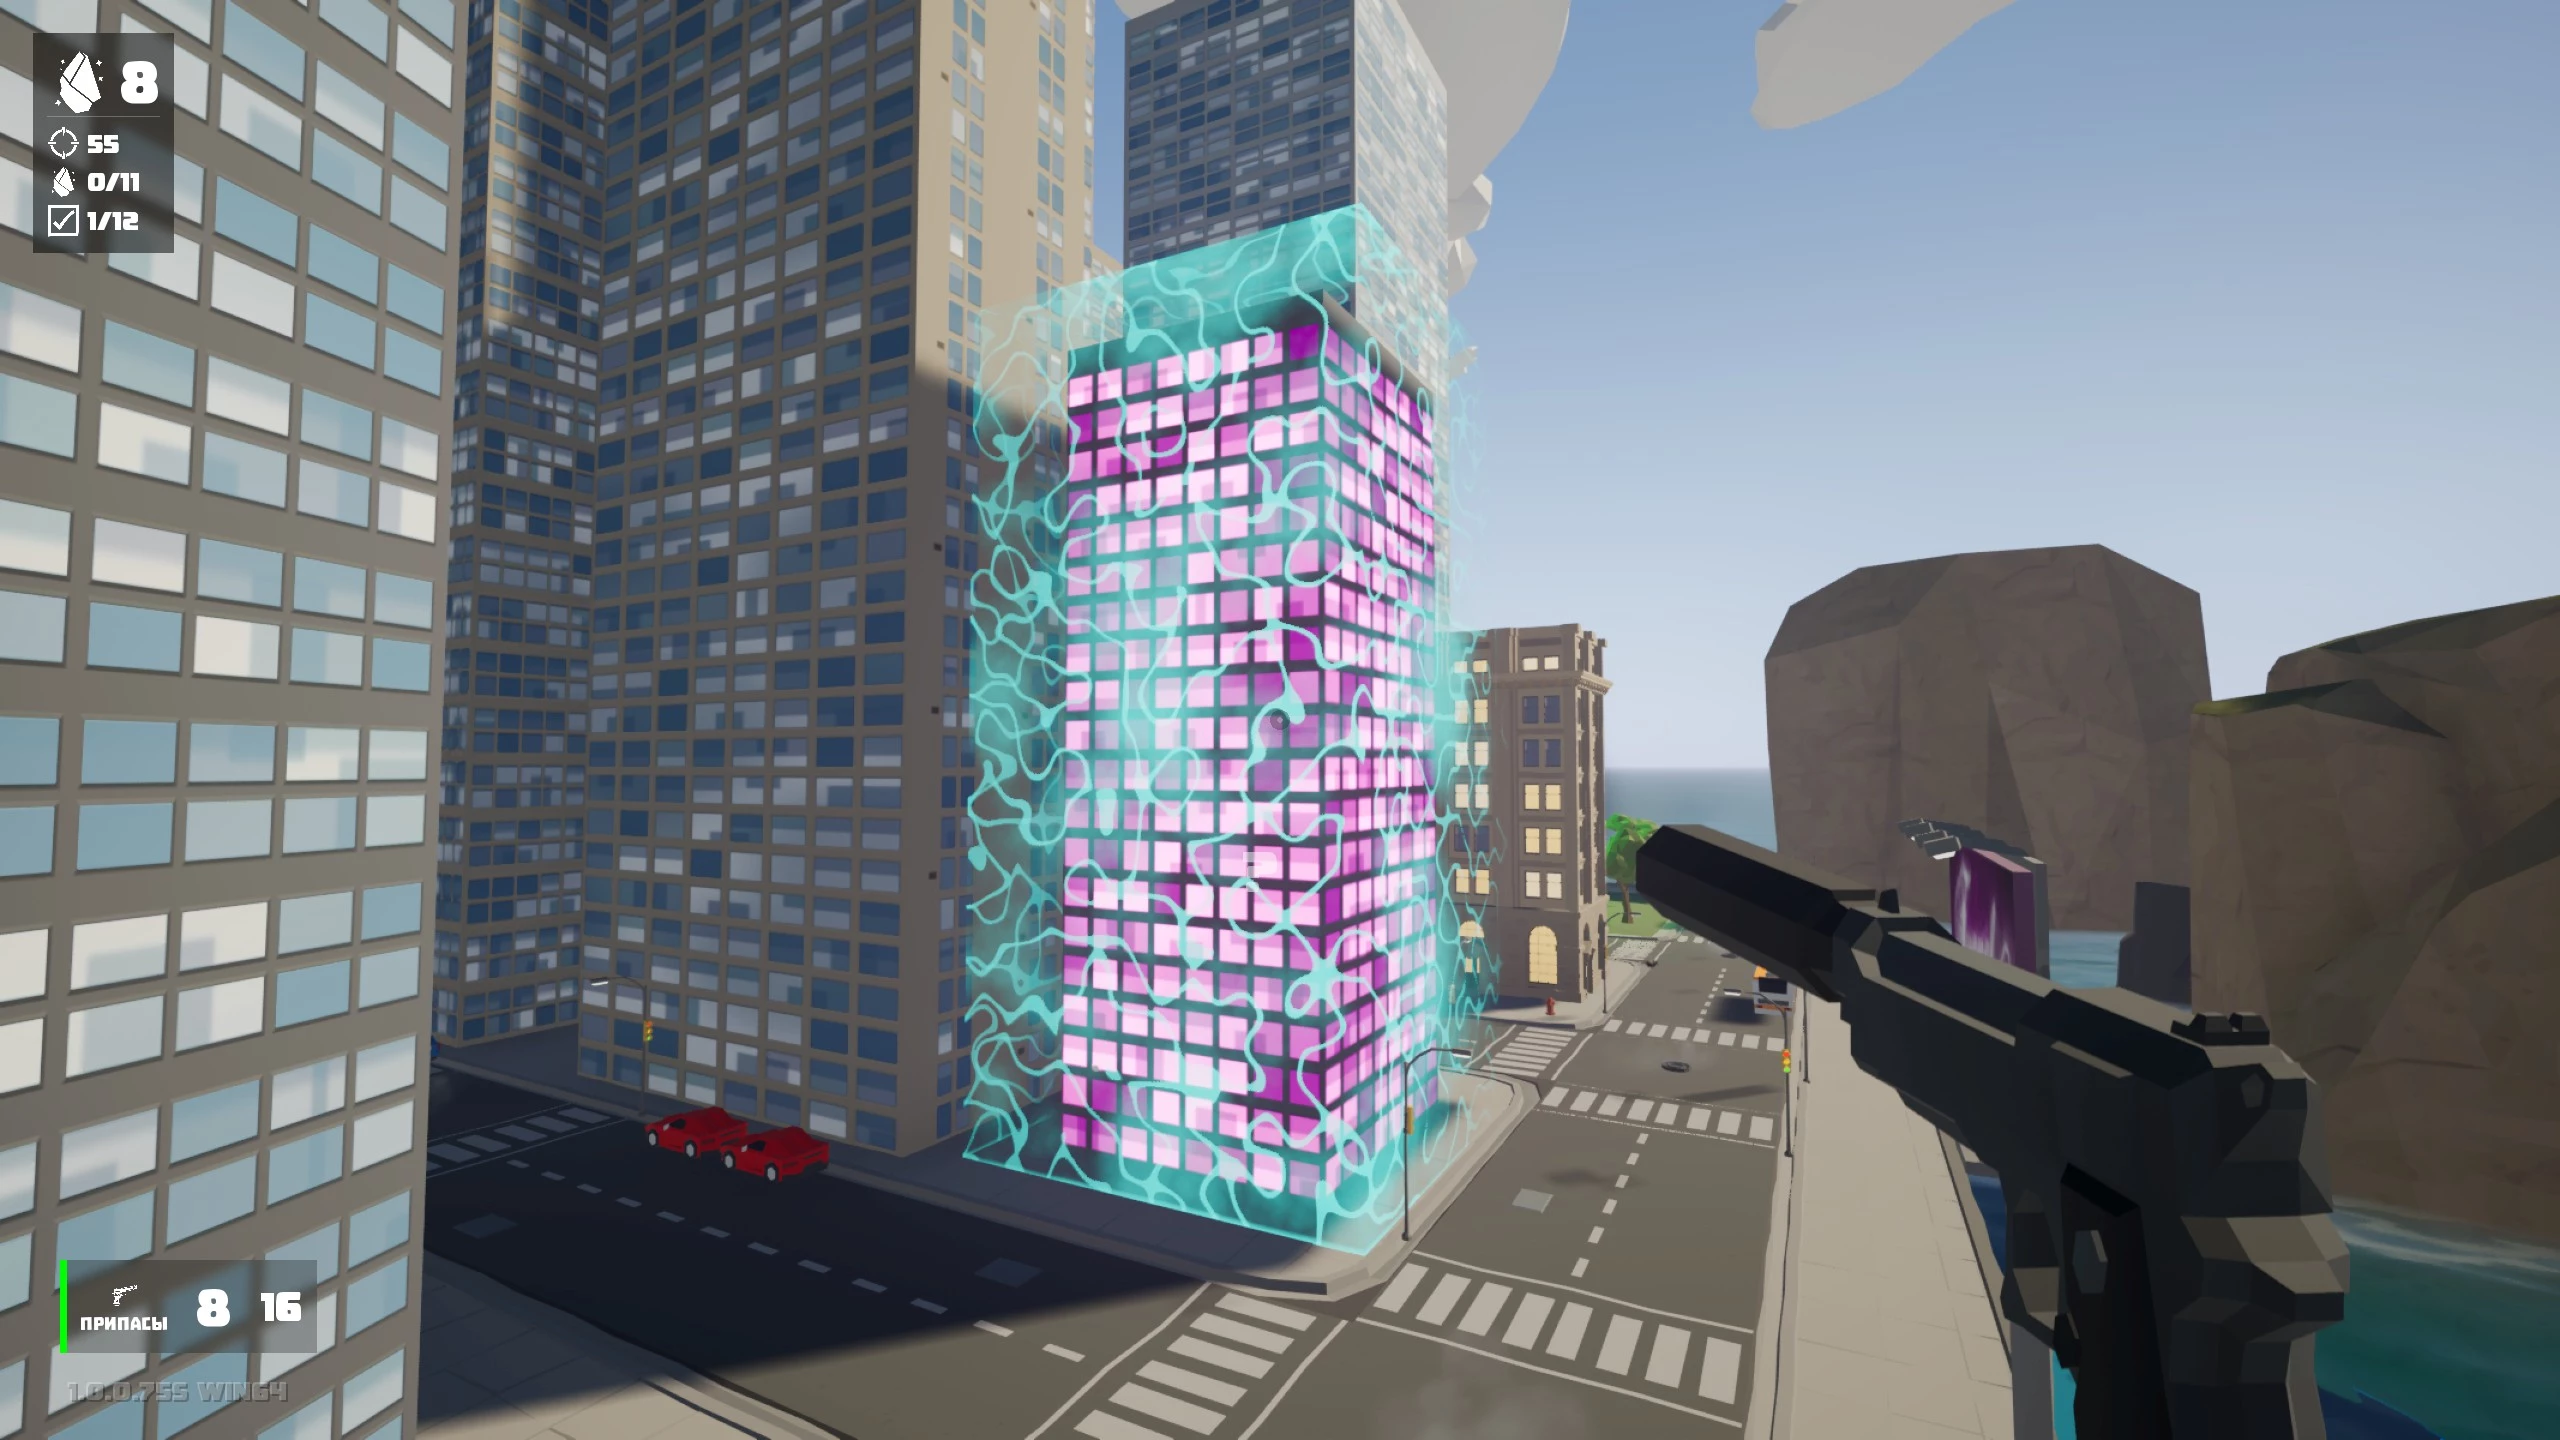
In this chapter, you need to get the Omega-2 dimension data chip. The city is divided into islands with high-rise buildings. To unlock all areas, you need to kill 40 spiders. The flash drive is in the final location.

All buildings in the city can be destroyed. Inside, you’ll find upgrade modules and other items. There are also purple high-rises with crystals, but to open them, you’ll need to complete quests.
- Gourmet: Find 11 food items (Popcorn, Fries, Burger).
- Bounty Hunter: Find 30 top accessories (pins, keychains, suitcases).
- Self-Destruct: Destroy 50 cars.
- Fire Fountain: Knock over 10 fire hydrants.
- Air and Sea: Destroy 10 boats and balloons.
- Rock Bottom: Suck up 10 spiders with the vacuum and throw them into the sea.
- False Advertising: Burn 14 advertising banners.
- Down with the Old: Demolish 7 historical buildings.
- Walk of Fame: Destroy five tanks using the remote-controlled tank.
In the city, you’ll find the “Goodbye, Polina Webber” tape and “Smile, Arachnotopia” tape. There are also several cosmetic upgrades here, as well as a special currency—Cosmobucks, which you use to craft items in the ship’s workshop. One area will be locked, so you won’t be able to complete every quest.
On the large island, there’s a house with the “Rad-Cola” recipe:
- Two fires.
- Femur bone.
- Stir until pink.
- Tibia bone.
- Stir until burgundy.
- Salt, pepper, ashes.
- Three fires, until it turns radioactive.
When you’ve finished everything, return to the ship.

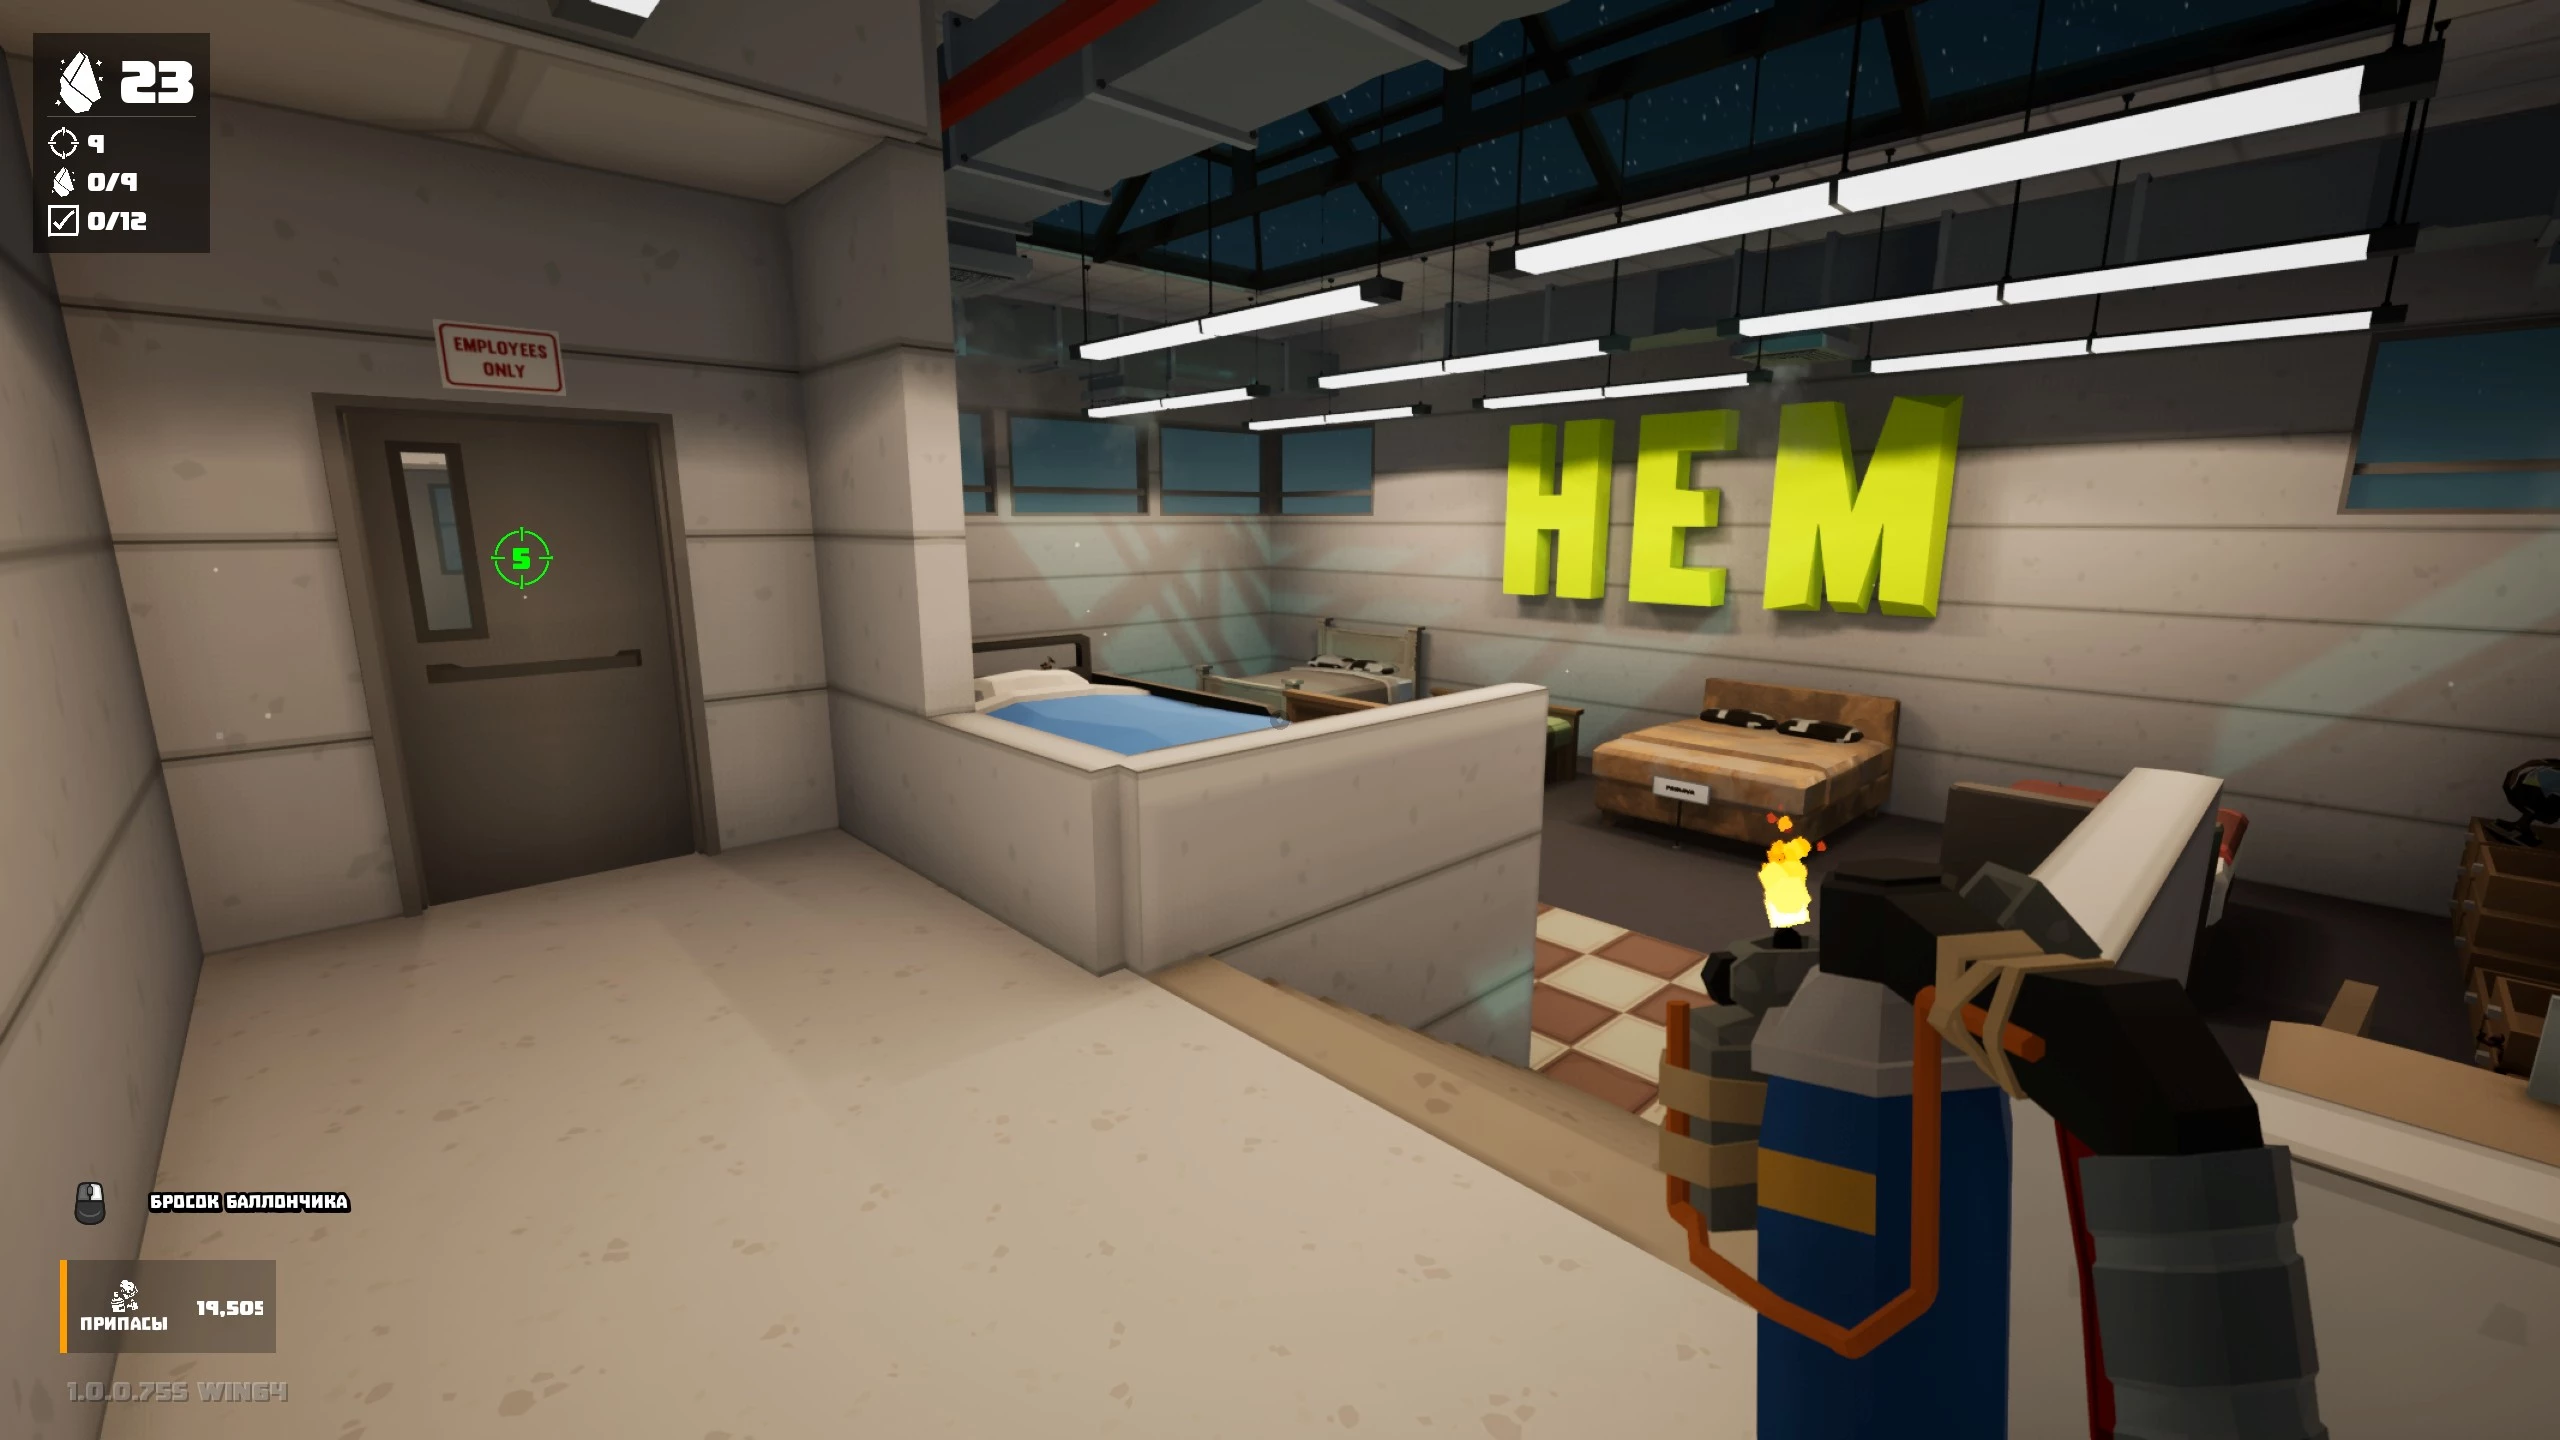
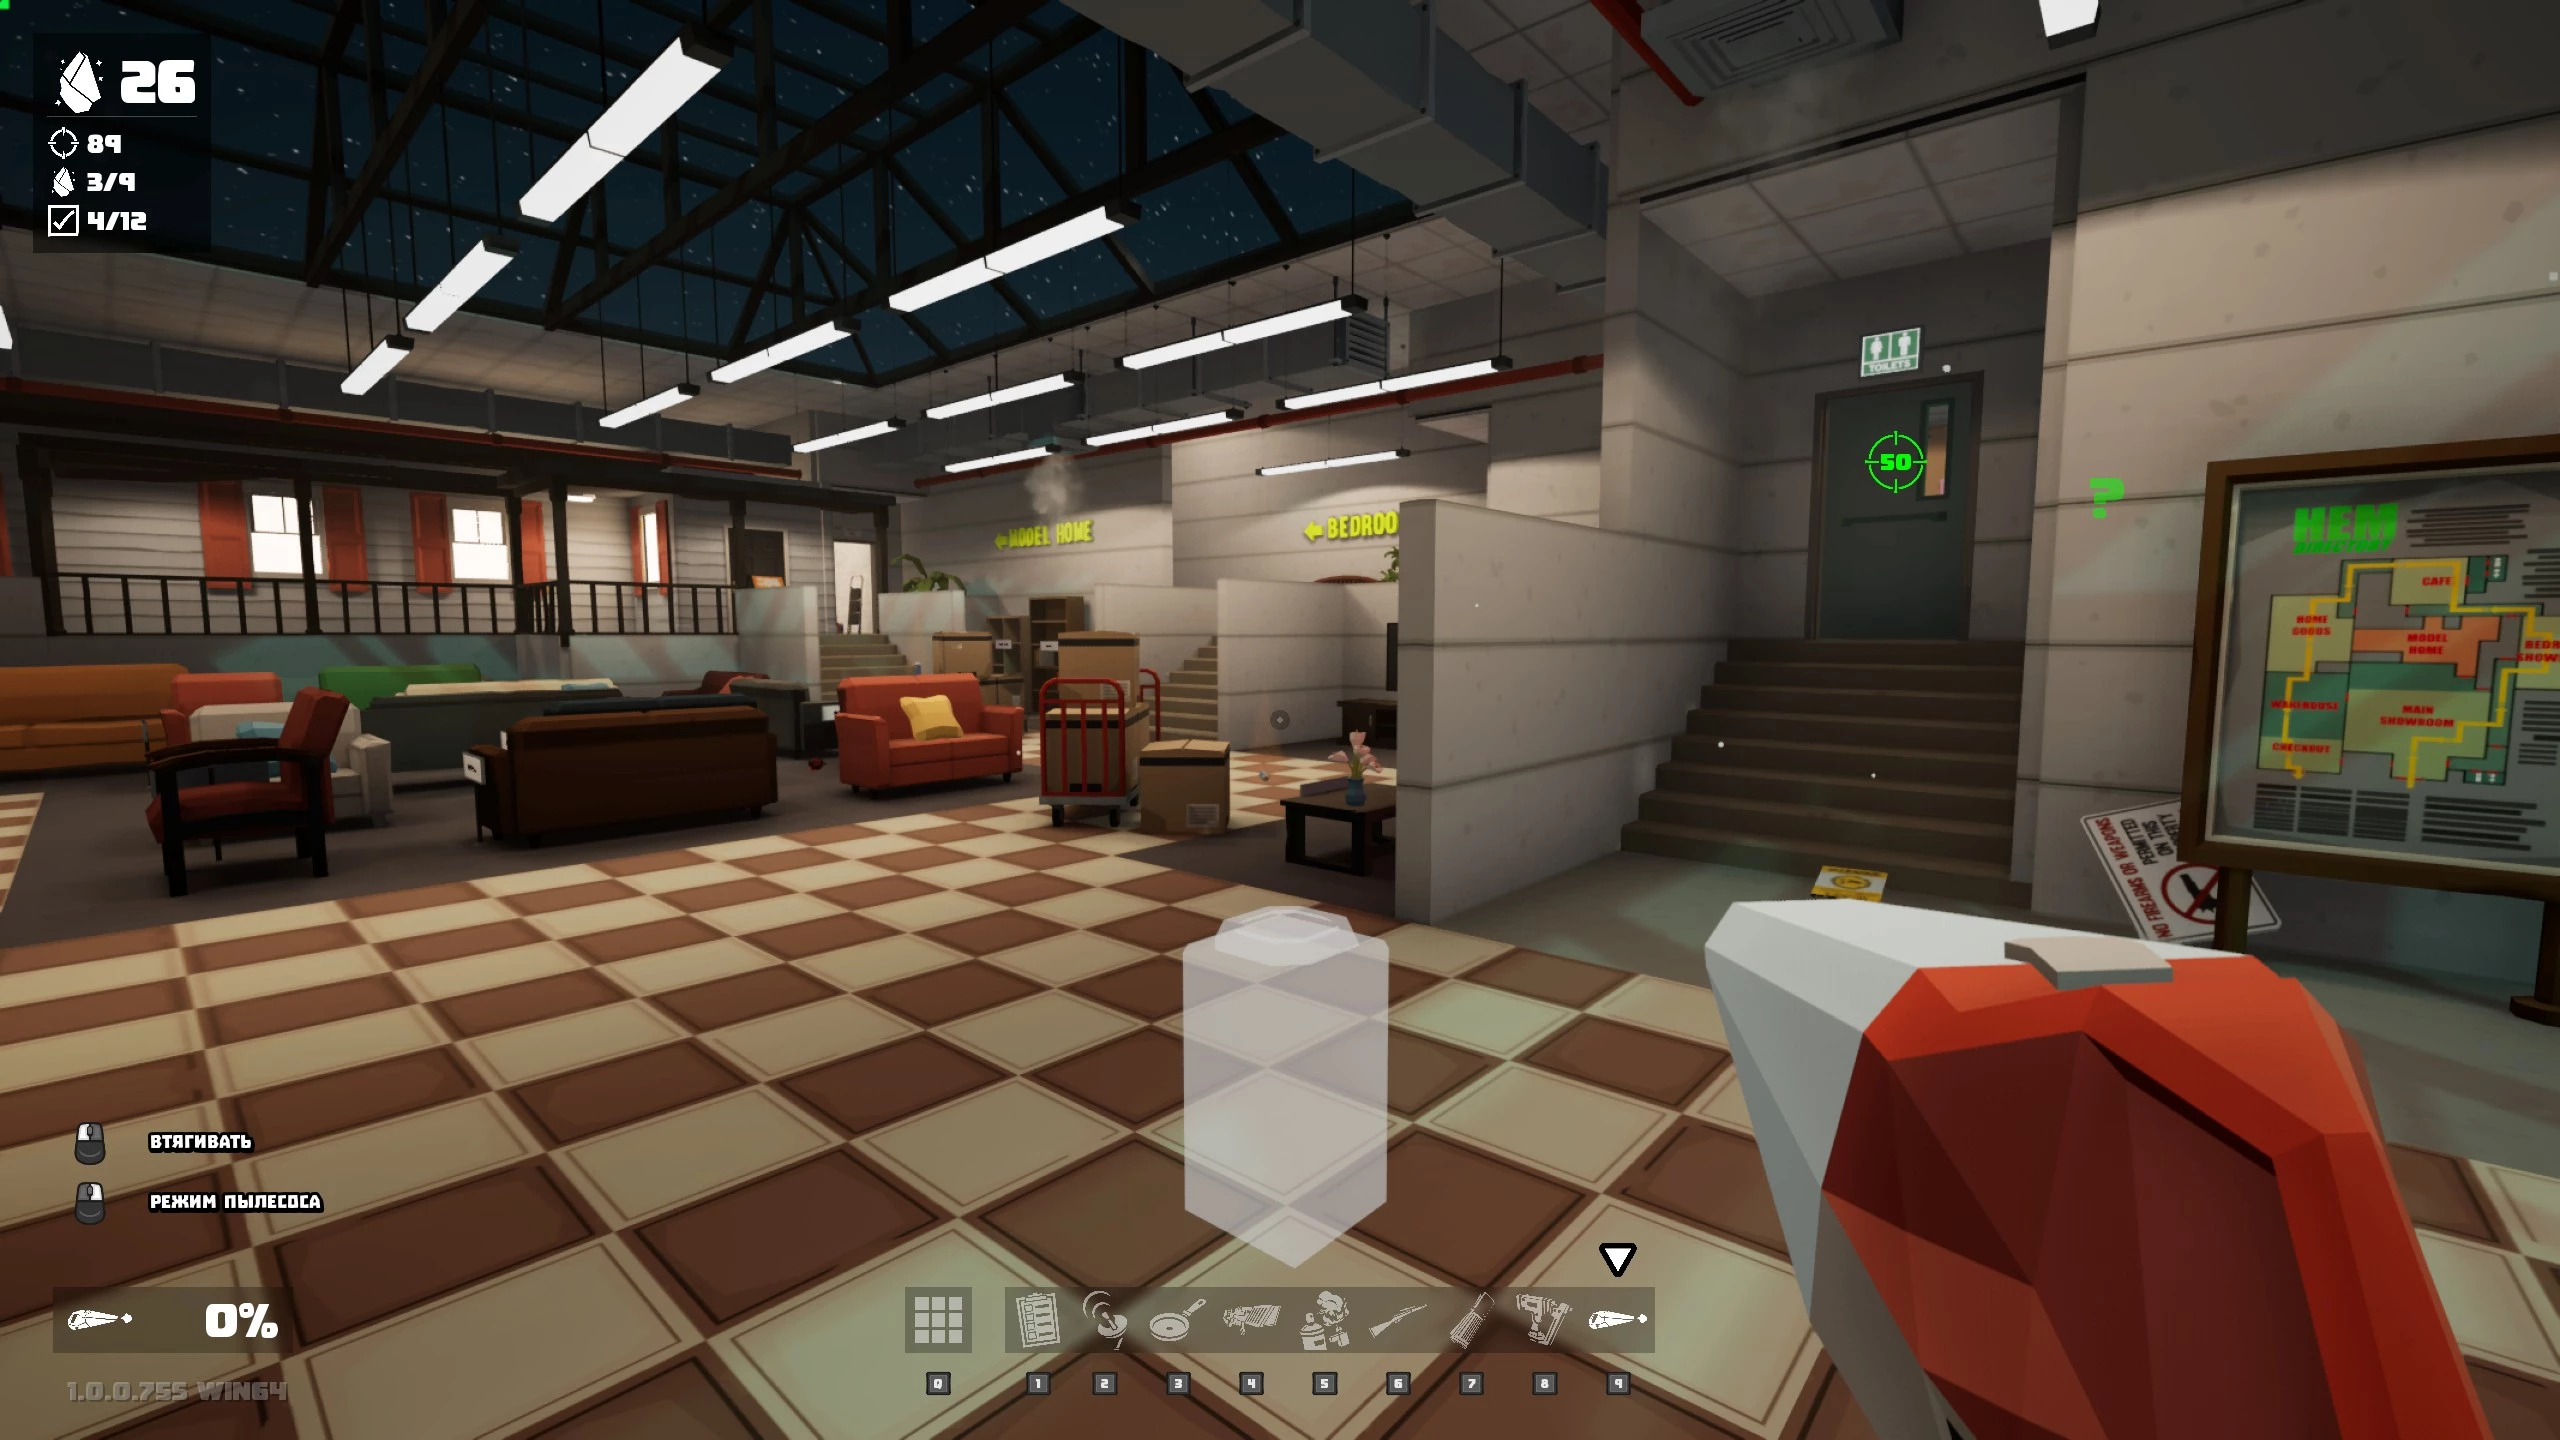
Hem’s Food and Furniture — Omega-2 Dimension
It’s a good idea to visit the arsenal, then unlock the workshop. Next, you need to find the Iota-8 dimension data chip. First, kill five bugs to open the storage room. Then, take out 20 more to unlock the “Home Goods” section. To get into the bathroom and kitchen, where you’ll find the frying pan, use your ability to transform into a spider.
Enter the warehouse, find the shotgun, kill 40 spiders, and unlock the security room. In the desk drawer, you’ll find the “DIY: Why Not?” tape. Ahead, in the exhibition hall, look for the “Good Morning, Shoppers!” tape in the chair in the corner by the stairs. Now you need to eliminate 50 bugs to reach the final area of the location. The flash drive is in the right stall of the restroom.
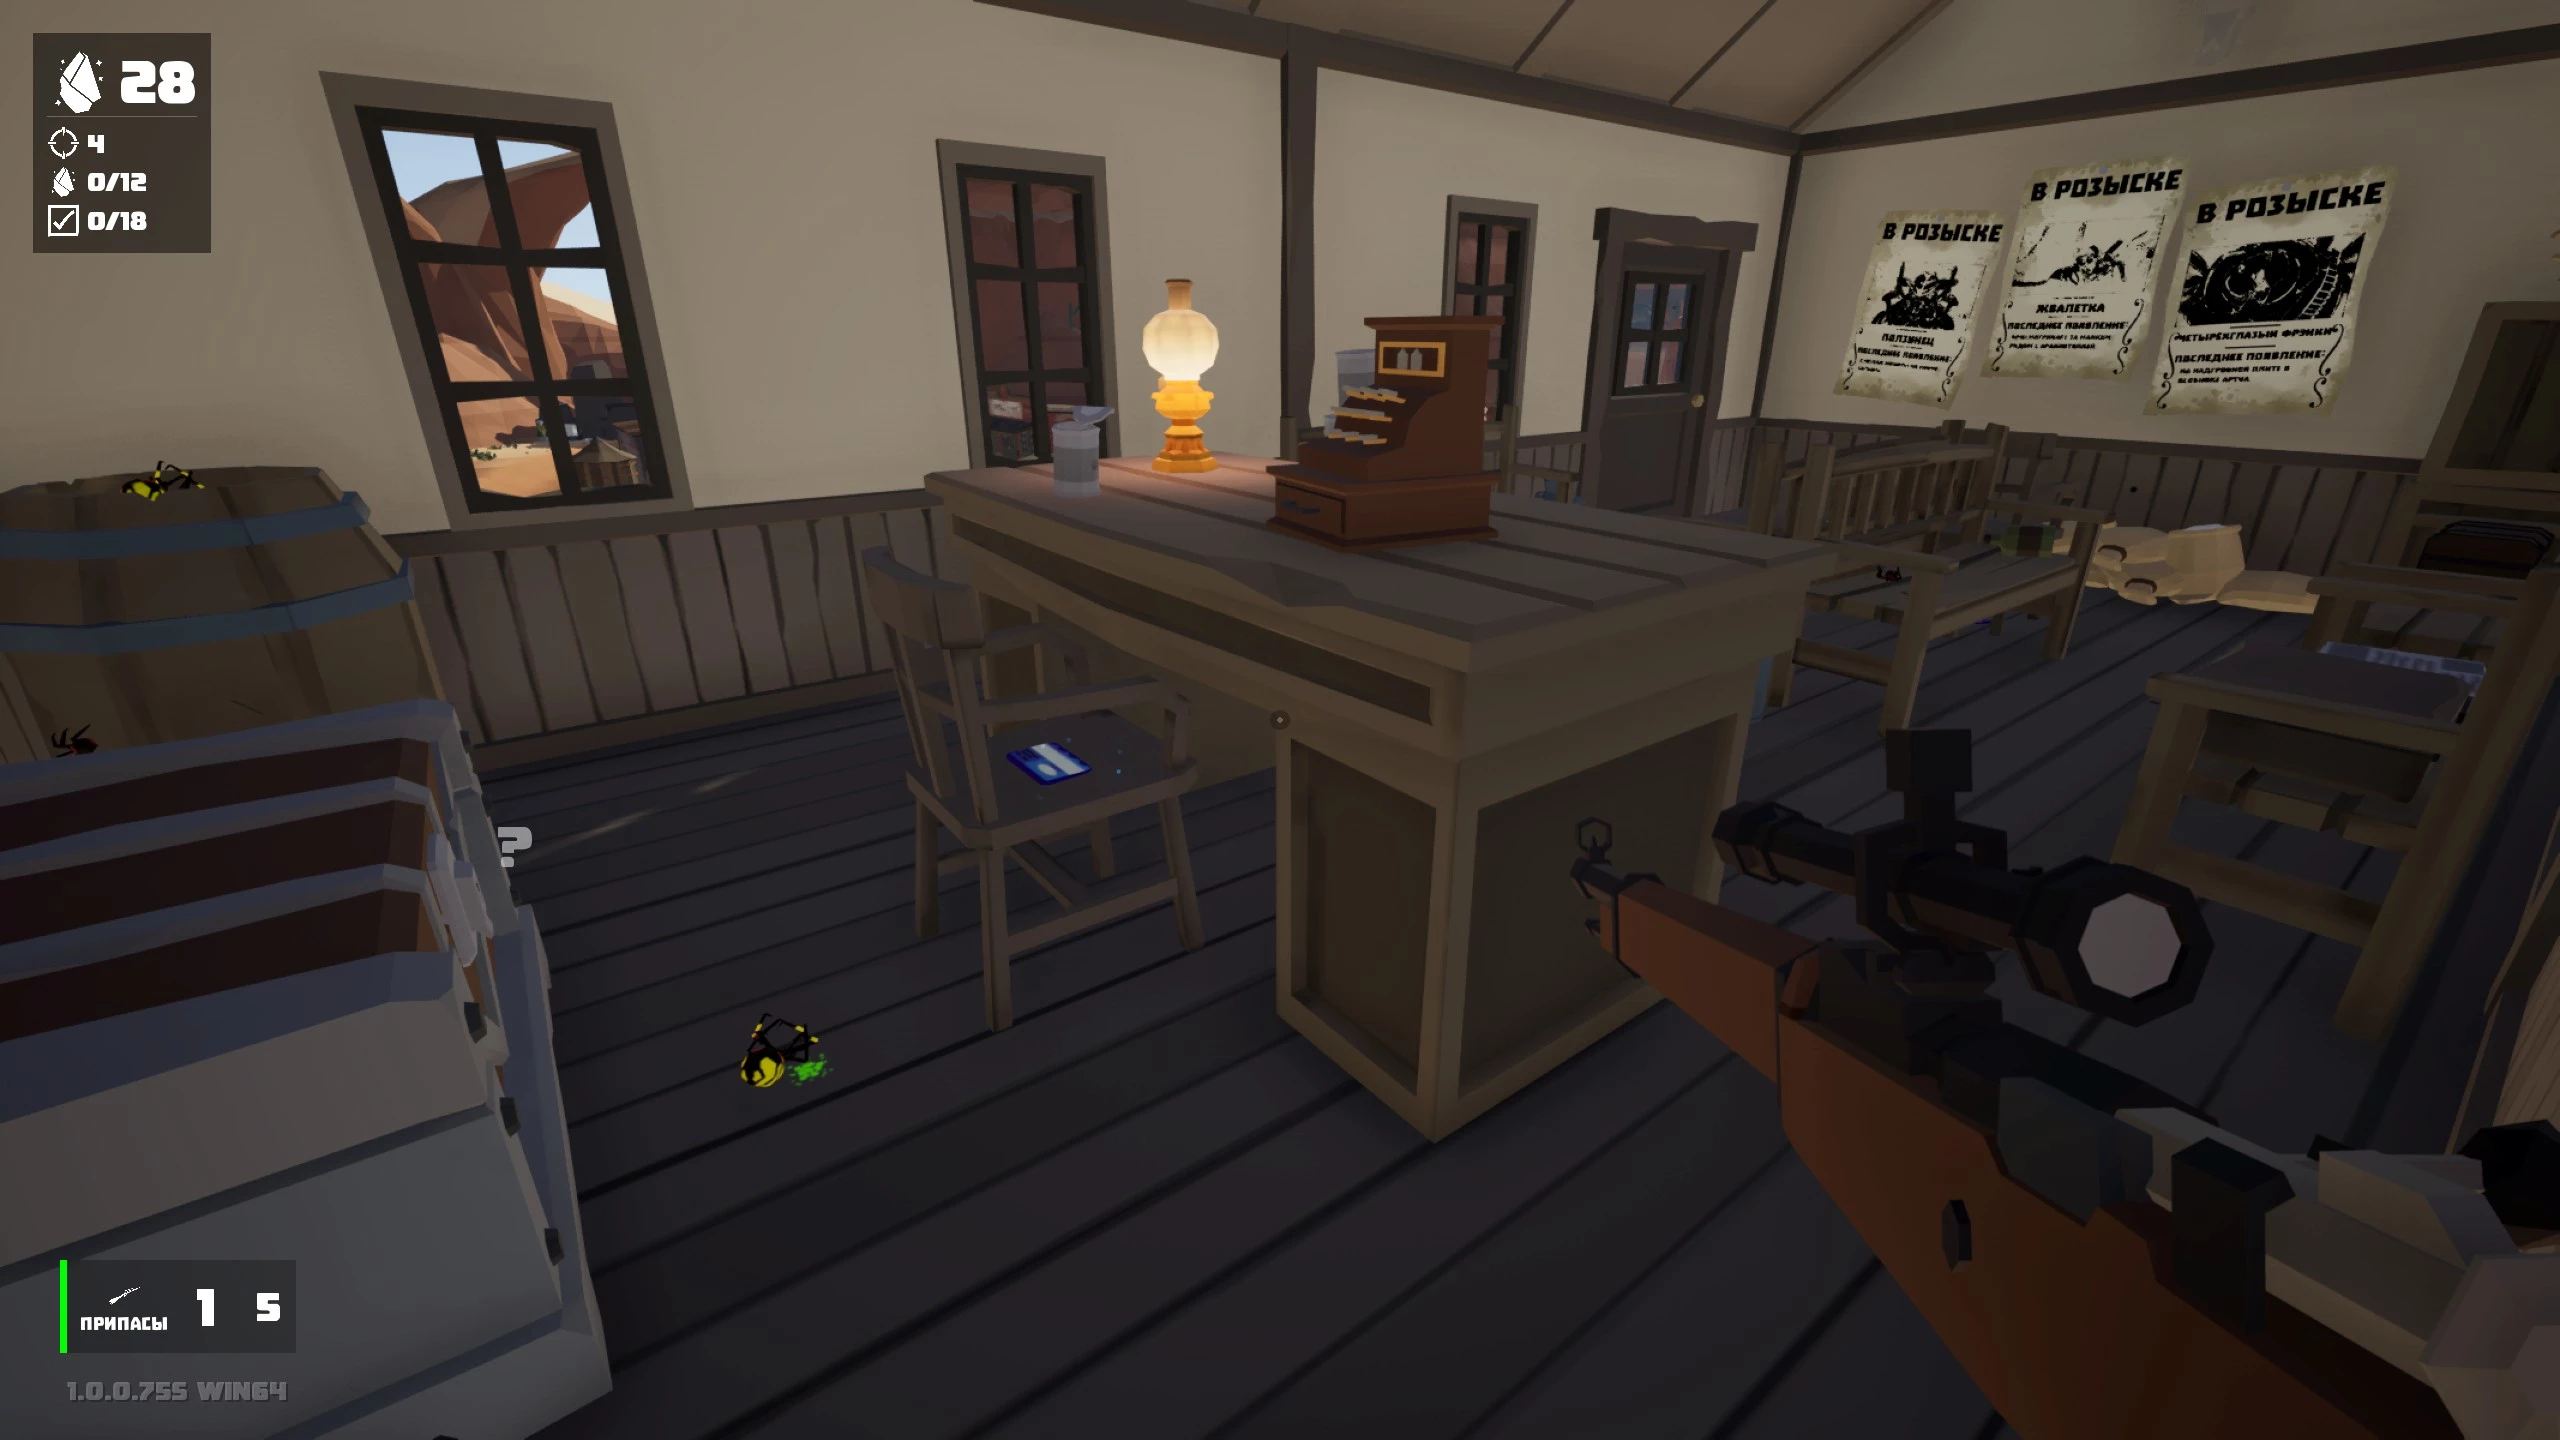
Saguaro Ranch — Iota-8 Dimension
Now you need to get the Alpha-1 dimension data chip. To open the chest, you’ll have to find five blue tickets.
- Chair by the case.
- Under the chair by the benches.
- Suitcase on the bench by the window.
- Suitcase on the bench across from the door.
- On the bench under a newspaper to the left of the door.
Kill five bugs and leave the building. Talk to the mayor, pick up the “Verse 1” tape, and check out the chest: to open it, you’ll need to greet ten local residents.
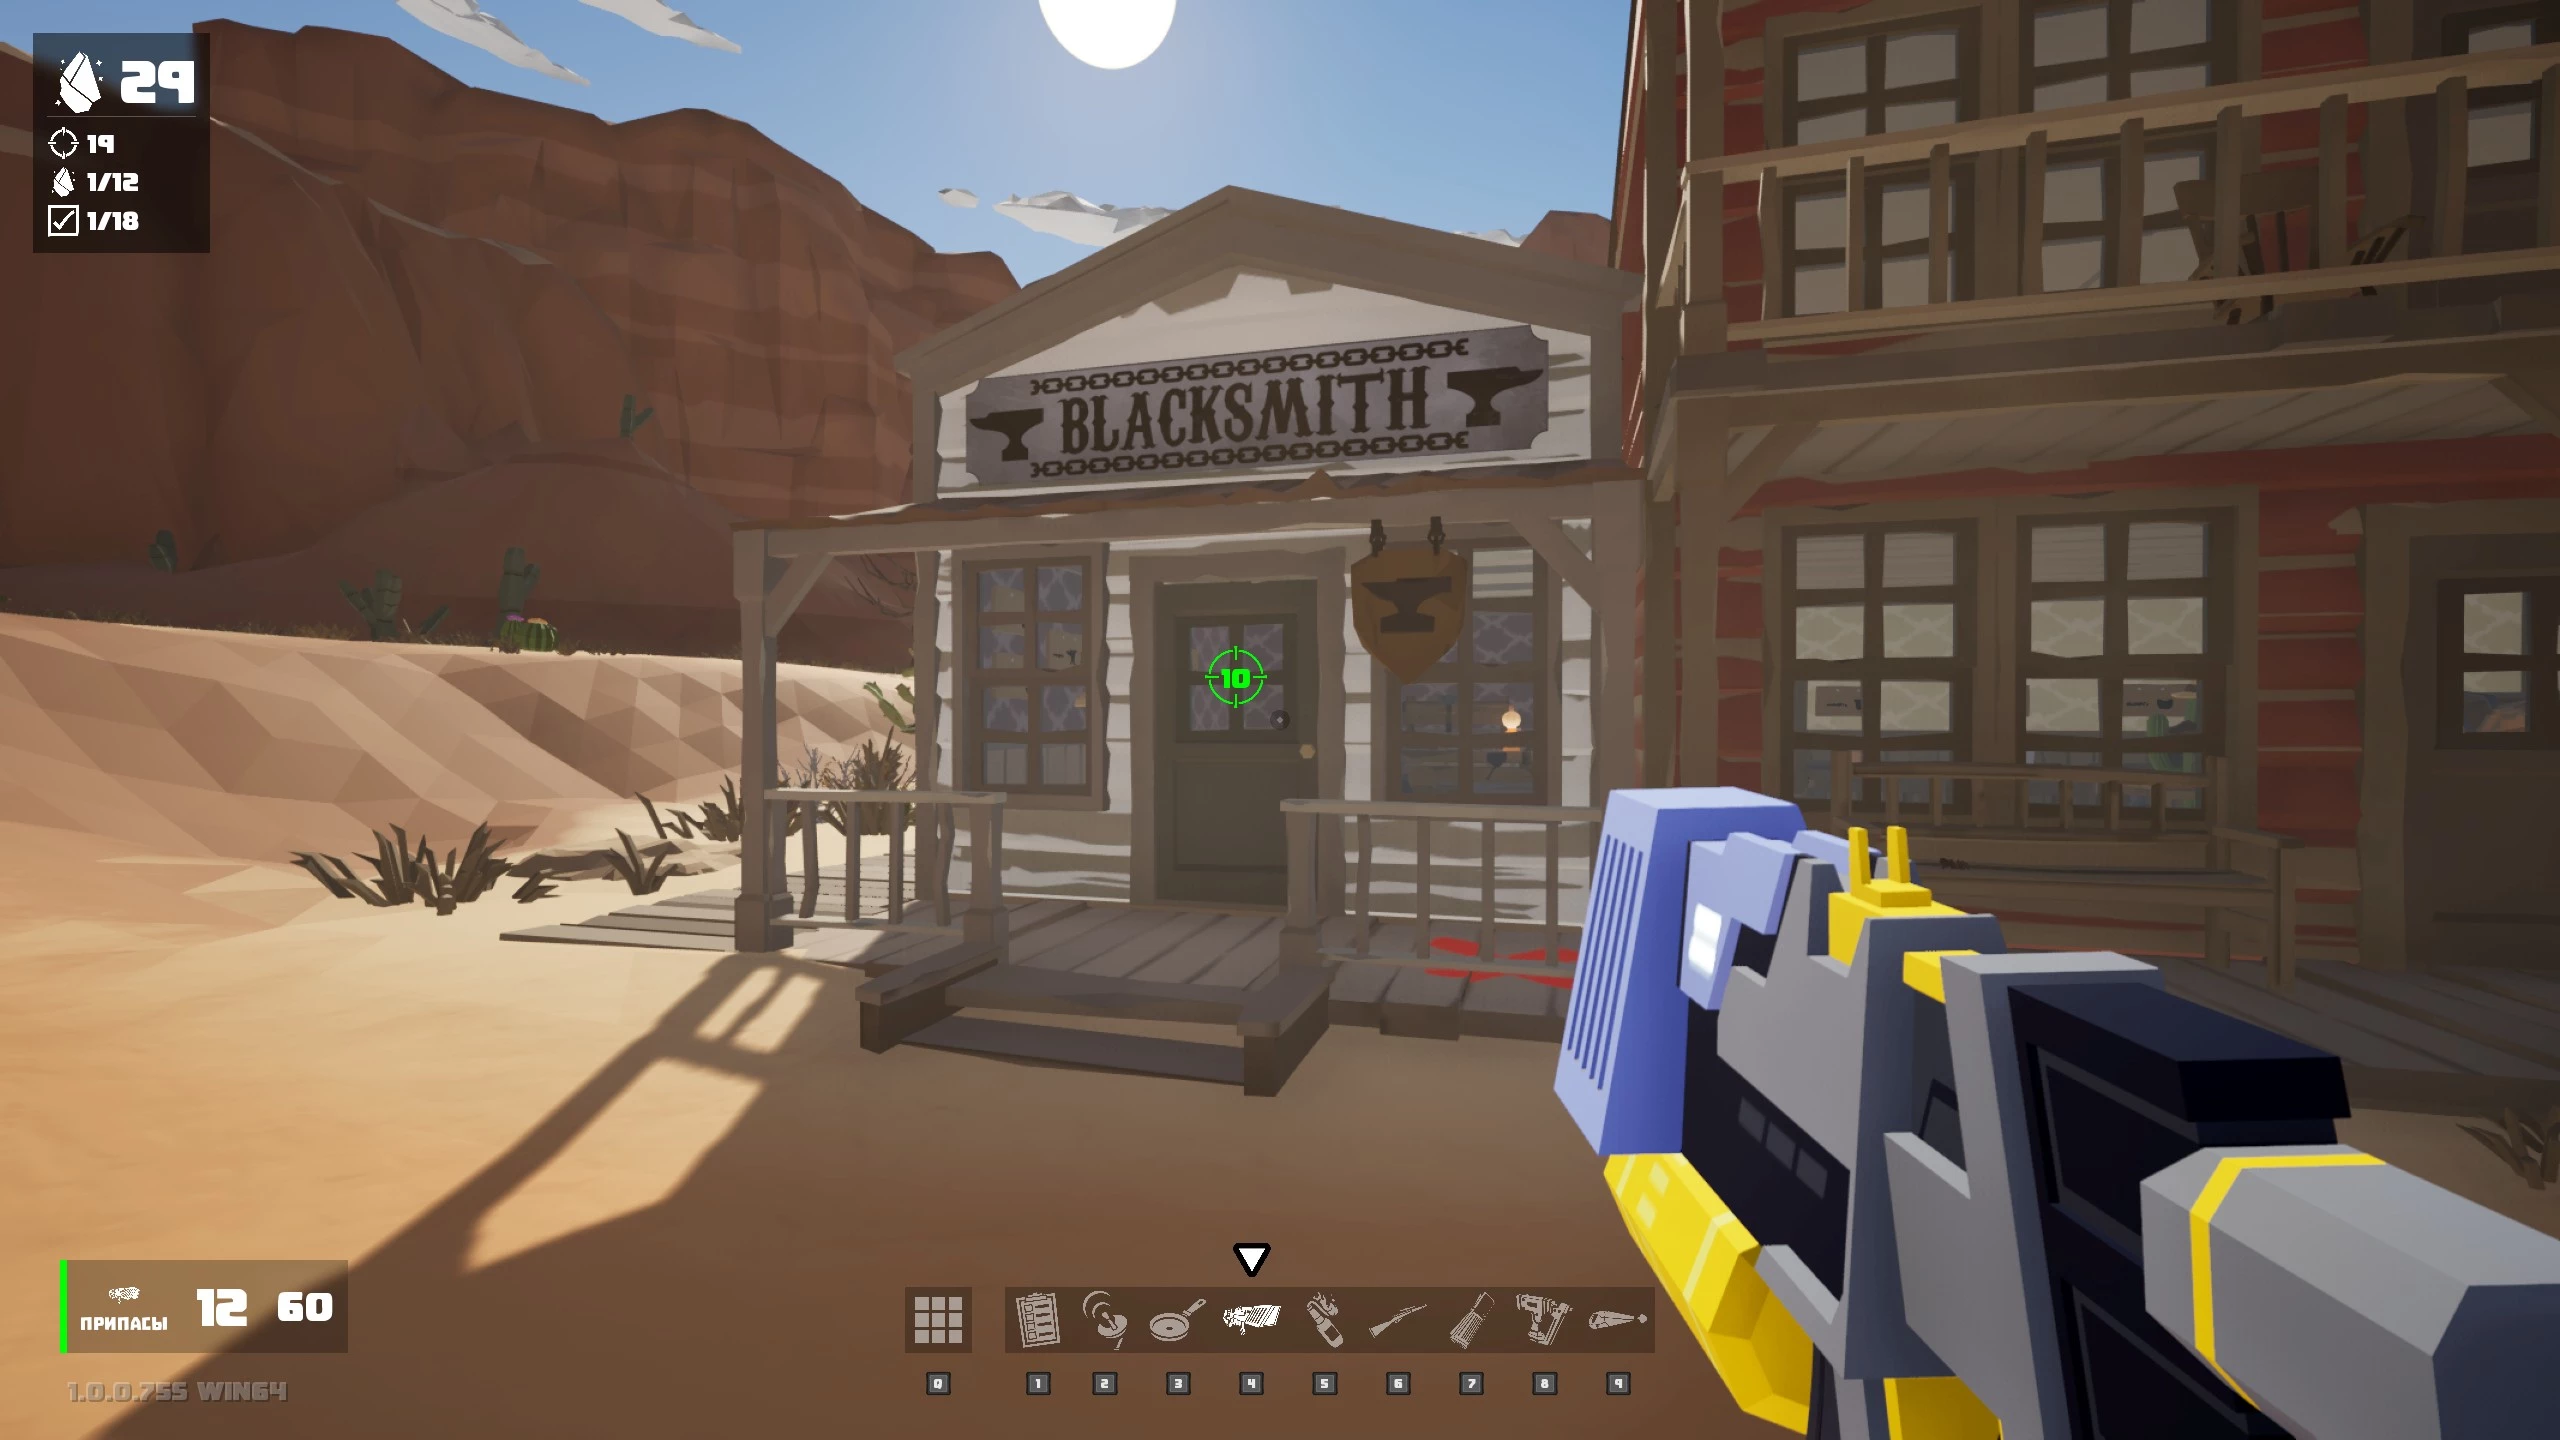
Head into town, kill 10 spiders, and enter the Blacksmith building to pick up a quest to destroy tumbleweeds. Then go upstairs to the second floor of the green Kiln building.
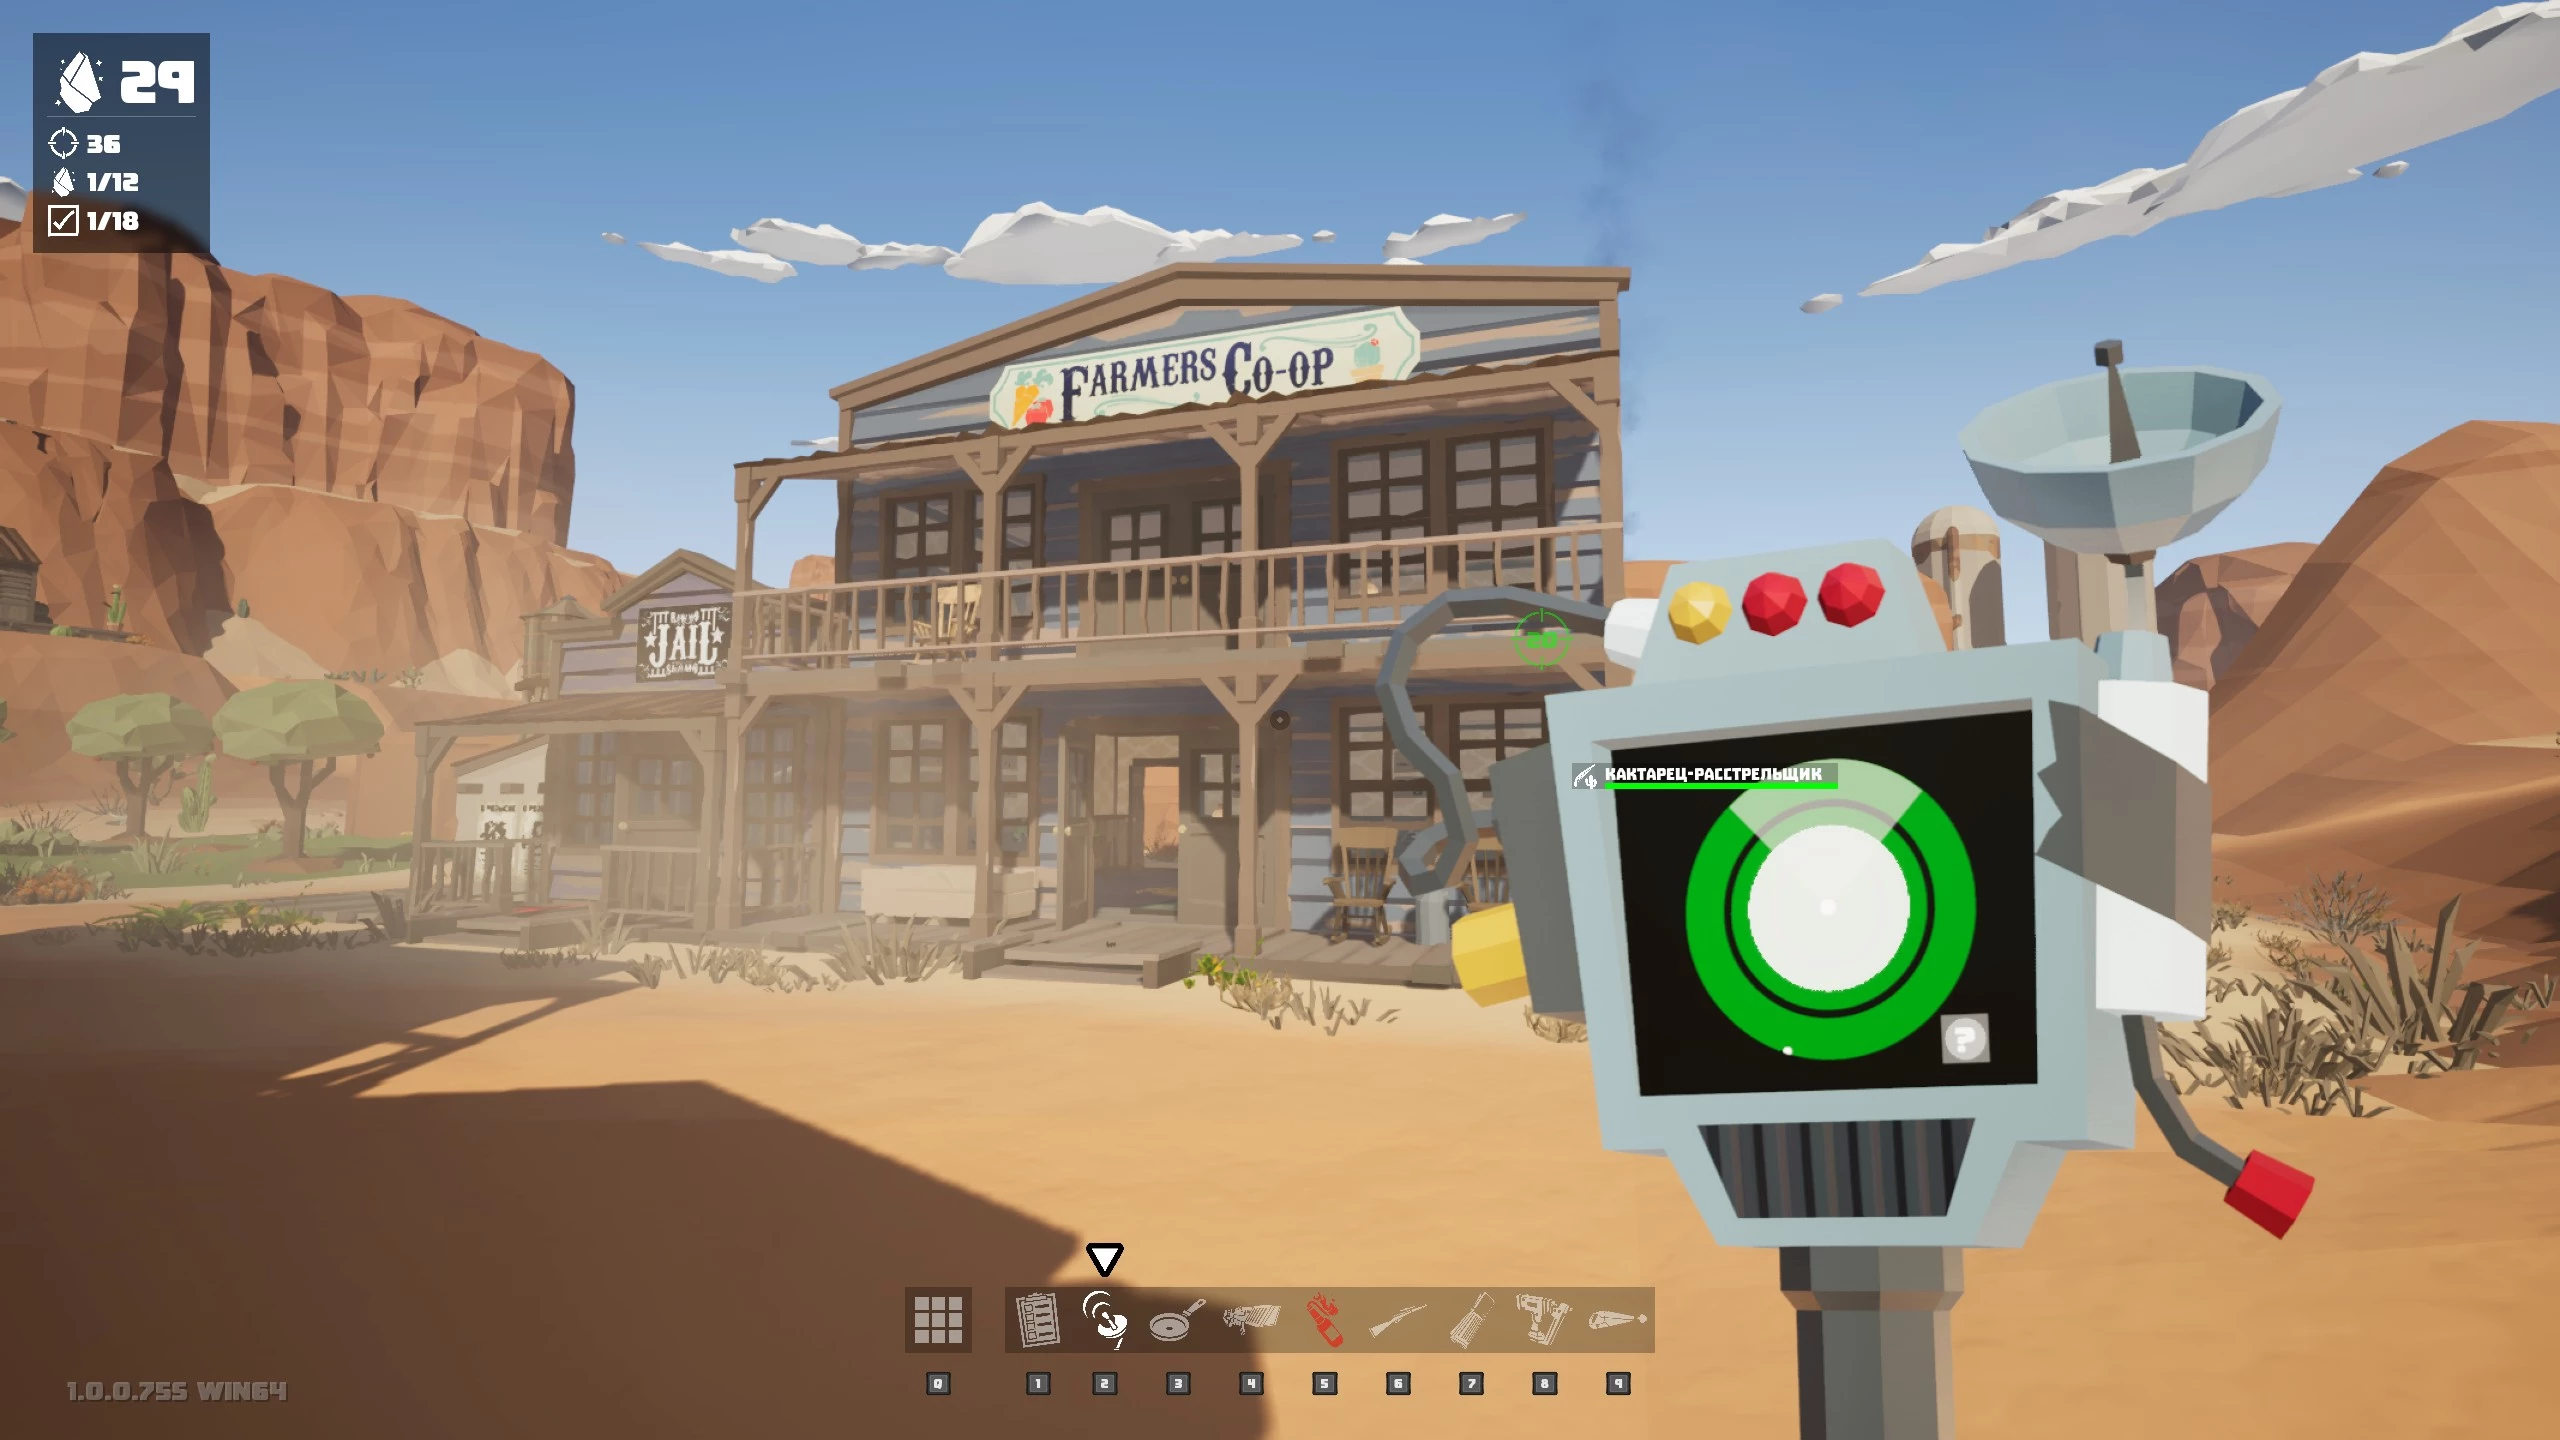
Take out 20 spiders and clear the second floor of the blue Farmers Co-op house. After getting 25 kills, head into the General Store. Eliminate 30 bugs and the doors to the saloon will open.
To the left of the saloon stands a crazy cactus guy by the teleportation device. You’ll need to bring him a part that’s sitting on barrels to the left of the bar counter. The portal will take you to the roof, where you’ll find the chip you need. Technically, this chapter is now complete, but we recommend sticking around to finish side quests and earn upgrade modules and crystals.
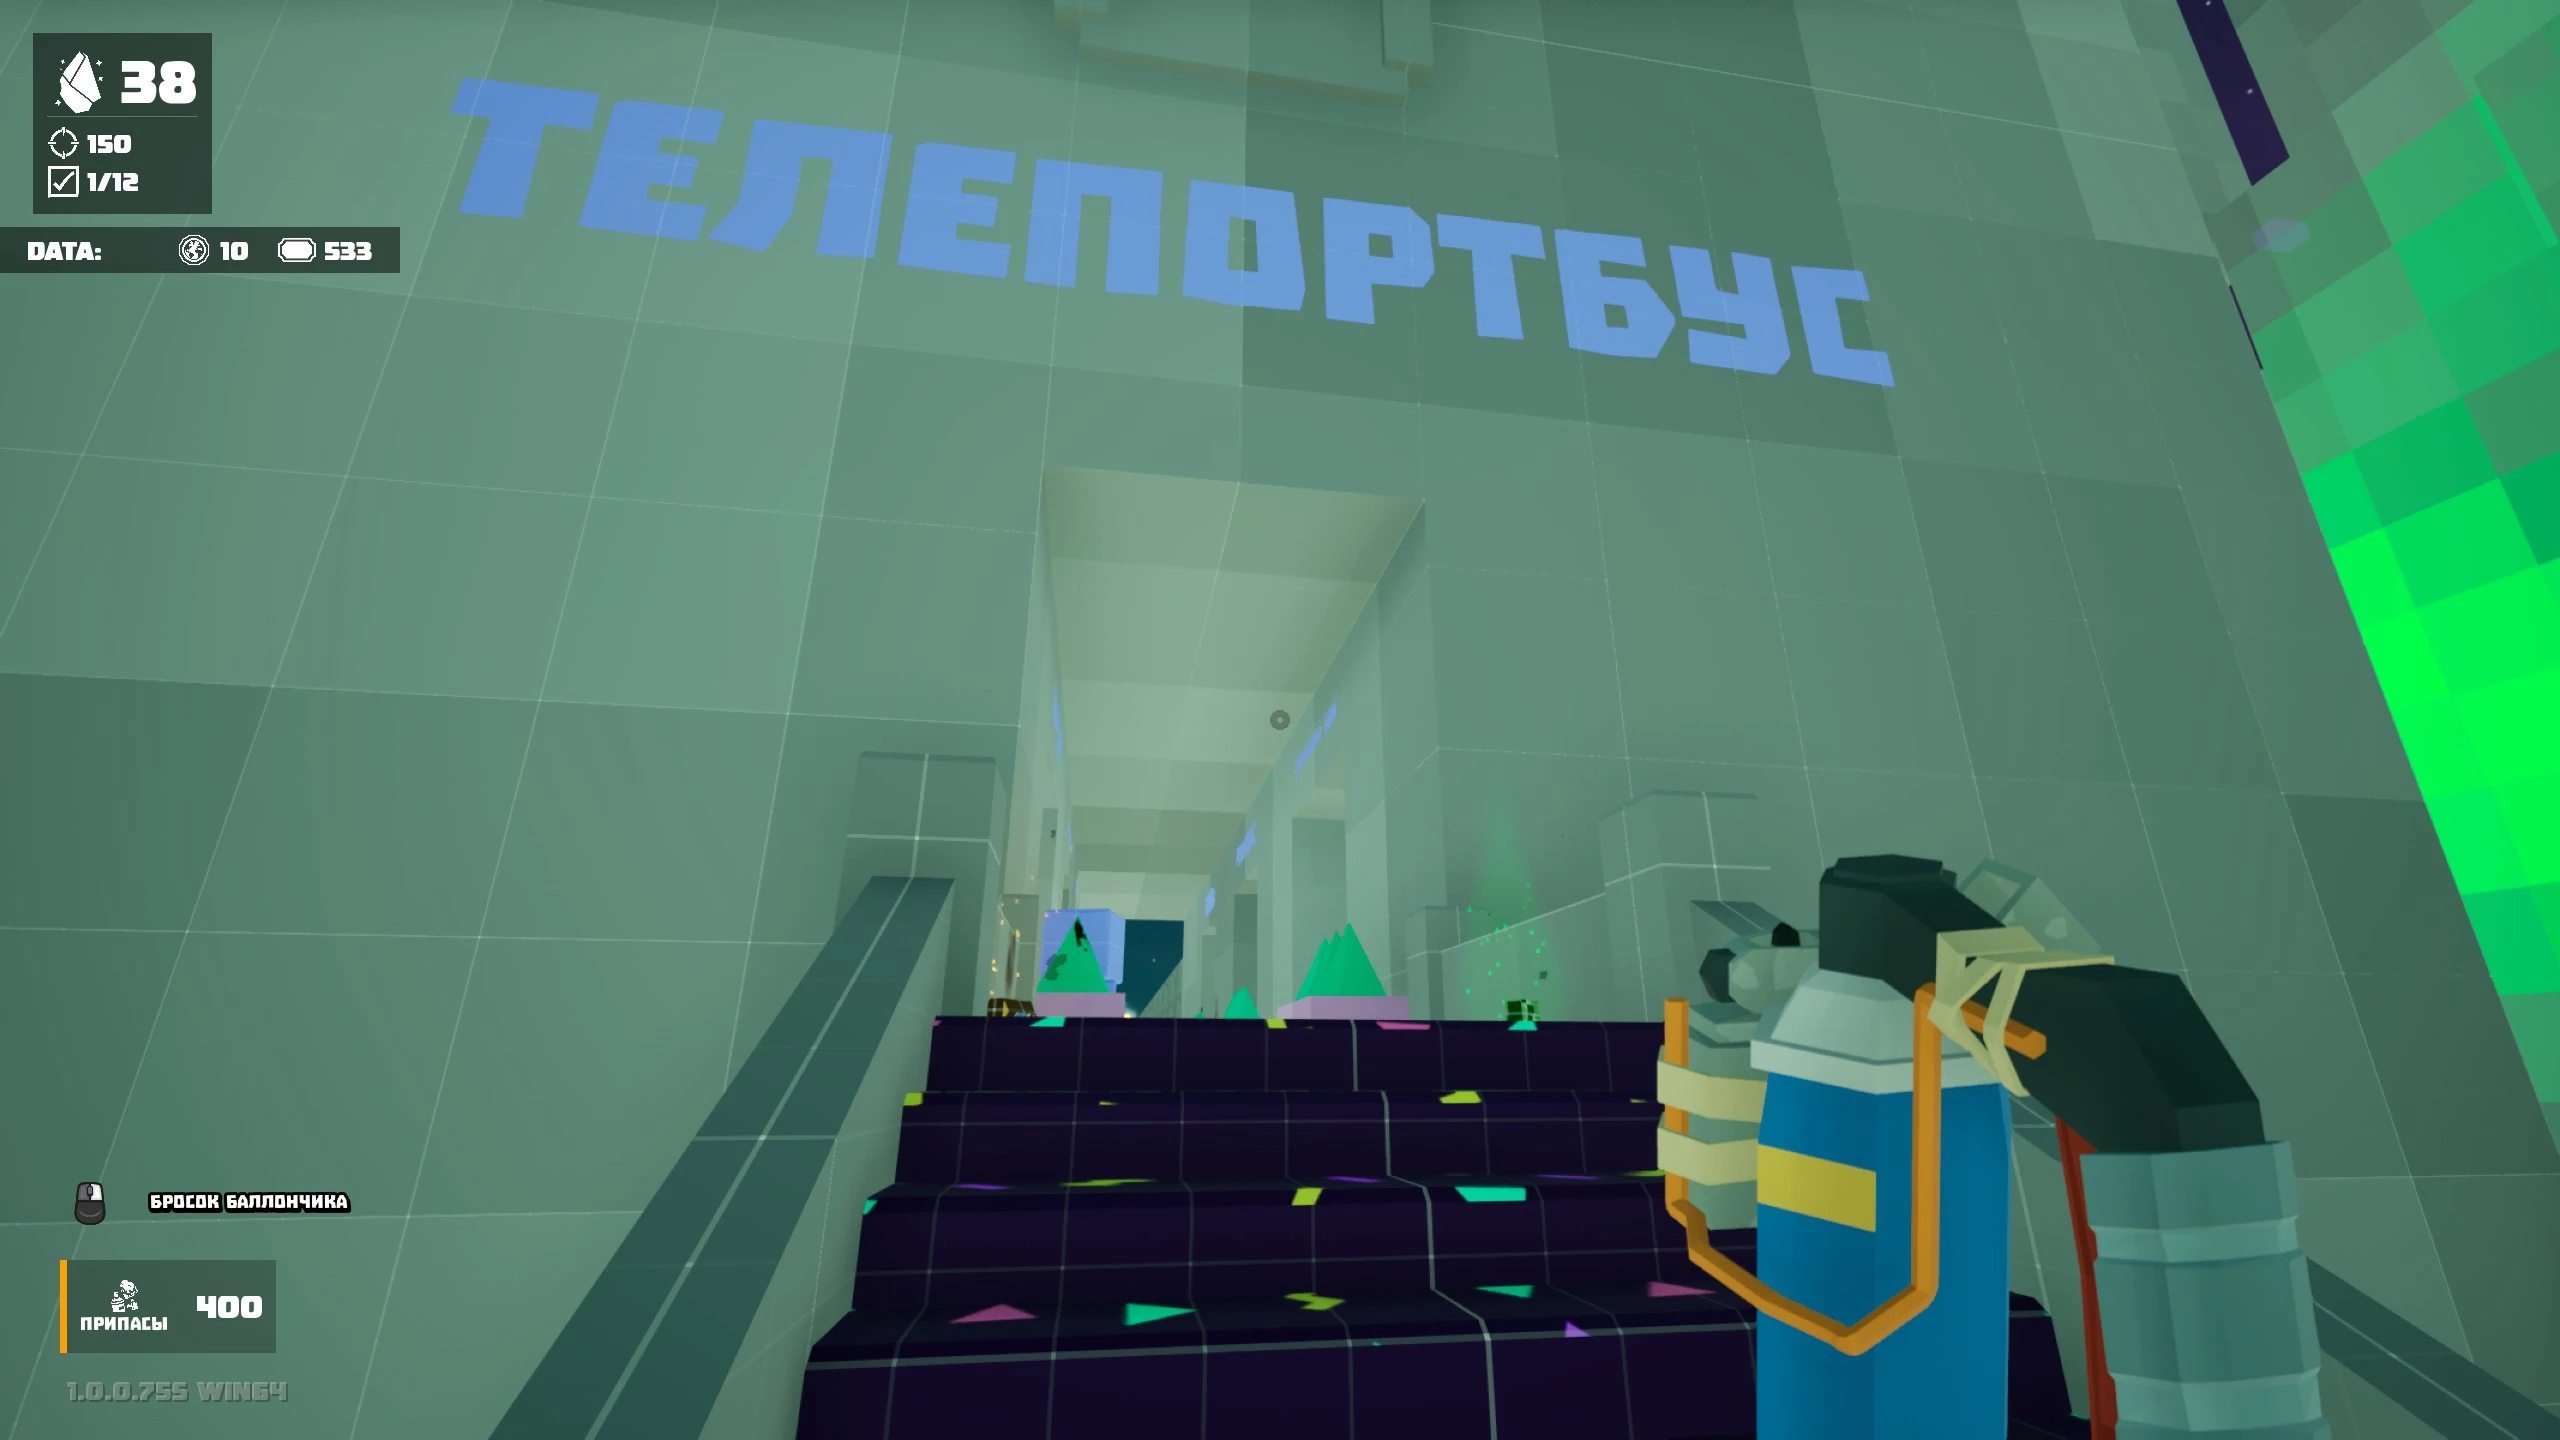
Cyber Core — Virtual Spatial Pocket
Return to the ship and enter the captain’s cabin using 30 crystals. Inside, you’ll find the data chip that lets you access the Cyber Core. Talk to Darwin, pick up the large green key, and use it to unlock the passage. Next, you’ll face a series of challenges.

First, you’ll see a block of tokens that charges up over time and doubles if you add extra batteries. You can use this currency to restart challenges.
It’s also important to note that here you earn tickets for killing spiders, which you can spend in the “File System” section to buy things. To continue, head to the “Melee” block, where you’ll need to squash bugs using the appropriate weapons.
Your current goal is to get the green key. There are two ways to do this: earn tickets and purchase it in the file system, or complete the combat challenge by defeating eight purple/orange spiders. You can also find a couple of green capsules to earn more points. This is a good way to farm currency in all challenges.
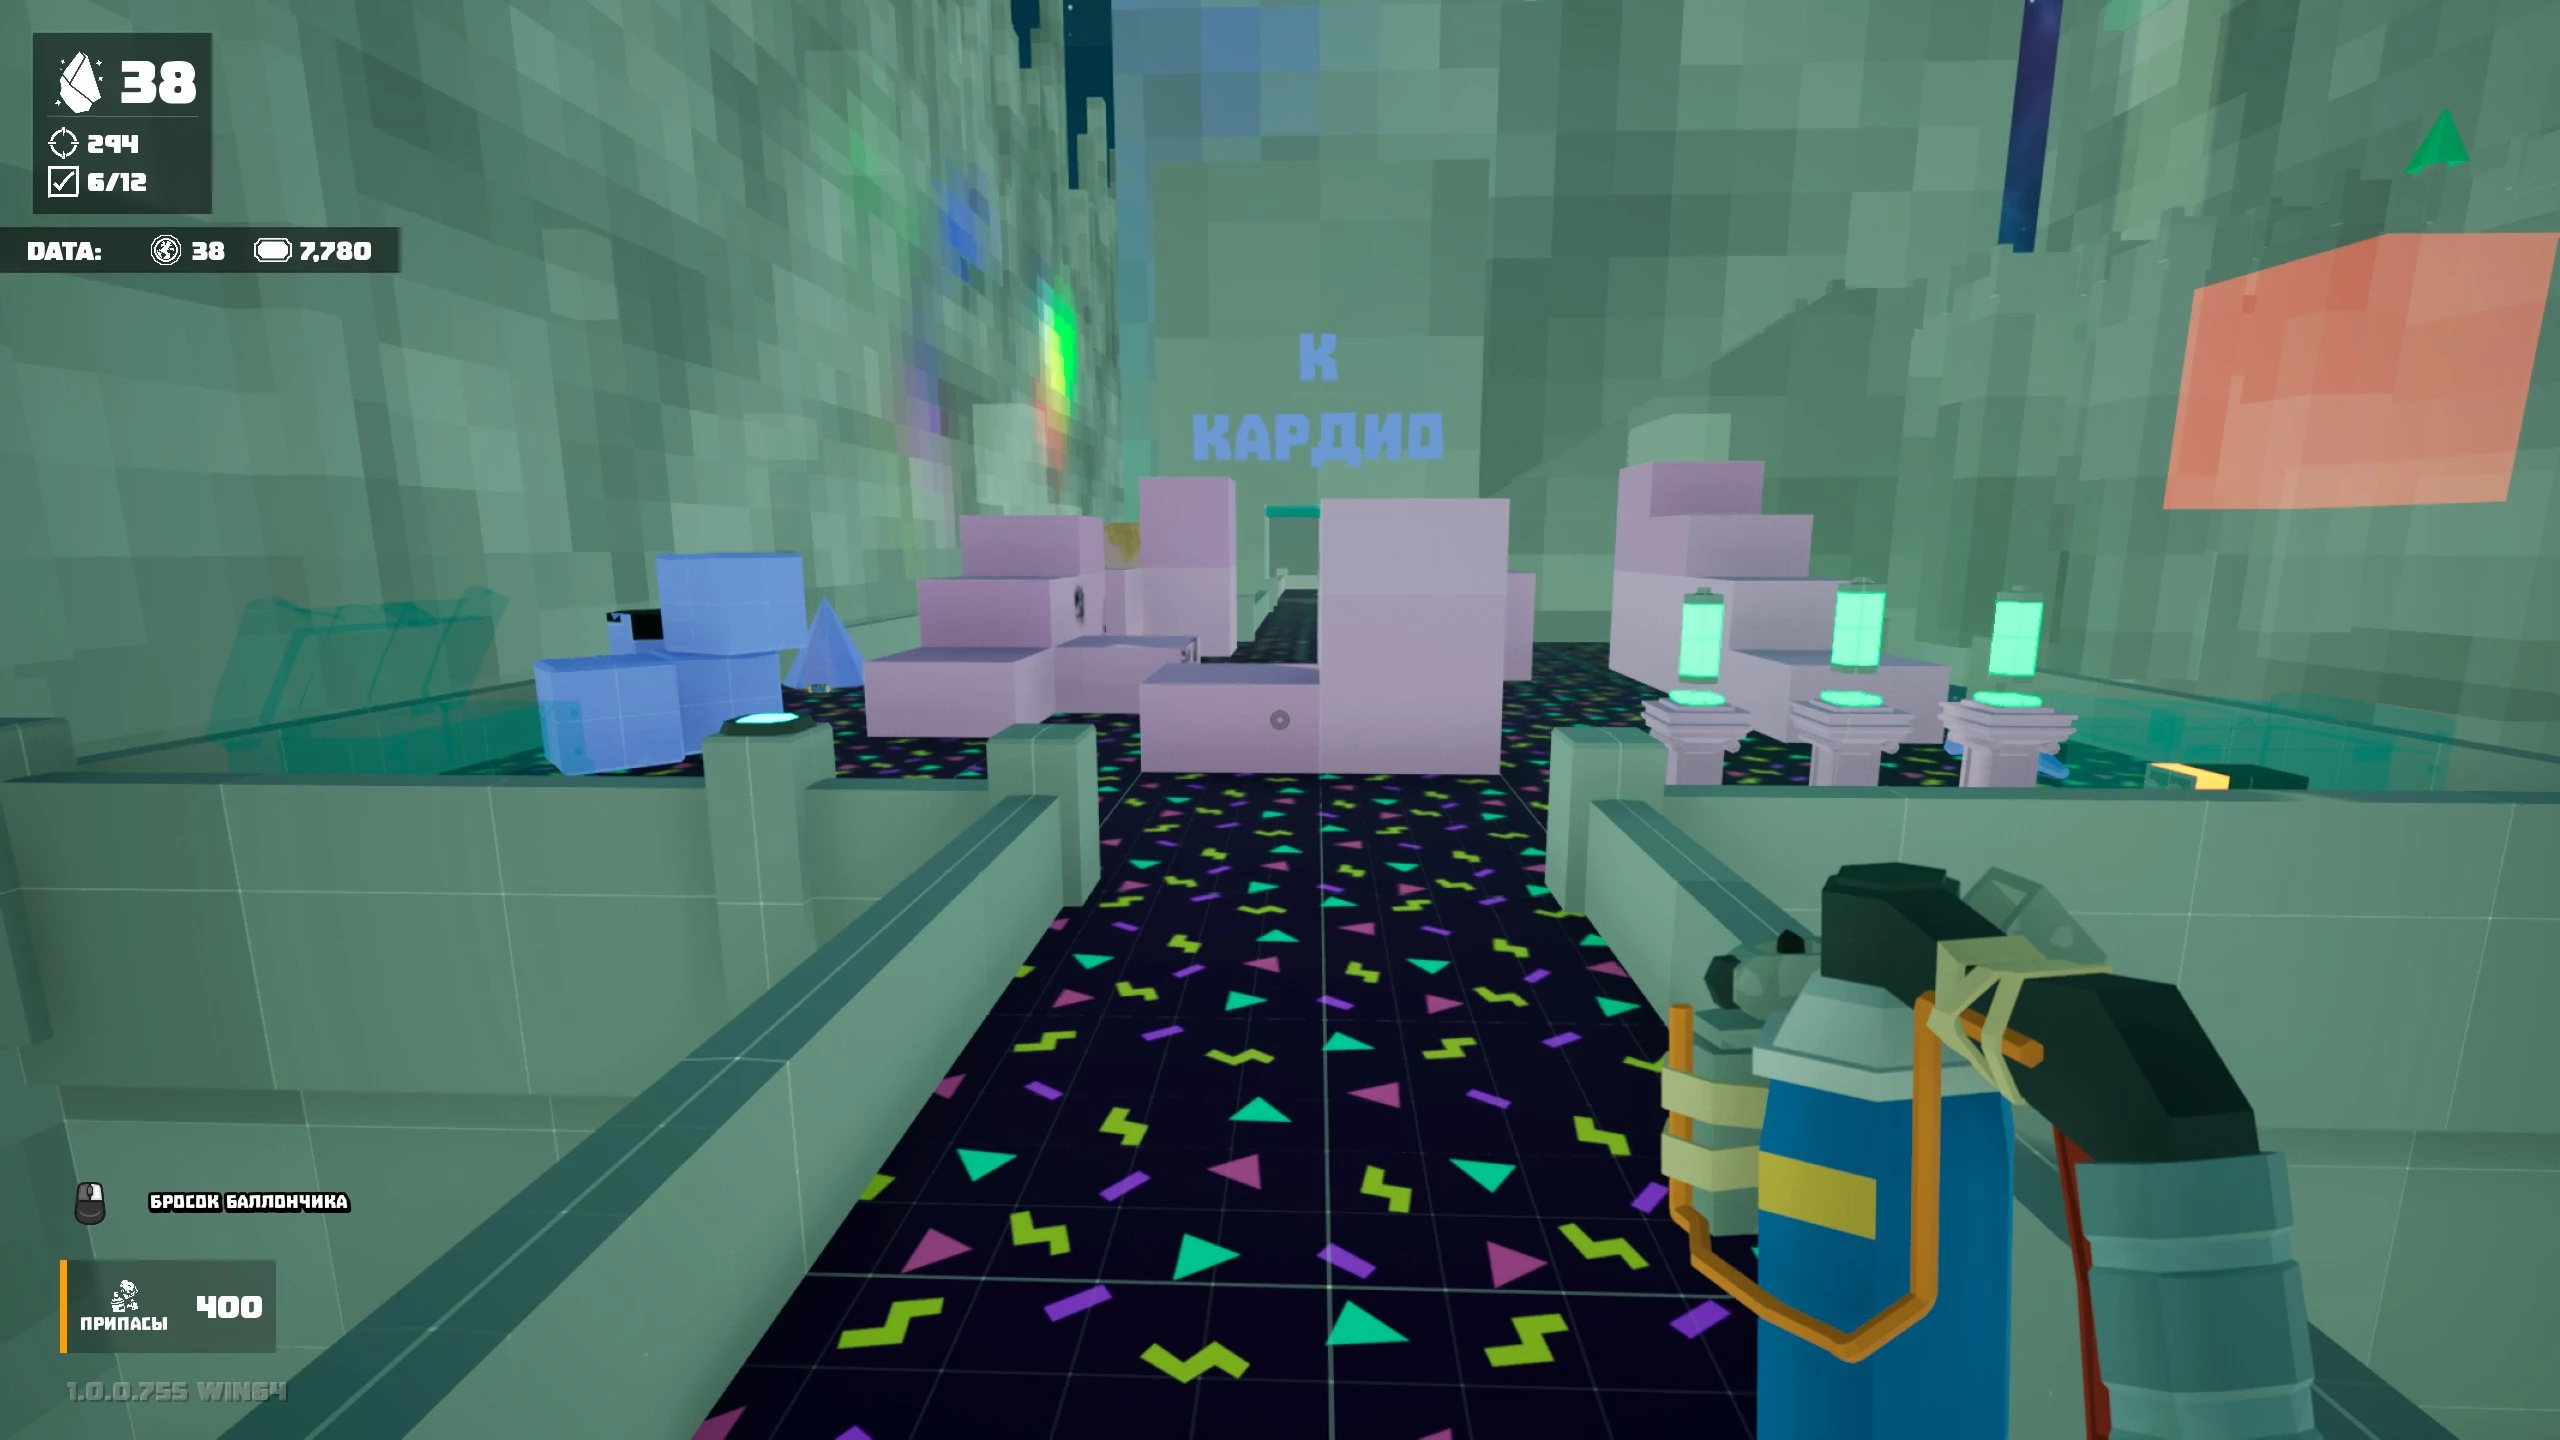
Next, you need to clear “Cardio,” where you have to step on arrows in time and kill spiders. Save up tokens, buy the green key, and unlock “Platforms.” Use the shapes to reach “Reflexes.” Look for glowing cubes, shoot them, and the blocks will start moving.
In the “Reflexes” challenge, you need to press the yellow button when the block lights up. Earn 12 rewards to unlock the case with the pink key for “Long Range.” Then you’ll have to make your way through moving shapes in the “Race” level, where you’ll find the data chip with the tank driving certificate.
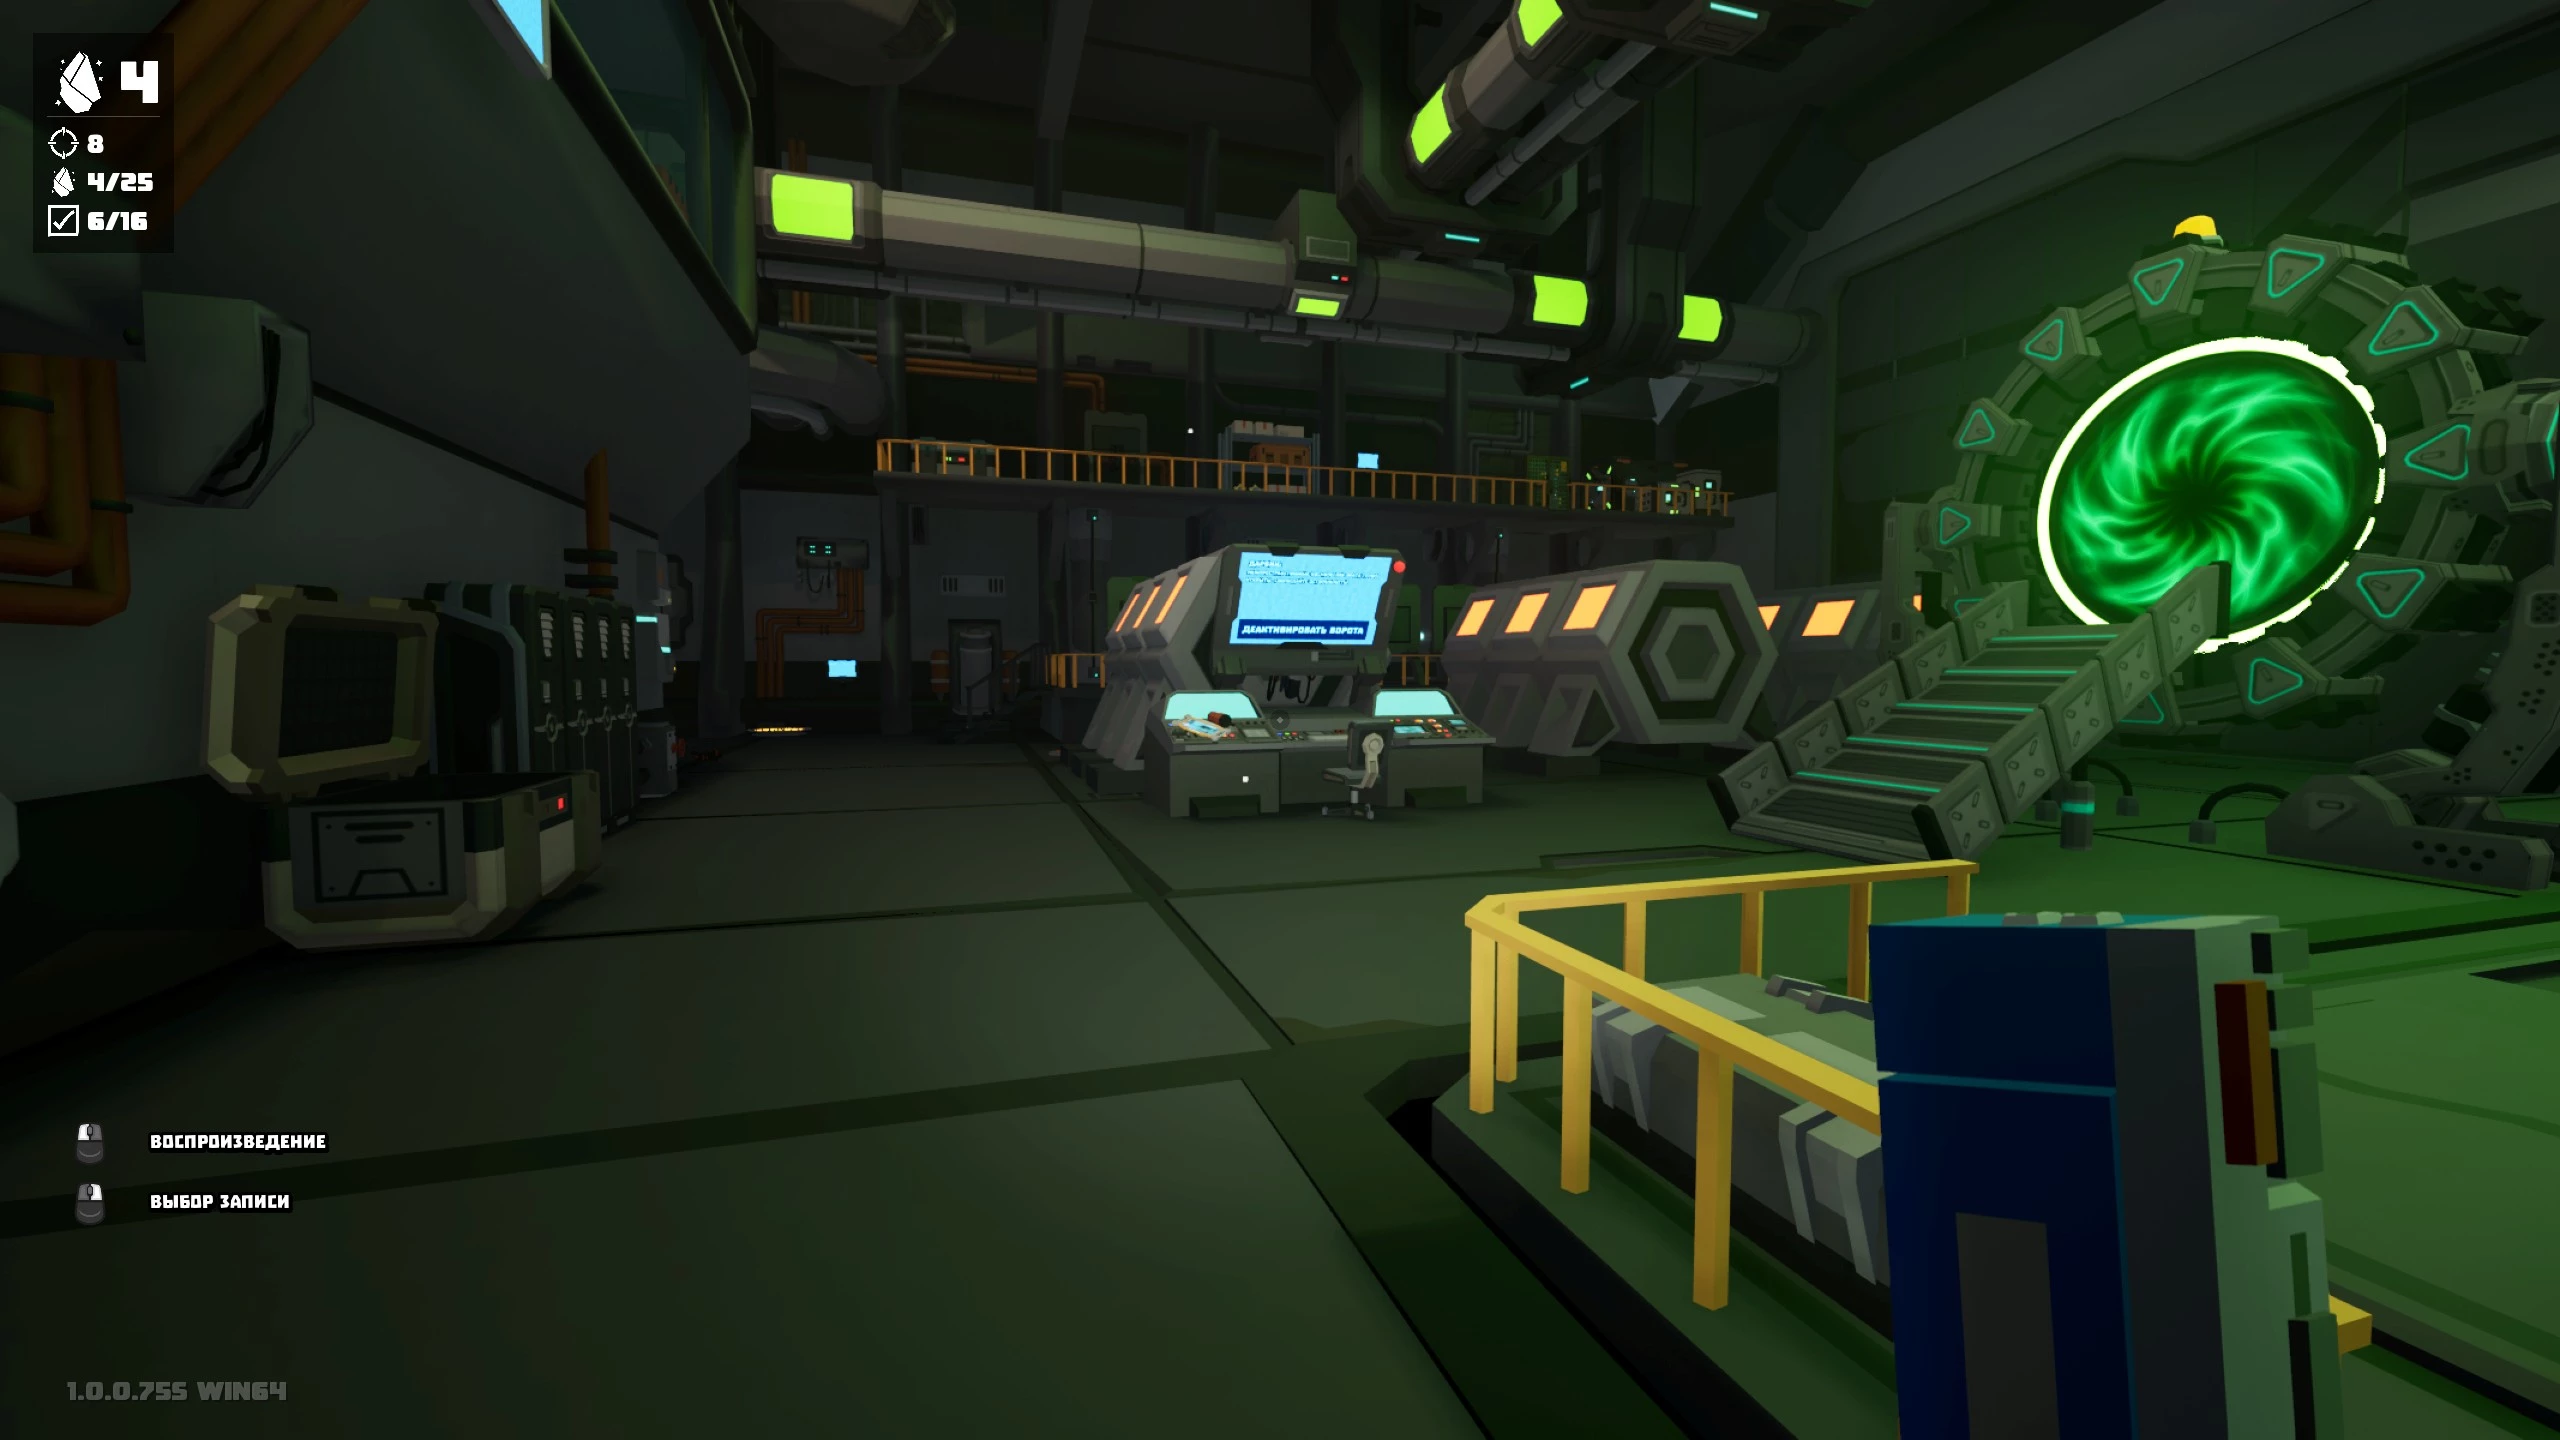
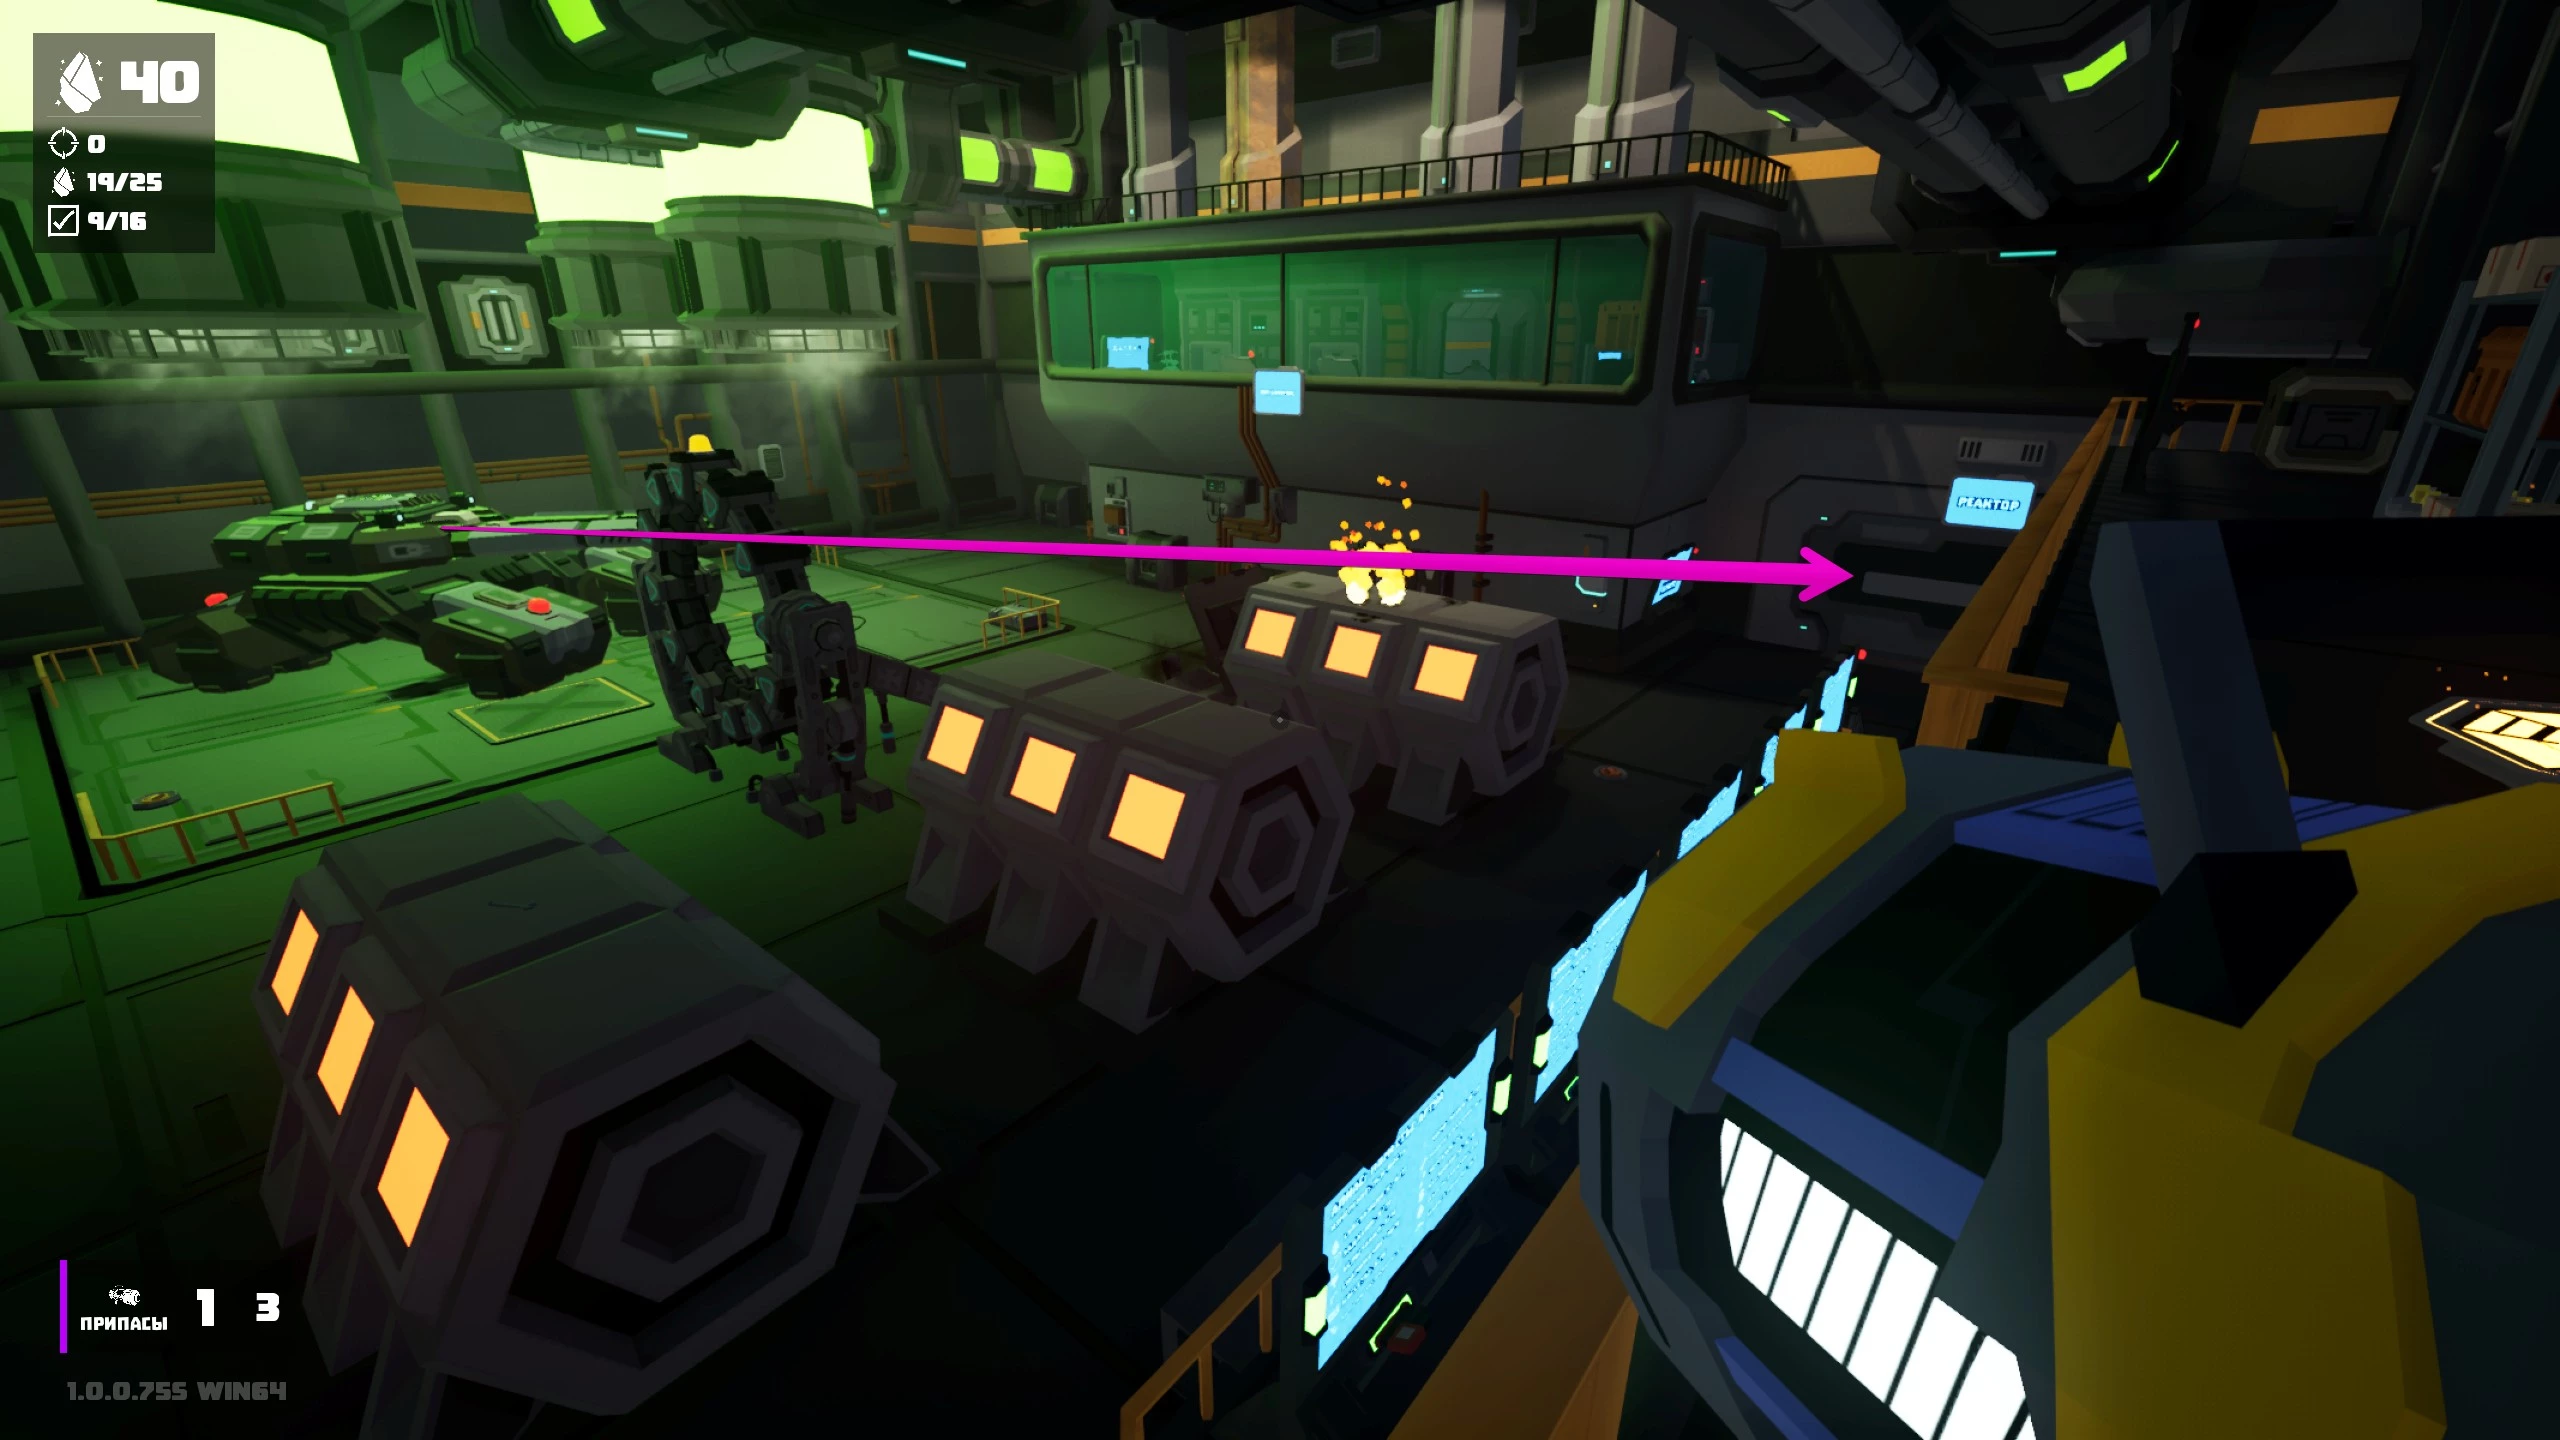
Return to the ship, enter the hangar, climb up to the control bridge, and aim the tank’s cannon at the reactor. Break down the gates, then find three fuel cells. The first one is near the reactor, the next is in the vent. Eventually, you’ll end up in the control room.
Go to the captain’s cabin, complete the vent challenge, grab the third fuel cell, and return to the control room. Next, you’ll need to survive three waves of spiders to unlock the final dimension.
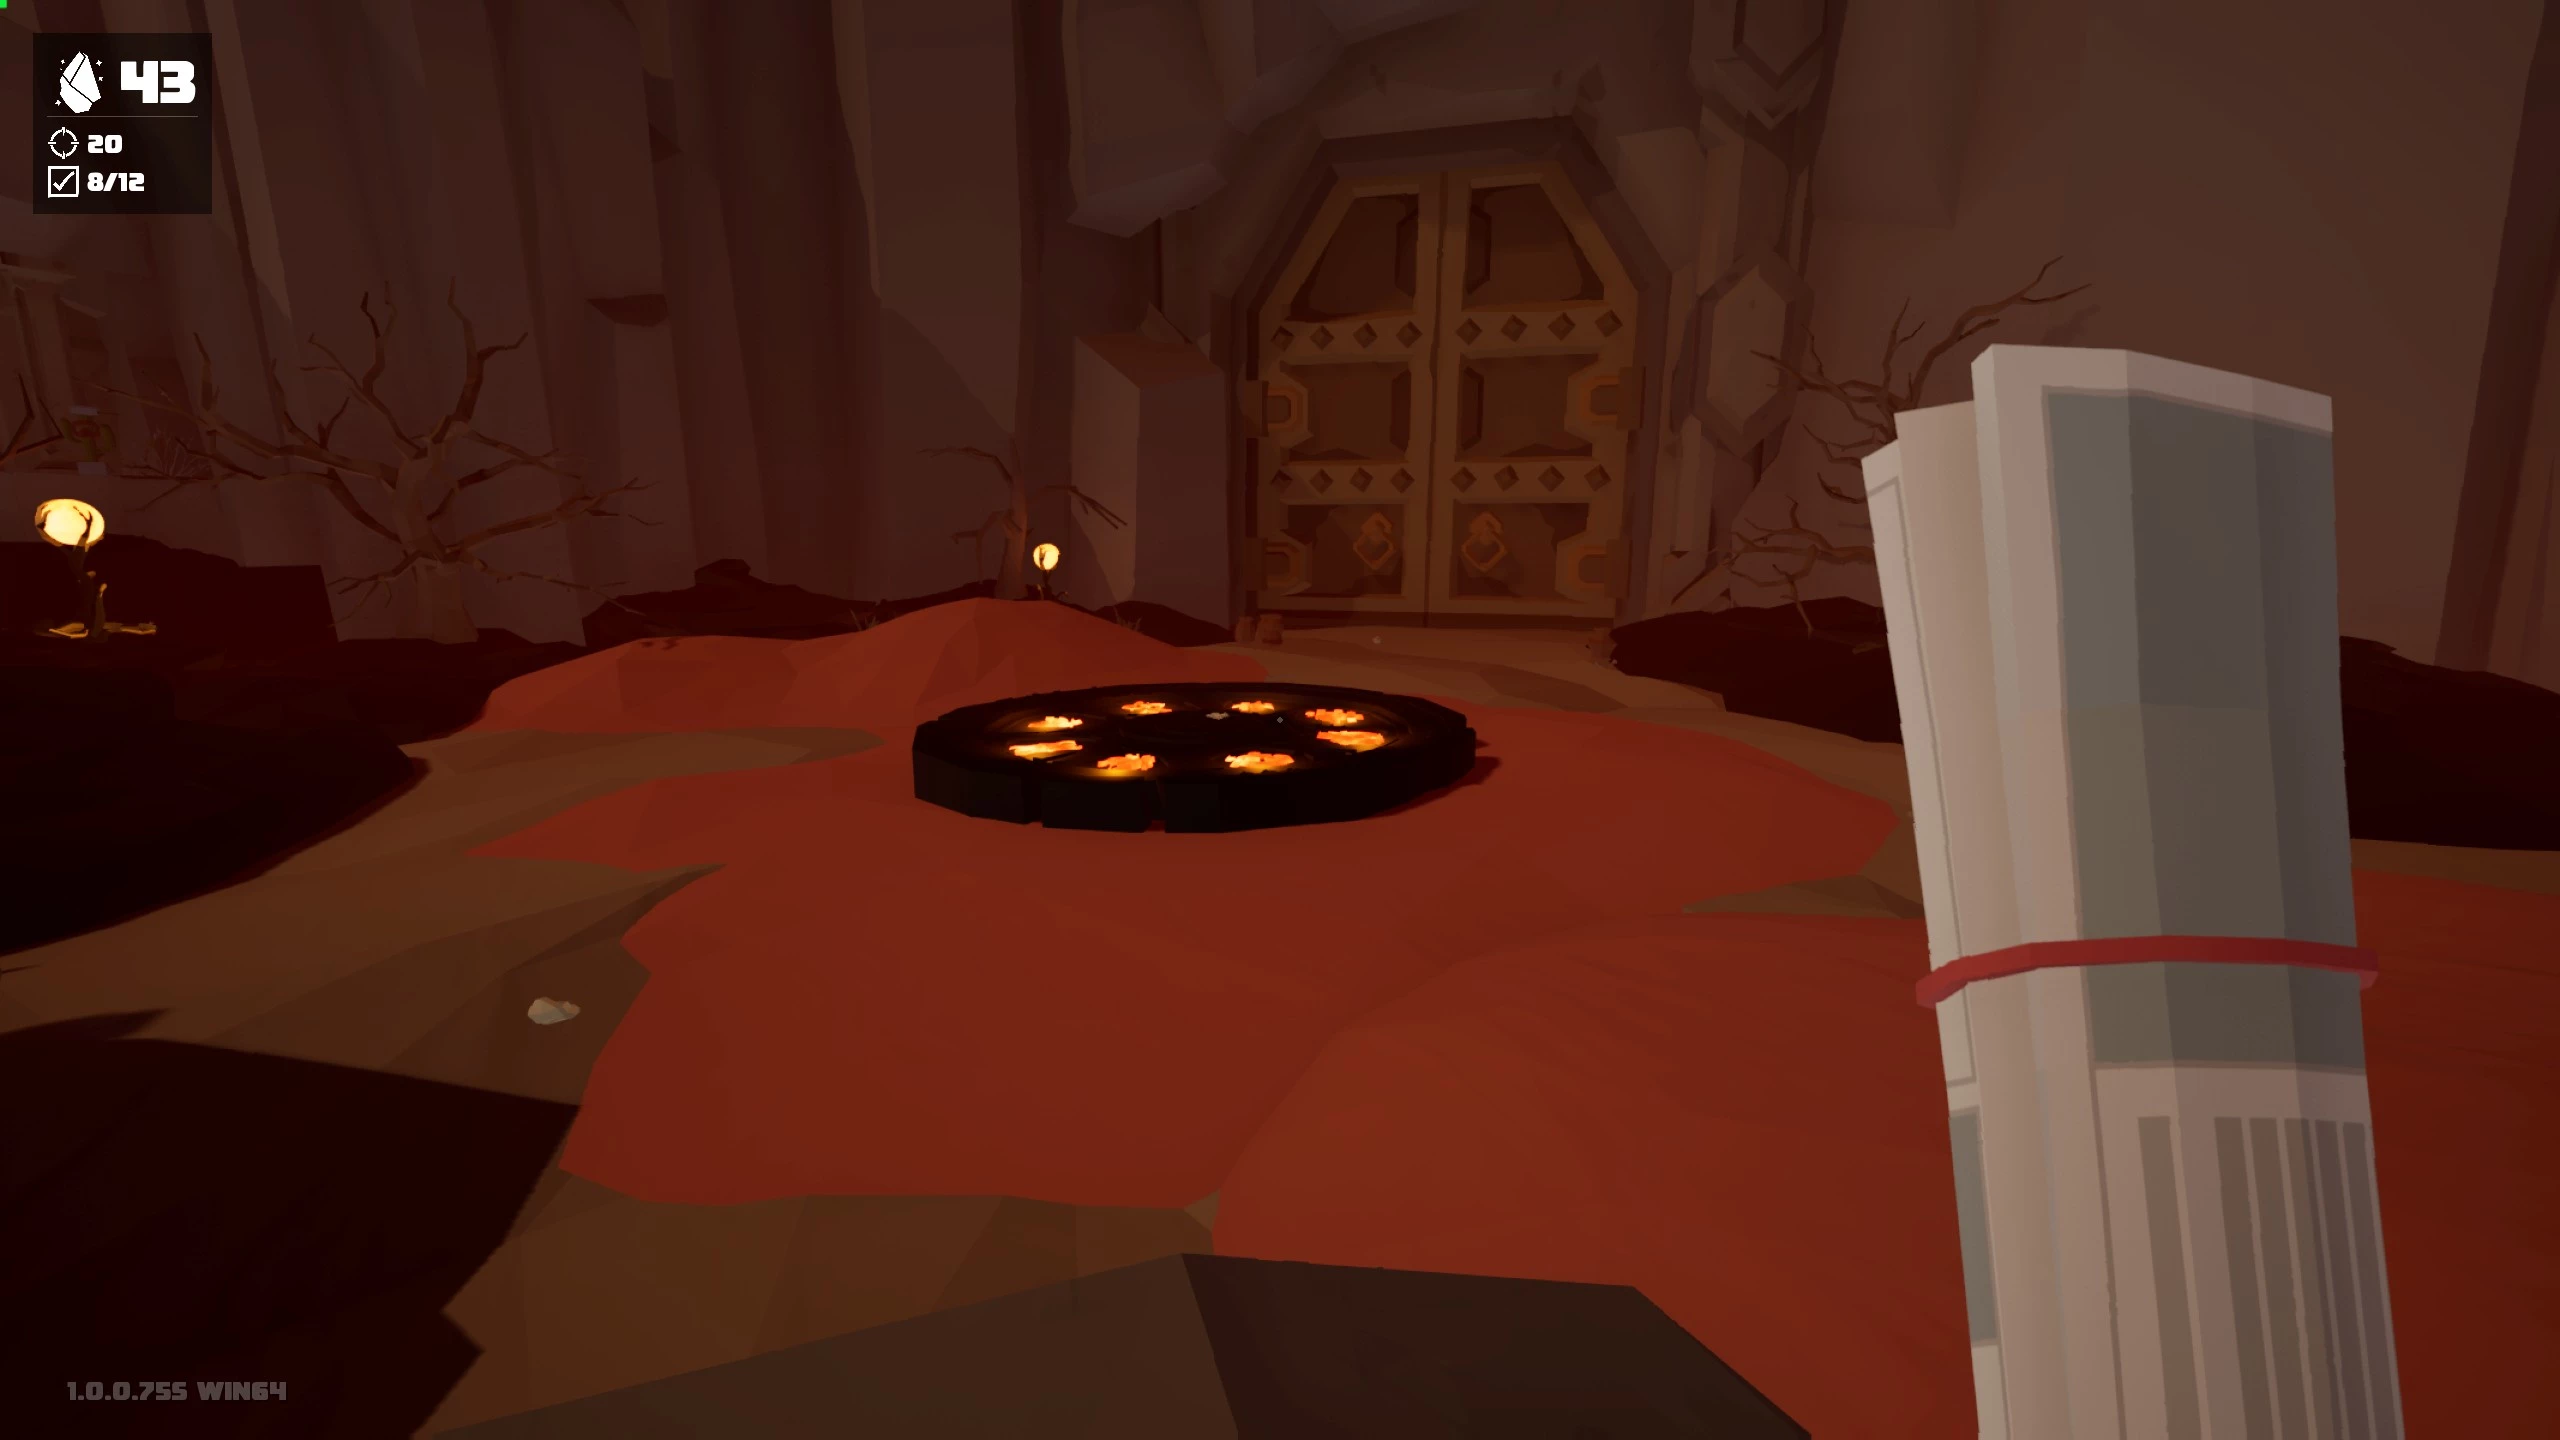
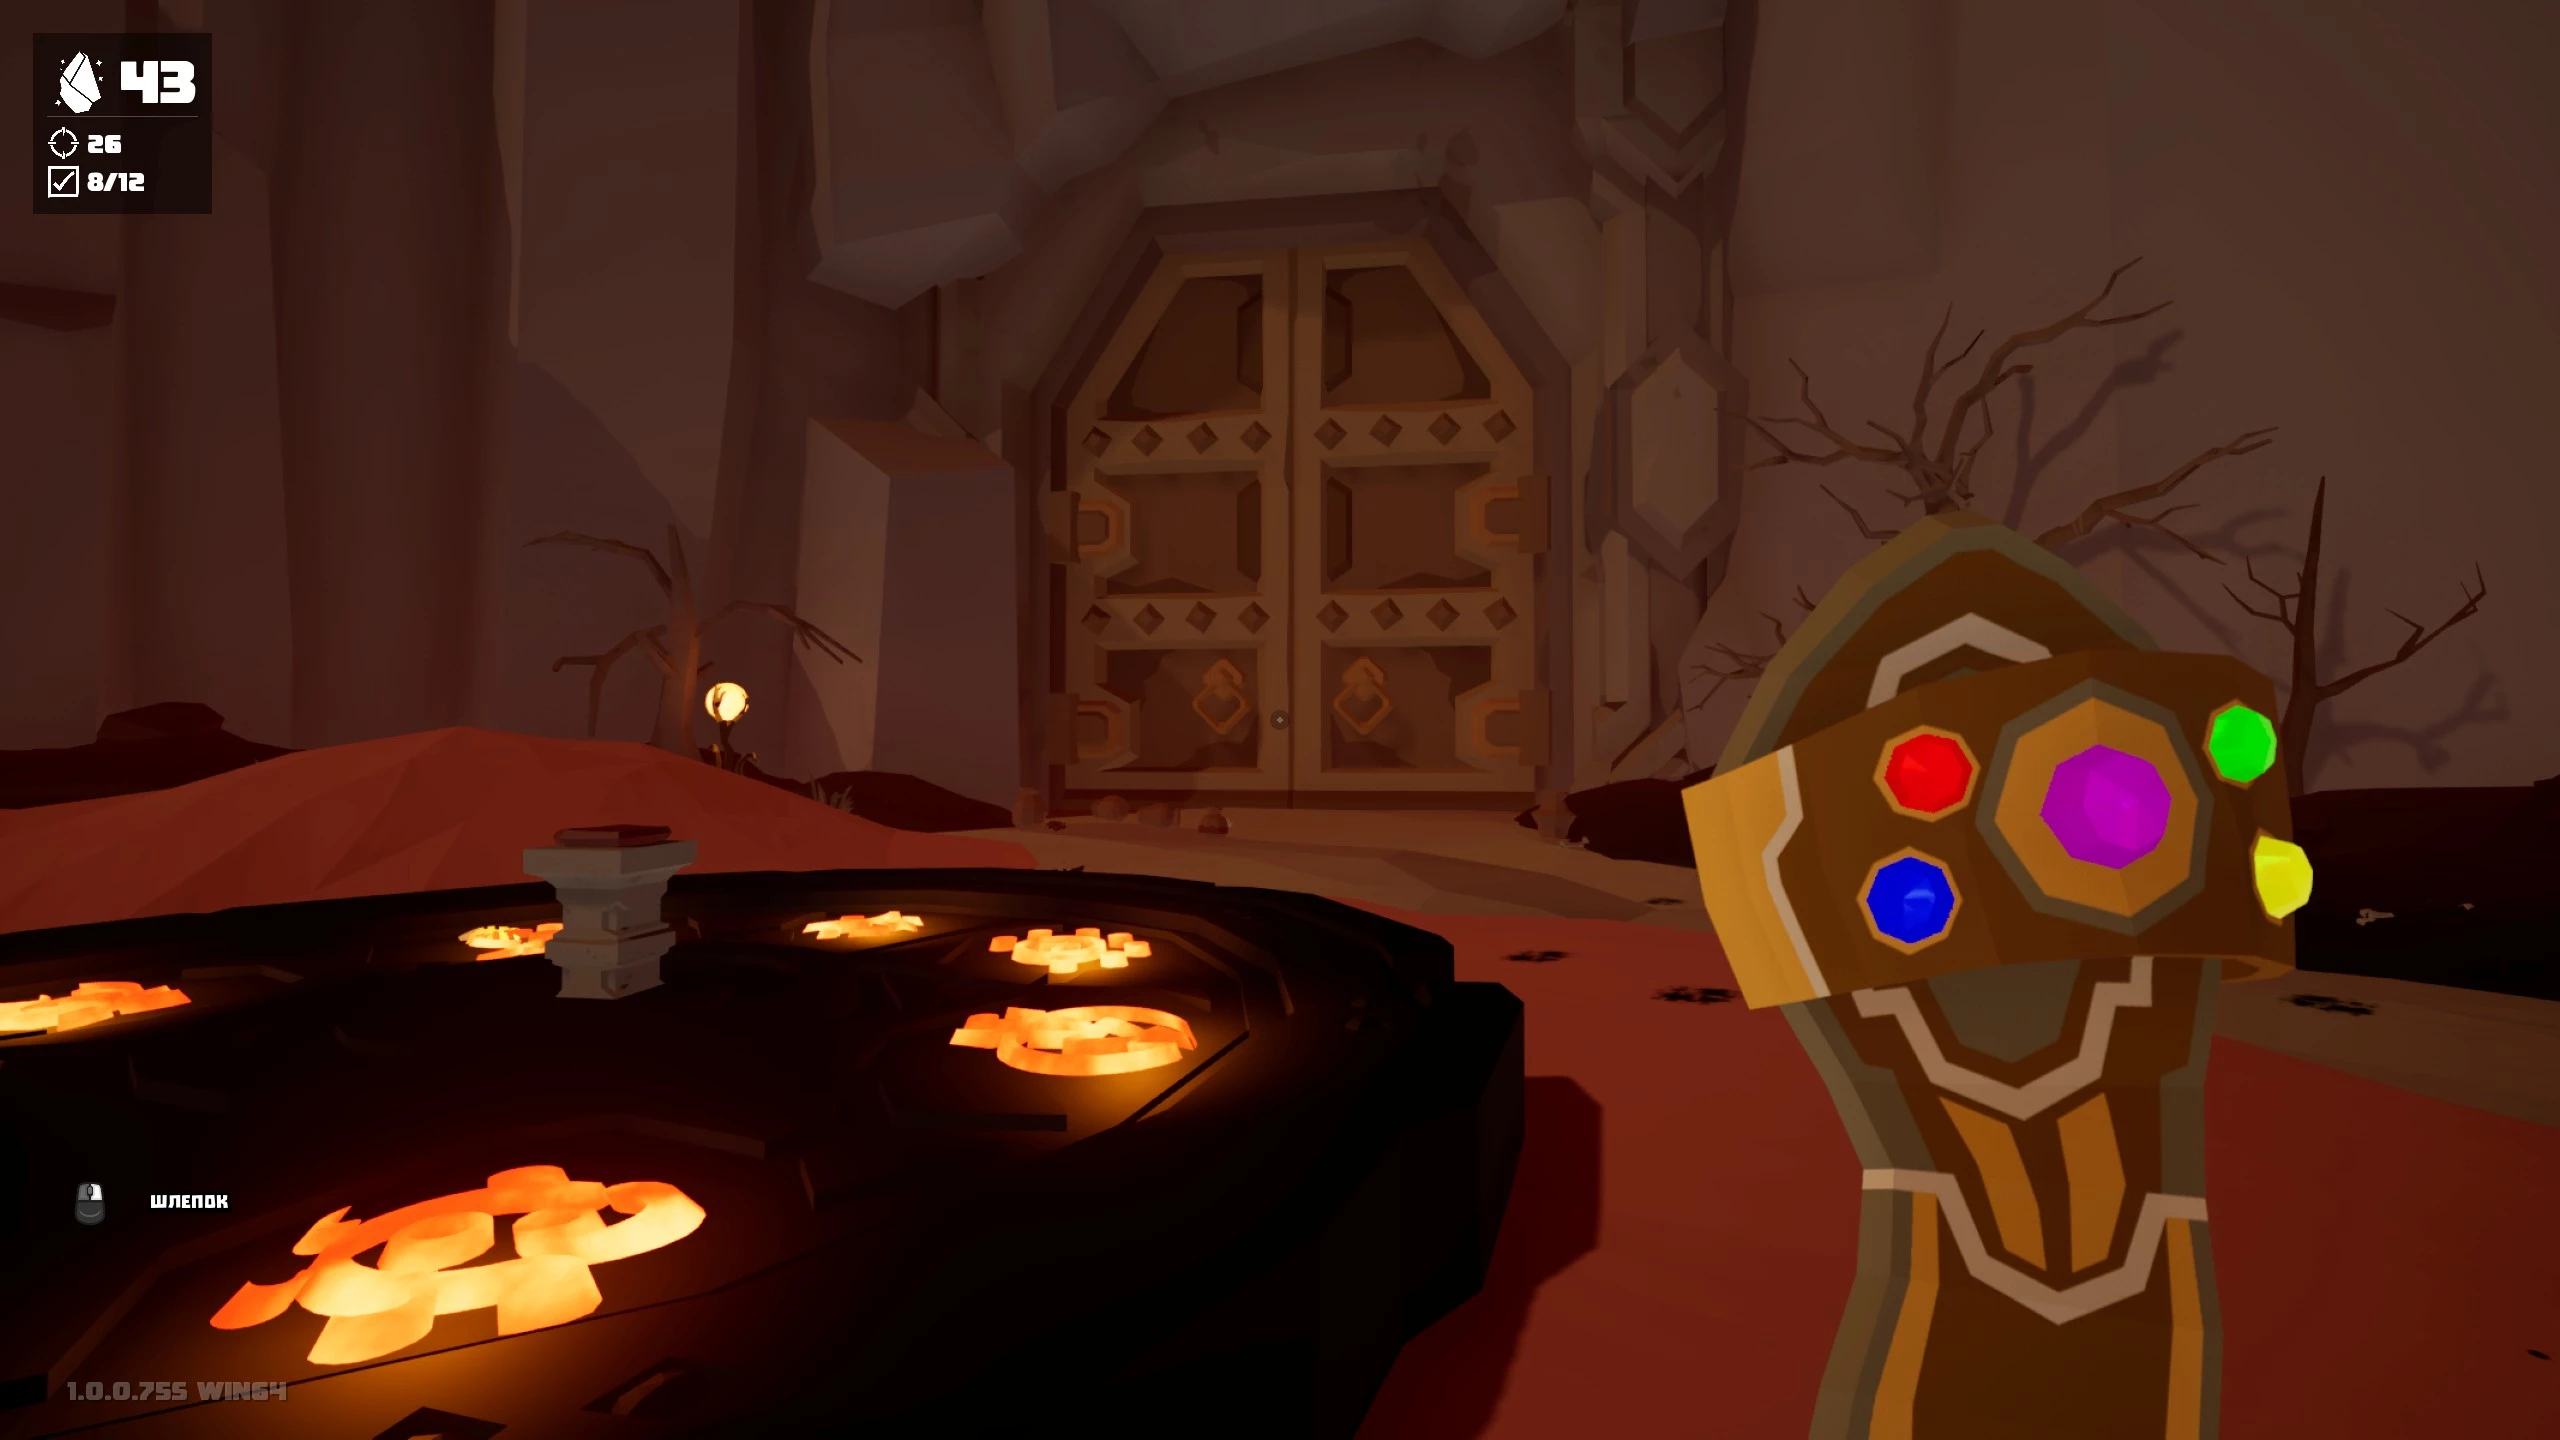
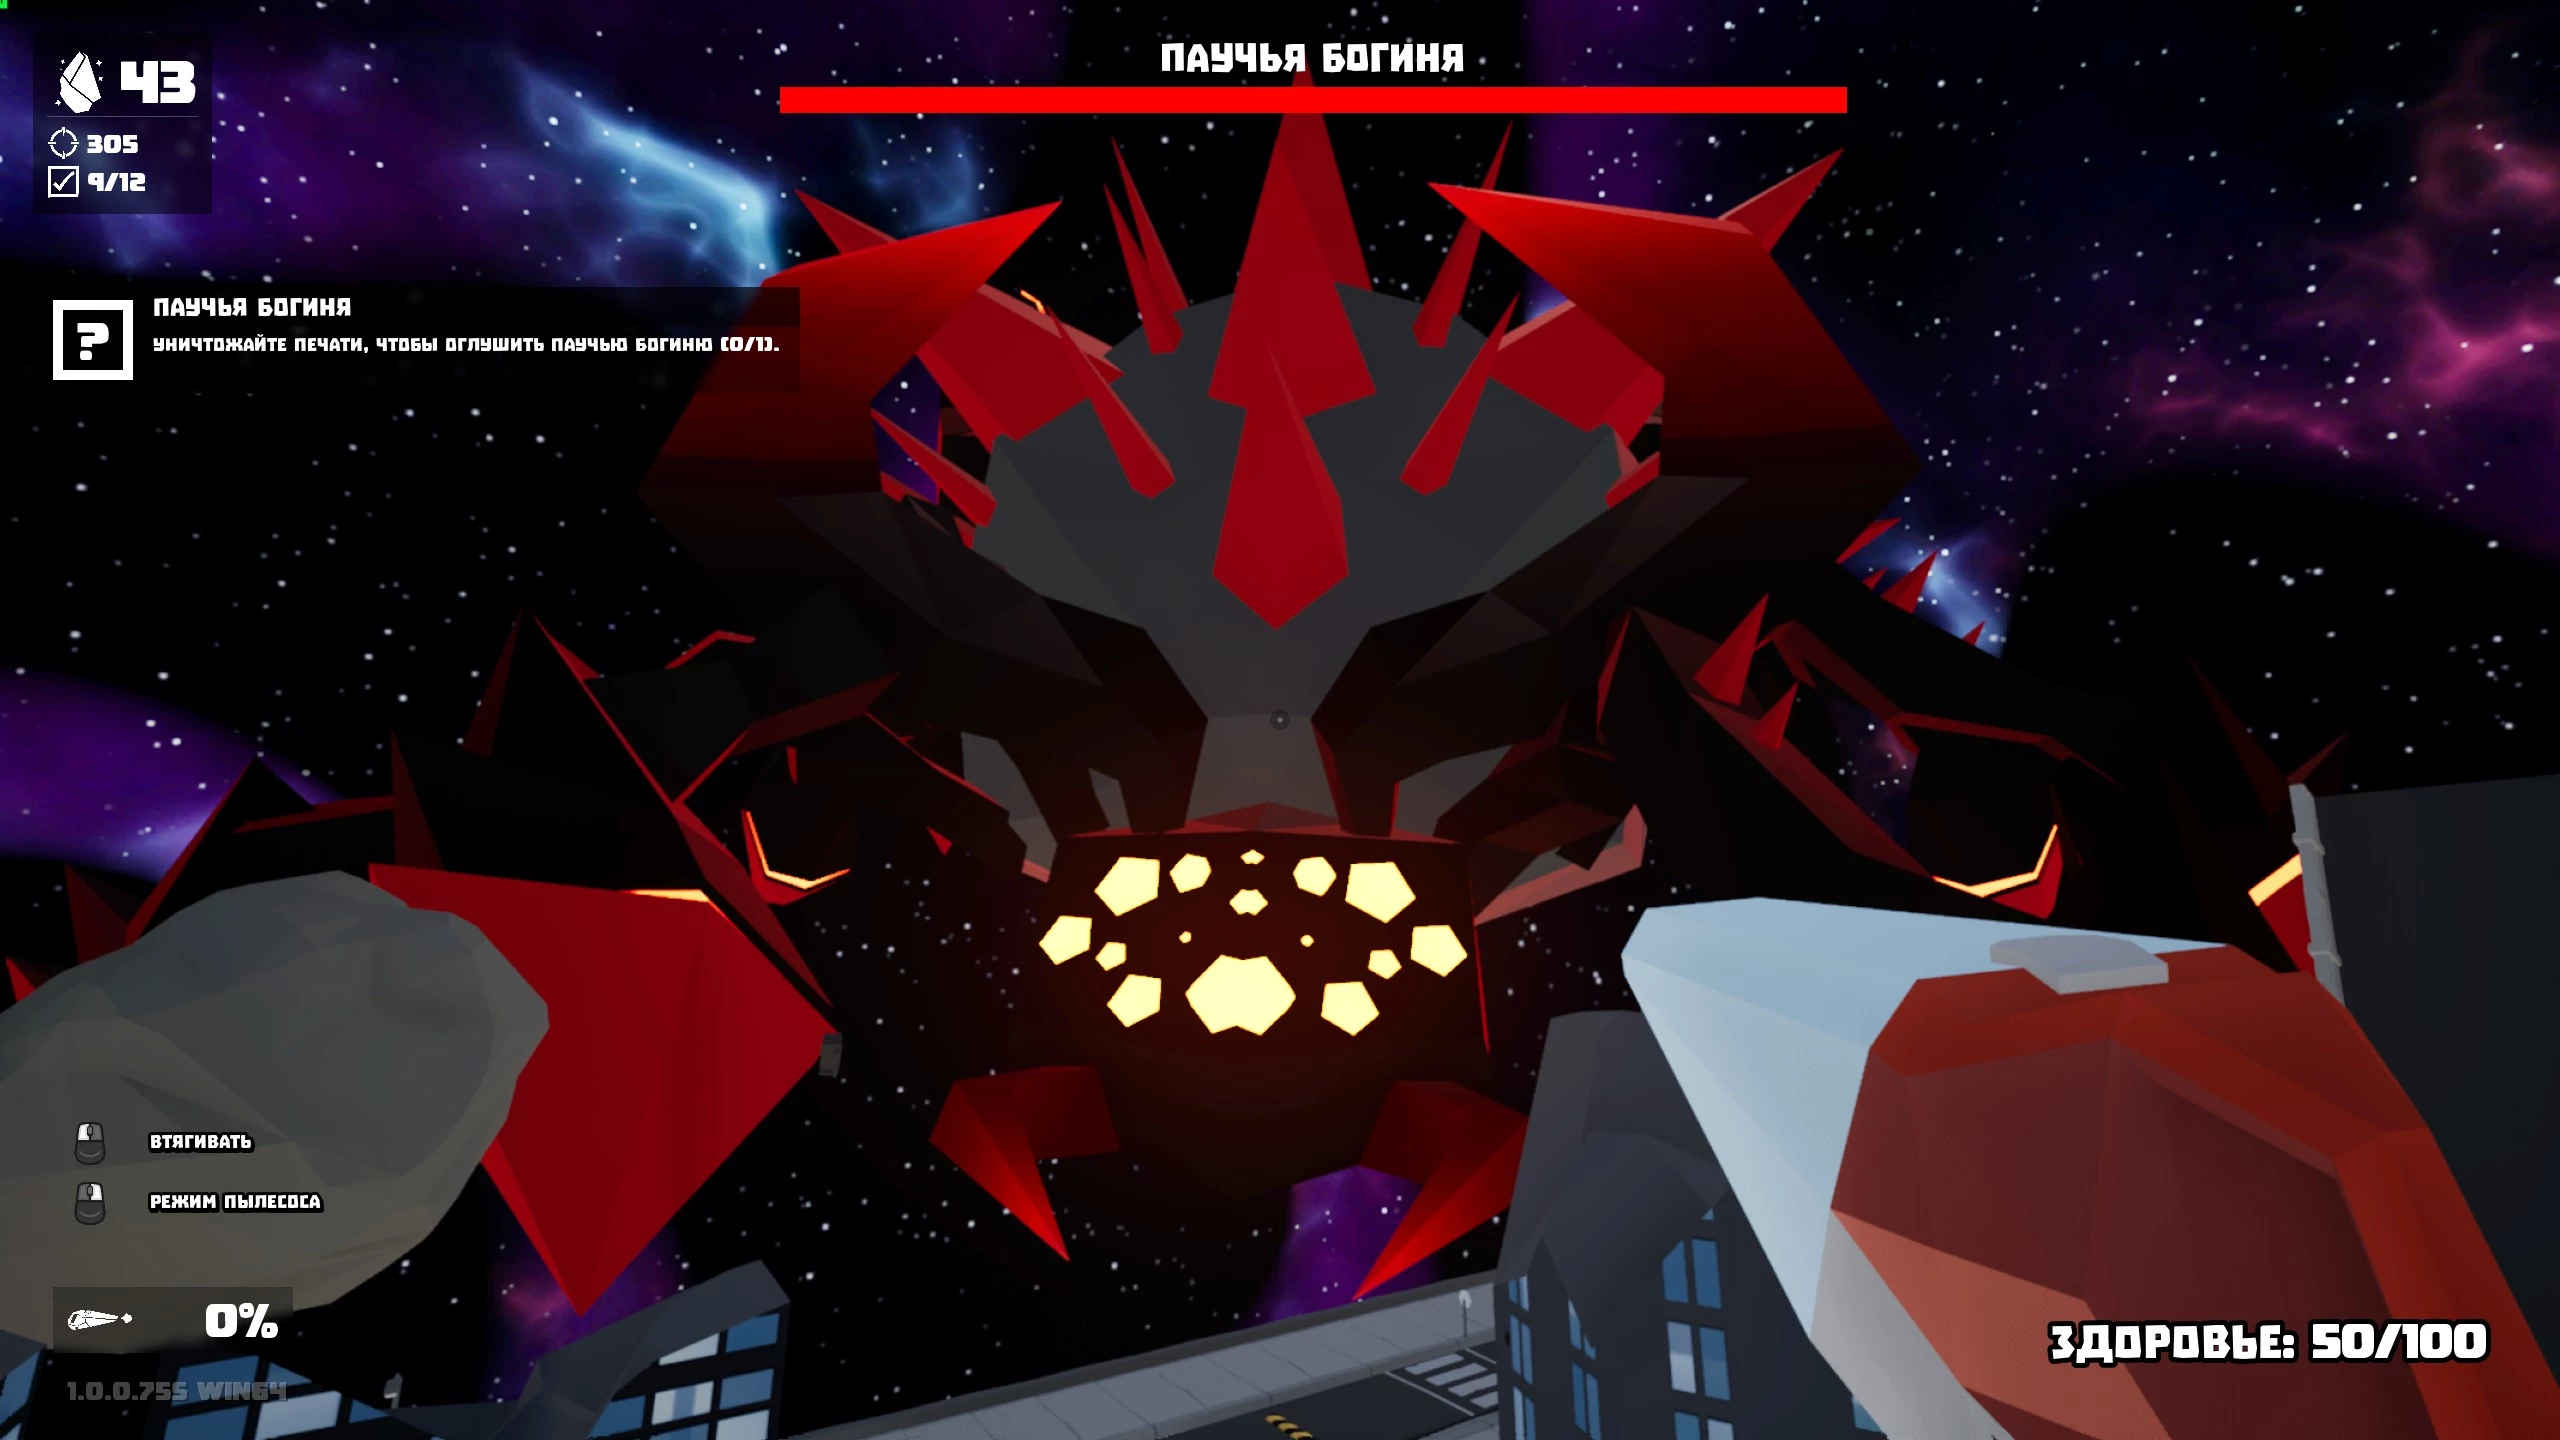
Spider Hell — Alpha-1 Dimension
Here, you need to destroy eight seals and collect five gems for the slipper. To complete “Torchbearer,” light both torches by the door. You can get past the crazy cactus if spiders are crawling on your character. At the end, you need to kill the tank spider to charge the slate and use it to break down the giant gates.
Next is the “Spider Pit” challenge, where you must kill spiders in all dimensions against the clock. Eventually, the hero will end up in Arachnotopia. Destroy buildings to summon the Spider Goddess.
When the Spider Goddess crashes into walls, she gets stunned—this is your chance to deal damage. At the end of the first phase, charge the slipper and hit her. In the second phase, weaken the boss by destroying the seals.
Epilogue
After your victory, a countdown timer will start. You need to leave the area and jump into the portal. The credits will roll, and at the end, the hero will find themselves in the hallway of an apartment building. Check the vase and open the drawer with the spider. That’s where the story ends. You’ll end up back on the ship. Now you can explore the remaining locations and collect all the collectibles.
-
 Baldur’s Gate 3 Romance Guide: Every Companion You Can Date
 -
 Baldur’s Gate 3 Adamantine Forge Guide
 -
 Baldur’s Gate 3 Infernal Iron Locations for Karlach
 -
 How to Find All Companion Characters in Baldur's Gate 3
 -
 Baldur’s Gate 3 Moonrise Towers Guide: Defiled Temple Moon Puzzle
 -
 How to Open Selune’s Gilded Chest in Baldur’s Gate 3
 -
 Baldur’s Gate 3 Owlbear Cub Guide: How to Recruit It to Your Camp
 -
 Baldur’s Gate 3 Open Hand Temple Murders Guide
 -
 Palworld 1.0 Best Pals for Early Game, Combat, Bases, and Mounts