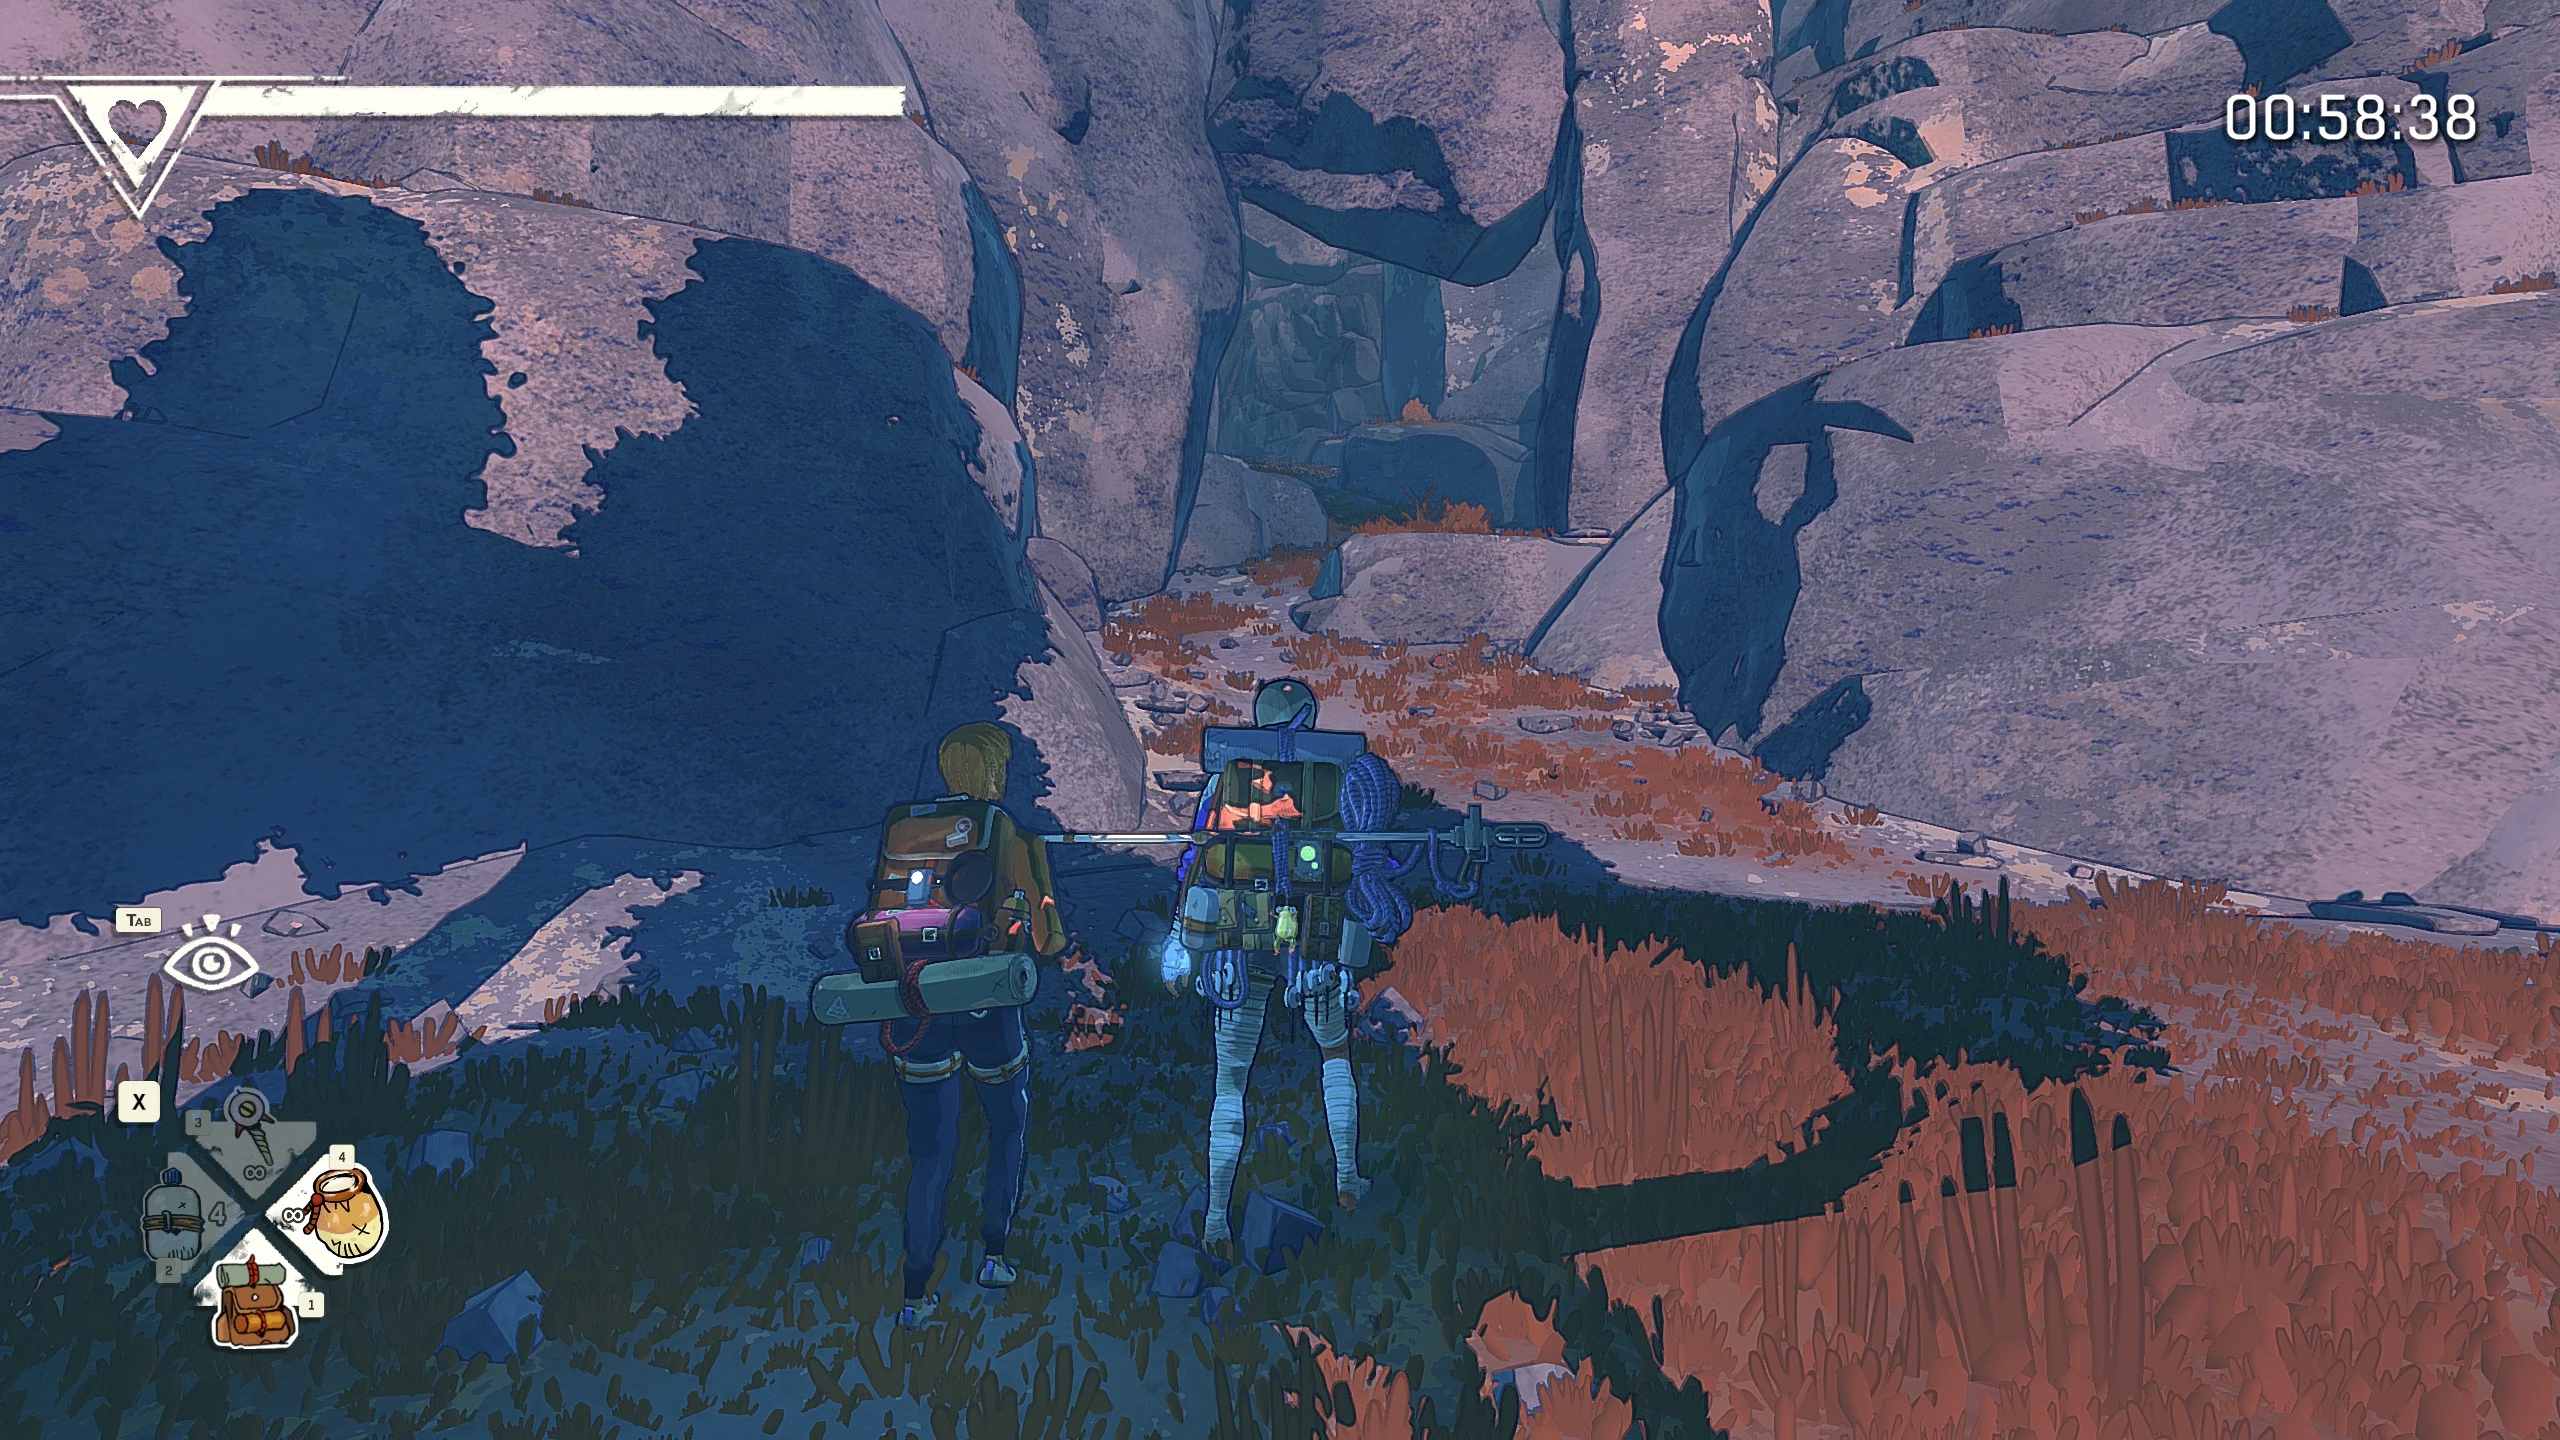
Cairn tells the story of an experienced climber named Aava, who sets out to conquer the most unyielding mountain. Along the way, she’ll meet a variety of deeply developed characters and encounter different animals. In this guide, we’ll cover the main story walkthrough in detail and explain the core gameplay mechanics. You’ll learn how to control the protagonist with ease, manage your resources, and master the basics of high-altitude survival.
Getting Started
The game begins with a difficulty selection. You have three modes to choose from:
- Explorer: Simplified resource management, accessible grappling hook and other safety gear, autosaves, most climbing assists enabled, and time control available.
- Alpinist: Resource usage is close to realistic, safety equipment is available, progress saves at bivouacs, climbing assists are off by default (can be changed in settings).
- Free solo: Survival is much harder, no safety gear allowed, you can only save when quitting the game, one life, all assists are locked. Altitude sickness effect (pink filter) is added.
Gameplay focuses on micro-controlling Aava’s limbs. For your first climb, we recommend starting on the easiest difficulty. The game is fairly short, so you can always try the other modes later.
Warm-up. Climbing Basics
We recommend playing with a gamepad. The prologue takes place on a climbing wall, where you’ll need to scale up various surfaces. By default, Aava’s movements are automated as follows: the first move starts with the left hand, and each following action cycles to the next limb in a “left-right” order.
- Left hand.
- Right hand.
- Left foot.
- Right foot.
- Left hand.
There’s also a mode where you can select a specific limb. To do this while climbing, press the spacebar. Aava’s hands and feet will light up, and the selected limb will blink. Release the key and place the limb where you want.
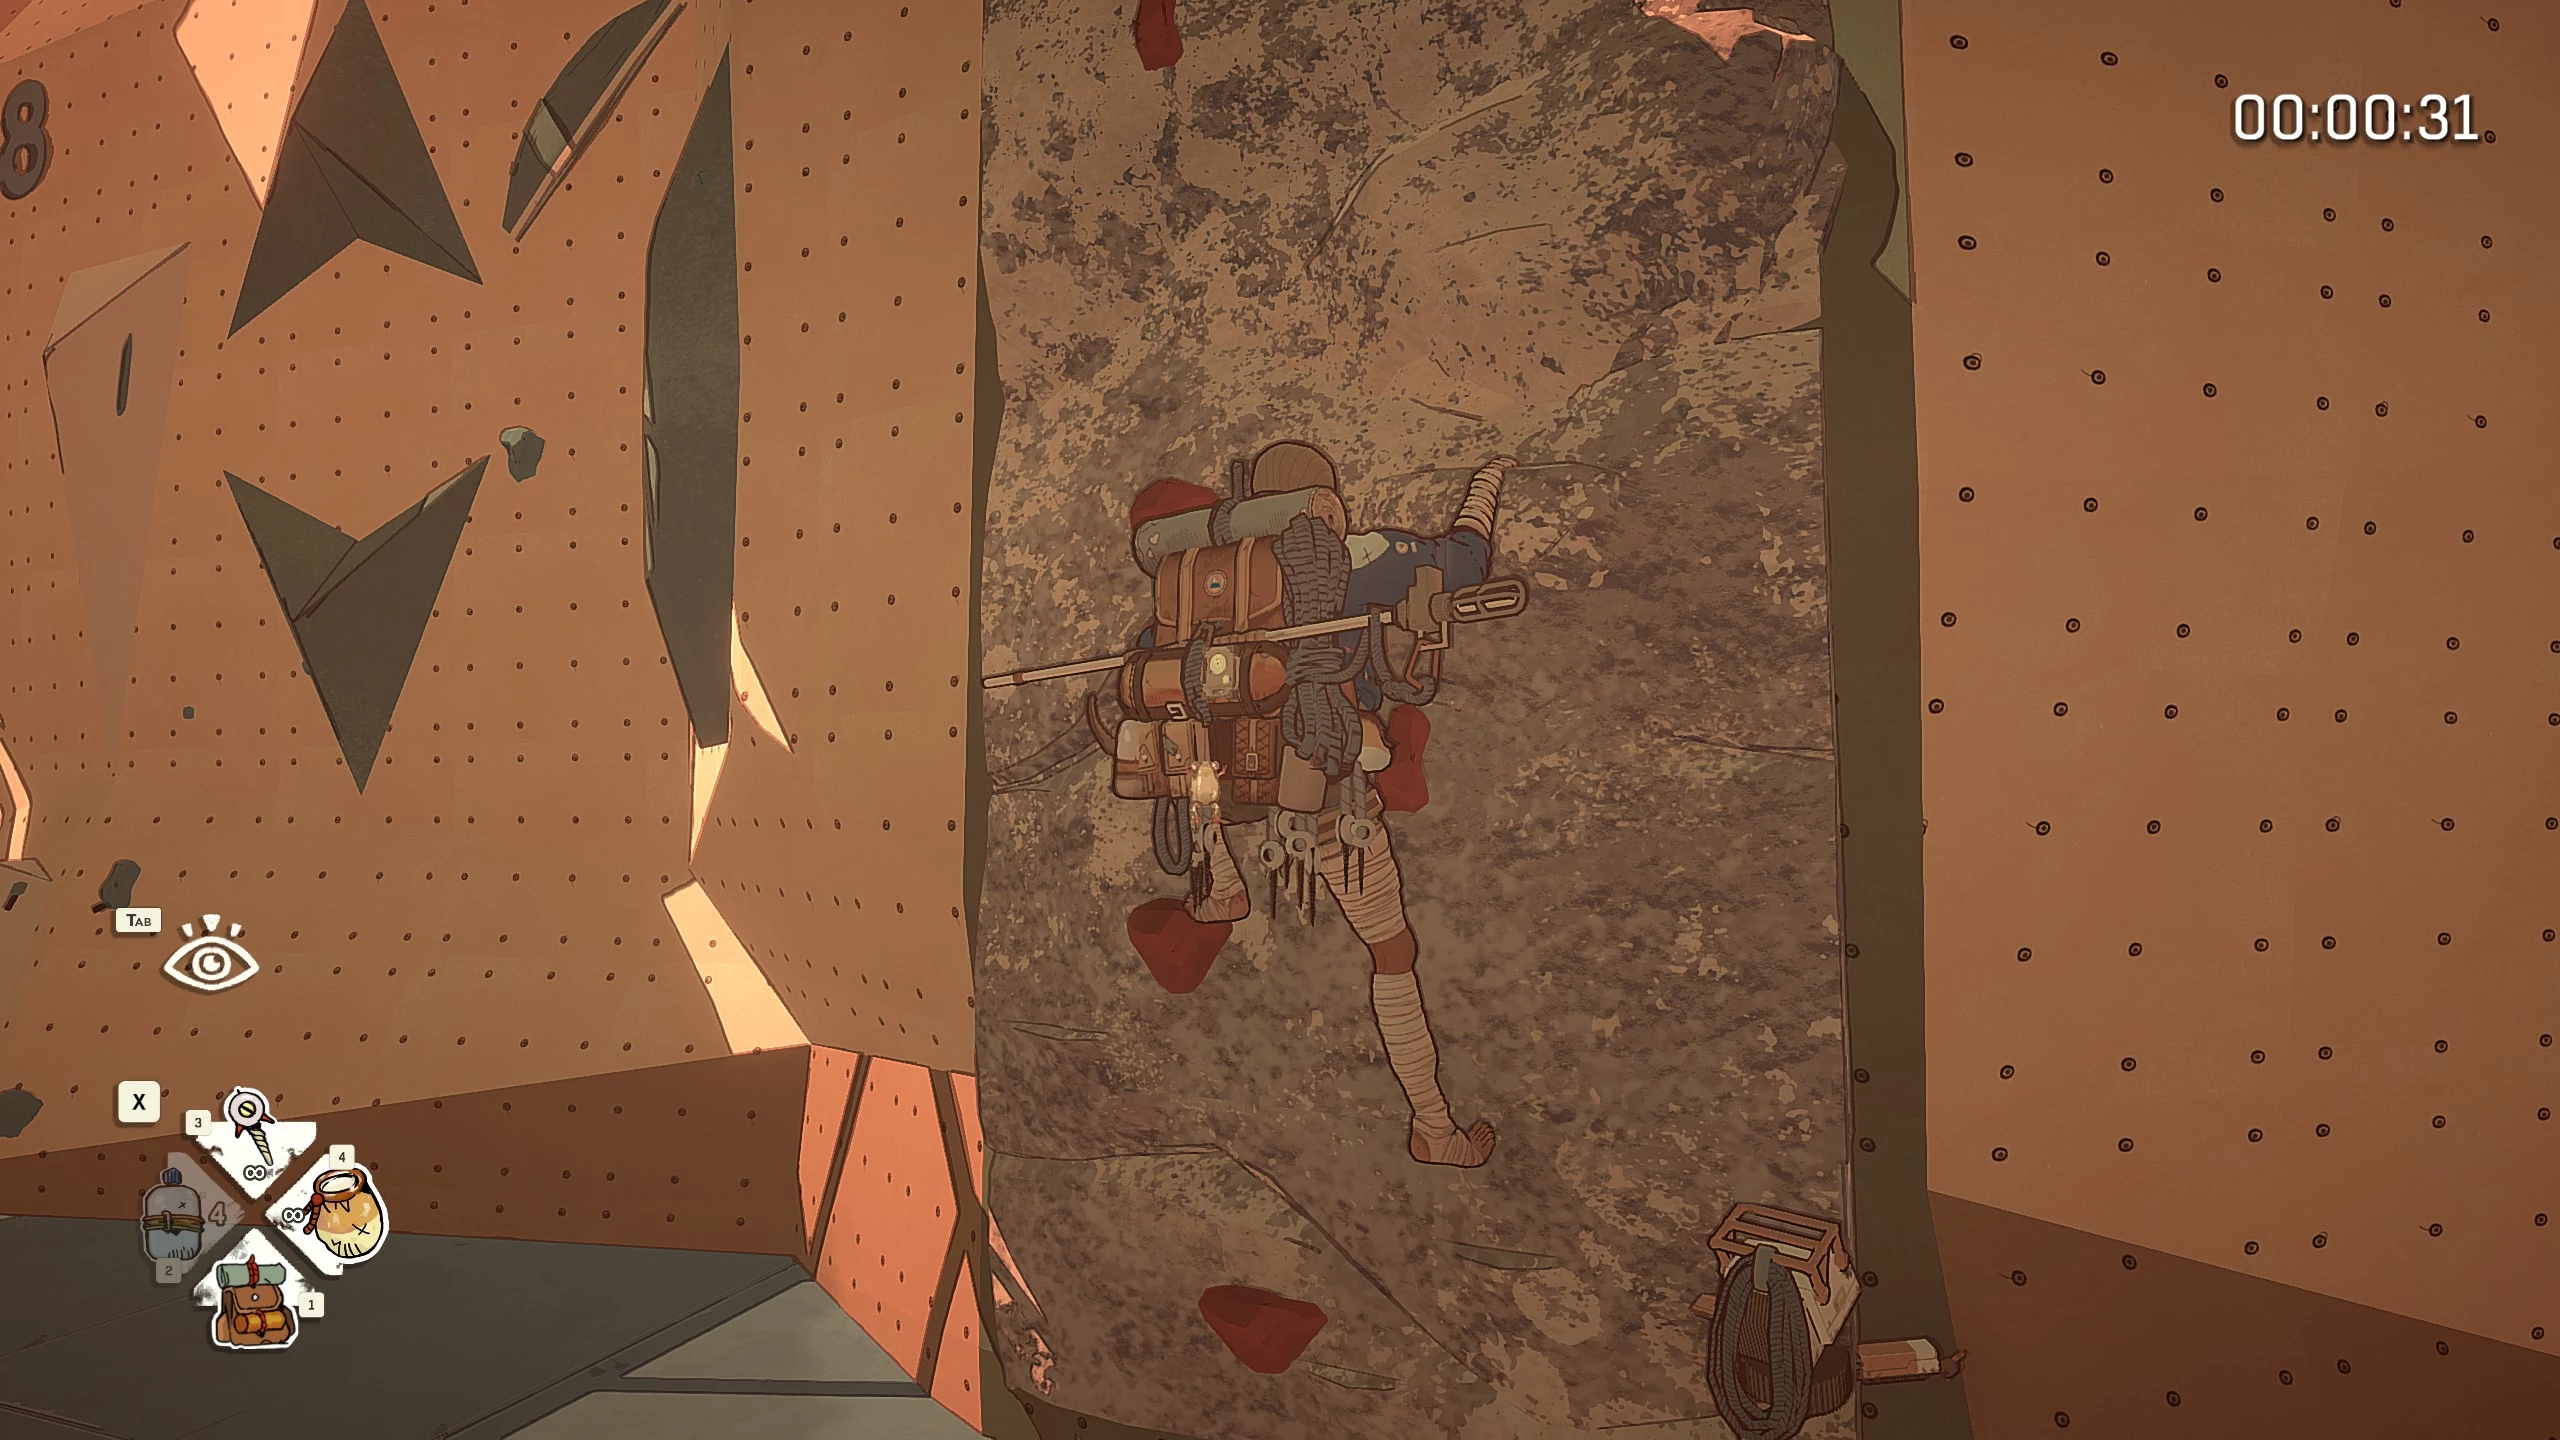
Climb three walls so that Aava grabs the very top hold. You don’t have to stick only to protruding grips—Aava can brace her hands and feet against any surface. Just keep in mind that this reduces stability and increases stamina drain. Try to keep her in the most stable position possible.
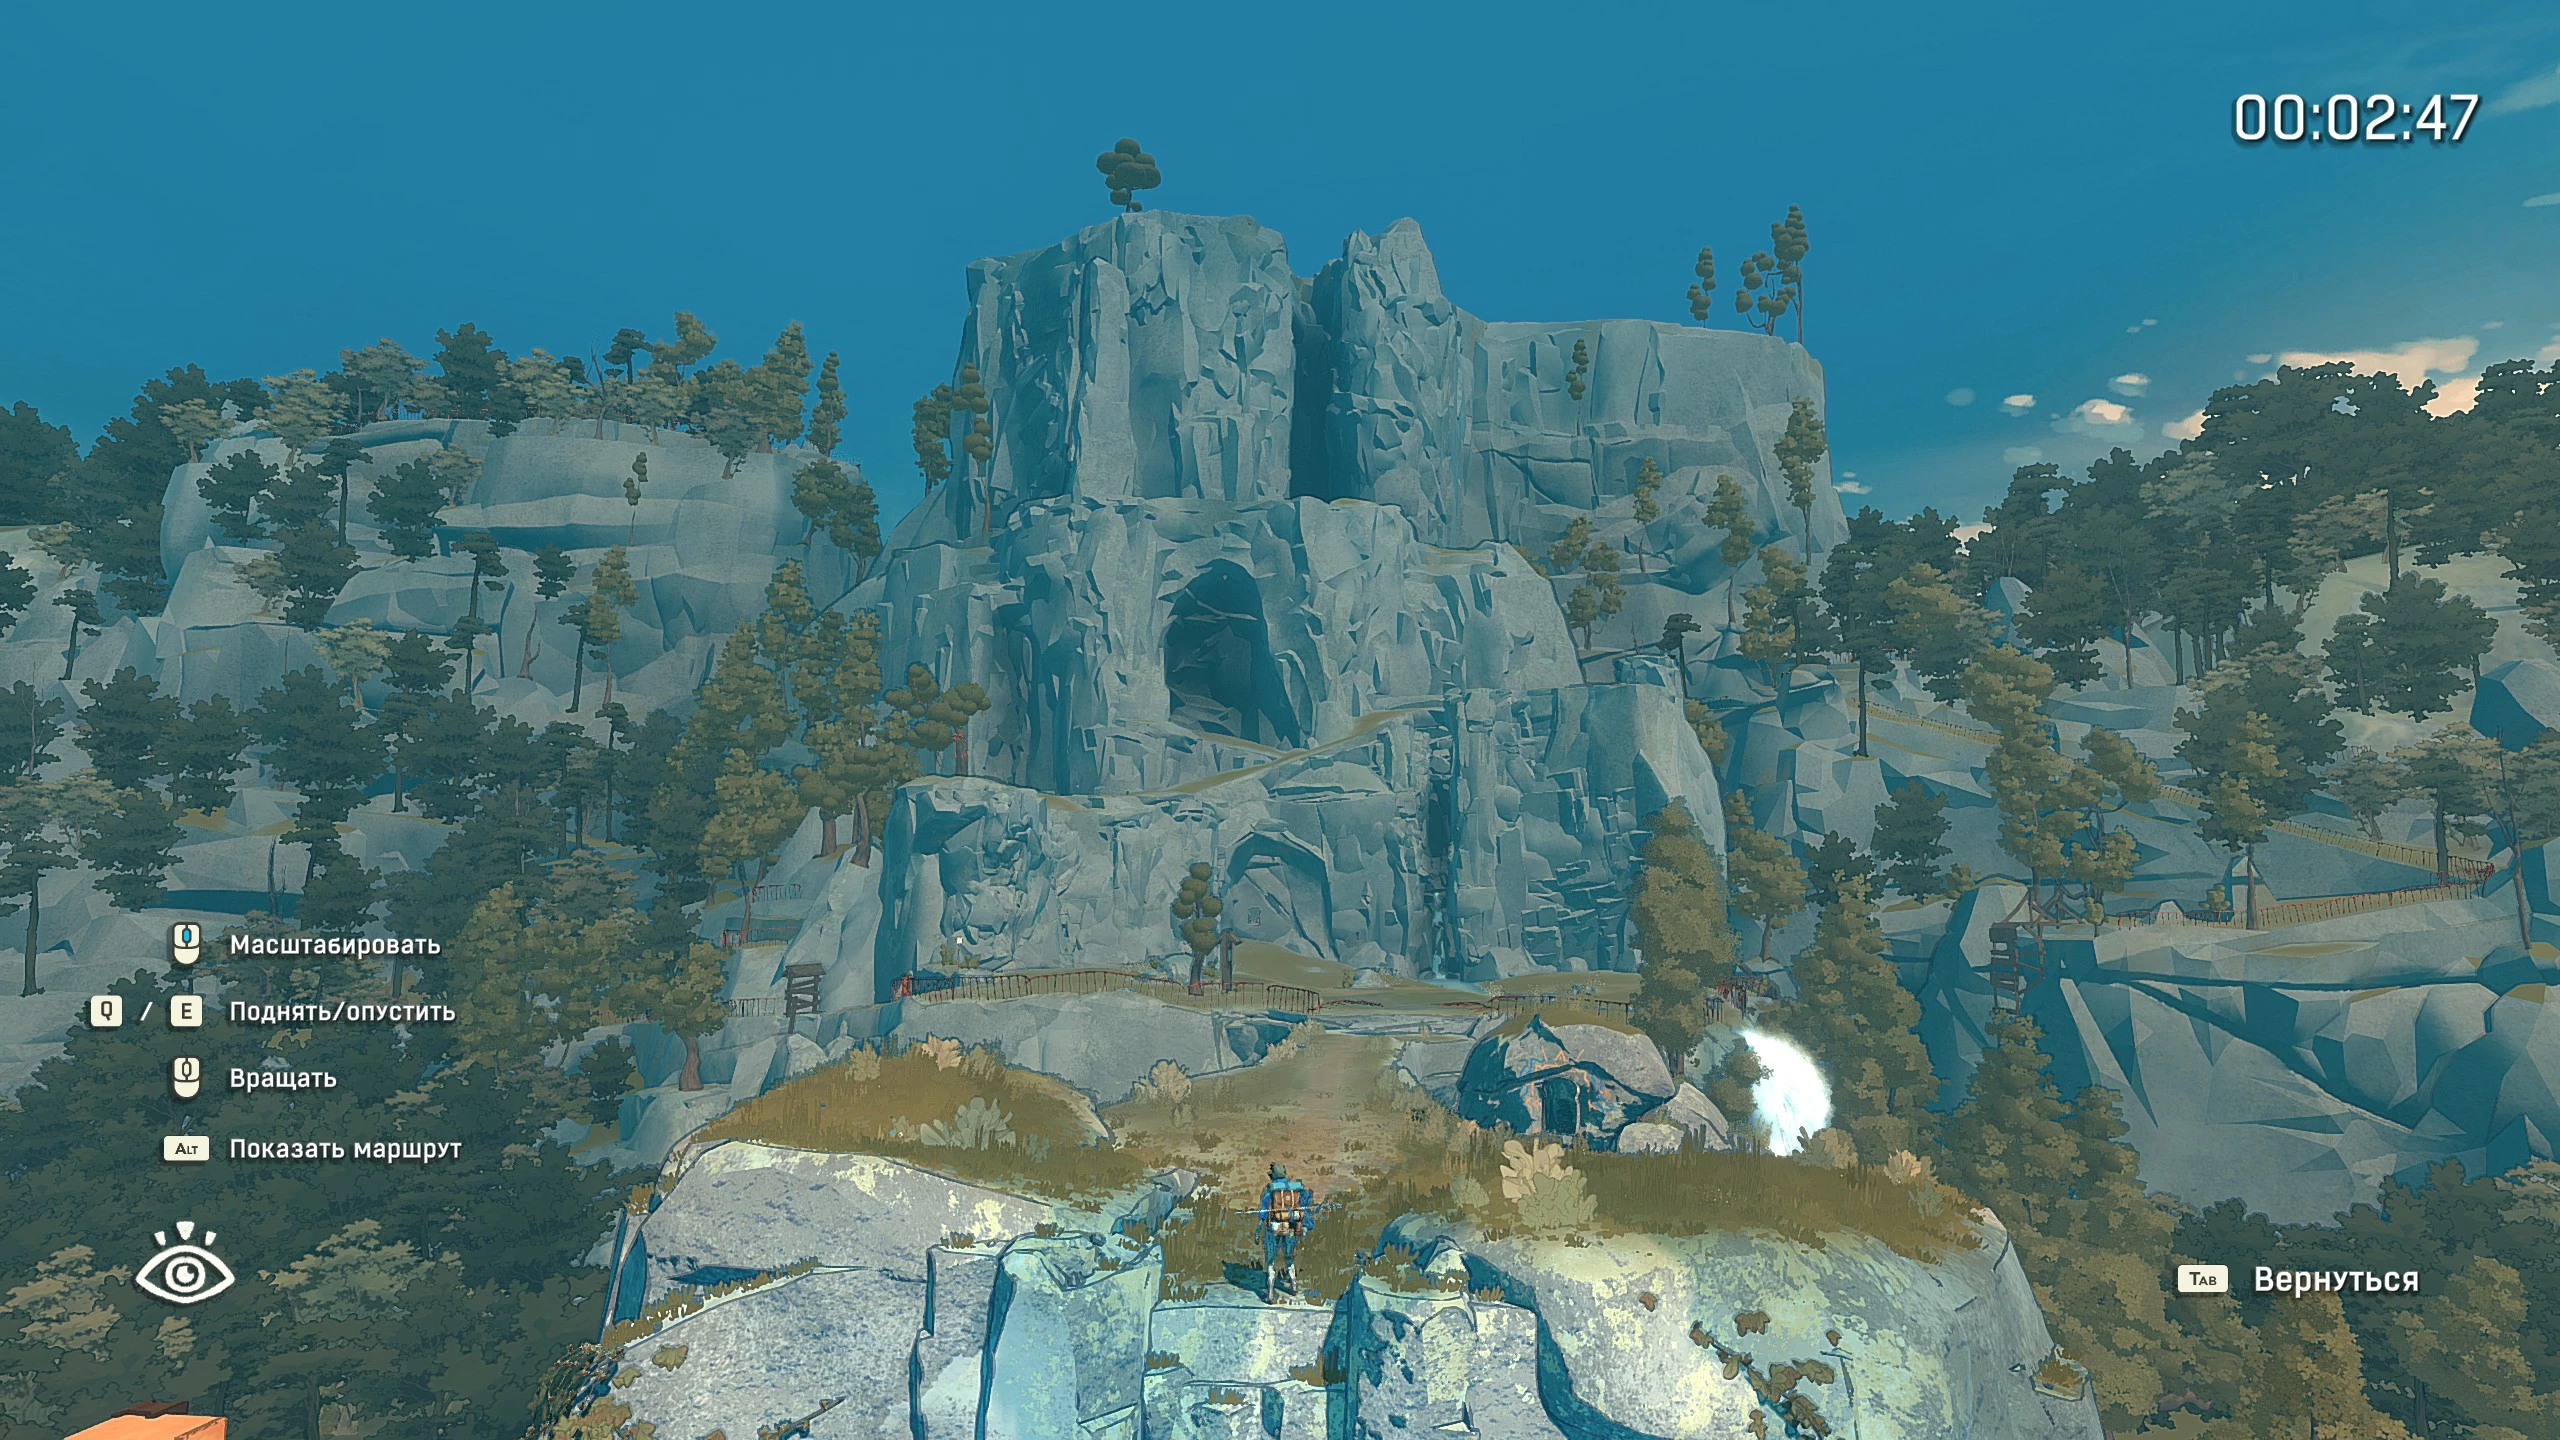
Sometimes you’ll need to reach for distant holds. In these cases, make sure one of your feet has a secure foothold. Then, pick the hand closest to the hold and stretch it toward the grip. Aava will reach out in that direction. If the limb ends up in an unstable position, it will start shaking, which can lead to a fall.
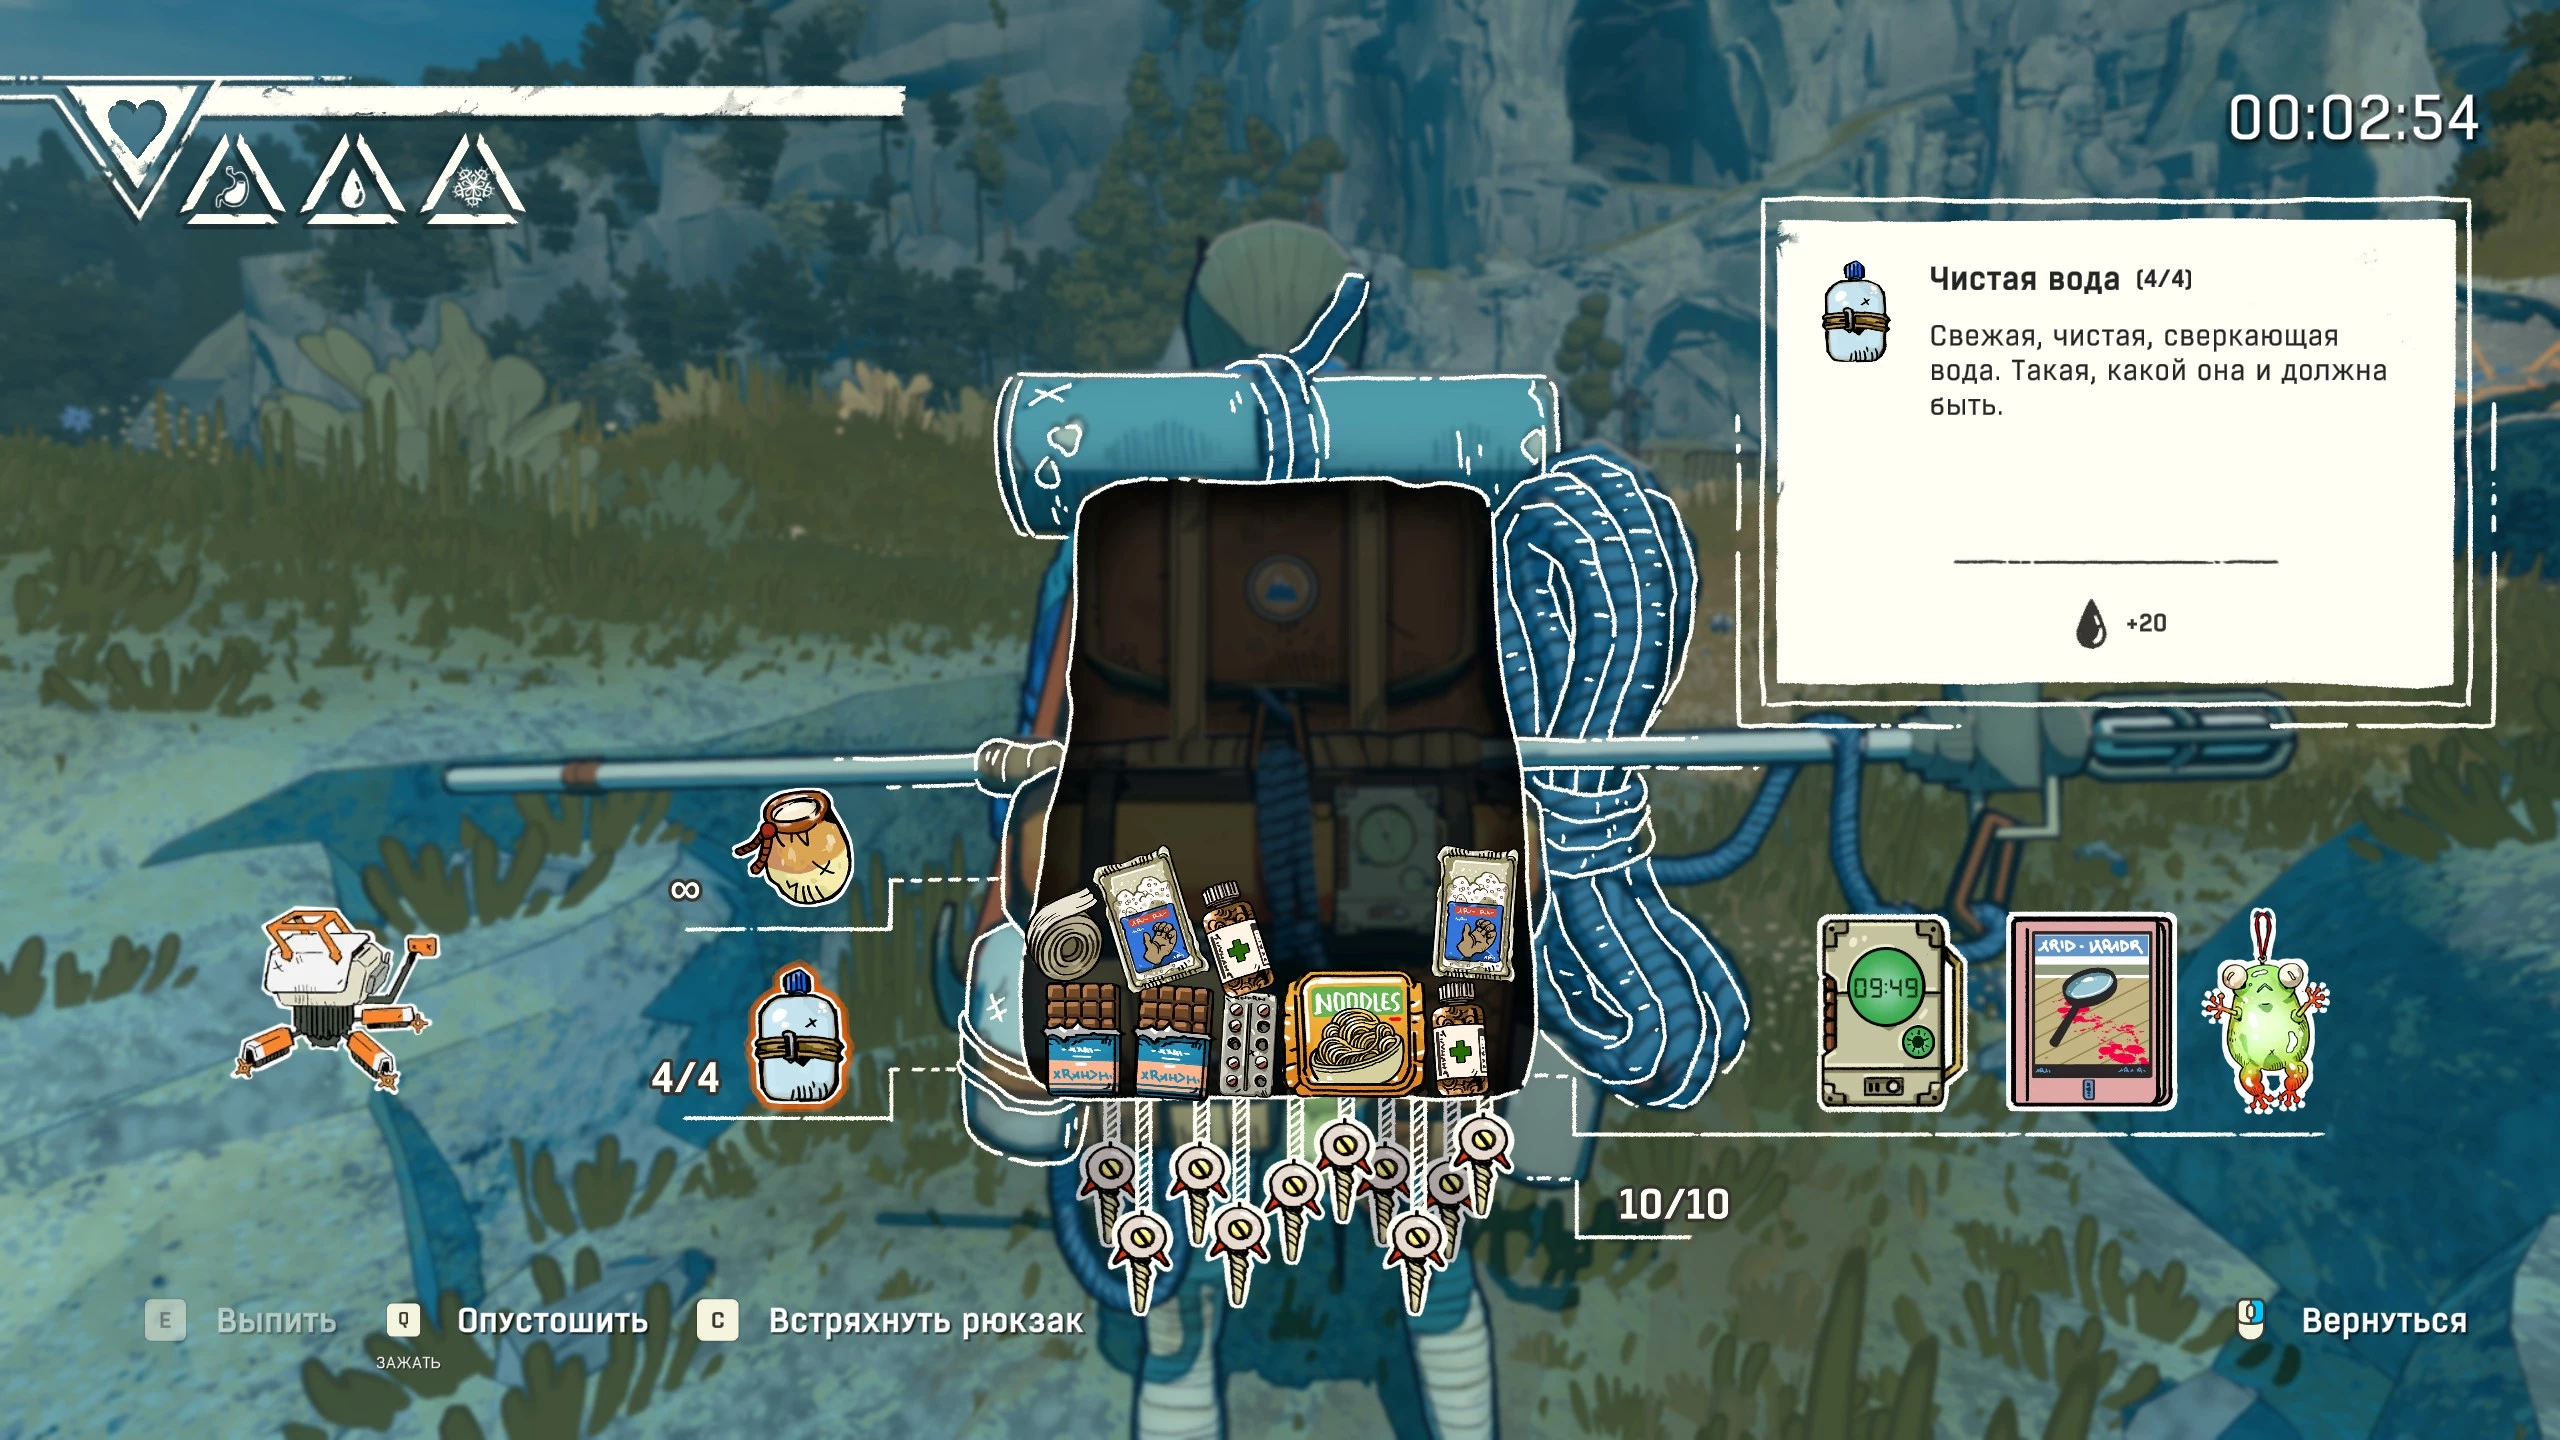
Next to Aava on the climbing wall, you'll always see a projection showing the right moves. Don't skip this tutorial because you'll need it for a real rock climbing challenge soon. At the top of the third wall, you'll have to place a piton. Select it from your inventory and a gauge will pop up. Hit the mark when the pointer is in the center to set your safety anchor. While anchored, Aava can recover stamina, rappel down, or swing on the rope.
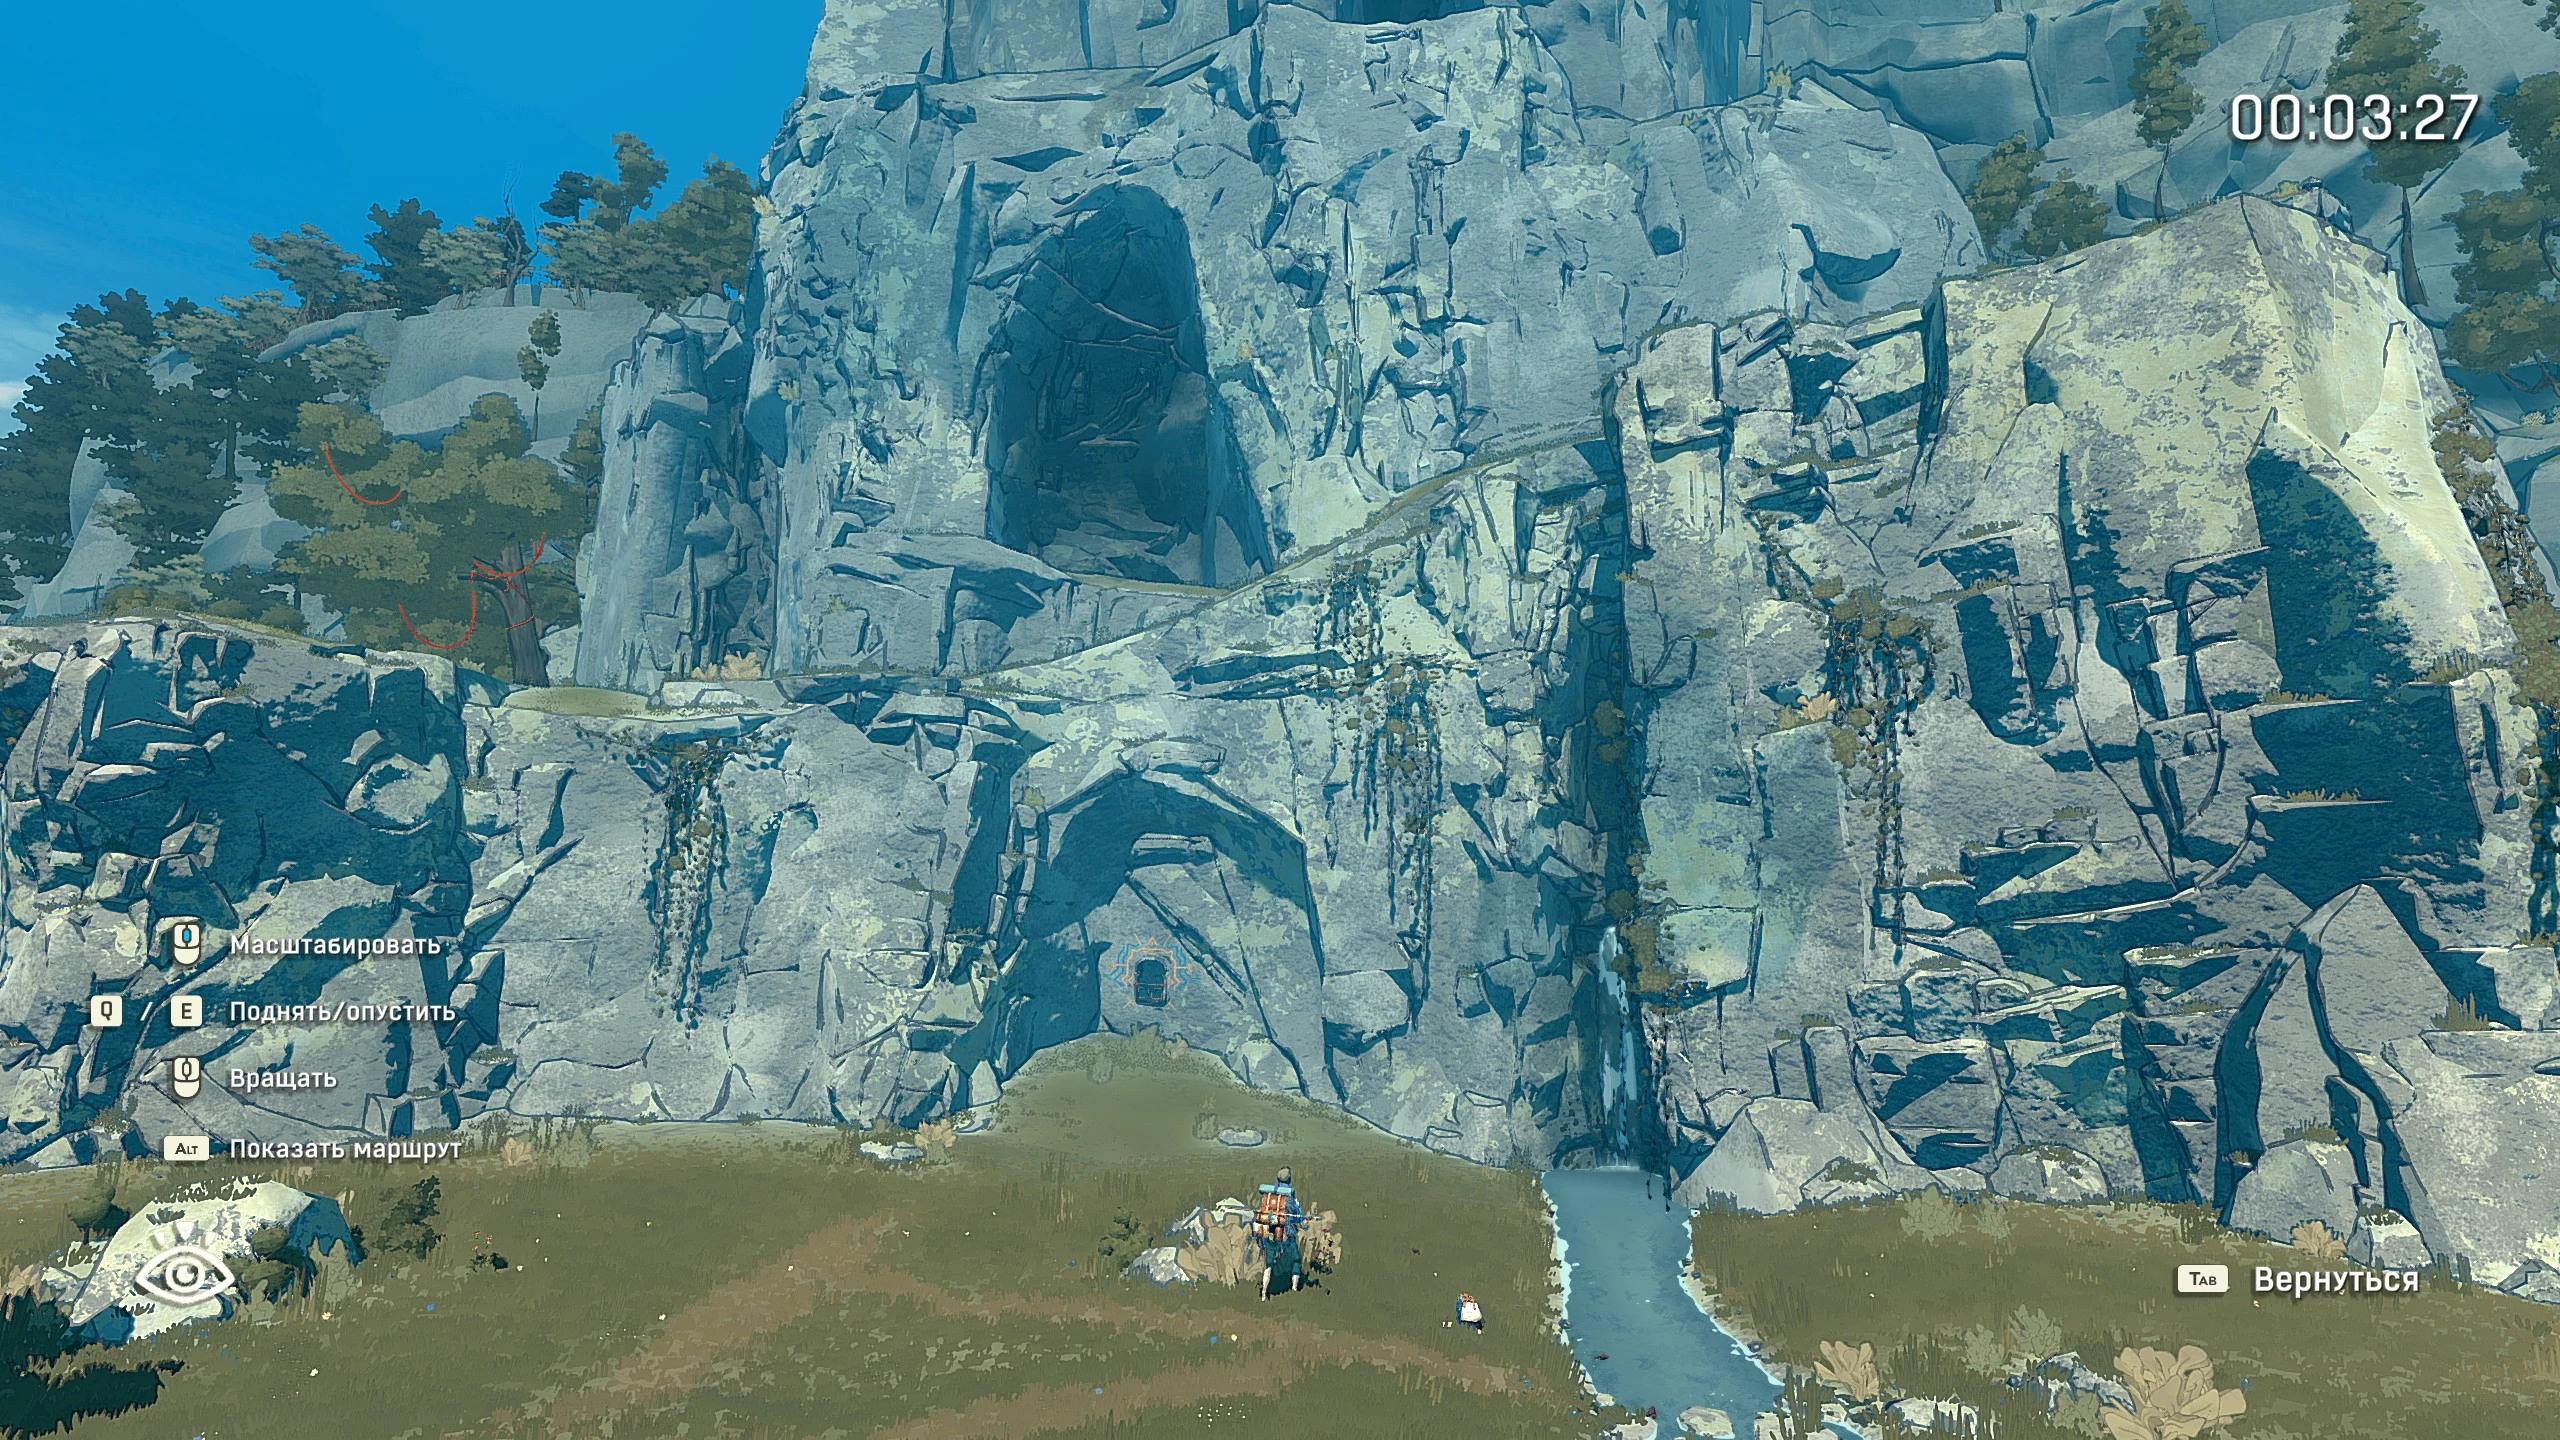
At the end of your descent, ask the robot Krabot to return your auto-locking piton or any broken pitons. We recommend doing the optional training on five walls of varying difficulty. This will help you master more advanced climbing techniques, which you’ll definitely need later. Above wall number eight, you’ll find a collectible souvenir: tenzen.
For completing extra challenges, a reward chest will appear at the end of the climbing gym:
- Auto-locking piton
- Cereal bar
- Antiseptic
- Beekeeper’s map
The beekeeper's map shows a hidden stash in the Kami mountains. It includes a diagram with the path to the treasure clearly marked. Take a good look at the image and remember it, since you'll find this spot later in your adventure.
Tenzen
At the end of the gym, there’s a rock face leading to the surface. Climb it to reach your first save point, where you can also set up a bivouac. While resting in your tent, you can do all sorts of useful things:
- Apply bandages
- Cook food
- Repair gear and consumables
- Recover stamina
- Change the time of day
If you leave the gym and see that it's already night, just set up camp. There's a sleeping pad at Aava's feet—interact with it and she'll go to sleep. Time will skip ahead so you can keep climbing when it's more convenient.
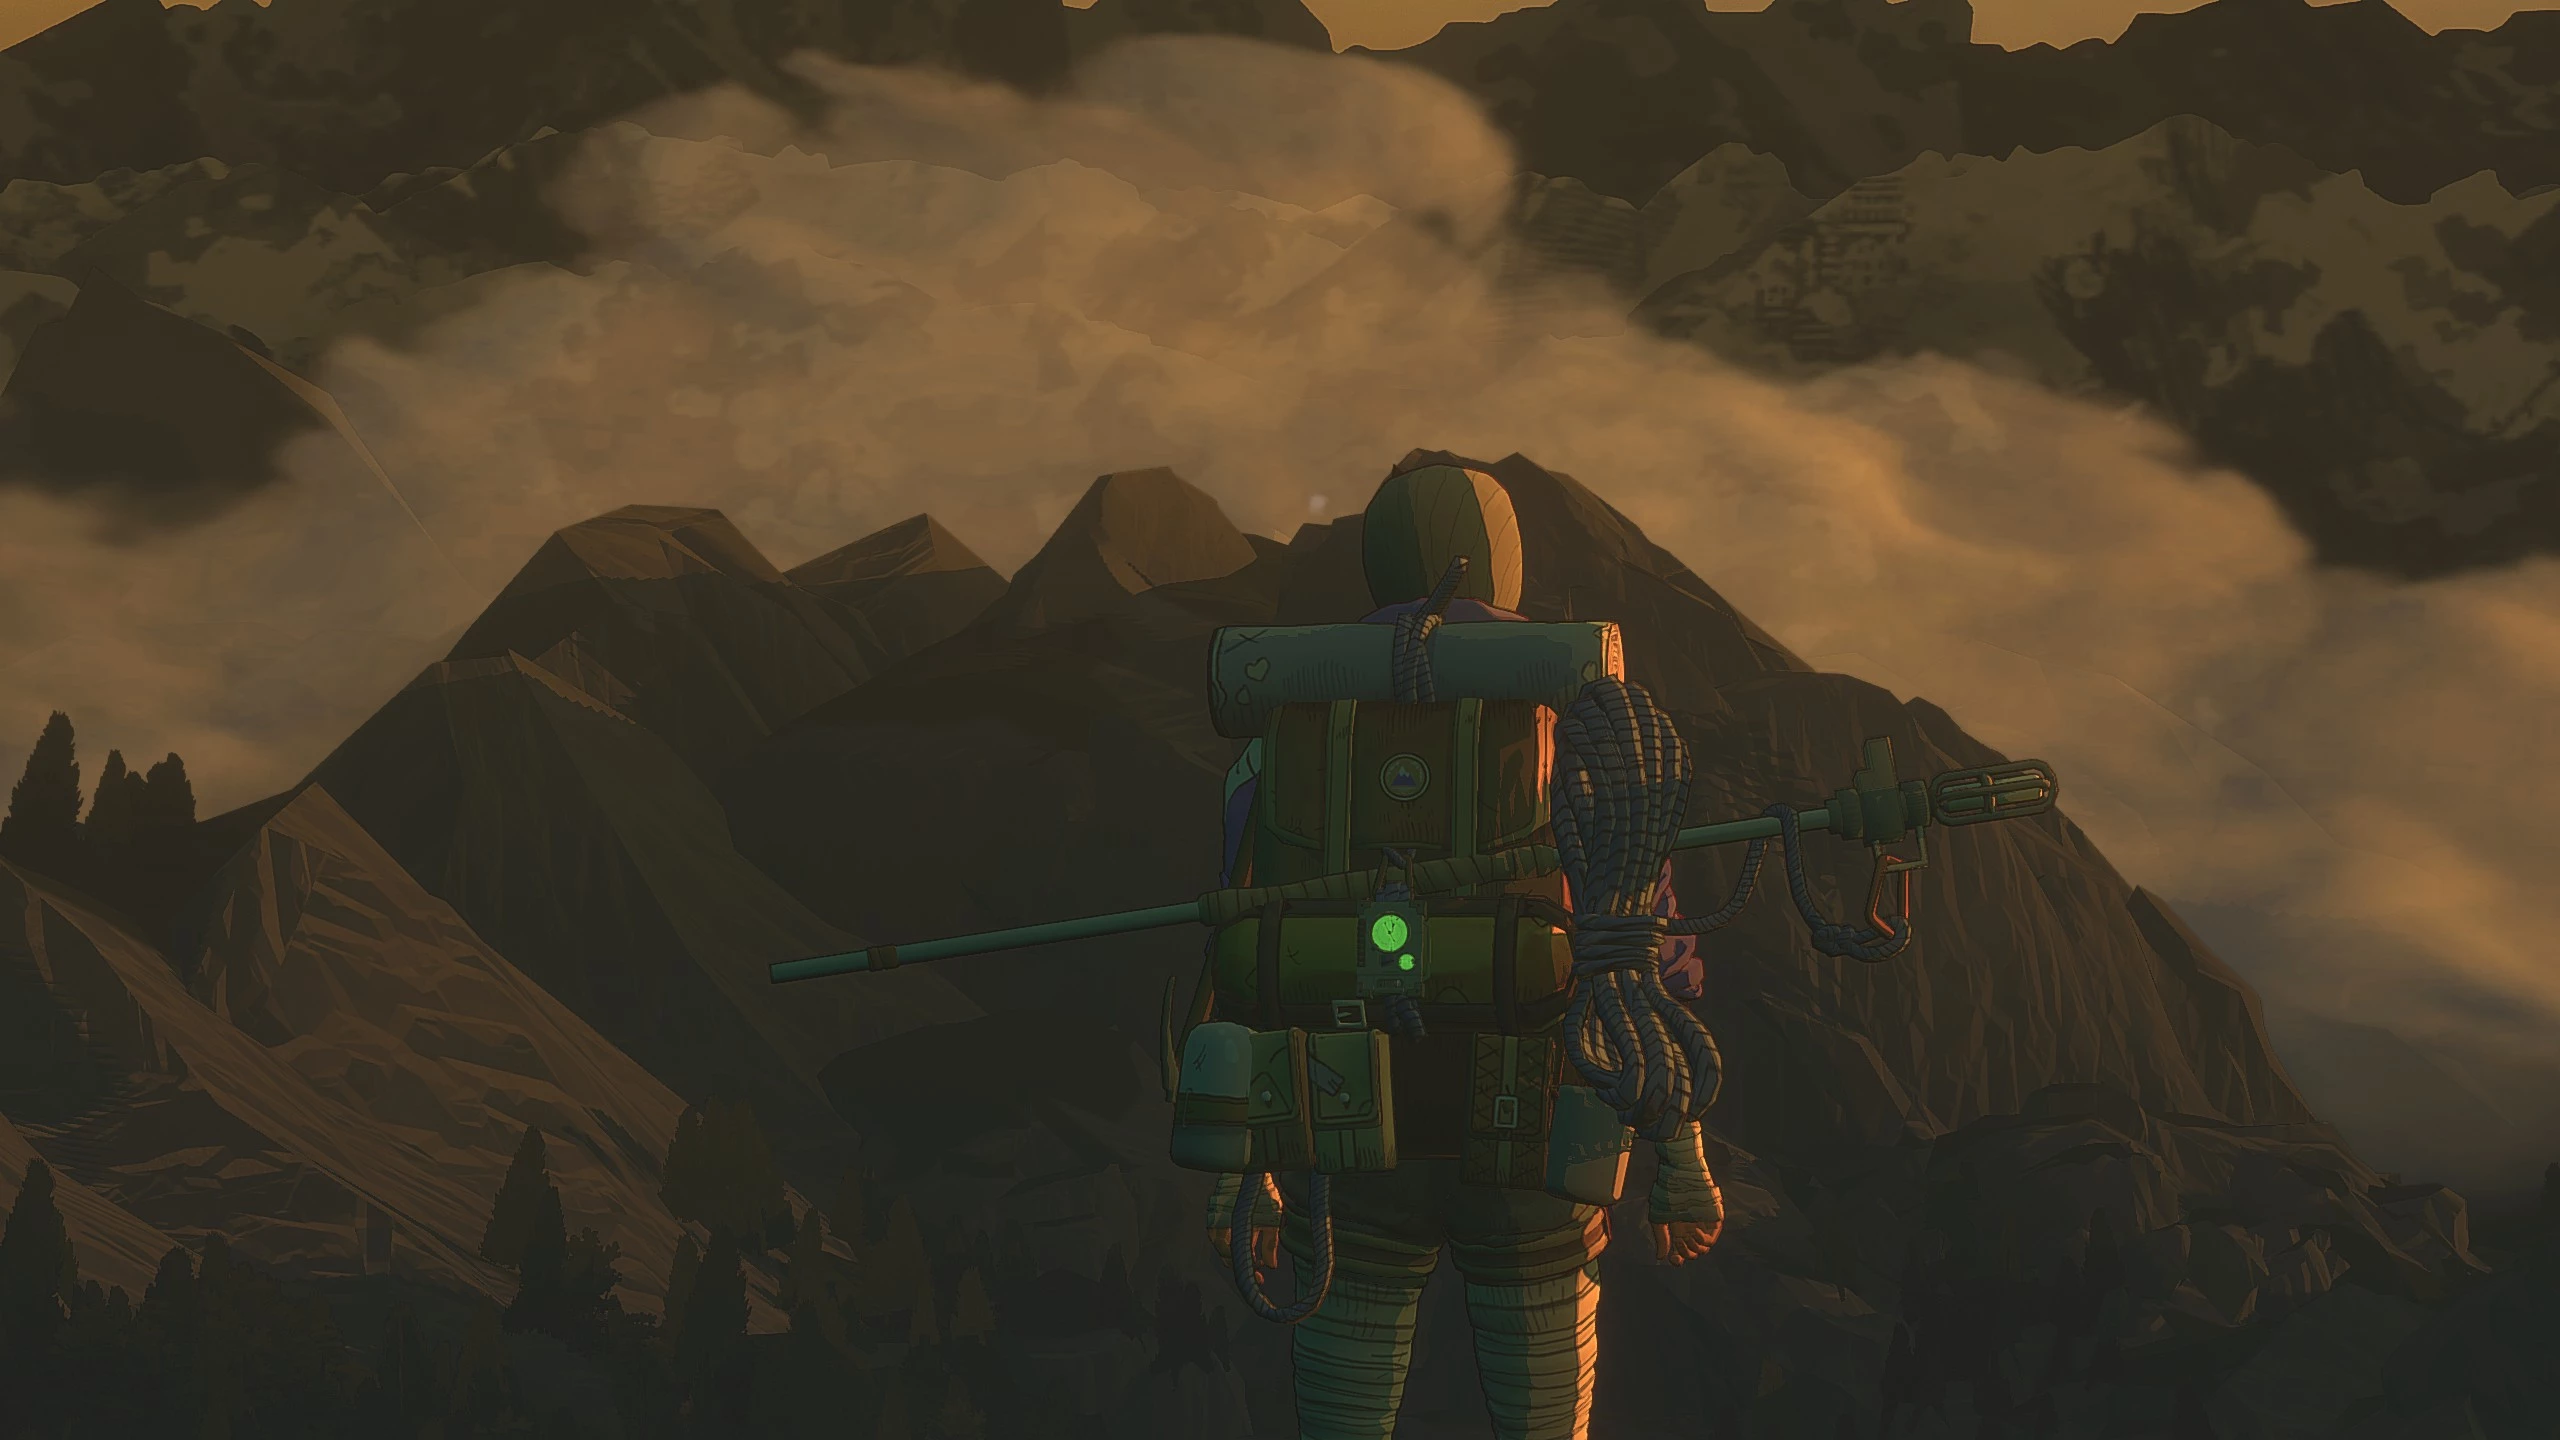
Go to the path that leads to the notice board and fill out the mountain map, or just take a screenshot. There's a stream nearby where you can drink and refill your canteen. Water is the most important resource in the game. Without it, Aava will get tired quickly and won't be able to climb.
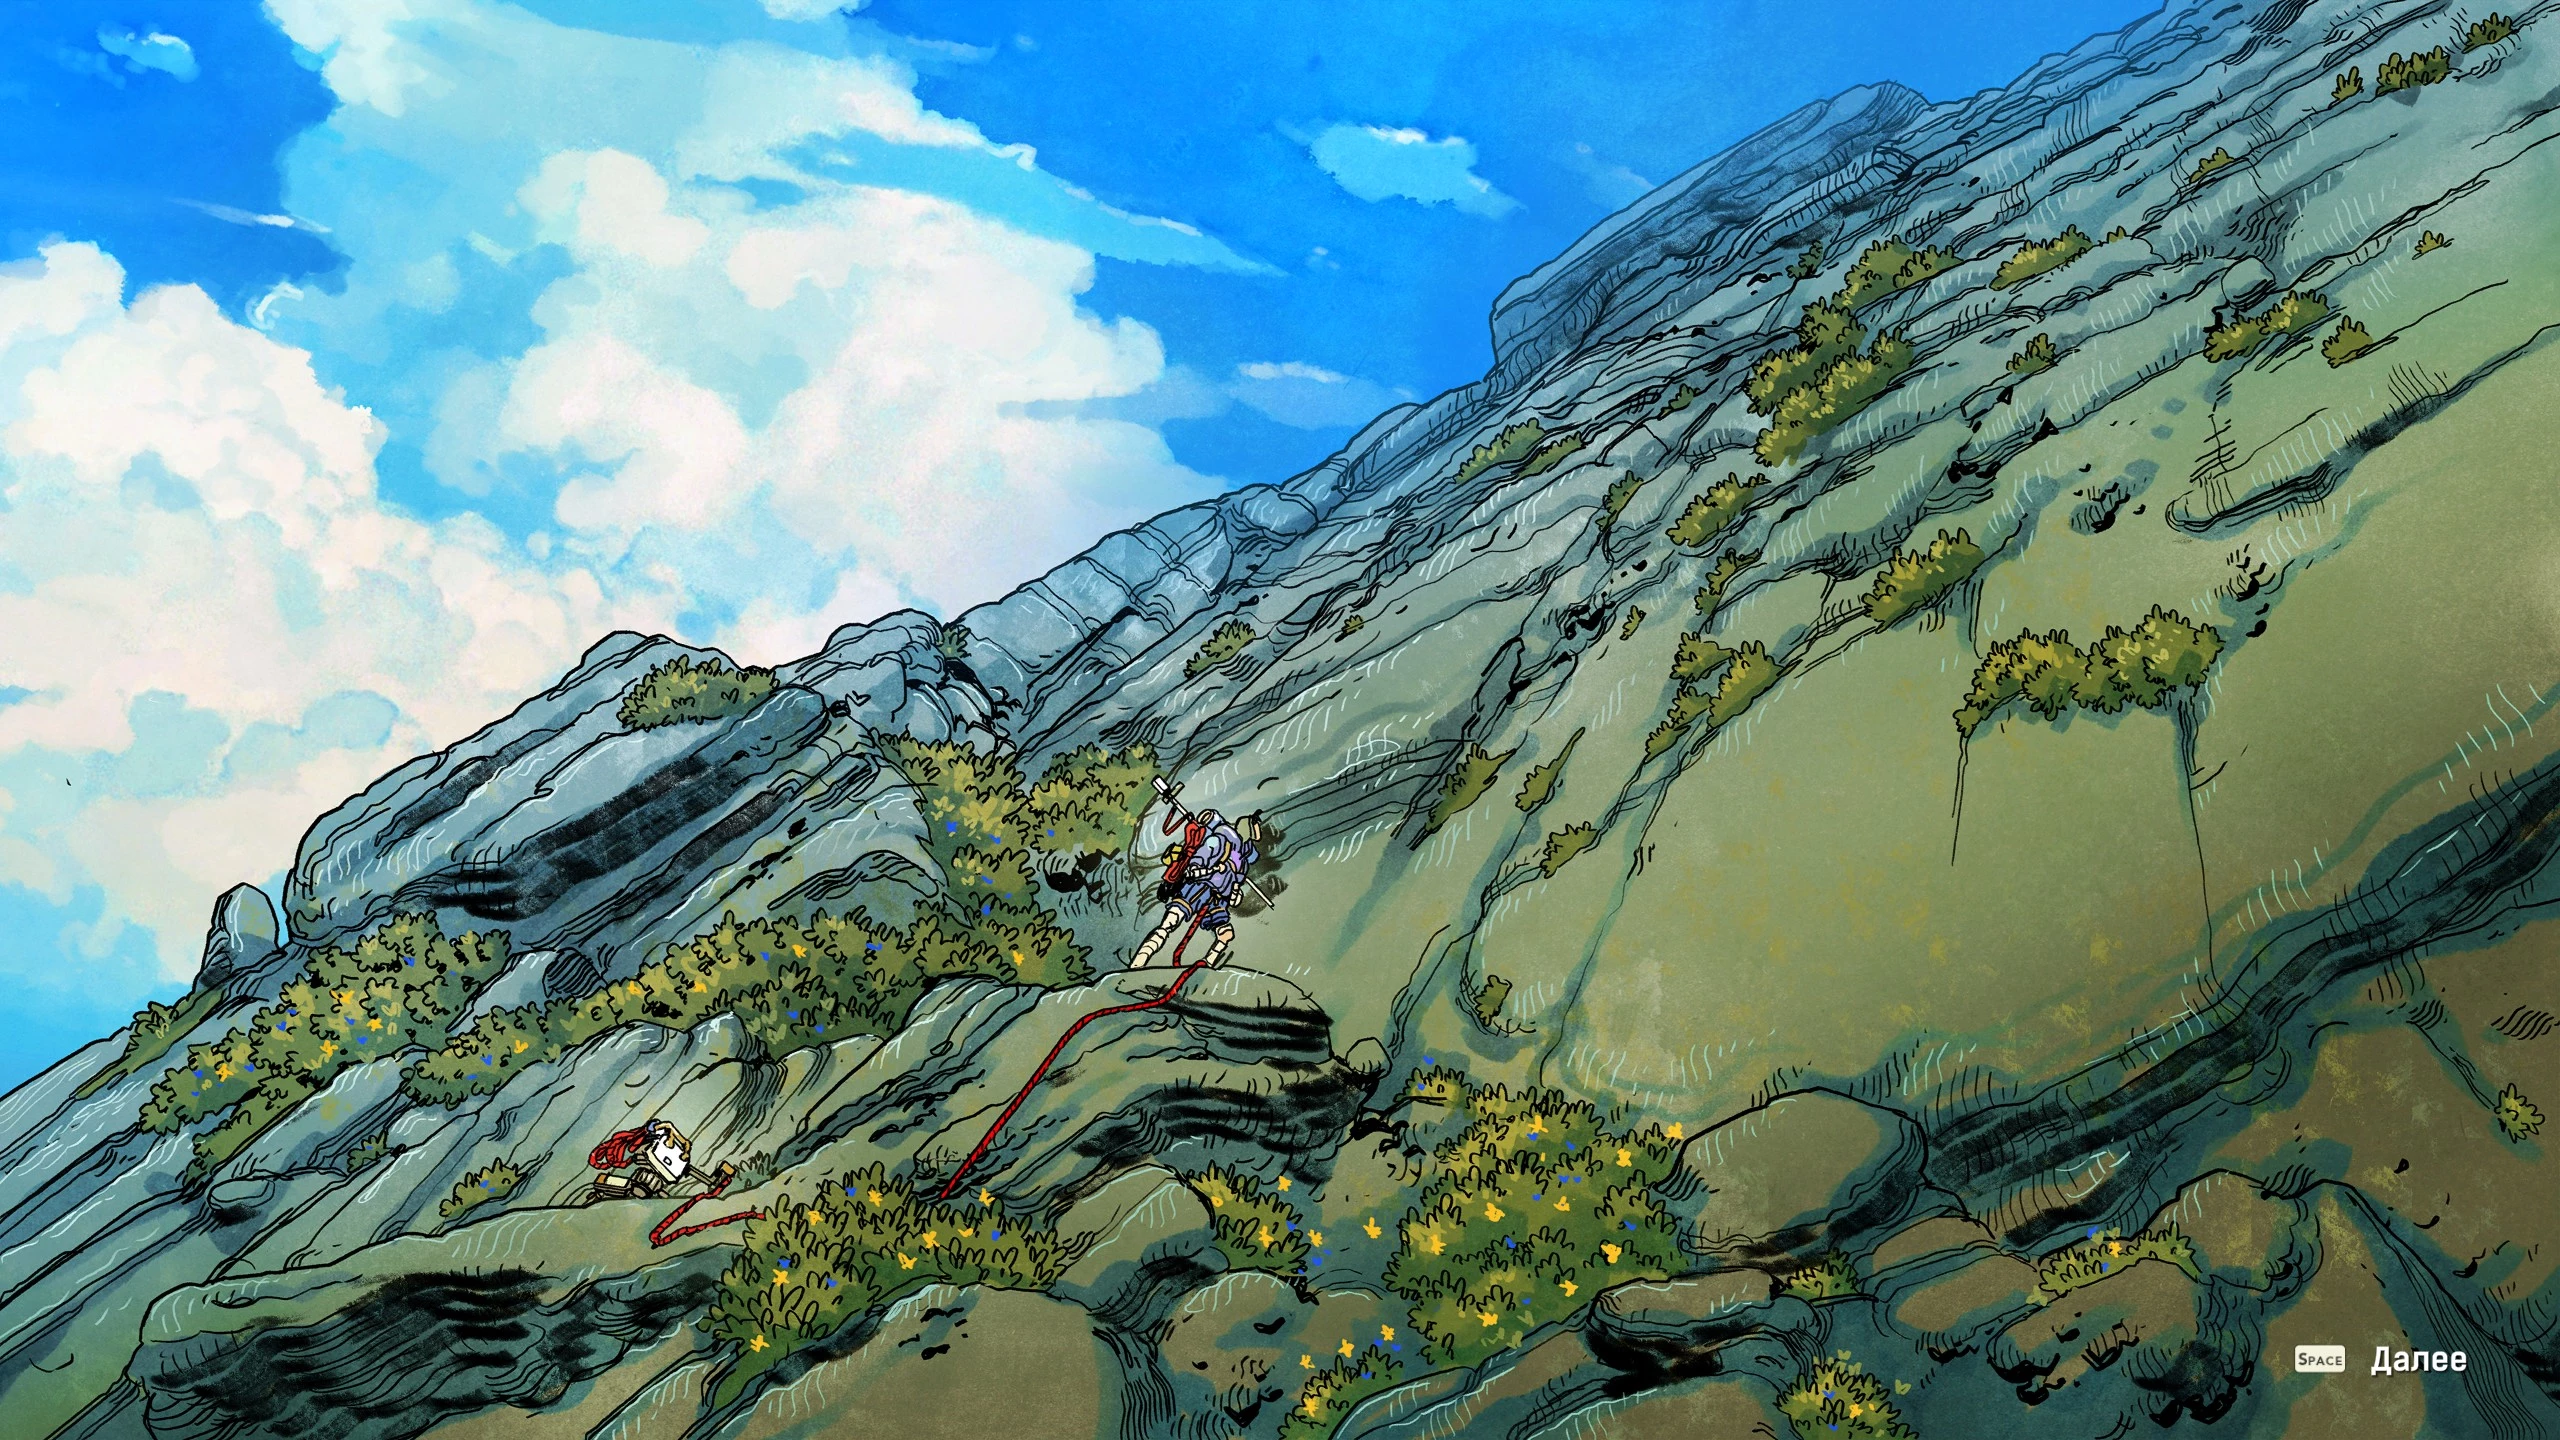
In the meadow by the stream, you’ll find dandelions, thistle, and gentian growing. As you explore, you’ll come across many different plants. Be sure to collect everything you find. Herbs can be used to craft various potions that boost your health and stamina. You’ll have to look for recipes in hidden parts of the mountain.
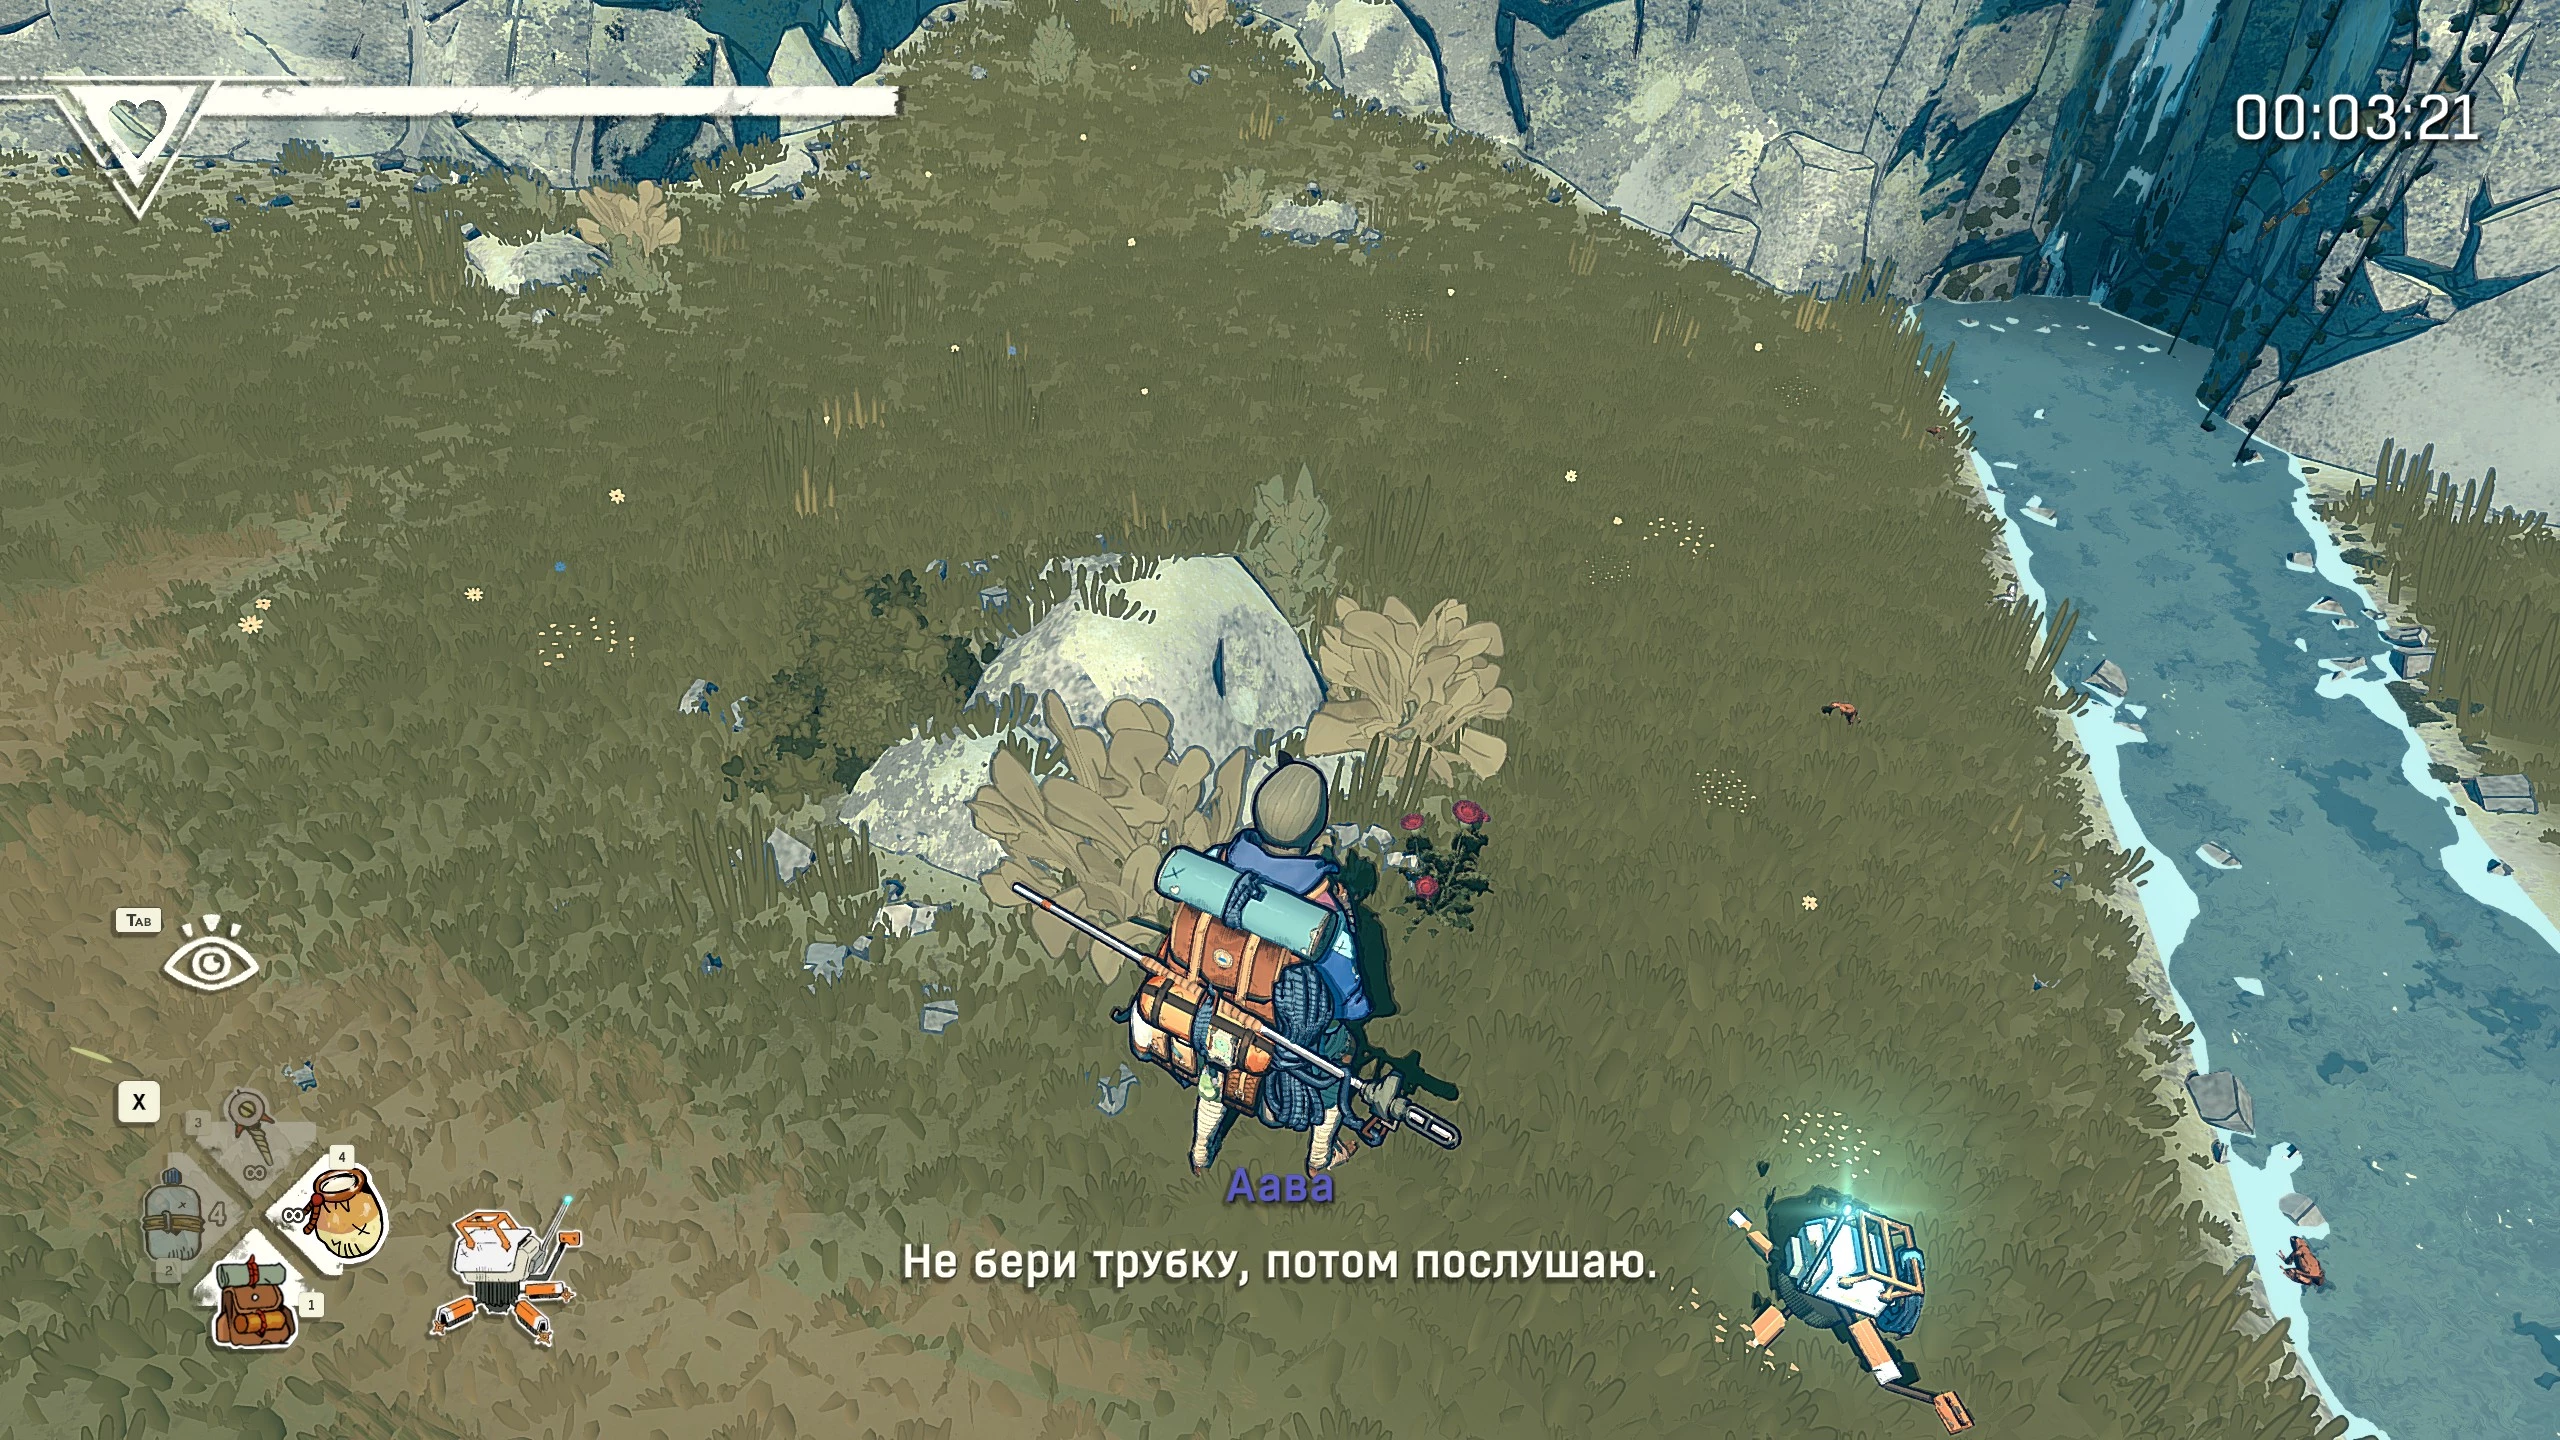
Your goal now is to reach the mountain summit. You can start climbing from the tree side or the stream side. The first path has lots of diagonal holds, while the second is steeper but has more straight grips, so it's the better option. Follow the trail to the right until you see a small pile of stones with a red pattern. This is a good place for Aava to take a break and recover. These spots also give you great views, perfect for taking screenshots and checking out the area.
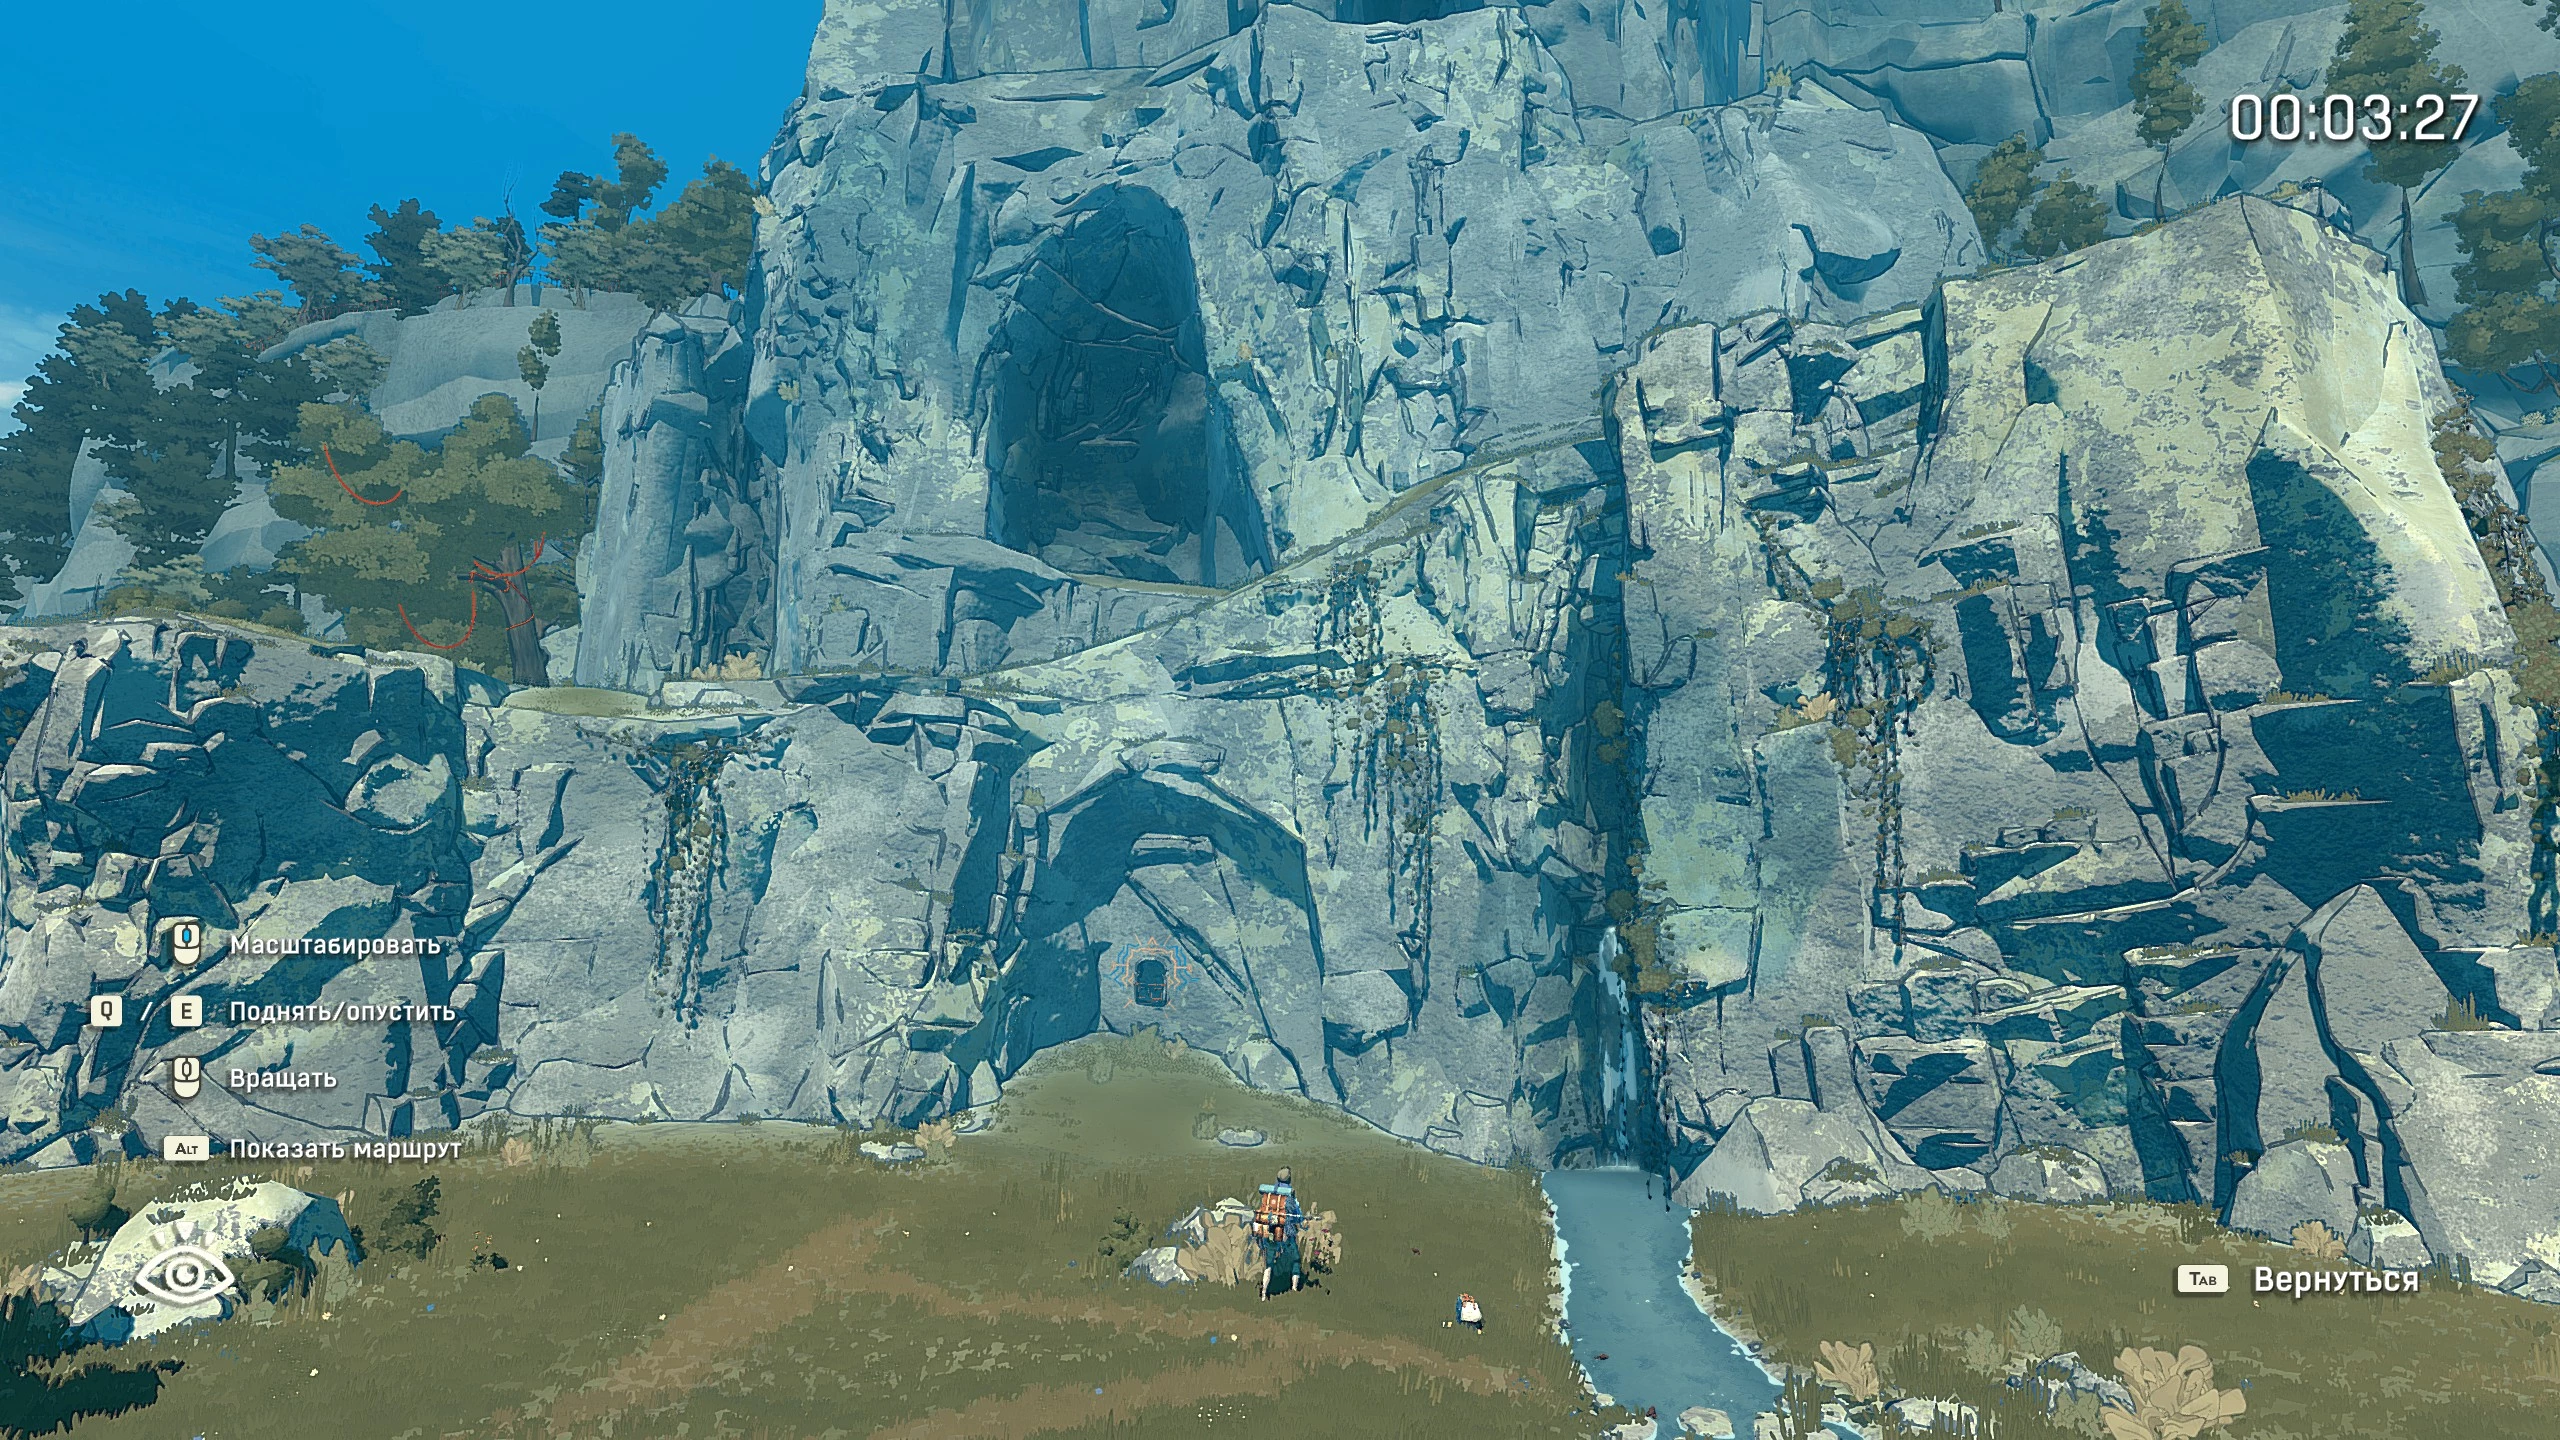
Near the scenic viewpoint, there's a hollow in the rock. Climb up to the beehive and collect honey to get the Honest Heist achievement. To the right of the grotto, you'll find an easy path up the mountain. Higher up, there's a save point. Just to the right of that, look for a small bush growing out of the rock with a little stream of water. Break it to drink and refill your canteen.
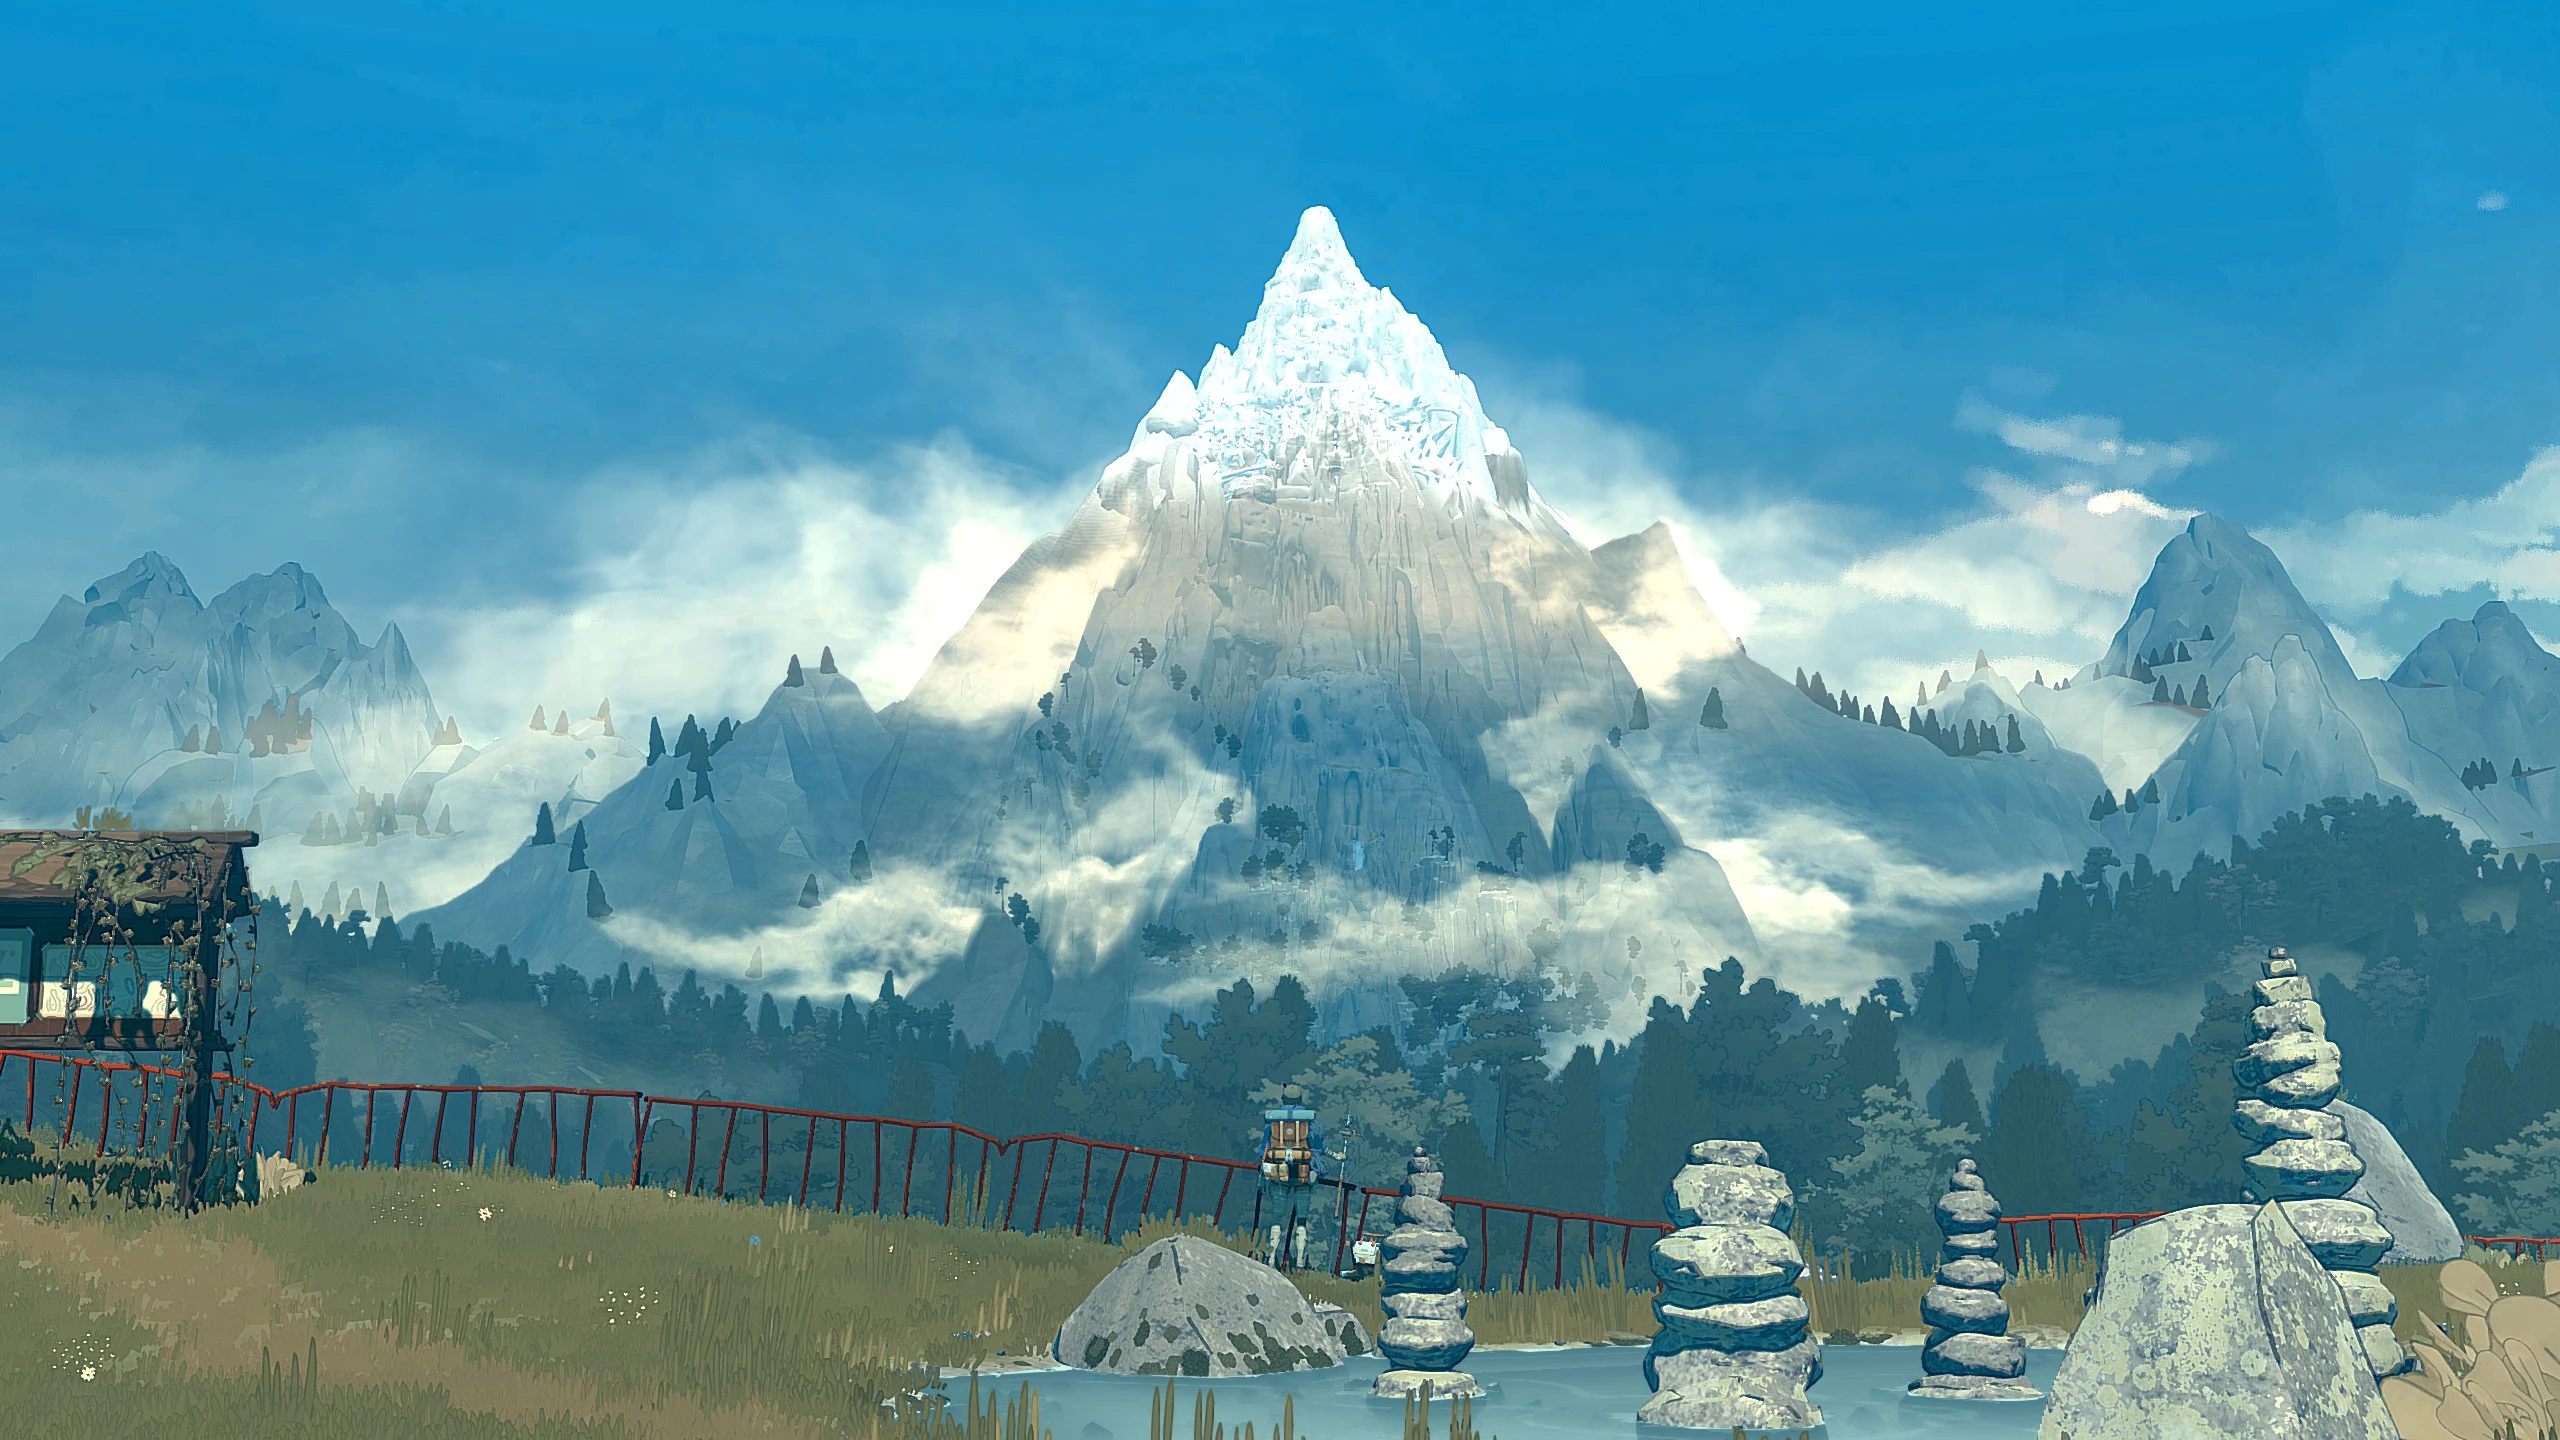
Next, you’ll face the toughest section. There are four ways to reach the summit here. The simplest is on the far right side. The climb will take a while, so we recommend using safety pitons. At the end, head to the notice board by the tree. After the cutscene, you can choose to climb again or move on to the next chapter.
Kami
After the cutscene, Aava wakes up at dawn in a bivouac anchored to the mountain. This ascent starts on a cliff where she’s secured with a safety piton. Climb to the first ledge and you’ll see the game’s title sequence. Follow the trail until you reach a notice board and a save point, with a watering spot just to the right.
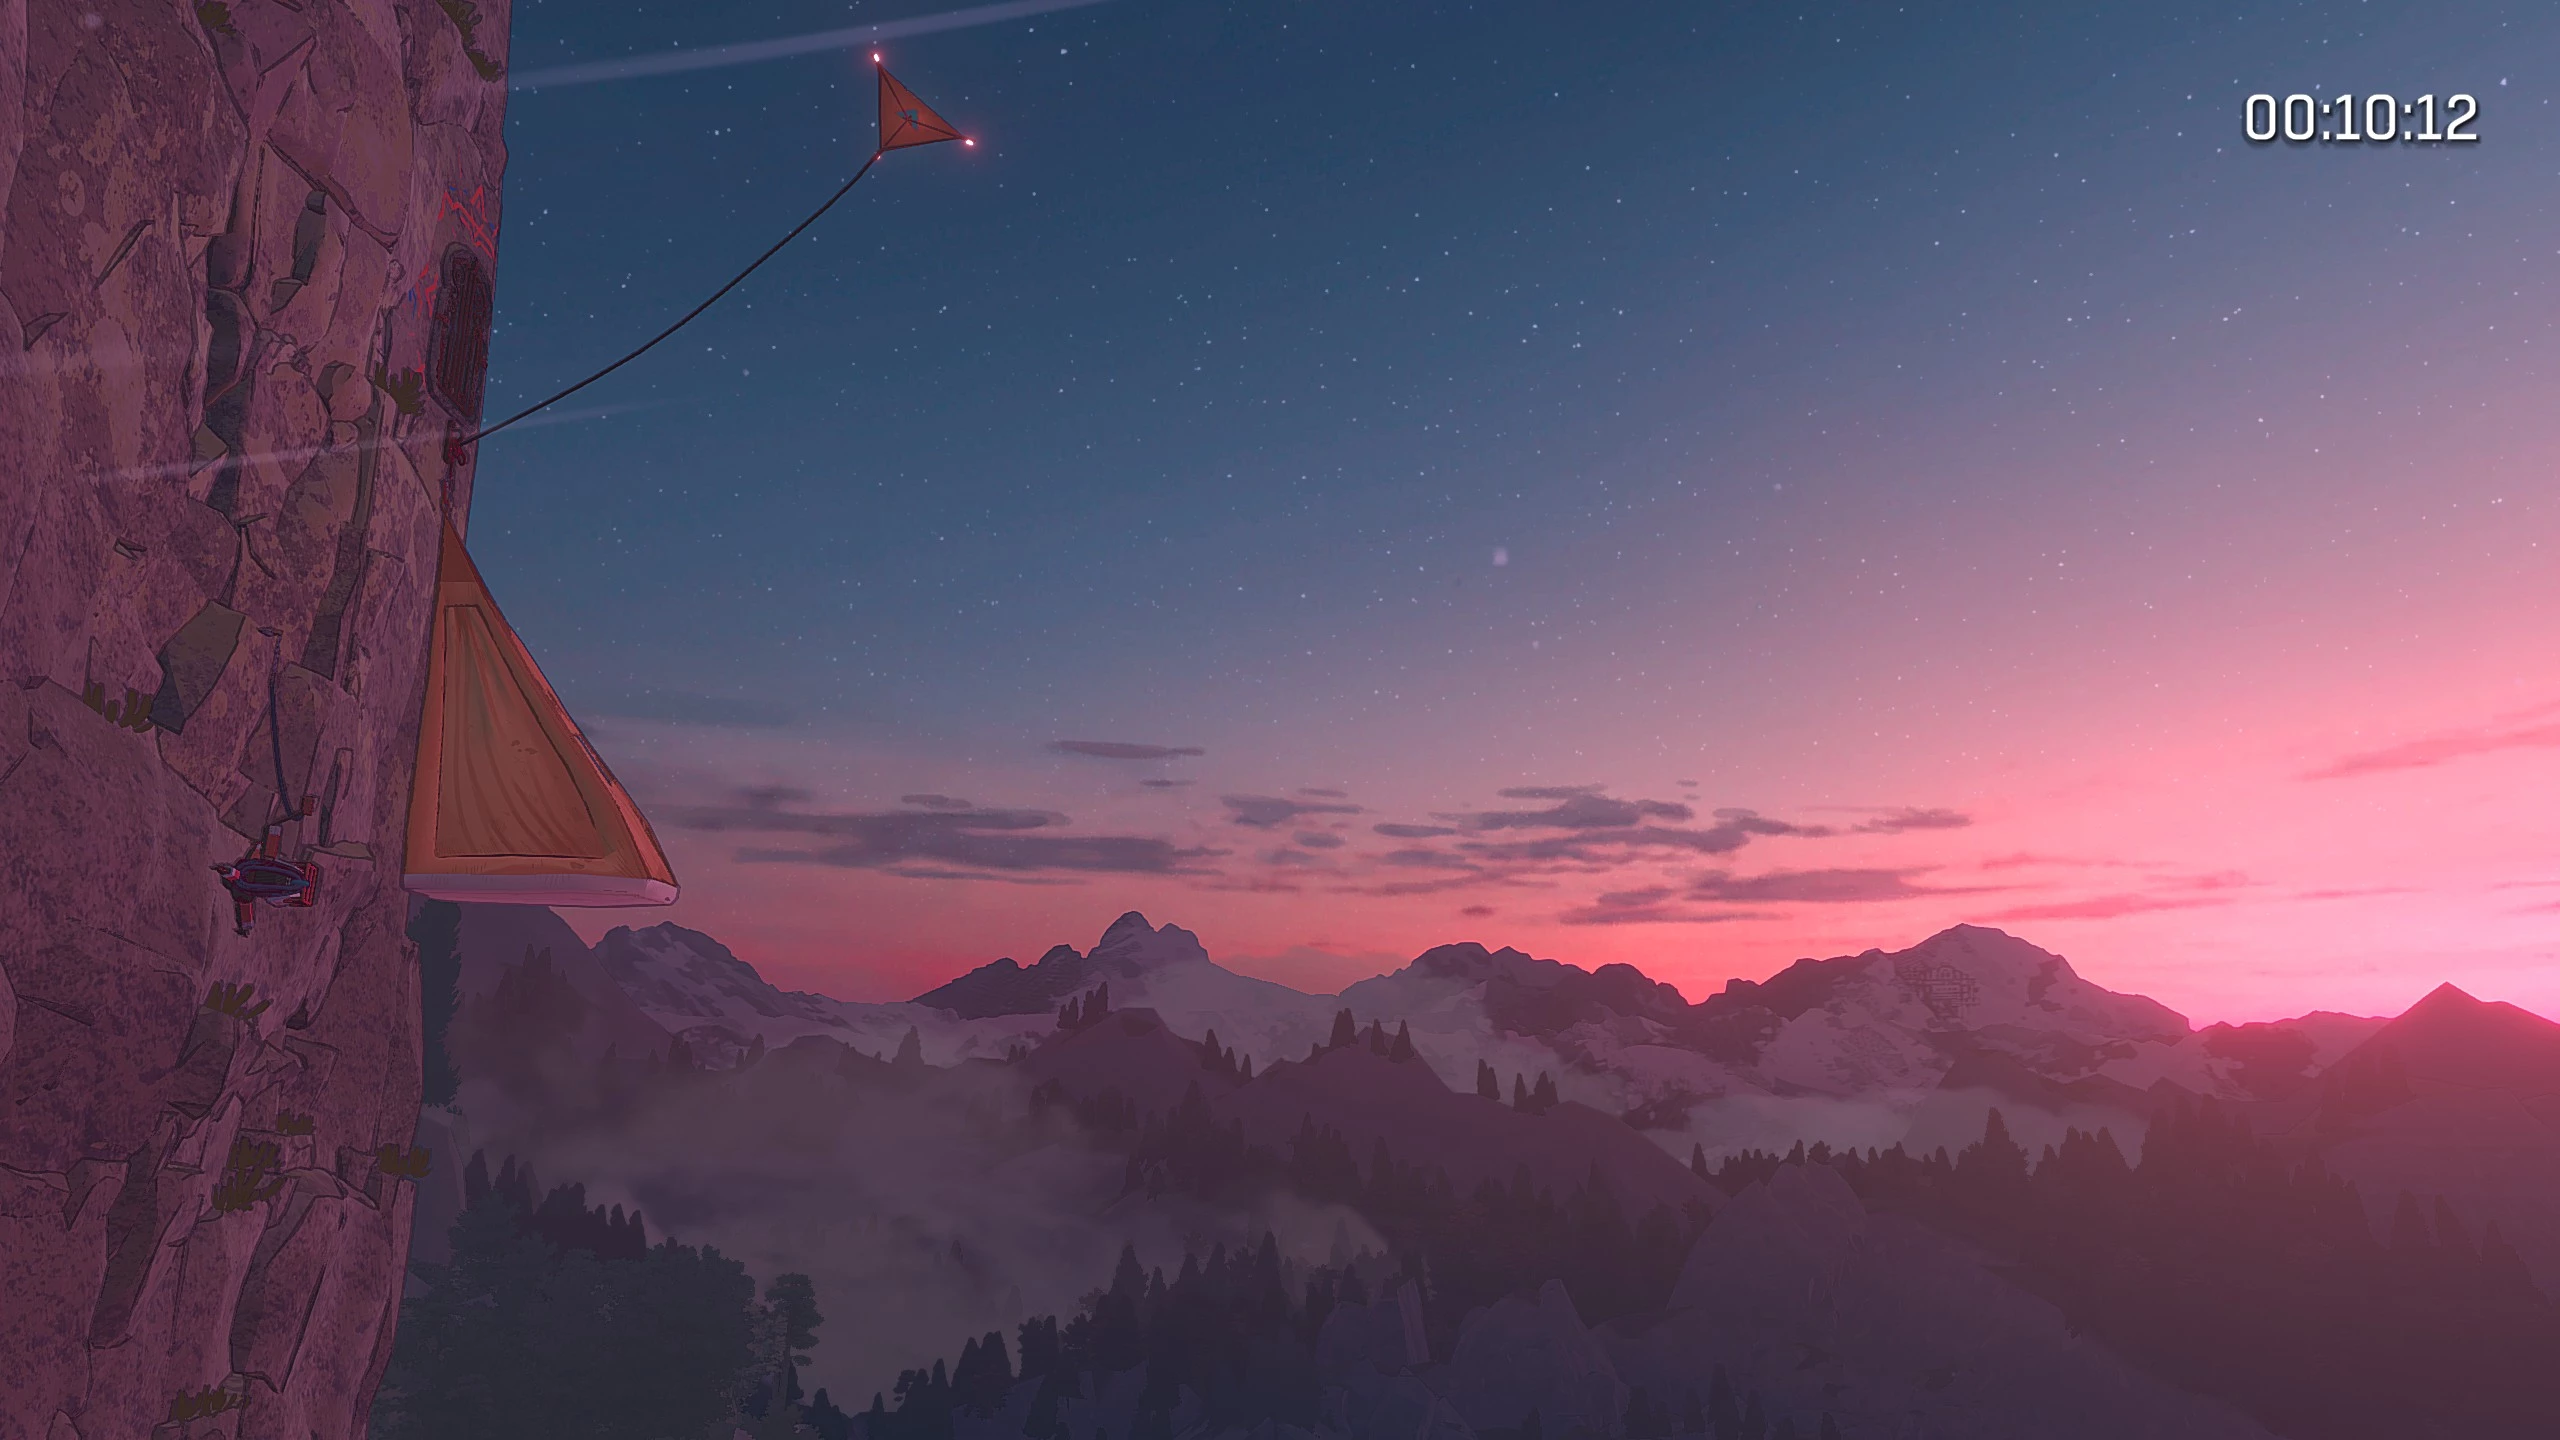
Krabot can recycle trash: wrappers, bottles, cans, random junk, and any unwanted items from your backpack. The robot turns this rubbish into chalk, which increases your grip. To make three portions, you’ll need to recycle nine pieces of trash. You can use the chalk while climbing.
For the second part of the climb, it’s best to start to the left of the save point. At the top, you’ll find the remains of a vending machine full of snacks. There’s expired food inside, which you can recycle. On the right is a gap you’ll need to sprint-jump across. If you go down into the cave, you’ll find the old beekeeper’s home, where a perfect honey recipe is written on the board. This is the spot marked on the map you found in the previous chapter.
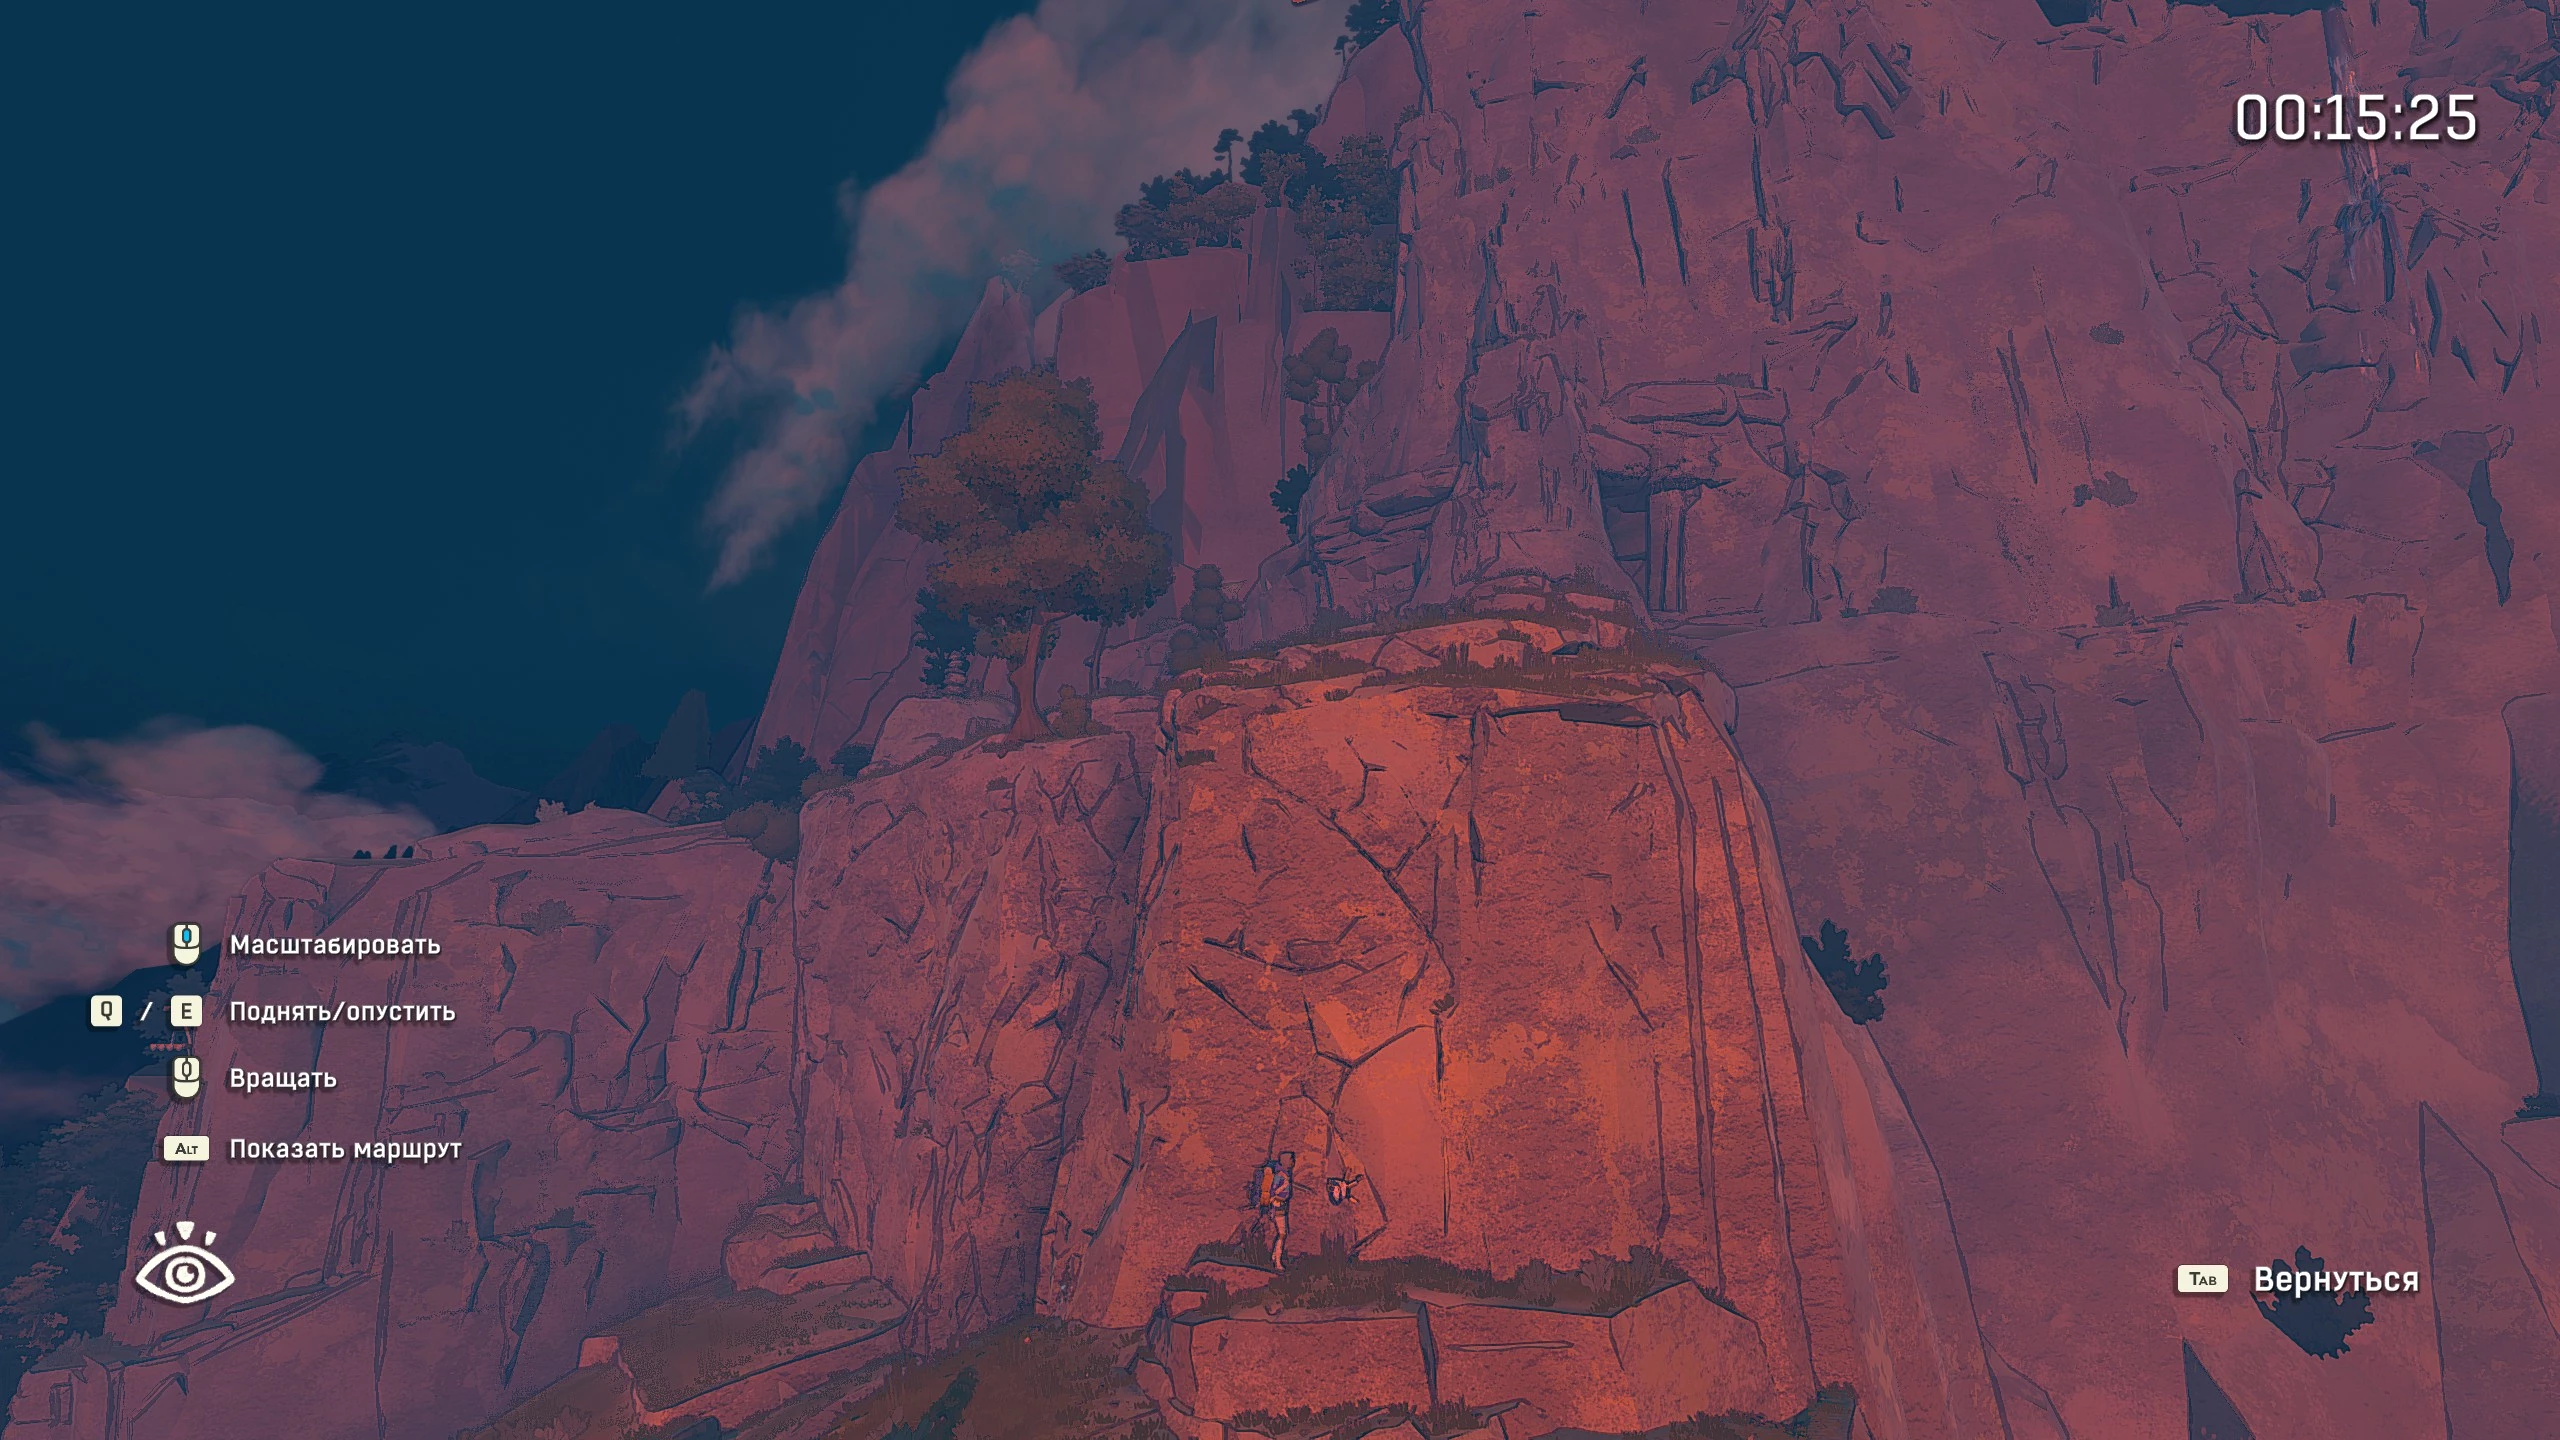
Head back to the surface and continue your climb, jumping over crevasses. Then scale the rock and approach the second save point. Watch the cutscene, then open the locked box to collect supplies. We recommend starting the next section of the climb to the left of the altar. Move from one green hold to the next.
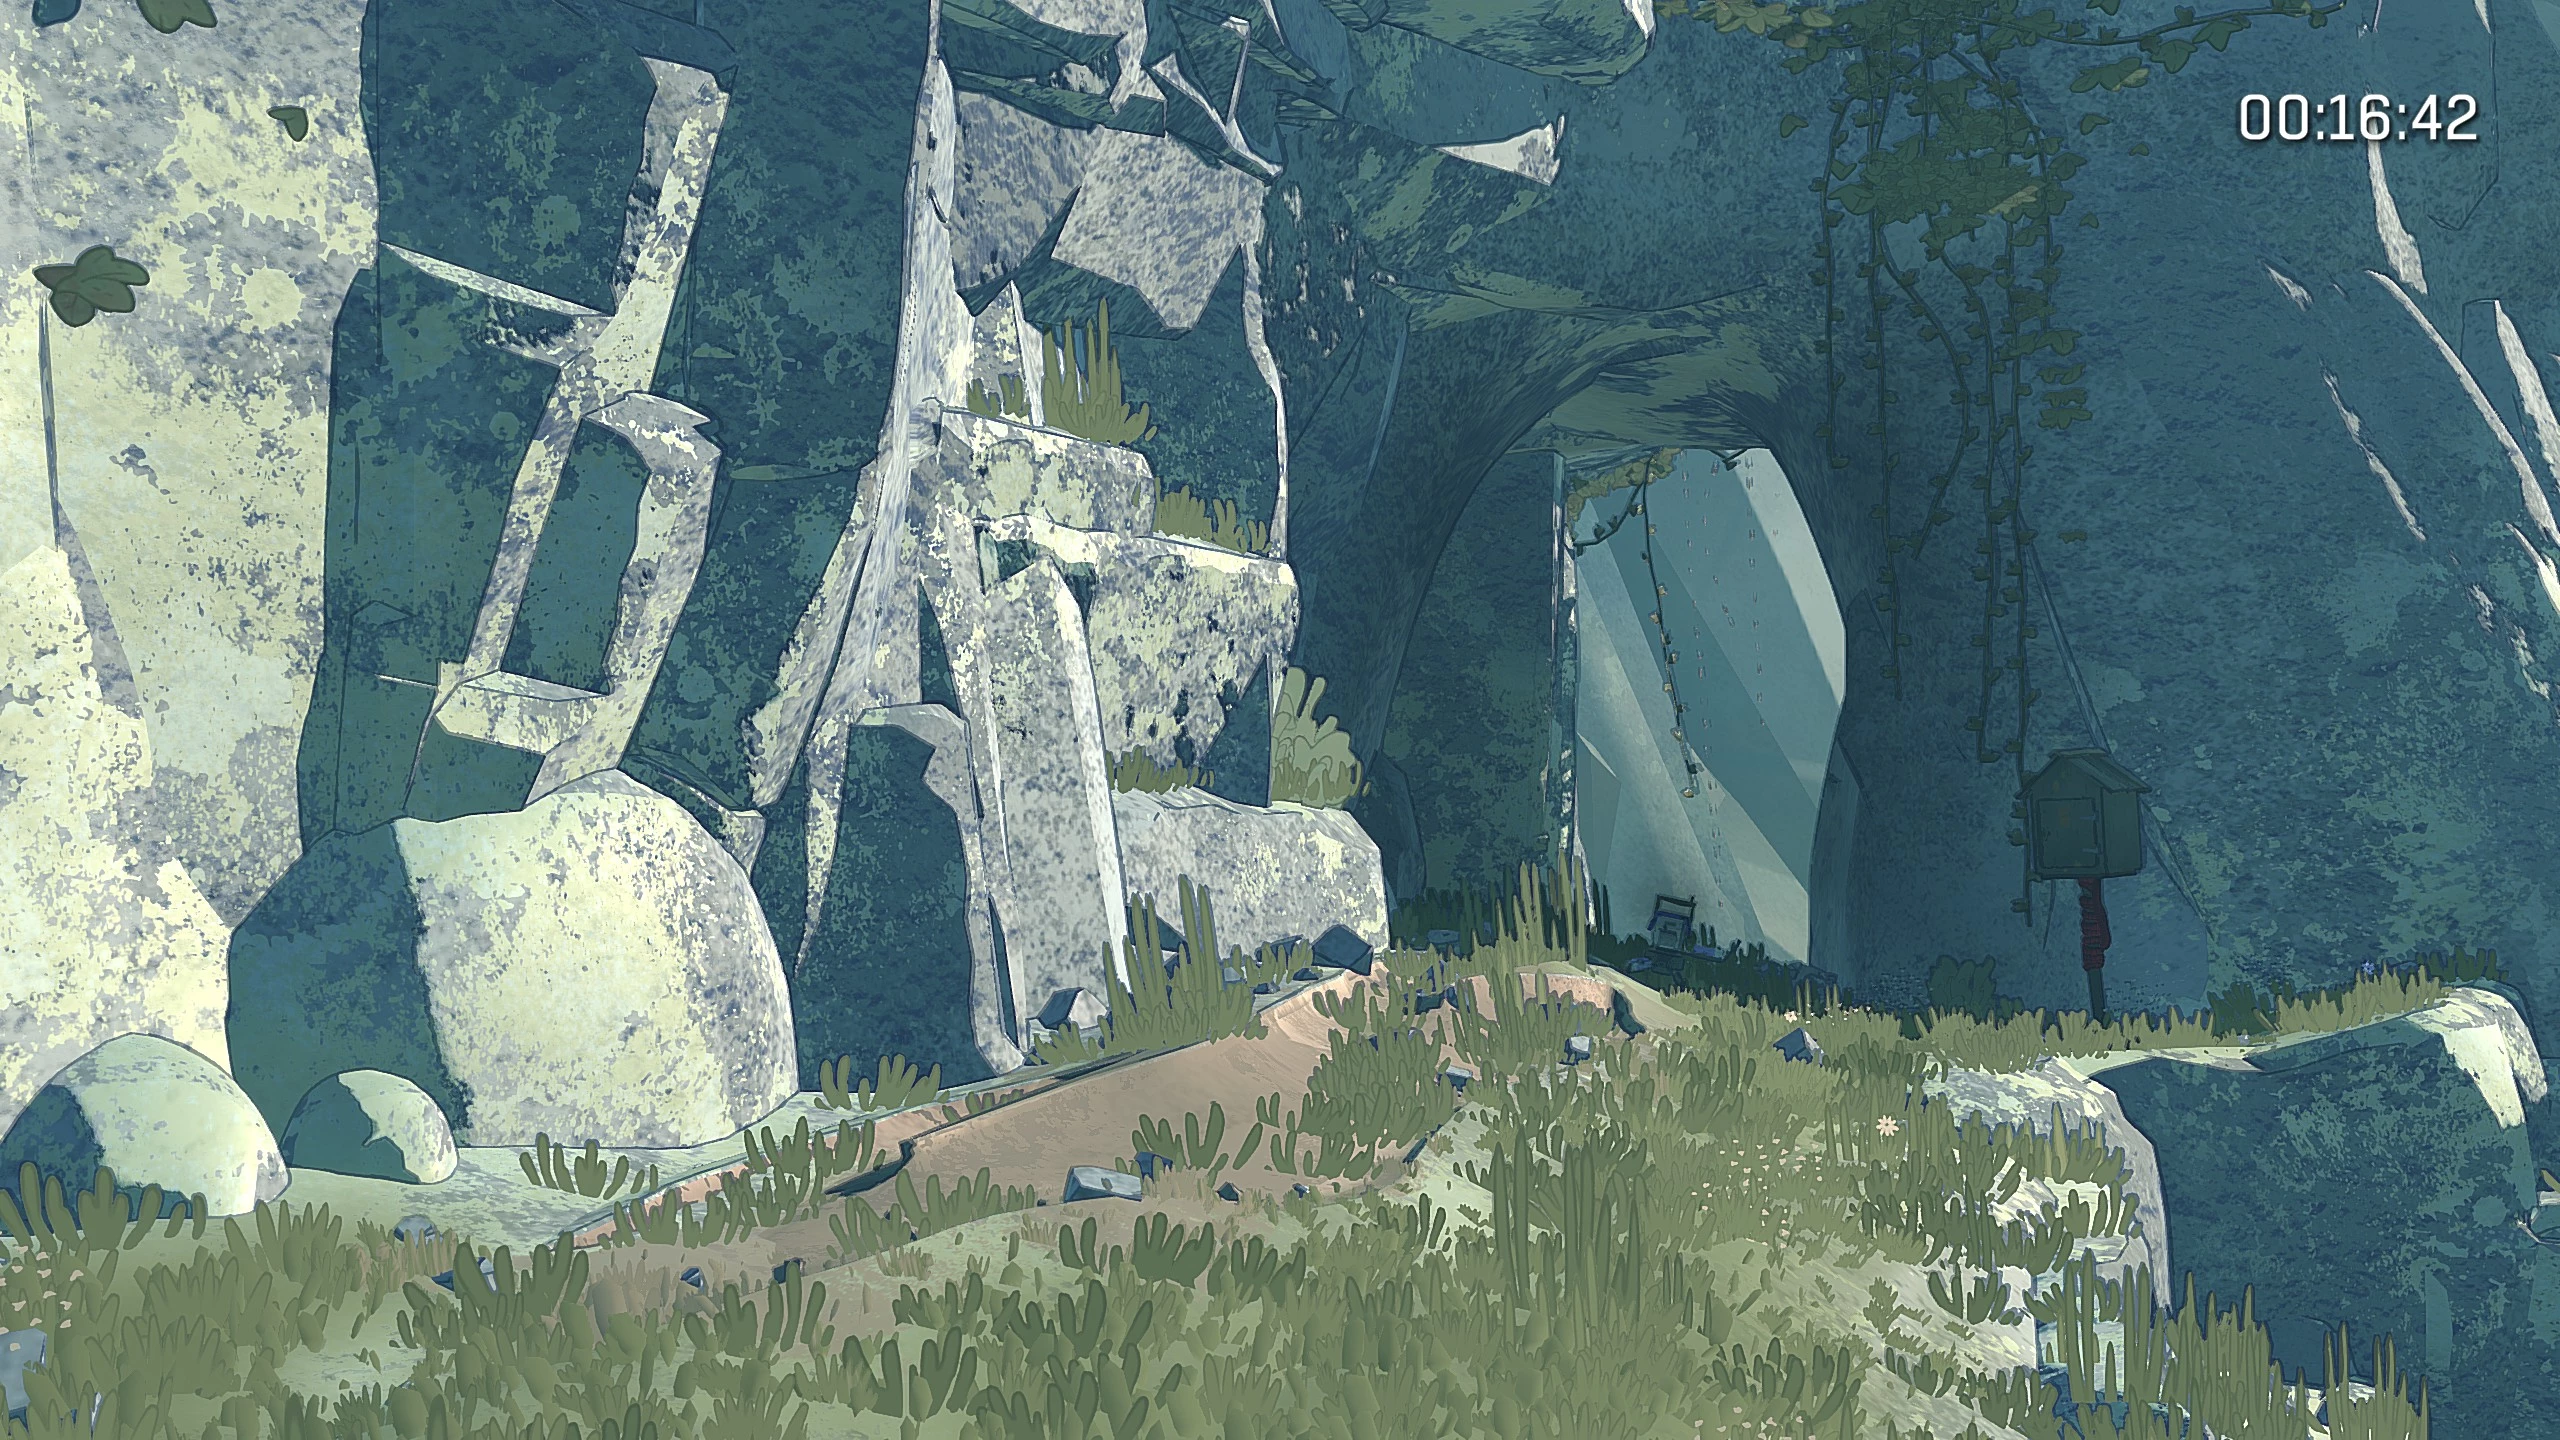
Reach the save point, wait out the night, and head toward the cable car wreckage. Before climbing up, go down to the red dumpster to recycle more trash and pick up the scraps of a drawing. Look up at the yellow probe by the altar, climb up to it, and save your progress. It will start raining along the way, so use only the most secure holds and make sure Aava always stays in the most stable position possible.
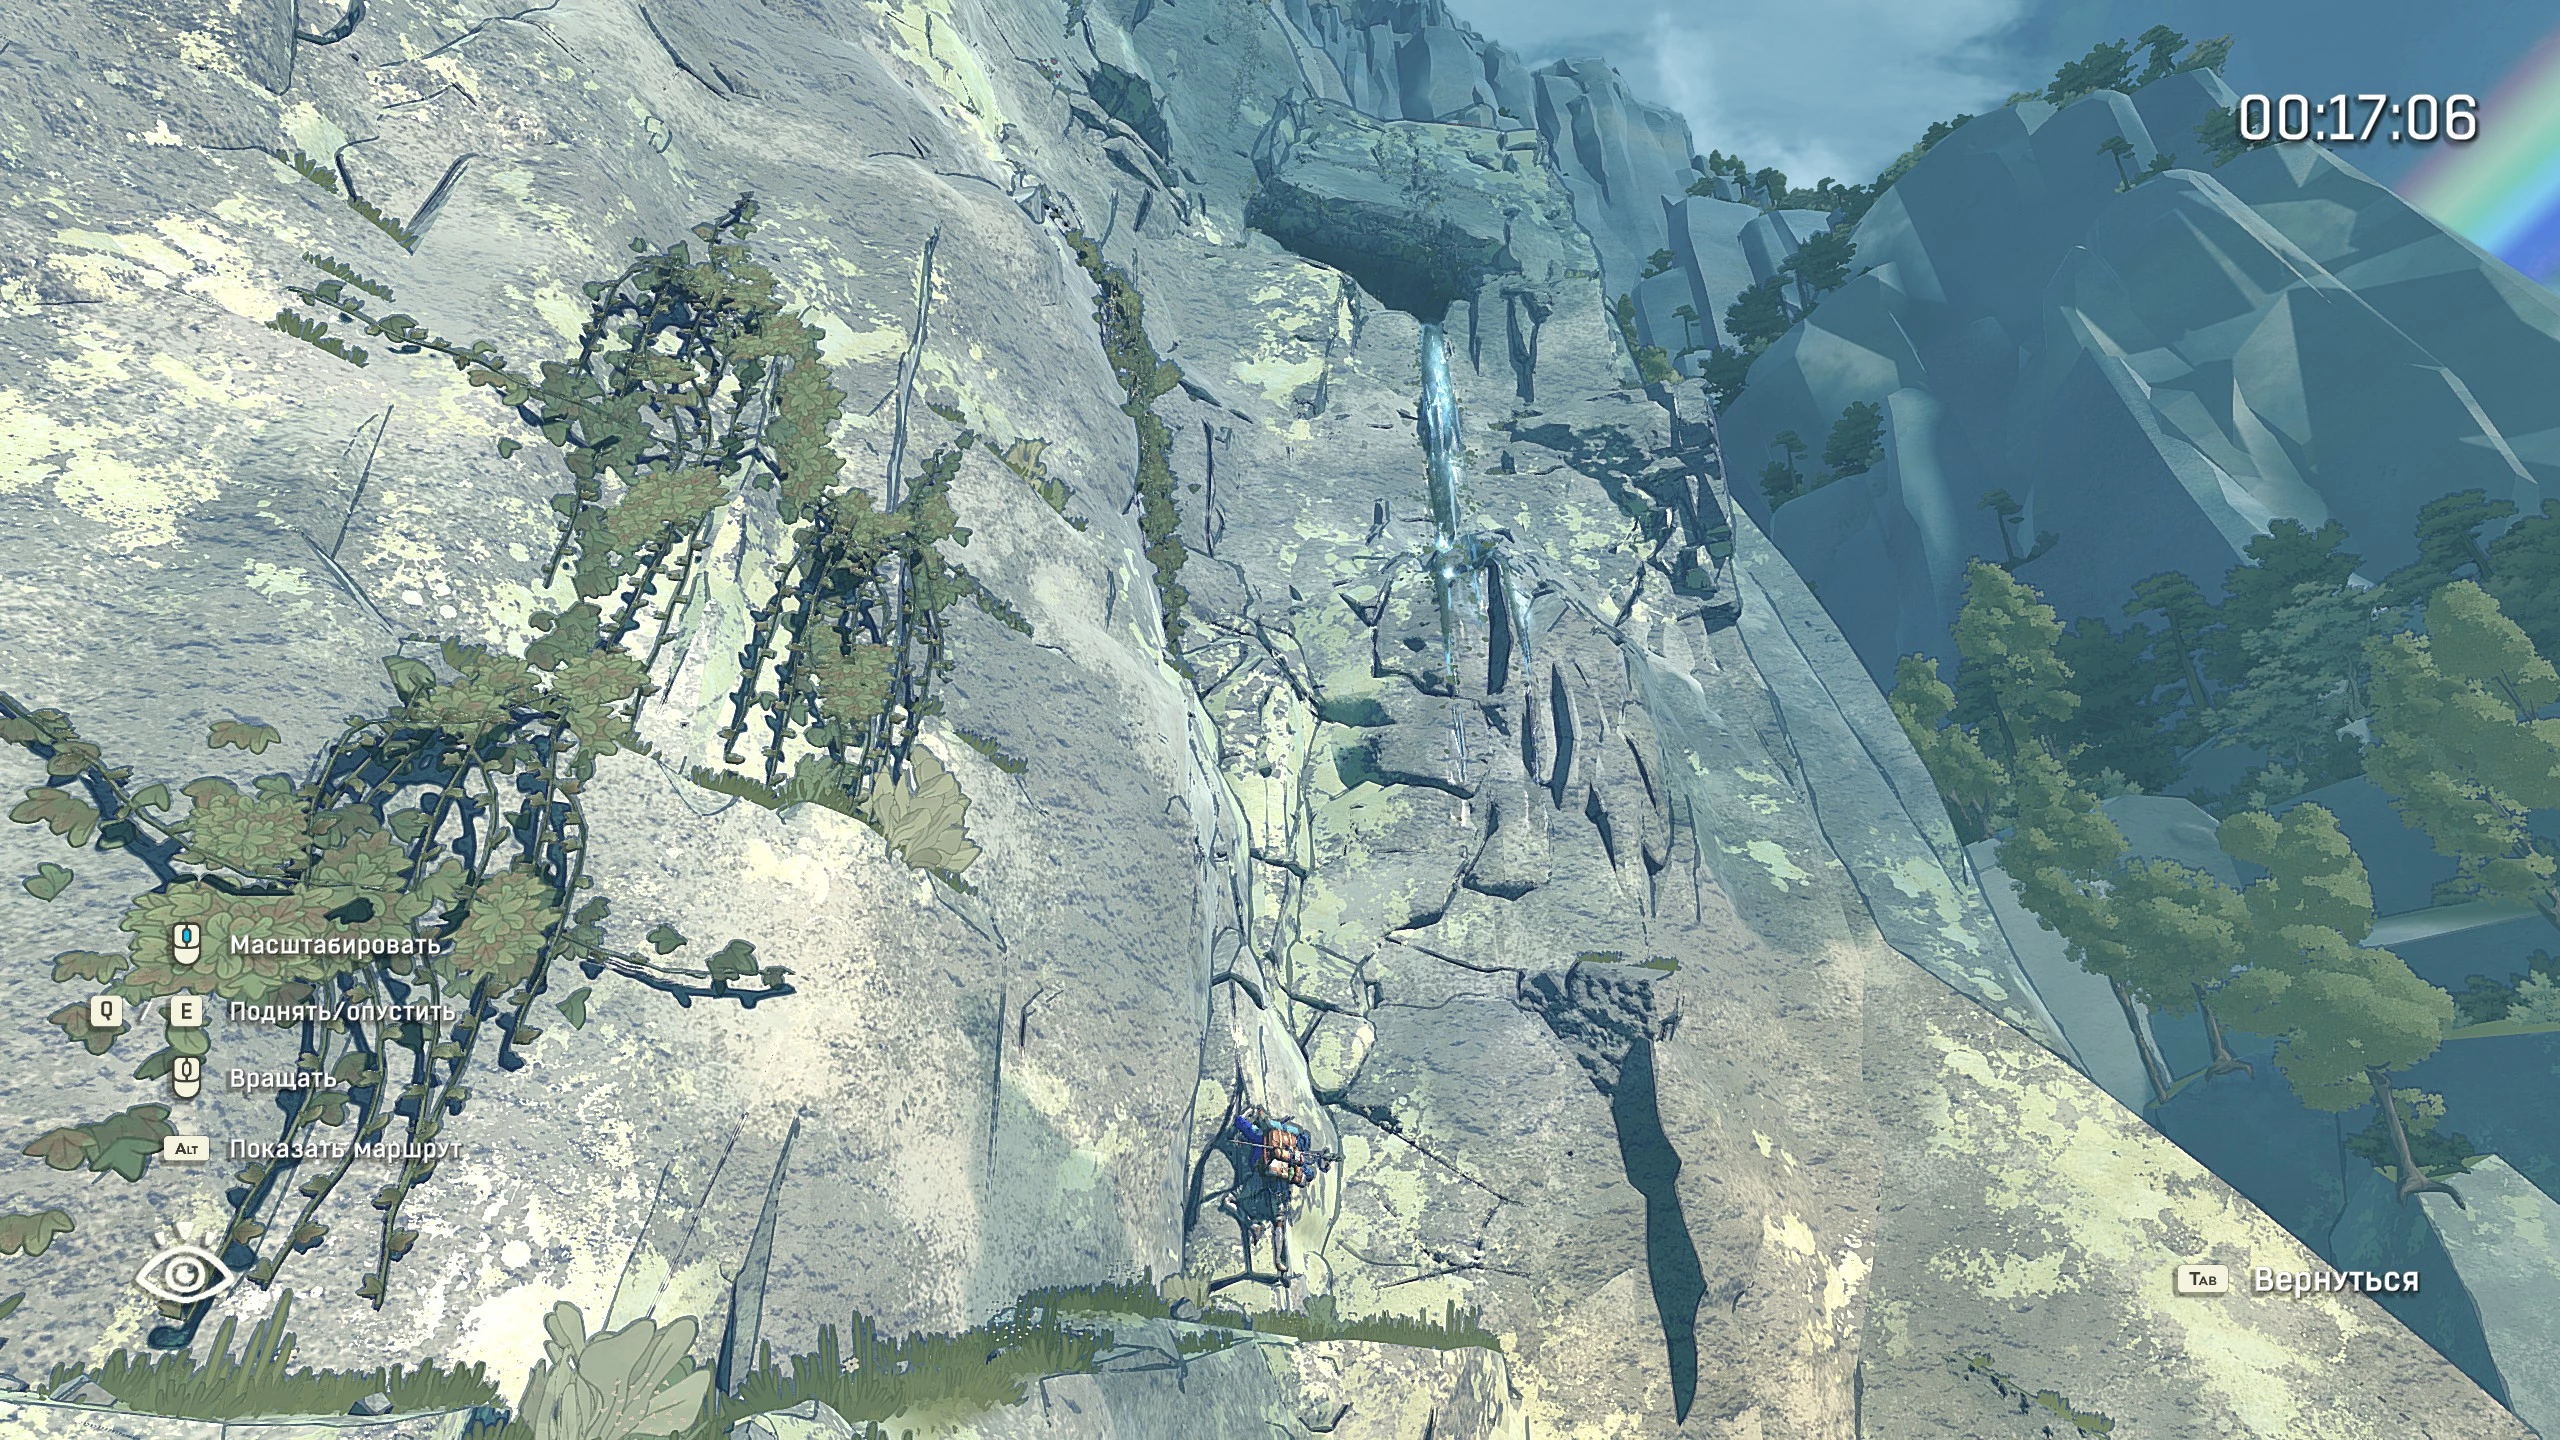
Across from the altar, you’ll find a letter of doubt hanging. If you look down, you’ll spot a cave below. Inside, there’s plenty of trash to recycle, some moonshine, and a firework. Climb up to the cable car: here you’ll find a rest area, a medkit, a broken vending machine, a supply crate, and a tourist noodle recipe.
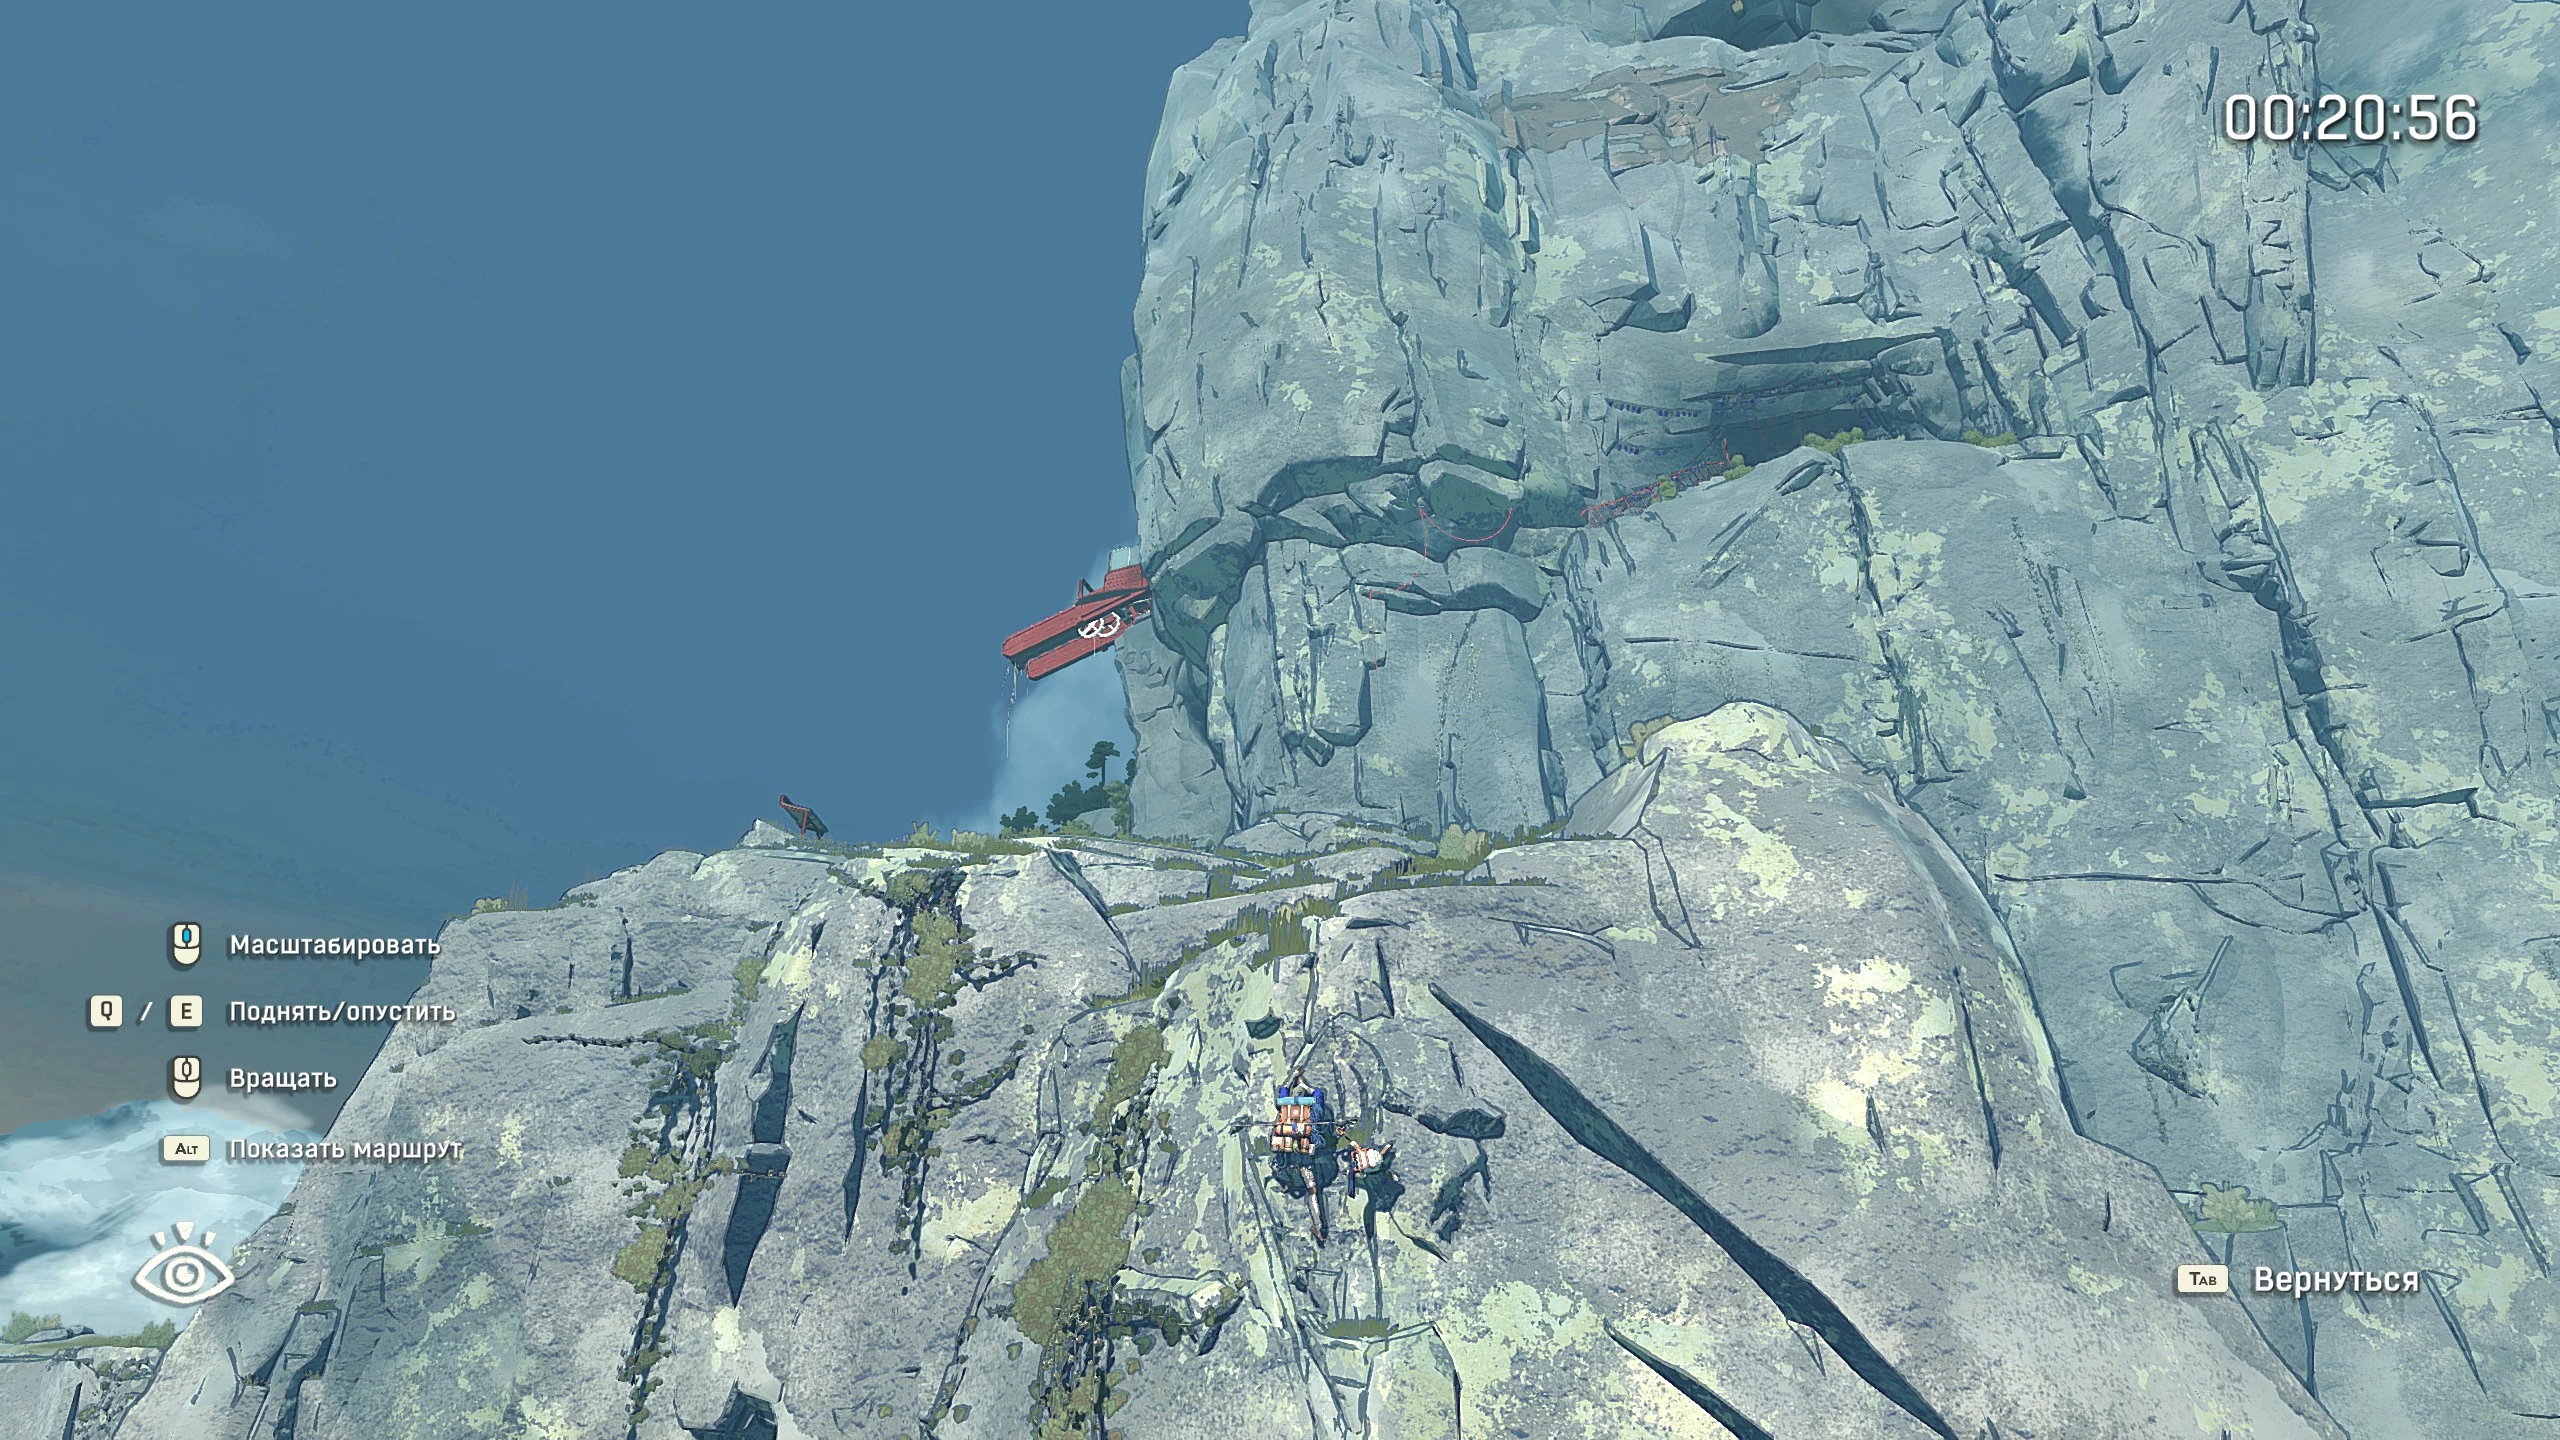
Continue toward the waterfall. Head right, go down to the tents, and save your game. There are plenty of resources here, along with a mountain stew recipe. Now climb up the crevice above the waterfall. There’s an altar here, plus you can find some fish and a cave trout recipe.
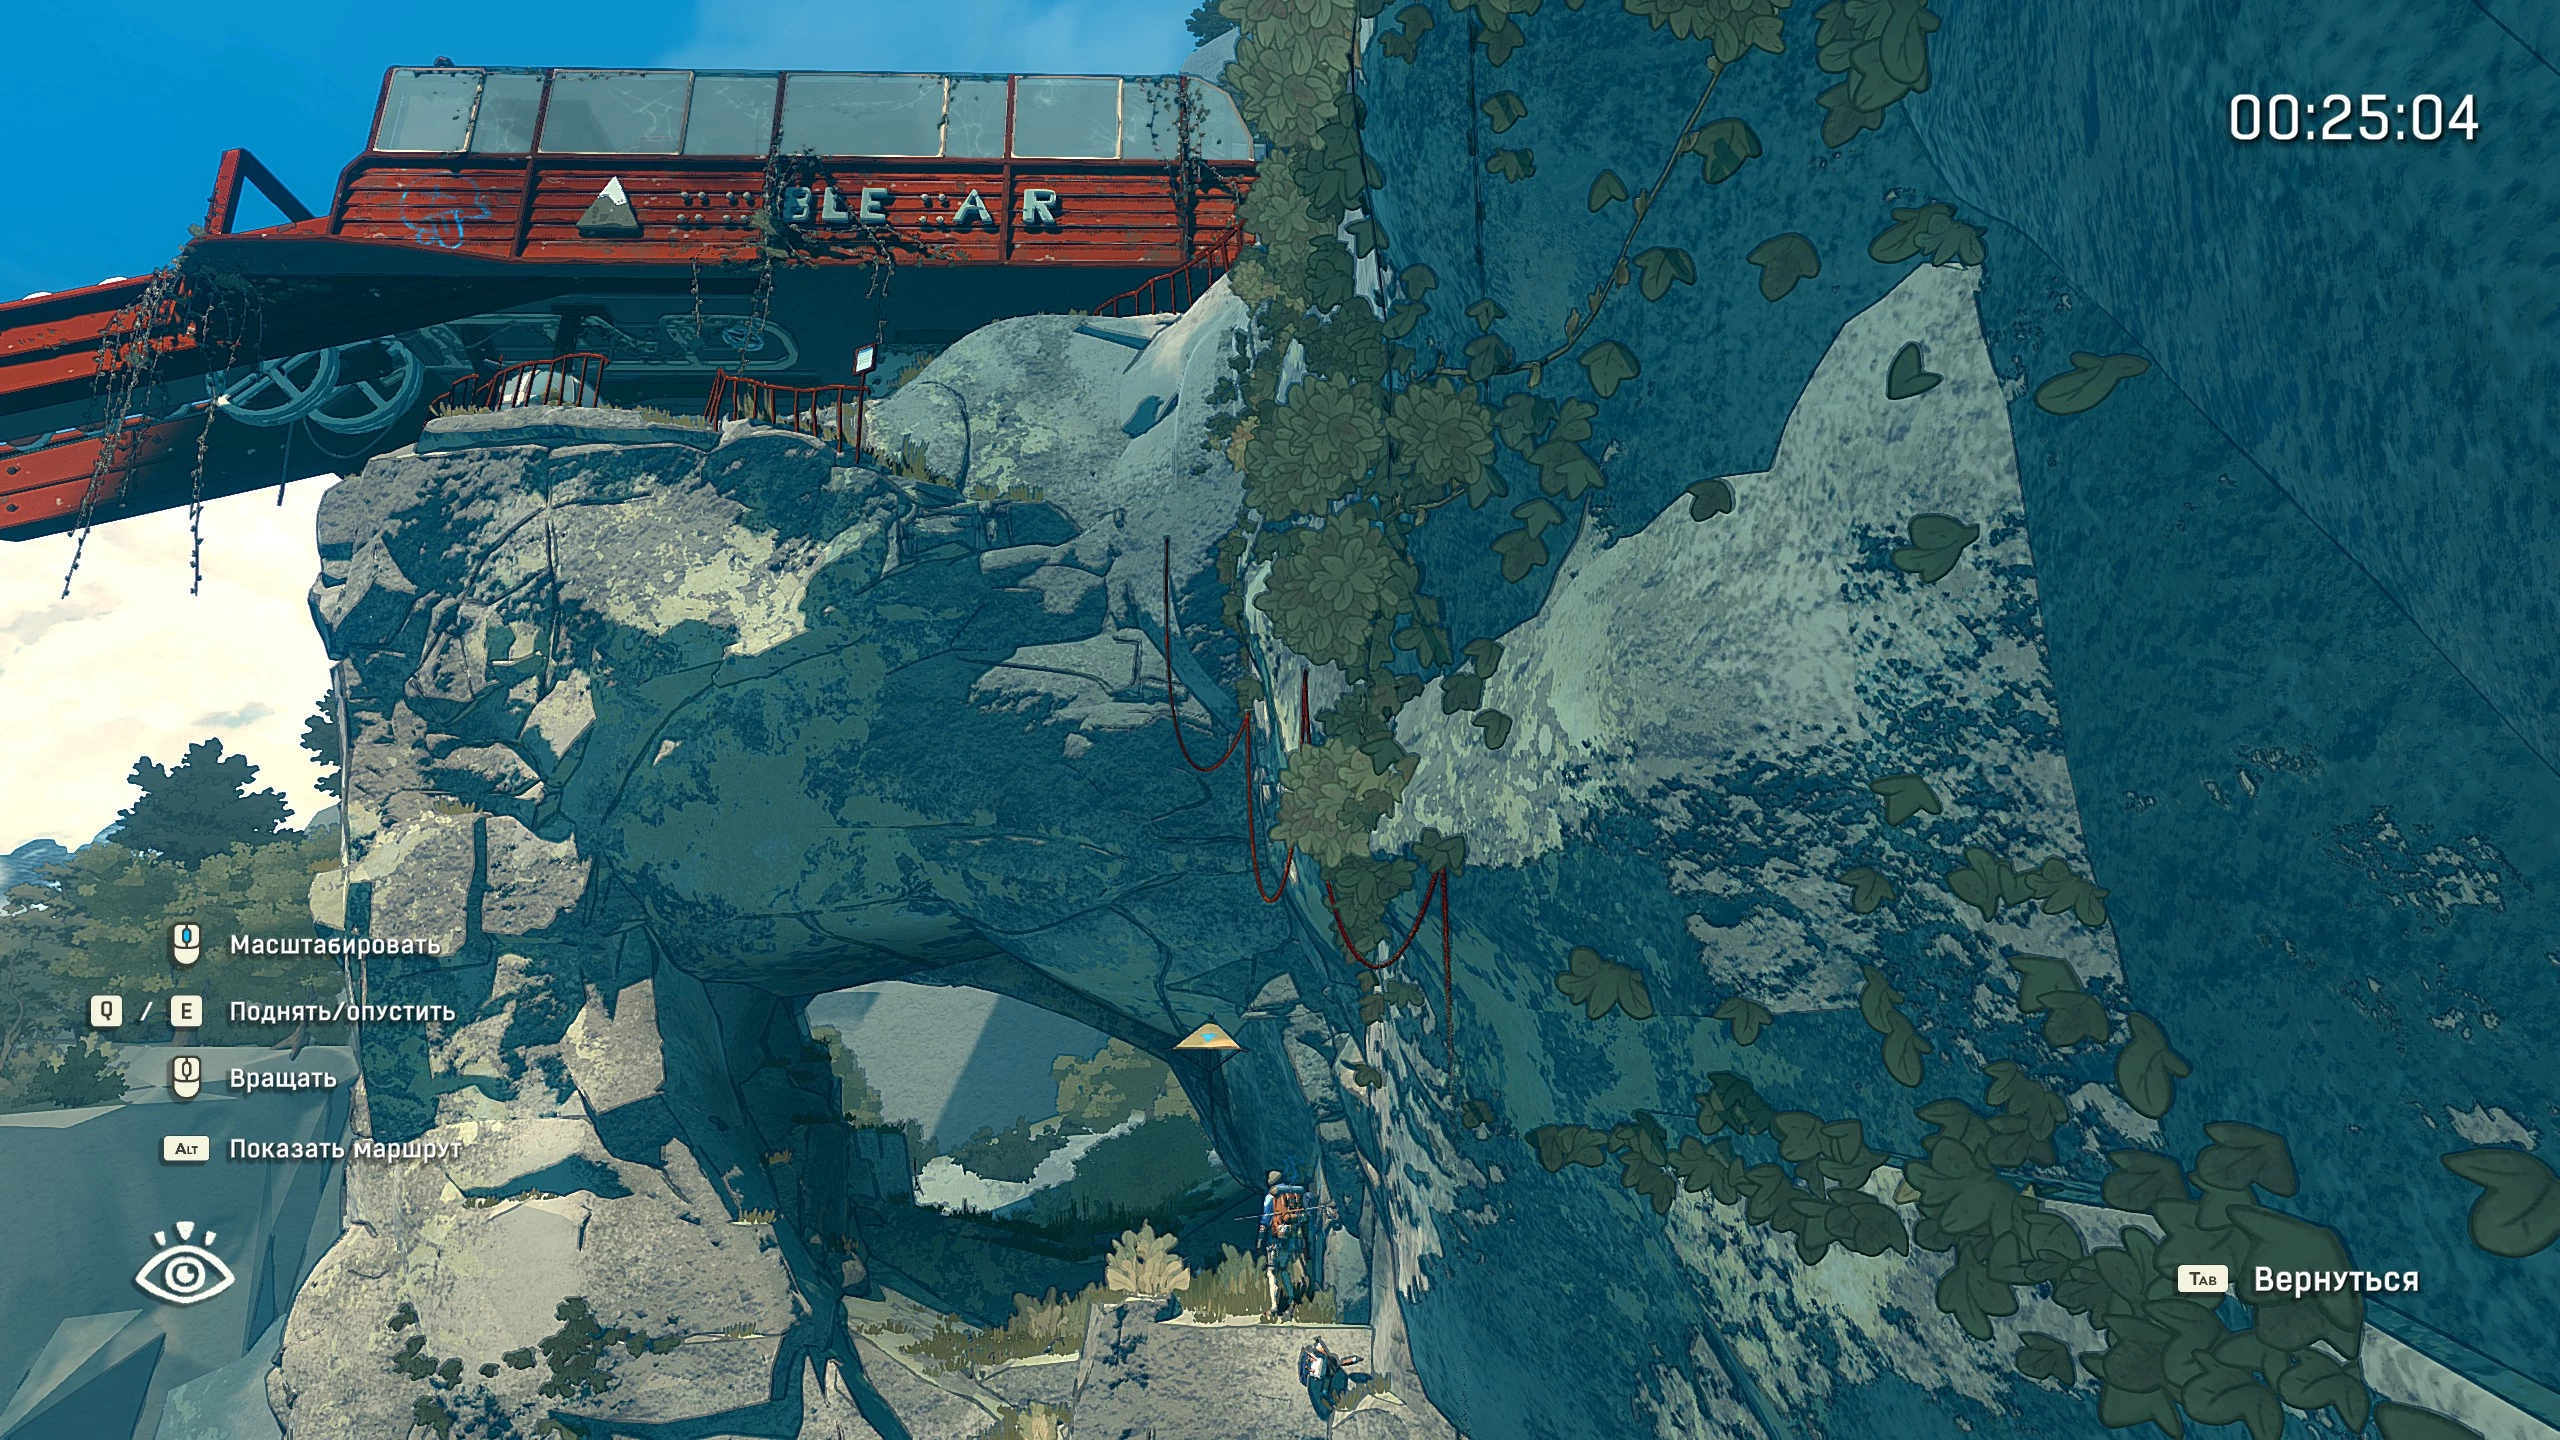
Climb up onto the plateau and watch the cutscene. Follow the trail to the right until you spot a mountain goat near a tree. Avoid getting too close, since it will headbutt Aava. Just walk around it. There's a save altar here too. Look up and start climbing toward the huge stone structure built into the cliff. On the way, Aava will run into Marco.
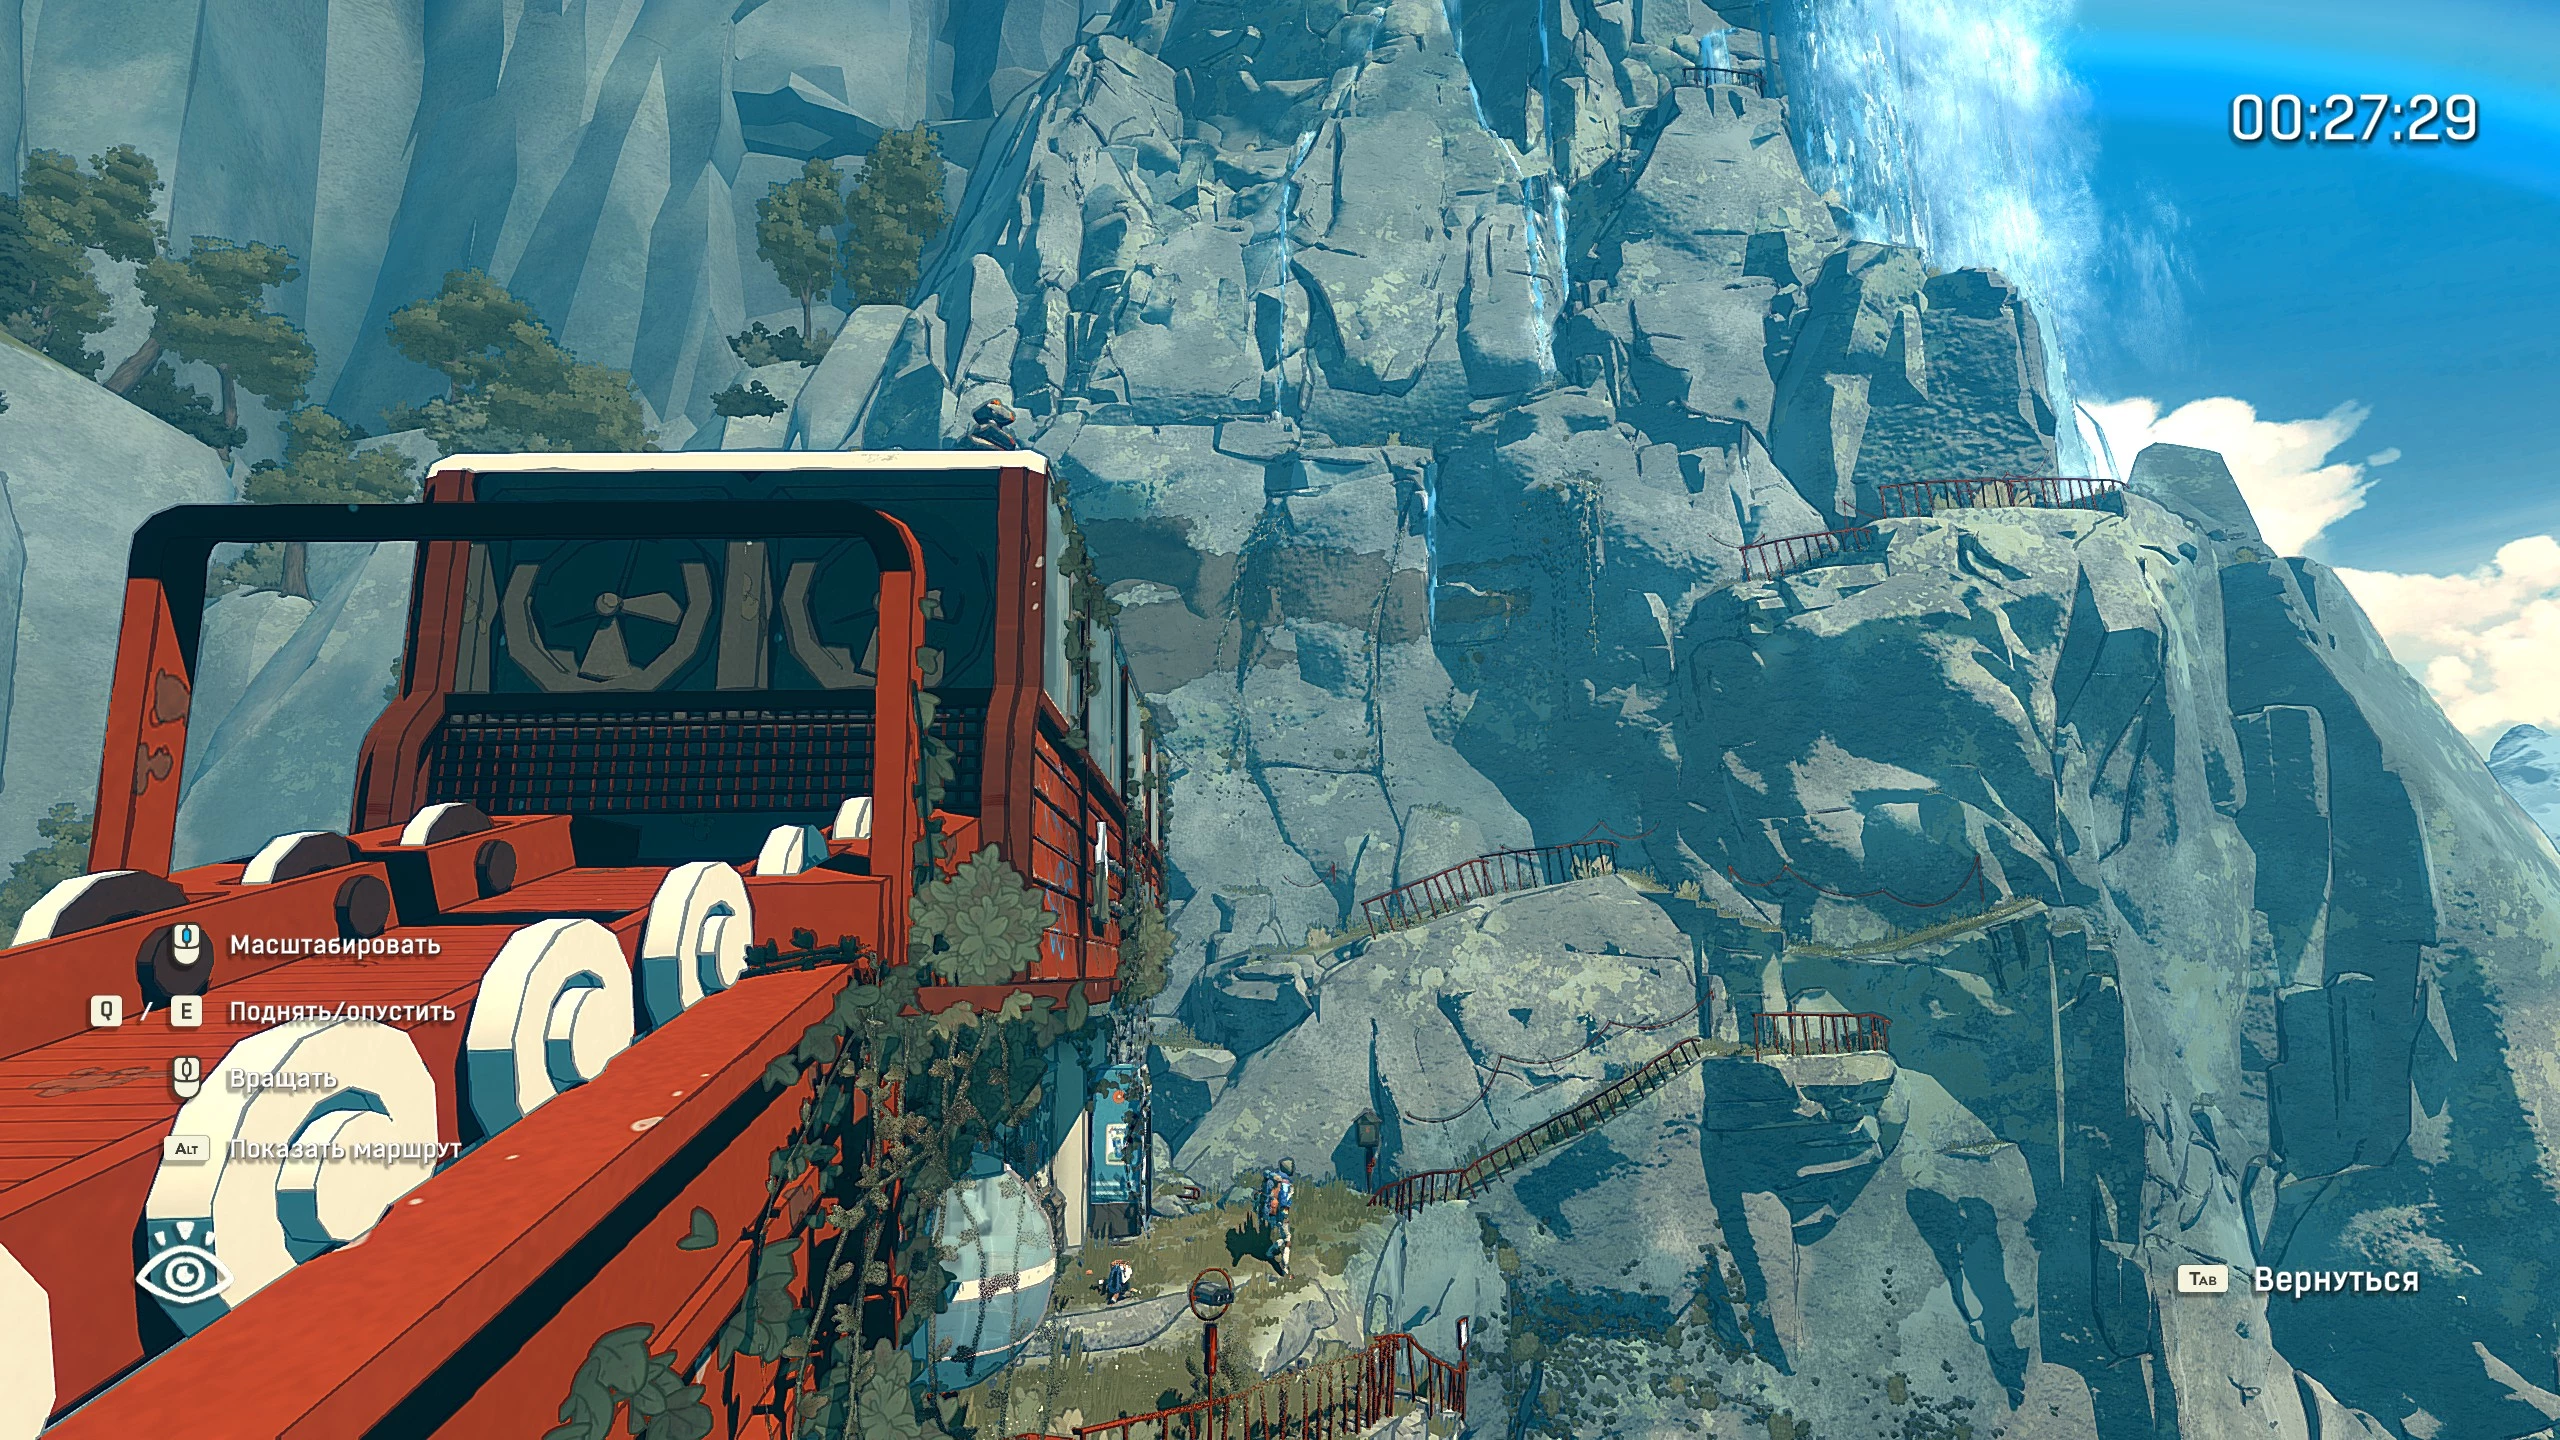
Eventually, Aava will end up in a temple. Explore all the rooms and enter the hall with yellow crystals. Climb up to the next level, rest on the bench, and head deeper into the cave. Pick up the glowing gloves, break the stalactites, and crawl through the tunnel.
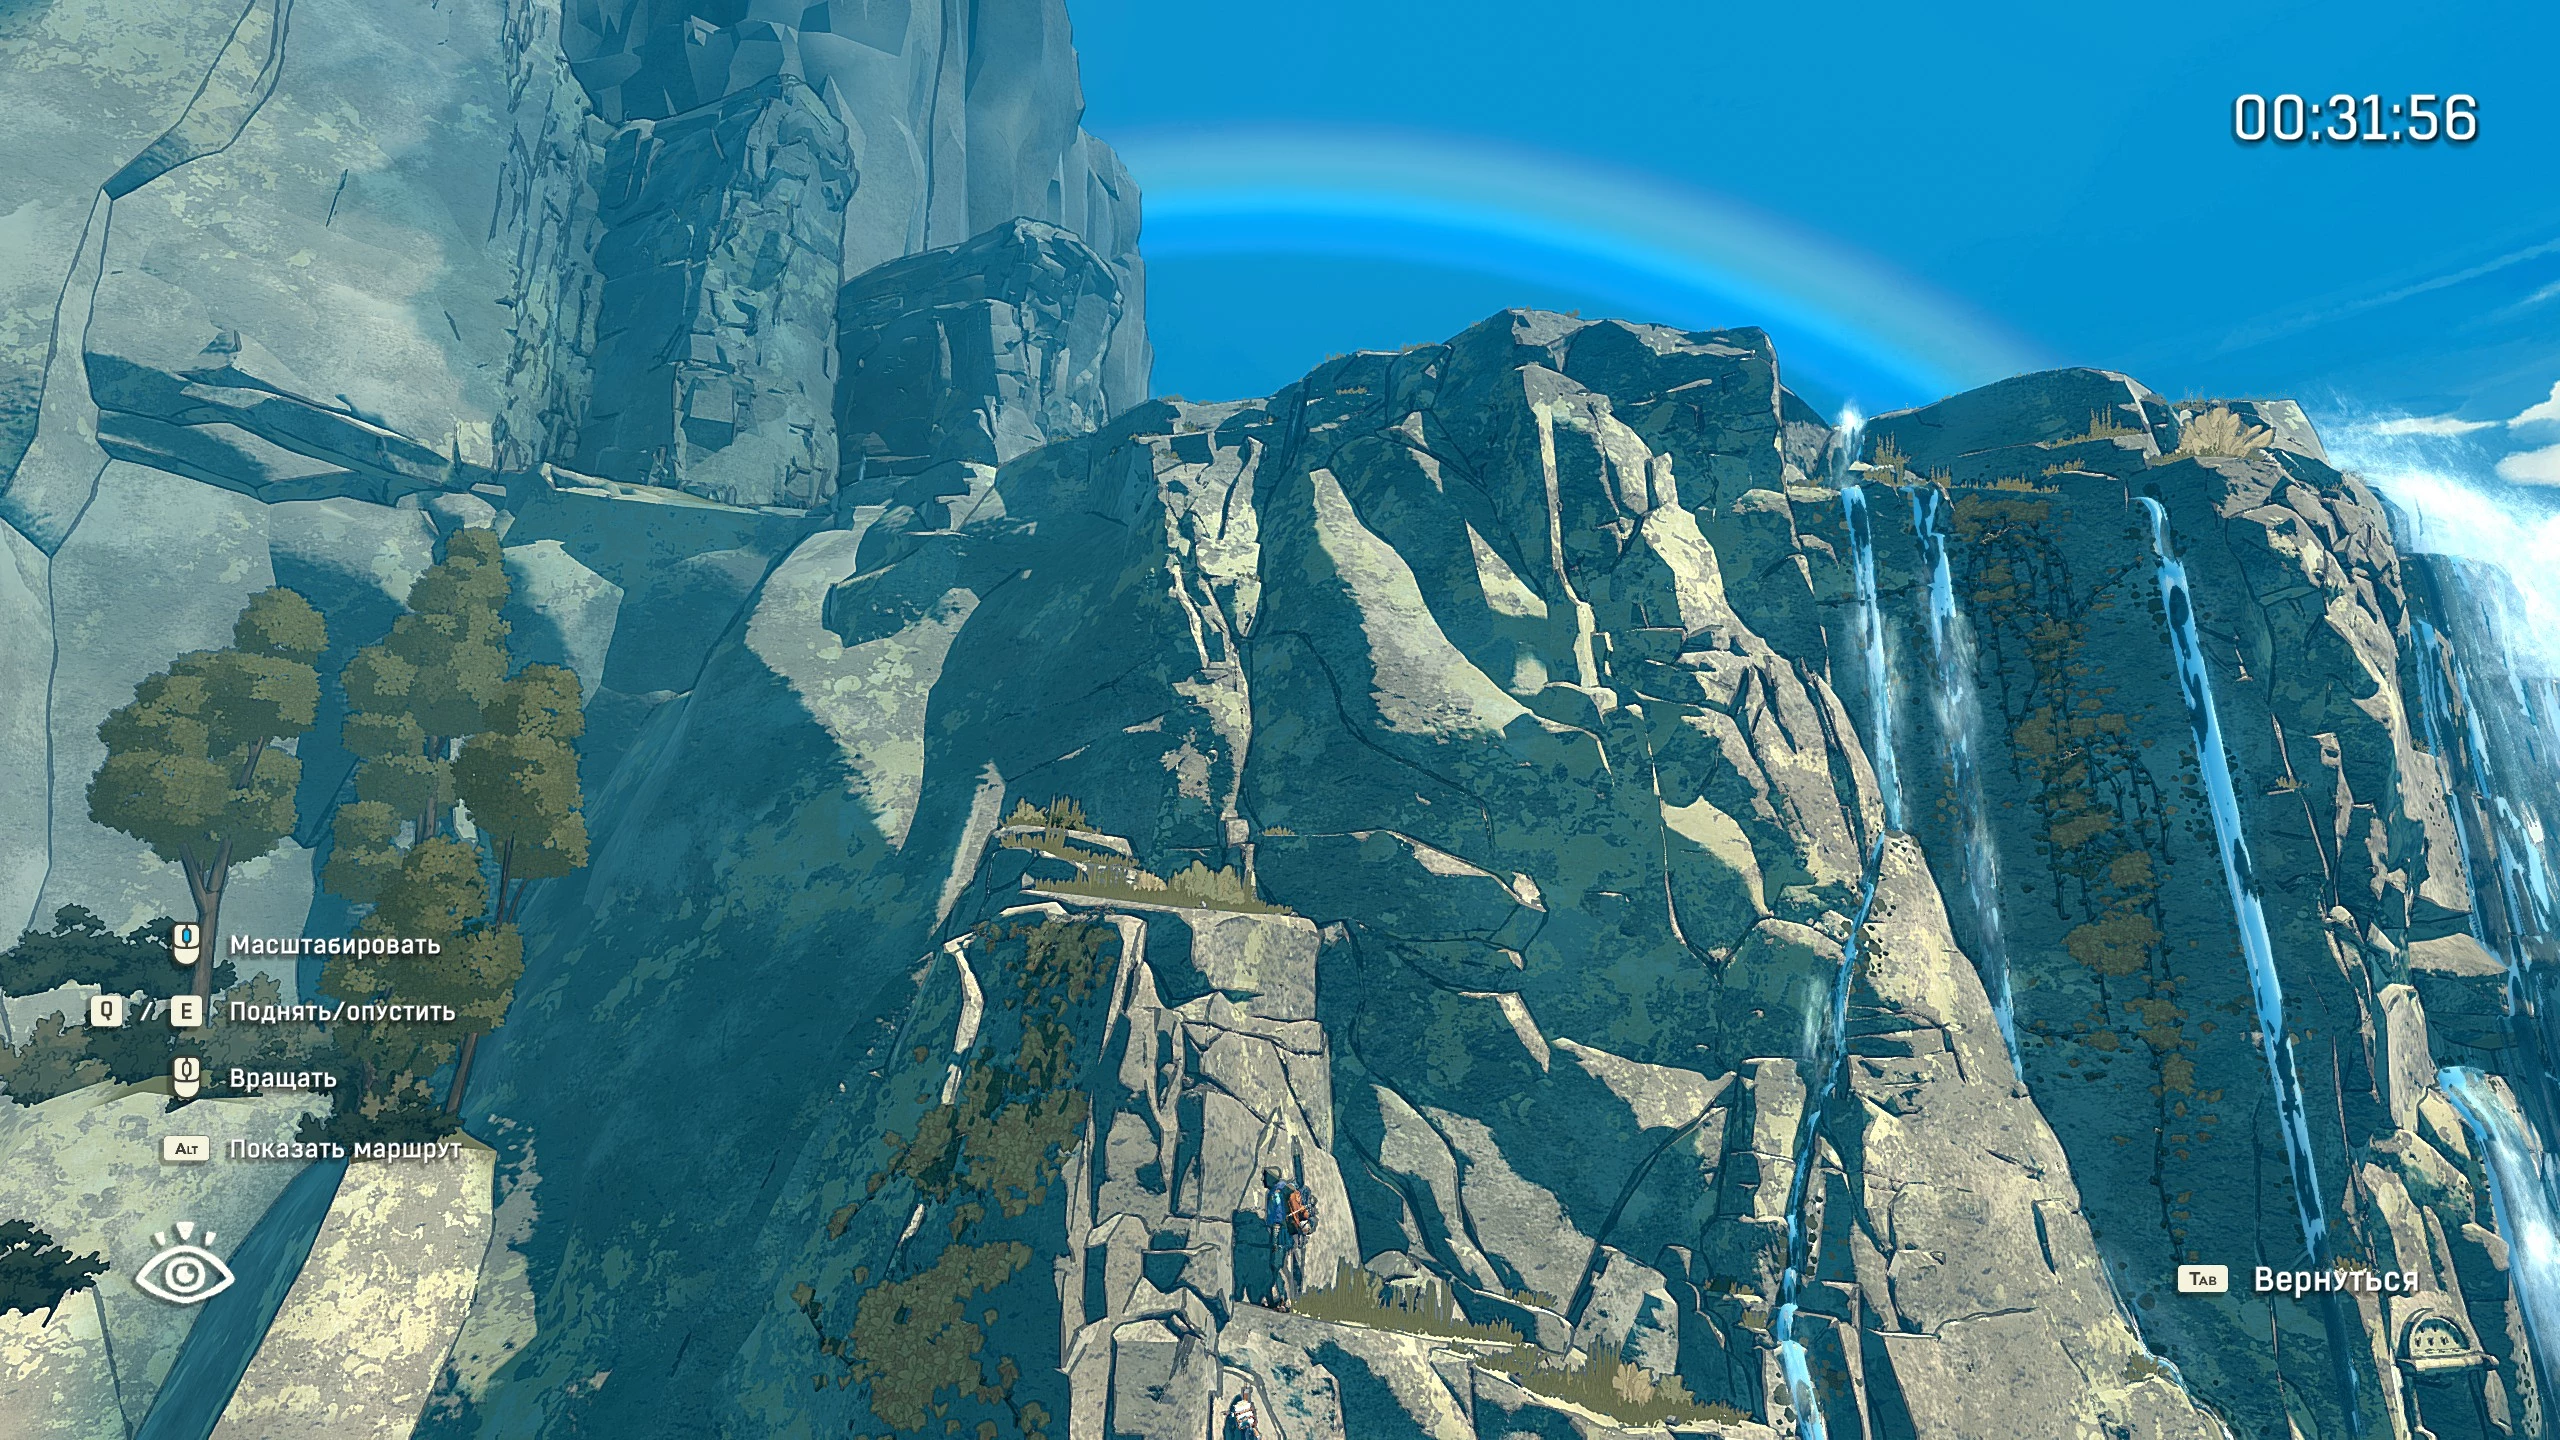
Go into the room on the right, save your game, and pick up the troglodyte map from the stone table. Head back outside and climb up, grabbing a letter of hope that's pinned to the rock as you go. When you reach the plateau, stop at the altar and save your progress. Before climbing any higher, take some time to explore the right side of the area.
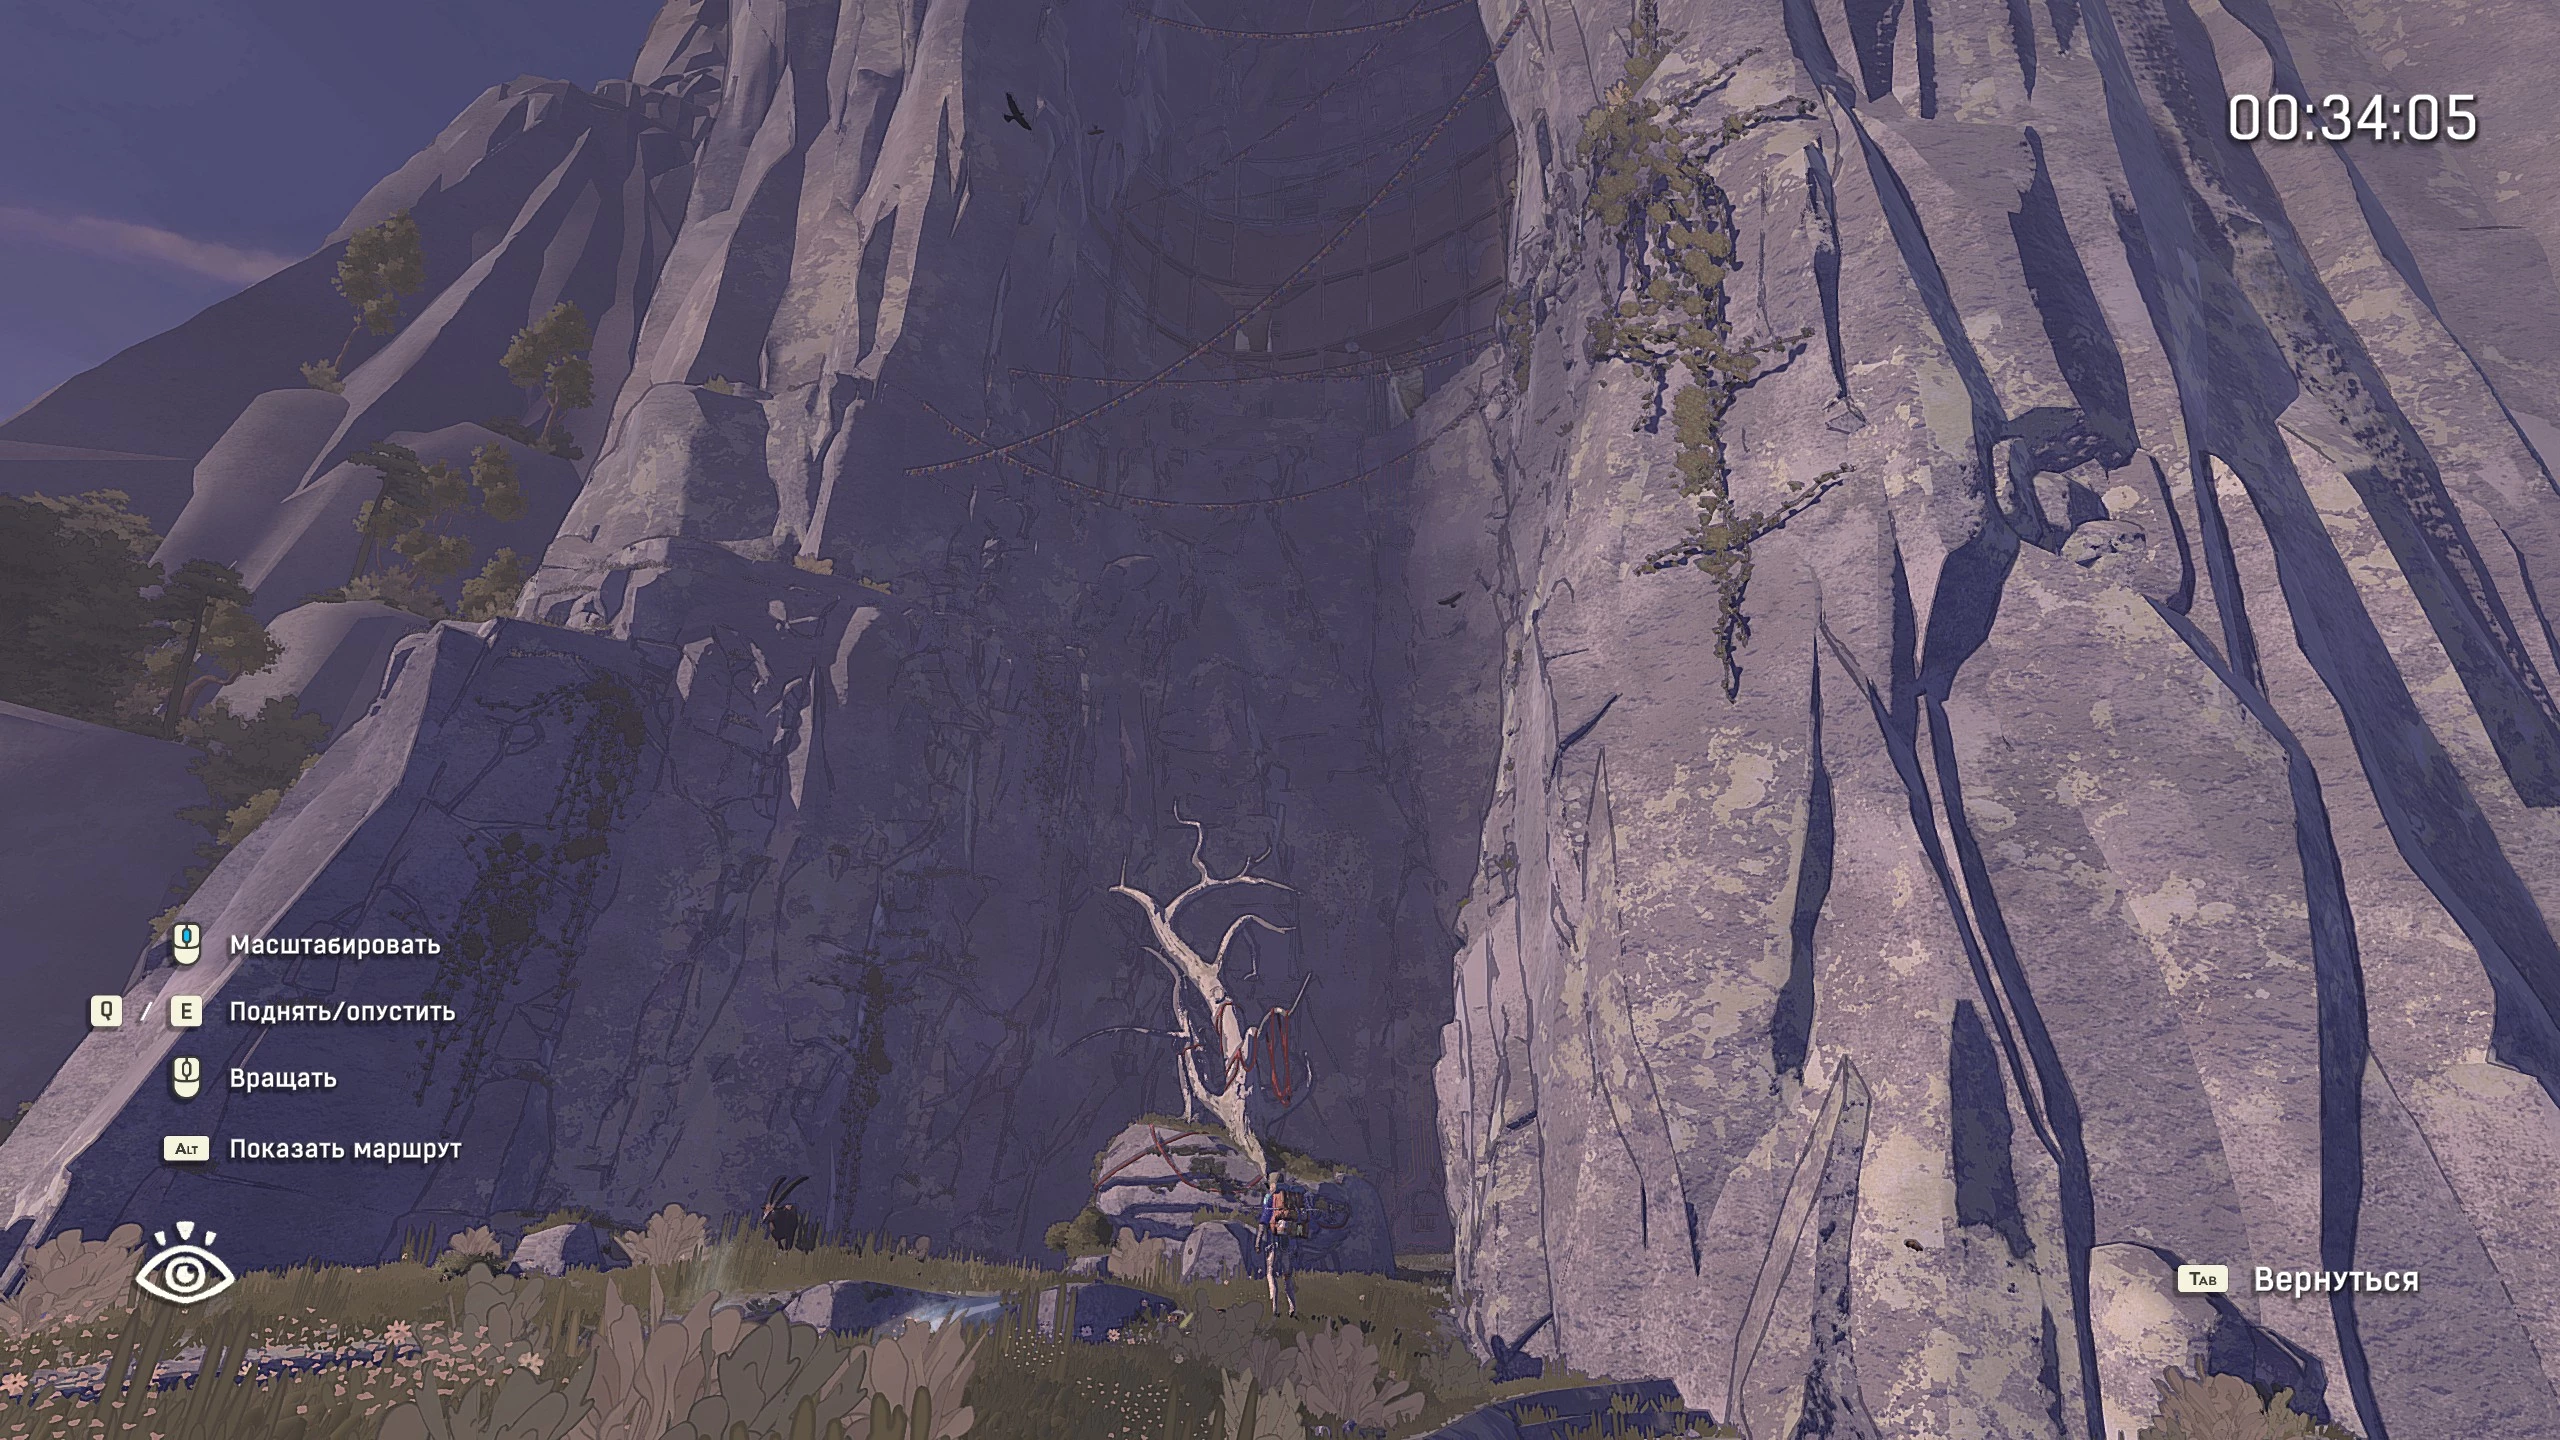
Head toward the cave, turn right, and follow the trail. Go under the rocky arch and check out the grotto with the altar. Interact with the frog to get a souvenir. Climb onto the arch and turn left, where you’ll find the second part of the doll.
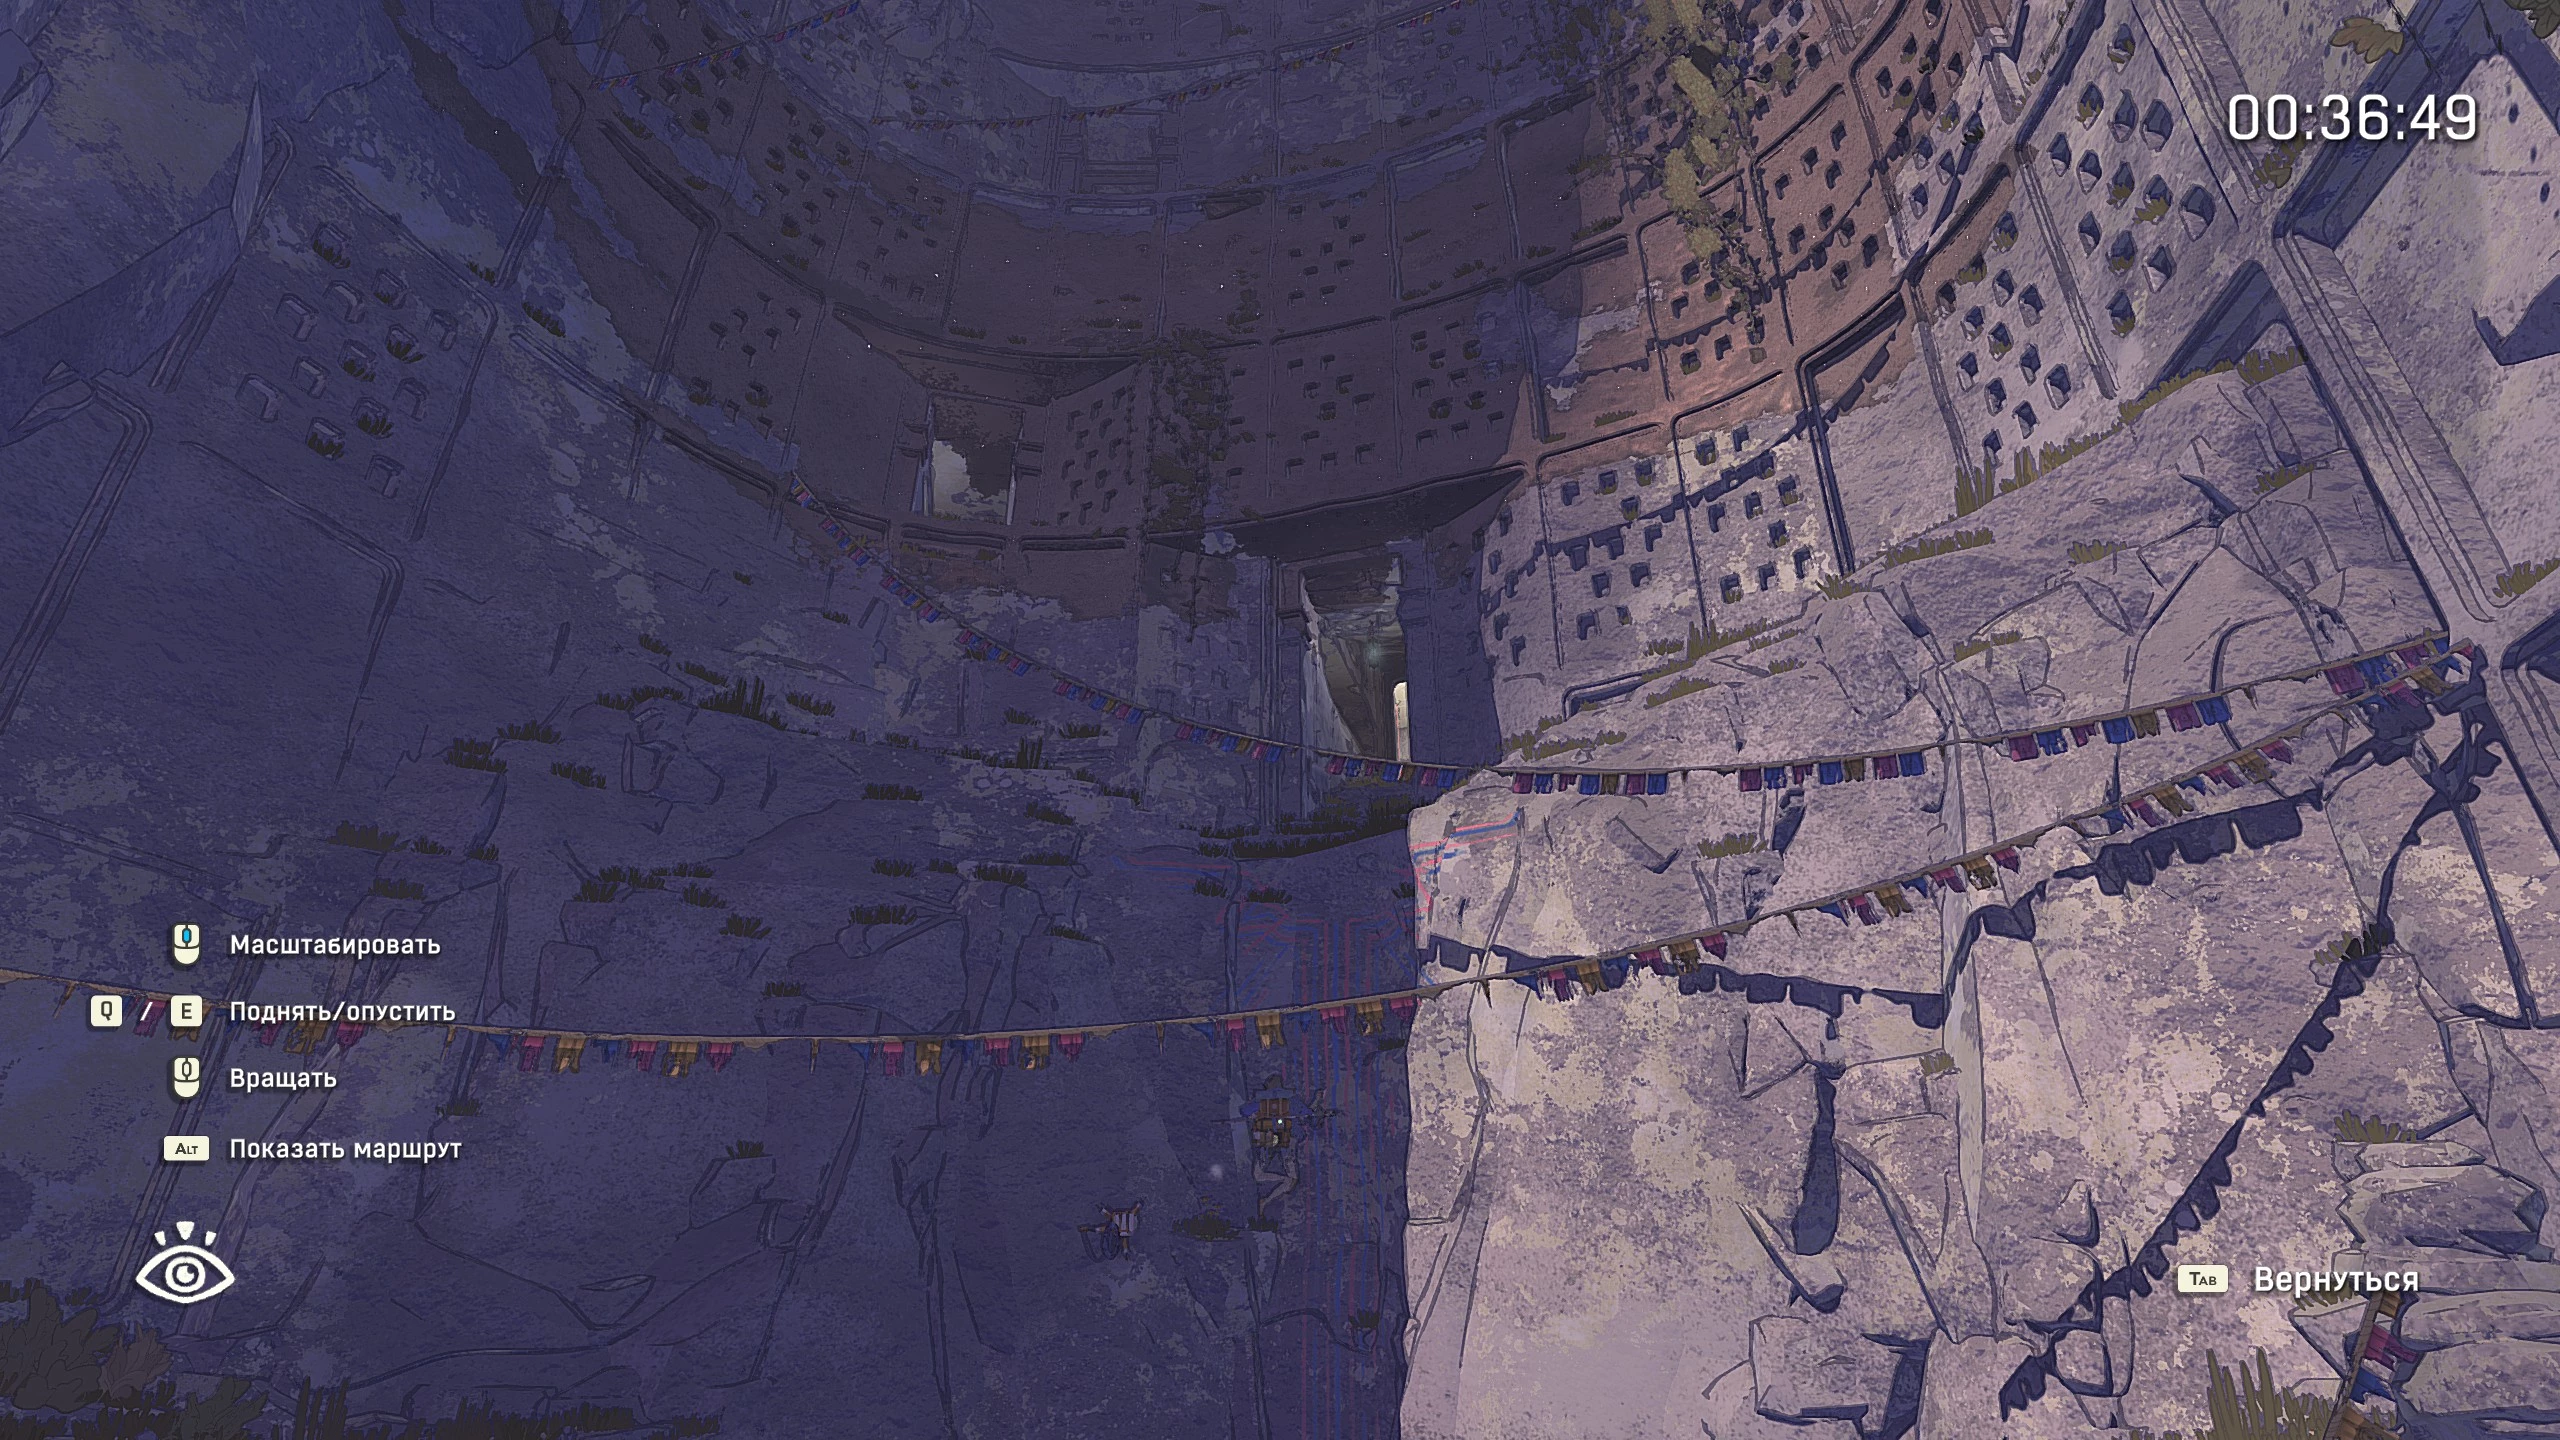
To the right of the arch, you'll see a huge humanoid statue with an entrance in its head. Climb inside and complete the challenge. There's a steep slope and a gap to cross, but you won't be able to use a safety piton here. At the end, you'll find the troglodyte amulet souvenir and a sturdy troglodyte piton.
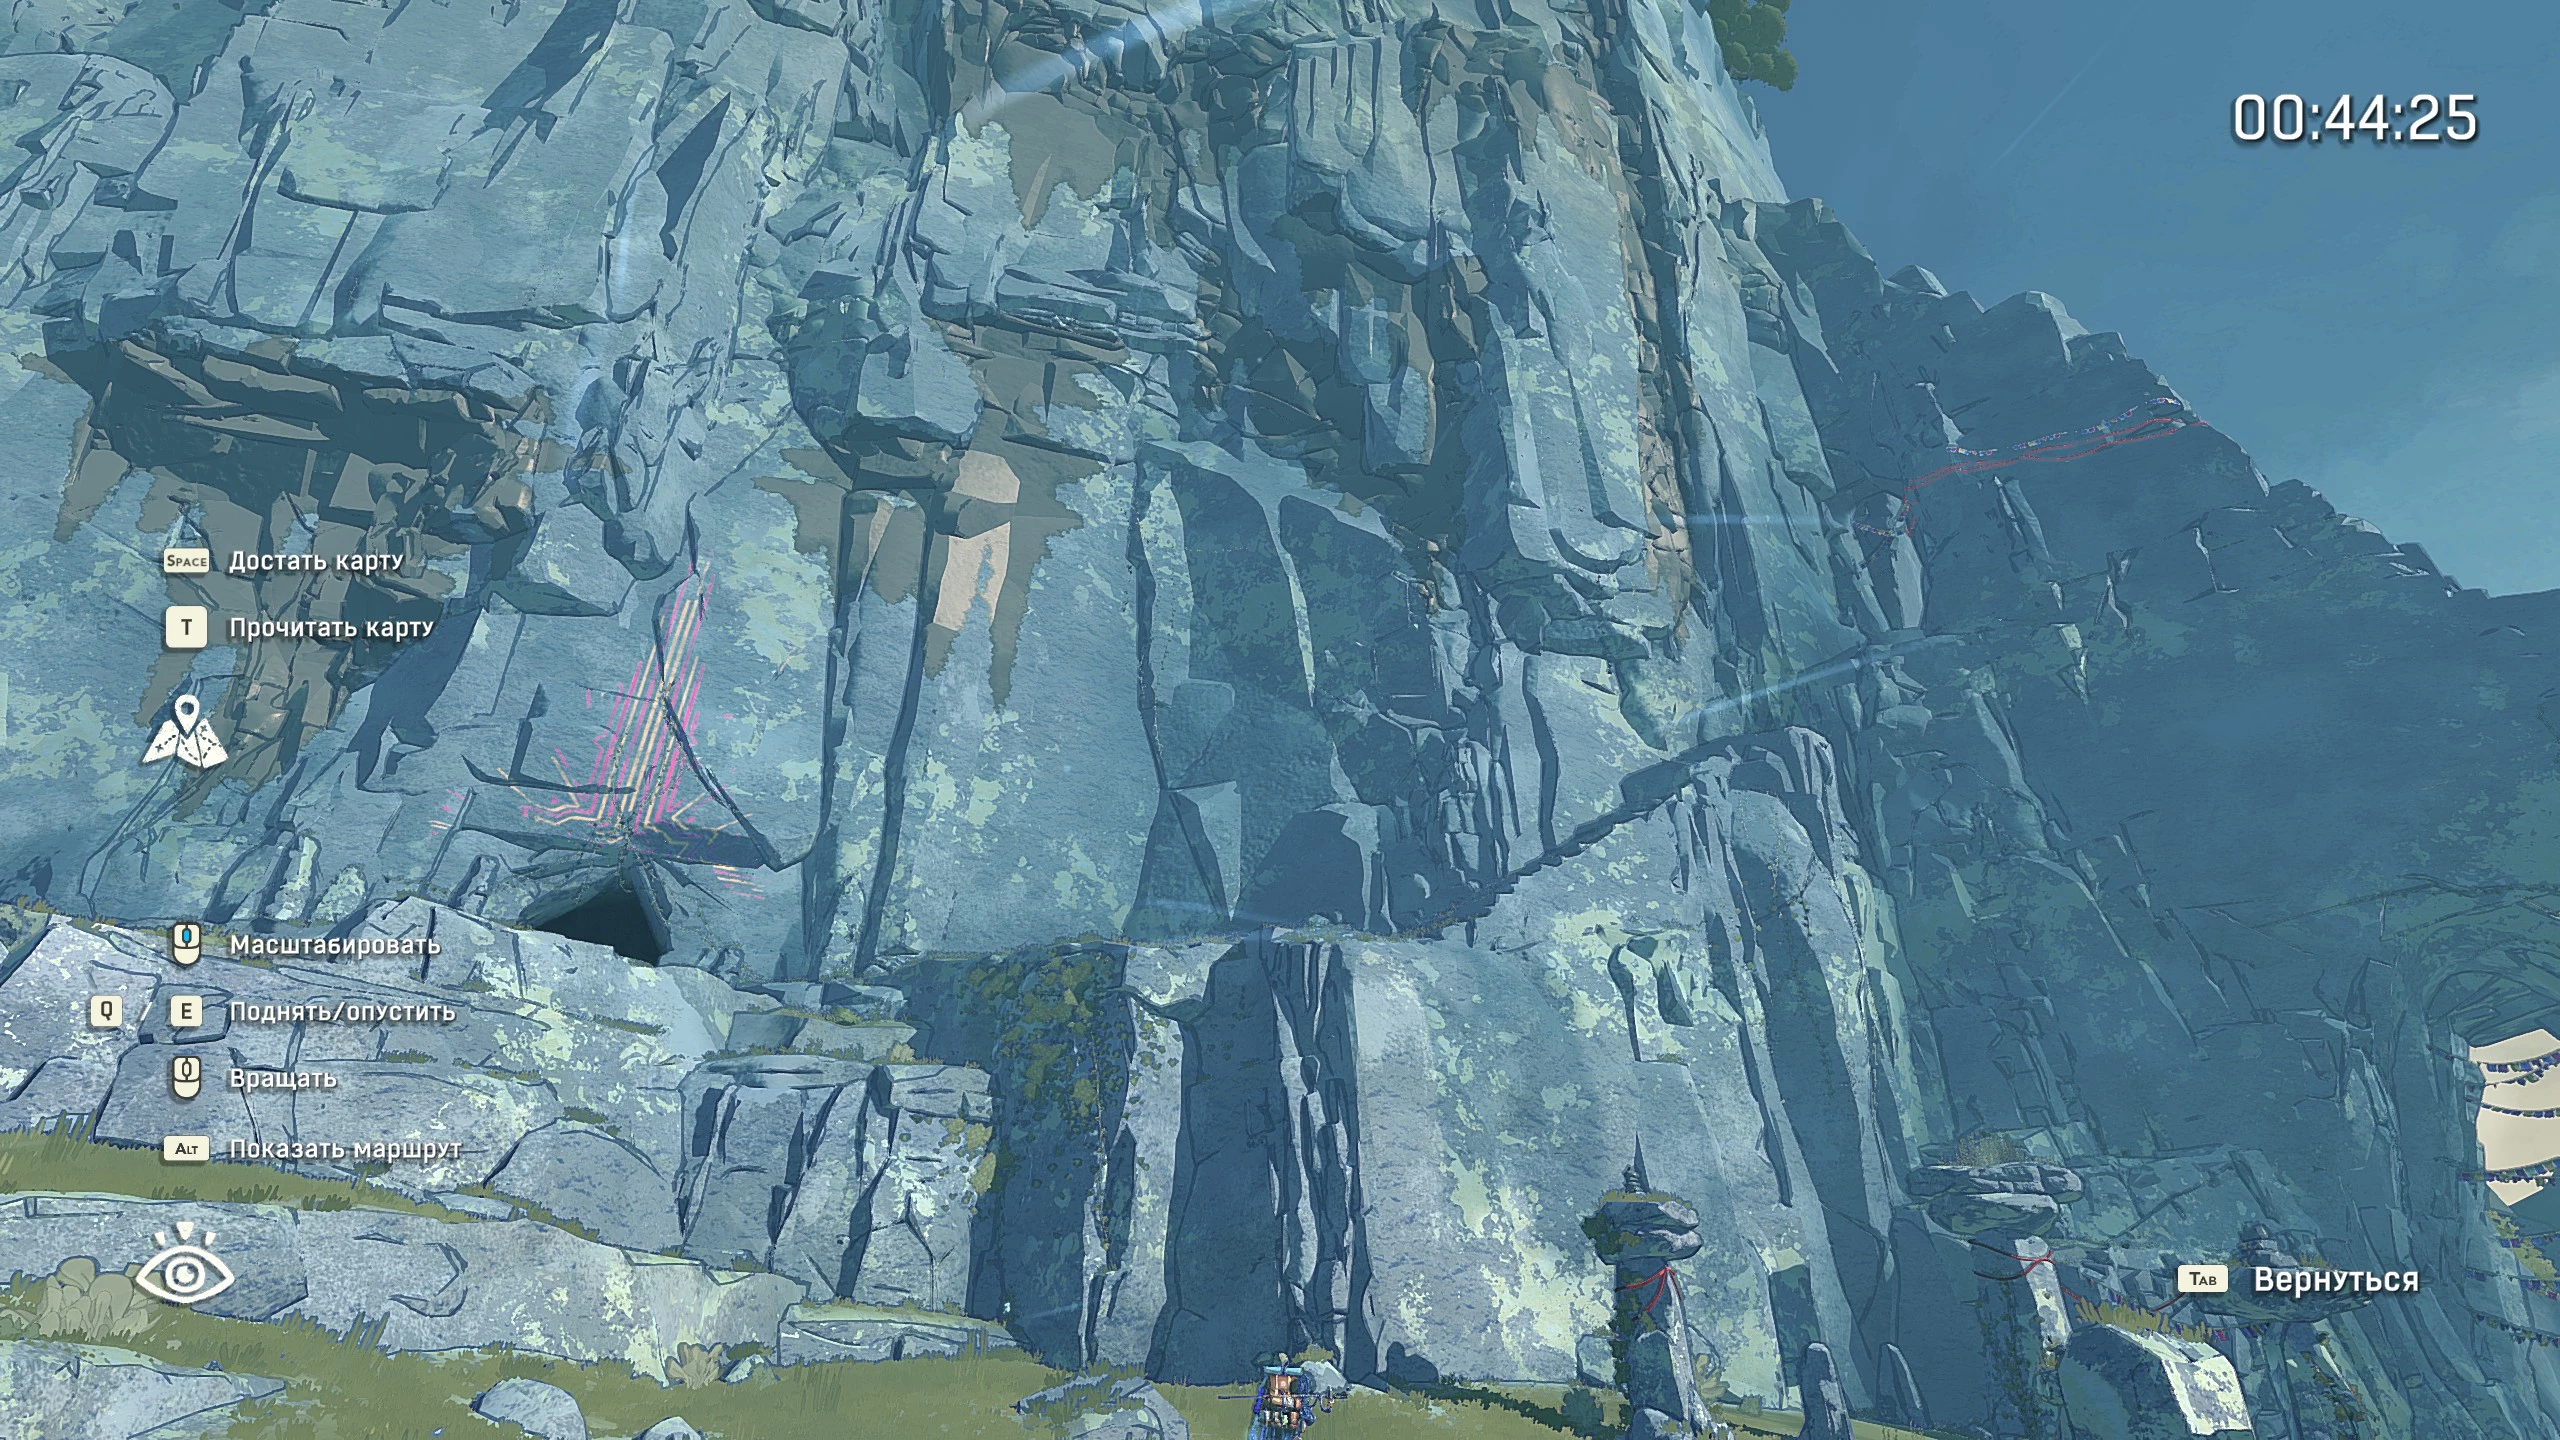
Exit the cave, turn left, and climb up to find the third part of the doll. Keep going until you see a climber’s scattered belongings. You’re supposed to keep climbing up, but we recommend going left and descending to find the first part of the doll and upgrades for your chalk bag. All the troglodyte doll parts will be assembled automatically; you can use the doll to change the weather, but only three times.
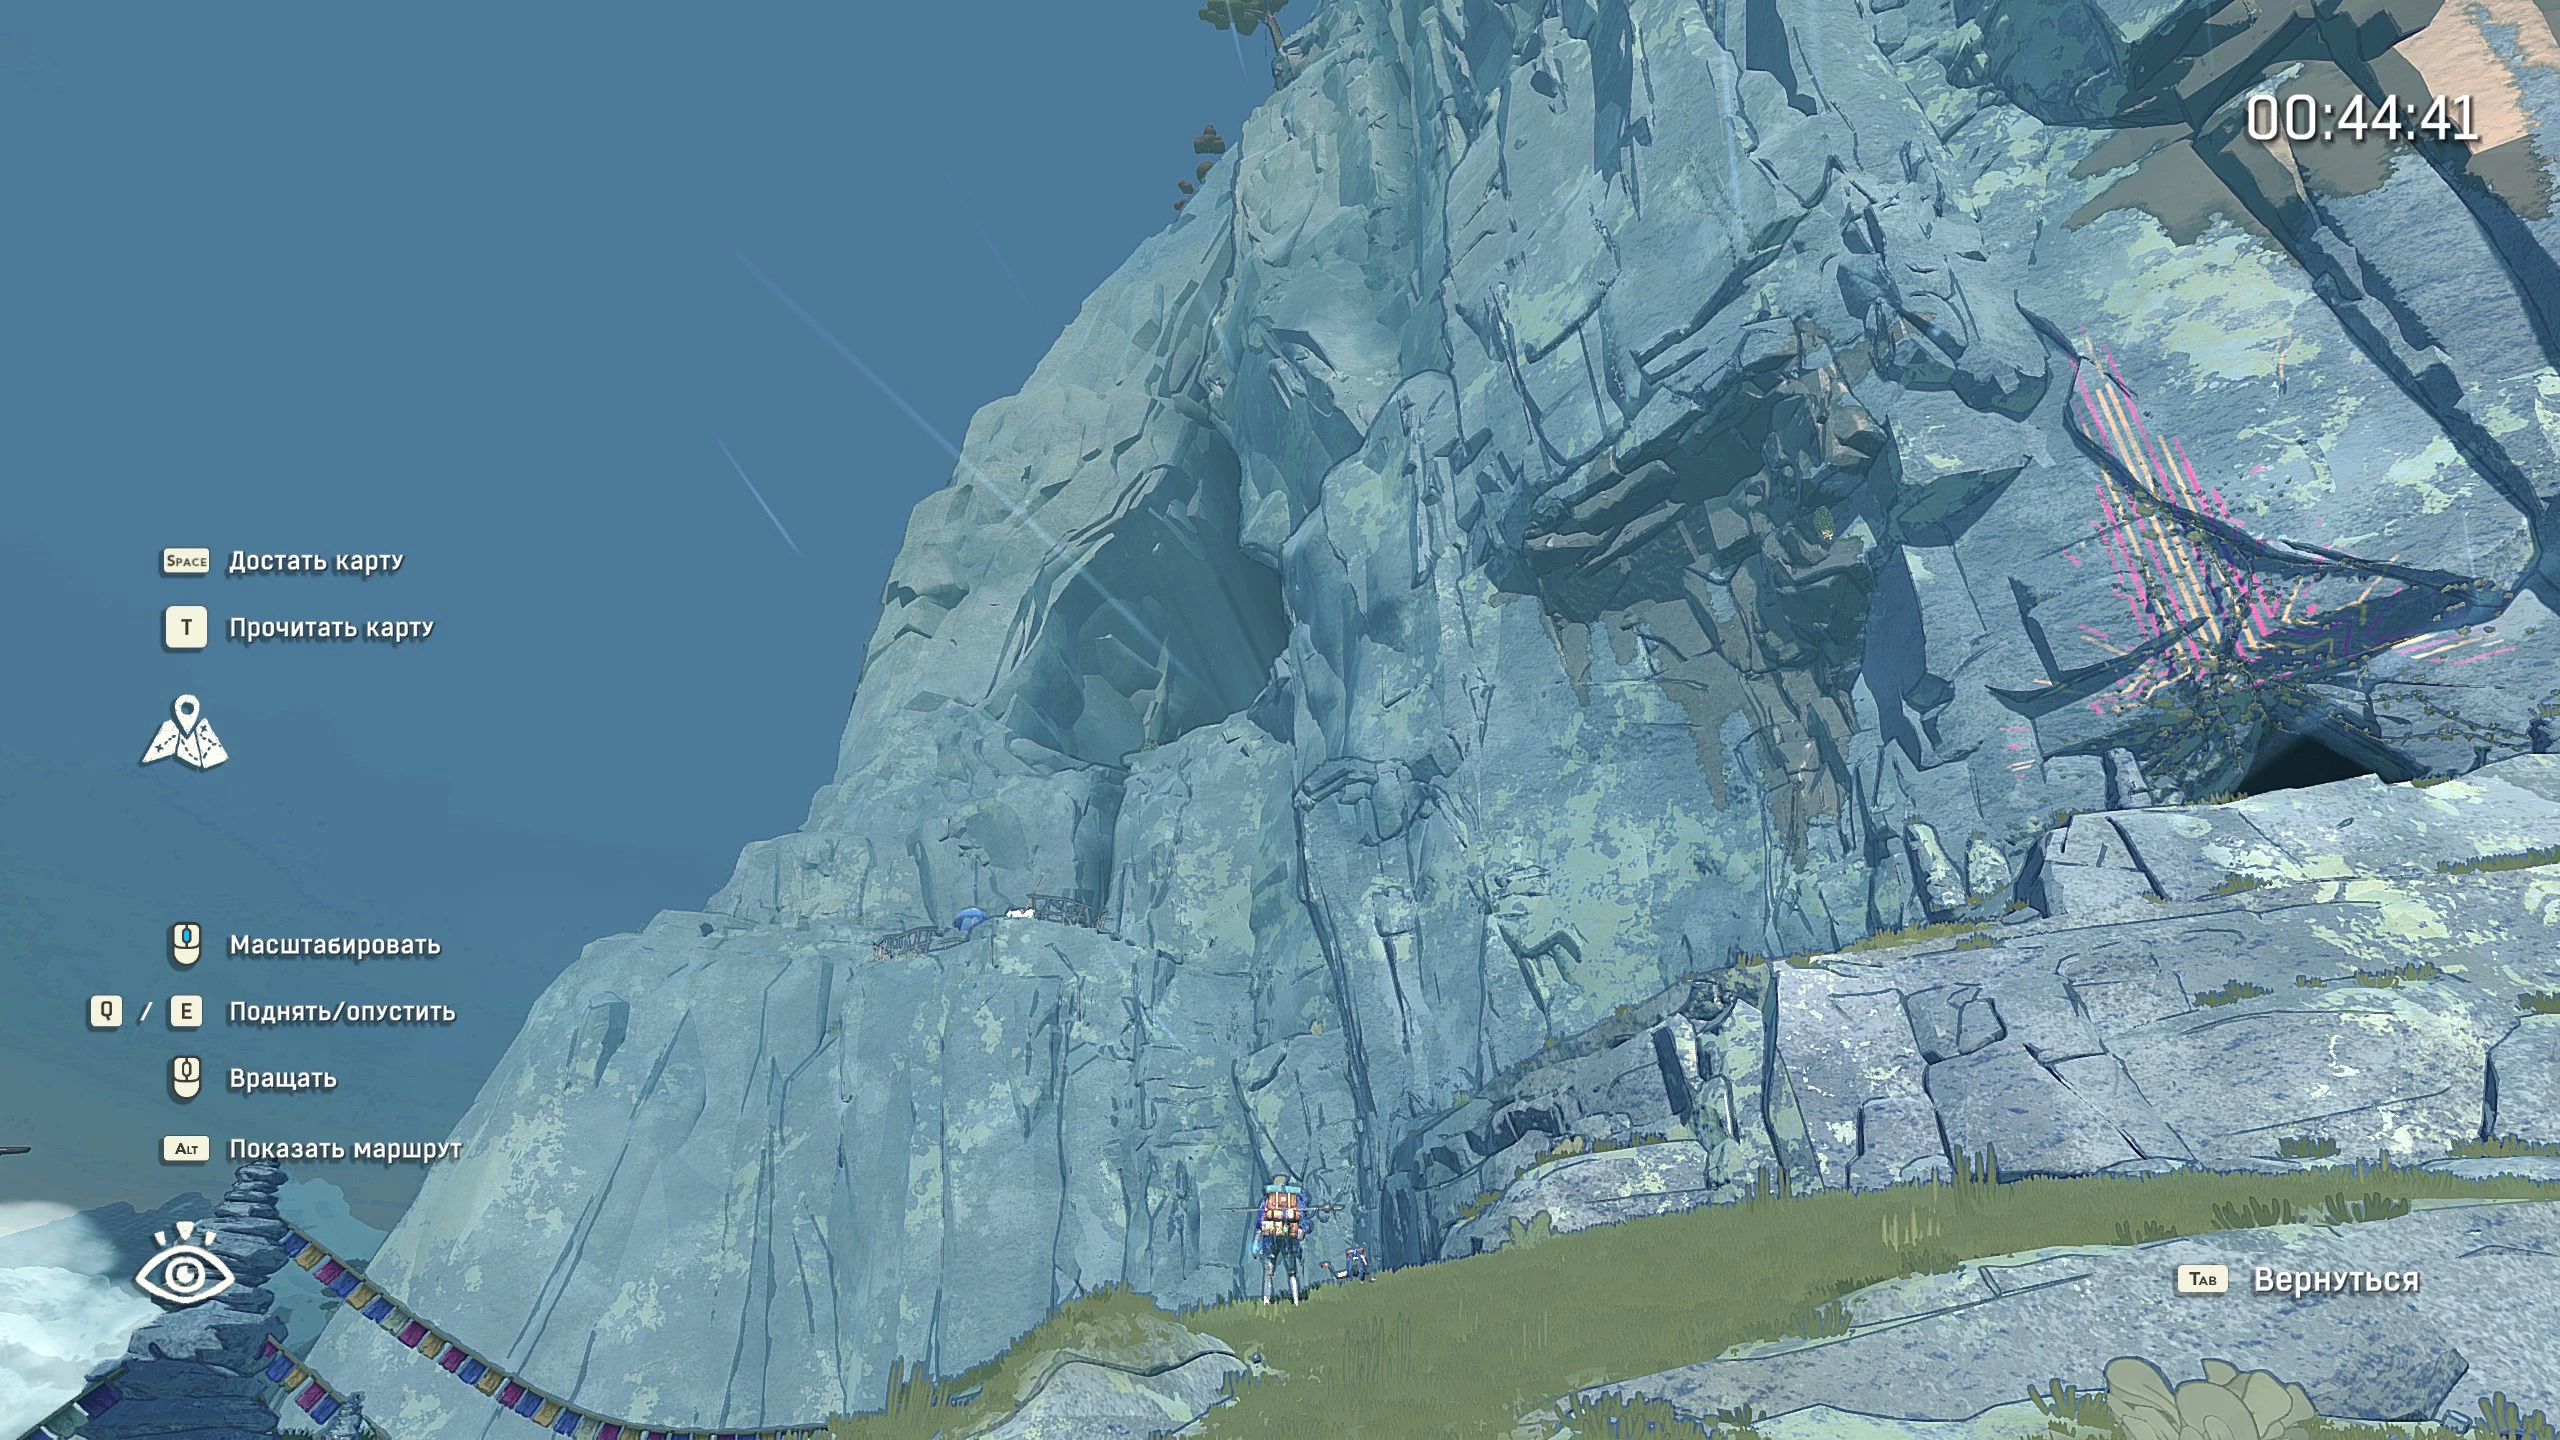
Visit the shepherd girl to get some tomatoes and a bell souvenir. On your way to her, you'll see goats with colorful rugs. These goats are friendly and not afraid of Aava, so you can collect milk from them. Just keep in mind that you'll run into hostile goats without rugs later.
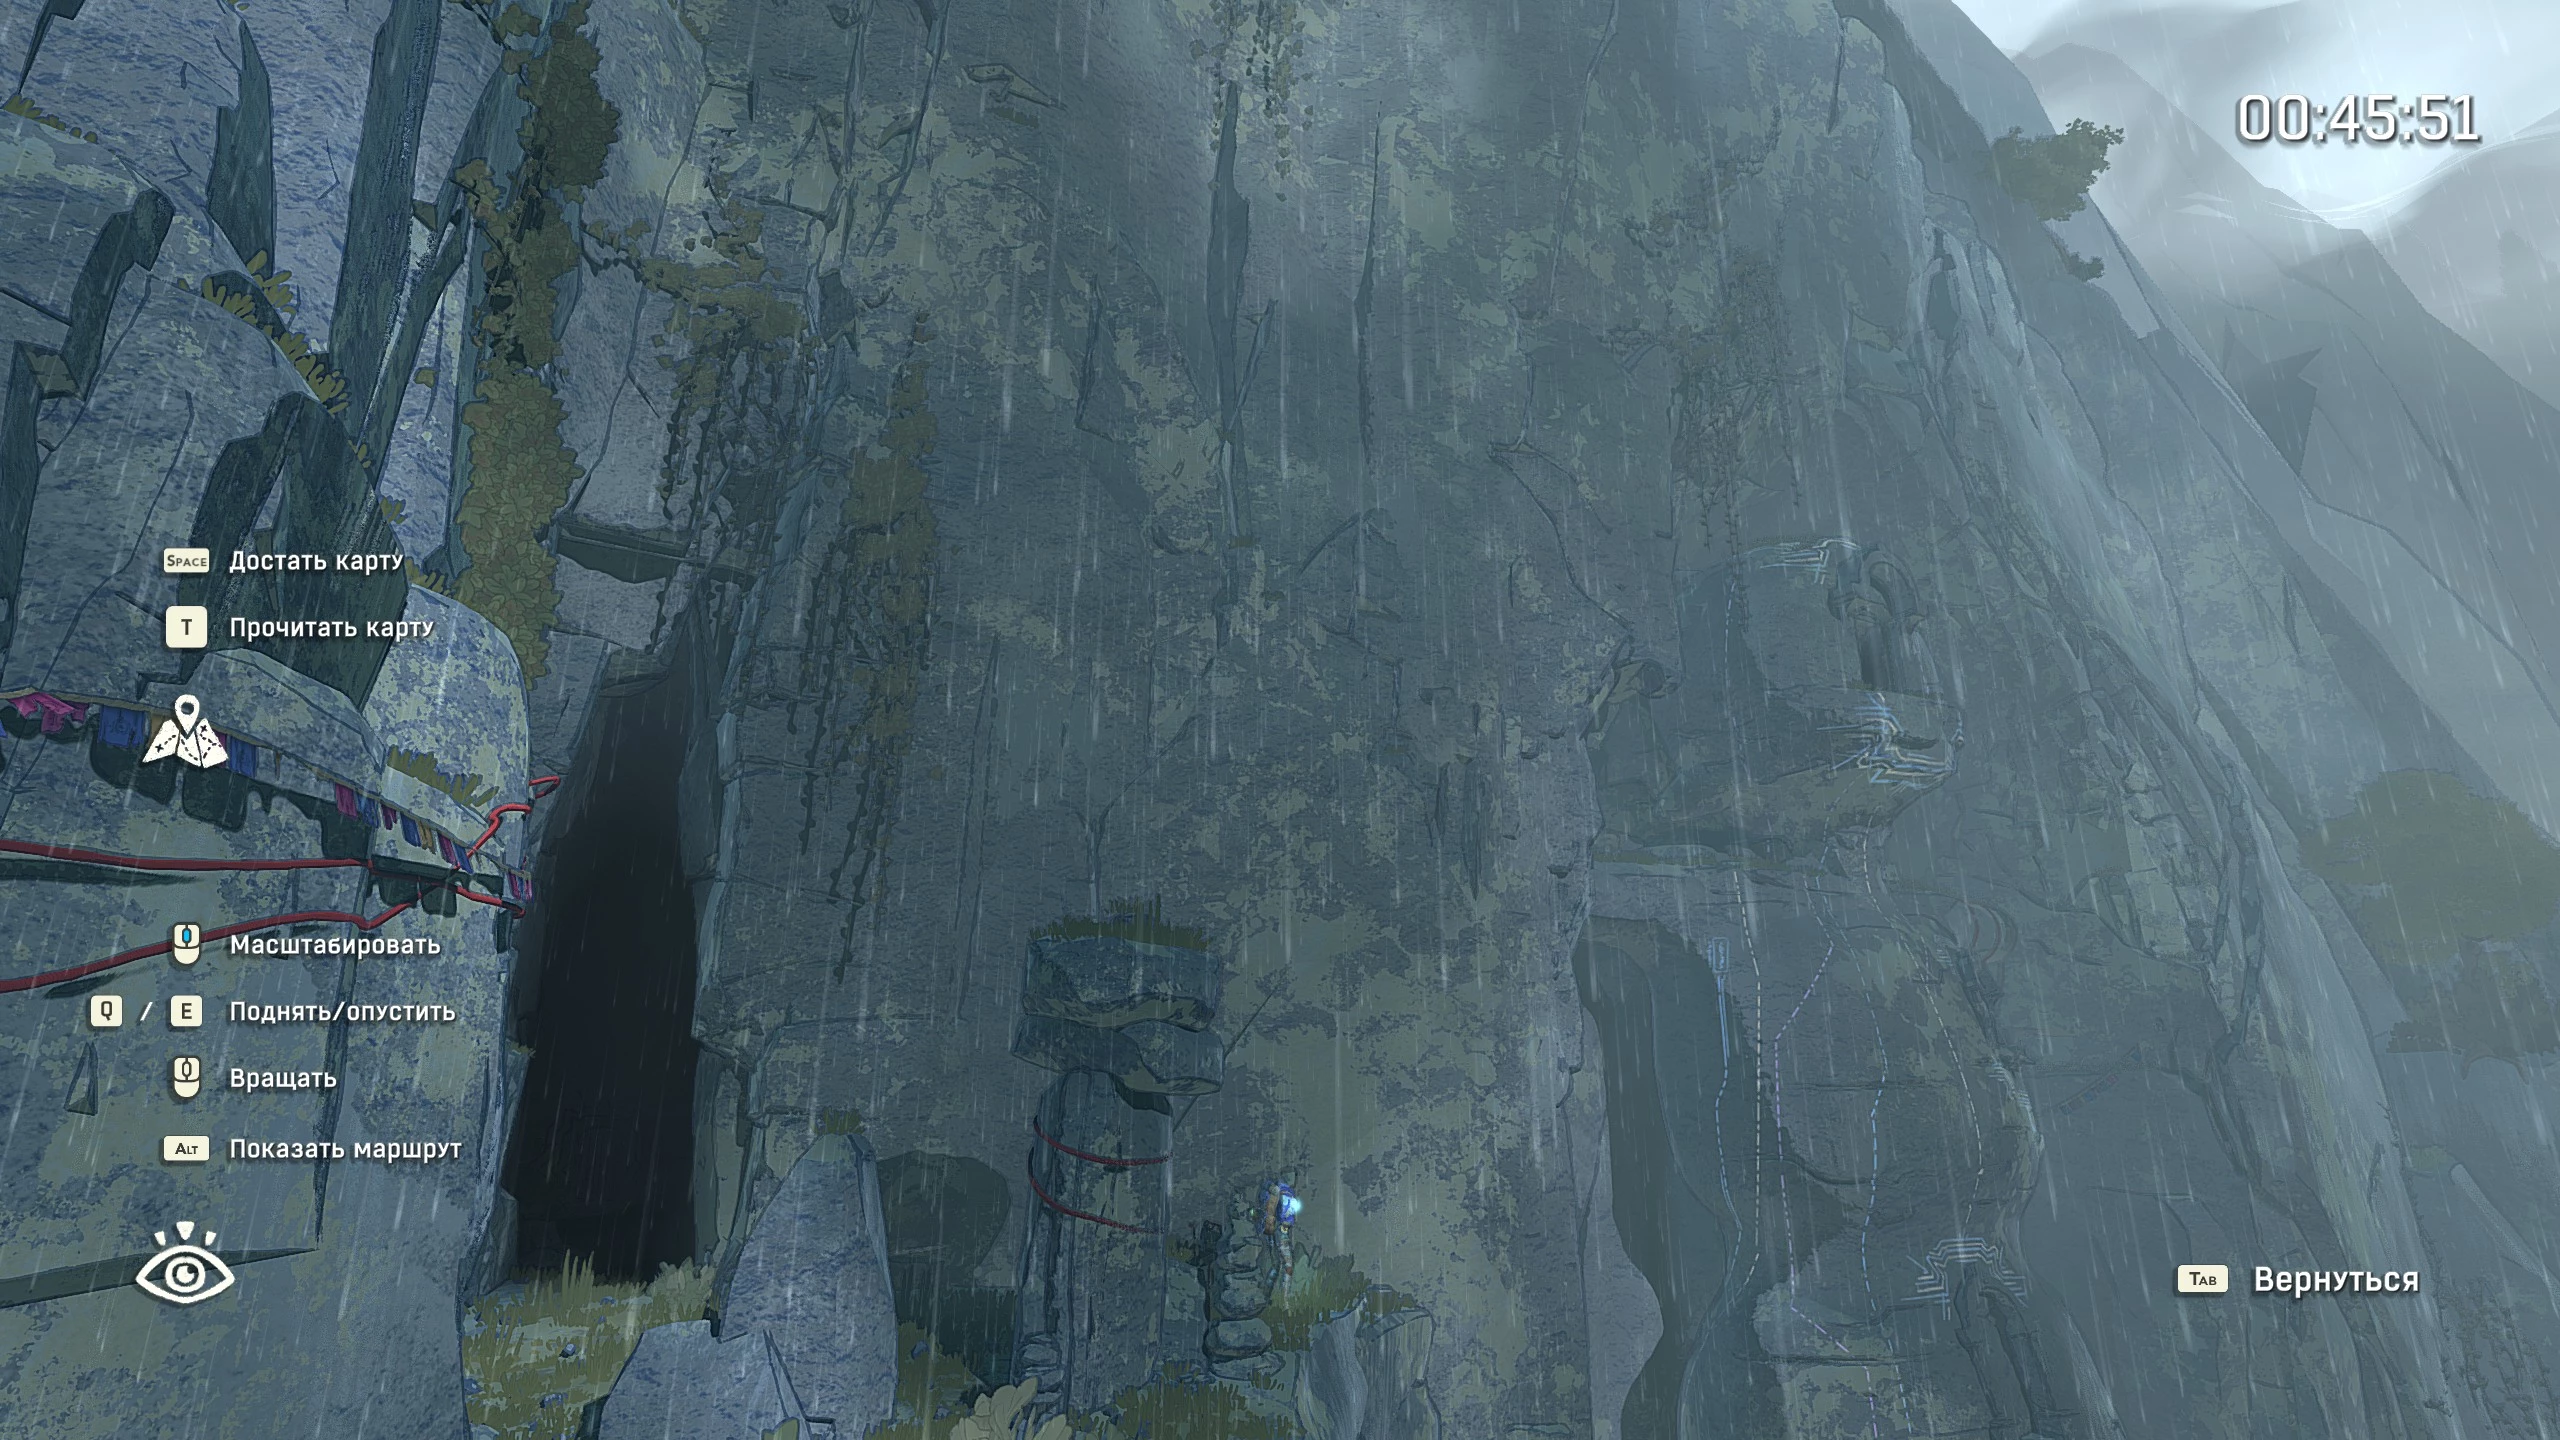
Next, the foliage will shift to spring colors. Aava will reach a plateau with a lake, where Marco’s tent stands by the shore. After a long cutscene, Marco will follow Aava. He won’t get in your way, never gets stuck, doesn’t fall through the map, and if you want, you can ask him to be quiet.