How to install Mac OS on PC and Windows on Mac
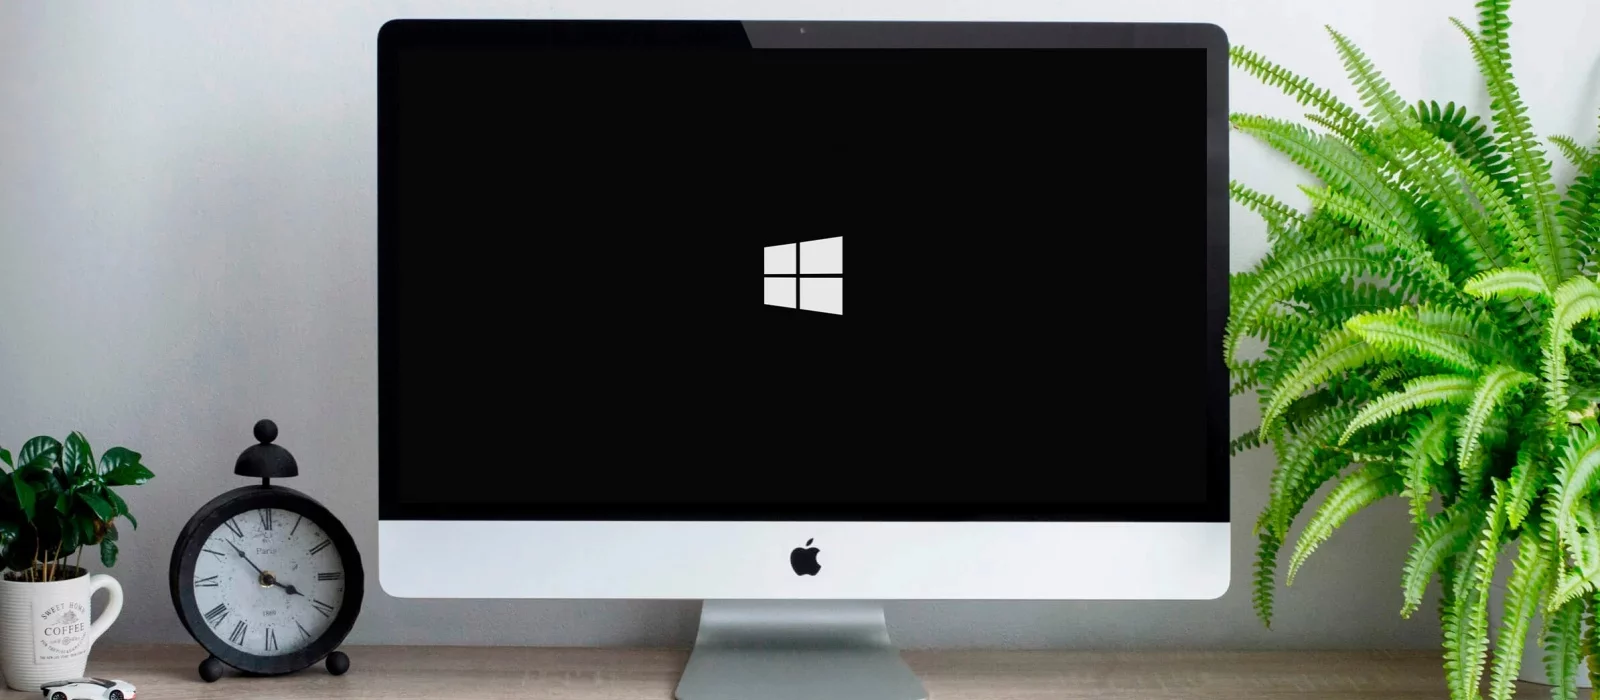
Have you long wanted to try Mac OS but don't have the money to buy original hardware? Or are you tired of Apple's OS and want to use Windows again? In this guide, we will explain in detail what and how to install Mac OS on a PC and Windows on a Mac.
Installing MacOS Mojave on PC
Preparation
Let's clarify one important point — Mac OS is tailored for Apple hardware. Yes, the OS will work on a PC, but be prepared for possible errors. Install the OS at your own risk. If you are sure everything will be fine, let's proceed with the installation.
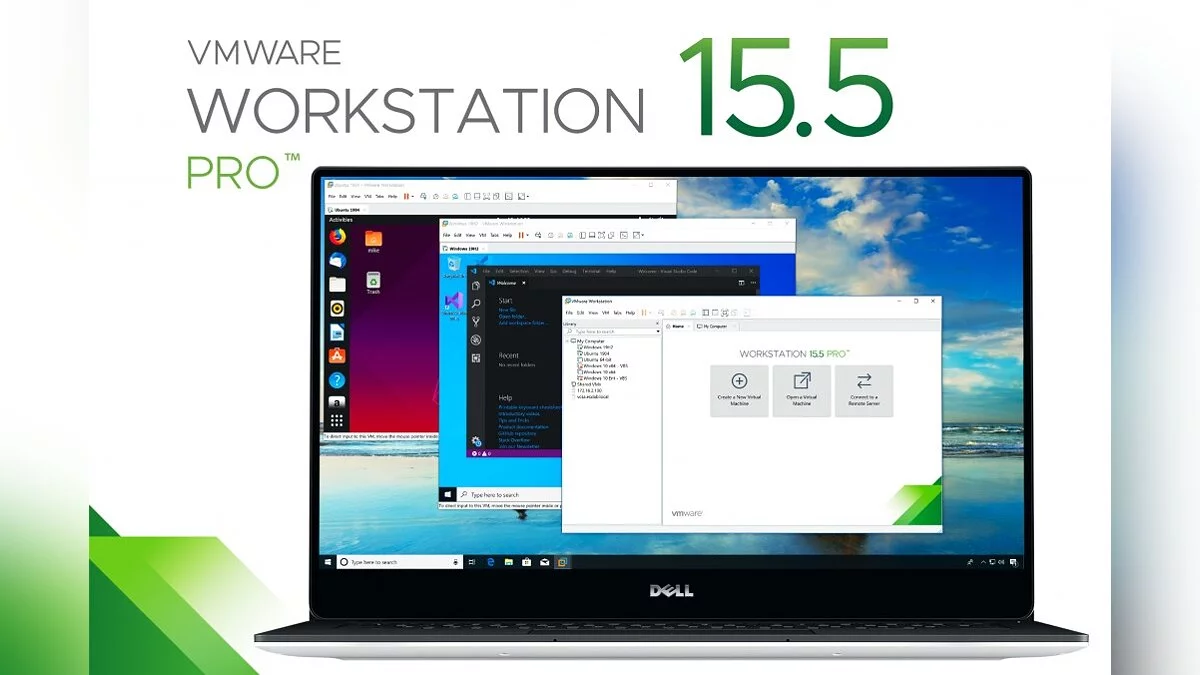
First, you need to download the official image of Mac OS Mojave. It is advisable to do this from Apple's official digital store, which can be accessed using a virtual machine — a program that emulates the operation of one OS within another. In this guide, we will use the free VMWare Workstation Player.
Installing a virtual machine with MacOS
So, to install VMWare Workstation Player, do the following:
- Go to the official VMWare website and download the installation file.
- Install the program.
- Unpack the archive with Unlocker and run win-install.cmd as an administrator. This action will add Mac OS support to the virtual machine.
- Launch VMWare Workstation Player and select Create a new Virtual Machine.
- Check the box next to I will install the operating system later.
- Next, select Apple Mac OS X and click Next.
- Specify the path for installing the virtual operating system.
- In the VM window, right-click on the virtual OS and click Settings.
- Now create a virtual hard disk. To do this, follow this sequence: Add > Hard Disk > Sata.
- Select Use an Existing Virtual Disk and specify the path to the Mac OS Mojave image. The image is a large file with a vmdk extension.
- Next, set the size of the virtual hard disk to be used (at least 40 GB) and in the options, select Store virtual disk as a single file.
- Now go back to the VM settings and set the amount of RAM to be used. We recommend setting at least 50% of the total RAM installed on your PC.
- Click OK and close VMWare. However, this is not all.
- Go to the VMWare folder and open the macOS 10.14 file with a text editor. Insert the following text into the last line: smc.version = 0. Save the changes.
- Now launch the VM again and start installing Mac OS Mojave. To do this, select the virtual OS and click on the green play icon in the top panel.
- The system will prompt you to sign in to an Apple account, instead, click on Set Up Later.
- After installation, connect VMWare Tools. To do this, click on Player in the top panel. In the drop-down menu, select Manage, and then click Install VMWare Tools. Now a patch image with an installer will appear on the virtual Mac OS desktop.
- In the VM window, launch VMWare Tools.
- The VM security system will attempt to block VMWare Tools, but this can be avoided. Go to the OS settings (gear icon in the bottom Mac OS panel), select the Security and Privacy section, and unlock the patch by clicking the Allow button.
- Restart VMWare.
Now you have a virtual Mac OS on your computer. This is enough to just see what Apple's operating system looks like, but not for full-fledged work.
Preparing the Mac OS Mojave Image
As mentioned earlier, to download the Mojave image, you need to use a virtual machine:
- Open VMWare and launch the virtual Mac OS Mojave.
- Go to the App Store, find the desired OS image there, and download it. The file should be at least 5 GB in size.
You have the Mac OS Mojave image, now let's create a bootable USB drive:
- Insert the USB drive into the computer.
- In the virtual Mac OS, open Finder, then go to Applications, then Utilities, and select Disk Utility. Click on your USB drive, which will be located in the left column of the window.
- Click Erase.
- Give a name to the bootable USB drive. The name can be anything, but it is important that it consists only of Latin letters.
- In the second line, select OS X Extended.
- In the third line, select GUID Partition Map.
- Click Erase and then Done.
- Download and launch UniBeast.
- Click Continue until you reach the Destination Select step.
- Select the USB drive and click Continue again.
- When you reach the Select OS Installation step, choose Mojave and click Continue.
- In Bootloader Options, choose either UEFI Boot Mode or Legacy Boot Mode. UEFI Boot Mode is recommended for Intel 7, 8, 9, 100, 200, and 300 series processors and all chipsets supporting UEFI. Legacy Boot Mode is suitable for 5 and 6 series chips, as well as other systems based on traditional BIOS.
- Click Continue.
- Move the UniBeast archive to the created drive.
That's it. The bootable USB drive is ready. Now let's proceed to setting up the BIOS on the computer.
Setting up BIOS/UEFI
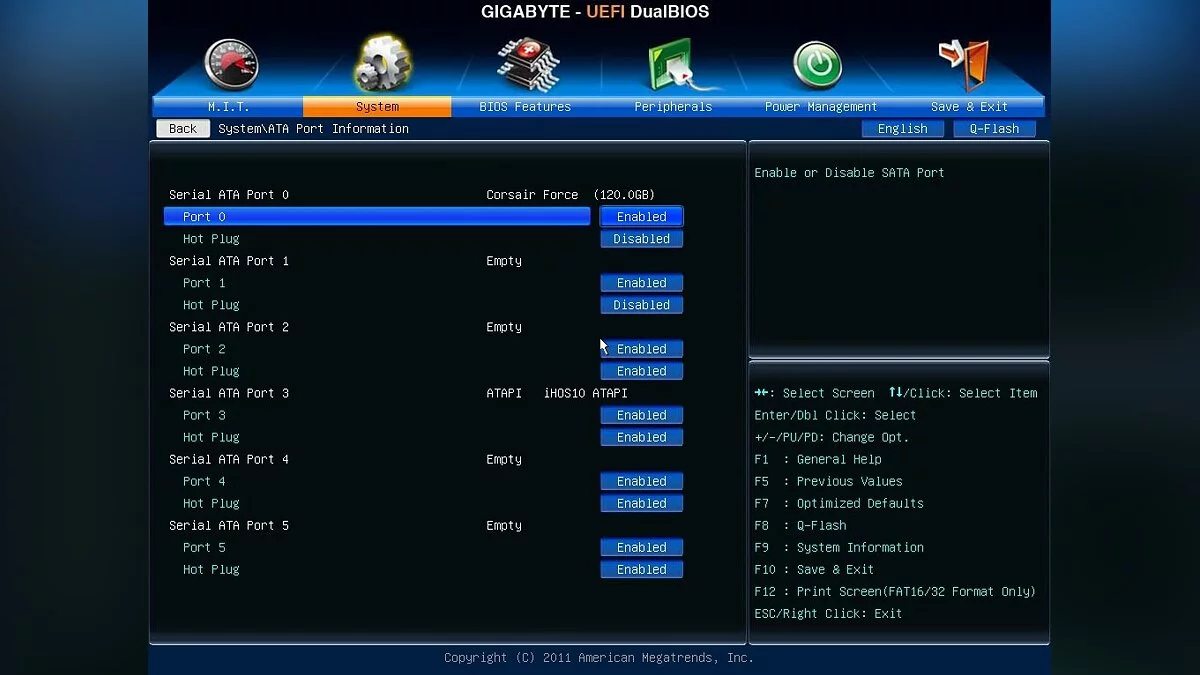
If your motherboard uses UEFI, there should be no major issues with the installation, but with BIOS, some important manipulations will be necessary. First, you need to make the general settings:
- Reset all BIOS settings.
- Disable VT-d.
- Deactivate Secure Boot Mode.
- Disable CFG-Lock.
- In the OS Type option, select Other OS.
- Disable IO SerialPort.
- Activate XHCI Handoff.
- If your system has an Intel 6th series processor or an Intel x58 with AWARD BIOS, disable USB 3.0 ports.
- Save the changes and restart the computer.
Besides, when installing Mac OS Mojave, you should follow a number of rules:
- Use only one video card with one connected monitor.
- Disconnect all hard drives except the empty one where the OS will be installed.
- Disconnect all USB peripherals except the mouse and keyboard.
- Disconnect all PCI cards except the video card, as they may be incompatible with Apple's OS.
Done, now let's proceed directly to installing Mac OS Mojave on a PC.
Installing Mac OS
The further actions are very similar to the standard Windows installation:
- Turn on the PC and boot from the USB (it is recommended to use USB 2.0).
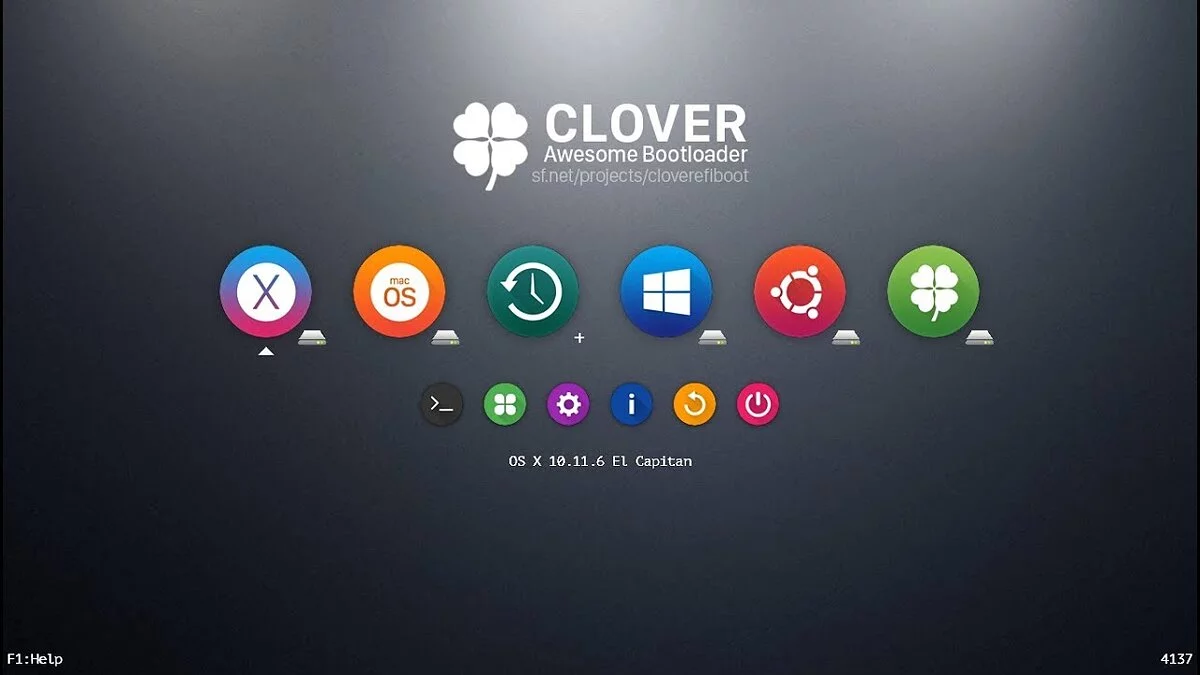
- In the opened Clover interface, start the Mac OS installation from the bootable USB drive.
Done. Now you have a PC with Mac OS. All that's left is to configure the hardware.
Hardware configuration
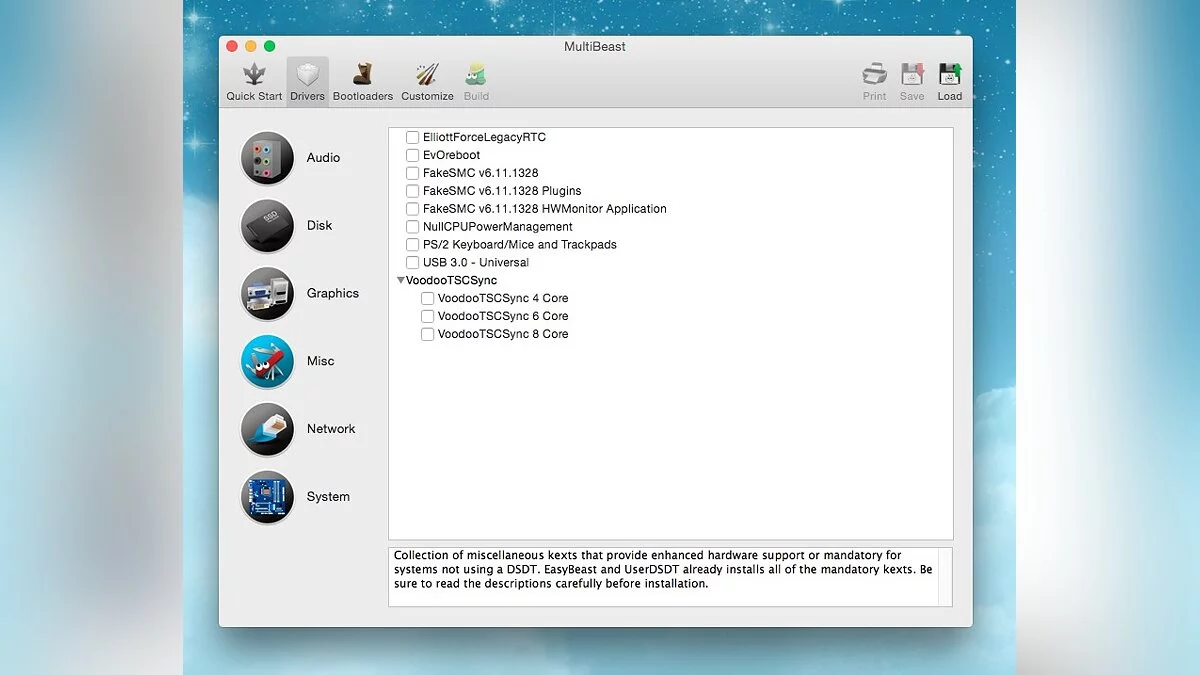
The easiest way to perform the initial setup is with MultiBeast. The utility will allow you to install all the necessary drivers for the hardware without any extra hassle. However, even MultiBeast cannot load absolutely all drivers, so some you will have to install manually. So, for hardware configuration, do the following:
- Run MultiBeast.
- Choose UEFI Boot Mode or Legacy Boot Mode. We wrote about their differences in the Preparing the Mac OS Mojave Image stage.
- In the Audio tab, it is best to check the AppleALC option.
- In the Disc tab, there are settings for third-party SATA hard drive controllers.
- In the next Misc tab, there is a very important driver for Mac OS called FakeSMC, which is designed to emulate the operation of the proprietary SMC chip. The driver you need will be checked by default. Also, in this section, there are two more settings: VoodooTSCSync and FakeSMC HWMonitor. The first is intended only for processors with an LGA2011 socket, while FakeSMC HWMonitor is necessary for obtaining cooling system temperature data.
- In the Network tab, check your network card.
- The USB tab is intended for configuring and ensuring the correct operation of USB ports. Check the items you will use.
- In the top panel of the window, click on Bootloaders. The required item should already be checked by default.
- Now go to Customize. Here you will see 3 sections, the first of which is Graphics Configuration. If you have an NVIDIA 9xx series or higher video card installed, check the NVIDIA Web Drivers Boot Flag option.
- In the SSDT section, check your processor.
- In System Definitions, you won't need to change anything as the entire section is already configured.
- Go to the Build tab and click Install.
The computer is almost ready for full use, it remains only to install the drivers for the video card:
- Install the latest version of the Alternate NVIDIA Graphics Drivers utility suitable for your Mac OS.
- Now remove the bootable USB drive and restart the PC.
If all actions were performed correctly, you got a stable working Hackintosh.
Installing Windows on Mac
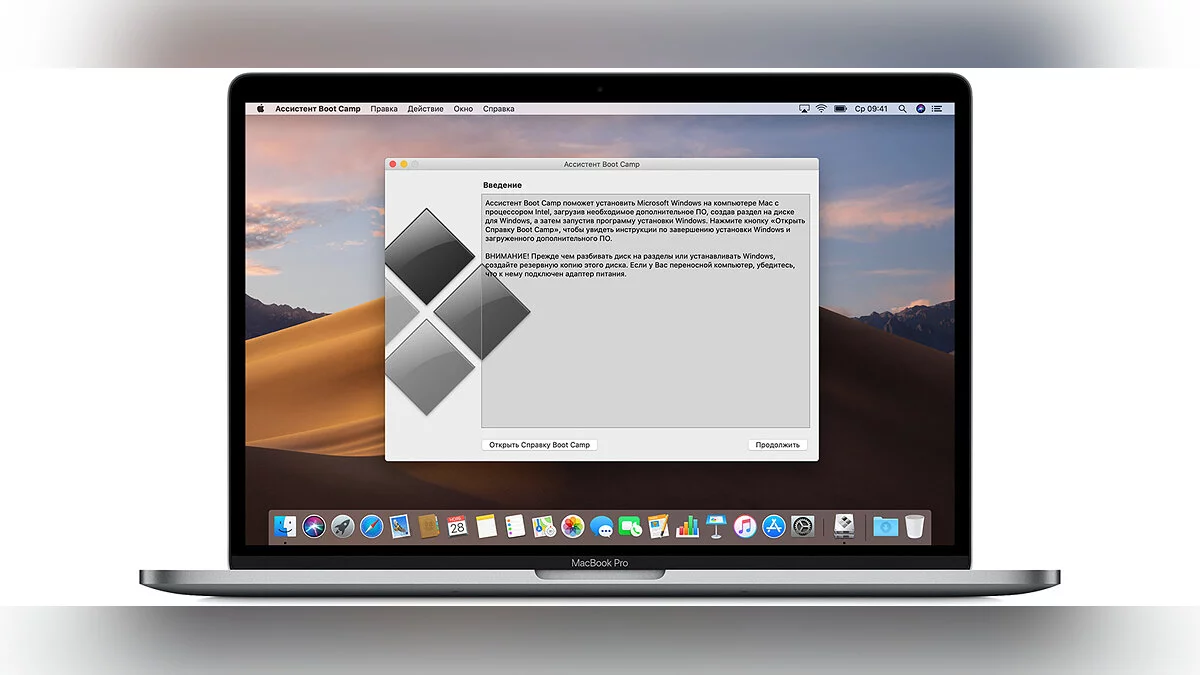
The easiest way to install Windows on Apple computers is to use the Boot Camp tool. The utility will allow you not to remove Mac OS, but to use both operating systems. First, create a bootable USB drive with a Windows ISO image:
- Download the image of the desired version of Windows from the official Microsoft website and insert the USB drive into the Mac.
- Enter Boot Camp in the Spotlight search or launch Boot Camp Assistant from Applications — Utilities.
- In the opened window, select Create a Windows installation disk and click Continue.
- Specify the path to the image saved on the computer and set your USB drive as the Destination Disk.
- Click Continue.
The bootable USB drive is ready, now let's proceed directly to installing Windows on Mac. Fortunately, this process is much easier than installing Mac OS on a PC:
- Launch Boot Camp Assistant again.
- Check the Install Windows option and click Continue.
- Now Boot Camp will offer you to partition the hard drive so that the new OS is installed on a new sector. If you are going to install Windows 10, allocate at least 55 GB for it. Click Continue.
- Now the Windows installation window will open in front of you. Follow all the instructions.
- Wait for the installation to complete.
The installation of Windows on Mac is complete. Now your computer has 2 operating systems, and you can use either of them. The only downside is that you will have to constantly restart the Mac to switch to the desired OS.
Installing a Virtual Machine on Mac OS
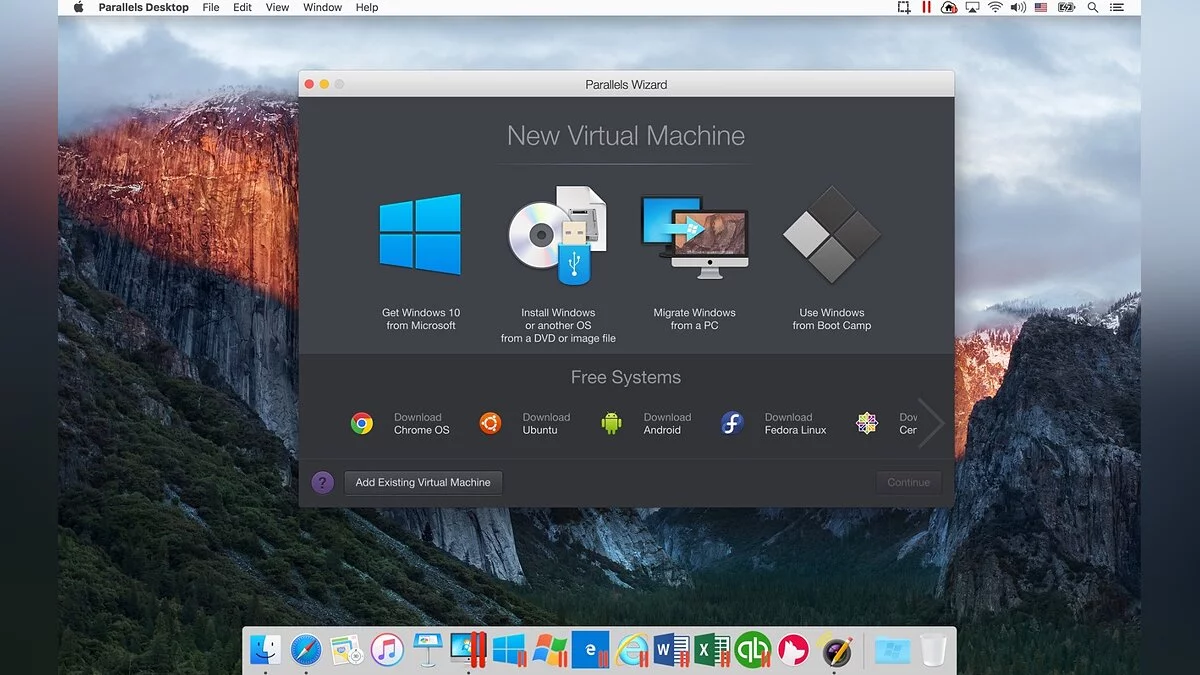
Besides a full installation of Windows on Mac, you can create its virtual image using a VM. The process is similar to virtualizing Mac OS on Windows, which we covered in the first chapter. Back then, we used the VMWare Workstation Player program, but in the case of Mac, we will consider the same steps using the free utility Parallels Desktop:
Done, now you can instantly switch between Mac OS and Windows without rebooting the system. The Microsoft OS will be displayed in a separate window, which you can stretch to full screen if desired.
- Die größte Windows-Störung führte zu einer «Techno-Apokalypse». Flughäfen, Banken und Fernsehsender funktionieren nicht.
- Eine versteckte Funktion ist in Windows 11 aufgetaucht, die das einfache Beenden von Aufgaben ermöglicht
-
The largest Windows malfunction led to a «techno-apocalypse.» Airports, banks, and TV channels are not working
-
A hidden feature has appeared in Windows 11, allowing easy End Task
-
How to Enable and Disable Sleep Mode on Windows 7/10/11 on PCs and Laptops
-
How to Upgrade the Workbench in Valheim to Level 5
-
Where to Find All Ambush Camps in Days Gone: Camp Location Maps
-
Best Boons in Hades 2
-
Maps for Resident Evil Village: all items, weapons, supplies, and treasures
-
Where to Find All Labyrinths and Balls in Resident Evil Village
-
Best Effective Card Combinations in Loop Hero
-
Where to find the world save files in Valheim: how to transfer world files to another PC and a dedicated server
-
Best Arcana Cards in Hades 2
-
Resources in Velheim: How to Get Copper, Tin, Iron, Coal, Flint, Chitin, Leather, Wood and Stone
-
How to Get into the Jade Chamber in Genshin Impact
-
How to Become a Paranormal Investigator in The Sims 4: Paranormal Stuff Pack
-
How to Tame Familiar Animals in Hades 2
-
Servants Guide in V Rising: Why You Need Servants and How to Manage Them
-
Where to Find Legendary Cyberware Mods in Cyberpunk 2077
-
Where to Find Legendary Quickhacks in Cyberpunk 2077
-
Where to find iconic and legendary knives and katanas in Cyberpunk 2077
-
How to Upgrade Weapons in Cyberpunk 2077
