Kingdom Come Deliverance 2: Via Argentum Quest Walkthrough

In Kingdom Come: Deliverance 2, there is an important quest called Via Argentum. In this quest, Henry needs to persuade Ruthard to help free Lord Ptacek from captivity. To do this, Henry must expose the treasurer Vavak, who is embezzling silver mined by the miners. In this article, we will detail how to successfully complete the quest and earn all possible rewards.
Head to the Ruthards' Mansion
From the dialogue with John, Henry learned a lot of useful information, as well as where to go next to save Lord Ptacek. But first, he needs to find clues that will help expose the royal mint master.
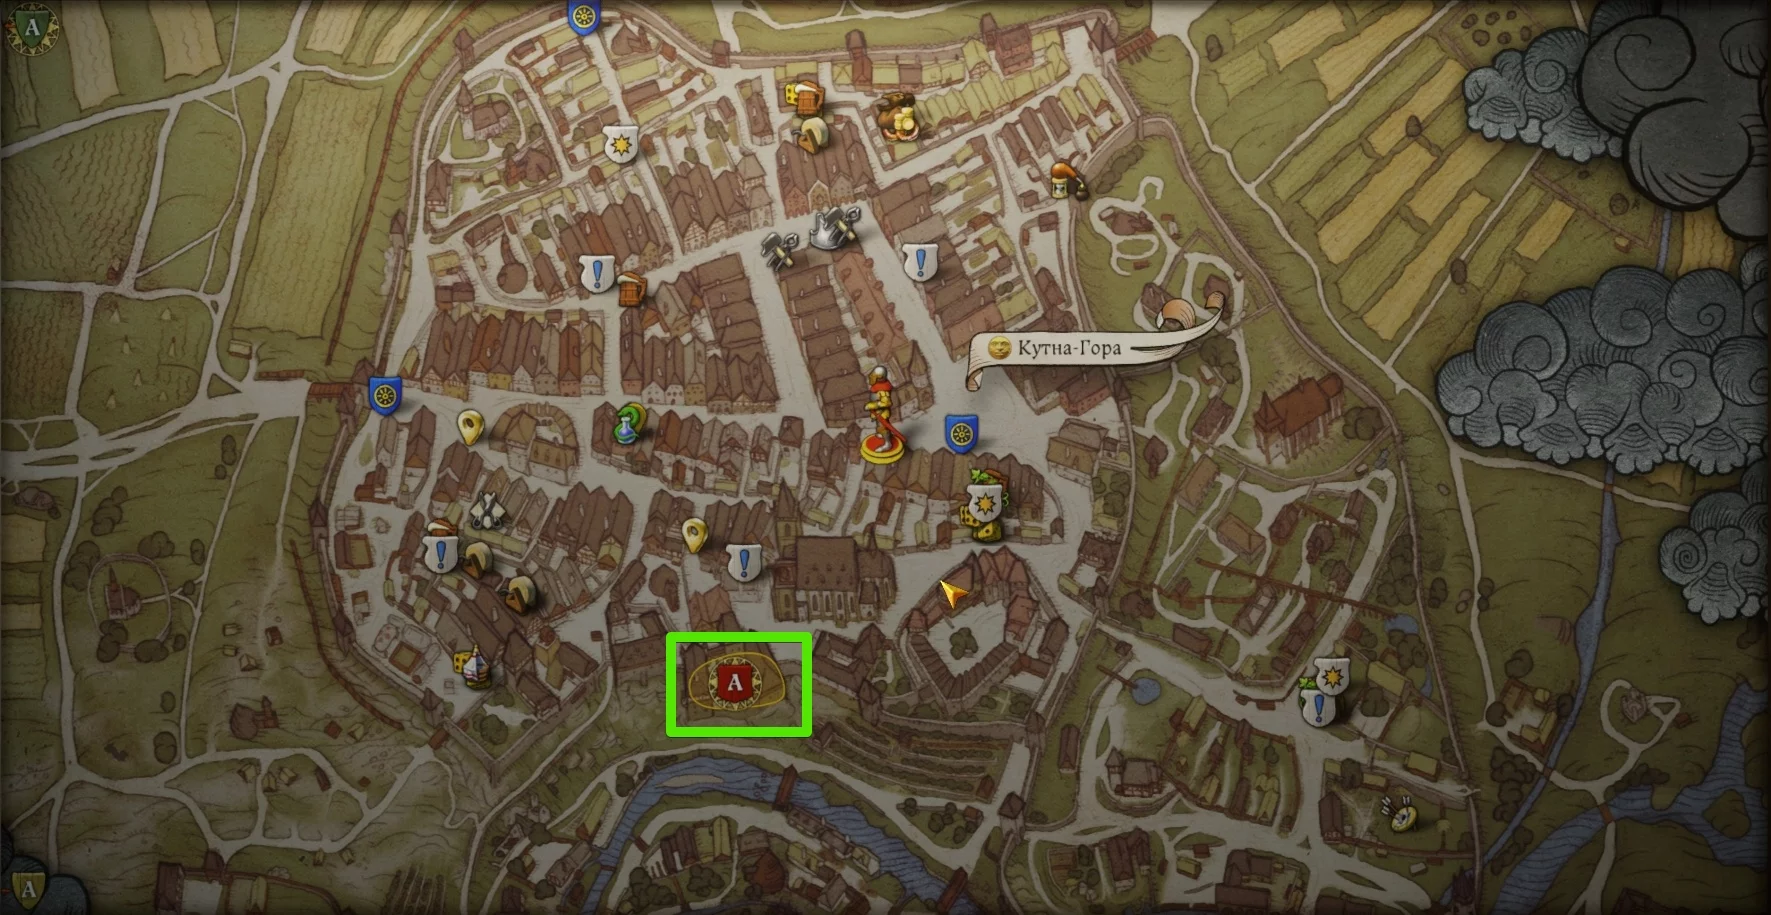
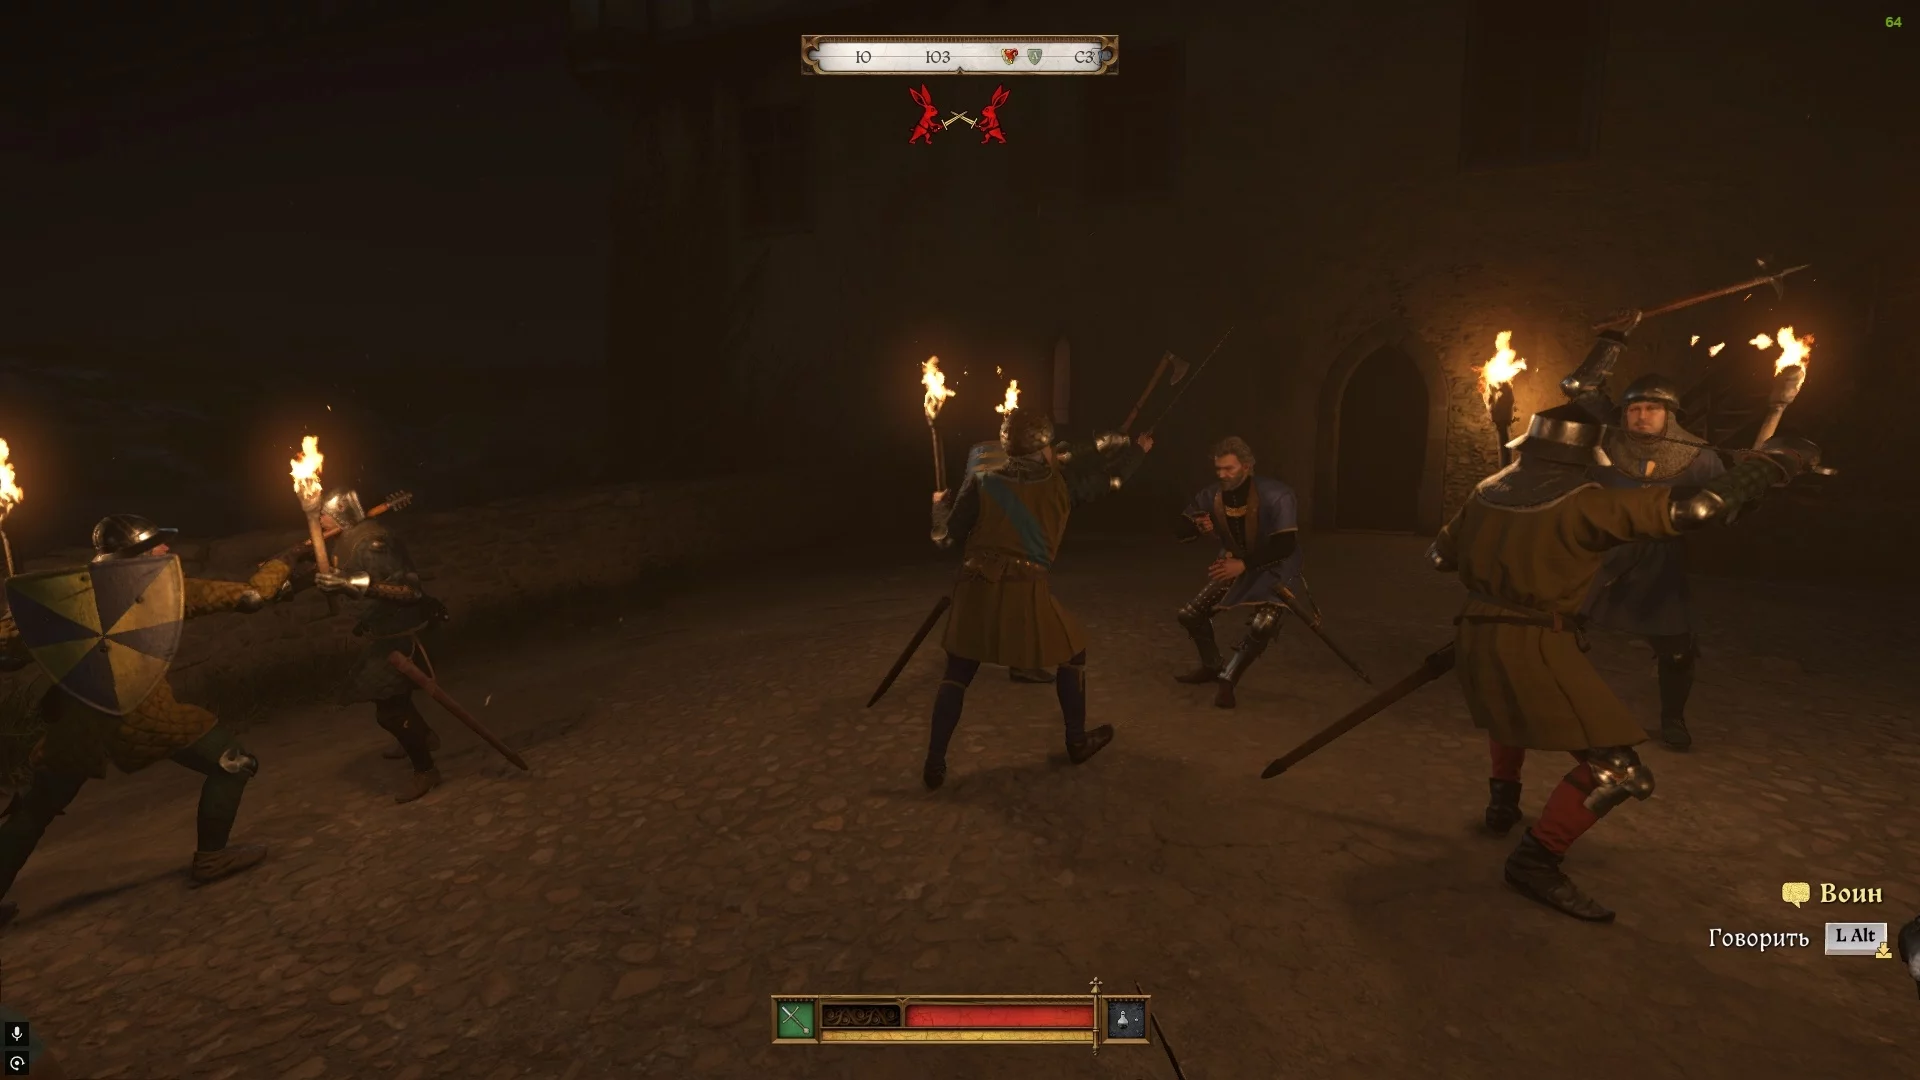
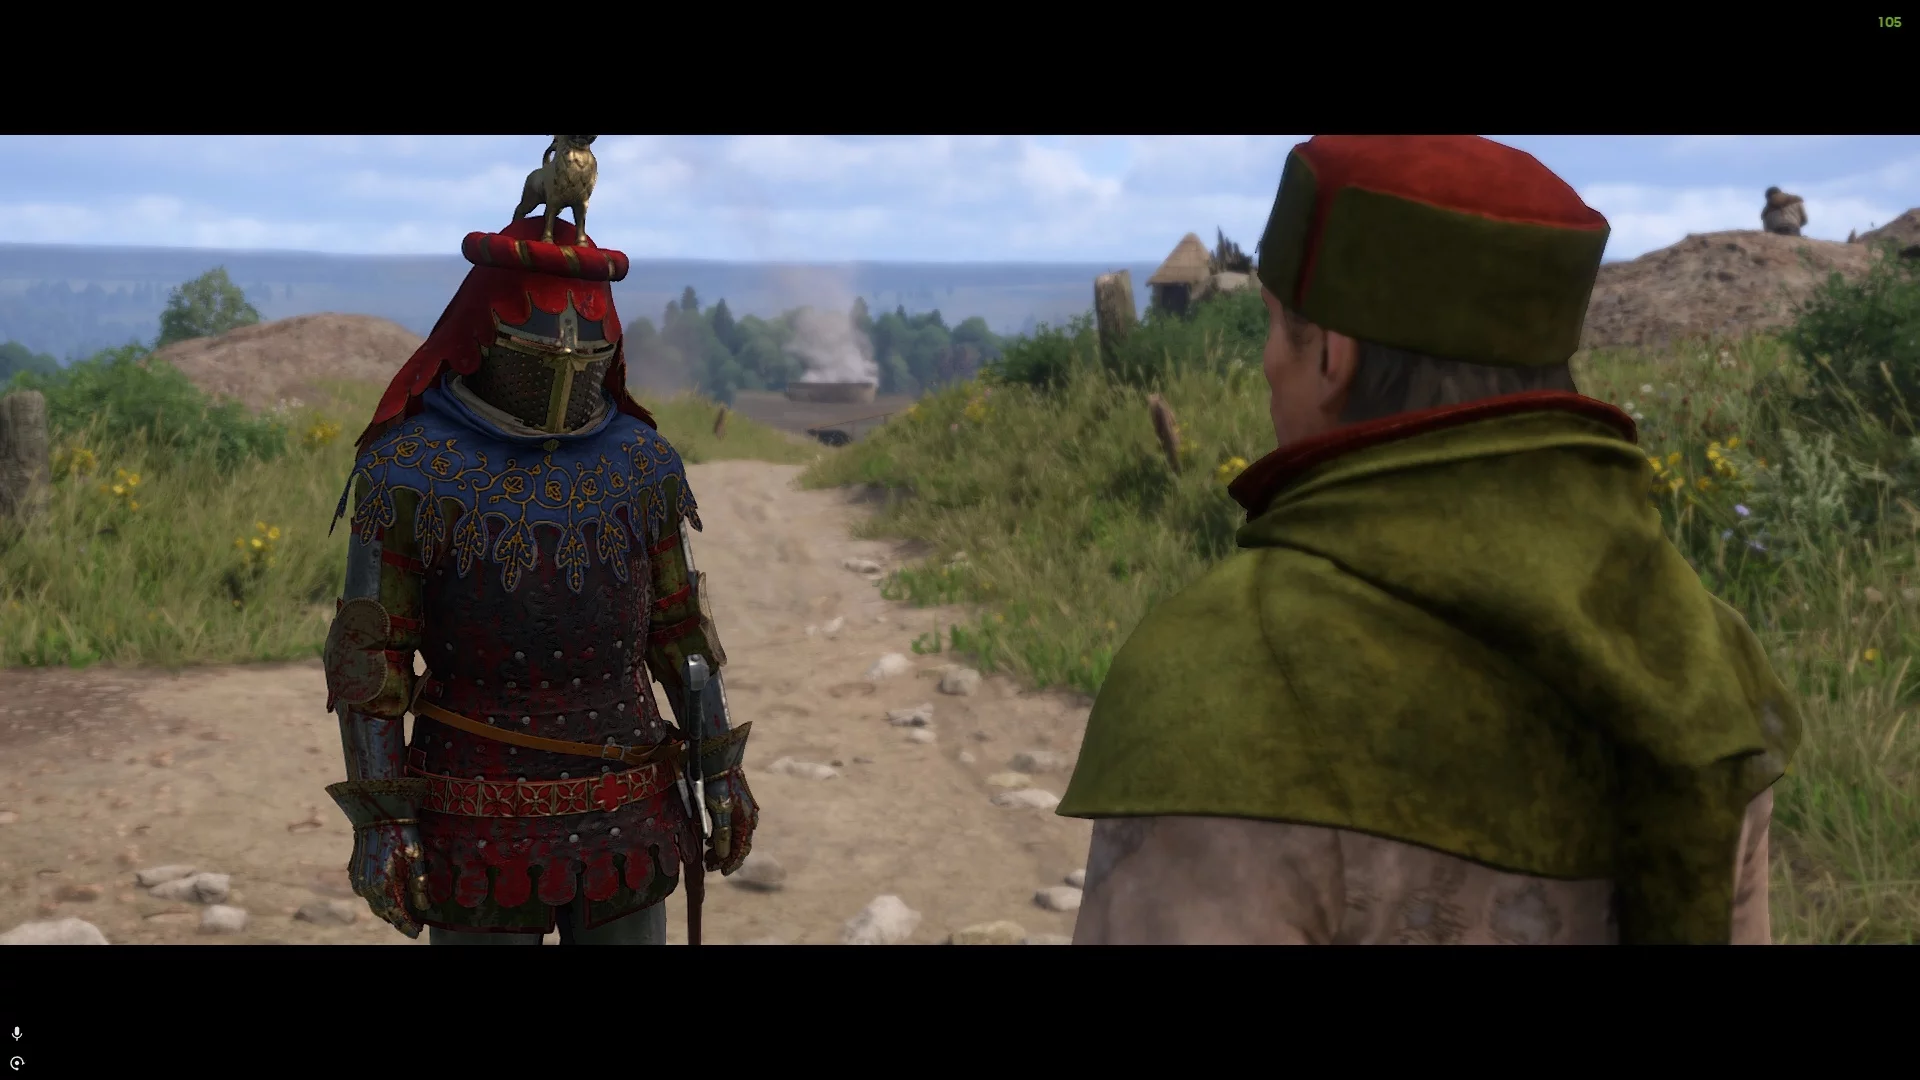
A marker will appear on the map pointing to Lord Ruthard's estate, the owner of many silver mines in Kuttenberg. We recommend preparing for battle in advance, as you will encounter several armed treasury guards upon arrival.
Find Evidence Against Vavak
After the battle, talk to Kunzlin and his daughter Rosa. Exhaust all dialogue options, and you will learn that Ruthard suspects the mint master of stealing royal silver and asks you to investigate, as he has no direct evidence. You will need to find out at what stage the silver disappears and who ultimately receives it. This subtask will remain active until the quest is completed, so just ignore it.
Talk to Christian of Pisek
Your path leads to the silver mines located between the settlements of Gorzhany (to the west) and Grunta (to the east). You have already visited the latter village while completing the story quest to find the Dry Devil's gang, so you can immediately use fast travel to this area.
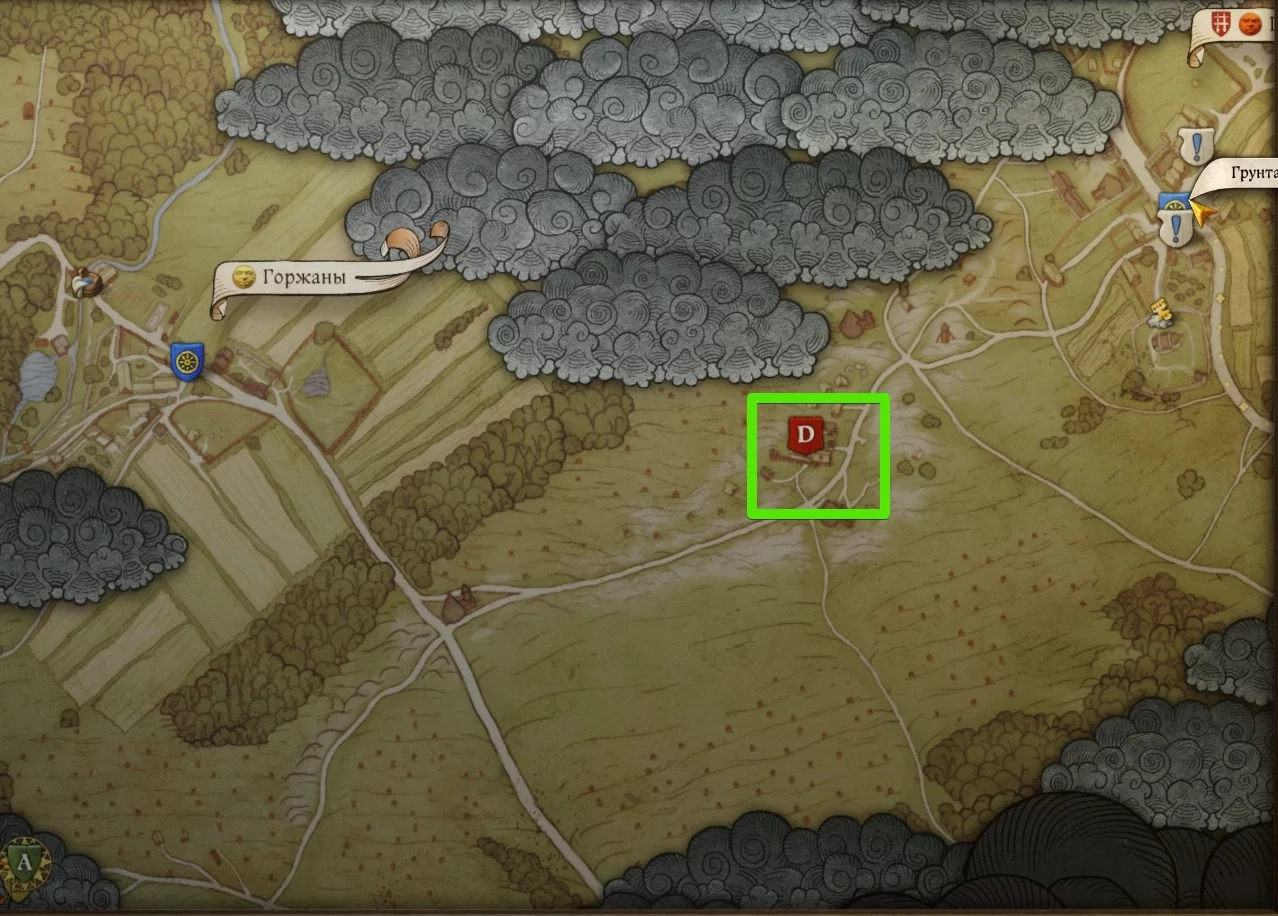
Upon reaching the bailiff's building, find him in the office or outside, depending on the time of day. We found him in the courtyard with the decurion Salo.
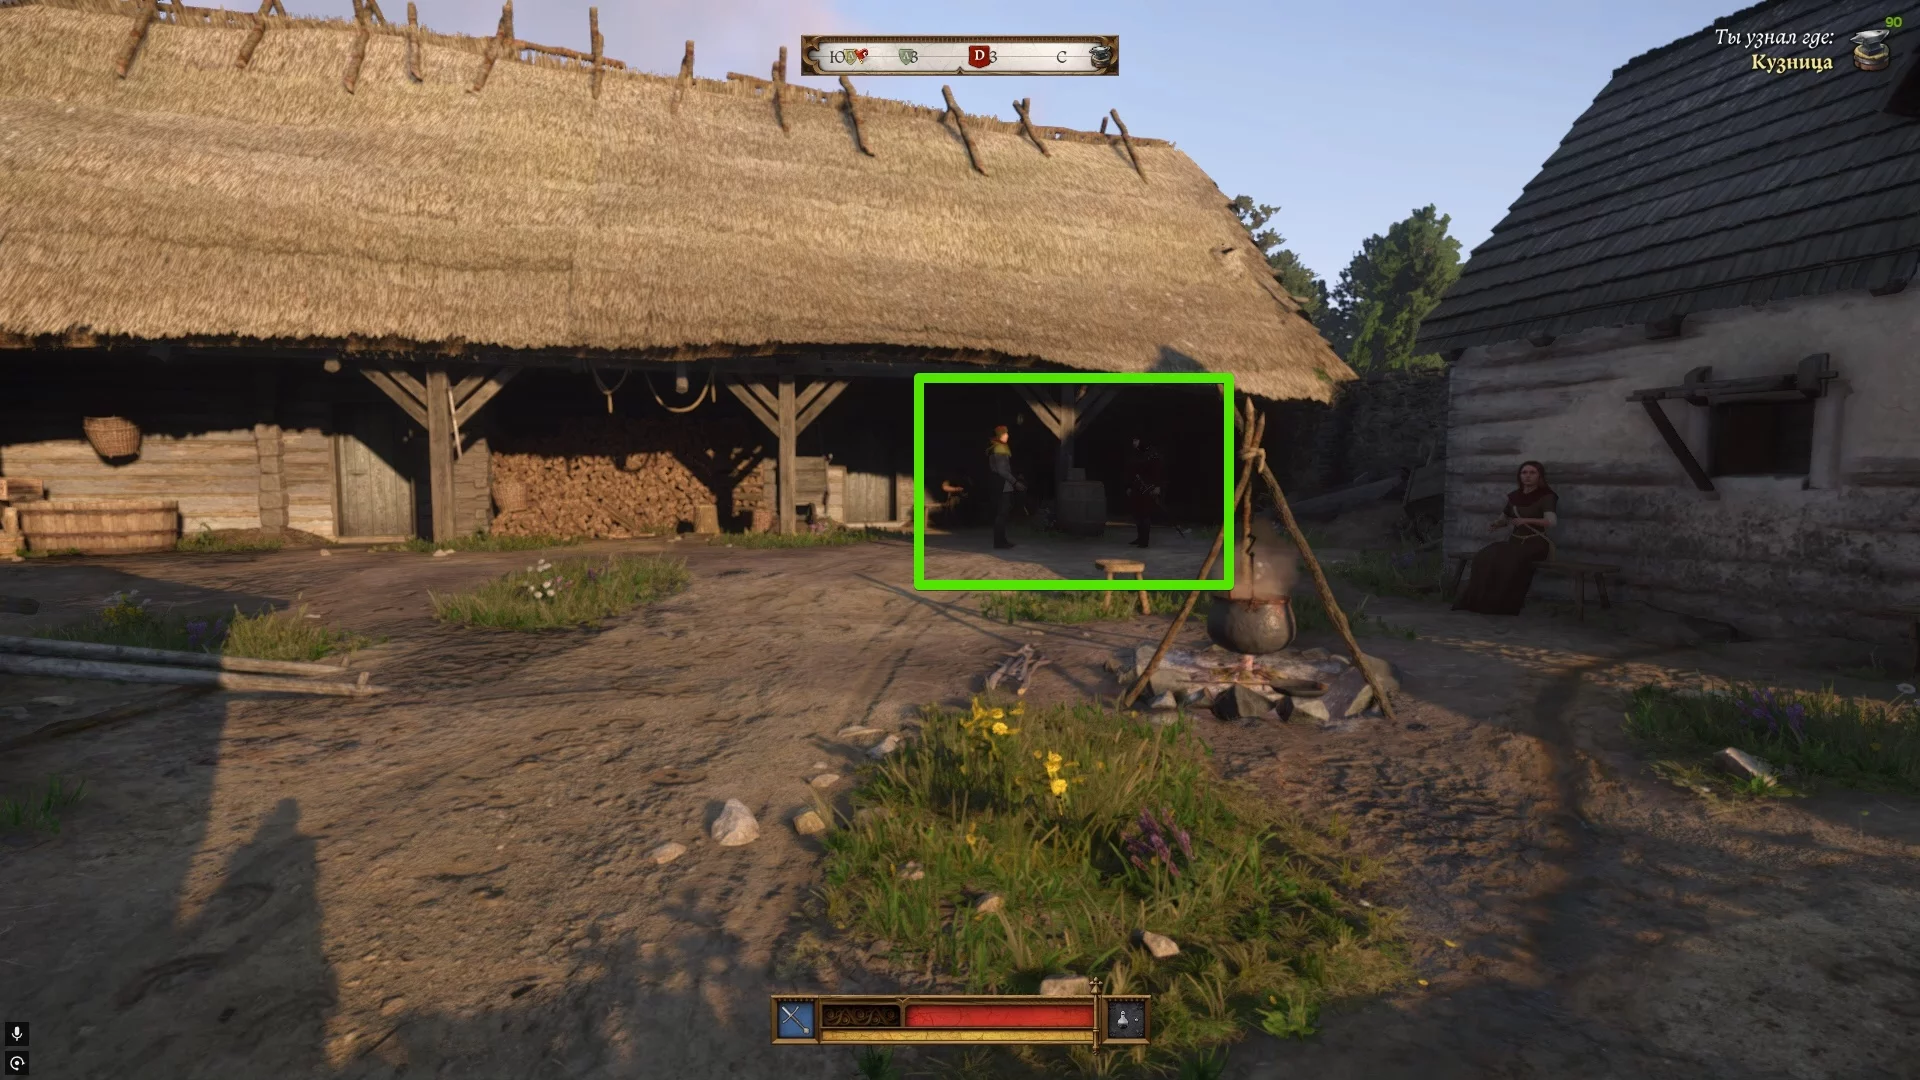
Meet Christian Pisetsky, but he will refuse to talk about the silver's disappearance here. Head to the road and follow the corner of the building. Exhaust all dialogue options to update the quest. First, you need to choose how you will present yourself to the decurions:
- I will be a curious scholar;
- I will pretend to be a wealthy nobleman;
- I will be your nephew.
If you have expensive clothing that gives a lot of charisma stats, we recommend choosing the first or second option. In any case, almost every conversation with the miners will require passing various skill checks.
Find Out How Much Franek's "Boys" Mined
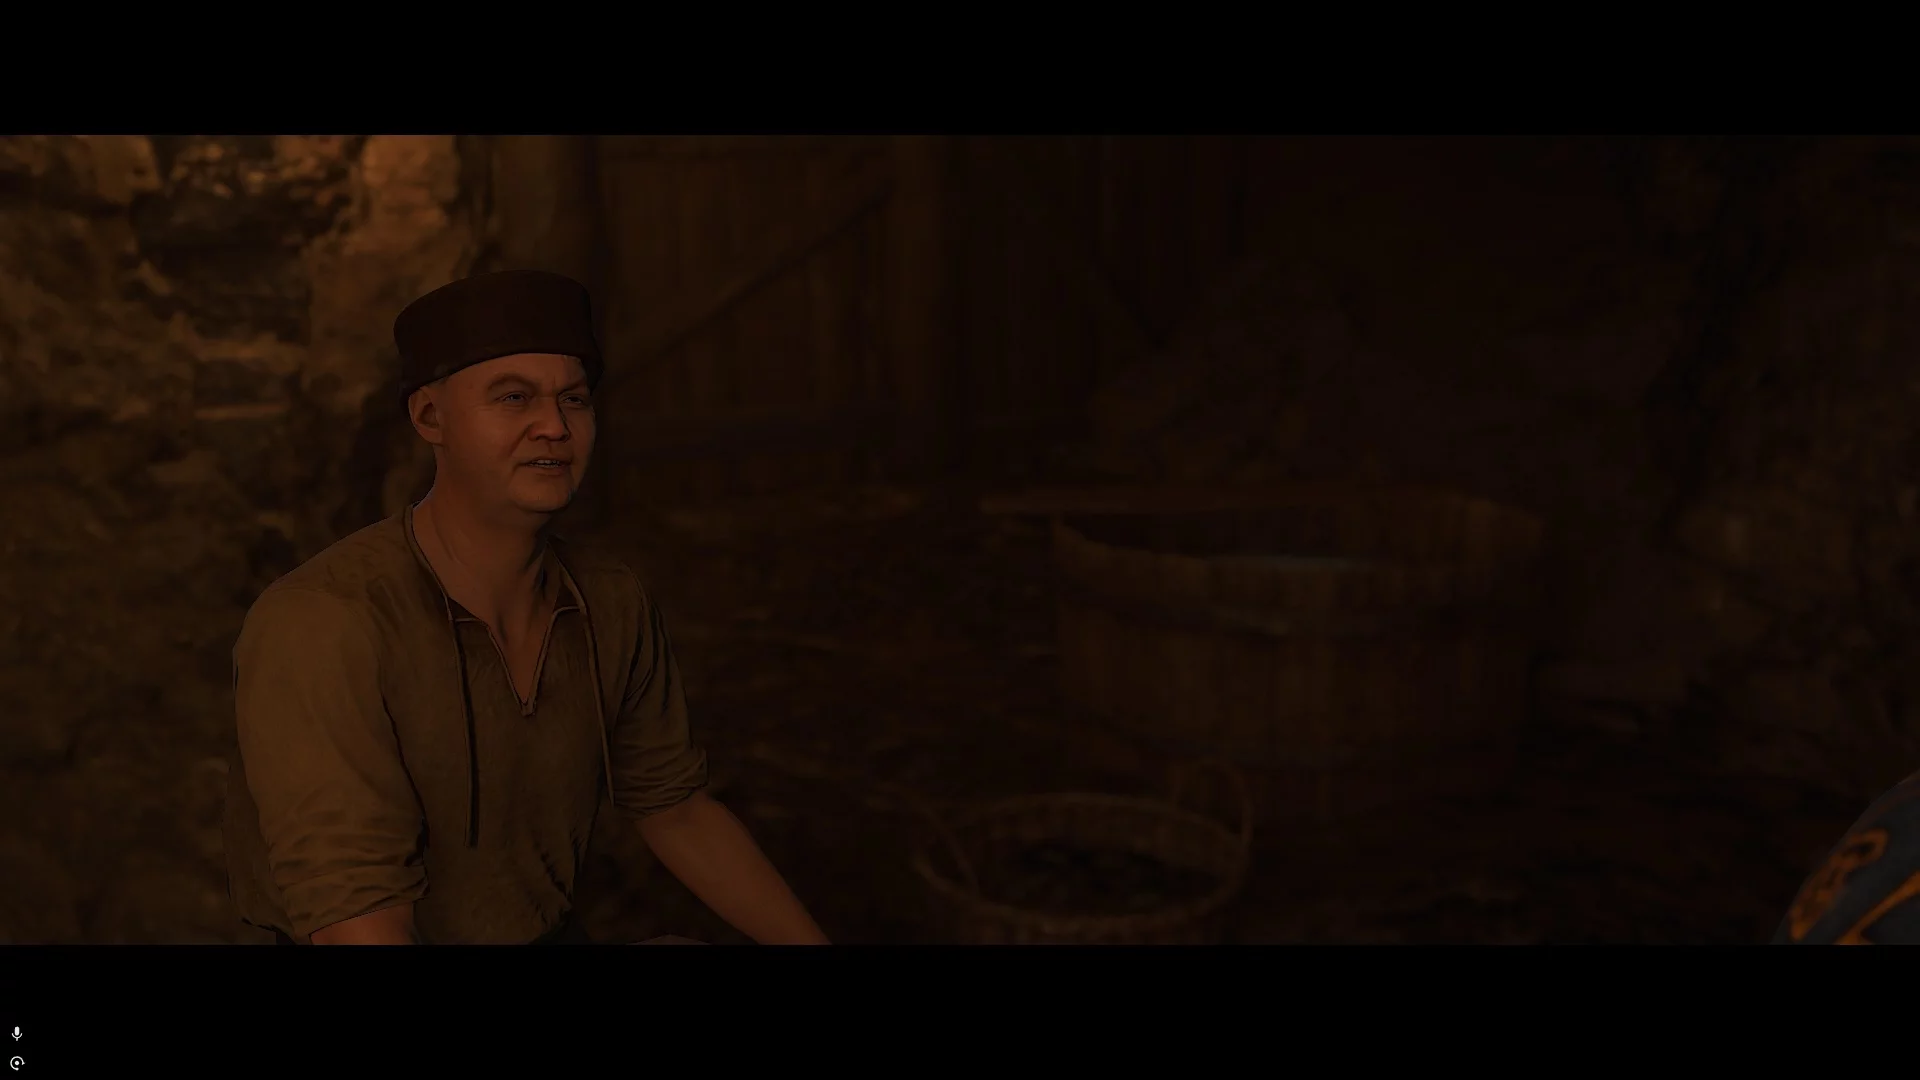
You can start interrogating the decurions in any order, but we will describe it in the sequence the game suggests. To find centurion Franek, you will need to go underground. The entrance to the mine is right in front of the manager's building gates. Head there and keep running straight. Franek will be waiting on a bench to the left.


We recommend first asking all available questions, and only then moving on to the point of interest. In our case, we had to pass a skill check (scholarship or intimidation). If you fail the check, you can offer money or your help in exchange for information.
Find Out How Much Pavel's "Boys" Mined
The next decurion is located on the lower level of the tunnel, so you'll have to take a little walk. Run deeper into the mine and cross the wooden bridges, but do not descend the ladder; instead, turn left at the bend.
There will be a long road ahead. Follow it, and at the trough with water, turn into the adit on the left. In the dead-end near the blockage, decurion Pavel will be praying.

In conversation with him, say that he is not guilty, then agree to pray for his deceased relative. If you do this, he will kindly share useful information with you without further questions.
Find Out How Much Samko's "Boys" Mined
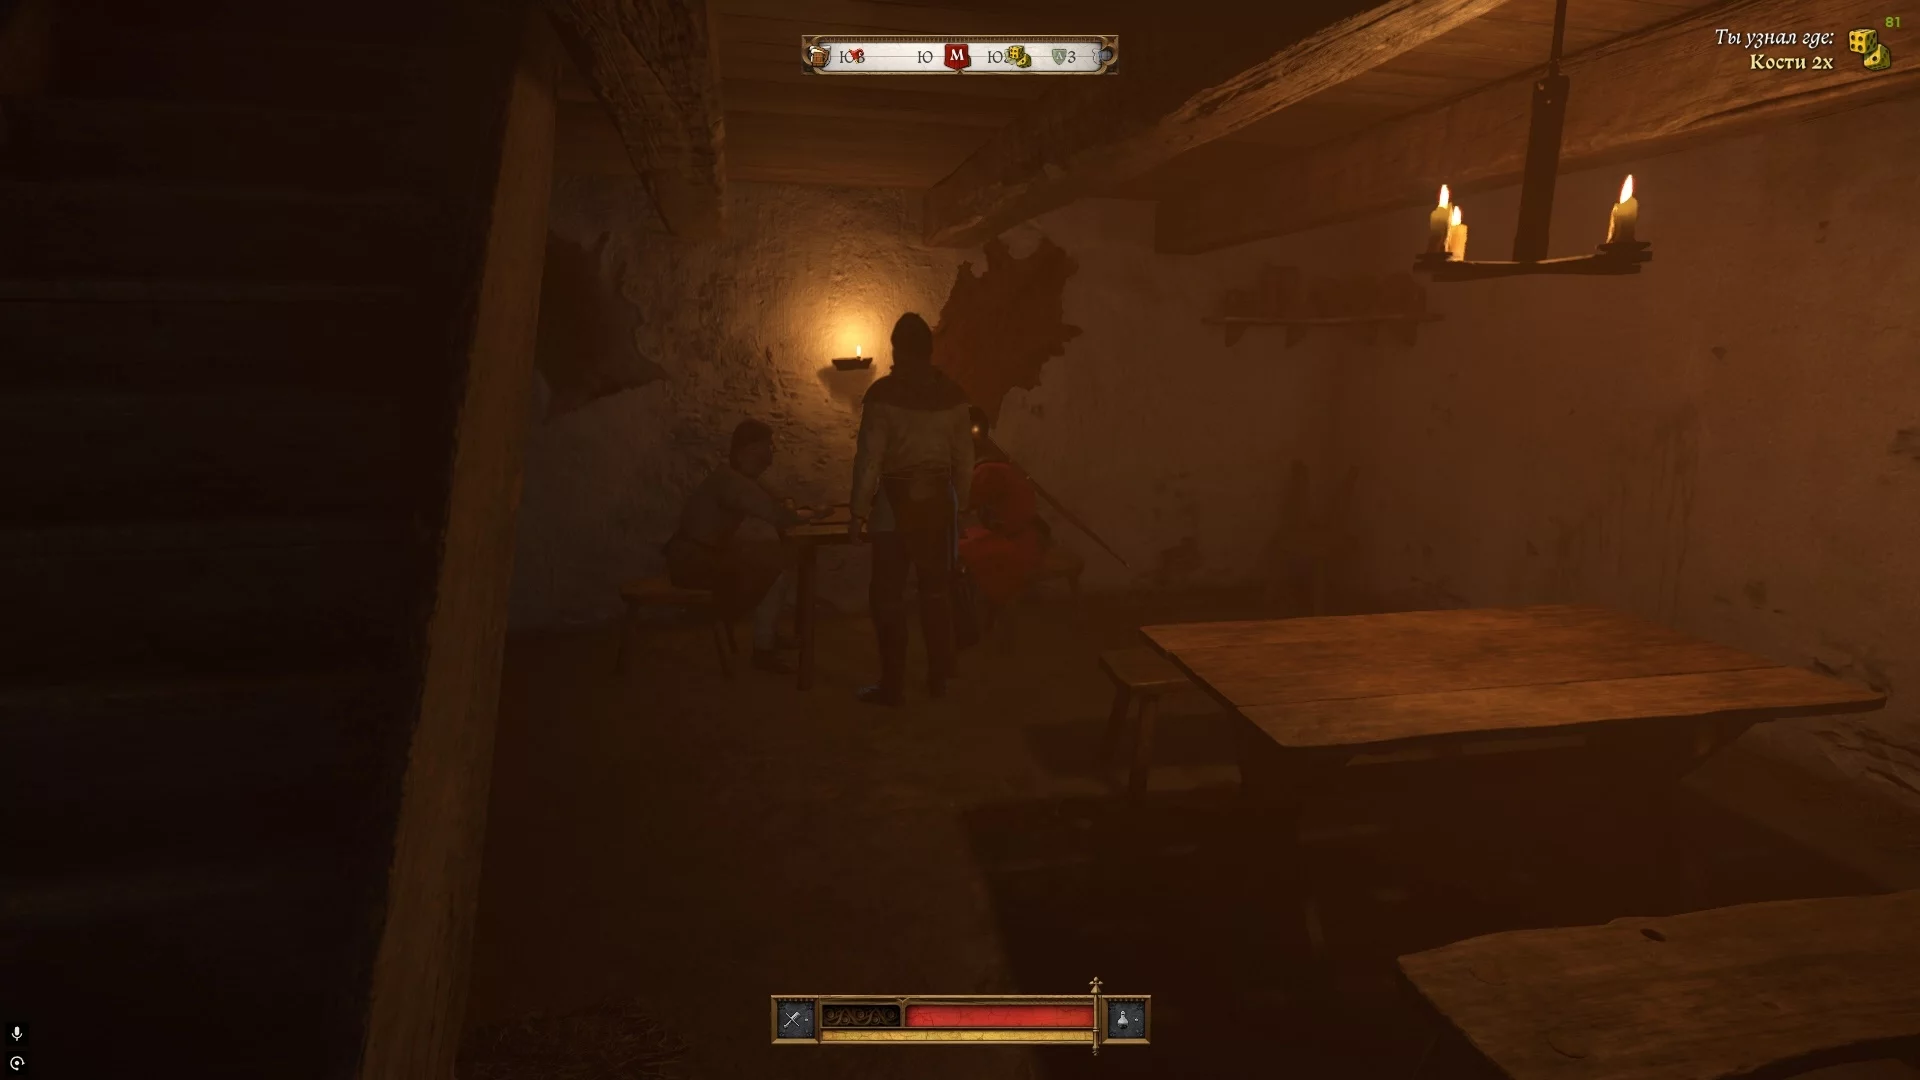
The last decurion named Samko needs to be found. We found him at the field kitchen, not far from the manager's building. He won't want to talk to Henry right away: you can either pass a skill check or play dice with him.

Samko is a very weak player, so even without special skills, you will easily win a game against him. Even if you lose, he will still be happy that you agreed and will tell you everything he knows.
Tell Christian What I Learned from the Miners
Return to the manager's building and go up to the second floor. If you are doing the quest during the day, Christian will be waiting for you in his office. In conversation with him, choose "I found out how many baskets there were" and "Less" to increase your reputation.
Make Gerzman Cooperate
Go down to the first floor and find the merchant. First, choose the image you want to present to the character to pass the skill check (we, for example, use intimidation), then pass the skill check to make the man confess.
Make Salo Cooperate
Decurion Salo is on the excavation site during the day, next to the field kitchen. Sometimes he can be found near the building with the merchant. As with the previous character, you will need to pass a skill check. If you have leveled up eloquence, choose persuasion, for example.
If everything went smoothly, exhaust all available options in the dialogue and return to Christian with the news. He will tell you about someone named Buresh — the owner of a nearby smelting plant, whom you need to visit. The heroes suspect that the silver disappears at the smelting stage, as raw ore is of little use since you can't mint coins from it.
Explore the Smelting Plant
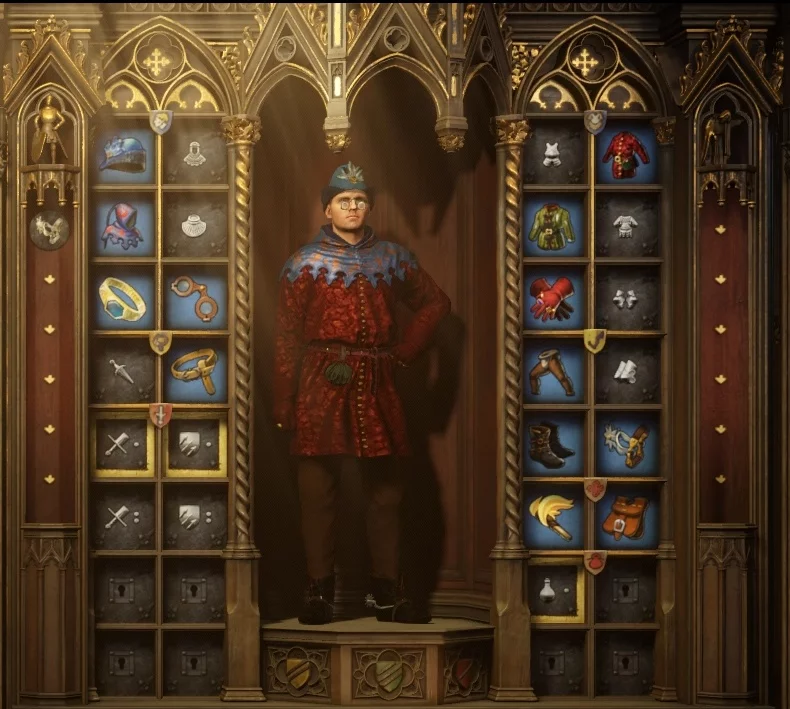
When attempting to talk to Buresh in your standard attire, you will most likely receive a rude refusal. To have a conversation with him, we recommend heading to the tailor in Kuttenberg and buying noble clothes that add charisma points. We managed to boost our charisma by 30 points, and we also used the "Lion" perfume, which adds four more charisma points. Also, don't forget to remove all armor if it's equipped on the character, and put away your weapon. Finally, visit the city bathhouse.
In the dialogue with Buresh, respond with "I still want to get a quote". Ask all available questions except "How many baskets of ore were delivered to you on St. Petronilla's Day" to avoid suspicion. Either way, Henry is already being watched.
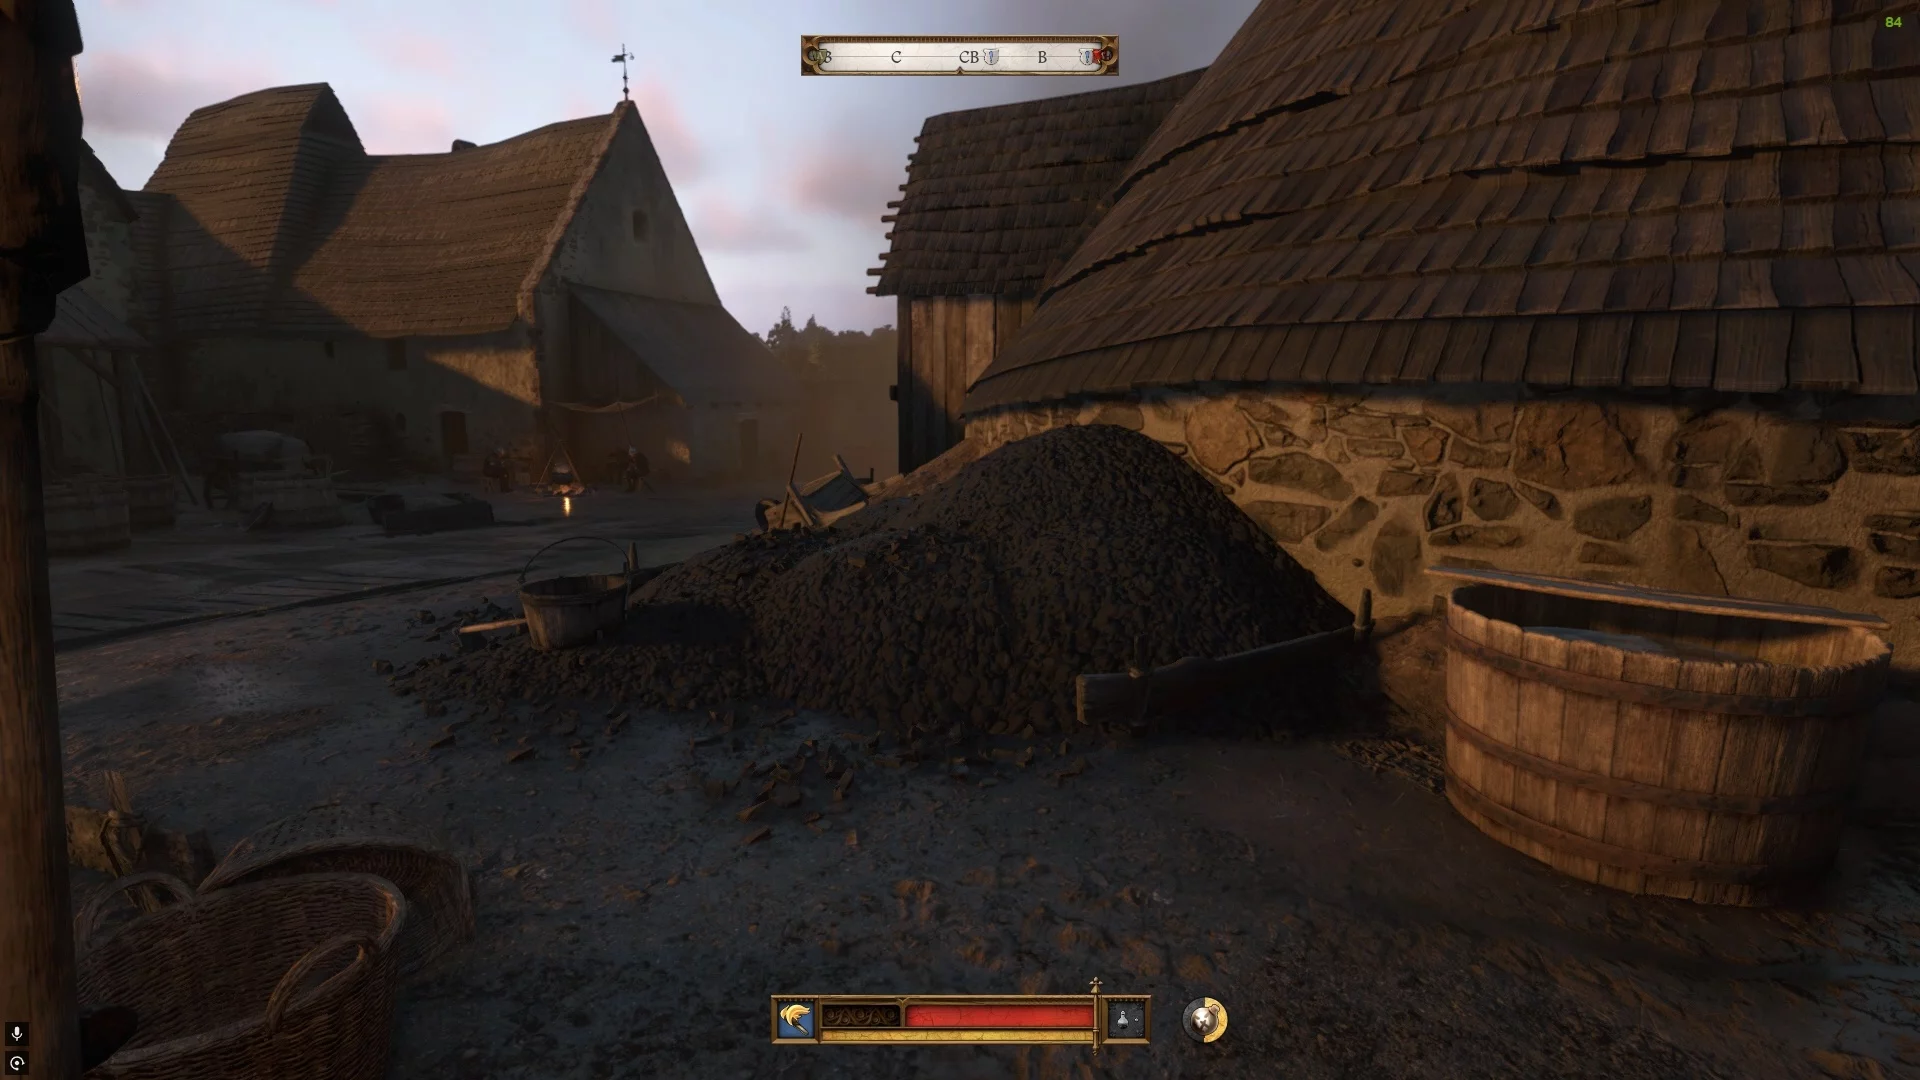
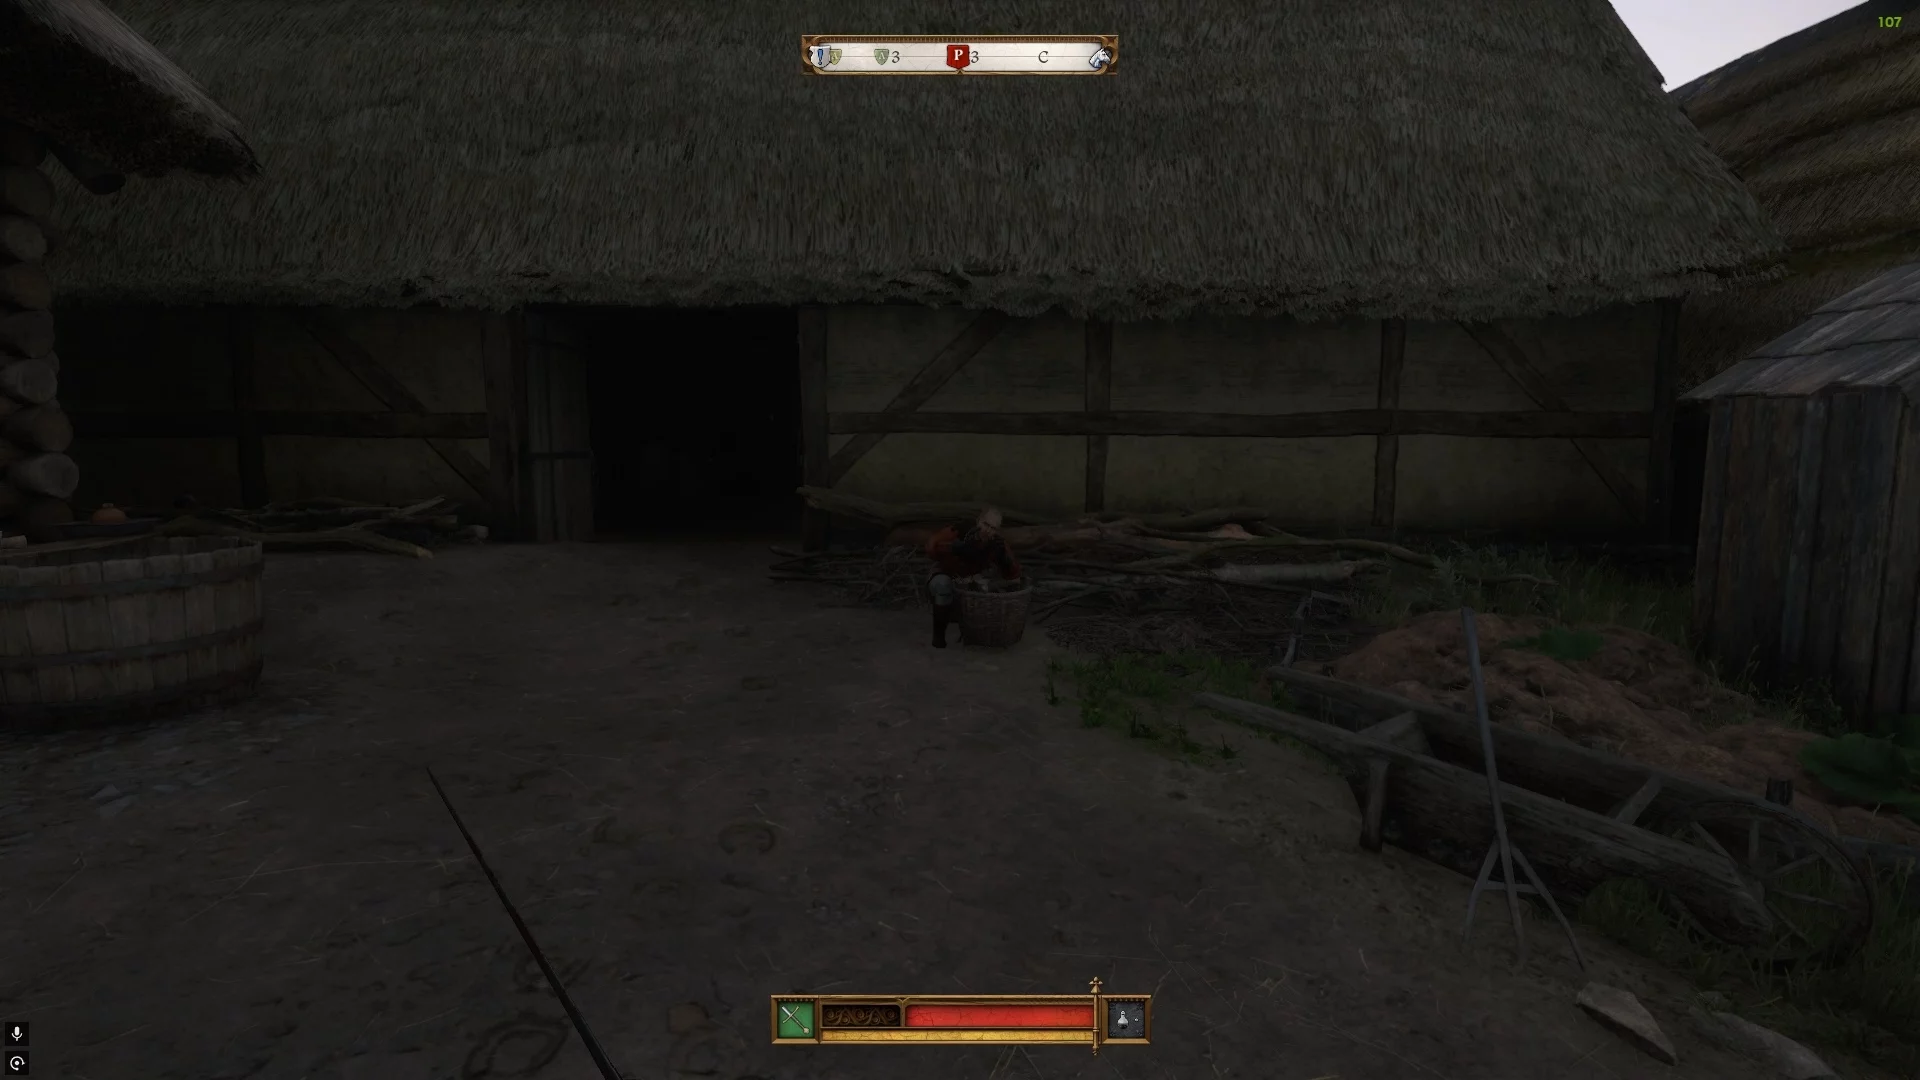
After the conversation, exit to the main street of the settlement and head to the smelting plant. The thick smoke will serve as a landmark — it can be seen from anywhere in the village. You should go through the courtyard of the smelting plant and talk to one of the smelters waiting by the fire.


The man will tell you about someone named Shima, a smelter who surely knows something about the missing silver. Before leaving the smelting plant, you can inspect the piles of delivered ore — Henry will conclude that already refined silver is disappearing.
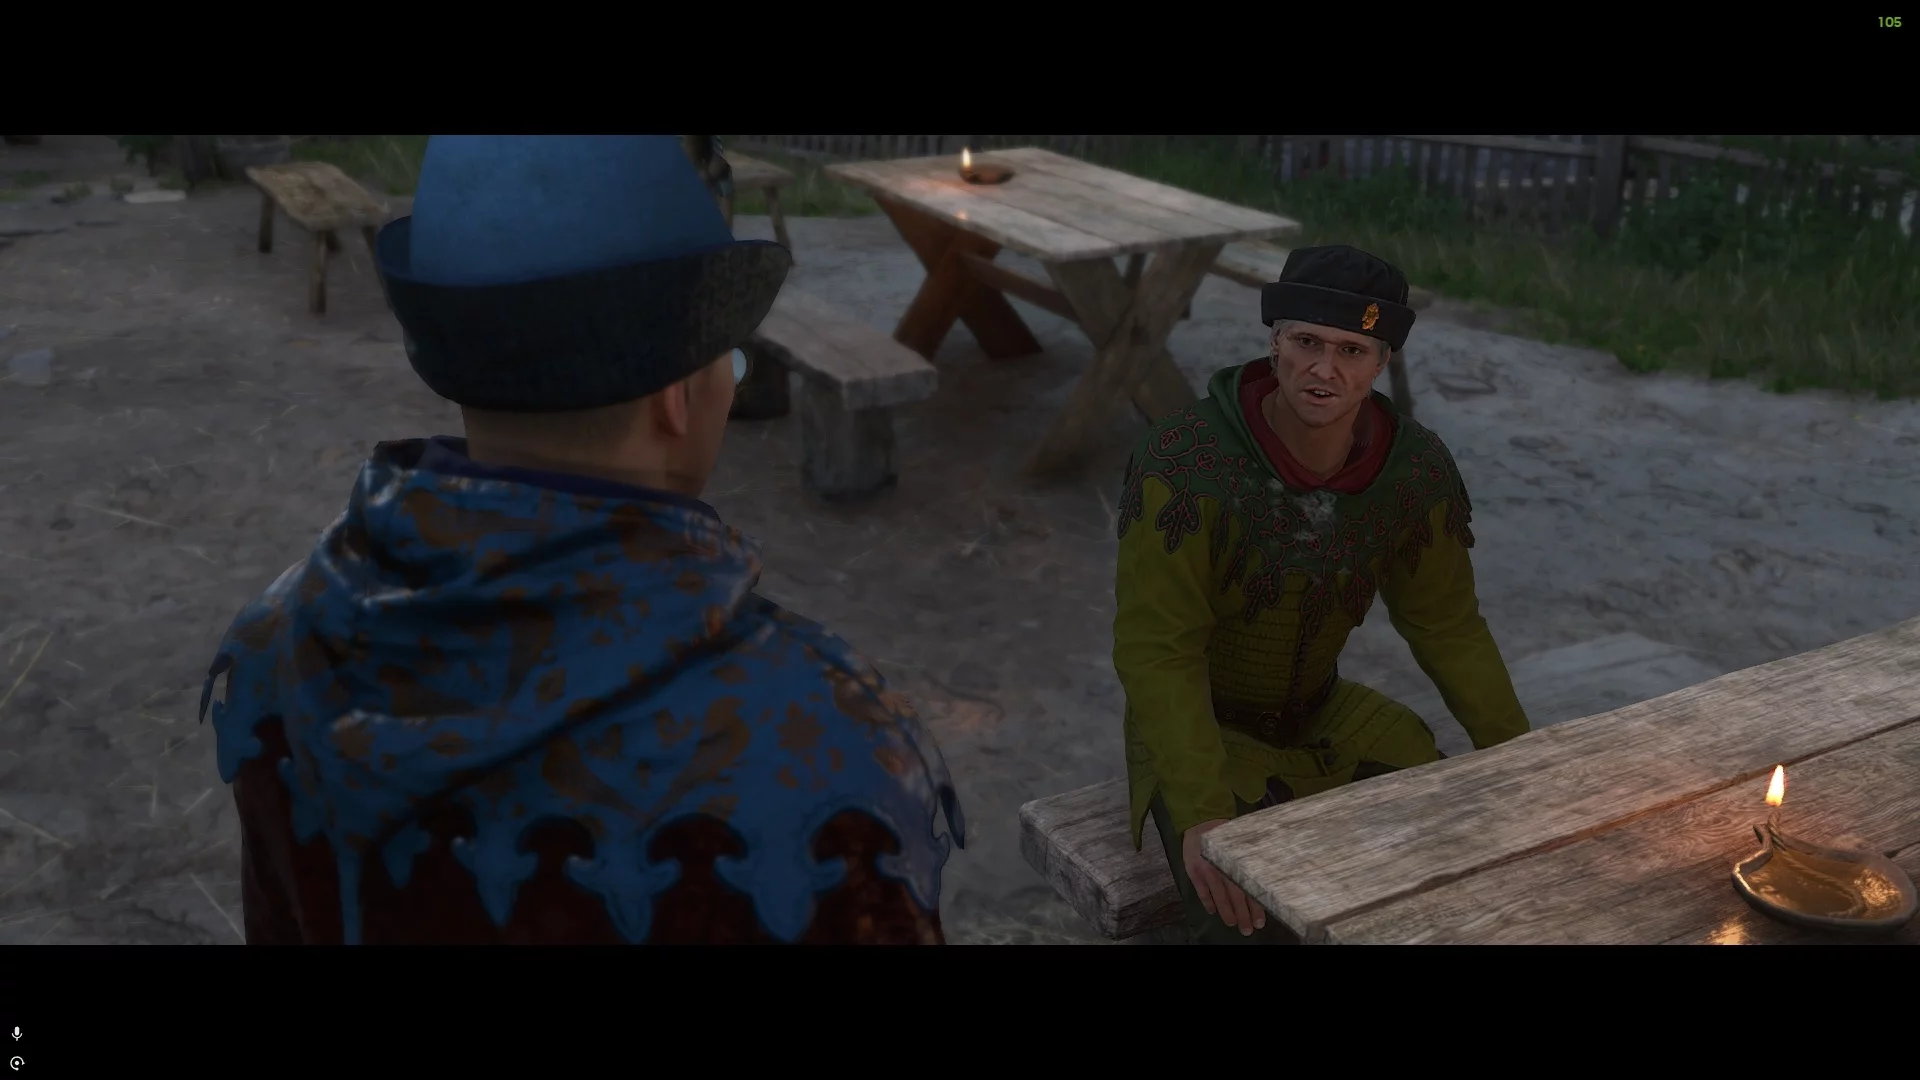
A marker will appear on the map where you can find Shima. We found him playing cards in the tavern on the ground floor. When he asks your name, don't say anyone sent you. Just choose "Indřich," then exhaust all dialogue options and choose a skill check. If you can't pass it, pay 200 groschen.
Shima will tell you about the chief smelter, who recently purchased an entire stable. This is quite suspicious, considering he alone has access to the list of finished silver.
Find Volmar
Reach the stables and watch a short cutscene, after which you can pass a skill check to reduce the number of enemies. We, for example, managed to scare off all but one bandit.
After dealing with the robber, approach Volmar again and start a conversation. Exhaust the dialogue options to obtain the map. In the end, you can decide what to do with him: release him, demand a ransom, or kill him.
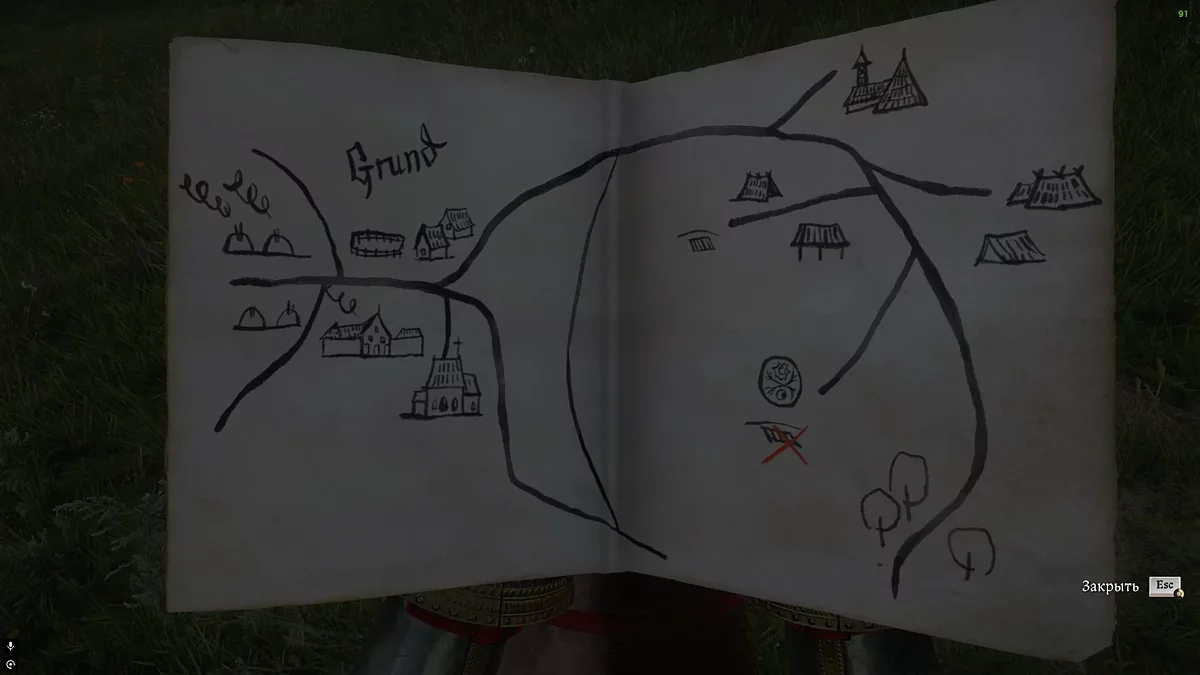
Find the Secret Mint
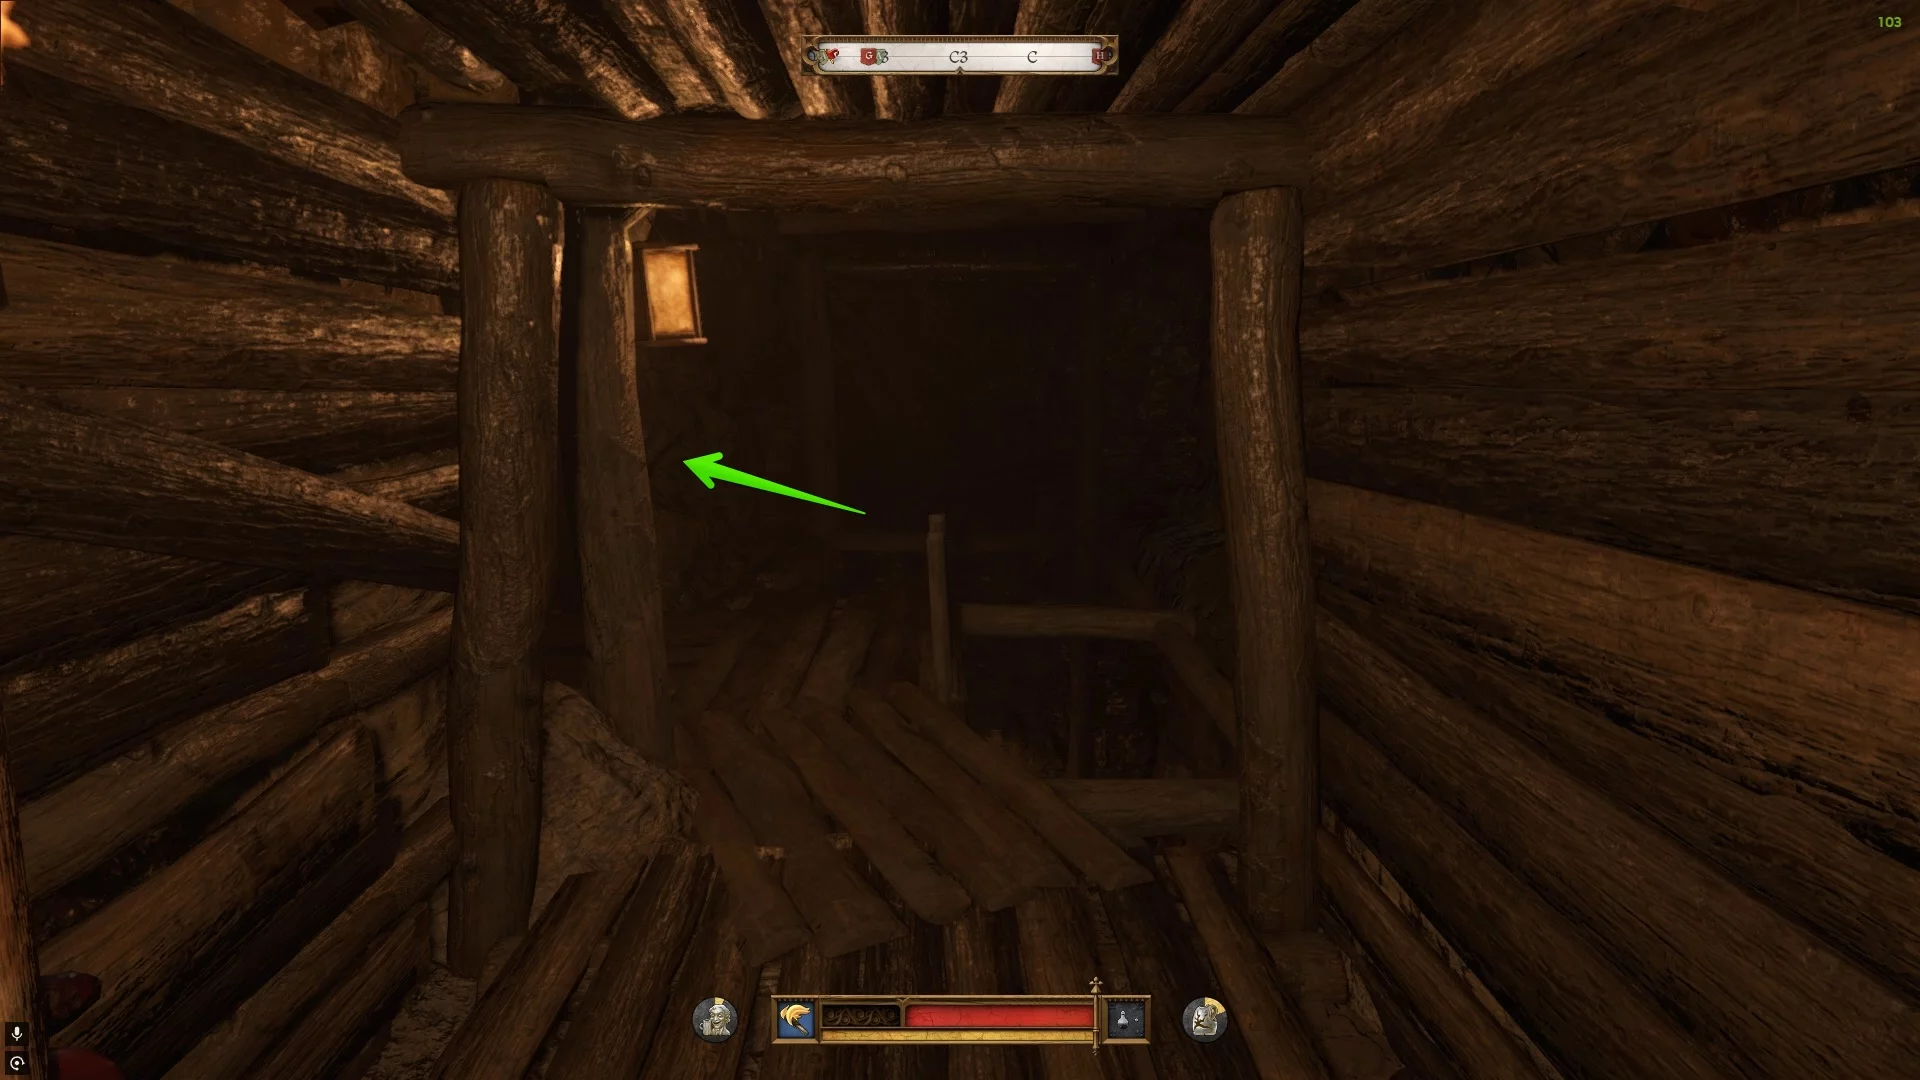
Regardless of how you decided to deal with Volmar, Henry will receive a map of the secret mint. The map will also show a marked area where it might be located. If you follow the hand-drawn map, everything will be perfectly clear: you need to follow the main road to the second left turn, then descend the path to the second entrance to the mine (the first is blocked).
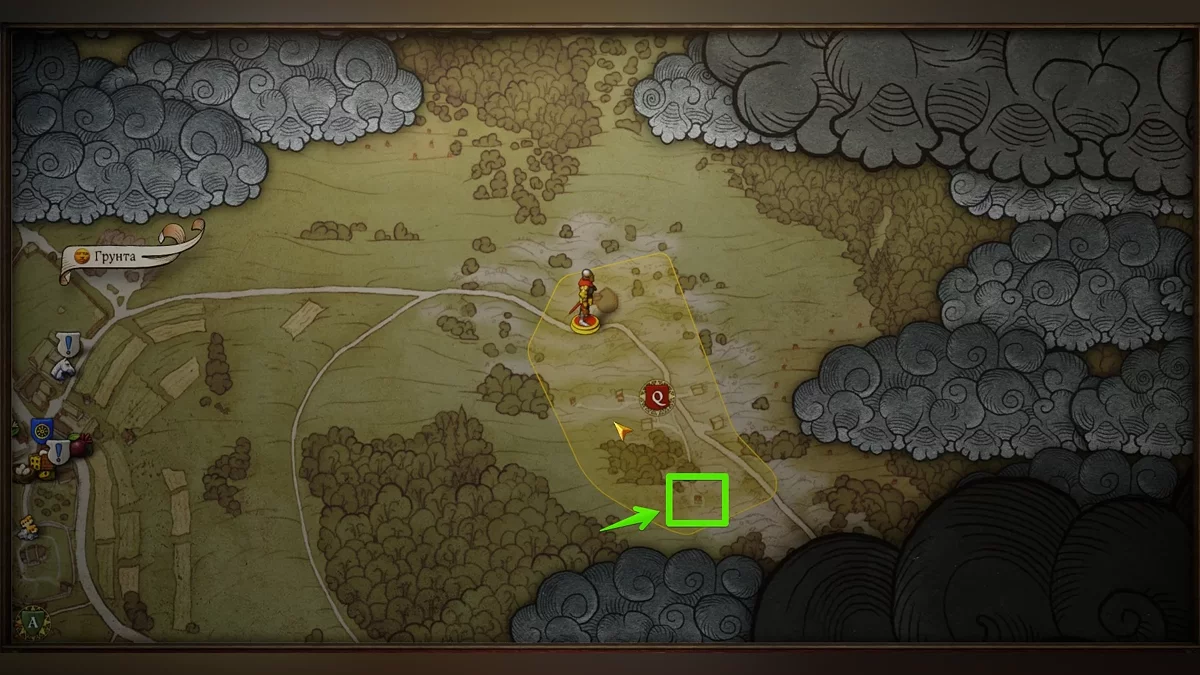
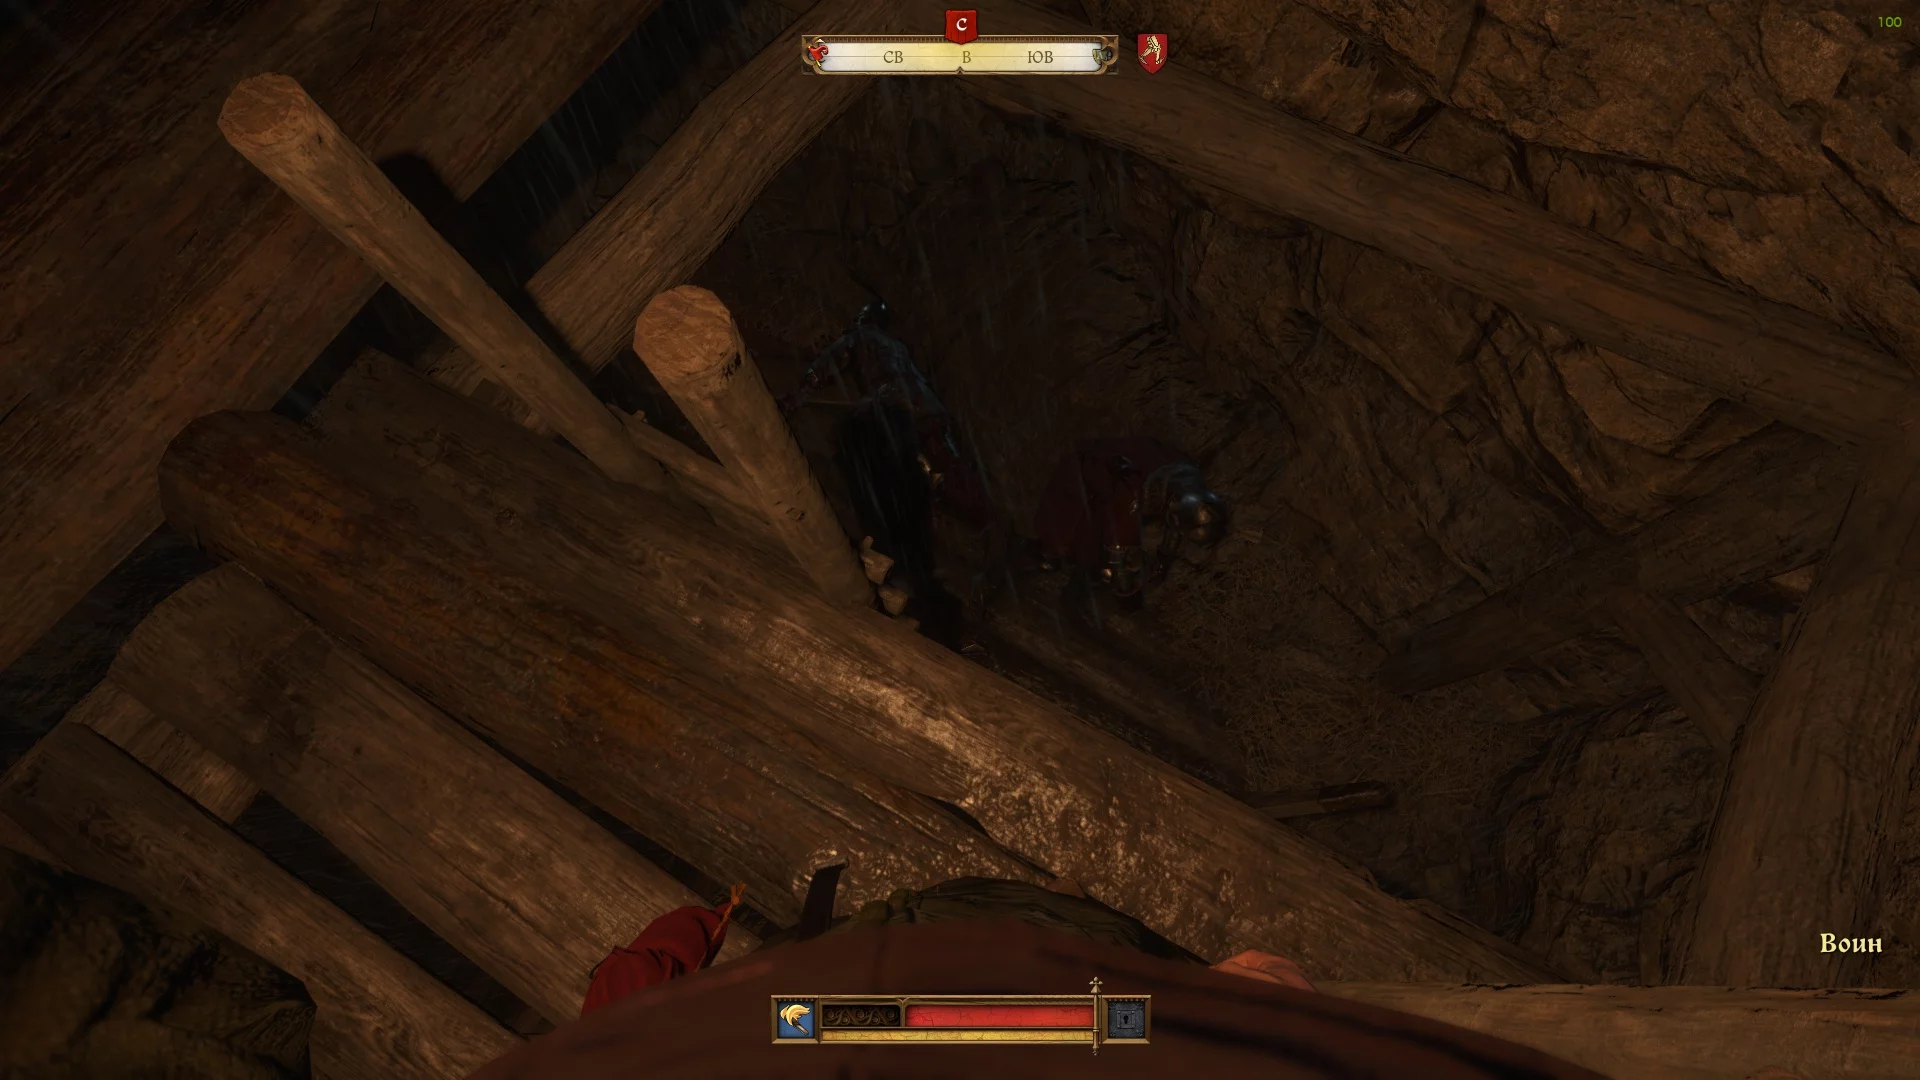
However, the task will be complicated by the presence of patrols in this area. As soon as you approach the old mine, you will see a soldier on the road. Another one is by the campfire nearby. You can deal with them in any way, then ride to the tunnel entrance. Right before the descent, Buresh's white horse will be standing.


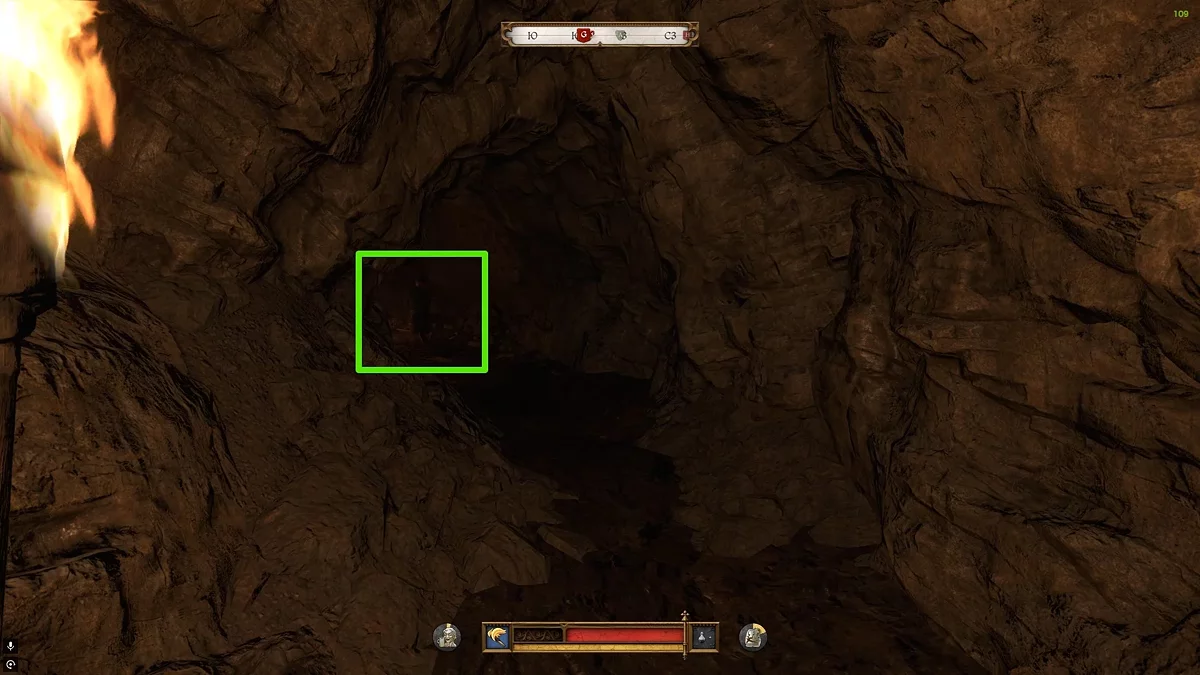
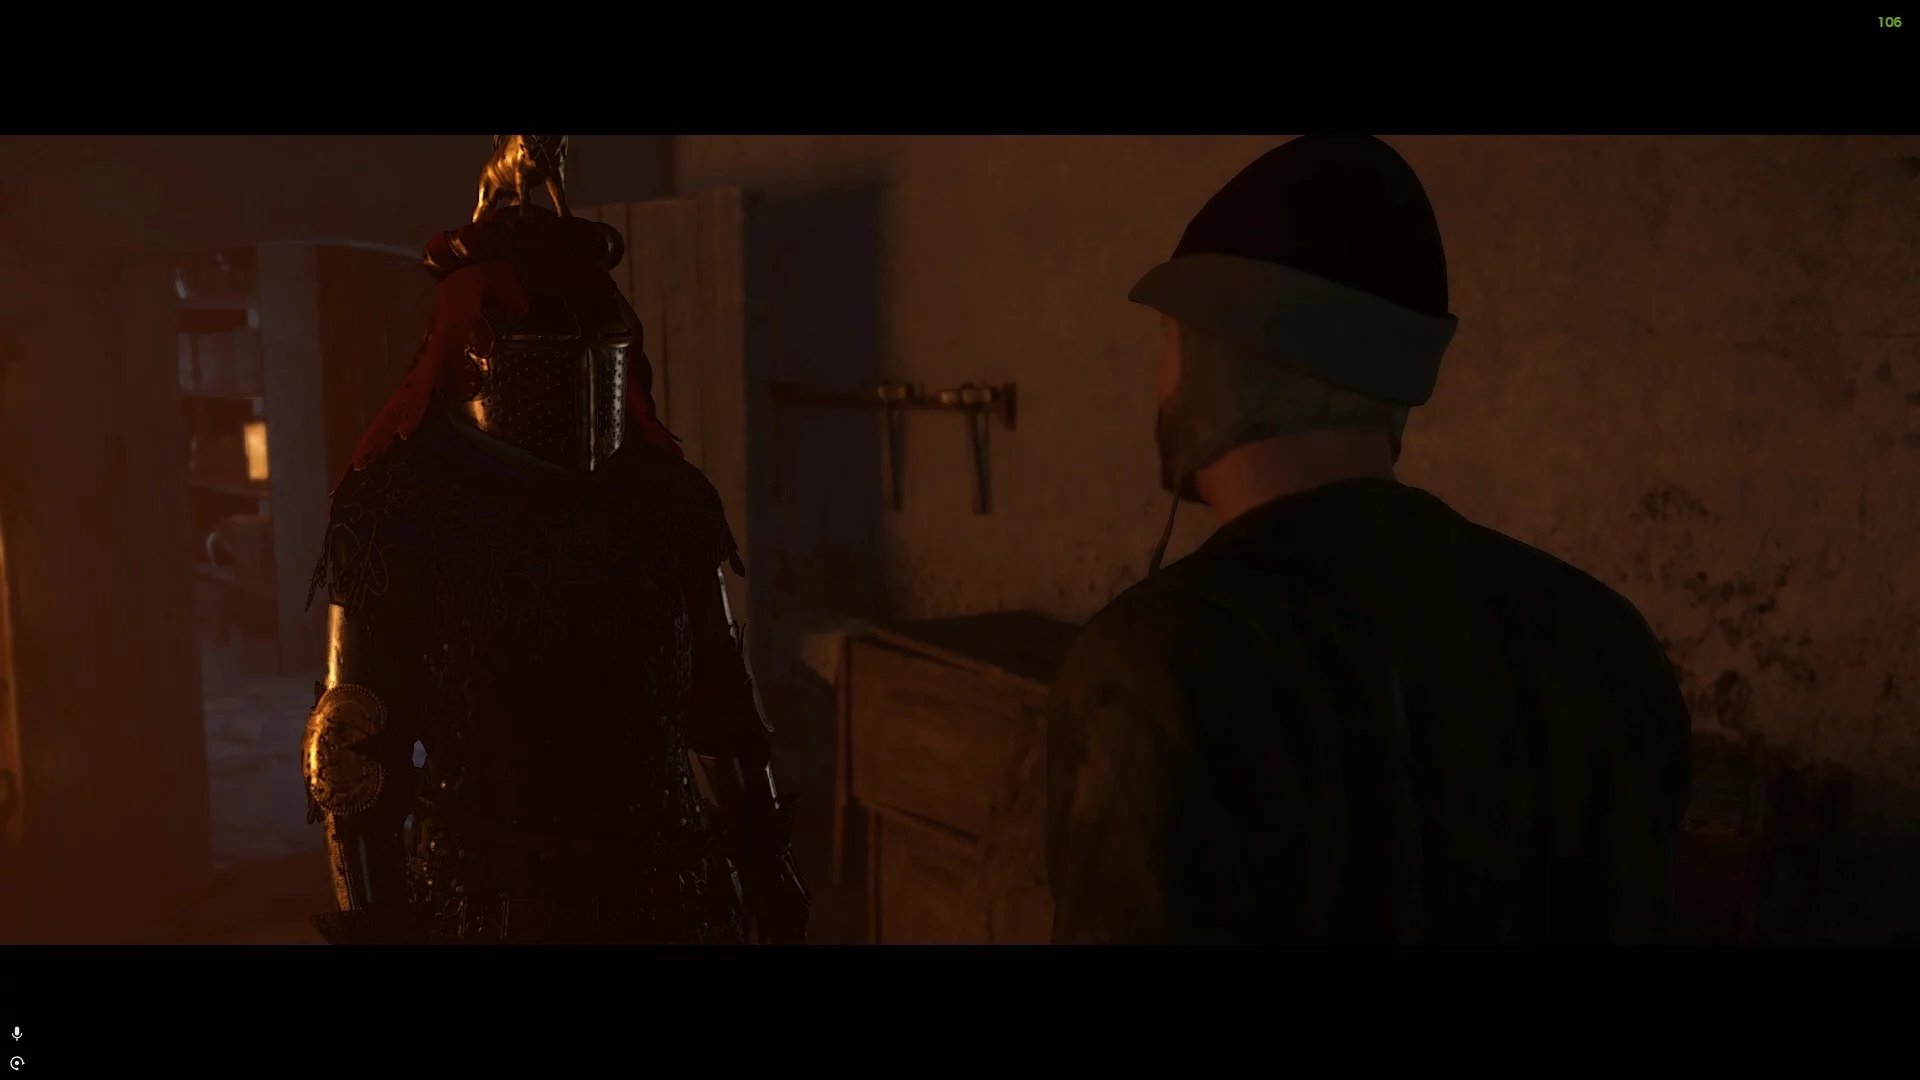
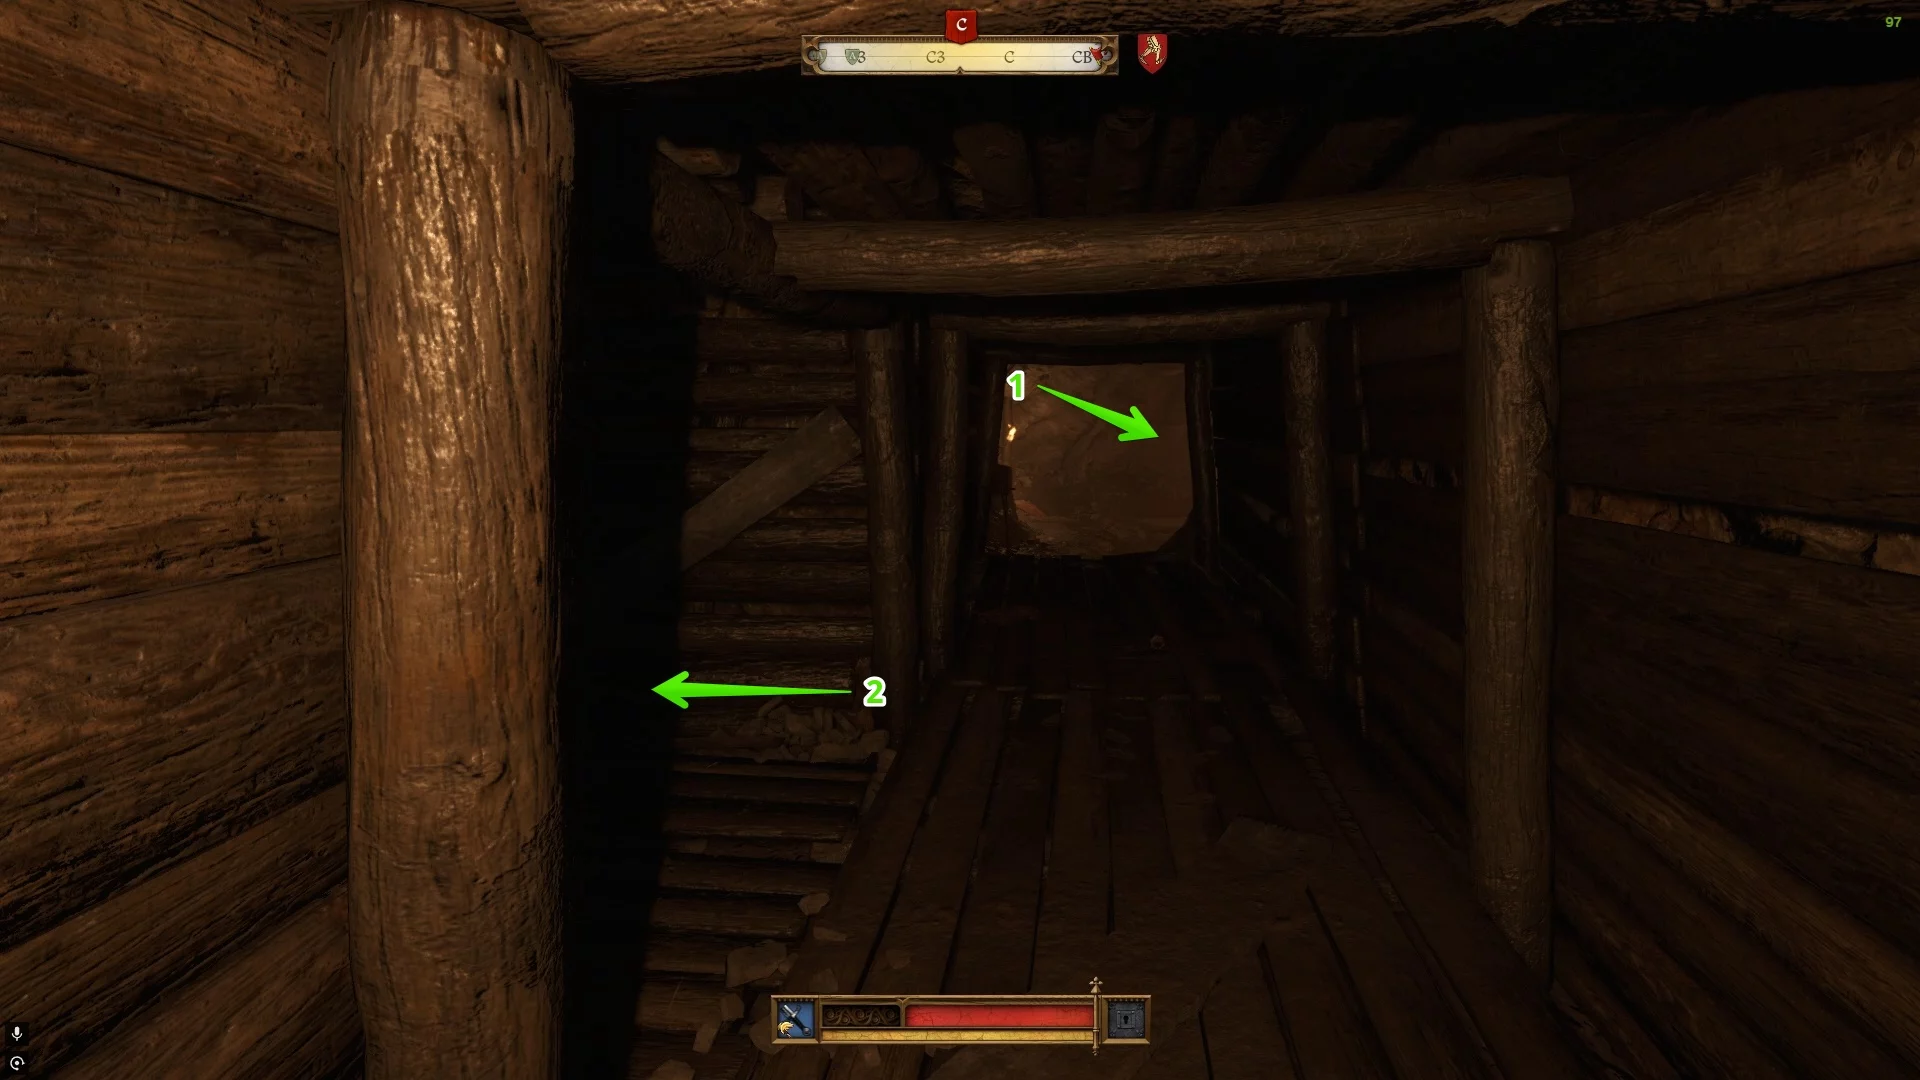
Descending into the mine, proceed forward and stop at the fork to decide what to do. The path to the right leads to a gallery with soldiers (1), as well as Buresh himself. If you turn left (2), you can pick a difficult lock and enter a gallery with two coin minters. However, they will refuse to come out of the underground while the guards are alive.
After neutralizing Buresh's bodyguards, return to him and start a dialogue. As usual, go through all the dialogues and proceed to the evidence. Demand money from him for silence (you can only choose "Large bribe"), which is 475 groschen. If you have a leveled-up skill, you can pass the check and get the correspondence between Vavak and Buresh.
Free the Captive Coin Minters
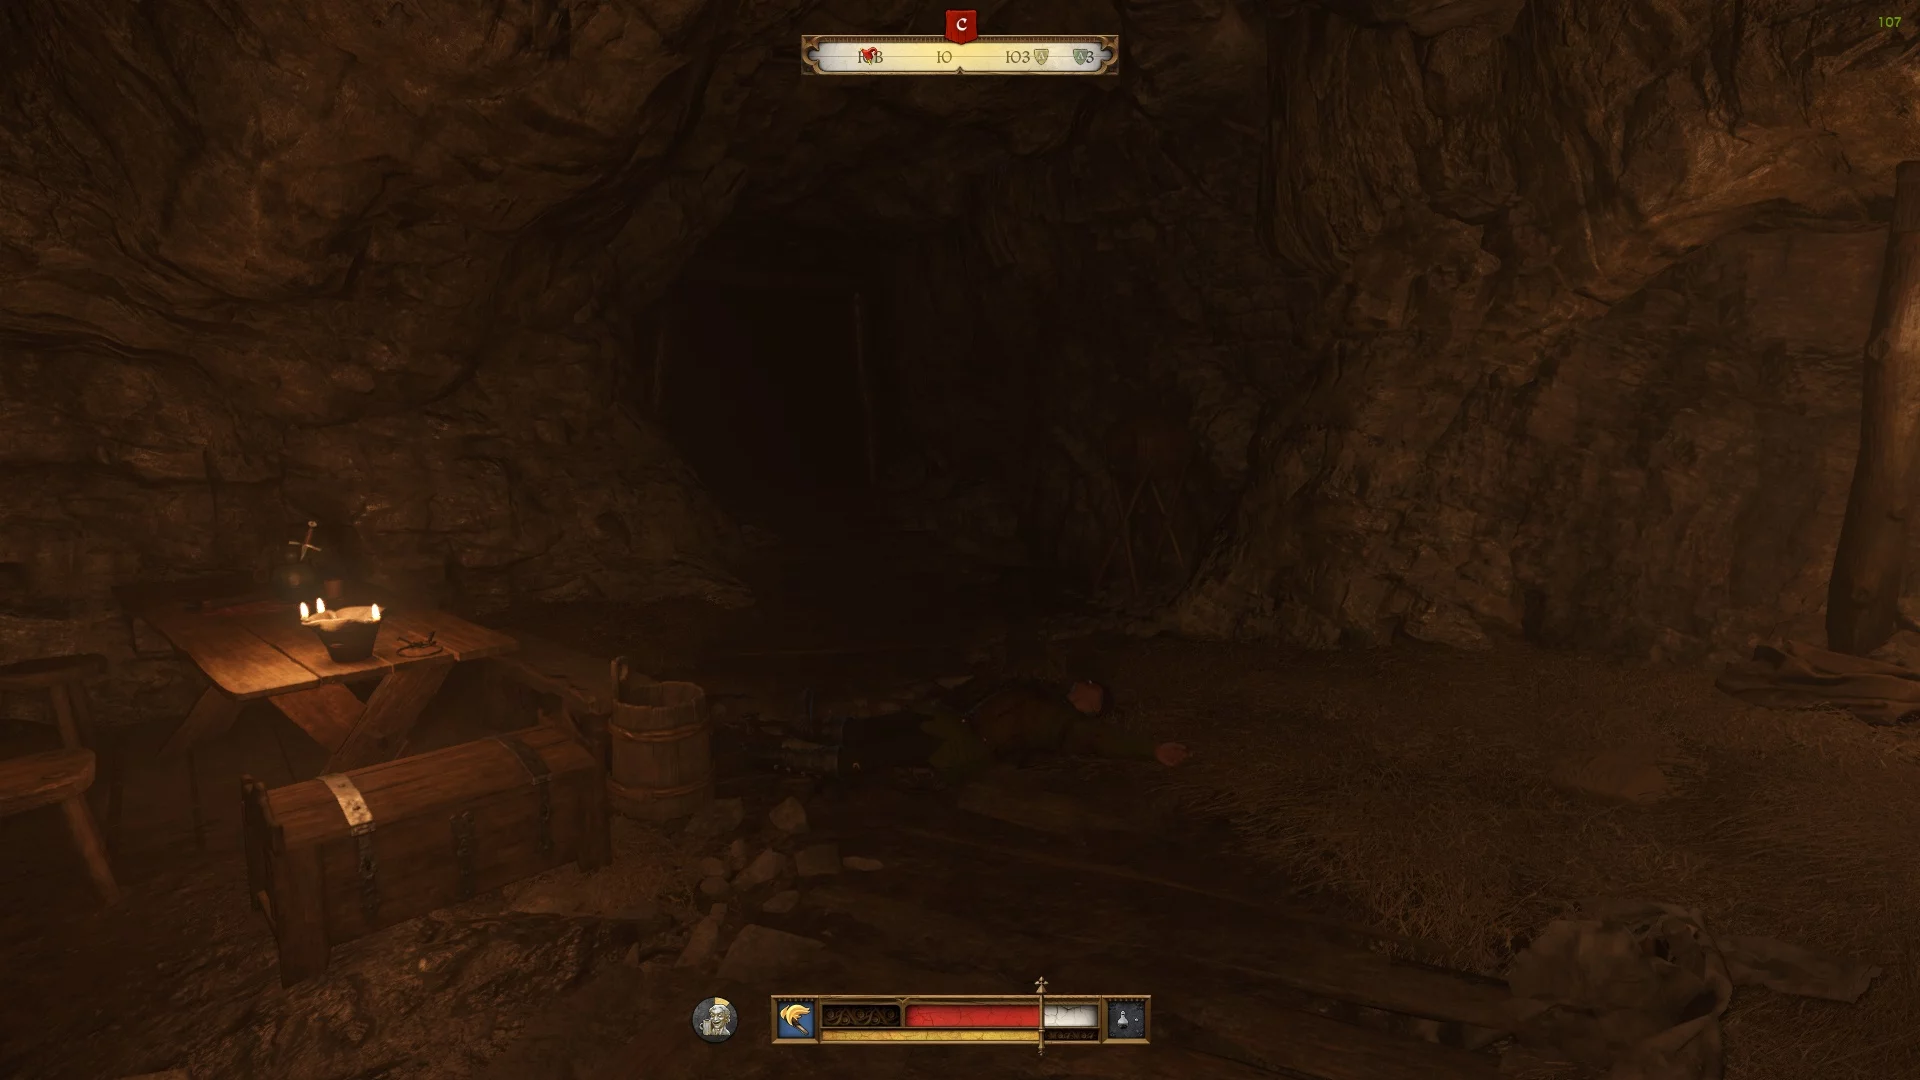
Proceed through the tunnel and use a lockpick on the regular door lock. First, inspect the three chests and collect all valuables, including the secret mint ledger, then address the minters.
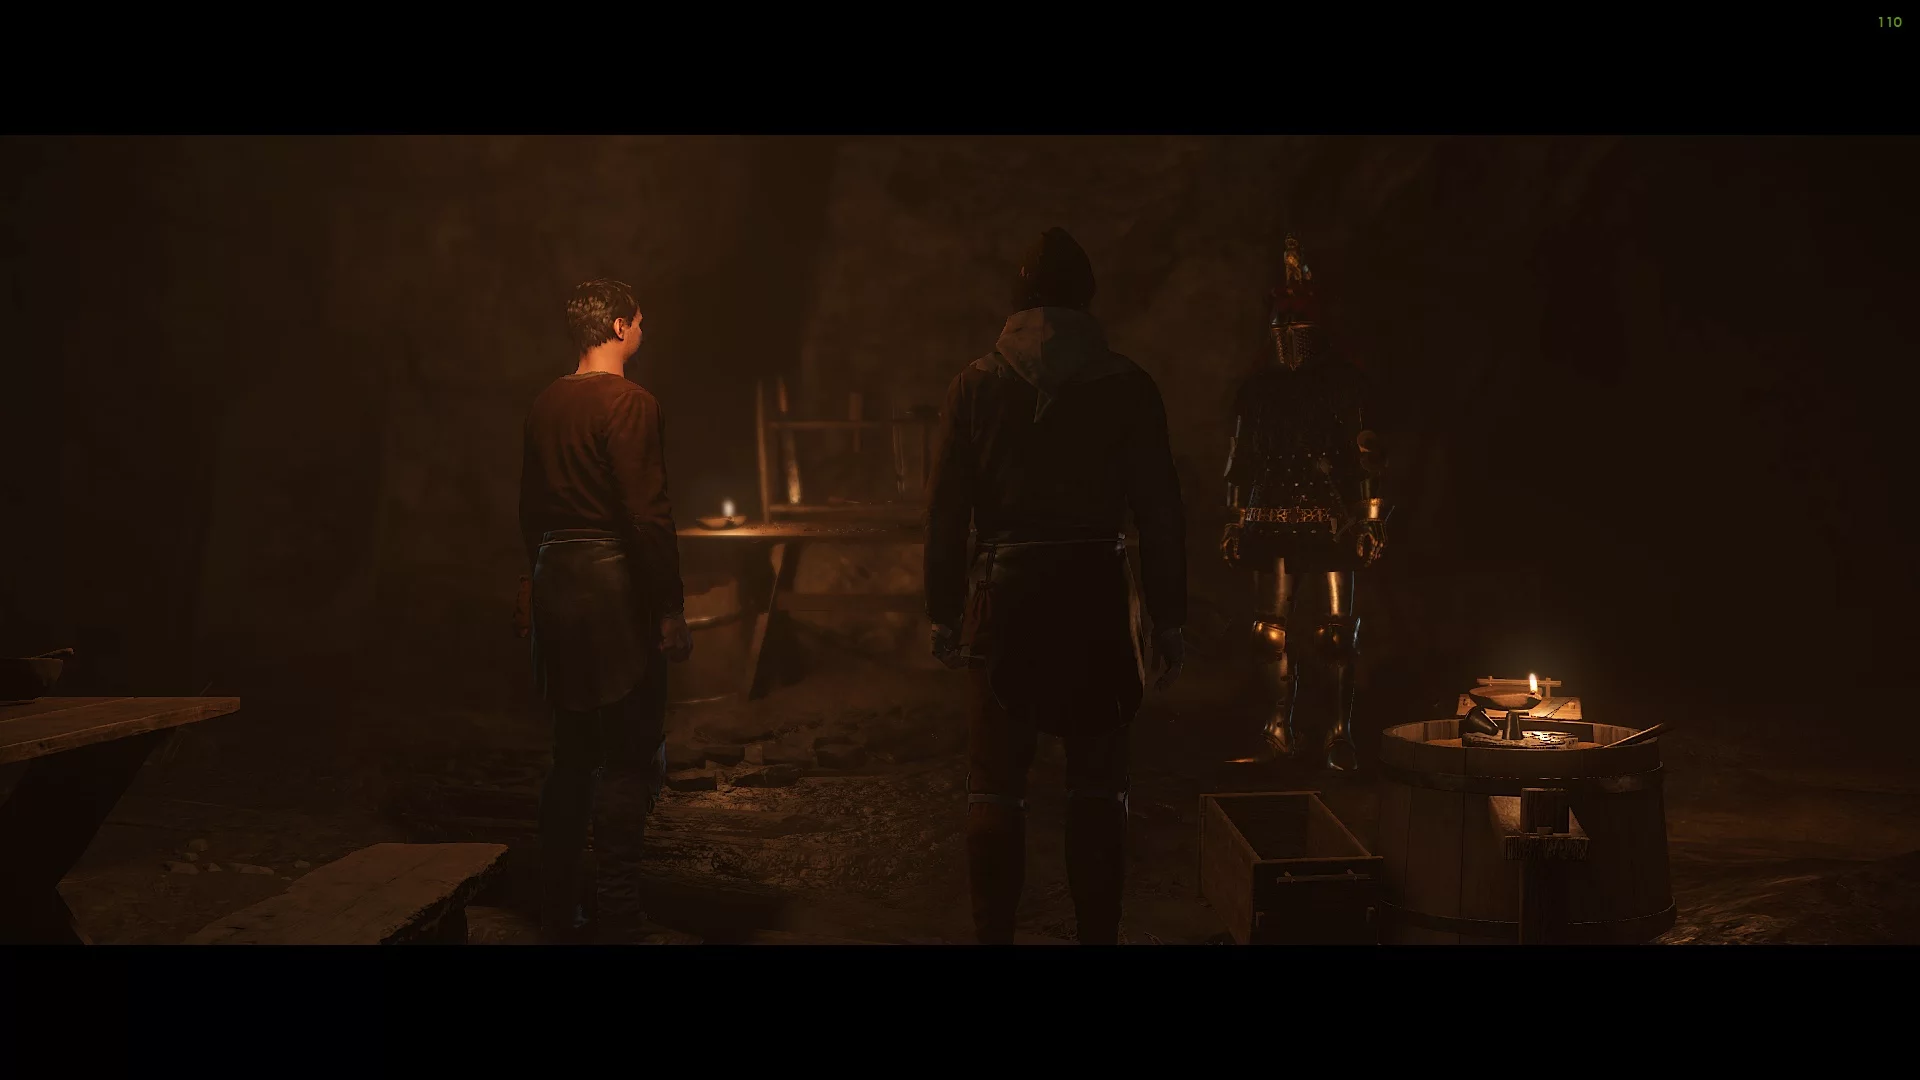
Ask the minters the available questions, then tell them they can go. The second option will only be available if you have already dealt with the soldiers and made a deal or killed Buresh. If the option "Guards are dead" is not available, it means some enemies are still in the tunnel — search it more thoroughly.
Complete the Investigation with Christian
Return to Christian and tell him everything you've learned. He will offer you a deal: he and his accomplices will continue to rob King Sigismund, and you will receive a certain amount of groschen for it. The terms are favorable, so there's no point in refusing. First, hand him the letter and the genuine mint stamp. If you don't give the latter, you will receive 425 groschen instead of 625 for completing the task.
In total, for completing the task, you will receive over 1500 coins (if you took a ransom from Buresh and Volmar), as well as a golden cross worth 1430 coins if you killed Buresh.
Next Quest: Taking French Leave
Walkthrough of Main Quests in Kingdom Come: Deliverance 2
- Last Rites
- Easy Riders
- Fortuna
- Laboratores
- Wedding Crashers
- For Whom the Bells Tolls
- Back in the Saddle
- Necessary Evil
- For Victory!
- Divine Messenger
- The Finger of God
- Storm
- The Sword and the Quill
- Speak of the Devil
- The Devil's Pack
- Via Argentum
- Taking French Leave
- The King's Gambit
- The Feast
- Exodus
- The Lion's Den
- Dancing with the Devil
- Oratores
- The Italian Job
- Civitas Pragensis
- So it begins...
- Besieged
- Hunger and Despair
- Reckoning
- Last Rites
- Judgement Day
Other guides
- Kingdom Come: Deliverance 2 Walkthrough Guide
- Kingdom Come Deliverance 2 Beginner's Guide: Tips and Tricks
- Kingdom Come Deliverance 2: The Lion's Den Quest Walkthrough
- Kingdom Come Deliverance 2: Lady Rosa Romance Guide
- Kingdom Come Deliverance 2: Fixing Technical Problems and Bugs
- Kingdom Come Deliverance 2: Back in the Saddle Walkthrough
- Kingdom Come Deliverance 2: For Victory! Walkthrough
- Location of Save Files in Kingdom Come: Deliverance 2
- Kingdom Come Deliverance 2: The King's Gambit Walkthrough
- Kingdom Come Deliverance 2: The Italian Job Walkthrough
-
Kingdom Come Deliverance 2: Back in the Saddle Walkthrough
-
Kingdom Come Deliverance 2: For Victory! Walkthrough
-
Kingdom Come: Deliverance 2 Walkthrough Guide
-
Kingdom Come Deliverance 2: Lady Rosa Romance Guide
-
Kingdom Come Deliverance 2 Beginner's Guide: Tips and Tricks
-
Kingdom Come Deliverance 2: Laboratores Walkthrough
-
How to Find Armor by Maps in Kingdom Come Deliverance 2: The Lion's Crest Guide
-
Kingdom Come Deliverance 2: How to Increase Reputation
-
Kingdom Come Deliverance 2: Absolver Walkthrough
-
Kingdom Come Deliverance 2: X Marks the Spot Walkthrough