Kingdom Come Deliverance 2: Absolver Walkthrough
 Vladyslav Shamshurov
In the medieval times, a warrior typically procured his own weapons. In Kingdom Come: Deliverance 2, players will have to help a soldier acquire a magnificent sword, but not quite by honest means. In this guide, we will explain how to pull off this risky adventure.
How to Start the Absolver Quest
Head to the village of Myškovice in the Kuttenberg region and find the local blacksmith. Ask him about the latest news, and he will tell you about a stranger soldier who came to him requesting a sword to be forged. The blacksmith, who dislikes foreigners, refused him, even despite the significant sum offered. At the end of the conversation, he will suggest you go to the military camp — that's where, according to him, you should look for this soldier.
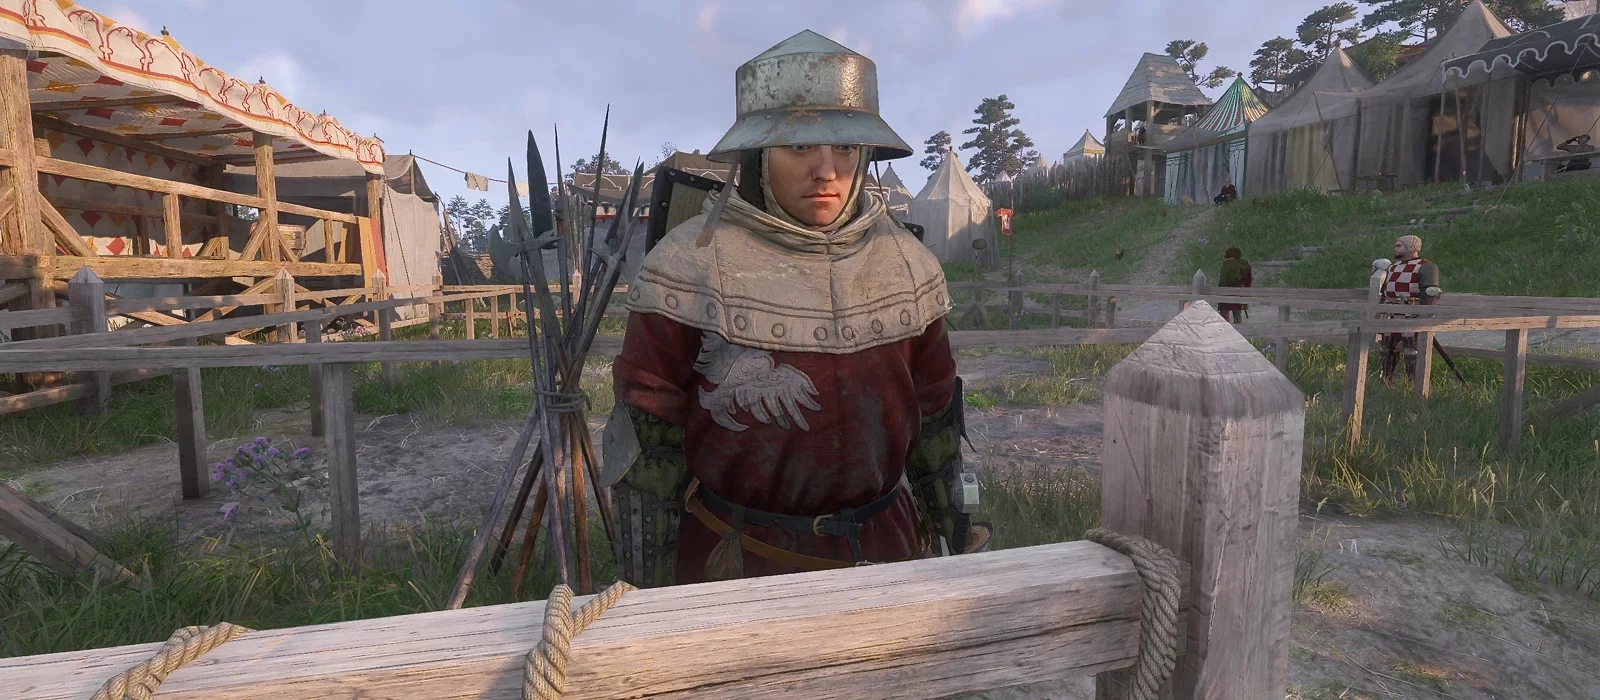
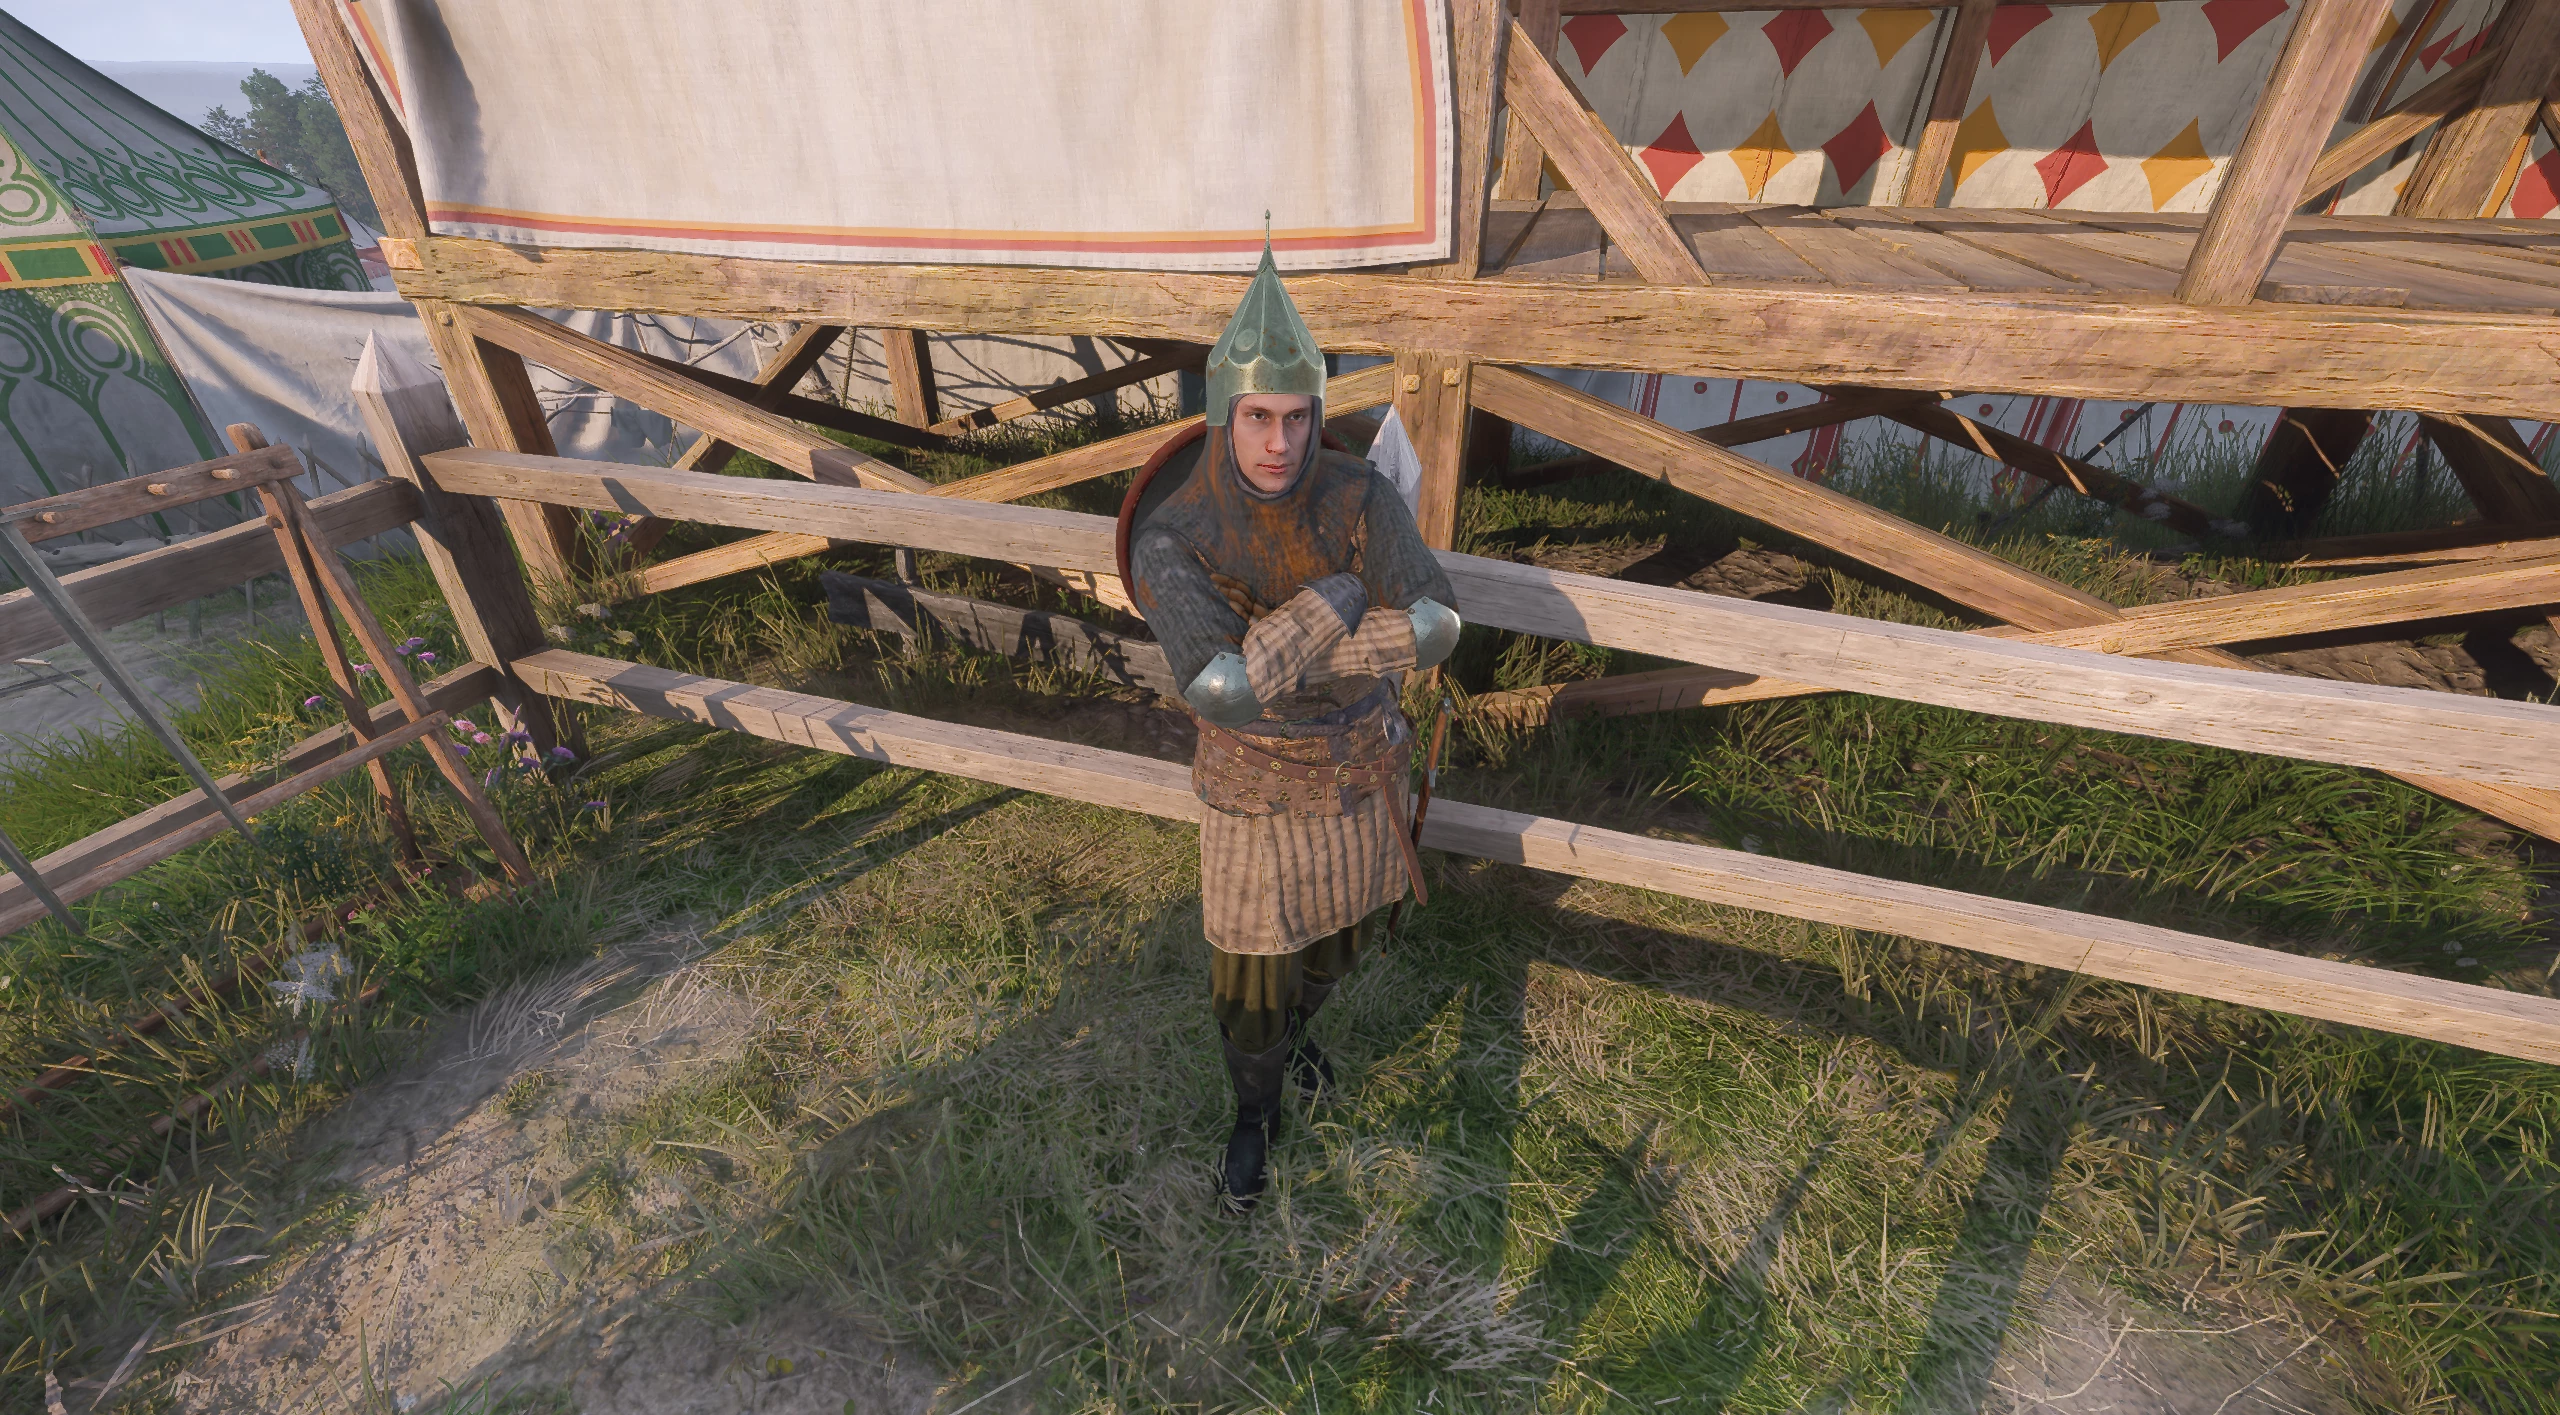
Find a soldier named Tomas from Kolín in Sigismund's camp and talk to him. He will tell you that he wants to obtain the "Absolver" sword from one of the Cumans. To do this, you need to steal the original sword and forge a fake sword for the Cuman.
Steal Bazan's Sword
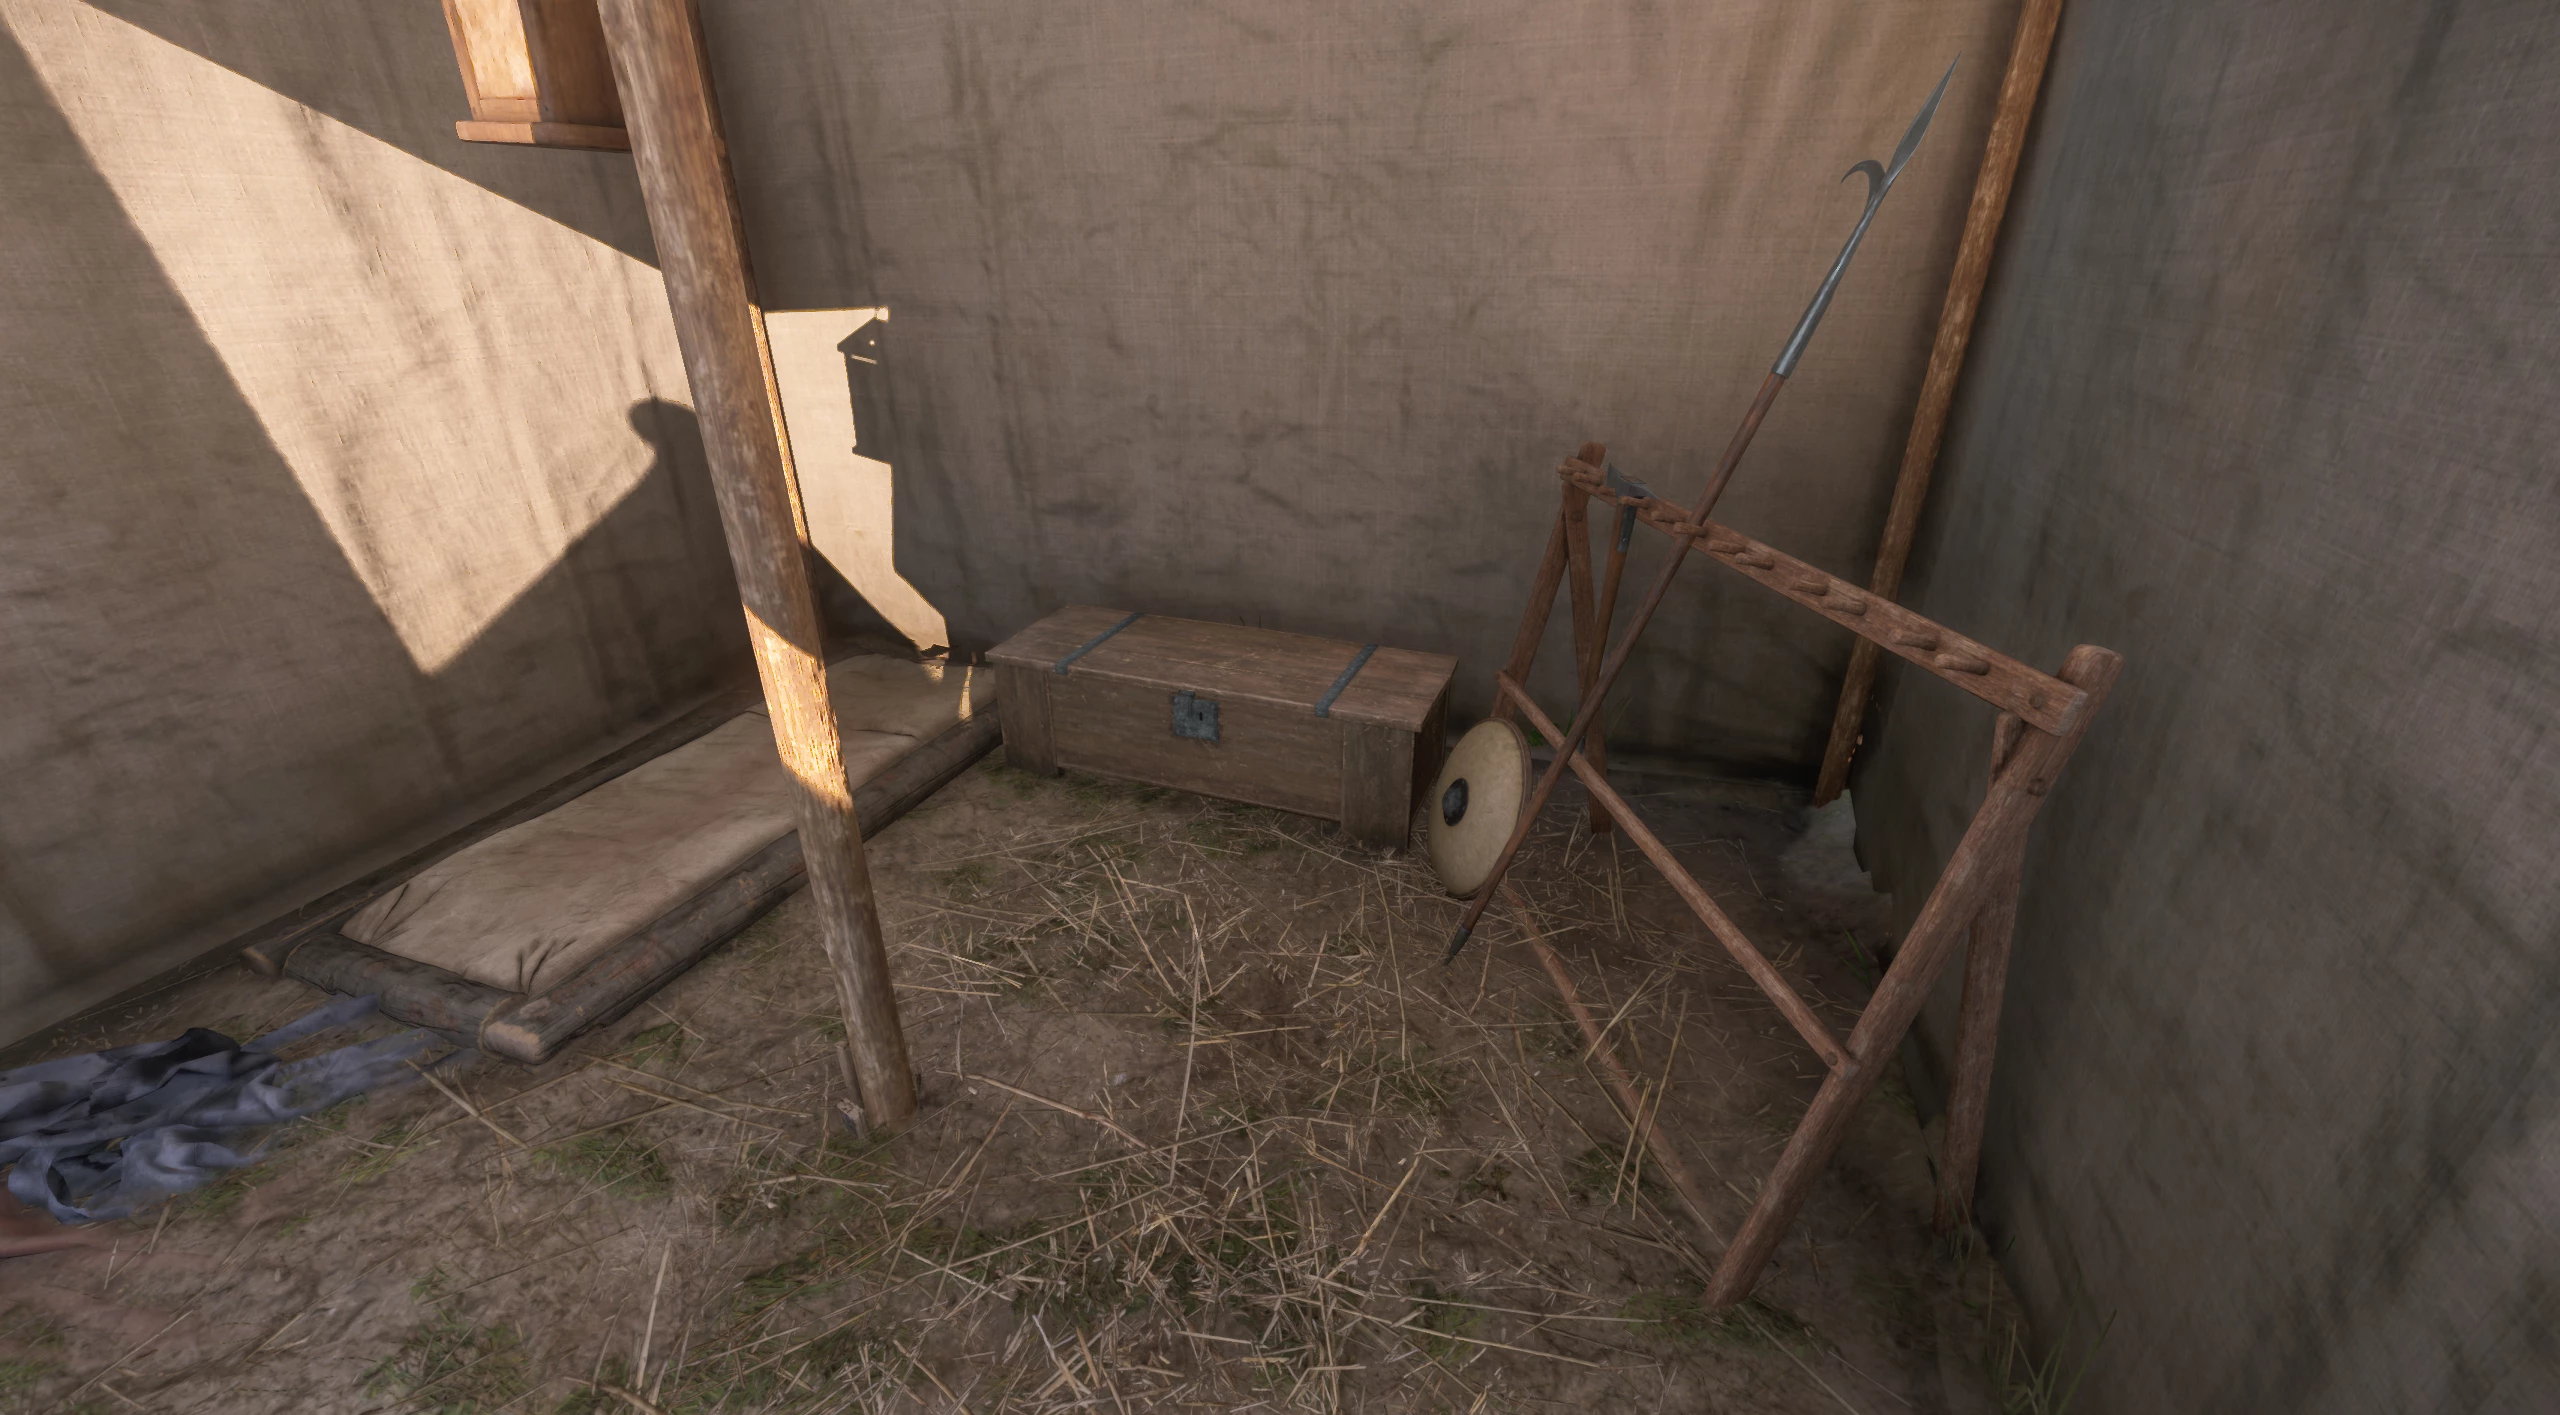
Find Bazan's tent, which is located in the lower part of the camp, to the left of the tiltyard. Once inside, remember: you are trespassing on private property. We recommend acting quickly — pick the lock, take the sword, and leave the tent before you are discovered.
Forge a Fake Bazan's Sword
Head to the nearest forge to craft the sword. You will need the following materials:
- Deer Hide (1);
- Octagonal Pommel (1);
- Guard (1);
- Frankfurt Steel (2);
- Iron (2).
In the end, you will have the "Absolver" sword — both the original and its exact copy.
Plant the Fake "Absolver" in Bazan's Chest
Return to the tent by the tiltyard. Carefully, to remain unnoticed, place the fake sword in Bazan's chest. You can place either the original or the copy in the chest.
Give the "Absolver" to Tomas
Head to the local blacksmith. To his left, you will meet Tomas — give him the "Absolver" sword, and he will reward you.
You can give Tomas either the original or the fake. Or convince him that a fake is already in the chest and give him either the real sword or the copy.
Alternative Quest Walkthrough
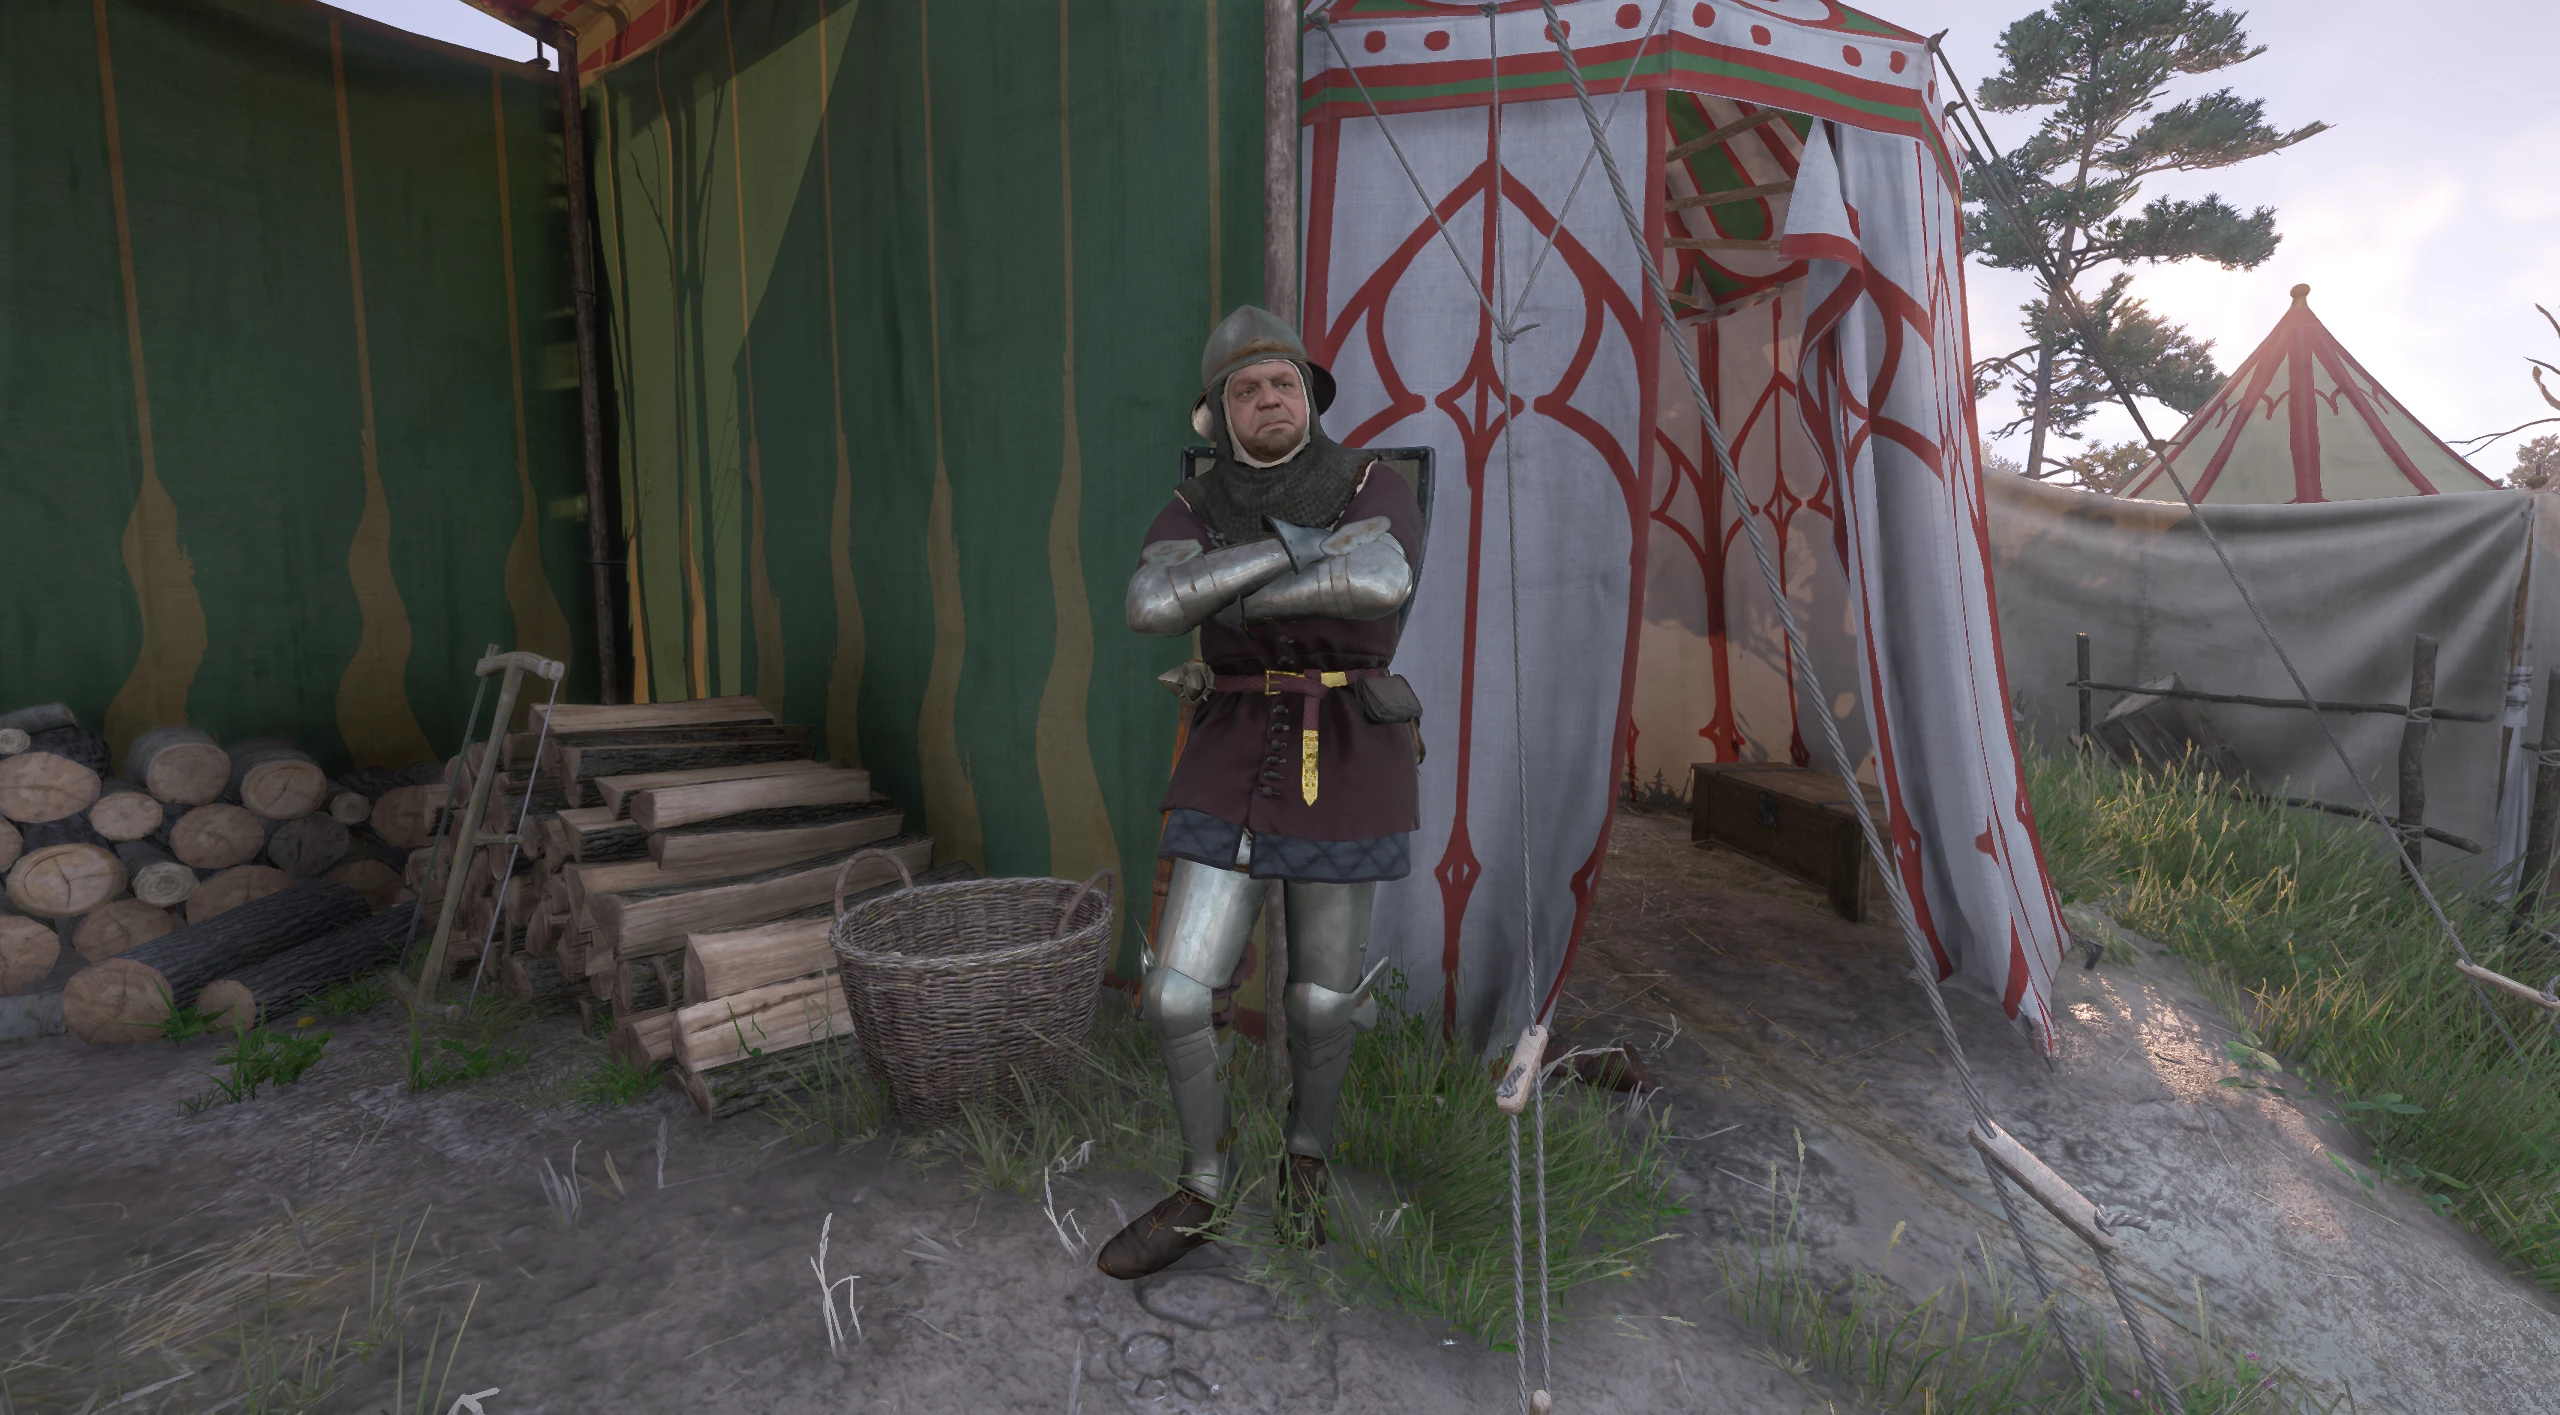
After starting the quest, find Bazan. He is usually at the tiltyard. Inform him about Tomas's plans. Note: once you have extracted the sword from the Cuman's chest, you lose the opportunity for further interaction with him.
Depending on your decision, two outcomes are possible:
- You convinced Bazan to fight Tomas. As a result of the fight, Bazan will be defeated, and you will be able to give the original sword to Tomas.
- You proposed to Bazan to split the money. The amount you split will depend on your persuasiveness. The warrior will show you the original sword. Then you will forge a fake and give it to Tomas. After that, you can split the money with the Cuman.
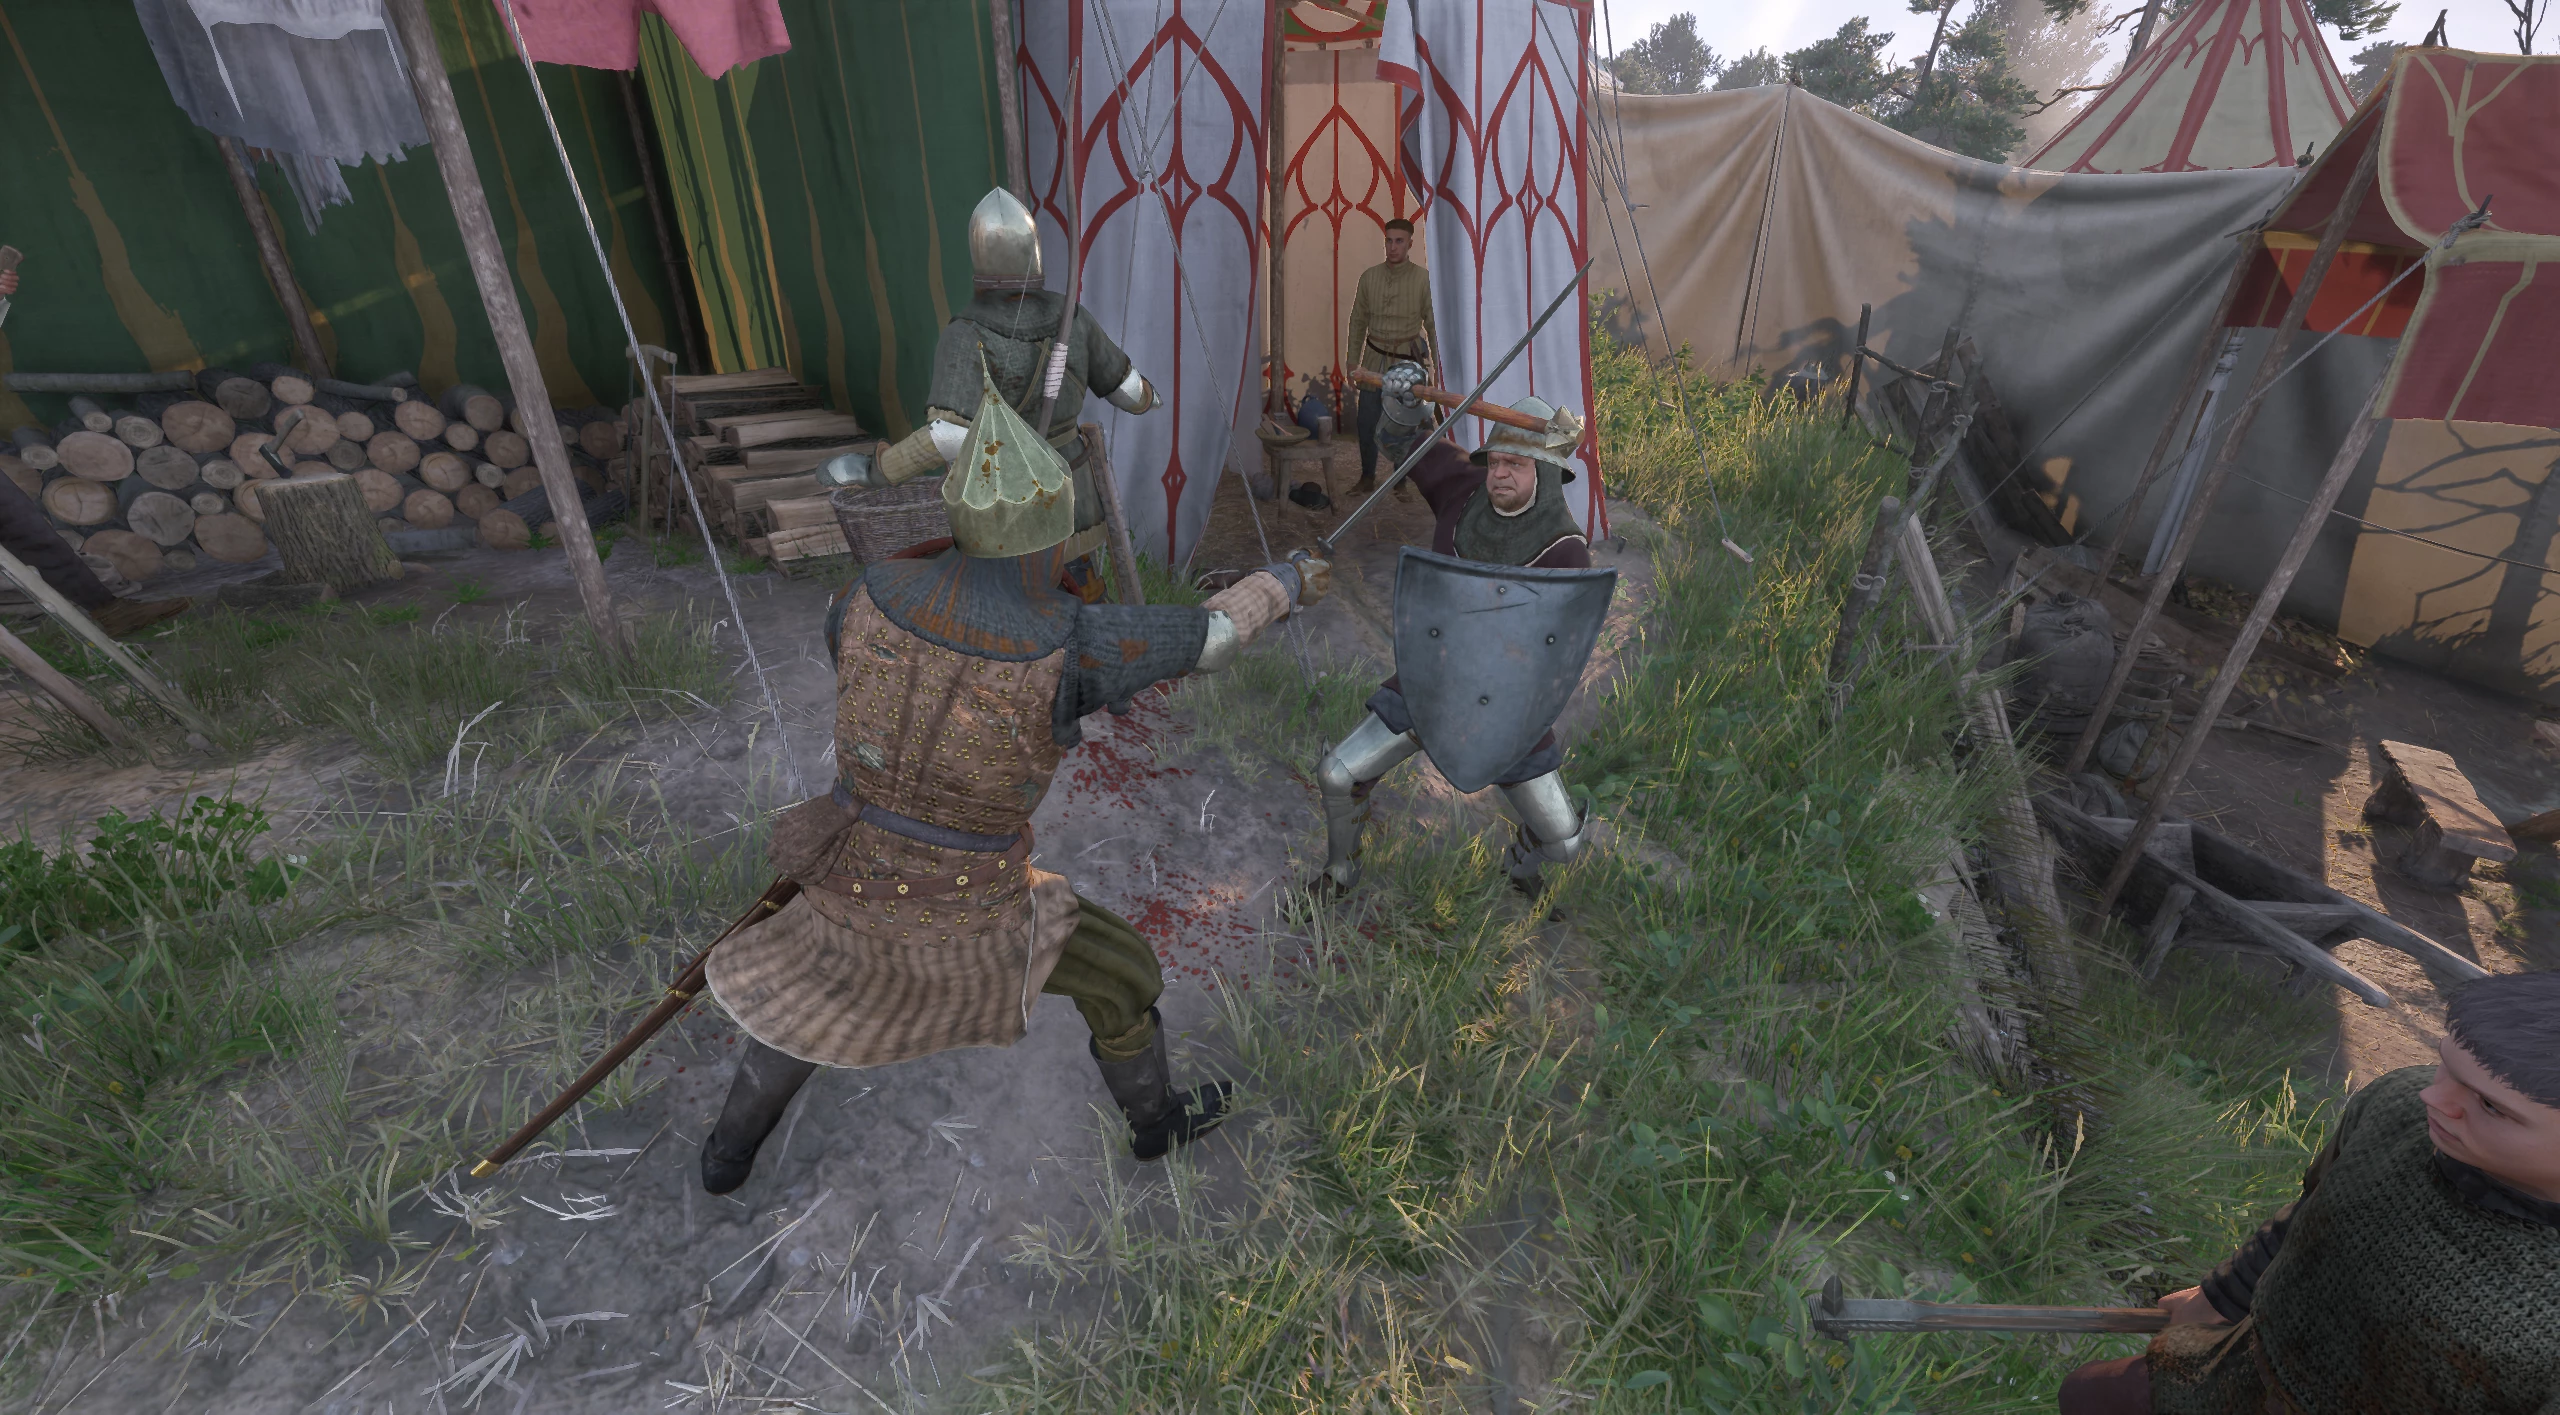
This quest is notable not only for its captivating story but also for the opportunity to obtain a decent weapon. If your crafting skills are not very well developed, this is a chance to get a good sword almost for free. Moreover, the method by which you obtain this sword will not matter in the future.
Walkthrough of Side Quests in Kingdom Come: Deliverance 2
- Kingdom Come Deliverance 2: Mutt Walkthrough (How to Find the Dog)
- Kingdom Come Deliverance 2: Lackey Walkthrough
- Kingdom Come Deliverance 2: Bad Blood Walkthrough
- Kingdom Come Deliverance 2: Materia Prima Walkthrough
- Kingdom Come Deliverance 2: Forbidden Fruit Walkthrough
- Kingdom Come: Deliverance 2: Opus Magnum Walkthrough
- How to Find Armor by Maps in Kingdom Come Deliverance 2: The Lion's Crest Guide
- Kingdom Come Deliverance 2: Invaders Walkthrough
- Kingdom Come Deliverance 2: The Axe from the Lake Walkthrough
- Kingdom Come Deliverance 2: Mice Walkthrough
- Kingdom Come Deliverance 2: The Blacksmith's Son Walkthrough
- Kingdom Come Deliverance 2: The Jaunt Walkthrough
- Kingdom Come Deliverance 2: The Hermit Walkthrough
- Kingdom Come Deliverance 2: Miri Fajta Walkthrough
- Kingdom Come Deliverance 2: The Mouth of Hell Walkthrough
- Kingdom Come Deliverance 2: Bellatores Walkthrough
- Kingdom Come Deliverance 2: Skeleton in the Closet Walkthrough
- Kingdom Come Deliverance 2: Dragon's Lair Walkthrough
- Kingdom Come Deliverance 2: Canker Walkthrough
- Kingdom Come Deliverance 2: Handsome Charlie Walkthrough
- Kingdom Come Deliverance 2: Johnny the Gob Walkthrough
- Kingdom Come Deliverance 2: Casper Walkthrough
- Kingdom Come Deliverance 2: The White Roebuck Walkthrough
- Kingdom Come Deliverance 2: Hush, My Darling Walkthrough
- Kingdom Come Deliverance 2: Absolver Walkthrough
- Kingdom Come Deliverance 2: The Thunderstone Walkthrough
- Kingdom Come Deliverance 2: X Marks the Spot Walkthrough
- Kingdom Come Deliverance 2: Hammer and Tongs Walkthrough
- Kingdom Come Deliverance 2: Yackers 'n' Fash Walkthrough
- Kingdom Come Deliverance 2: Ransom Walkthrough
- Kingdom Come Deliverance 2: The Reliquary Walkthrough
- Kingdom Come Deliverance 2: Thou art but dust Walkthrough
- Kingdom Come Deliverance 2: Striped Tonies Walkthrough
- Kingdom Come Deliverance 2: Popinjay Shoot Walkthrough
- Kingdom Come Deliverance 2: Ars Dimicatoria Walkthrough
- Kingdom Come Deliverance 2: Arrow-head Walkthrough
- Kingdom Come Deliverance 2: In Vino Virilitas Walkthrough
- Kingdom Come Deliverance 2: Feast for the Poor Walkthrough
- Kingdom Come Deliverance 2: Spoils of War Walkthrough
- Kingdom Come Deliverance 2: Post Scriptum Walkthrough
- Kingdom Come Deliverance 2: The Thieves' Code Walkthrough
- Kingdom Come Deliverance 2: Troubadours Walkthrough
- Kingdom Come Deliverance 2: Bird of Prey Walkthrough
- Kingdom Come Deliverance 2: A Good Scrub Walkthrough
- Kingdom Come Deliverance 2: Ill Repute Walkthrough
- Kingdom Come Deliverance 2: The Spark Walkthrough
- Kingdom Come Deliverance 2: All's fair Walkthrough
- Kingdom Come Deliverance 2: Seeking Justice Walkthrough
Other guides
 Kingdom Come: Deliverance 2 Mysteria Ecclesiae — Weapon Locations and How to Obtain Them
 Kingdom Come: Deliverance 2 Mysteria Ecclesiae — How to Find Slavek’s Purse
 Kingdom Come: Deliverance 2 Mysteria Ecclesiae — Devilish Pain Quest Guide: How to Help Madla
 Kingdom Come: Deliverance 2 — Mysteria Ecclesiae DLC Walkthrough Guide
 Kingdom Come: Deliverance 2 — How to Access and Start the Mysteria Ecclesiae DLC
 Kingdom Come: Deliverance 2 — Chiaroscuro Quest Walkthrough
-
 Brushes with Death DLC in Kingdom Come: Deliverance 2 — How to Start and Complete All Quests
 -
 Kingdom Come: Deliverance 2 — Source of Inspiration Quest Walkthrough
 -
 Kingdom Come Deliverance 2: A Sketchy Situation Walkthrough
 -
 Kingdom Come: Deliverance 2 — Fixing High Toll Quest Issues
 -
 Kingdom Come: Deliverance 2 Patch 1.1.2 Released — Here's the Full List of Changes