
Clair Obscur: Expedition 33 Walkthrough Guide
 Vladyslav Shamshurov
Clair Obscur: Expedition 33 offers players an adventure in a dark surreal world. The project is filled with an interesting storyline and deeply developed characters. In this guide, we will describe in detail the walkthrough of each act of the game and explain how to defeat all the bosses.
This guide will help you understand the gameplay intricacies of Clair Obscur: Expedition 33, as well as complete all story quests and available acts. Having trouble finding the mine for the Neuron? Don’t know how to get across the sea or into another location? Our guide will help you overcome all the difficulties you may encounter in Clair Obscur: Expedition 33.
Prologue. Lumière
After the introductory cutscene, take the flower for Sophie from the bench to the left of the hero.
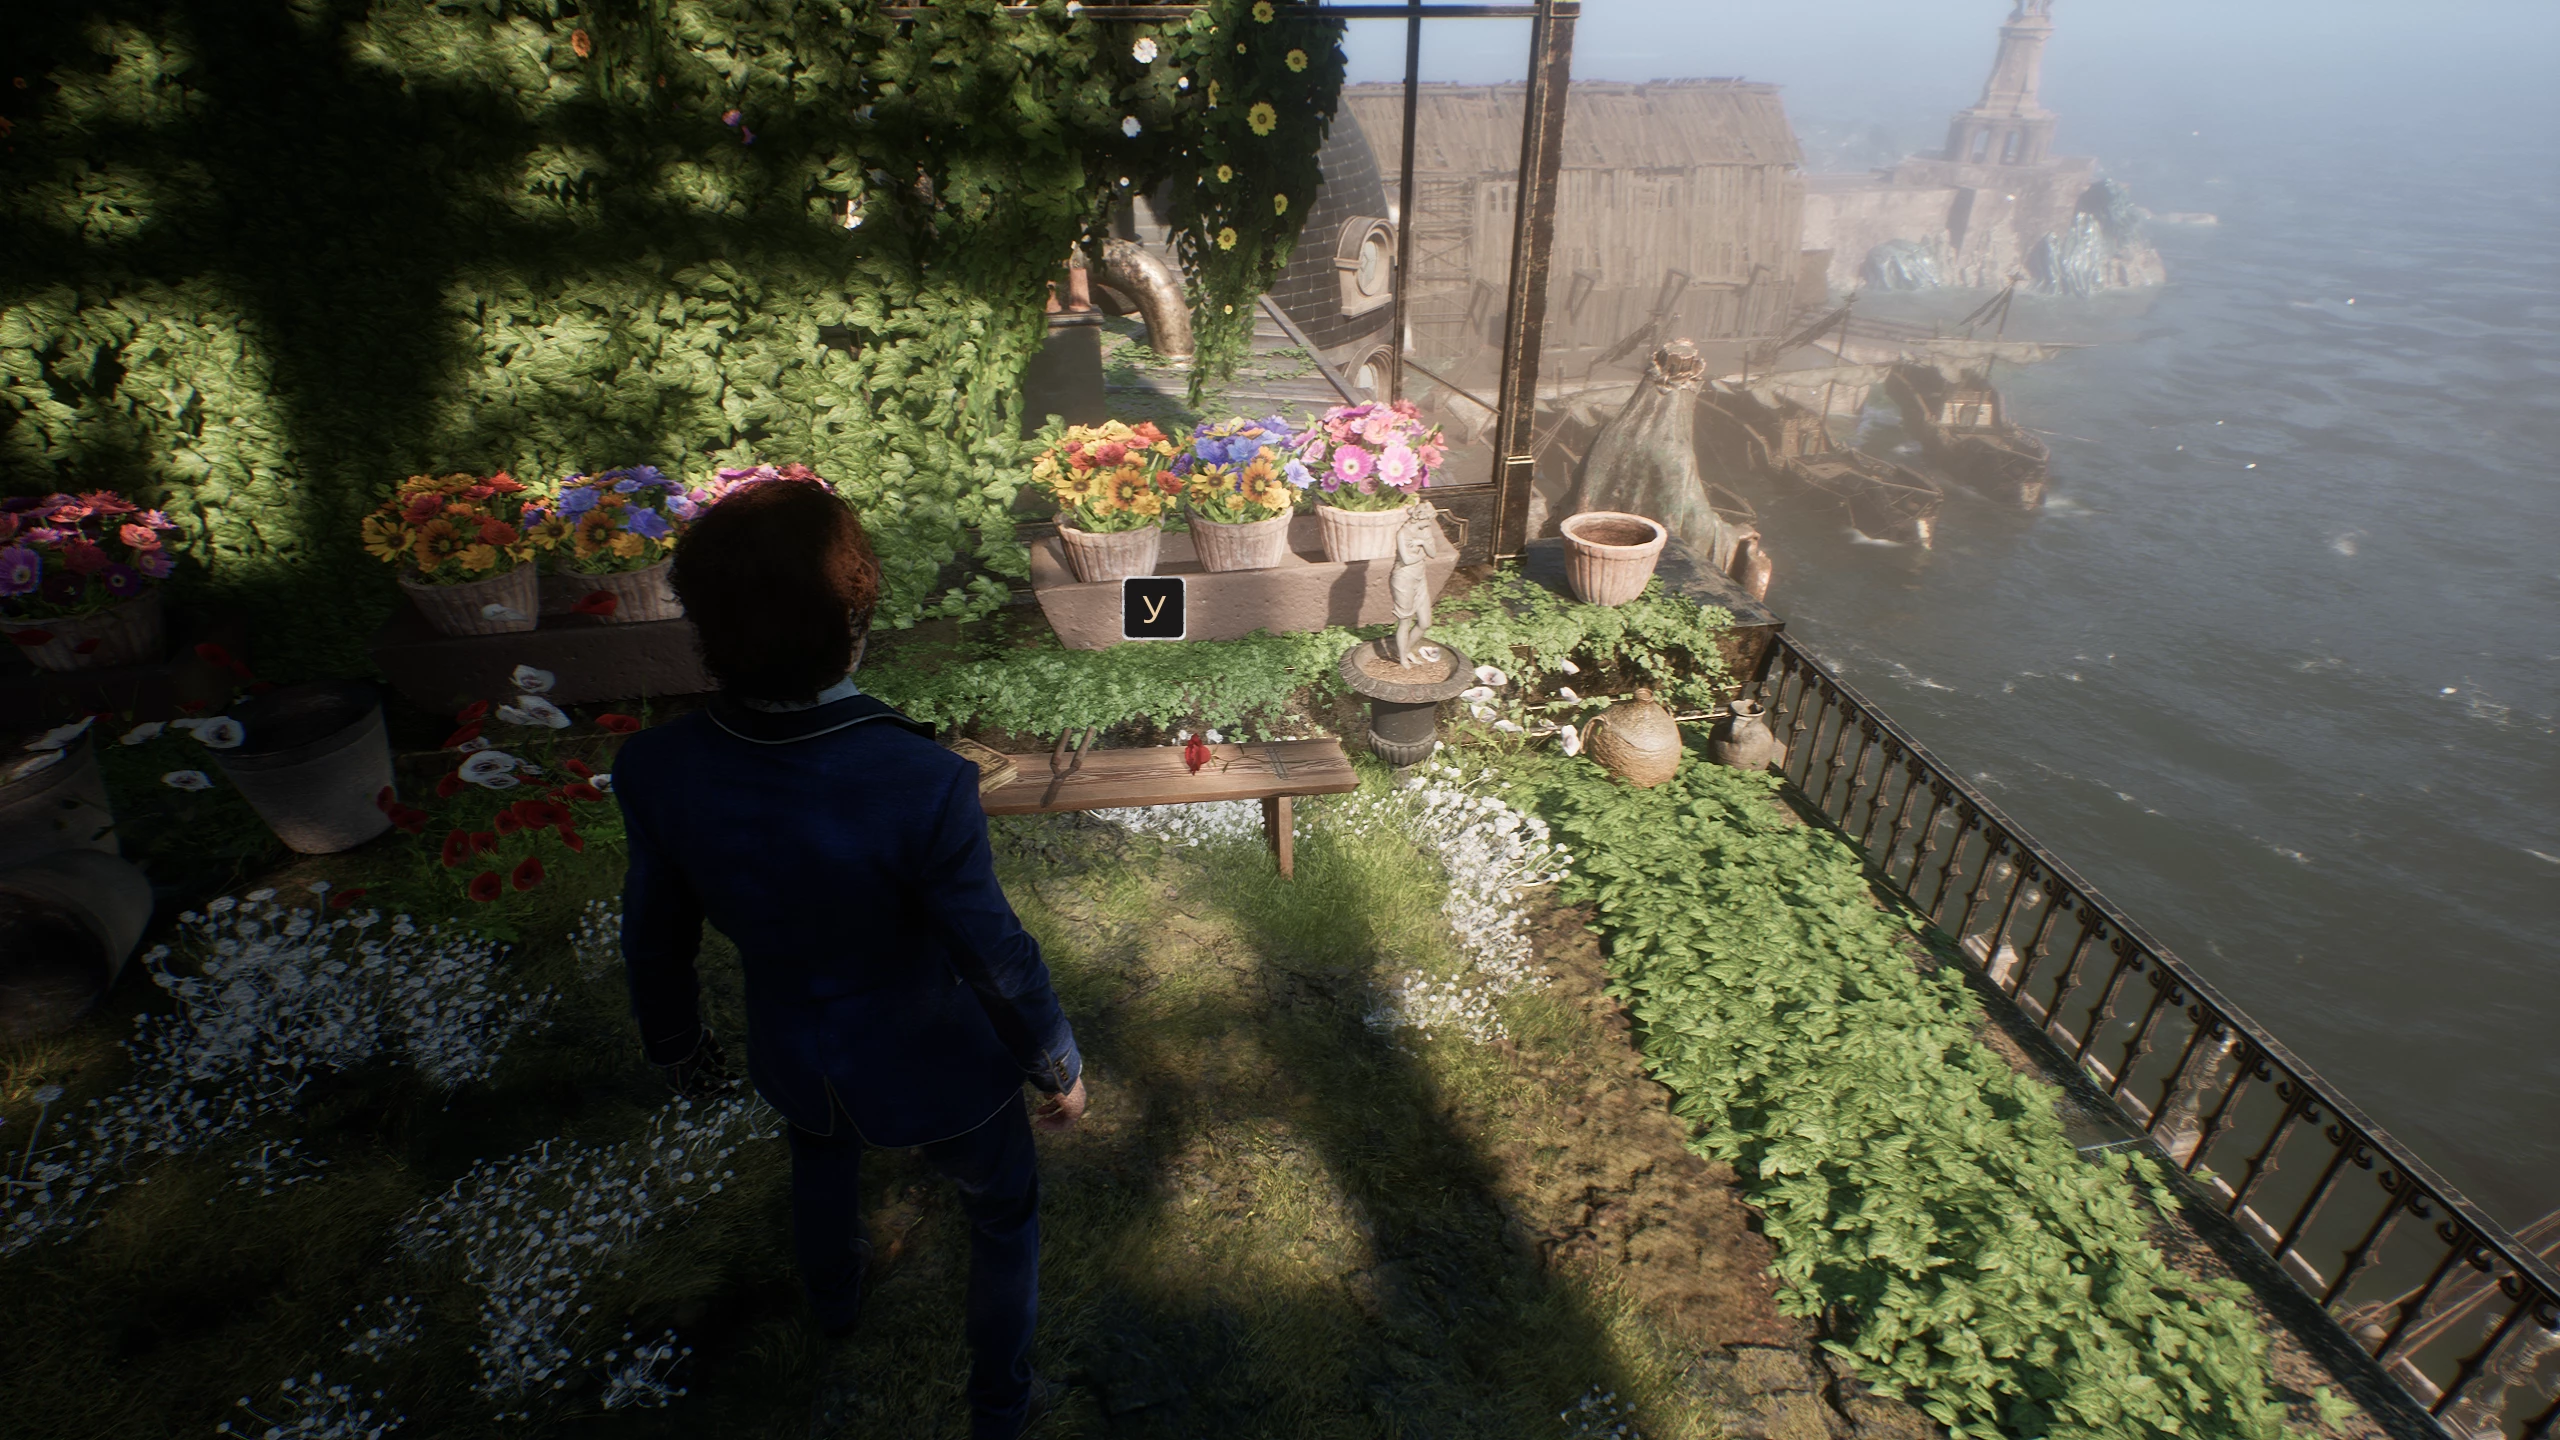
After meeting with Sophie, go right down the street and collect a chrome cluster near the gramophone. Chrome is an in-game currency used to purchase various upgrades.
Find the artist on the streets and talk to him. A fight will begin, in which you need to perform a perfect dodge several times. As a result, you will receive a retouch, which can be used to redistribute character attributes. Then go to the veranda on the right and take the chrome. From the scene with the dancers, turn right and defeat the mime.
Return to the fountain and go left from it to collect chrome, and continue moving to the harbor. Before completing the prologue, there will be a warning. This is the last chance to explore the location.
Then a scene will begin, which talks about the artist who leads the world's chronology. When she wakes up, she takes away one year, and the number 34 turns into 33, this event is called gommage. Then people who have reached this age turn to dust.
Expedition Festival
After the year changes, Gustave finds himself at the expedition gathering. At the beginning of this stage, you will receive a festive token, which can be exchanged for useful items.
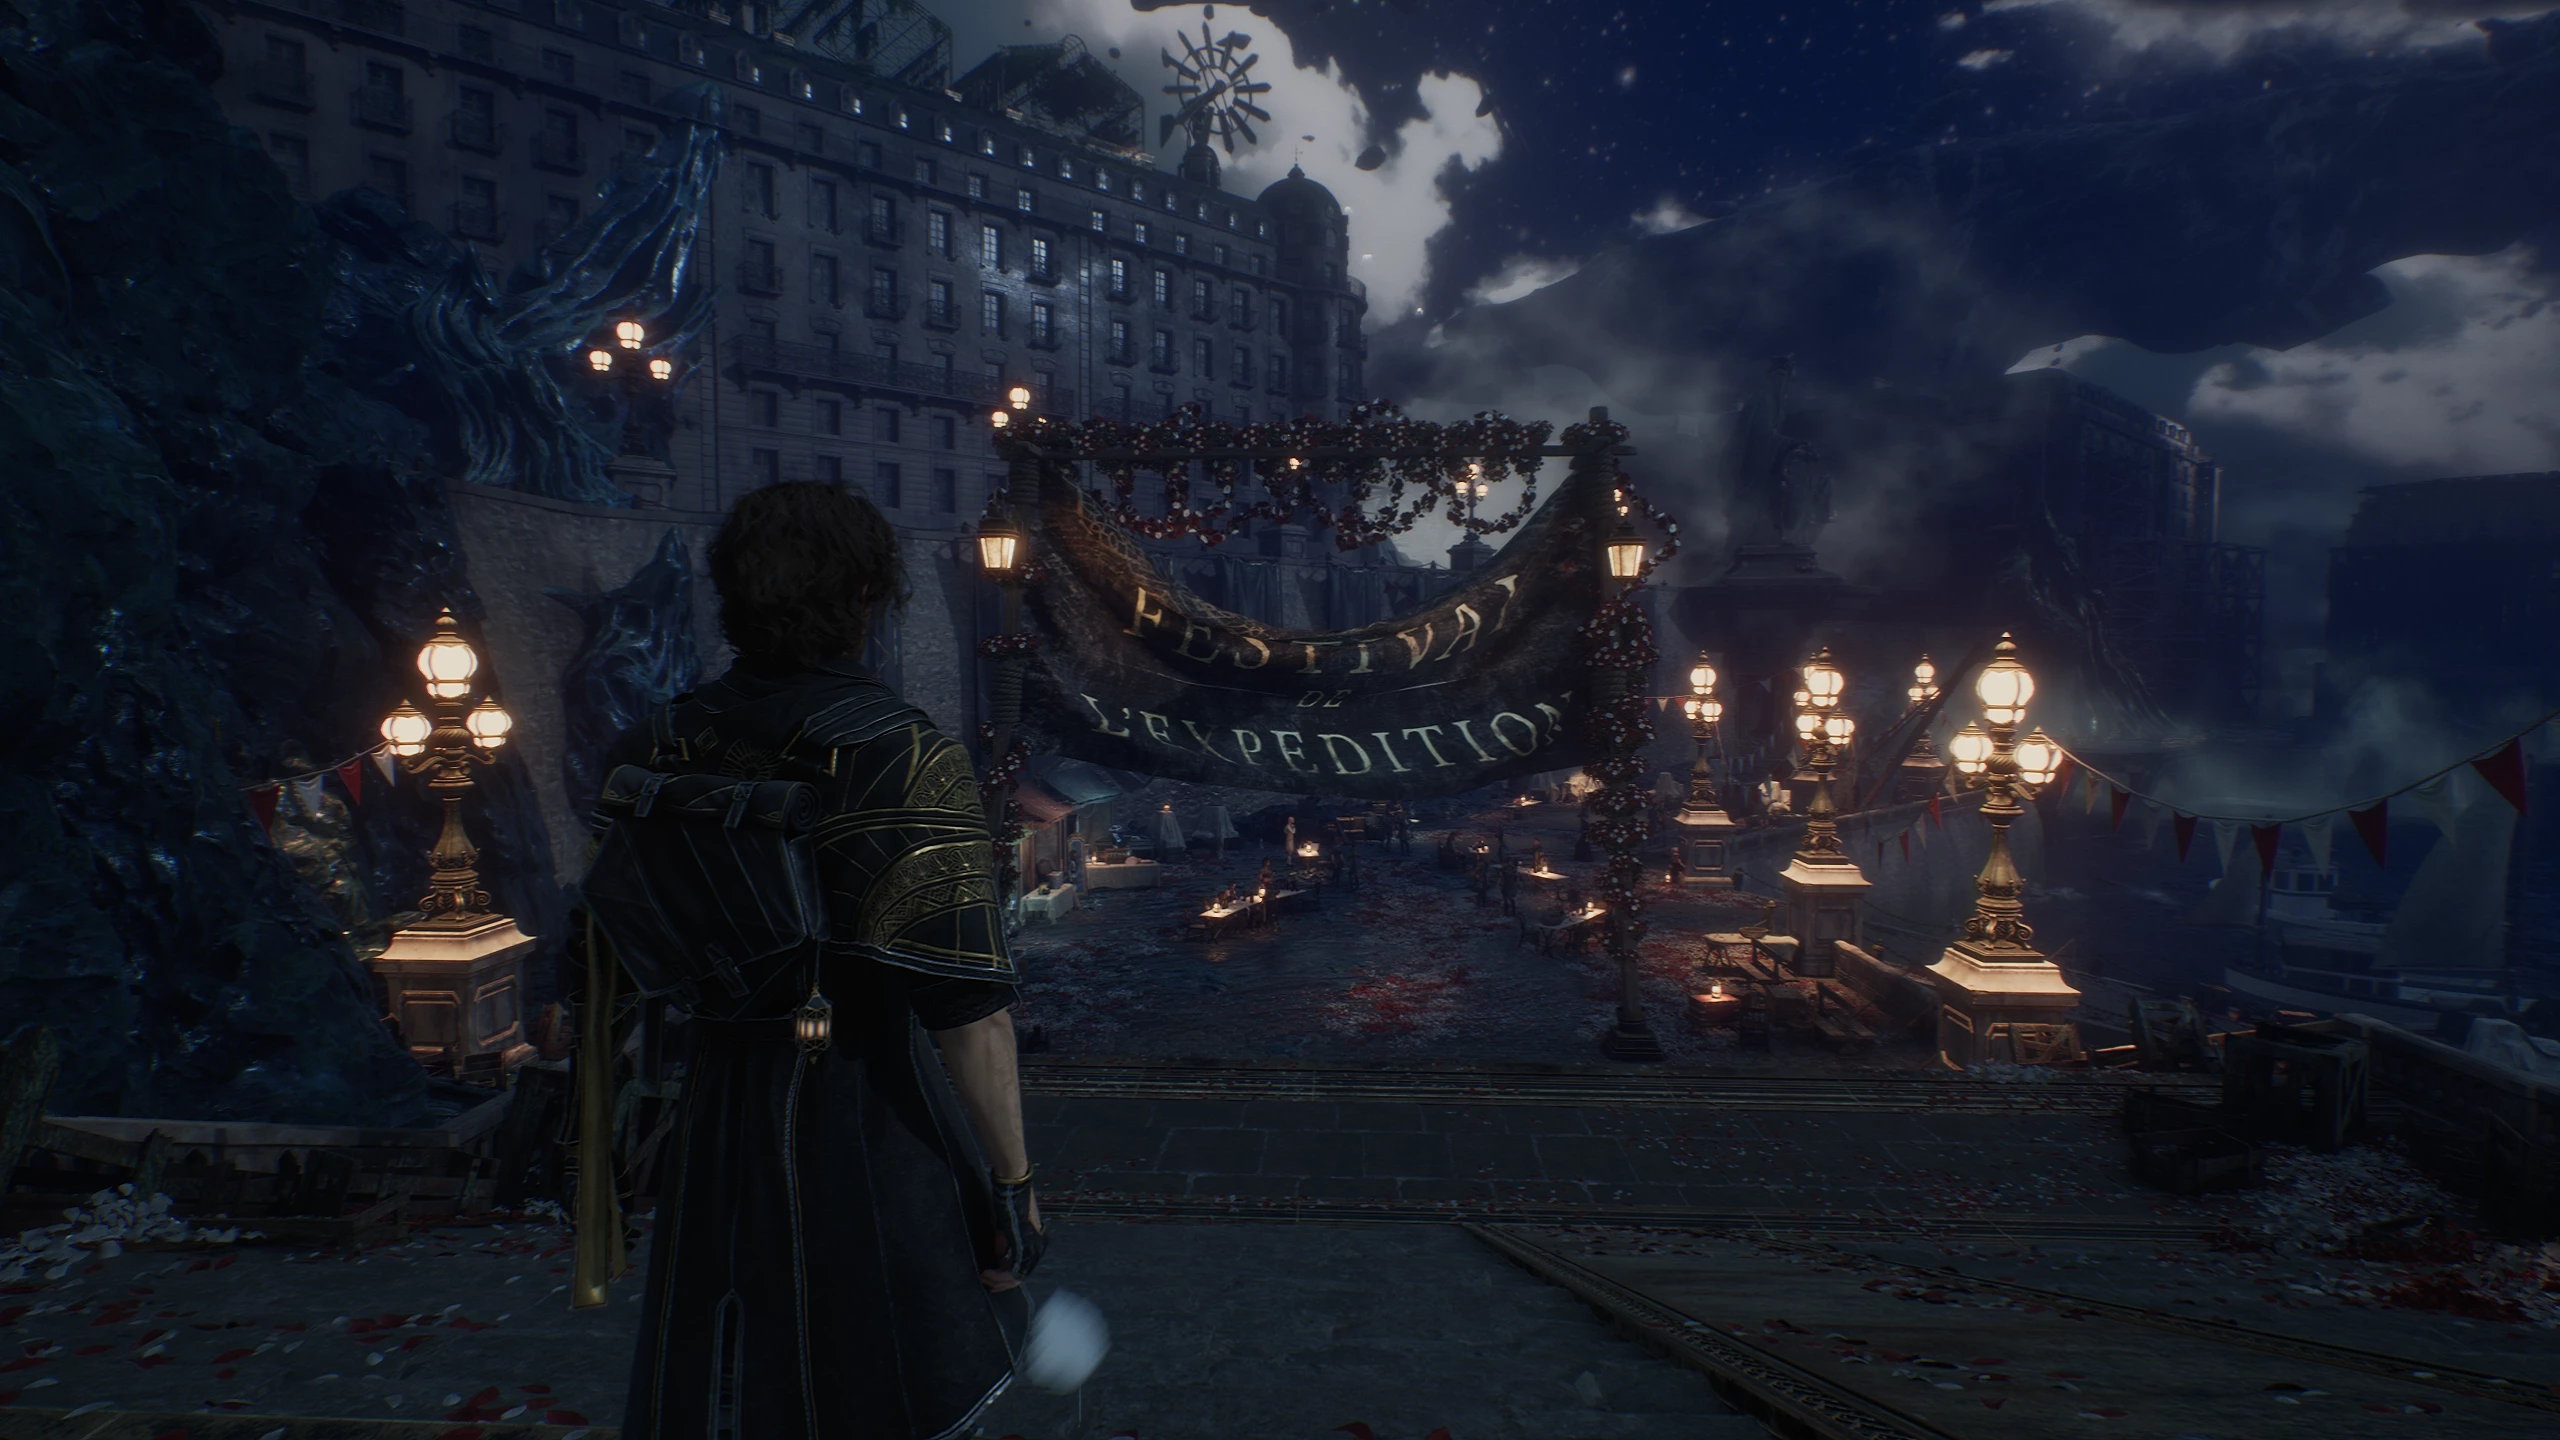
Find the bald man in a white suit. If you answer his questions, you can get a token.
Answers:
- 67.
- Expedition Zero.
- Abilities you gain by using pictos in battle enough times.
Then find Mael at the dock and accept the challenge to a fight. After winning, you will receive a token.
Now exchange the tokens with each merchant standing in colorful tents.
As a reward, you will receive:
- Strange picto.
- Hairstyle.
- Old key.
These items will be useful later as the story progresses. Approach Gustave's students, who will give him a journal. Now you can view: inventory, tasks, skills, squad. Talk to the hero's sister to complete the prologue.
Act 1. Spring Levada
The expedition is attacked by a group of unknowns. As a result, the hero finds himself alone.
Search for survivors at the indigo tree in Spring Levada
From the place where Gustave woke up, turn around and collect chrome at the waterfall. After defeating the first enemy, go forward until you enter a cave where you will meet Lune. She will become your first ally in the squad. Defeat the stone monster and continue the journey.
Levada — Passage
On the road, you will come across an expedition flag Levada — Passage. It can be used to restore health, replenish supplies, and distribute skills and attributes of the squad. Next, there will be the first group battle, after winning, climb the ravine on the right and collect chrome. Descend and head to the nearest turn to find the picto Critical Burn: if the enemy is inflicted with a burn, the chance of a critical hit increases by 25%. Picto is a combat enhancement with a specific effect.
Defeat the enemies in front of the stone building. Then turn left and climb up for chrome. Afterward, enter the building. From the entrance, turn right and collect the chrome catalyst — a consumable used to upgrade weapons.
Climb two floors higher. Go right, then down under the stairs and take the energy tonic — a consumable that restores skills in battle. Then turn back, exit to the street, and collect chrome at the cliff. Return and go through the breach in the wall.
Great Levada
Descend to the flag Great Levada, turn left from it and collect chrome. Then turn around and go to the rock where you can collect a cluster. After that, turn right and defeat the enemy, behind which there will be another sphere.
If you follow this path to the end, you will meet the first mini-boss Mime, defeating whom you can get outfits. Use Gustave's skill Rift to break its defense. Return to the flag and kill the monster, behind which you can collect the luminous flower — used to enhance character skills.
Proceed further until you encounter flying enemies. After defeating them, you will need to climb up. However, if you turn right before that, you can defeat the mini-boss Chroma-Lanselier, for which you will receive an enhancement to the sword Lancers and the picto Enhanced Attack: basic attack deals +50% damage. In the monster's lair, take the chrome, then climb to the blue tree.
From the blue tree, turn left, descend for chrome, then continue moving forward. Kill the monsters and collect chrome. Then climb further up, where you will find the first journal Expedition 81.
Abandoned Expedition Camp
From the flag Abandoned Expedition Camp, turn left and exit the cave. Turn left and go to the cliff to collect the picto Scorching Arrows: 20% chance to inflict burn with a targeted shot. Return to the cave and follow the path to the barrel with the picto Dead Energy II: +3 AP per defeated enemy.
Descend and kill all monsters. Then collect: luminous flower from the first enemy and under the bridge, resin among the barrels. Then climb onto the bridge and take the homa catalyst. Descend and go into the gorge, where you will find a revival tonic — used to resurrect companions in battle.
Indigo Tree
Now from the place where the resin was found, turn left and climb up to the flag Indigo Tree. Next, there will be a battle with the first story boss Bishop, for defeating whom you will receive the picto Purification Tonic: Healing tonics also remove all status effects from the target.
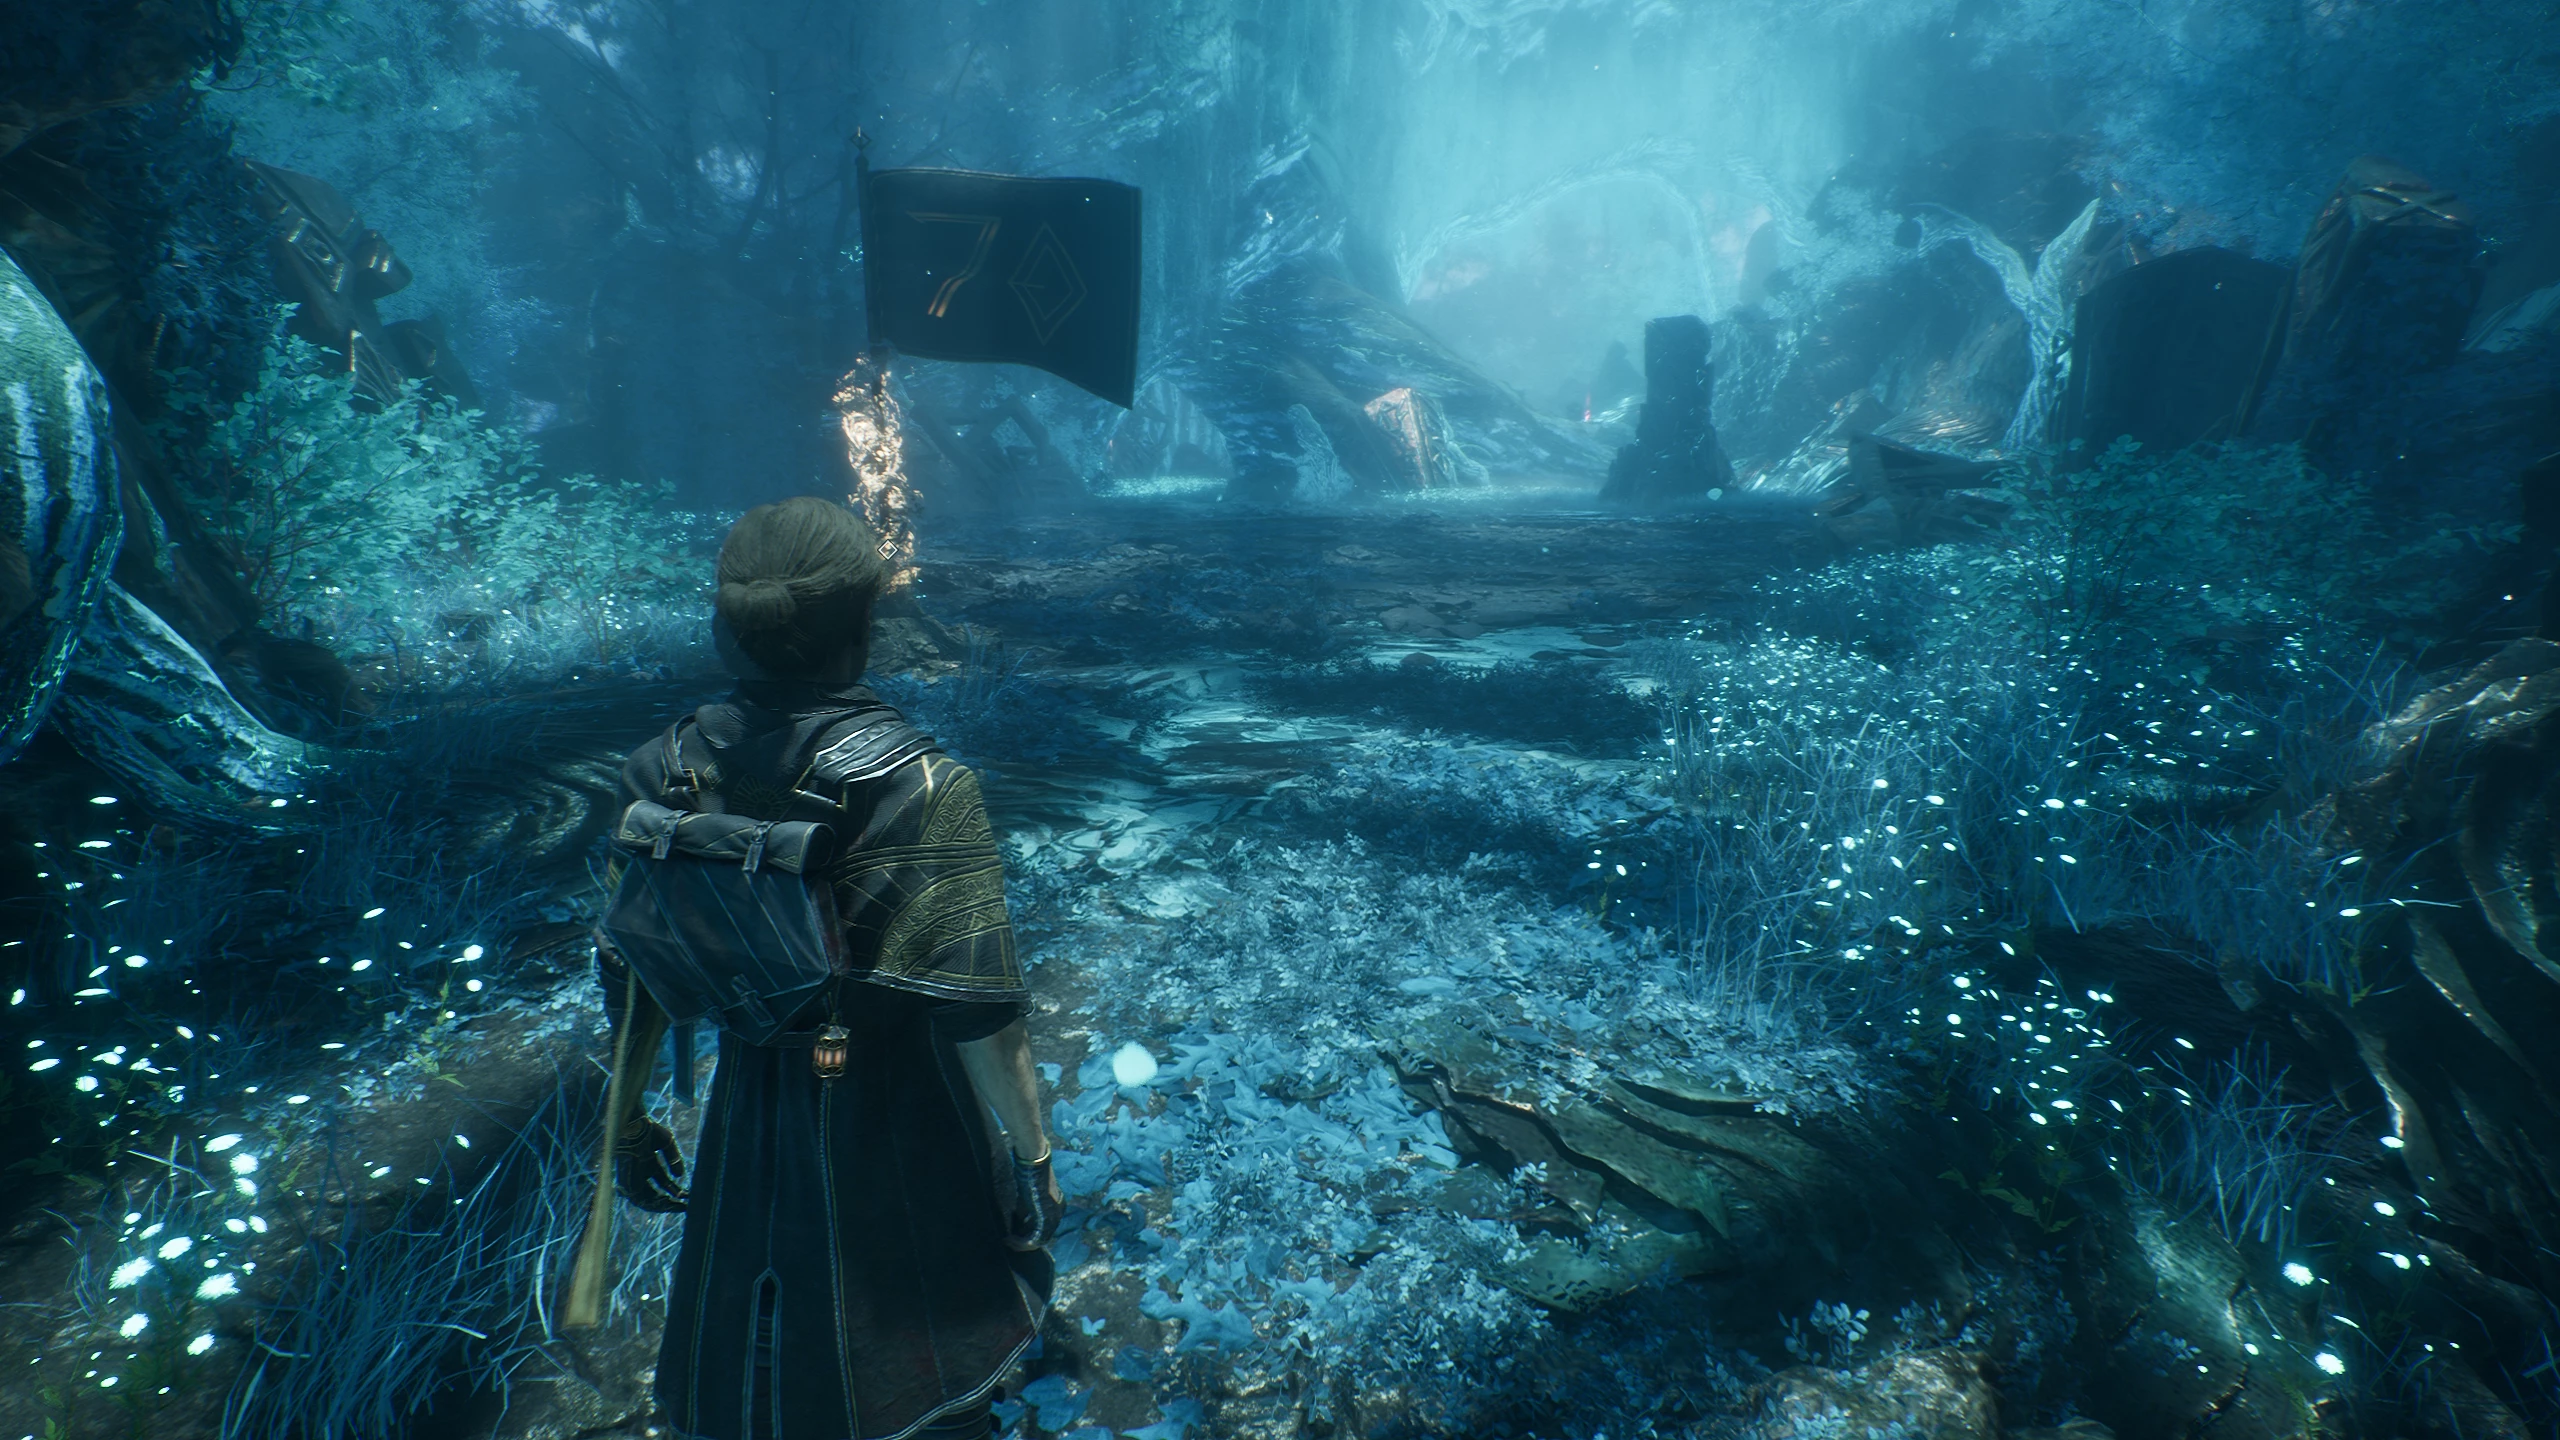
Find Mael and find a way through Soaring Waters
After defeating the boss, turn left and collect at the edge of the cliff the picto Empowering Attack: when using a basic attack, power is applied for 1 turn. Then descend for the luminous flower. Now climb up and enter the portal.
Then you will find yourself on the Continent map. Set up camp to distribute skills and rest. Then, using the compass, head towards the soaring waters and use the portal to enter the location.
From the anchor, go left, at the end of the path you will find the picto Armor of Salvation: when health falls below 50%, armor is applied. Follow the path to the left of the shipwreck to the first enemy in the location, collecting chrome along the way.
Then explore the nooks on the left side, where you will find a luminous flower and a picto Marking Shots: 20% chance to apply a mark with a targeted shot. In the next part of the location, defeat the monsters and collect two chrome catalysts and head into the cave.
Noko's Hut
Exiting the cave, activate the flag Noko's Hut, then circle around the hut and take the chrome, and then enter the house.
Mansion
Once in the mansion, interact with the flag Mansion. Climb the stairs to the right, then go down the corridor to the end and into the room on the right to meet Mael. Then return to the beginning, defeat the Curator and leave the building.
You will meet a merchant, defeating whom you can unlock the unique picto Rending Attack: basic attack applies vulnerability for 1 turn. There are many merchants in the game, and defeating them can grant access to unique goods.
Proceed forward, and on the right side, pick up a chrome catalyst. Defeat all enemies in the next location and obtain the weapon Brulerum. Then go right and before the giant pot, turn left to pick up retouch.
Enter the neck of the amphora, and you will see a deminer. Bypass it and reach the end via platforms to pick up the lost mine of the deminer. Give the item to the monster and receive the weapon Deminerim.
Return back and head to the cave with anchors on the ceiling. Defeat the giant monster, and in the end, you will receive the weapon Kruleram and a chrome catalyst.
Coral Cave
Behind the flag Coral Cave, pick up the picto Destructive Attack: +50% damage break with basic attacks. Then take the chrome on the opposite side.
Defeat the monsters and explore a small part of the cave to find a luminous flower, a picto Rewarding Mark: +2 AP when dealing damage to a marked target. Once per turn. And chrome. Then go into the grotto on the right.
Moving through the tunnel on the right, descend, kill the monsters, then collect the luminous flower and revival tonic.
Return to the tunnel, pick up the journal, and proceed to the cliff overlooking the giant monster. Ahead there will be a fork. if you go left, you can defeat a mime and receive an outfit, retouch, and luminous flower.
Go back and head right. If you choose to go right through the thickets, you may encounter the boss Boutonier. After defeating it, you will receive the weapon Hlyaberam, boutonier skin, and a picto Enhanced Counterattack I: Counterattack deals +25% damage.
Streets of Lumiere
Activate the flag Streets of Lumiere. Clear the location and find: a picto Versatility: after a successful targeted shot, the basic attack damage increases by 50% for 1 round, an energy tonic, and a luminous flower.
From this place, there is a path to the left and right. If you go left, at the end there will be a mini-boss Chroma-Troubadour, after defeating which you will receive the weapon Trabadem and a luminous flower. On the way back, collect a picto Invigorating Break: +3 AP after breaking an opponent, and a chrome catalyst.
Blooming Meadow
Return to the ruins and head right to the flag Blooming Meadow. Ahead awaits the boss Goblu. After the victory, head to the teleport, from which you will enter the camp.
Find the Jestral Village in the Middle of the Ancient Sanctuary
Head to the ancient sanctuary, enter the portal and activate the flag Entrance. Cross the stream on the left via the boards and pick up a picto Invigorating Jump: +1 AP when counterattacking in a jump.
Go along the stream on the left and descend for the picto Scorching Mark: Burn is applied when hitting an enemy with a mark. Then return and proceed forward.
Sanctuary Labyrinth
Defeat the monster and activate the flag Sanctuary Labyrinth. Follow the right path and find a crawl space under the rock on the right side. Go under it and turn right.
Enter the nook and collect chrome, then proceed forward to kill the monsters. Before the cave, climb the ledge on the right and pick up the picto Invigorating Start II: +1 AP at the start of the battle.
Enter the cave, turn left, collect the picto Life Steal: Basic attack restores 15% health. Then climb up, pick up the luminous flower, and descend to the start of the location.
Return to the opening under the rock and turn left. at the end, there will be a Mime, defeating which you will receive outfits and a revival tonic. Then go left and collect the luminous flower at the cliff. Now jump down and go left to the cages where you can pick up chrome.
Now go right and follow the path further. at the fork, turn left and pick up the healing tonic in the dead end. After exiting it, kill the monsters. At the fork, there will be three paths. First, go left and collect the journal. Go back and take the middle path, then collect the chrome elixir. Now take the right path.
Great Bell Alley
Activate the flag Great Bell Alley, then go forward and defeat the boss Great Bulbomech. After the victory, receive the picto Enhanced Break: Break damage increases by 25%. Then go left to collect the luminous flower and to the other side for the energy tonic, then jump into the portal.
Ask Golgra, Leader of the Jestrals, How to Get Across the Sea
Before entering the portal, climb to the right of it for the luminous flower.
Visit the flag Entrance, then go forward and enter the large wooden building to talk to Golgra. The leader of the Jestrals will say that you need to defeat everyone in the arena to progress further. Agree to be transported to the arena.
Jestral Arena
Activate the flag Jestral Arena. Before starting the fights, explore the Jestral settlement. You can find chrome near the stage, a journal to the right of the arena entrance behind the hut, and a retouch on the marble staircase.
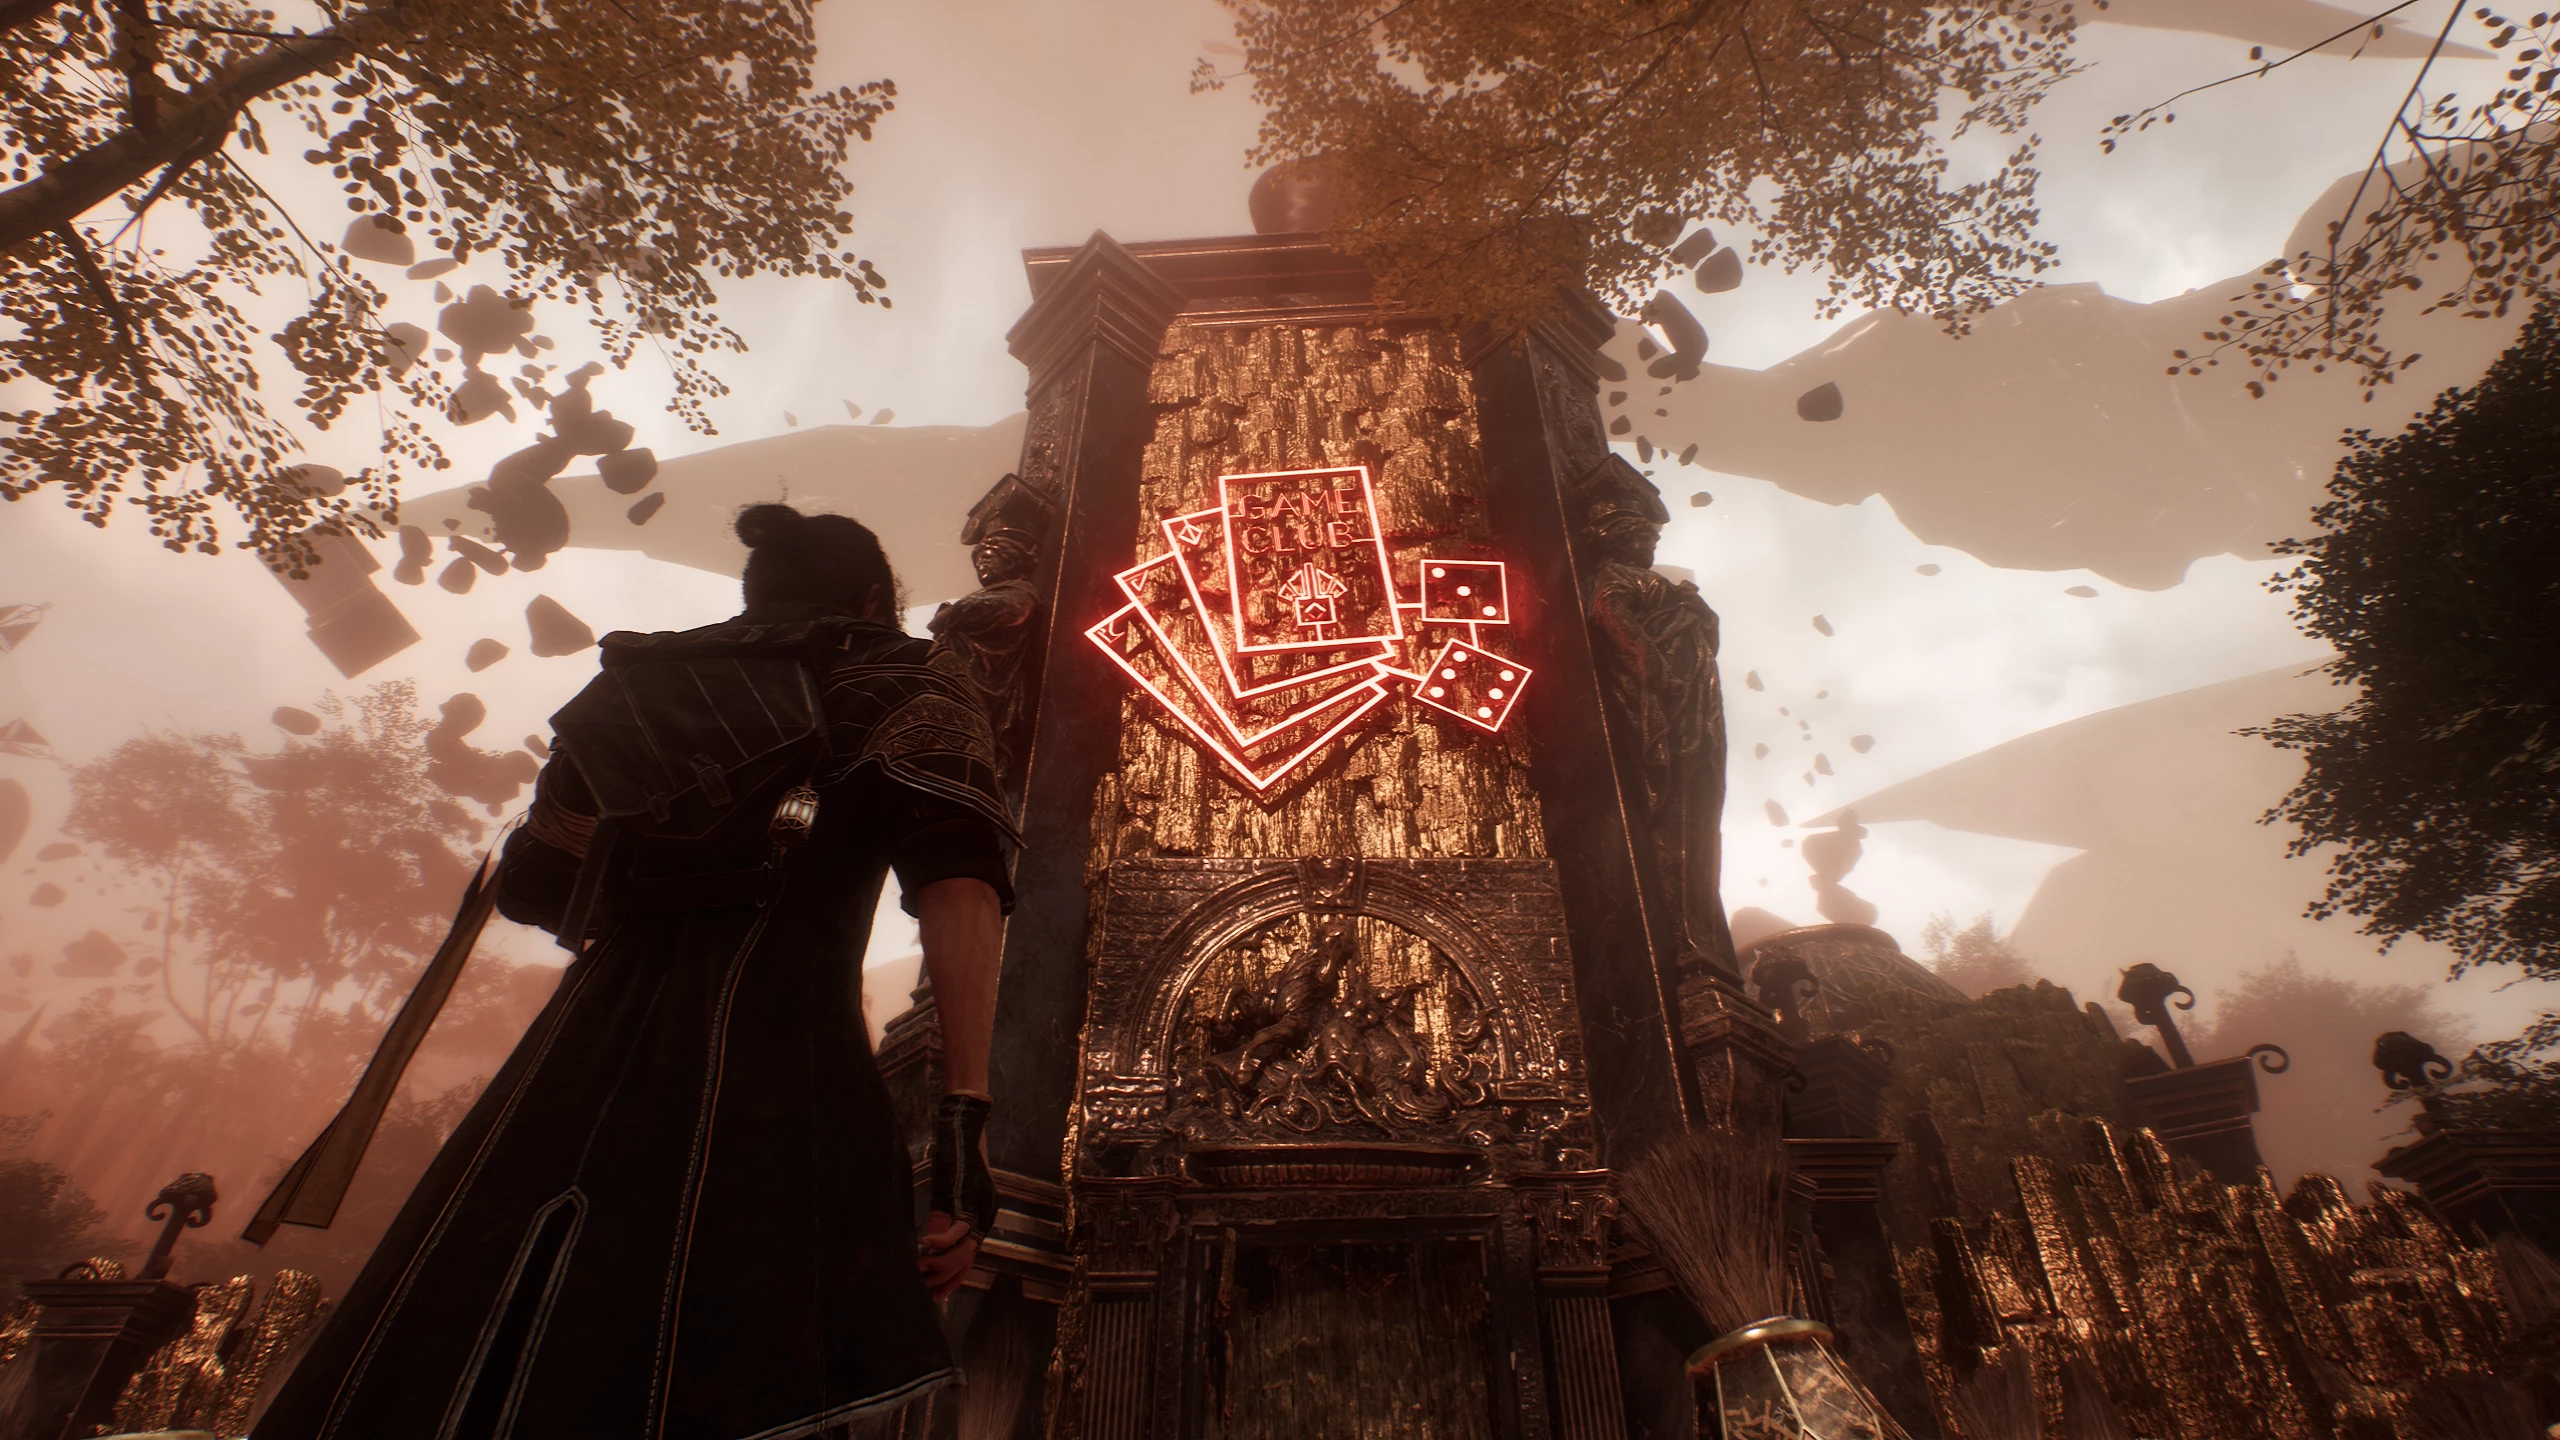
In the settlement, there is a large building with card images. Interacting with the door, a Jestral player will offer to solve a riddle. Choose the last option and receive the picto Roulette: Each hit can deal 50% or 200% of its damage with a 50% chance.
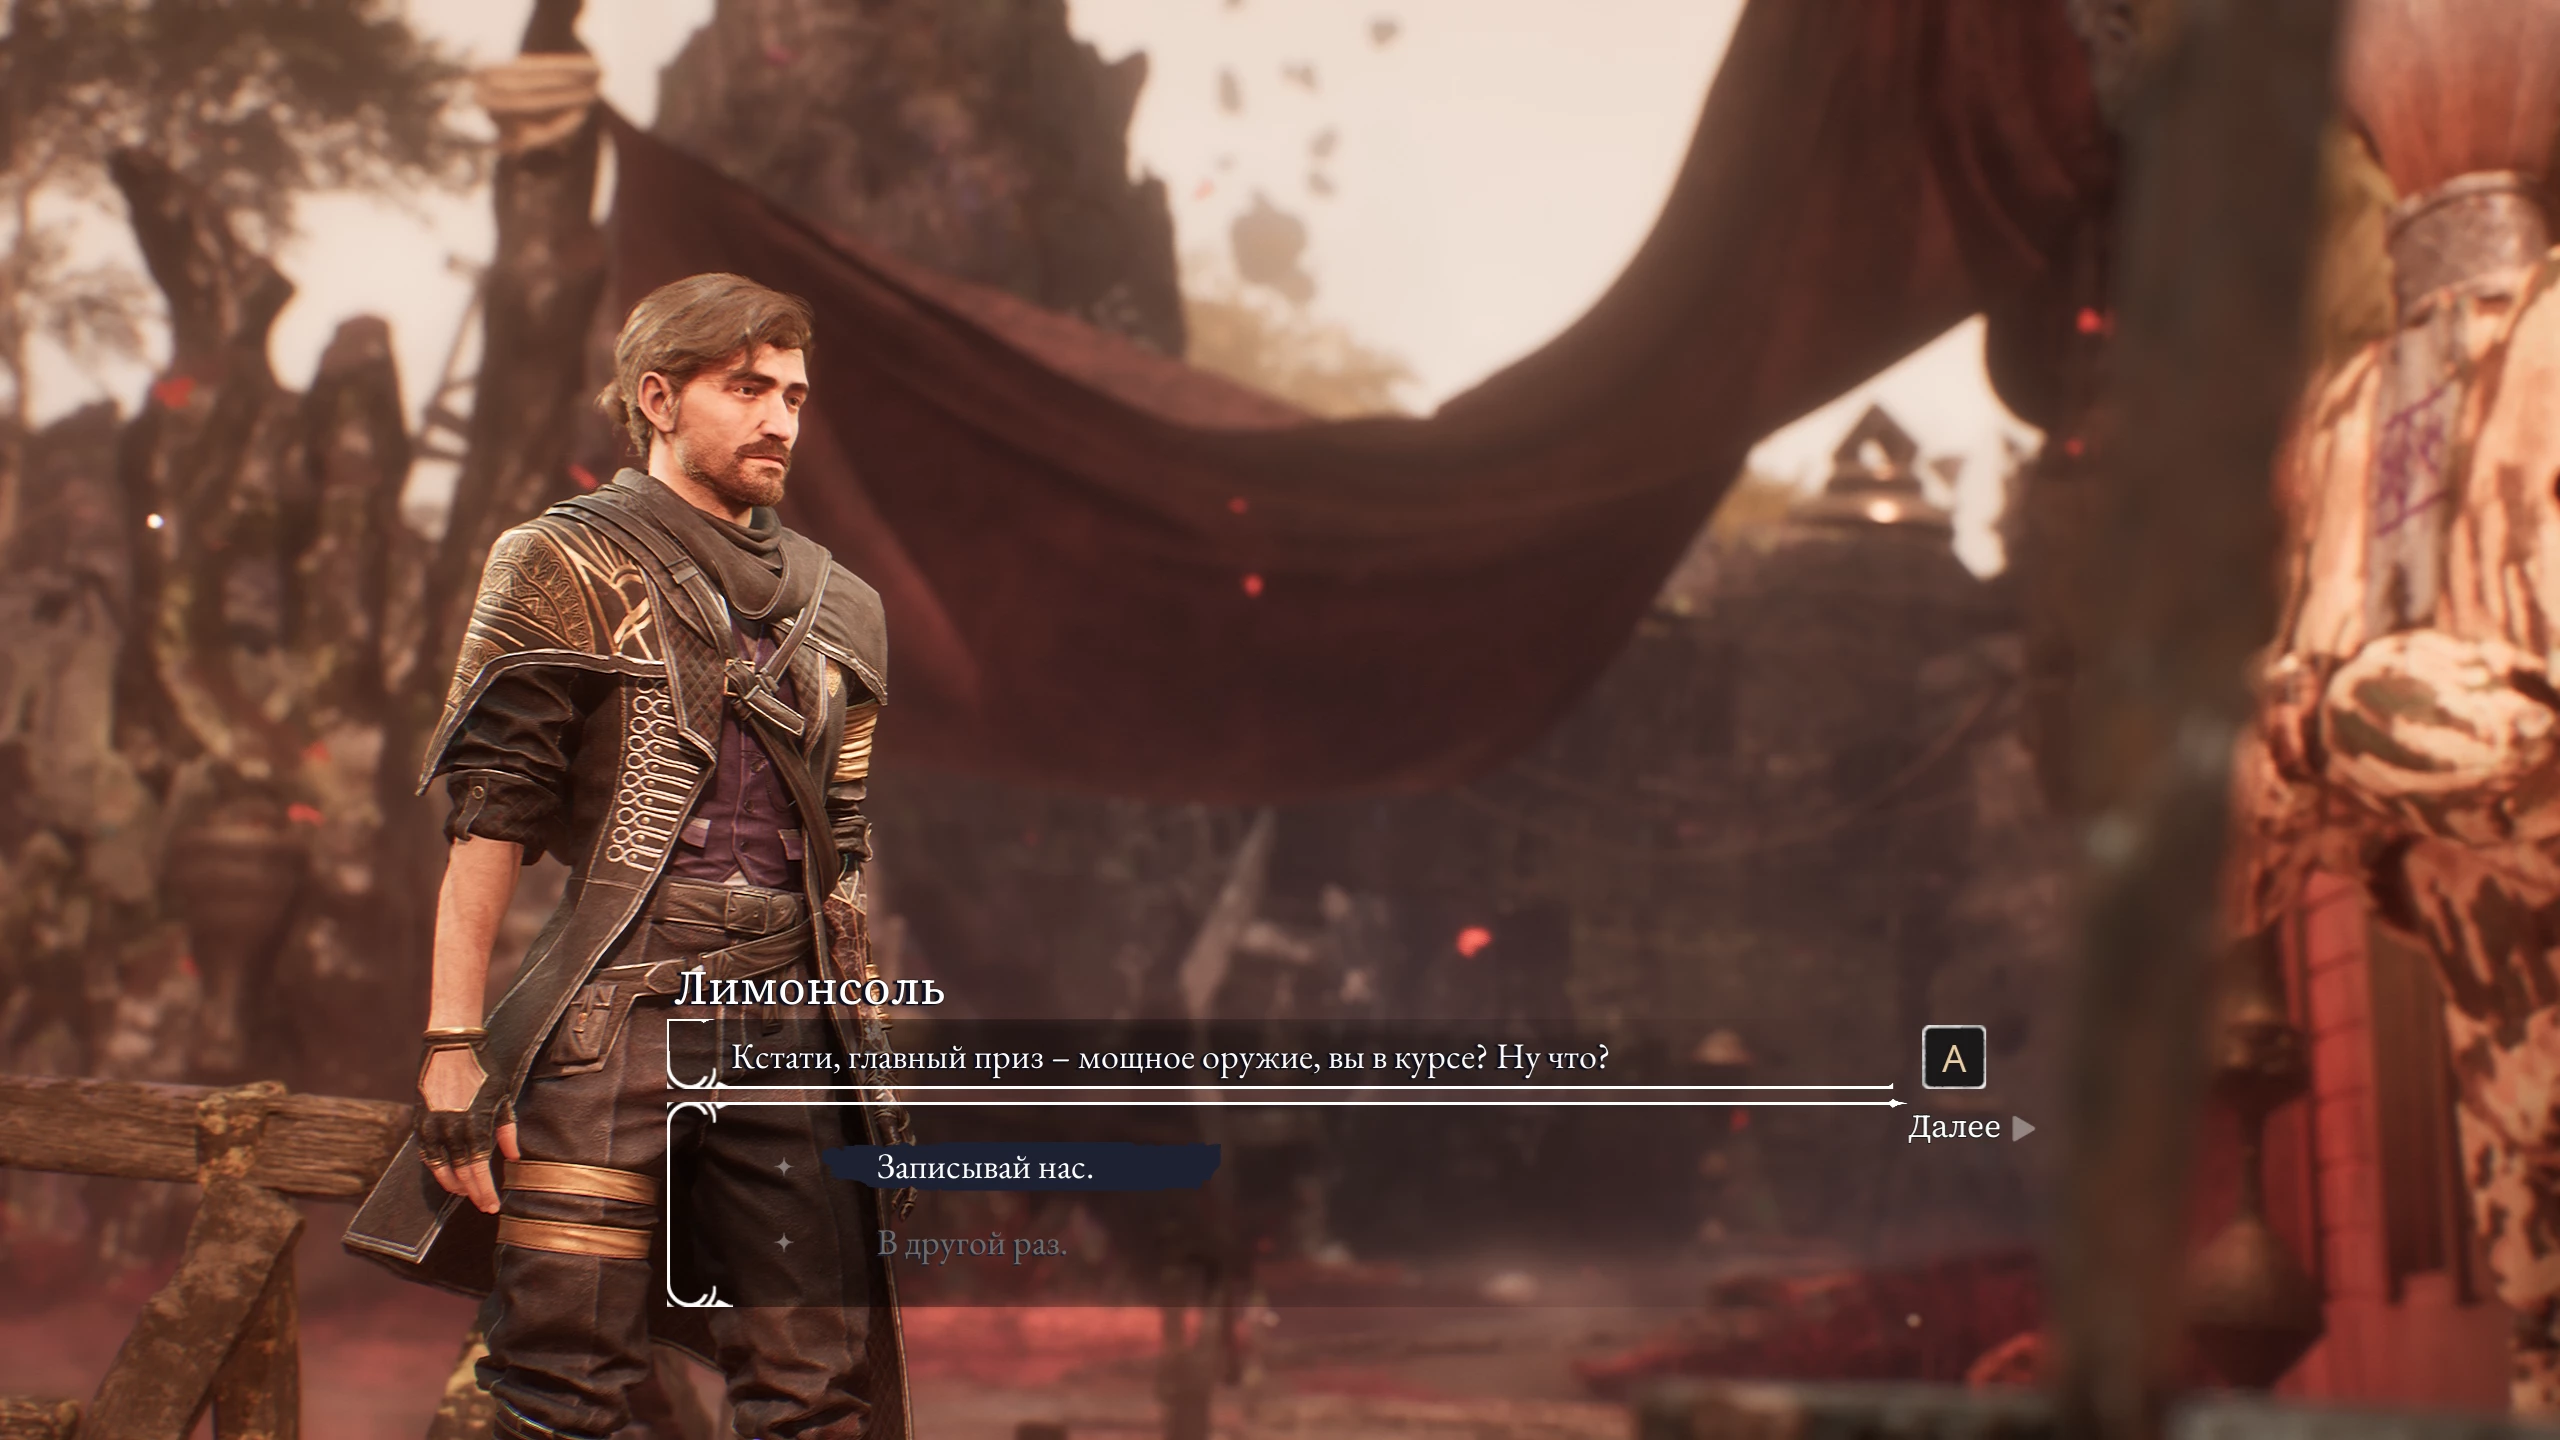
Register for the fights with Limonsol. Defeat four monsters in one-on-one format, then overcome the future squad member Ciel. Afterward, talk to Golgra, who will tell you how to proceed further.
Find the Legendary Eske in Eske's Nest and Persuade Him to Join You. He Must Help Cross the Sea
Return to the portal through which you arrived at the Jestral village. Set up camp, then finish resting and head to Eske's Nest.
Activate the flag Entrance. From the flagpole, go right and crawl under the rock to pick up a luminous flower. Now approach the Jestral and say the password, then go behind him and pick up chrome.
Entering the cave, you can descend. If you go left, you can trap a petanque and get a retouch and a chrome catalyst from it. On the other side, there is a mime, defeating which will earn you outfits. After the battle, turn left and collect a glowing mushroom.
Climb back onto the path and continue forward. Exiting the cave, from the first staircase at the ascent to Eske, turn left and collect chrome. After meeting the giant, go right.
Francois Cave
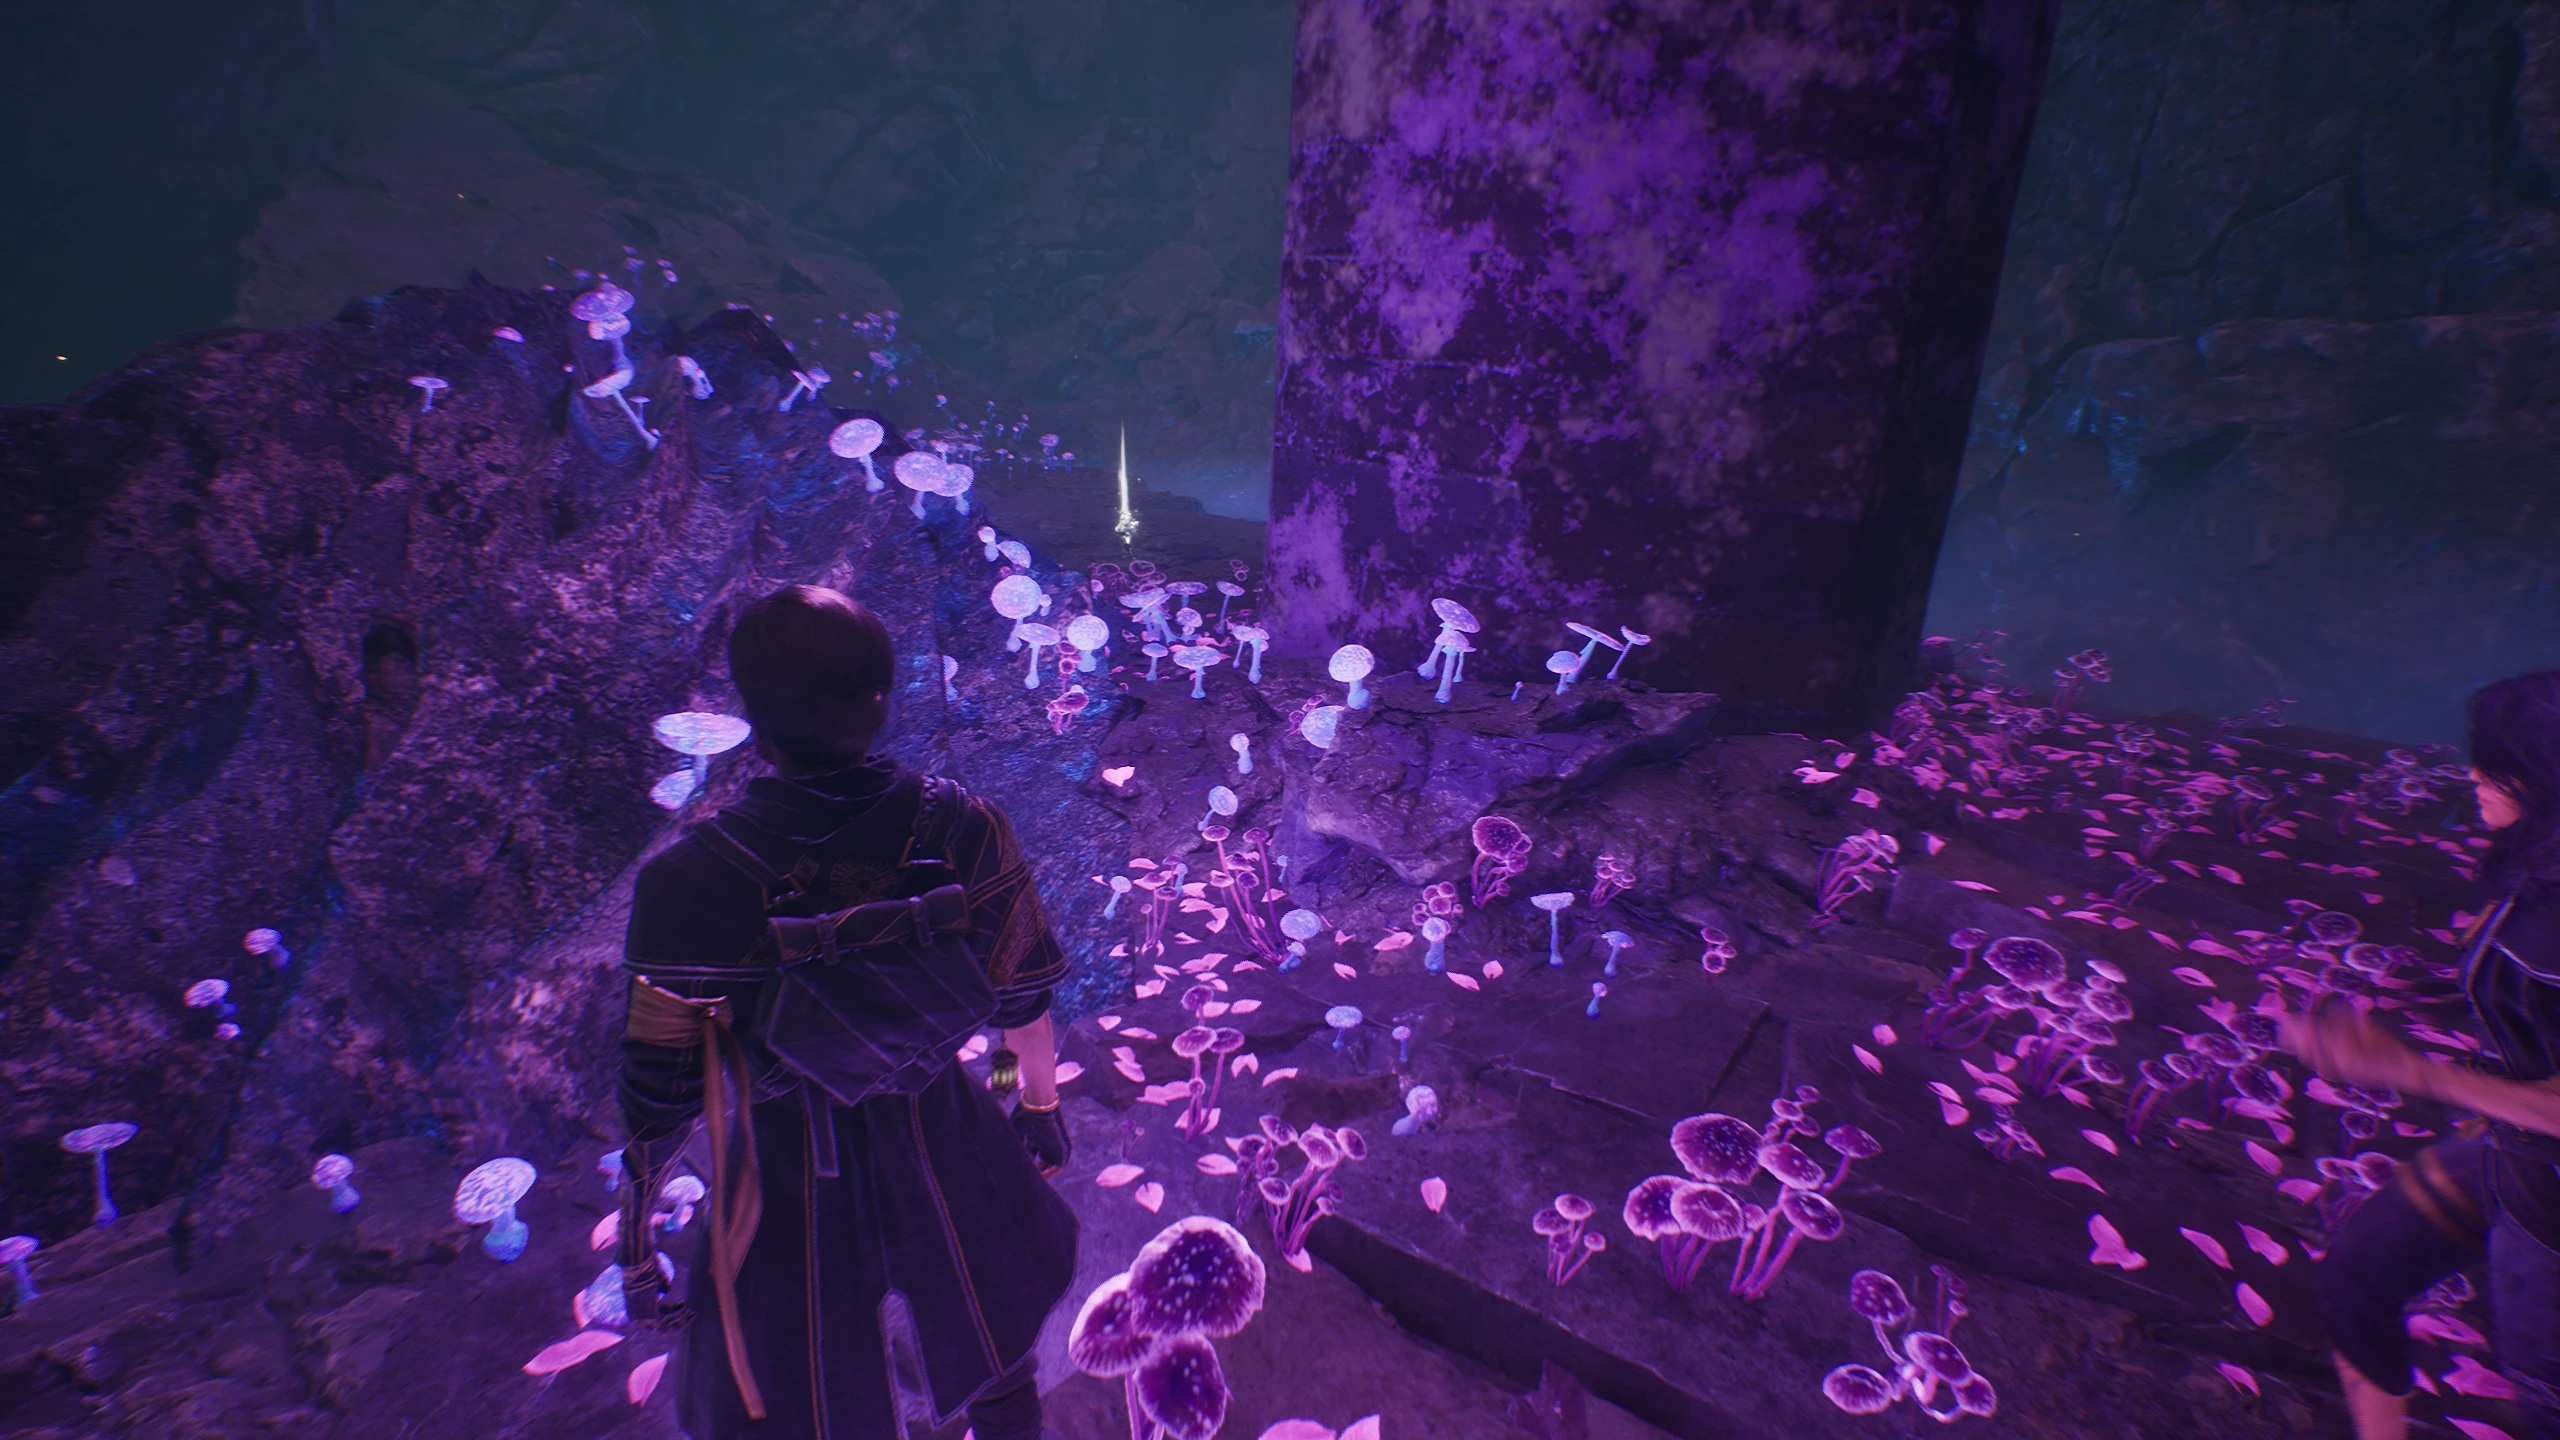
Cross the water body and activate the flag Francois Cave. Step back from it into a dead end and collect a luminous flower. Then enter the grotto and defeat the boss Francois, for which you will receive the picto Enhanced First Strike: The first hit deals +50% damage. Once per battle.
Return to Eske, collecting chrome and luminous flower along the way.
Leave the location through the fallen column, collecting a journal and picto Invigorating Start III along the way.
Set up camp. Then ride Eske to reach the Stone Wave Cliff.
To the left of the flag Entrance, collect chrome and proceed forward until you encounter a stone monster. Explore the right part of the rocks to the right of the enemy and find a luminous flower, and at the top, a journal and the weapon Daleram. To the left of the giant, in a large amphora, is hidden a picto Breaking Counterattack: Break damage increases by 50% on a counterattack.
Cross the chasm, collect a luminous flower. Clear the location of monsters and collect: luminous flower, journal and picto First Strike: First move.
Sanctuary of the Artist
Talk to the phantom boy, pick up chrome to his right. Activate the flag Sanctuary of the Artist, take the healing tonic to the left of the bar, then take the energy tonic from the artist's statue.
Among the stone pillars, defeat all monsters and find a journal, chrome, and picto Power for Salvation: When health drops below 50%, power is applied.
Old Farm
Activate the flag Old Farm. Destroy the monsters and find: weapon Duenum, chrome, luminous flower. If you go right from the flag, you will meet a merchant.
Tidal Caves
Leave the farm and talk to the stone monster before the cave with lanterns, then you will encounter the flag Tidal Caves. From this point, a multi-level cave begins. To enter it, proceed forward from the flag and descend.
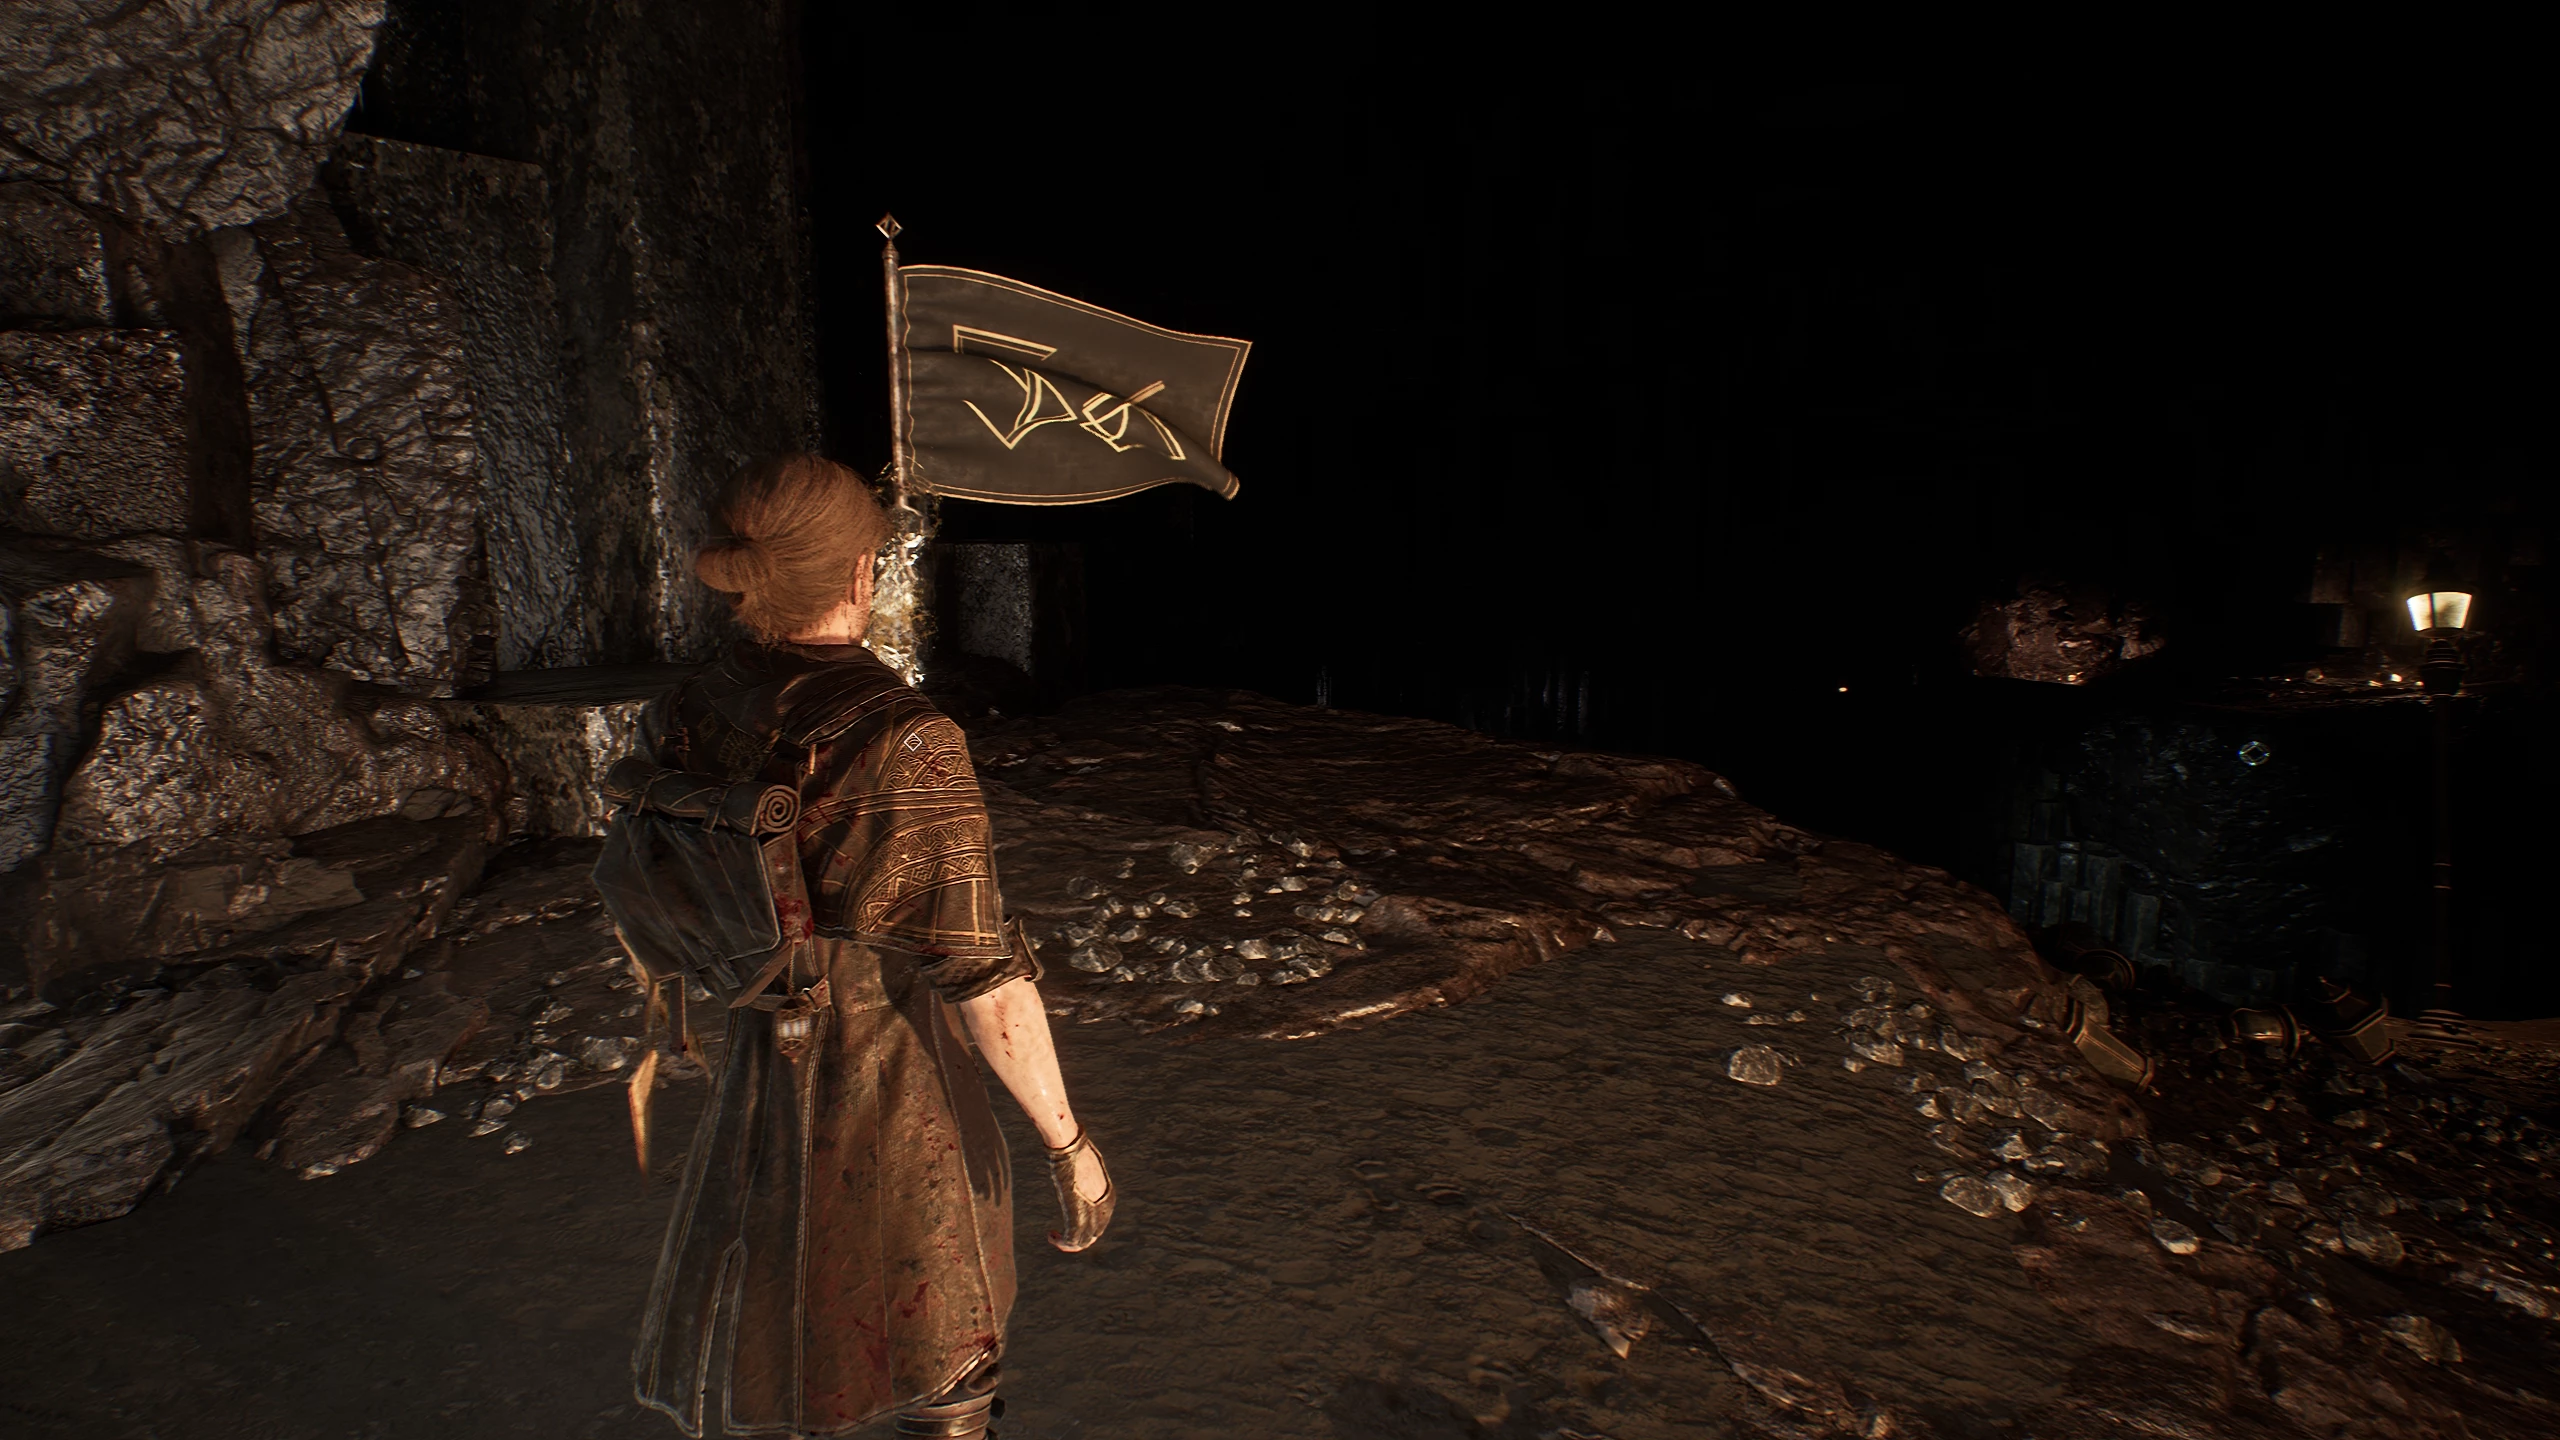
Upon descending, you will find yourself on the middle level, where you can collect three rock crystals, two luminous flowers, and the picto Breaking Shots: Aimed shots increase break damage by 50%. Climb with the crystals to the stone giant and receive the picto Auto-Armor: At the start of the battle, armor is applied for 3 turns.
From the middle level of the cave, you can descend lower and defeat the mini-boss Golden Chevalier. As a reward, you will receive: chrome, retouch, and the picto Dangerous Parry: +1 AP on parry, but received damage is doubled.
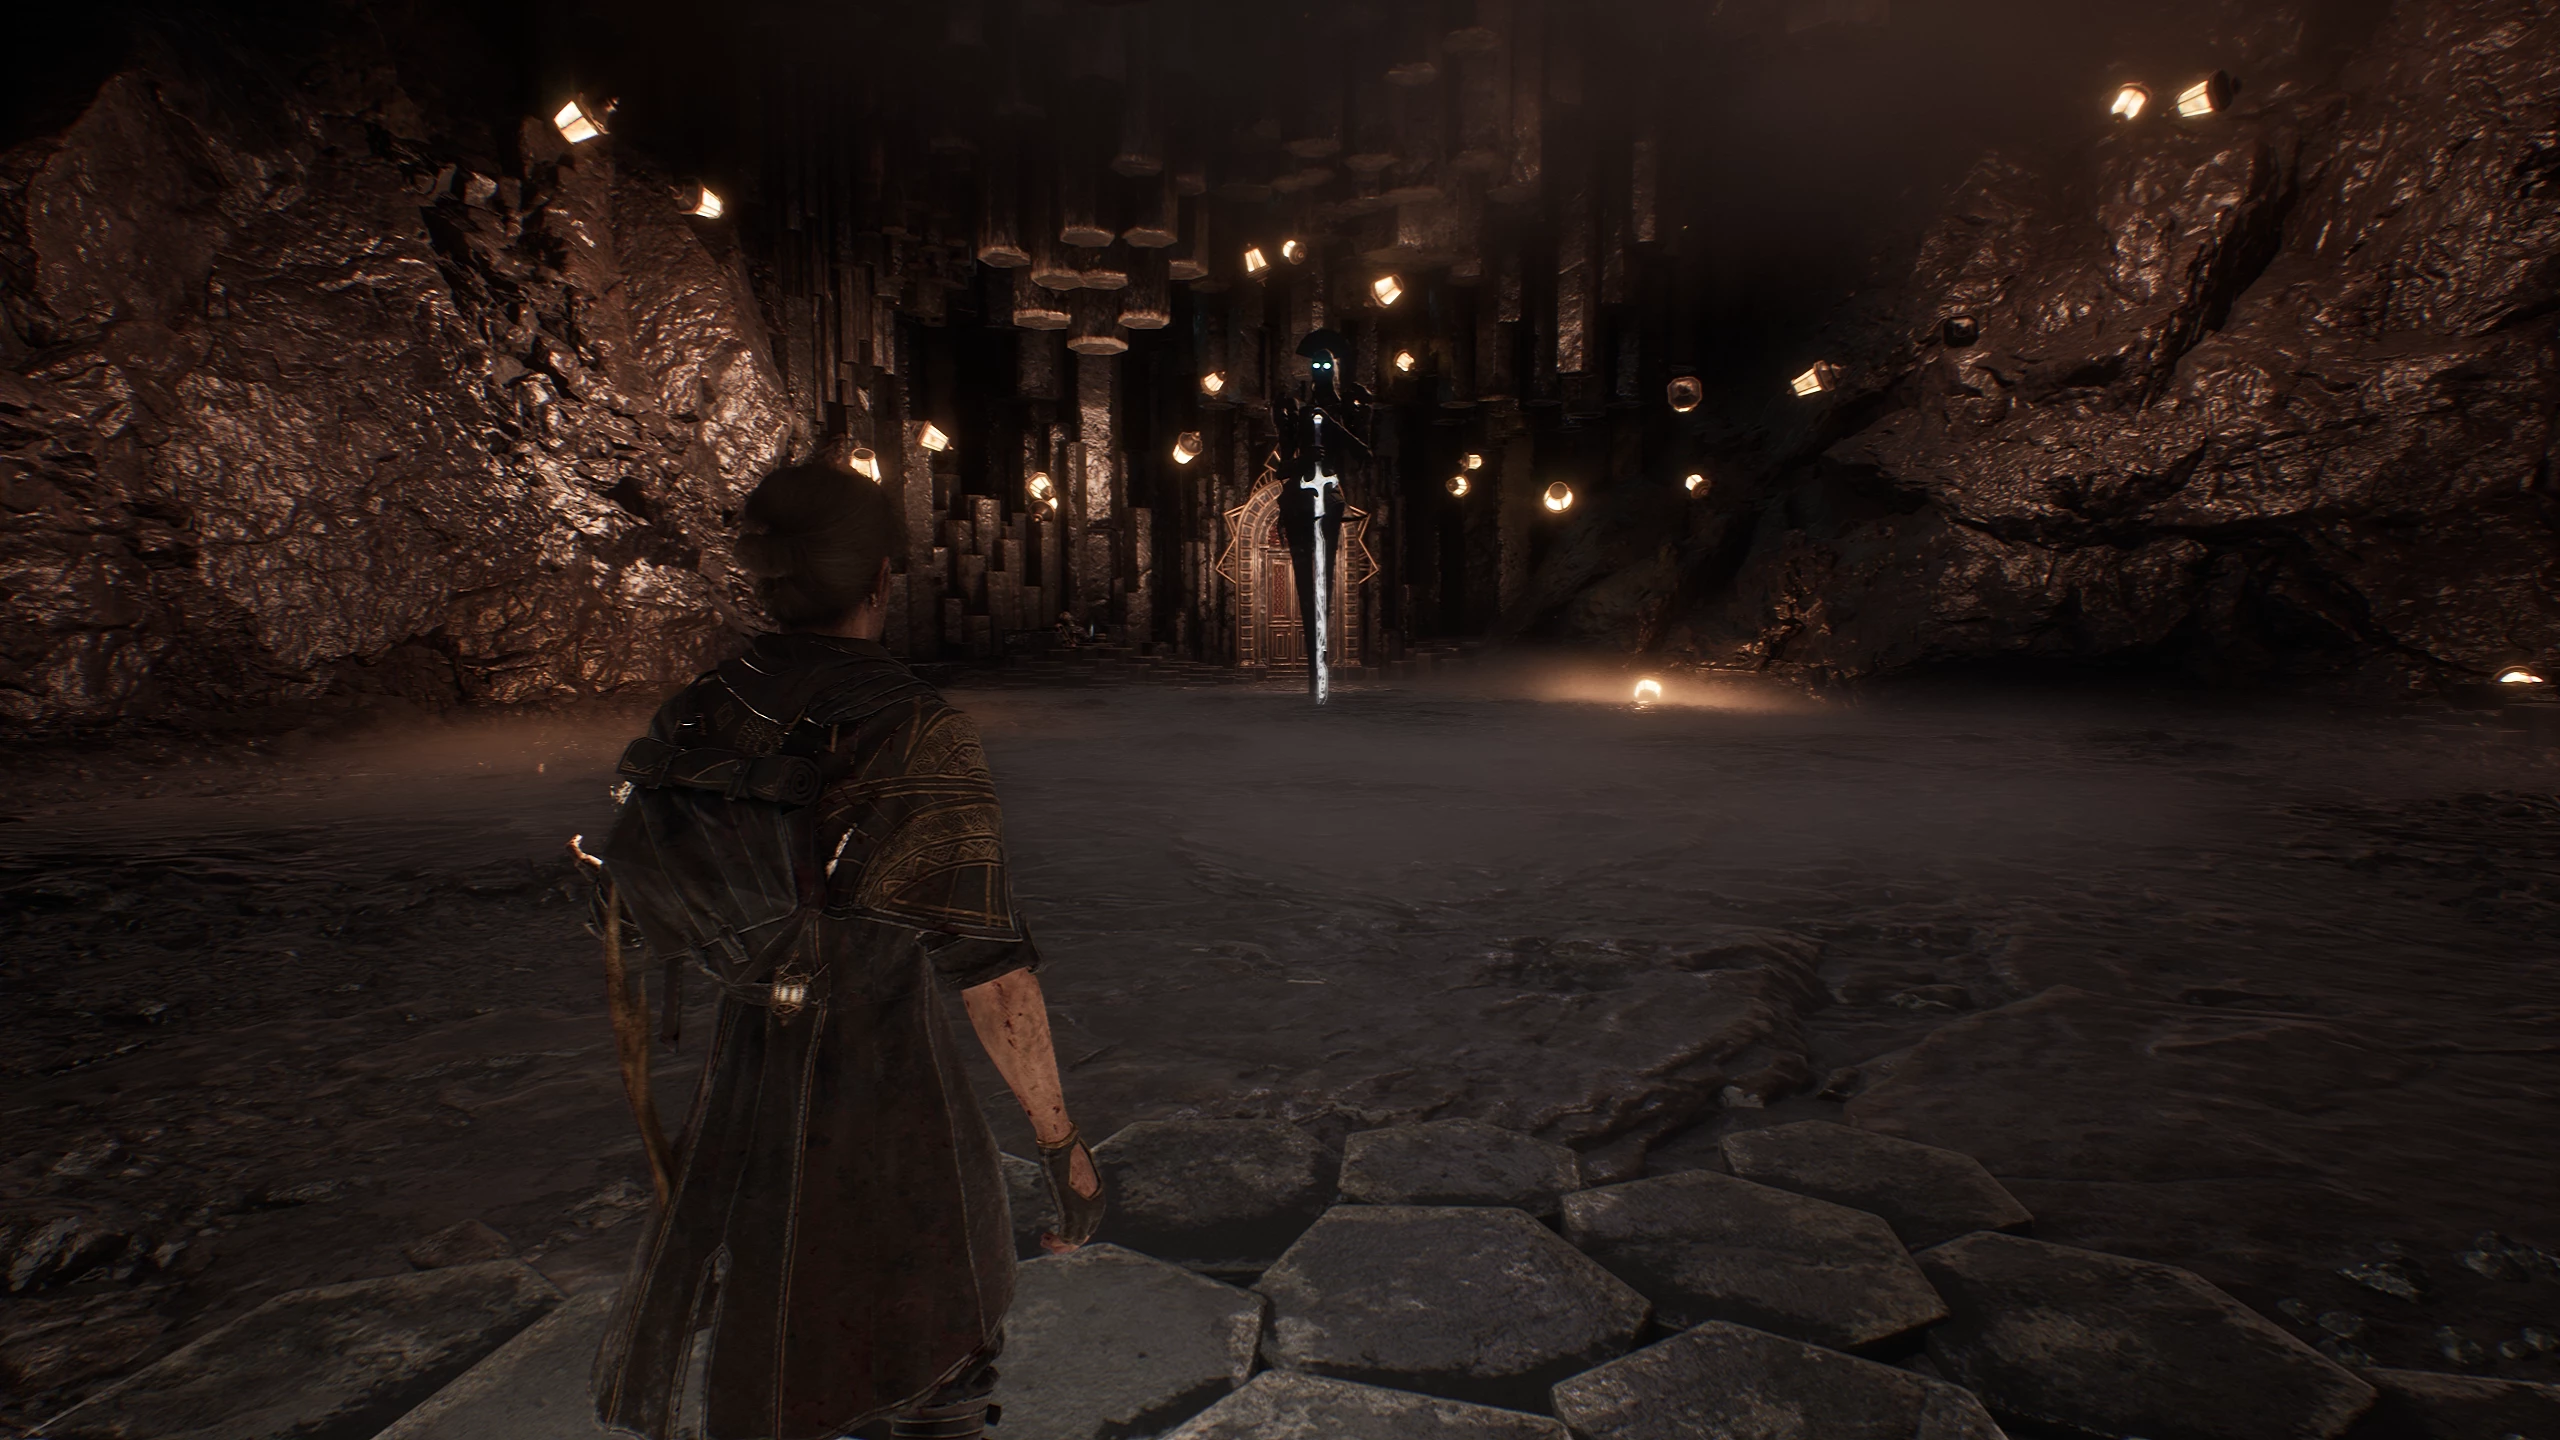
Go to the upper level of the cave, cross the river, defeat the enemies, and collect chrome, luminous flowers. After that, ascend to the surface.
Basalt Waves
Activate the flag Basalt Waves. If you go left from it, you will find the flag Flooded Structures. If you follow this path, you can find: retouch, picto Weakening Mark: Marked targets deal 30% less damage, revival tonic, luminous flower, picto Invigorating Healing Tonic: Healing tonics also give 1 AP. This path will lead you back to the basalt waves.
Enter the dark cave. Lamps will light up along the way. At the end of the path, you will encounter the boss Lampmaster. During the second phase, he will light the lanterns in a specific order. Remember this sequence and shoot the lanterns to deal maximum damage. After this, you will have to defeat the boss White-haired. After the victory, the heroes will head to the camp, and this will conclude the first act.
Act 2. Verso
After the battle with the mysterious man from the prologue, the squad will end up in the camp. Esquie now has the ability to swim, allowing you to explore many interesting locations, defeat optional bosses, and find upgrades for the expedition.
Pass through the Forgotten Battlefield
Finish resting at the camp and head to the “Forgotten Battlefield” location. Defeat the first enemy and proceed to the “Main Gate” flag.
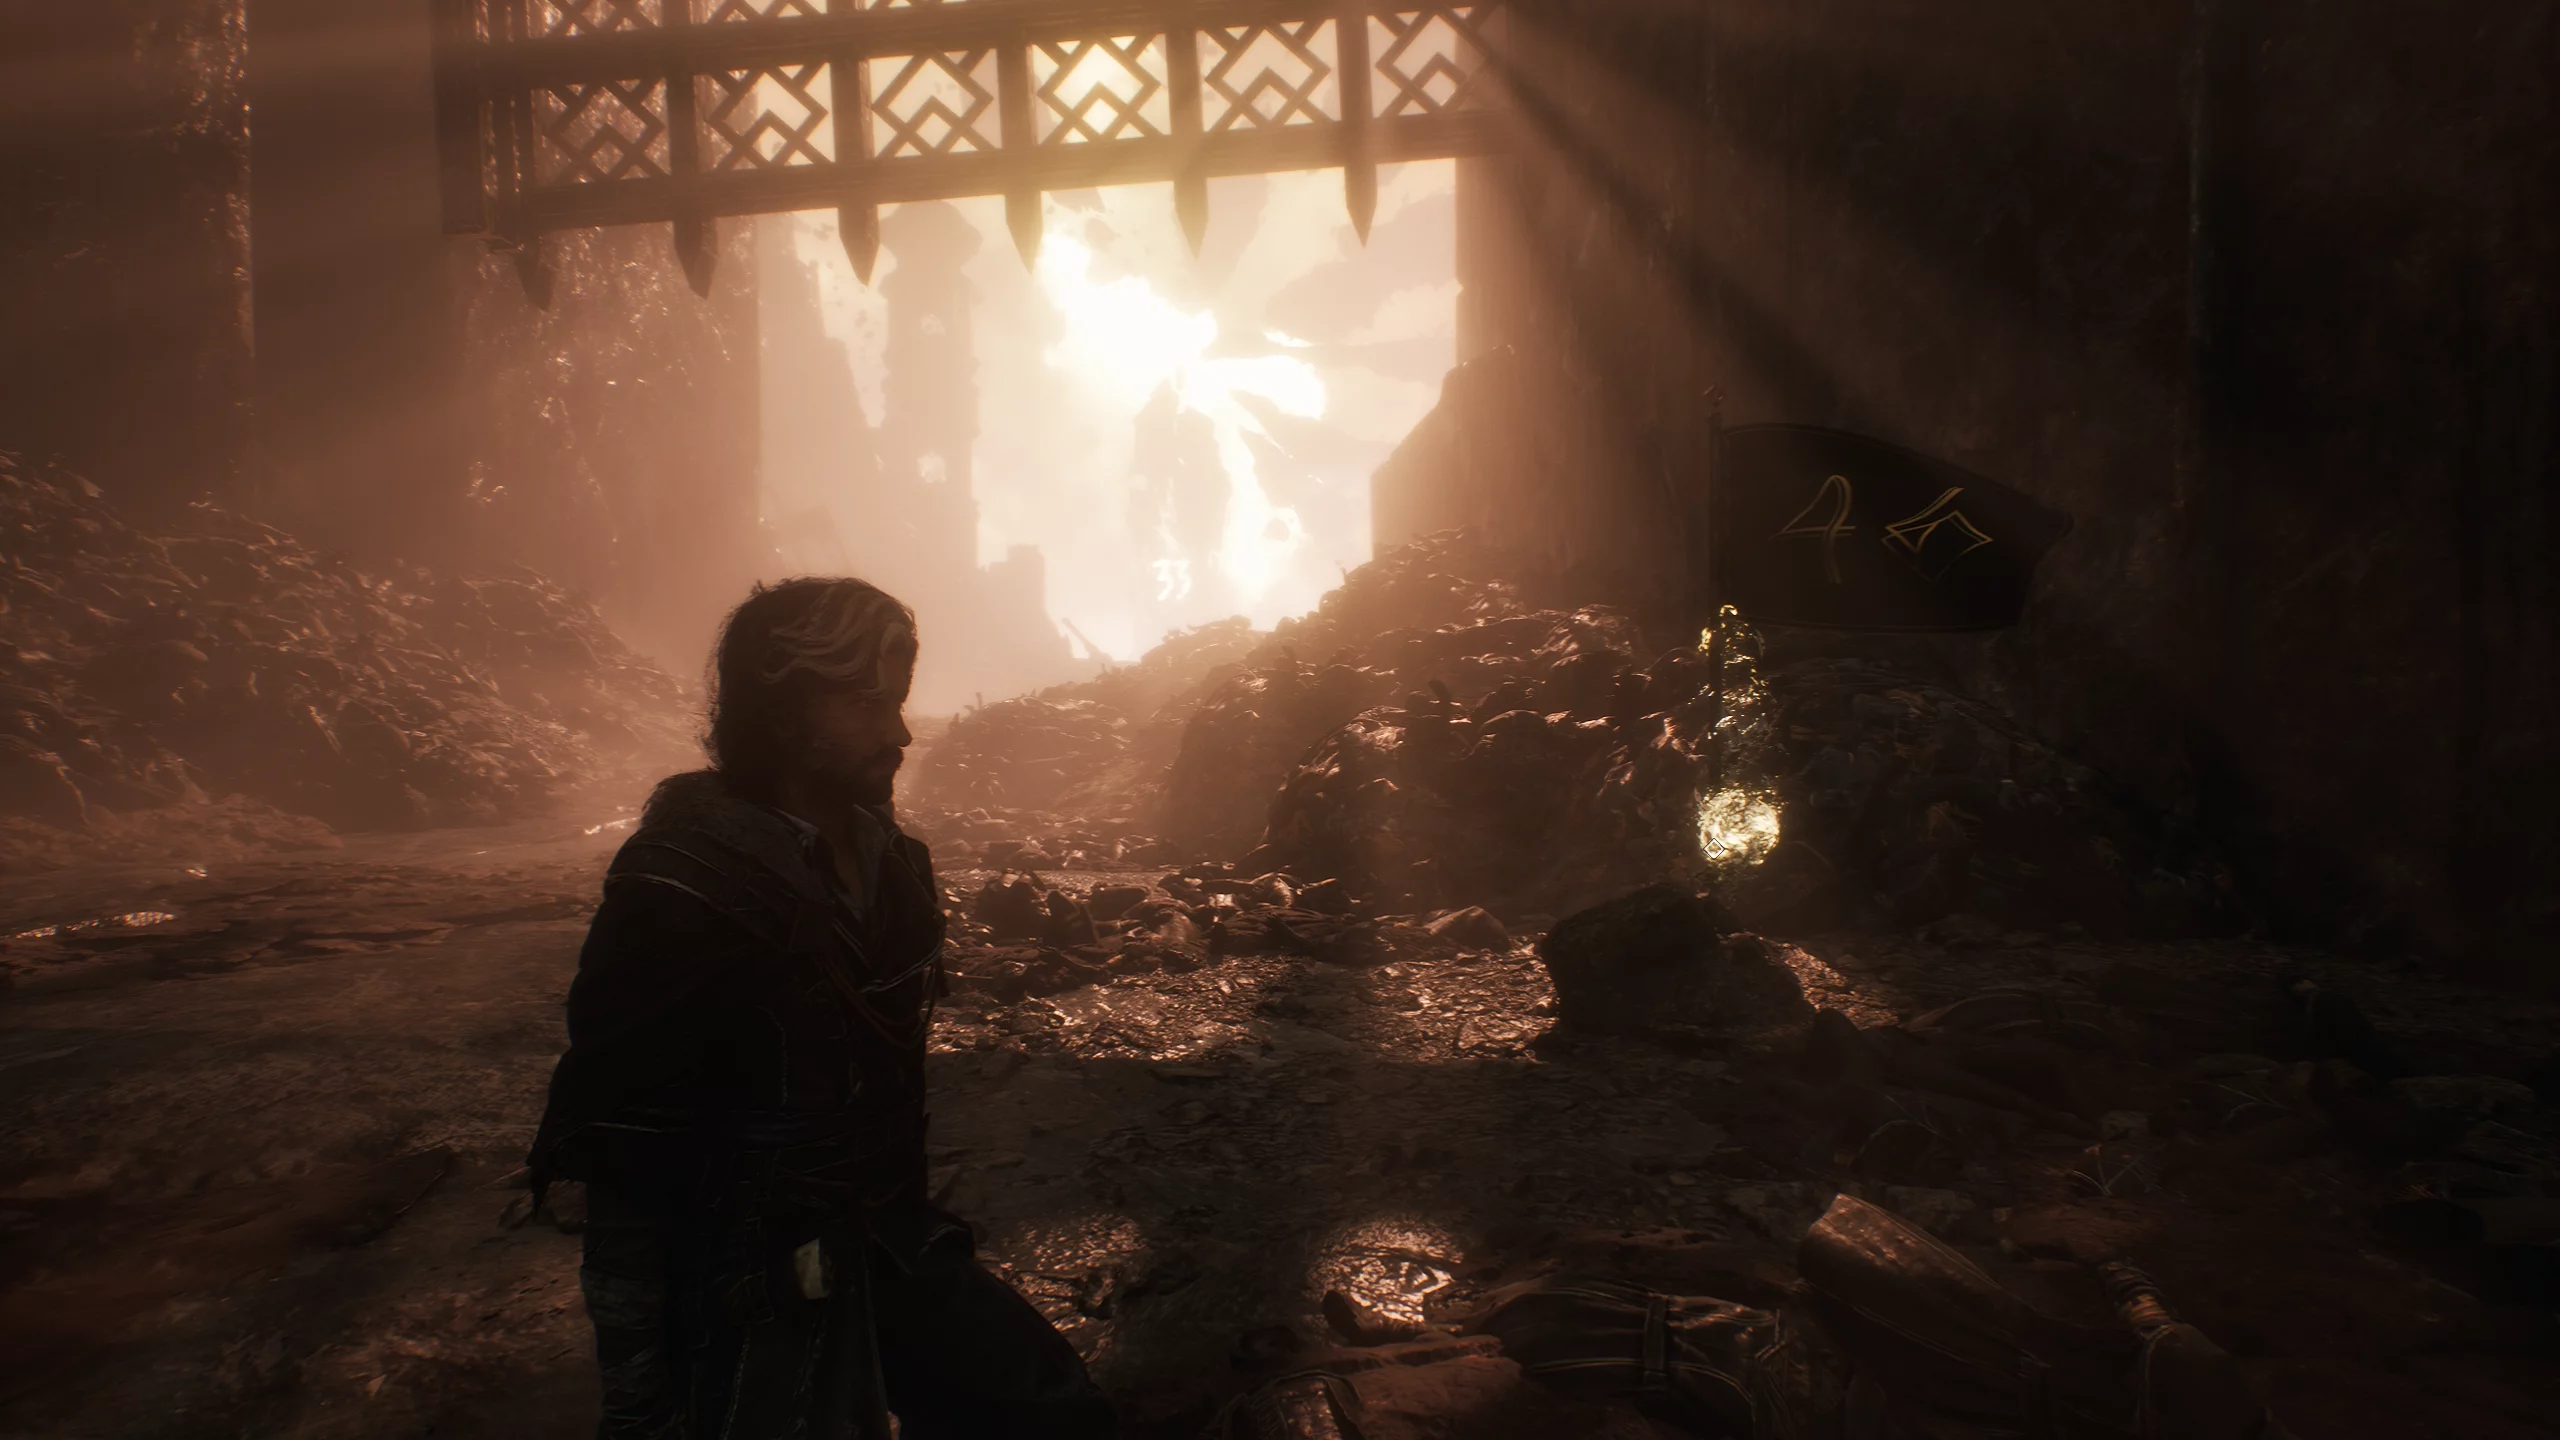
The first location after the gate consists of trenches and fields of bodies. Here you can find: Shiny Chrome Catalyst, Chrome, Pictos “Invigorating Start IV”: +1 AP at the start of battle, Lumina Color, Healing Tonic, Pictos “Sweet Kill”: killing an enemy restores 50% health, Retouch.
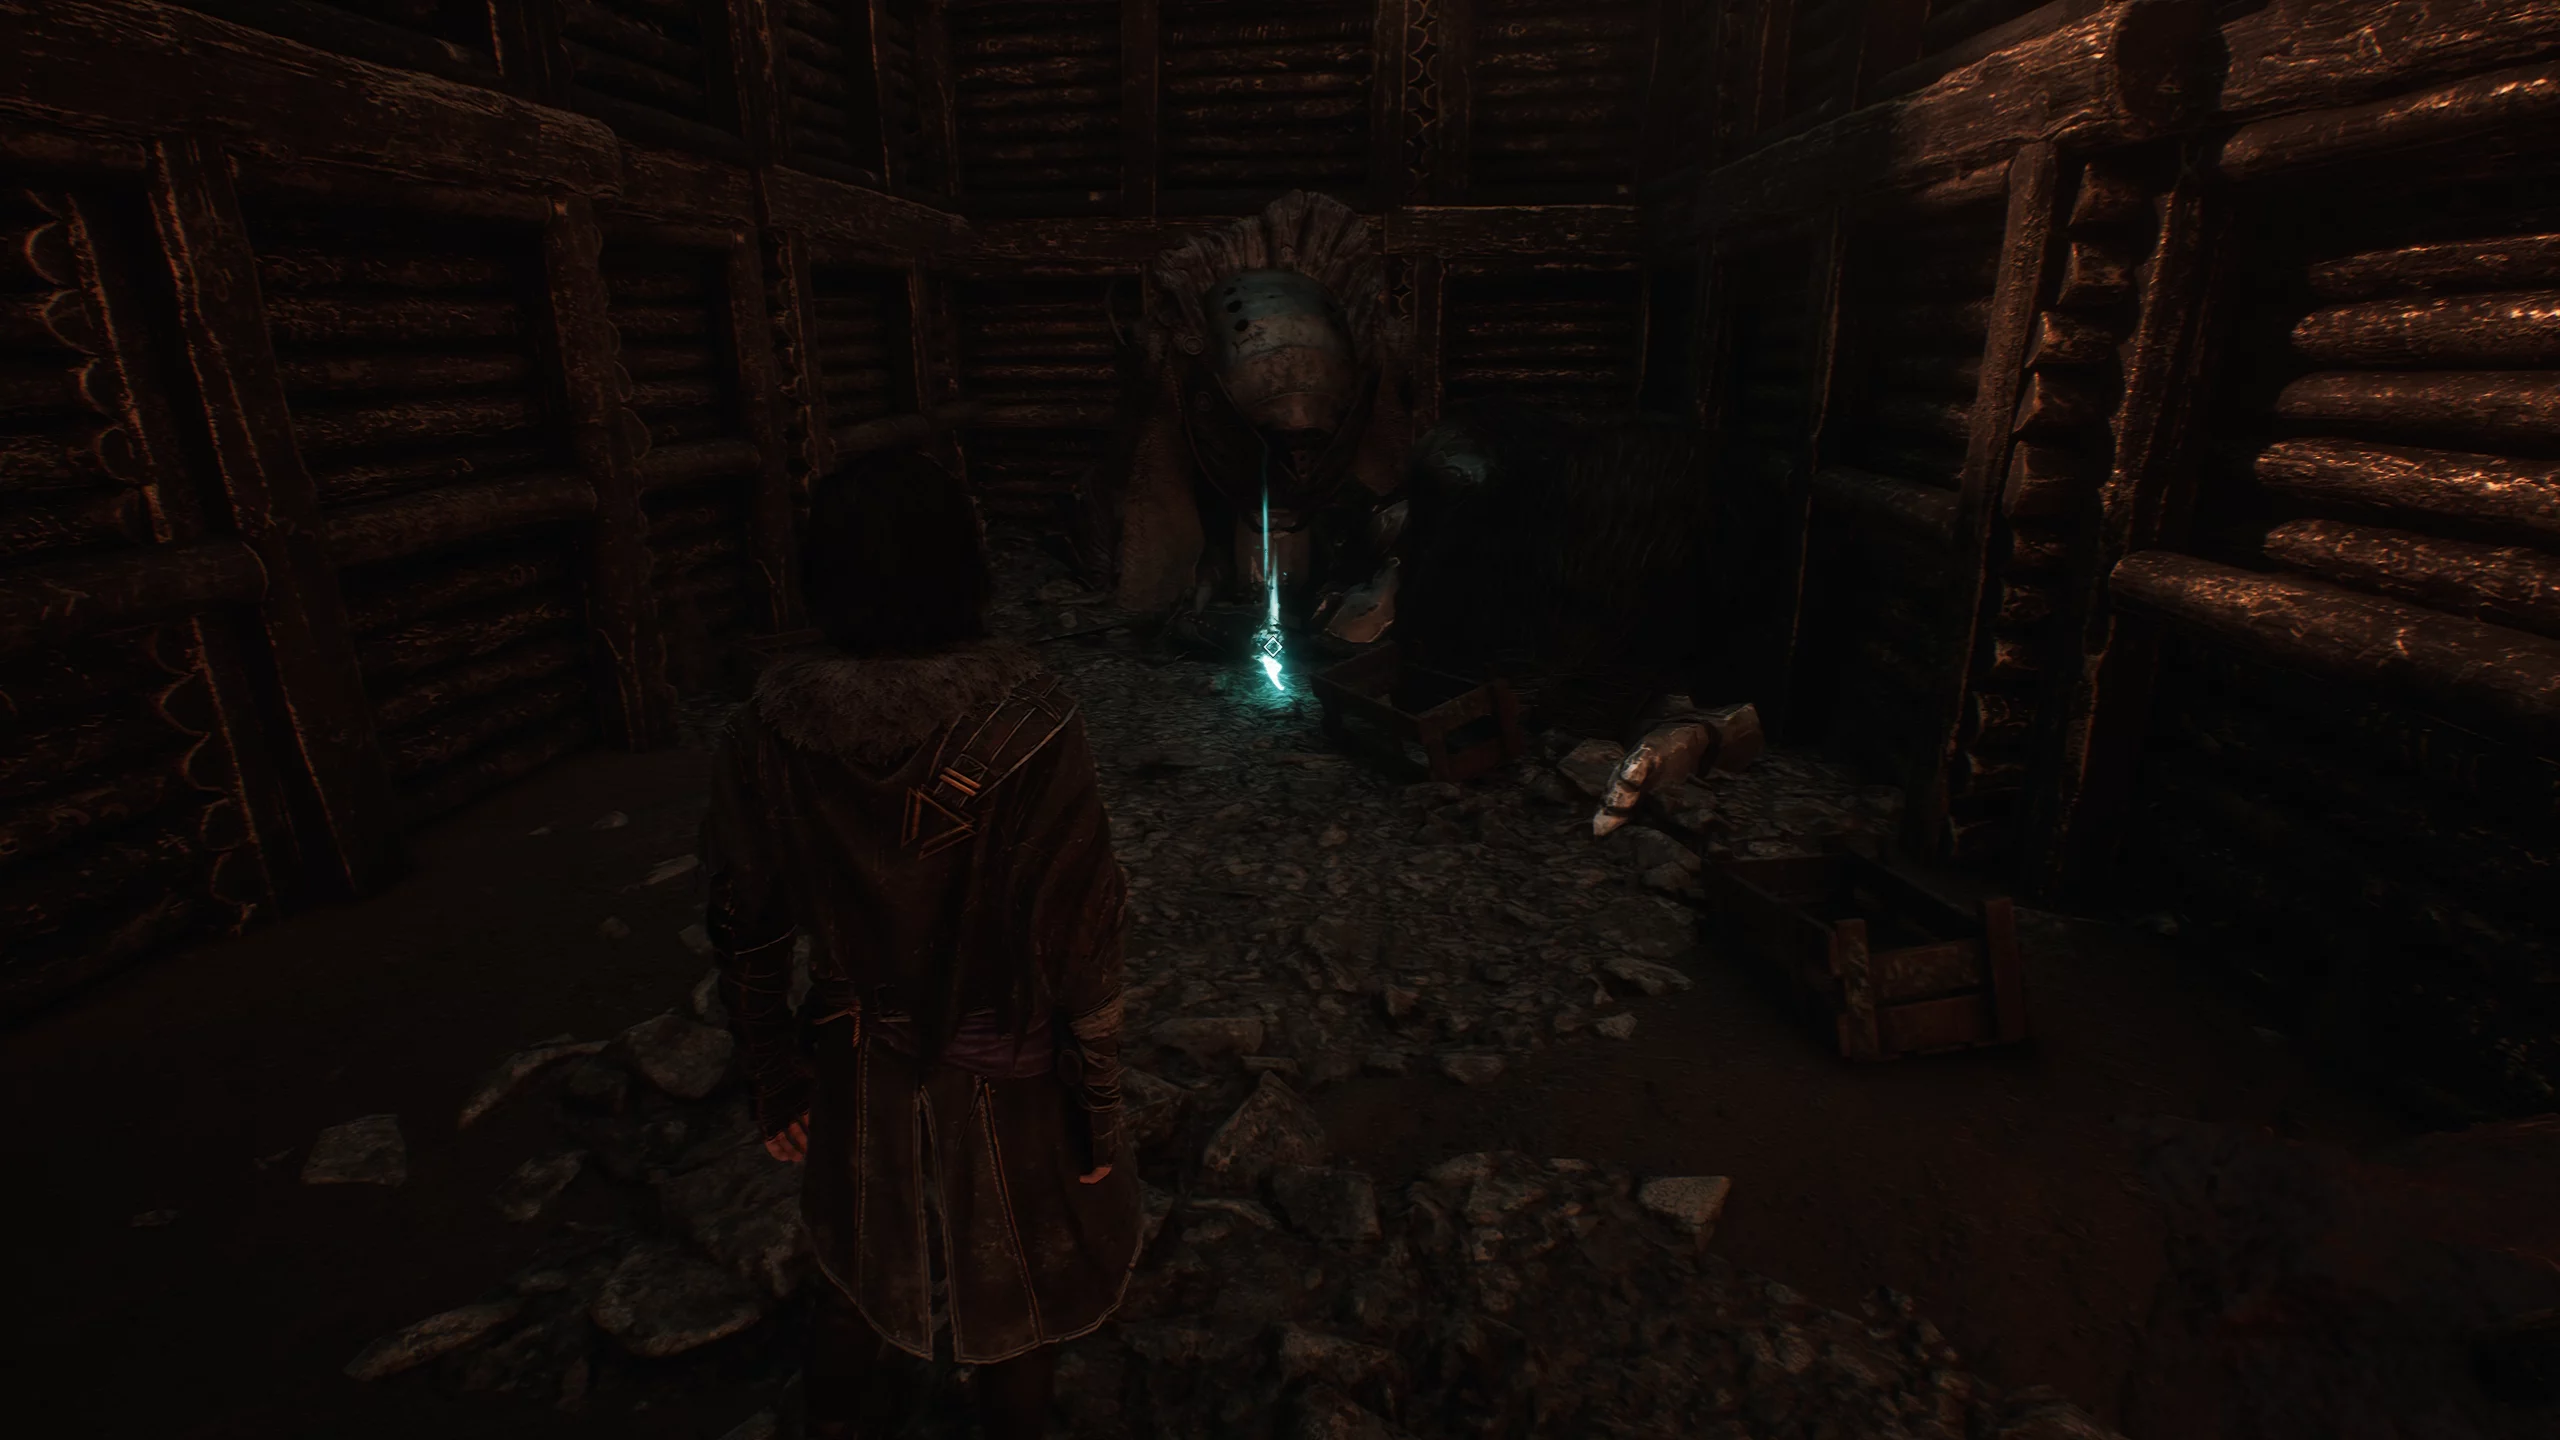
If you go right from the main gate, you can explore the fortress with the “Fort Ruins” flag, where you can find Lumina Color and Pictos “Invigorating Death”: after death, +4 AP to all allies.
Watch Post
To the left of the fort ruins, cross the bridge over the trench to the “Watch Post” flag.
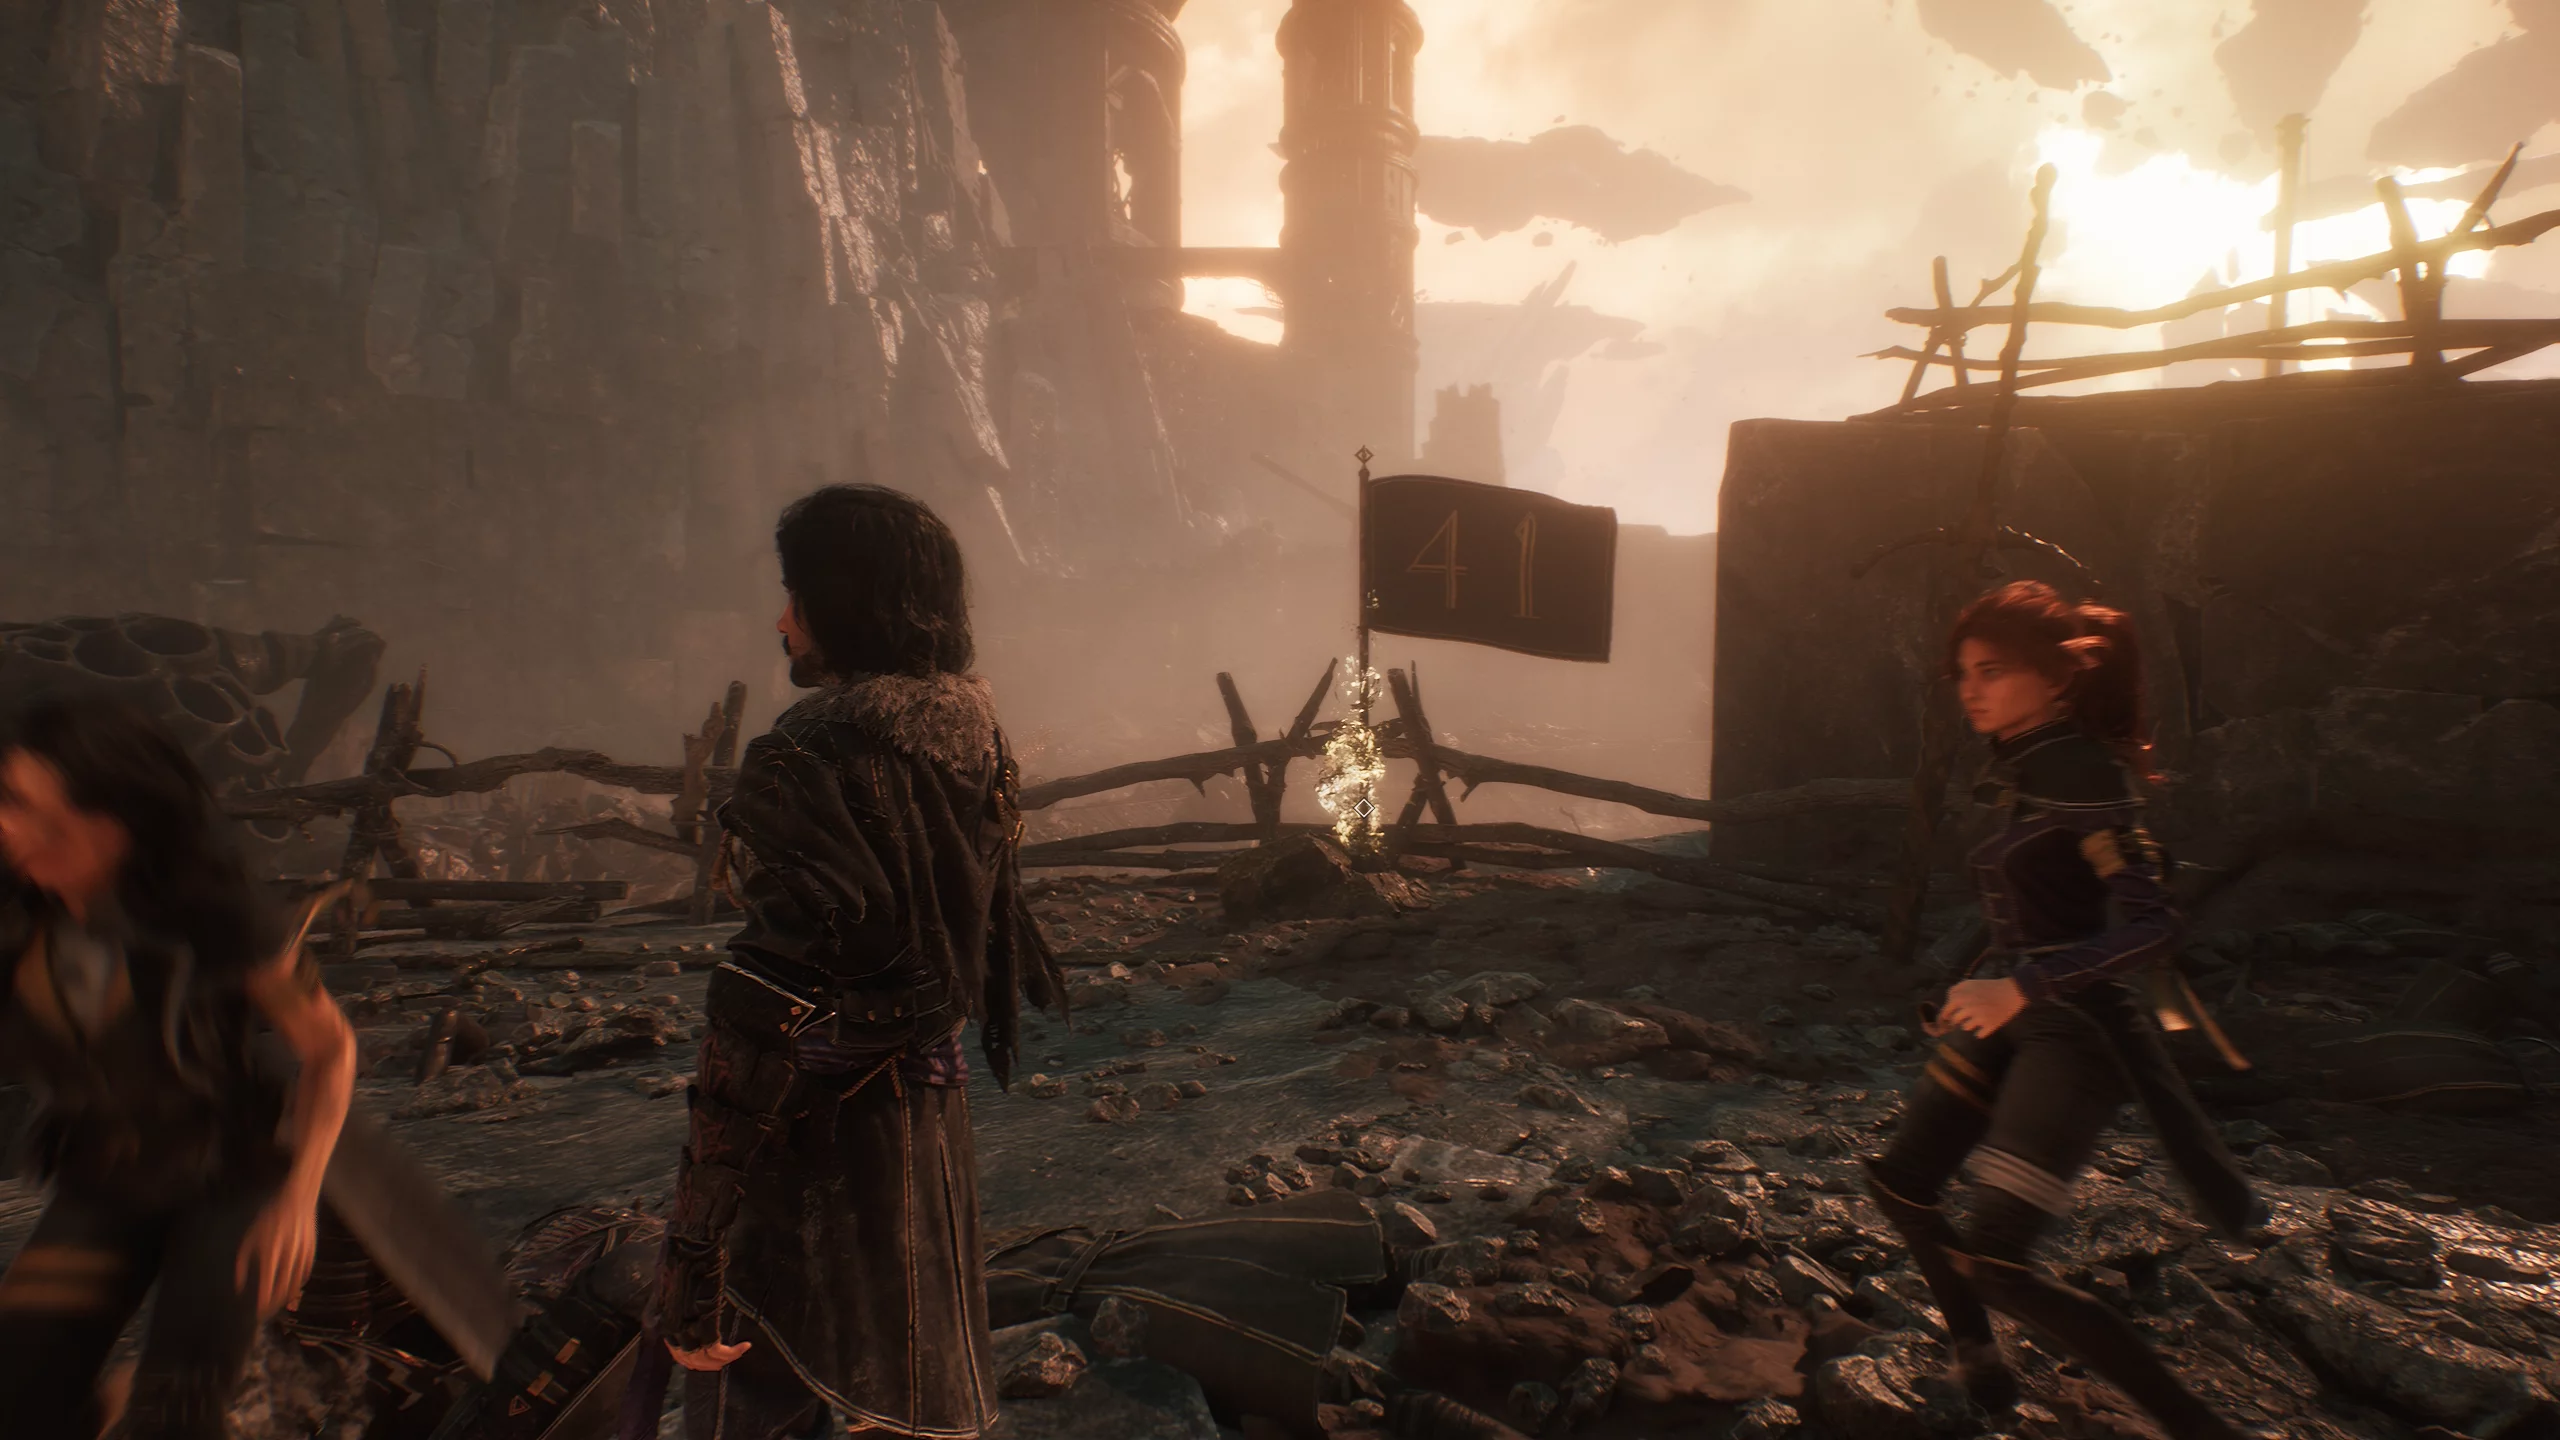
Go down, break the crates by the palisade, and collect the energy tonic. Go forward until you meet the melting woman. Three paths will open behind her. You need to go straight ahead, but you can also explore the other paths.
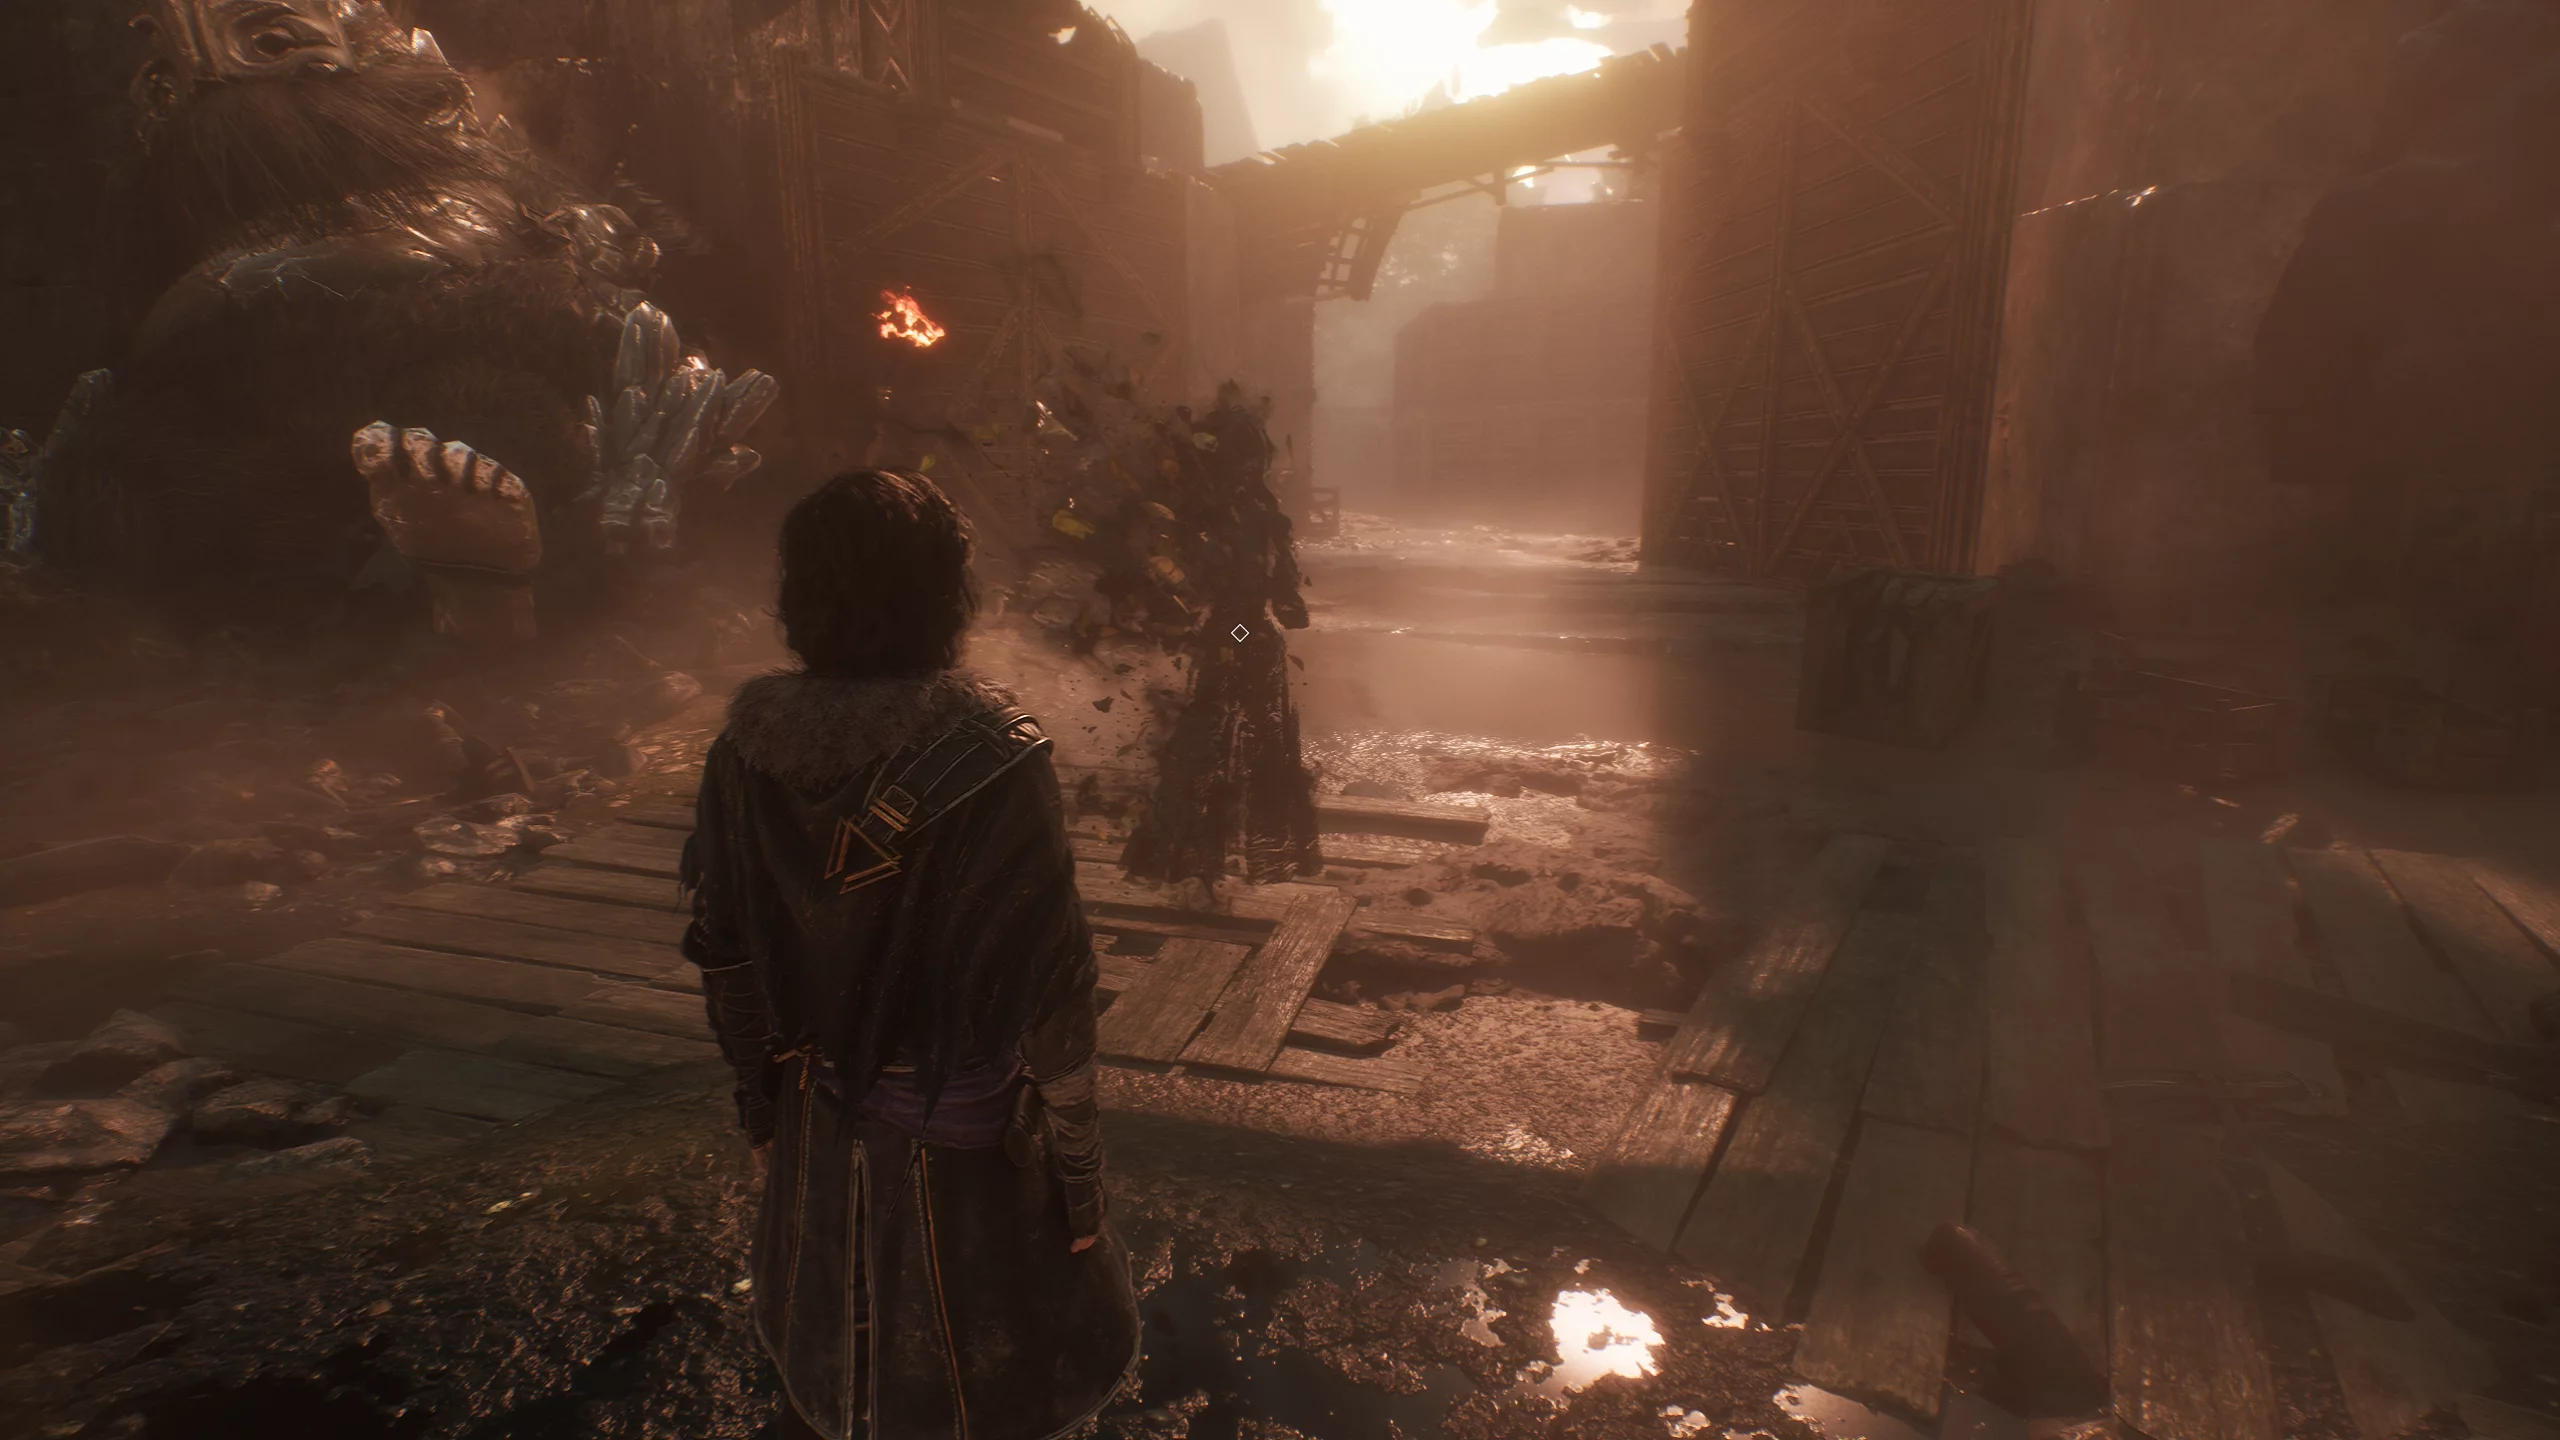
By exploring the paths, you can find: Shiny Chrome Catalyst, Retouch, Lumina Color, Chrome, Journal, Pictos “Enhancing Tonic”: Healing tonics also grant Power, and “Invigorating Parry”: +1 AP for a successful parry.
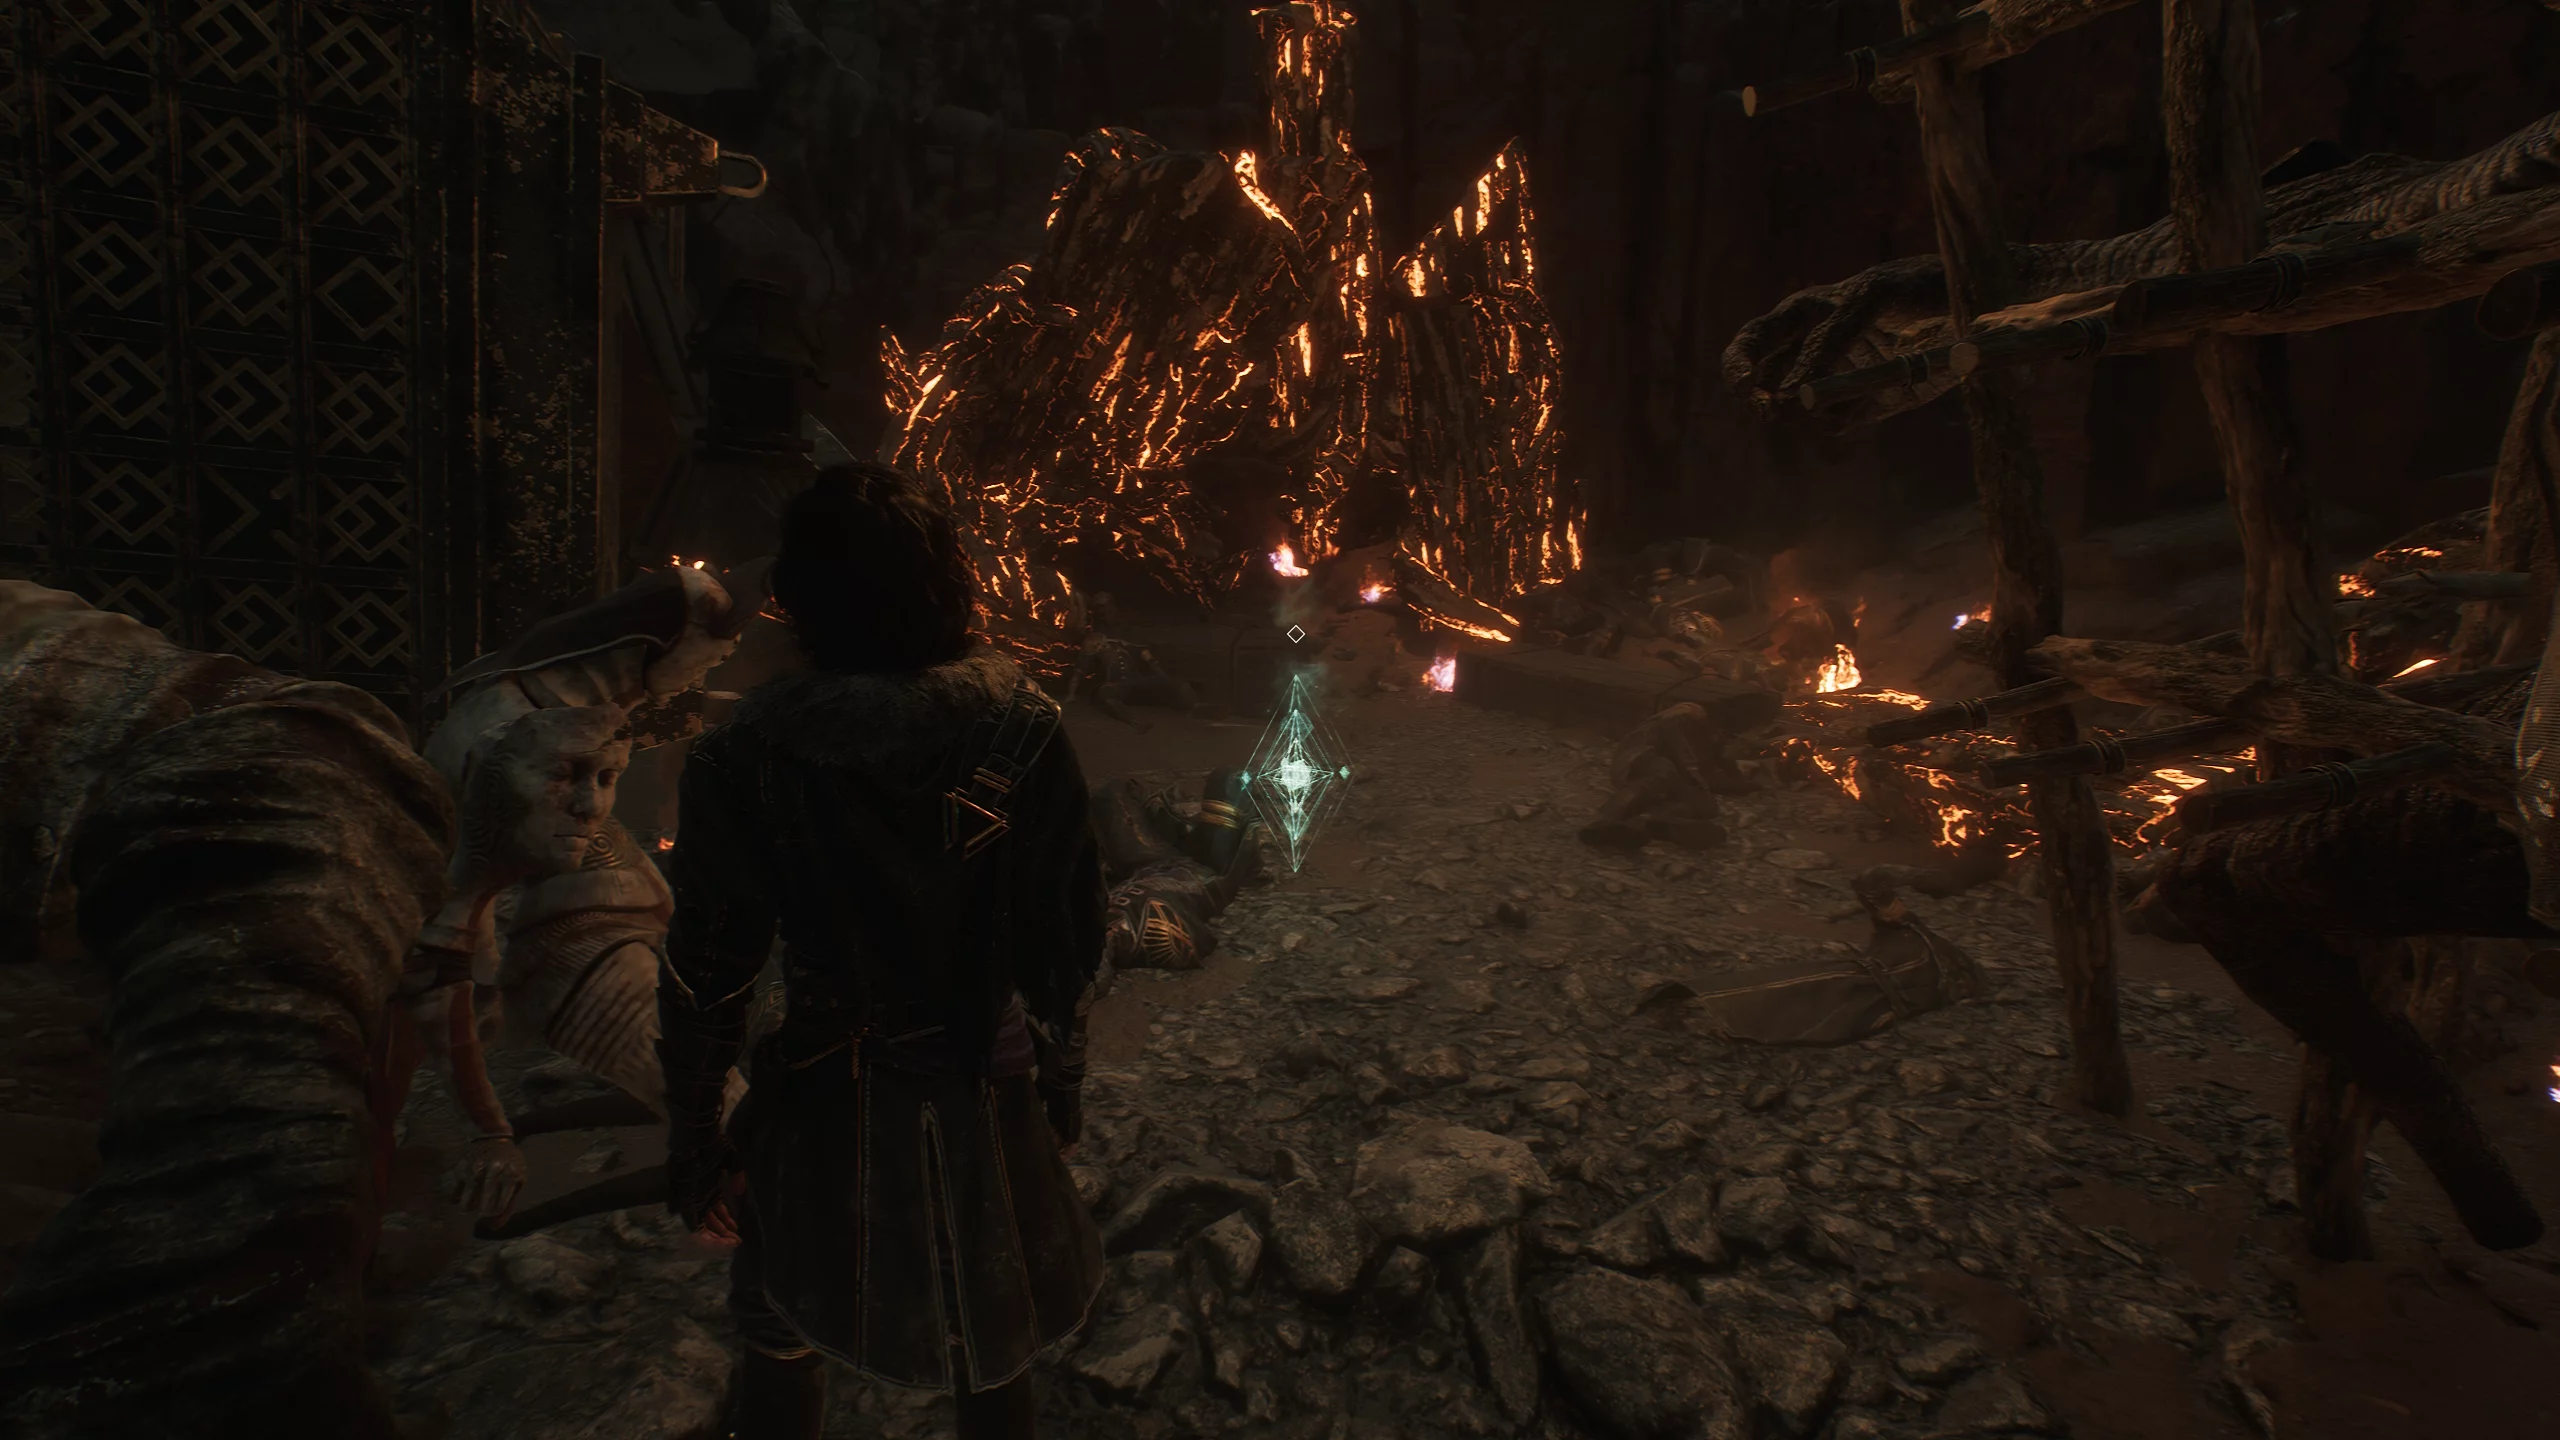
Take the middle path, collect the Chrome Elixir and Journal along the way, until you reach the bridge near the “Ancient Bridge” flag. Upon meeting the boss “Duelist”, try to parry his attacks. In addition, he is vulnerable to ice damage.
After the victory, climb up. Then follow the path and exit the level.
Find Monoko
Enter the “Monoko Station” location. From the “Ice Corridor” flag, go forward, then turn right to enter the station.
Then defeat the boss “Monoko”—his attacks and combos are easy to counterattack. After that, the squad will be attacked by the boss “Stalakt”; hit him with the whole squad when he strikes the ground.
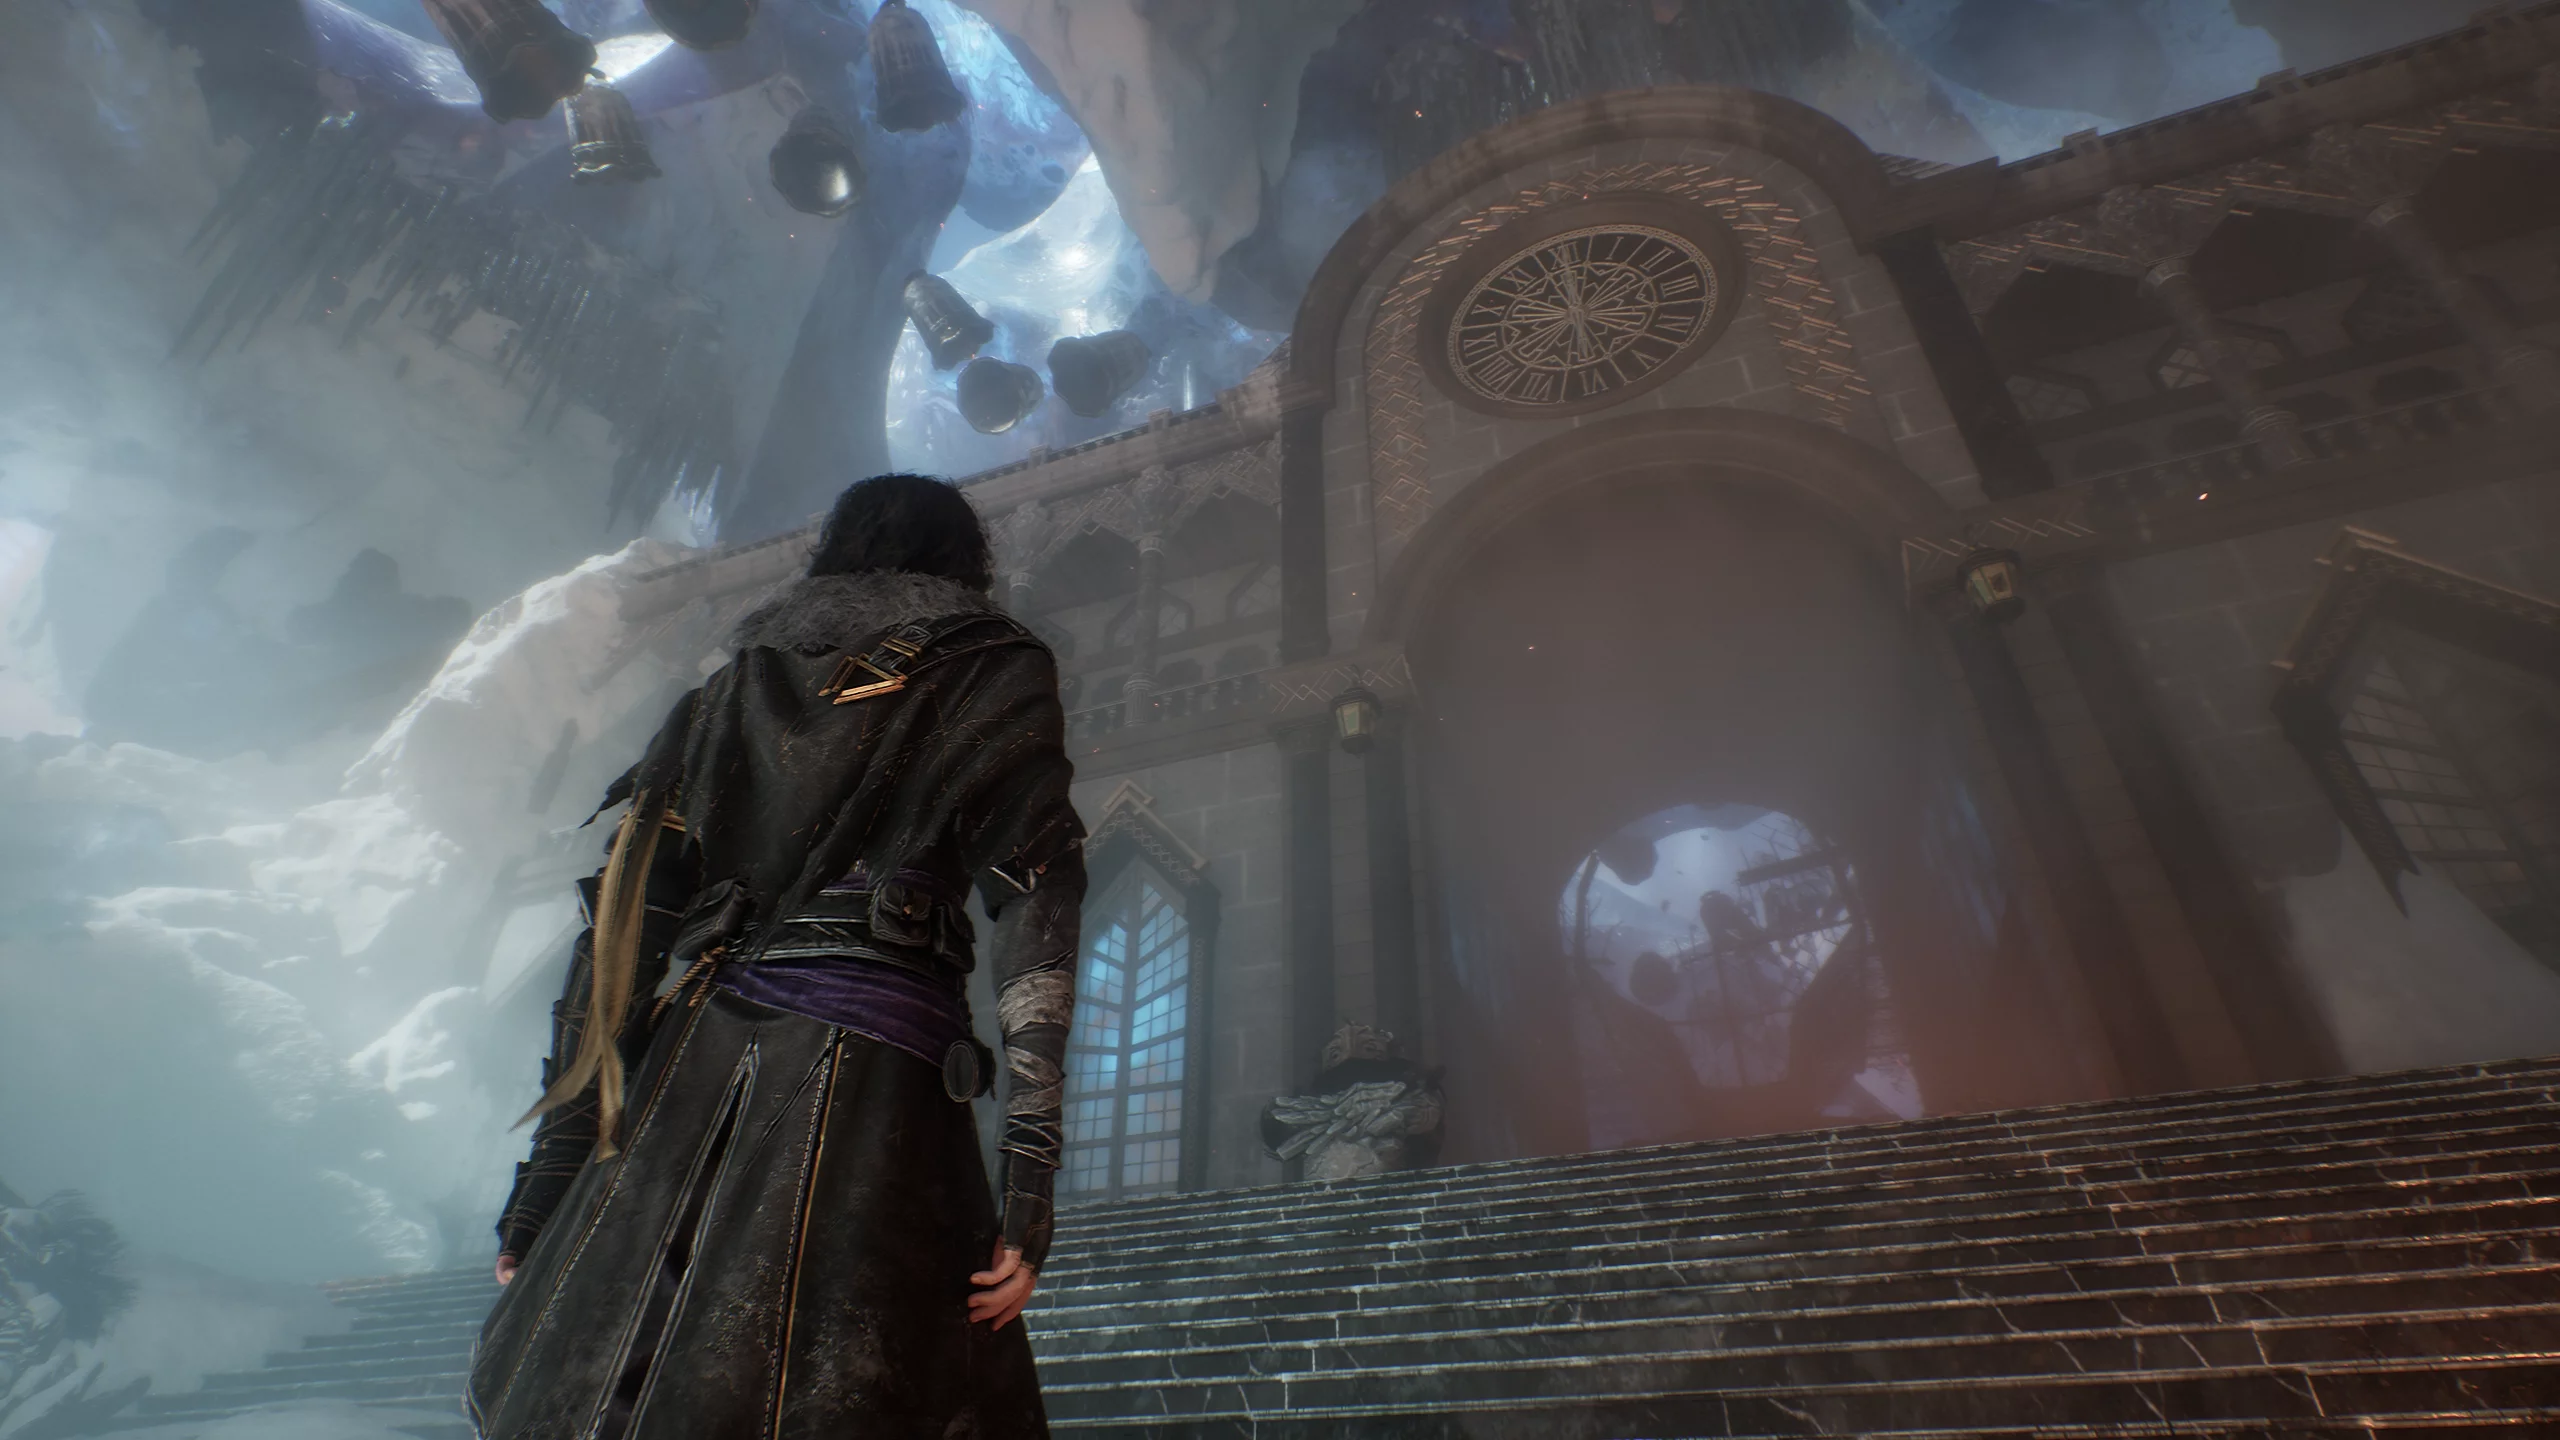
After the battles, collect at the station: journal, chrome, and lumina color. Then leave the level through the eastern portal.
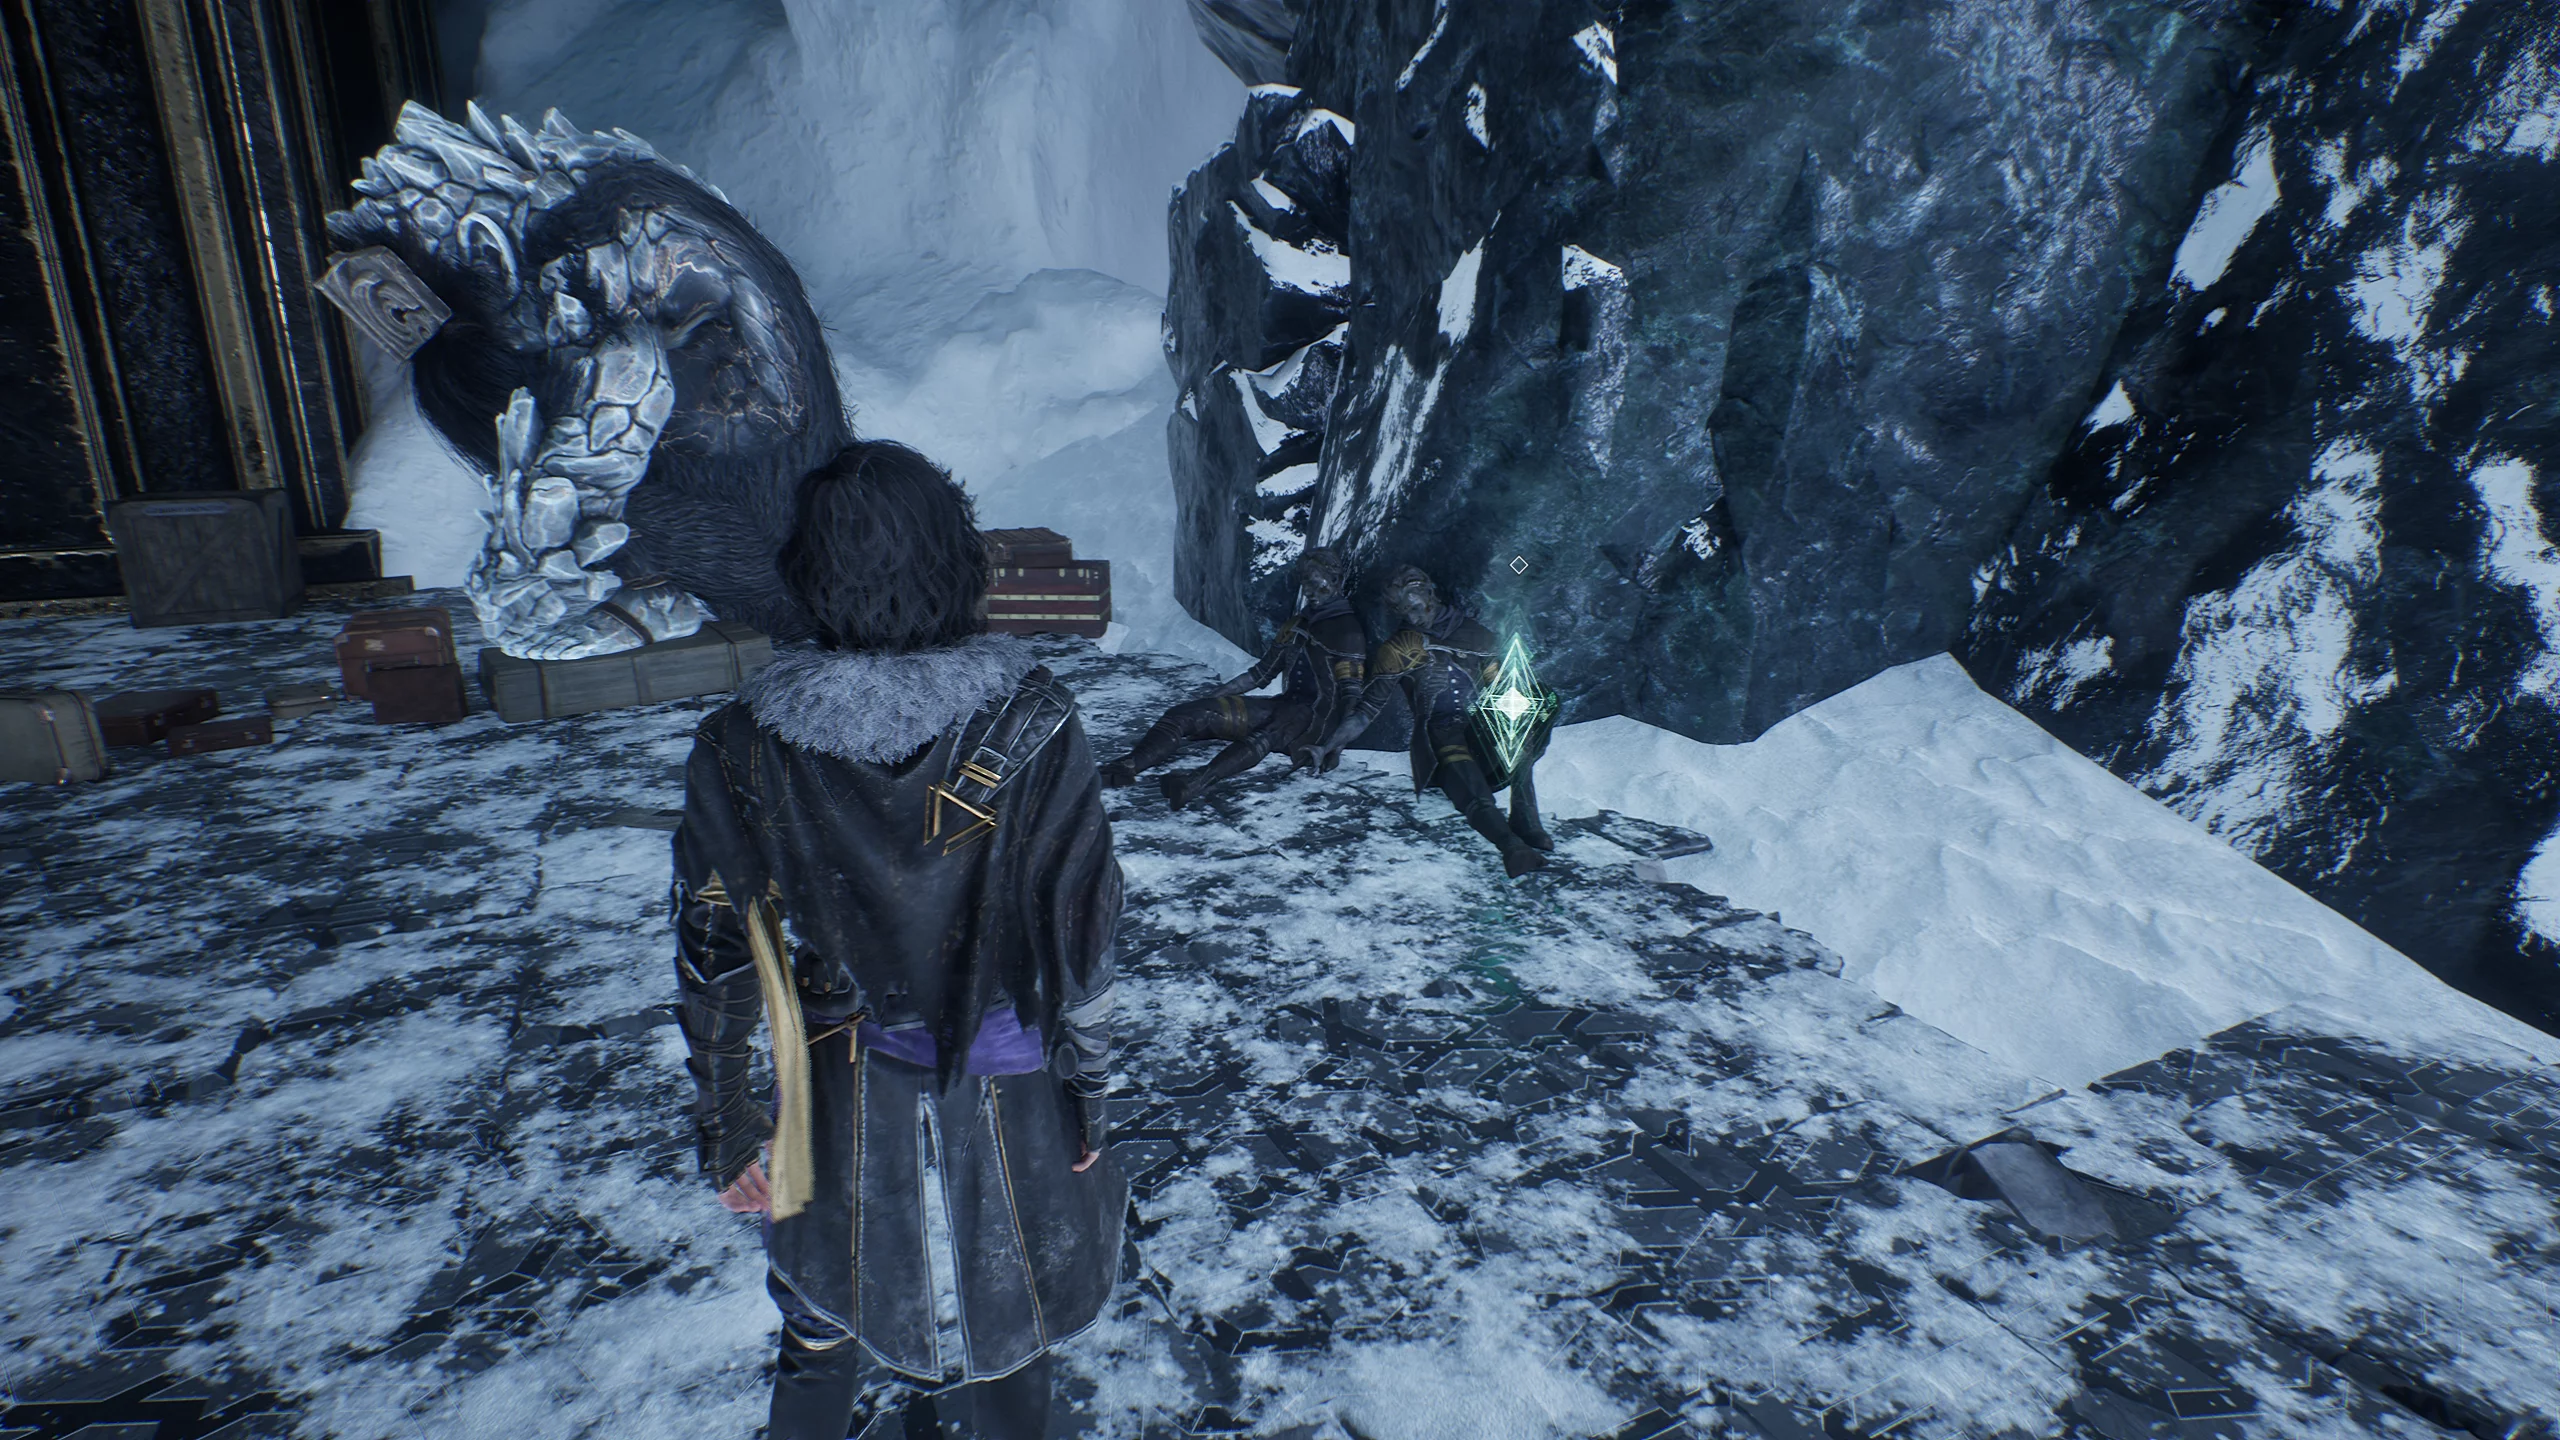
Find and Destroy the Heart of the Artist
From the station, head north and enter “Old Lumiere”. From the “First Street” flag, go forward.
If you go right before the chasm, you can find chrome and the “Nusaro” weapon.
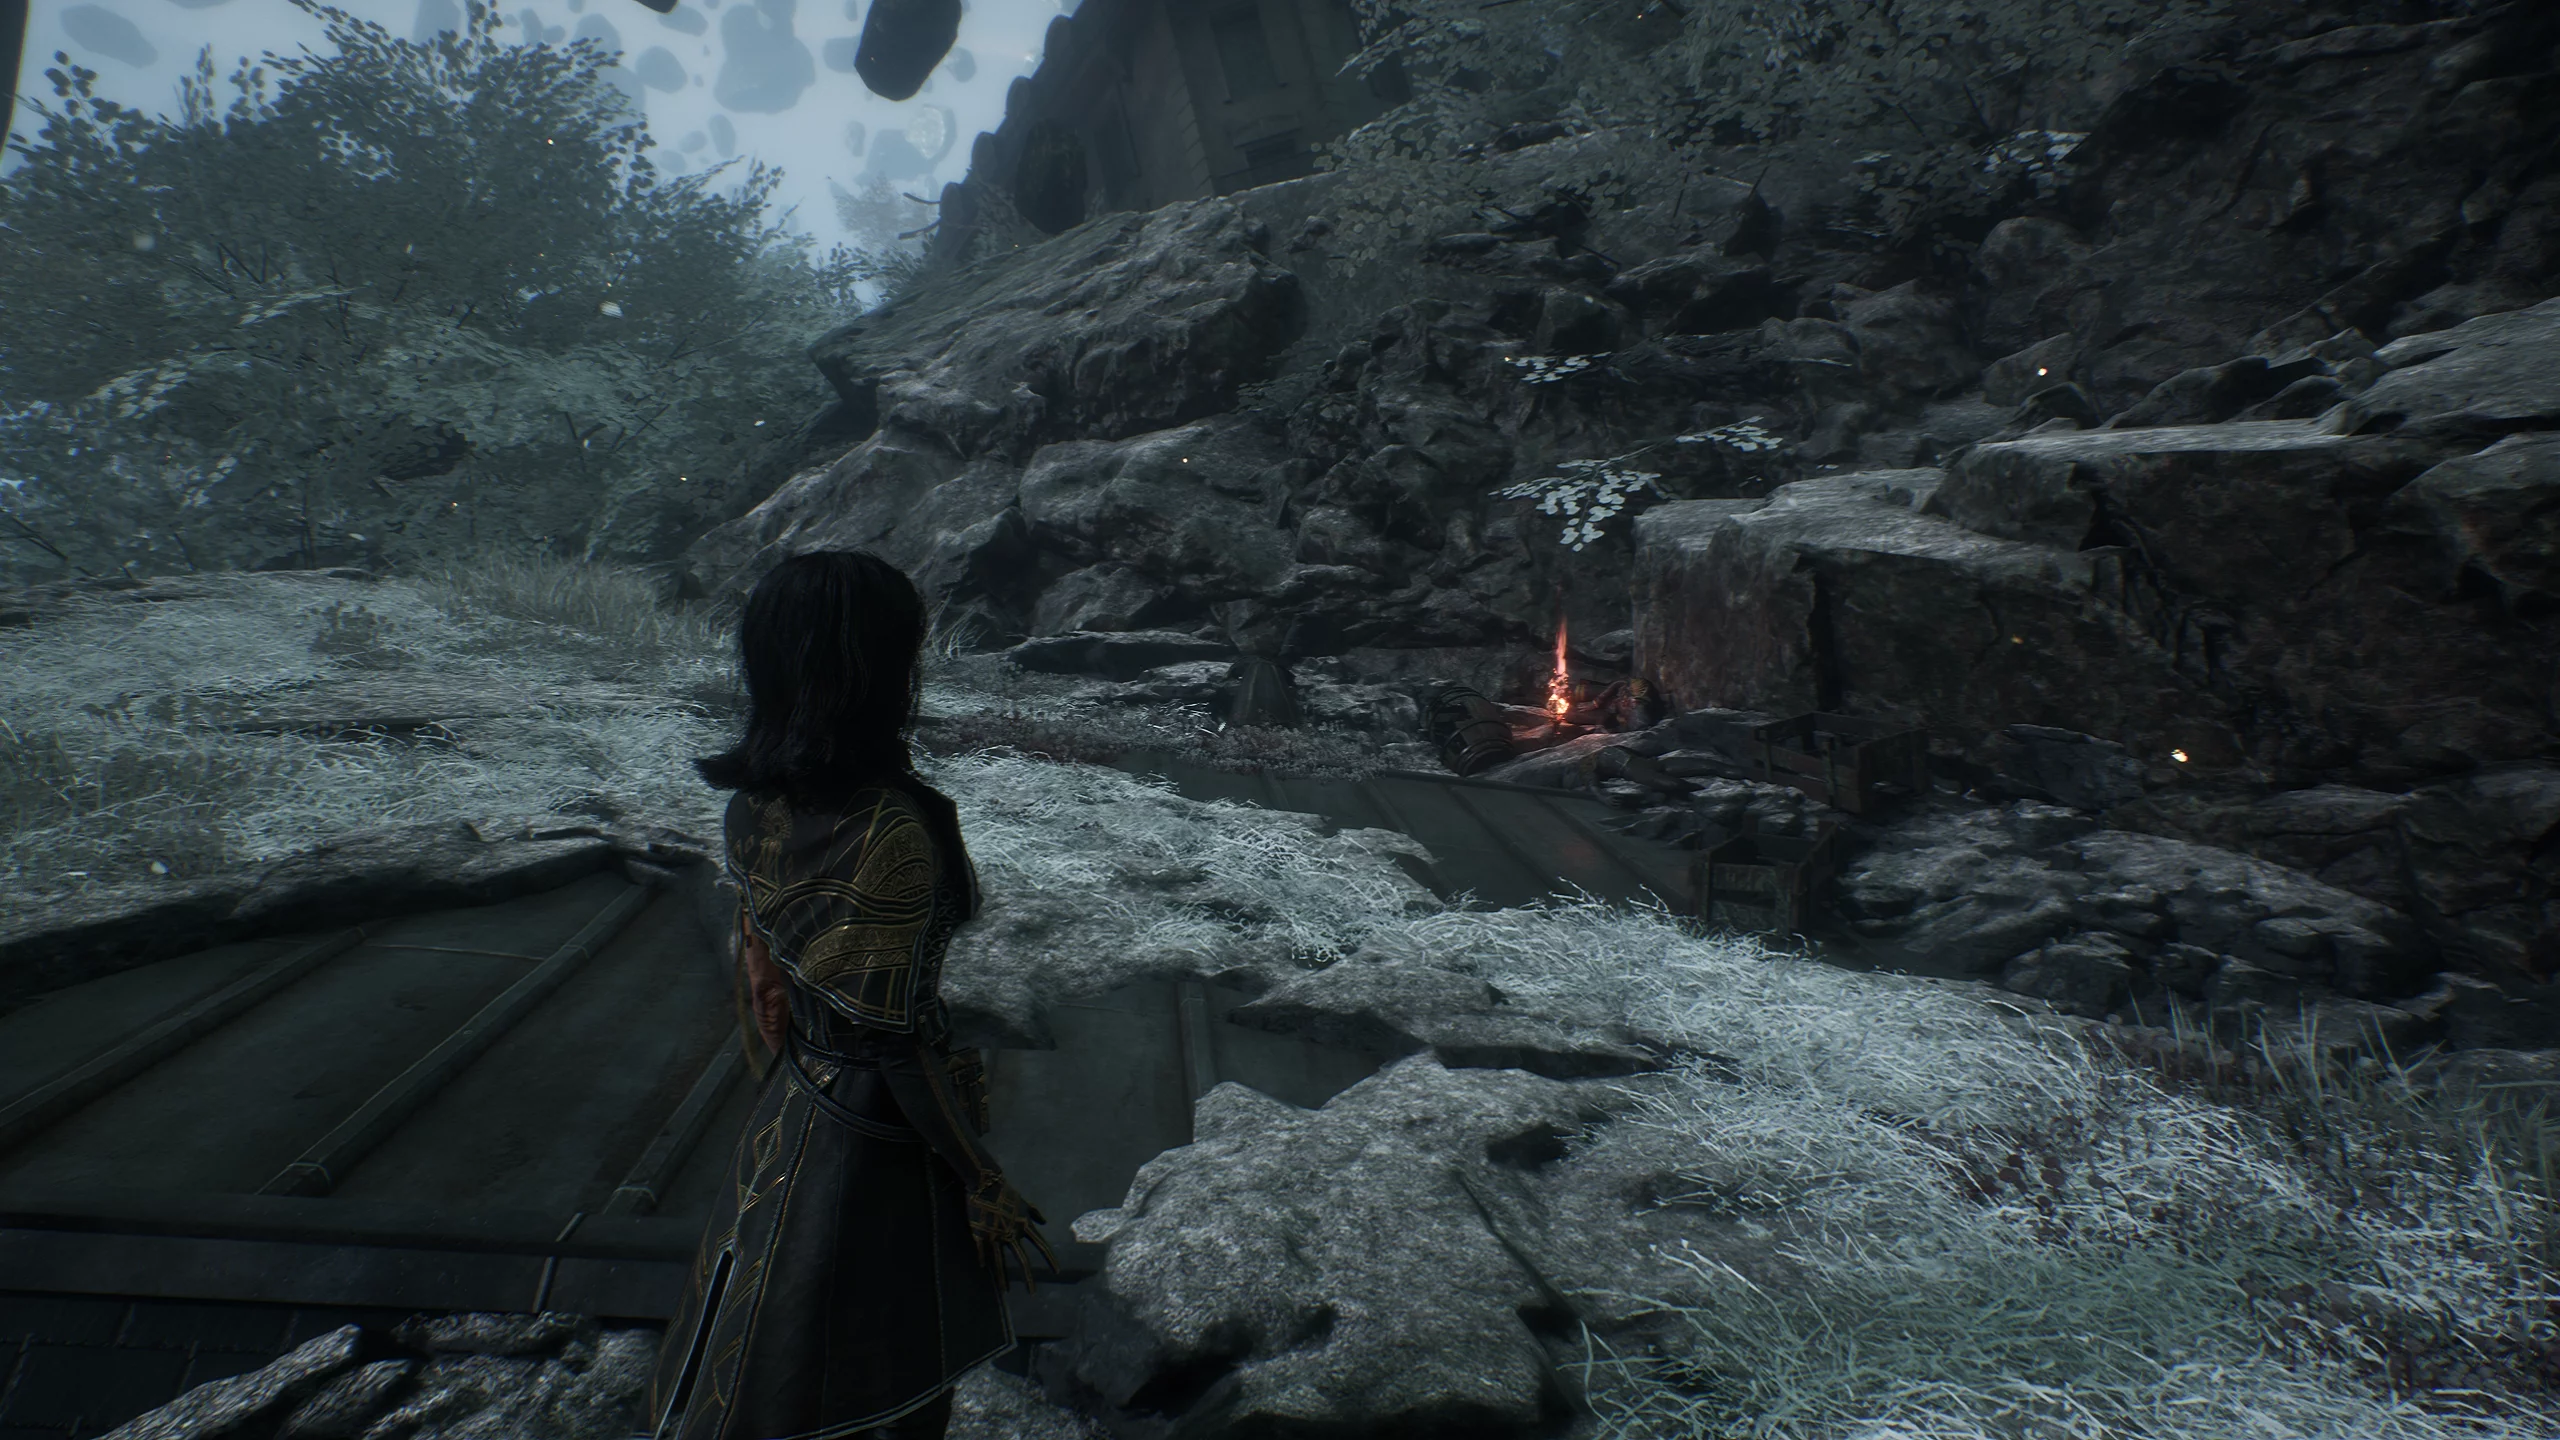
Left Street
Cross the chasm and continue forward until you reach the center of Lumiere. After the cutscene, you will play as Mael. Activate the “Left Street” flag and go down.
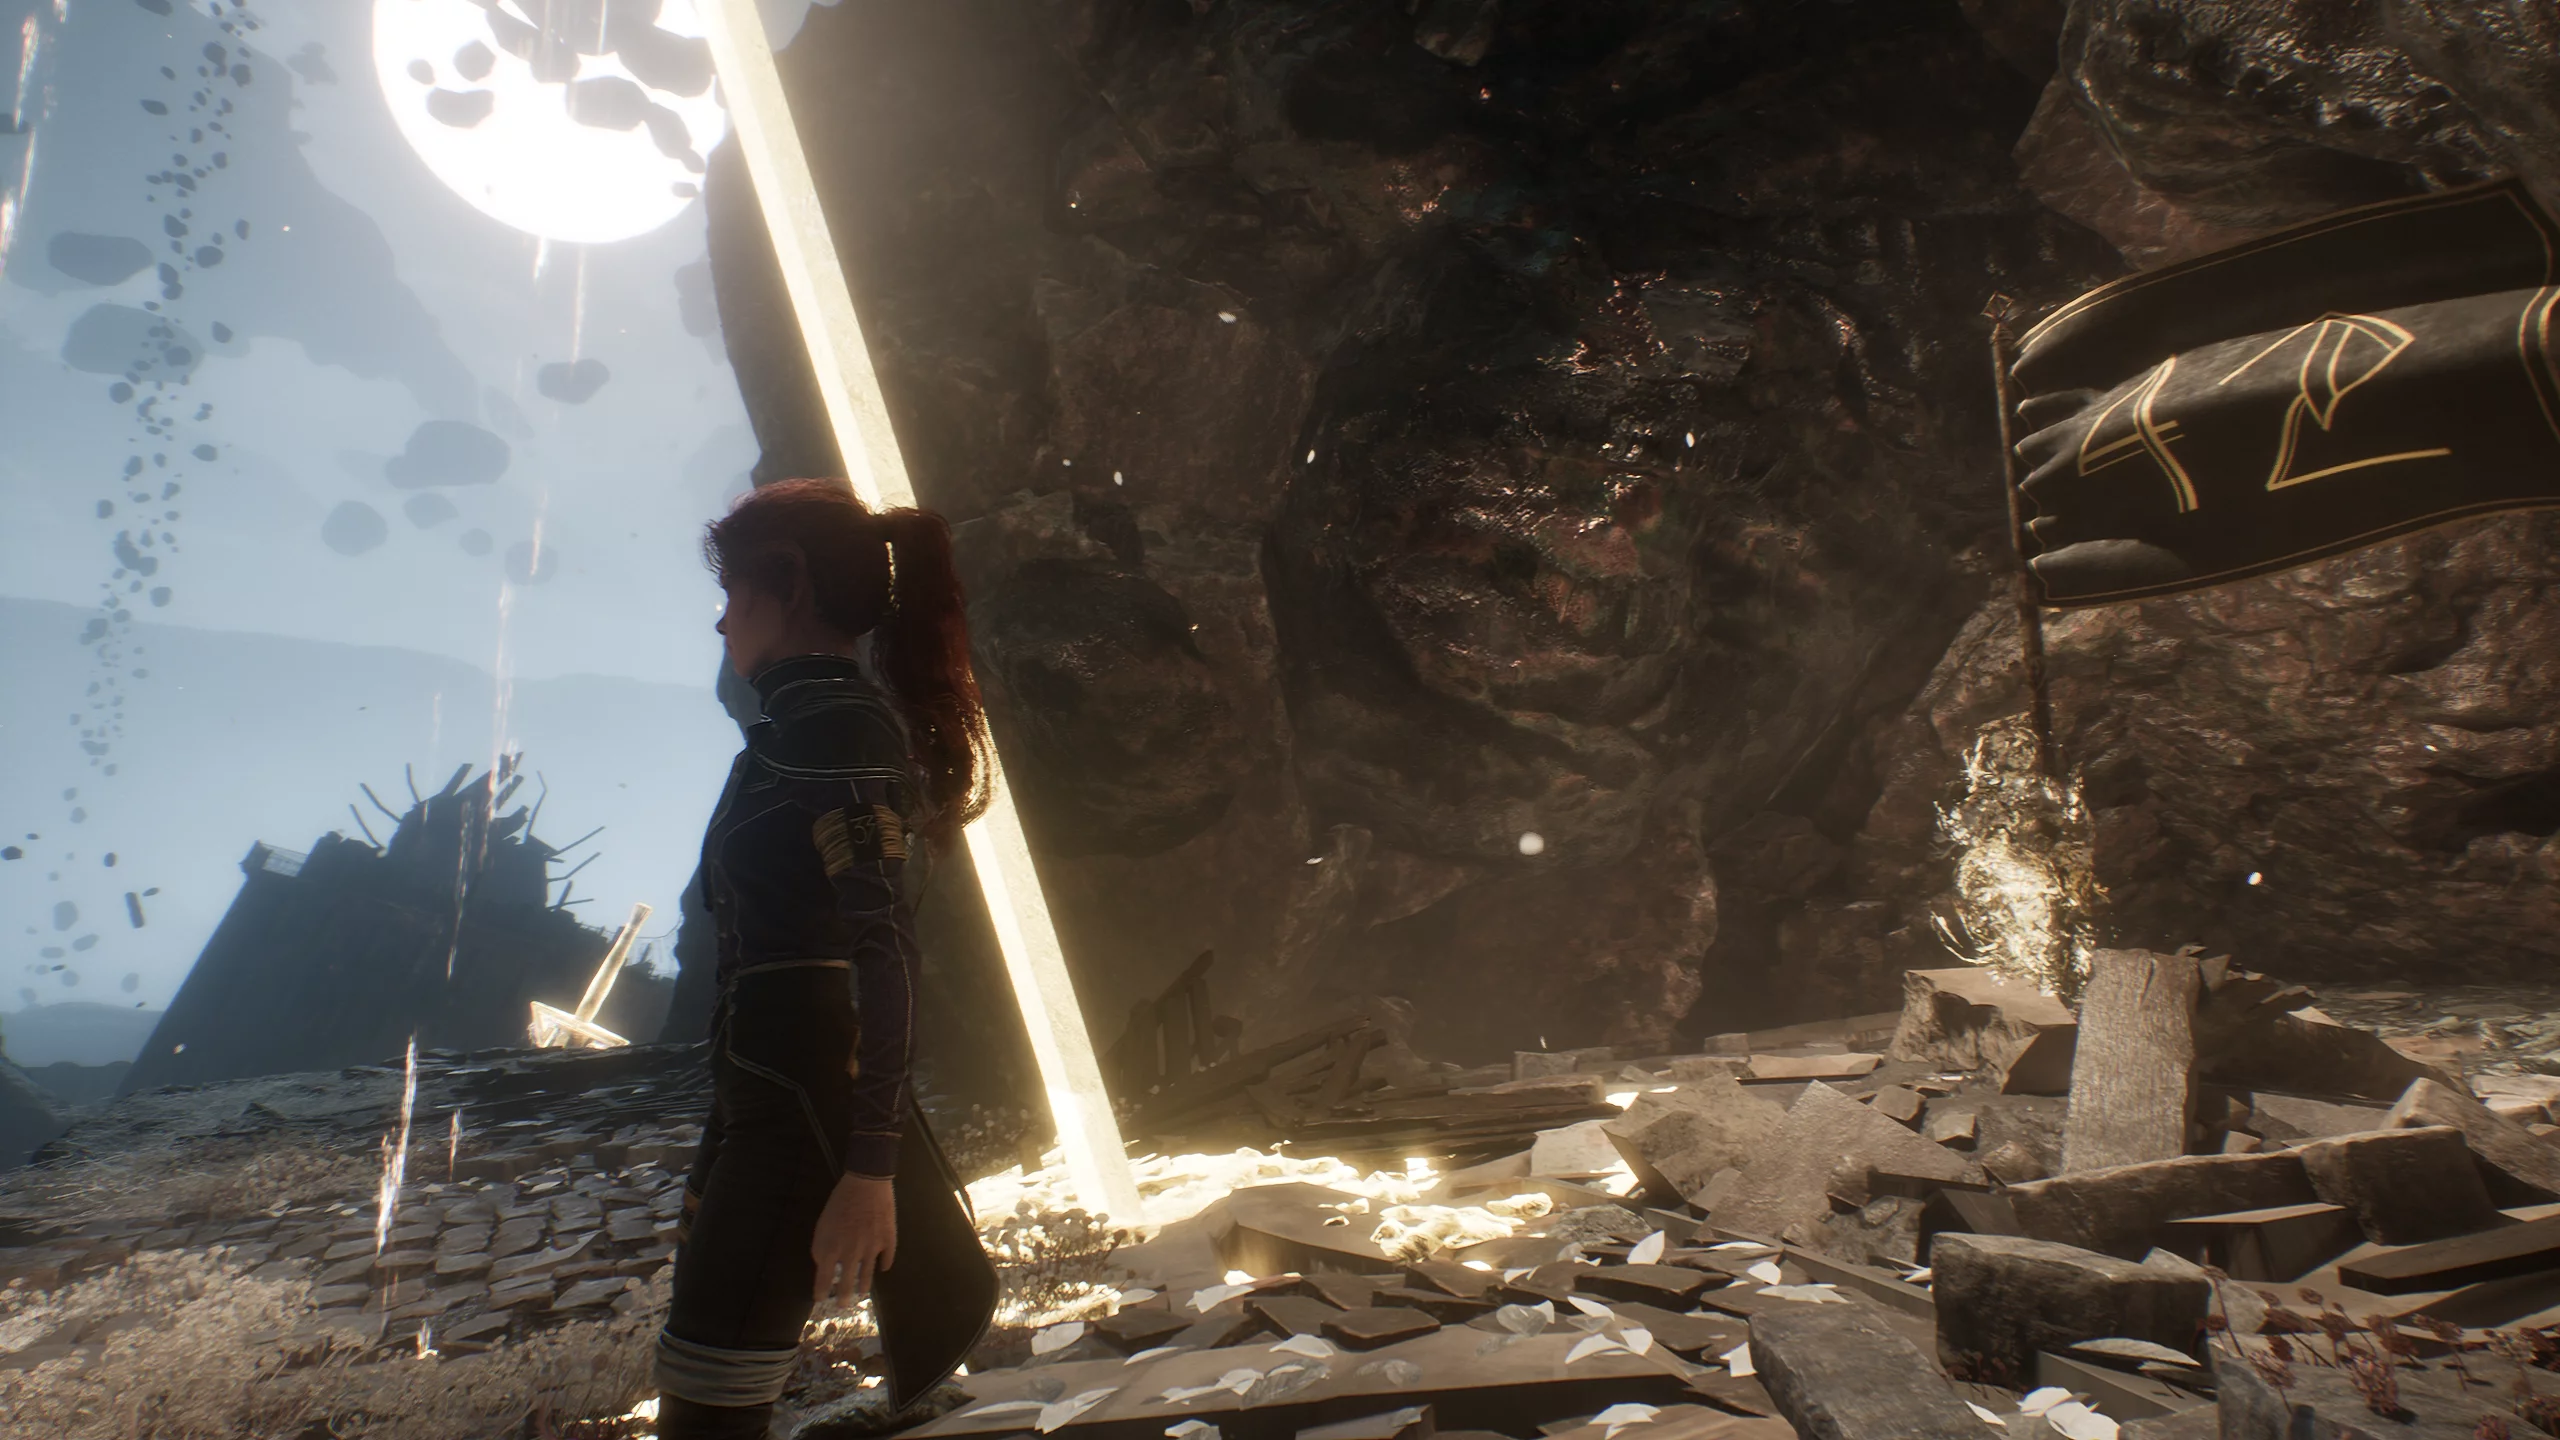
You need to go forward, however, if you have the old key from the prologue, you can go right and pick up a journal and shiny chrome catalyst.
Go forward and kill the enemies, after which Mael will be alone. Continue forward; along the way, you can collect: lumina color, shiny chrome catalyst, and Pictos “Auto-Acceleration”: at the start of battle, acceleration is applied for 3 turns.
At the end of the level, you will come across a mansion where you will meet the boss “Renoir”. Try to dodge his attacks and keep in mind that he can erase heroes in battle. After the victory, you will find yourself in the camp. Now you need to destroy two powerful axons to collect a lot of chrome and craft a weapon that can defeat the artist.
Defeat the Faceless
Break camp and move north to the “Island of the Faceless”. From the “Square” flag, you can go straight to the boss. However, before that, you can explore three other paths.
Valley of Joy
The first path, “Valley of Joy” flag, in this location you can find: shiny chrome catalyst and kill the mime to get a costume, the “Confusion” weapon, and Pictos “Confident Fighter”: damage dealt is increased by 30%, but healing does not work. Then approach the huge mask and select the first dialogue option, after which the mini-boss “Cheerful Reaper” will appear. For defeating her, you’ll receive the “Chapelim” weapon.
Valley of Sorrow
The second path, “Valley of Sorrow” flag, in this location you can find: shiny chrome catalyst, energy tonic, journal, and Pictos “Glass Cannon”: +25% damage dealt and +25% damage received. Choose the second option in the dialogue with the mask, after which the mini-boss “Melancholy Chevalier” will appear. Defeat him to get the “Rotaro” weapon.
Valley of Wrath
The third path, “Valley of Wrath” flag. In this level you can find: shiny chrome catalyst, chrome, resurrection tonic, Pictos “Enhanced Attack”: every time you deal damage, you can try to absorb 1 AP. If successful, damage increases by 20%, and “Double Burn”: applies a second burn each time a stacking burn is inflicted. In the conversation with the mask, choose the third option, then defeat the mini-boss “Malicious Shieldmouth”, and receive the “Clear Mind” weapon.
Peak
Take the middle path. Climb up and after the “Peak” flag, enter the arena, where the battle with the boss “Faceless” will begin. In the first phase, masks will emerge from the mirror; shoot at the glowing eyes. In the second phase, the “Keeper of Masks” will appear; parry his attacks. After victory, the squad will find themselves back at camp.
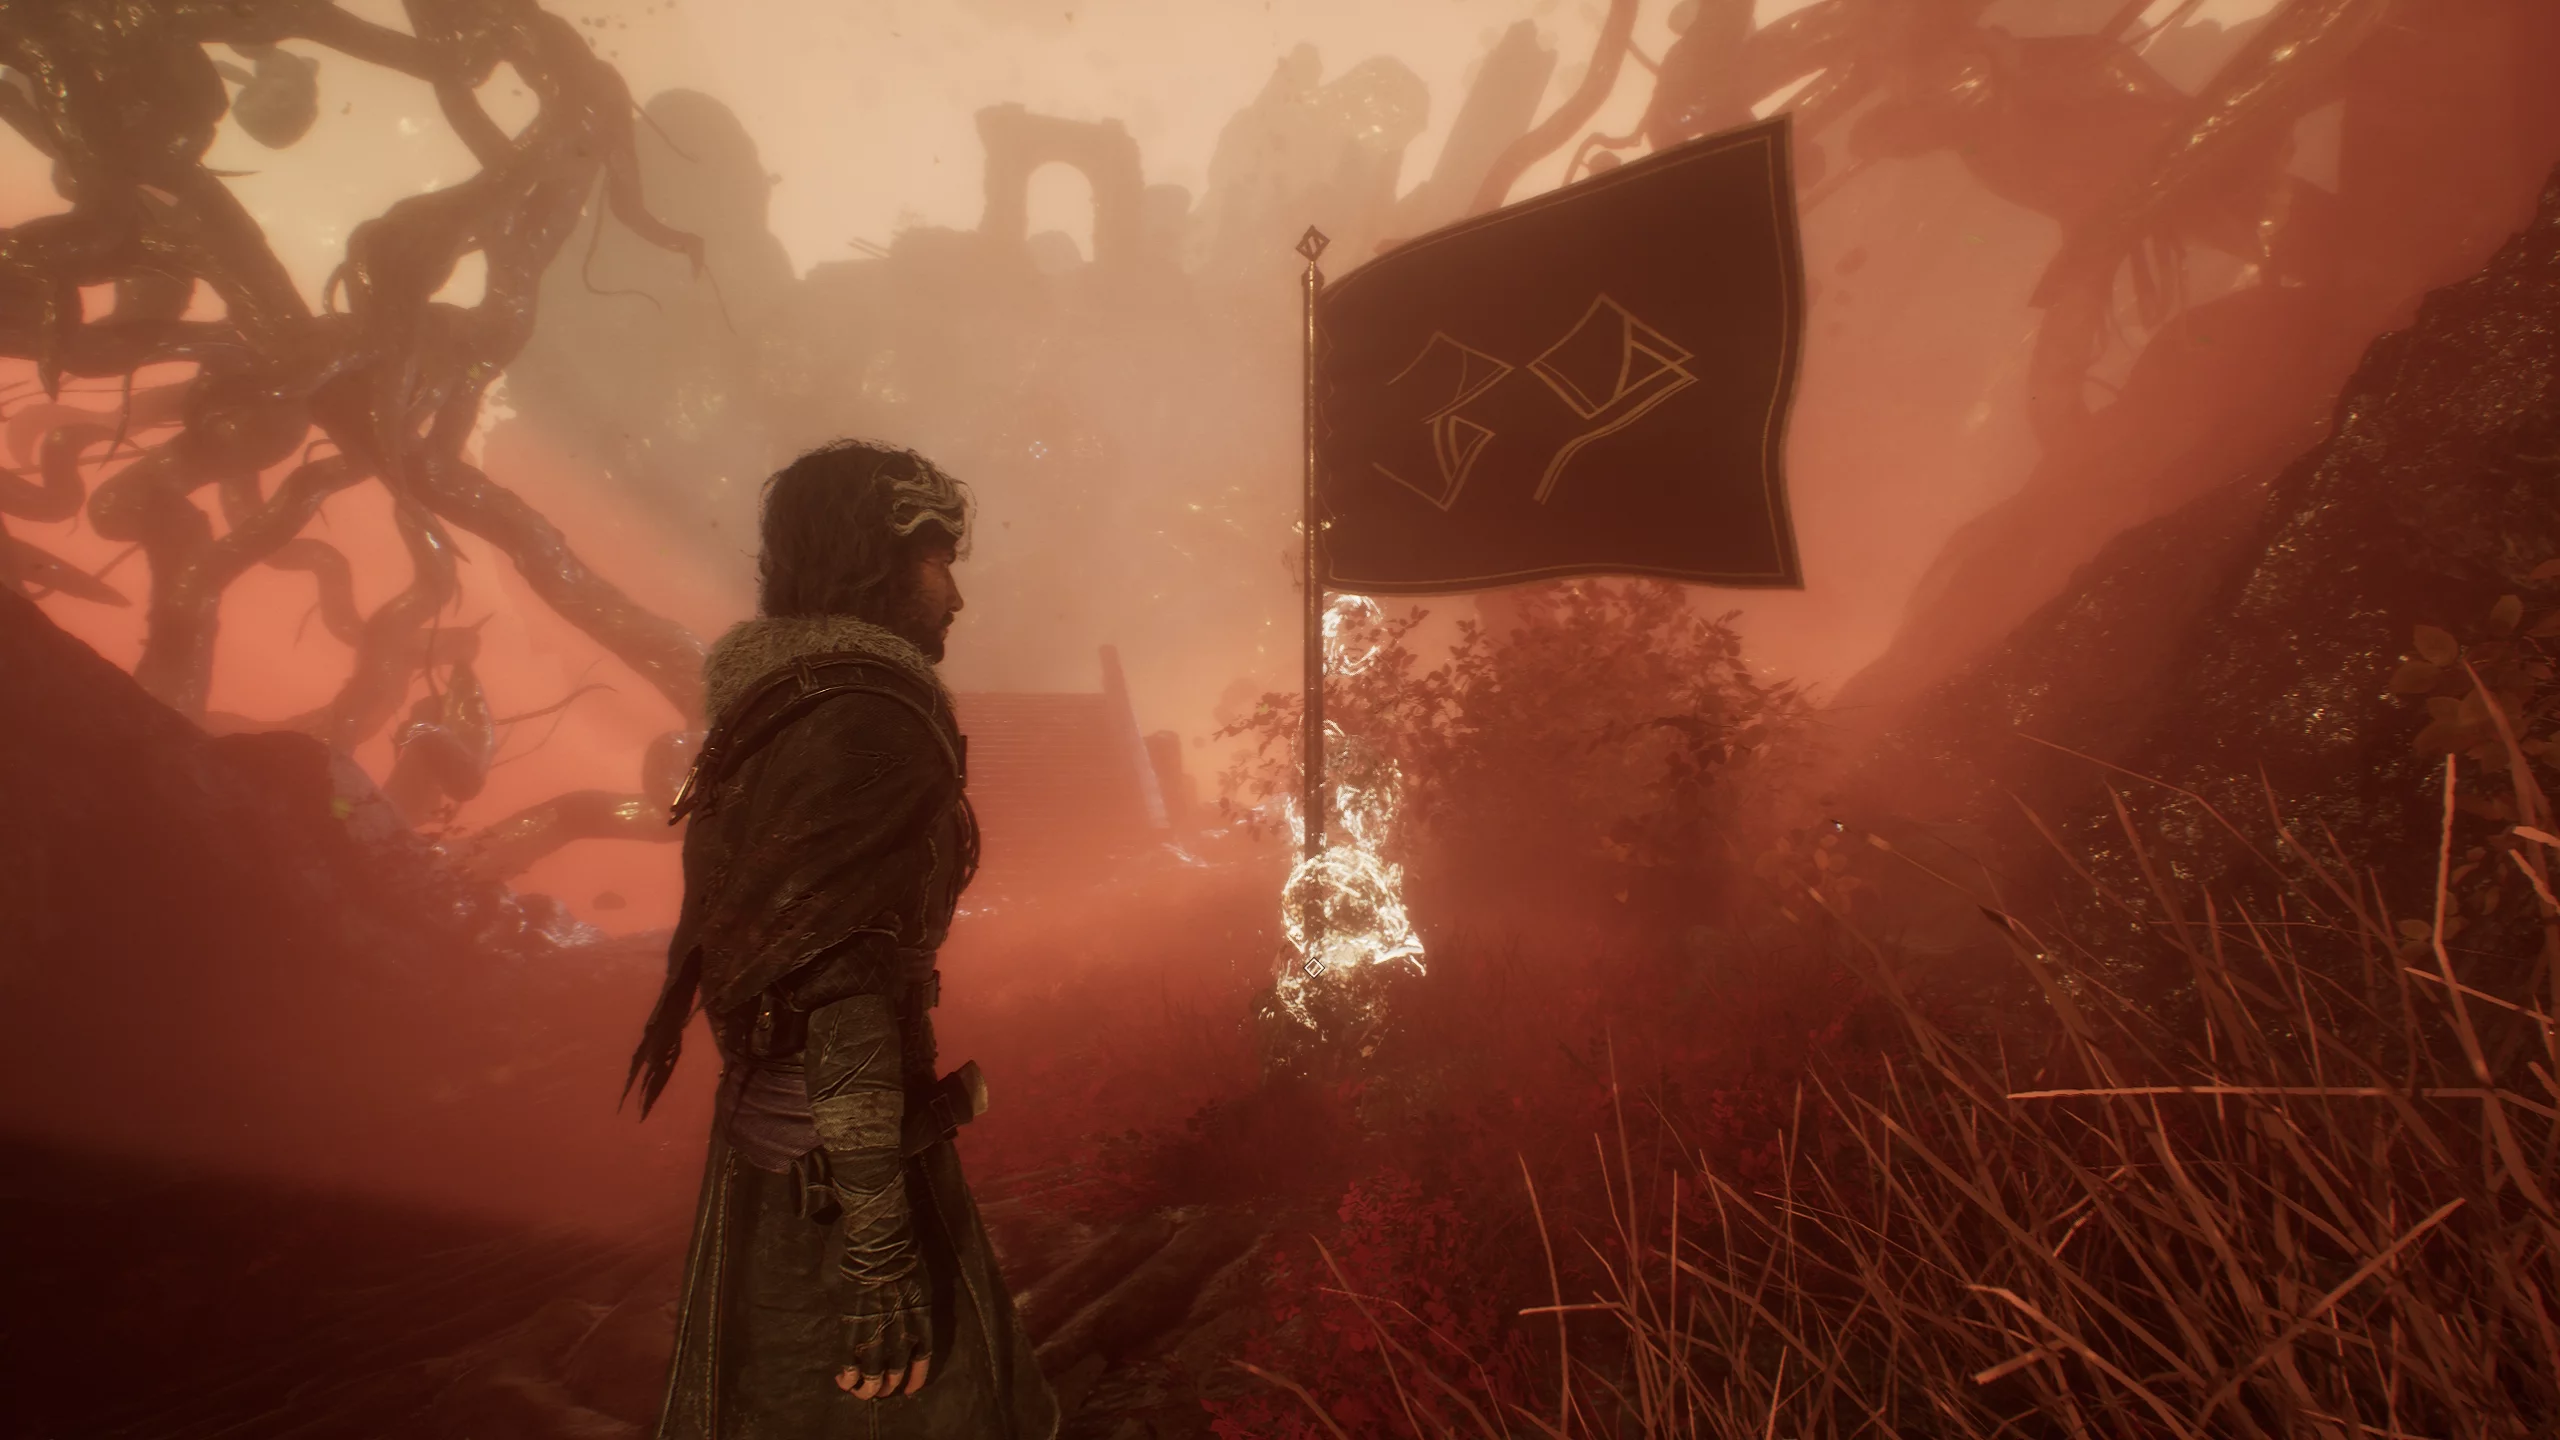
Defeat the Siren
After resting, sail to the “Siren” island. After meeting the boss, activate the floating platform and find the “Dance Class” flag. To the right of the slab, you can collect a shiny chrome catalyst.
After the flag, a small location will open up, at the other end of which there is a platform that will take you forward. Here you can collect: a journal, lumina flower, Pictos “Shield Bonds”: if you have shields, damage dealt increases by 30%. When taking any damage, all shields are removed.
If you go down to a lower level, you can reach the mini-boss “Chrome Cultist with a Sword”, the reward for victory is the “Siresso” weapon. Here you can also find Pictos “Effective Healing”: doubles any healing received and “Super Armor”: armor absorbs 10% more damage. Then you need to go back up to the first flag and proceed to the next platform.
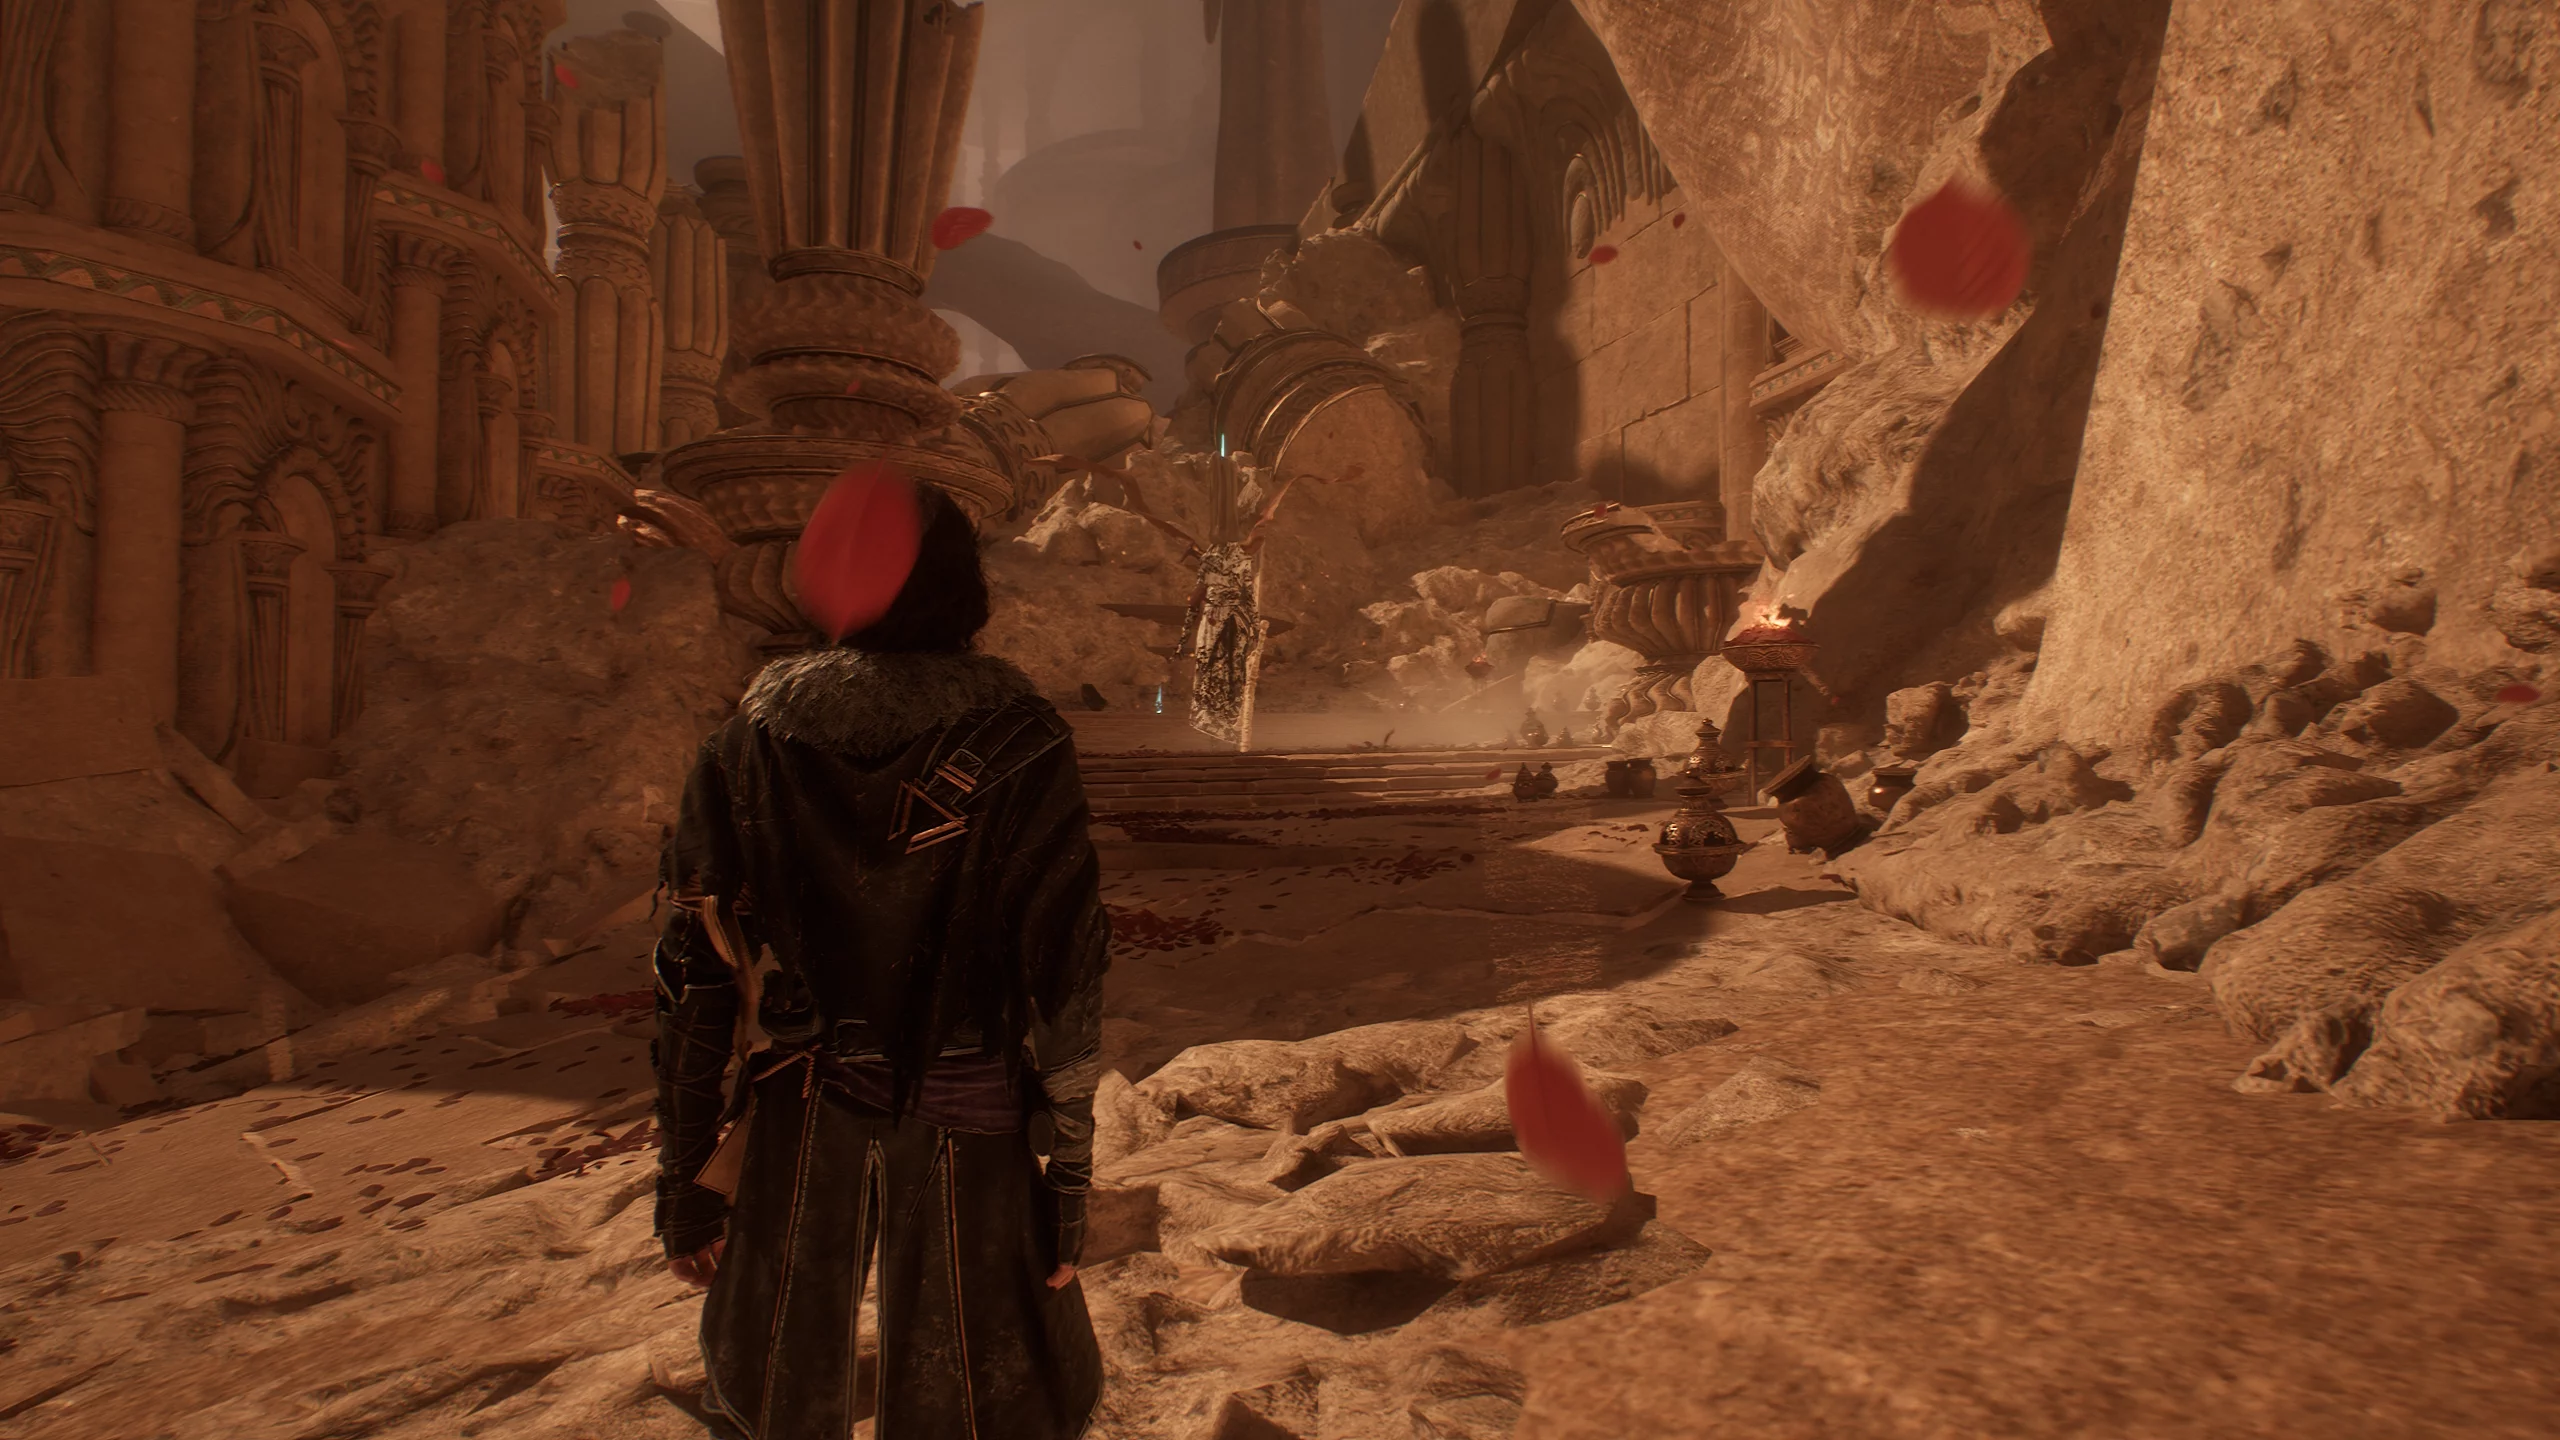
Beyond the platform is a crossroads. Go forward and chase the Petanque into the left corridor; for defeating it, you can get valuable resources. Then go right into the large hall. Cross to the other side using the fabric panels; below you can pick up Pictos “Auto-regeneration”: at the start of battle, regeneration is applied for 3 turns.
Leaving the fabric hall, walk along the edge to collect a shiny chrome catalyst, and activate the next platform.
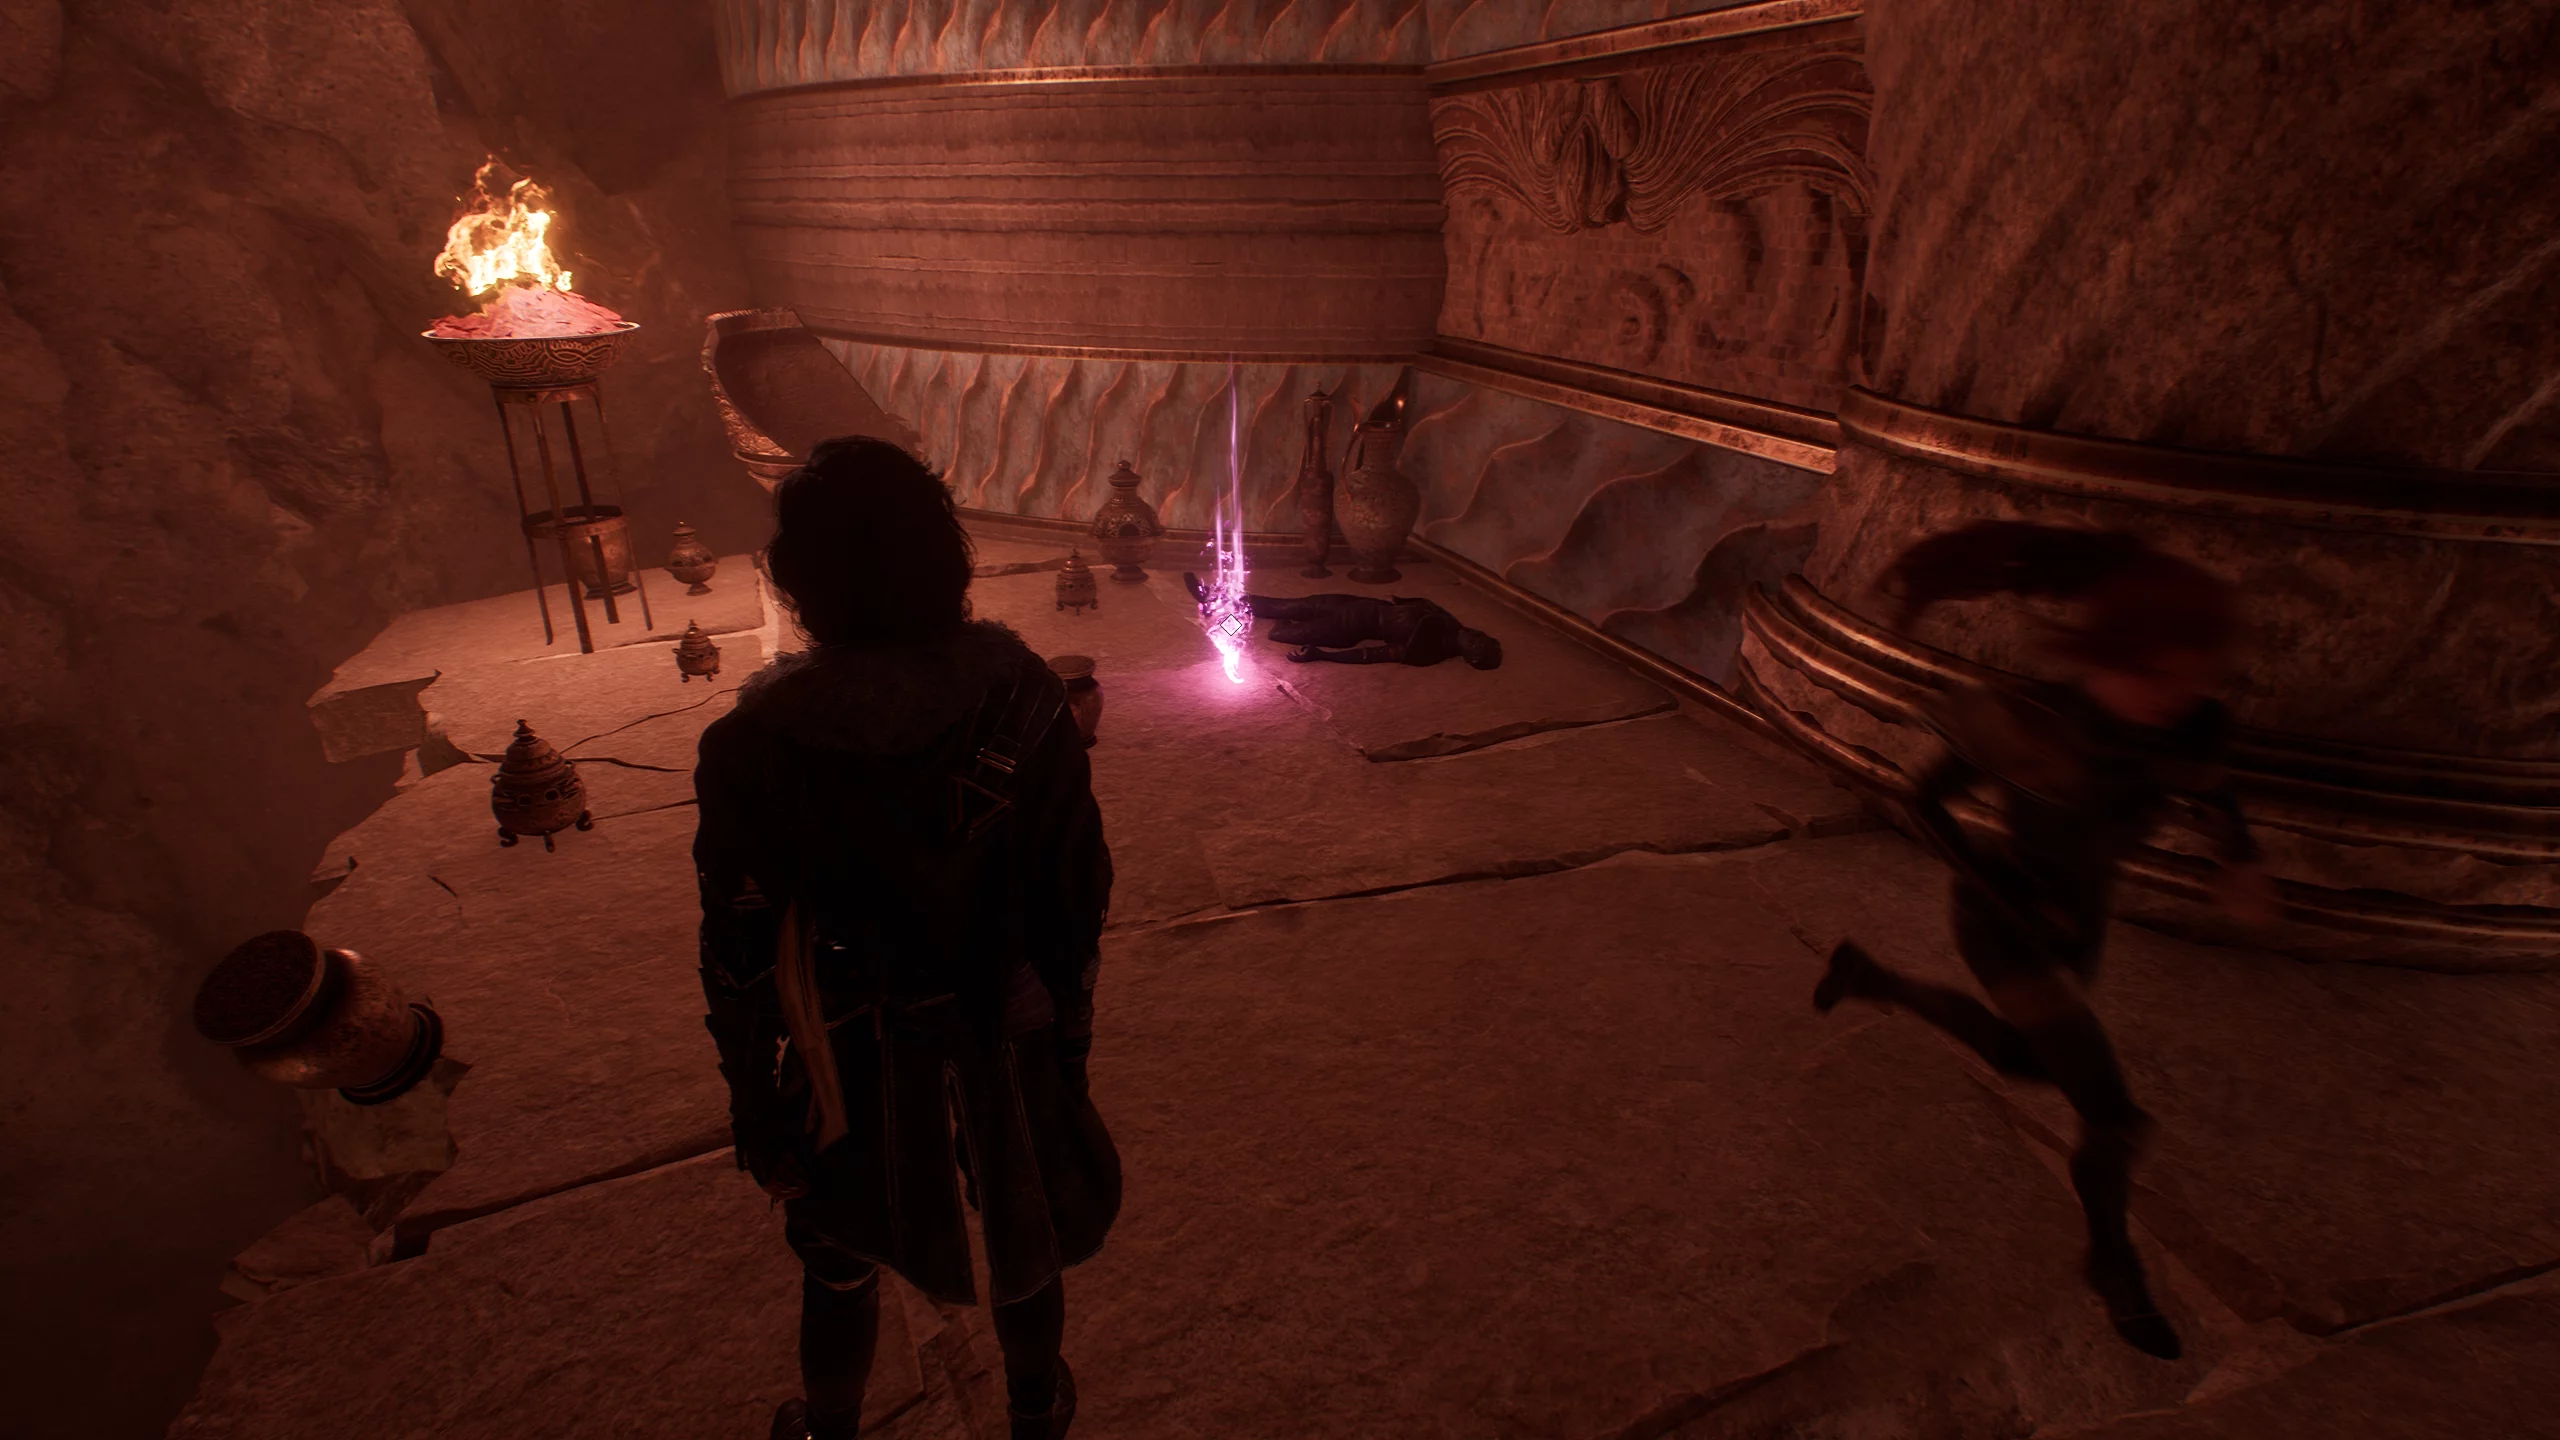
After meeting the melting man, move forward to the next flag; on the way you can find: lumina flower, shiny chrome catalyst, Pictos “Death-Protection”: after death, allies gain armor, and meet a mime, for defeating whom you’ll get a costume.
Sewing Workshop
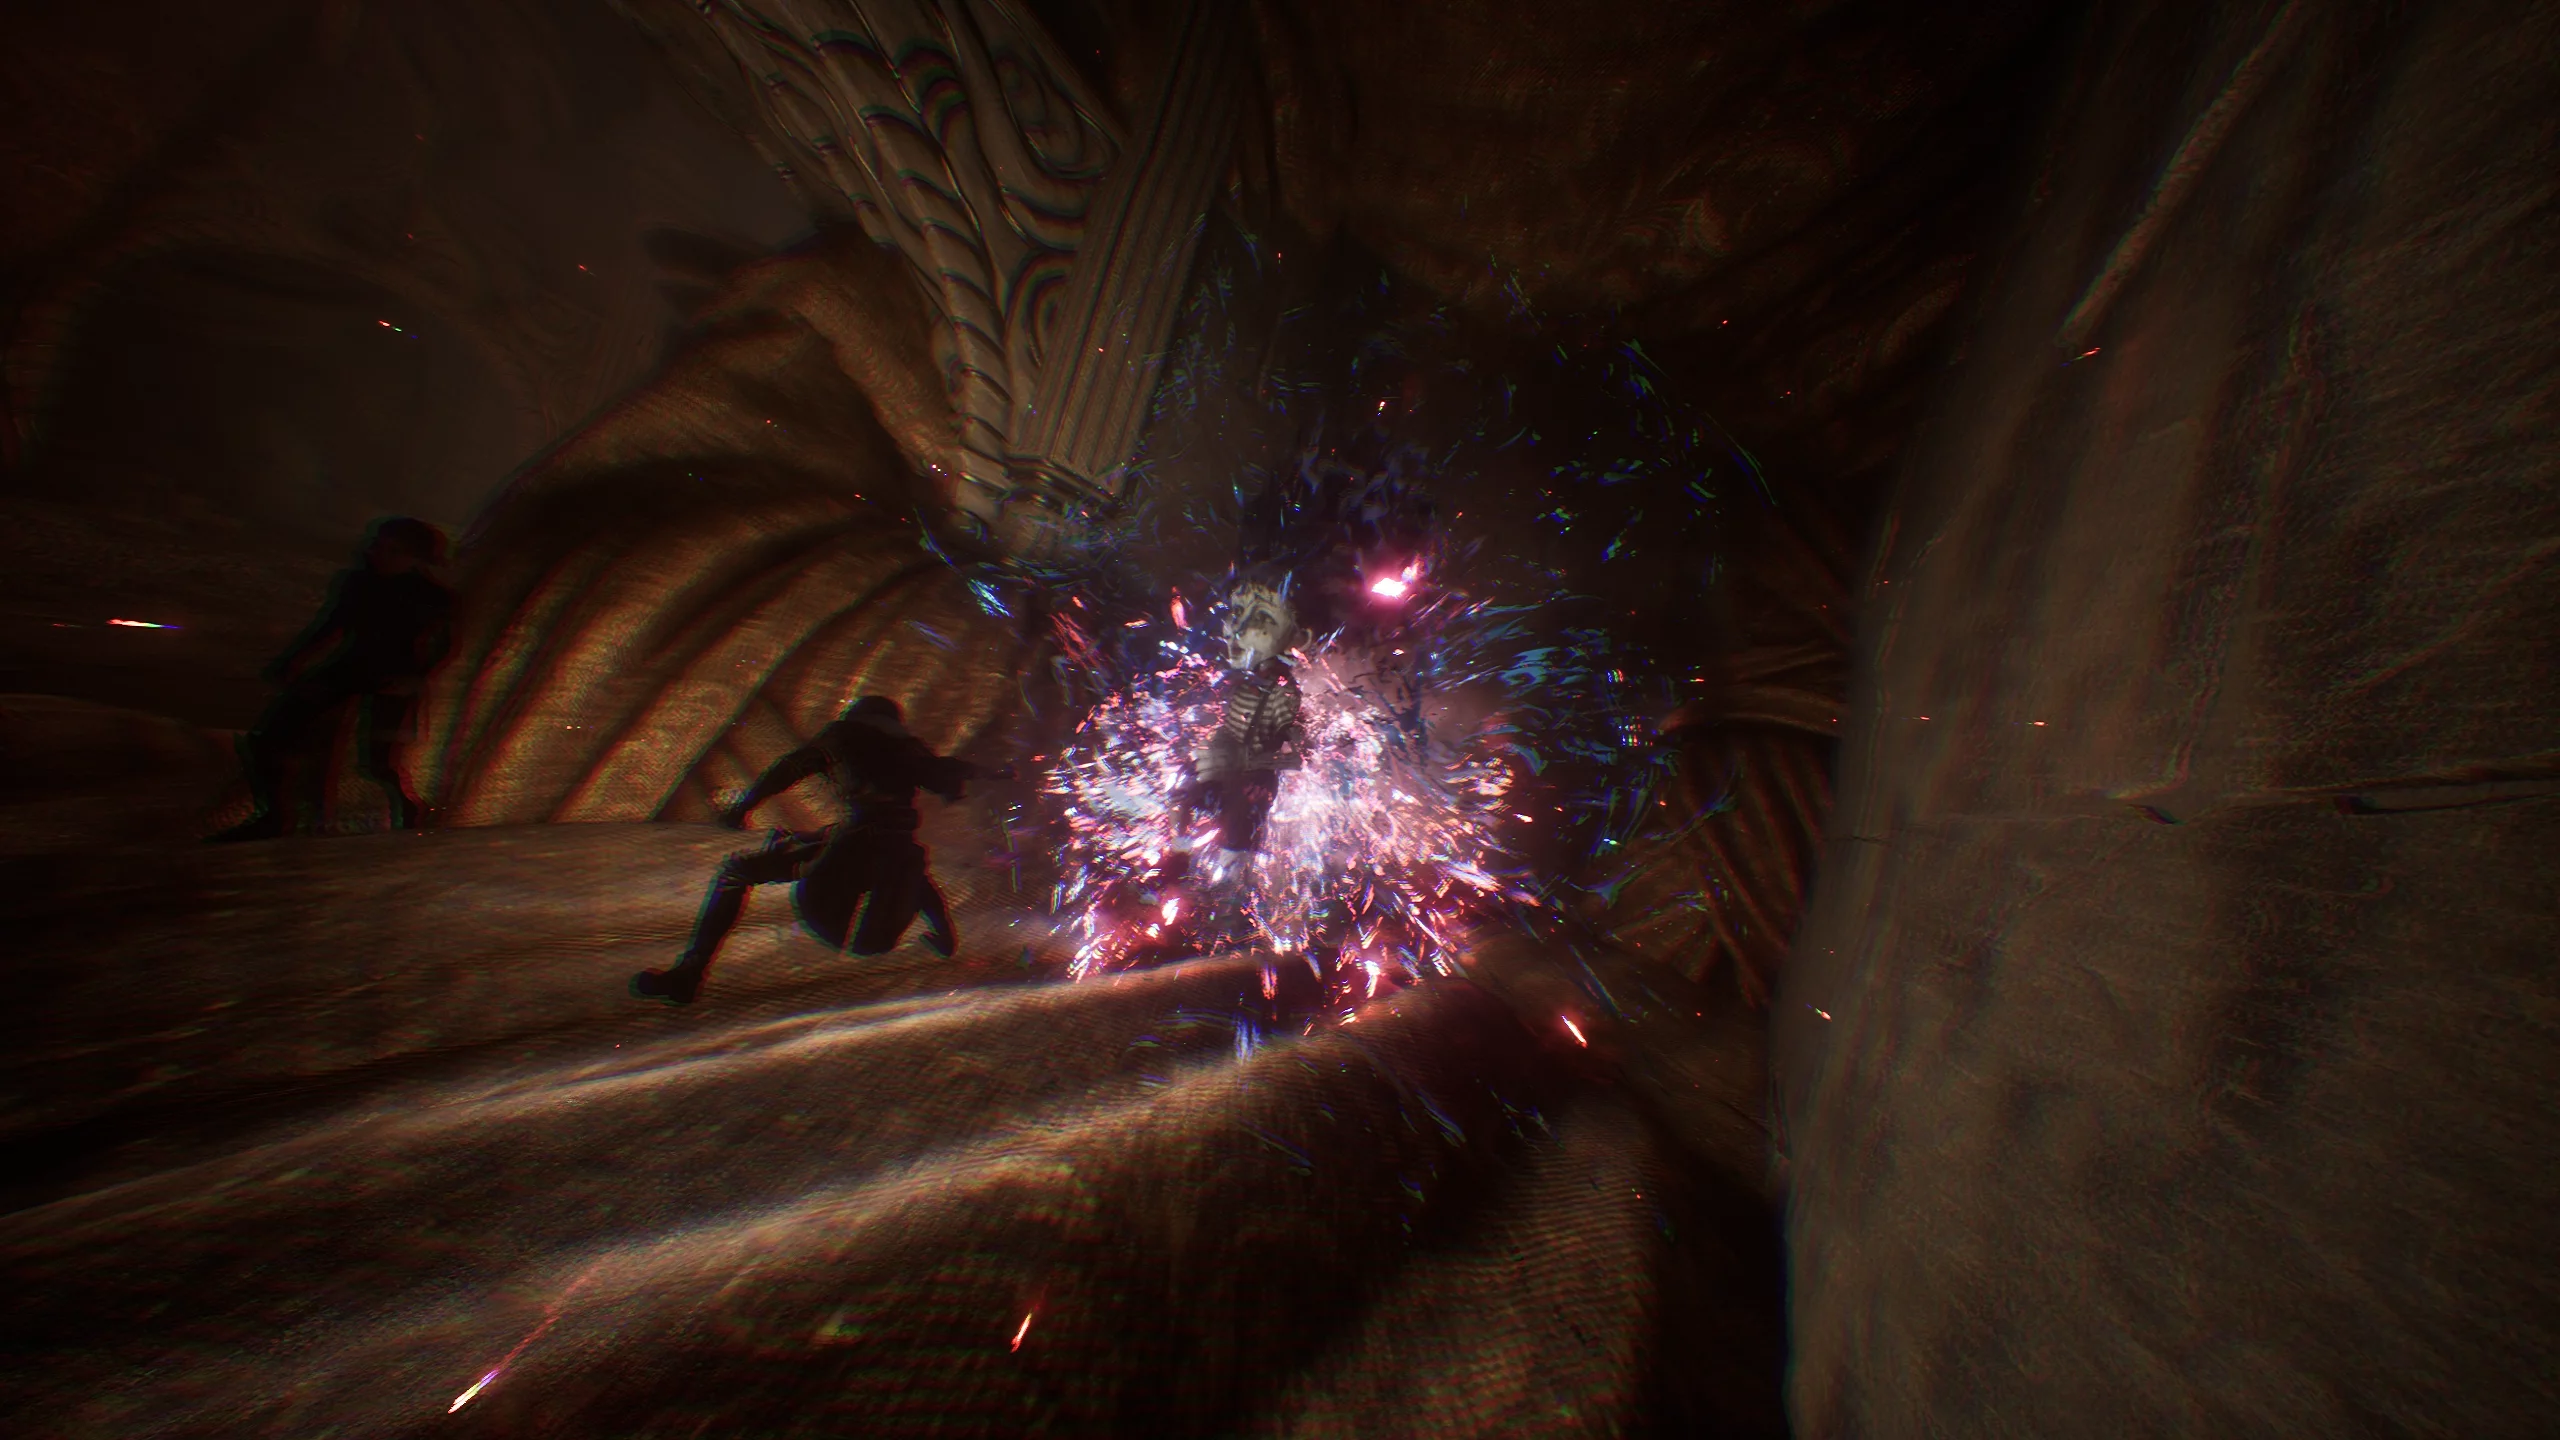
From the “Sewing Workshop” flag, go to the room with the weaver, where you can find a resurrection tonic and a shiny chrome catalyst. Fighting him is not required, but victory grants Pictos “Anti-Charms”: immunity to charms and the “Tkanum” weapon. In addition, the weaver’s death will make the battle with the siren easier.
Unreliable Path
Leave the weaver’s lair and find the “Unreliable Path” flag. Kill the boss “Glissando”. The snake’s tail is the weak spot; shoot when it glows. After victory, you can go left and descend for the Petanque. Then return and activate the platform guarded by the snake.
Dance Arena
From the platform, head to the “Dance Arena” flag and prepare for a tough battle. On the way, collect the journal. Enter the arena and defeat the “Siren”. She can charm party members, so dodge her attacks. After victory, the heroes will find themselves at the camp.
Meet the Artist at the Monolith
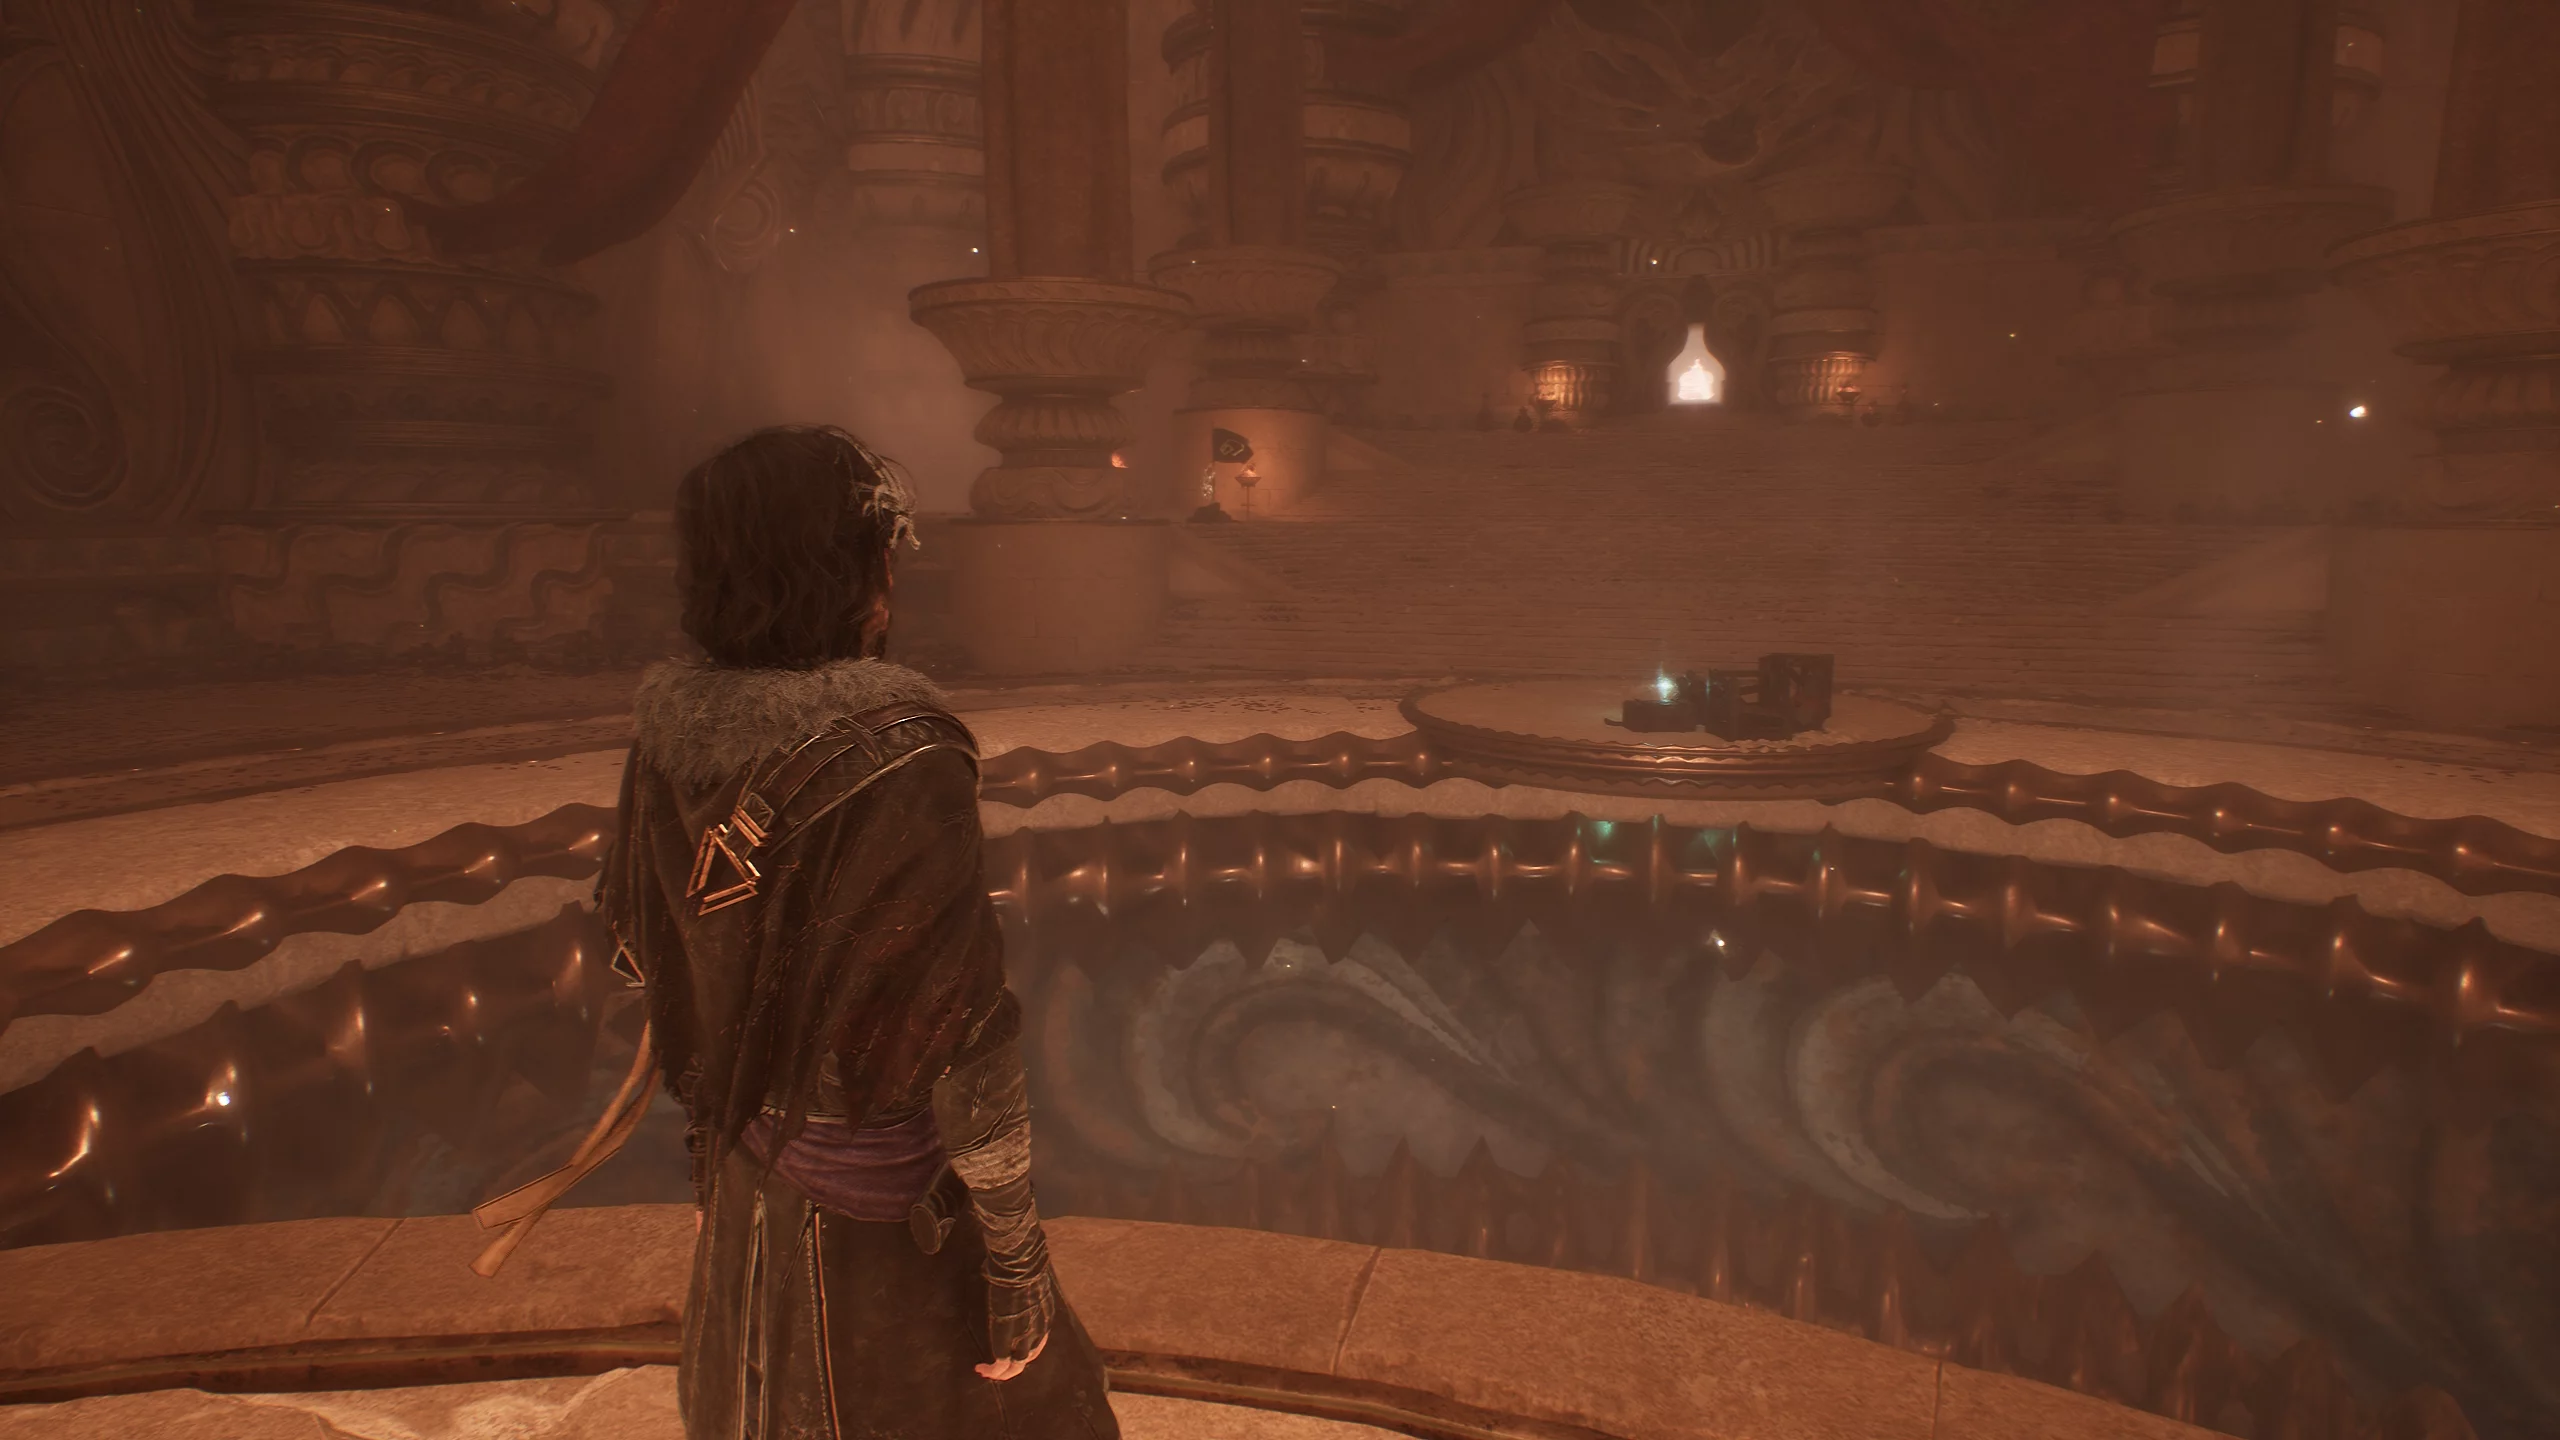
After defeating the Axons, the heroes, with the help of the Curator, create the “Barrier Breaker” weapon, which allows you to reach the artist.
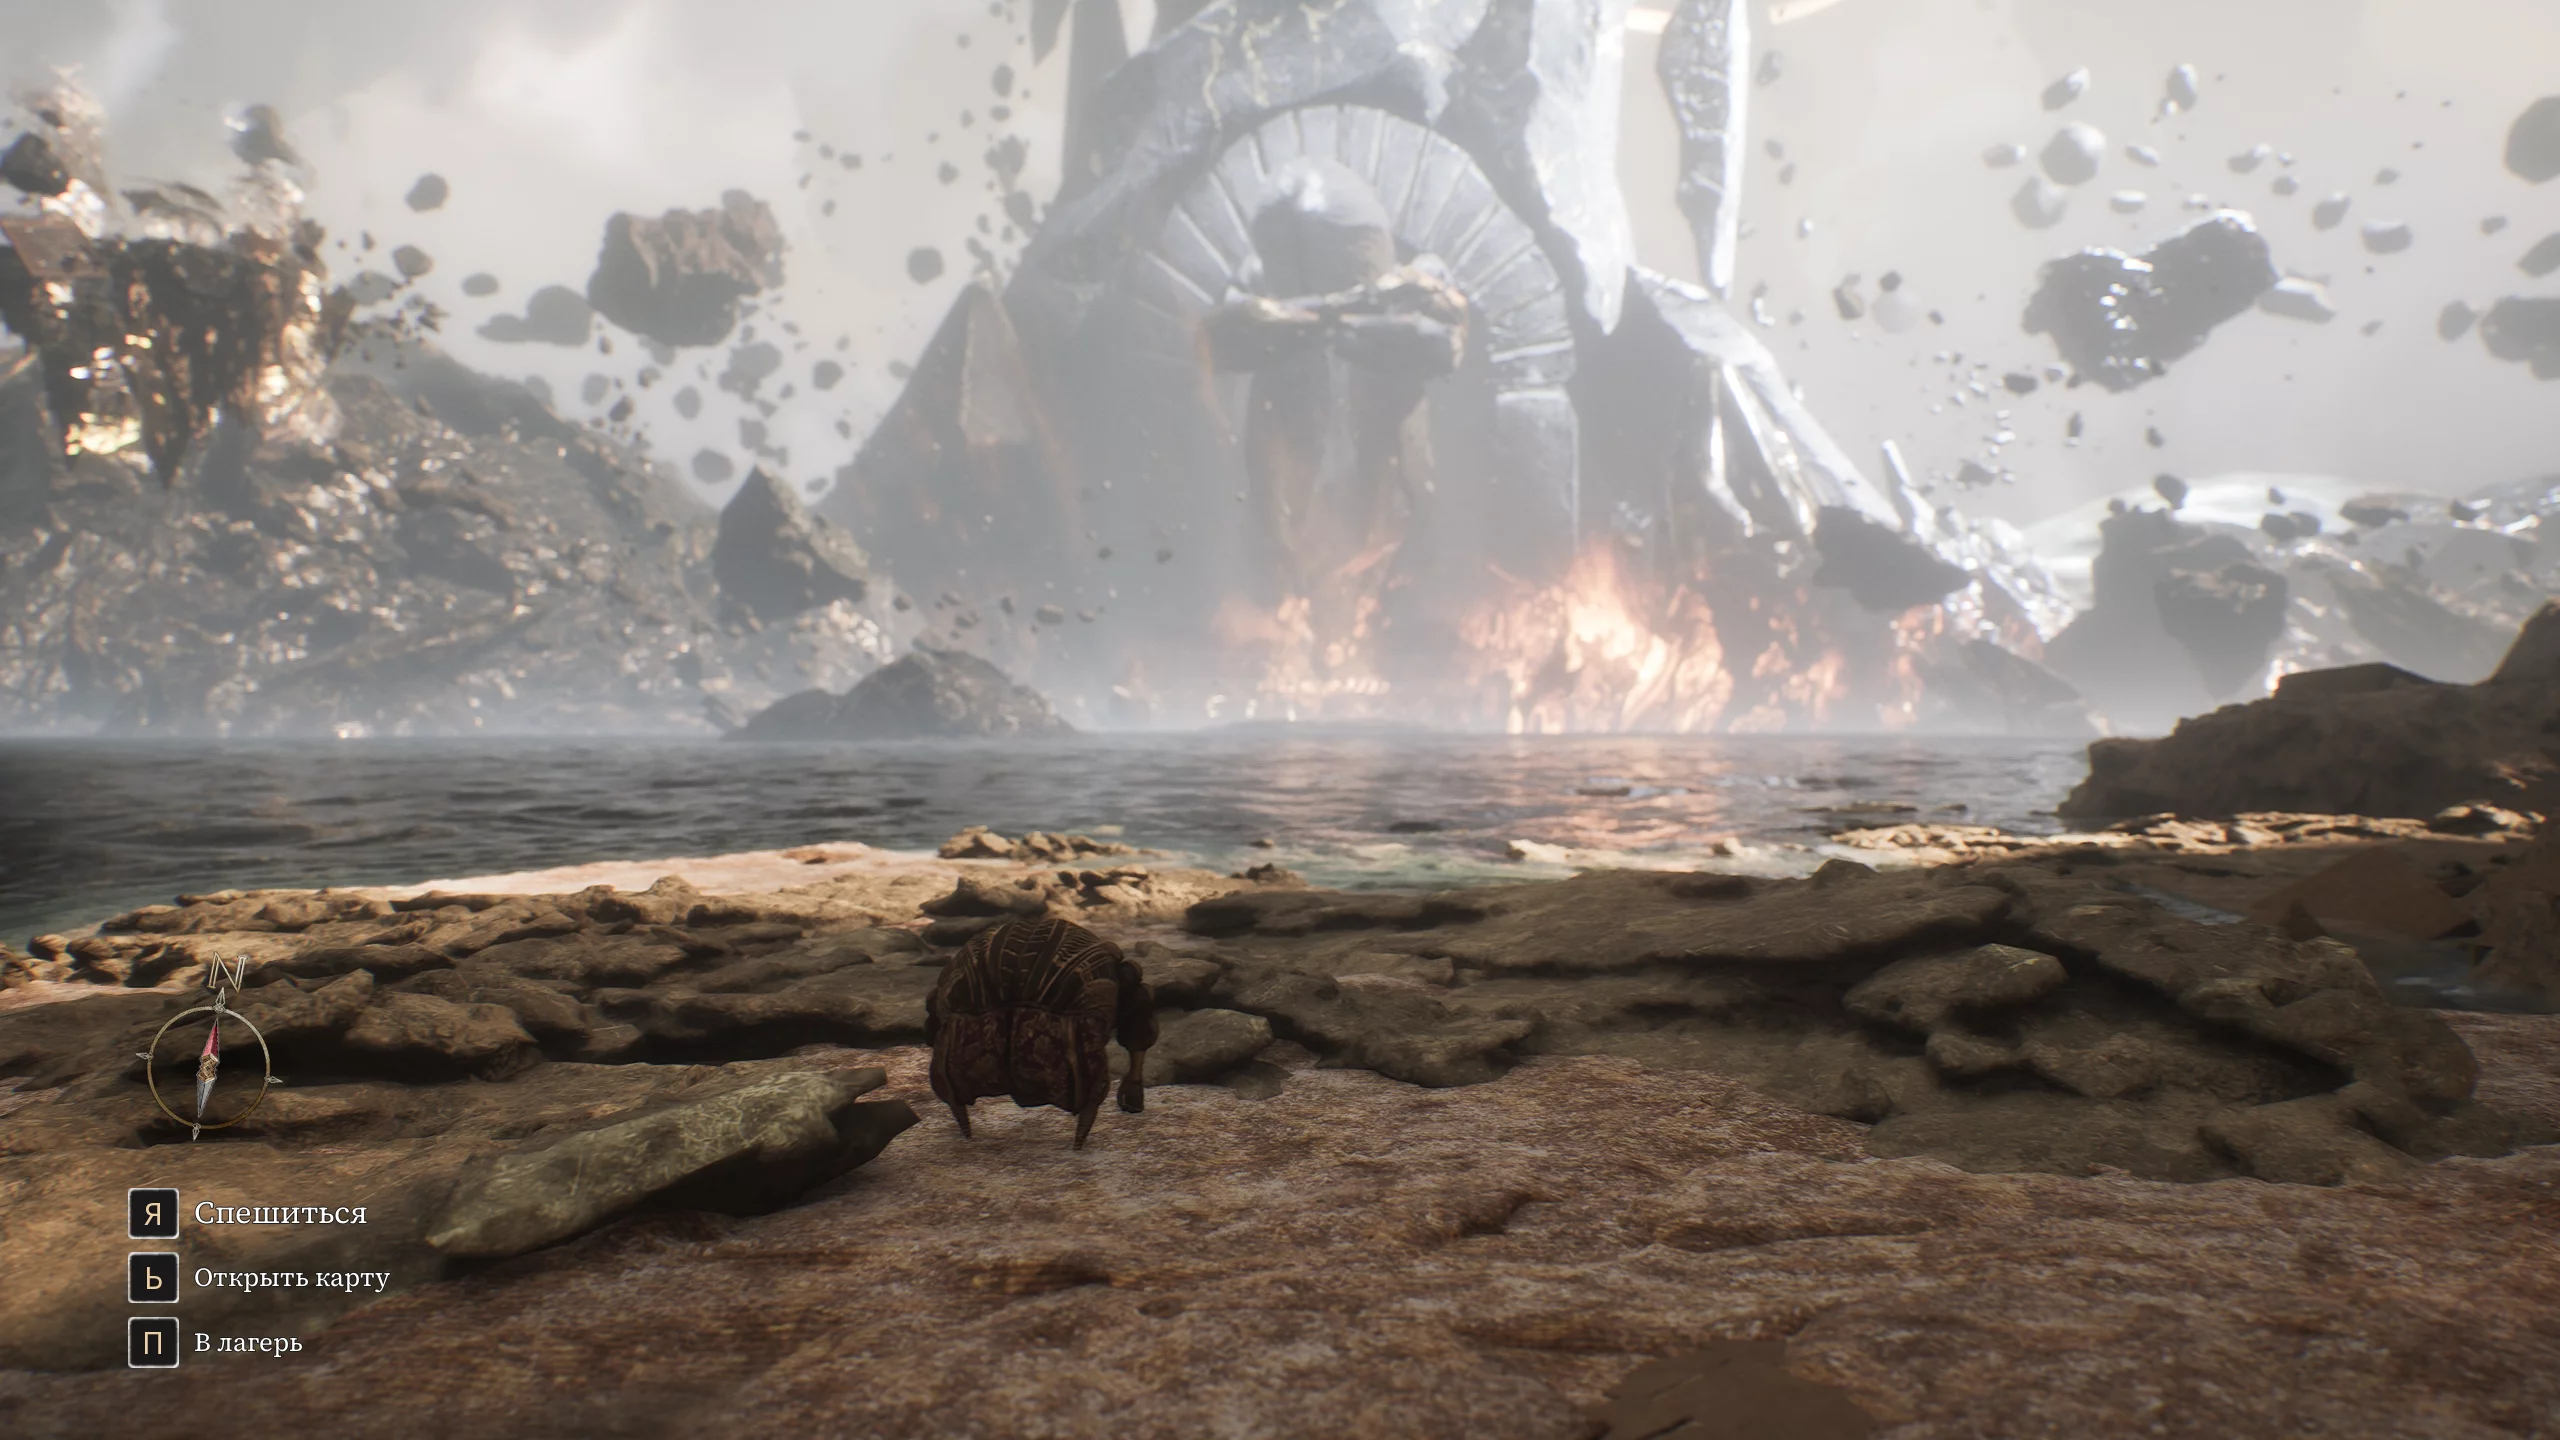
Head to the north of the map. Approach the artist and start the fight. She will not react to your party's attacks. Take a few turns, after which you will find yourself “Inside the Monolith.”
Find the Artist’s Heart
The “Inside the Monolith” level is a large area featuring all the biomes encountered during the playthrough, with valuable resources, enemies, and mini-bosses.
Contaminated Levada
From the “Contaminated Levada” flag, move forward. Along the way, you can defeat the “Bishop” and find a lumina flower and a resurrection tonic.
Contaminated Waters
Find the “Contaminated Waters” flag. On this level, you can find a shiny chrome catalyst and defeat the mini-boss “Chrona-Butonier” to receive as a reward the “Butonion” weapon, Butonier hide, lumina flower, and Pictos “Indelible Mark”: 50% chance to apply a mark when attacking a target that already has a mark.
Contaminated Sanctuary
From the “Contaminated Sanctuary” flag, you can find chrome, lumina flower, and defeat the mini-boss “Great Bulbomech”. As a reward, you will receive a shiny chrome catalyst.
Contaminated Cliffs
In the area after the “Contaminated Cliffs” flag, you can find a shiny chrome catalyst, chrome, retouch, lumina flower, petanque, and defeat a mime to obtain a costume.
Contaminated Battlefield
On the way from the “Contaminated Battlefield” flag to the next one, you can find a shiny chrome catalyst, lumina flower, and chrome.
Contaminated Hearts
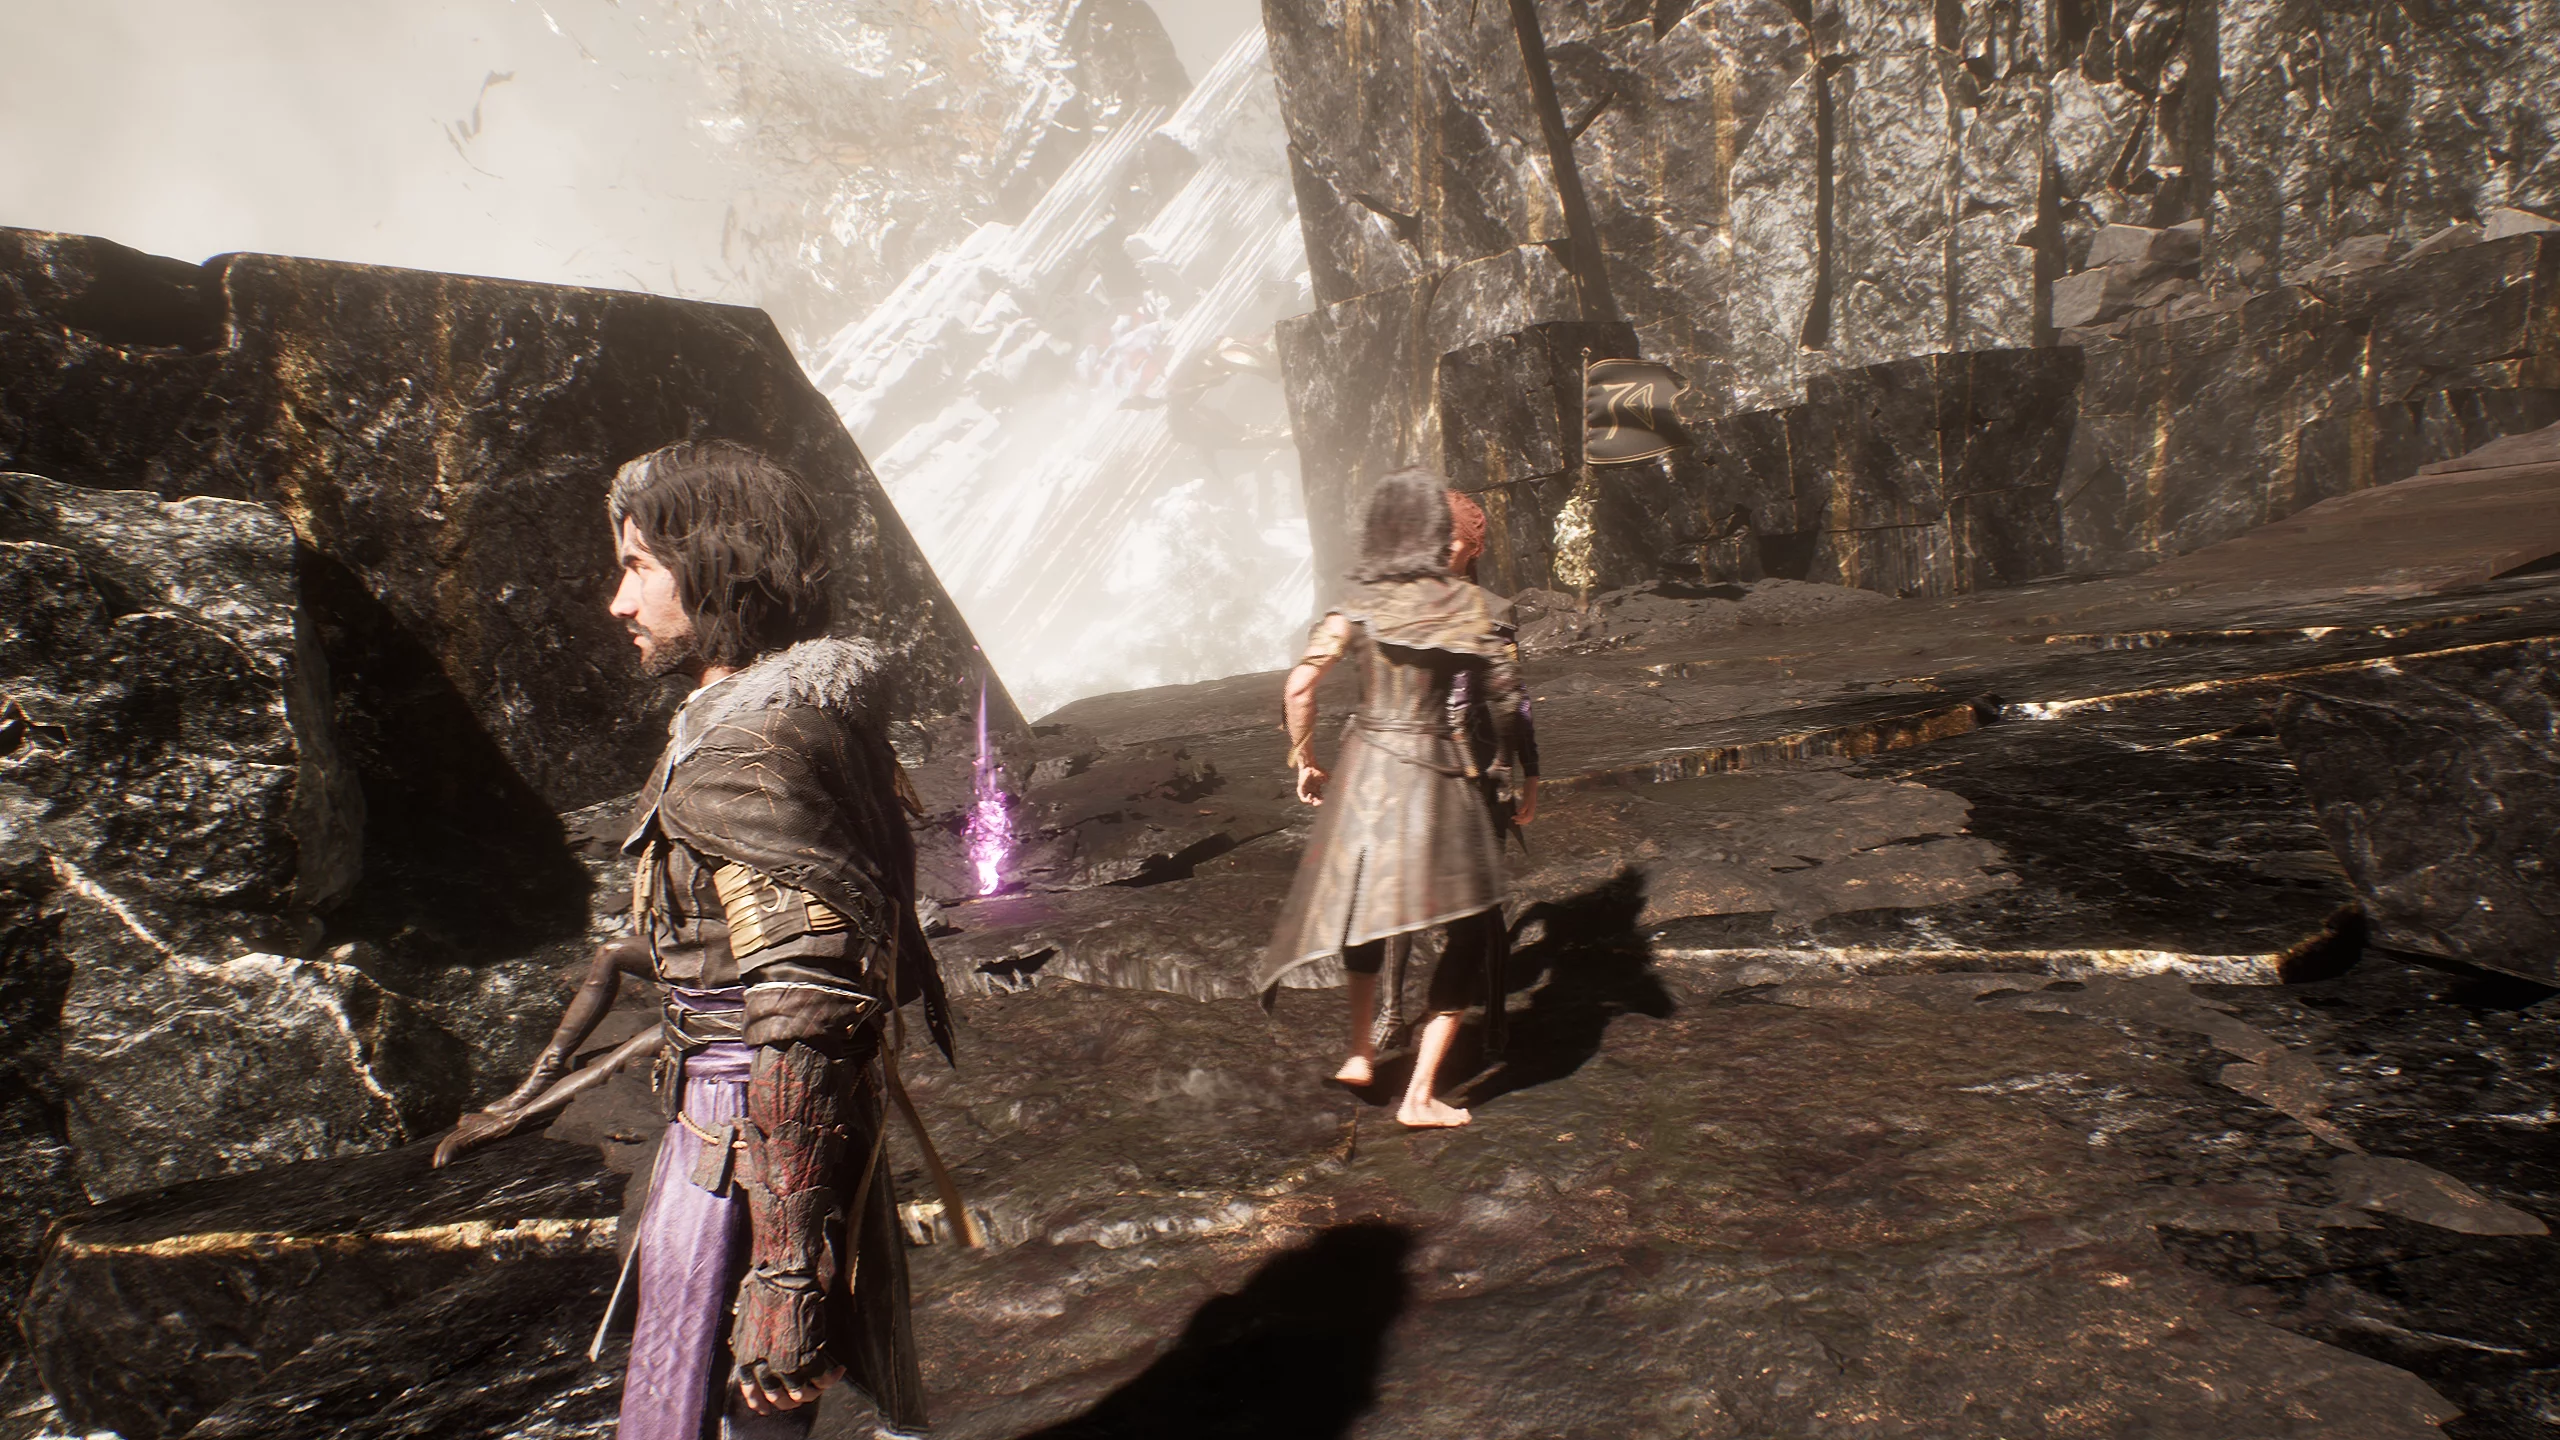
From the “Contaminated Hearts” flag, move forward. Along the way, you can kill the mini-boss “Gargant” for which you’ll receive a shiny chrome catalyst and find a lumina flower. Reach the end of the level and board the train.
Contaminated Lumiere
On the city streets, you’ll find: retouch, lumina flower, journal, shiny chrome catalyst. At the end of the level, you can kill the mini-boss “Lightshade” and receive as a reward the “Grezzizo” weapon and “Litelim”, as well as Pictos “Breaking Attack”: the basic attack grants the ability to break.
Head to the “Tower Peak” flag. At the end of the path, you’ll face the boss “Renoir”, the fight will be tough, use your best builds. In addition, he can erase party members, and the enemy summons a giant wolf. Keep in mind that if your first squad is defeated, you won’t be able to use a backup.
Monolith Peak
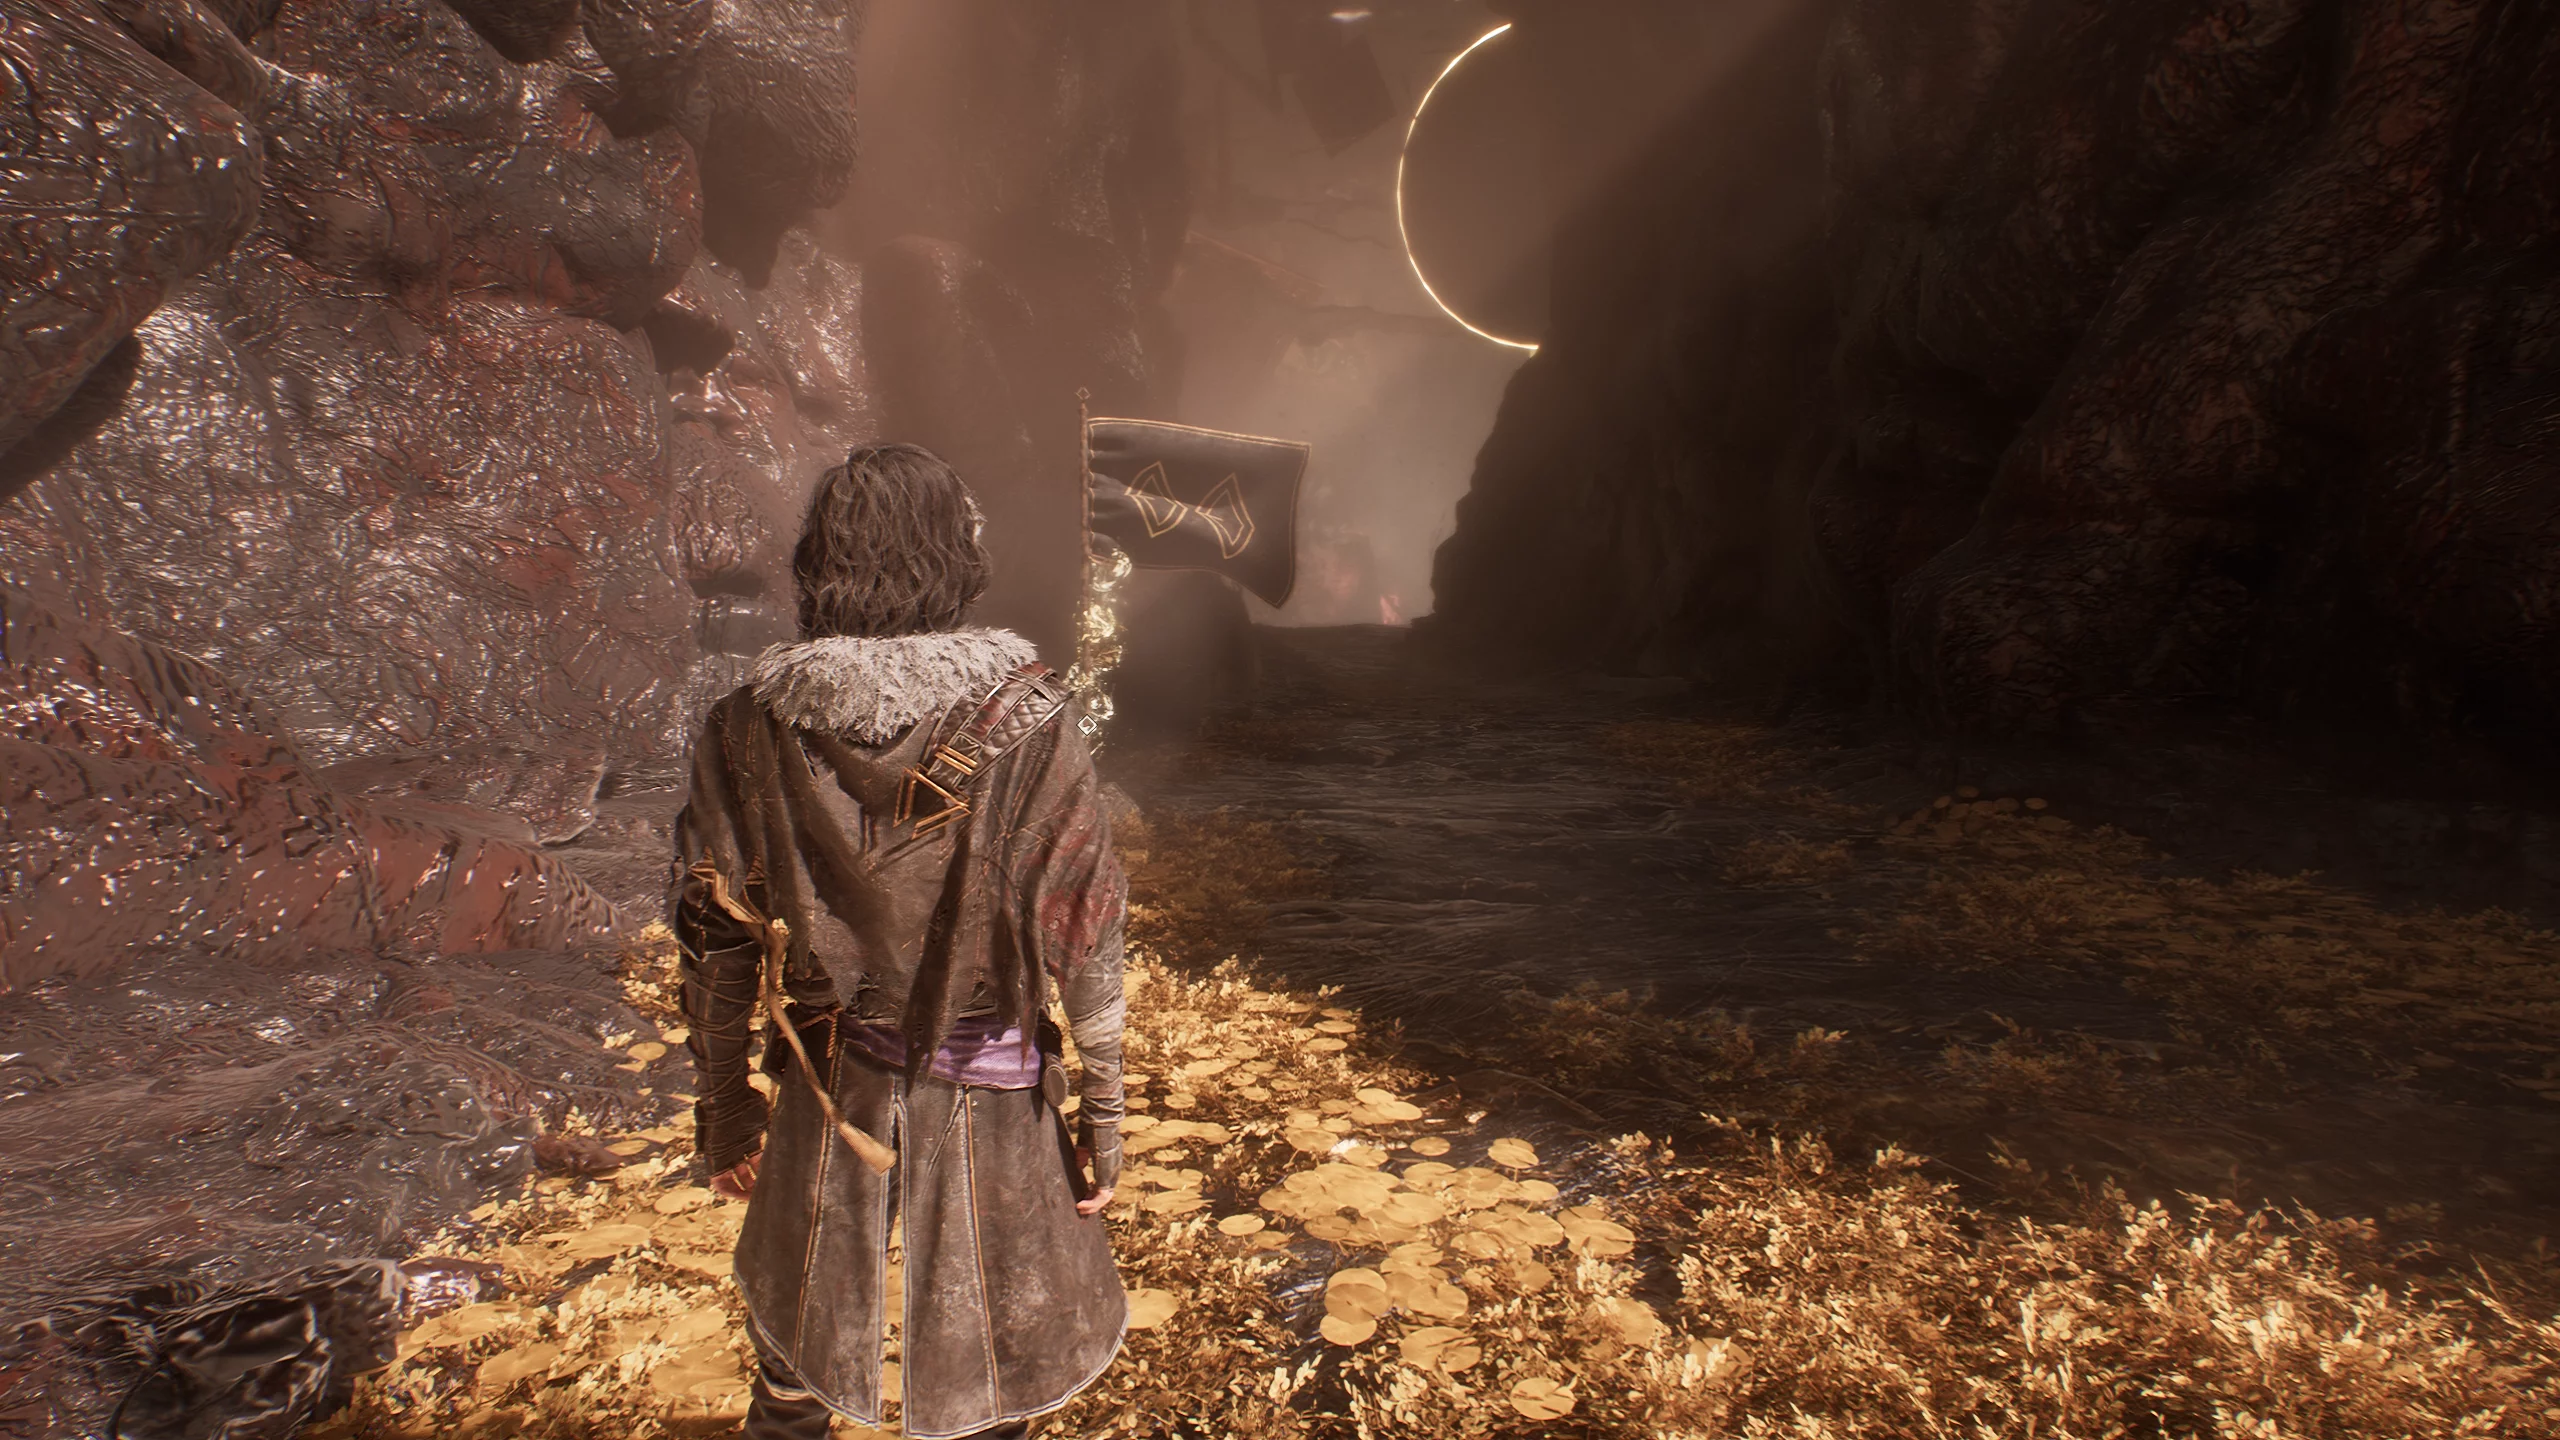
After the victory, leave the battlefield through the portal. You will find yourself in the “Monolith Peak” location, where a battle with the “Artist” awaits you. In the first phase, beware of chrome attacks, as two hits on a hero cause a stun effect. In the second phase, she can cast a curse, after which the character dies in two turns. After defeating the artist, Expedition 33 returns to Lumiere. This concludes the second Act.
Epilogue. Alicia
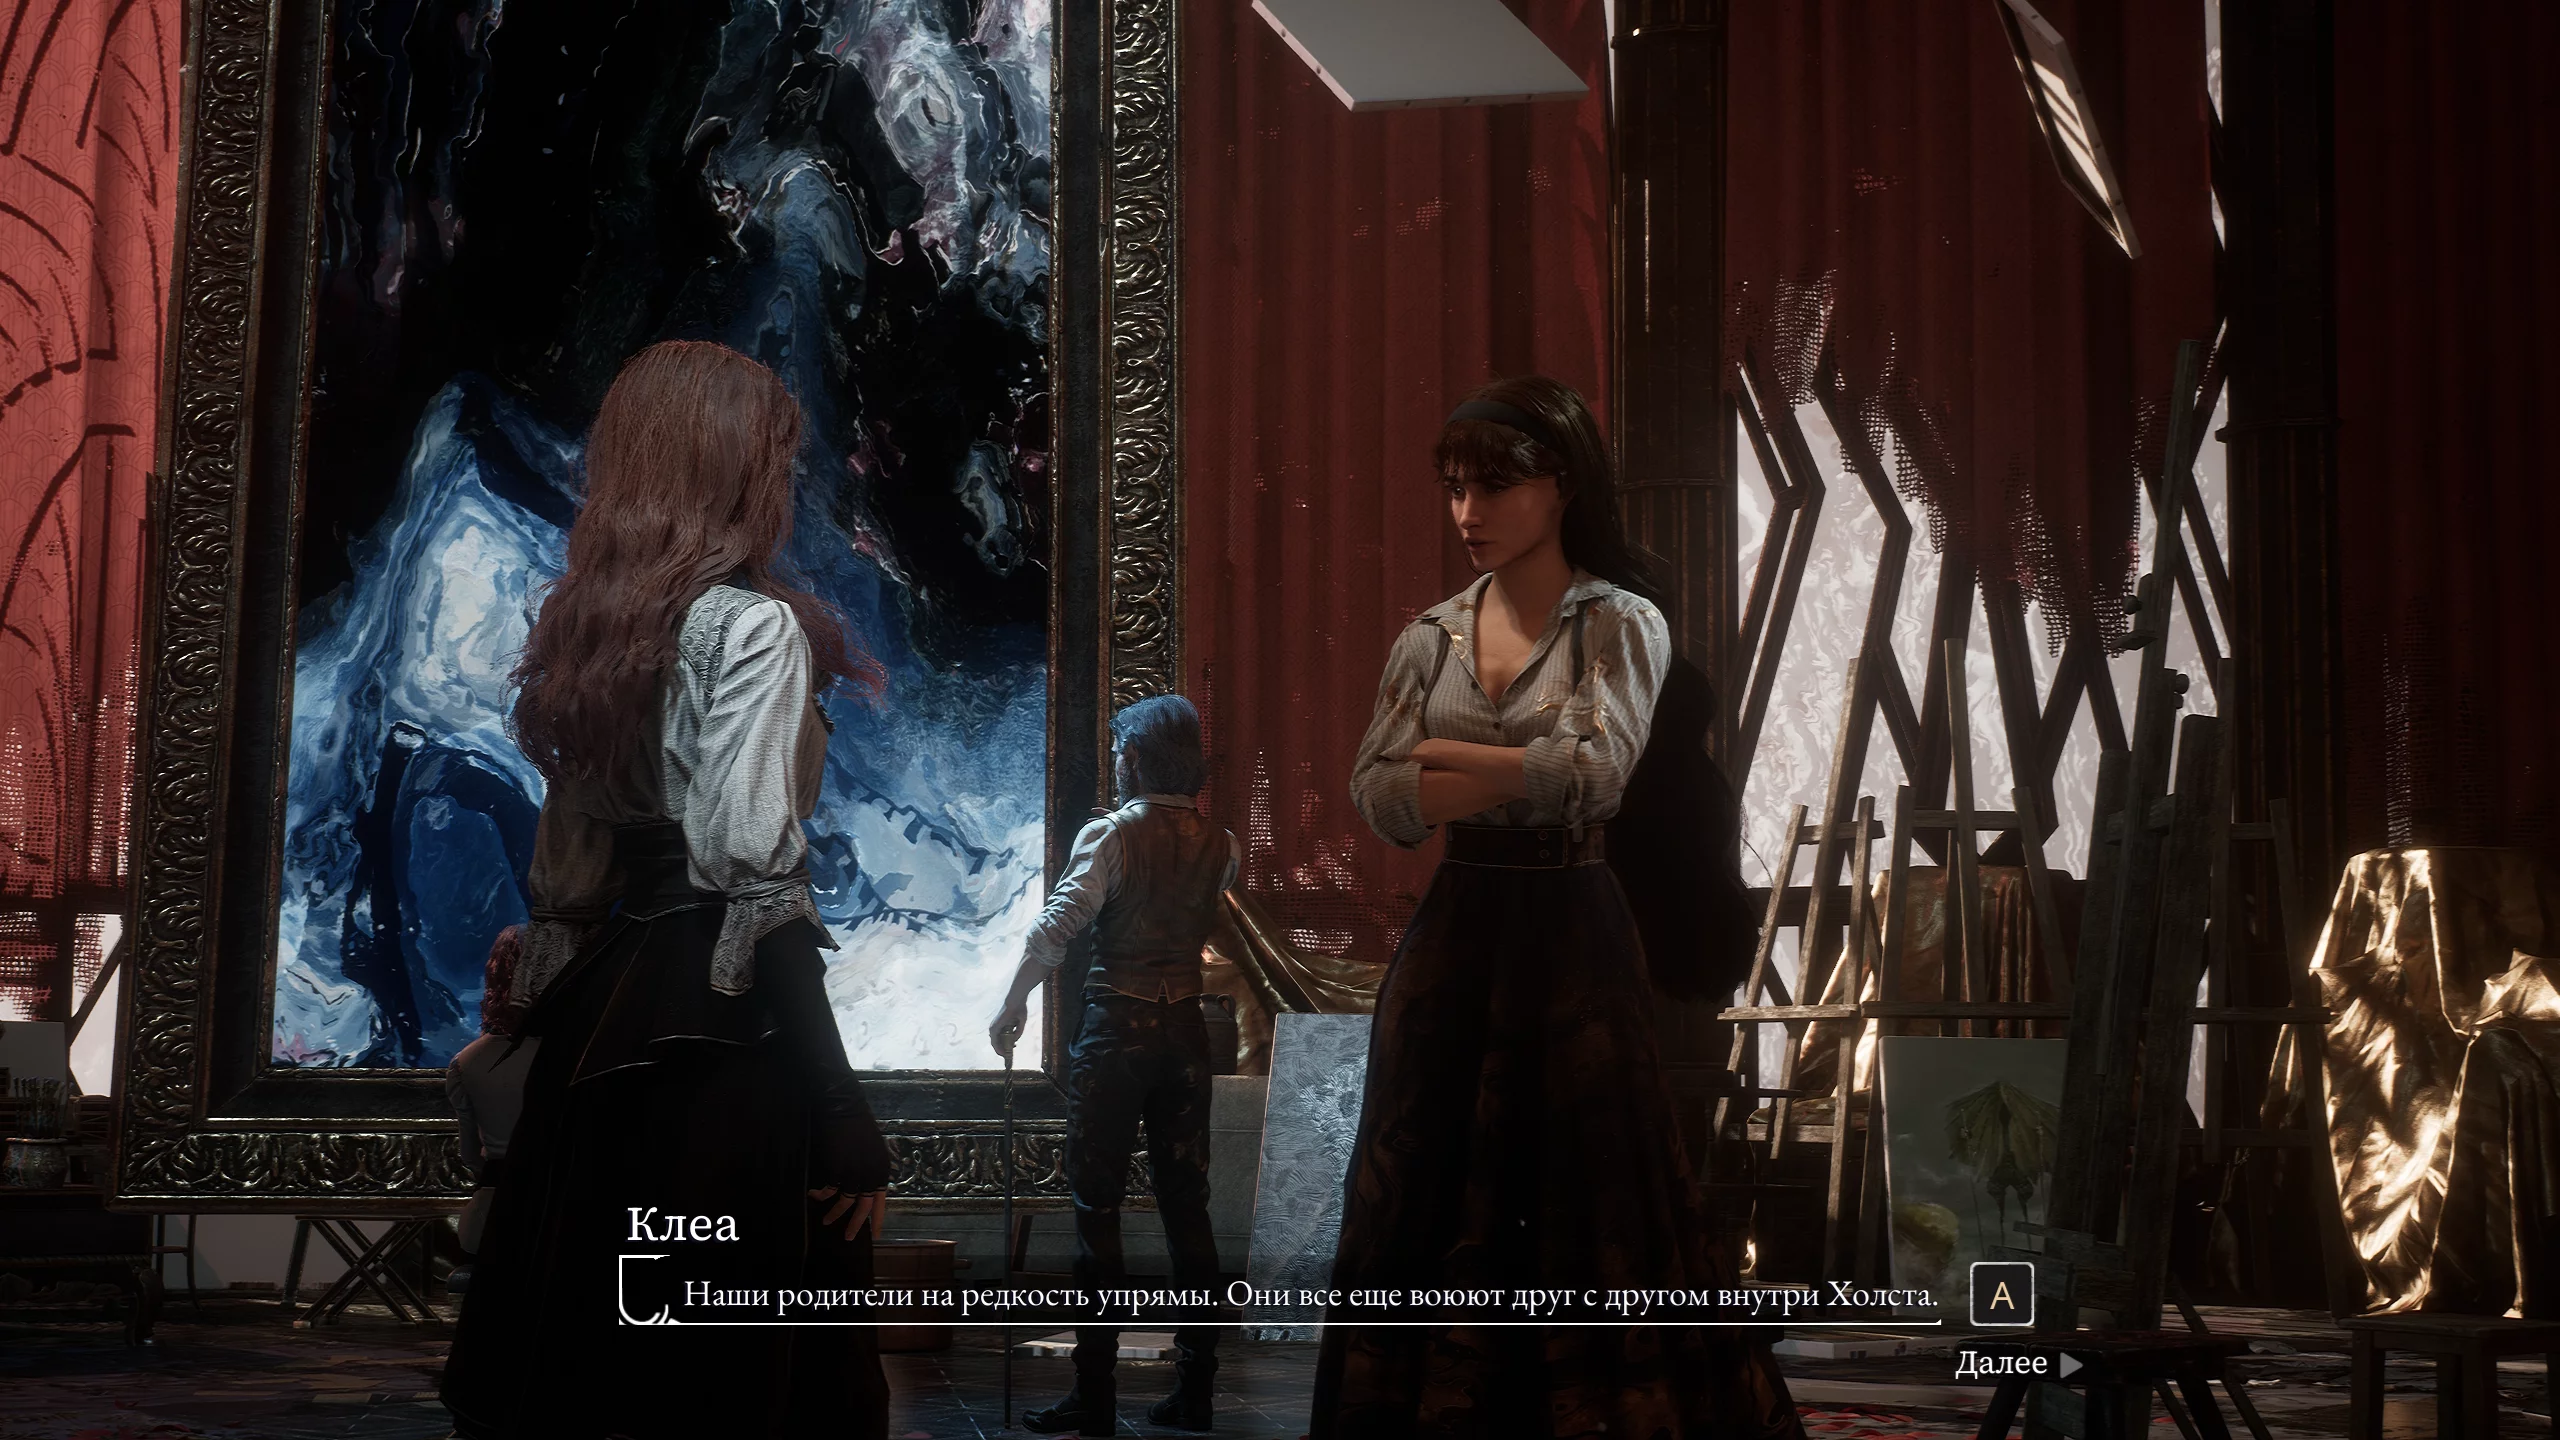
Watch the cutscene of the heroes returning to Lumiere after defeating the artist. After this, you will be transferred to the mansion, where you will play as Alicia. You need to go downstairs, turn towards the dining room, and walk all the way until you reach the workshop. There, you will need to talk to Clea, the heroine’s sister, and interact with the large canvas.
Act 3. Mael
Once in Lumiere, reunite with Verso and go to the fountain, where you will meet Renoir, who had been hiding all this time as the Curator. After the dialogue with the white-haired man, the squad will find themselves in a camp, where Luna and Ciel will join them. From this moment, the improvements you previously made with the Curator can now be done at any flag. Talk to all party members and choose the option at the campfire “Create the greatest expedition in history”.
Expel Renoir from the Canvas
From the dark shore, ride Esquie, who can now fly, and head to the Lumiere harbor.
Harbor
To the left of the “Harbor” flag, collect the lumina flower. Then go up to the fountain and defeat all the monsters; afterwards, collect the sparkling homa catalyst and the lumina flower. Walk along the tents to the lifting thread, near which you can collect chrome.
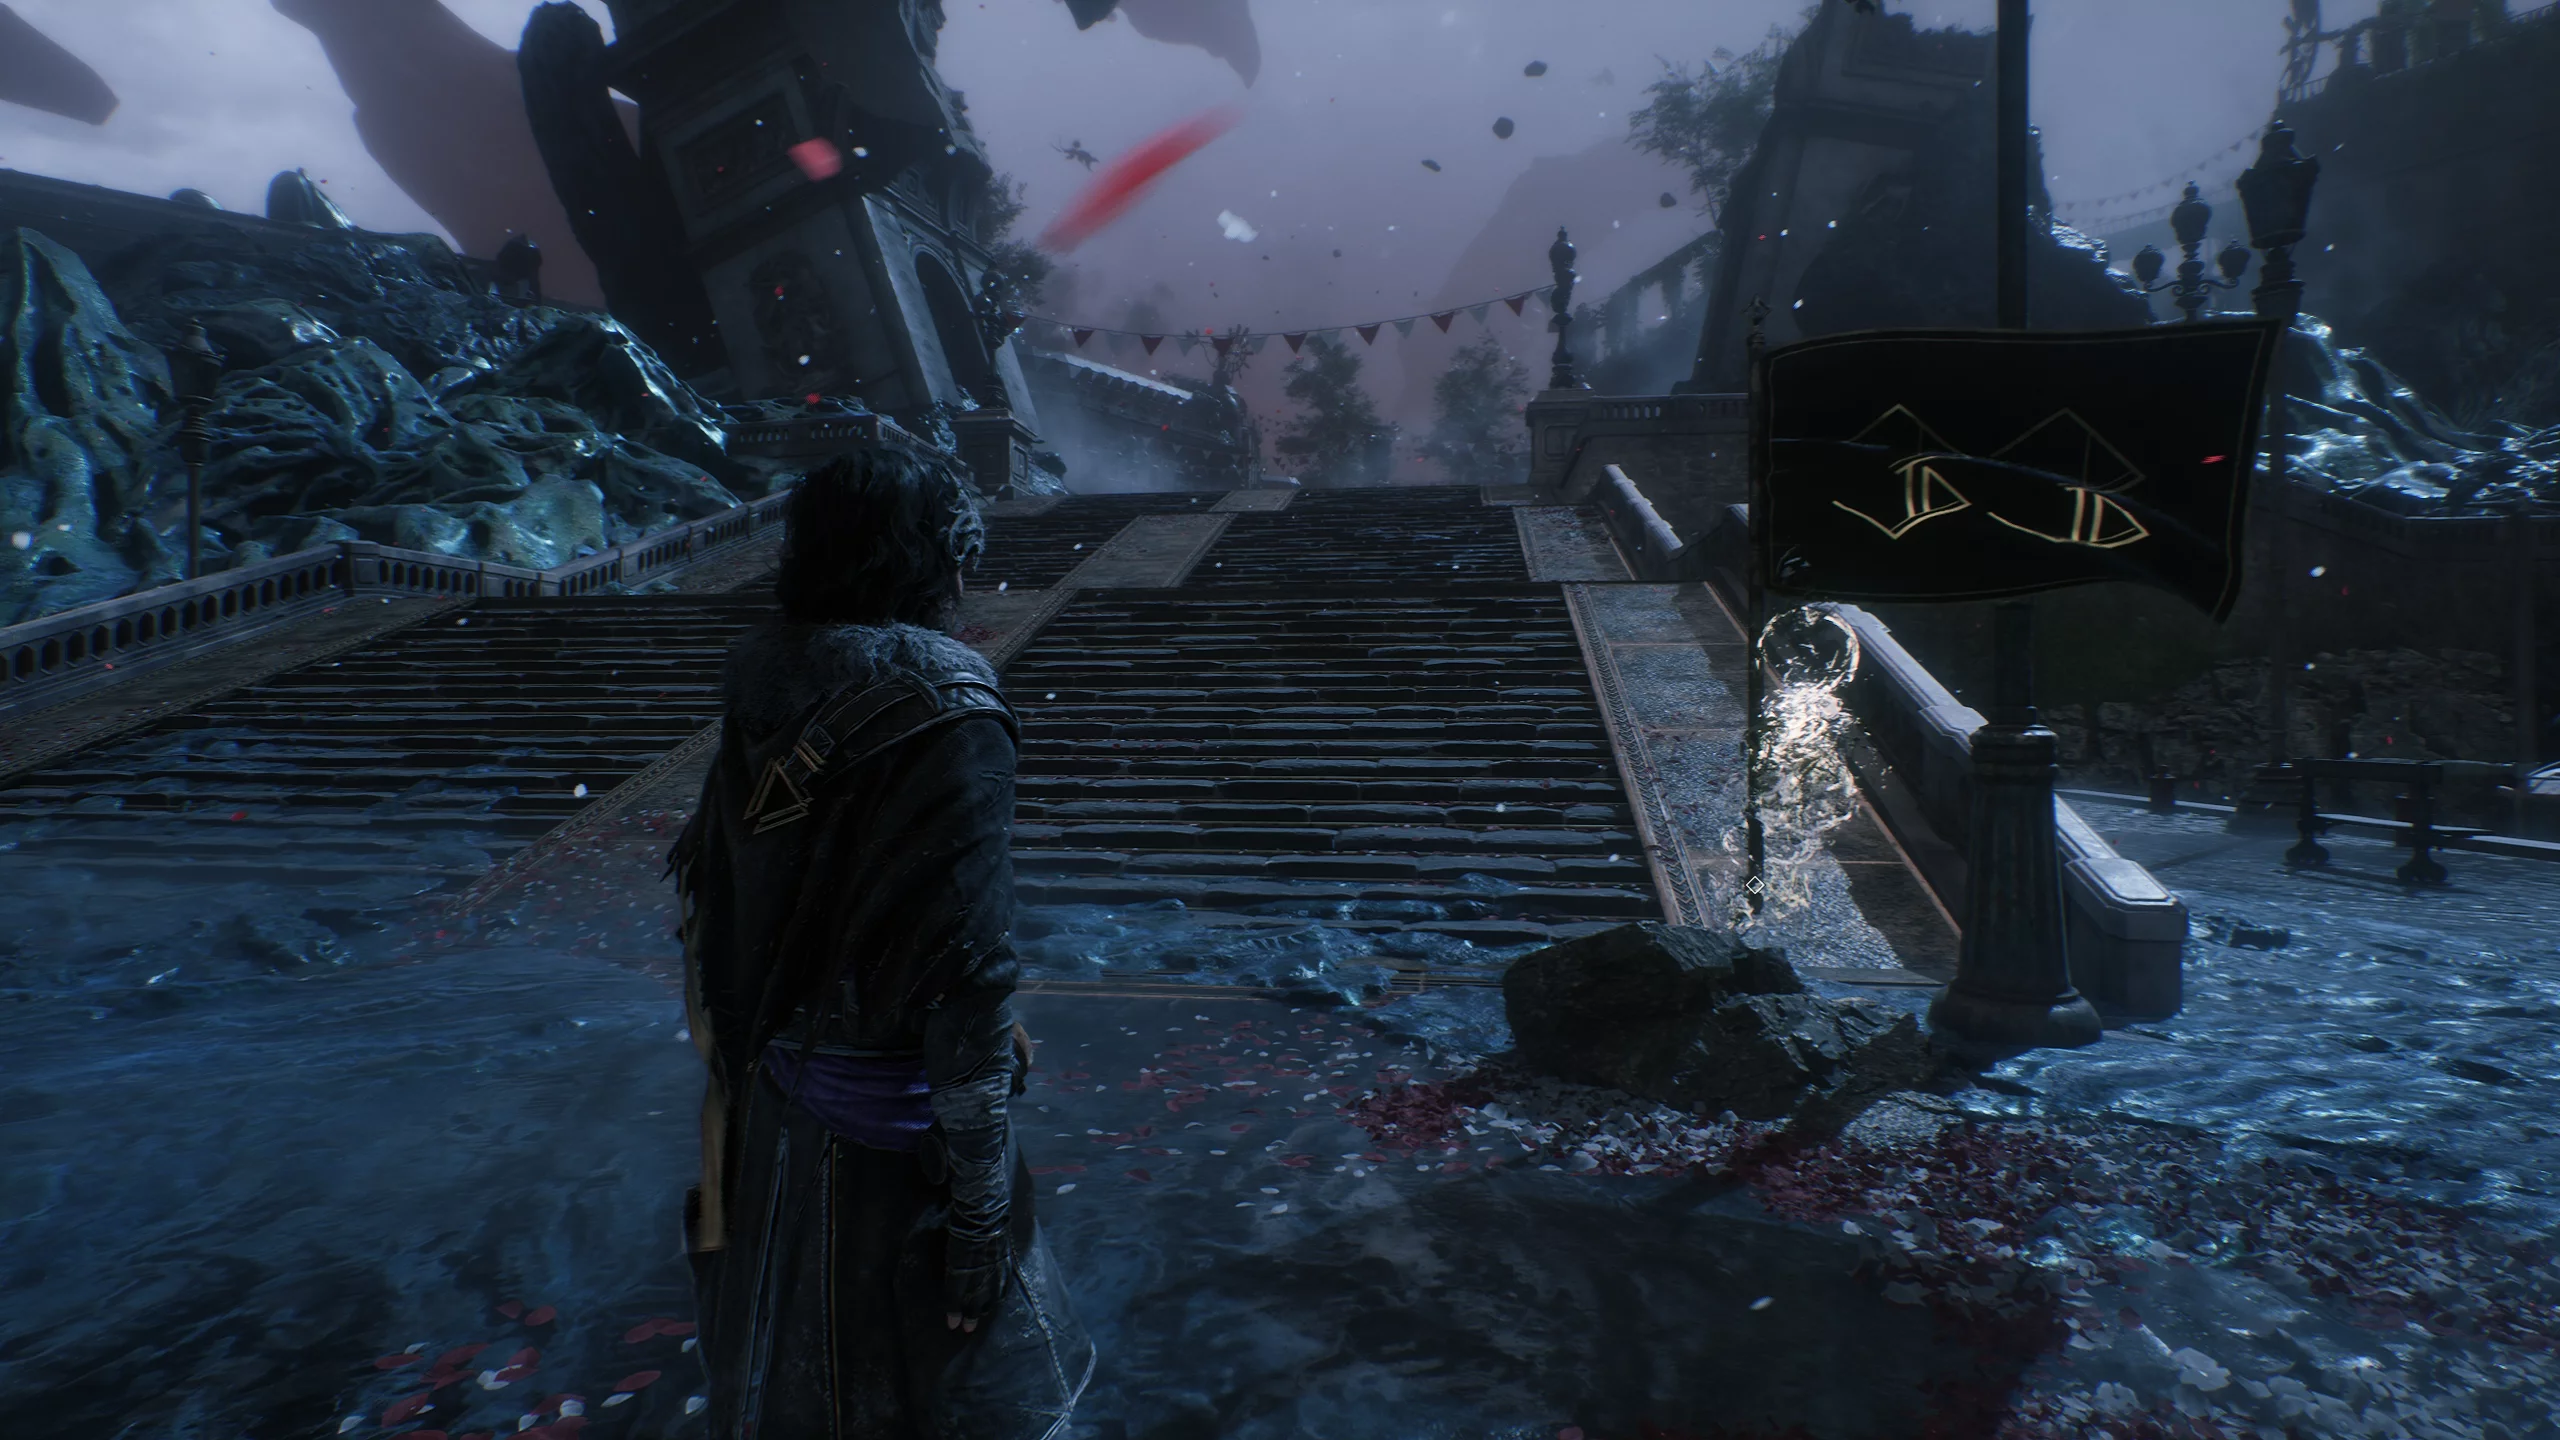
Once at the top, turn left and go all the way to the end, and you’ll end up in the place where the game began. Collect the “Invigorating Power” pictos: grants 2 AP when applying power. Now go in the opposite direction.
Central Square
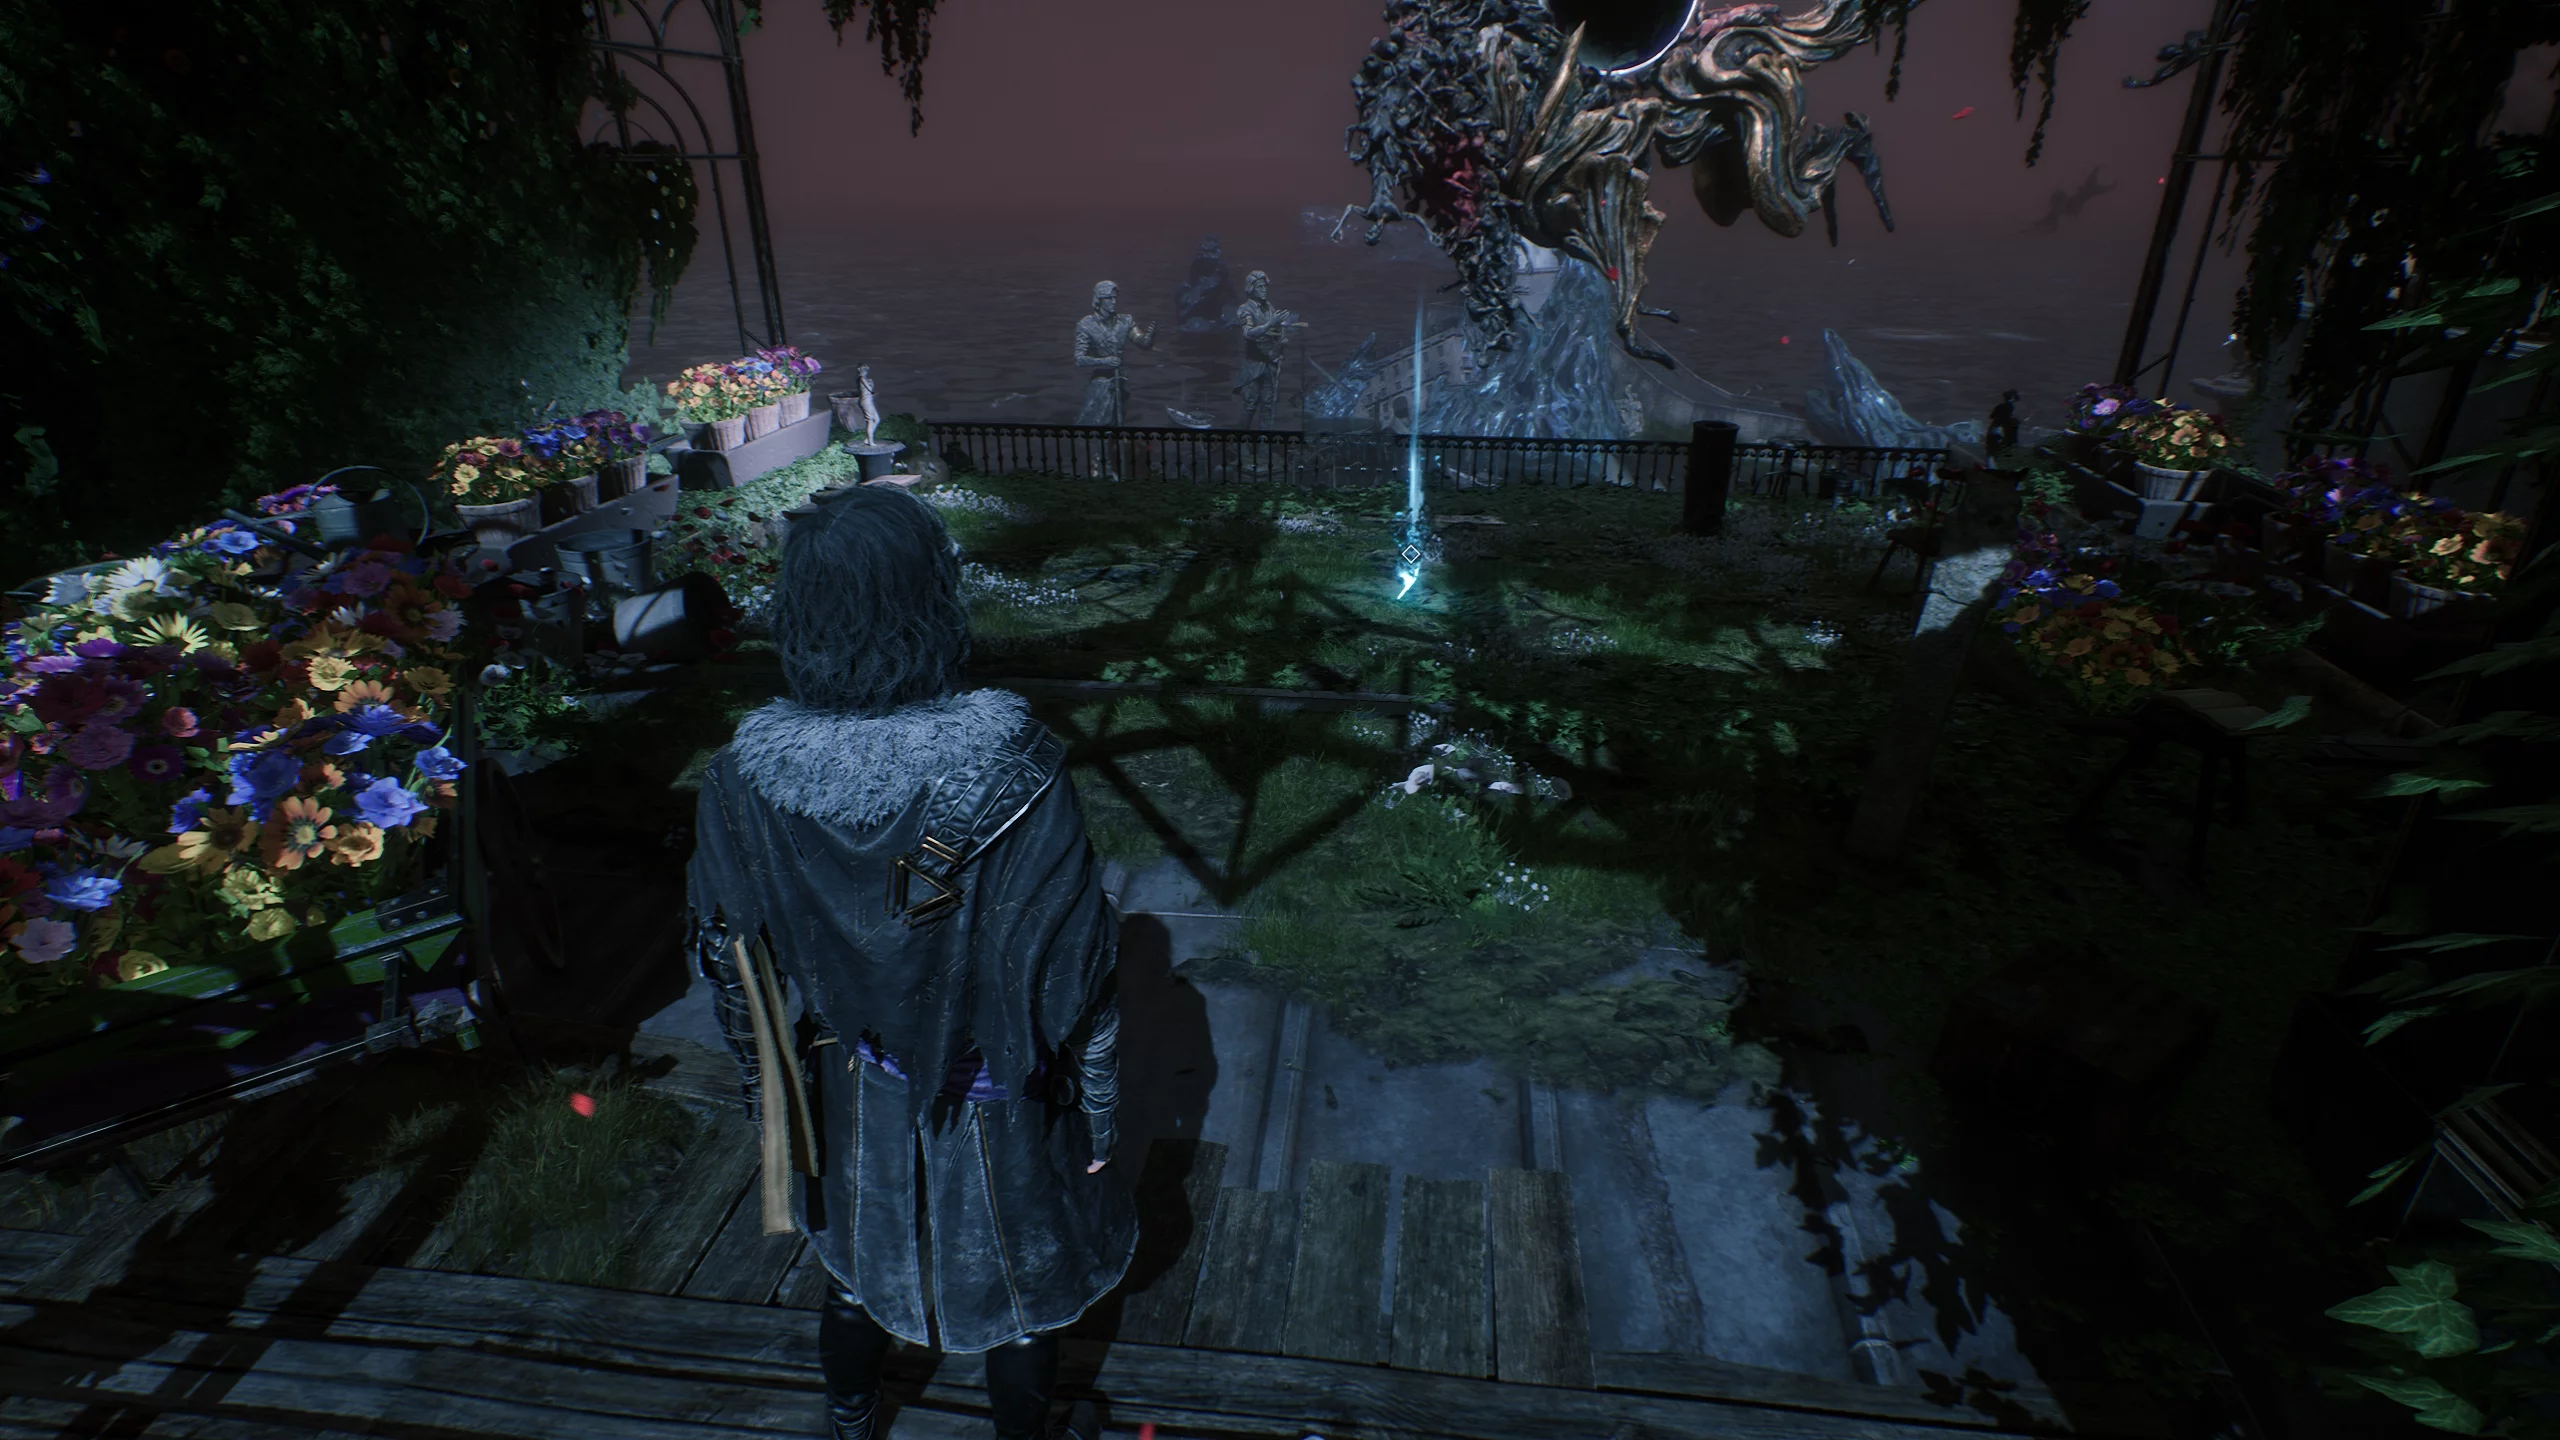
From the “Central Square” flag, go down to the monument. Destroy the group of enemies and collect chrome and the lumina flower near the monument. Then turn right from the column and walk through the streets to the next flag. Along the way, you can find a sparkling chrome catalyst and under the tree the “Charging Stun” pictos: +5% to gradient charge when hitting a stunned enemy.
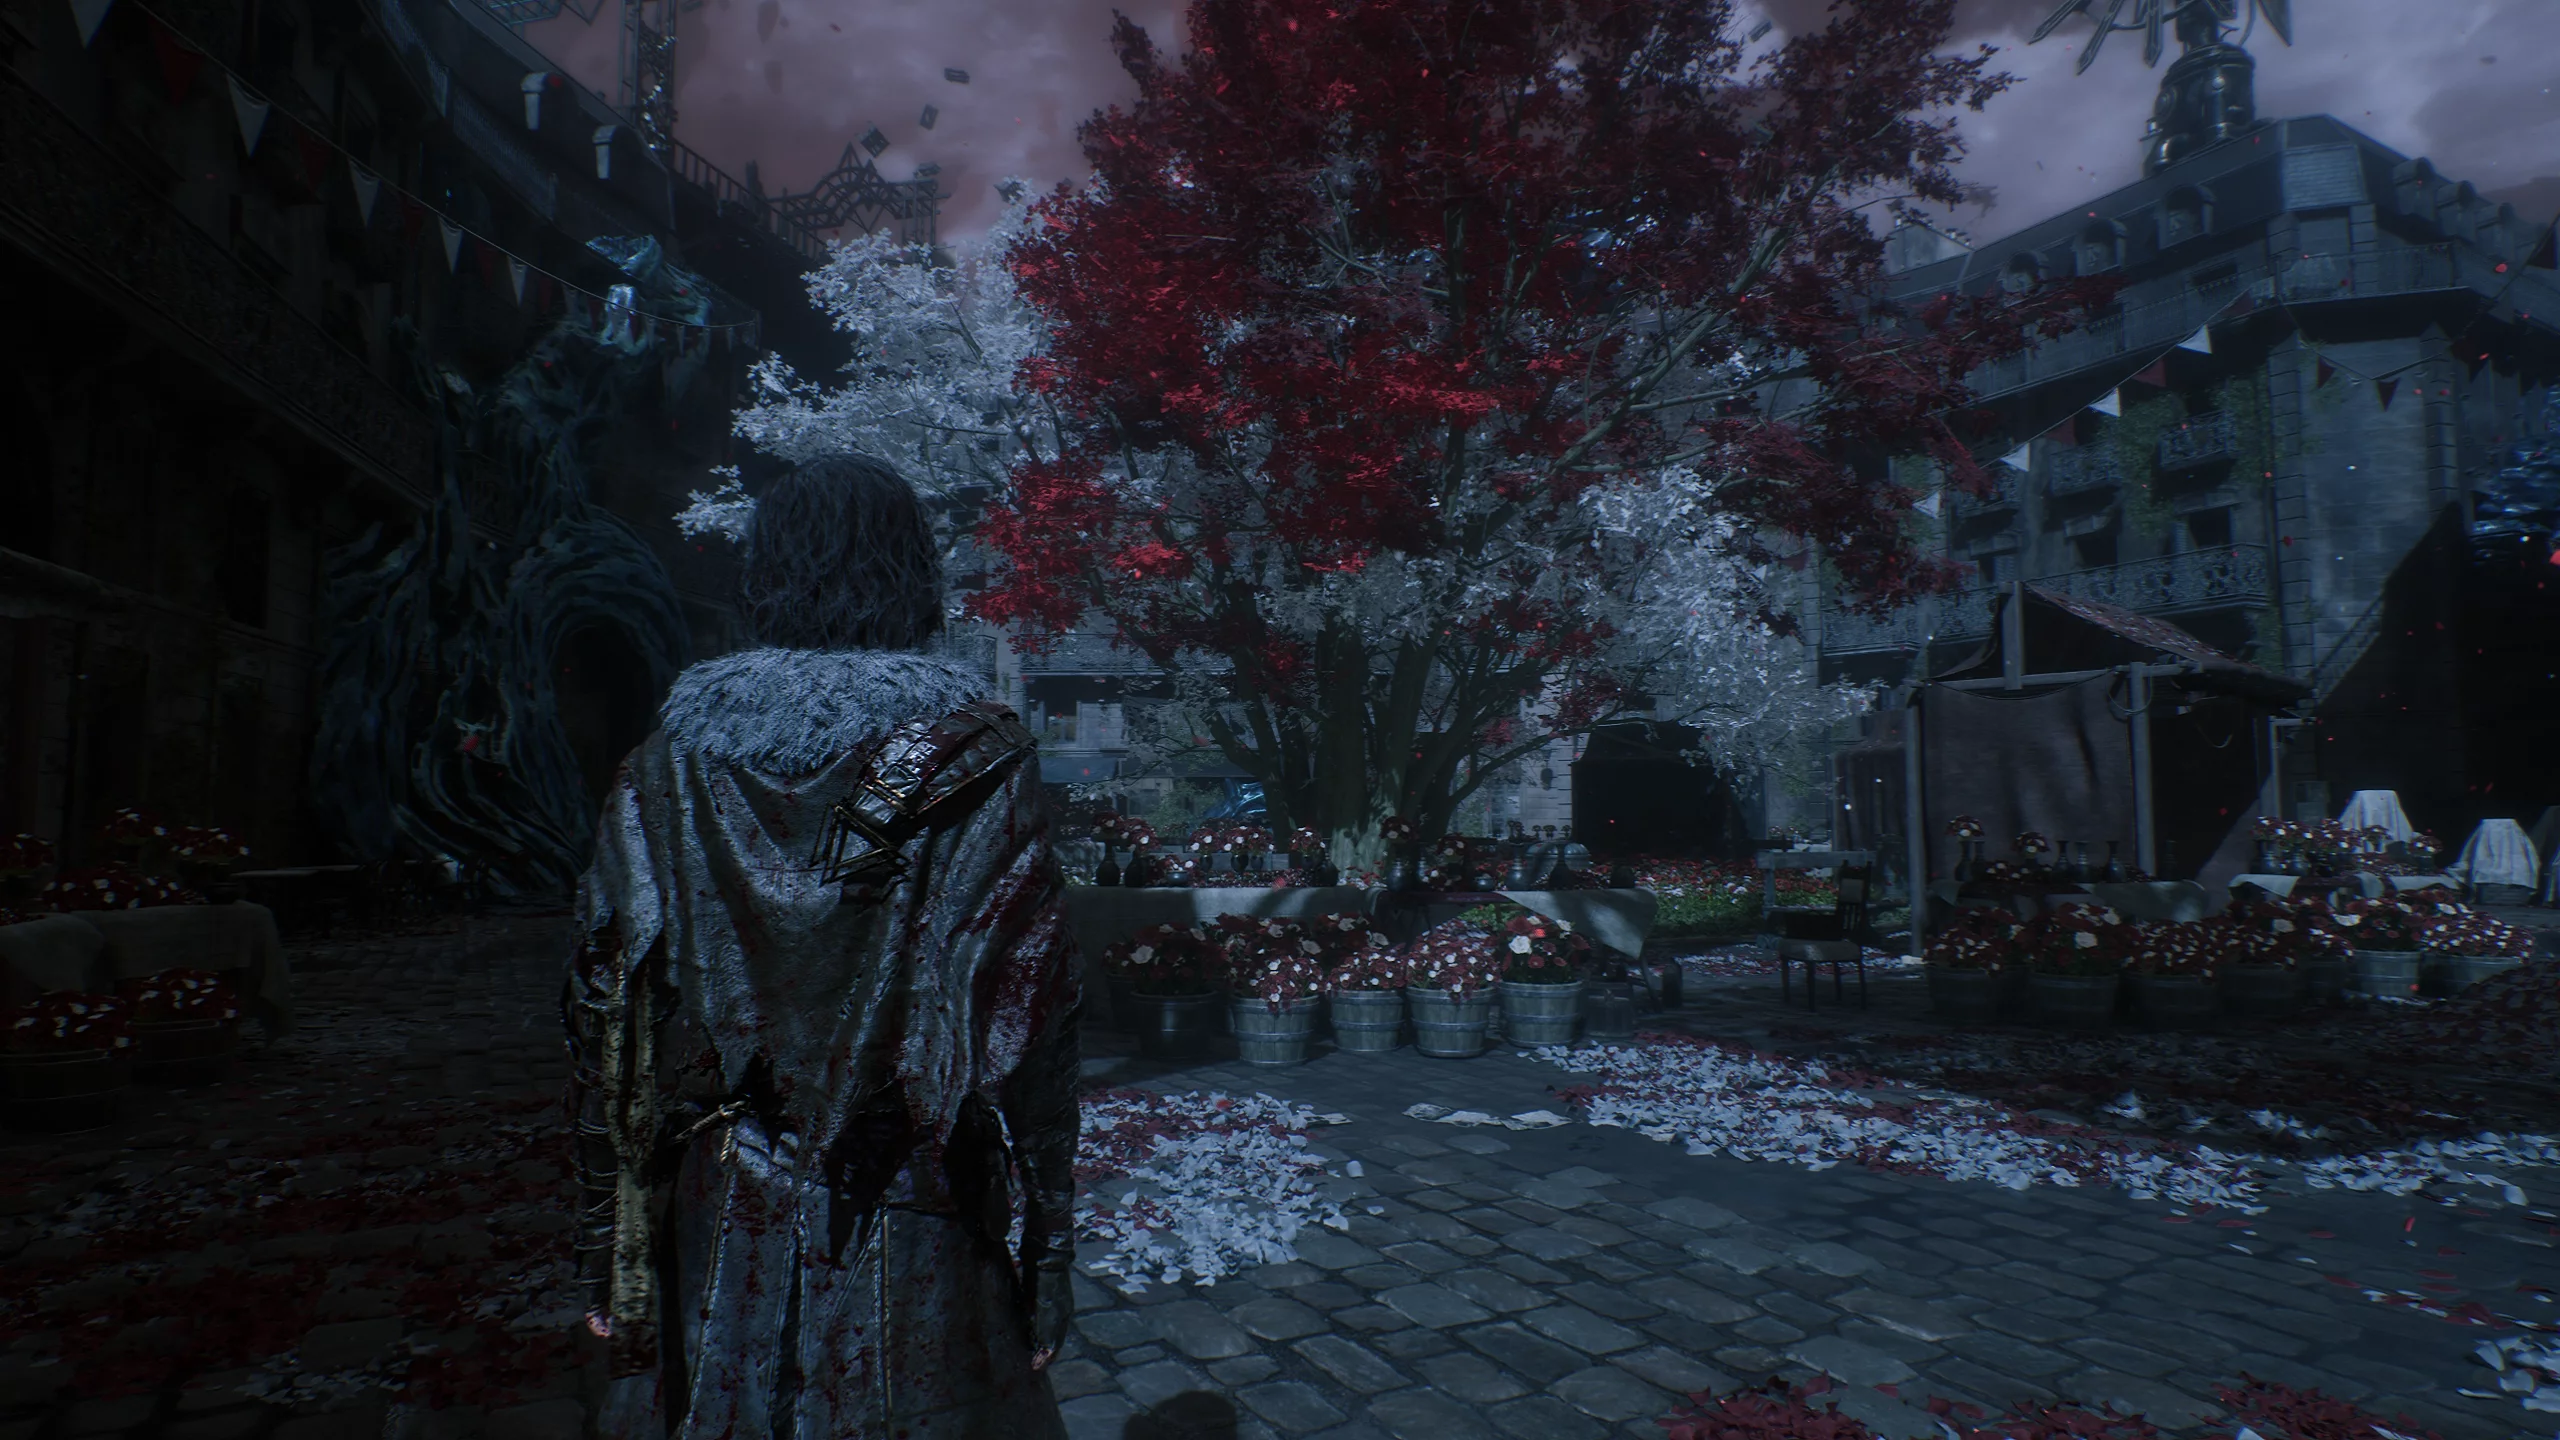
Slums Alley
Go forward from the “Slums Alley” flag to the boss “Chrome-Stiltwalker.” On the way, you can collect a sparkling chrome catalyst, lumina flower, and chrome, and after the victory you will receive the “Enhanced Counterattack” pictos: counterattack deals +75% damage. Then follow the platforms forward to the large building, but before entering, turn right and approach the edge to ask Esquie to pick up the journal.
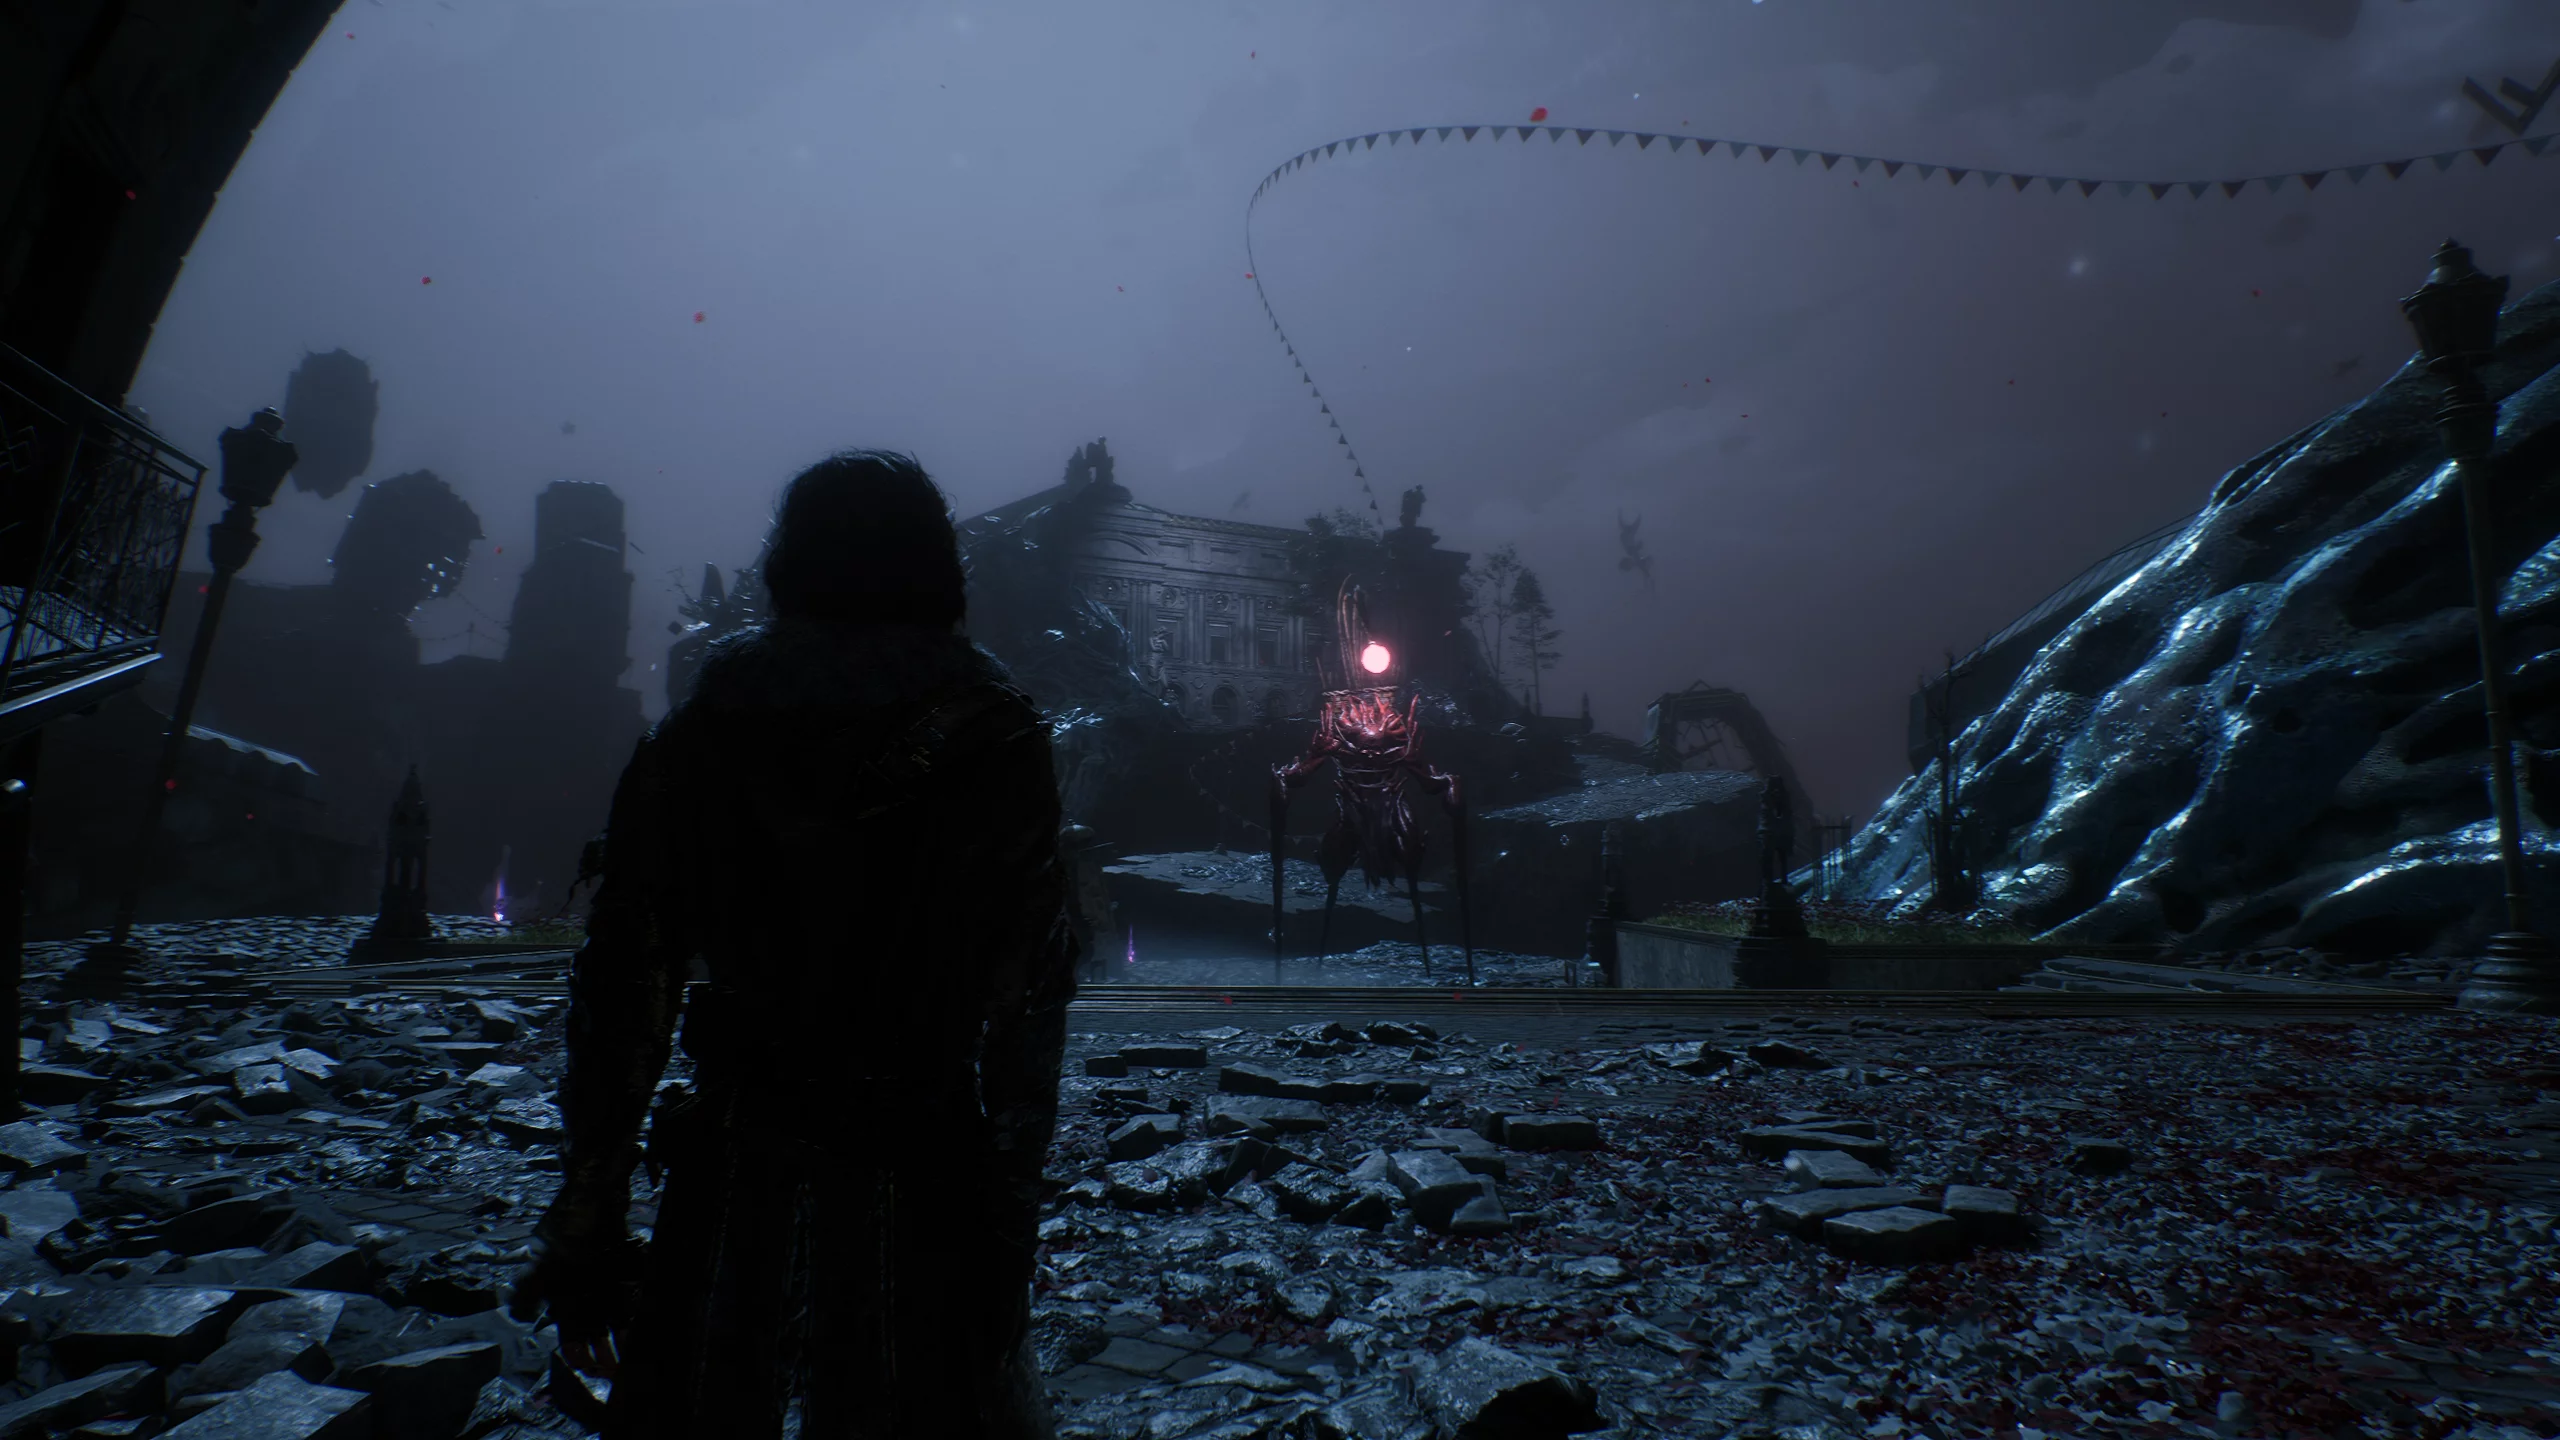
Opera
Entering the building, go up in the hall to collect the lumina flower, then proceed to the concert hall to the "Opera" flag. Next, climb up via the rooftops. Once on the large platform, defeat the enemies and collect the lumina flower, the sparkling chrome catalyst, and the "Healing Stun" pictos: hitting a stunned enemy restores 5% health. Now move forward and jump across the rooftops to the street towards the next flag, meeting a merchant along the way.
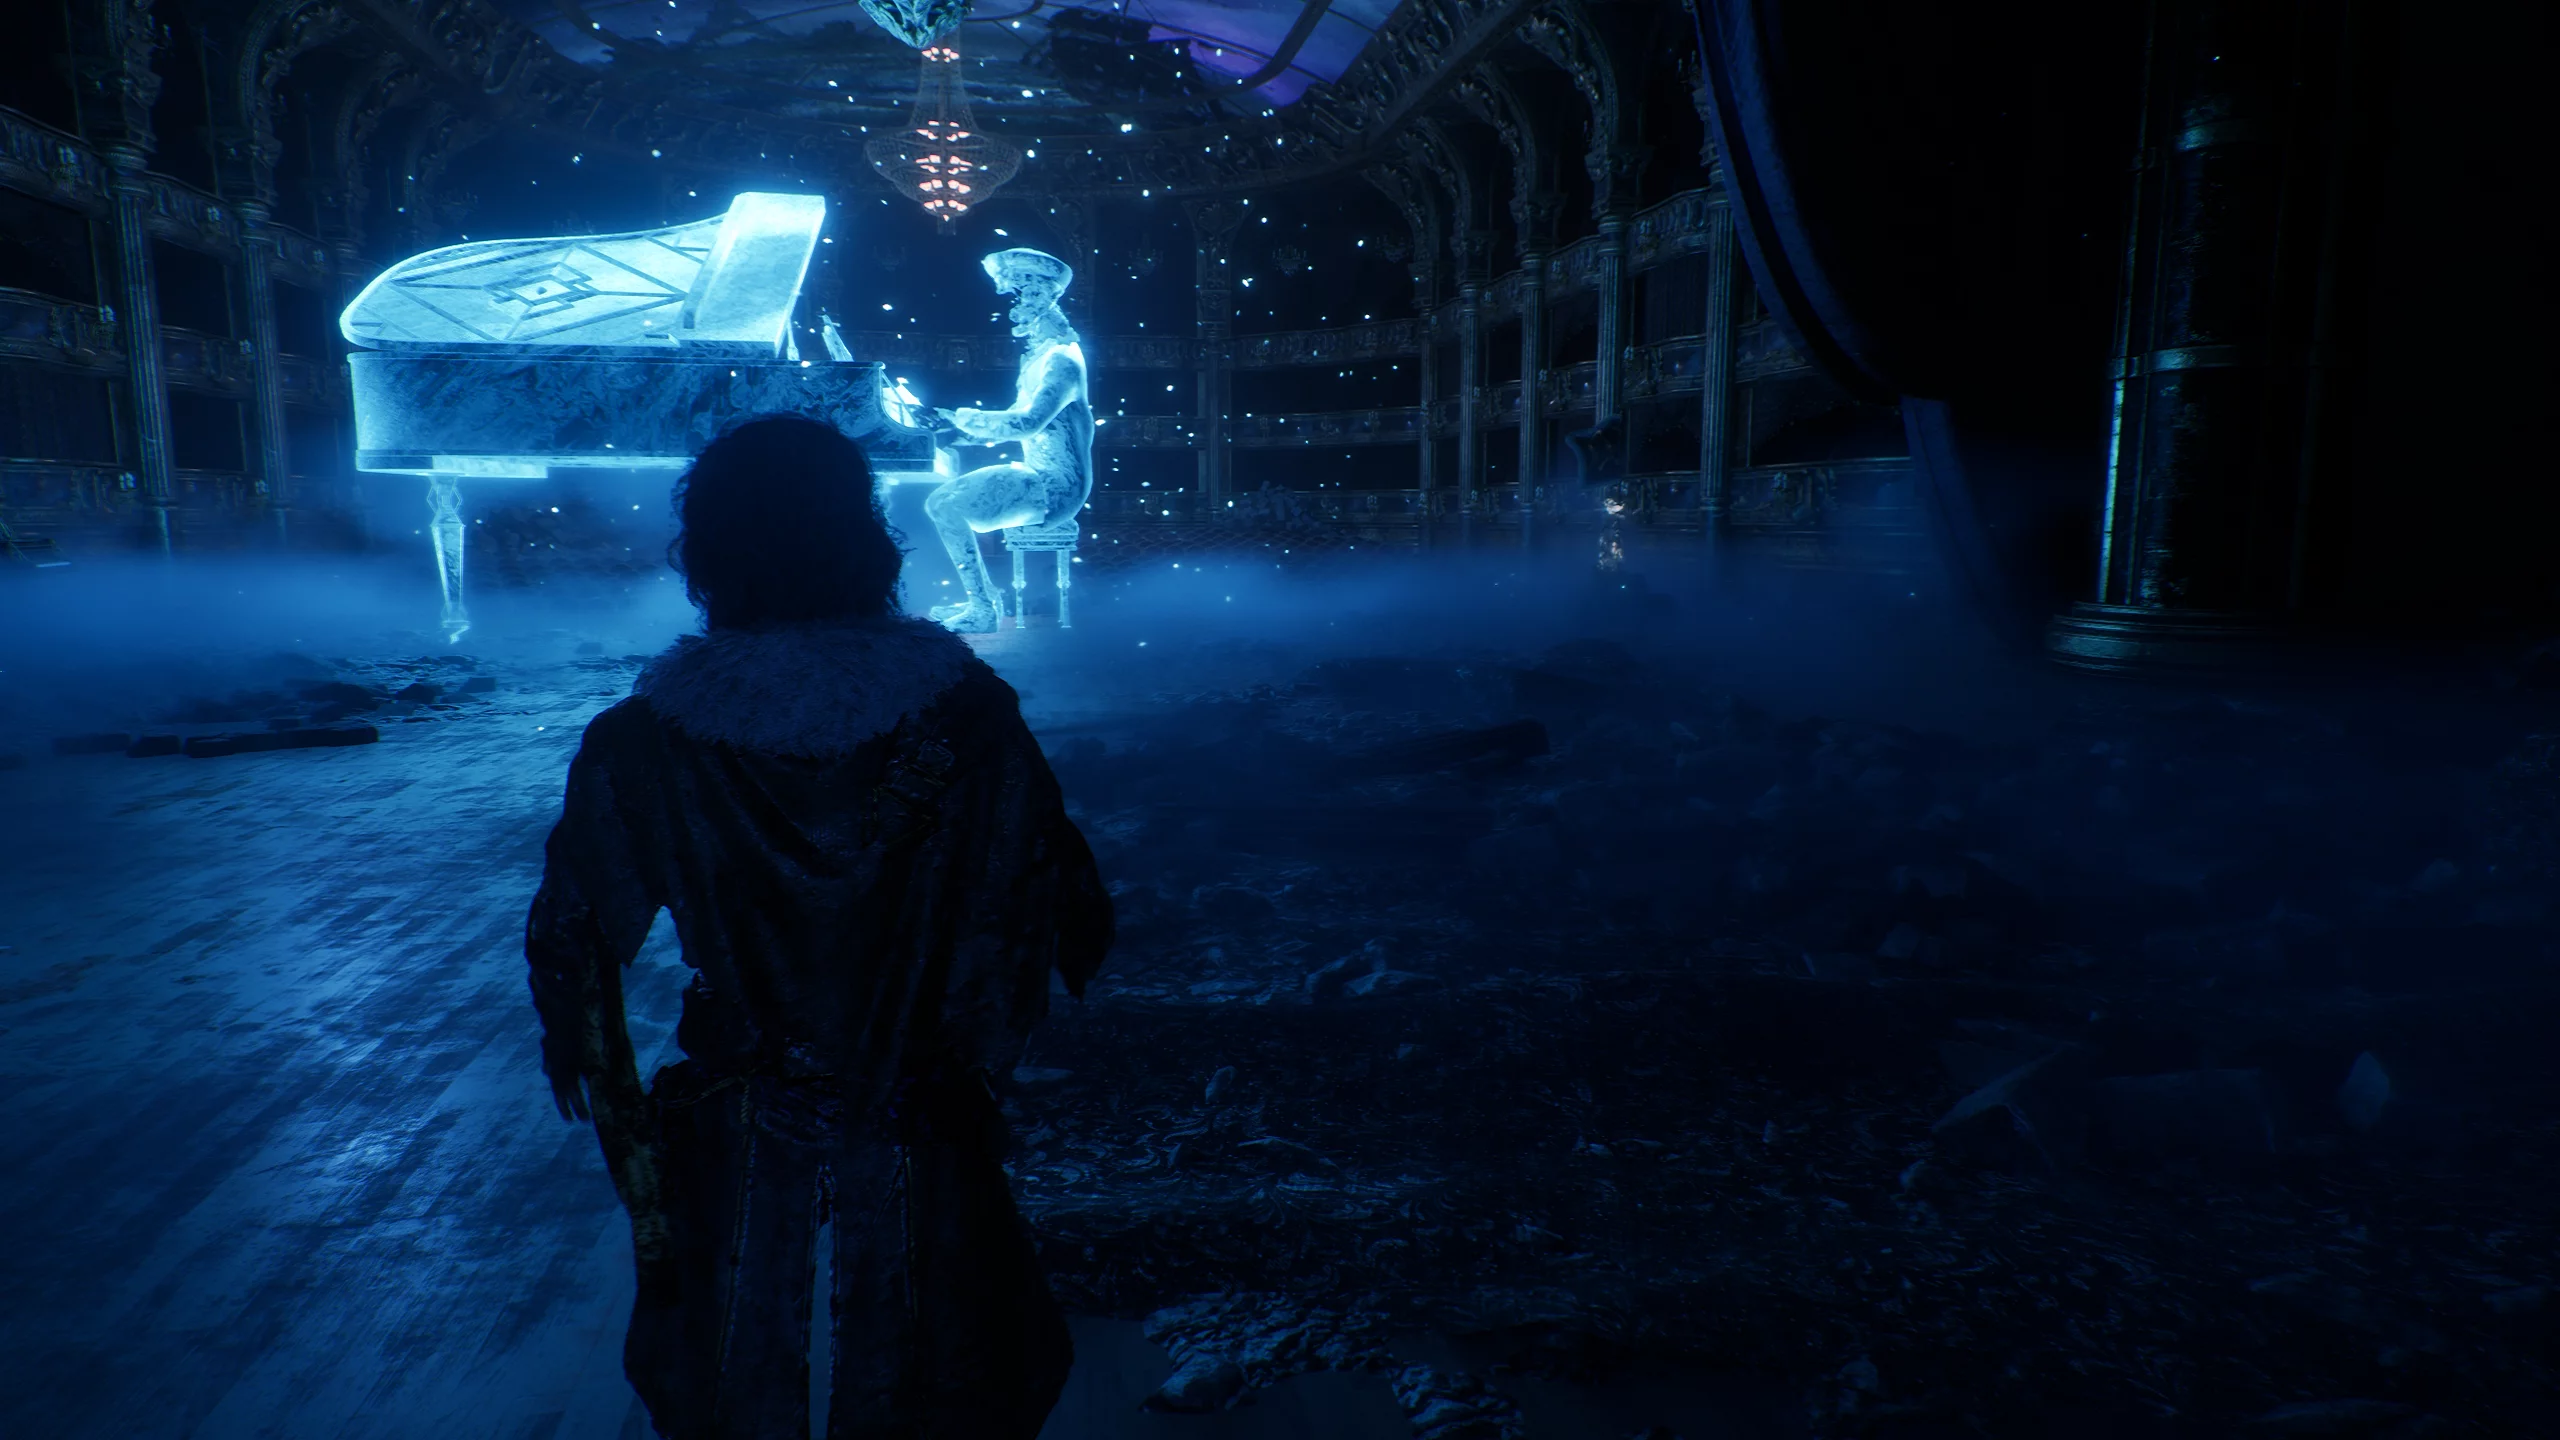
Lumiere Gardens
To the left of the "Lumiere Gardens" flag, pick up the retouch, then from the fountain go to the right. A small location will open up where you can find a lumina flower, chrome, and the "Gradient Fighter" pictos: gradient attacks deal +25% damage. Follow the alley towards the tower, where you will encounter the boss "Creation" on the way. After defeating it, you will receive the "Speed Without Power" pictos: always two actions in a row, but damage is reduced by 50%.
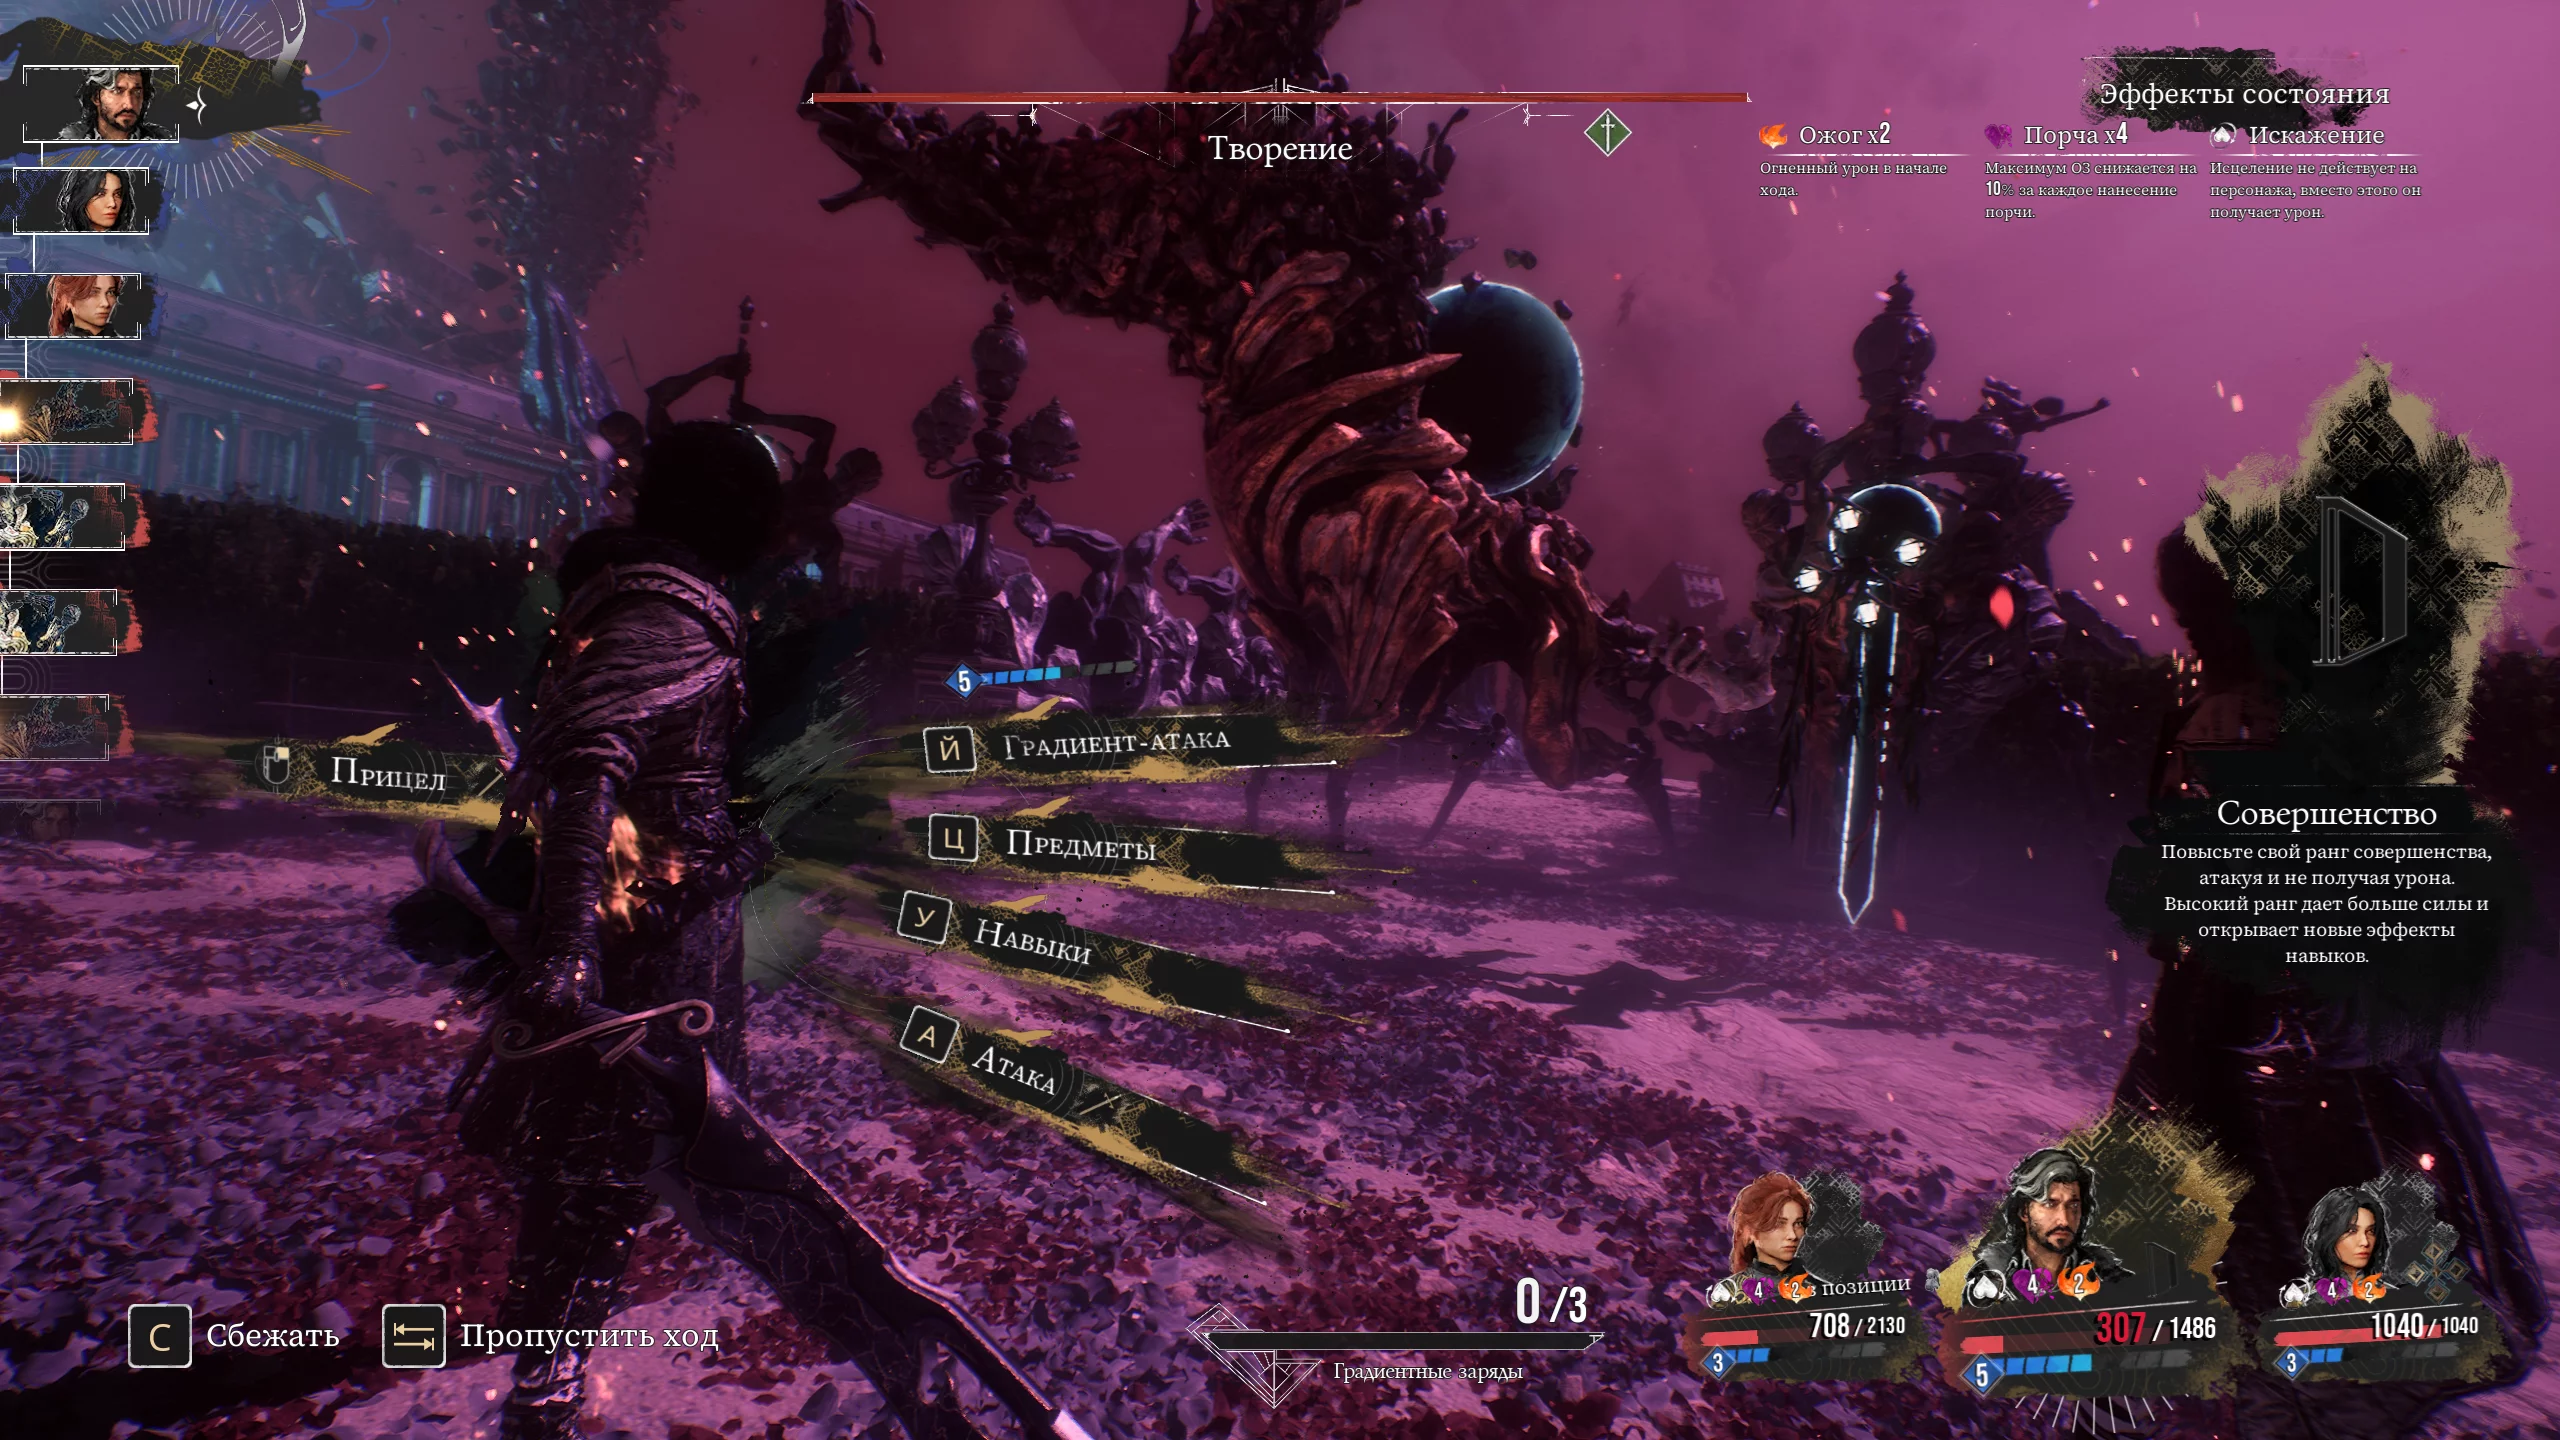
Walkways of the Crooked Tower
Once at the last flag "Walkways of the Crooked Tower," you will have the final opportunity to prepare for the final boss fight.
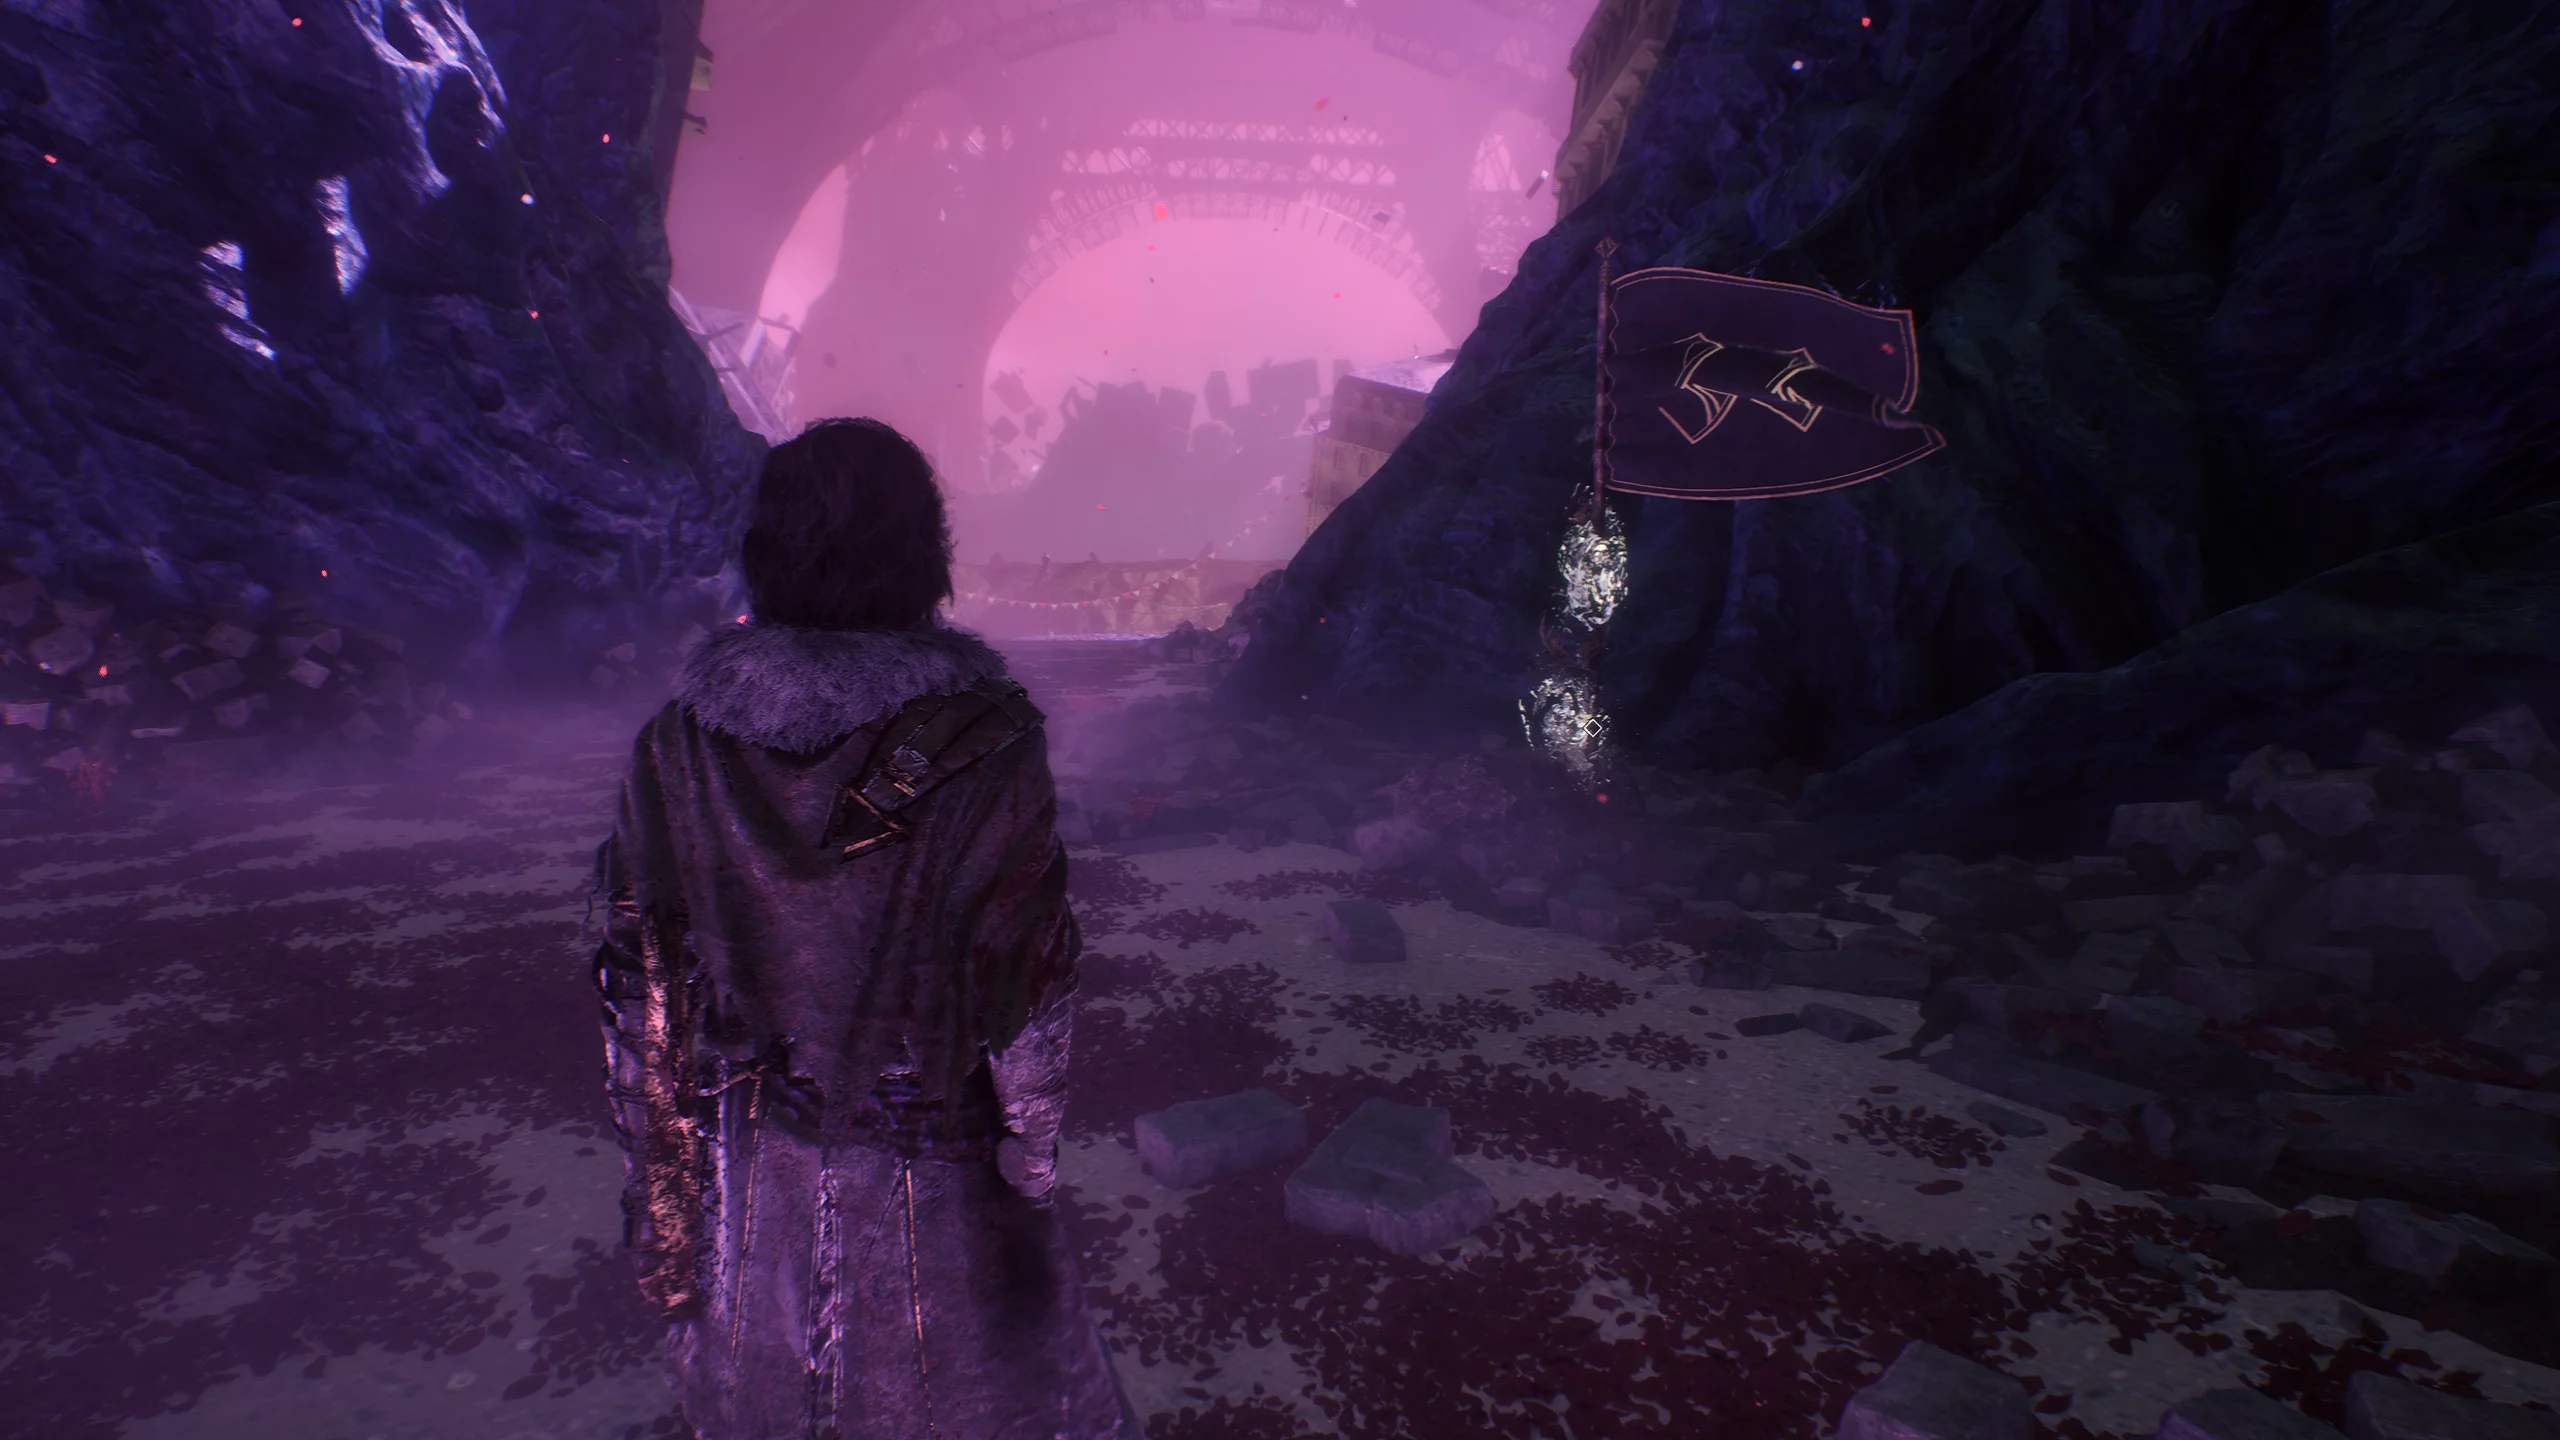
How to Defeat Renoir
This fight consists of four phases. In the first phase, Renoir attacks with combos, black holes, and void crosses — dodge or parry, focusing on audio cues. In the second phase, he summons the Siren, who gives him shields and buffs — break his defense quickly and don't let him recover.
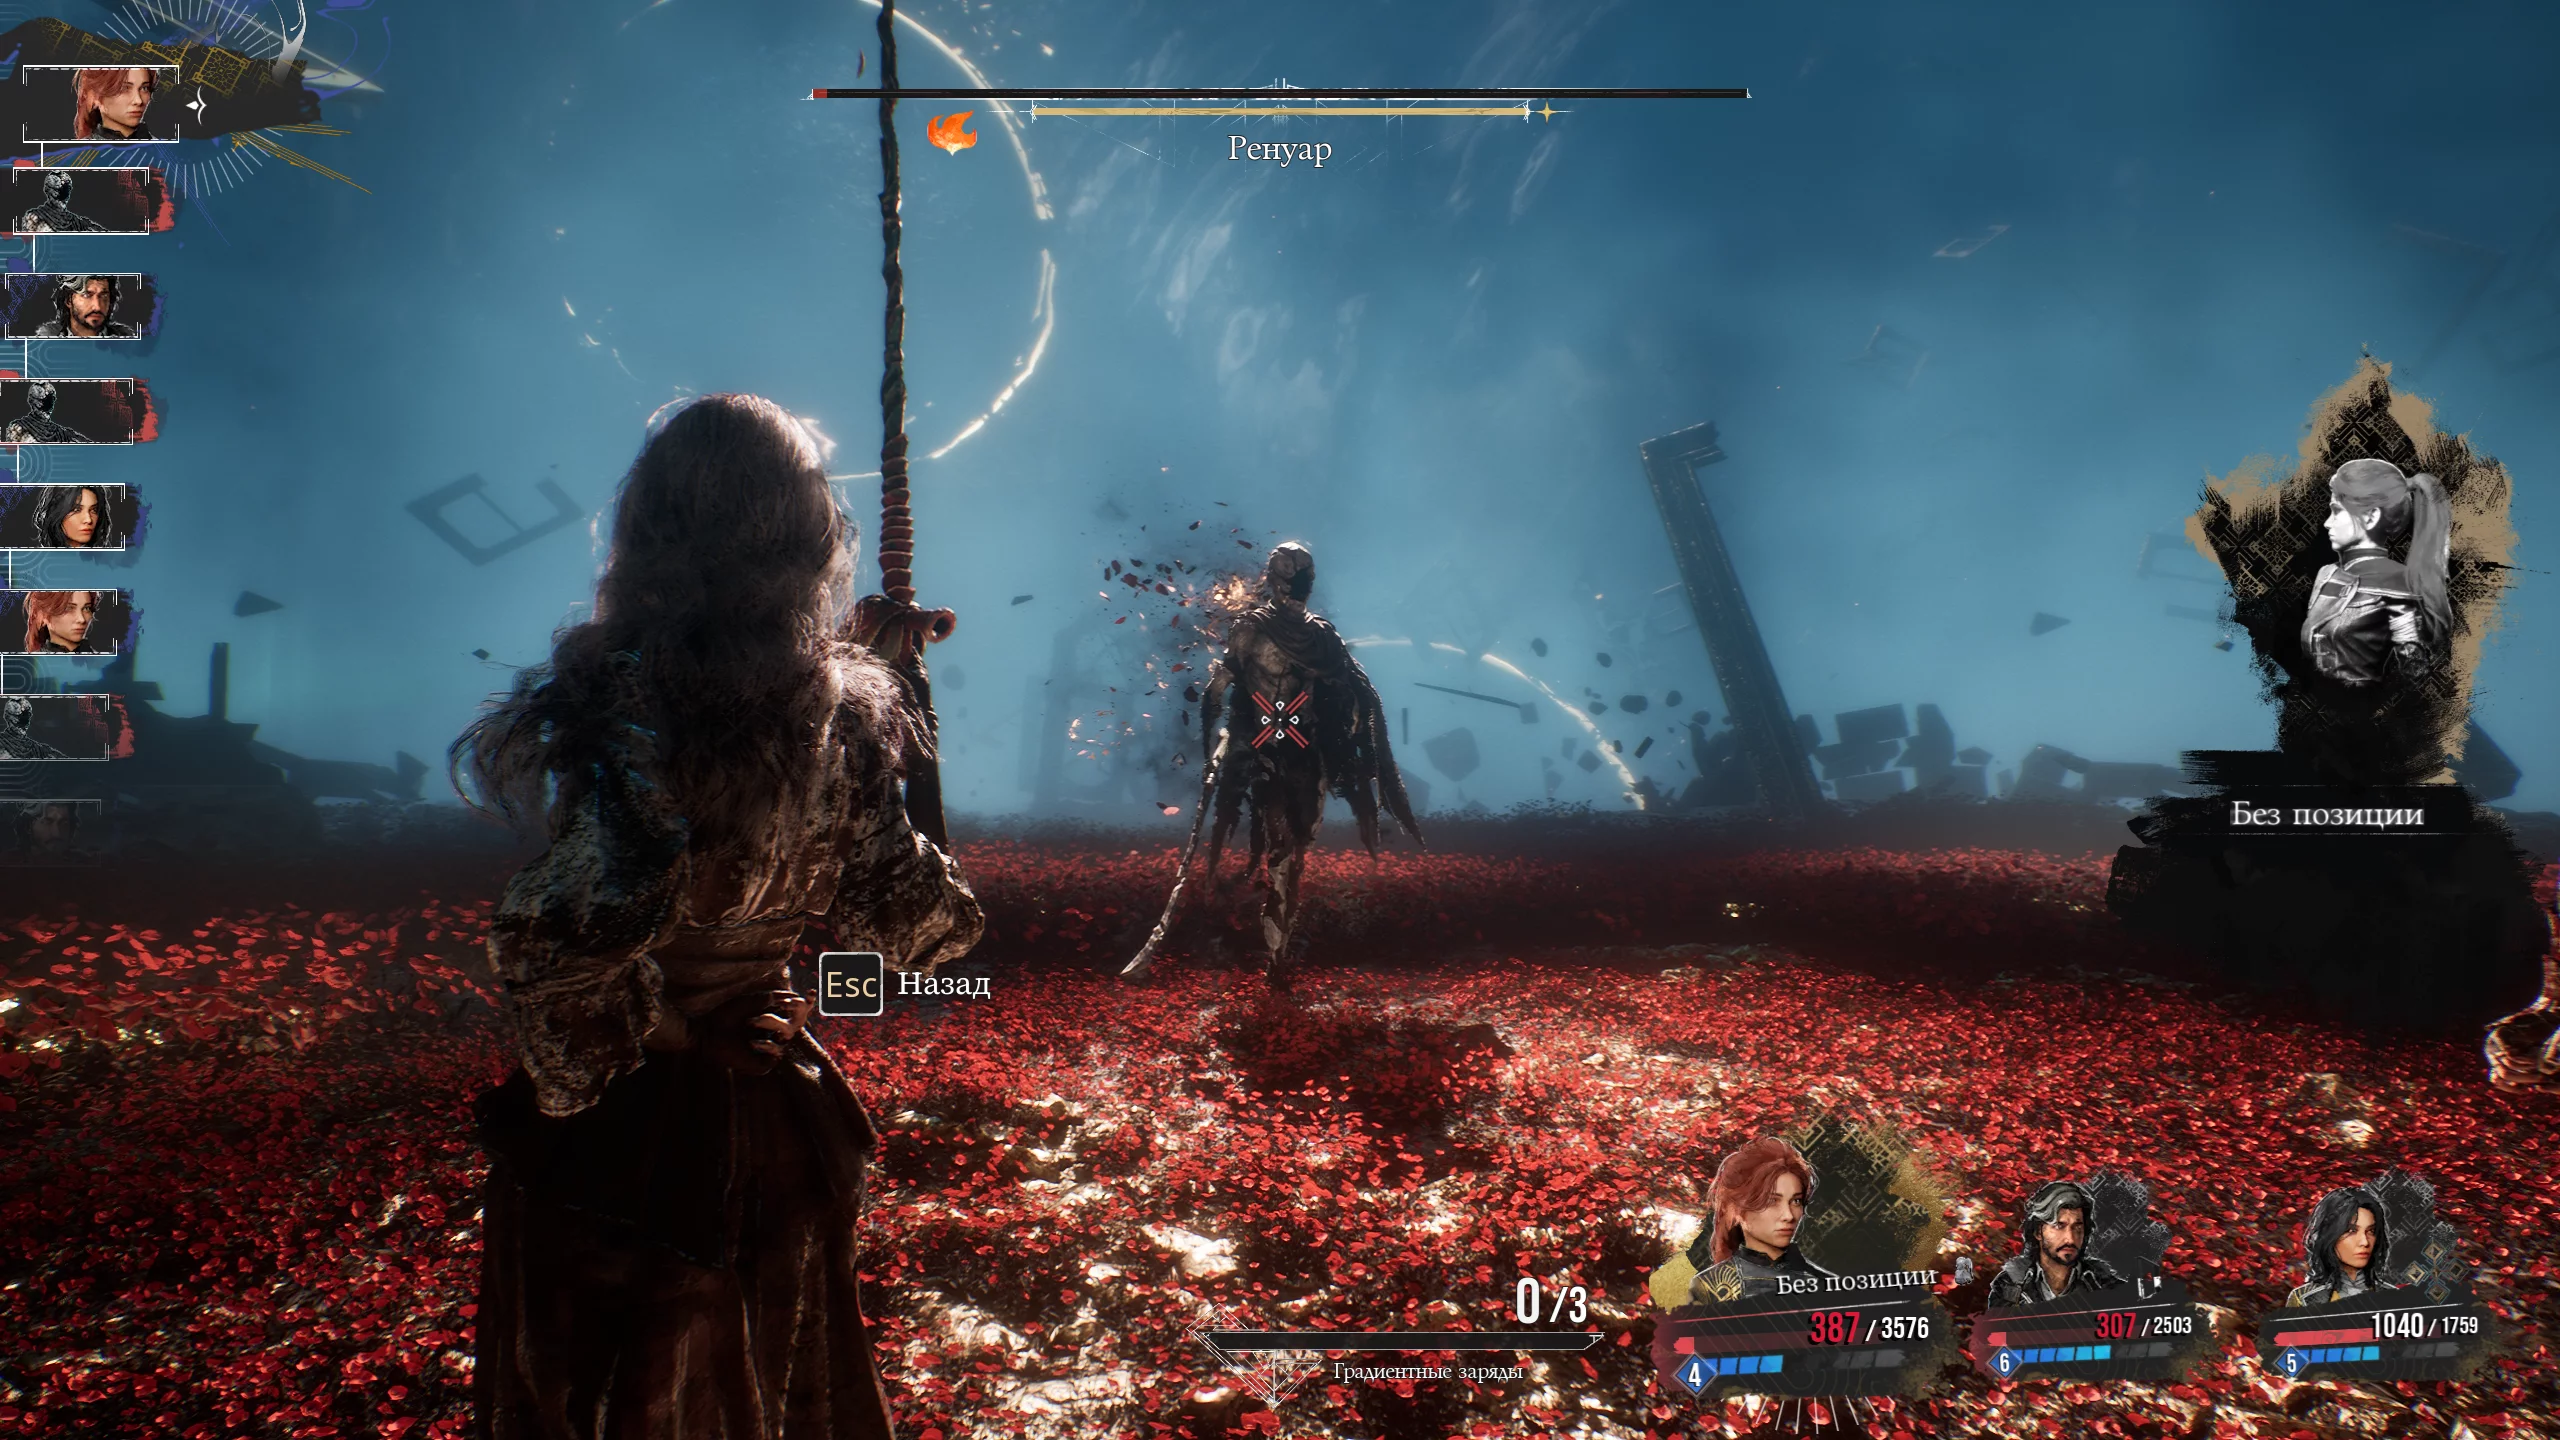
The third phase is harder: Renoir speeds up, gains buffs, and performs long combos — the first hits can be dodged, and the last one can be counterattacked. In the fourth phase, he uses powerful attacks like void meteors — here, save up gradient attacks and finish him off at the right moments. Use support pictos that allow you to stay in the fight as long as possible, such as the ability to revive and heal allies.
Decide the Fate of the Canvas
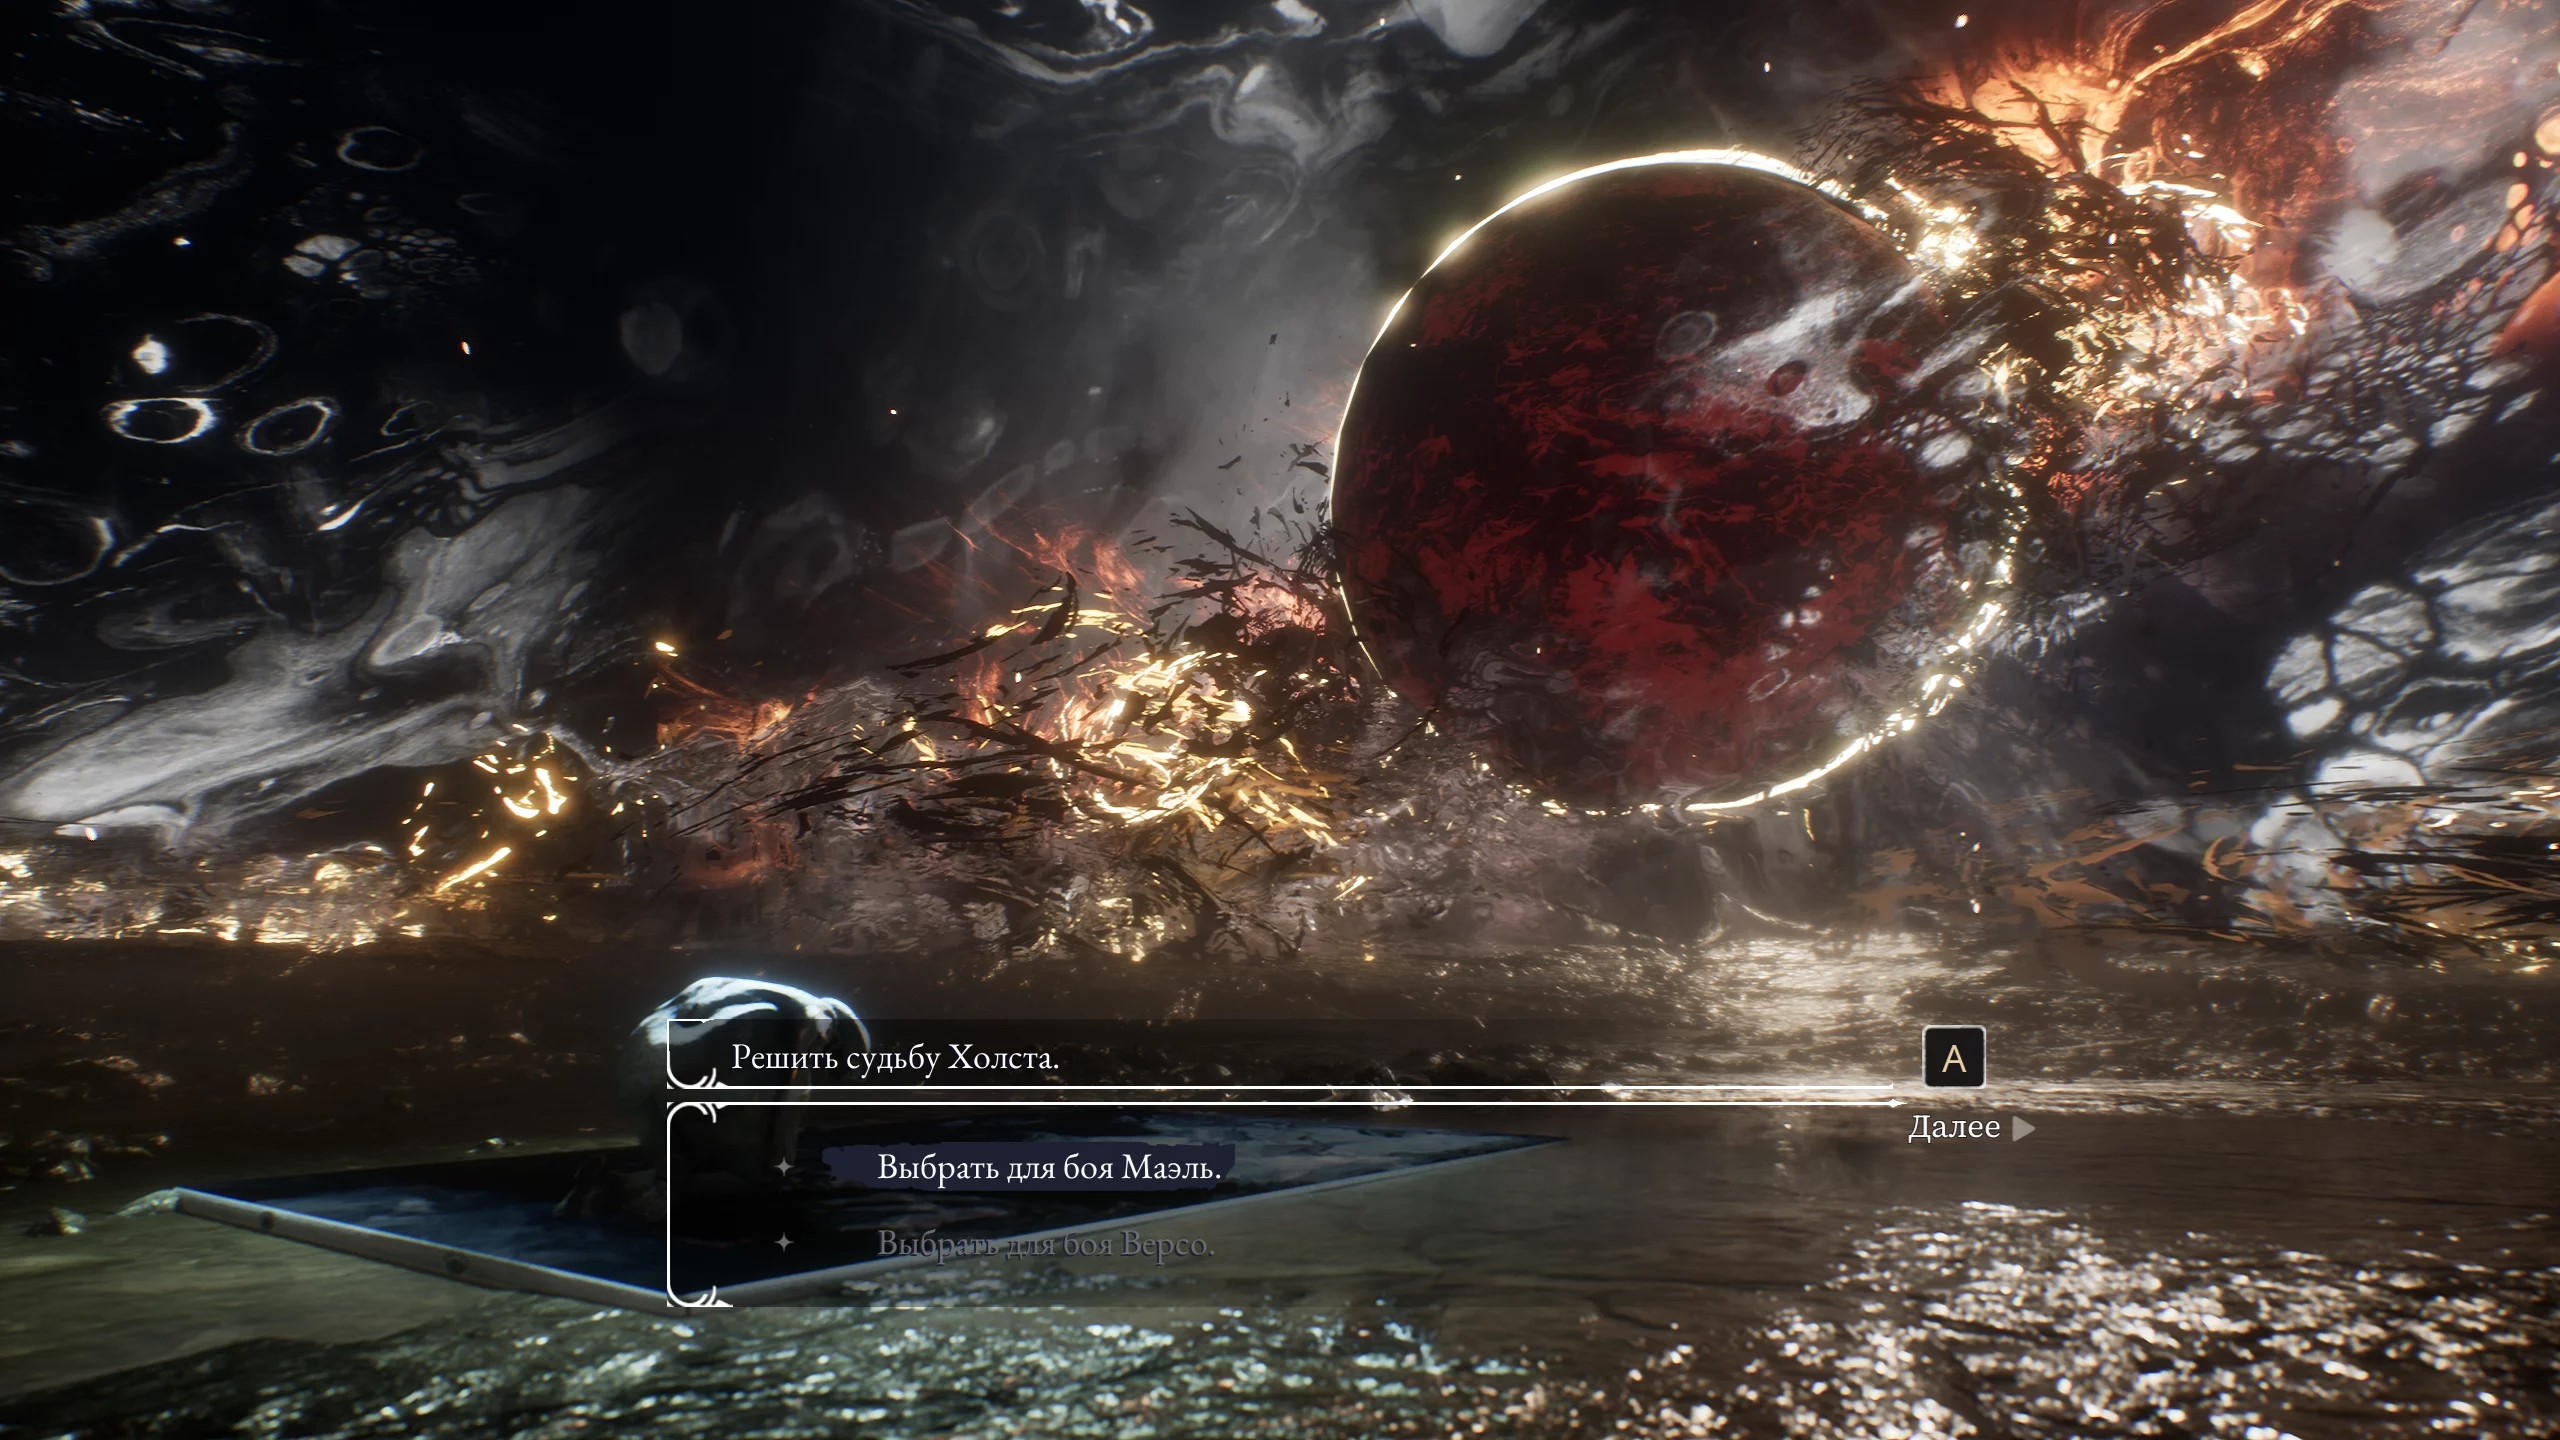
After defeating Renoir, you will find yourself inside the canvas. Talk to the boy, who is actually the remnants of Verso's soul. Then decide the fate of the world by choosing whom you will fight for. The battle will take place in a one-on-one mode.
Epilogue. Live to Paint
If you choose Mael’s side, you need to defeat Verso. As a result, a cutscene will start where Lumiere is restored and all the characters are alive. And Mael becomes an artist, and the gommage no longer threatens anyone.
Epilogue. Live to Love
If you choose Verso's side, you need to defeat Mael. As a result, the canvas and its world will be completely destroyed. The scene ends with Alicia saying goodbye to her disappearing friends.
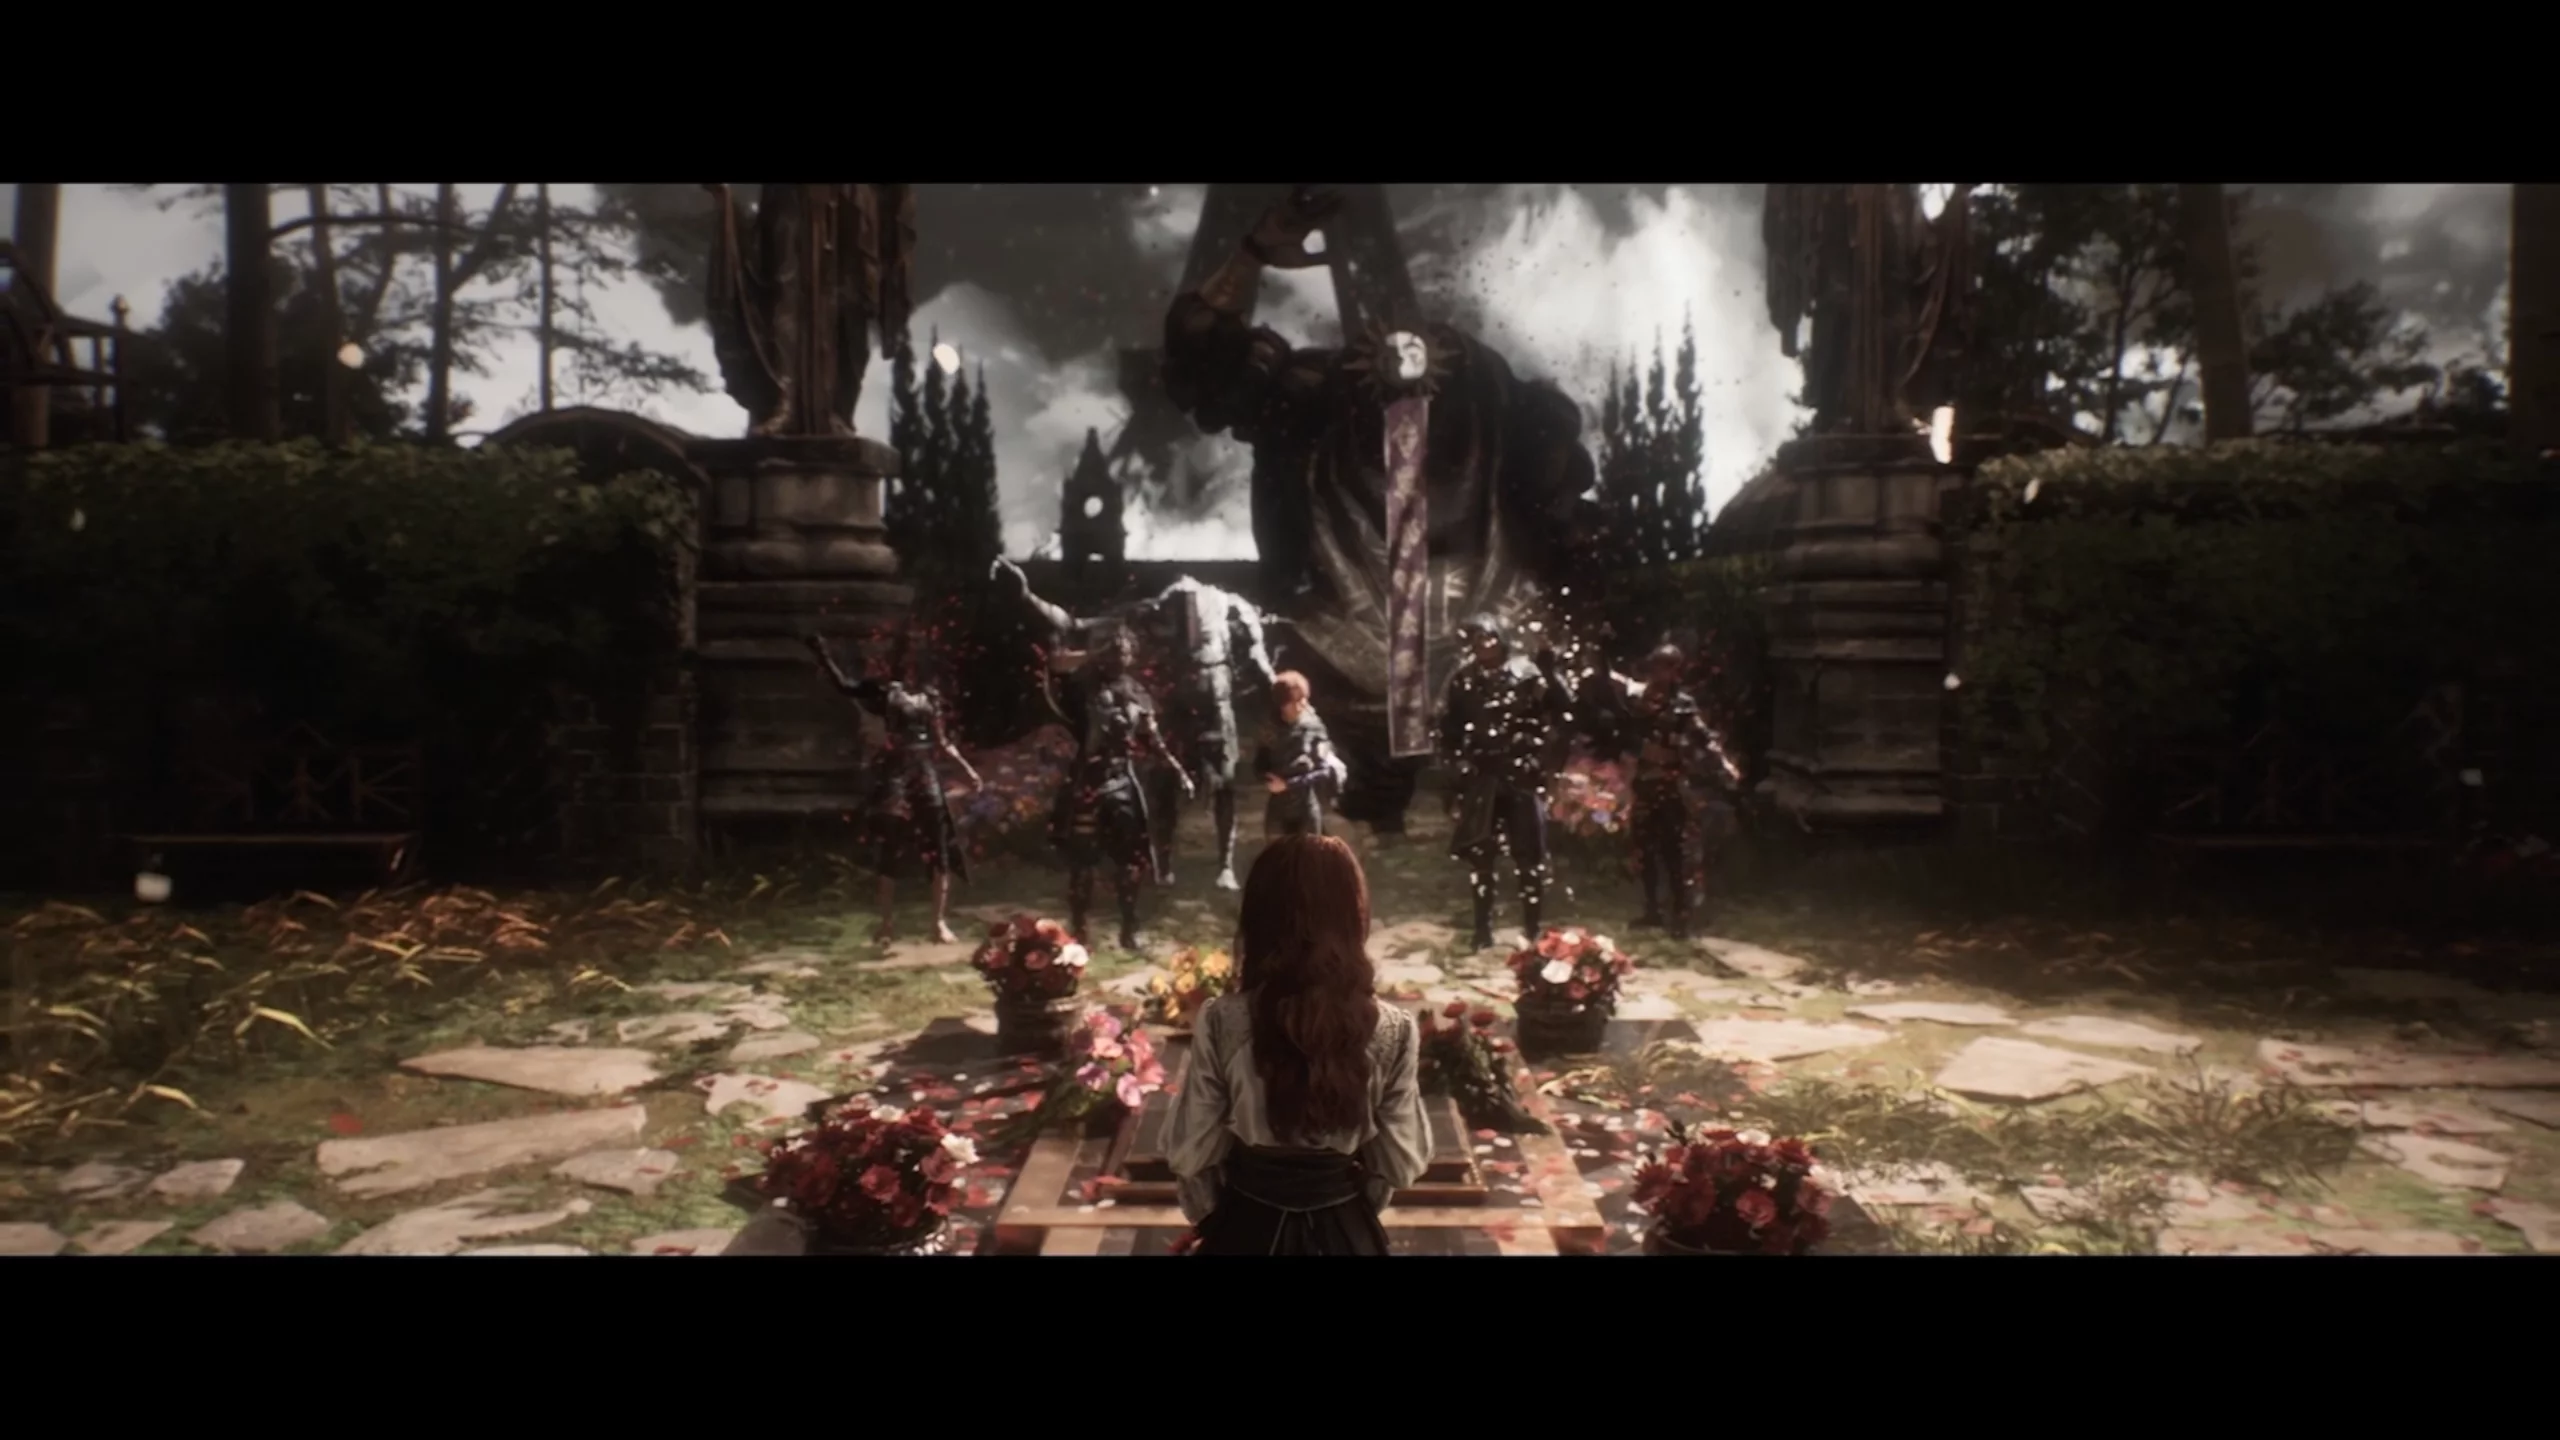
Which Ending is Better
The question of which ending is better is quite debatable. There is a family that has gone through a terrible tragedy. As a result, they created an imaginary world to escape reality because of their grief. The outcome is that a girl who survived a fire and the loss of her older brother in one day risks staying forever in a world of dreams. In the end, we have a choice: leave the girl forever in her fantasies or give her a chance for a new life in reality at the cost of destroying the canvas.
After the credits, the main menu will appear. If you continue the game, you will find yourself at the place of the last battle with Renoir. Now you can continue exploring the world. And if you want to see the other ending, you can load previous saves.
Other guides
 How to Unlock All Anniversary Haircuts in Clair Obscur: Expedition 33
  Clair Obscur: Expedition 33 — Verso's Drafts Location Full Walkthrough
 Clair Obscur: Expedition 33 — How to Reach Verso’s Drafts & Open the Gingerbread Door
 Clair Obscur: Expedition 33 — Where to Find Every Perfect Chroma Catalyst
 Clair Obscur: Expedition 33 — How to Get and Use the Old Key
 Clair Obscur: Expedition 33 — How to Get and Use the Dessandre Family Portrait
-
 Clair Obscur: Expedition 33 — How to Fix Crashes, Fatal Errors, Black Screen, and Stuck Character
 -
 Eternal Ice Location Guide in Clair Obscur: Expedition 33 — Where to Find and How to Get
 -
 Clair Obscur: Expedition 33 — Ultimate Builds Guide for Every Character
 -
 Clair Obscur: Expedition 33 — How to Unlock All Chromacists
 -
 All Elden Ring Endings Explained: How to Get Every Ending and Which Is Best
 -
 Valheim Save File Location: Where to Find Your Saves
 -
 Valheim Materials Guide: Where to Find Every Crafting Resource
 -
 Clair Obscur: Expedition 33 Sells Over One Million Copies
 -
 «Something 33»: Players Are Renaming Clair Obscur: Expedition 33 Due to Its Complicated Title