Although Elden Ring Nightreign looks like a standard session-based game for the industry, it is primarily a story-driven adventure with a full-fledged ending. However, in addition to the main story, the game features numerous quest tasks related to playable characters (Night Wanderers), which not only reveal the game's lore but also make the gameplay more diverse and rich.
Each Night Wanderer has their own storyline, consisting of quest memories with specific actions that do not always have a clear formulation or order of steps. In this guide, we will go through each character and explain what needs to be done to complete all the story chains.
Wylder’s Quest Memories
Wylder's storyline is divided into chapters that are unlocked as certain conditions are met.
Access to the first chapter is available from the very beginning. Open the Diary (Journal) in the inter-session hub and read the entry dedicated to Wylder. There are no special rewards for this action.
To unlock the second chapter, you need to start an "Expedition to Collect Memory Shards" or kill the final boss Tricephalus. After fulfilling the condition, check the diary to receive a new page. There are no special rewards for the second chapter.
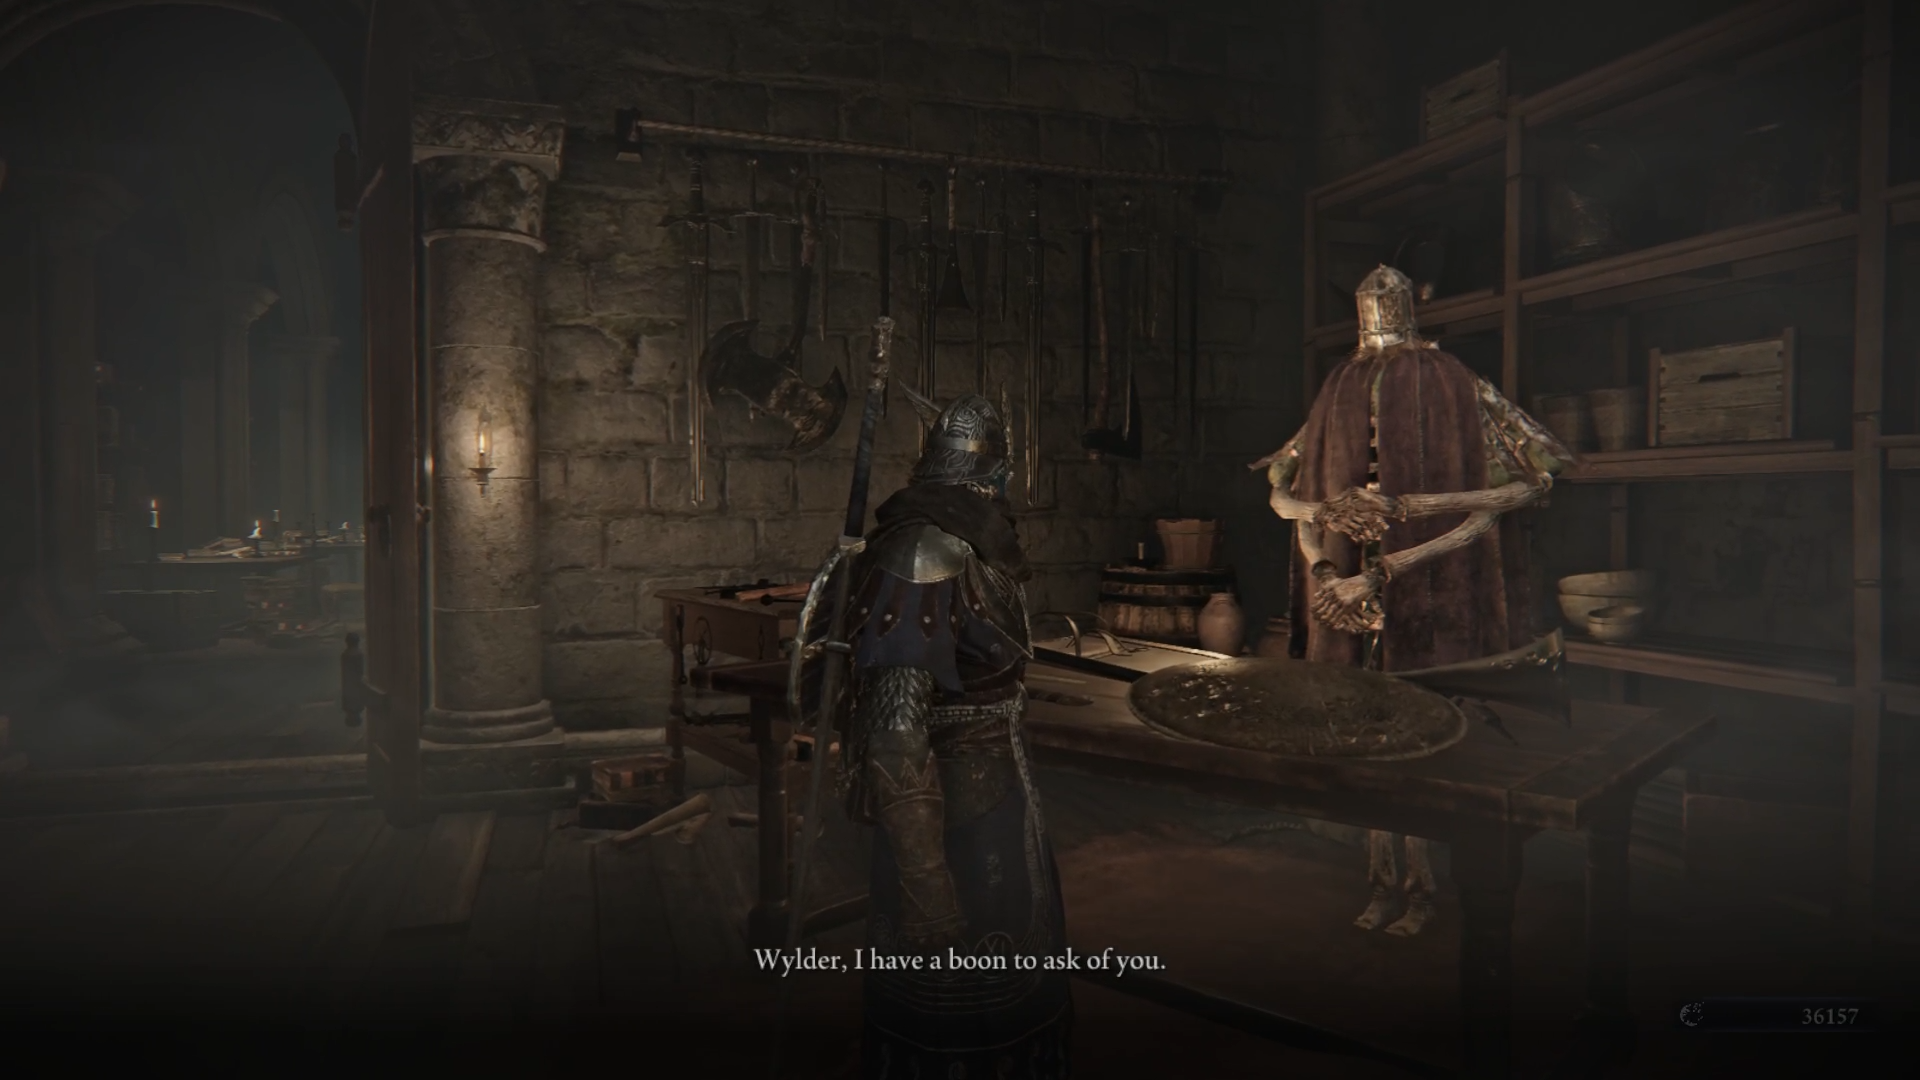
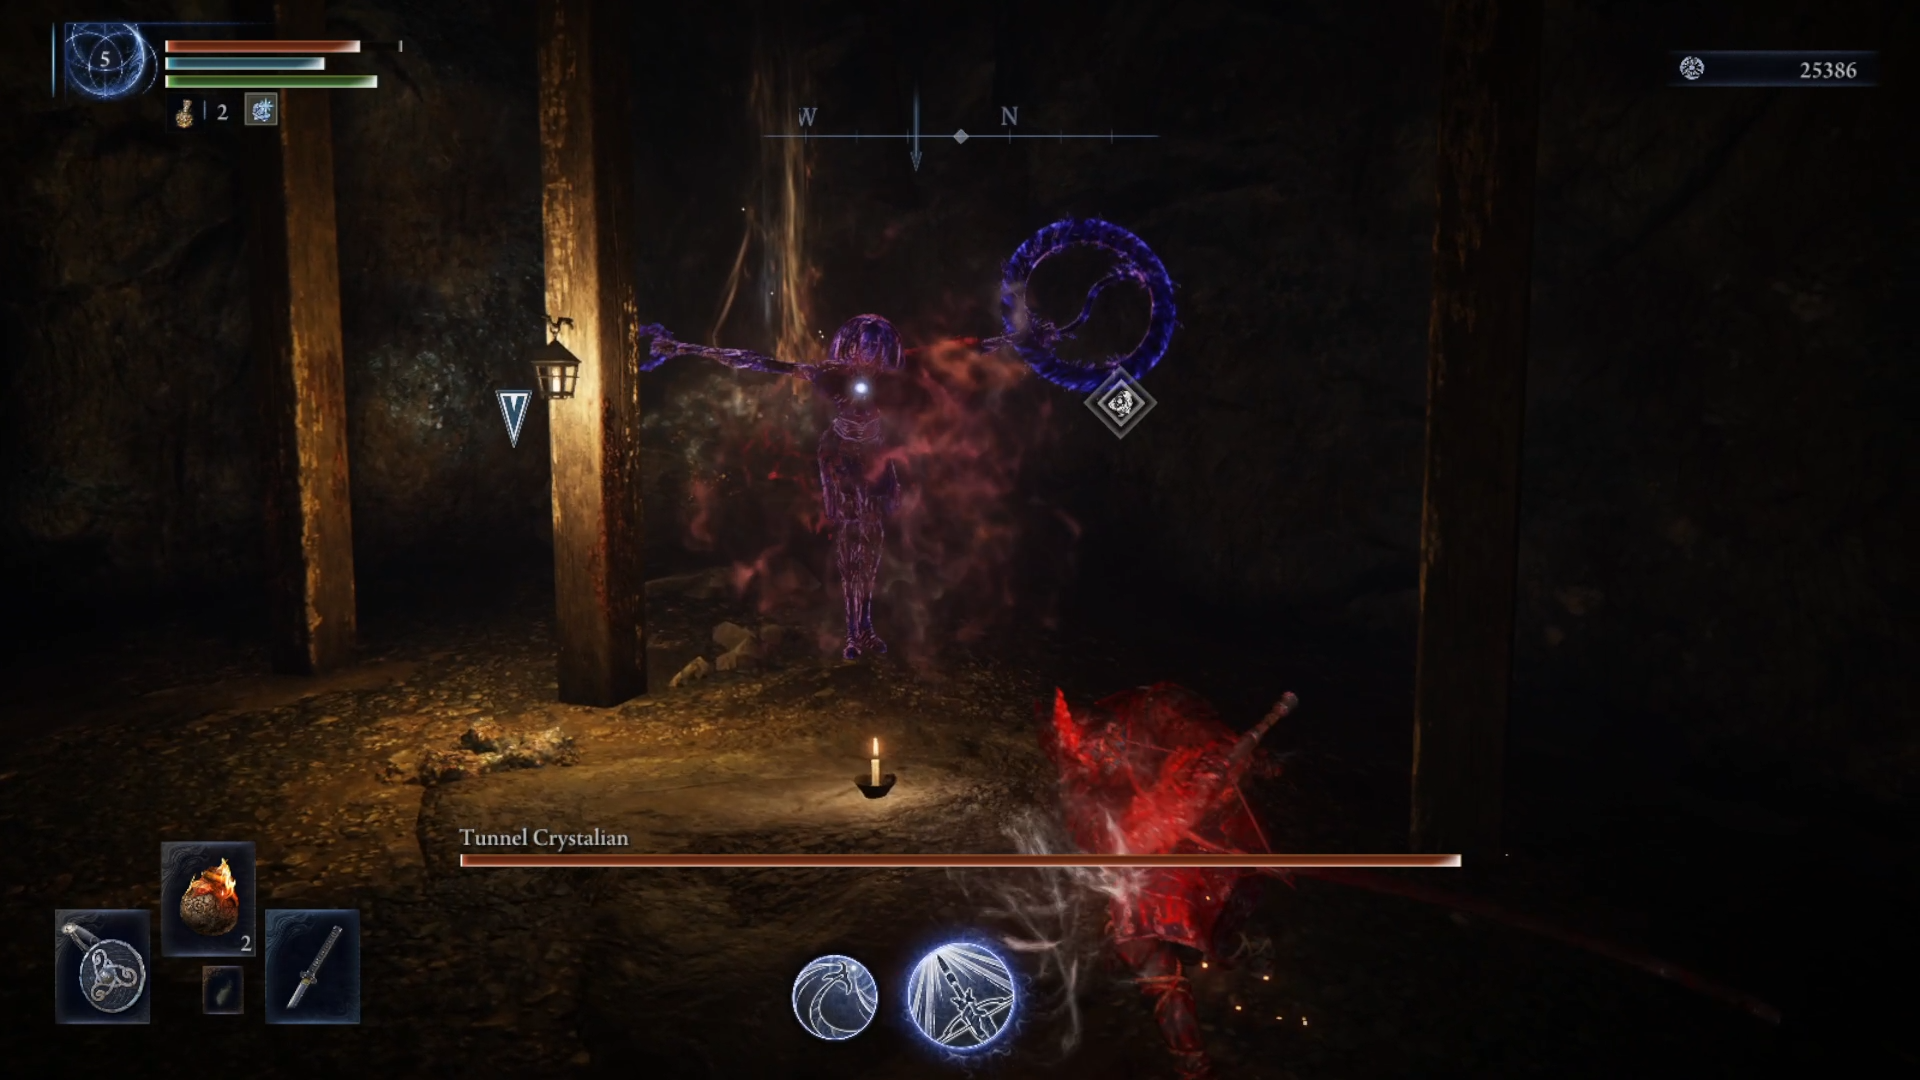
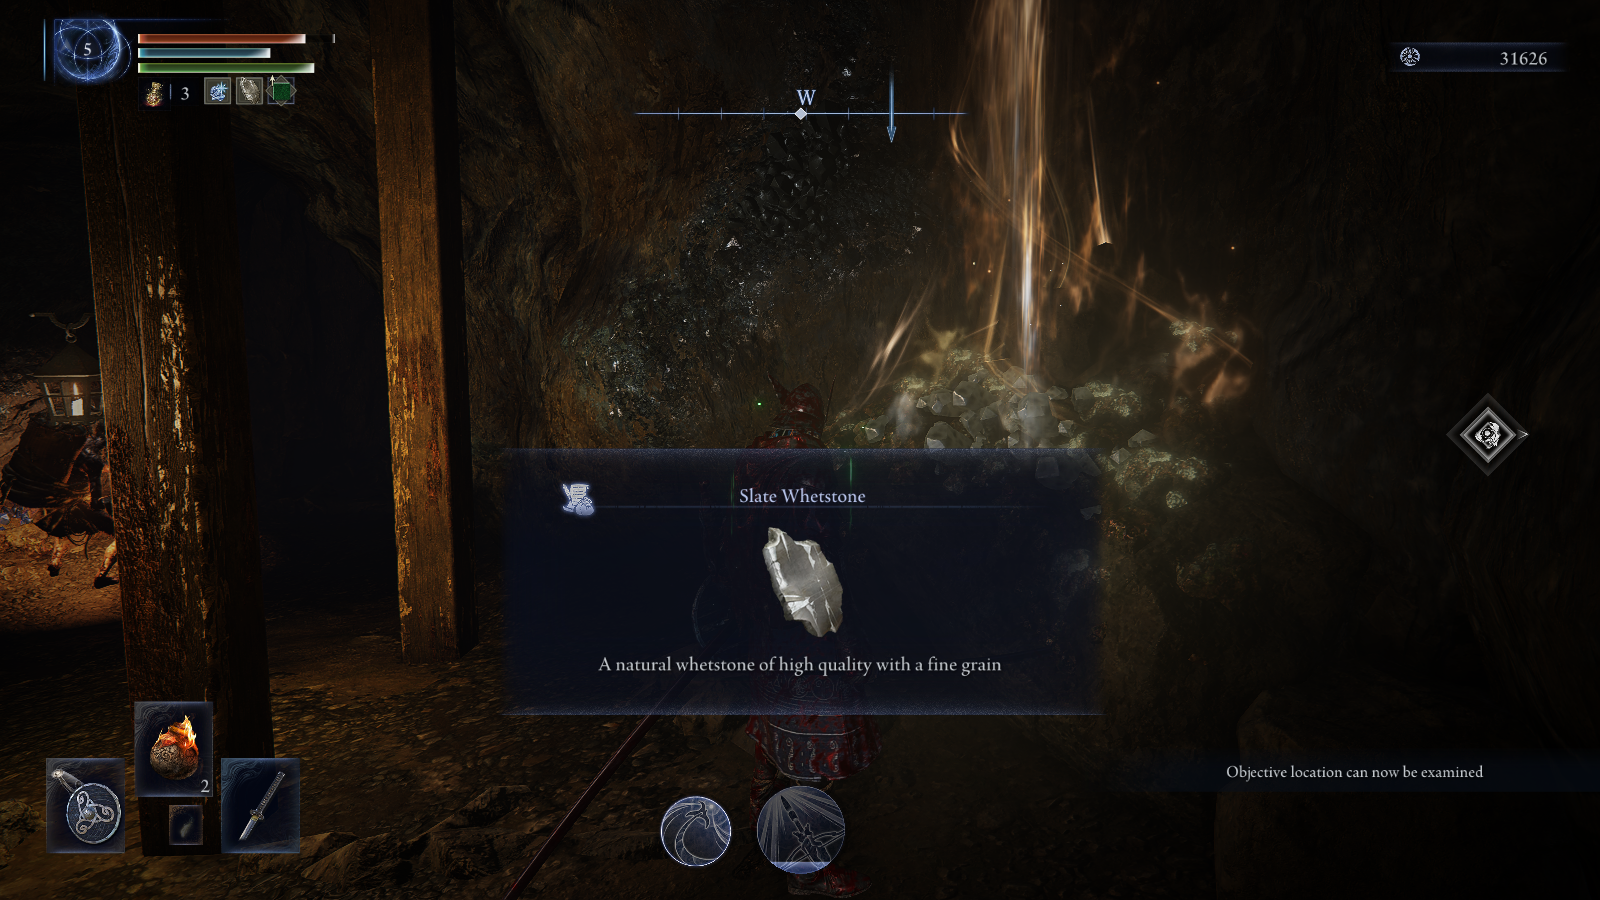
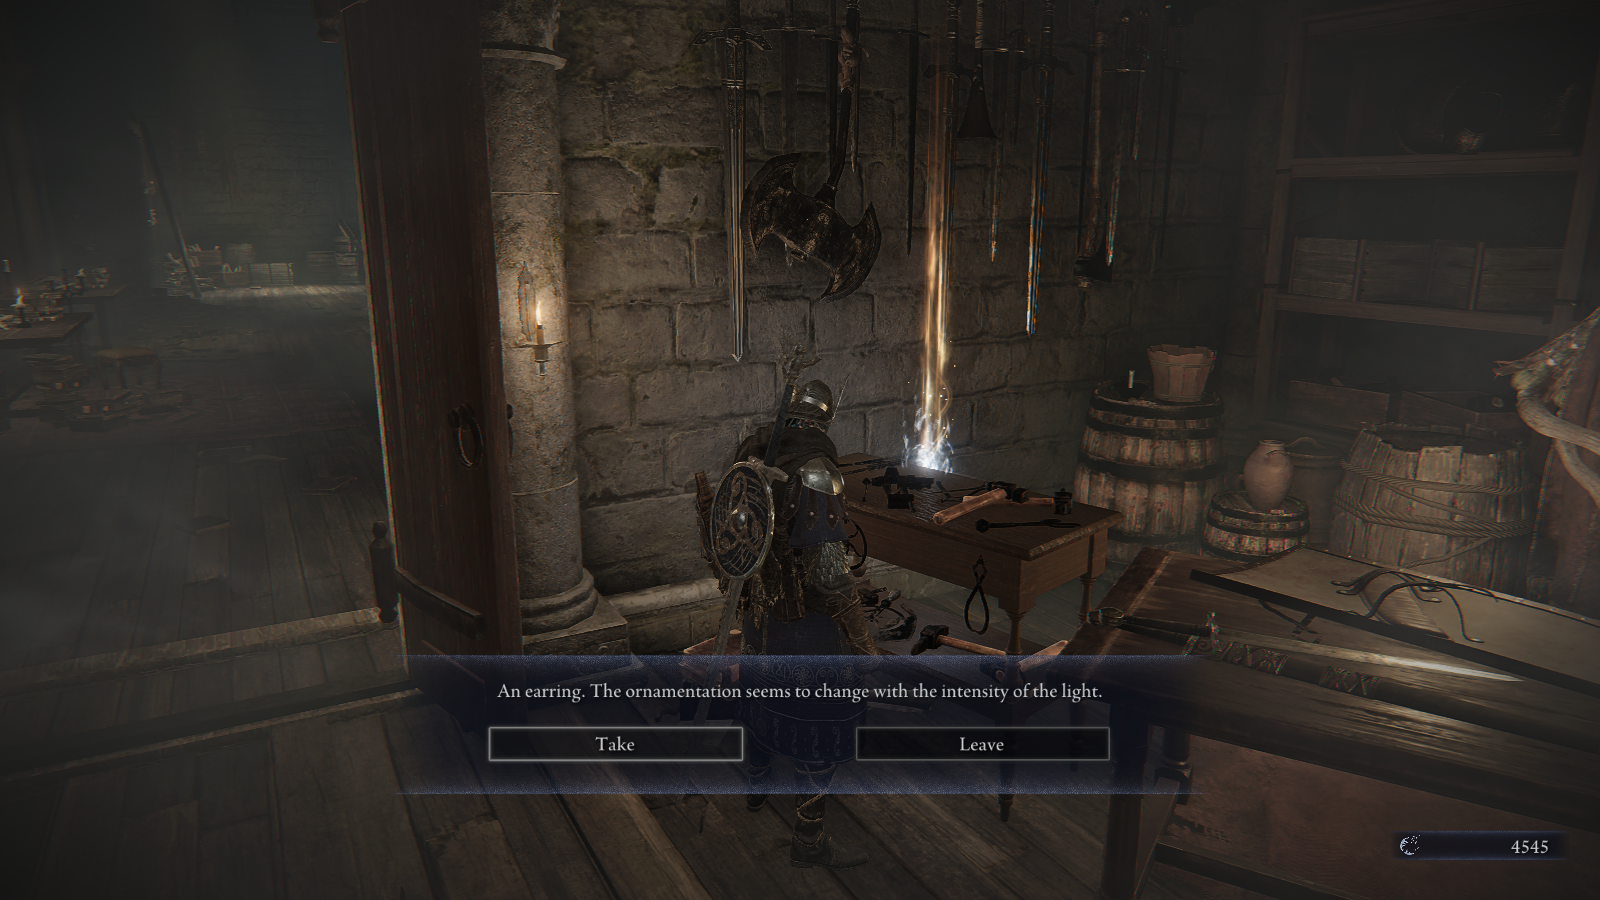
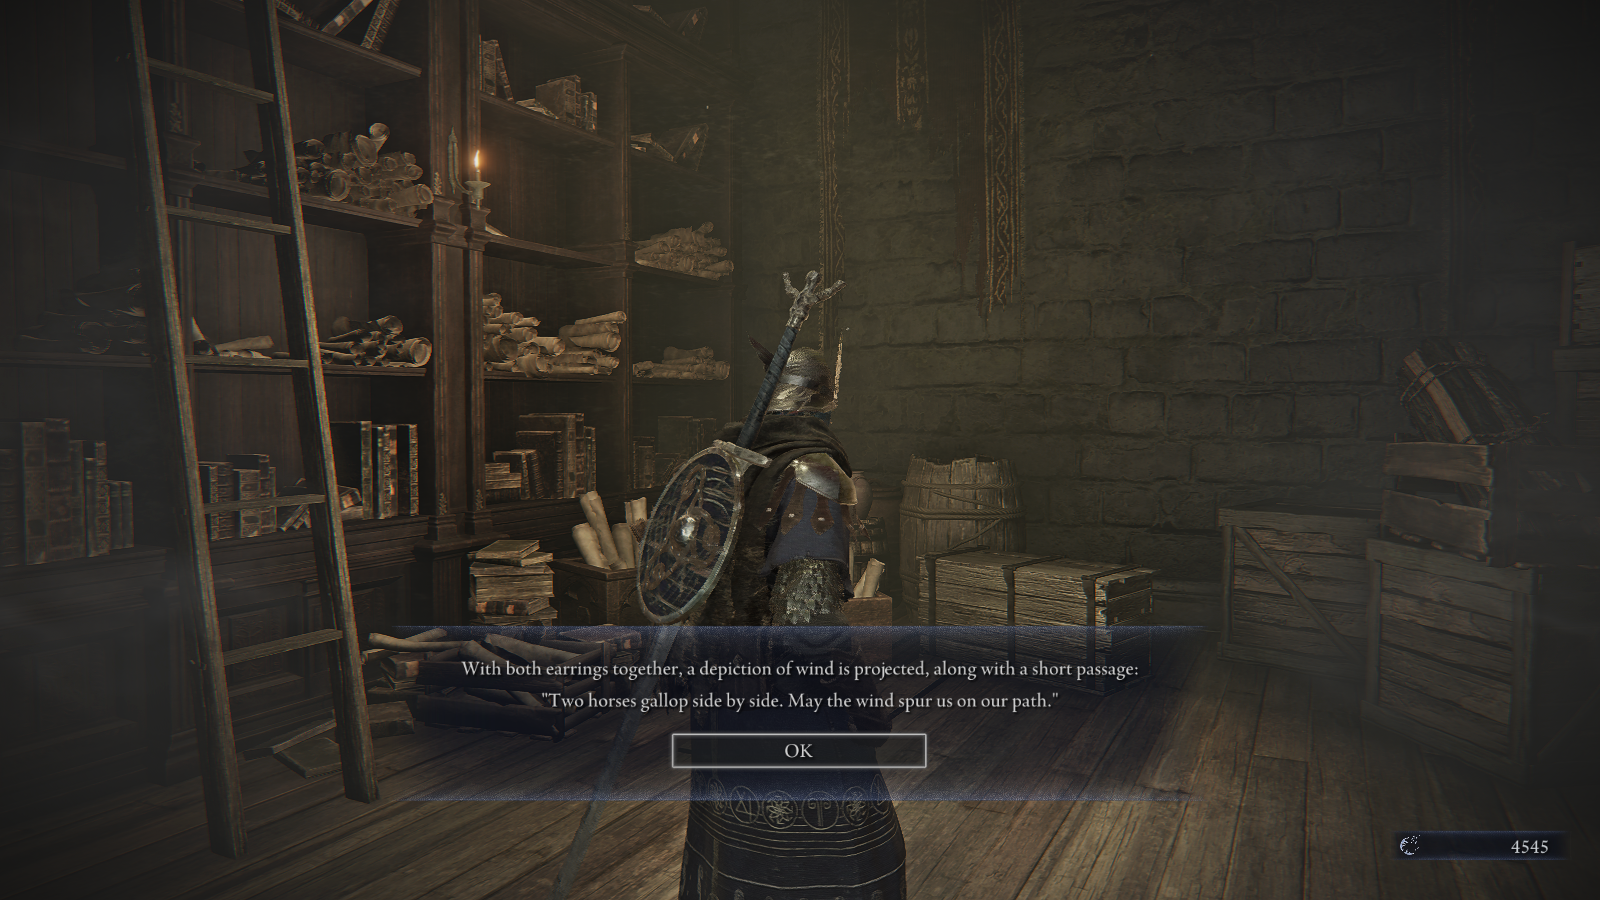
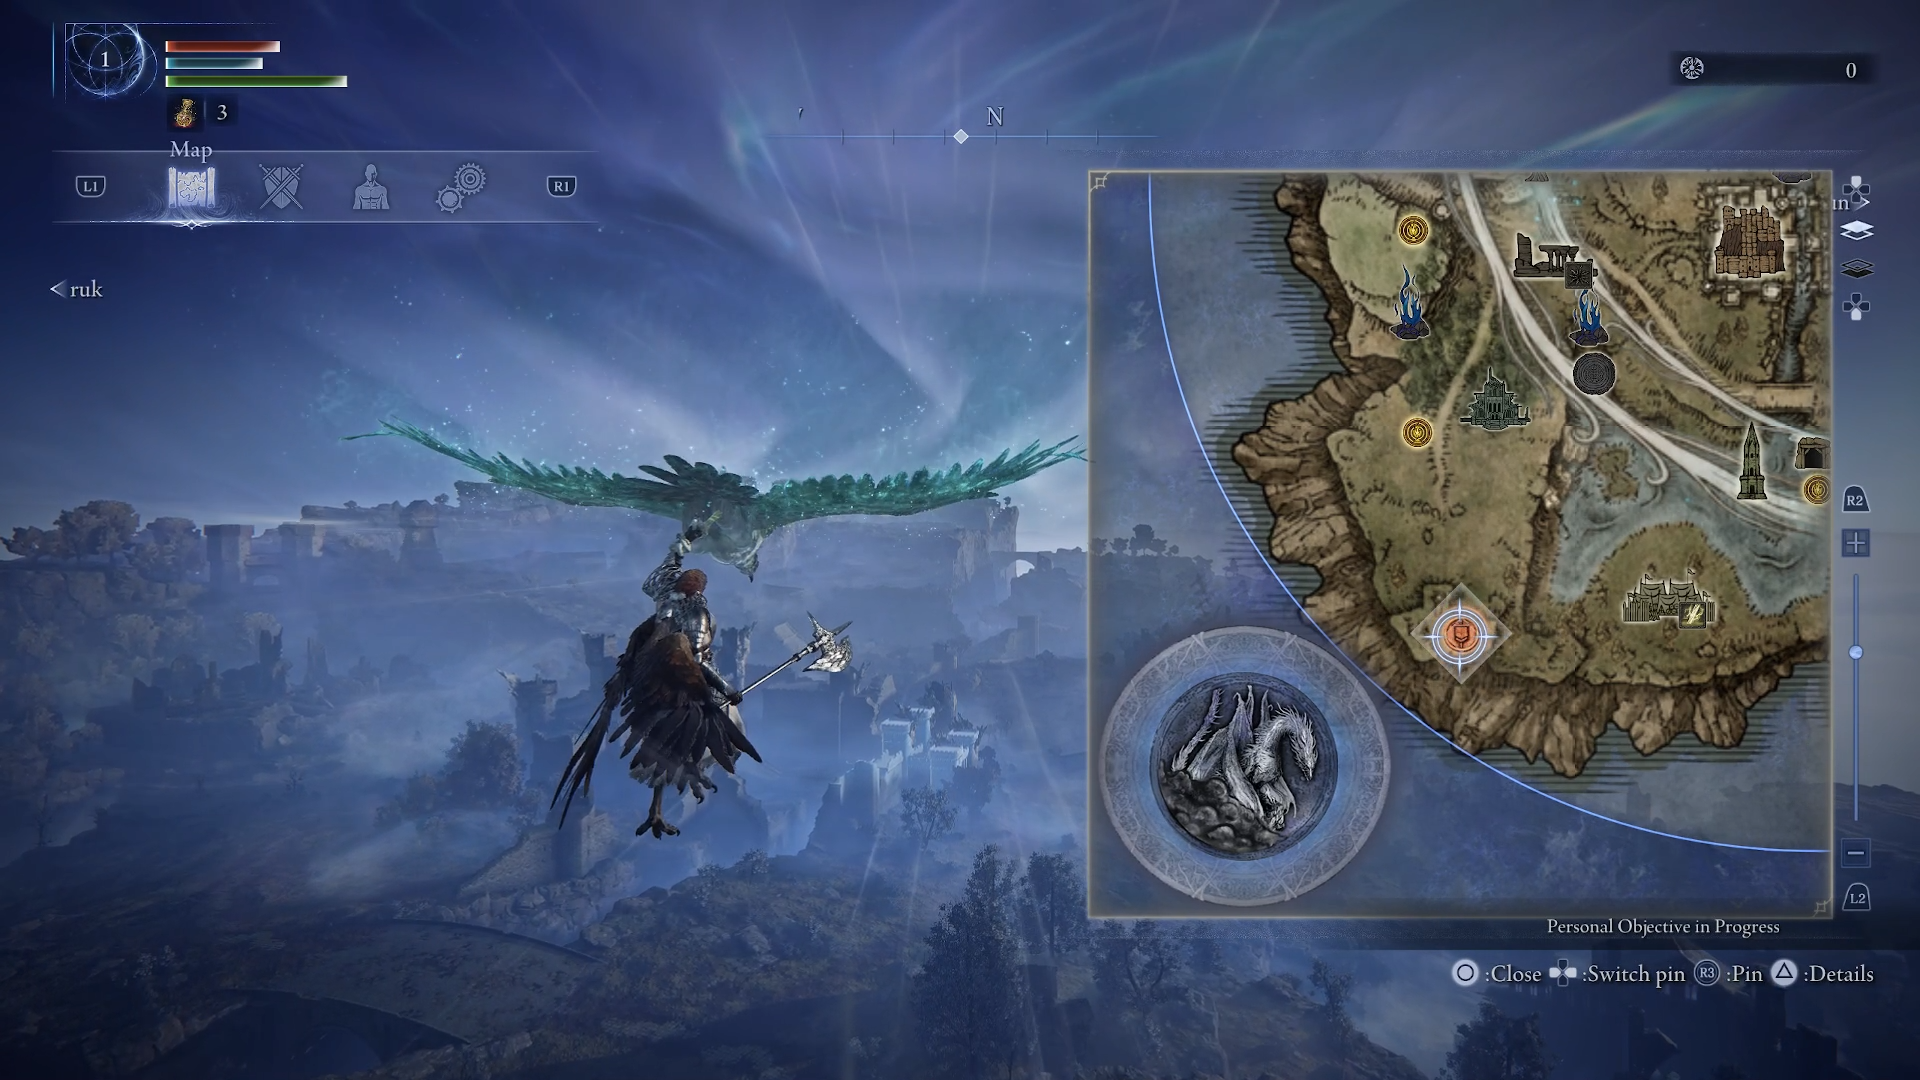
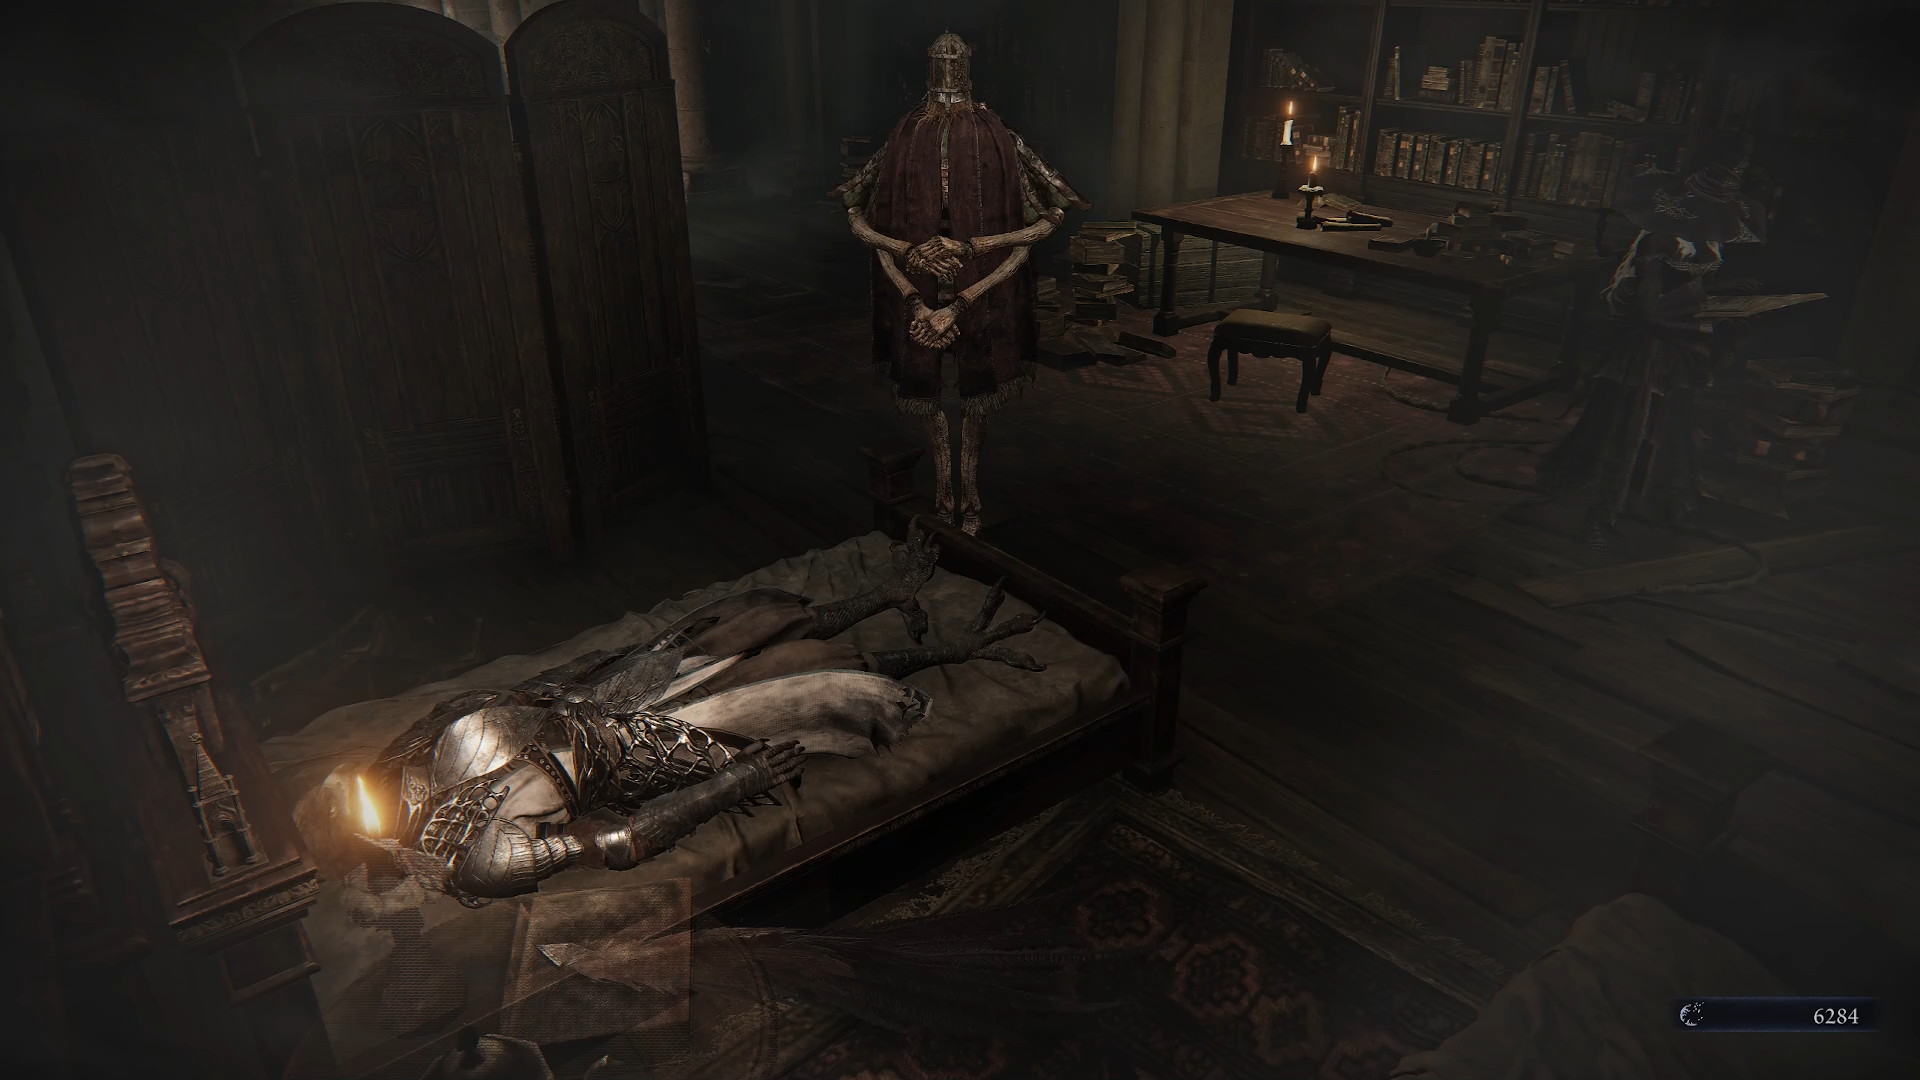
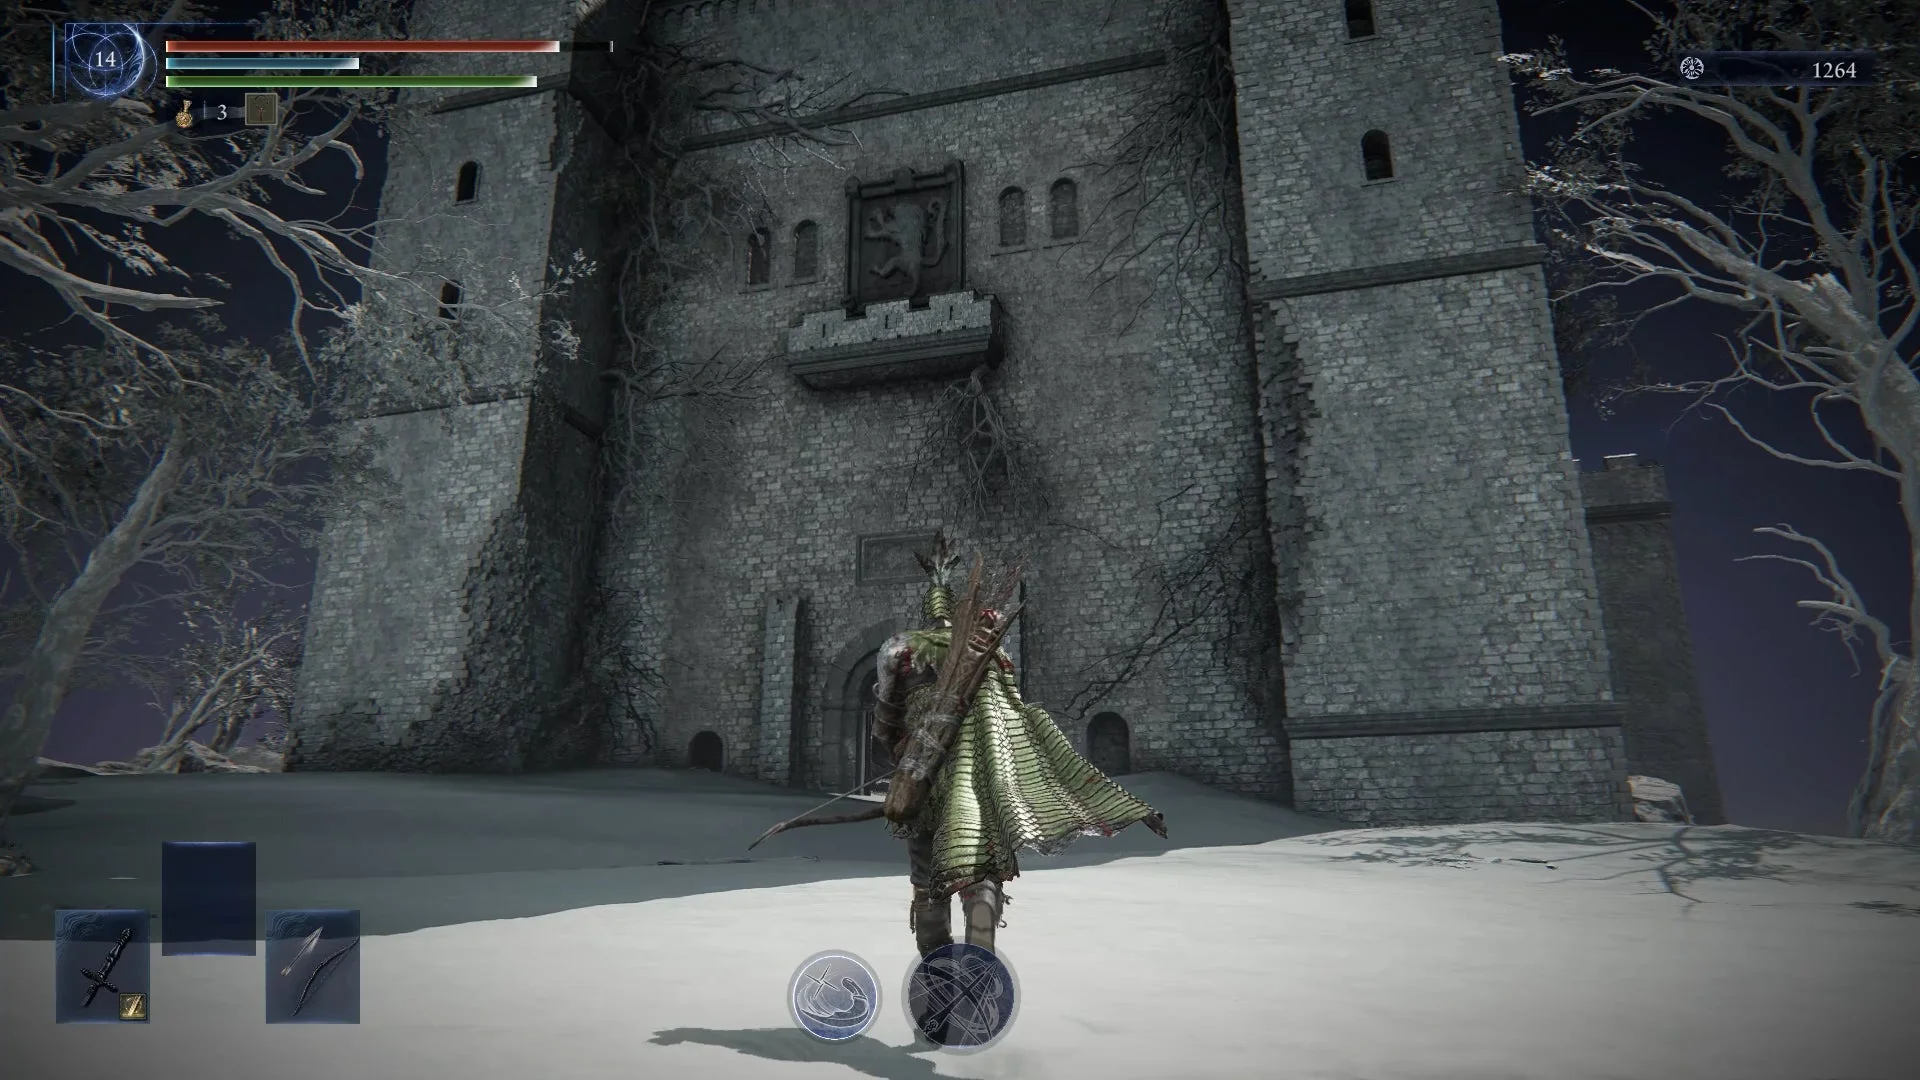
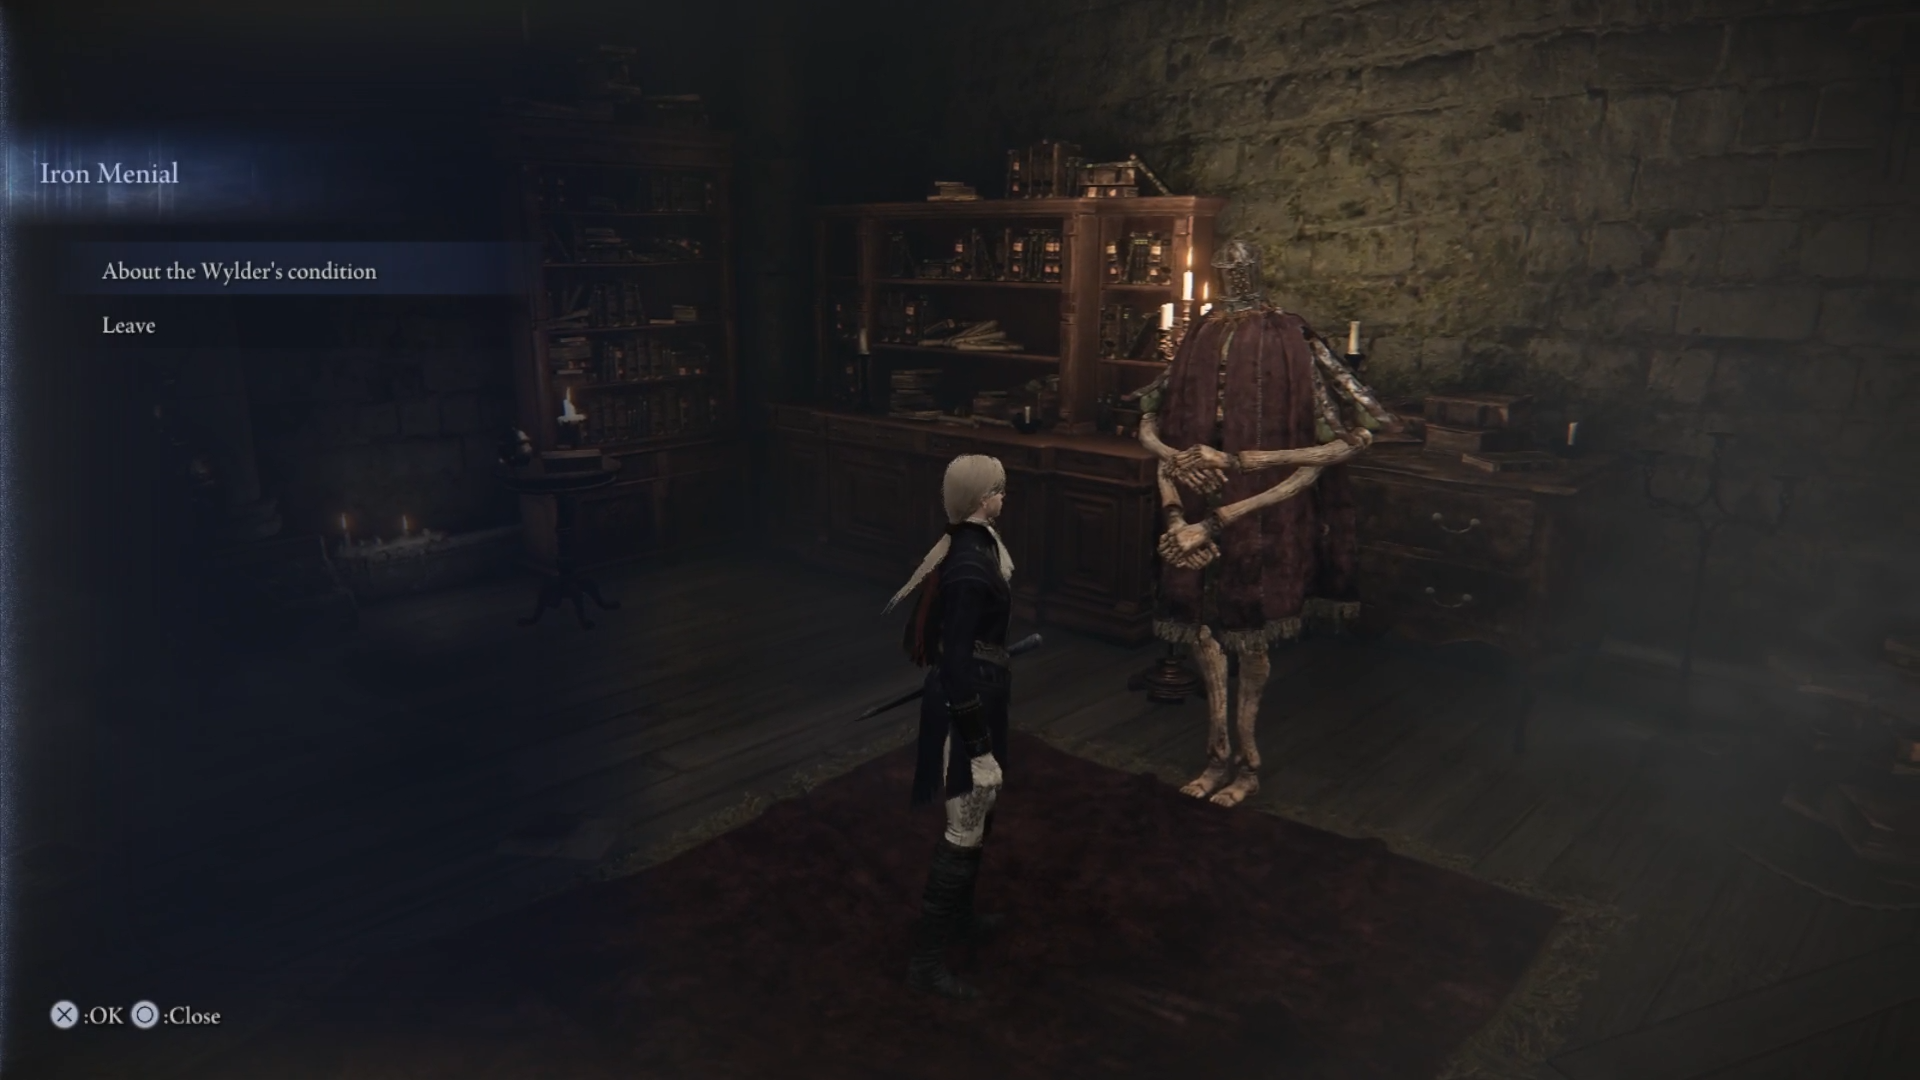
For the third chapter, you need to visit the Iron Servant, who is located just below the diary's location. Talk to the NPC and select the "Understood" option to accept the quest. Now you need to go on an expedition and pick up a whetstone to repair the earrings. To do this, open the map and mark the mine with a red marker. Inside, you will find many glowing stones. Defeat the mini-boss Crystalian, who guards them, and pick up the "whetstone". You can then finish the mission or abort it. In any case, upon returning to the lobby, go to the table and repair the earrings. After this, enter the office located behind the Iron Servant and bring the item to the light. Finally, visit the Duchess and give her the earrings.
As a reward, you will receive the relic "Slate Whetstone". This item grants new attacks to the character after using a skill, if they have a two-handed sword equipped. Additionally, it increases physical attack power.
The fourth chapter does not have specific tasks. Simply start expeditions to collect "Memory Shards" until the fifth chapter is unlocked. As expected, there are no rewards for this.
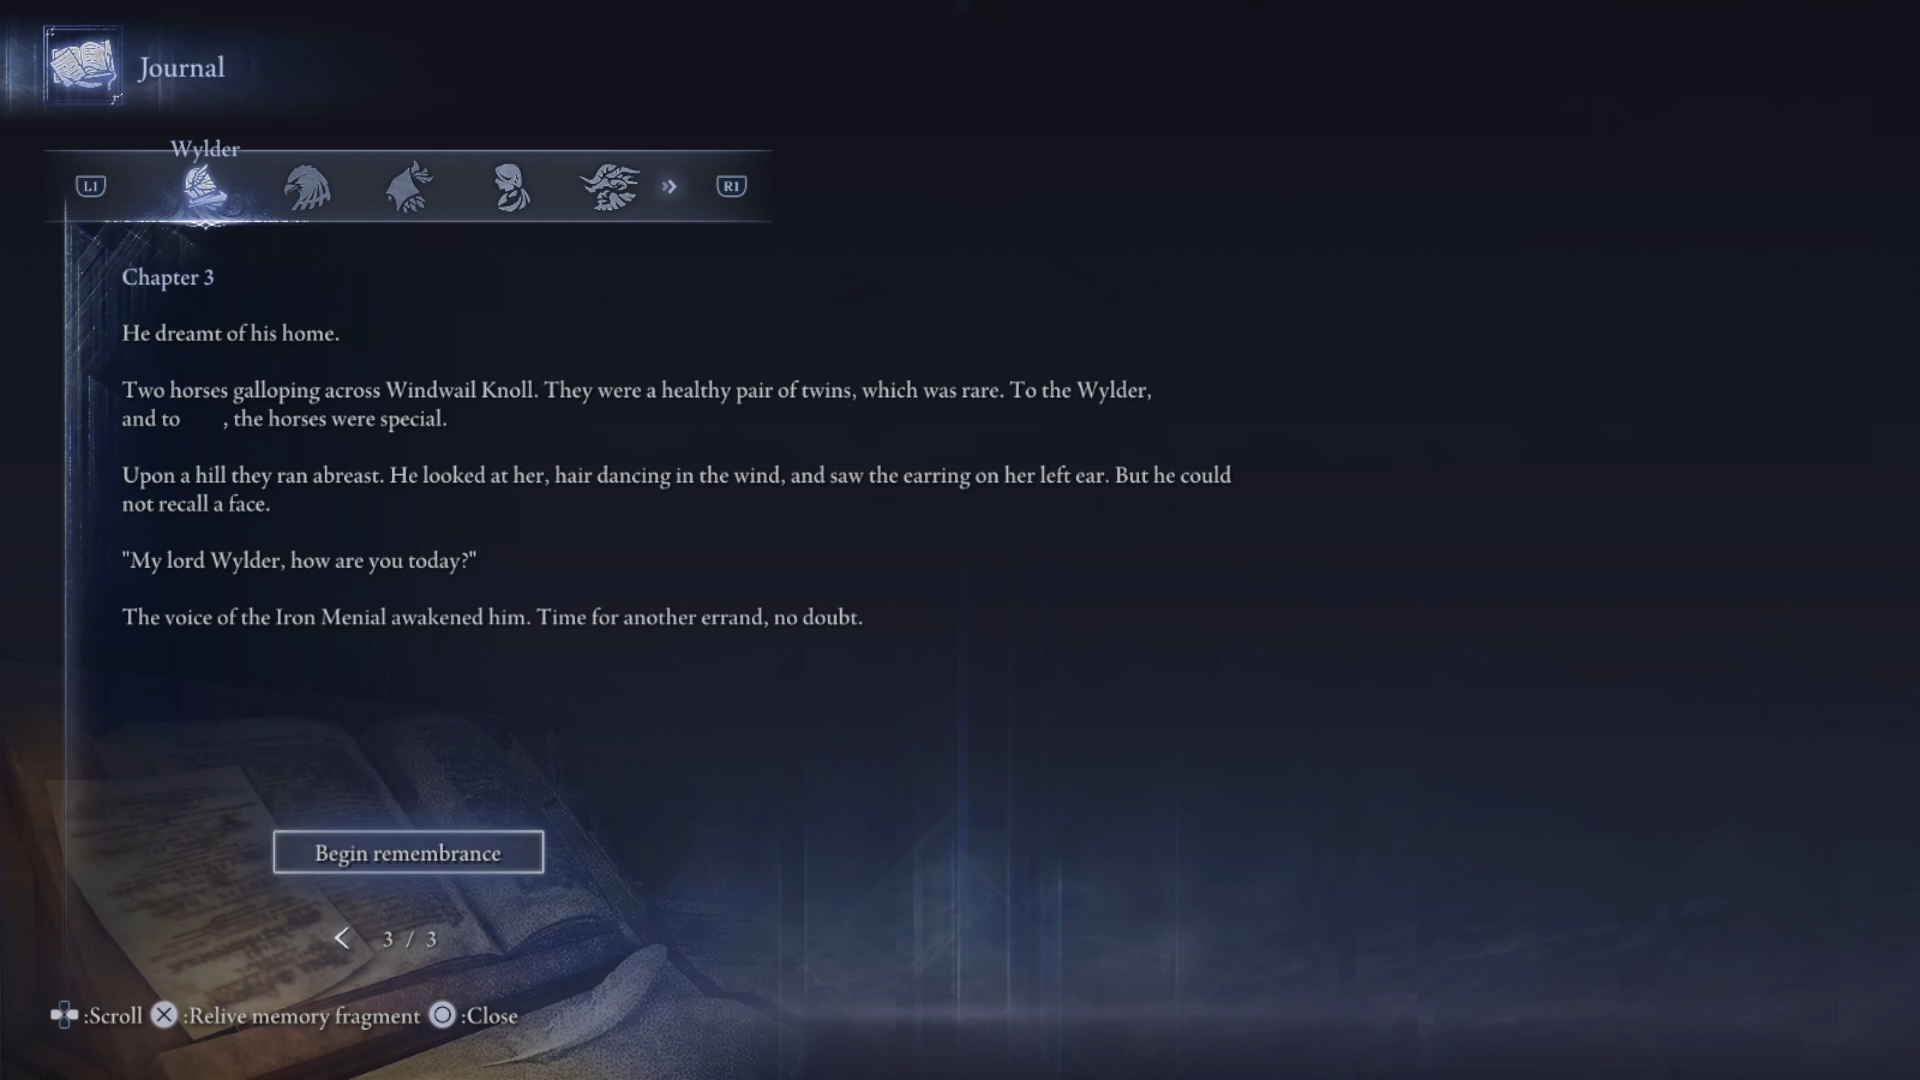
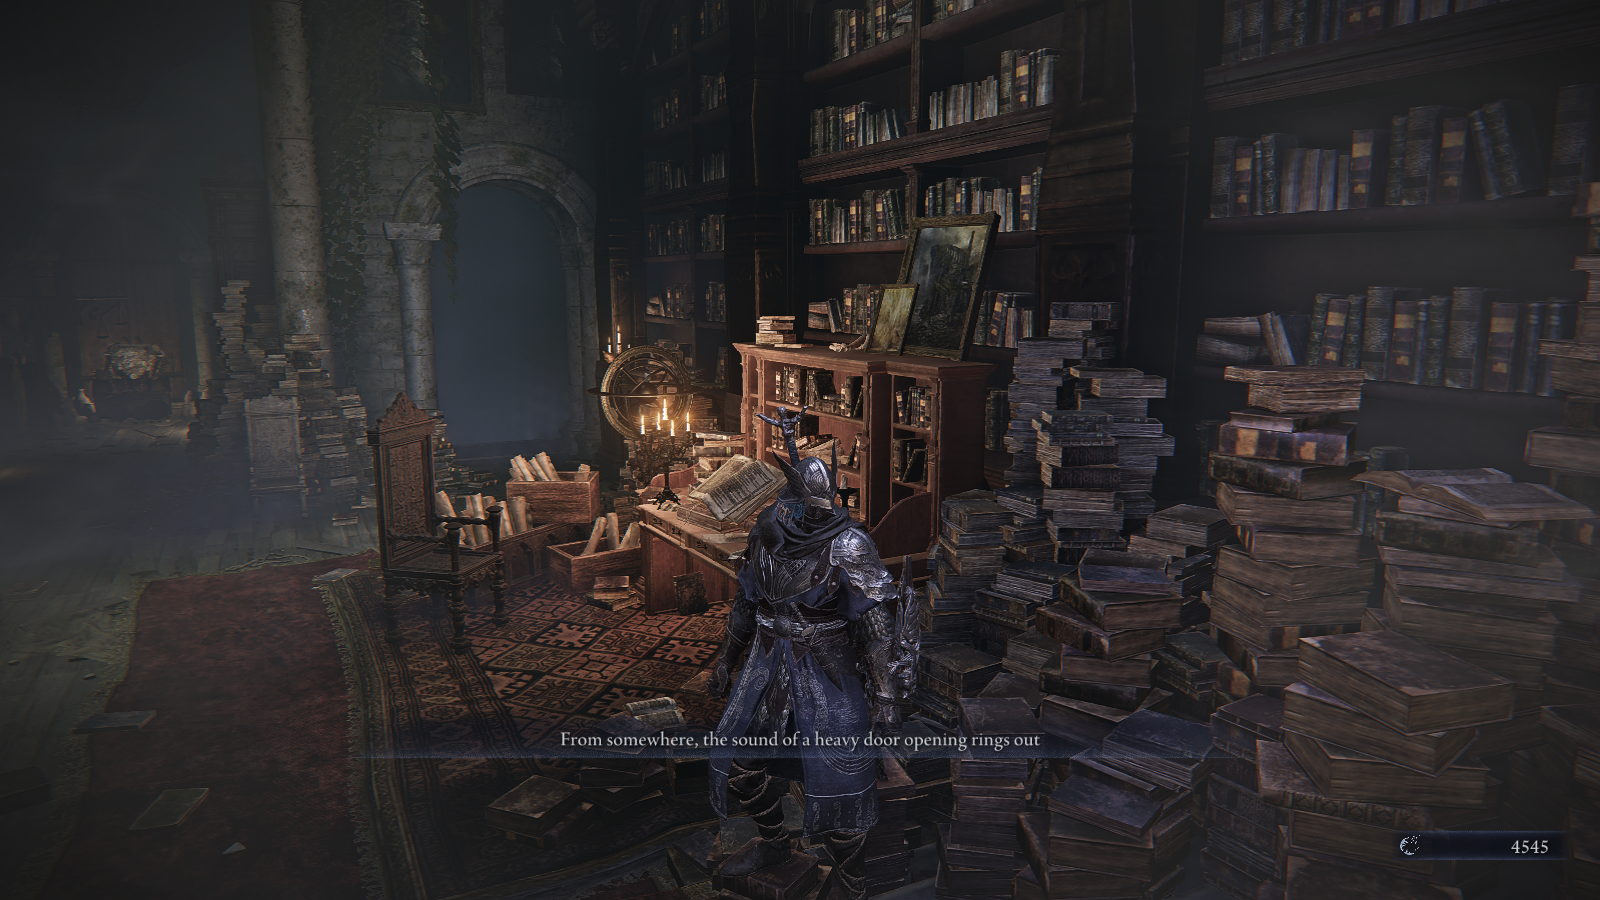
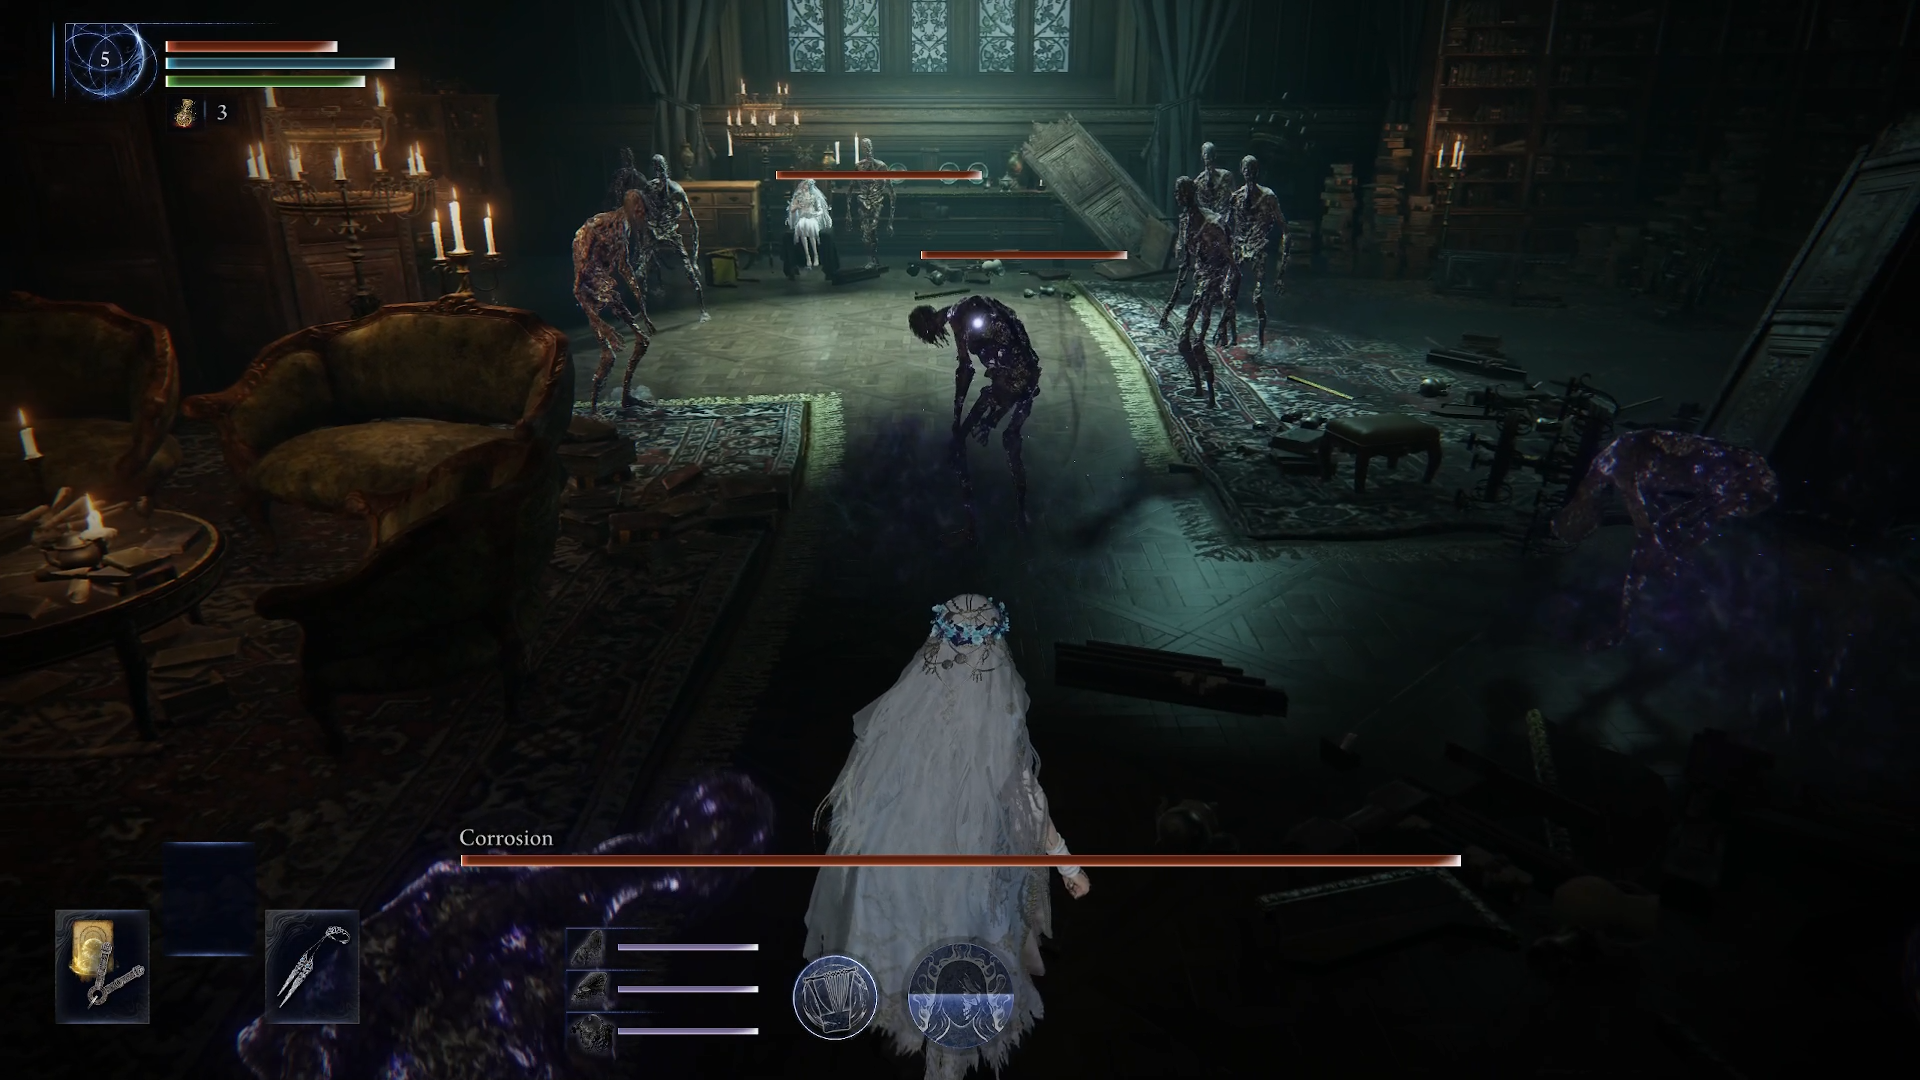
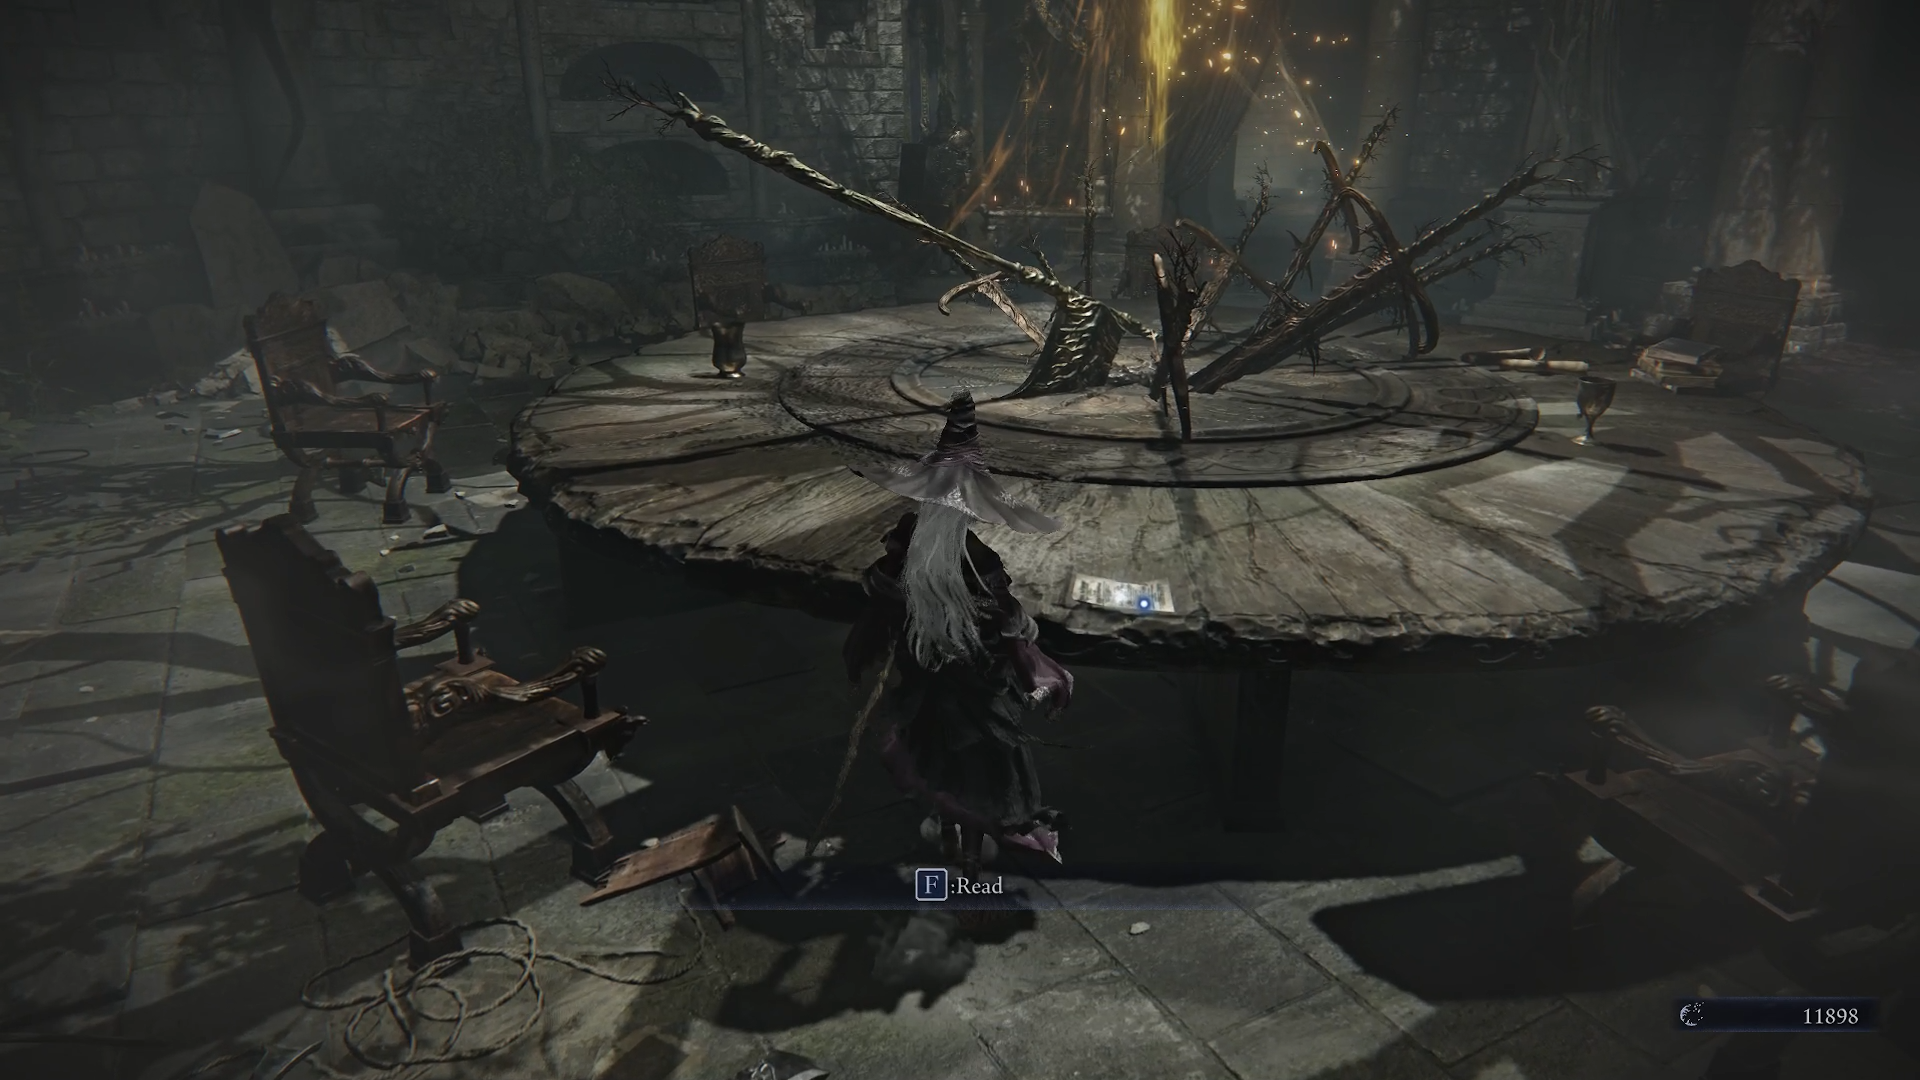
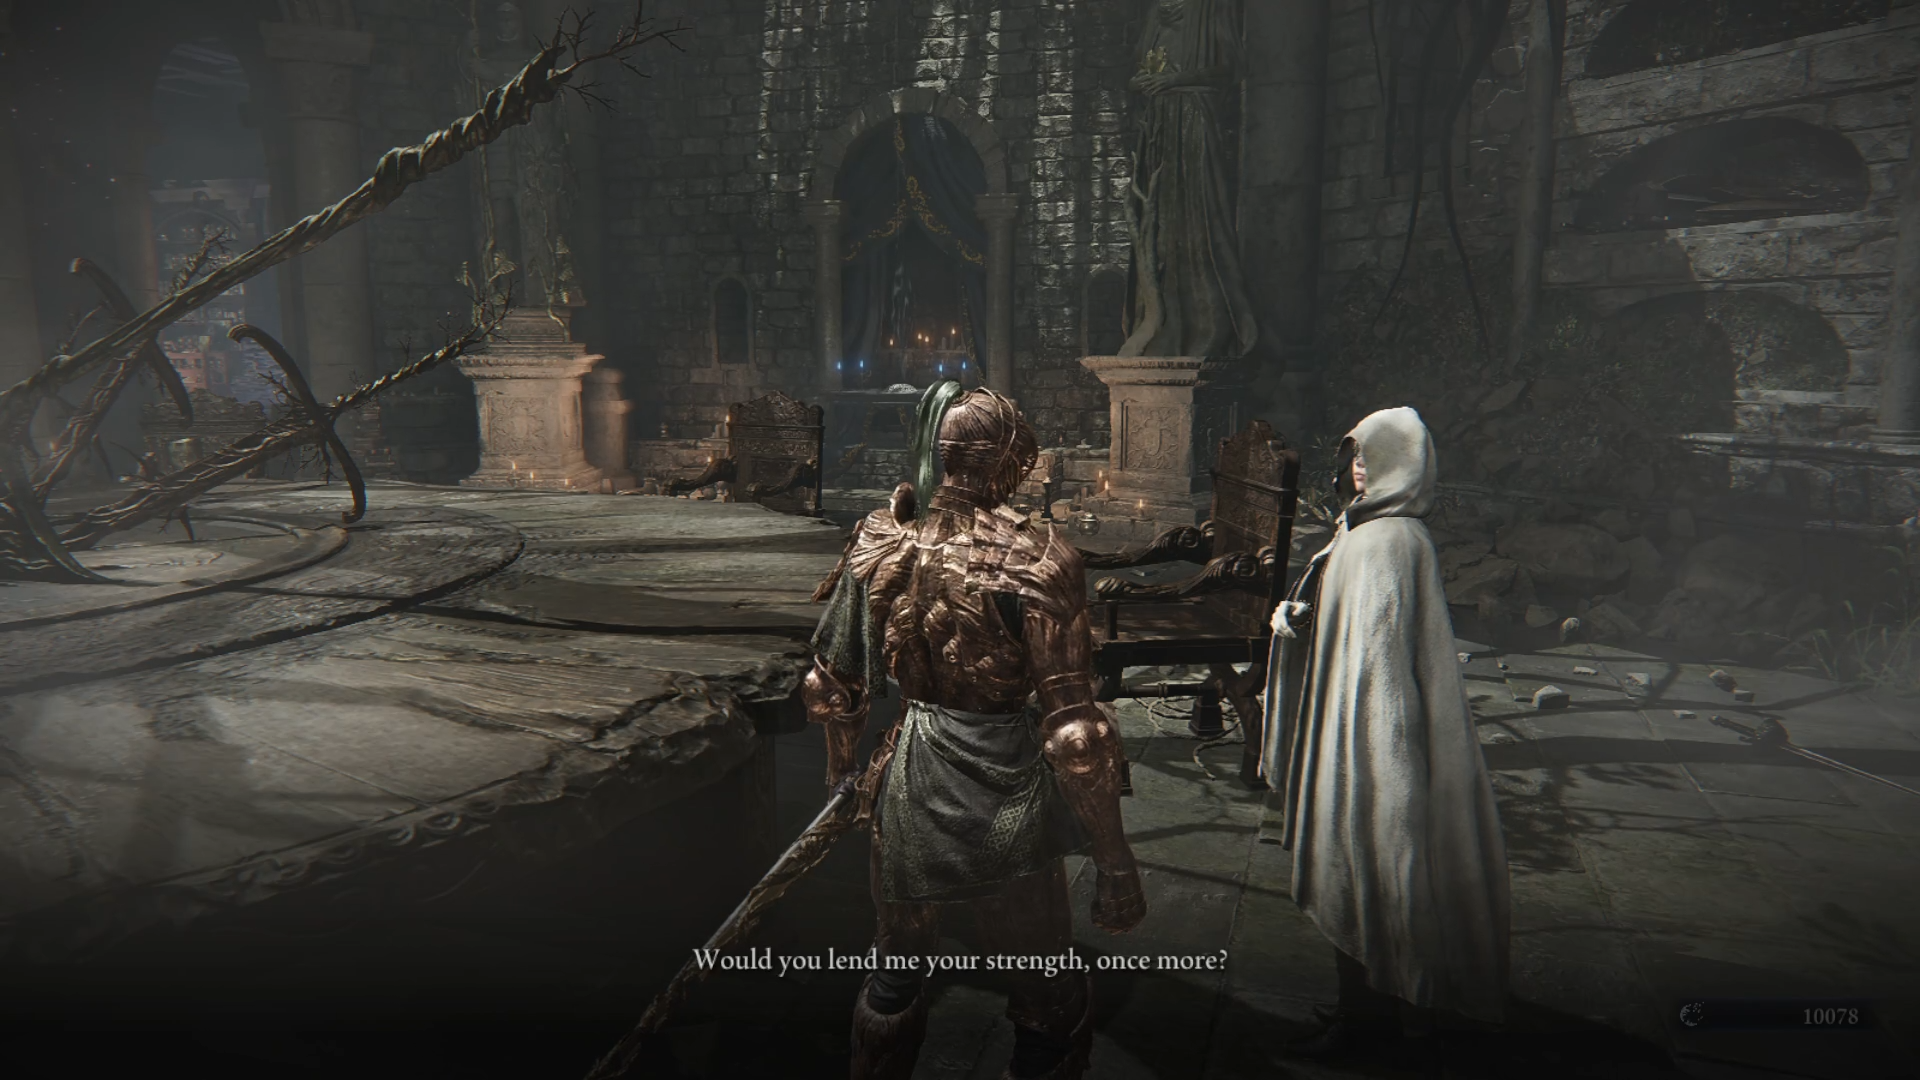
In the fifth chapter, you need to find and read text fragments in the "Roundtable Hold." Open the map and head toward the exclamation mark. Examine three notes. After this, a message will appear on the screen: “somewhere, the sound of a heavy door opening echoed.” Go down from the western hall and turn left. You will see another staircase leading to an open door. Move forward to the crypt (under the pot’s refuge). Inside, the "Iron Servant" will be waiting for you. Talk to him and examine three more notes. Speak with the Duchess on the beach and select the phrase “Are you trapped here?”.
At the end, you will receive the relic "Wylder’s Chalice". It contains three multicolored slots for relics. A very handy item.
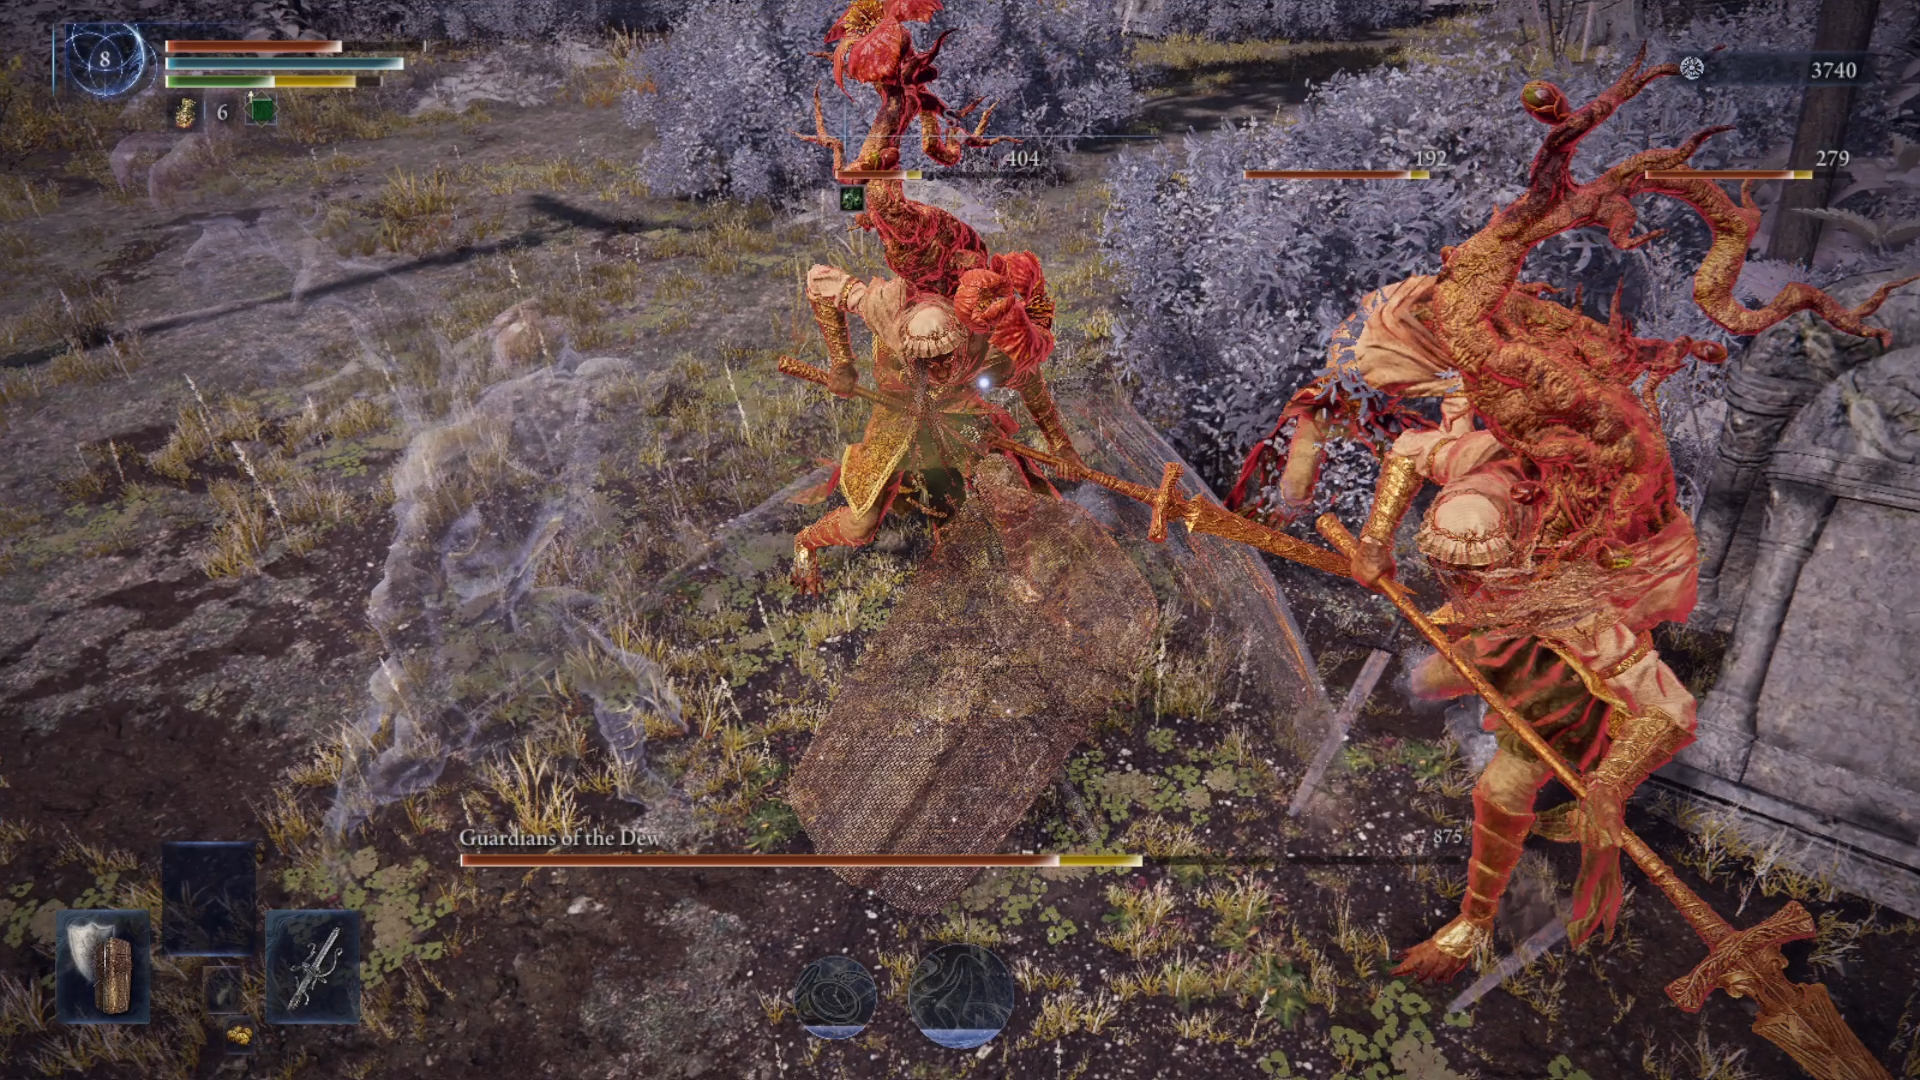
The sixth chapter is quite simple: you need to defeat 4 unique Night Lords to unlock access to the next part of the story.
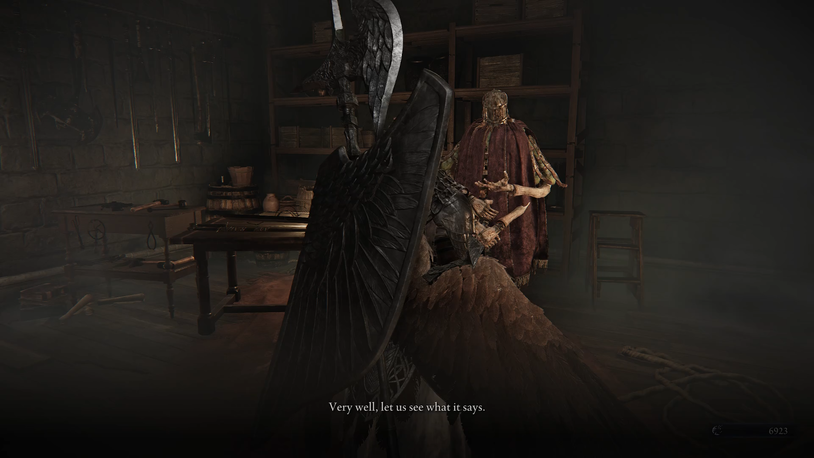
To complete the seventh chapter, you must open a chest in the crypt. For this, you will need a key, which lies on the adjacent table next to the diary. Go down into the crypt and open the chest. Take the scrap of paper. Speak with the Hermit in the lobby. Tell her "About acquiring the Power of the Night Lord". Now go to the "Iron Servant". Talk to them about the "Silver Tear" to receive a personal quest. Start an expedition with an active land shift, in which a city appears. Level up a bit and head to Noklateo. Follow the red marker to encounter the "Fake Troll". Kill the mini-boss and interact with the chest. You will receive the "Silver Tear" relic.
After returning to the lobby, talk to the "Iron Servant" again and touch the glowing thread located in the corner. As a reward, you will receive a new skin for Wylder. The Silver Tear increases the Supreme Art and Sorcery gauges by 3 points.
The eighth chapter unlocks immediately after completing the previous one.
In the ninth chapter, you must defeat the Night Lord "Holstor" using the "Silver Tear". Therefore, be sure to equip the relic on your character in advance. Select the boss in the lobby and go on an expedition. At the very end, after your victory, don't rush to return to the lobby. Interact with Holstor’s corpse to trigger a cutscene and receive "Wylder’s Earring," which creates a fire zone and increases the number of your character’s skill charges. In addition, every successful attack will restore stamina.
Guardian’s Quest Memories
The Guardian’s storyline is divided into chapters that are unlocked as certain conditions are met.
The first three quest chapters are available to the player from the very beginning. All you need to do is start expeditions and collect "Memory Shards".

After reading the fourth chapter in the diary, you need to successfully complete expeditions by defeating a Night Lord. After this, a memory fragment will appear in the diary. Open the journal and click "Start Memory". Talk to the "Iron Servant" in the lobby. Ask him “About the Cursed Weapon.” After this, you will receive a personal quest to kill the "Wicked Golem".
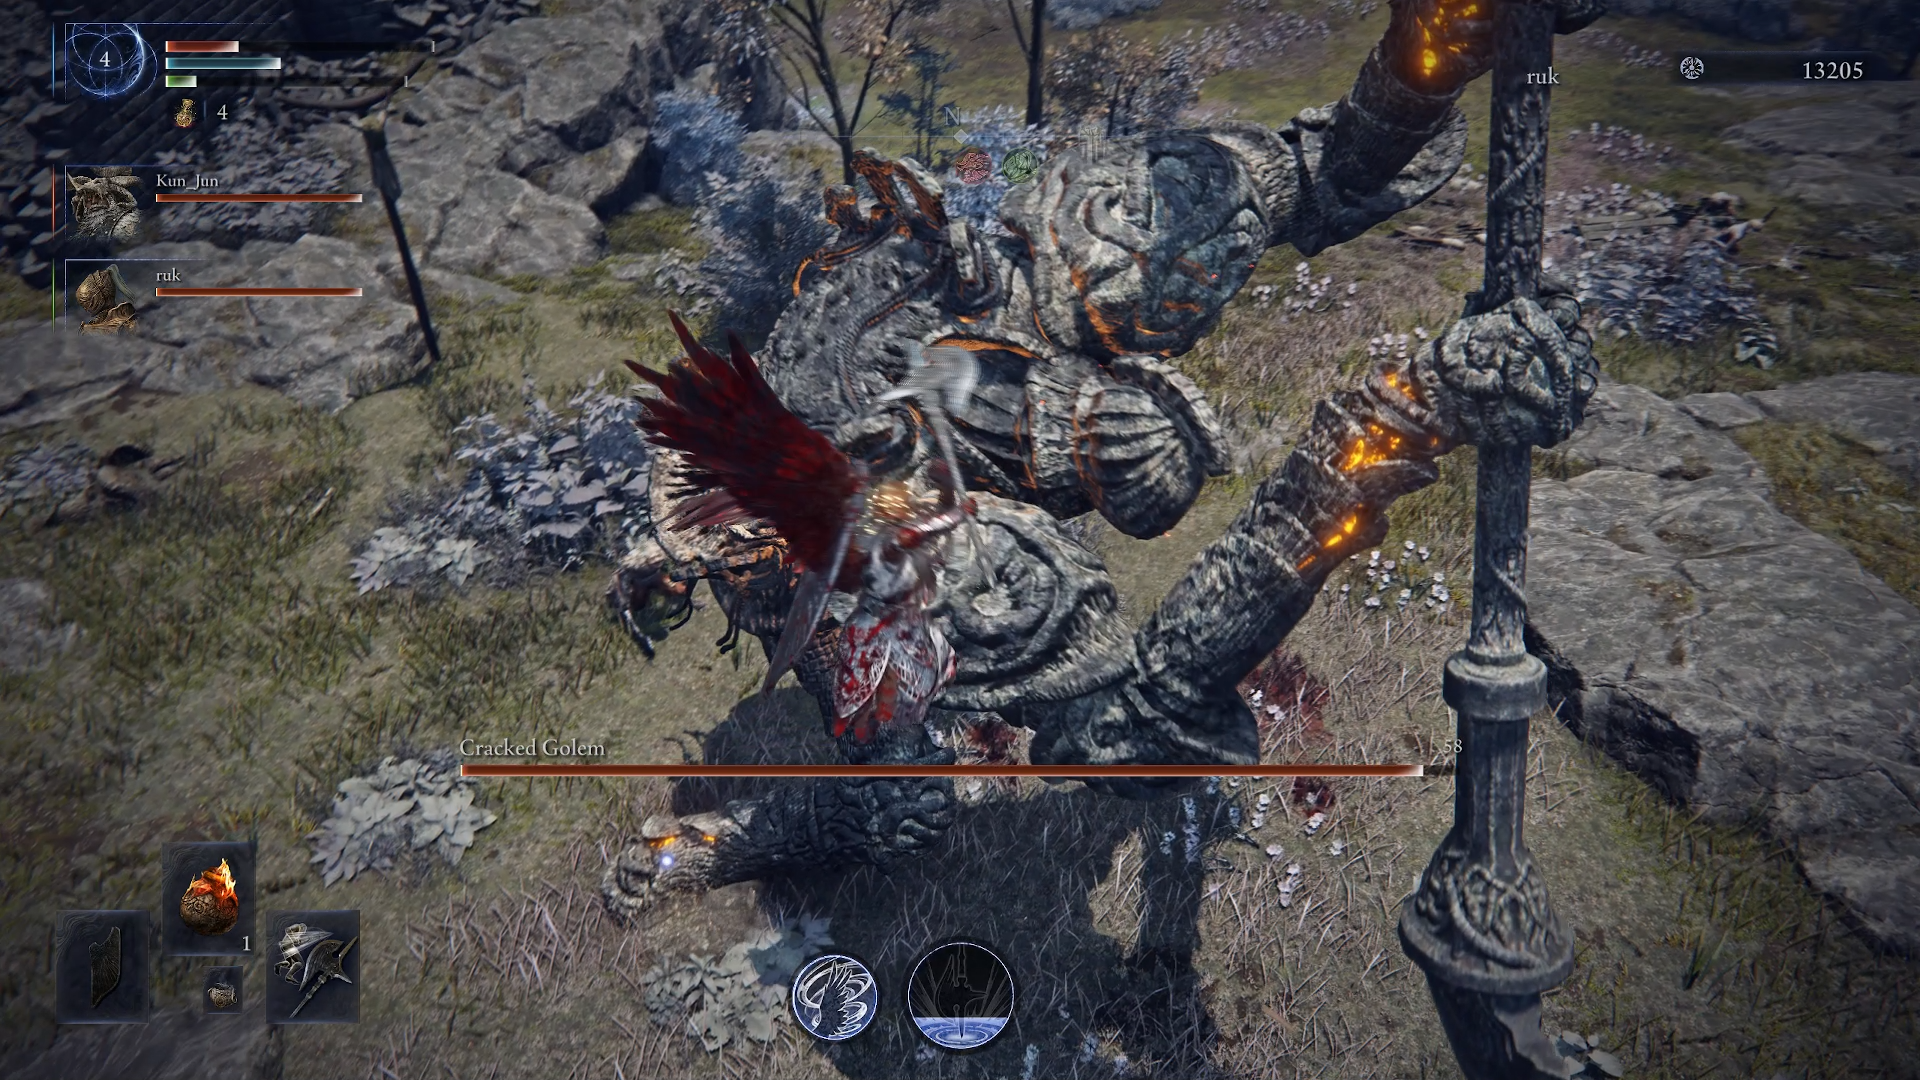
Head out on expeditions and go southwest toward the red marker. Sometimes the marker appears on the map at the start of the second day. The golem will be lying motionless. Examine it and press the interact button to awaken it. Kill the boss and take the "Stone Stake" (increases the duration of the Guardian’s skill and reduces its cooldown). Now you can safely finish the expedition.
In the lobby, talk to the Iron Servant again. Give him the item and take the second tome describing the cursed weapon. Talk to the NPC once more and enter the portal to complete the quest.
In the next chapter, you simply need to go on another expedition and kill any Night Lord. After this, go to the diary and read chapter 6.
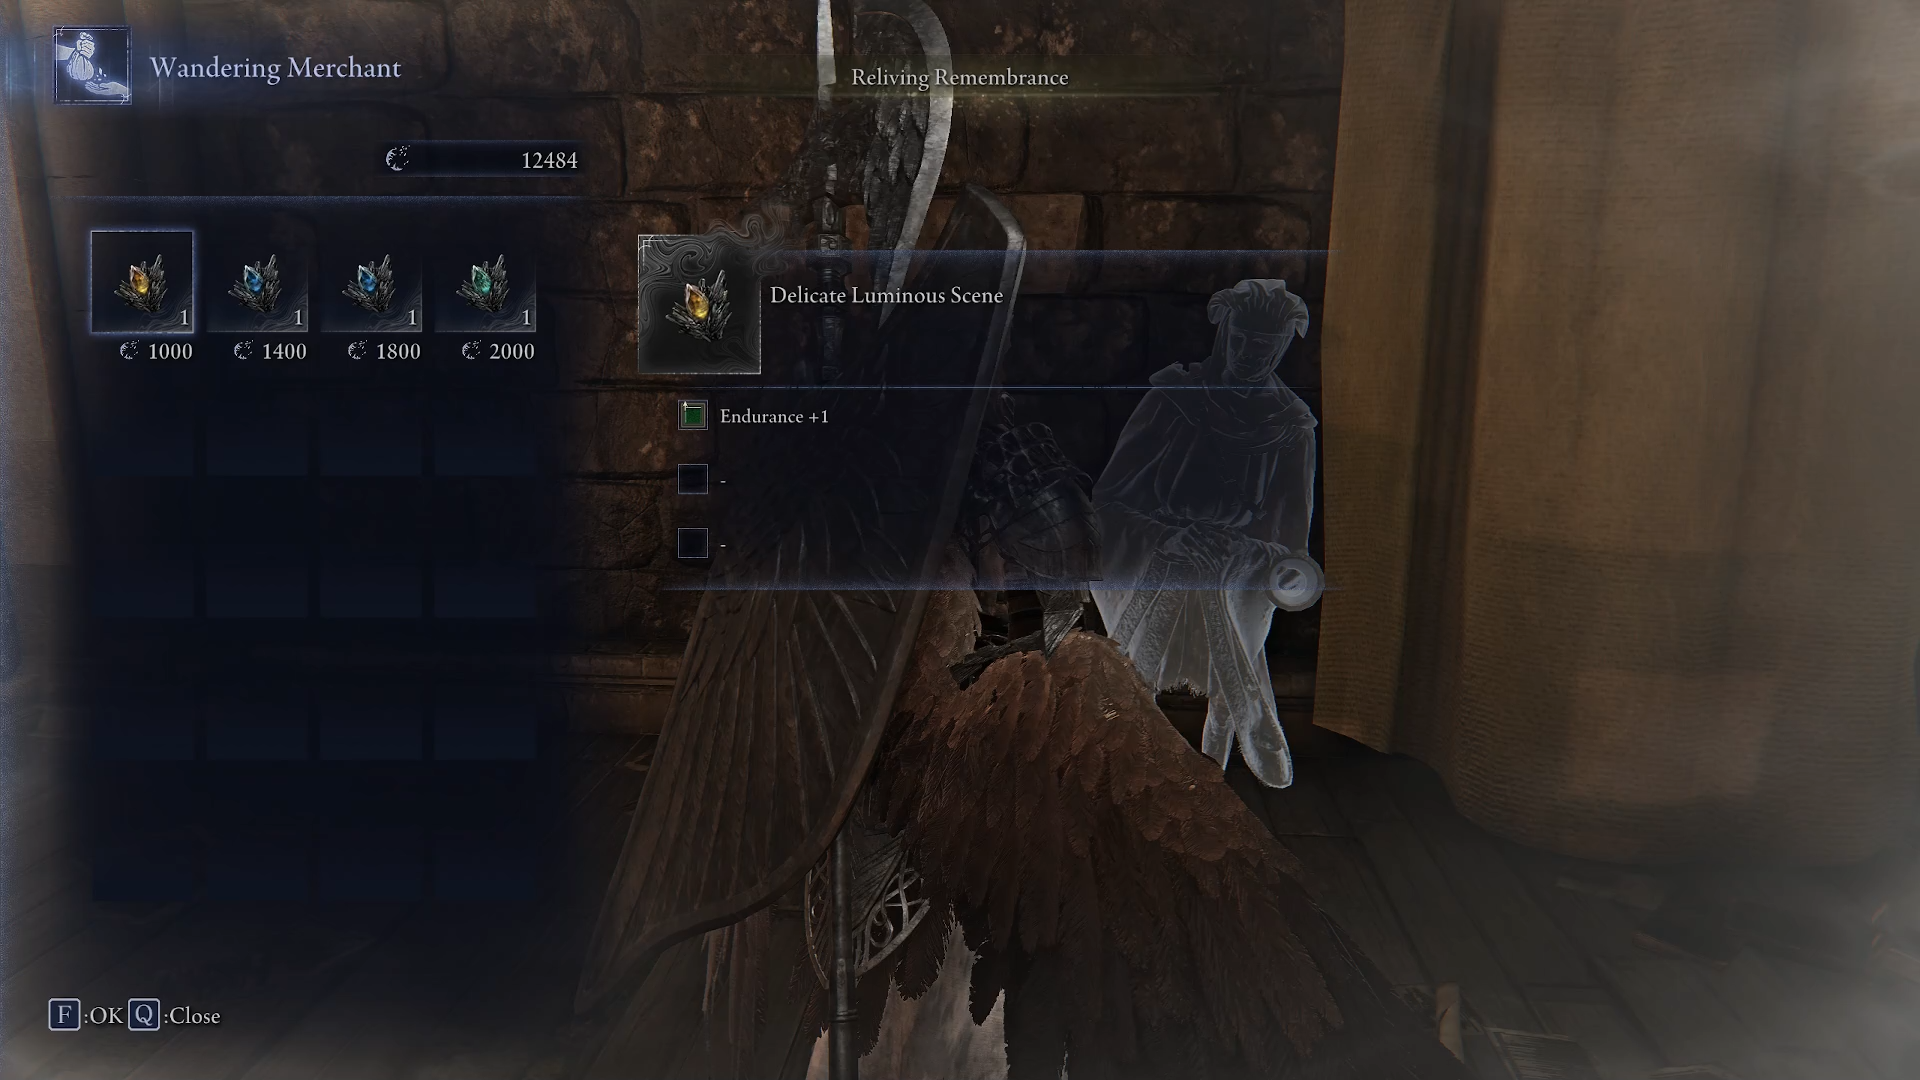
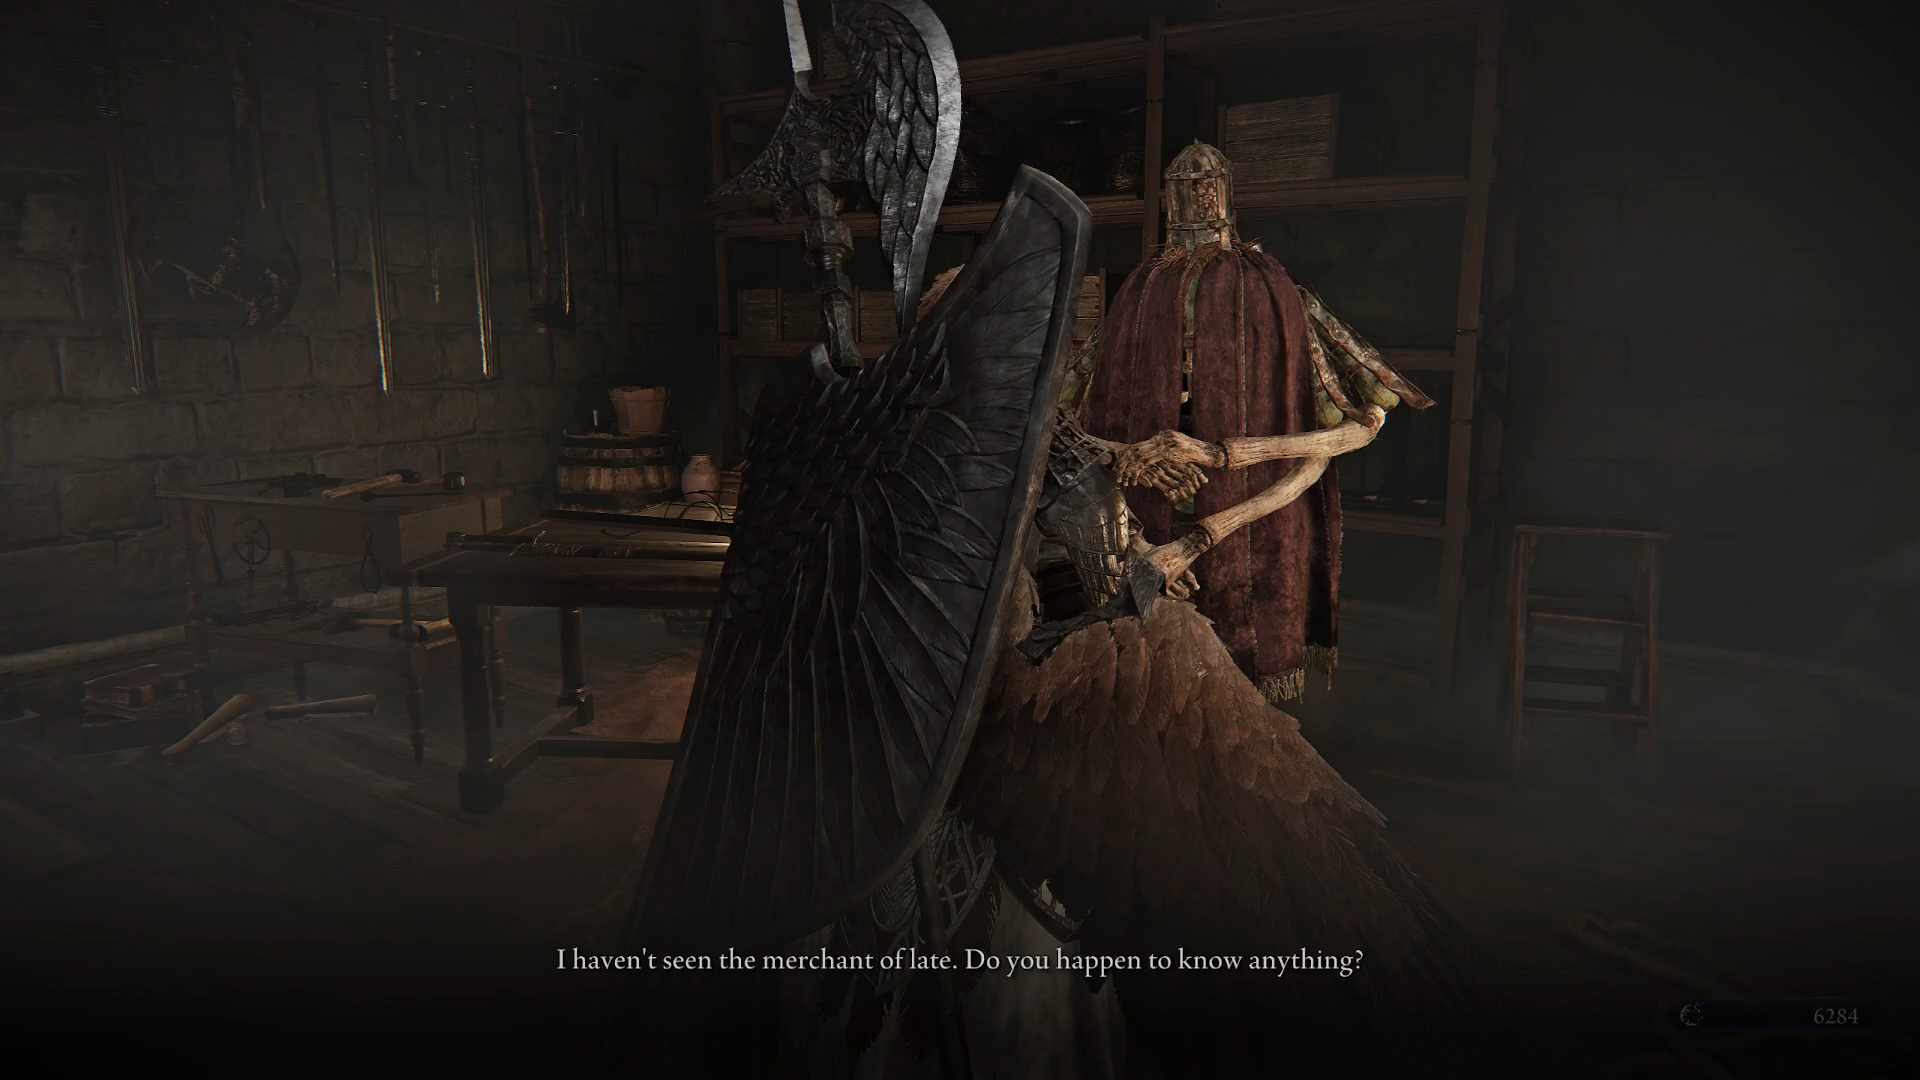
After reading chapter 6, go to the eastern hall from the Roundtable to talk to the wandering merchant. Go through all available dialogues to unlock the ability to buy relics. The following options will be available:
- Yellow Glowing for 1000.
- Blue Drizzling for 1400.
- Sky Blue Drizzling for 1800.
- Green Calm for 2000.
It is important to note that this is the only opportunity to buy relics from the merchant. Therefore, if you want to buy them all, make sure to fill your pockets with darkness in advance.
Upon returning to the lobby, the Guardian will collapse to the ground. The Iron Servant will talk to you and carry you to bed. Speak with the NPC and ask about the "Terrible Charms." After the Guardian gets out of bed, talk to the Hermit and the Iron Servant, then go to the eastern wing where the merchant is located. Talk to him and select the phrase: “Leave him alone.” After this, choose "Eliminate".
At the end, you will receive a book and the Guardian’s Chalice. The latter contains 1 blue, 1 yellow, and 1 flexible slot for relics.
In the next chapter, you must talk to the Iron Servant again. Select the phrase “I have eliminated him.” After that, show the merchant’s book to the NPC. Eventually, you will receive a new personal objective: “Kill the demon merchant with scales in Limveld.”
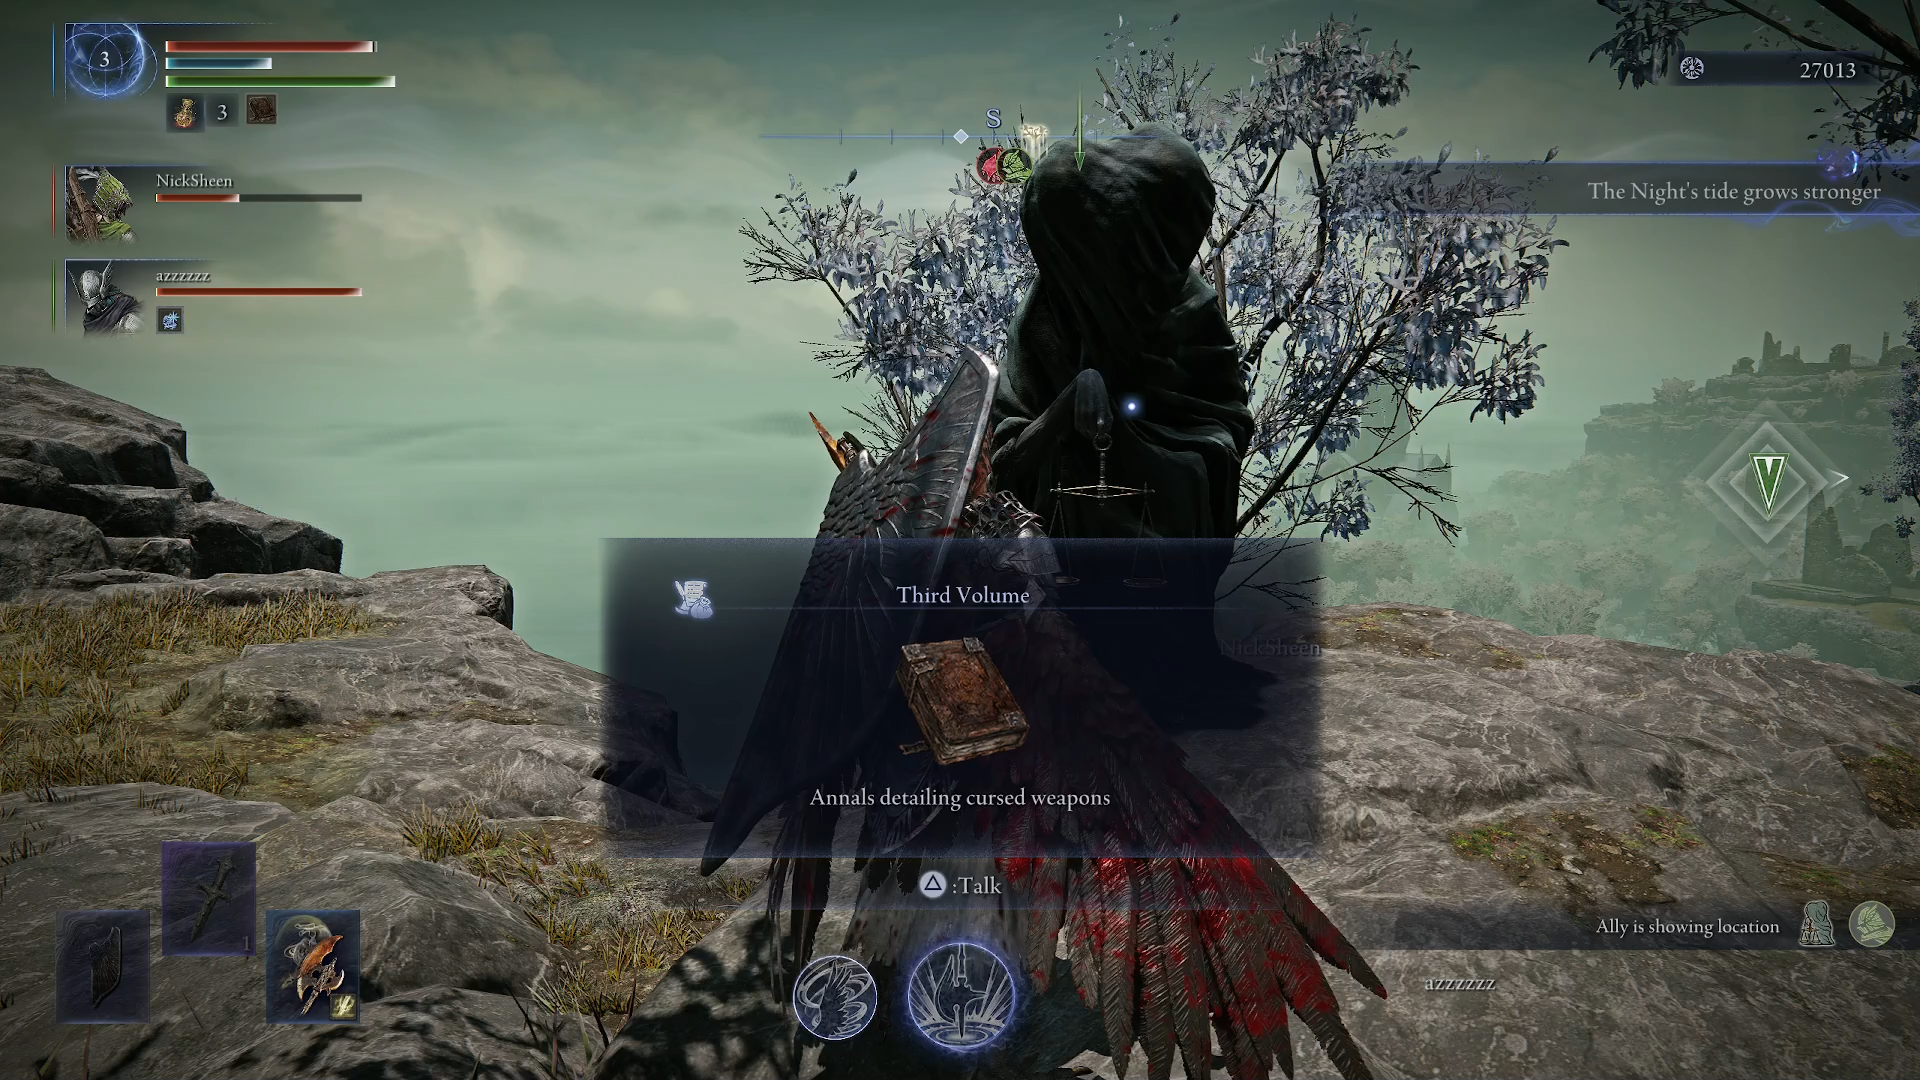
Equip for the expedition and set out in search of the boss. He is located in the northeastern corner of the map. Sometimes the merchant does not appear in the required spot. Because of this, you may have to restart the quest from the beginning for him to spawn. And most importantly: before visiting the merchant, you need to have a lot of runes in your pocket. The “Third Tome” will cost you 10,000.
Now you can return to the Iron Servant and talk to him. The new item adds extra wind whirlwinds to charged halberd attacks. Additionally, your halberd attacks will restore health. A truly overpowered item.
After completing the quest, read the eighth chapter in the diary to unlock a new task. If it does not appear, it means you still haven’t unlocked all classes or haven’t completed enough expeditions.
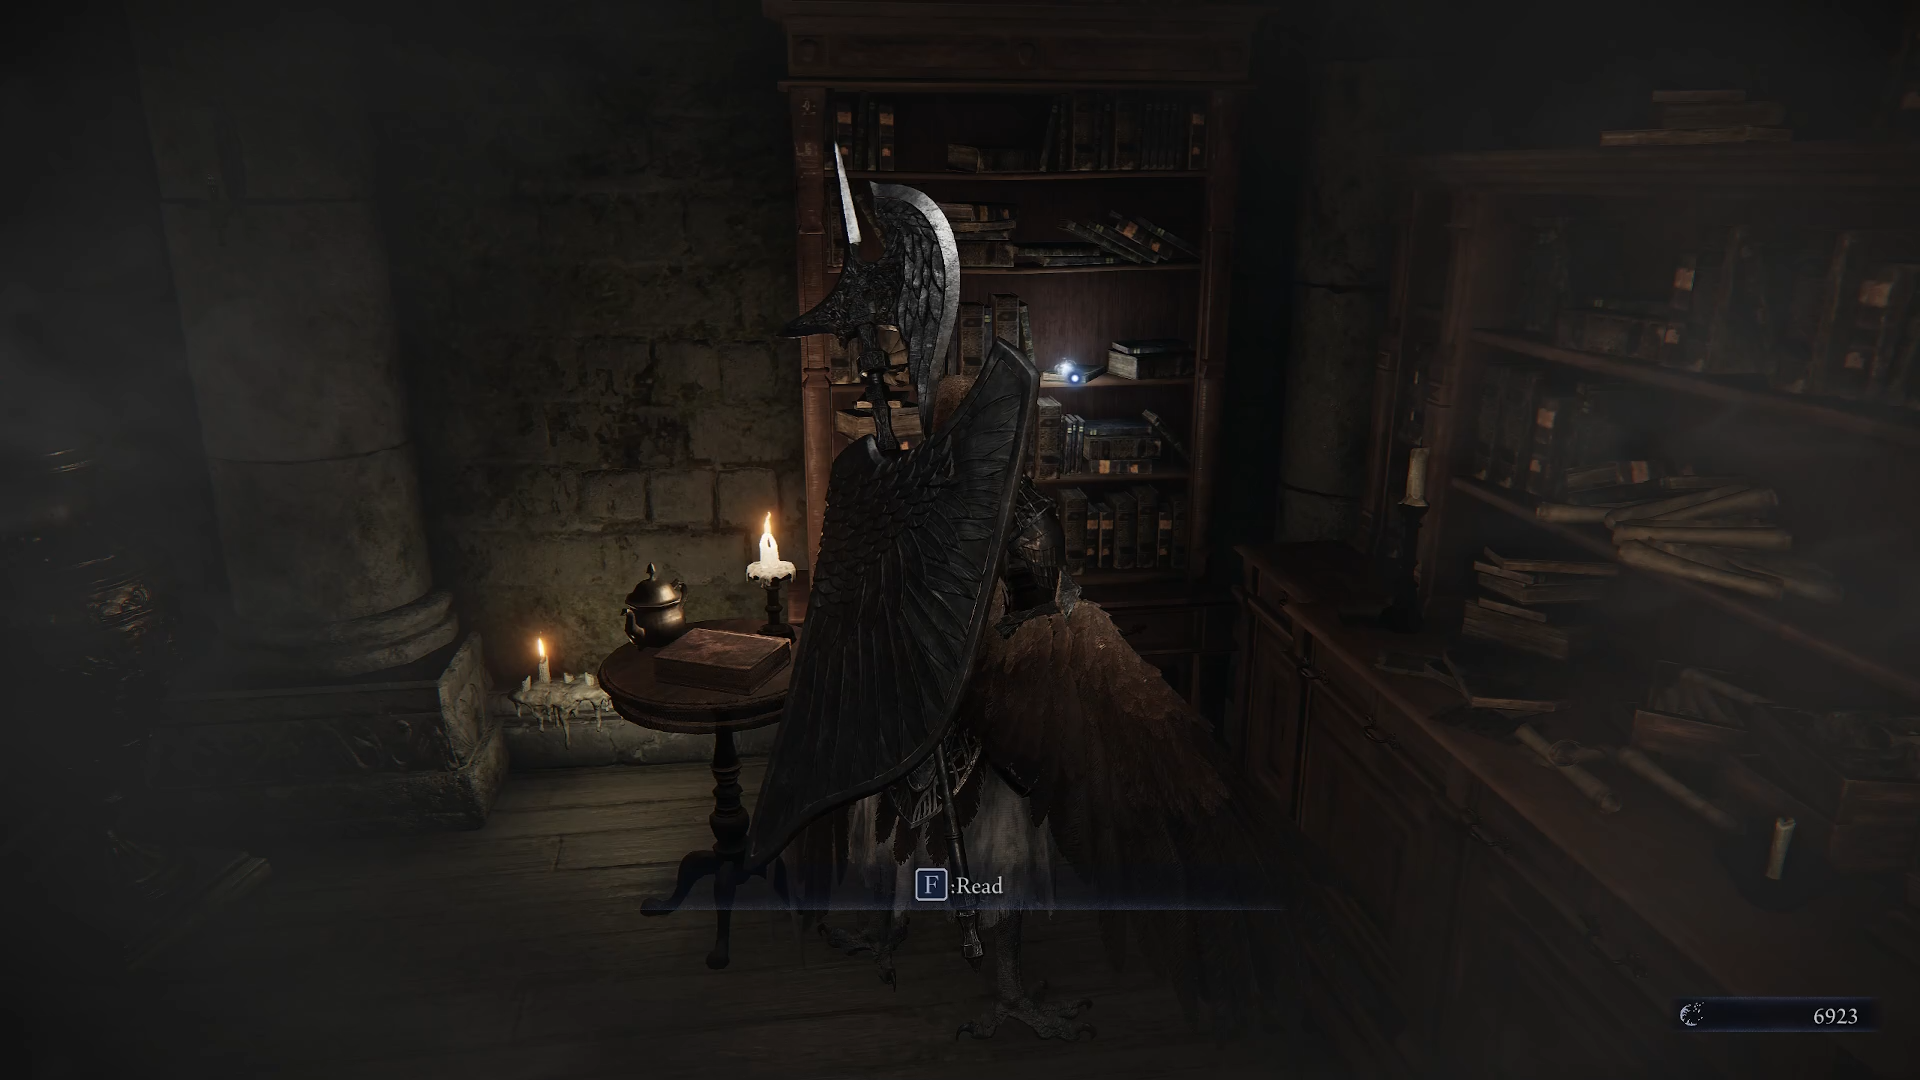
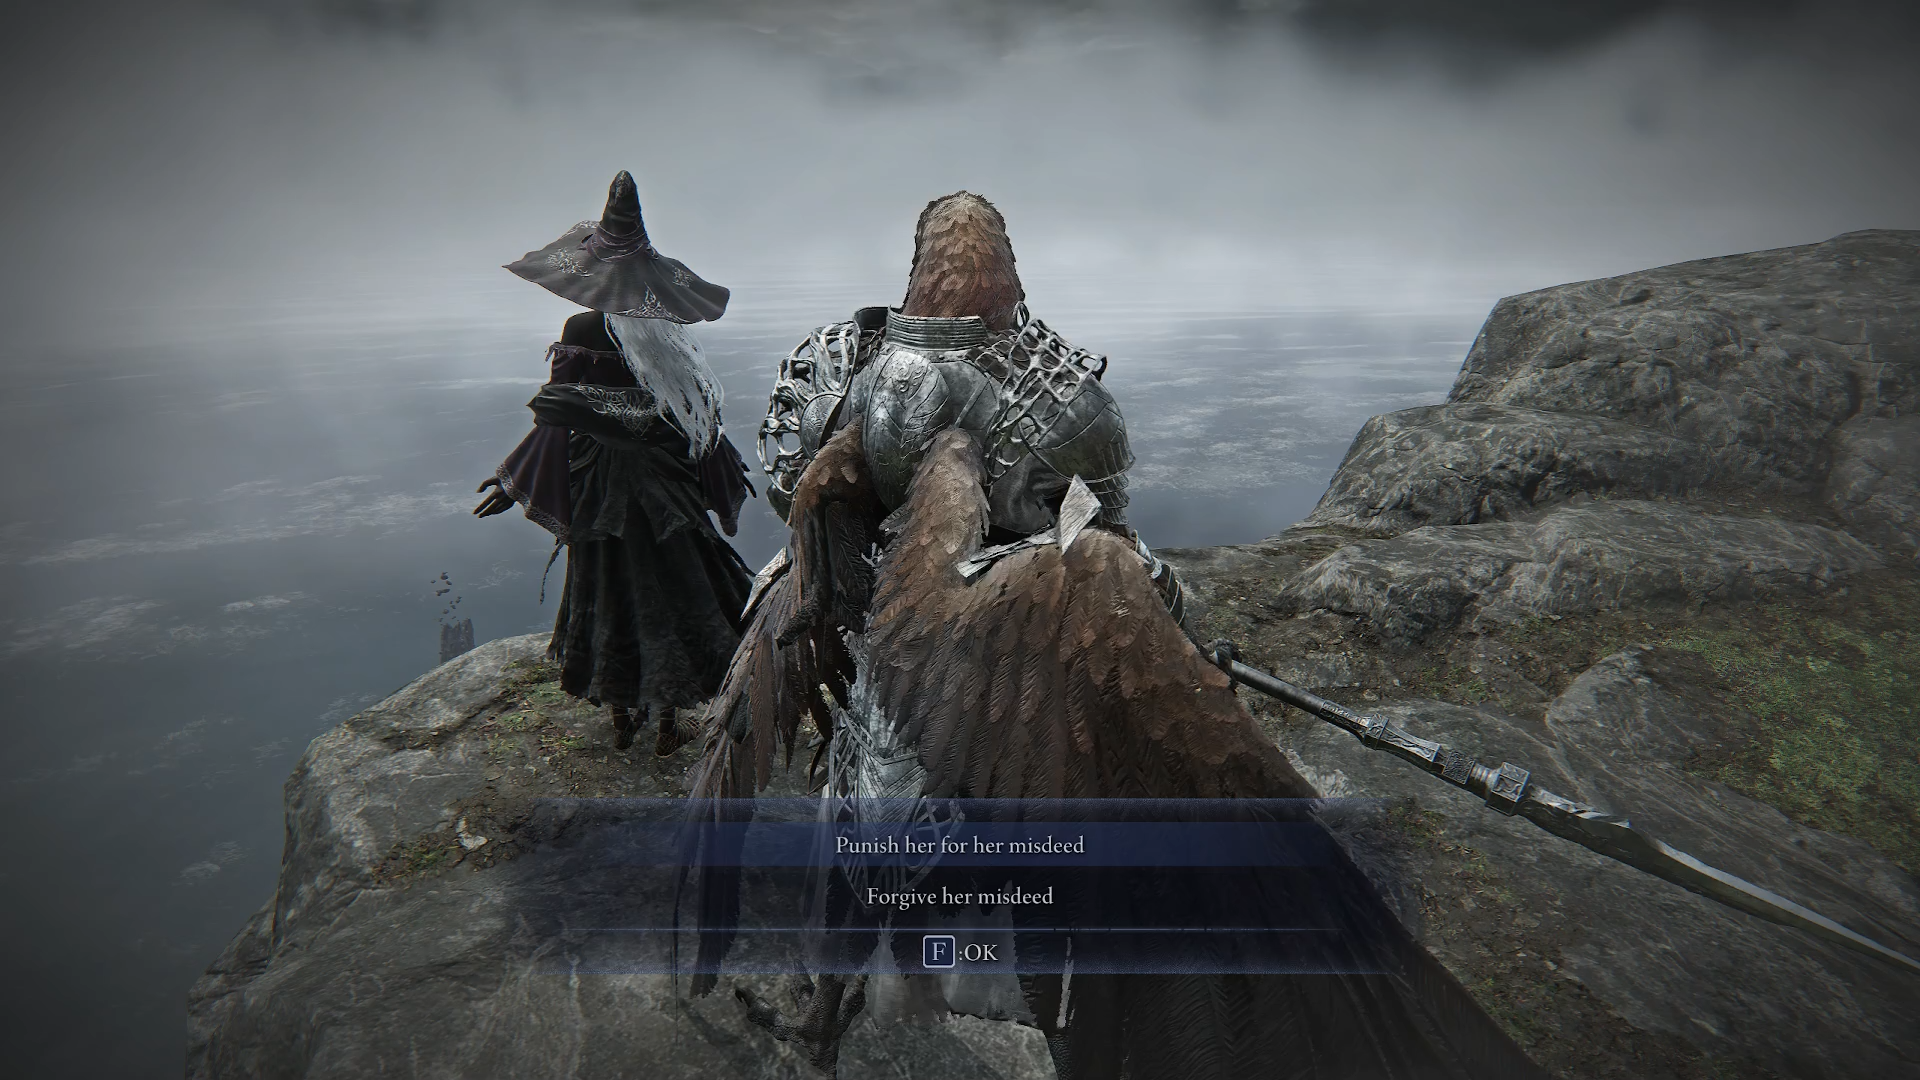
In the lobby, head to the western wing and interact with the bookshelf. Examine the item, then go to the Hermit. Ask her: “Is she the creator of the curse?” After that, you need to choose one of two response options. Depending on your decision, you will receive different rewards:
- Punish her for her misdeed — Witch’s Brooch.
- Forgive her misdeed — Cracked Witch’s Brooch.
Both items grant the Guardian the ability to heal allies and reflect enemy damage, increasing their vitality by 3 points. In addition, you will receive a skin for the Guardian.
After completing the quest, read chapter 10 in the diary to finish the storyline.
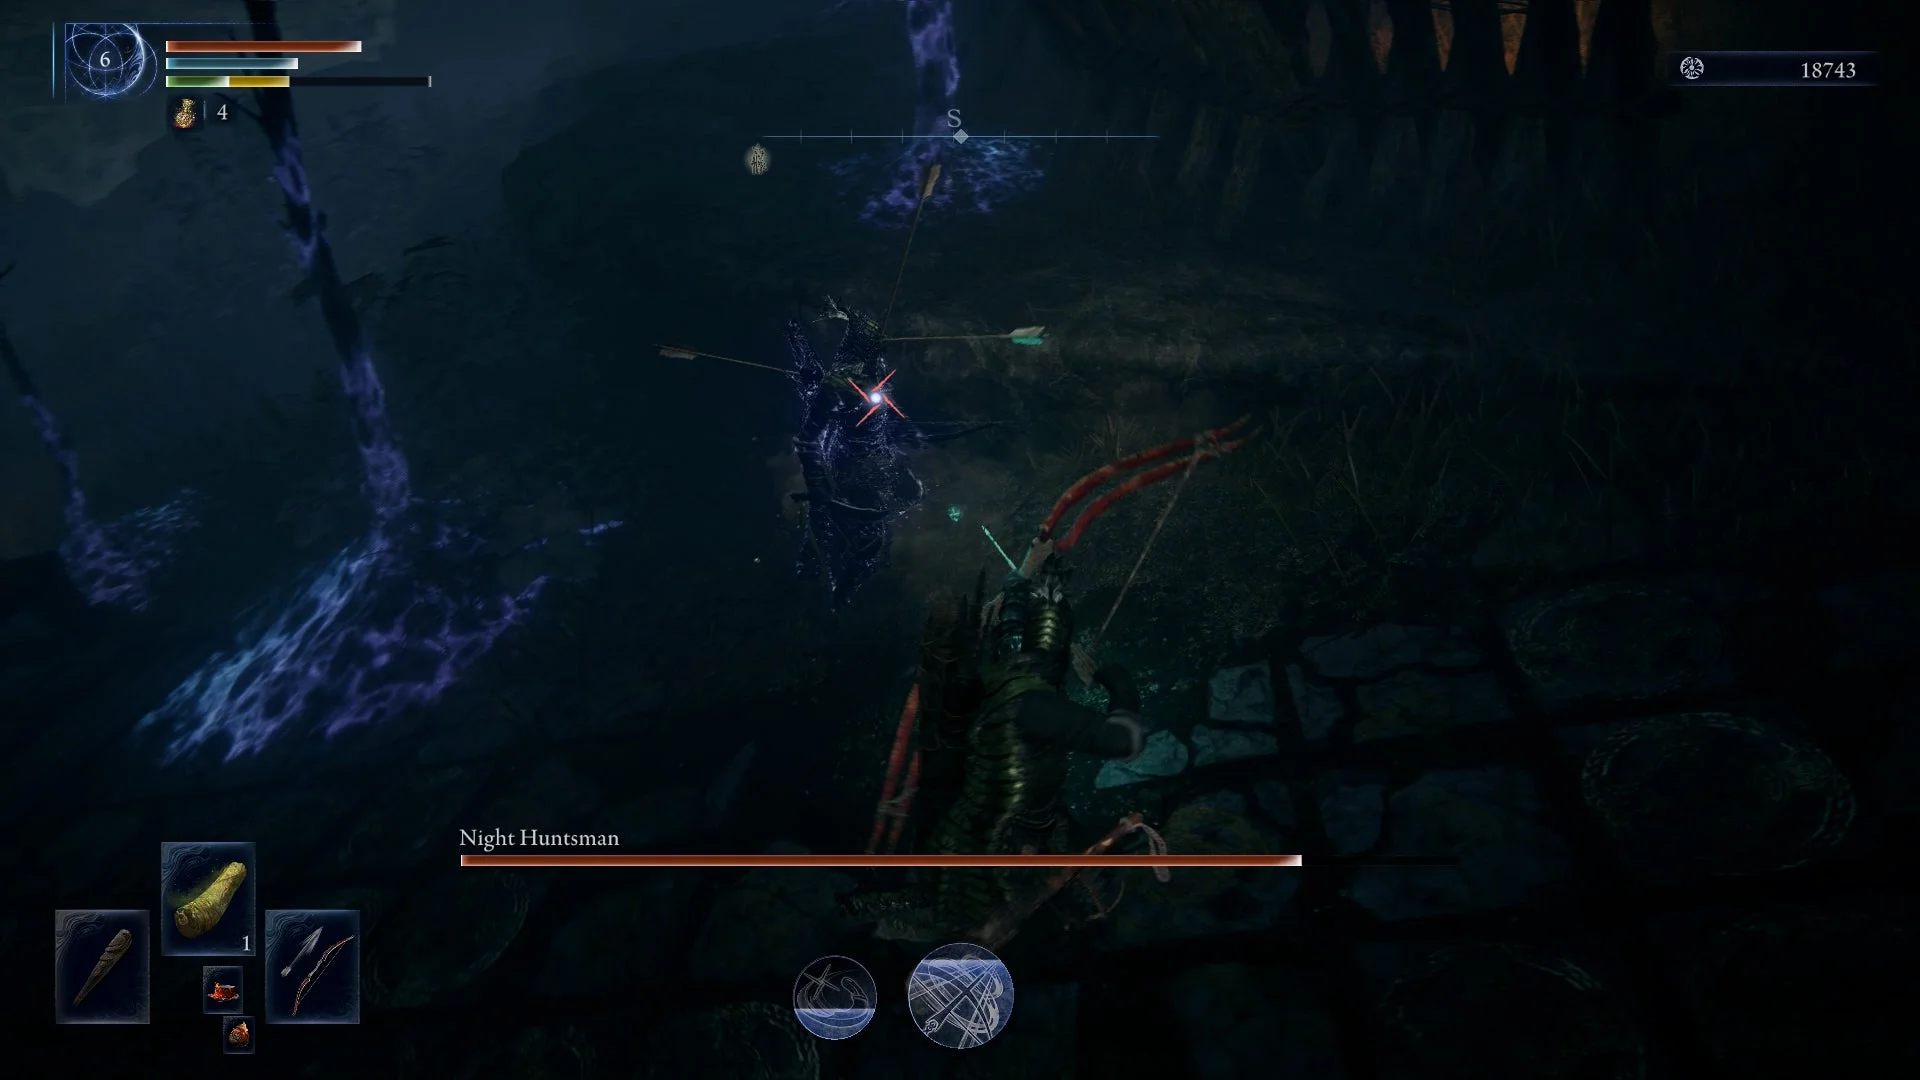
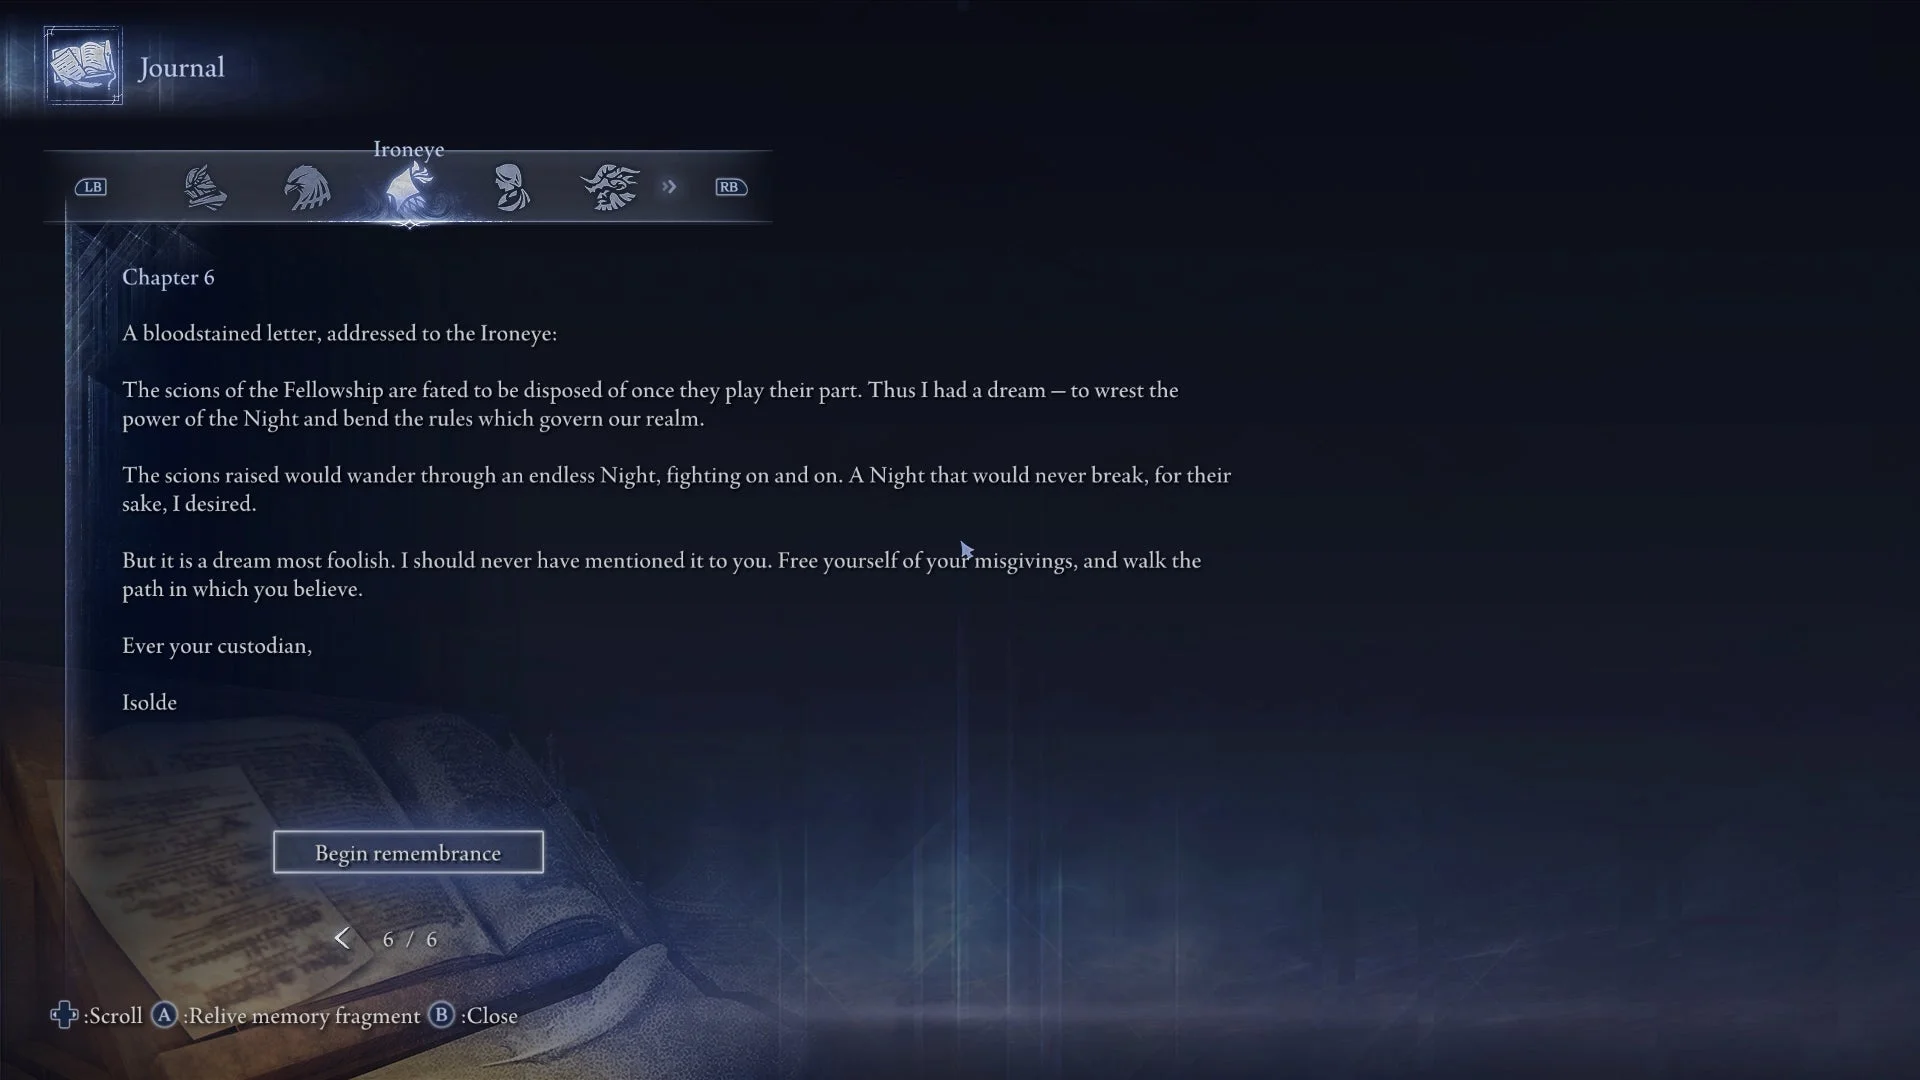
Iron Eye’s Quest Memories
Iron Eye’s storyline is divided into chapters that are unlocked as certain conditions are met.
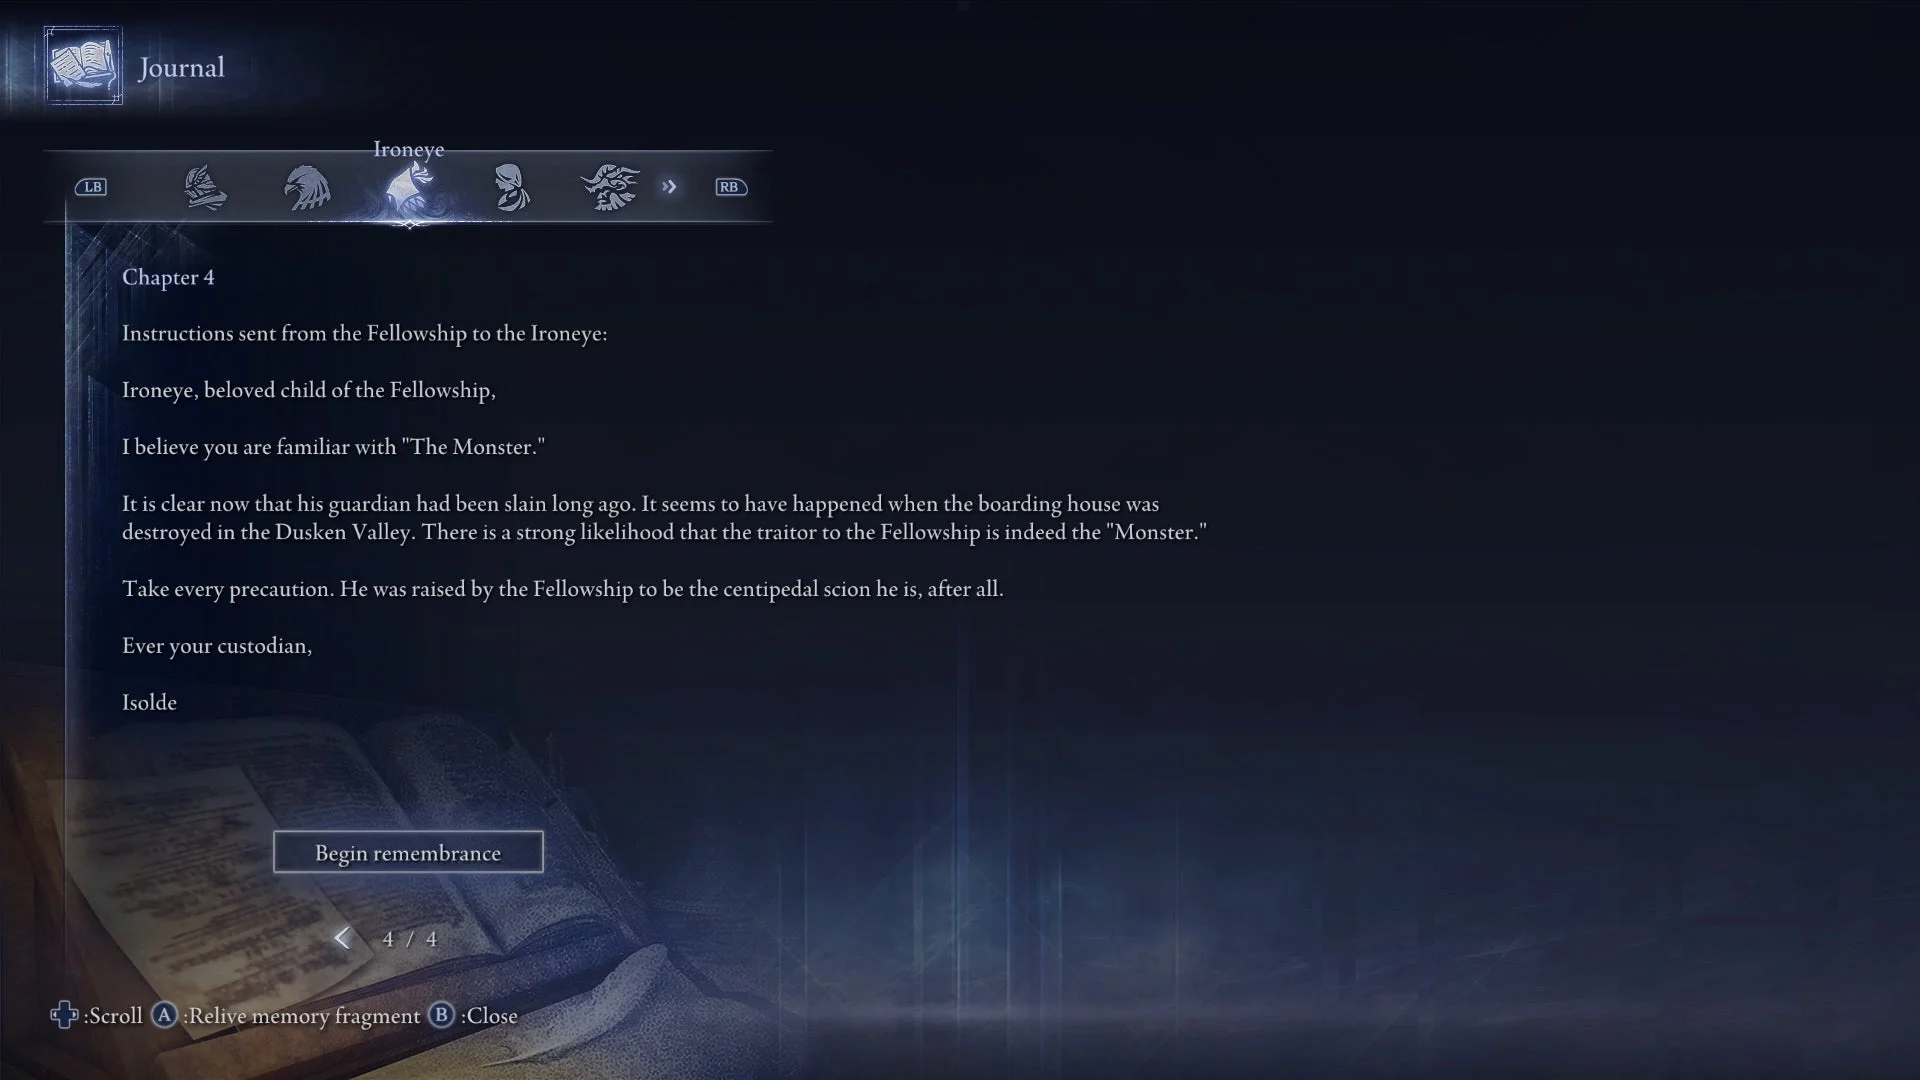
The first chapter is available from the very beginning. Complete expeditions and collect “Memory Shards” to unlock the second and third chapters. The fourth will unlock immediately after you kill a “Night Lord.”
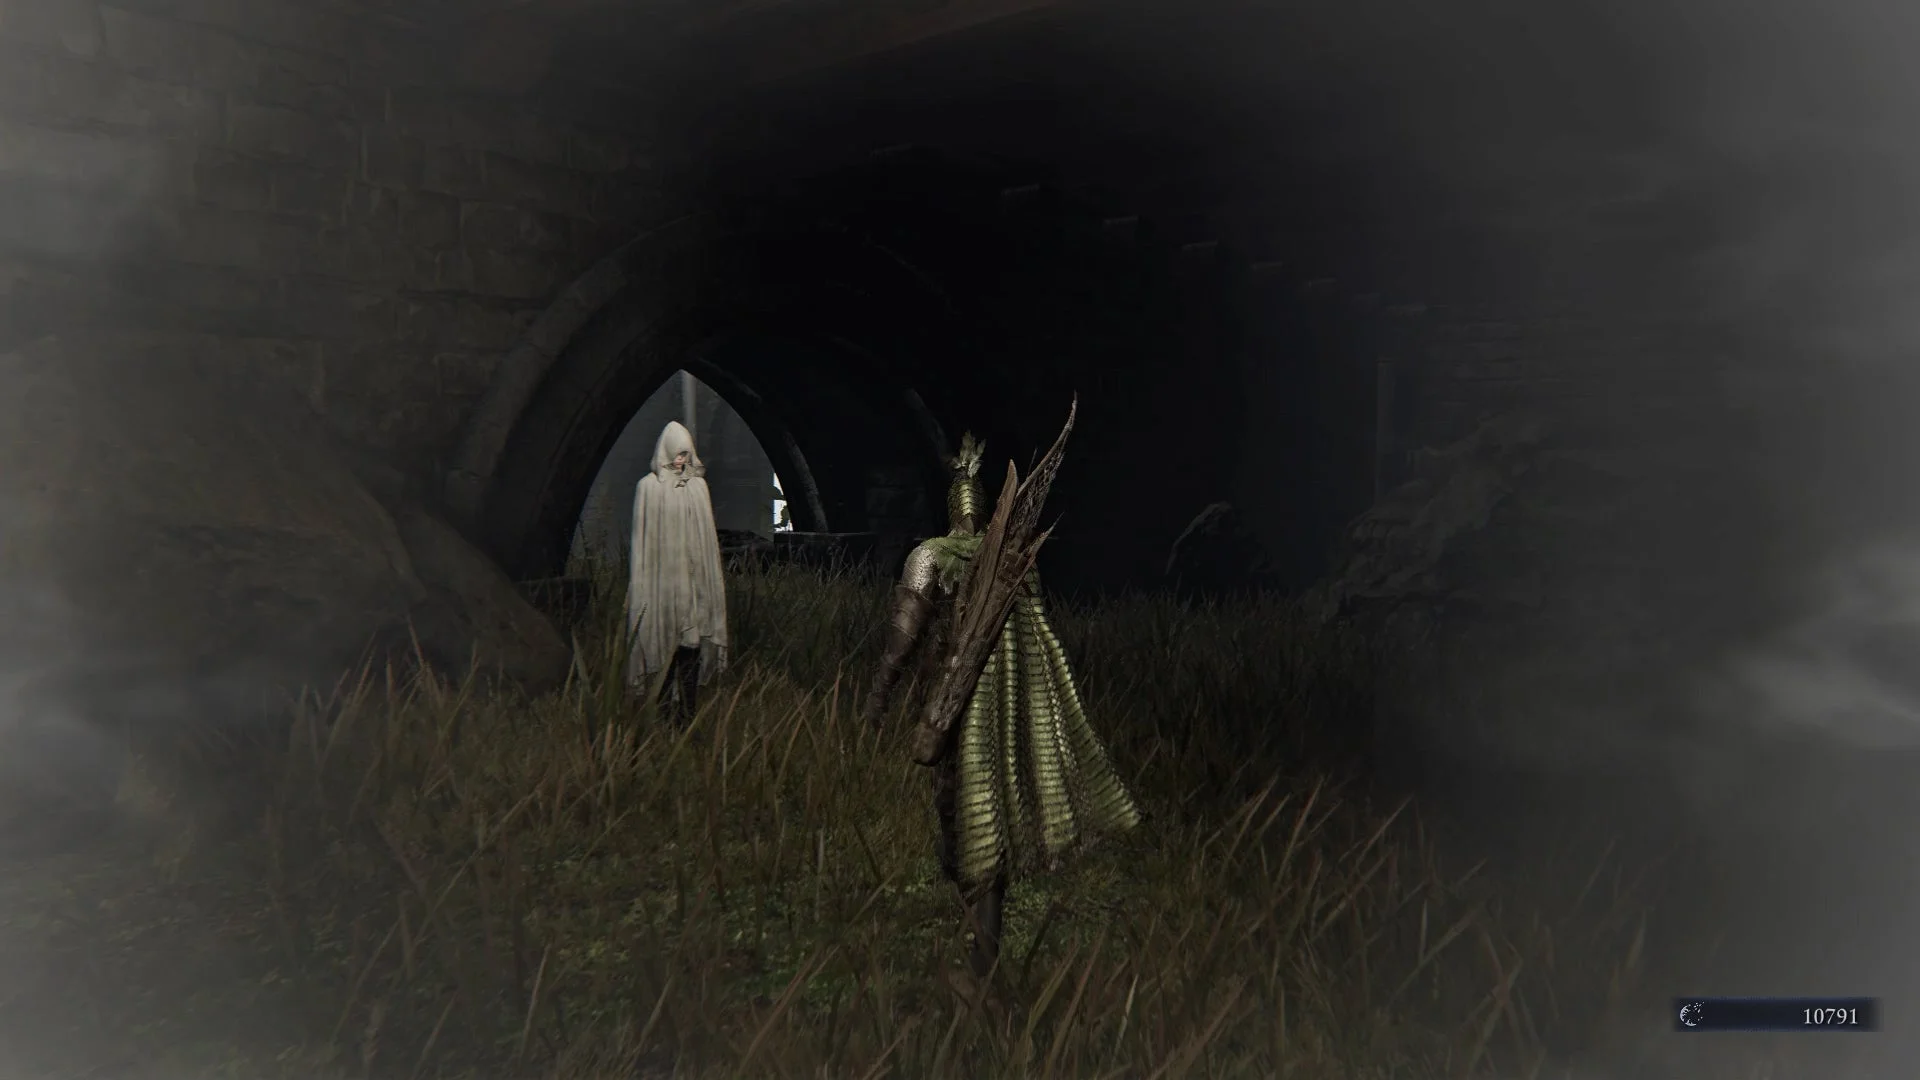
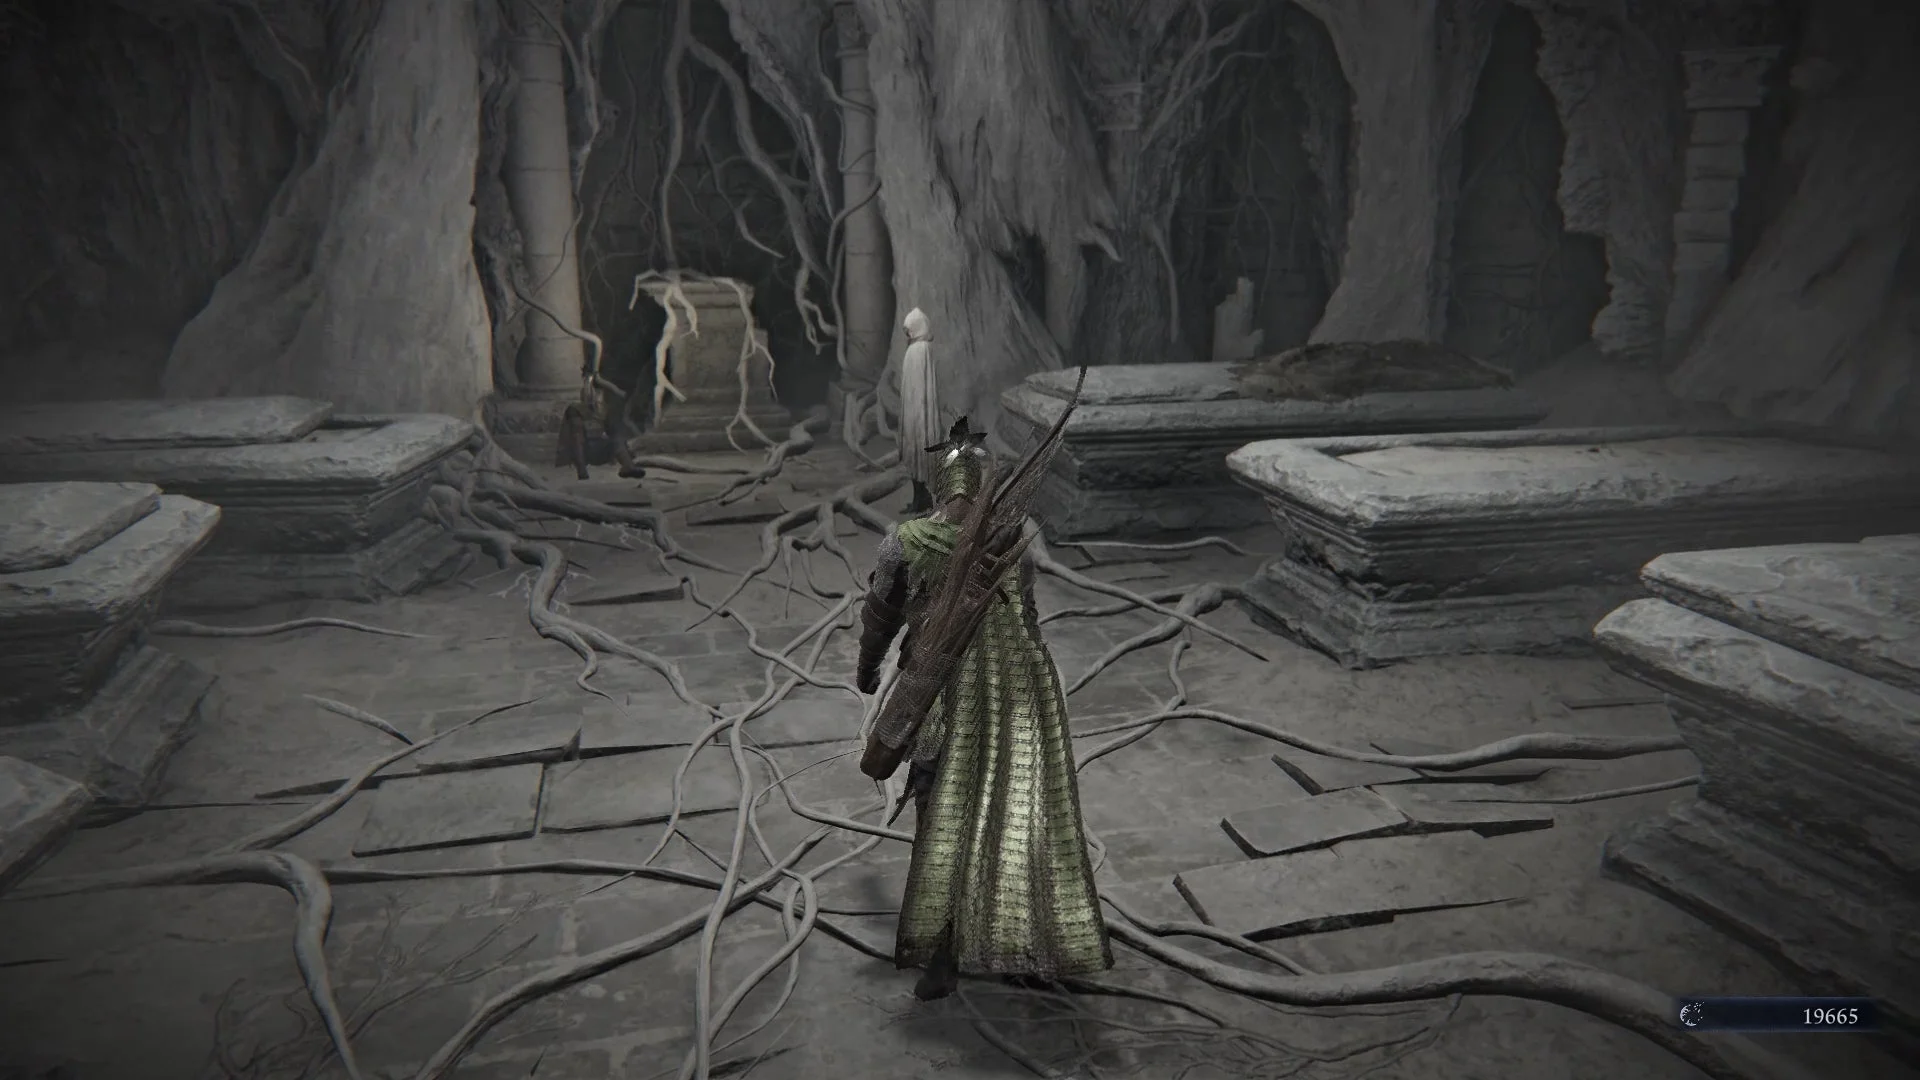
After the fourth chapter, the first full-fledged quest will open. You will enter the “Realm of Memories.” The Roundtable will be shrouded in fog, and some NPCs will have new lines. You need to talk to the Priestess (the woman in the white cloak). She stands in the western wing of the lobby next to the Jar Merchant. Take her quest to kill “Iron Eye.” He appears on the map during a cataclysm. Activate the memory and go on an expedition.
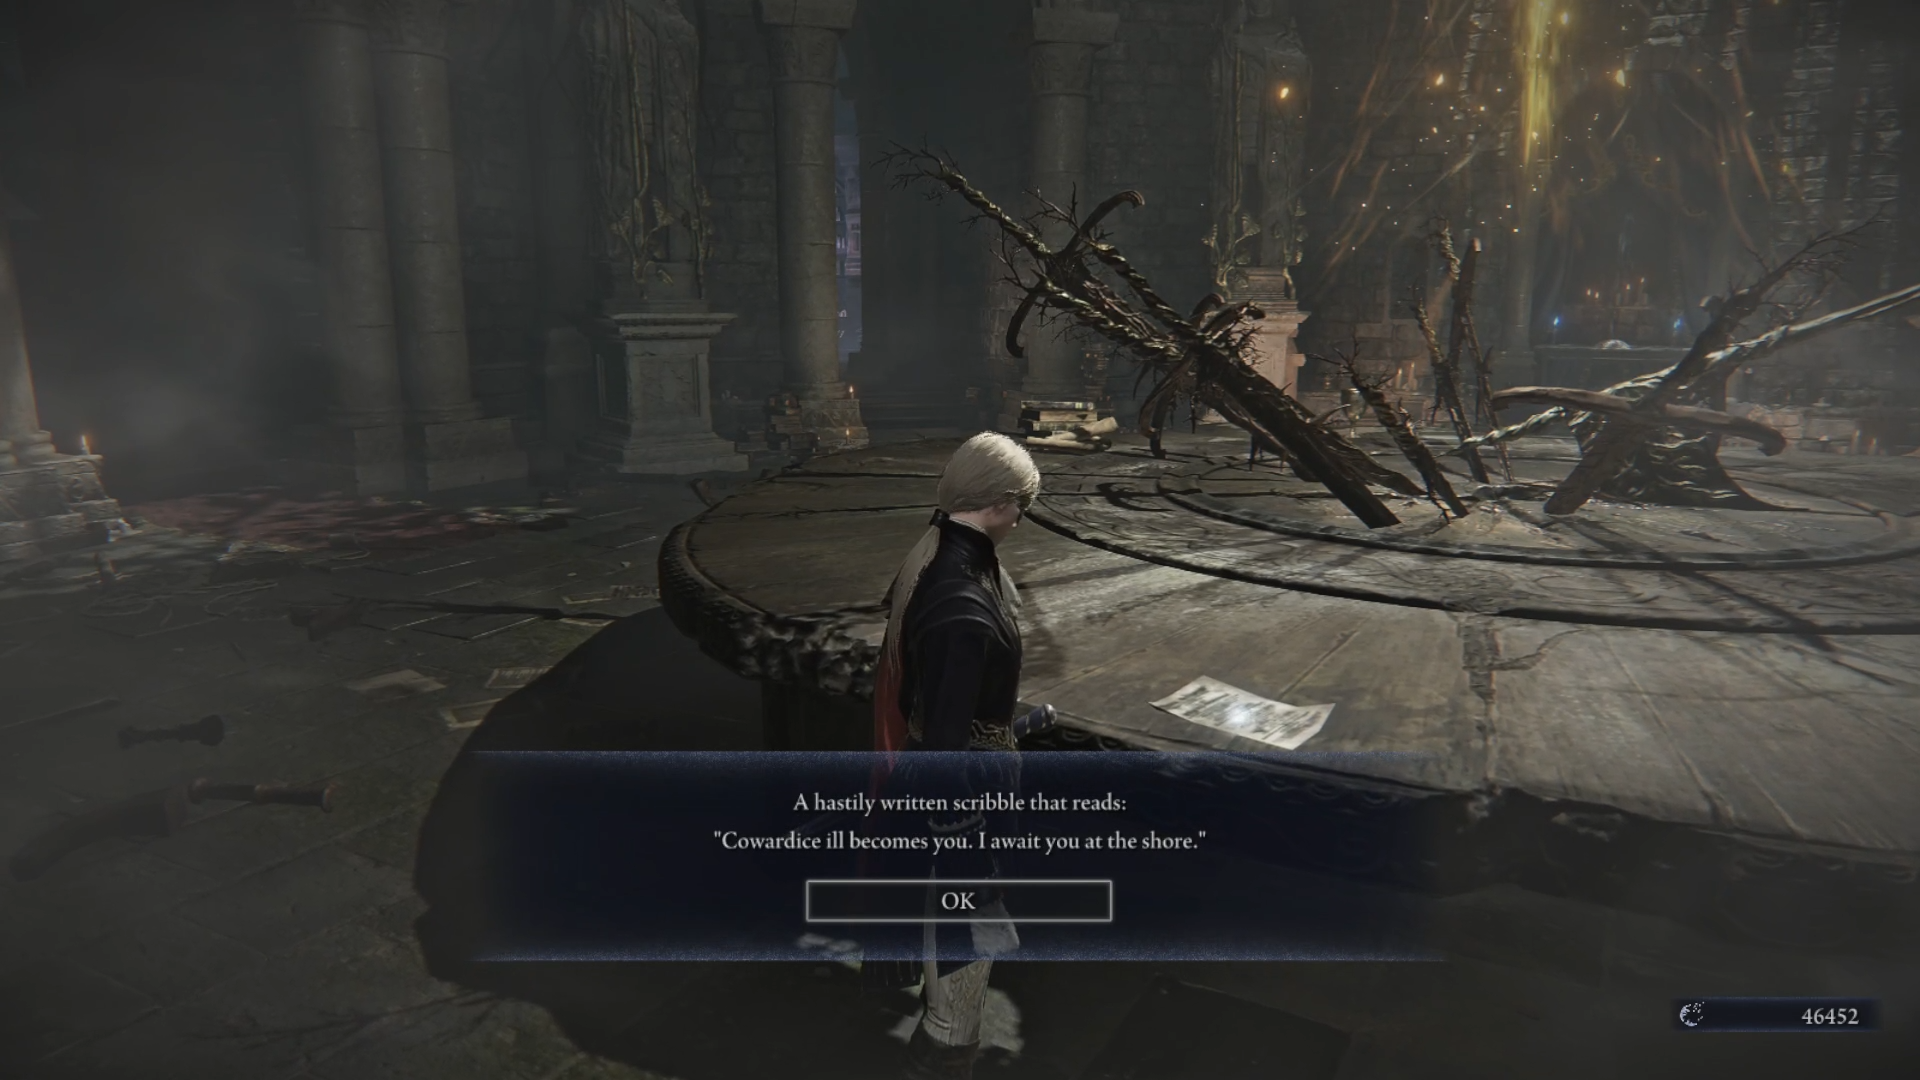
The boss is located in the western part of the map. There will be a red marker on the map indicating the enemy. Go to the ruins with the tunnel. There you will see Iron Eye. However, you will have to fight "Night Lord" (your copy). After killing the mini-boss, pick up the "Traitor's Letter" and 30,000 runes. Complete the expedition and return to the lobby. Give the letter to the Priestess.
As a reward, you will receive:
- Iron Eye's Chalice (1 red, 1 green, and 1 flexible relic slot).
- Cracked Sealing Wax (increases the duration of weak points discovered by Iron Eye. Grants extra runes for critical hits).
To unlock the sixth chapter, you need to defeat four unique Night Lords. Just restart expeditions until the diary page is unlocked.
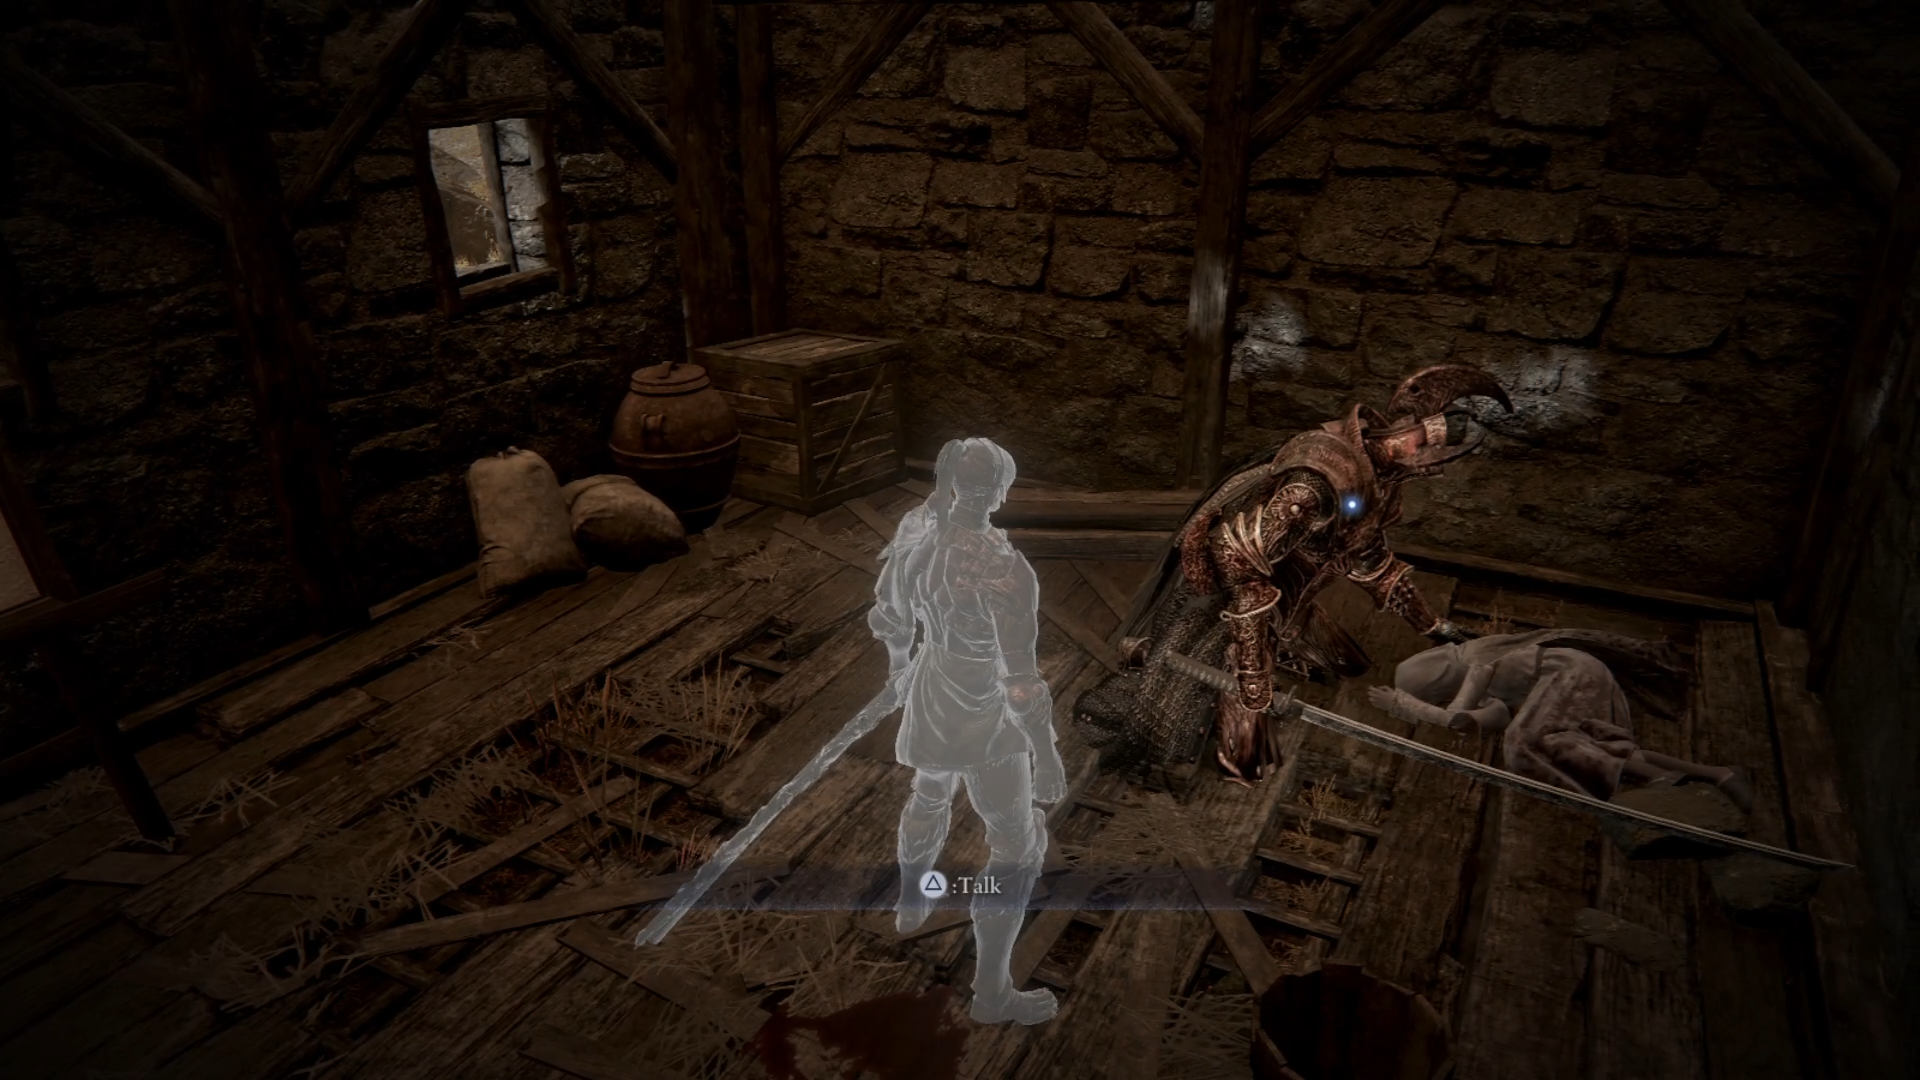
At the start of the sixth chapter, you need to go to the tomb under the lobby, which was previously closed. Inside, the Priestess will be watching the traitor. Talk to him and agree to the deal: “Artifact in exchange for a secret.” Then talk to the Priestess and get the quest: kill the "Knight of the Dark Current."
Take the quest at the Roundtable and go on an expedition. Warning: this is a tough boss, so be prepared. After killing him, you will receive the item "Edge of Order."
Return to the lobby and execute the traitor with the found item. Talk to the Priestess to receive a relic that:
- Enhances counterattacks after Supreme Art.
- Grants the starting bow holy damage.
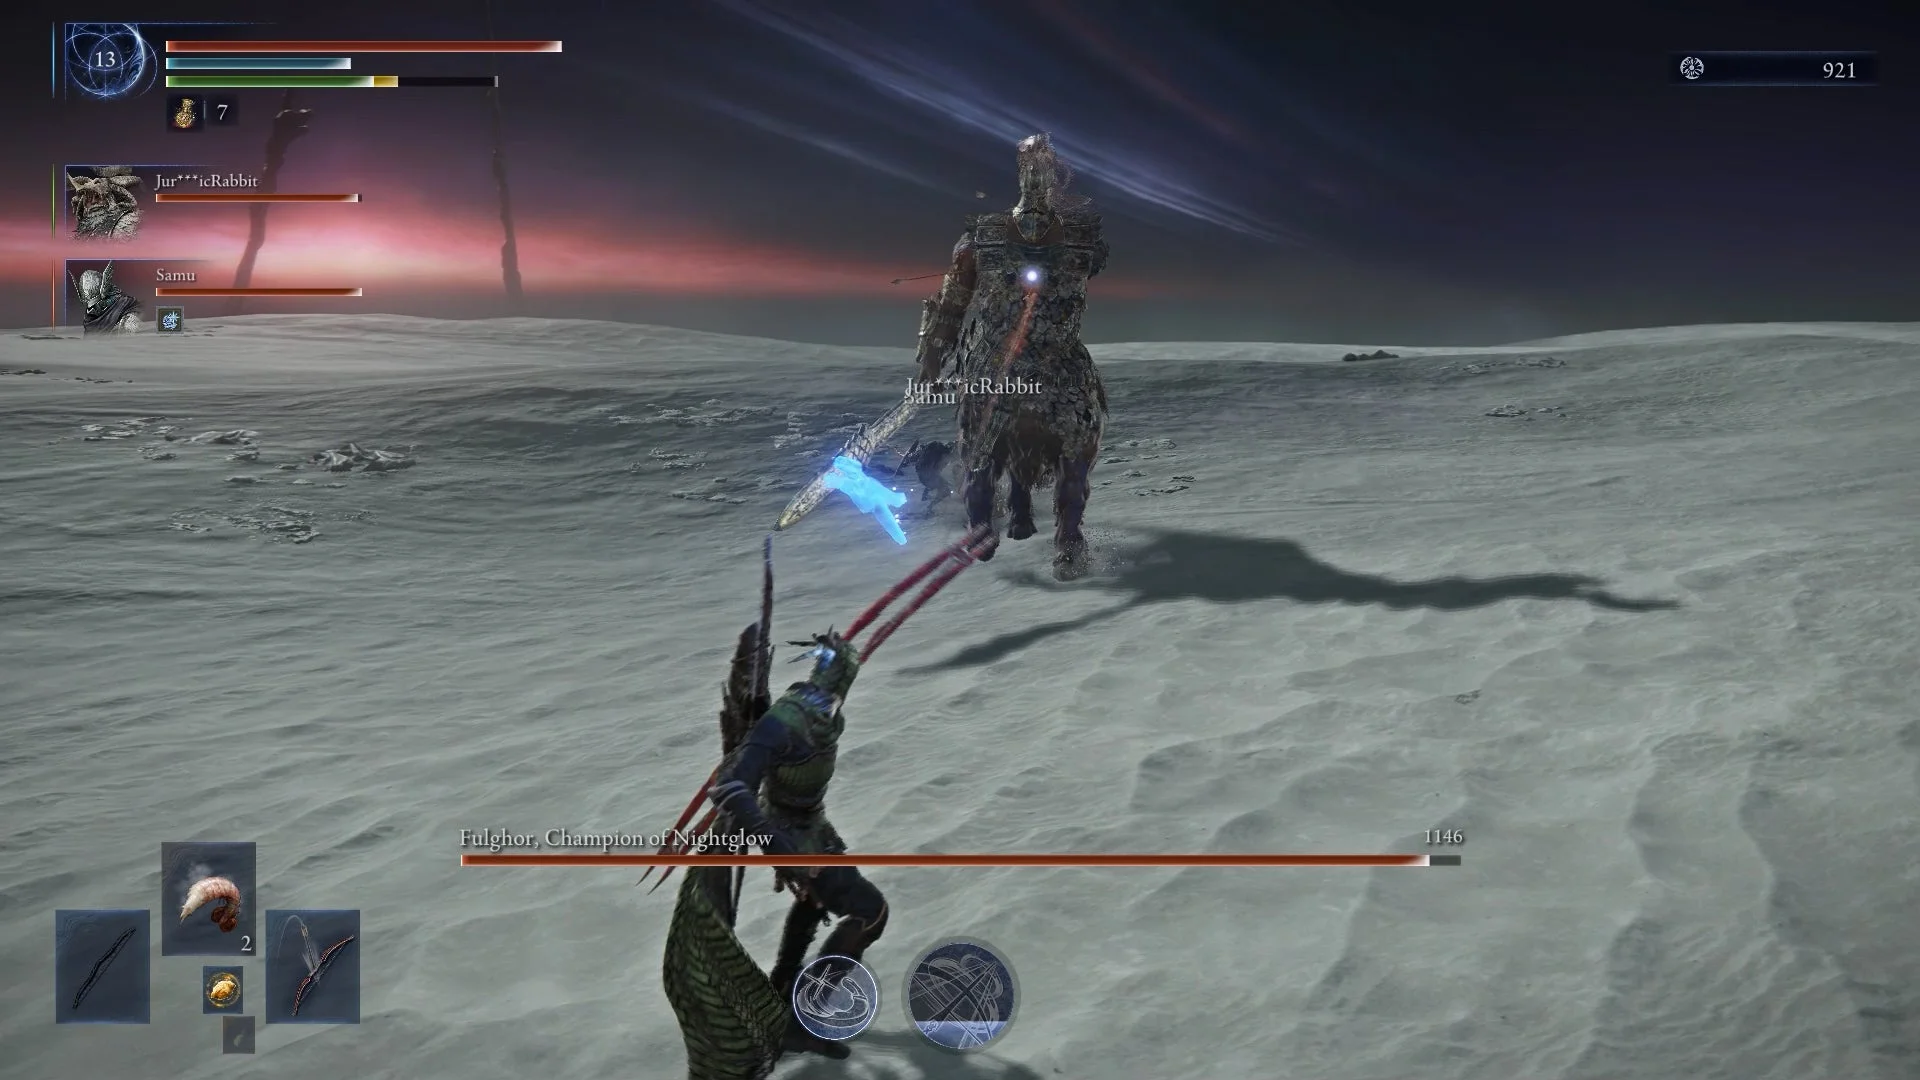
In the seventh chapter, you need to kill another serious boss — Holstor. Select the expedition to kill the Night Lord and complete the task. After killing the enemy, examine the alternative version of the Roundtable Hold, which stands in the distance. Behind the main room, there will be a kneeling man. Choose the option "Clench the dagger" to complete the quest and get a unique cutscene.
As a reward, you will receive:
- A costume for your character.
- Unlock the final text chapter.
Duchess’s Quest Memories
The Duchess’s storyline is divided into chapters that are unlocked as certain conditions are met.
The first chapter in the diary will be available as soon as you unlock the Duchess. After reading it, you need to go on expeditions and collect "Memory Shards" to unlock the second and third chapters.
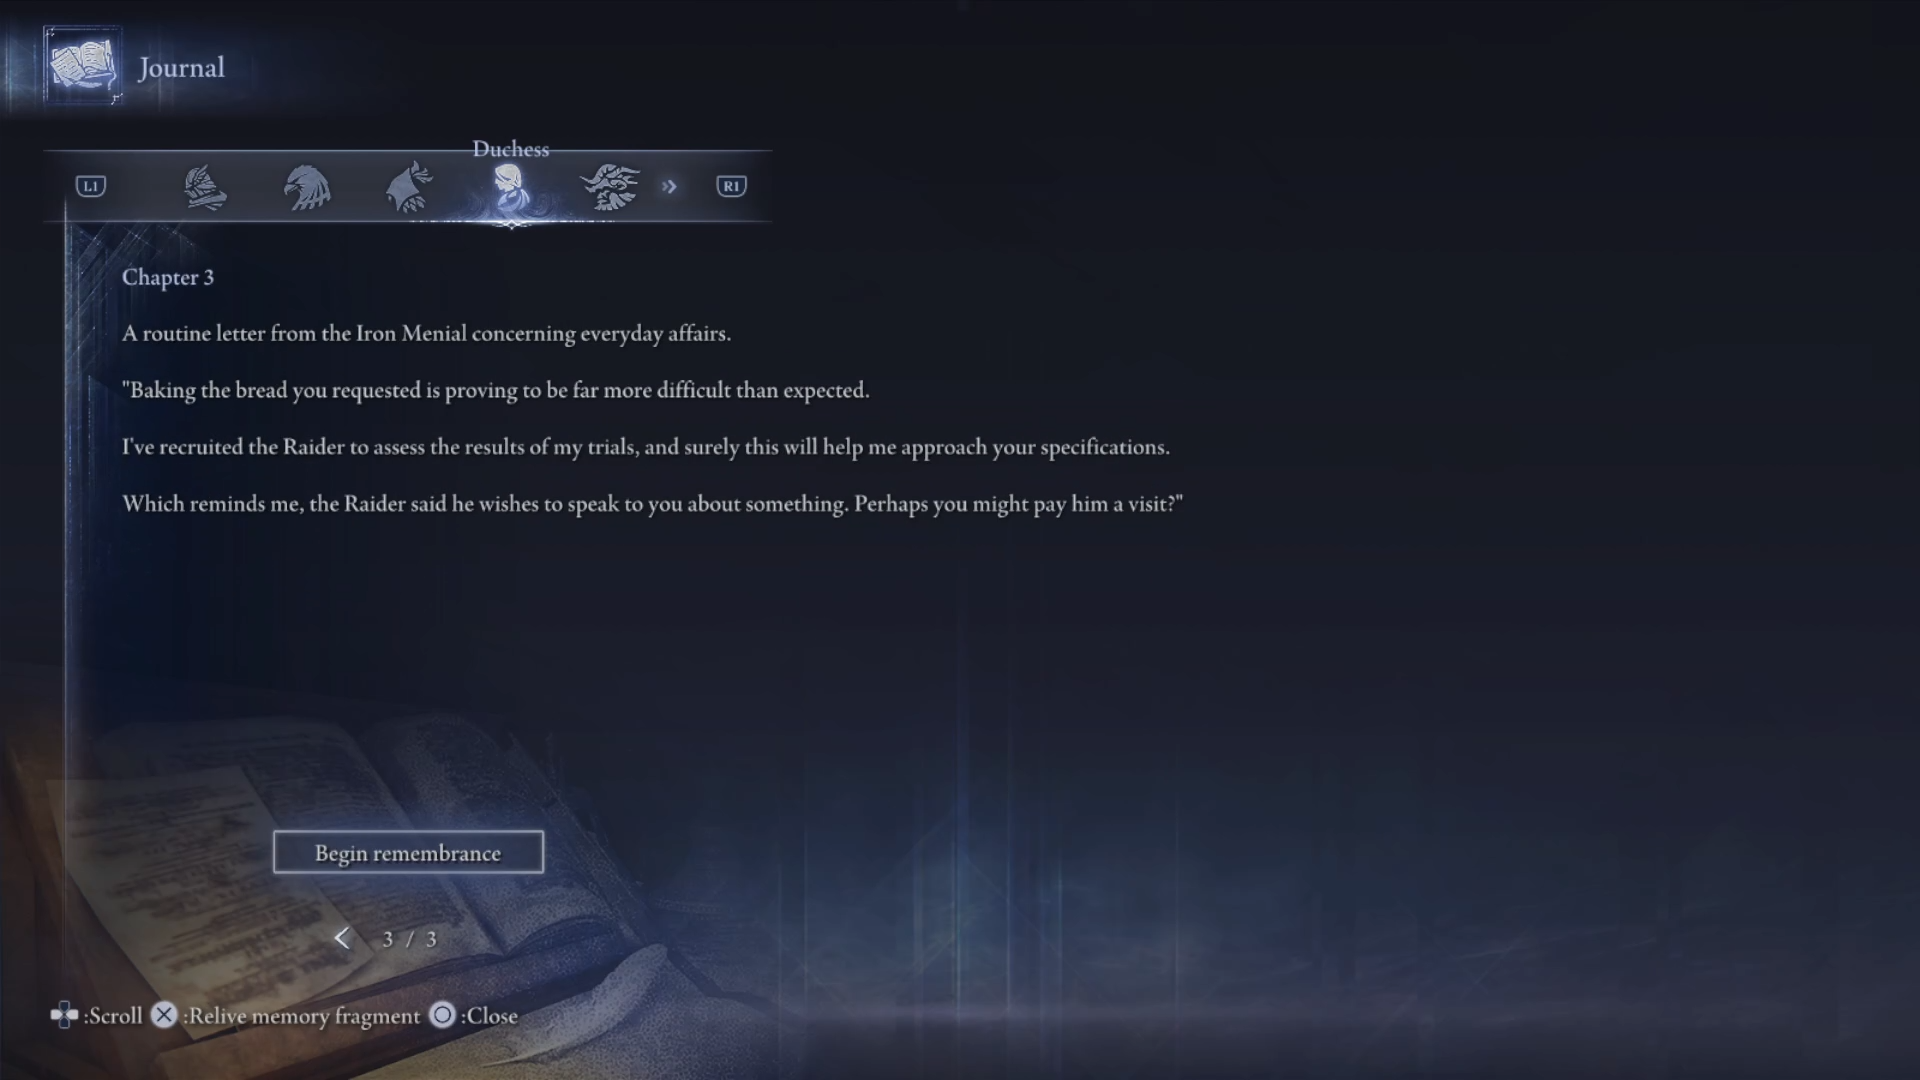
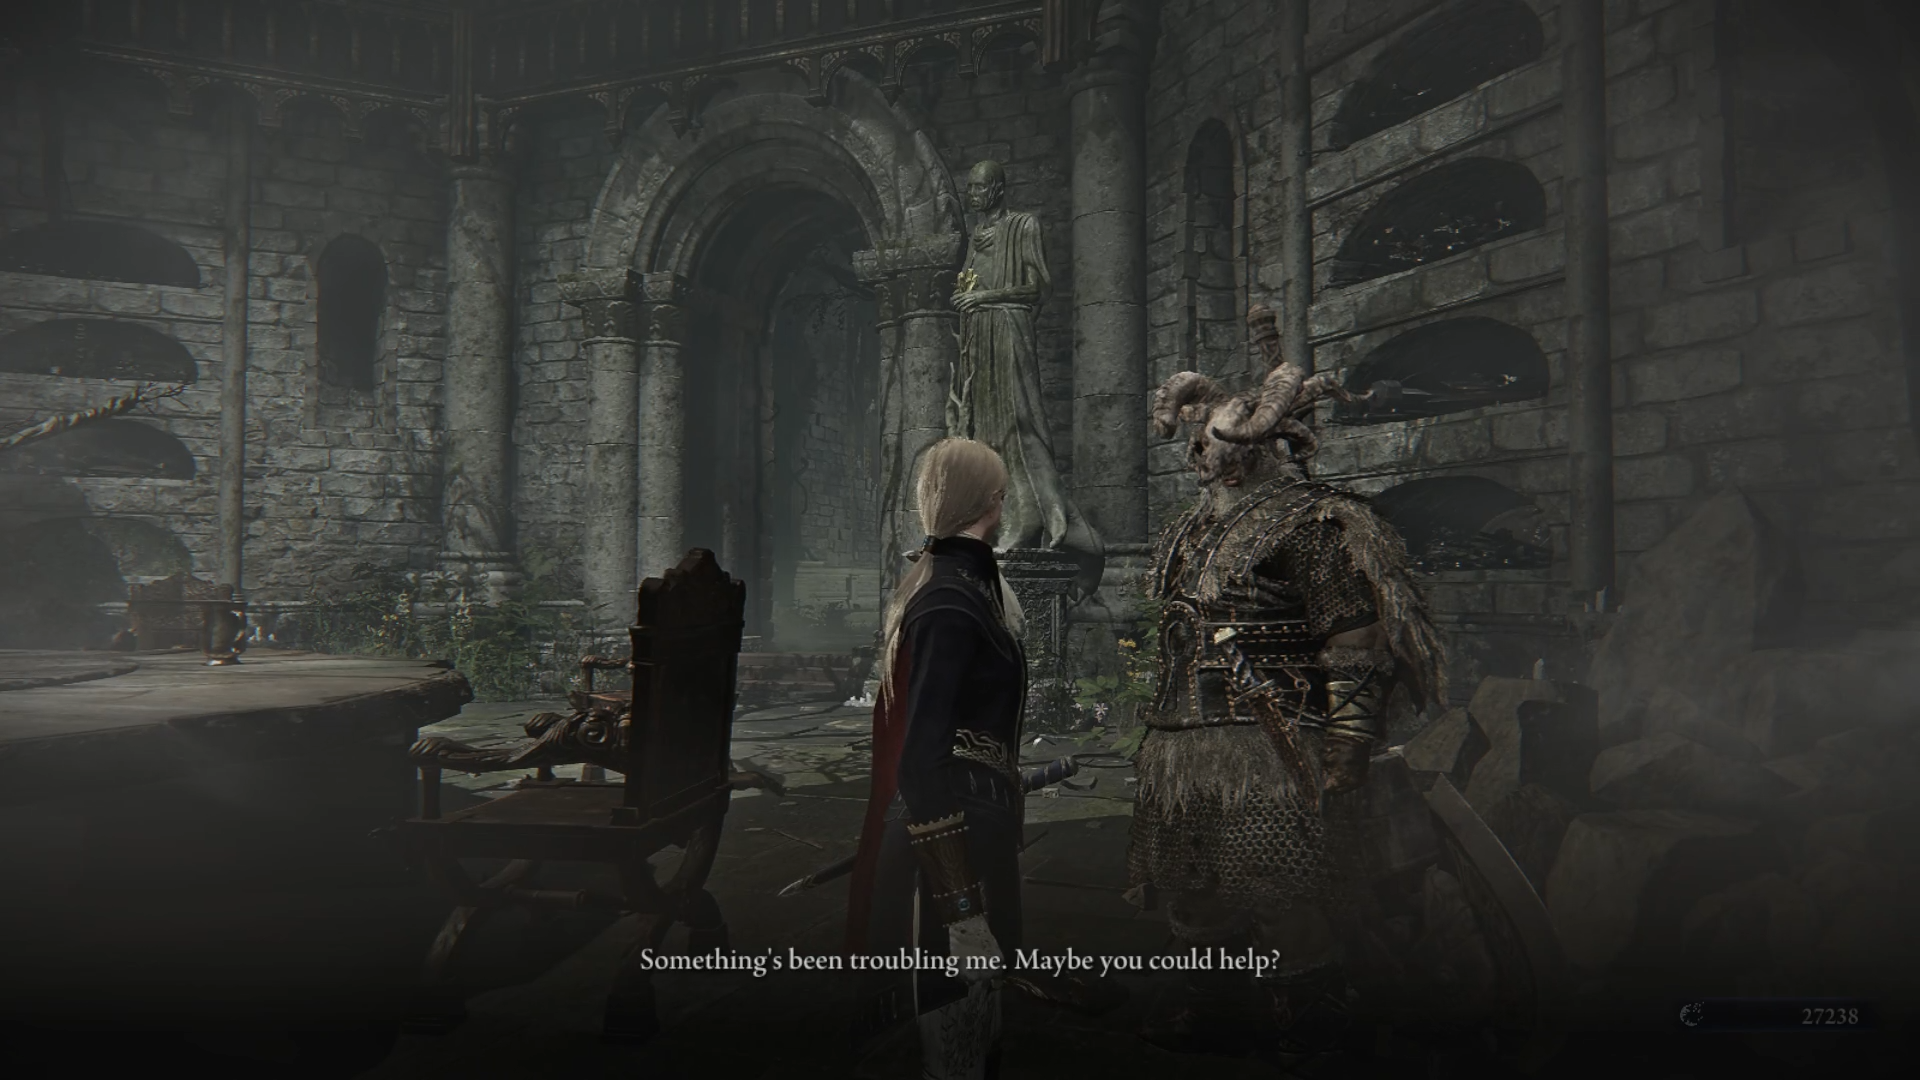
After reading the third chapter, your first quest will become available. When you find yourself in the "Realm of Memories", talk to the Raider who stands next to the Roundtable. Use all available dialogue lines. Then go to the room with the Diary to talk to Wylder. When you exhaust all options, return to the Raider. After the conversation, you will have a new objective: "Find the Golden Dew in Limveld."
Start any expedition and collect the materials marked on the map with a red marker. Tip: level up to 7–9 before moving on. You will have to fight three Guardians. After killing them, you will receive the "Golden Dew." Complete the run and return to the lobby.
Talk to Wylder and give him the item you found. In return, he will give you "Faded Iron Coins". After this, talk to the Ghost who stands in the forest nook. After exhausting all dialogue options, go to the Iron Servant and talk to him. At the very end, use the thread to exit the memory.
As a reward, you will receive the "Golden Dew" relic, which:
- Enhances the character's attack power.
- Increases damage from elemental buffs.
To unlock the fifth chapter, you need to go on expeditions and defeat a Night Lord. As soon as the page appears, talk to Wylder again (he will be sitting next to the Executioner's easel). Eat the food lying on the plate nearby to get extra food in your inventory.
Now return to the lobby and talk to the Iron Servant. He will give you the "Duchess's Chalice" (1 red, 1 green, and 1 flexible relic slot).
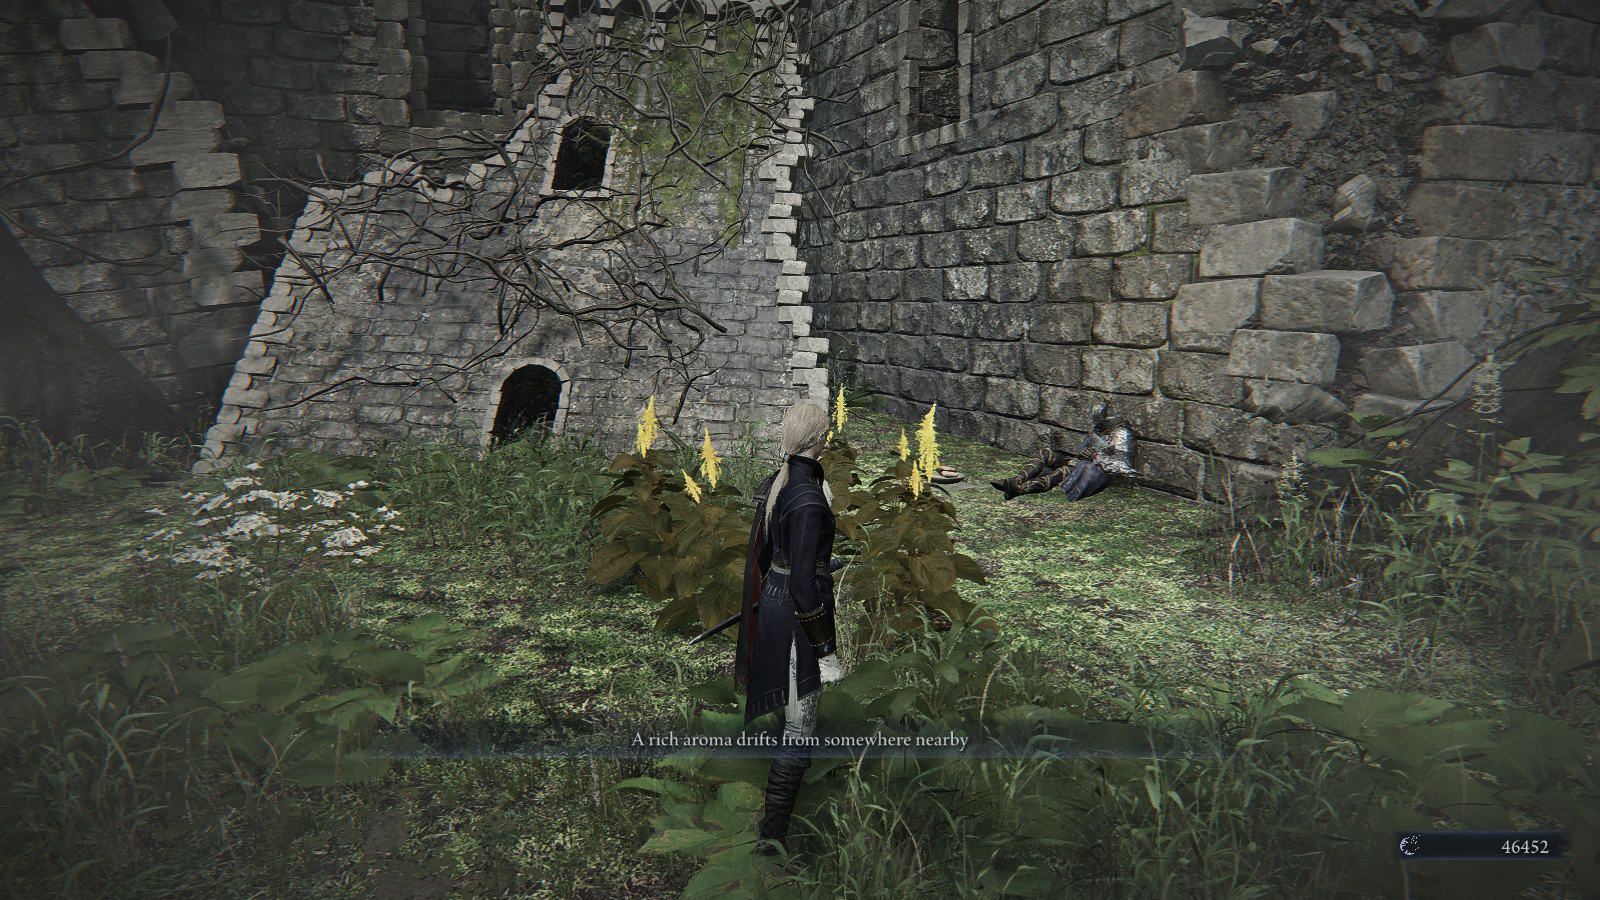
After completing the quest, you will get a new page in the diary. Now return to the Roundtable and take the note. After reading the text, go to the beach and talk to the Raider. After this, you need to talk to the Ghost. A battle will occur, for which you can receive a reward. This is a rather tough fight, so don’t rush in recklessly. After your victory, talk to the Ghost again to receive the "Crown Medal". This relic gives your full combo attack the effect of the "Repeat" skill and also increases the damage of basic daggers.
After completing the quest, you will get a new page in the diary. Return to the Roundtable and take the note. After reading the text, go to the beach and talk to the Raider. Then talk to the Ghost. A battle will occur — this is a tough fight, so be careful.
After your victory, talk to the Ghost again to receive the "Crown Medal." This relic:
- Gives your full combo attack the effect of the "Repeat" skill.
- Increases the damage of basic daggers.
After obtaining the item, go to the dining hall and talk to the Mercenary. During the conversation, you will receive a new quest. You need to go on another expedition to the place marked by the marker. There you will face three mini-bosses — it's recommended to level up in advance.
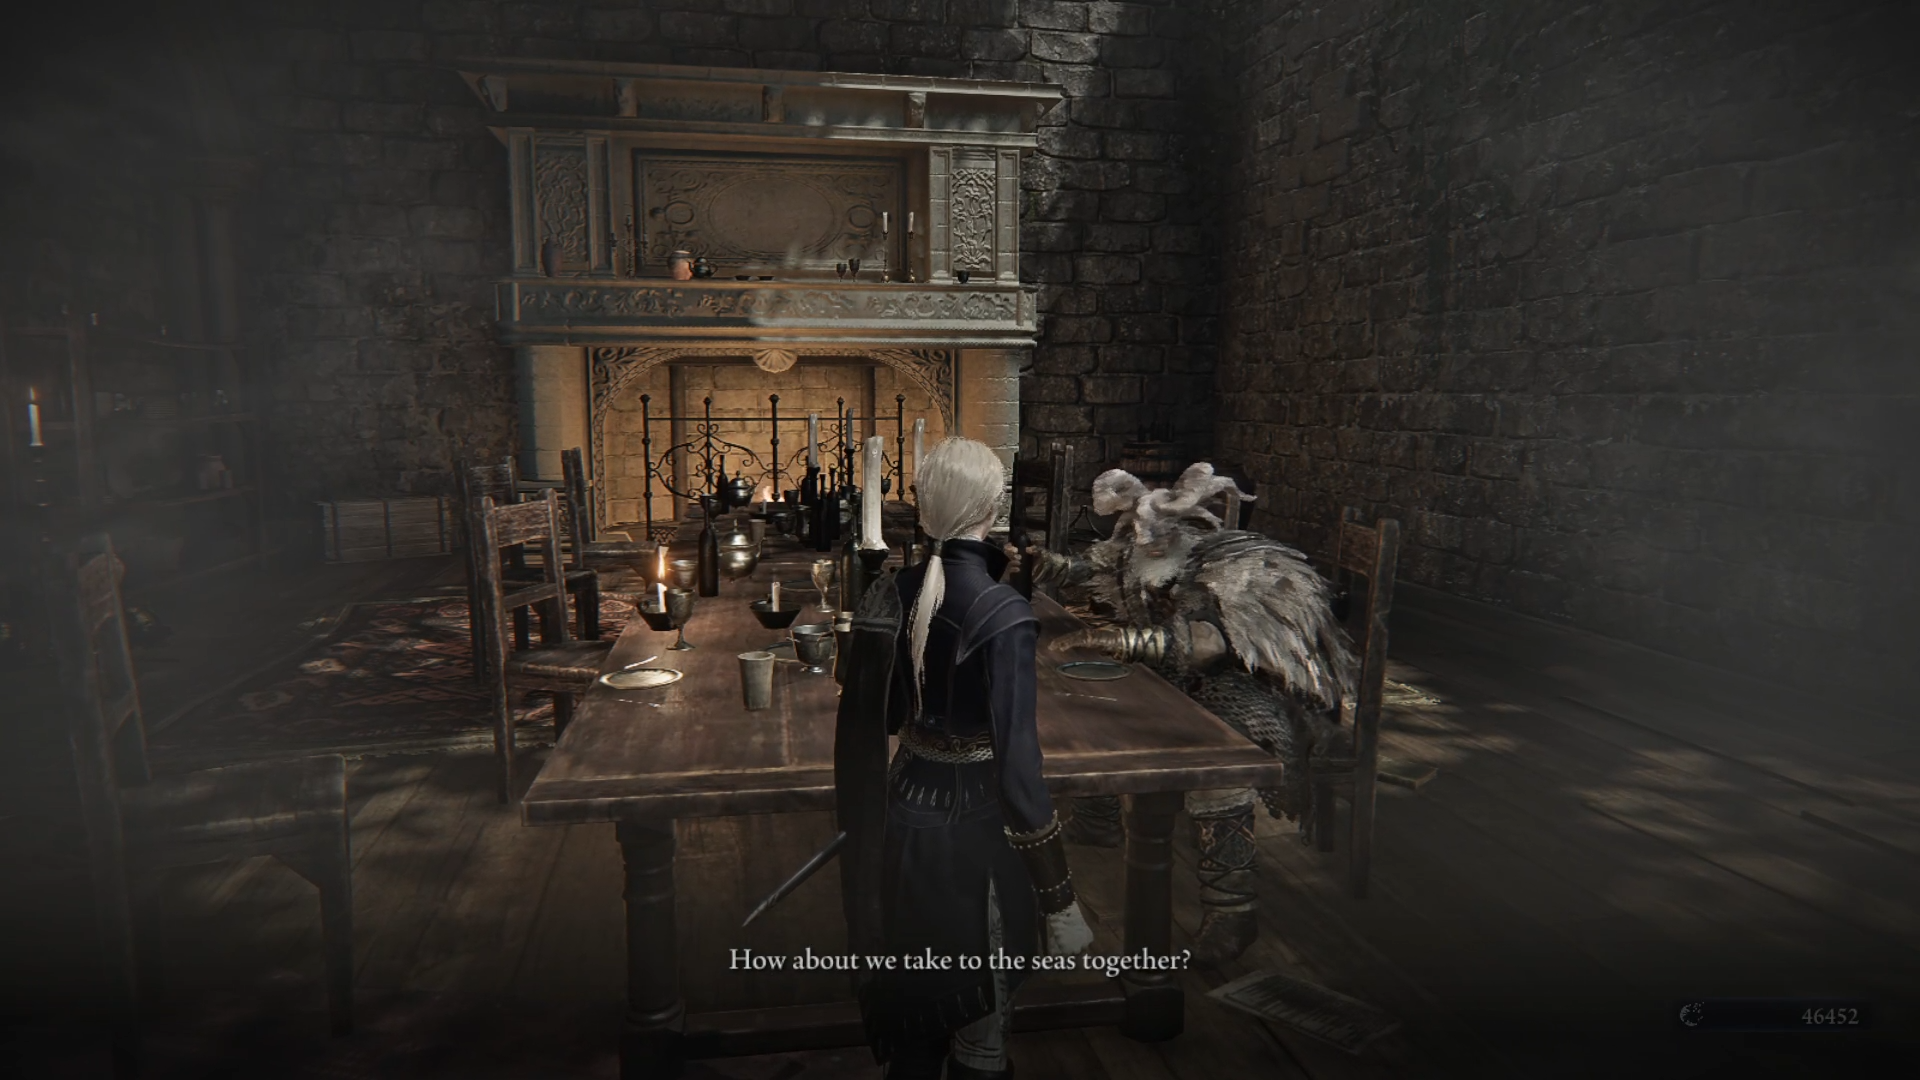
After your victory, take the item from the tombstone and complete the expedition. Upon returning to the lobby, talk to the Mercenary and take the "Double-Sided Coin" from her. Finish the memories by using the thread.
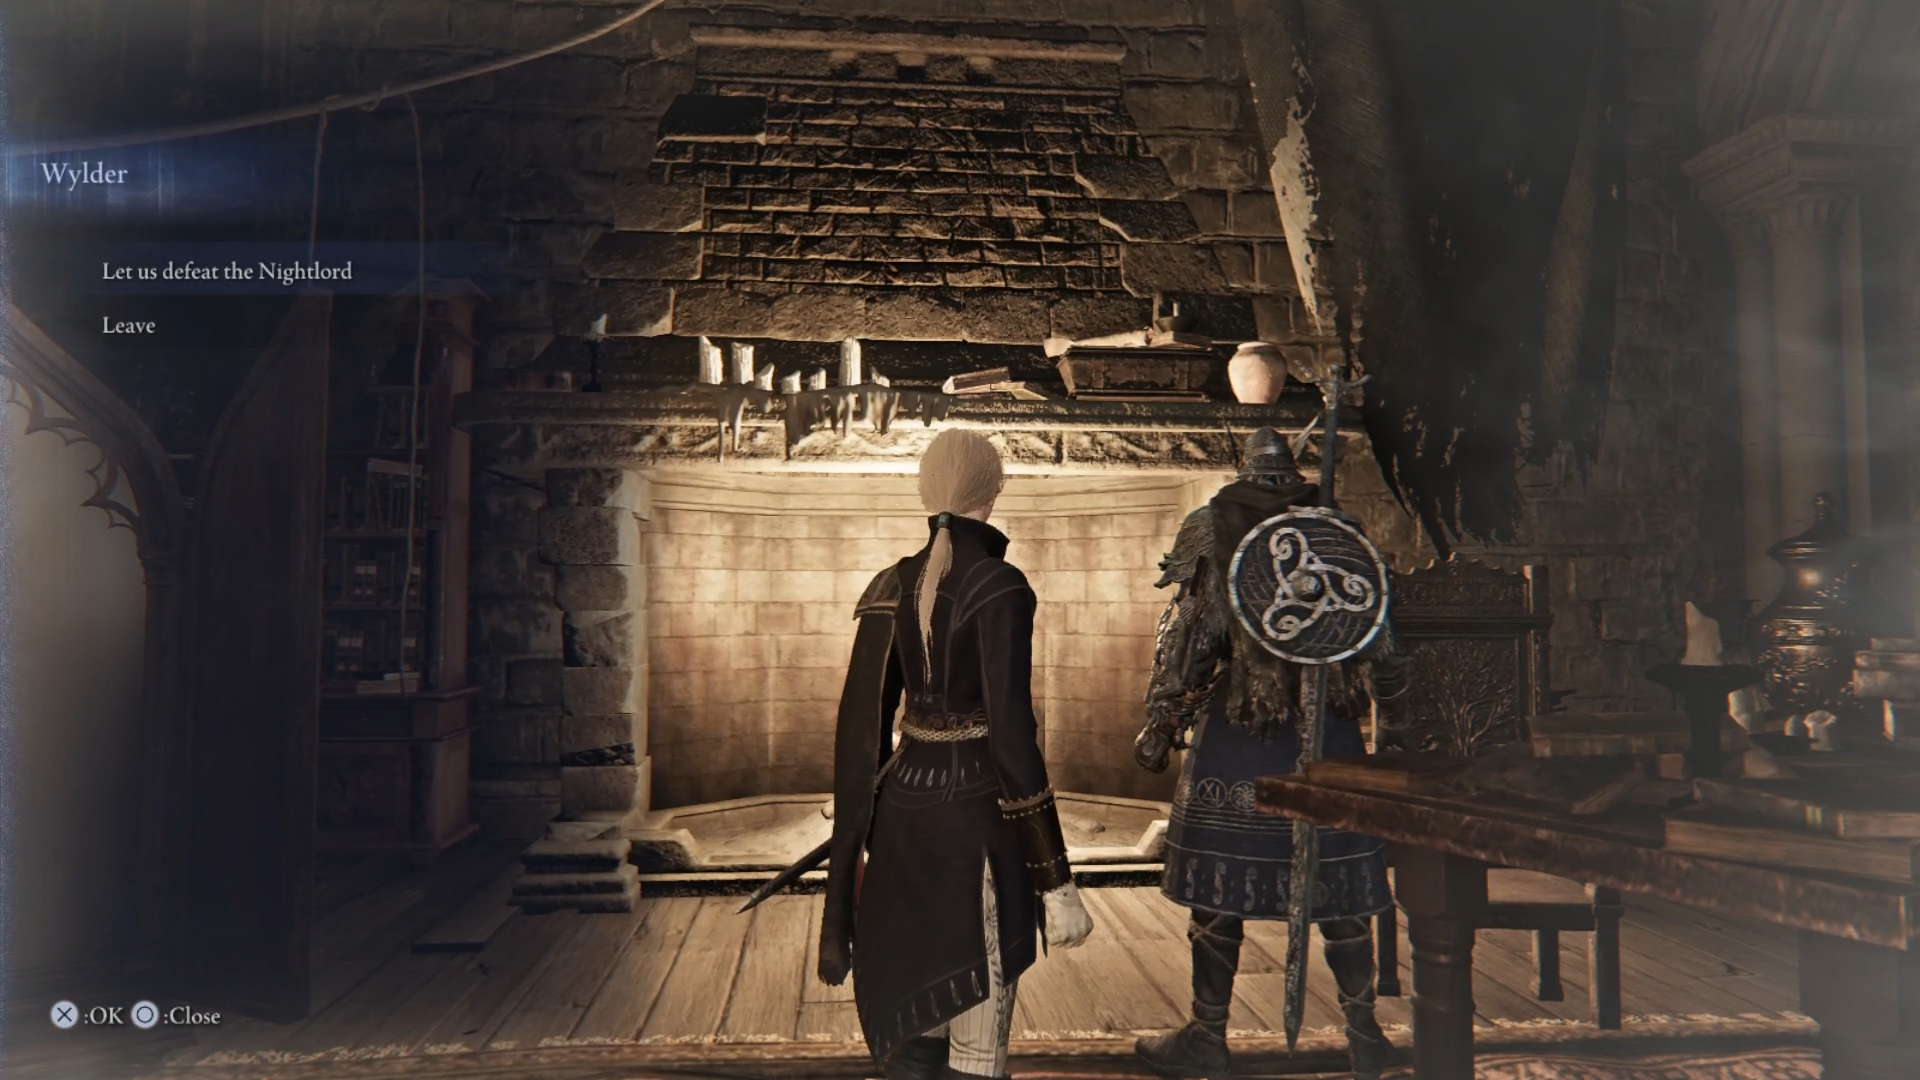
After defeating Holstor the Night Lord, you will be able to complete the Duchess's storyline. Go to the "Realm of Memories" and bless the iron coin at the Roundtable to receive the "Blessed Iron Coin."
Go to the crypt and talk to the Iron Servant. Give him the coin to finish the dialogue. Then approach Wylder and say: "Let's defeat the Night Lord." Now return to the Iron Servant to complete the quest chain.
As a reward, you will receive:
- A relic that increases attack power, grants a vampirism effect, and +3 to vitality.
- A new skin for your character.
Raider’s Quest Memories
The Raider's storyline is divided into chapters that are unlocked as certain conditions are met.
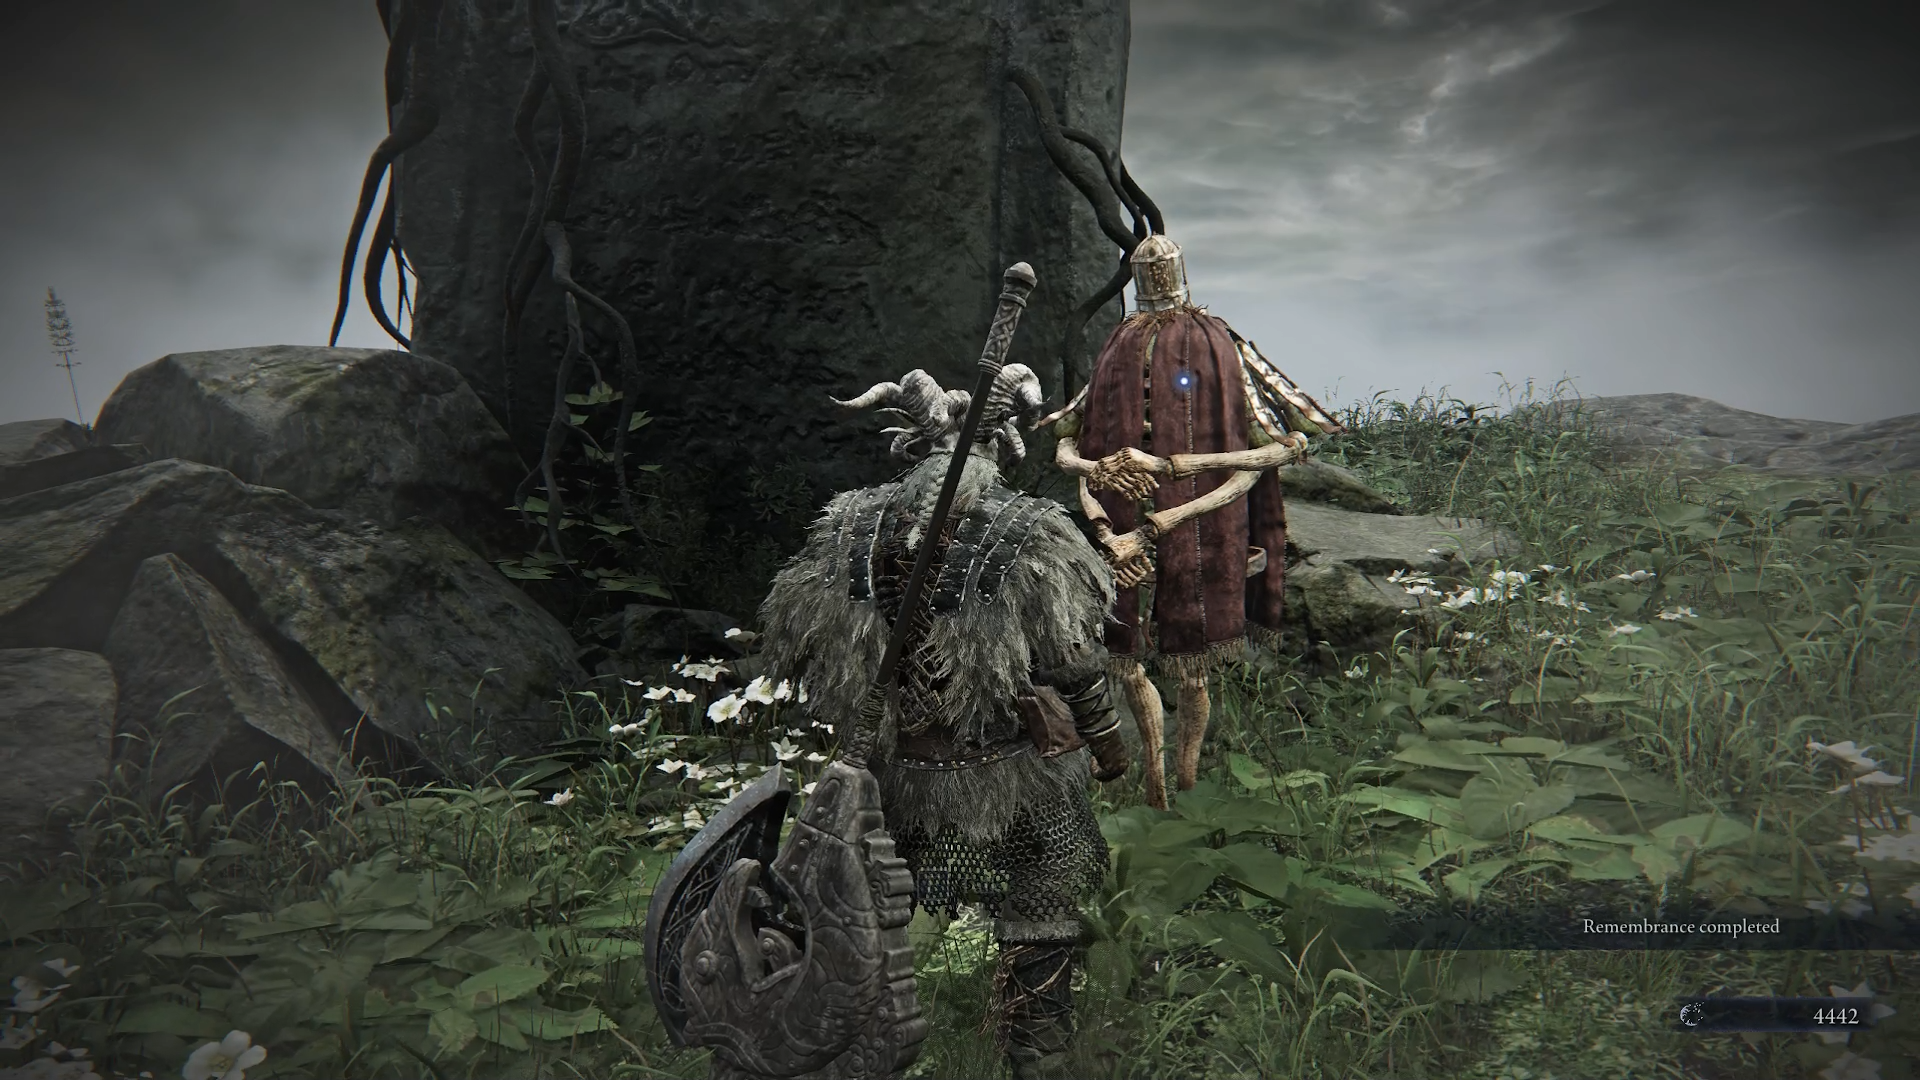
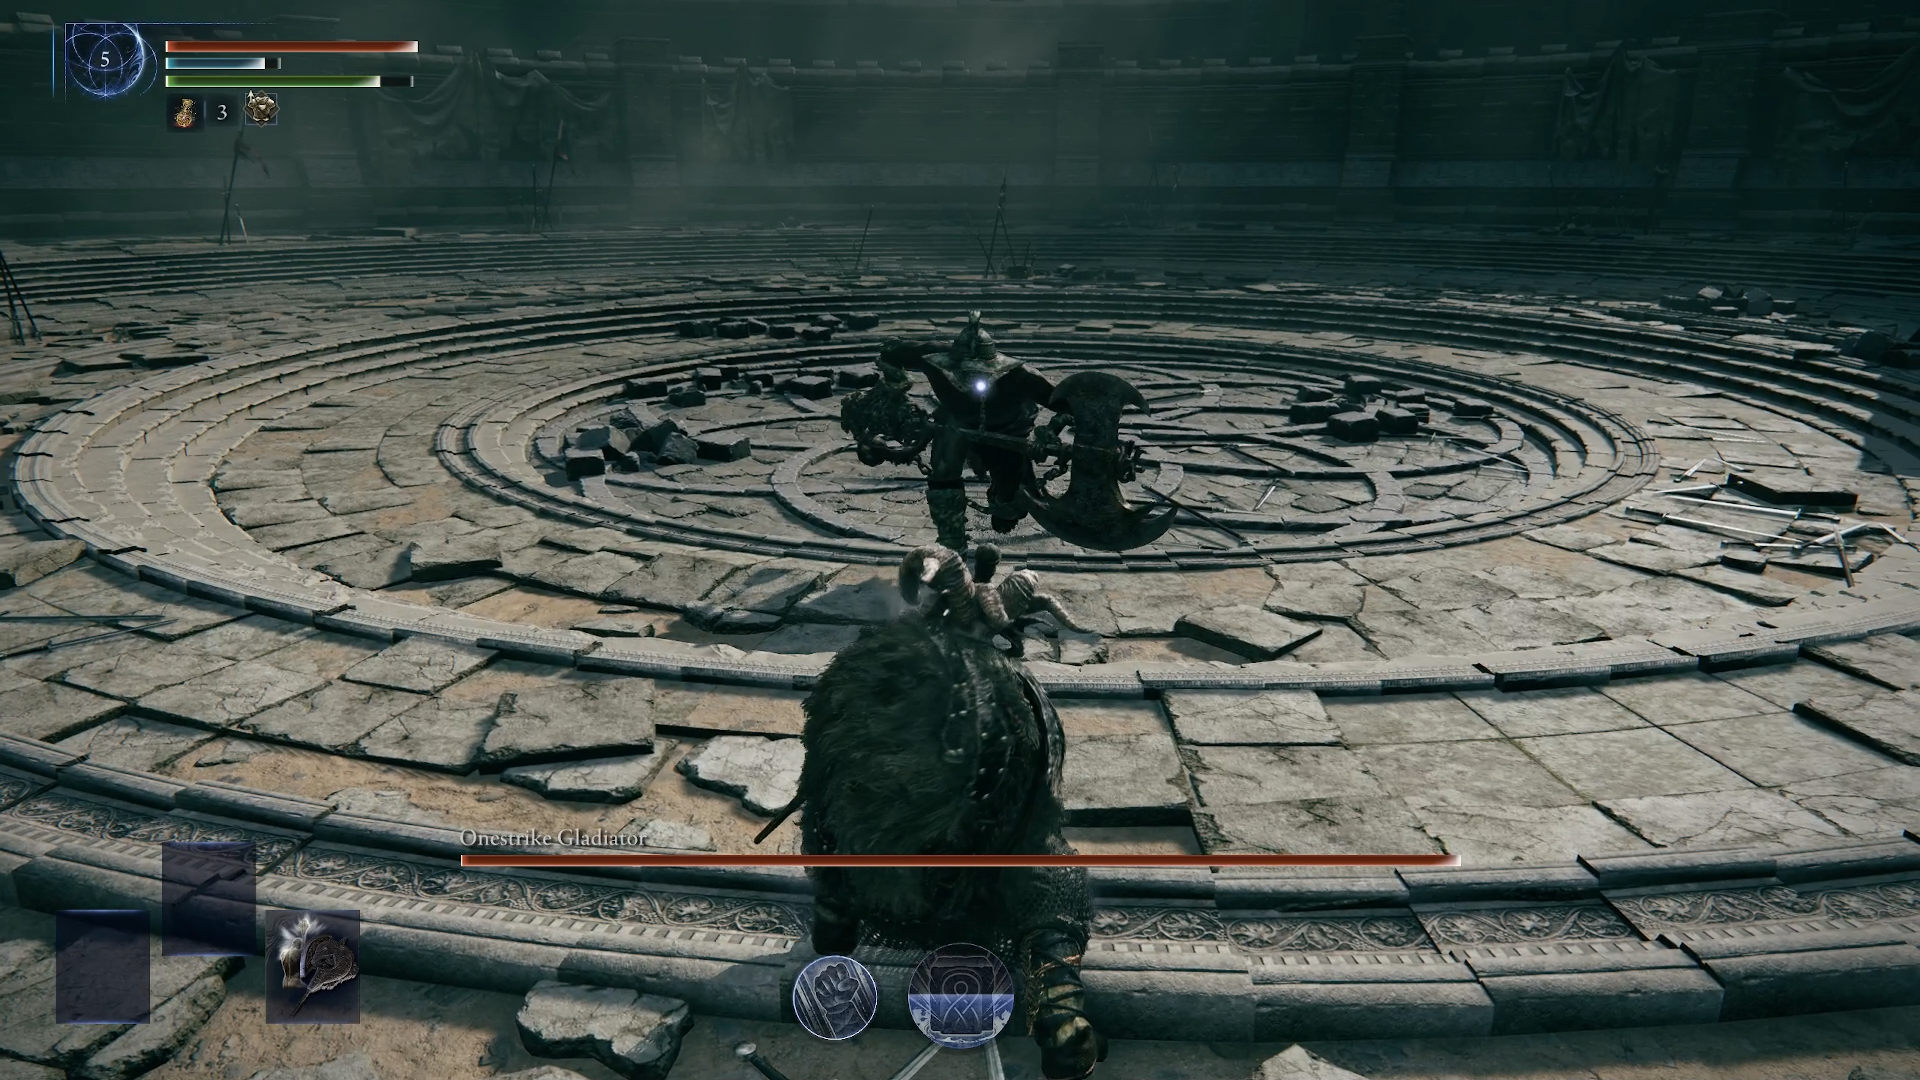
The first chapter of the story will be available from the very beginning. To progress further, you need to defeat Tricephalus. After reading the next chapter, talk to the Iron Servant. Once you have exhausted all dialogues, touch the monument, after which you will be teleported to a special arena where you must fight the "Striking Gladiator." After the battle, you will receive the "Torn Cord." This relic increases attack power and endurance when the Raider takes damage. Additionally, it grants a strength buff. Talk to the Iron Servant to finish the trial.
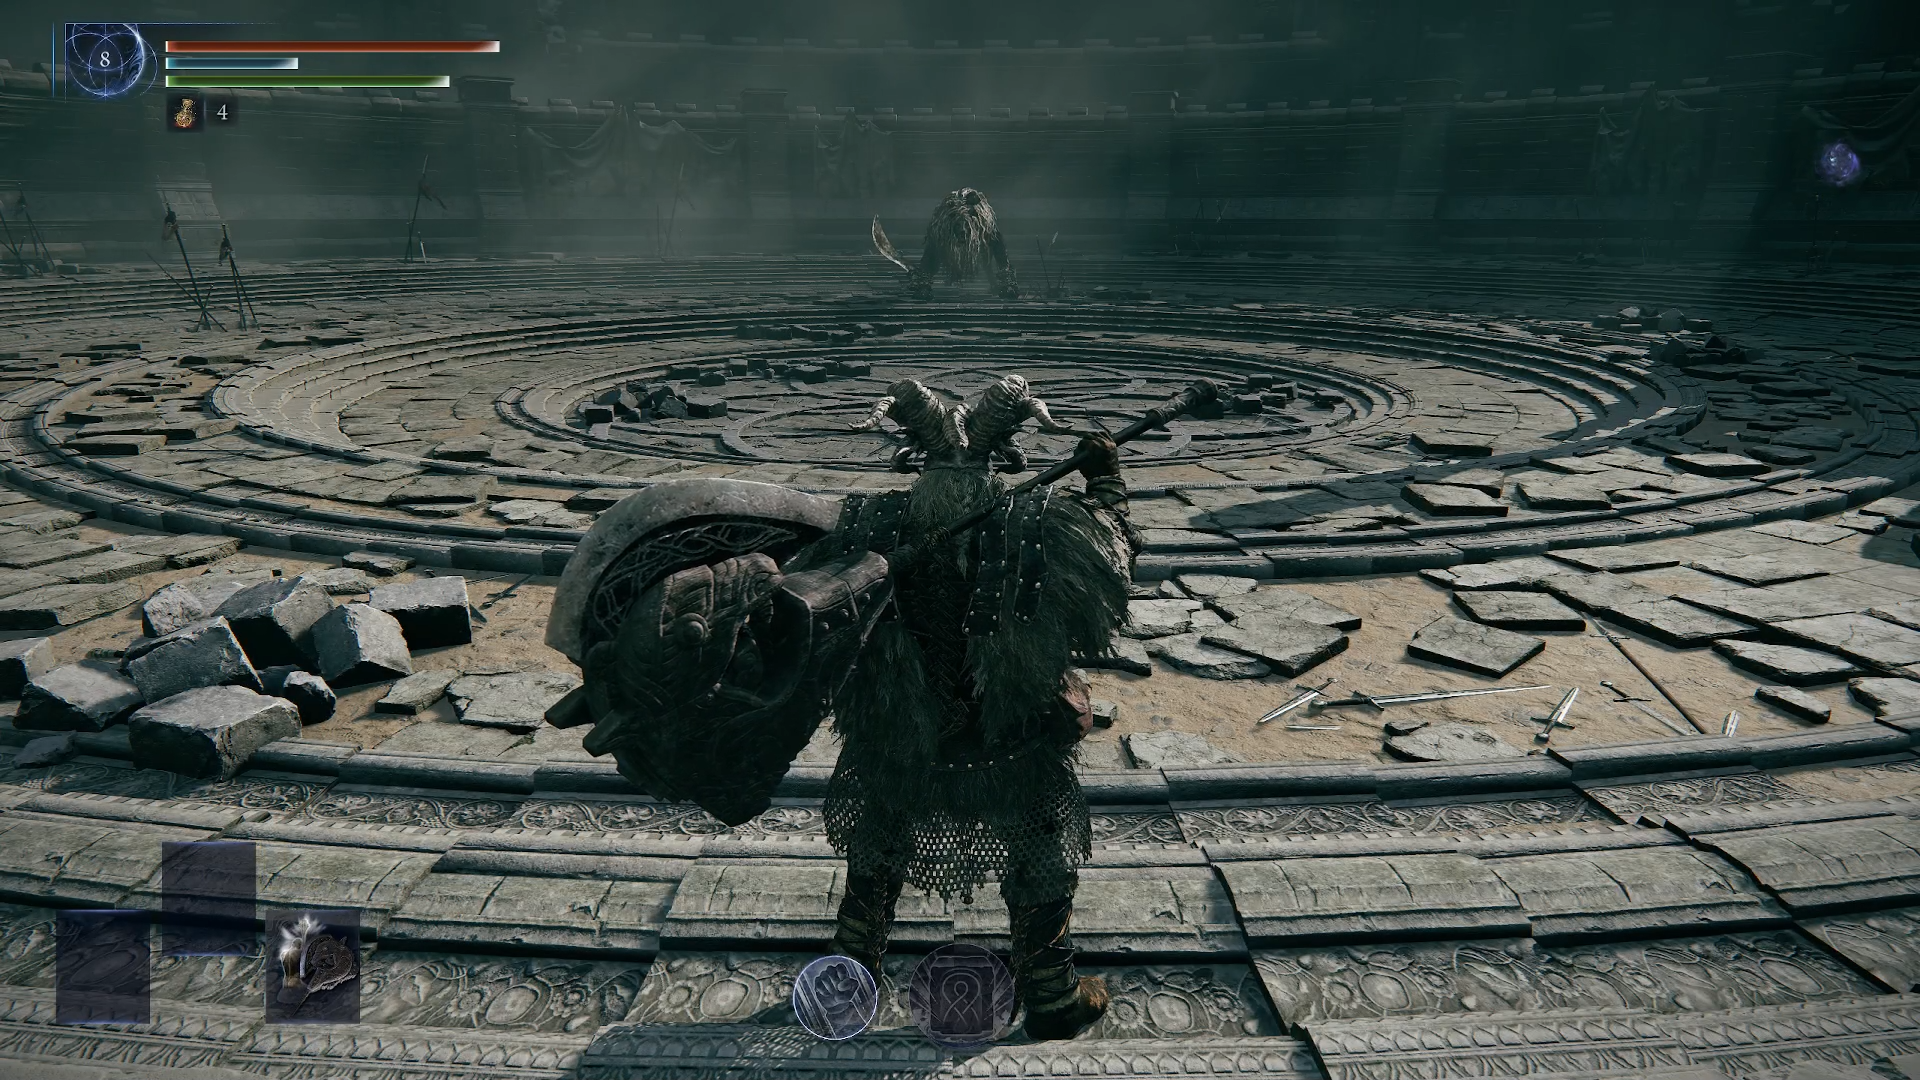
After reading the third chapter, start expeditions and collect "Memory Shards" to unlock the next quest. Eventually, you will need to talk to the Iron Servant again to get a note and go to another arena. This time you need to defeat the "Dazzling Ancient Lion". After the battle, return to the fortress and use the monument. As a reward, your hero will receive: the Raider's Chalice with 1 red, 1 green, and 1 flexible relic slot.
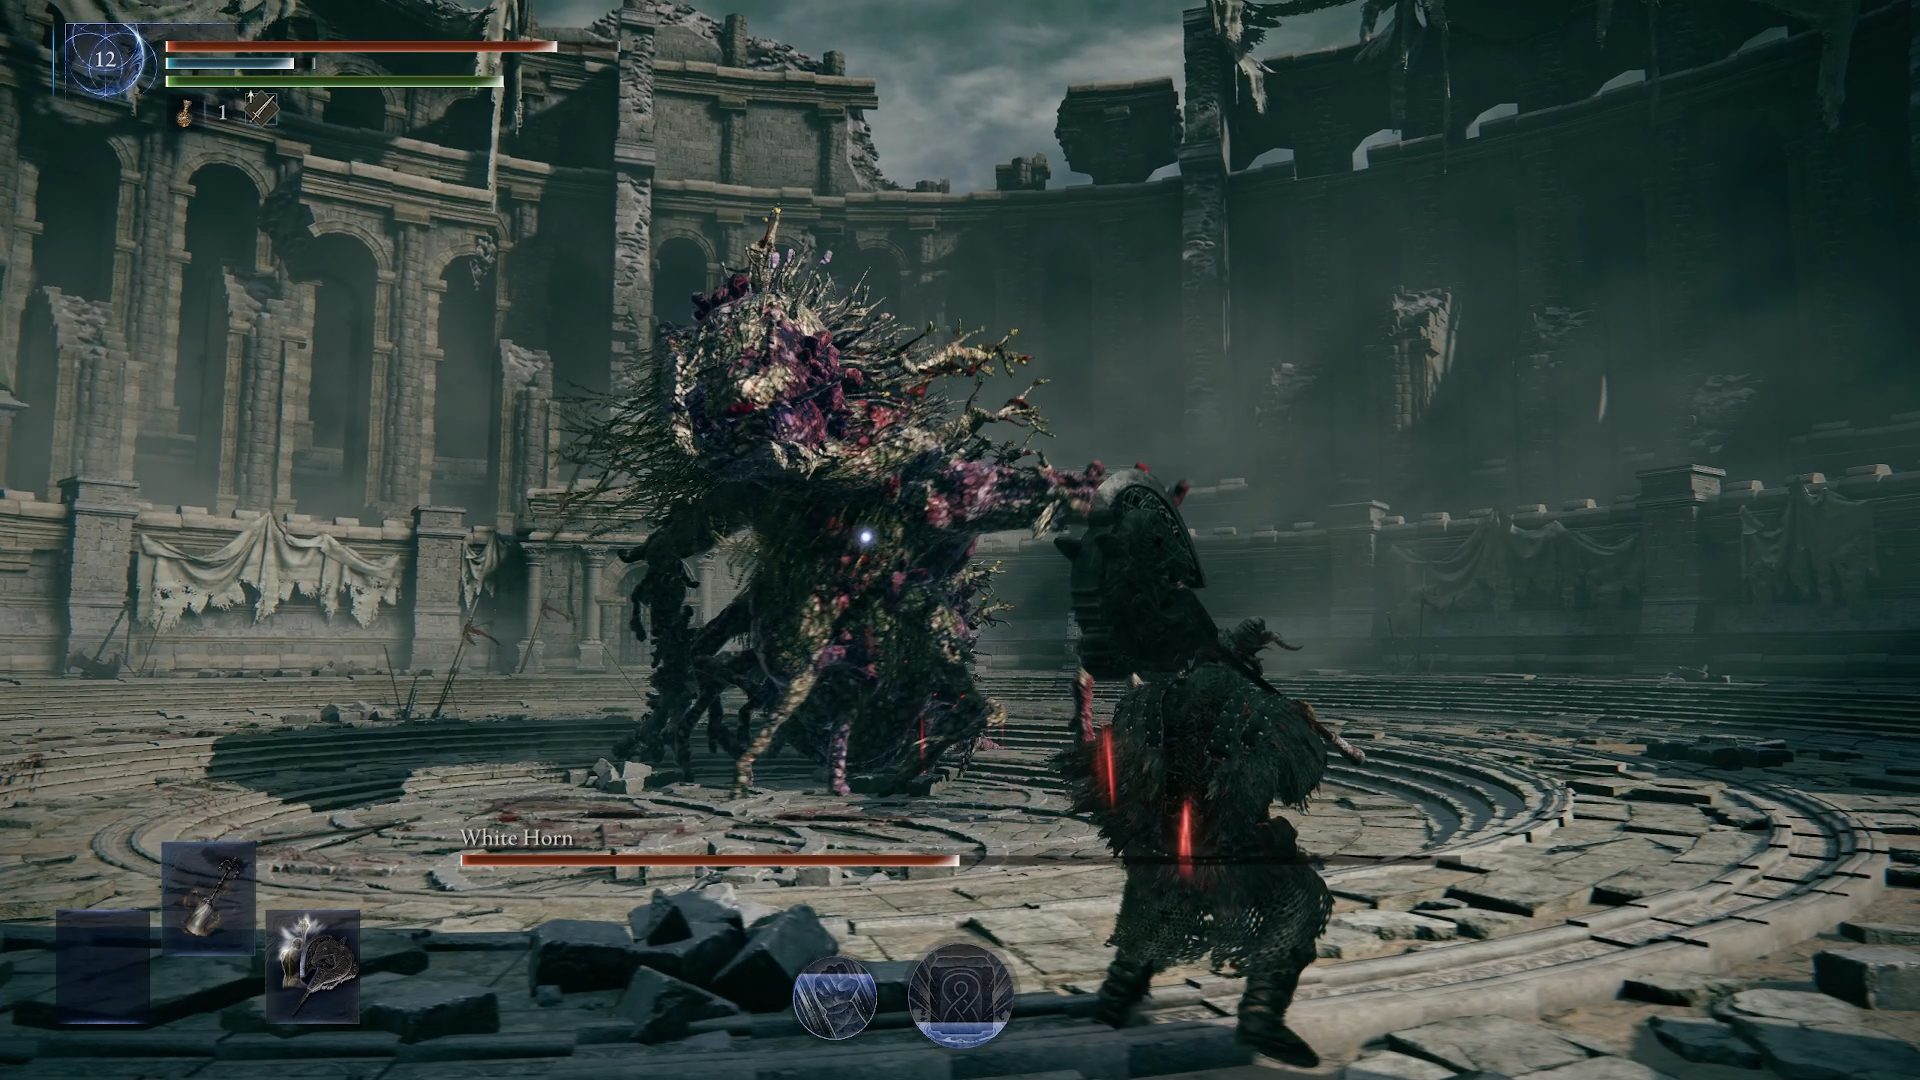
The next two chapters will remain locked until you defeat the second and third Night Lords. After this, you need to talk to the Iron Servant again and approach the waves. You will have to fight "White Horn" to receive the "Black Claw Necklace" relic and a skin. The first restores HP for killing enemies at Stell-totems and also fills the art gauge faster. Grants a resilience buff.
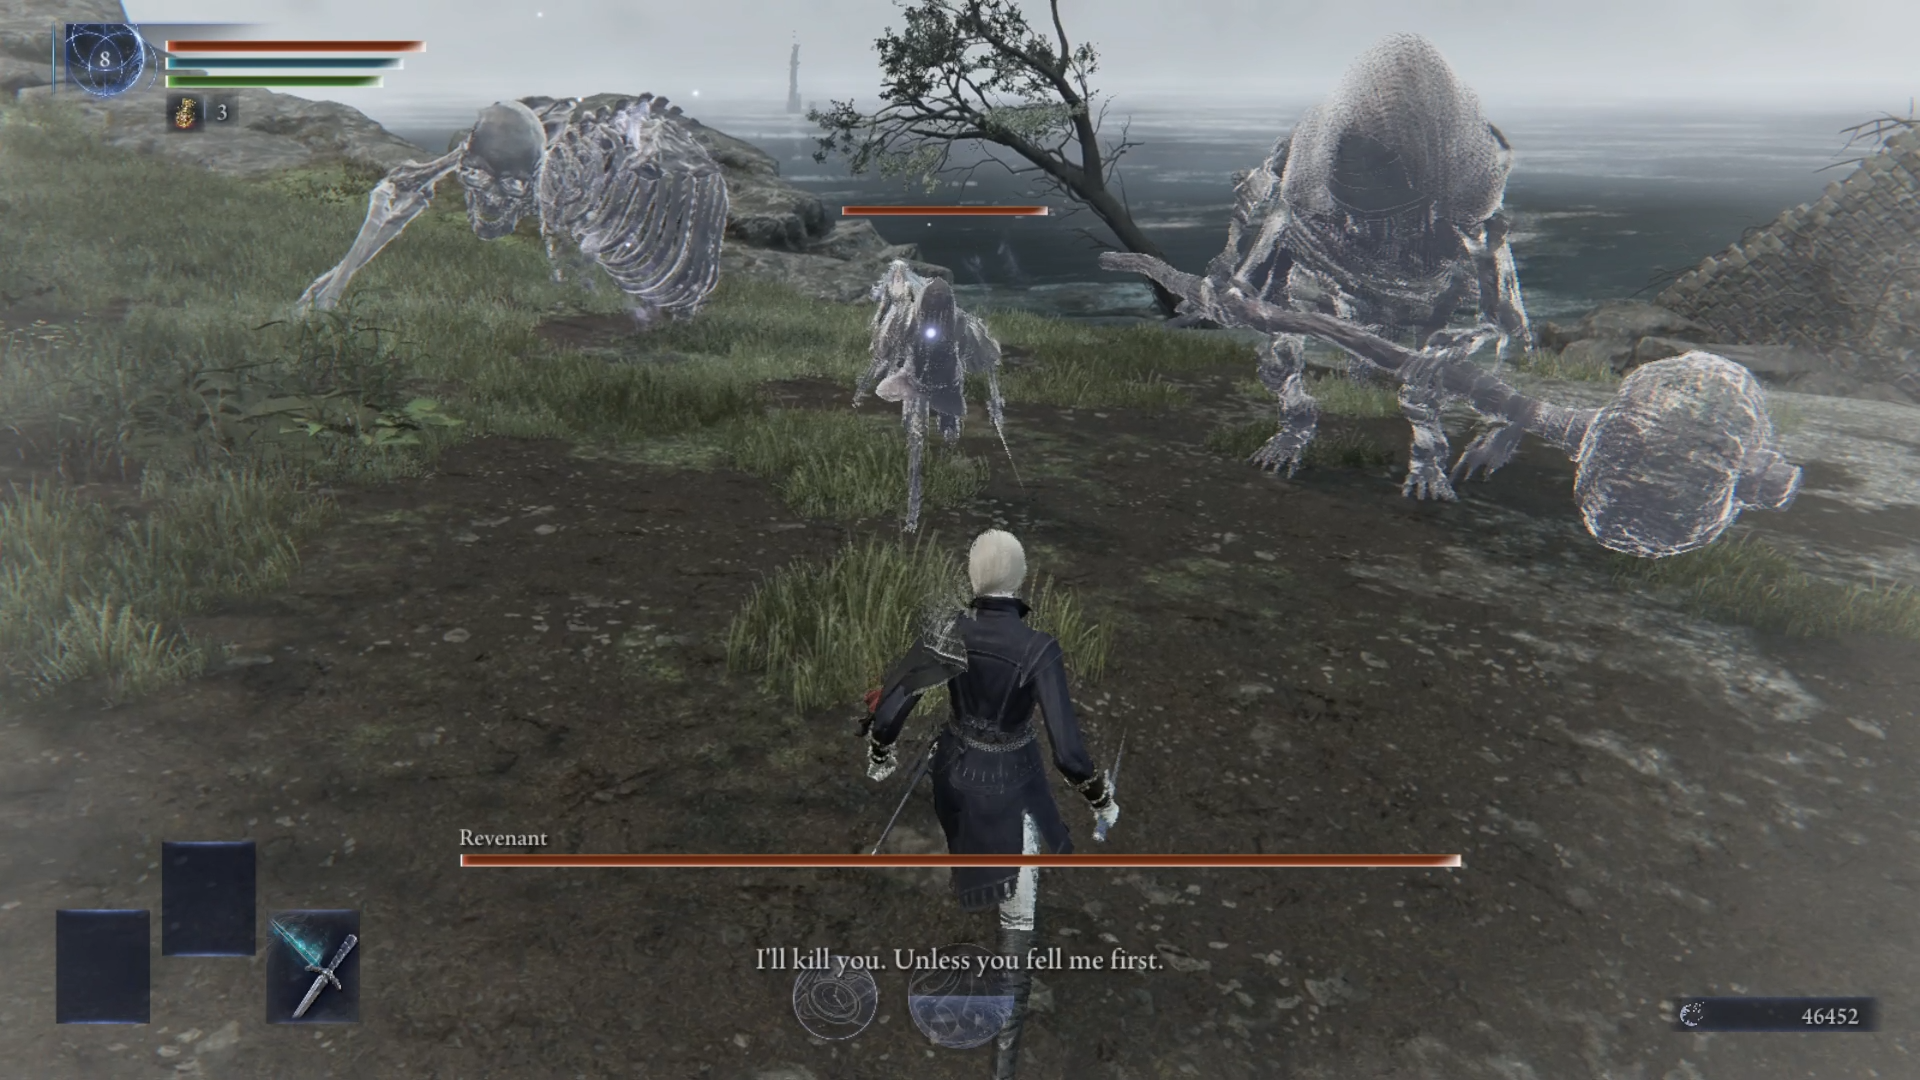
Revenant’s Quest Memories
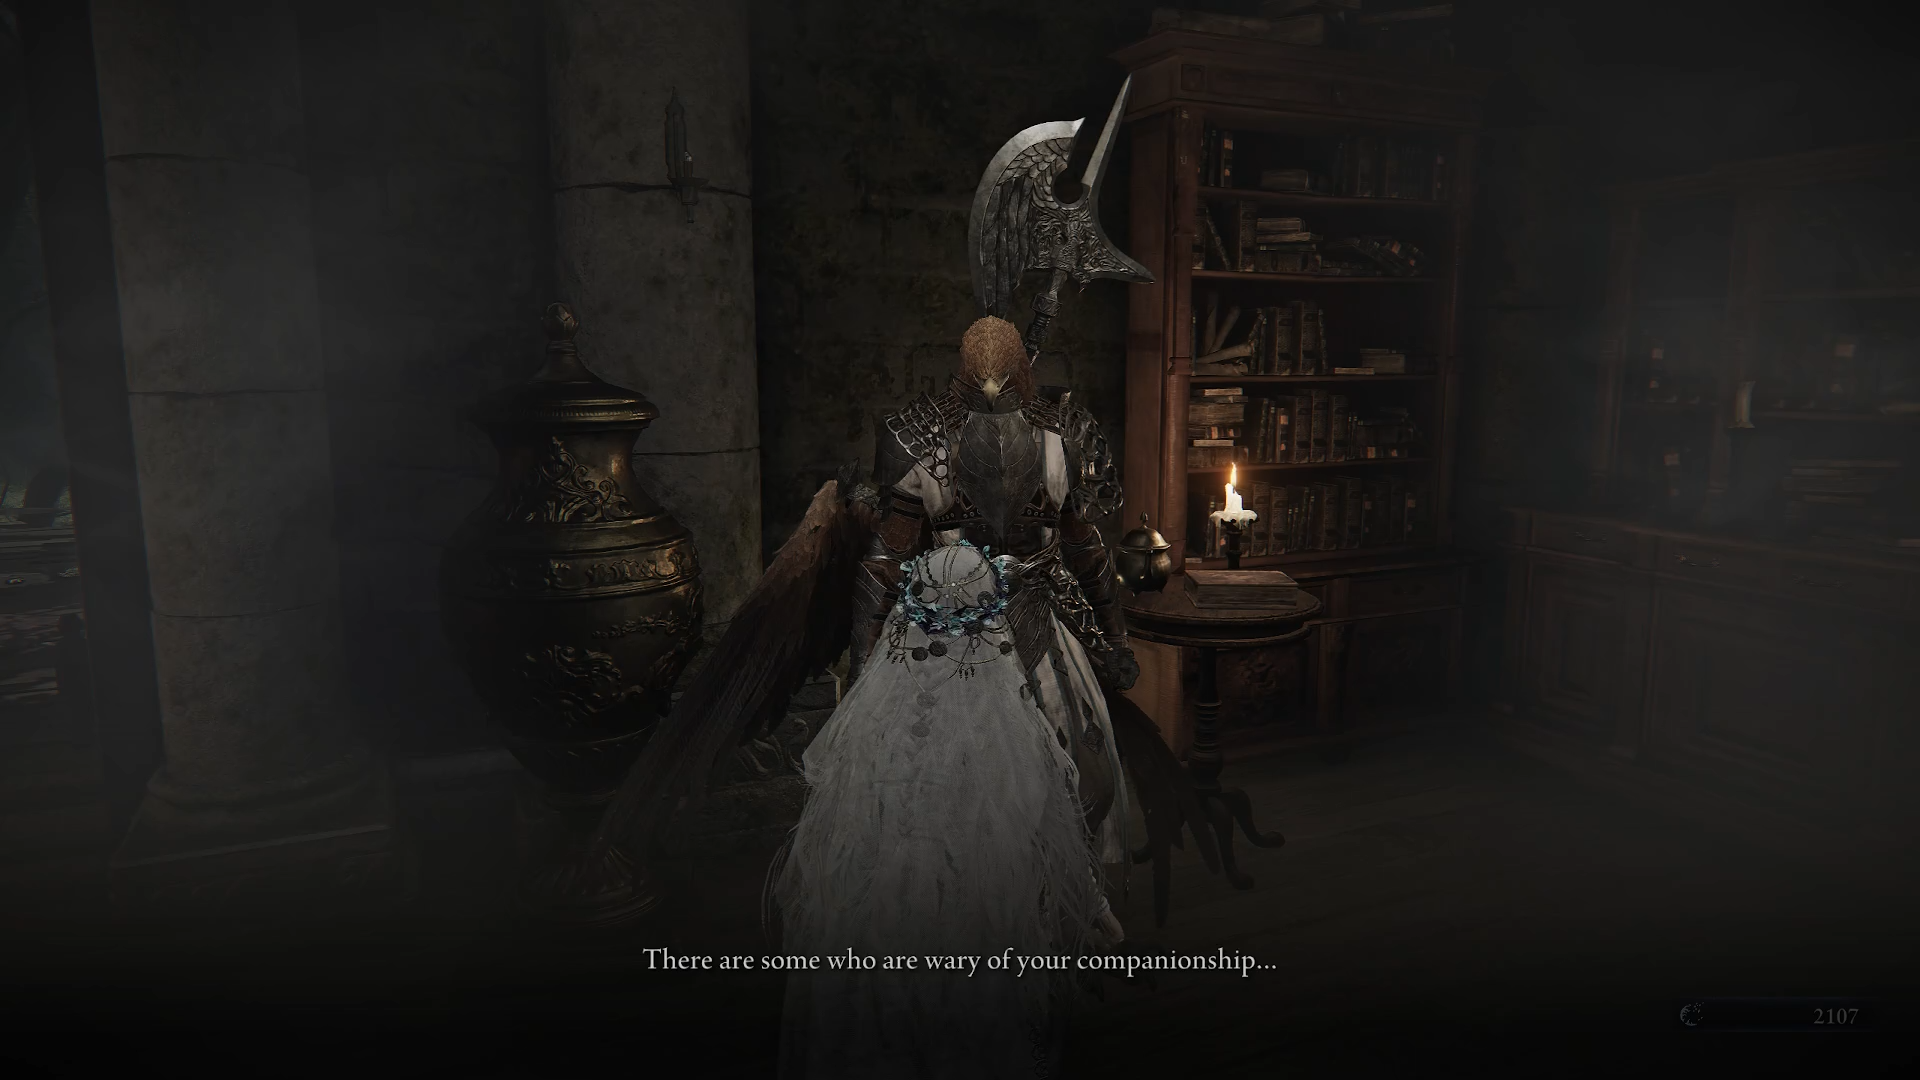
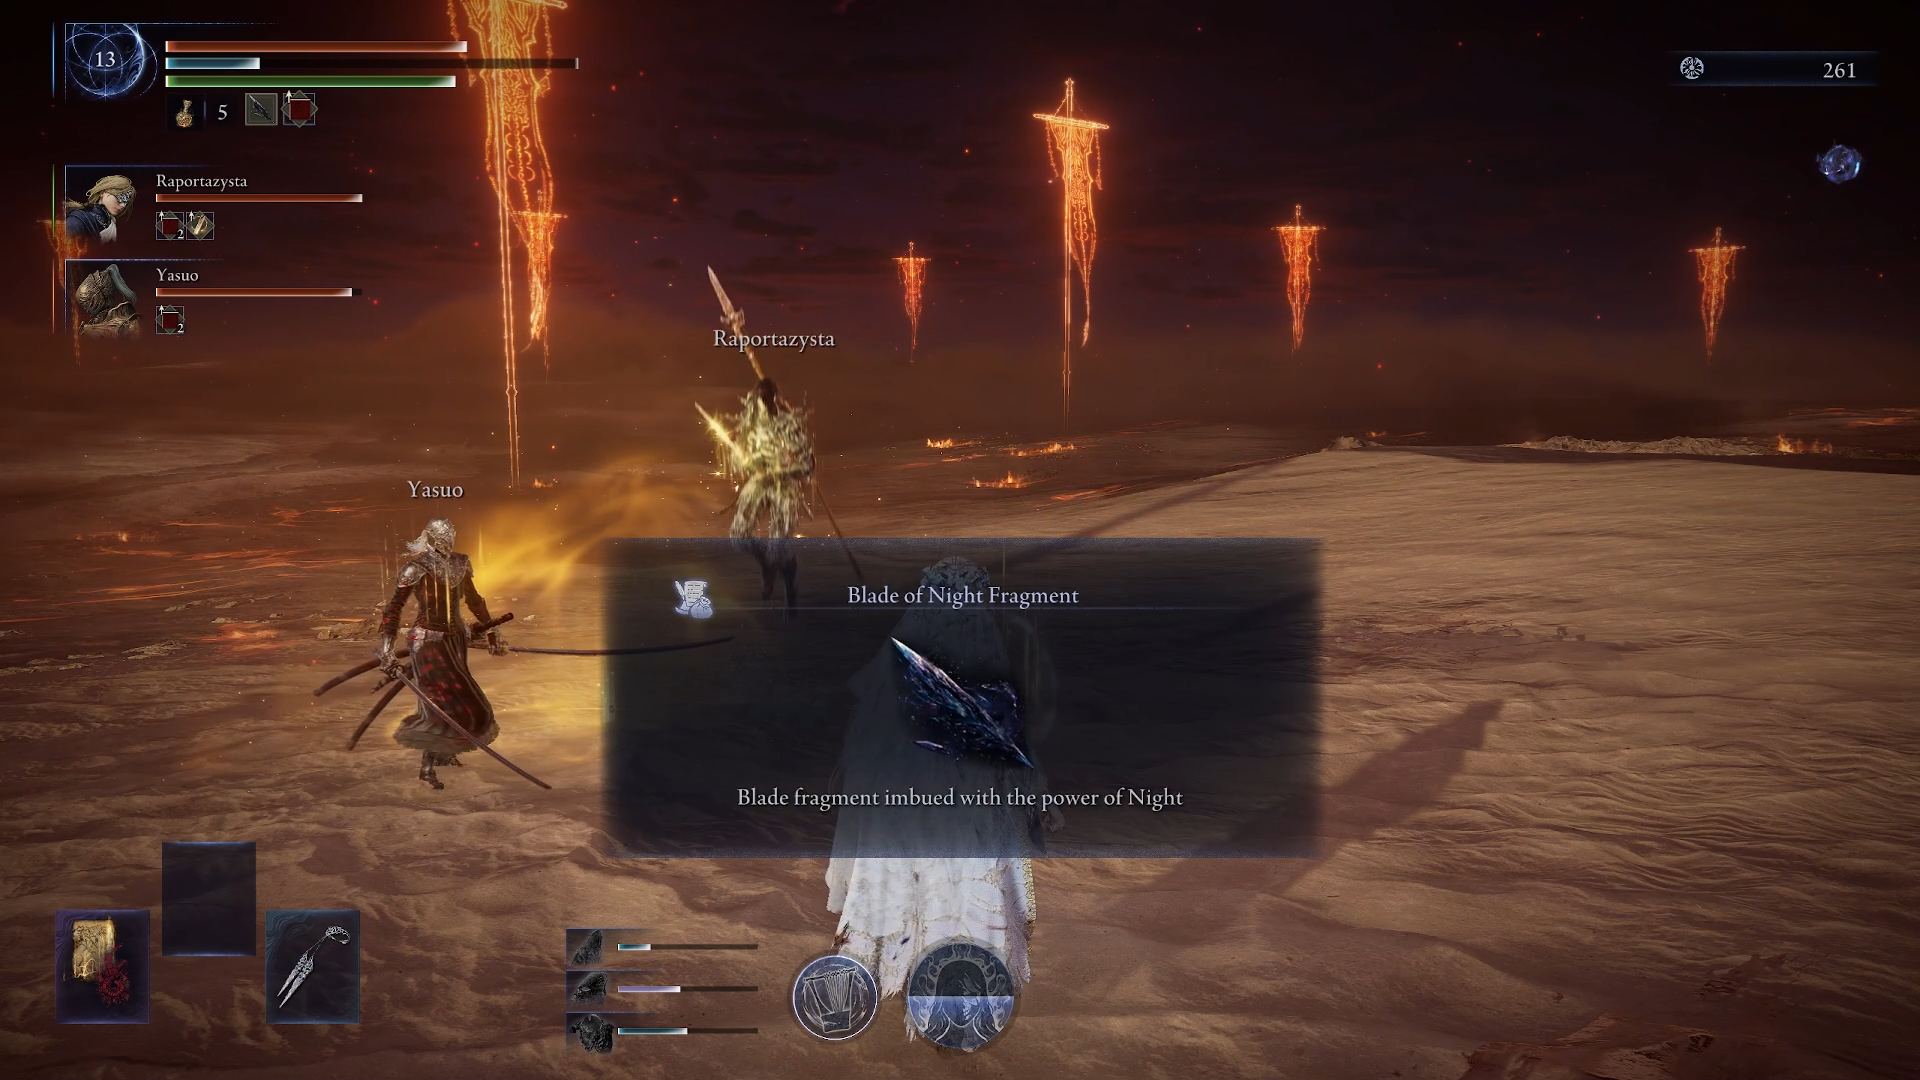
The quest chains for the Revenant will begin as soon as you unlock her. If the quest does not appear in the diary, then go on a couple of expeditions. In any case, you need to start Chapter 1 from the diary to talk to the Duchess. She will be standing at the Roundtable. After that, go to the western wing to talk to the Guardian. After the conversation, he will ask you to obtain a weapon possessed by the powers of the night. Your objective will be: Defeat Tricephalus or the Knight of the Dark Current. Go on an expedition and kill either boss. Take the "Night Blade Shard" from their bodies.

After the expedition, return to the lobby. Approach the Guardian and give him the item you found. As a reward, you will receive the "Small Makeup Brush," which enhances combat stats when summoned spirits are present, and also increases runes gained for you and your allies. Additionally, it grants 2 points to charisma.
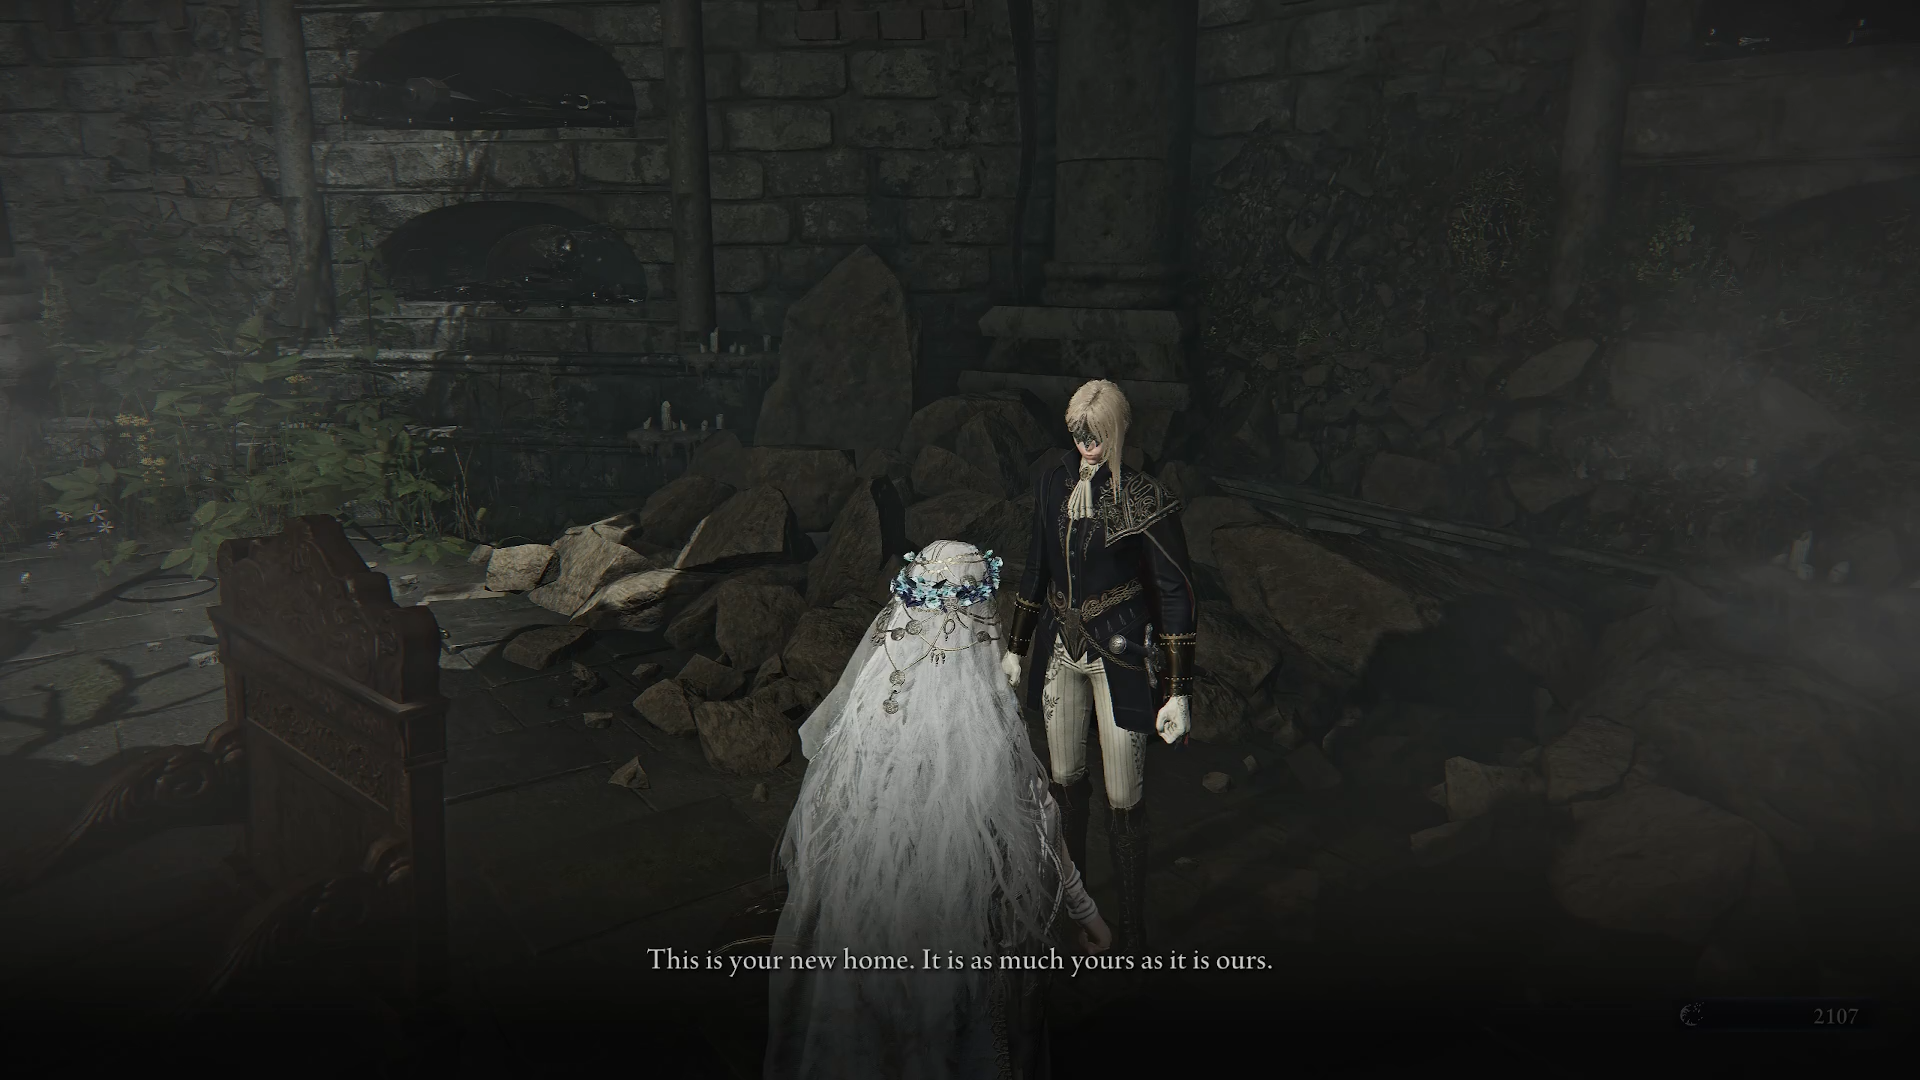
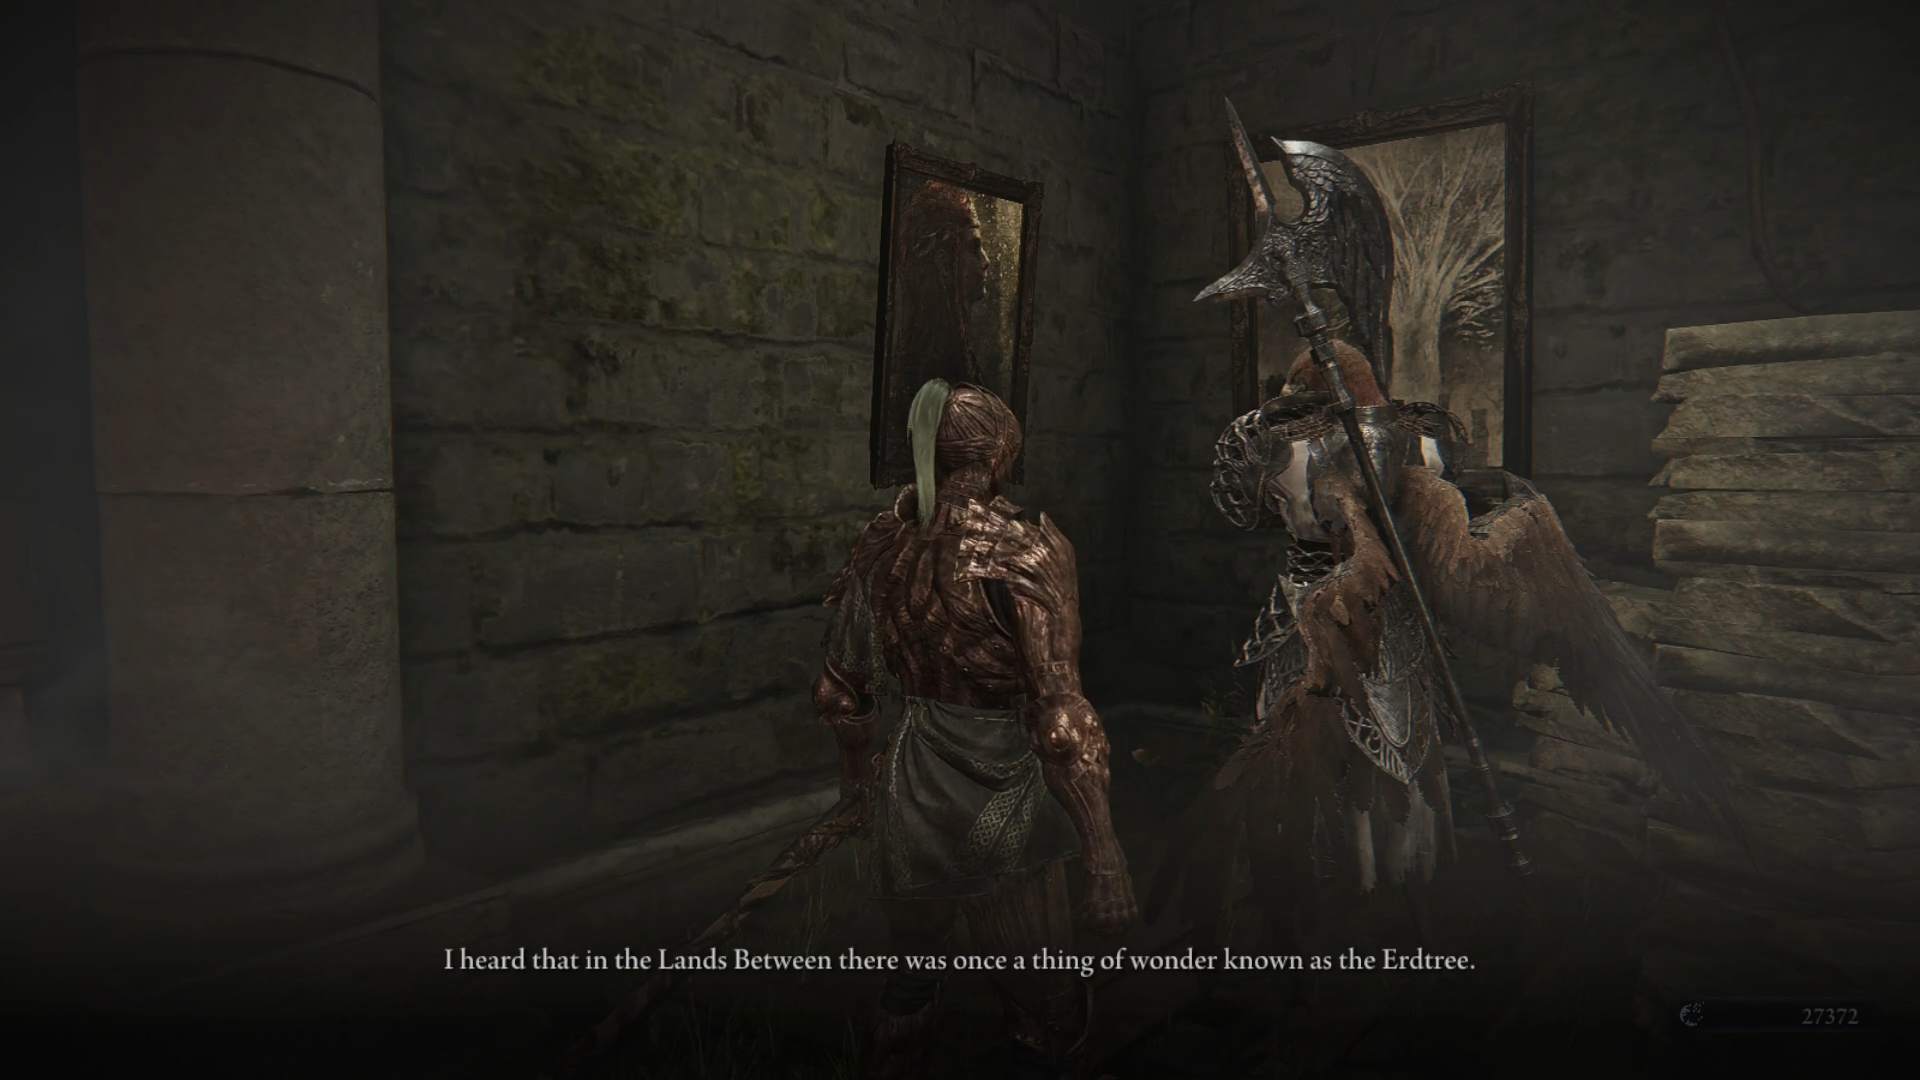
After completing the first quest, you will automatically unlock chapters 2, 3, and 4. Open the diary and select "Start Memory." Talk to the Duchess in the central room of the fortress. Choose the response: "I am not afraid of the Night." After the conversation, go west to the Garden to find the Recluse there. Speak with her, then sit on the bench. You will be transported to a corridor with a painting at the end. Approach and examine it. Turn right and enter the room. You will see a doll sitting in a chair.
When you approach the doll, enemies will emerge from the ground. They are quite simple and die in a couple of hits. Summon your spirits to deal with the unwanted guests. When the room is cleared, approach the doll and examine it. You will return to the garden with the Recluse and finish the memory. As a reward, you will receive the "Revenant's Chalice" with 1 blue, 1 green, and 1 flexible relic slot.
To unlock the seventh chapter, you need to finish off the Night Lord. After this, read the text in the diary and go to the garden to talk to the Recluse. She will suggest sitting on the bench again, after which you will be transported back to the corridor with the painting. Repeat all the actions from the previous quest and go to the large section through the open room. Corruption will emerge from the ground. This is the Royal Revenant, who moves quickly around the room and attacks. Kill him to banish the darkness.
Watch the cutscene, after which the Revenant will wake up on the Recluse's shoulder. Tell her "Bury the Night Lord." As a result, you will receive the "Ancient Portrait" relic and the "Revenant's Memory" skin. The obtained item triggers a "Phantom Flame" explosion when using Supreme Art. It allows you to sacrifice health to heal allies. It speeds up the art gauge fill on kills. Grants 3 additional intelligence points.
Recluse’s Quest Memories
To unlock the first quest and open the second chapter, you need to defeat Tricephalus to obtain the first Memory Shard. After this, read the text in the diary.
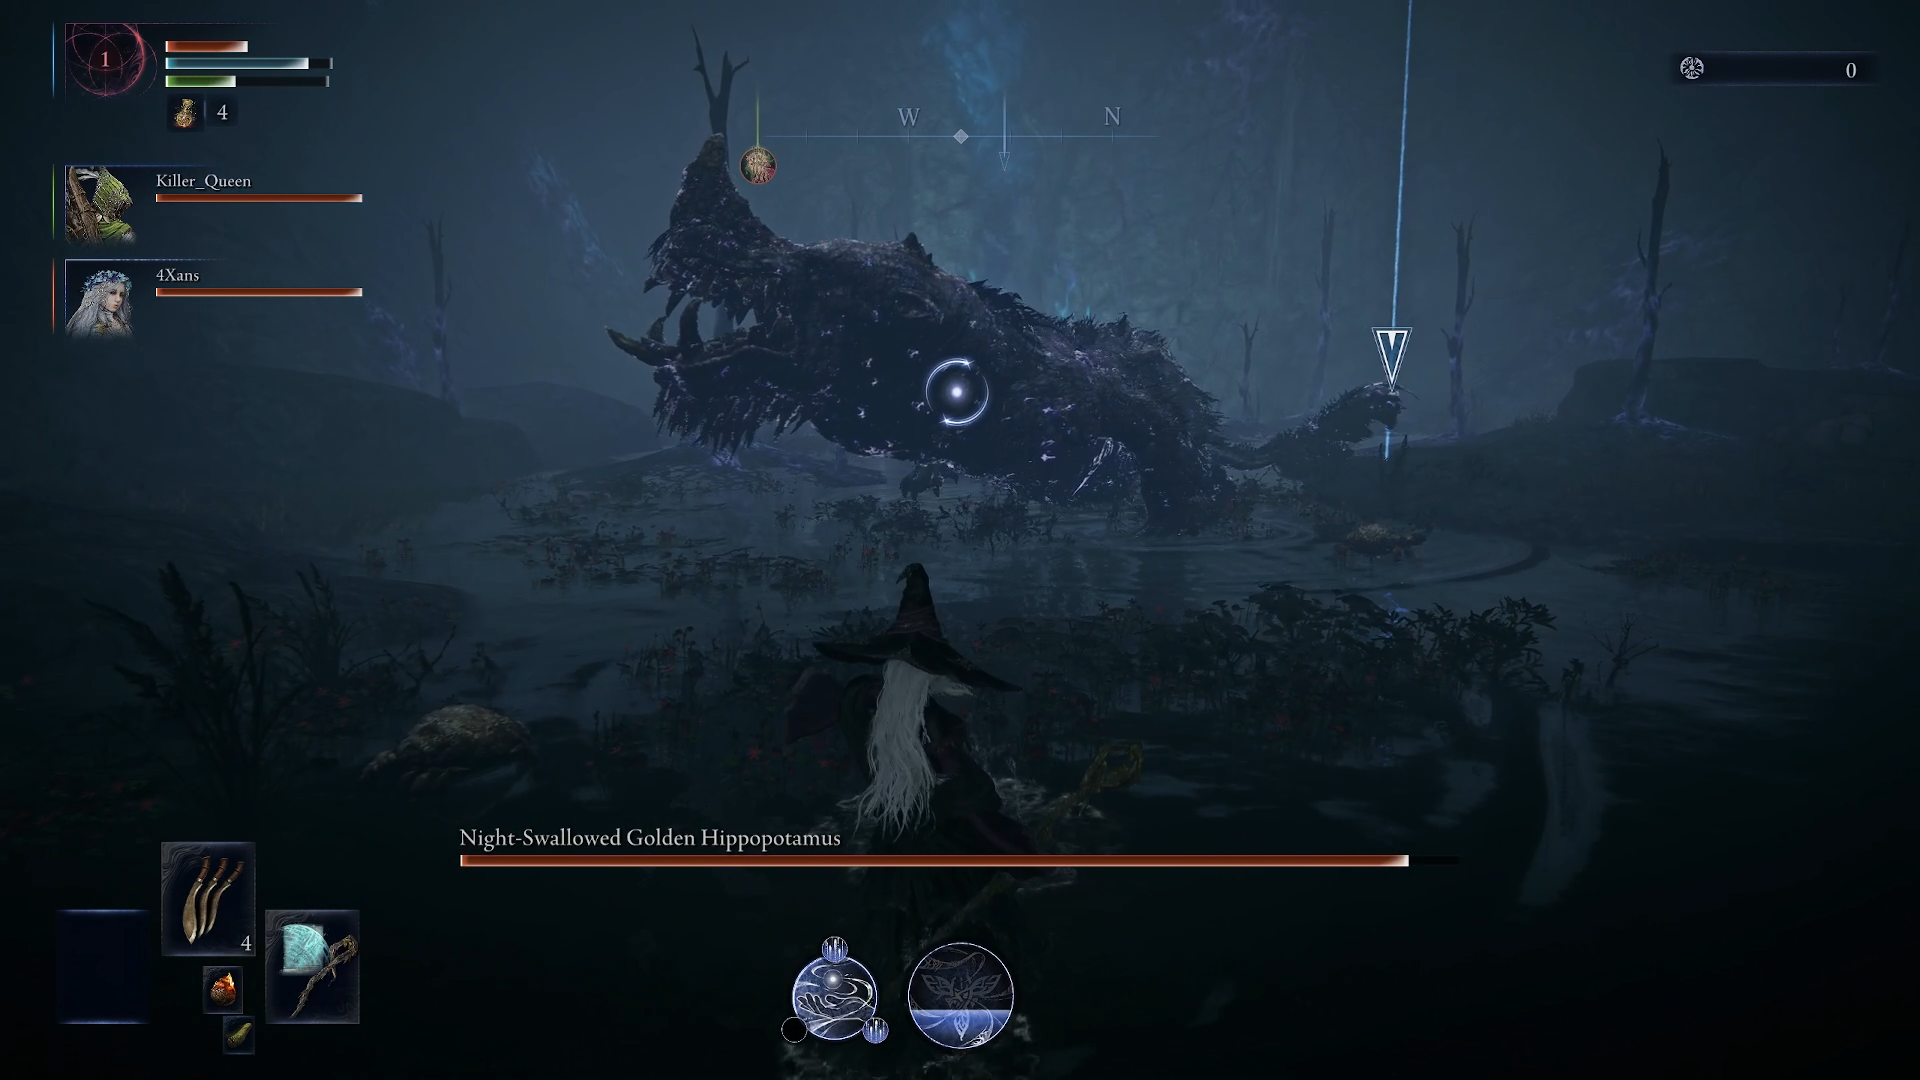
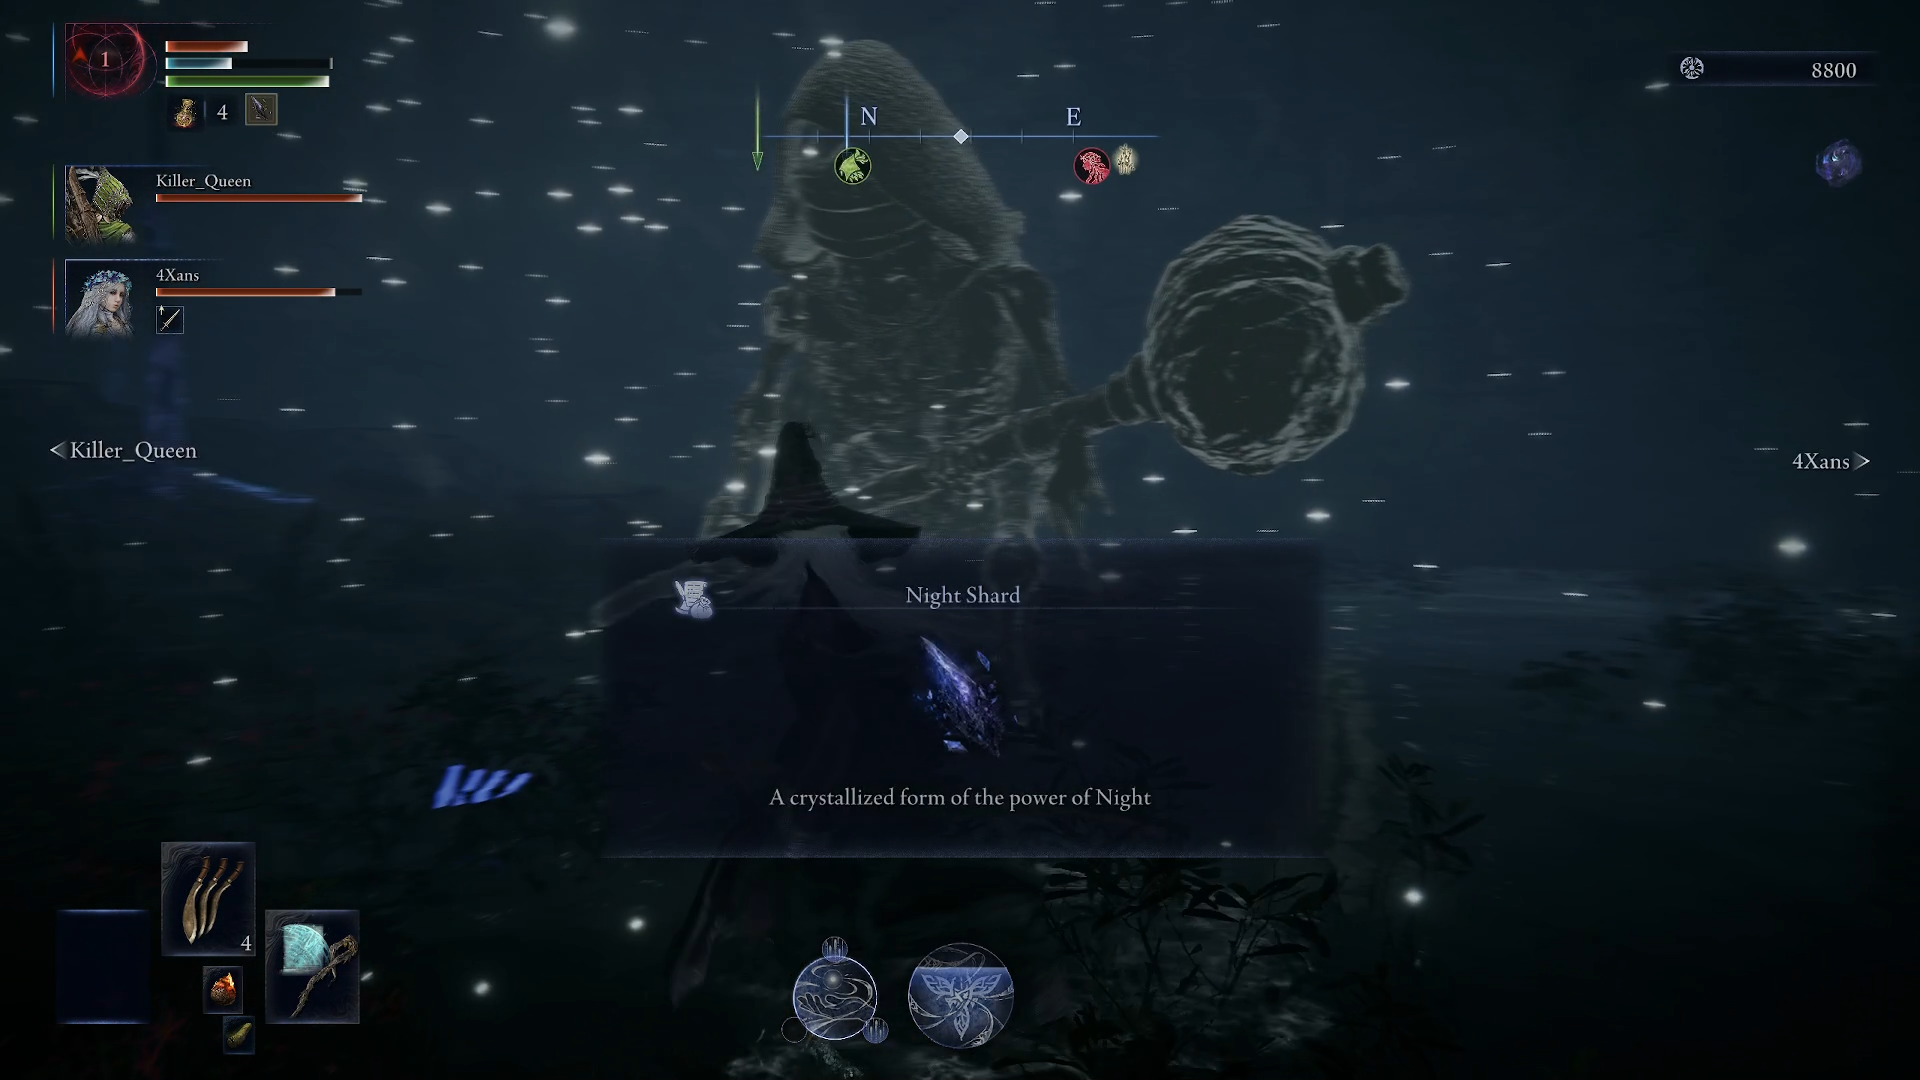
In the western wing, the Iron Servant will be waiting for you. He will be standing near the fireplace. Talk to him. After all the phrases, you will have a new personal objective. You need to defeat enemies tainted by the Night and collect evidence. Choose any expedition and set out. On the map, you will see a red marker. Go there. In the swamp, you will see the "Golden Hippopotamus Conquered by the Night." Kill it and take the "Night Shard." Complete the expedition and return to the lobby.
Talk to the Iron Servant and select all dialogues. Choose the phrase: "I have a request." Give him the shard. He will say he needs time, so go and complete other expeditions. As a reward, you will receive the "Recluse's Chalice" with 1 yellow, 1 green, and 1 flexible relic slot.
The next chapter will be added to the diary automatically. Read the fourth one and activate the memory. Take the note from the Roundtable and read it. Now you can talk to the Iron Servant. Take the Night Shard from him. The item will start to pulse. You need to go to the eastern wing of the castle, where the beds are. You will see that one of them has been affected by the Night and has a stain. Interact with it to receive the "Echo of the Night" relic. Show the item to the Iron Servant. The quest will be completed, and the relic will be yours.
Go to the beds to see that one of them has been affected by the Night and has a stain. Interact with it, and you will receive the Remnant of the Night relic. The Iron Servant will appear, and after a short conversation in which you show him the Remnant of the Night, the Memory can be completed. The item activates the "Enchanted Lands" spell when collecting remnants of tendencies for the "Magic Cocktail." Additionally, it increases magic attack power by two points.
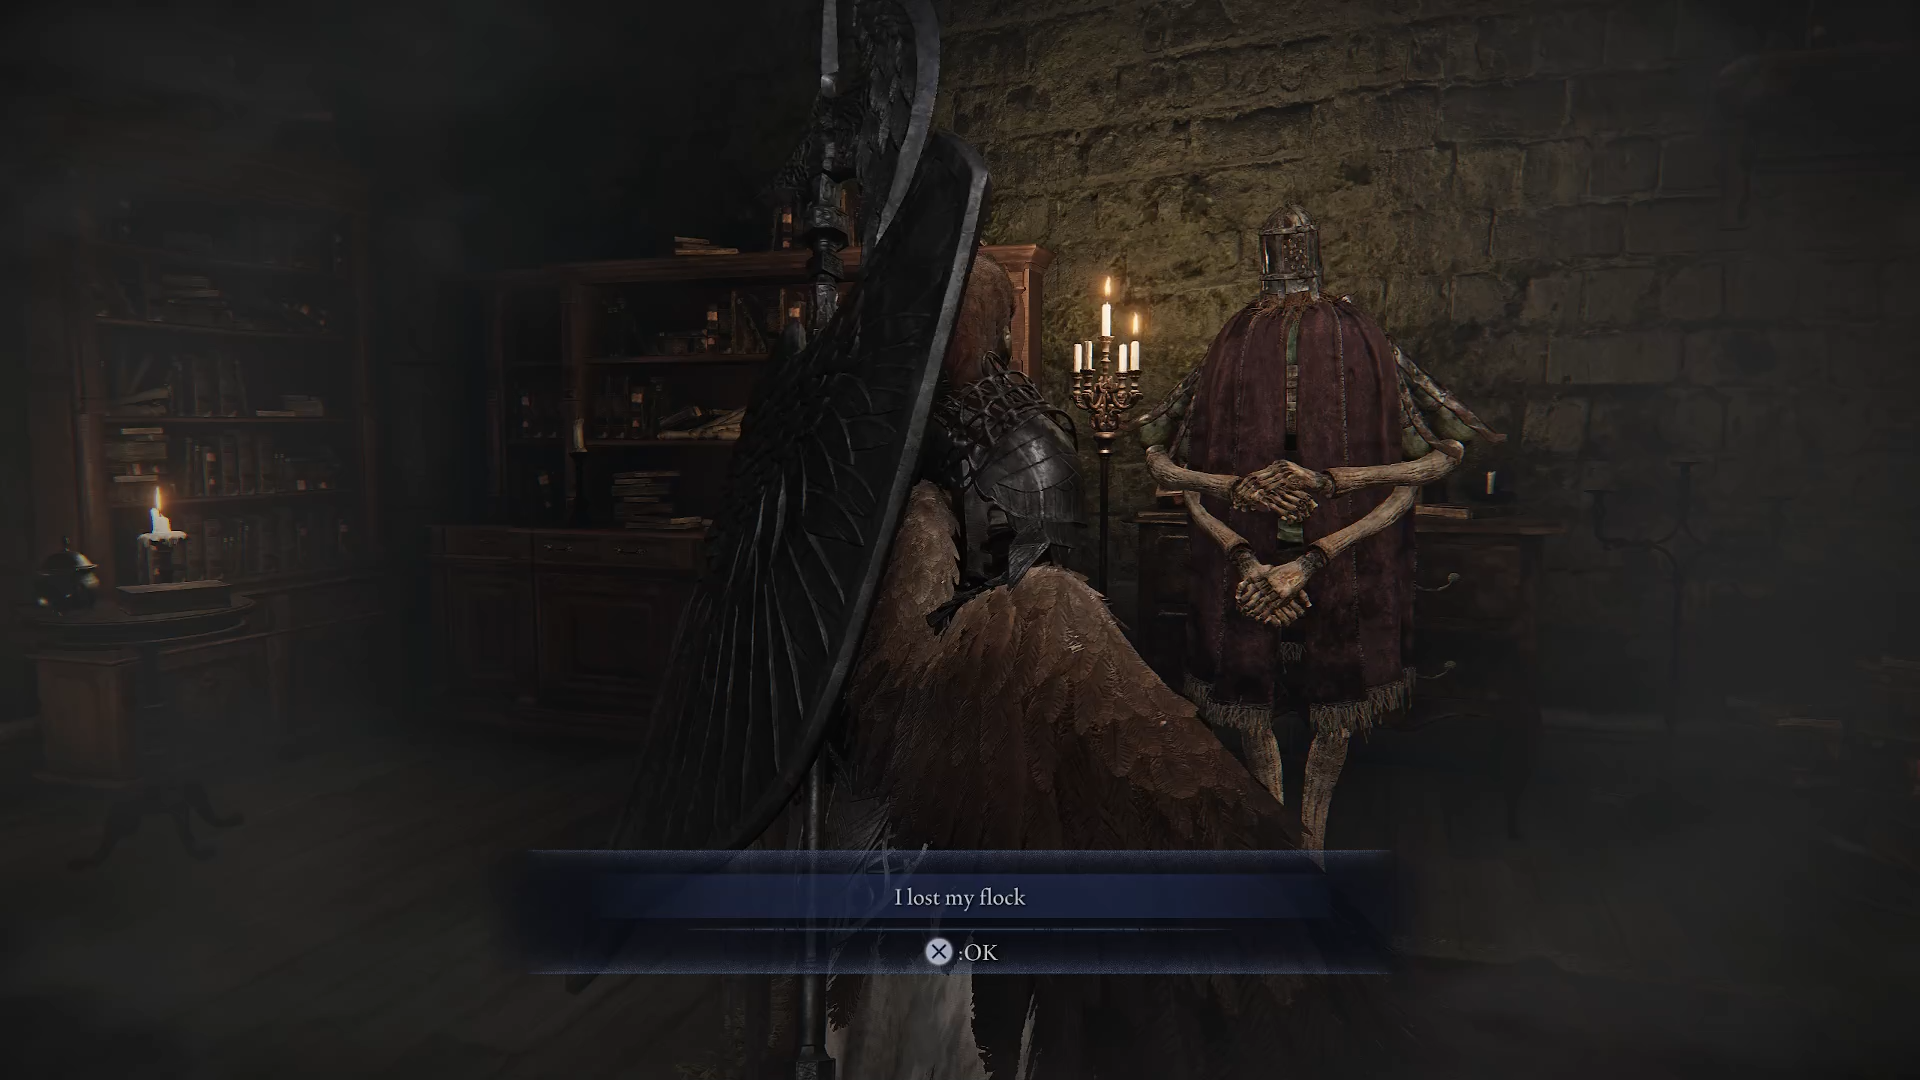
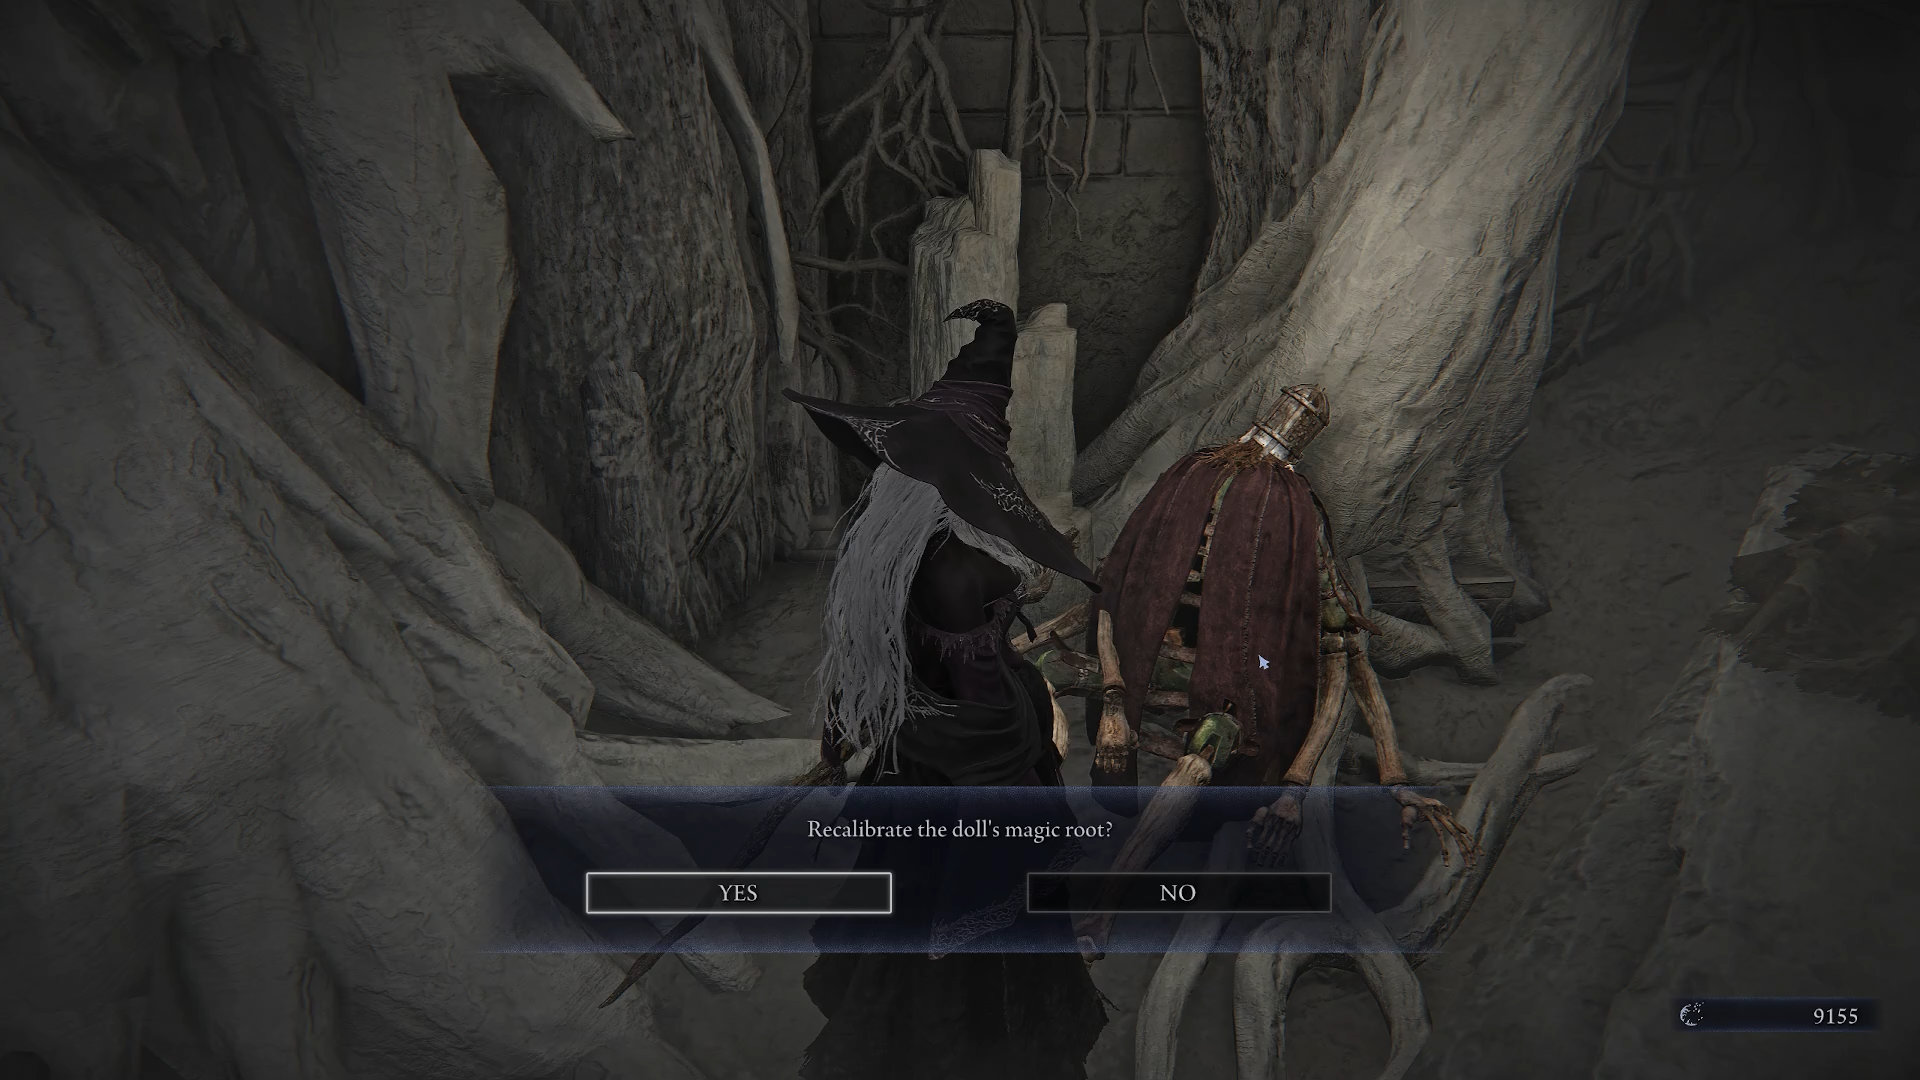
The next chapter will open after you destroy 4 different Night Lords. After obtaining the Memory Shard, you will be able to unlock the sixth chapter. Go to the training ground (Arena), which is located in the lobby. Talk to the Iron Servant and fight him. After your victory, the Wheel Witch will appear. Talk to her and use all available phrases. After the conversation, you will get the message "A sound of a heavy door opening can be heard from somewhere."
You need to go down to the old crypt, which is located under the "Small Pot Market." From the entrance to the crypt, go to the far right corner, where the Iron Servant is lying on the floor. Talk to him and select the option "Reconfigure the Iron Servant." After this, press the action button and tell him about the Wheel Witch. In the end, he will pick up the "Petrified Bone" and give it to you. This relic activates the Recluse's supreme art and increases her maximum health and attack power. However, it will cause bleeding. Additionally, you will get 3 points to intelligence.
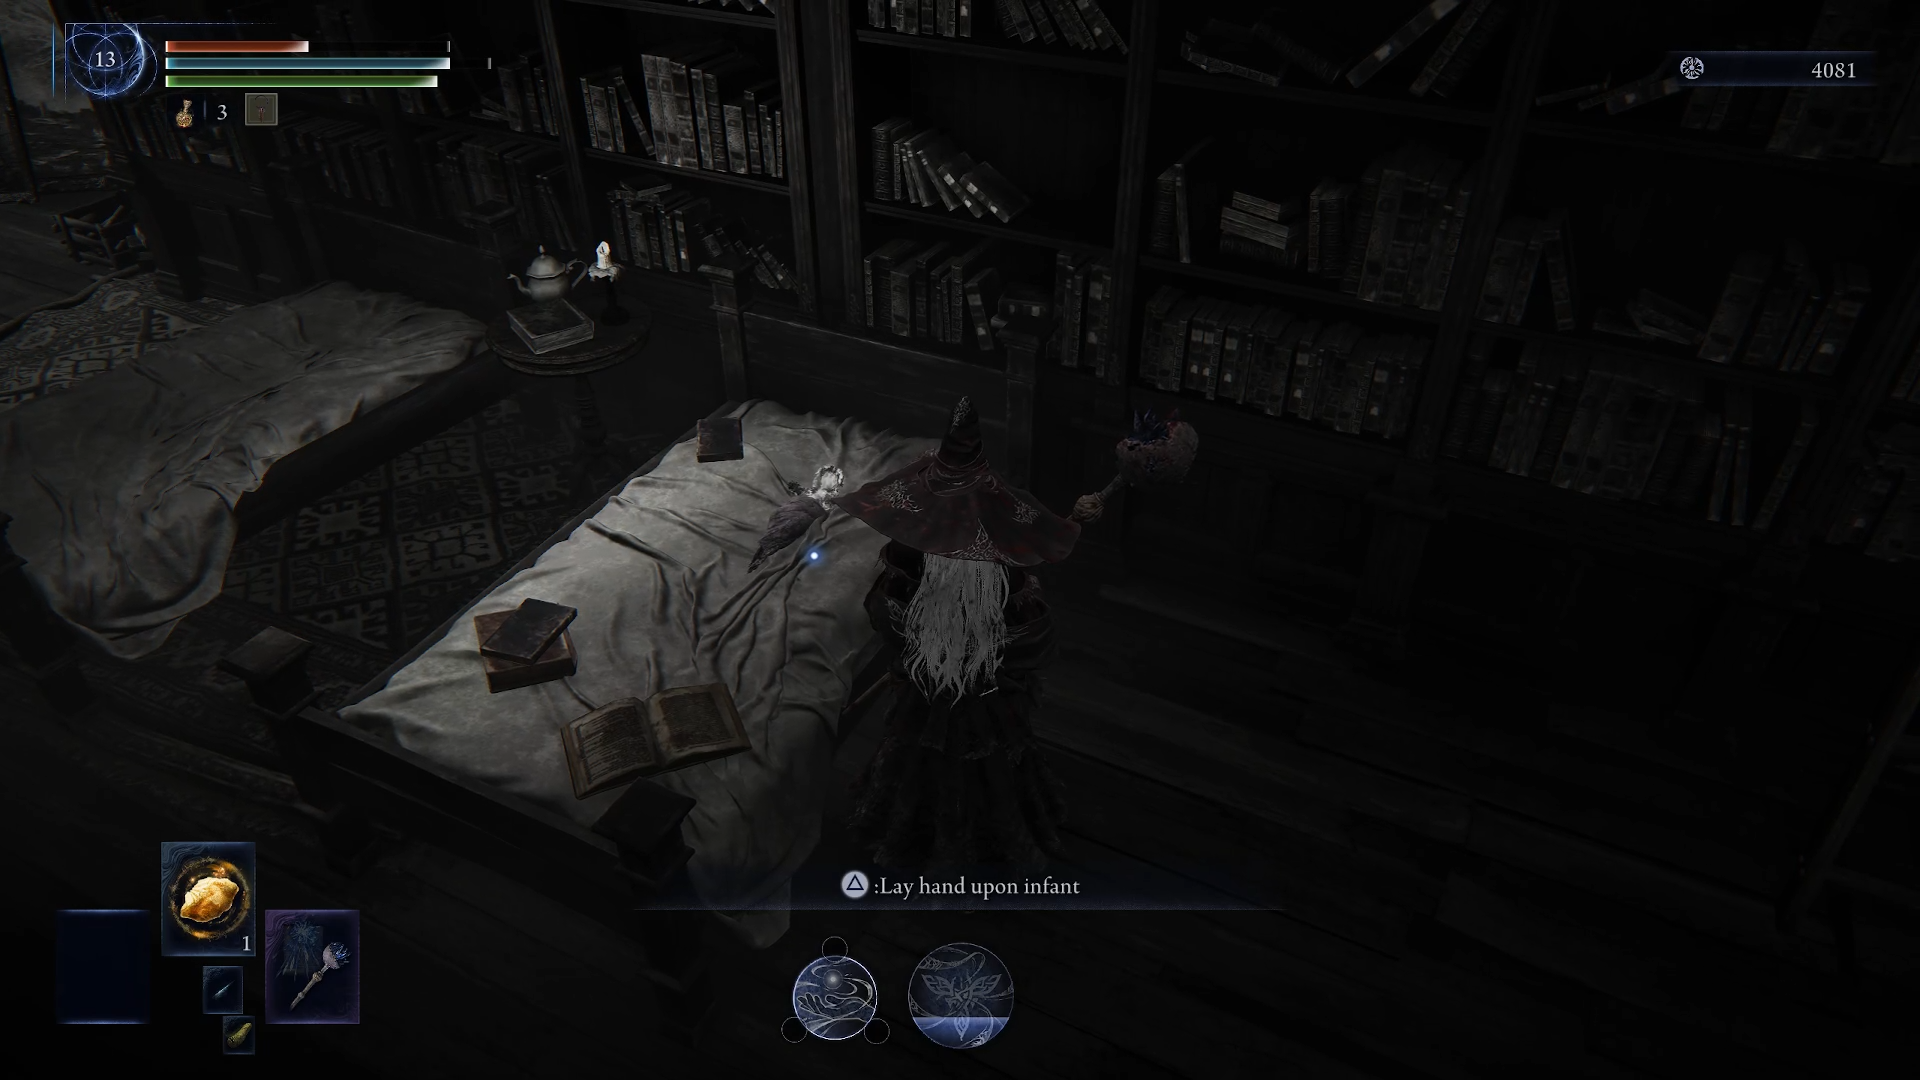
To continue, you must defeat Holstor, the Night Lord. Go on an expedition, selecting the appropriate boss. After this, go to the eastern wing where the beds were. You will hear the sound of a crying baby. Approach the cot and choose the option "place your hand on the baby." After this, you will receive Chapter 8 in your diary and the credits will roll. When everything is over, you will notice that the quest is not complete. Return to the room with the beds and talk to the Wheel Witch. She will disappear and drop an additional outfit for the Recluse.
Executioner’s Quest Memories
To get the second chapter in the diary, you need to start expeditions to obtain a Memory Shard. After this, the first quest will begin. Head to the Realm of Memories and talk to the Guardian, who is looking at a picture where the diary is located. Choose all possible dialogues. Now talk to the Priestess. You will get an objective: find the Blessed Flower in Limveld.
Start any expedition. Go to the red-marked point on the map and fight the Wandering Bloodhound Knight. It’s best to do this at the beginning of the second day, when your hero has reached level 7 or higher. After your victory, examine the shining flowers and take the item. Now you can either finish the expedition or complete it to the end.
Return to the lobby. Talk to the Priestess, using all dialogue options. Then talk to the Iron Servant, who is in the forest area next to the castle. Give him the Blessed Flower and scroll through all the dialogues. Interact with the canvas to finish the tasks. You will receive the Executioner’s Chalice with 1 blue, 1 yellow, and 1 flexible relic slot. You will also get the flower relic, which restores HP after successfully parrying attacks using the Executioner’s skill, and also grants agility.
The next chapters will open after you defeat the third Night Lord while playing as the Executioner. After this, talk to the Priestess and choose the option: "Agree." You will get a quest: Find the Golden Sprout in Limveld during the active event "The Land Shifts: Mountain Peak."
Start an expedition with the quest conditions and head to the red marker that will be on the map. At the location, you need to defeat the Erdtree Avatar. After defeating the boss, examine the flowers to obtain the "Golden Sprout." Return, either finishing or aborting the expedition. Talk to the Priestess, after which a cutscene will start. After this, a battle with the Executioner’s Roar will begin. You need to parry five of his attacks to deal a lot of damage. After defeating him, you should approach the golden glow to enter the hut. Talk to the Knight to trigger another cutscene.
Return to the Roundtable. Talk to the Priestess to finish the memory. You will receive the "Golden Sprout" relic, which allows you to roar when using active art, restoring HP. When your health is low, you will be able to restore life to yourself and allies. HP will also be restored when parrying. Additionally, you will receive a skin for the Executioner.
Other guides
- Elden Ring Nightreign: How to Unlock the Old Gaol Achievement (Oldest Gaol)
- Elden Ring Nightreign: Shifting Earth Event Guide
- Elden Ring Nightreign: All Raid Events Guide
- Elden Ring Nightreign: How to Solve the Mage Tower Puzzle
- How to Unlock the Revenant in Elden Ring Nightreign
- Elden Ring: Nightreign Beginner's Guide — Essential Tips & Tricks for New Players