

During an expedition on the Limveld map, random events can occur. These include large-scale raid encounters, where your team will face particularly powerful opponents. If you manage to clear them, you’ll receive a very powerful buff that makes any final boss much less intimidating. In this guide, we’ll talk about the raid events in Elden Ring Nightreign that we personally encountered.
Fell Omen
"Margit the Fell Omen" can randomly invade your expedition. He is a versatile fighter who excels in close combat and uses spells to summon a dagger, sword, or hammer. In addition, when his HP drops, he begins to draw power from his Omens, empowering his sword for "Red Flame" attacks.
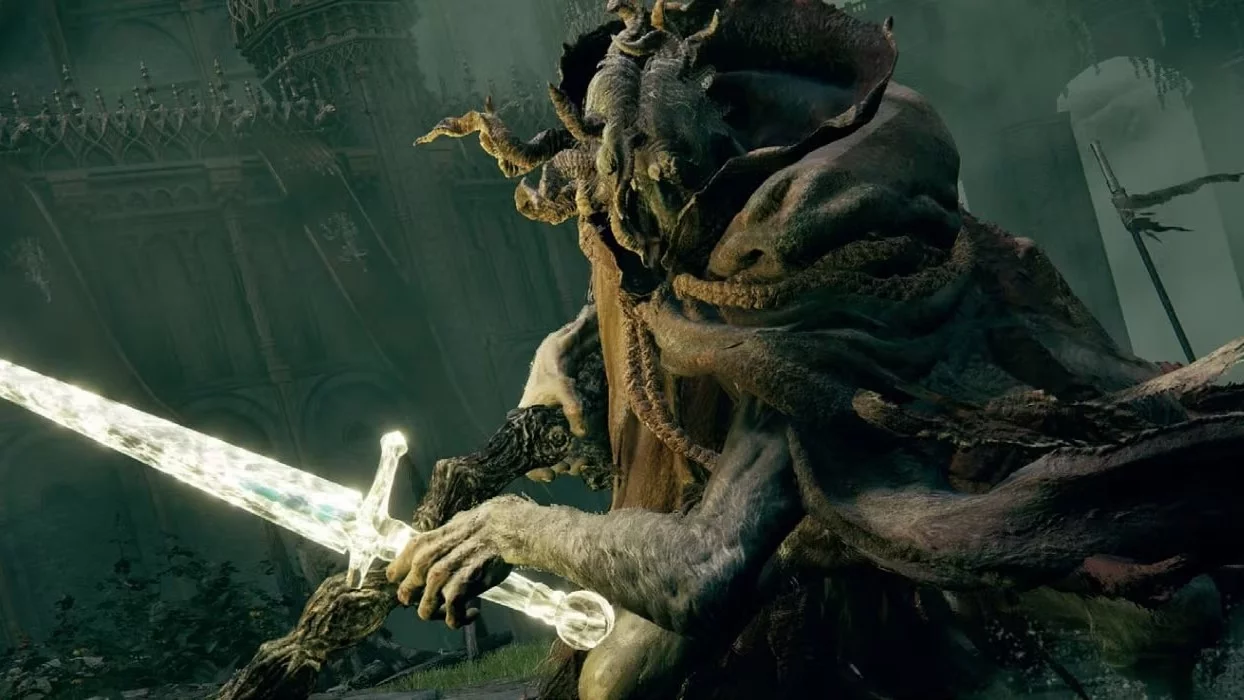
Most often, the boss attacks with his staff and throws sacred daggers. Sometimes he summons various types of weapons, which change the flow of battle. For example, he can swing his hammer across the entire arena.
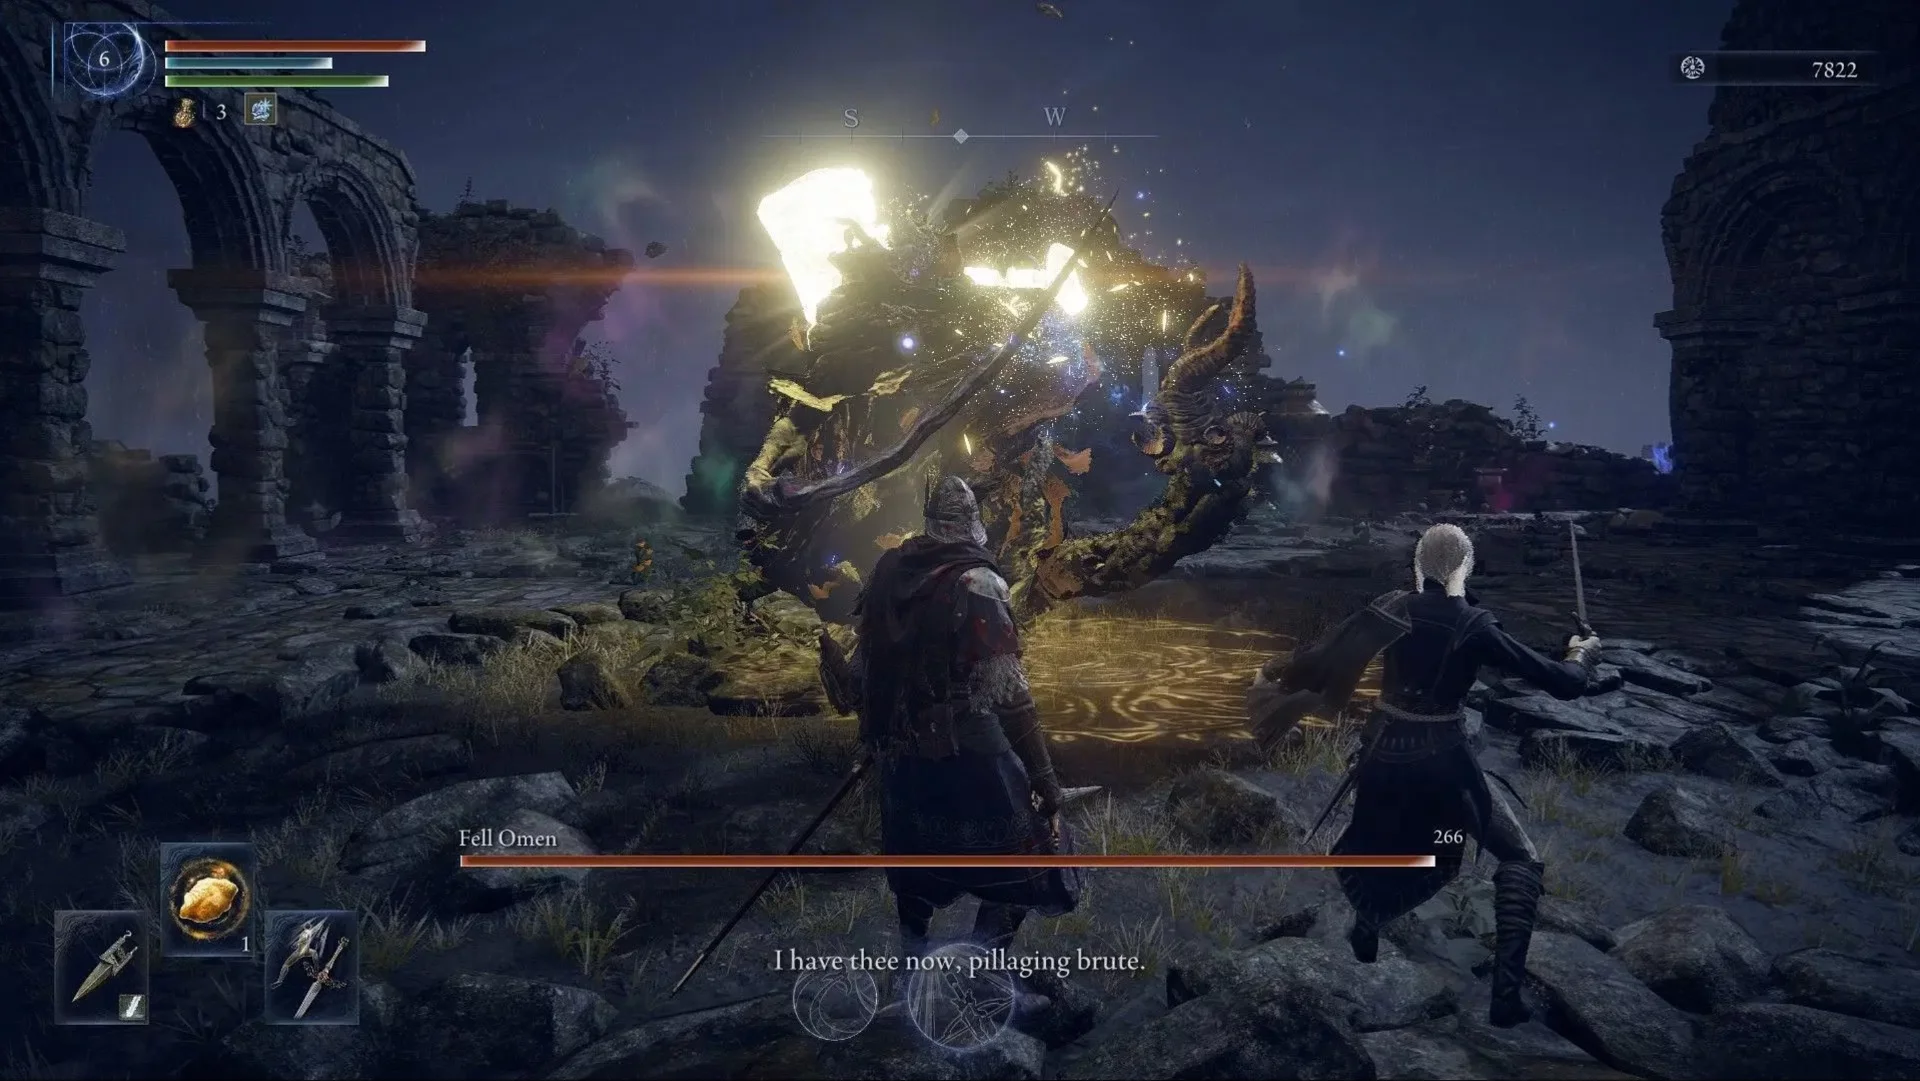
If he targets you, try to run to a safe distance and dodge whenever possible. Also, keep an eye on the arena to avoid falling random projectiles that deal AOE damage. His ranged attacks are very hard to dodge, but they don’t deal as much damage as his other attacks.
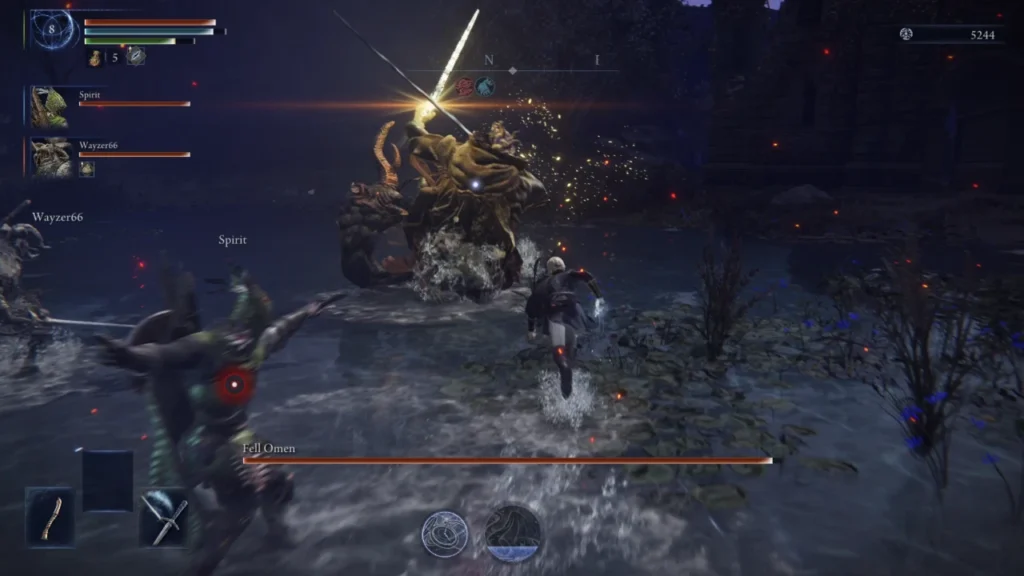
When the boss selects a target, it is highlighted in red, and three blades instantly fly straight at the player. If you’re lucky enough not to be the target, still keep your distance from the marked player, as the blood blades can easily fly in your direction. However, you can dodge all attacks and counter with your ultimate skill.
The boss has two moves: “Blade Rain” and “Omen Explosion.” Both deal area-of-effect damage. If the boss uses the first attack, you need to avoid the golden puddles on the ground. If it’s the second, you need to look up and move out of the marked area. This attack usually has a slight delay, so don’t dodge too early.
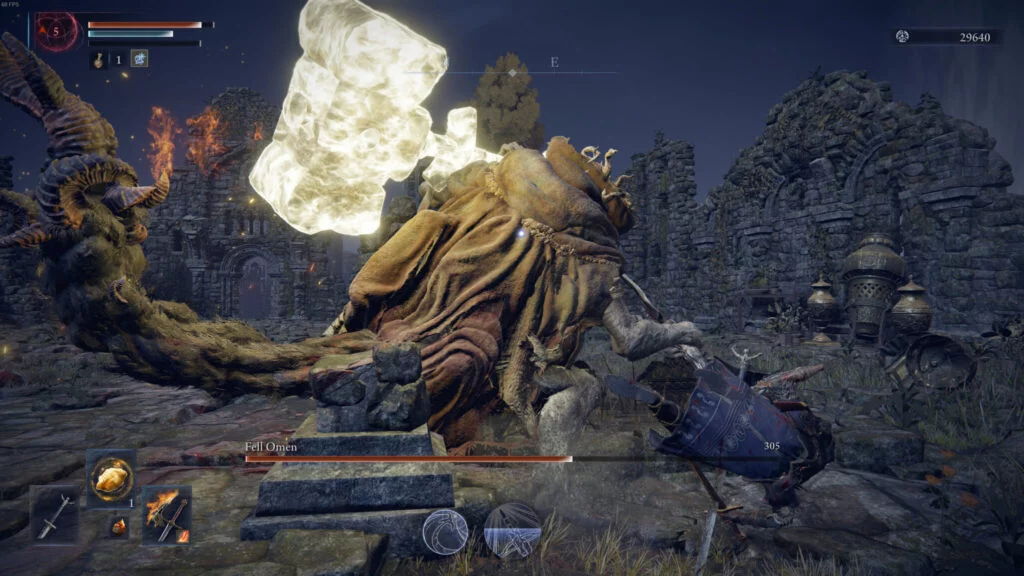
As his health decreases, the boss will swap his staff for a cursed blade and gain new abilities. Now you just need to dodge his strikes in time and deal counter damage.
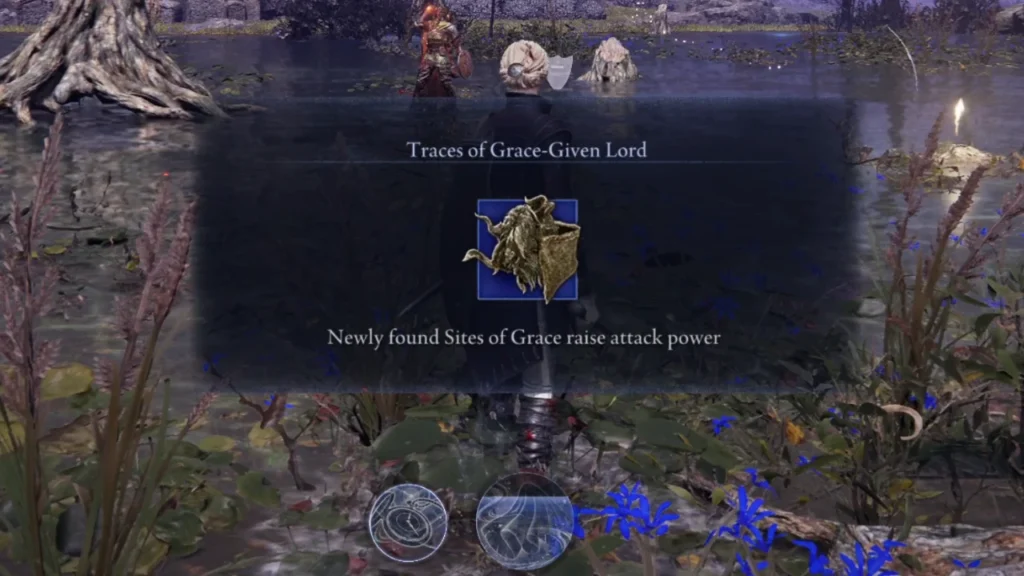
As a reward for victory, you’ll receive the power of “The Lord’s Grace Traces.” Use the bonfire to get a permanent increase to your attack power.
Augur
While exploring the open world, you will sometimes encounter mysterious bubbles. Players can enter them to teleport to a special location and fight the Augur. This is a weakened version of the final boss, so defeating it is fairly easy.
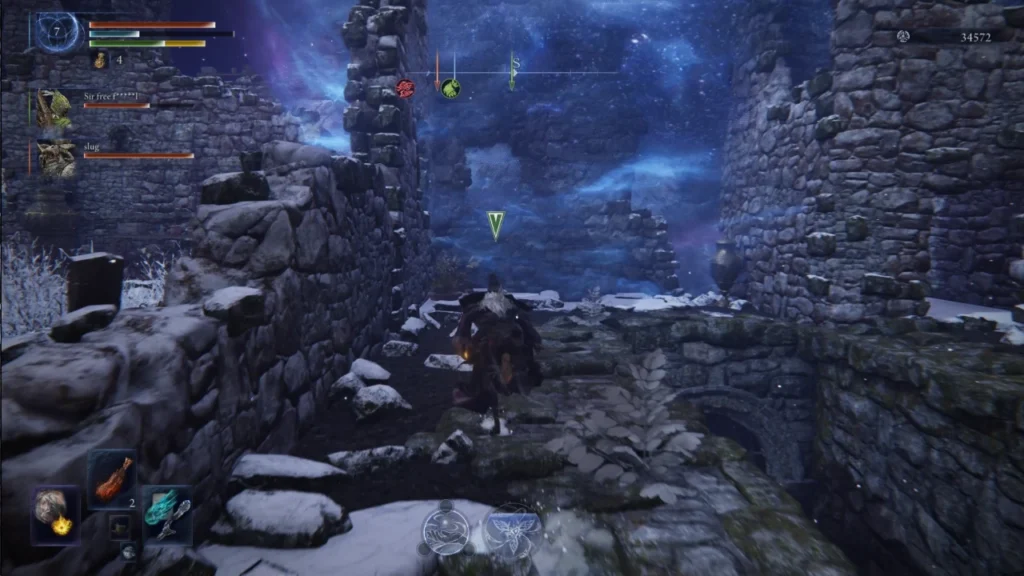
The Augur is a flying enemy, so melee fighters will have a hard time catching it on the ground. Don’t enter the bubbles if your team doesn’t have an archer or mage.
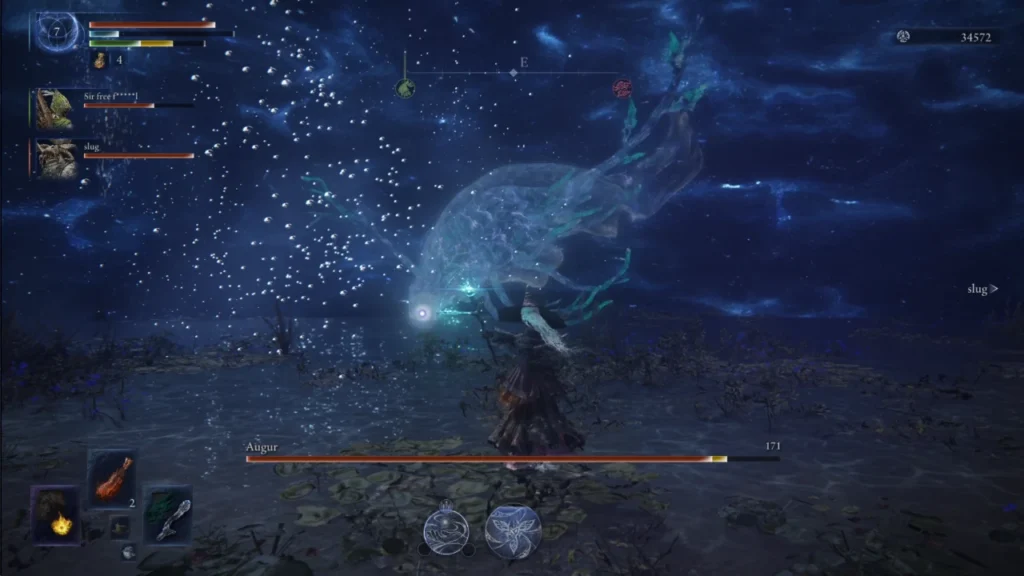
When the boss uses a diving charge, you need to jump to the side to avoid taking heavy damage. The rest of its attacks are not so dangerous and don’t deal significant harm.
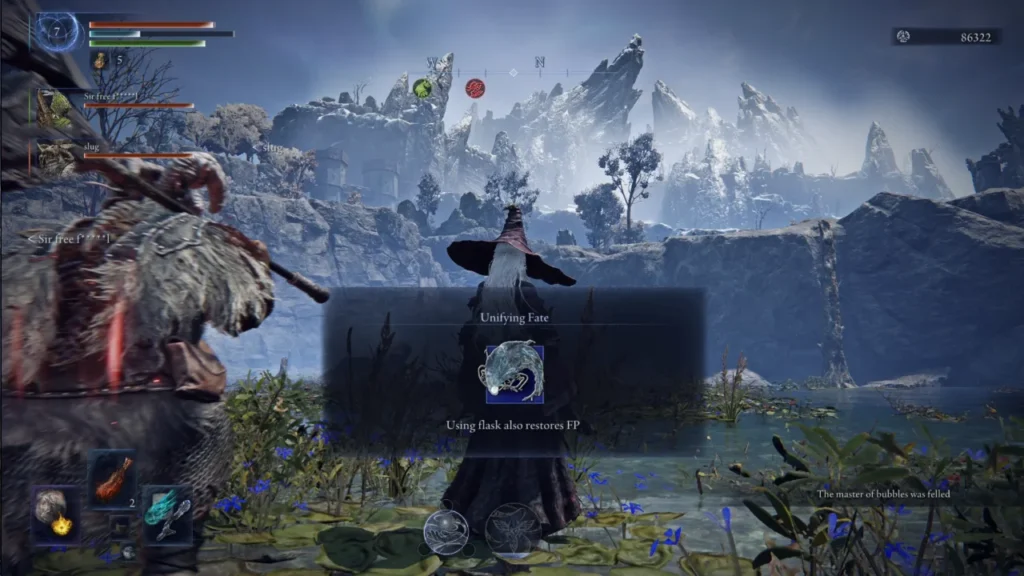
For defeating it, you will receive the power of “Immortal Fate” until the end of the expedition. Additionally, your flask will restore not only health but also mana.
Sentient Pest Raid
The "Sentient Pest Raid" event starts with a notification about the appearance of locusts. You’ll see black clouds in the sky pulsing in a specific place. When the pulse reaches a player, their character will lose a level. If your team doesn’t make it to the boss in time, all stolen levels will be lost forever.

To finish the raid, you need to find and kill the Sentient Pest. This creature resembles a moth and is known for its high intelligence. Look at the sky and carefully follow the direction of the locusts’ flight. Head in that direction until you see a blue glow. As you get closer, the Sentient Pest will appear at a specific spot. It has a full boss health bar but will not resist. Simply kill it to reclaim the stolen levels.
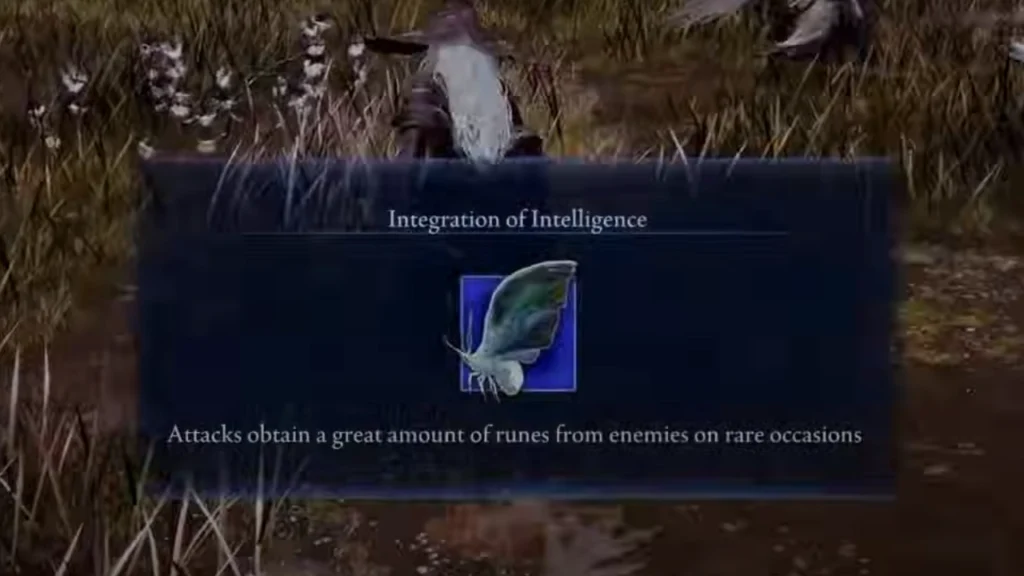
As a reward, you’ll get plenty of runes, which can noticeably boost your level. This is the fastest way to level up before the start of the second day.
Scales
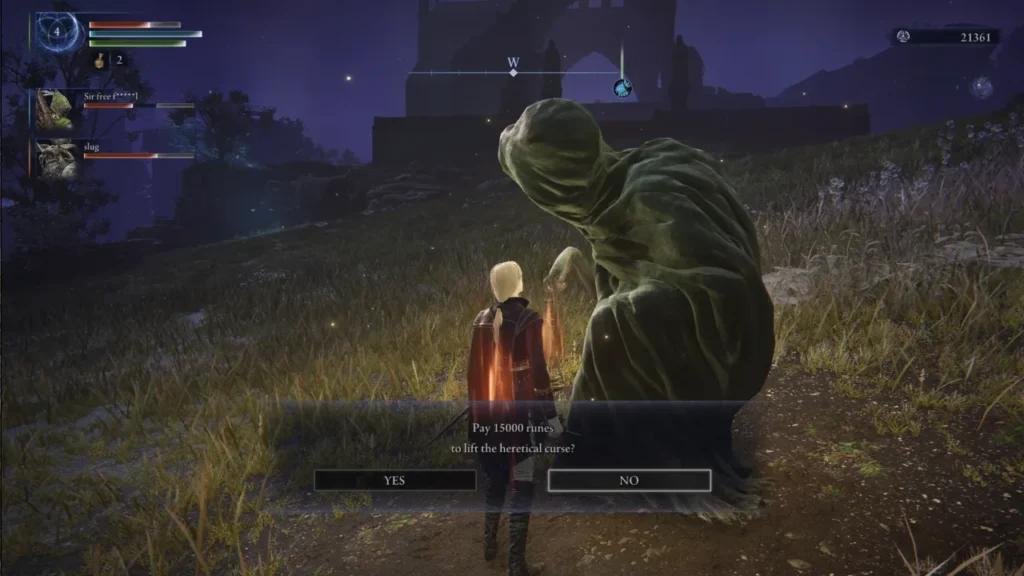
This raid begins with the appearance of a demon who blocks the health of all players in the session. At this moment, you will be very vulnerable, and you need to quickly find the source of the curse. However, you must have 15,000 runes with you to pay for the removal of the curse. Only one player needs to pay, but the entire party receives the reward.

In addition to runes, you will receive the “Demon’s Shelter” buff, which increases your attack power depending on the number of runes in your wallet. This will encourage you to save up resources to be stronger by the end of the run.
Additionally, any other party member can choose any other reward from the options offered. However, everyone must agree on the choice. For example, by taking runes, you will receive the “Symbol of Greed,” which gives you runes and items in exchange for randomly losing health. You can restore lost HP with a flask, but at the same time, you’ll gain more items and runes.
Creepy Fingers
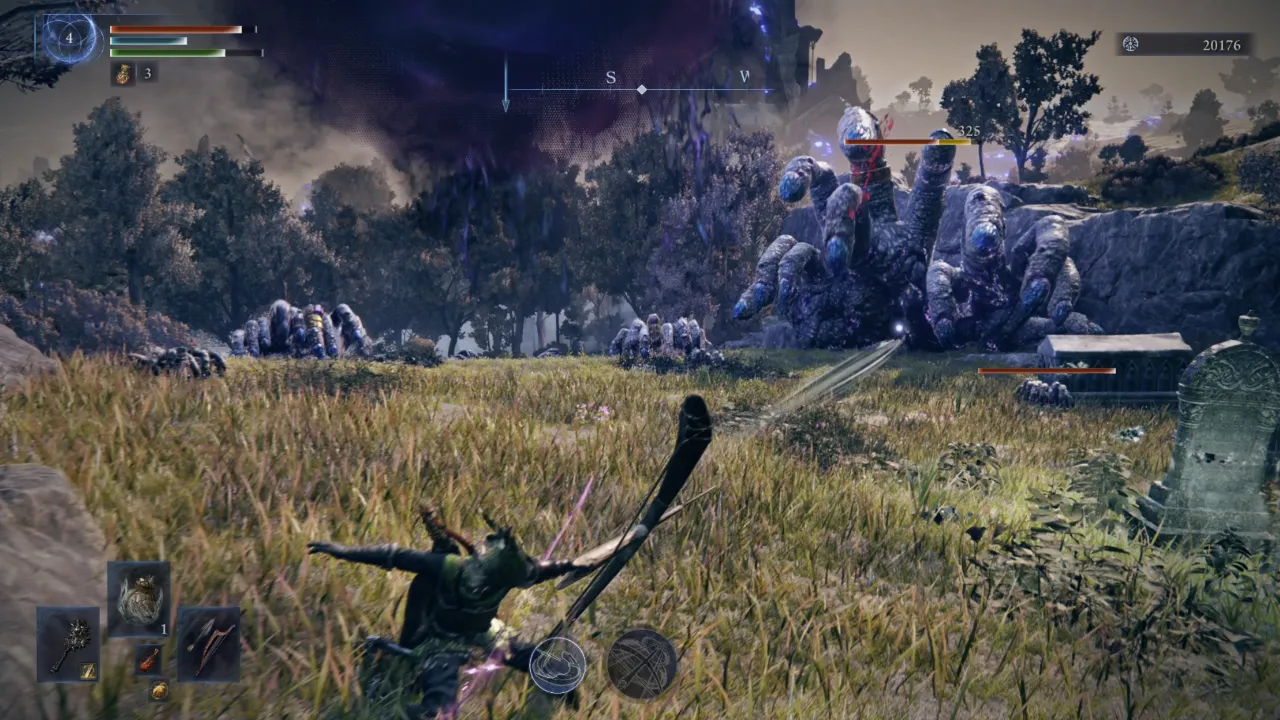
The raid will begin when a huge purple orb hangs over the world map. You’ll need to kill a crowd of small enemies, and in the end, fight the Creepy Fingers. This is a very simple event that can be completed at early levels.
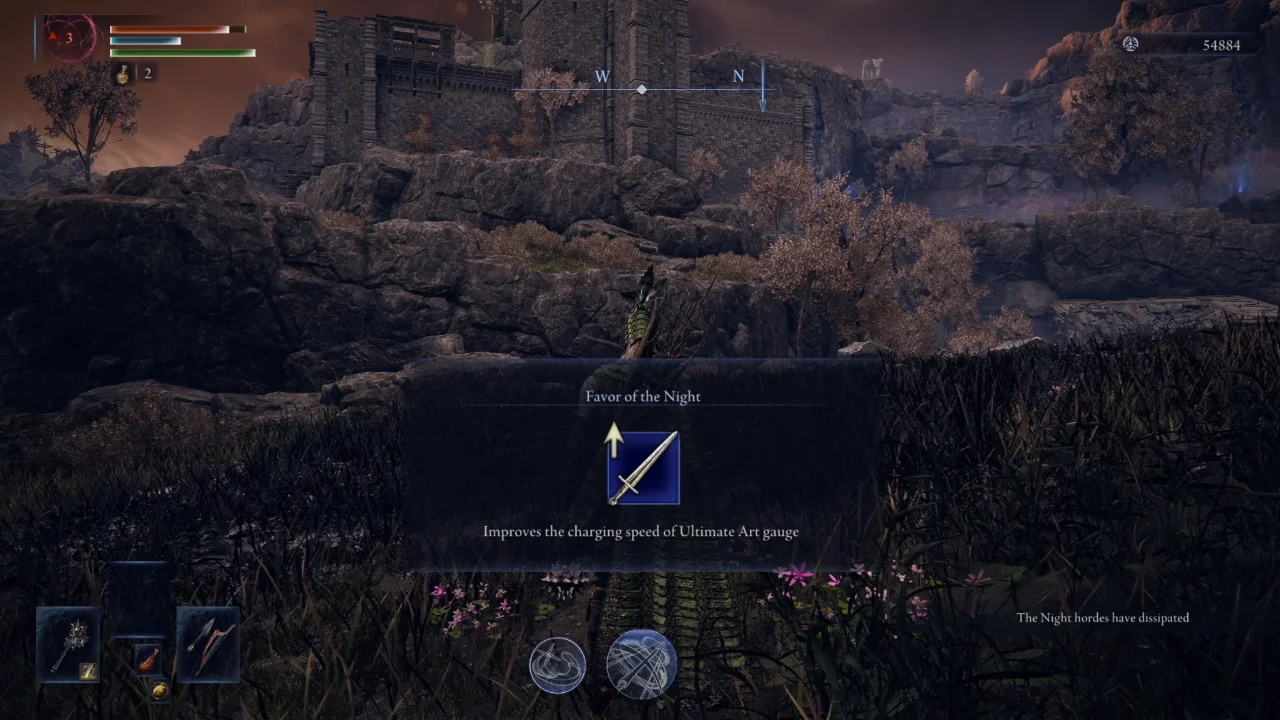
For winning, you will receive a new power that speeds up the cooldown of your main skill.
Other guides
- Elden Ring Nightreign: How to Unlock the Old Gaol Achievement (Oldest Gaol)
- Elden Ring Nightreign: Shifting Earth Event Guide
- Elden Ring Nightreign: How to Solve the Mage Tower Puzzle
- How to Unlock the Revenant in Elden Ring Nightreign
- Elden Ring Nightreign: All Remembrance Quest Guide
- Elden Ring: Nightreign Beginner's Guide — Essential Tips & Tricks for New Players
-
 Elden Ring: Nightreign Beginner's Guide — Essential Tips & Tricks for New Players
 -
 Elden Ring Nightreign: All Remembrance Quest Guide
 -
 Elden Ring Nightreign: How to Solve the Mage Tower Puzzle
 -
 Elden Ring Nightreign: Shifting Earth Event Guide
 -
 How to Unlock the Revenant in Elden Ring Nightreign
 -
 Palworld 1.0 Best Pals for Early Game, Combat, Bases, and Mounts