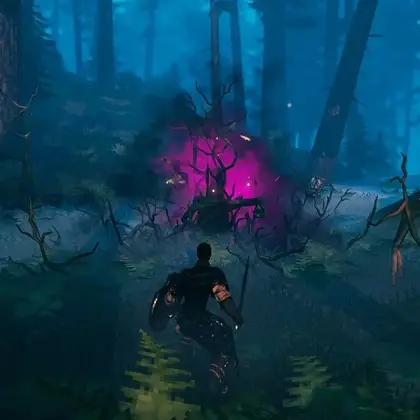
The Viking survival game Valheim has left Early Access and reached version 1.0. You can still explore its vast world with friends, but if you plan to play together regularly, setting up your own server is the most convenient option. In this guide, we've collected all the current information on how to create a dedicated server and connect to it directly through Steam.
How to Download and Install SteamCMD
Valheim supports both single-player and co-op. You can start a solo adventure, but the world is packed with activities, and exploring it with friends is often much more enjoyable. Up to 10 players can play on the same server at once.
To get started, you first need to download SteamCMD. Extract the program into a folder you created beforehand. You can place it anywhere on your PC, although keeping it somewhere easy to find, such as the desktop, can make setup more convenient.

Open steamcmd.exe. When the Steam> prompt appears, enter login anonymous and press Enter.
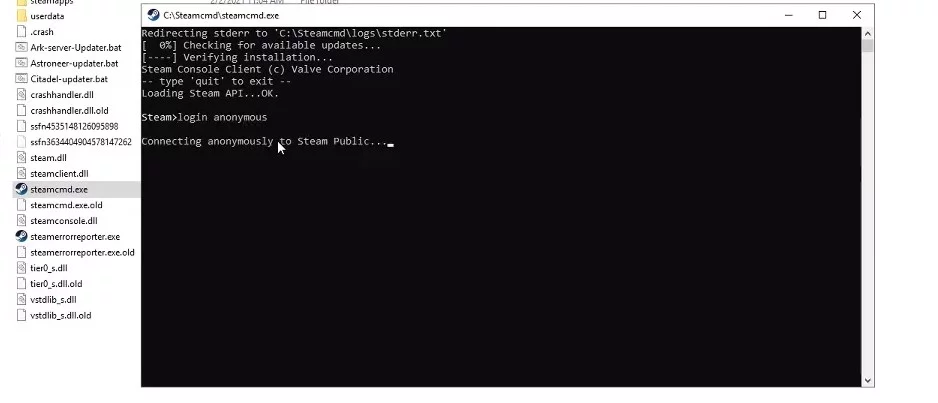
This connects you to SteamCMD anonymously, but there is still one more step. When the Steam> prompt appears again, enter app_update 896660. This installs or updates Valheim Dedicated Server. The first installation may take a while, while future updates should usually finish more quickly. Once the process is complete, you should see Success!. When the Steam> prompt appears again, enter exit to close the program. After major Valheim updates, repeat the process to make sure the server version matches the current game version.
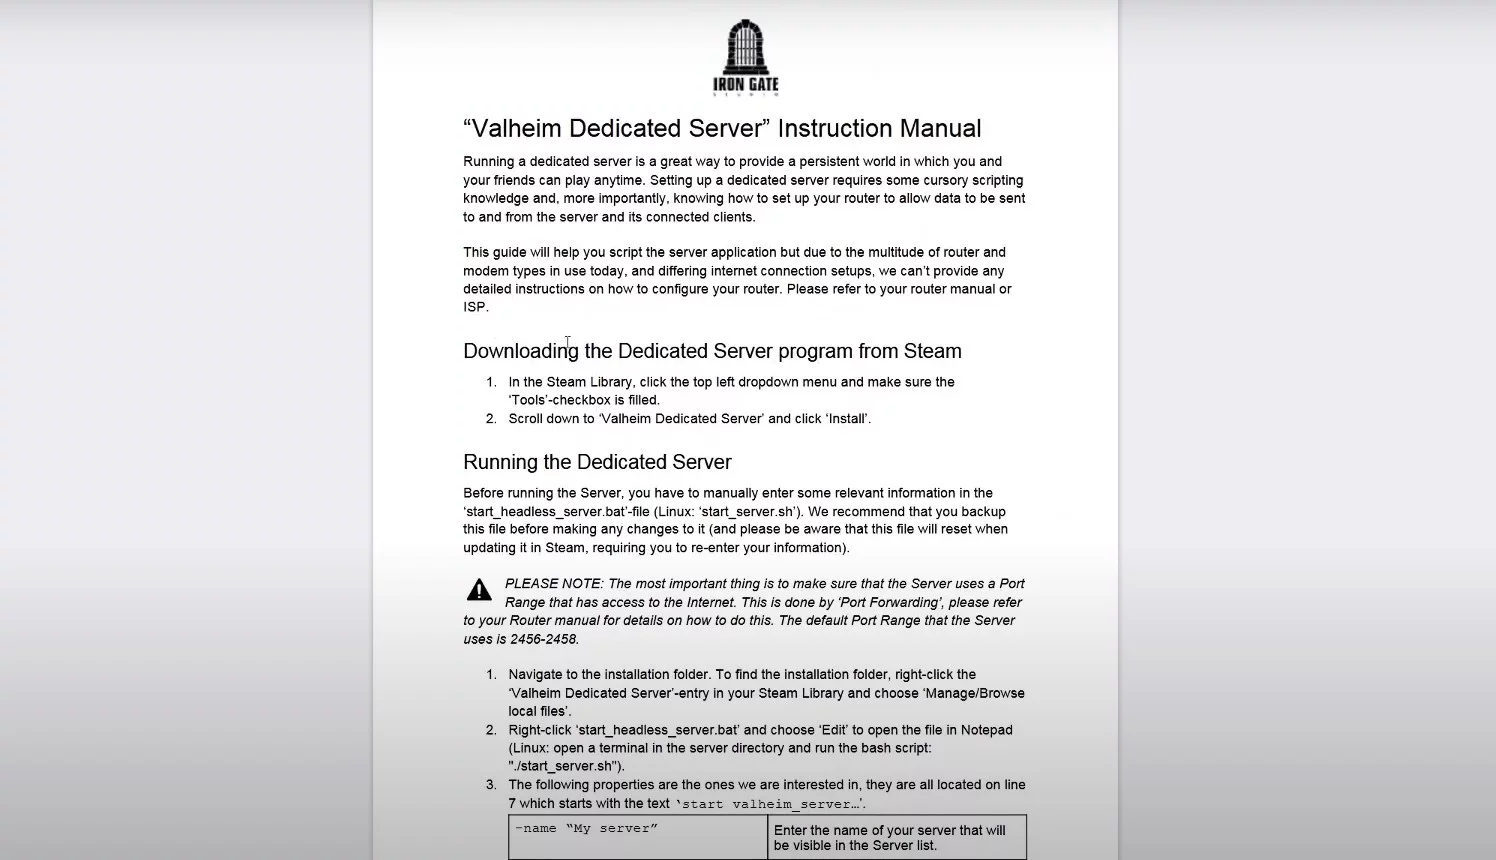
Inside the C:\Users\user\Desktop\steamcmd\steamapps\common\Valheim dedicated server folder, depending on where you extracted SteamCMD, you'll also find the official dedicated server setup instructions. Check them if you run into any problems.
How to Configure the Server
Inside the Valheim dedicated server folder, you'll find the start_headless_server.bat file. Make a copy before editing it so your settings aren't lost when the server application is updated. Open your copy of start_headless_server.bat for editing and enter the values you want for the name, world, and password parameters. Save the file when you're done.
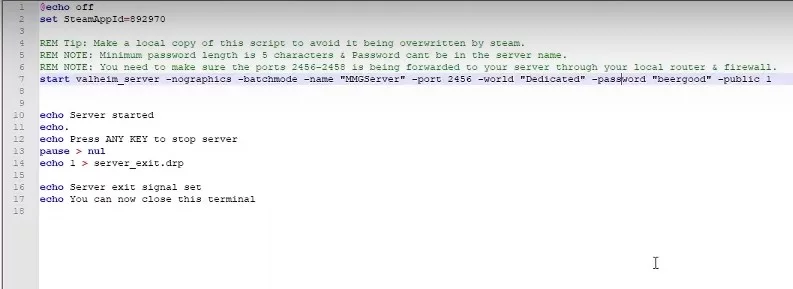
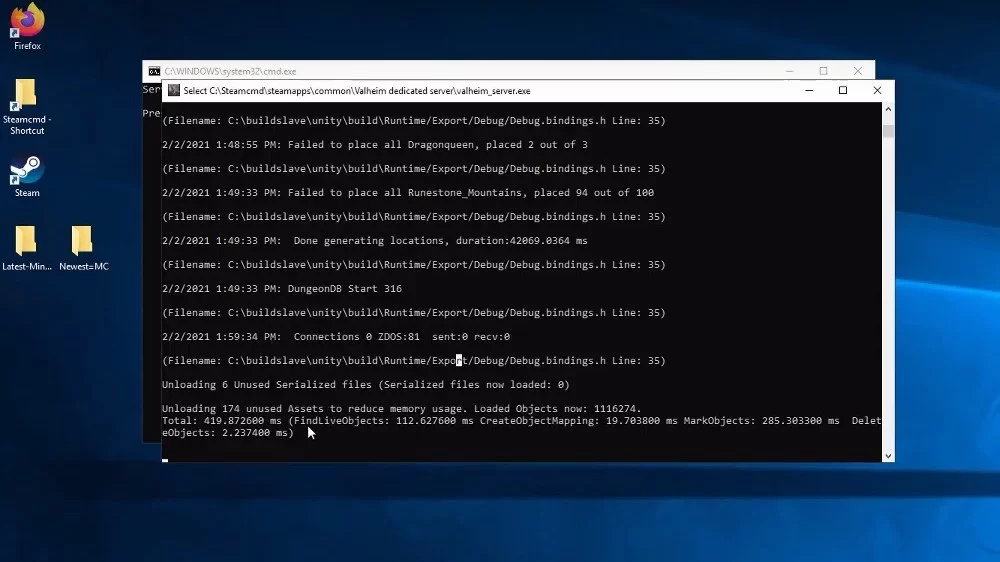
Make sure ports 2456-2457 are allowed through your router and PC firewall. Valheim uses the port specified in the server settings as well as the next consecutive port. You can then launch the server through start_headless_server.bat. The server is ready when the console displays Game server connected.
If you want players on other platforms to be able to connect, add the -crossplay argument to the server parameters. This switches the server to the PlayFab crossplay backend. When using crossplay, router port forwarding is generally not required for Internet connections.
To shut down the server properly, press Ctrl+C in the open command window and wait for the process to finish.
How to Use an Existing World on a Valheim Server
Your Valheim worlds are stored in AppData\LocalLow\IronGate\Valheim. You can also move an existing single-player world to a dedicated server running on another PC by copying the required world files to the machine hosting the server.
If you want to use a custom world, create it in single-player first. When creating the world, you'll be asked to enter its name and will also see its seed. Once the generated world has loaded, you can exit the game. Enter the world name, not the seed, as the value for the world parameter in start_headless_server.bat. The next time the server starts, it will load that world.
How to Connect Directly
You can connect to a server directly from Valheim. Open Join Game, select Add Server, and enter the server's IP address and port. The default port is 2456.
If you're connecting from the same local network, you can use the local IP address of the server PC. For an Internet connection using the standard Steam backend, you'll need the public IP address.
If the server is running with -crossplay enabled, you can also use a Join Code. The host can find the code in the pause menu and send it to the other players. Enter the code through Join Game and Add Server.
Additional Tips
The server password mentioned above should not be left blank. If you're using the standard Steam backend, make sure ports 2456-2457 are open on both your router and Windows Firewall.
With -crossplay enabled, the server uses the PlayFab crossplay backend. This allows players on different platforms to join the same world, and router port forwarding is generally not required for external connections.
Although up to 10 players can join a server at once, the quality of the experience will depend on the performance of the PC hosting the server and the stability of its Internet connection.
That's the essential information you need to set up a server in Valheim 1.0. After major updates, remember to update Valheim Dedicated Server so its version matches the current version of the game.
Other guides
 How to Upgrade the Workbench in Valheim to Level 5
 All Bosses in Valheim: How to Find and Defeat
 Valheim Save File Location: Where to Find Your Saves
 Guide to the Ashlands Update for Valheim
 Where to Find Trophies and How to Hang Them on the Wall in Valheim
 Valheim Materials Guide: Where to Find Every Crafting Resource