
Valheim 1.0 Deep North Complete Biome Guide
 Alexey Ermolaev
Valheim is a survival game inspired by Norse mythology. On September 9, 2026, after five years in Early Access, the game reached version 1.0 on all major platforms, including current-generation consoles. The full release also introduced a new biome called the Deep North. This guide covers everything you need to know about it.
How to Prepare for the Deep North
The Deep North is the final and most difficult biome in the game. Technically, you can travel there fairly early once you learn how to build ships, but doing so is unlikely to end well. The region is clearly designed for well-equipped, late-game characters.
Before heading north, it's best to explore the other biomes, including the Ashlands, and defeat their bosses. This will allow you to develop your base and obtain some of the best weapons, armor, and magic in the game. In the Deep North, you'll need top-tier swords, shields, bows, and spells. The exact choice depends on your build and playstyle.

The best armor options for exploring the Deep North include:
- Flametal Armor for maximum protection.
- Embla Set for improved Eitr regeneration.
- Ask Set for high mobility and reduced Stamina consumption.
We also recommend keeping a spare armor set in a chest.
Some of the best weapons for exploring the Deep North include:
- Thundering Berserkir Axes for aggressive melee combat without a shield.
- Nidhögg or Dyrnwyn for players who prefer one-handed swords with a shield.
- Storm Fang as an excellent option for archers.
- Staff of Fracturing or Staff of Protection for magic-focused builds.
You'll also need good food for maintaining Health, Eitr for magic builds, and Stamina for melee-focused characters. Bring meals that increase the maximum values of these stats, as well as useful consumables such as Frost Resistance Mead, which protects you from the cold.

Make sure you also bring enough resources to quickly establish a base in the Deep North. Your outpost should contain everything you need to survive in the new environment.
How to Craft the Grappling Hook in Valheim
First, visit the Infested Mines in the Mistlands and search Dvergr Treasure Chests. Your goal is to find a Hook, which serves as the main component. The Grappling Hook can then be crafted at the Black Forge.
You'll need:
- 1 Hook.
- 10 Yggdrasil Wood.
- 10 Refined Eitr.
- 4 Mandibles.
This tool makes climbing significantly easier. It allows you to grapple onto cliffs and pull yourself upward. It's a good idea to craft the Grappling Hook before setting out to explore the Deep North.
How to Craft the Snow Shovel
First, you'll need to complete the Ashlands and defeat Fader, the biome's boss. His trophy is required to light the Eternal Pyre. Building it requires a Stonecutter and 10 Stone. Embers periodically appear around the pyre. Pick up two of them to unlock the Snow Shovel recipe. The tool can be crafted at a level 3 Black Forge.
You'll need:
- 2 Embers.
- 4 Flametal.
- 5 Finewood.
The Snow Shovel can be upgraded to increase its Durability. However, higher quality levels do not make it clear snow any faster.

How to Reach the Deep North
You'll need to sail to the biome aboard a Drakkar or another suitable large ship. The greatest danger during the journey comes from massive ice formations blocking your path. These can be destroyed with Ember Charges.

What to Do First in the Deep North
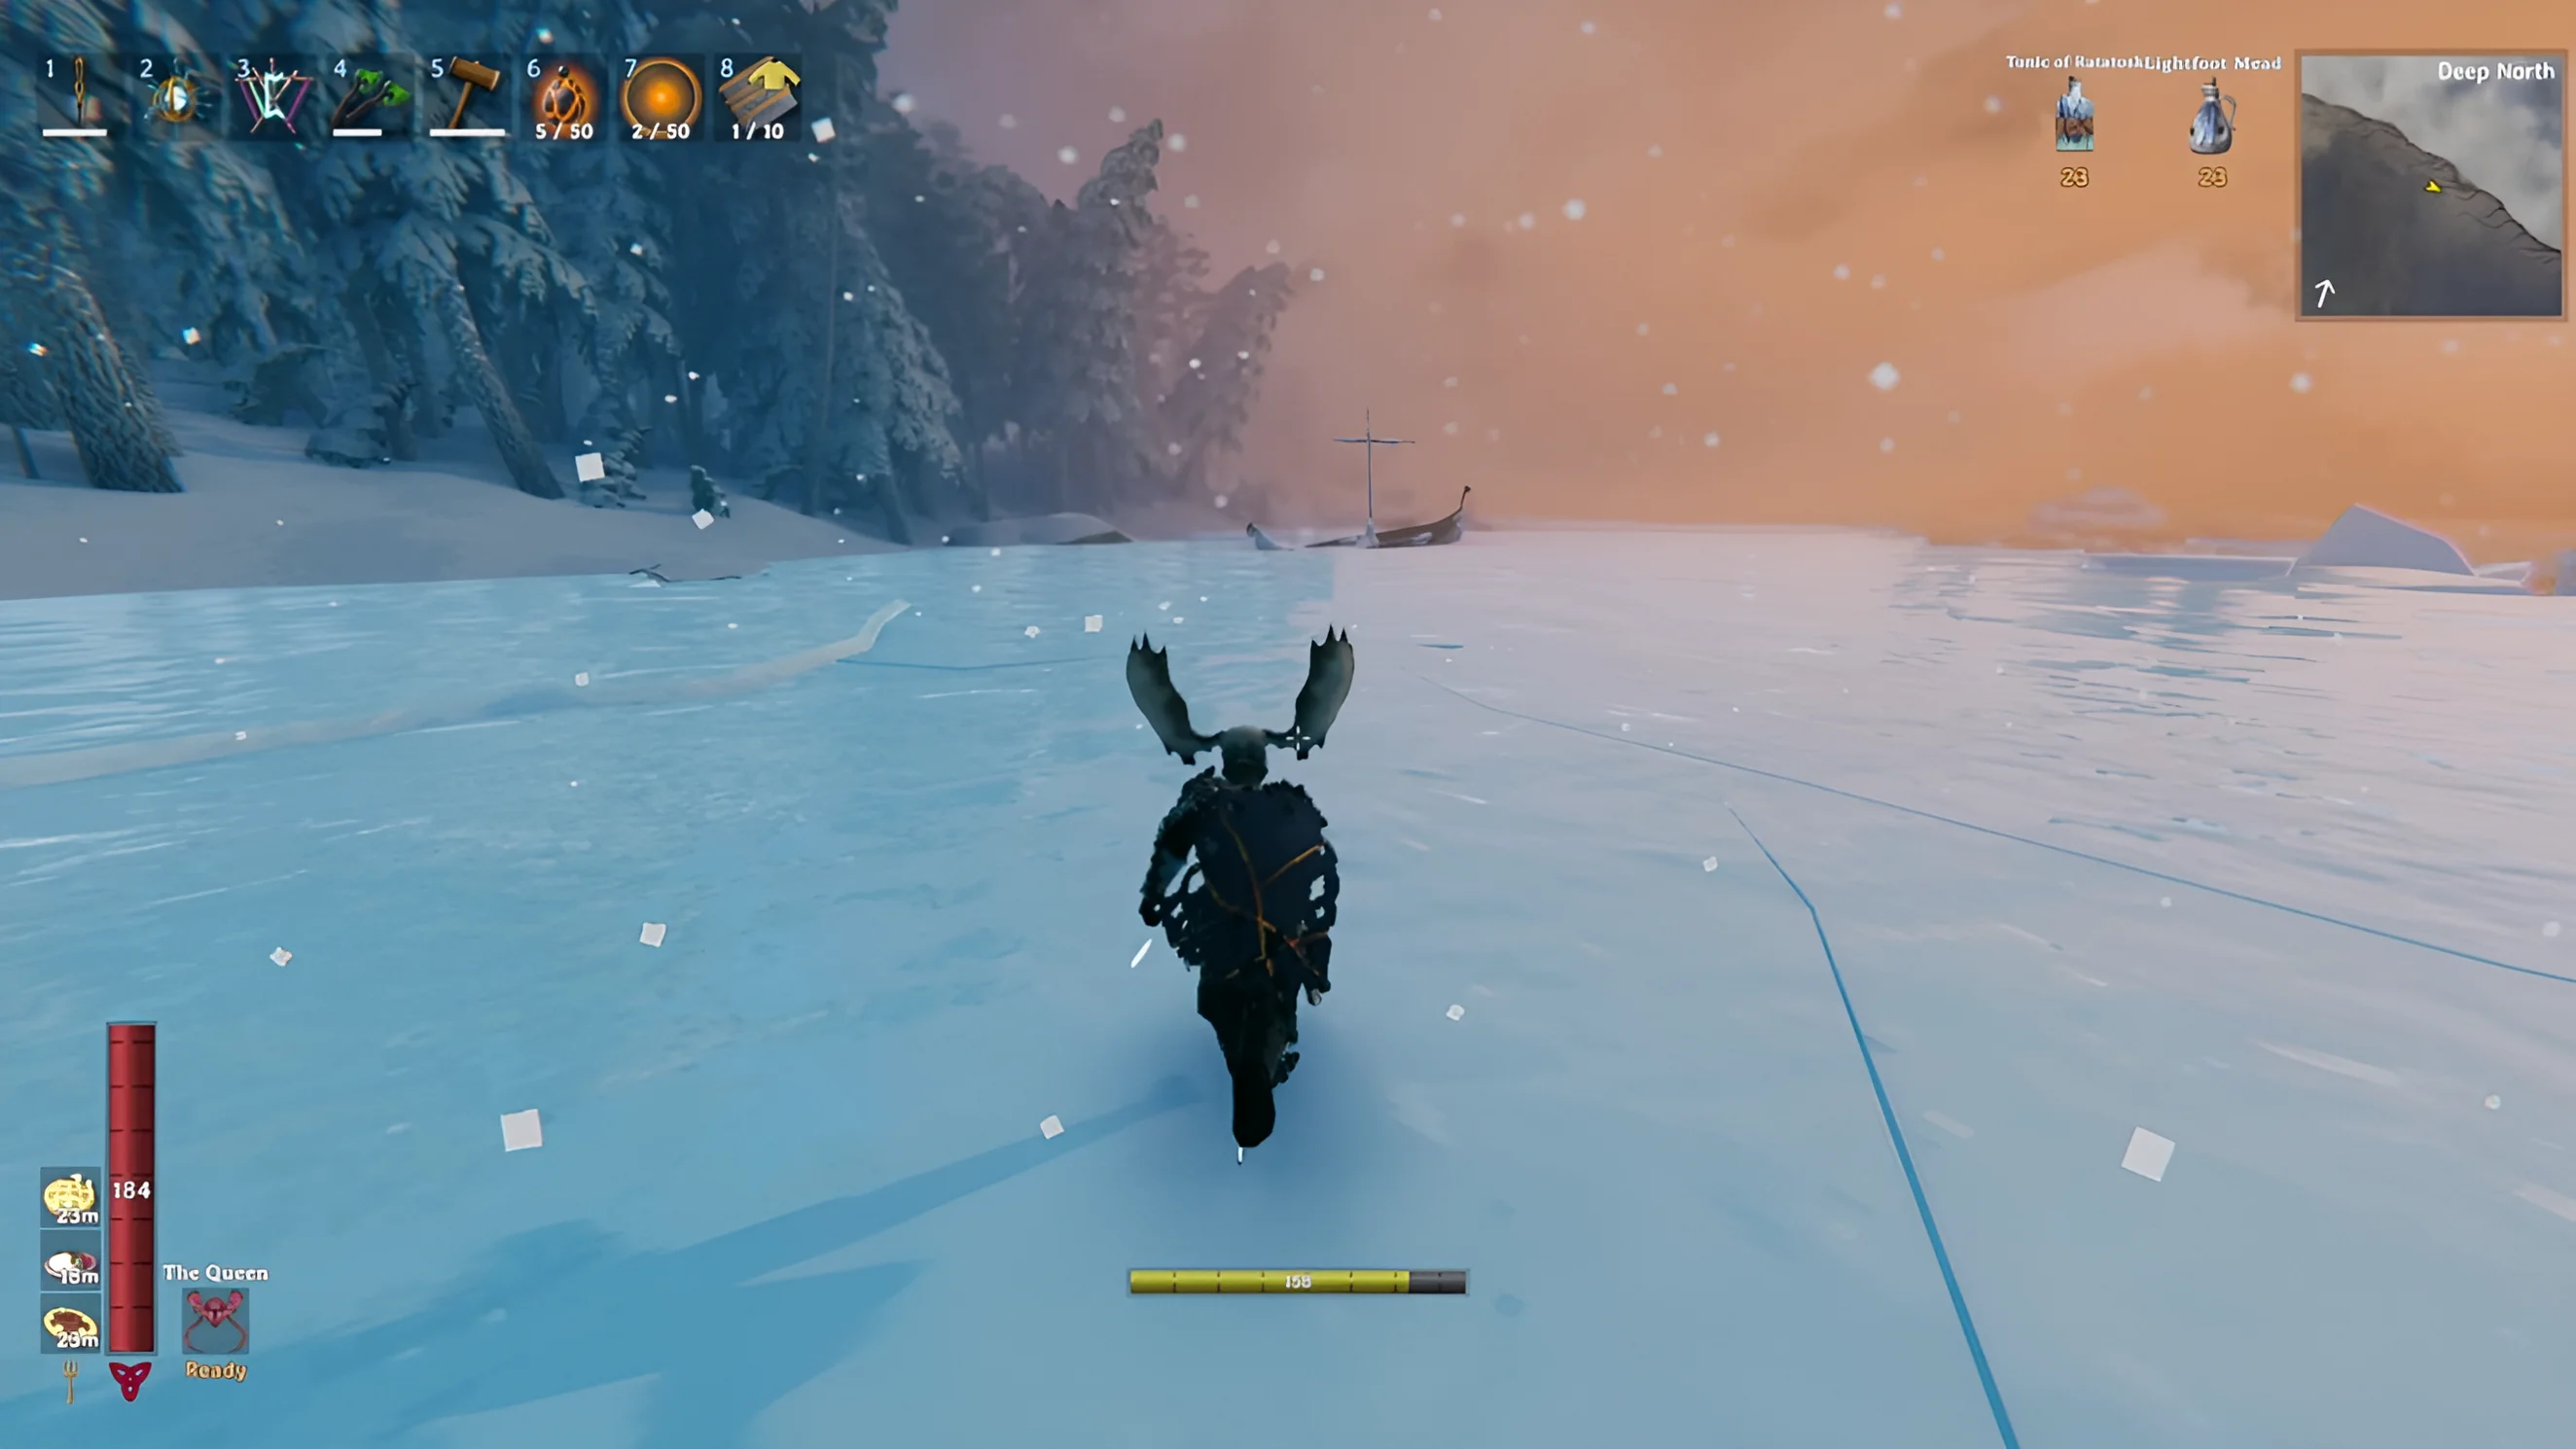
Once you feel prepared, travel to the northern biome. Don't immediately rush inland, even if you're only planning a scouting trip. Take some time to learn the terrain and how the local enemies behave. For example, parts of the biome are covered in deep snow that prevents building. You can clear it by walking through it or by using the special Snow Shovel. The latter is much more efficient.
Don't build a full base the moment you land. First, make sure the surrounding area is safe and has enough room for your camp. Your first priority should be placing a Portal so you can quickly return to previously explored biomes. You should also set up a Workbench, build a sheltered structure, and light a fire.

Another important feature of the biome is slippery ice. If you sprint across a frozen surface and suddenly stop, your character will continue sliding for a short distance. Keep this in mind during combat, as dodging and maneuvering can become much more difficult.
Frost Foundry in Valheim
To craft some of the best weapons and the special Intricate Keys, you'll need the Frost Foundry. To unlock it, explore the Winding Tunnels, the new dungeon type found in the Deep North. You're looking for Frostcores, which can be found throughout the tunnels and resemble chunks of blue ice. Picking up your first Frostcore unlocks the Frost Foundry recipe. You'll need:
- 10 Frostcores.
- 15 Iron.
- 20 Stone.
The Frost Foundry requires Liquid Frost to operate. Liquid Frost is produced in the Frigid Kiln.

What the Intricate Key Is For and How to Craft It
Intricate Keys are used to open the Gates of Mörkhalla, one of the major Deep North dungeon locations.
To obtain a key mould, explore the Winding Tunnels and thoroughly search wooden debris and piles of rubble. Mould: Intricate Key can also be obtained from certain enemies, including Elakings. You'll need three moulds in total to progress through the full chain.
You'll also need Bloodgold. To obtain it, kill a Gammeltroll. Once it petrifies, destroy its body with Ember Charges and collect the Petrified Tissue. Smelt the tissue in a Blast Furnace to produce Bloodgold.
First, use a level 4 Black Forge to craft Cast: Intricate Key. You'll need:
- 1 Mould: Intricate Key.
- 5 Bloodgold.
Next, place the Cast in the Frost Foundry and add Liquid Frost. This produces the finished Intricate Key. Keep in mind that the Mould is consumed when creating the Cast, so you'll need another one for each additional key.

New Creatures in Valheim
The new creatures include:
- Gammeltroll.
- Barka.
- Krigen.
- Seal and Baby Seal.
- Hexen.
- Shadow.
- Elaking.
- Moose.
Moose can also be tamed. To do so, build a secure stone enclosure and feed them Lingonberries. Once tamed, Moose can be ridden, while hunting them provides Moose Meat, Moose Sinew, and Moose Hide.

How to Defeat Kall Fimbulbringer
You'll want weapons that deal Blunt or Slash damage. Good options include the Thunderblood Sledge, Frostfire Sledge, and Thunderblood Greatsword. It's also worth bringing consumables and armor that provide protection against both Frost and Fire.
To summon the boss, you'll need three Malicious Blood. Each one is obtained from the Black Ice core at the center of a Jotun Invasion. To trigger these invasions, you first need to explore Mörkhalla and destroy the Malicious Ice inside. A Jotun Invasion will then appear randomly in one of the older biomes, including the Meadows, Black Forest, Swamp, Mountains, or Plains. Its exact location will be marked on your map. Travel there, defeat the Jotun enemies, and destroy the Black Ice core to obtain Malicious Blood.
Kall's arena is located in the Aesir Passage. This is where you need to offer the three Malicious Blood.

The fight consists of three phases. Kall has 10,000 Health during the first phase, 7,000 during the second, and 30,000 during the third. Keep this in mind and save some of your consumables for the final stage.
The boss has several types of attacks:
- Straight Chain Strike. Deals heavy damage but can be blocked.
- Chain Spin. A dangerous attack enhanced with Frost during the first phase and Fire during the third. As soon as you see Kall begin the spinning motion, back away.
- Chain Sweep. A wide horizontal attack with a large area of effect. It's best to dodge through it rather than running backward.
- Chain Rush. The boss's strongest attack. Dodge sideways to avoid it.
- Chain Barrage. A rapid series of strikes that is best avoided by retreating. Kall only uses this attack during the third phase.
During the second phase, Kall summons additional enemies. While they remain alive, the boss is immune to normal damage, so eliminate the summoned enemies first before attacking Kall again. Tentacles will also periodically appear around the arena, but you don't need to waste time destroying them, as they disappear on their own.
After defeating Kall, you'll receive Sacrificial Blood, the Crown Jewel, and his unique trophy.
Other guides
 How to Upgrade the Workbench in Valheim to Level 5
 All Bosses in Valheim: How to Find and Defeat
 Valheim Save File Location: Where to Find Your Saves
 Guide to the Ashlands Update for Valheim
 Where to Find Trophies and How to Hang Them on the Wall in Valheim
 Valheim Materials Guide: Where to Find Every Crafting Resource
-
 All Elden Ring Endings Explained: How to Get Every Ending and Which Is Best
 -
 Valheim Armor Guide: All Sets, Crafting Materials and Bonuses
 -
 Valheim Biomes Guide: All Biomes and Progression Order
 -
 Valheim Weapons Guide: All Weapons and Crafting Materials
 -
 Valheim Sailing Guide: How to Build and Sail Every Ship
 -
 Valheim Swamp Key: How to Get It and Unlock Sunken Crypts