Walkthrough of Archon Quests in Genshin Impact: Act 2, Chapter 3. Omnipresent God, Mortal World

With the release of Genshin Impact 2.1, the final part of the Archon quest Omnipresent God, Mortal World Act II, Chapter III in Inazuma has finally become available. This is the main plot event of the latest updates, so you can only start it if you have completed the previous part.
How to Start the Quest Sword, Fish, Resistance. How to Get to Watatsumi Island

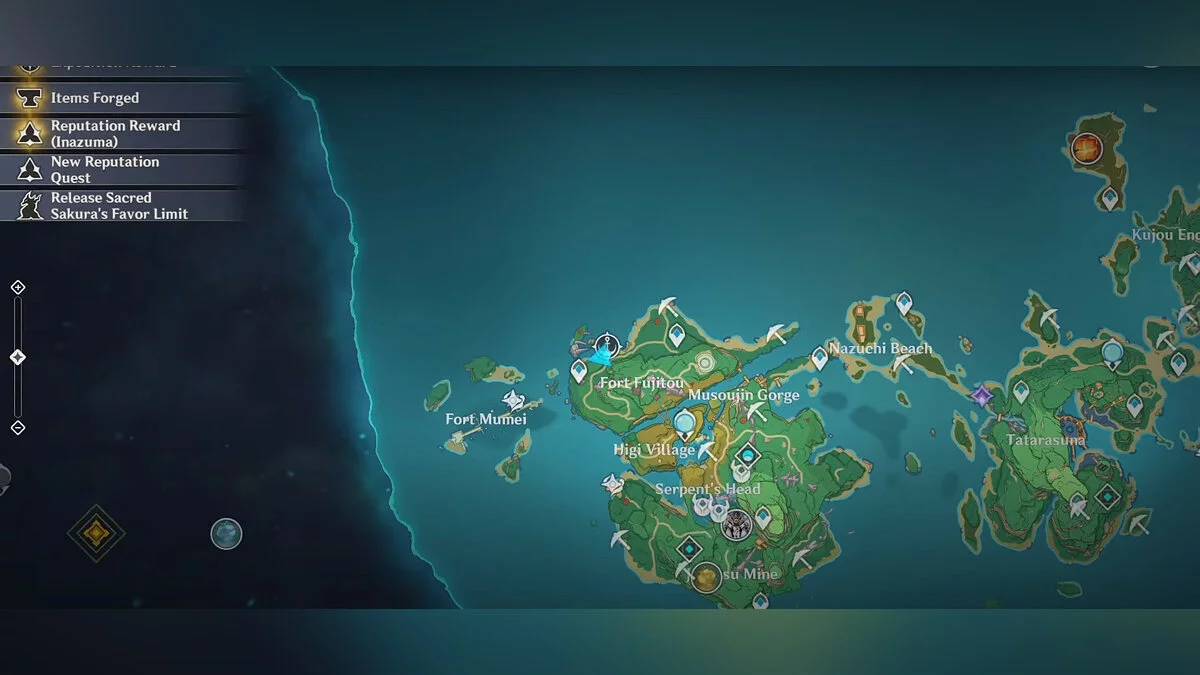
First, you need to meet with Teppei. The samurai is waiting for you near Fort Fujito on Yashiori Island.
After talking to him, you can find a ship near the pier. Sail to the target marker on the new island. Pay attention to all fast travel points along the way. You will have to move around a lot during the quest, so activate them all to save time.

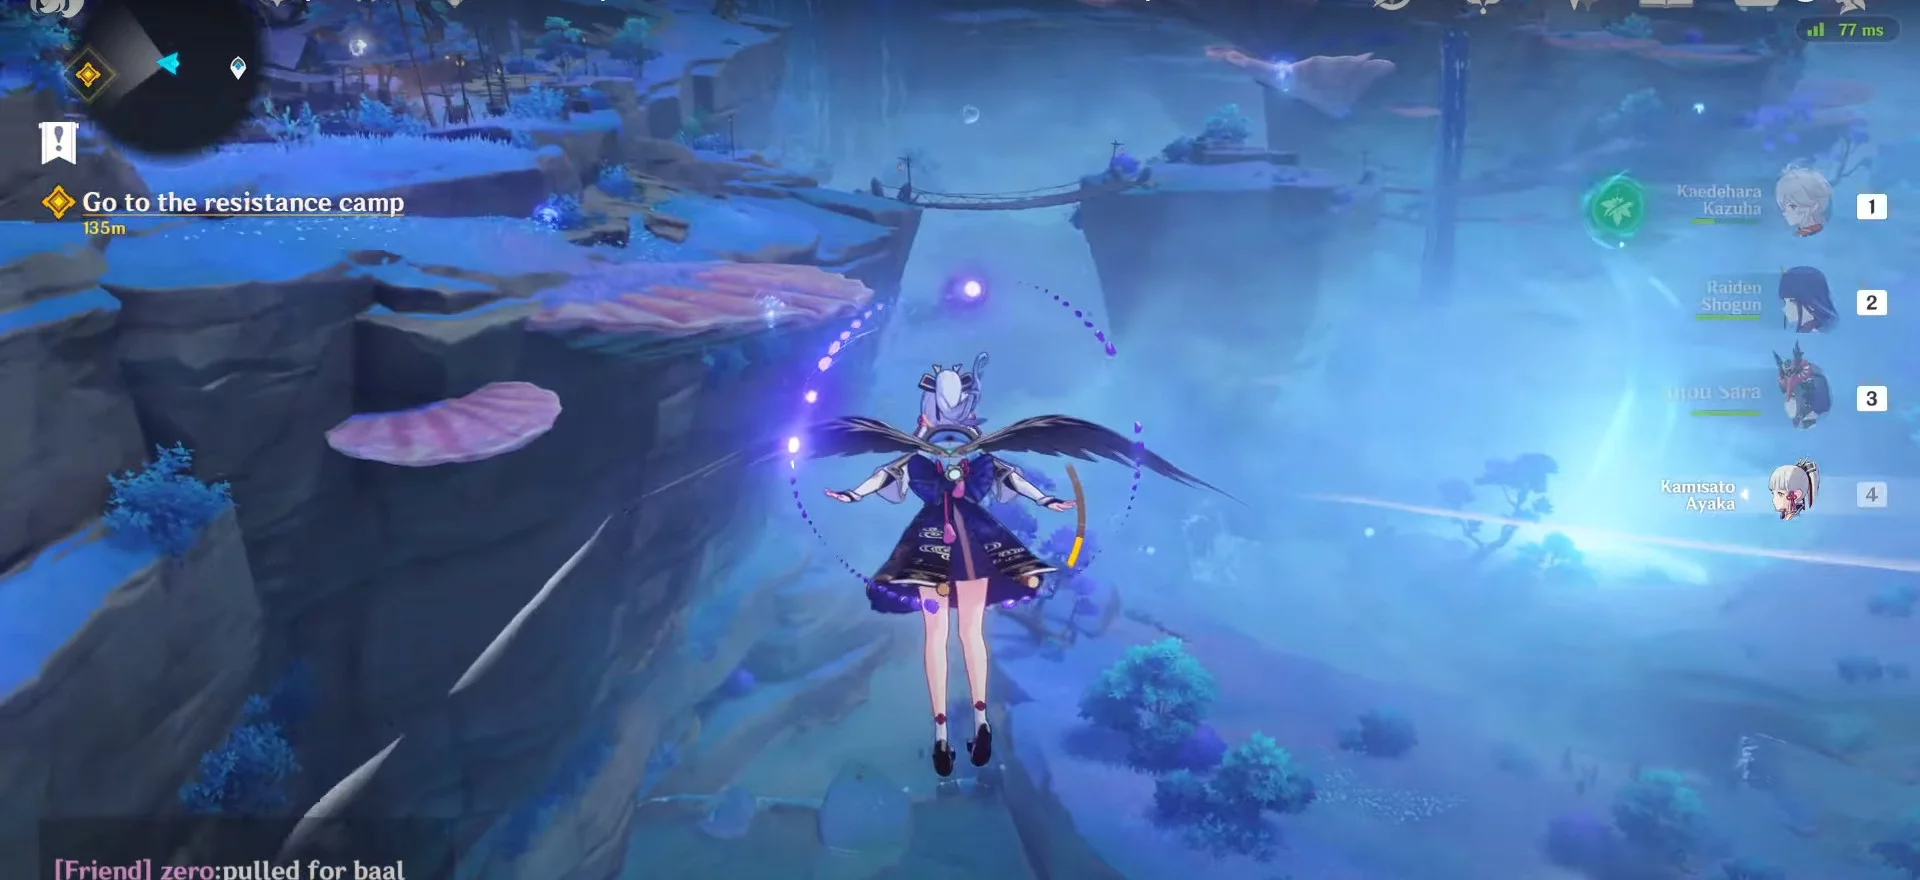
Your task is to get to the resistance camp, but you won't be able to sail directly to it. Continue moving towards the target marker. At some point, you will need to glide from a cliff into a lowland.
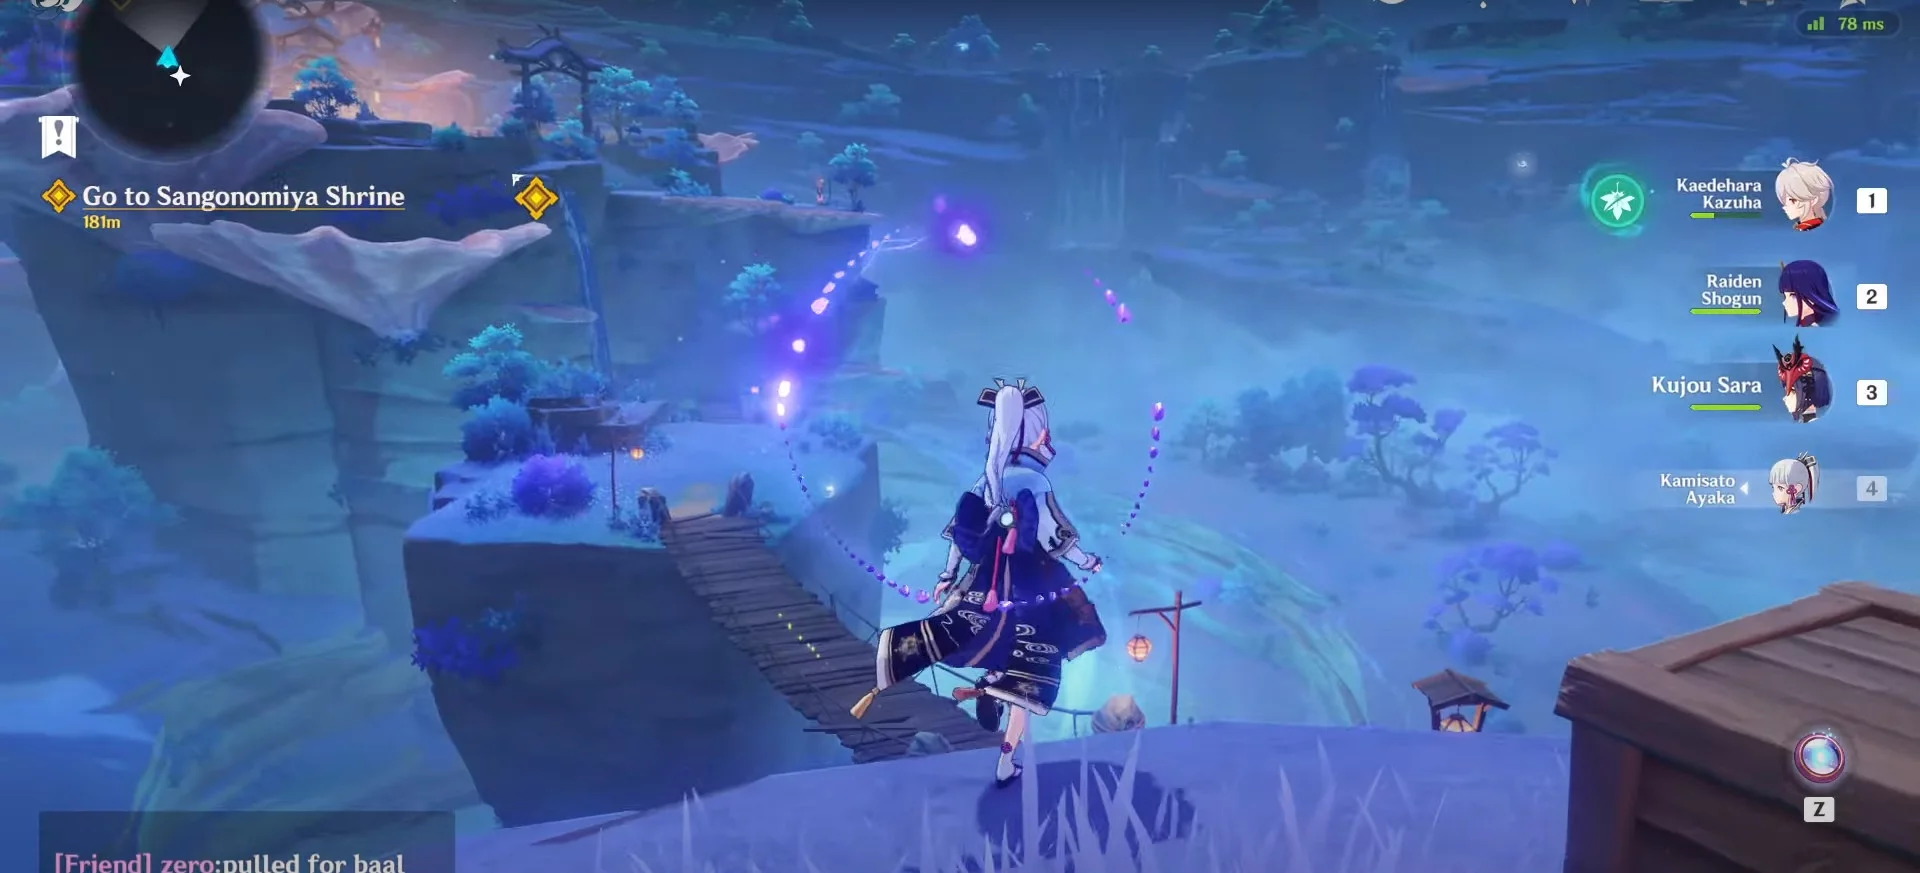
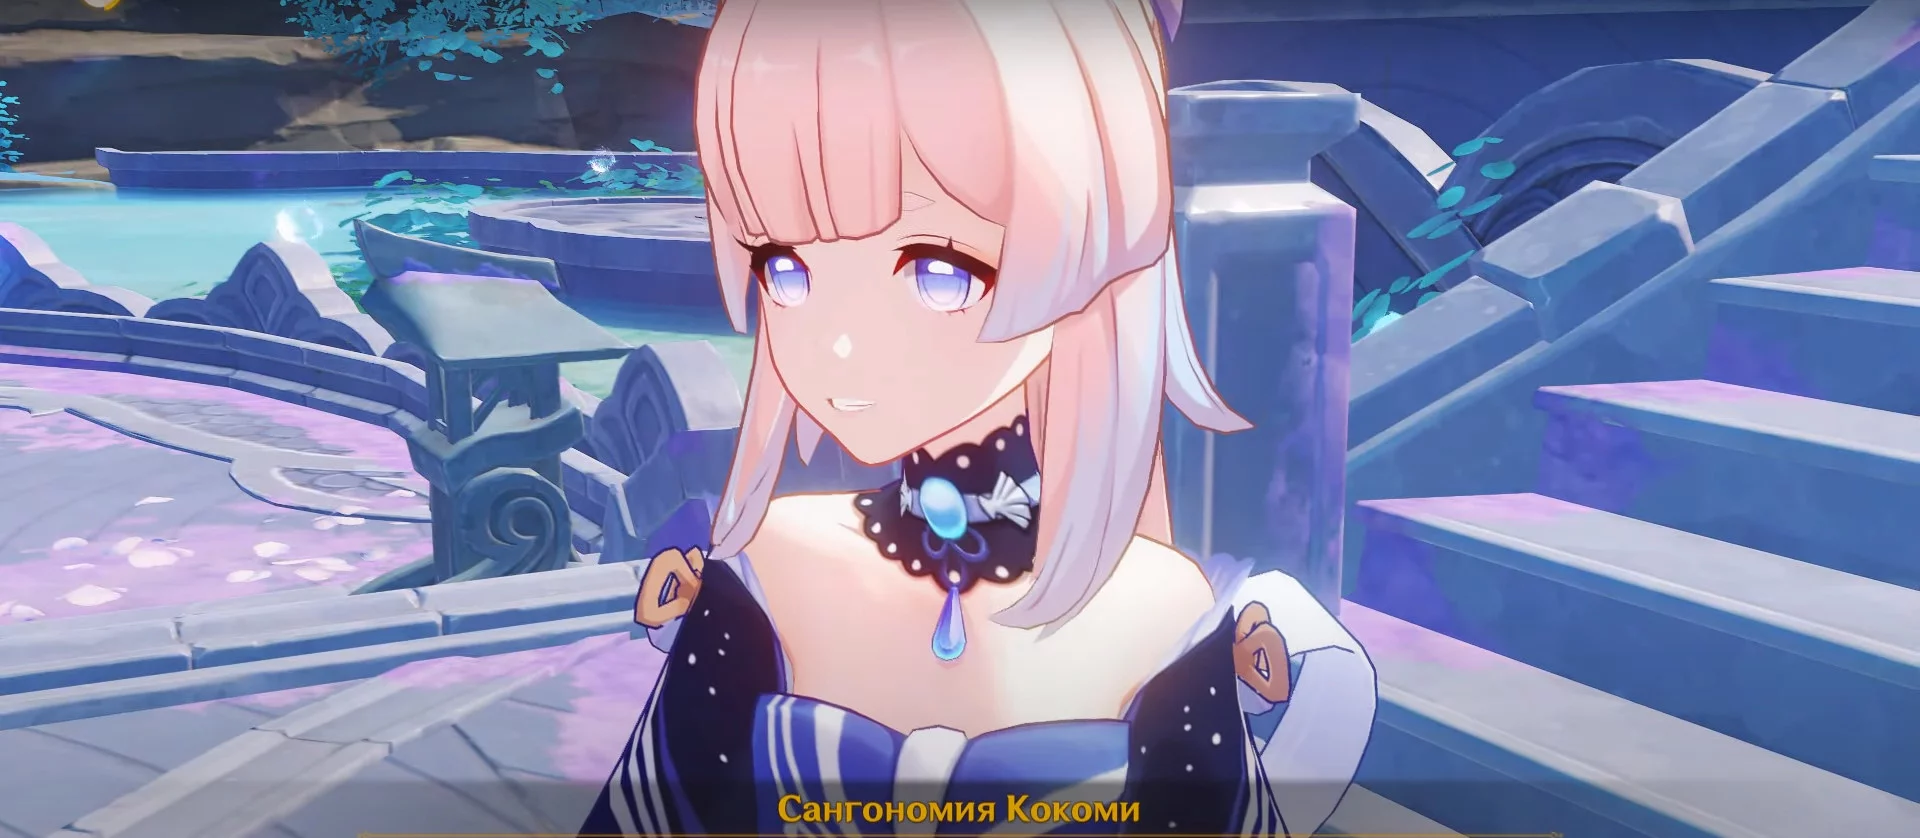
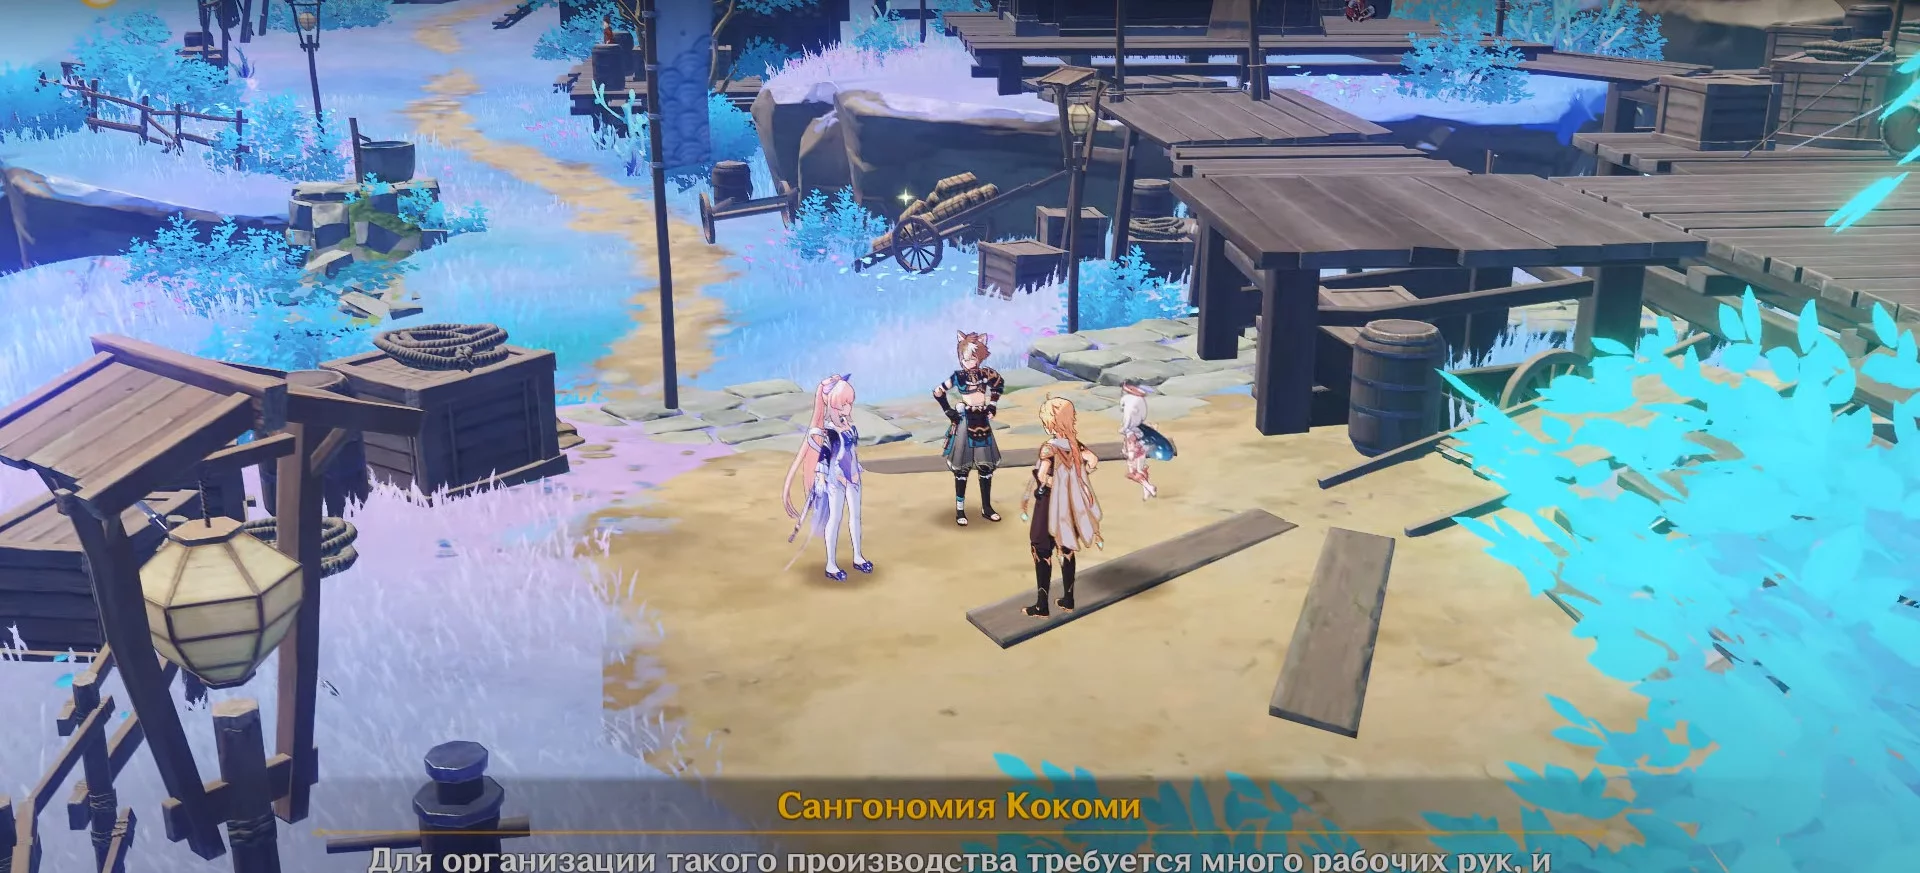
You will meet Teppei again, who will lead the heroes to Sangonomiya, the leader of the resistance. She will appoint you as the commander of the special squad Swordfish II and ask you to deal with the wandering samurai around the camp.
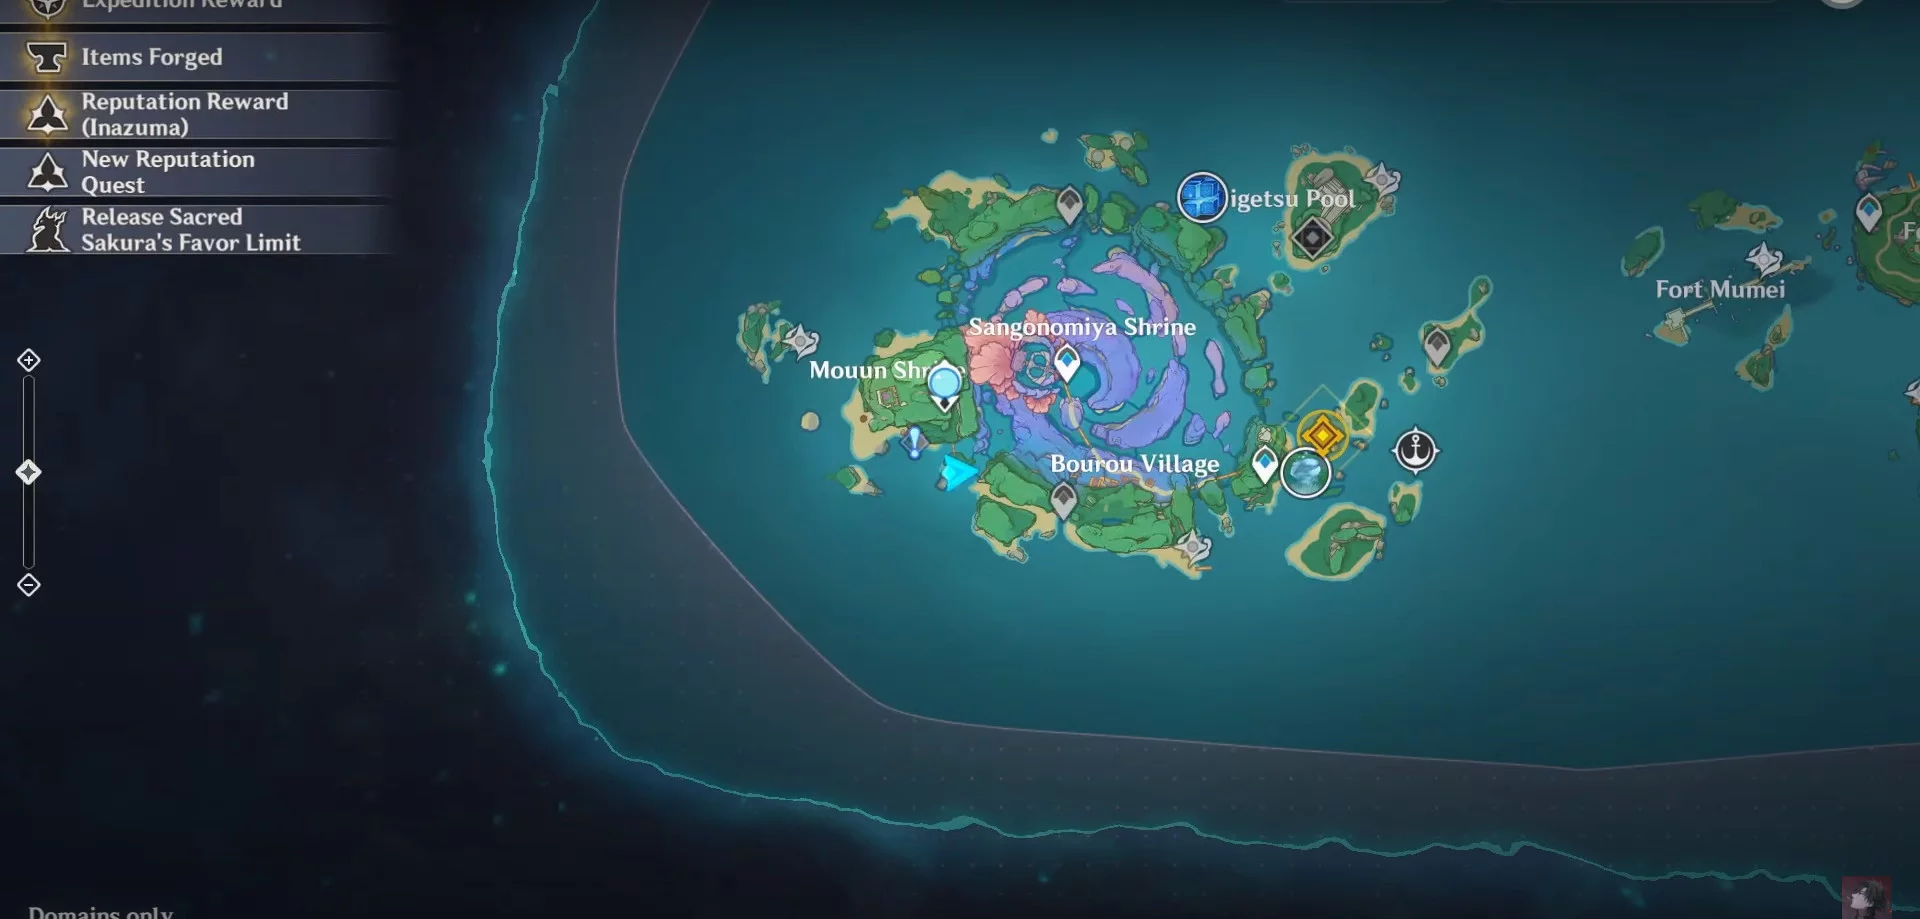
Head to the target marker. Don't forget to activate the Statue of the Seven to unlock the island map. To earn the respect of your subordinates, you will have to defeat the wandering samurai nearby. The fight with the regular enemies will not cause you any difficulties.


Your new comrades will tell you that there is another samurai camp in the eastern part of the island.
After dealing with the enemies and talking to the squad, return to the leader of the resistance to report your success.
Reward: 650 Adventure Points, 3 Hero's Wit, 31,125 Mora, and 6 Mystic Enhancement Ores.
How to Start the Quest Yearning for the Attention of the Gods. Where to Find Sangonomiya Kokomi
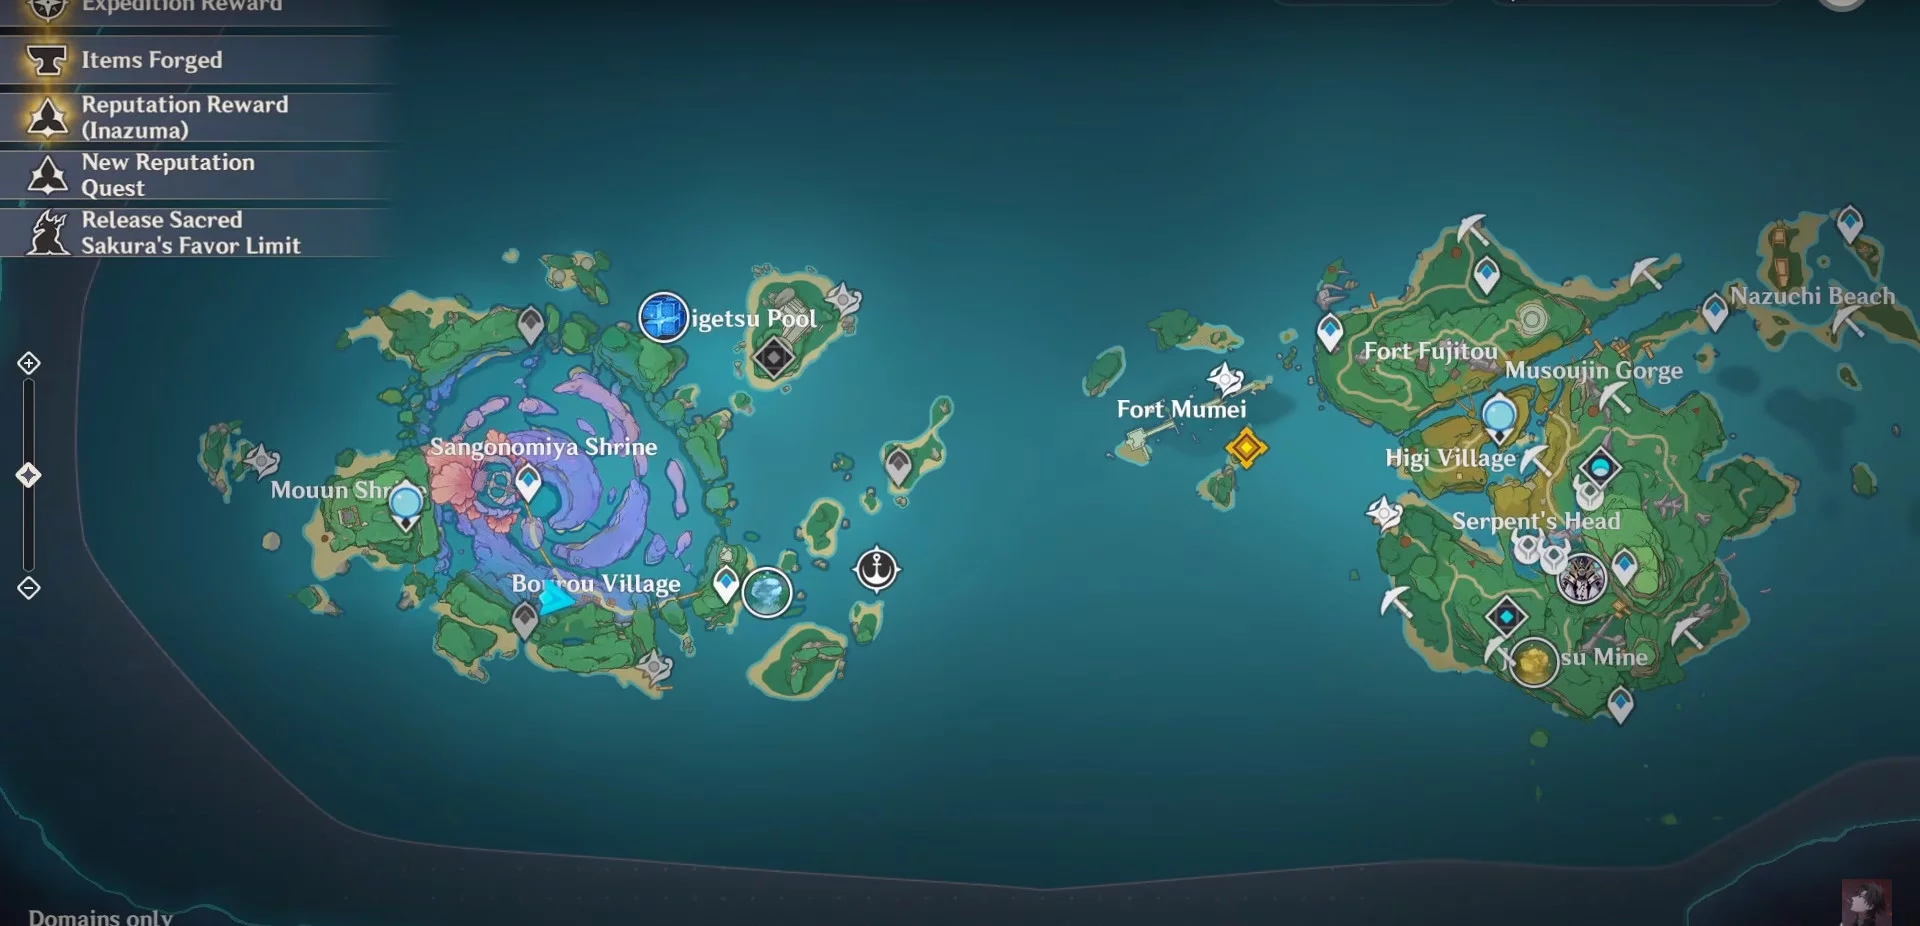
Your new task is to deal with the supply disruptions. Sangonomiya will give you this task. After the cutscene, head to Yashiori Island to Fort Mumei.
Once on the island, you will find three Electro Pillars. They need to be activated, but after a short time, the pillars go out. Choose a suitable Electro character to complete the task.


Immediately after activating the pillars, a Lawachurl will appear. After the battle, Teppei will arrive, talk to him, and note his illness. Return to the leader of the resistance to learn about the secret weapon that accelerates the aging of soldiers. Move to the target marker to find Teppei—he is behind one of the houses. Talk to him again, and the quest will be completed.
Reward: 450 Adventure Points, 22,000 Mora, 2 Hero's Wit, and 4 Mystic Enhancement Ores.
How to Start the Quest Eyes of Corruption. How to Complete the Dungeon Factory of the Eyes of Corruption
Sangonomiya wants to destroy the factory producing the Eyes of Corruption. This task falls on you. Head to Yashiori Island and follow the target marker to find the entrance to the dungeon.


The factory should not pose any difficulties. Deal with all enemies and collect three parts for the lock on the large gate. Pay attention to the moving platforms — falling from them is quite difficult, but caution won't hurt.
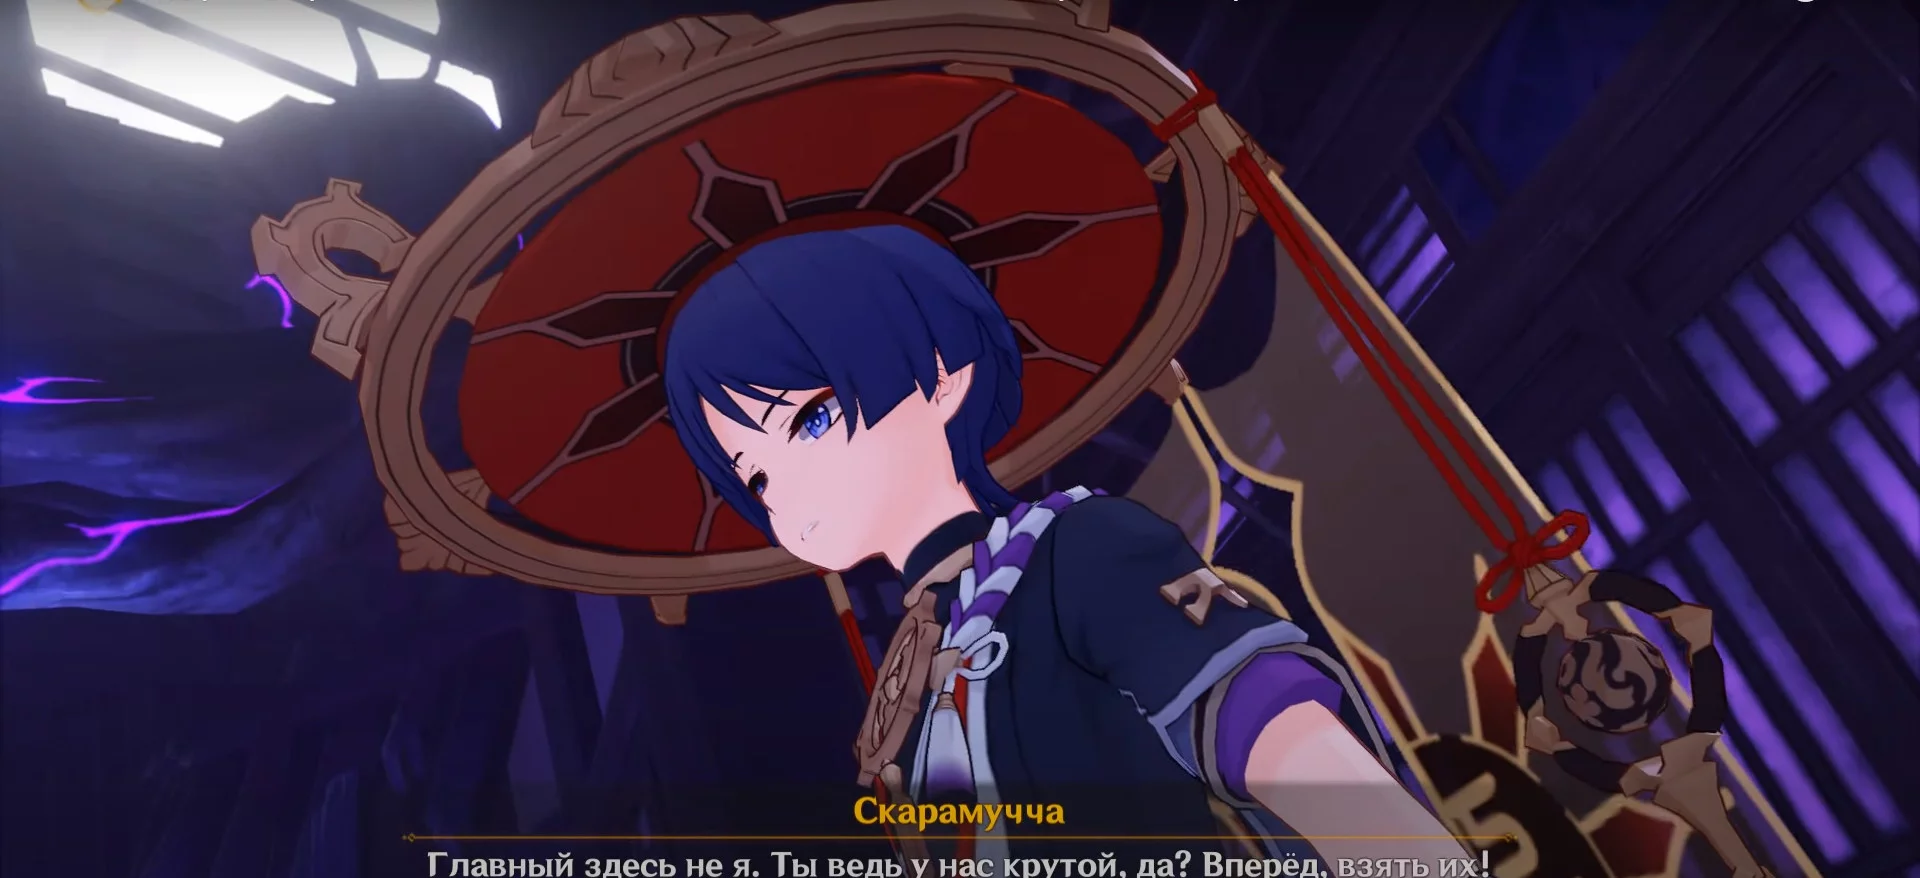
Defeat the production manager named Natasha. Next, you will meet Scaramouche — the Storyteller, who will explain the reasons for the popularity of the Eyes of Corruption. After a short cutscene, the hero will lose consciousness, and the quest will be completed.
Reward: 450 Adventure Points, 30 Primogems, 22,000 Mora, 2 Hero's Wit, and 4 Mystic Enhancement Ores.
How to Start the Quest Path of the Familiar. How to Prepare for the Battle with Shogun Raiden
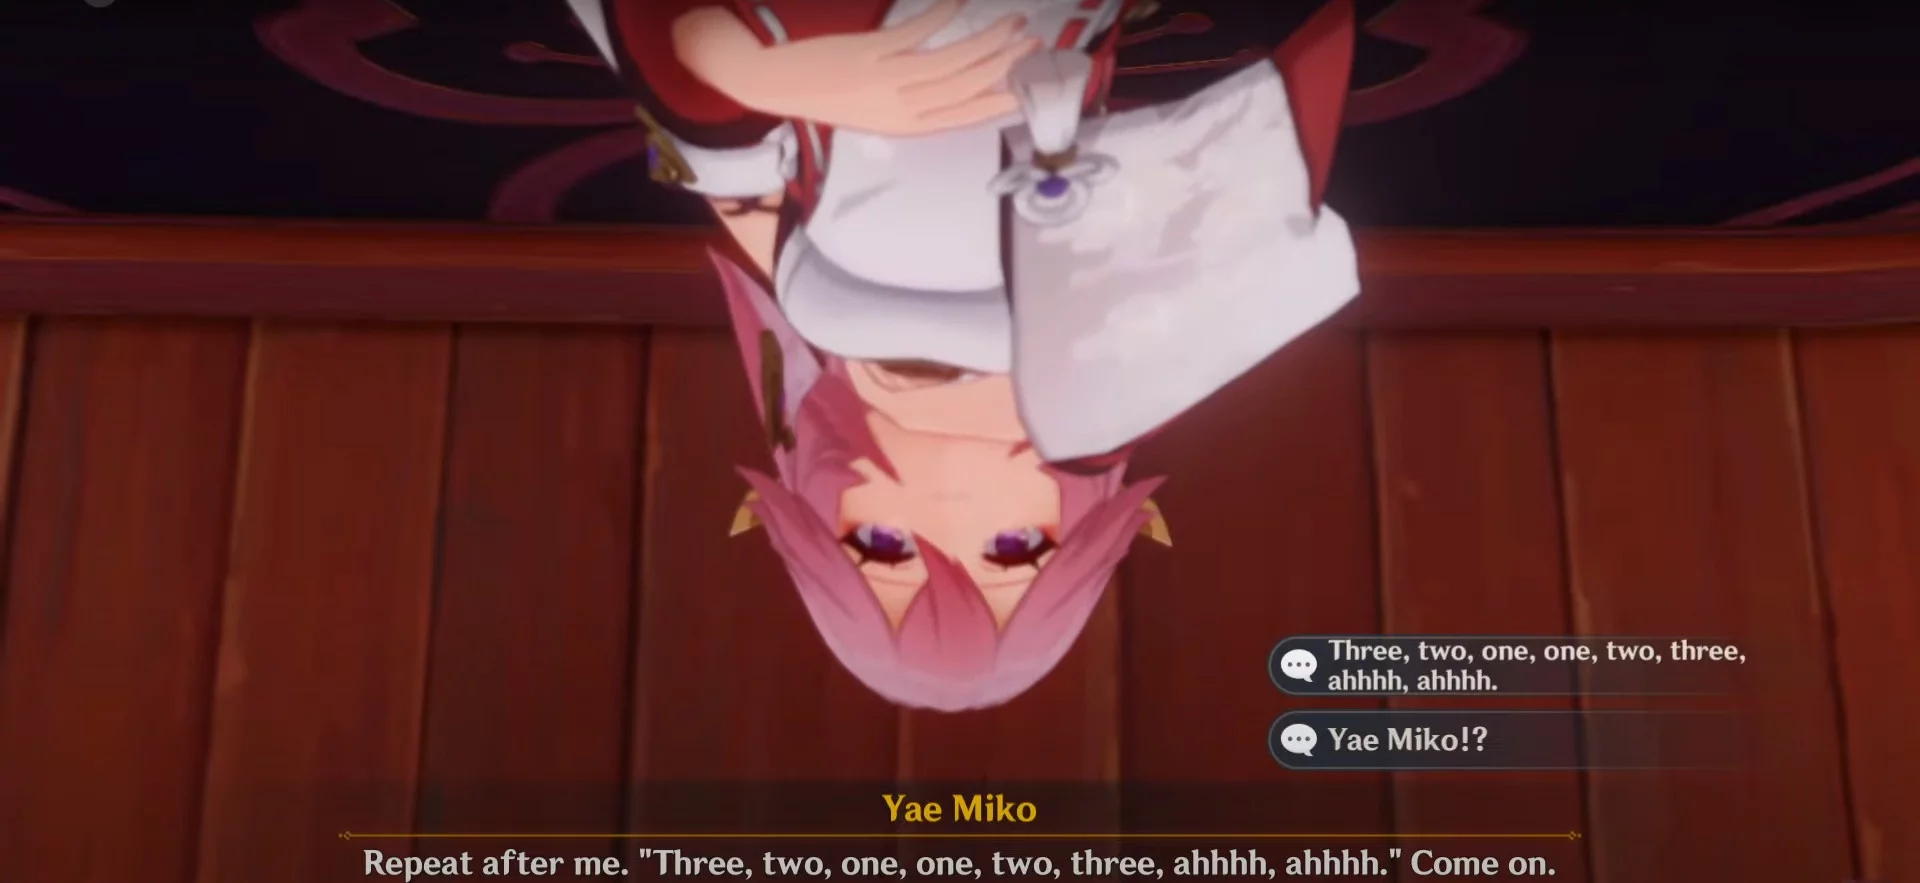
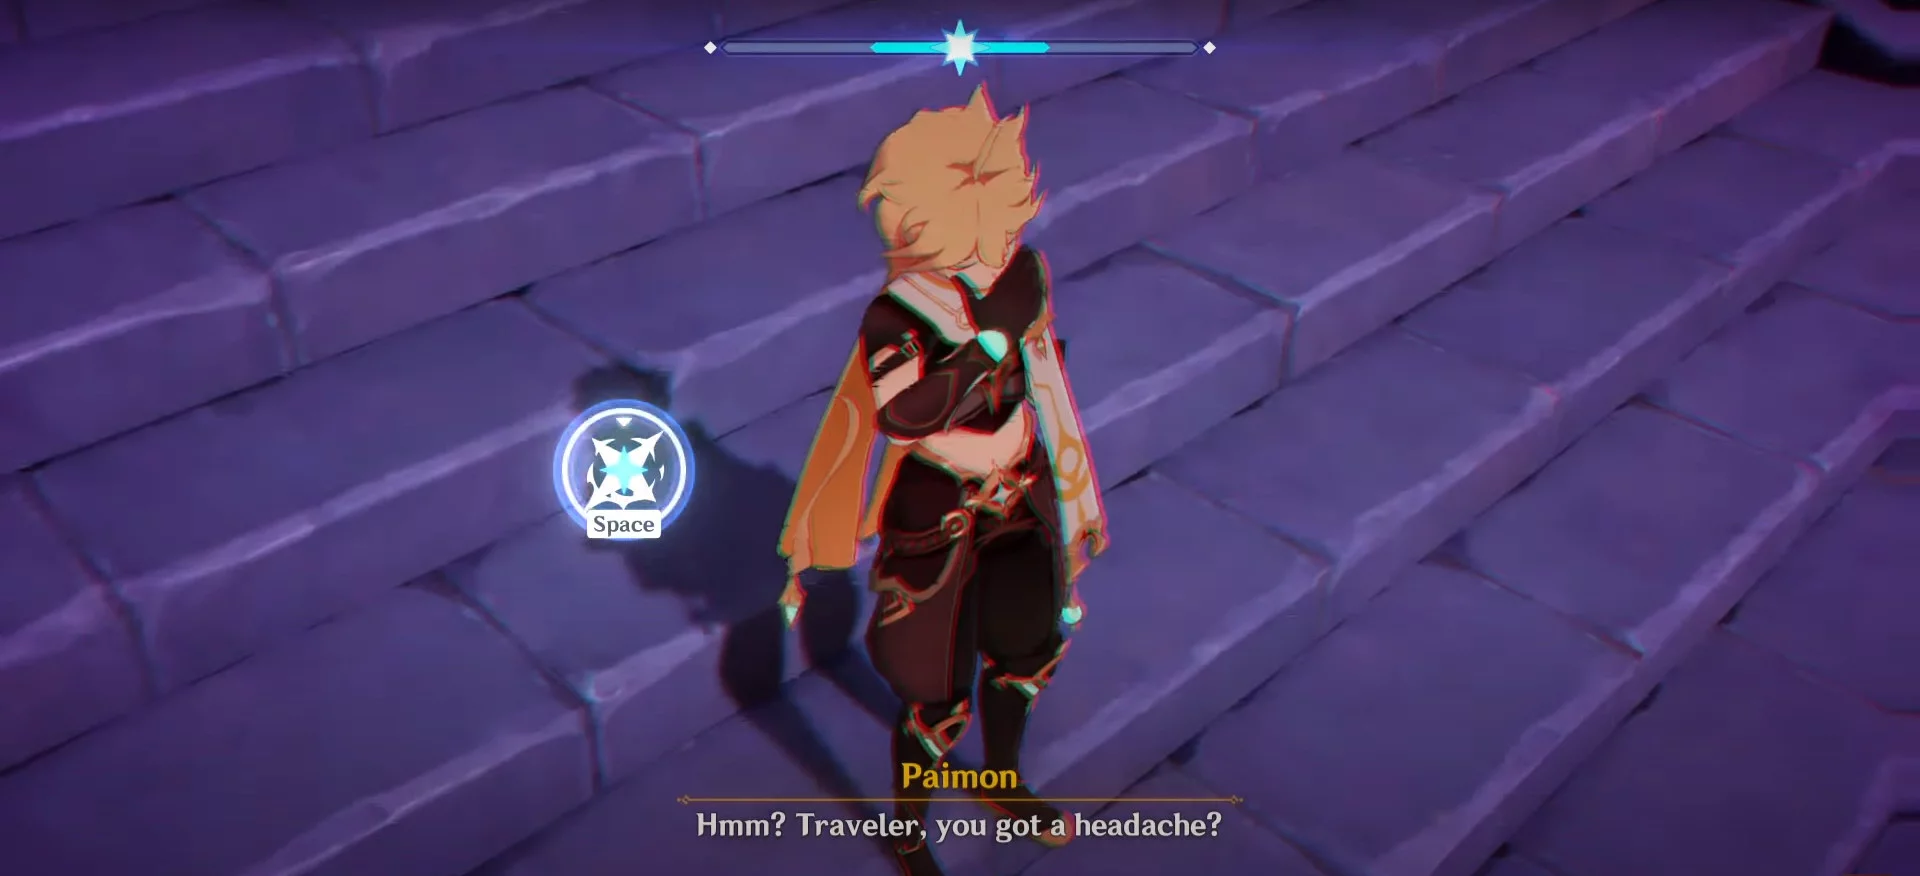
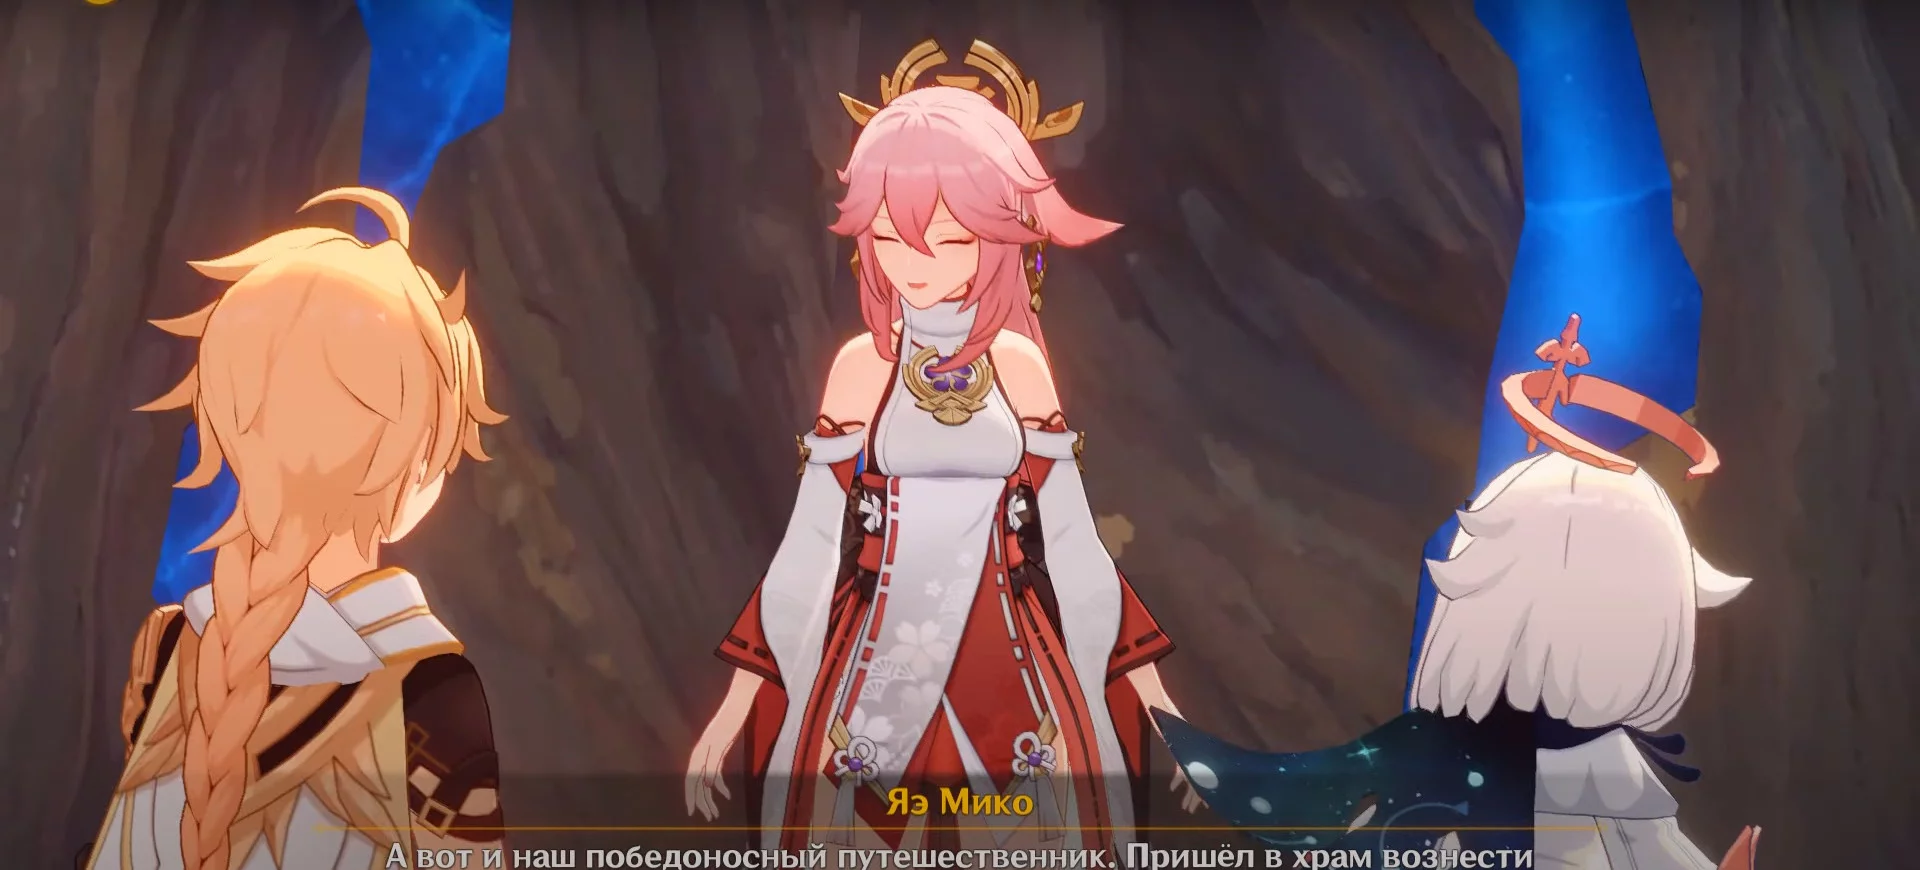
The quest will start immediately after the previous one. The hero wakes up in the Narukami Shrine, where Yae Miko brought him. She will share some secrets about Shogun Raiden and tell you about a special training that should help you. Head to the location indicated by the marker. You will find a device that simulates Shogun Raiden's attacks.


The training consists of two parts. In the first part, you need to dodge attacks for one minute. If you get hit more than 10 times, the challenge will fail.


At the end, you need to dodge the final blow. To do this, destroy one of the appearing devices.
The challenge is simple, but it will take time to understand the attack timings and dodges. To succeed, stay away from the device and constantly dodge.
You will face three types of attacks. The area attack around the mechanism is easy to avoid if you stay at a sufficient distance. The area attack around the character can be avoided by timely dashing. For the sweeping attack coming from the mechanism towards the character, also use a dash.

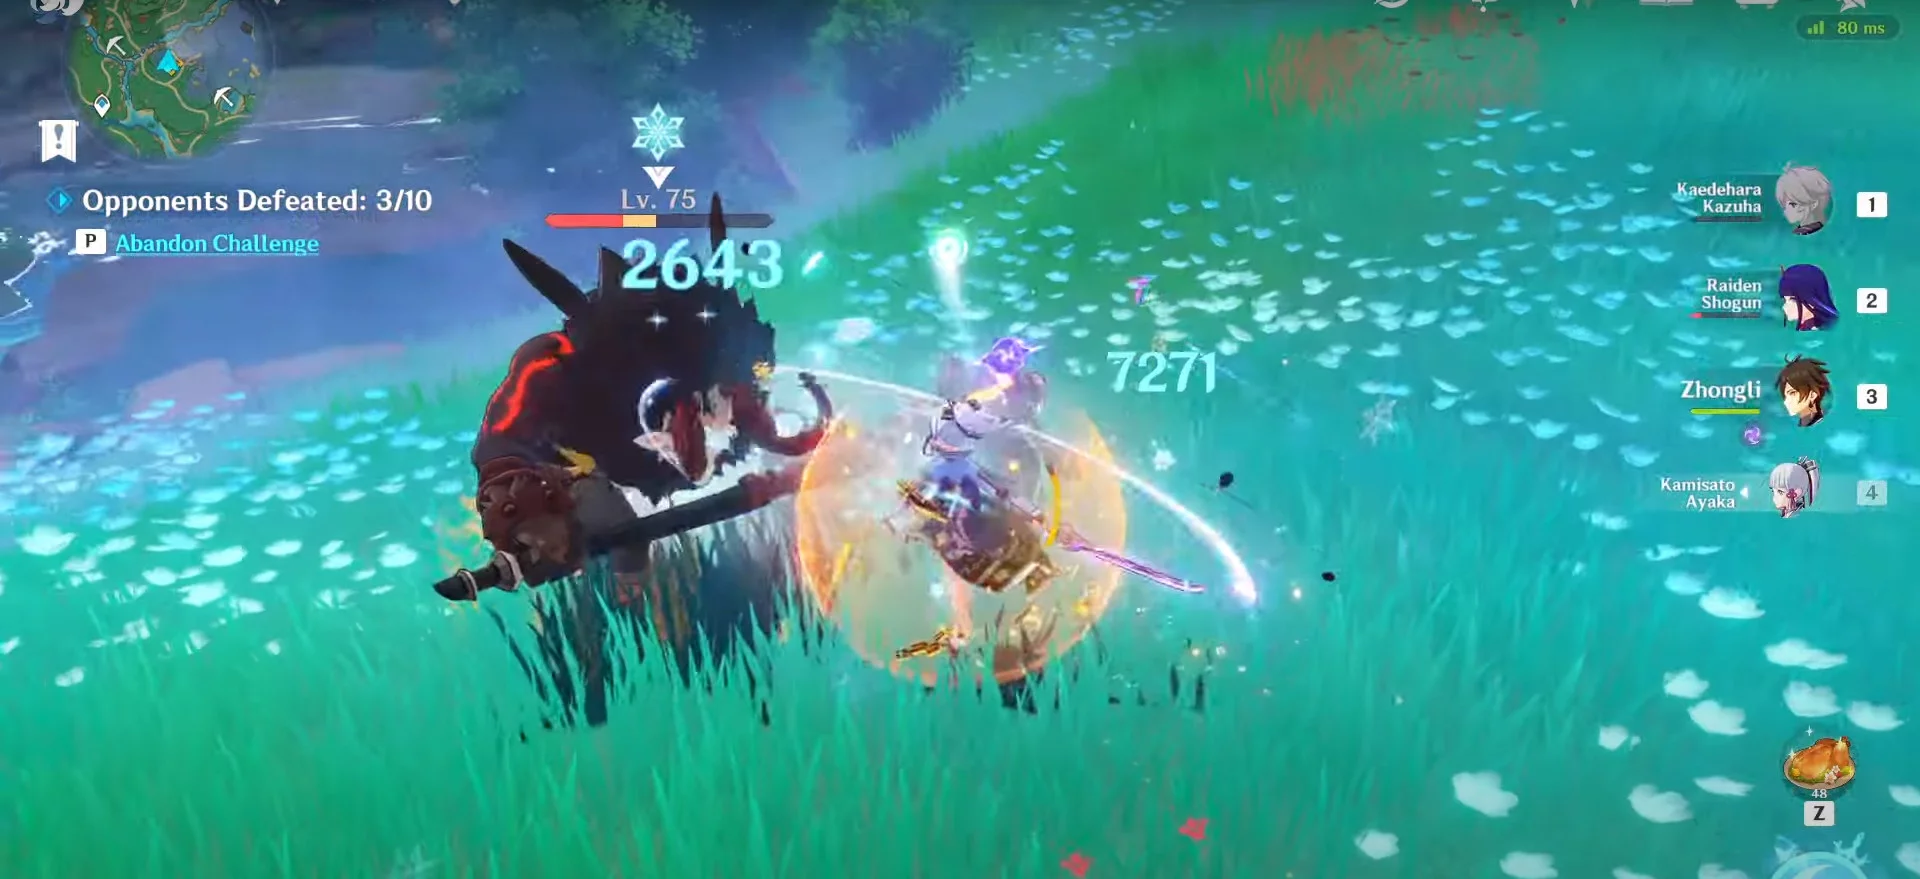
But that's not all. In the second part of the training, you need to kill ten different enemies. The device will continue to attack you just like the first time. This part is easier, as the device's attacks can be ignored.
After completing the training, return to the shrine to meet Yae Miko's guest.
Reward: 450 Adventure Points, 22,000 Mora, 2 Hero's Wit, and 4 Mystic Enhancement Ores.
How to Start the Quest Proof of Guilt
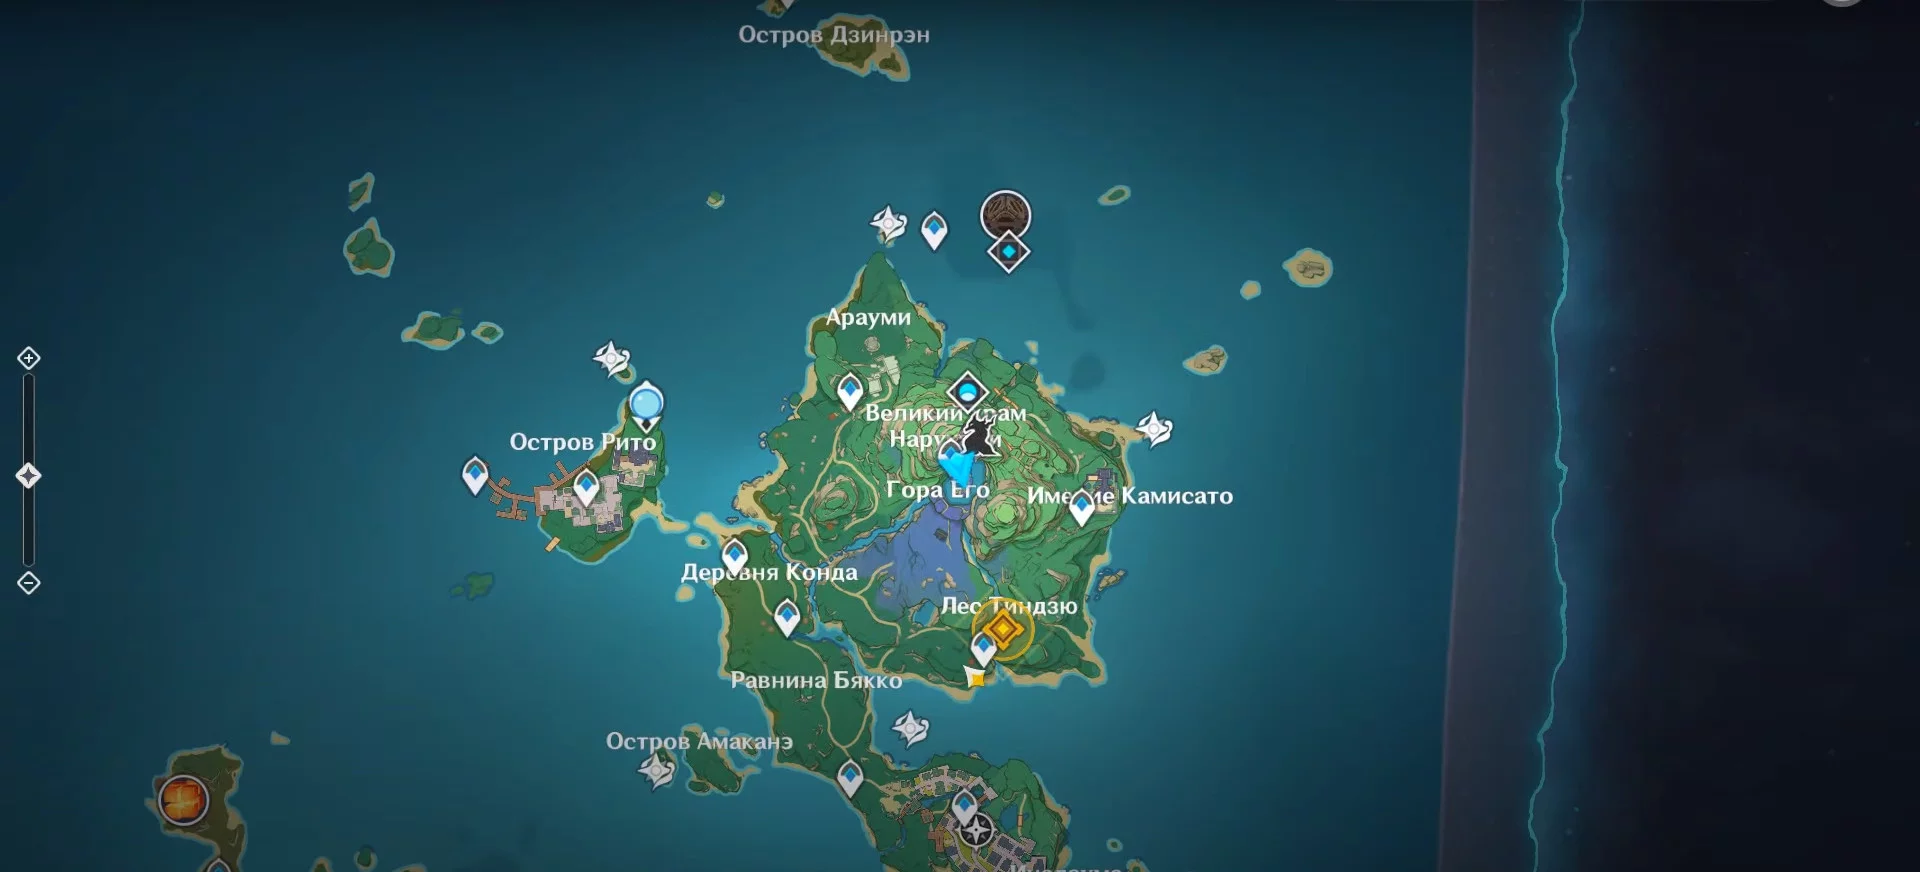
You have three days to find evidence of the conspiracy for Sara. Yae Miko sends the hero to Chinju Forest to meet a sleeping professional.
Find the strange bear in the indicated search area. This is Sayu.


After a short dialogue with the priestess, head to the Komore Teahouse to meet with Ayaka and Thoma. Discuss what is happening with them and devise a diversion plan.


You need to distract the guards with fireworks. Go to Yoimiya and ask for help.
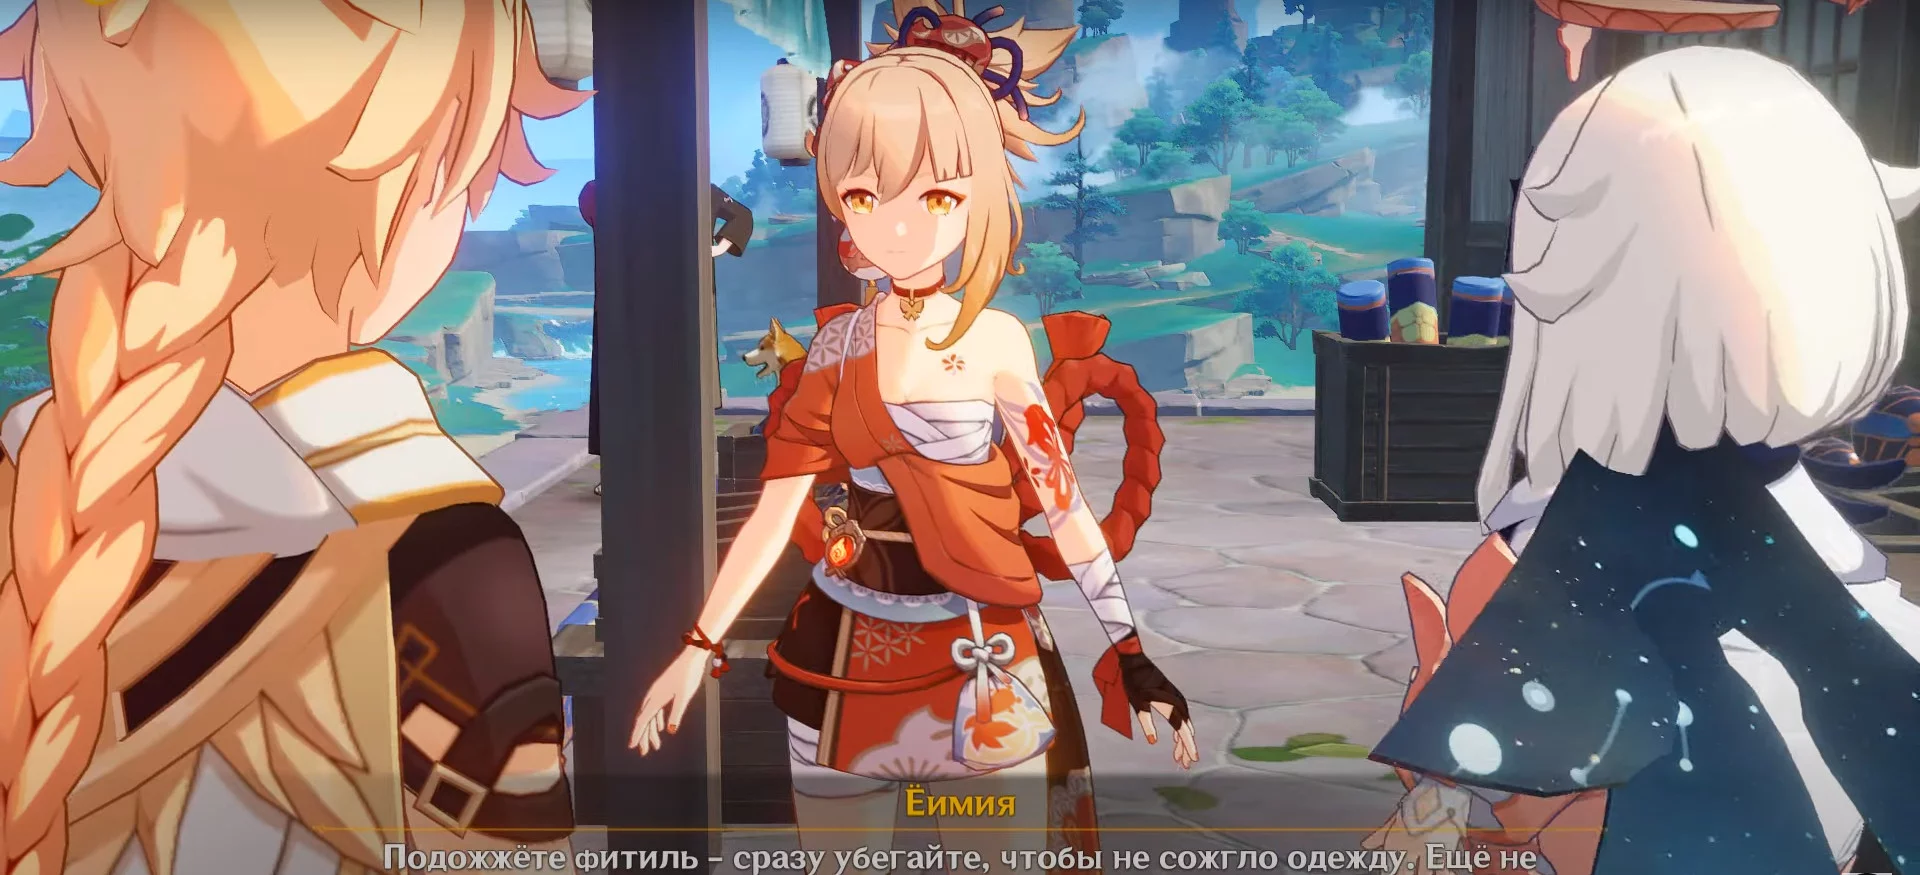
When you get the fireworks, you need to wait until midnight. Head to the statue. Sayu will go to look for the documents, while you need to set off the fireworks near the statue.
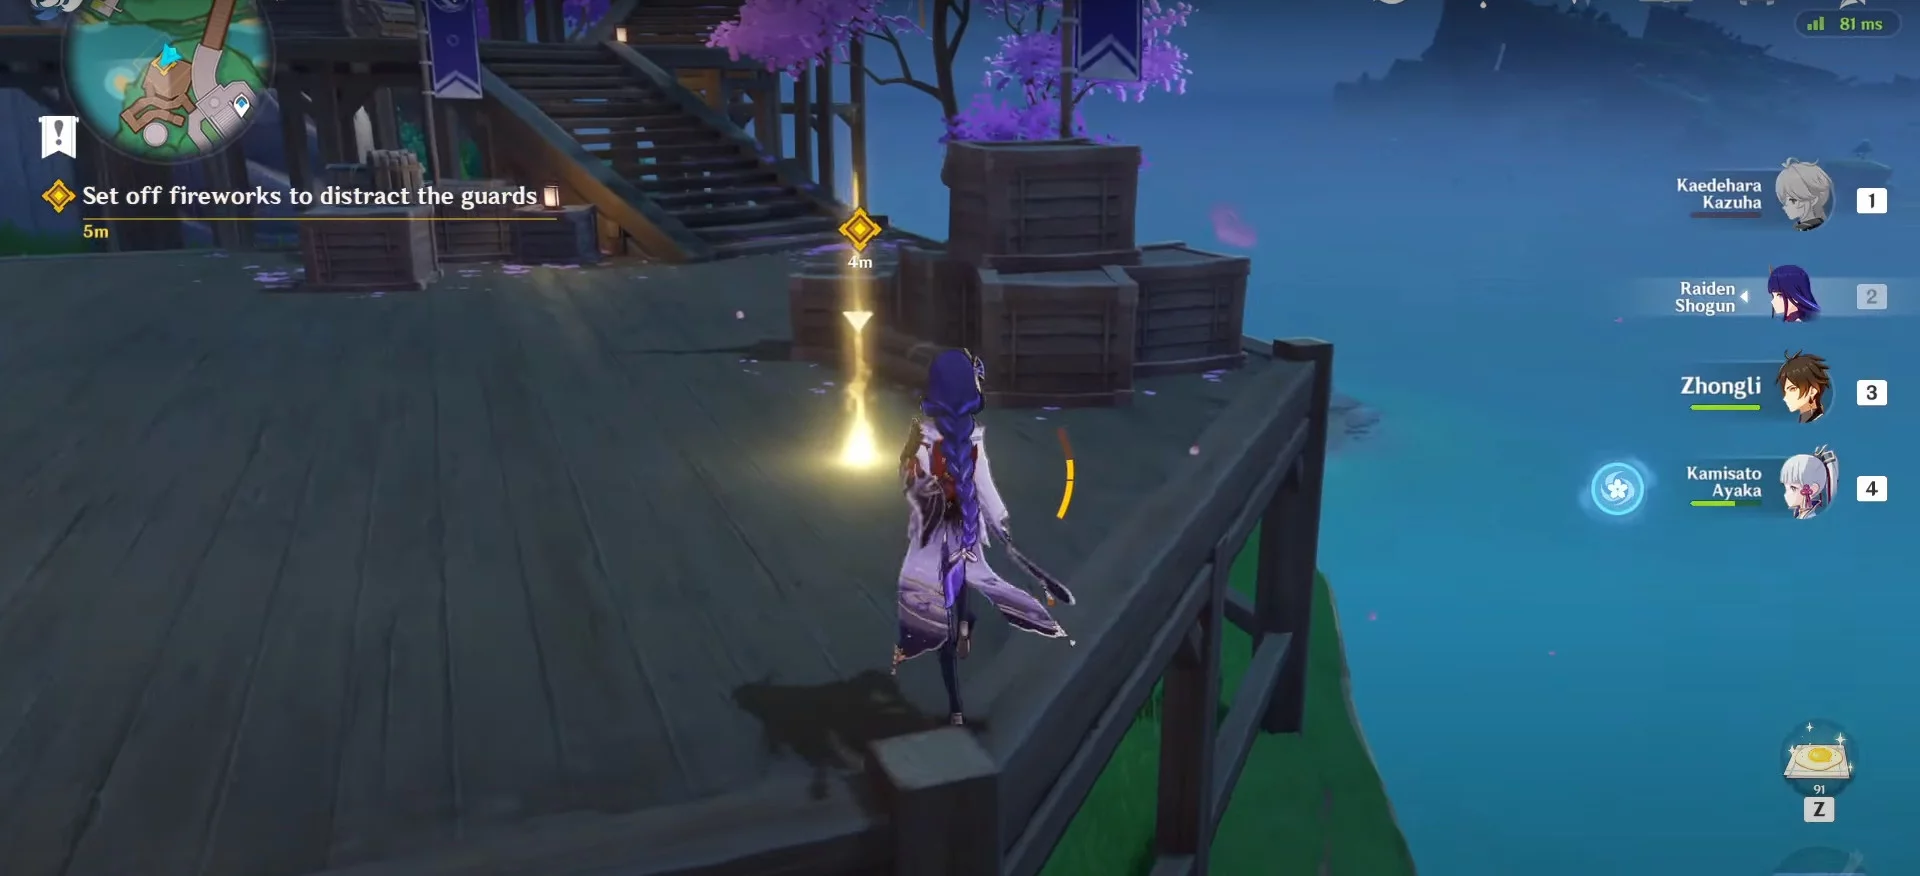
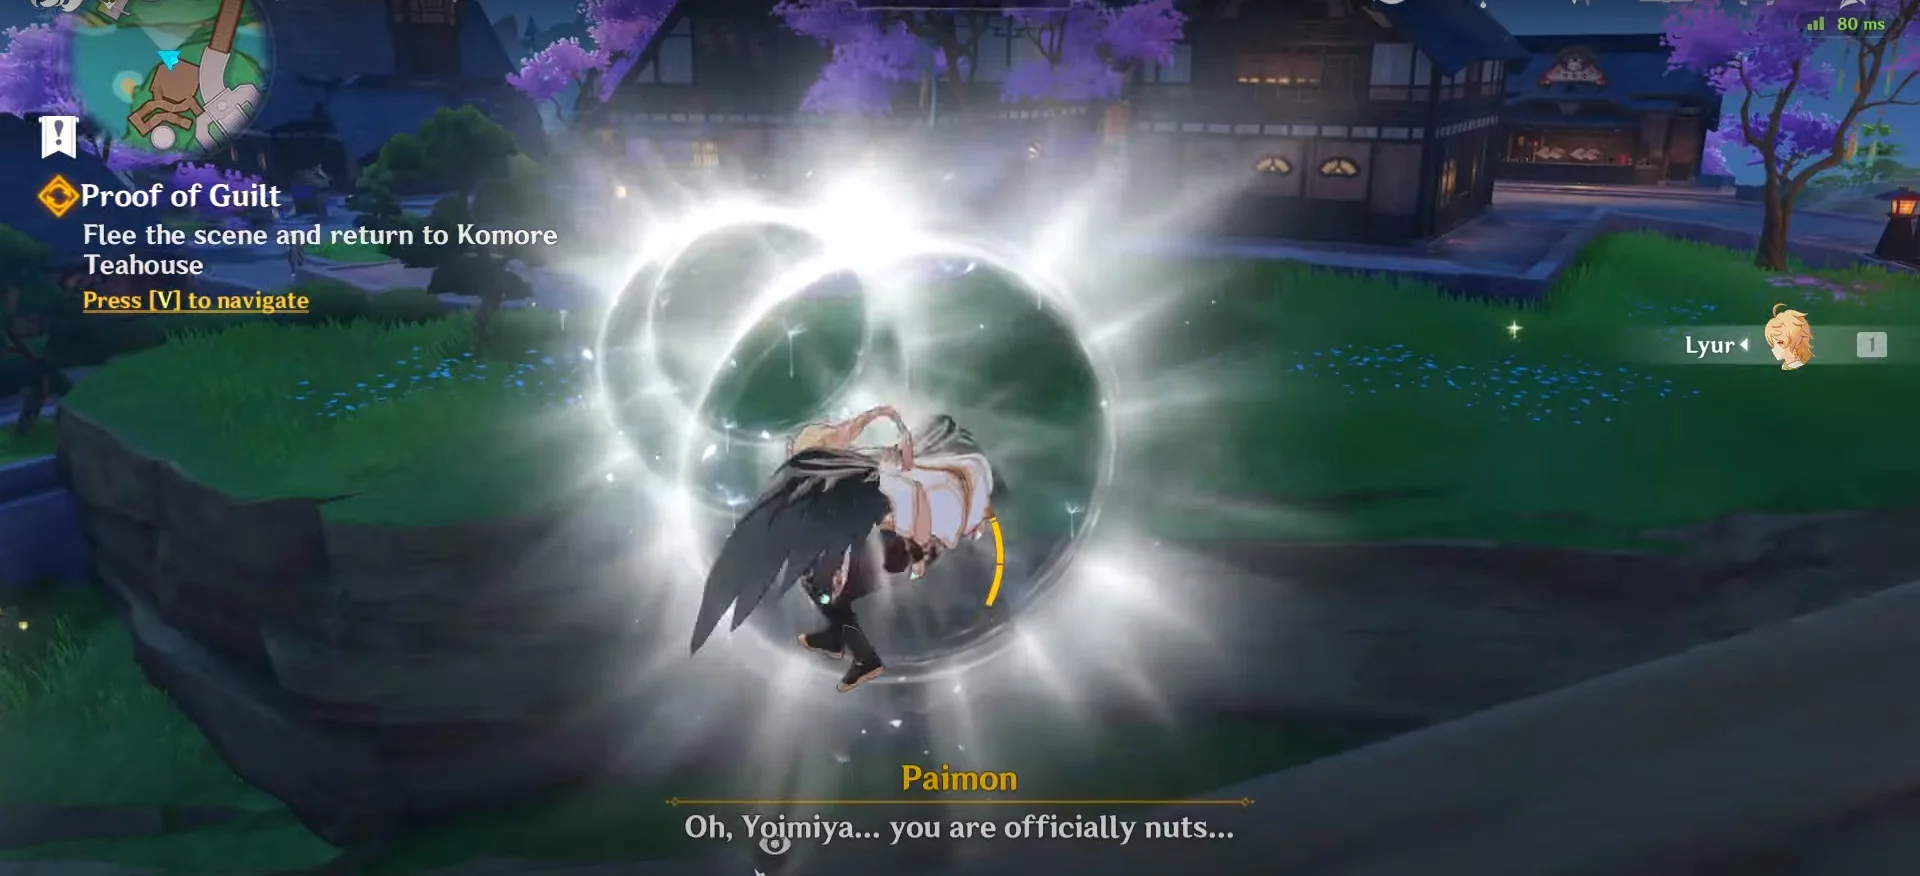
After lighting the fuse, a timer will start. You need to urgently leave the area and reach the teahouse. You have only one minute, and all the guards are alarmed.
There is enough time, just don't get caught by the guards. If the alert indicator fills up, the challenge will be failed.
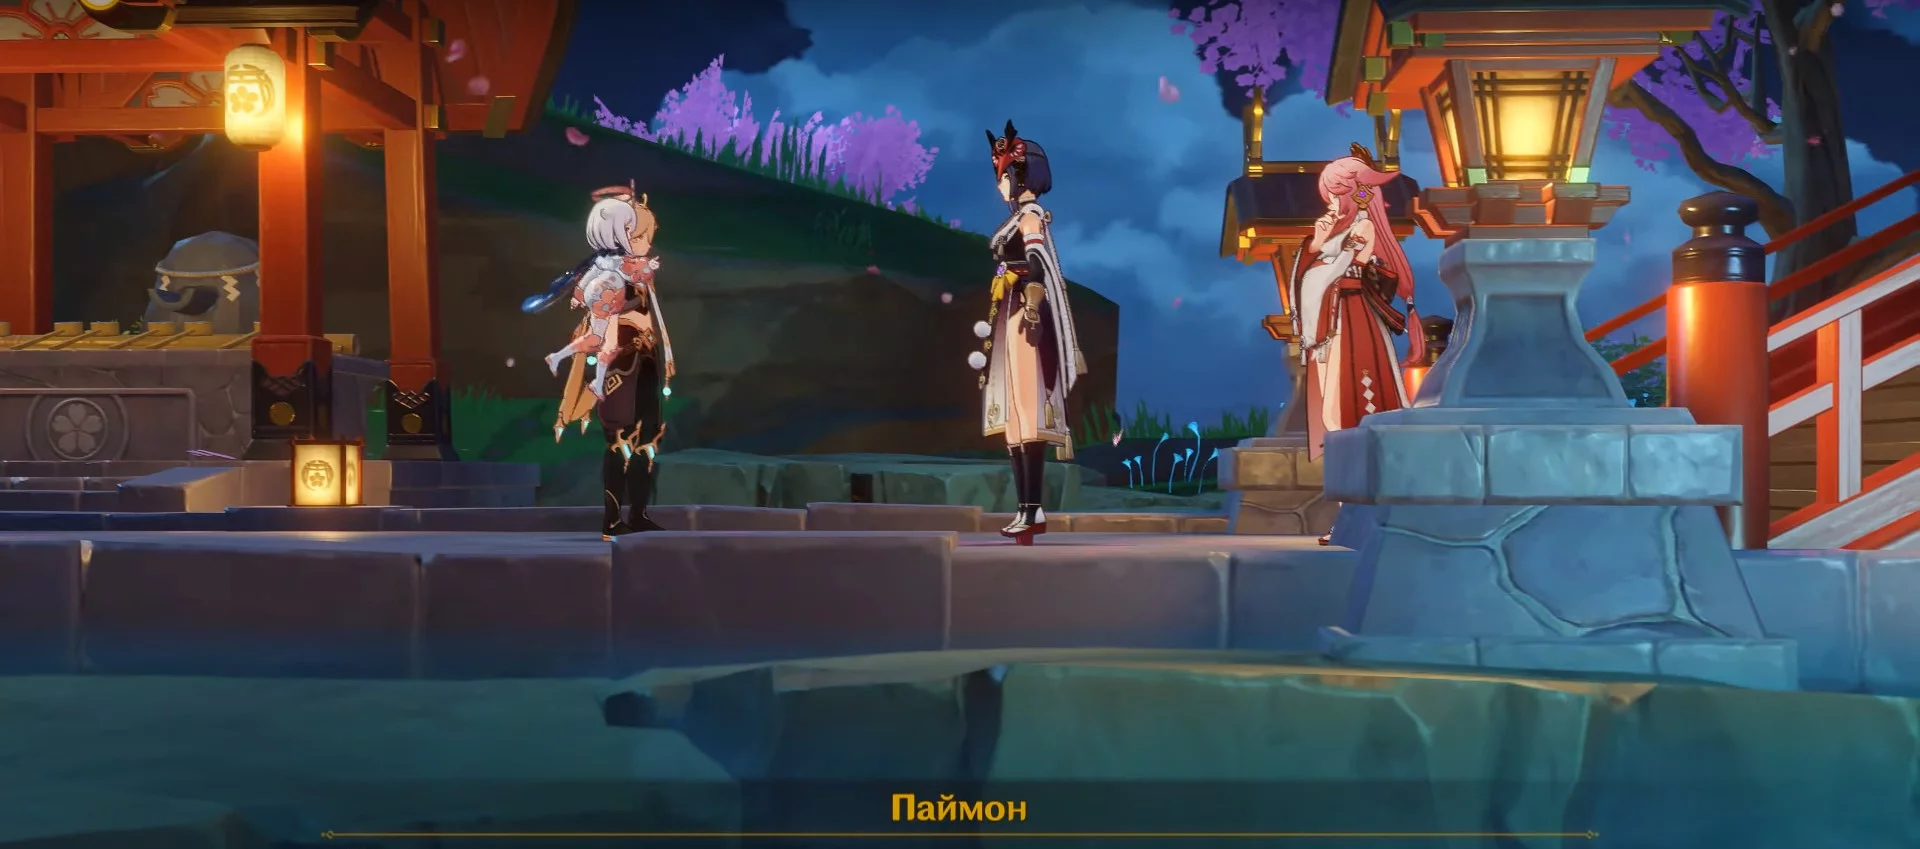
Returning to the teahouse, report your success and wait for Sayu to return.
Reward: 650 Adventure Points, 30 Primogems, 31,125 Mora, 3 Hero's Wit, and 6 Mystic Enhancement Ores.
How to Start the Quest Foolish Loyalty, Reckless Courage. How to Complete the Dungeon Tenryou Commission Headquarters
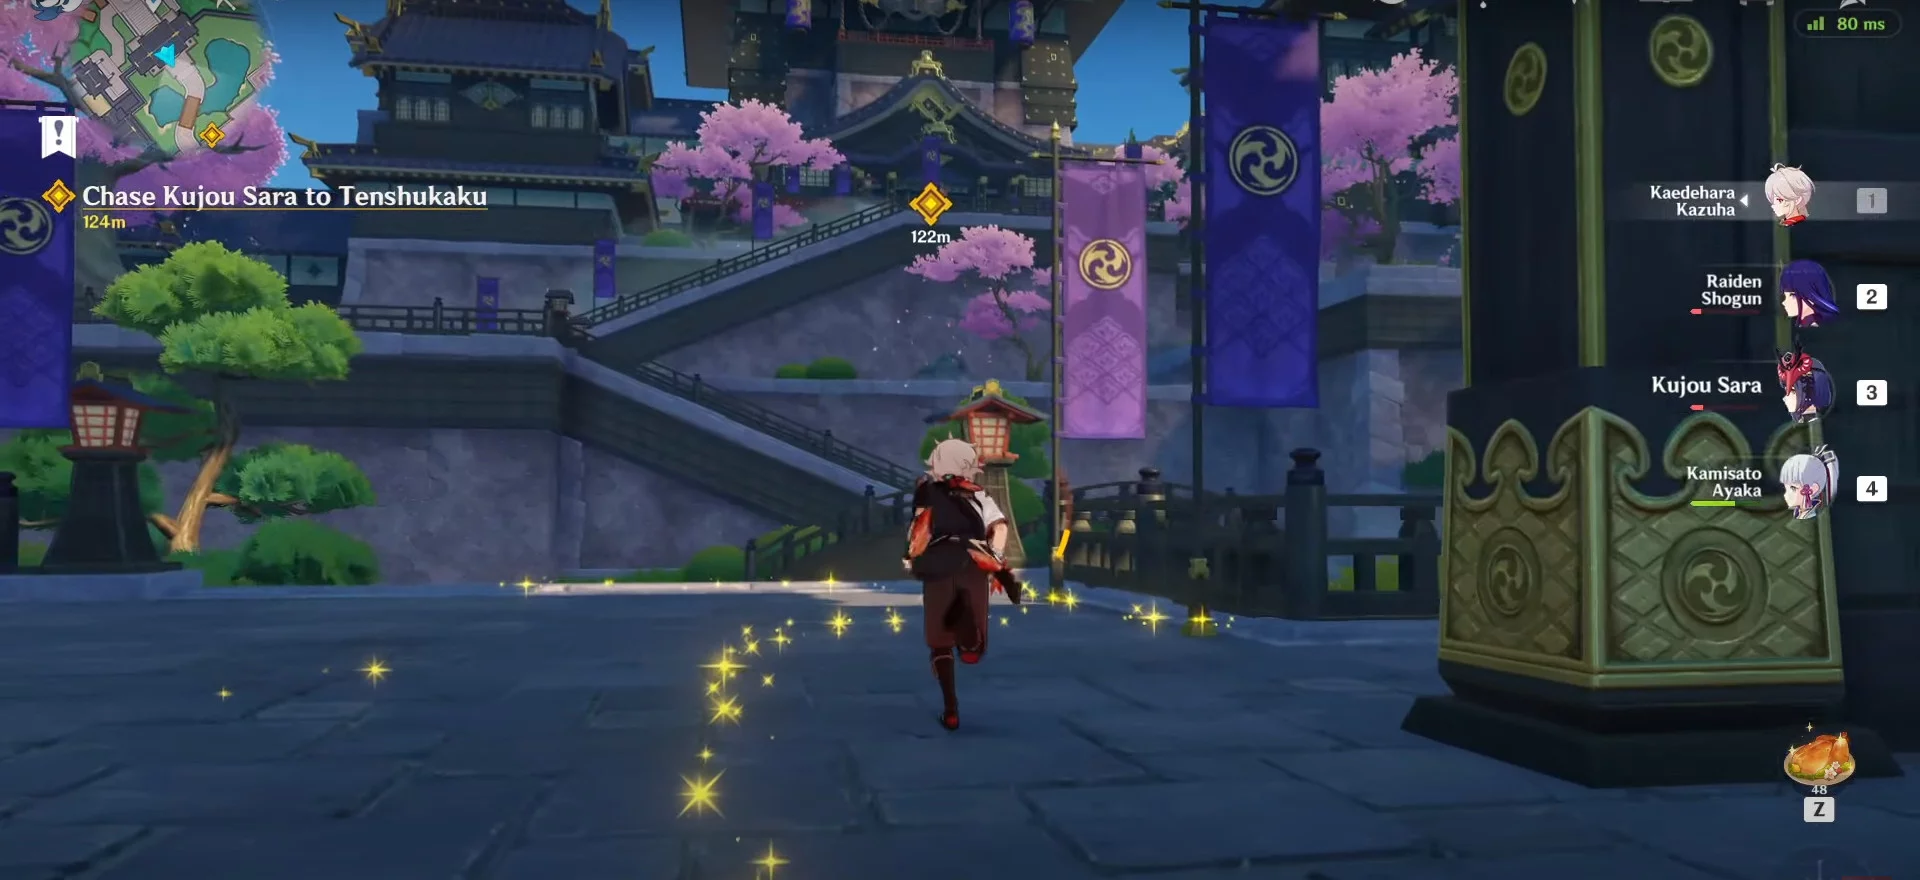
Return to Narukami Shrine to present the collected evidence to Sara. After the conversation, she will head to the Tenryou Commission, follow her.


At the location, you will face a dungeon — a battle with several groups of samurai awaits you. In the end, fight the leader.


After the fight, watch the cutscene and listen to the dialogue between Sara and the head of the Tenryou Commission. Before leaving the dungeon, don't forget to take the reward chest.
Reward: 650 Adventure Points, 31,125 Mora, 3 Hero's Wit, and 6 Mystic Enhancement Ores.
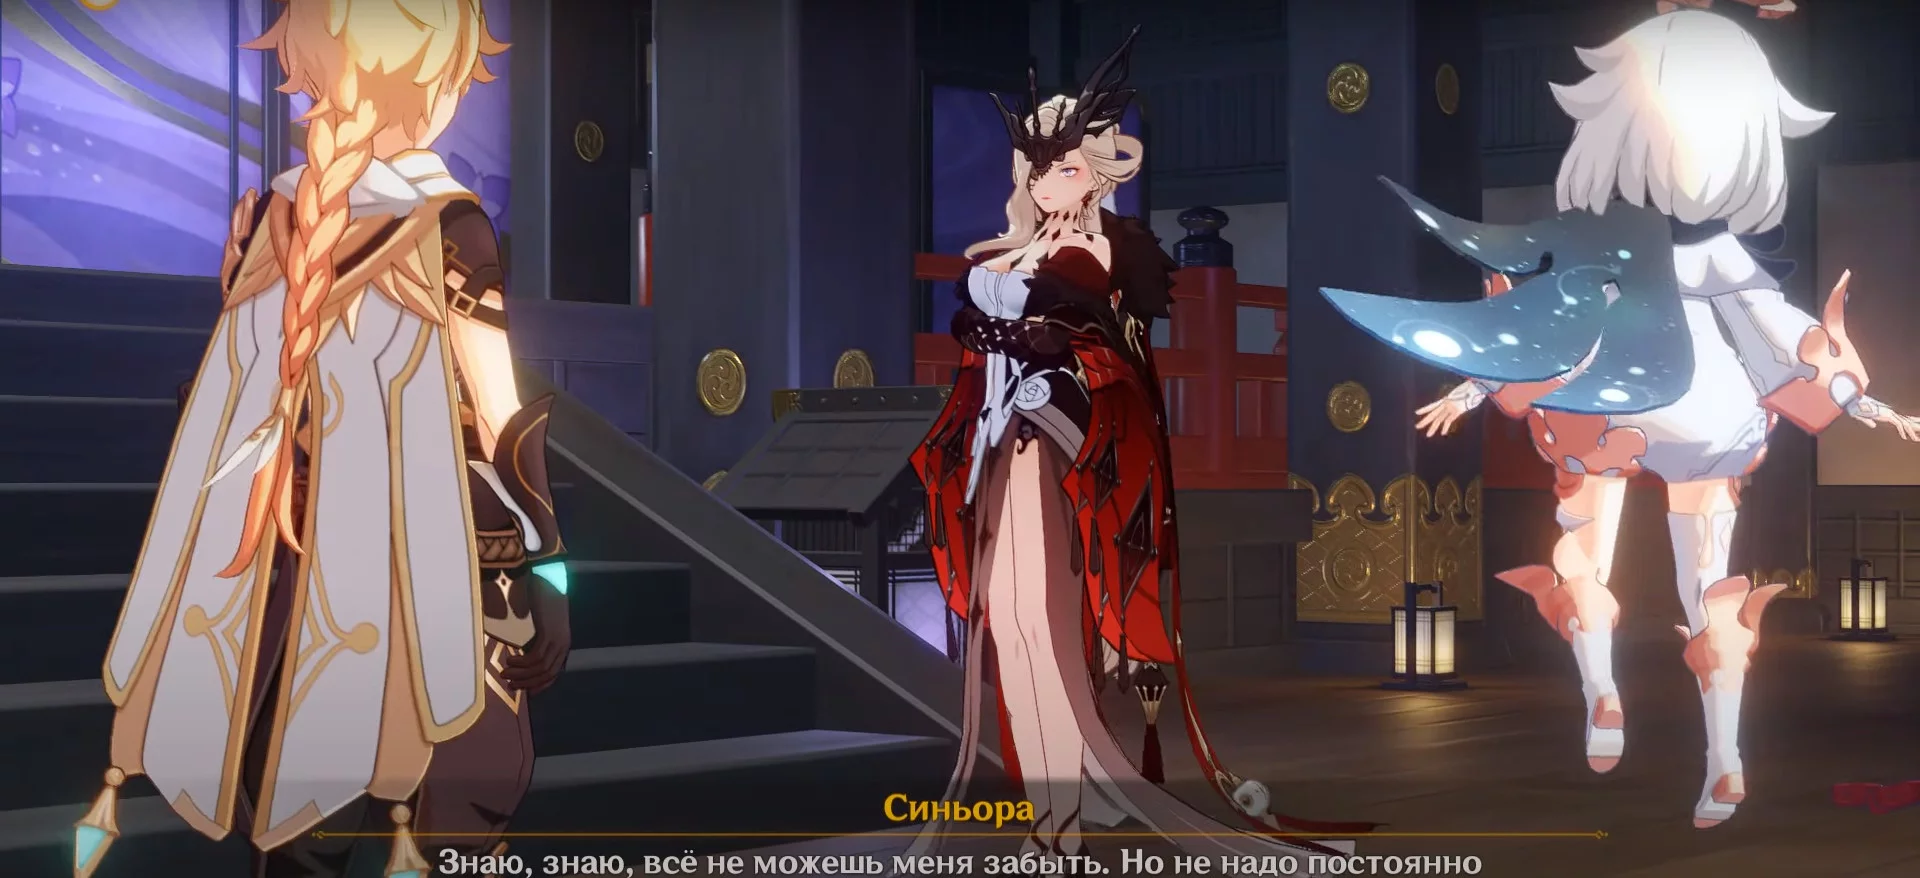
How to Start the Quest Palace Duel. Where to Find the Boss Signora
Go to the Shogun's palace. During the conversation, the hero challenges Signora, and a battle ensues.
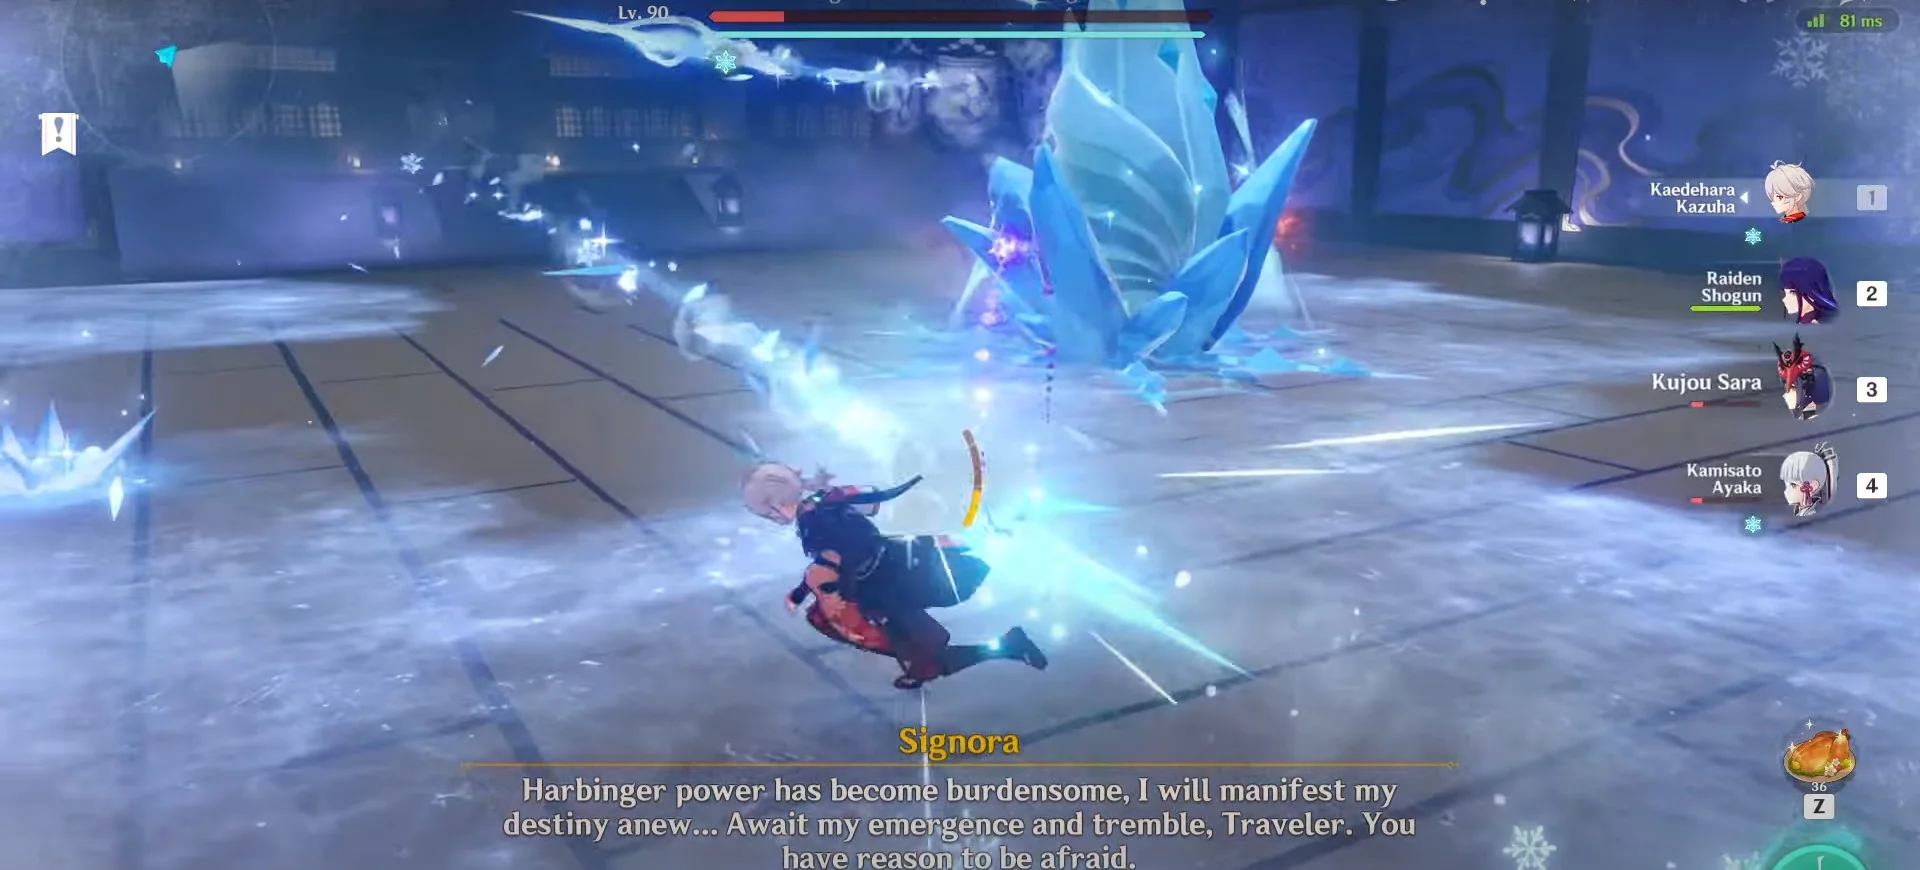
The battle is divided into two phases: Cryo and Pyro. At first, Signora will use Cryo attacks, constantly inflicting frostbite. To remove it, you need to break special objects around the edges of the arena. Keep an eye on the negative effect level on the bar just above the character's health.


When the boss has low health, she will protect herself with an ice block. Regular attacks will be almost useless. Pay attention to the fiery butterflies flying around the arena. Collect them to break the barrier faster.
When the ice cocoon is destroyed, Signora will transform into the Smoldering Crimson Witch and switch to the Pyro element.
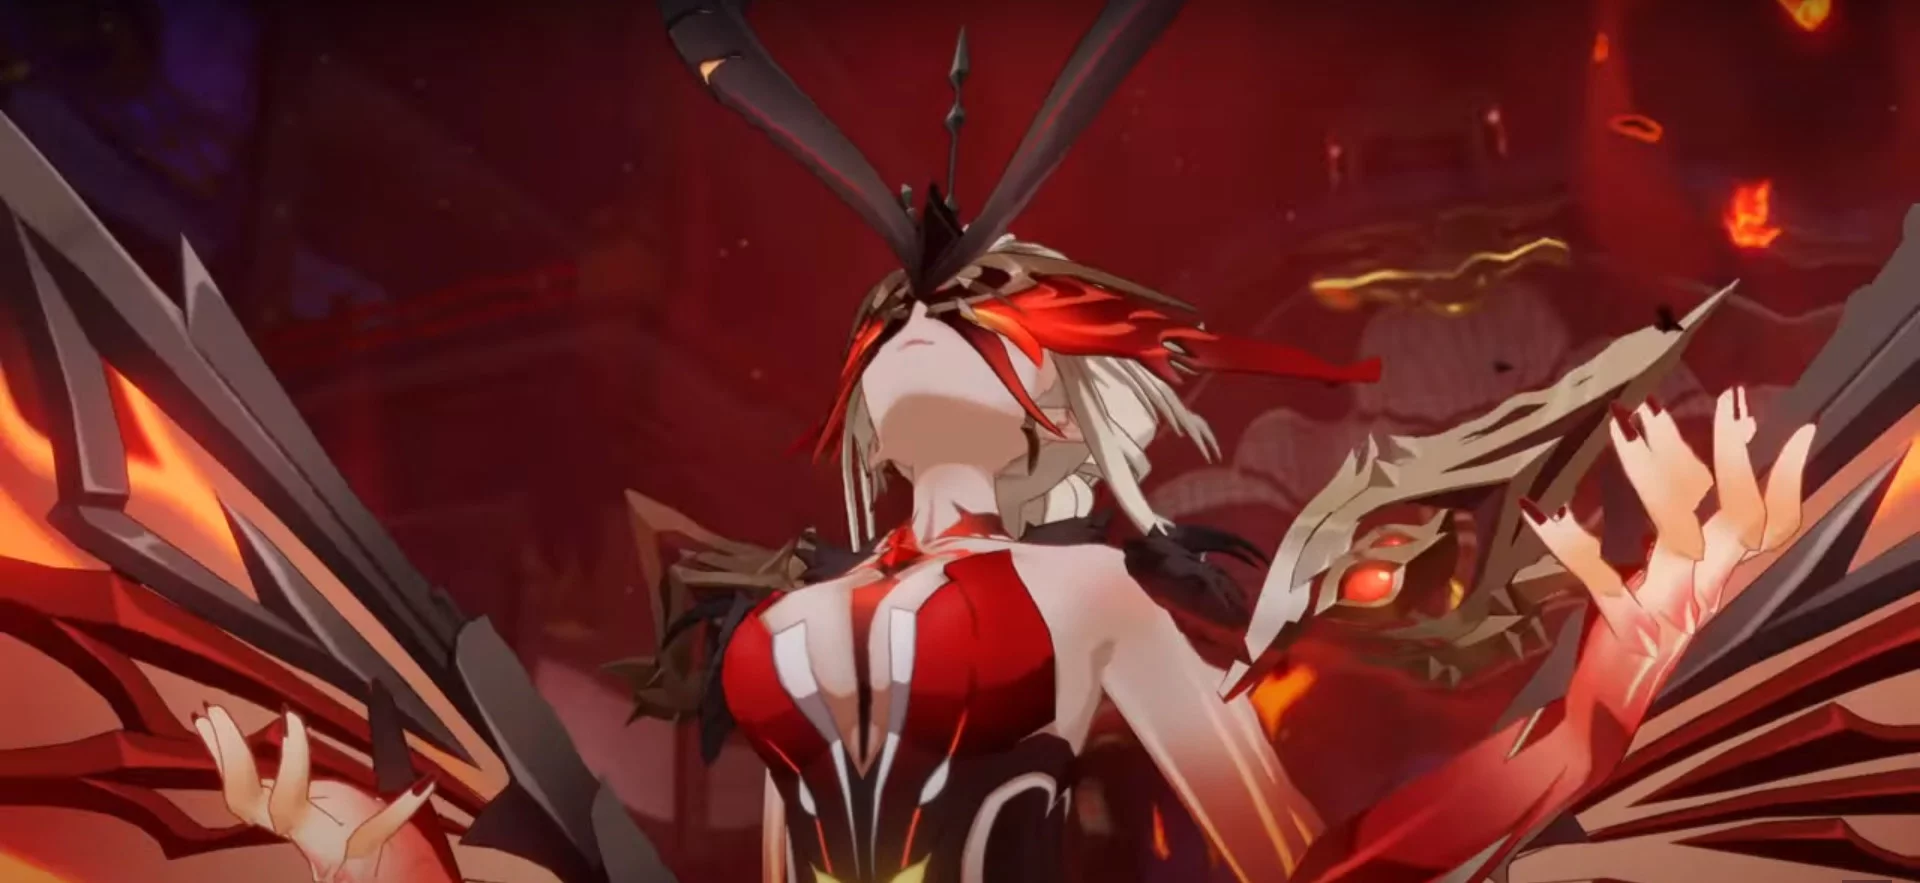
The negative frostbite effect will change to overheating or burning. As in the first phase, break the objects around the edges of the arena to remove them.
After defeating the boss, watch the cutscene and leave the palace.
Reward: 925 Adventure Points, 30 Primogems, 44,000 Mora, 4 Hero's Wit, and 8 Mystic Enhancement Ores.
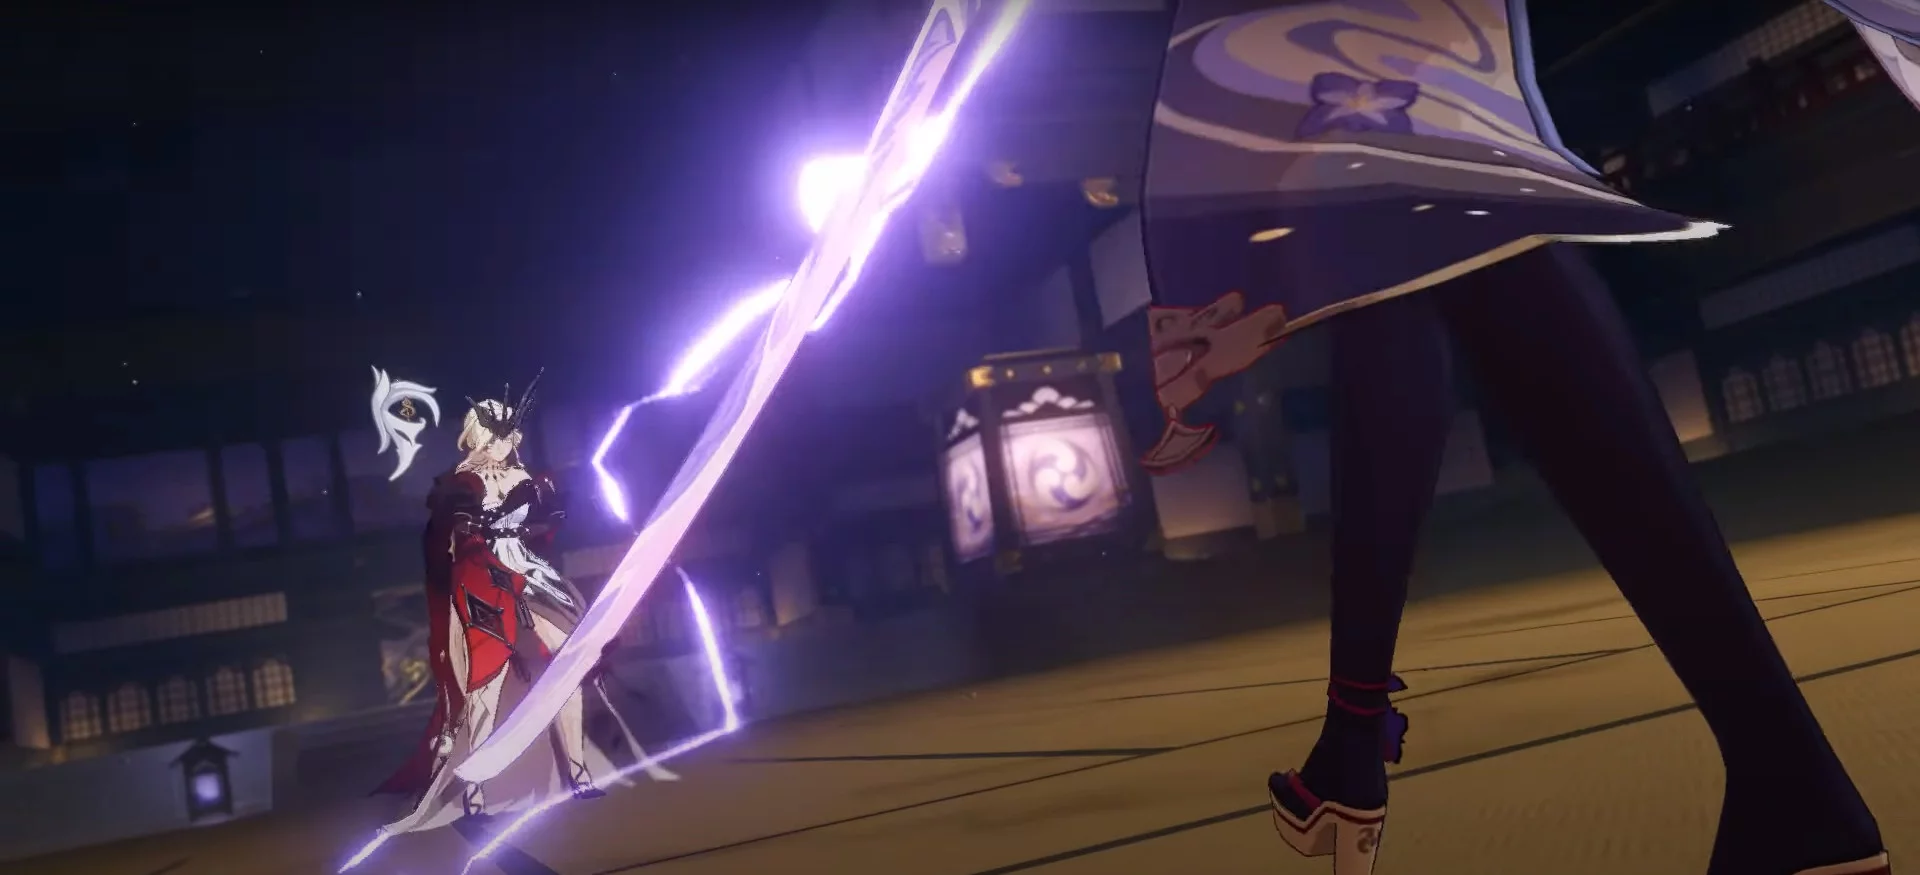
How to Start the Quest Omnipresent God. How to Defeat the Shogun Raiden
After the battle with Signora, Raiden will allow the Traveler to leave but will start to influence them psychologically. Descend the stairs to the main gate.
The resistance has already captured the city and is preparing to attack the palace. Watch the cutscene. Raiden will intervene in the battle and take the hero to her realm.

The training you went through will be really useful. Raiden attacks exactly like Yae Miko's device, but you won't be able to deal significant damage to her. Reduce her health by 1/3 for the priestess to come to your aid. After a short cutscene, the battle will continue, but the Shogun will be more susceptible to your characters' attacks.


When Raiden is defeated, a long cutscene will start. The quest is completed.
Reward: 925 Adventure Points, 30 Primogems, 44,000 Mora, 1 Memory of the Violet Flash, 4 Hero's Wit, 8 Mystic Enhancement Ores.
How to Start the Quest Wishes
Yae Miko is waiting to thank you. Talk to her. After this, the quest Omnipresent God, Mortal World will be completed, and Raiden's legend quest will become available.
Reward: 450 Adventure Points, 22,000 Mora, 2 Hero's Wit, and 4 Mystic Enhancement Ores.
How to Get the Achievements Fish-Sword II, Ephemeral Hope, Big Fireworks, Deadly Duel, Foreign Desires, Omnipresent God, Mortal World
During the completion of such a large quest, you will receive several achievements. You don't need to do anything special, just follow the storyline. Here is the list:
- Fish-Sword II;
- Ephemeral Hope;
- Big Fireworks;
- Deadly Duel;
- Foreign Desires;
- Omnipresent God, Mortal World.
Other guides
- How to Clear the Fog and Break the Seal on Tekoloapan Beach in Genshin Impact
- Secrets, Mysteries, and Puzzles of Natlan in Genshin Impact
- Riddles, Puzzles, and Secrets of Dragonspine in Genshin Impact
- Riddles, Puzzles, and Secrets of Inazuma in Genshin Impact
- All Luxurious Chests in Natlan in Genshin Impact: Maps, Schemes, and Routes
- Riddles, Puzzles, and Secrets of Fontaine in Genshin Impact
- Open Your Heart to Me Quest: Find the Secret Cave in Ochkhanatlan in Genshin Impact
- Walkthrough of Archon Quests in Genshin Impact: Act 4, Chapter 5. The Masquerade of the Guilty
- Dance in the Moonlight in Genshin Impact: how to find а photographer
- How to Get into the Jade Chamber in Genshin Impact
- Archon Quest Durchgänge in Genshin Impact: Akt 2, Kapitel 4. Requiem der widerhallenden Tiefen
- Archon Quest Walkthrough in Genshin Impact: Interlude Kapitel, Akt 2. Gefährlicher Pfad
- Archon-Quests-Leitfaden in Genshin Impact: Akt 3, Kapitel 1. Durch Nebel und dunkle Wälder
-
Riddles, Puzzles, and Secrets of Fontaine in Genshin Impact
-
Secrets, Mysteries, and Puzzles of Natlan in Genshin Impact
-
Riddles, Puzzles, and Secrets of Inazuma in Genshin Impact
-
How to Get into the Jade Chamber in Genshin Impact
-
Riddles, Puzzles, and Secrets of Dragonspine in Genshin Impact
-
Resin in Genshin Impact: how to quickly extract Original, Fragile, and Condensed Resin
-
All Events in Genshin Impact 4.6 and Available Rewards
-
Underwater Nocturne in Genshin Impact: How to Find the Blank Music Score
-
Best Builds for Xiao in Genshin Impact
-
The Best Build for Sucrose in Genshin Impact: How to Get a Hero
-
The Best Builds for Ayaka in Genshin Impact: Skills, Leveling and Ascension
-
Gorou in Genshin Impact: Best Builds for Weapons and Artifacts, Talents, Skills, Constellations and Tactics
-
Kamisato Ayato in Genshin Impact: Best Builds, Talents, Weapons, Constellation, Leveling and Team Composition
-
Shikanoin Heizou in Genshin Impact: Best Builds for Weapons and Artifacts, Skills, Talents and Leveling Up
-
Collei in Genshin Impact: Best Builds for Weapons and Artifacts, Skills, Talents and Leveling
-
Nahida in Genshin Impact: Best Builds for Weapons and Artifacts, Skills, Talents, Ascension and Leveling
-
Best Arlecchino Builds in Genshin Impact
-
How to get Dandelion Seeds in Genshin Impact