Kingdom Come Deliverance 2: How to Play Dice Guide

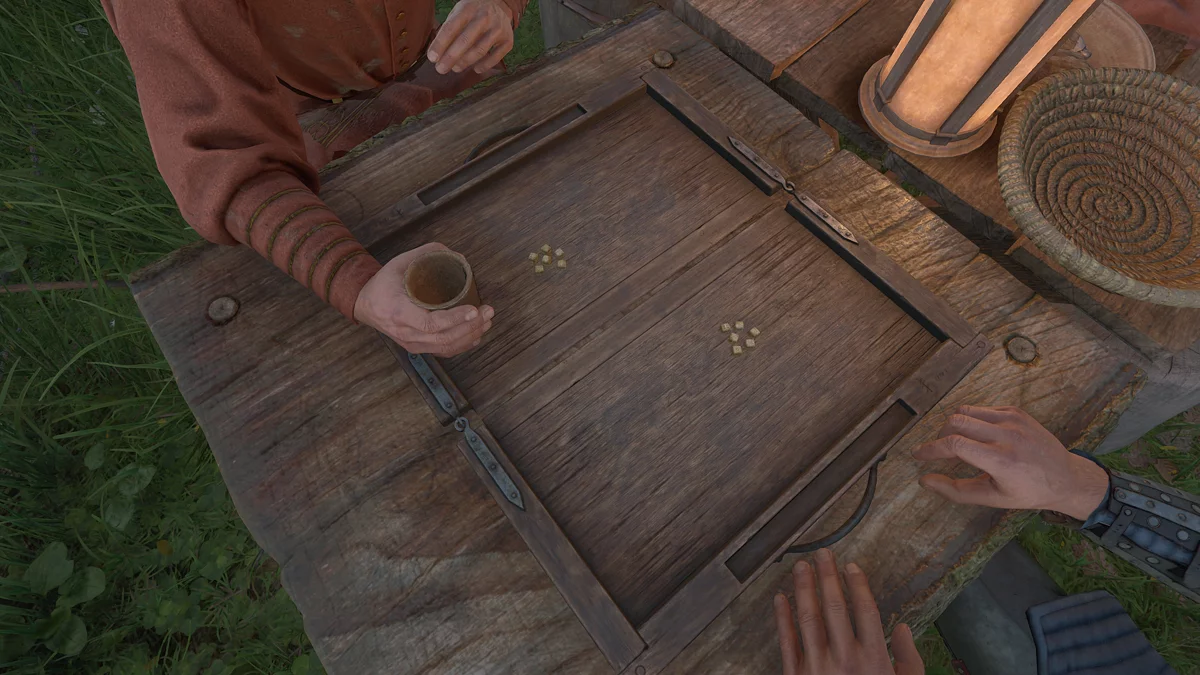
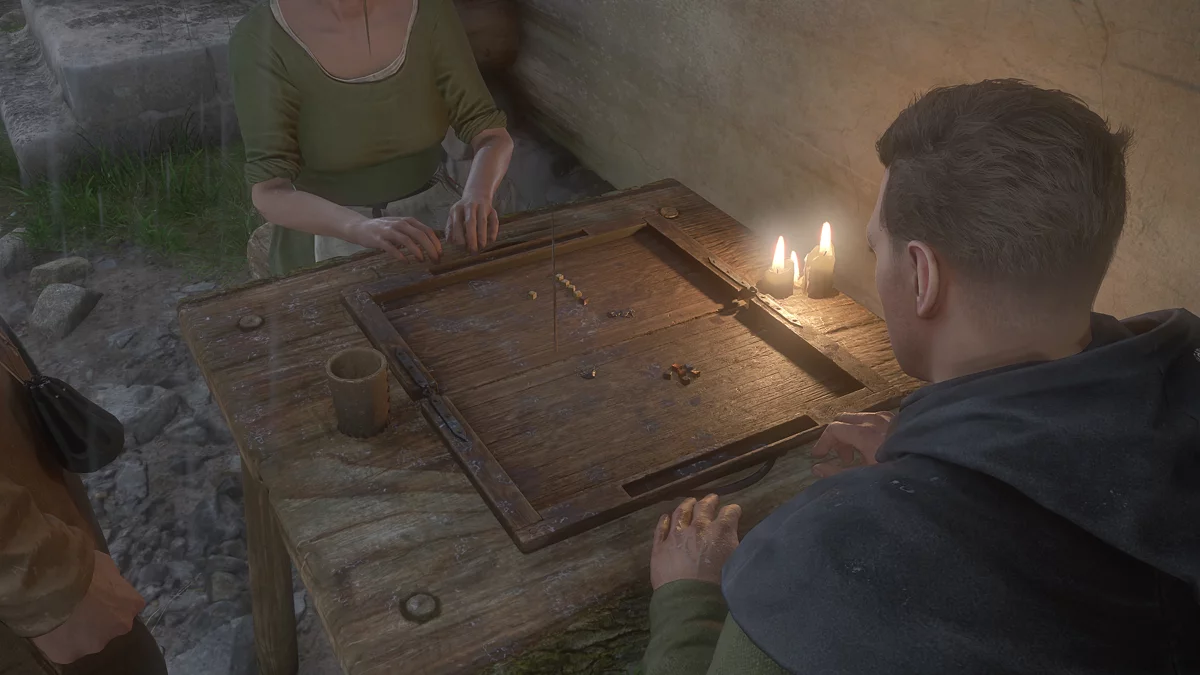
Dice playing in Kingdom Come: Deliverance 2 is an excellent way to earn groschen in the early stages, as well as a great opportunity to enjoy the game, immersing yourself in the atmosphere and enhancing the sense of presence in the medieval setting. Throughout the game, you will play dice several times as part of quests, and these games will be quite simple. You will also encounter many players in the open world. Therefore, seize the opportunity at the beginning of the game to master the basics of dice playing, as this is the only chance to lose without consequences as much as necessary. If you want to learn how to master the art of dice playing, check out our guide.
Guides for Kingdom Come: Deliverance 2
- Interactive Map Guide
- Beginner's Guide: Tips and Tricks
- Katherine Romance Guide
- Clara Romance Guide
- Lady Rosa Romance Guide
- How to Cure Food Poisoning
- How to Pick Locks
- How to Heal
- Fast Travel Guide
- How to Get a Horse
- How to Sell Stolen Items
- Fast Groschen Money Guide
- How to Find the Cabbage Thief
- How to Level Up Skills Guide
- How to Reset Skills (Perks)
- How to Increase Reputation
- Location of Save Files in Kingdom Come: Deliverance 2
- How to Find the Treasure with the Vidlak Bandits' Map
- How to Get a Wedding Outfit
- Potion (Decoction) Recipes Guide
- All Riddler Barley Answers
- Fixing Technical Problems and Bugs
How to Play Dice. Basic Rules of the Game
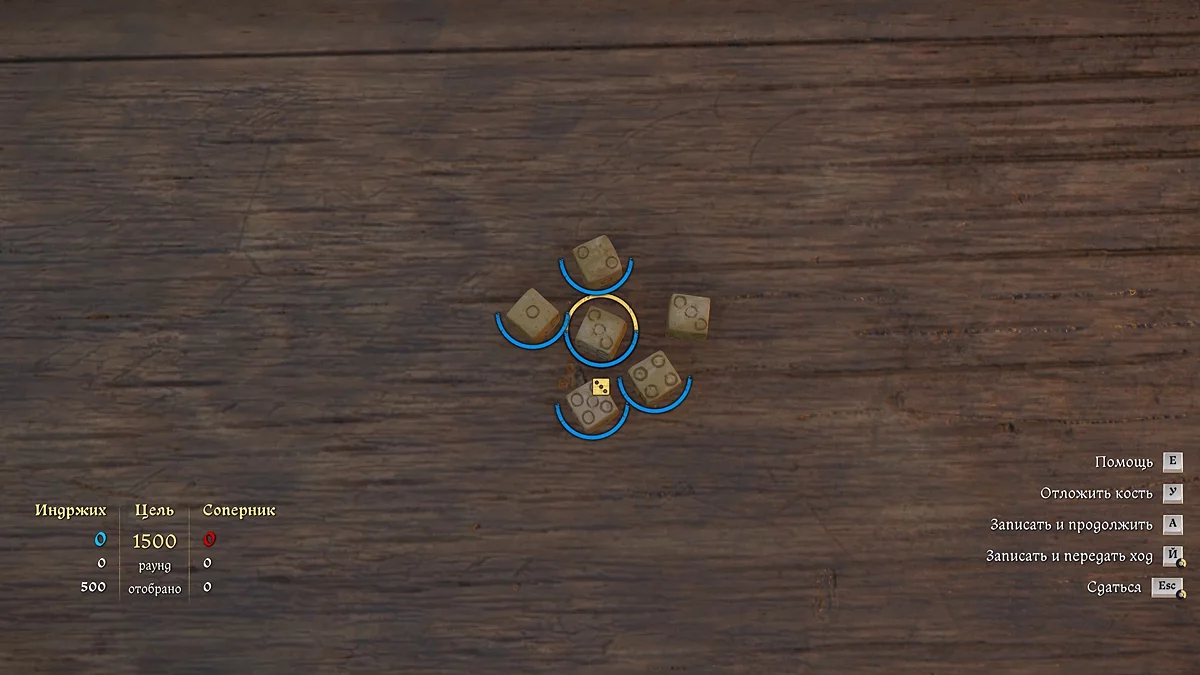
The game involves two players. Each has 6 dice (6 sides). The goal of the game is to gather the sum of points from the rolled combinations before the opponent.
- The first move is always yours — this is your basic advantage.
- From the rolled dice, you can set aside as many as needed, until only one die remains.
- You can only set aside dice that match a certain value or combination. You can choose only 1 and 5 from a single die.
- If a player gets a combination from all dice on the first roll, they can fix the result of this roll and start a new one, aiming to score more points until they fail or fix the final result of their turn.
- If after a roll the dice show "Nothing," the points scored for the current step and all previous ones are nullified. The turn passes to the next player.
- The winner is the player who first scores the required number of points.
The size of the bet determines the number of points you need to score. For example, if you decide to bet five groschen, your goal is to score 1500 points. Roll the dice and form combinations to outscore your opponent and win.
Point Combinations
This section presents the values of the dice and their combinations. It's worth remembering and understanding how to stack them to build your game strategy.
- 1 — 100
- 5 — 50
- 1+2+3+4+5 — 500
- 2+3+4+5+6 — 750
- 1+2+3+4+5+6 — 1500
- The Devil's Head acts as a "Joker," adding one value to any dice combination
- 1+1+1 — 1000
- 2+2+2 — 200
- 3+3+3 — 300
- 4+4+4 — 400
- 5+5+5 — 500
- 6+6+6 — 600
Each additional die added to a combination of 3 identical ones doubles the points. For example:
- 1+1+1 (+1) — 2000
- 1+1+1 (+1+1) — 4000
- 1+1+1 (+1+1+1) — 8000
Types of Dice
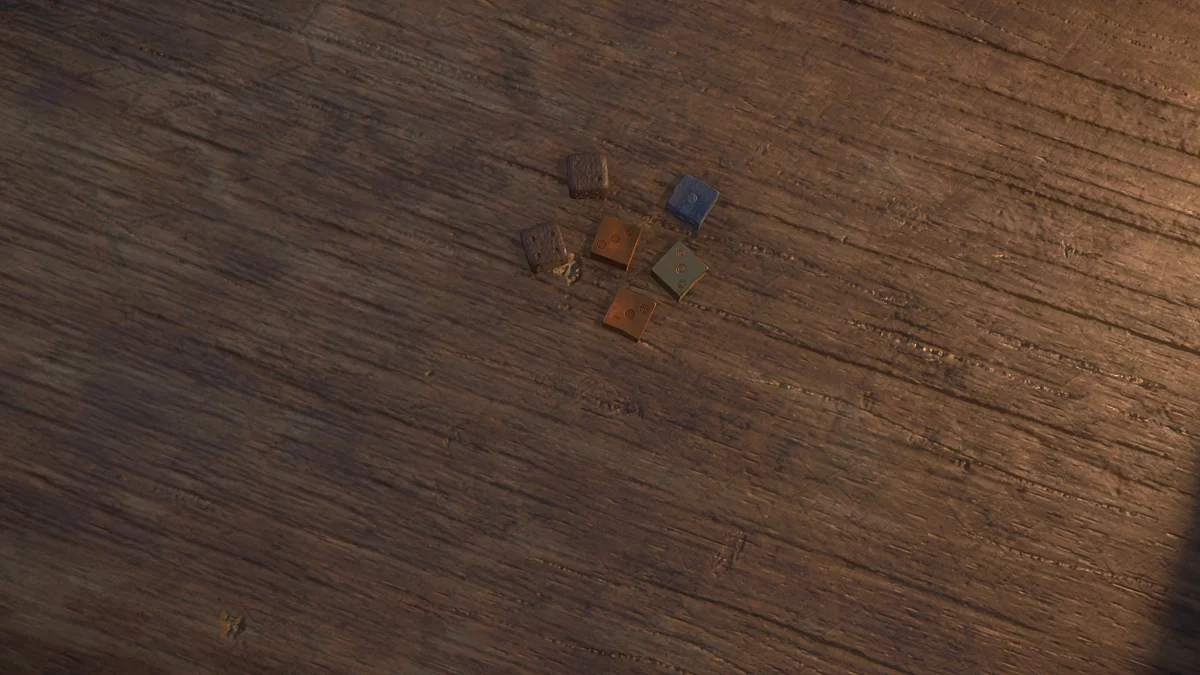
At the beginning of the game, you have standard dice at your disposal. However, during the game, you may encounter various dice with special properties. They can either improve or worsen the outcome of the game. The complexity of the dice sets your opponent has depends on how high the stakes are. Most often, such dice can be purchased from innkeepers or found in the open world.
- Aranki: This die has a higher chance of rolling even numbers.
- Cautious Trickster: The die has a higher chance of rolling a 1 or 5.
- Tsi: Has equal chances of rolling numbers from 1 to 5 and a high chance of rolling a 6.
- Devil's Head: Adds one value to any dice combination.
- Misfortune: Has a higher probability of rolling values of two, three, four, and five.
- Equalizer: More likely to roll an even number.
- Favorable: More likely to roll a 1, 5, or 6.
- Fer: High probability of rolling a 6.
- Oily: High chance of rolling a 1, 3, 5, and 6.
- Dirty: More likely to roll a 2 or 5.
- Grozava's Luck: Relatively high chance of rolling a 1.
- Holy Trinity: More often rolls a 3.
- Hugo: Can roll a random number.
- King's: High probability of rolling a 2, 3, or 4.
- Lazy Player's: High probability of rolling a 1, 3.
- Liu: Rolling with this die increases the chance of rolling a 6 with another die.
- Lucky: Most often rolls a 1, 6.
- Mathematical: The die has a low probability of rolling a 5, 6.
- Native: Most likely to roll any number.
- Odd: Higher probability of rolling odd numbers.
- Regular: Regular gaming die.
- Painted: High probability of rolling a side value of 5, as well as favoring a 1 or 6.
- Biscuit: The die is balanced on smaller sides.
- Premolar: Can roll any number.
- Sad Fatty: Has a high probability of rolling a 1, 2, 5.
- Saint Anthony's: Often rolls a 3.
- Reductive: High chances of rolling a 1, 6.
- Saint Stephen's: Can roll more favorably compared to other dice.
- Stripping: High probability of rolling a 1.
- Three's: Most often rolls a 3.
- Unbalanced: More likely to roll a 2.
- Unlucky: Most likely to roll a 2 or less, with side values of 2 and 6.
- Carter's: Most often can roll a 2 or 3, with the least probability of rolling a 1.
- Weighted: Quite often rolls a 1.
- Wisdom Tooth's: Chances of rolling any side are equal.
What are Plaques
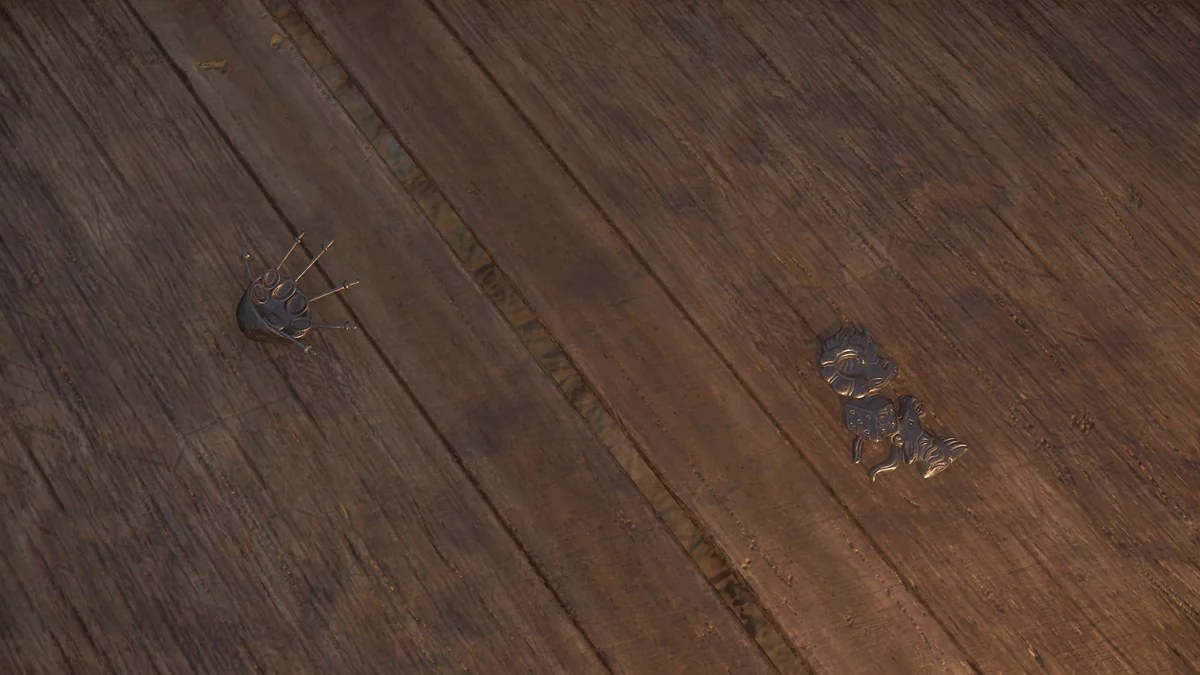
Playing dice with the use of plaques adds additional effects. Plaques can be made of tin, silver, or gold. Games using plaques are more challenging, the stakes are much higher, and there is a chance to win the opponent's plaque. If you want to win an opponent's plaque, besides money, you need to wager your plaque of the same denomination. Therefore, if you want to win a gold plaque, you will need to wager your gold plaque. Thus, it is recommended to play such games with an advanced set of dice. Plaques can also be purchased from traders or found in the open world.
Tin:
- Doubling Plaque: Doubles the points for the last roll. Can be used once per game.
- Advantage Plaque: You gain a small point advantage at the beginning of the game.
- Protection Plaque: Cancels the effect of the opponent's tin plaques. Consequently, they cannot use the properties of their plaque.
- Fortune Plaque: Allows you to reroll one die. Can be used once per game.
- Strength Plaque: Allows you to add one more die to the roll. Can be used once per game.
- Transformation Plaque: After a roll, you can change the value of any die by 3. Can be used once per game.
- Carpenter's Distinction Plaque: A combination of dice 3+5 is now considered a new combination called "Cut." Can be applied multiple times.
- Warlord's Plaque: You gain 25% more points for this stake. Can be used once per game.
- Resurrection Plaque: If the roll was unsuccessful, you can reroll the dice. Can be used once per game.
Silver:
- Doubling Plaque: Doubles the points for the last roll. Can be used twice per game.
- Advantage Plaque: You gain a medium point advantage at the beginning of the game.
- Protection Plaque: Cancels the effect of the opponent's silver plaques.
- Exchange Plaque: After a roll, you can choose any die and roll again. Can be used once per game.
- Fortune Plaque: Allows you to reroll up to two dice. Can be used once per game.
- Strength Plaque: Allows you to add one more die to the roll. Can be used twice per game.
- Transformation Plaque: After a roll, you can change the value on any die by 5. Can be used once per game.
- Executioner's Distinction Plaque: A combination of dice 4+5+6 is now considered a new combination called "Gallows." Can be applied multiple times.
- Warlord's Plaque: You gain 50% more points for this stake. Can be used once per game.
- Resurrection Plaque: If the roll was unsuccessful, you can reroll the dice. Can be used twice per game.
- King's Plaque: Allows you to add one more die to the roll. Can be used twice per game.
Gold:
- Doubling Plaque: Doubles the points for the last roll. Can be used three times per game.
- Advantage Plaque: You gain a significant point advantage at the beginning of the game.
- Protection Plaque: Cancels the effect of the opponent's gold plaques.
- Exchange Plaque: After a roll, you can reroll any two dice of the same value. Can be used once per game.
- Fortune Plaque: Allows you to reroll up to three dice. Can be used once per game.
- Strength Plaque: Allows you to add one more die to the roll. Can be used three times per game.
- Transformation Plaque: After a roll, you can change the value on any die by 1. Can be used once per game.
- Priest's Distinction Plaque: A combination of dice 1+3+5 is now considered a new combination called "Eye." Can be applied multiple times.
- Warlord's Plaque: You gain twice the points for this stake. Can be used once per game.
- Resurrection Plaque: If the roll was unsuccessful, you can reroll the dice. Can be used three times per game.
- Emperor's Plaque: Points for the combination 1+1+1 are tripled. Can be applied multiple times.
- Wedding Plaque: A memento of the memorable day of Agnieszka and Oldřich. Allows you to reroll up to three dice. Can be used once per game.
How to Win at Dice Games. Strategies and Tactics
Much depends on your set of dice, understanding of the rules, and knowledge of combinations. There are no universal and winning strategies, as everything is tied to chance. Even with a perfect set of dice, you can easily lose a game. However, in this section, we will discuss the rules to follow to increase your chances of winning.
- "Slow and steady wins the race": Don't rush, think through each of your moves, and watch how your opponent behaves. If they are rushing and trying to collect a winning combination, for example, by setting aside 1s, they will often fail, giving you the opportunity to slowly but surely collect points to win.
- If you manage to collect a combination of all dice on the first roll, then in the next roll, collect the combination that comes up, even if it's just one die, like a 5. This is important because there is a high chance of failure, and then all your results will be nullified.
- When you have 3 dice left to roll, don't get carried away, record your result, and pass the turn to your opponent. It's better this way than to end up with no points at all.
- Choose your dice carefully. One of the simple and winning options is to pick dice for "threes," as this number comes up more often than others, while opponents usually try to collect a combination of "ones."
- The Die with the Devil's Head can significantly increase your chances of winning. Use it wisely.
- Use the Drunkenness skill "Lucky Day": The more drunk you are, the higher the chance to waste a plaque. In other words, there is a chance that the plaque can be used twice per game.
Additional Tips
Here we will look at tricks that can be applied to the dice game. They, of course, do not guarantee victory, but can increase your chances of winning. We recommend that you improve the skills of "Stealth" and "Theft", as gambling is often associated with crime. Now let's move on to the tips:
- Save before important games.
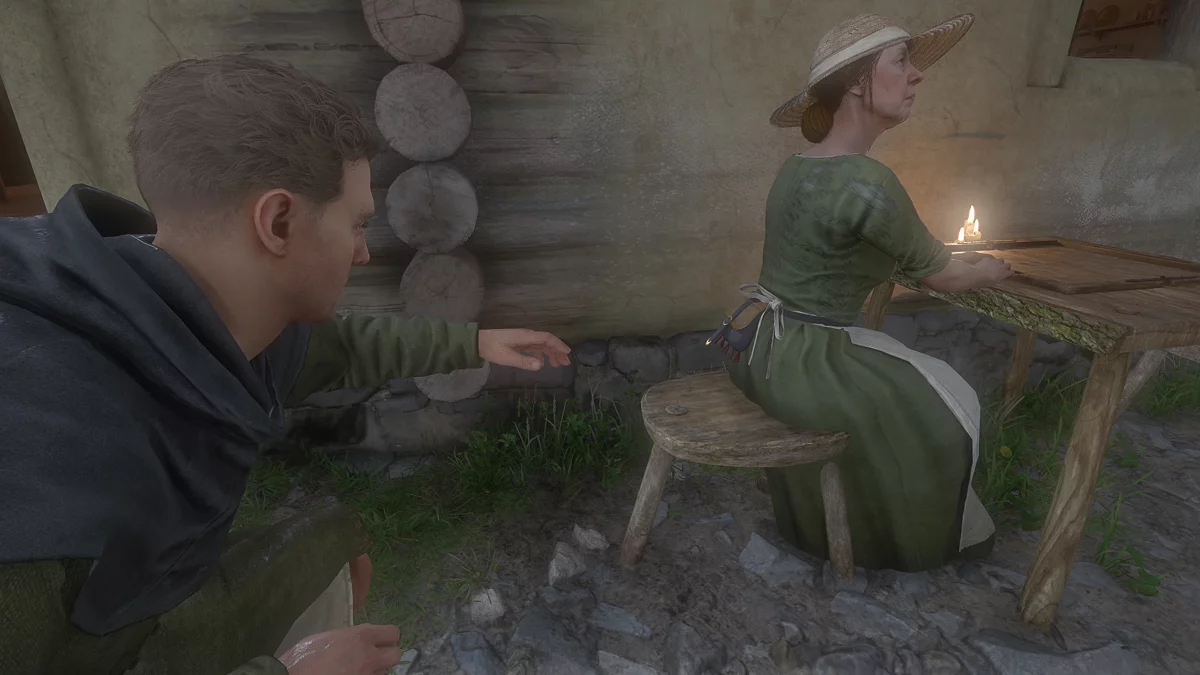
- Steal plaques and dice from players and vendors. This way you will quickly gather enough items to assemble a decent dice player's set.
- In case of a loss, you can get your gold back by looking into your opponent's pockets.
- Sometimes it's easier to quit the game with a loss and start over than to realize that the opponent has an obvious advantage and waste time.
The dice game is a gambling entertainment, and unfortunately, there is no universal way to ensure a guaranteed win on the first try. However, by following certain principles outlined in this guide, you can increase your chances of success. The main rule is not to rush and carefully analyze each of your moves.
Other guides
- Kingdom Come Deliverance 2: Via Argentum Quest Walkthrough
- Kingdom Come: Deliverance 2 Walkthrough Guide
- Kingdom Come Deliverance 2: The Lion's Den Quest Walkthrough
- Kingdom Come Deliverance 2 Beginner's Guide: Tips and Tricks
- Kingdom Come Deliverance 2: Lady Rosa Romance Guide
- Kingdom Come Deliverance 2: Back in the Saddle Walkthrough
- Kingdom Come Deliverance 2: For Victory! Walkthrough
- Kingdom Come Deliverance 2: Fixing Technical Problems and Bugs
- Location of Save Files in Kingdom Come: Deliverance 2
- Kingdom Come Deliverance 2: The King's Gambit Walkthrough
- Emplacement des fichiers de sauvegarde dans Kingdom Come: Deliverance 2
- Kingdom Come: Deliverance 2 Budget Révélé : La moitié de celui de The Witcher 3
- Royaume vient Deliverance 2 : Comment augmenter la réputation
-
Kingdom Come: Deliverance 2 Walkthrough Guide
-
Kingdom Come Deliverance 2: Lady Rosa Romance Guide
-
Kingdom Come Deliverance 2 Beginner's Guide: Tips and Tricks
-
Kingdom Come Deliverance 2: For Victory! Walkthrough
-
Kingdom Come Deliverance 2: Back in the Saddle Walkthrough
-
Kingdom Come Deliverance 2: Laboratores Walkthrough
-
How to Find Armor by Maps in Kingdom Come Deliverance 2: The Lion's Crest Guide
-
Kingdom Come Deliverance 2: How to Increase Reputation
-
Kingdom Come Deliverance 2: Potion Recipes Guide
-
Kingdom Come Deliverance 2: Dancing with the Devil Walkthrough
-
Kingdom Come Deliverance 2: Dragon's Lair Walkthrough
-
Kingdom Come Deliverance 2: The White Roebuck Walkthrough
-
Kingdom Come Deliverance 2: Absolver Walkthrough
-
Kingdom Come Deliverance 2: X Marks the Spot Walkthrough
-
Kingdom Come Deliverance 2: How to Find the Holy Grail
-
Kingdom Come Deliverance 2: Arrow-head Walkthrough
-
Kingdom Come Deliverance 2: Bird of Prey Walkthrough
-
Kingdom Come Deliverance 2 Alchemy Guide: Master Potion Brewing
