Kingdom Come Deliverance 2: Bird of Prey Walkthrough

In the world of Kingdom Come: Deliverance 2, players will encounter an exciting quest called Bird of Prey, where you need to investigate the crimes of poachers in the wild forests of Bohemia. We will tell you how to catch all the poachers and what to do with them.
How to Start the Bird of Prey Quest
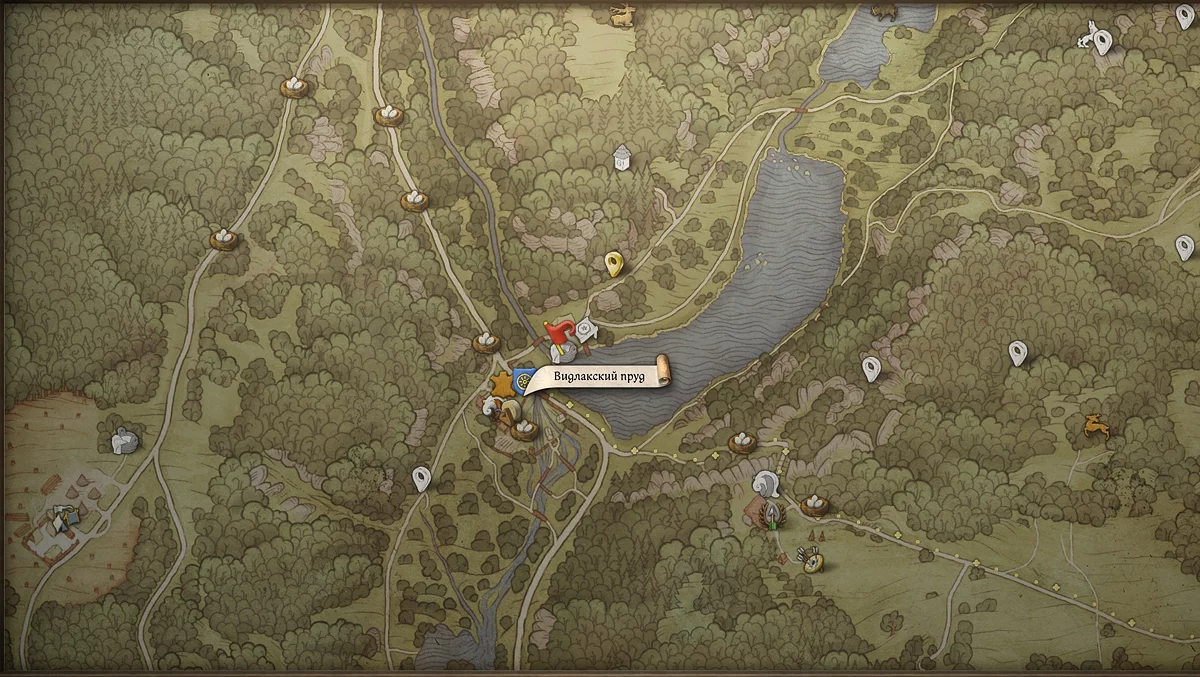
To complete this quest, you need to finish the Lackey quest. In Trosky, head to Vidlak Pond, where you will find Huntsman Voislav.
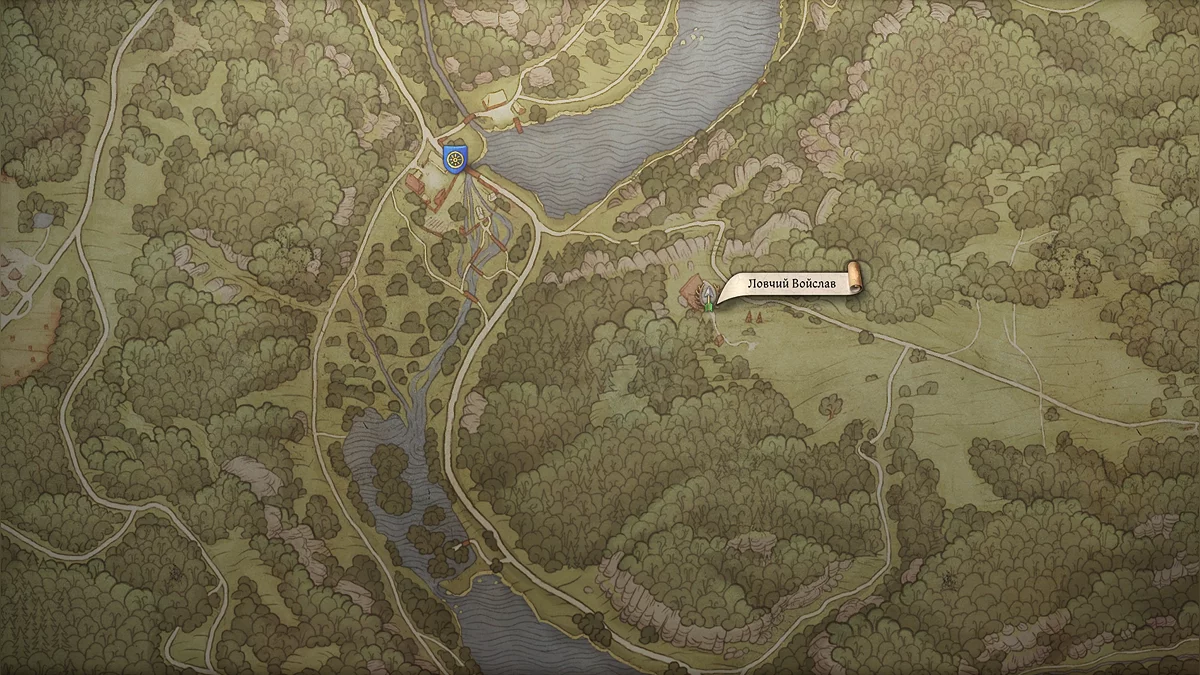
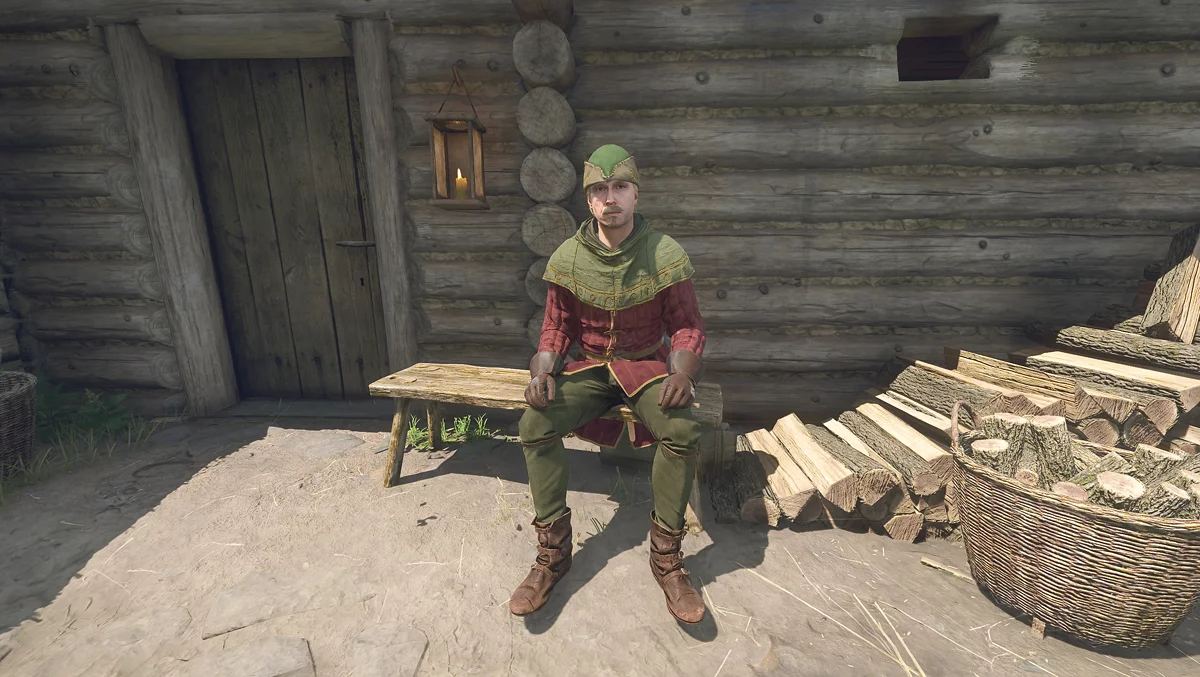
Ask if he needs help. The archer will tell you that poachers are operating in the forests, and their activities need to be stopped. Agree to help to start the quest.
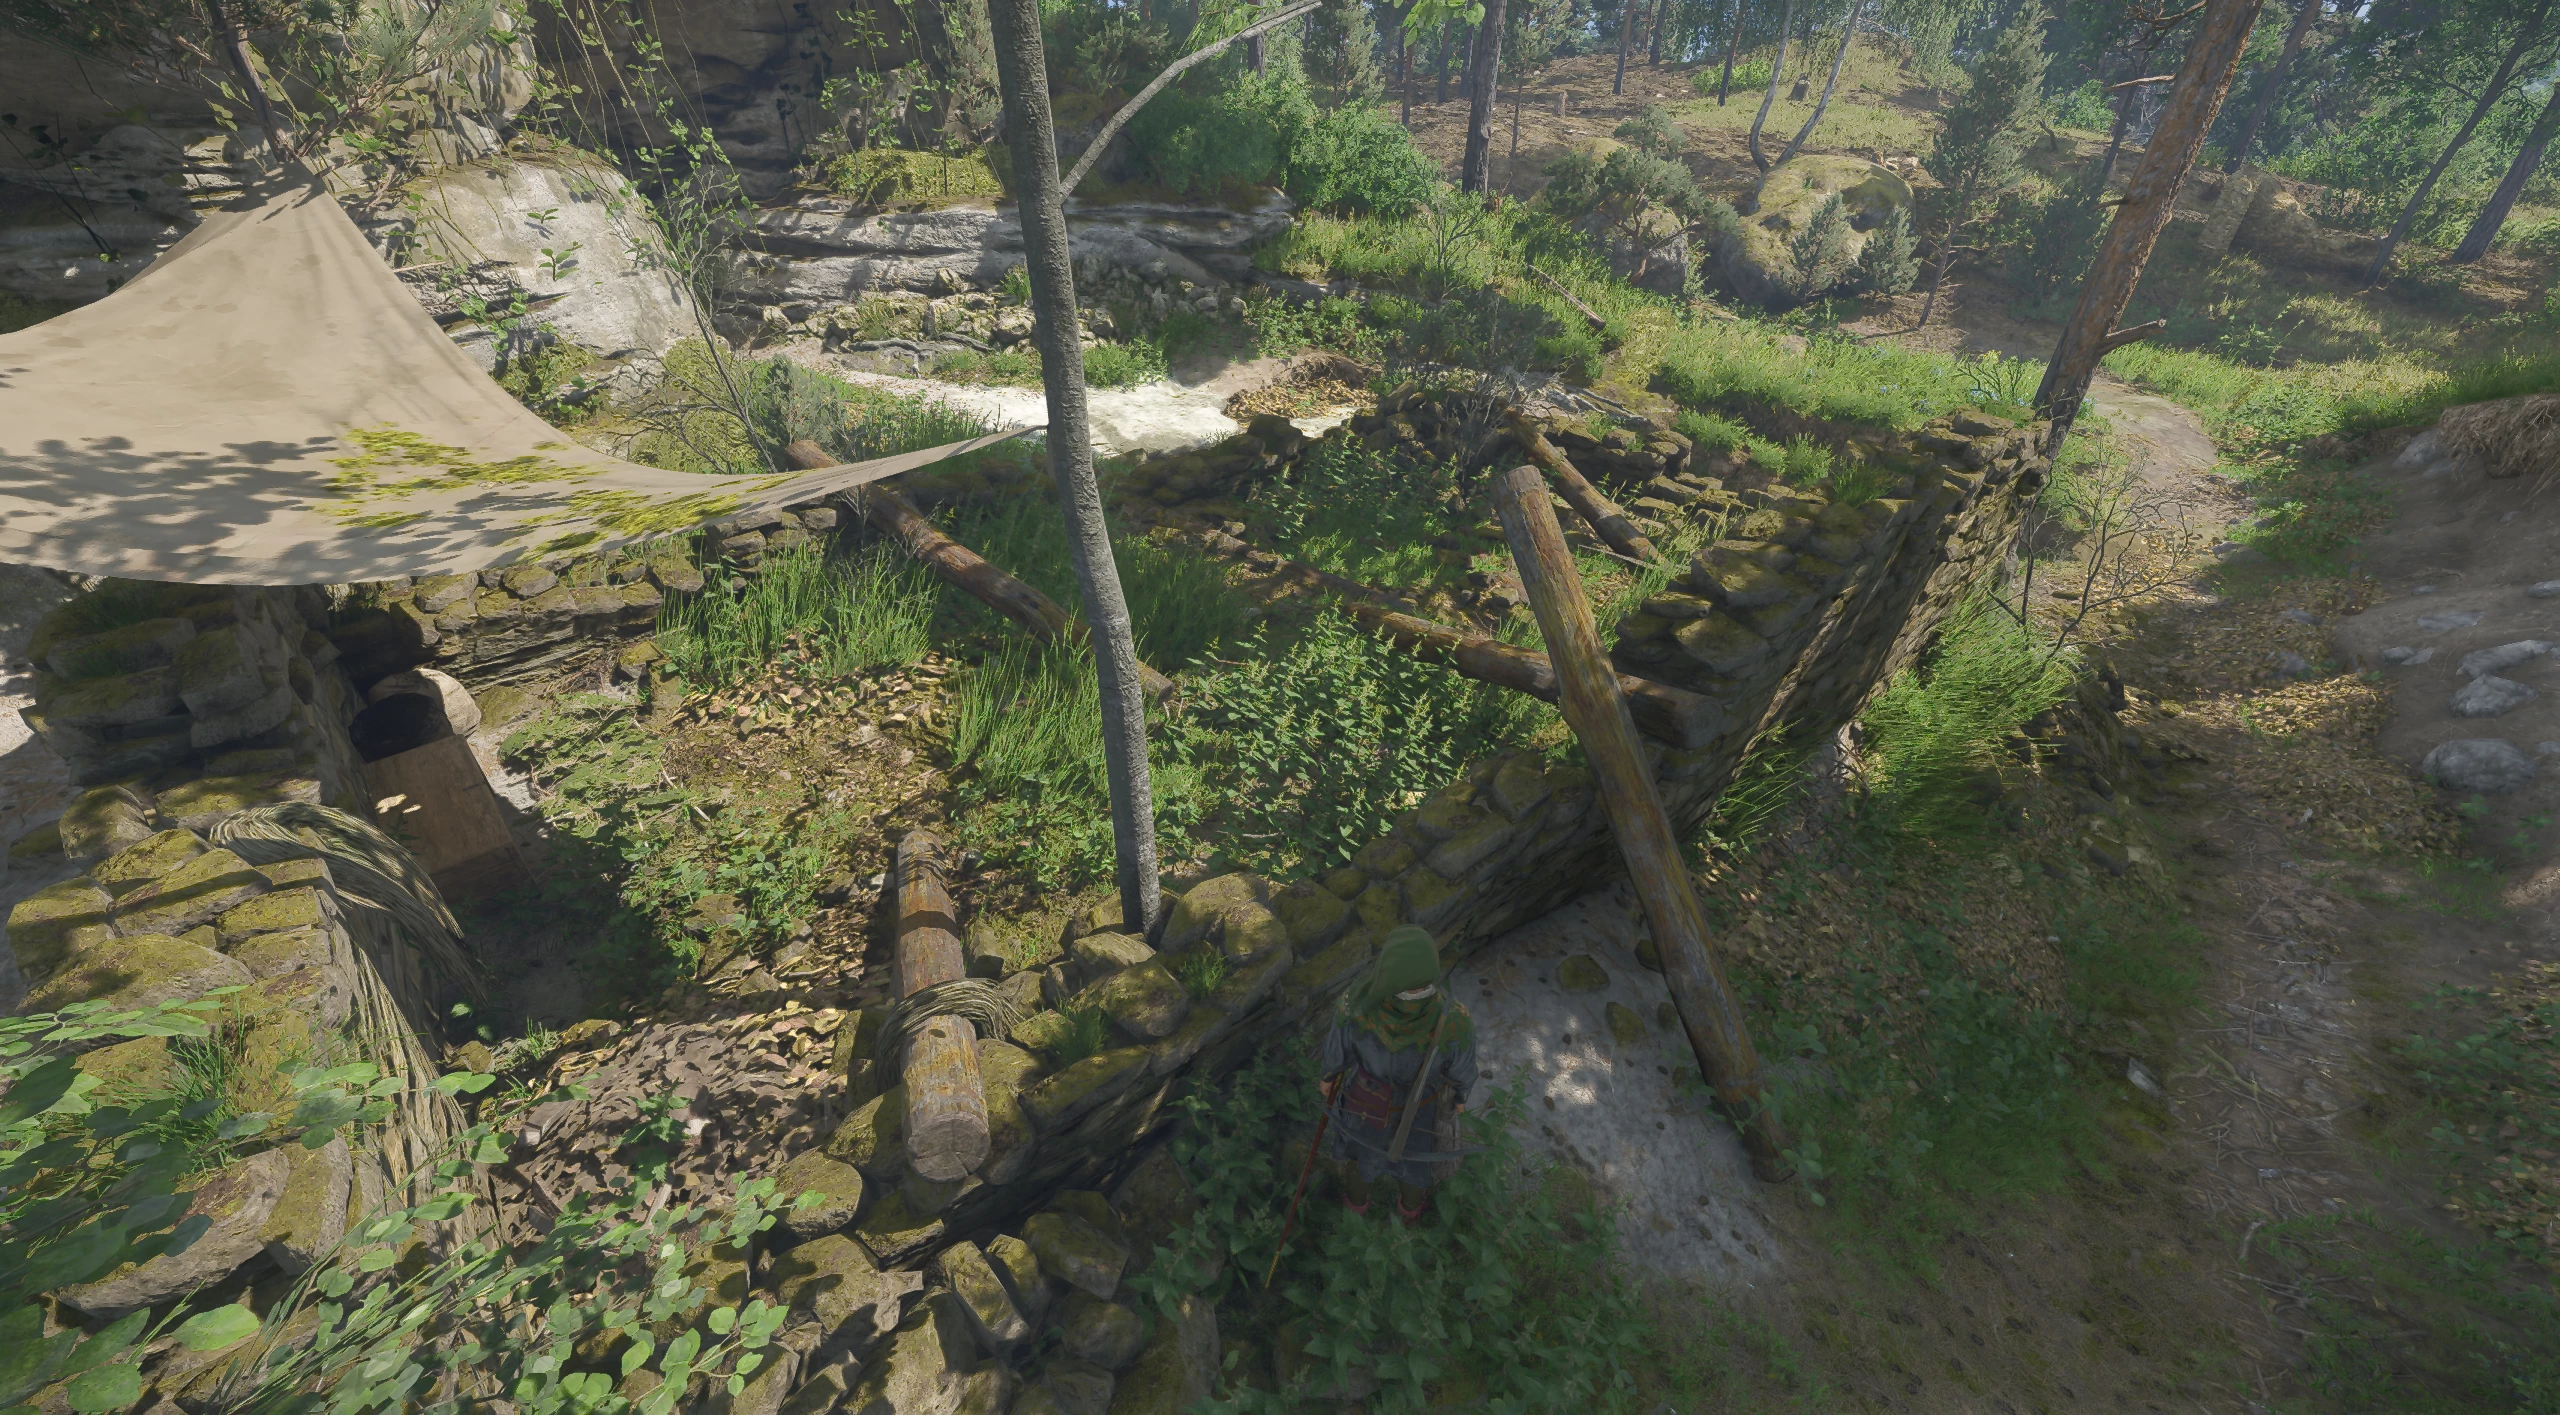
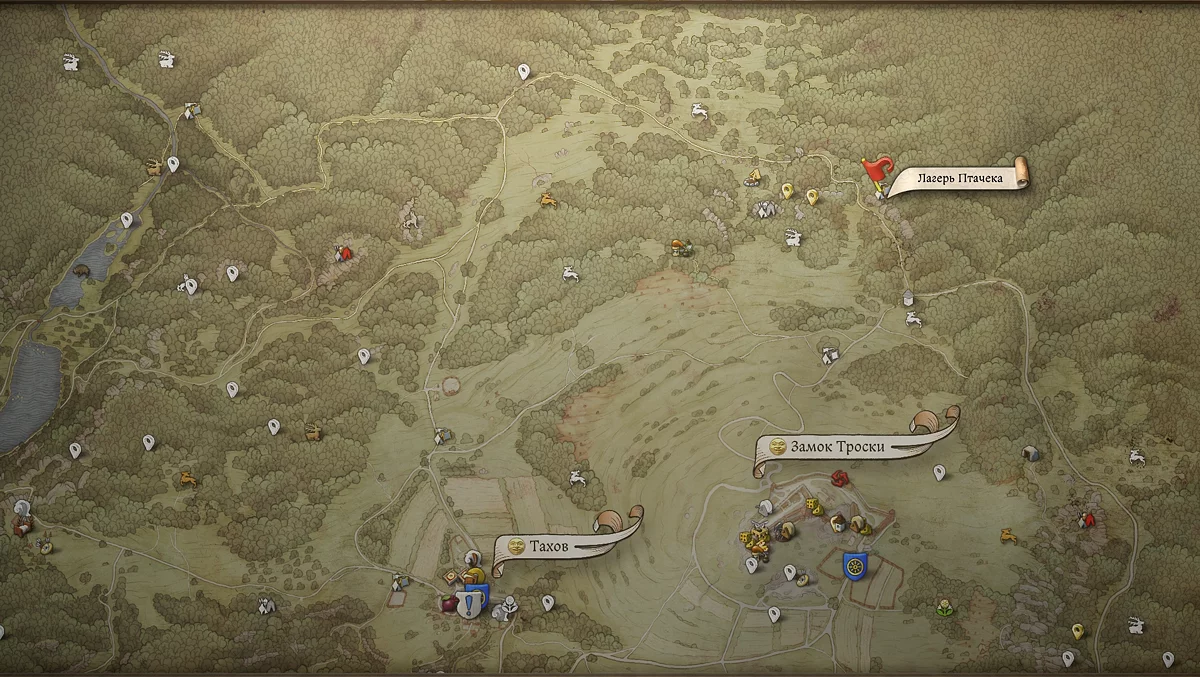
Deal with the Poacher in the Forest Near Vezhitsky Pond
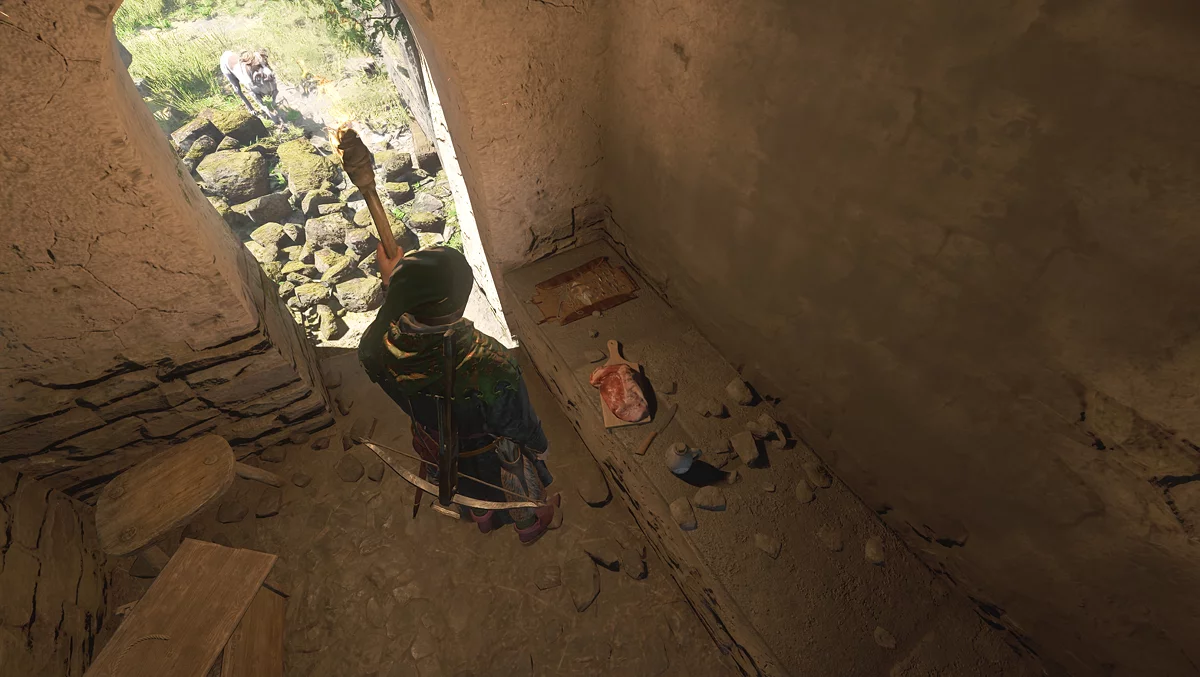
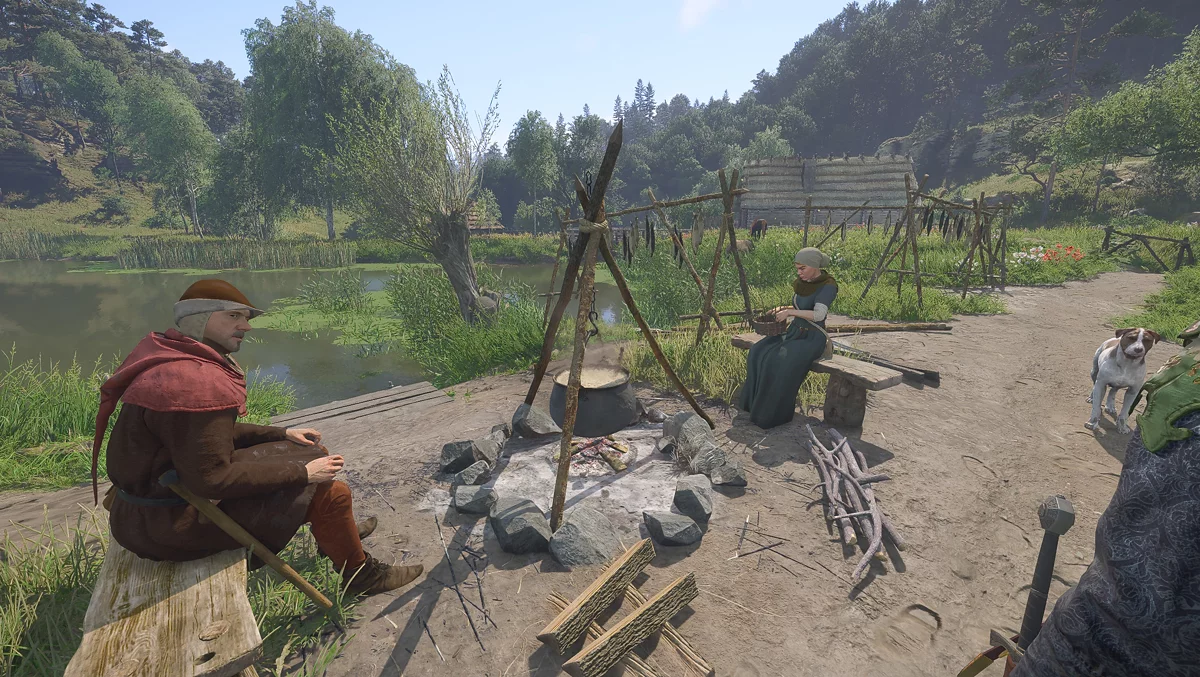
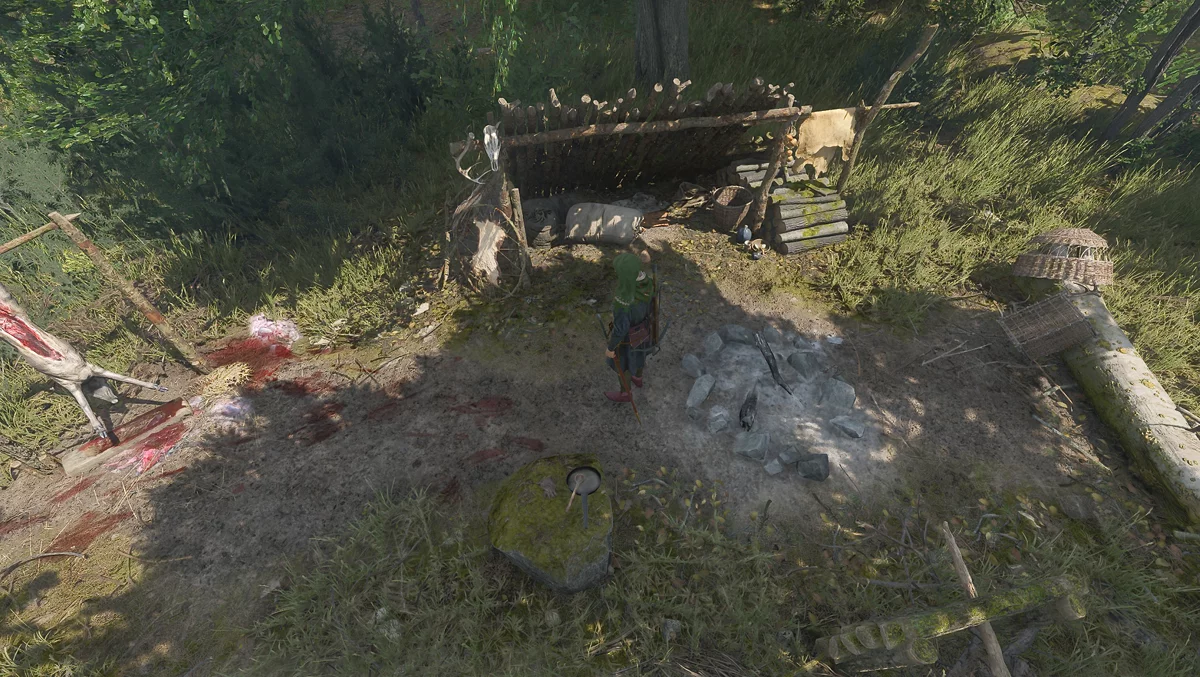
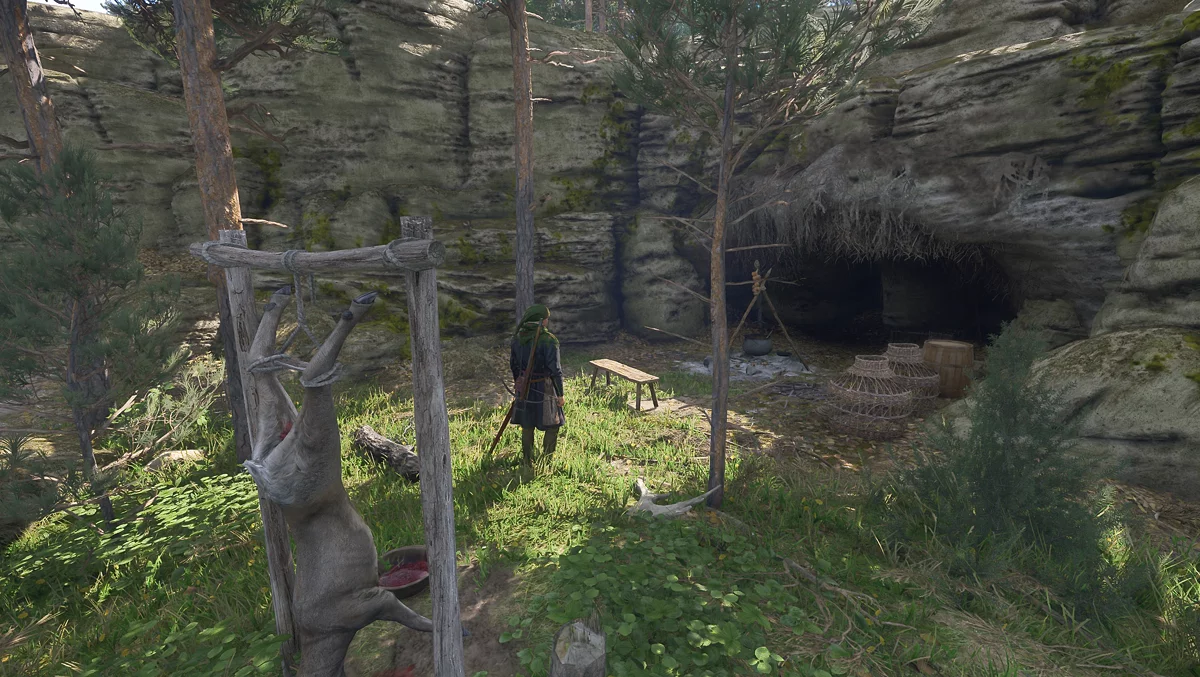
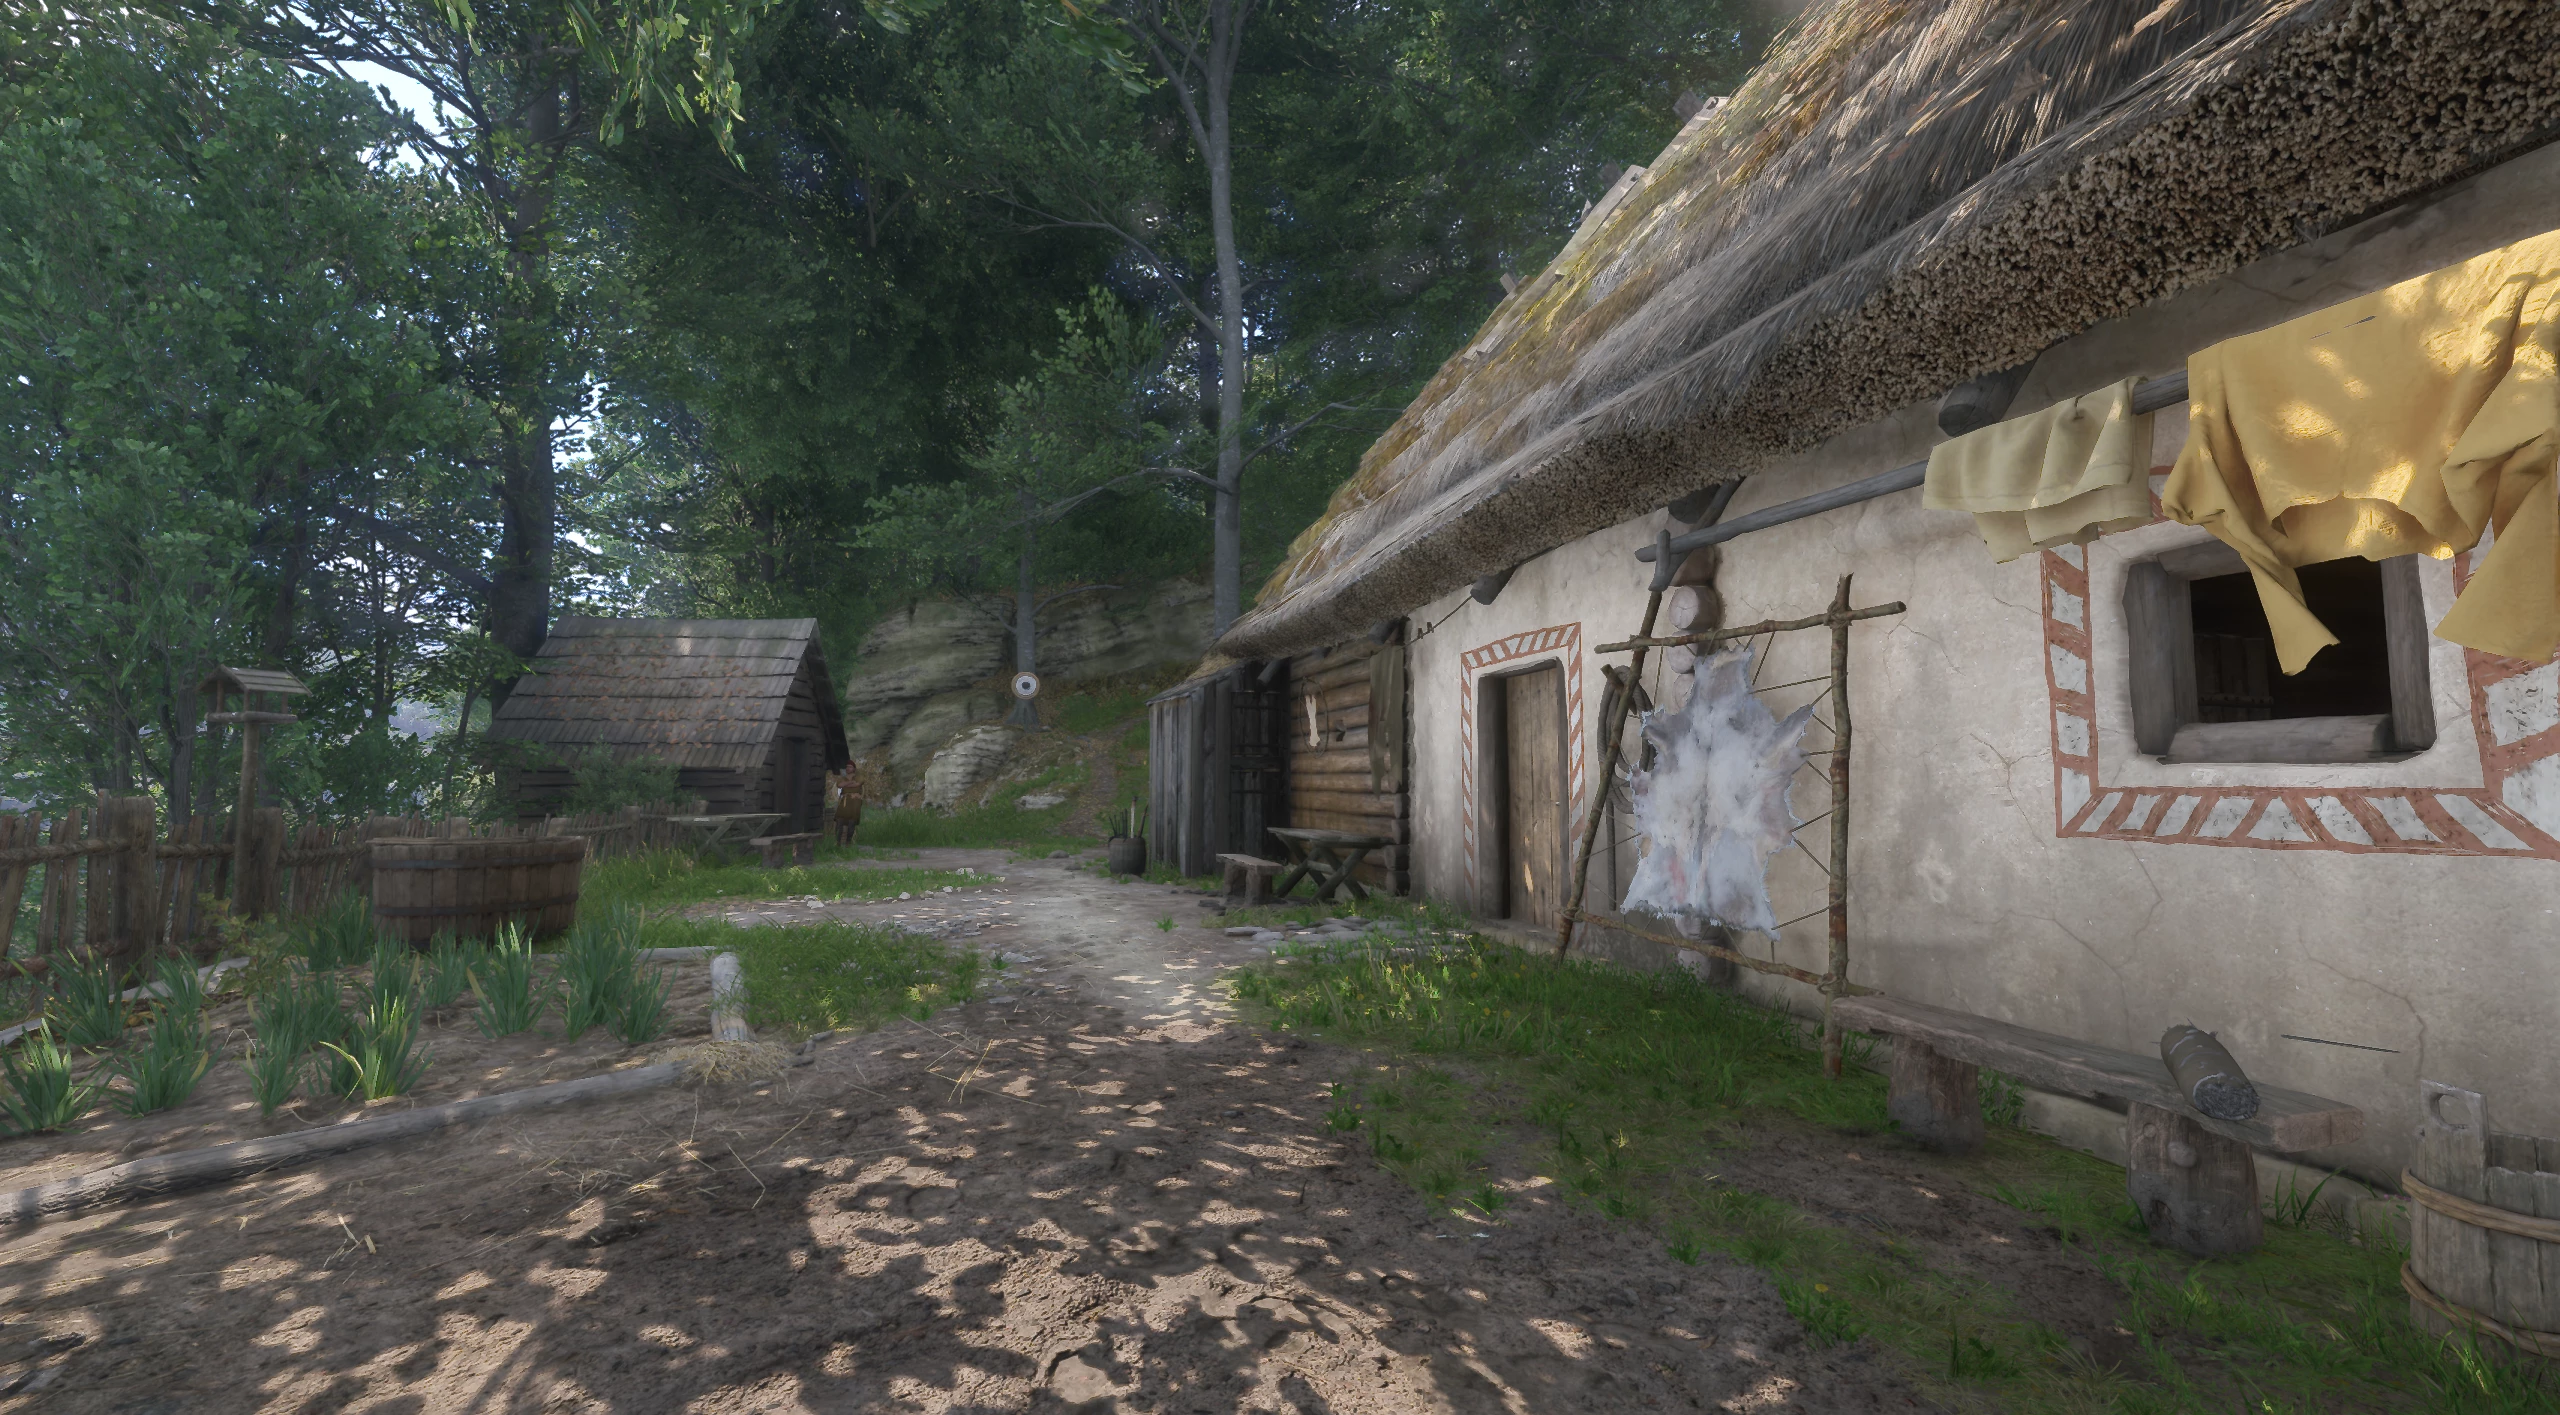
From Vezhitsky Pond, head left, following the lake's shore. Continue until you see the ruins of an old hut on the left. Inside, find the poacher's equipment from Vezhitsky Pond. After this, move north from the ruins, deep into the forest, until you discover the hunter's camp.
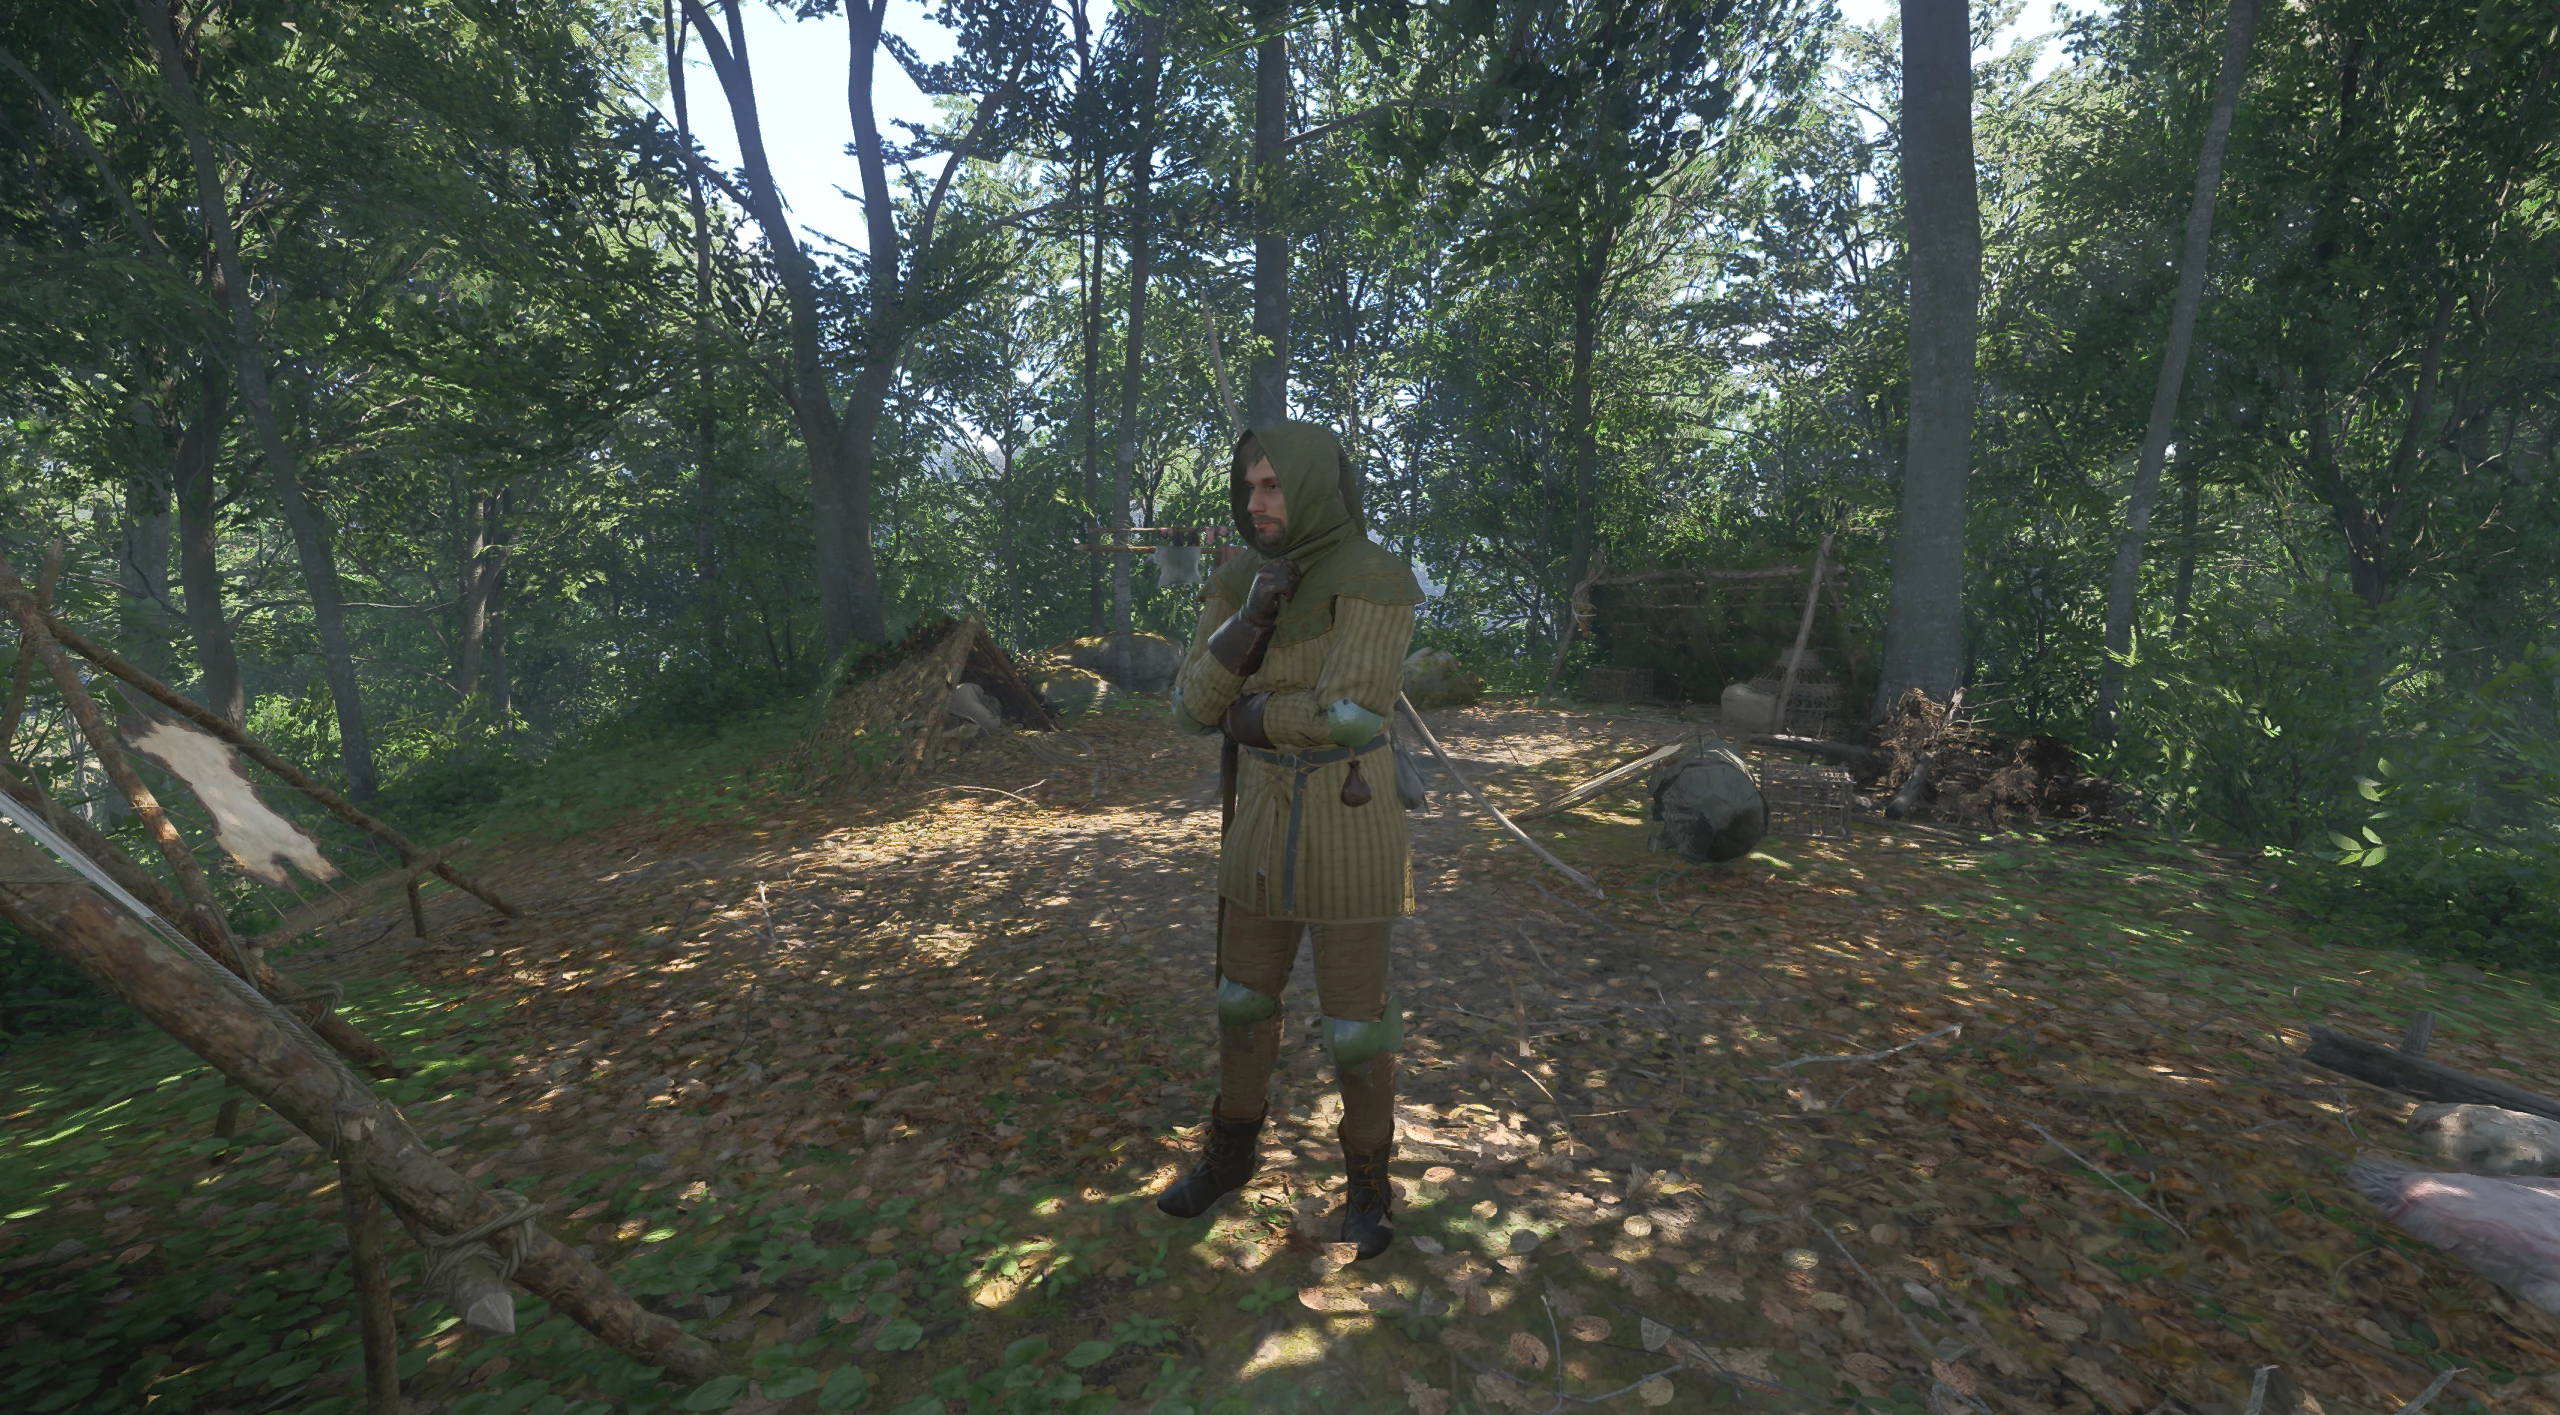
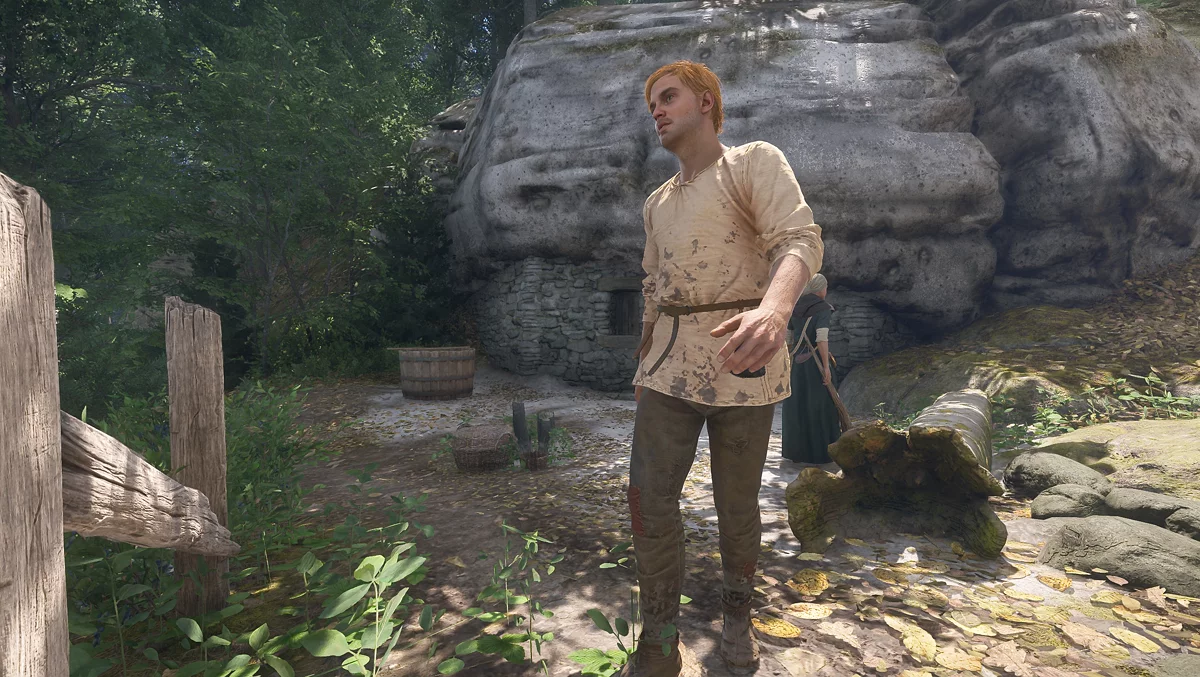
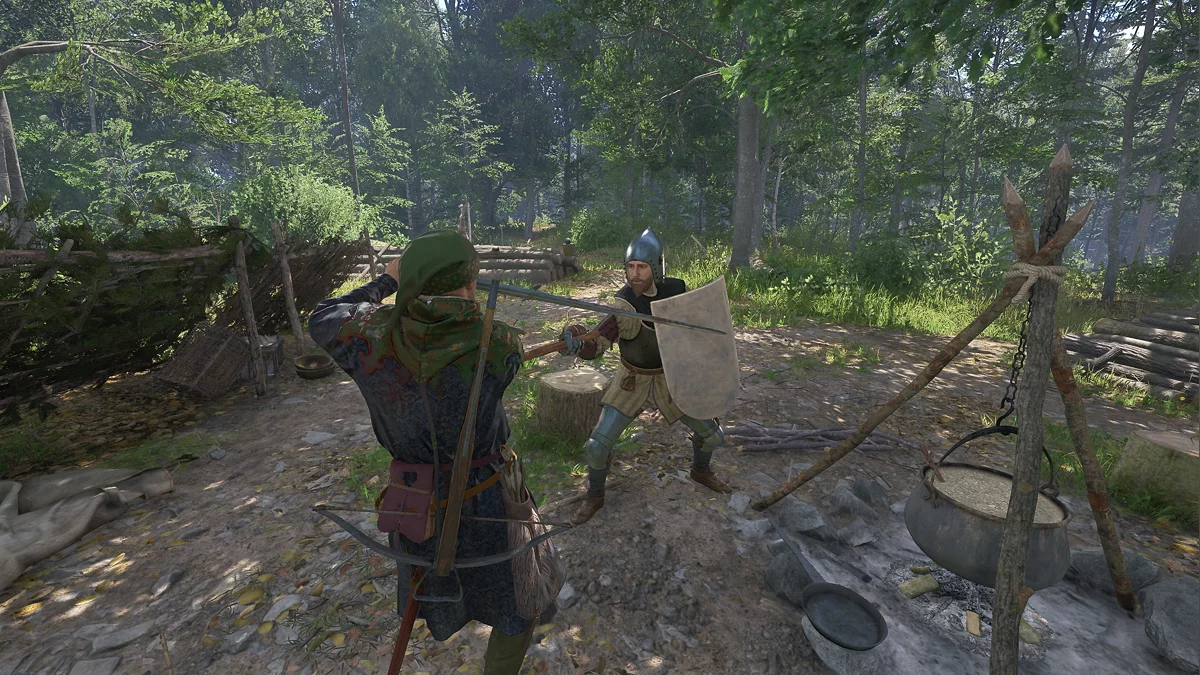
In the camp, you will meet a poacher, but only during the daytime. The repentant criminal will say he hunted because his family lacked money for food.
Here you will have to make a choice:
- Arrest the poacher. In this case, you will go with him to Troskovice, where he will be executed.
- Spare him. In gratitude, the man will show you hunting spots.
Your decision on how to deal with the poachers will affect your reputation with the huntsman.
Report to Voislav About the Poacher from Vezhitsky Pond
Report to Voislav about the fate of the first poacher, after which you will be tasked with catching the criminal at Vidlak Pond.
Talk to the Tanner About the Poacher
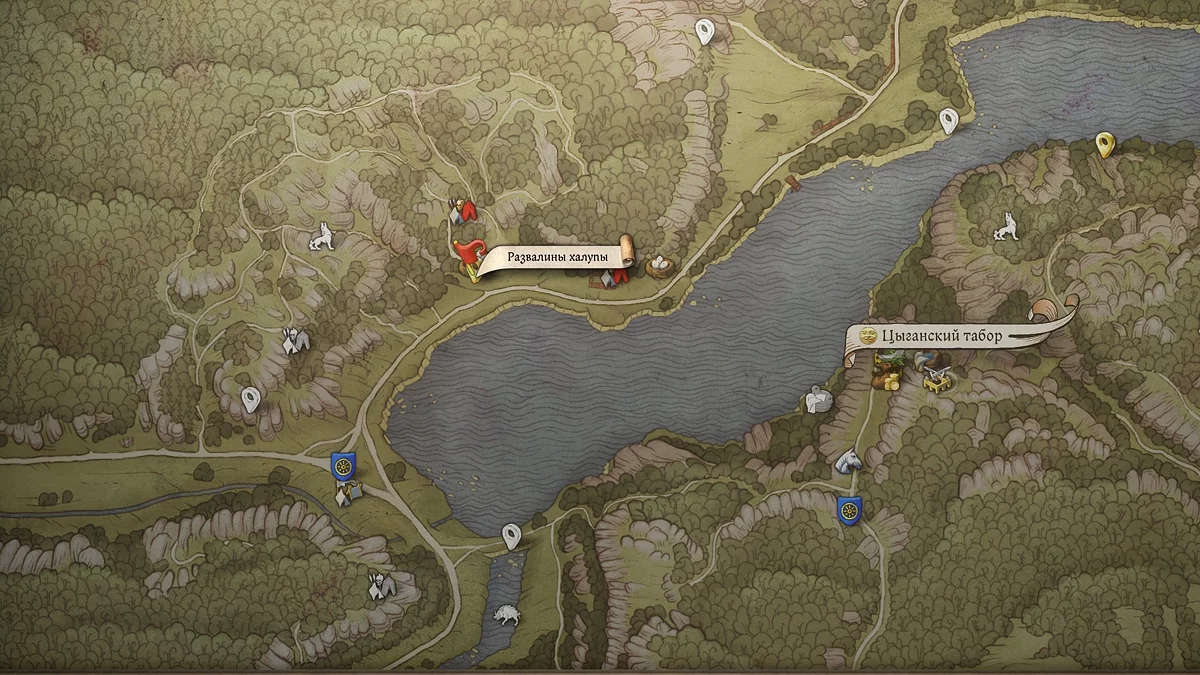
You will find Tanner Benesh at Vezhitsky Pond. The man will tell you that the fisherman's wife accuses him of poaching and advises looking for the culprit in the forests to the northwest.
Talk to the Fisherman's Wife About the Poacher
Ask the wife of the Vidlak fisherman about the poacher. The woman will accuse the tanner of illegal hunting because he lives too lavishly, but these are just assumptions. She will also add that a reclusive man recently settled in the forests.
She will advise looking for the hermit in the witch's grove, following the path that starts behind her house.
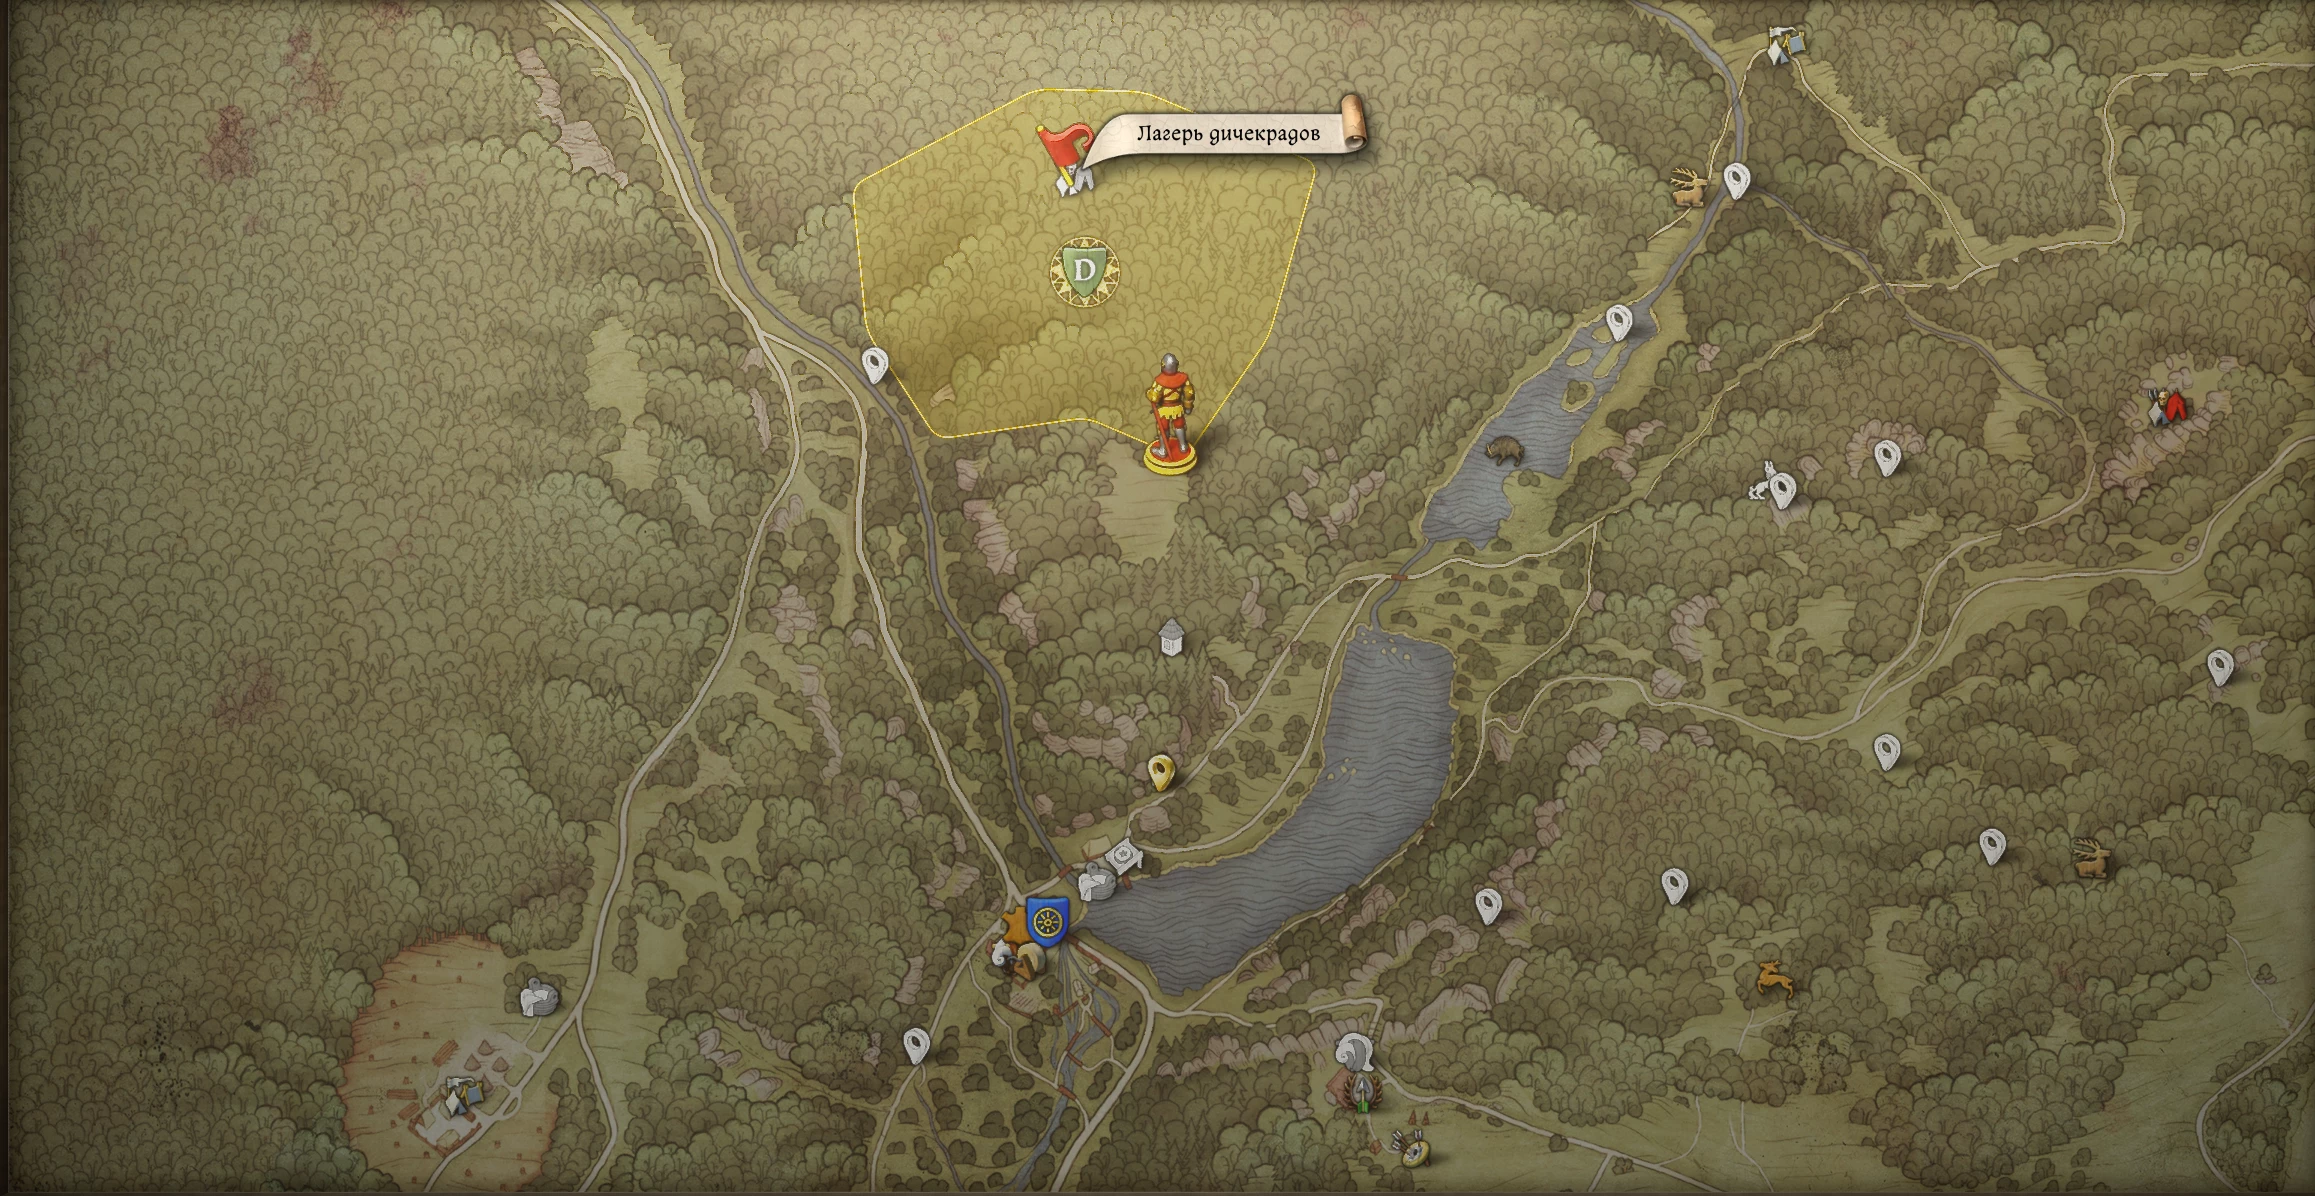
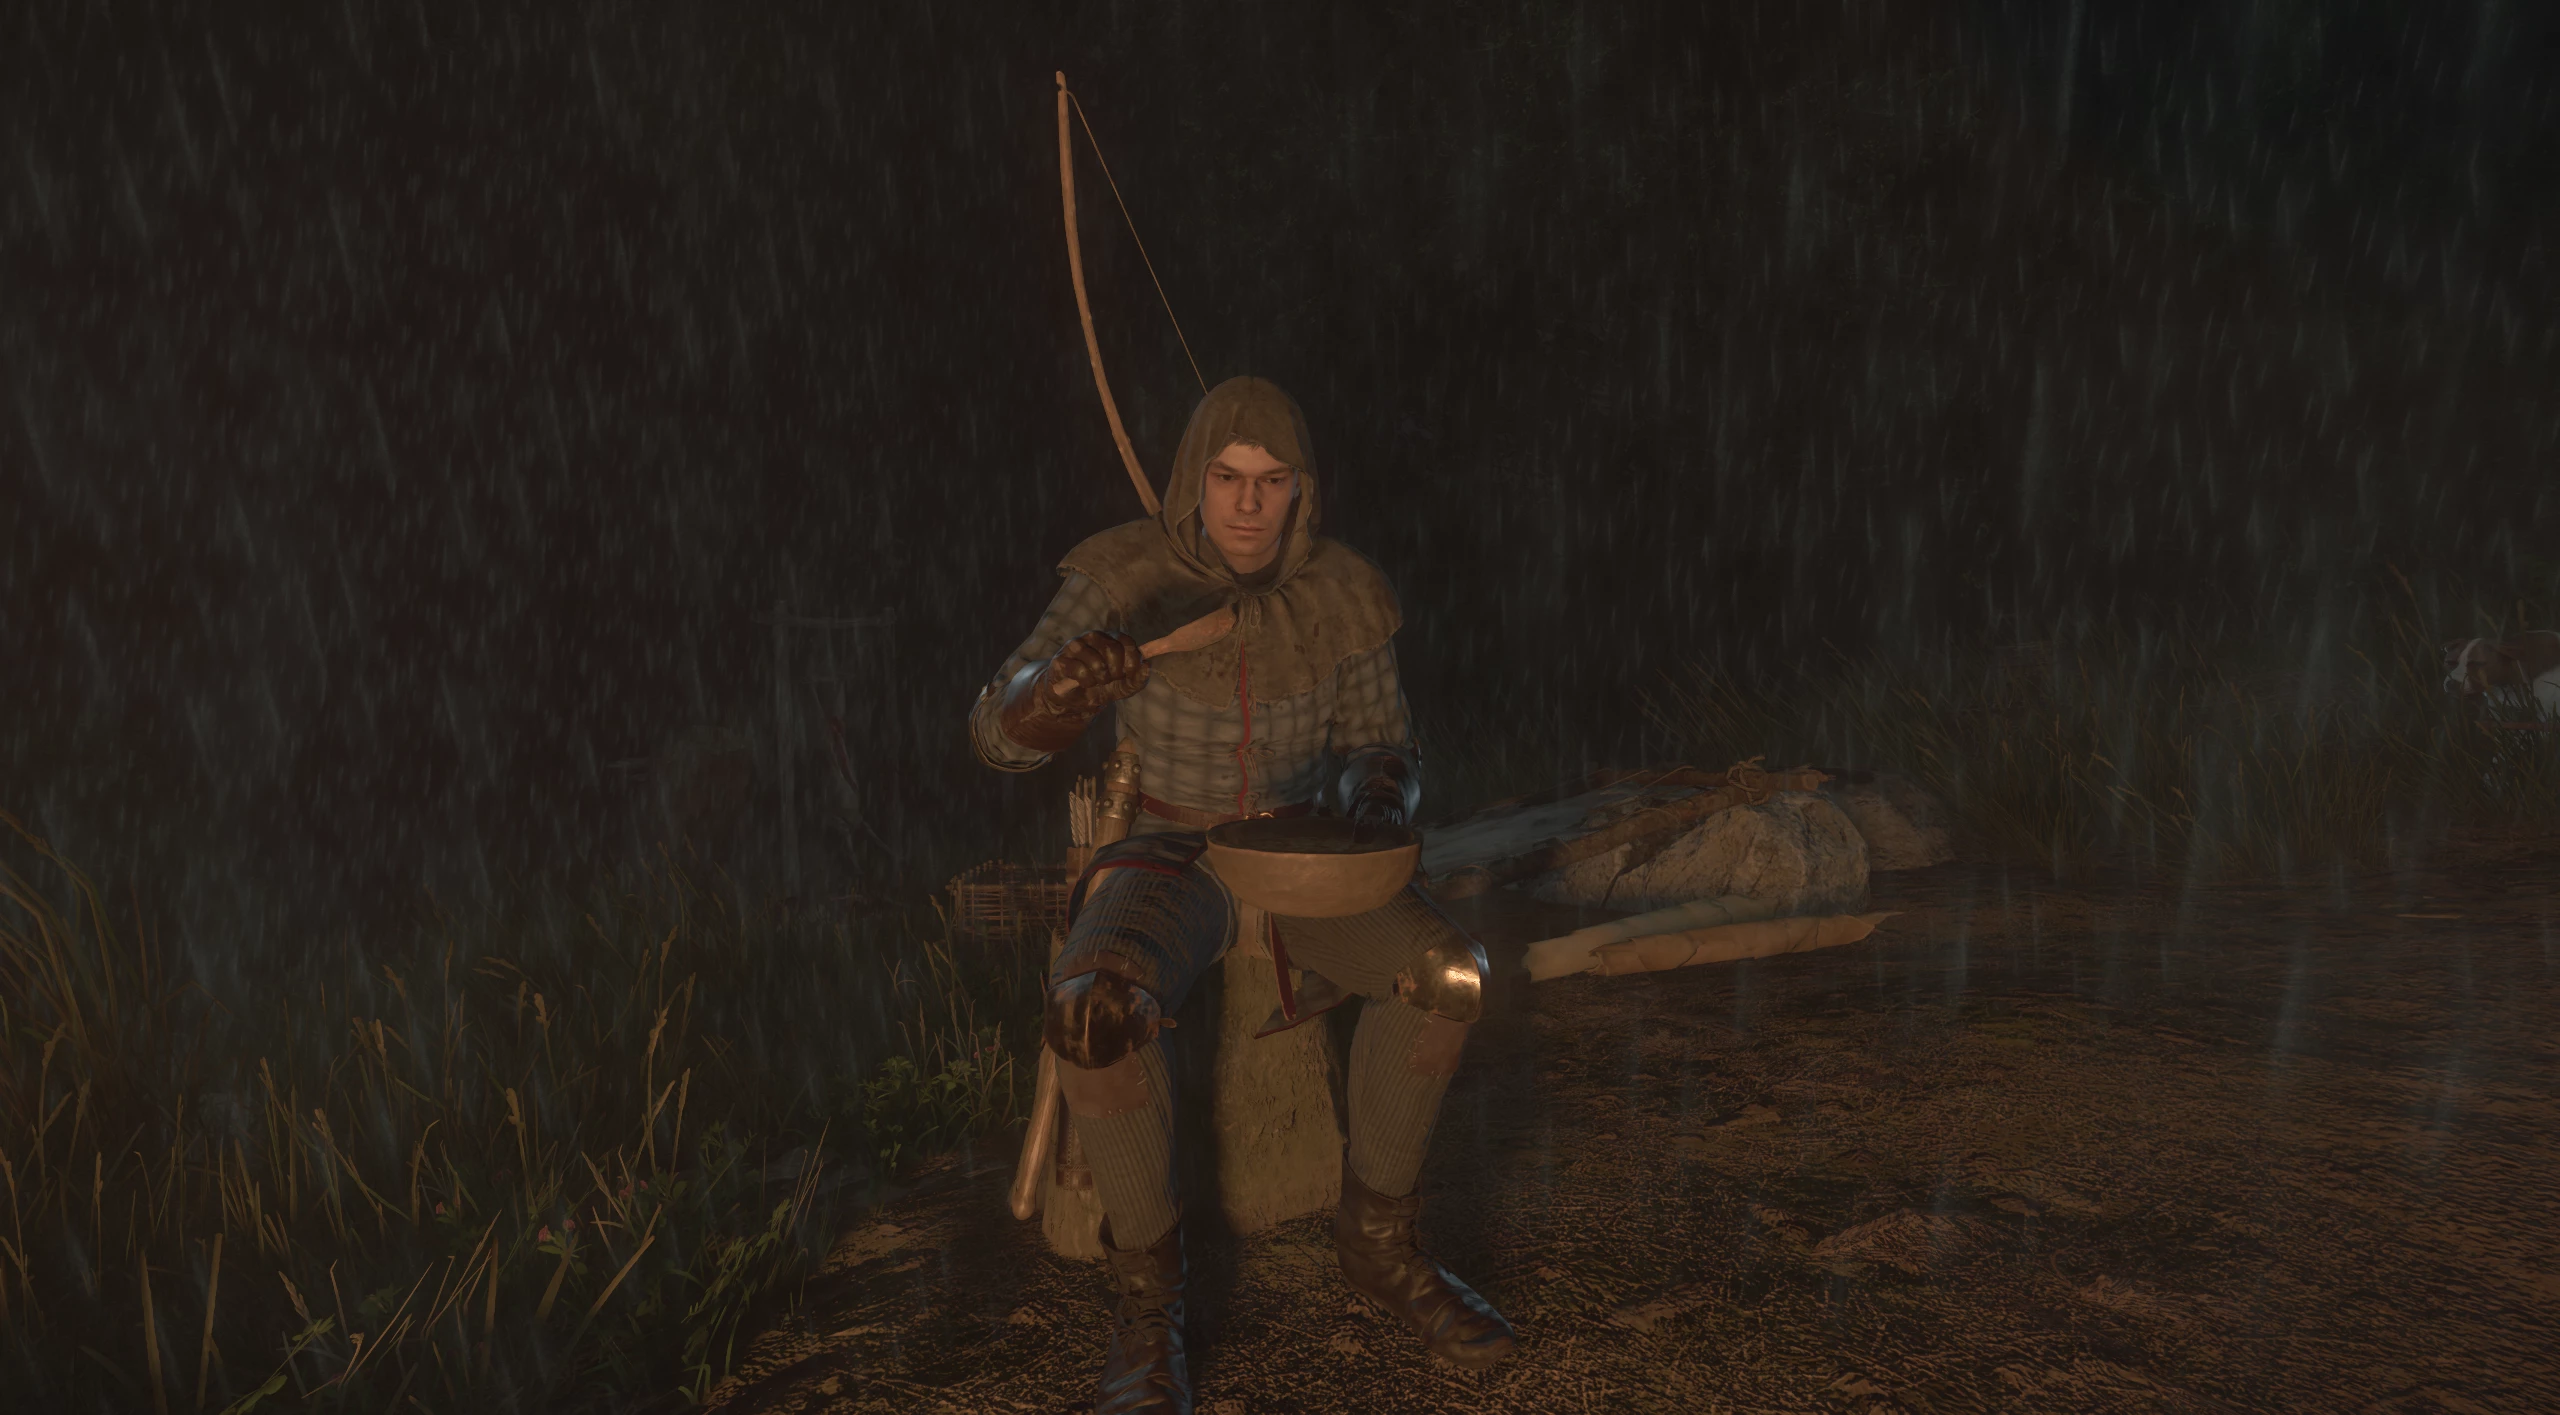
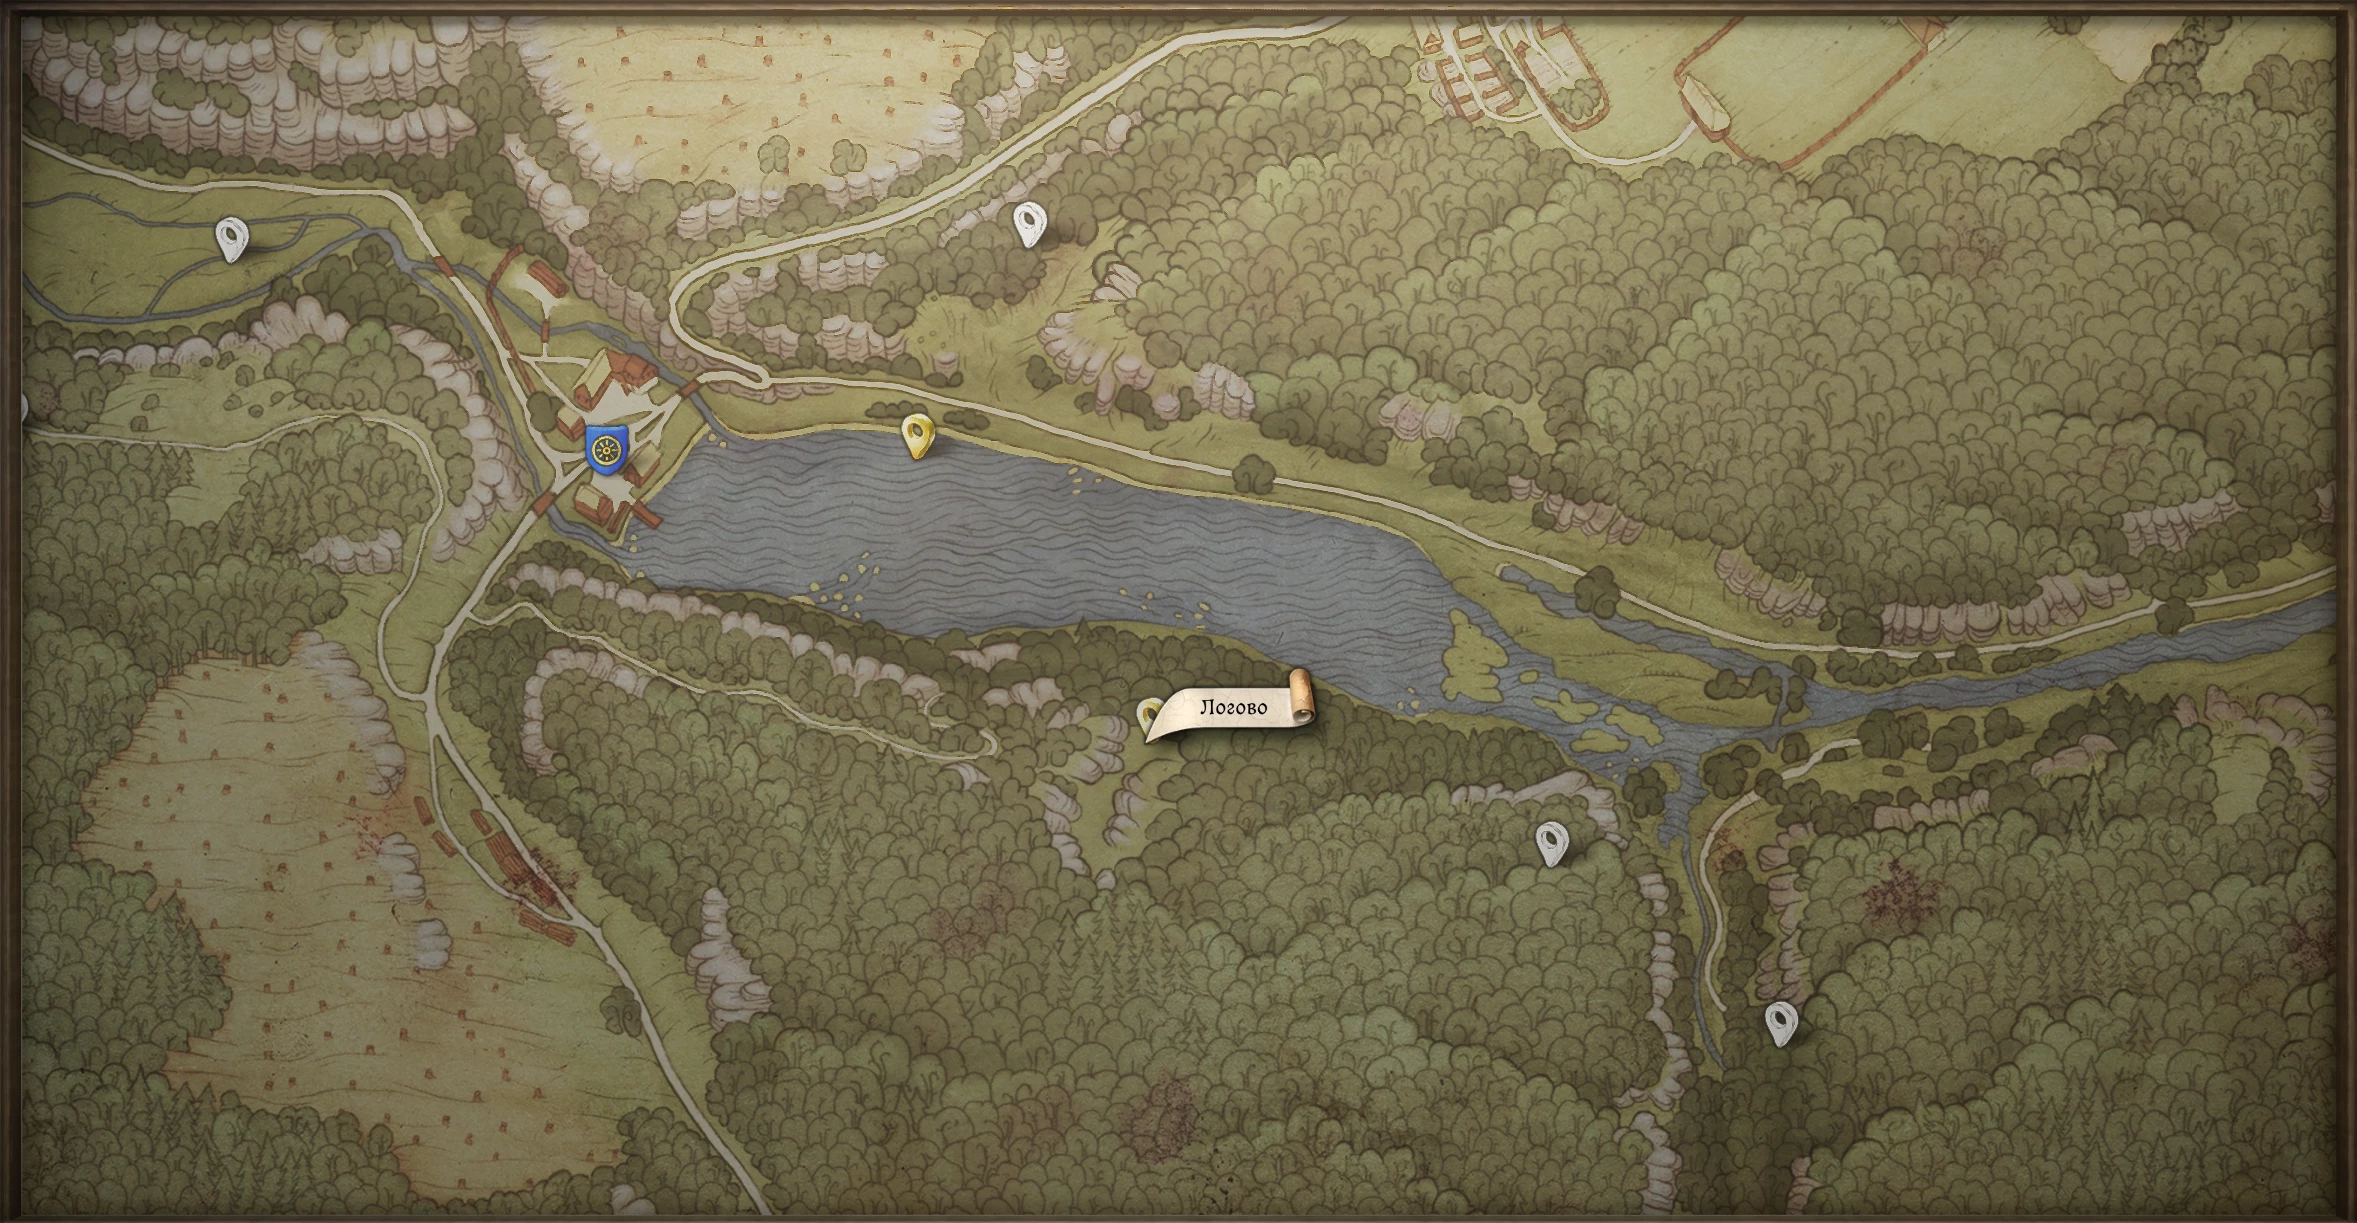
Deal with the Poacher in the Forest Near Vidlak Pond
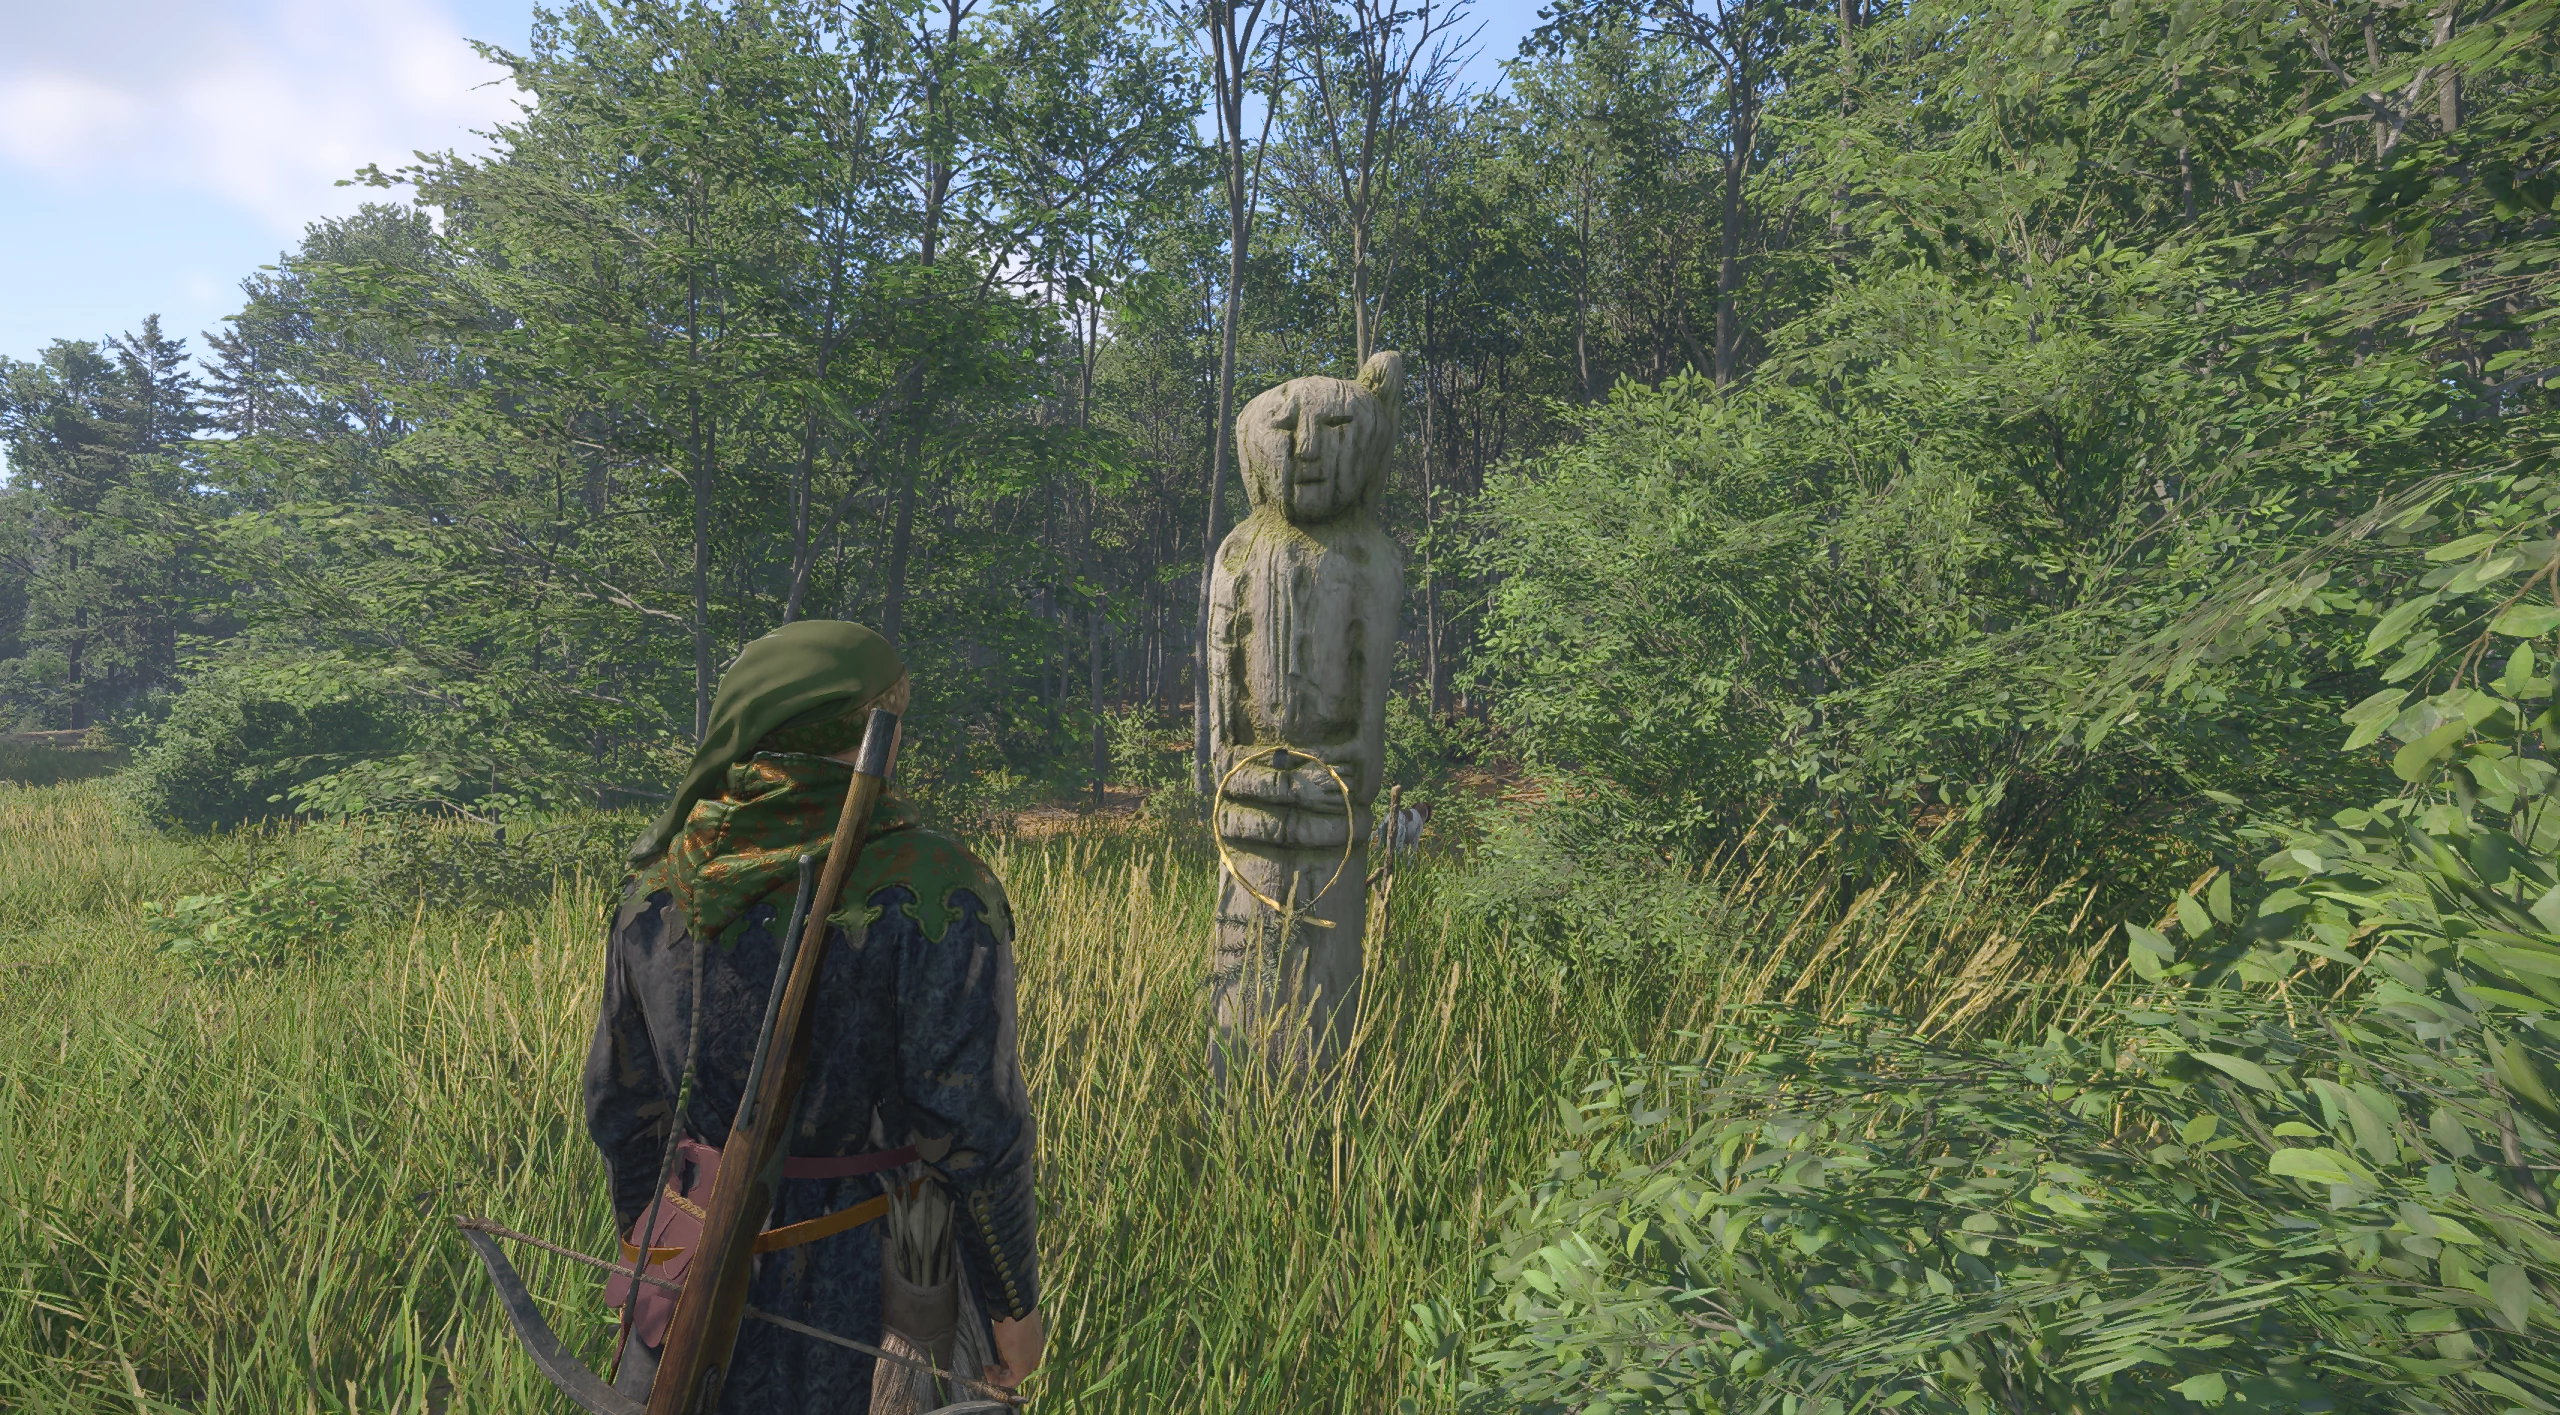
Go around the fisherman's house and find the path. Follow it in a northwestern direction. Along the way, you will encounter a stone pagan idol — a sign that you are on the right path.
Continue in the same direction, guided by the looped twigs on the trees — these are the poacher's marks.
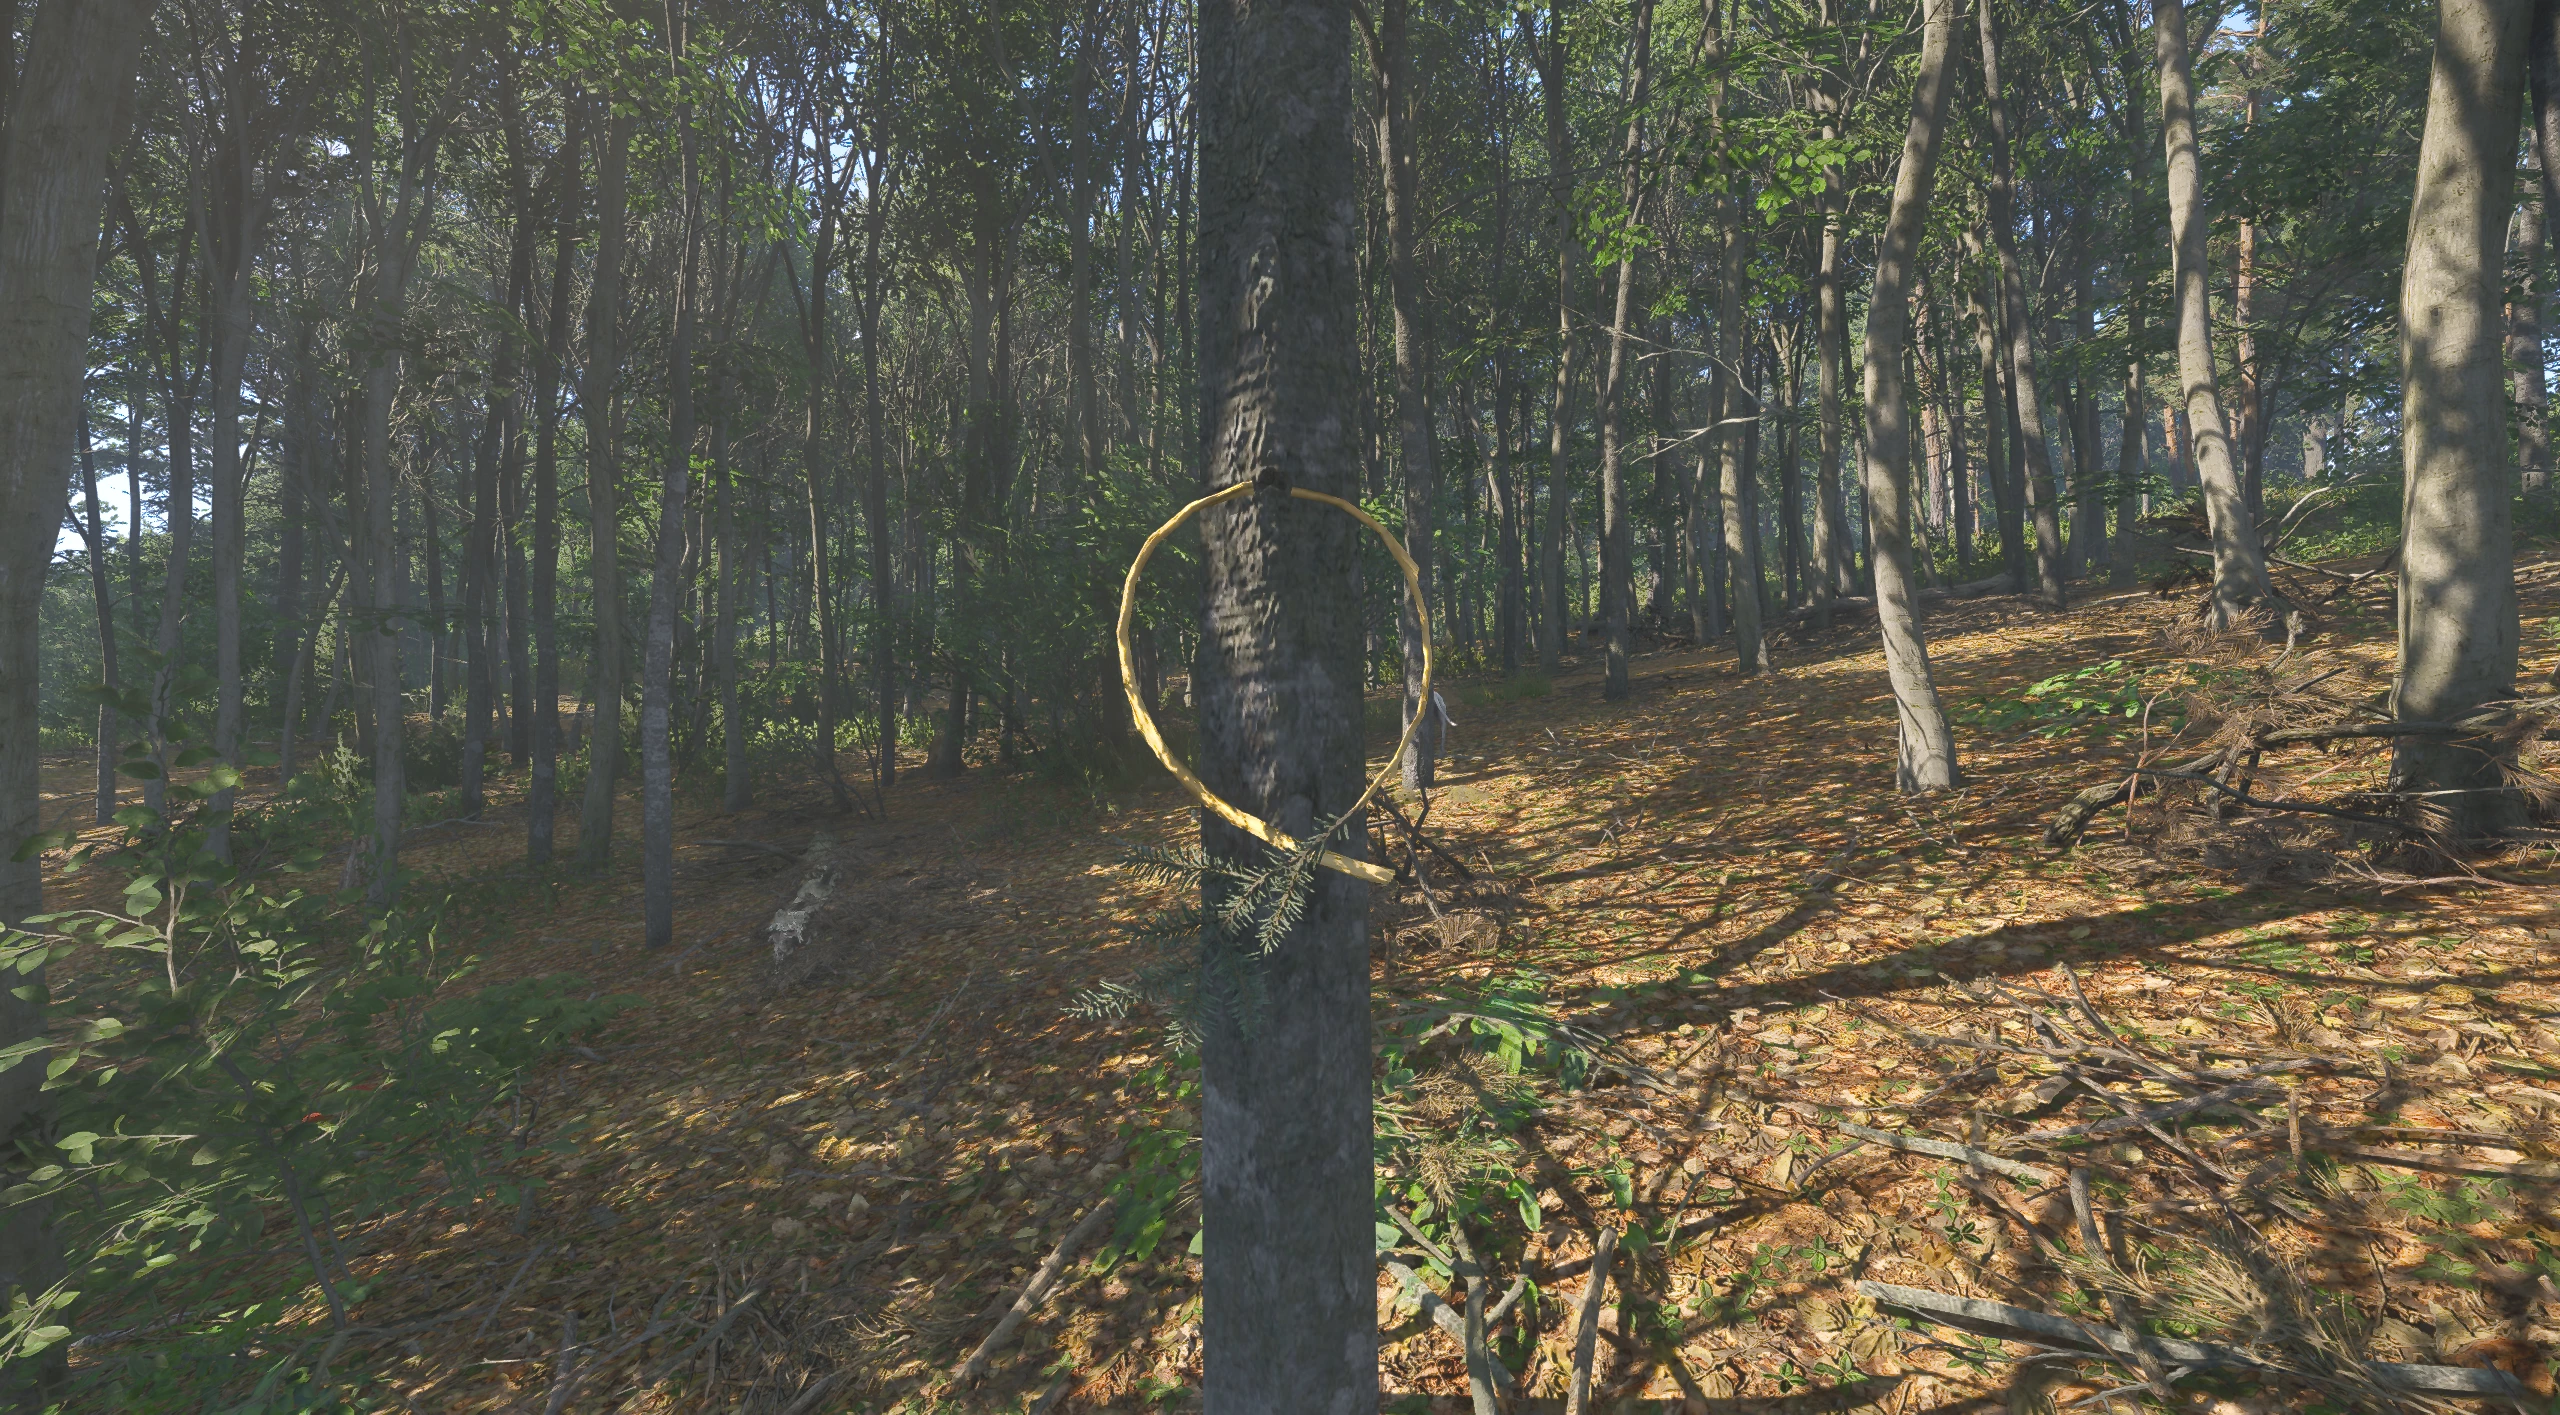
In the evening, find the poacher at the mark on the map below.
Accuse him of the crimes, and he will try to resist, but with a successful persuasion check, you can calm him down.
In the end, you can proceed as follows:
- Take the hunter to the reeve for execution.
- Release the man, receiving valuable resources in return.
- Fail the persuasion check and kill the poacher in a fight.
Report to Voislav About the Poacher from Vidlak Pond
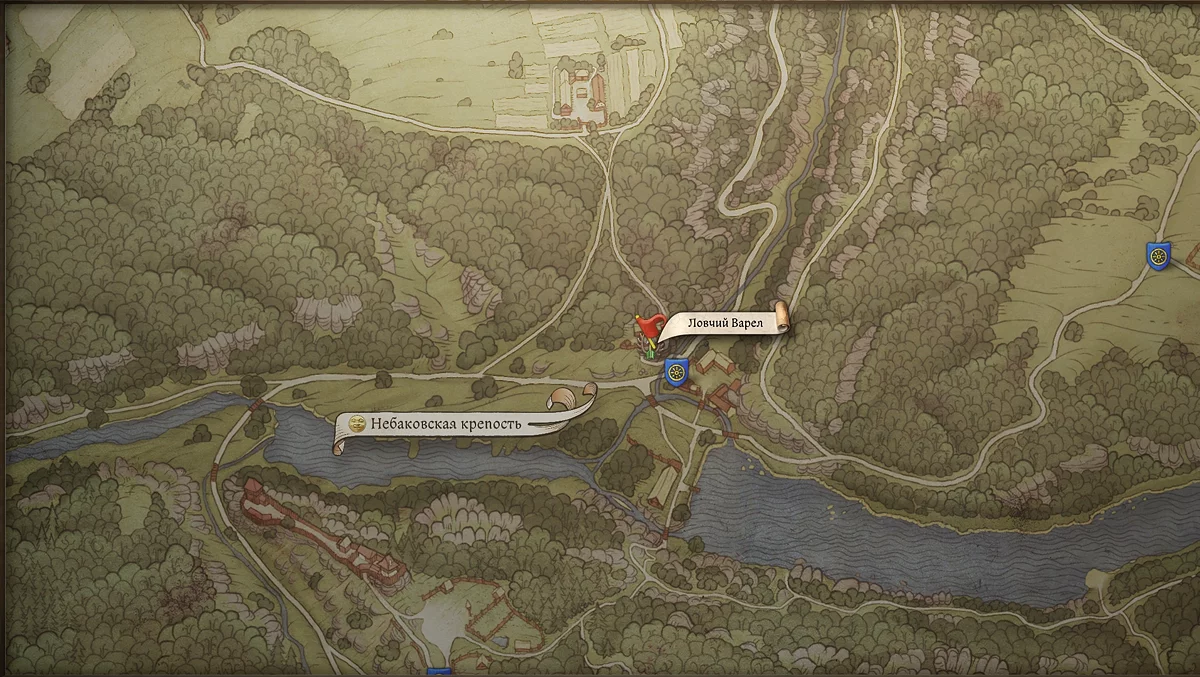
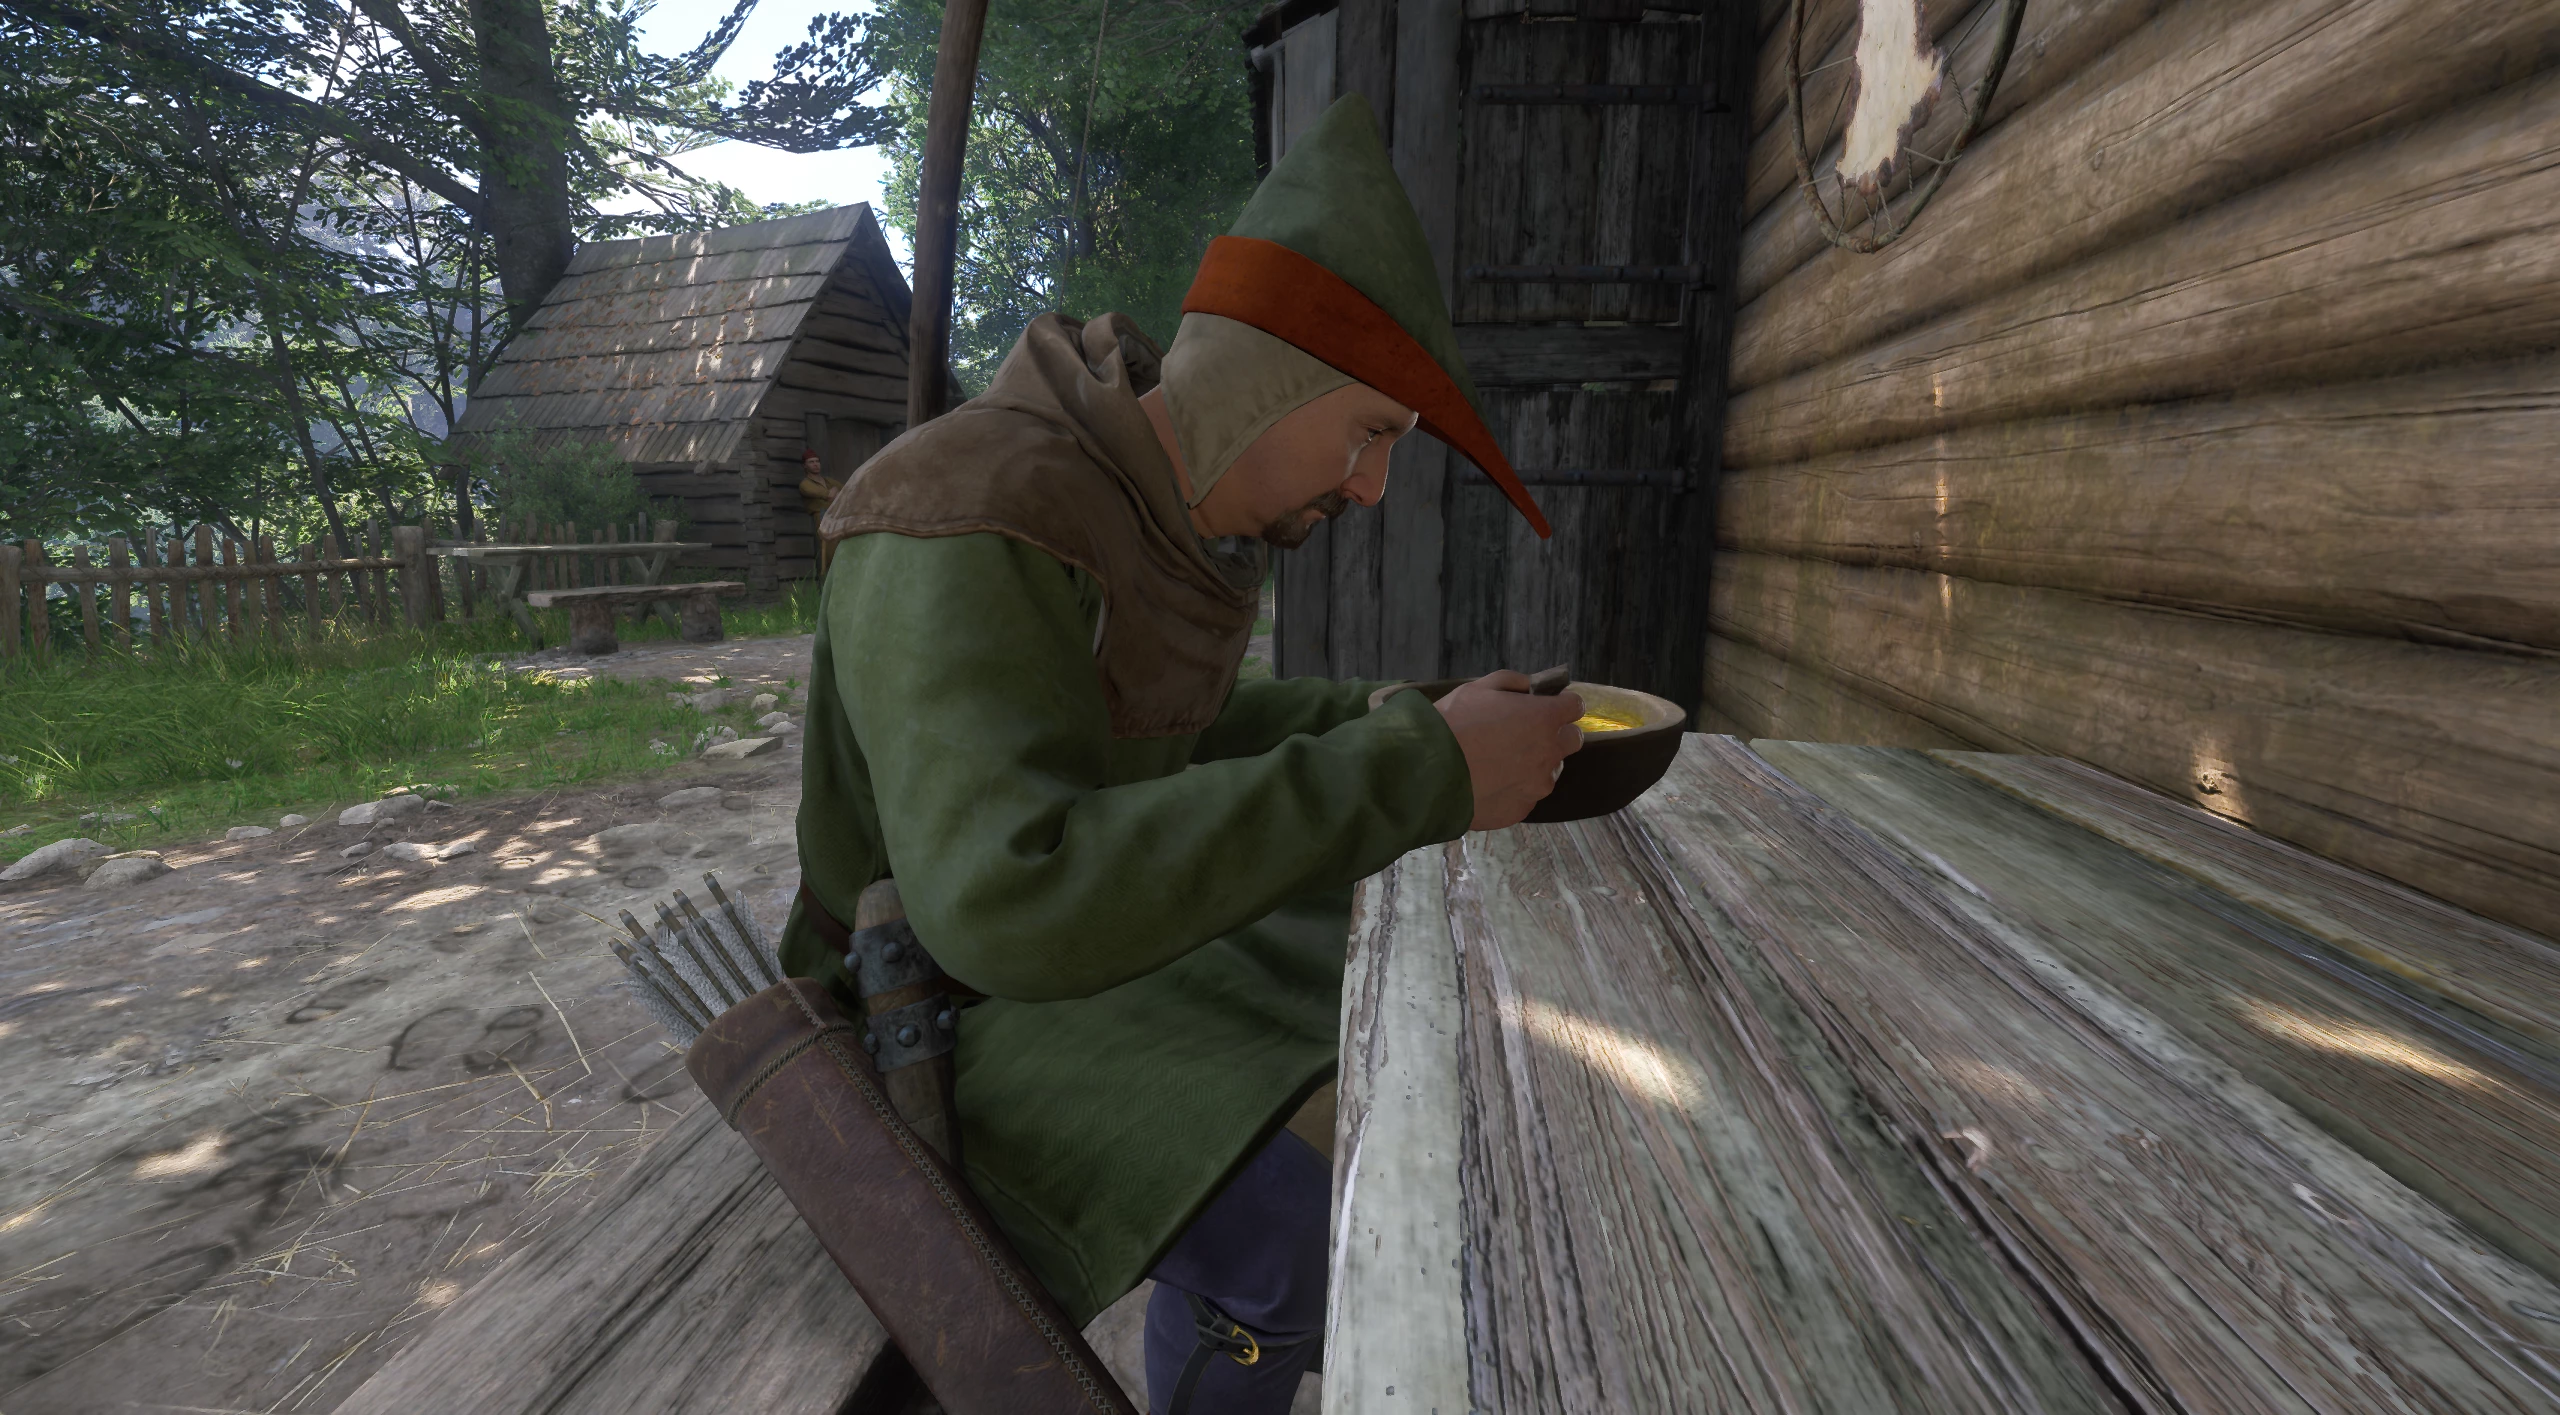
Return to the huntsman and tell him that you dealt with the poacher. Voislav will praise you for your work and reward the hero. Then he will say that you can head to Nebakov to find out if the huntsman there needs help.
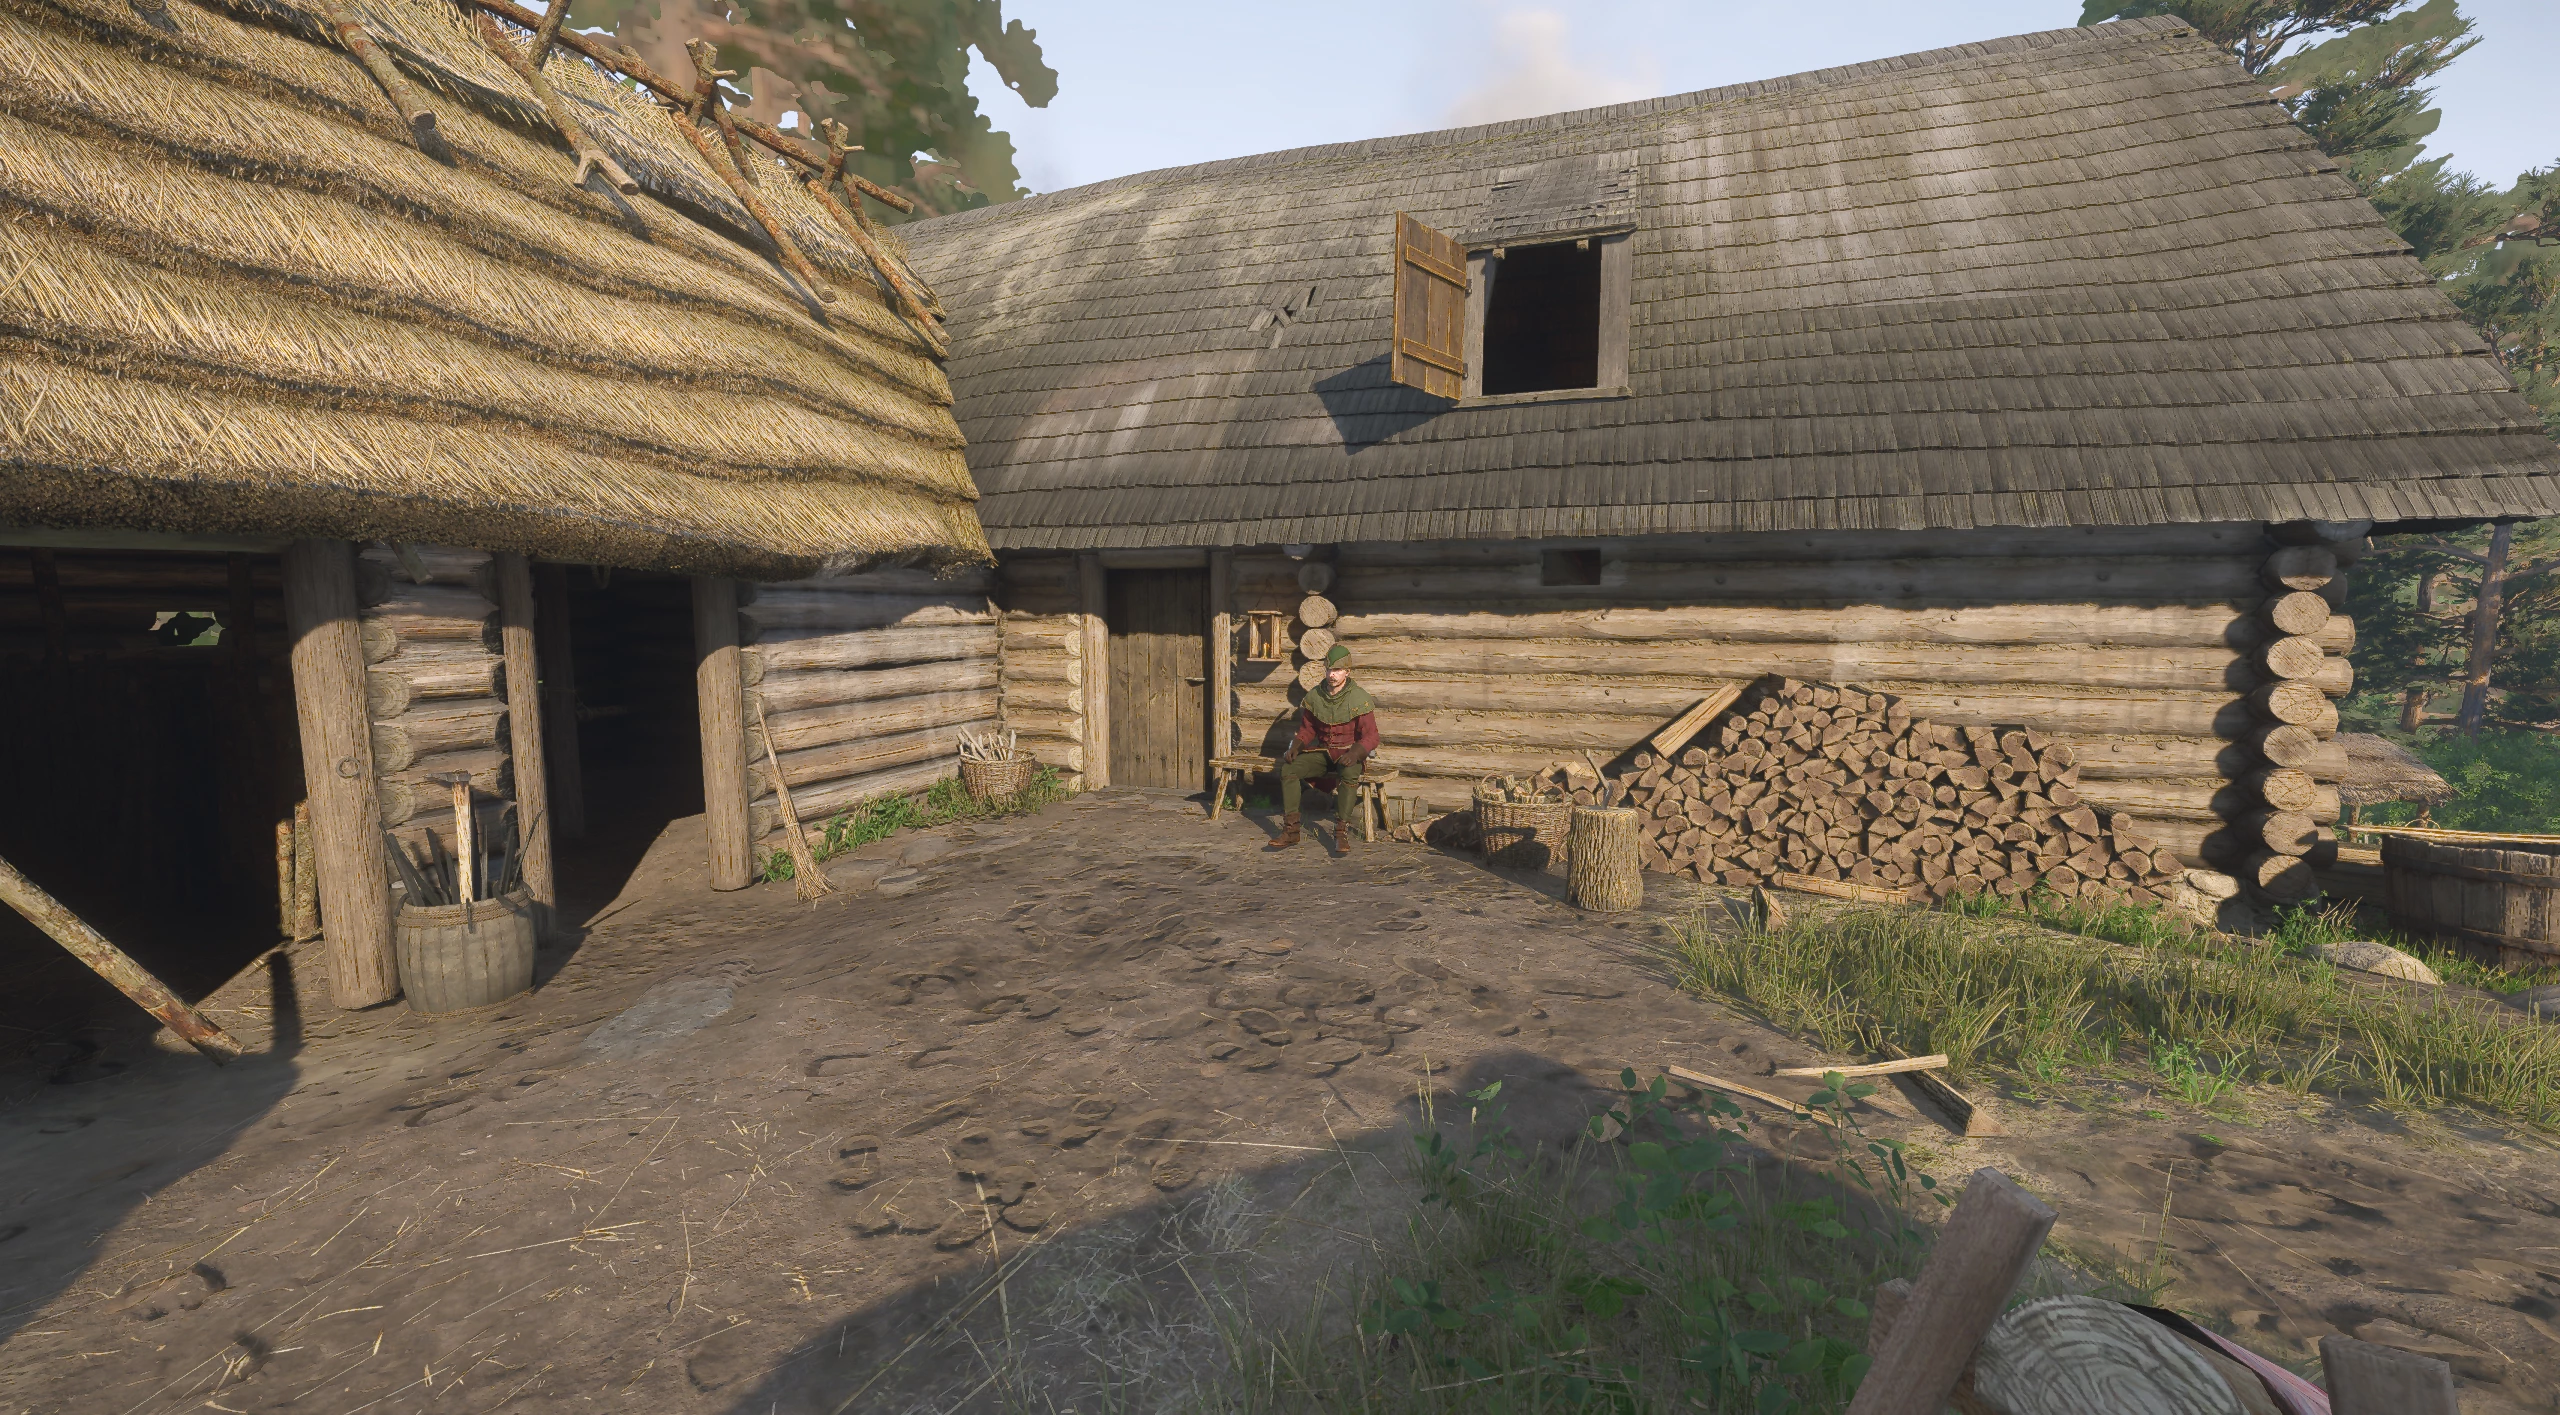
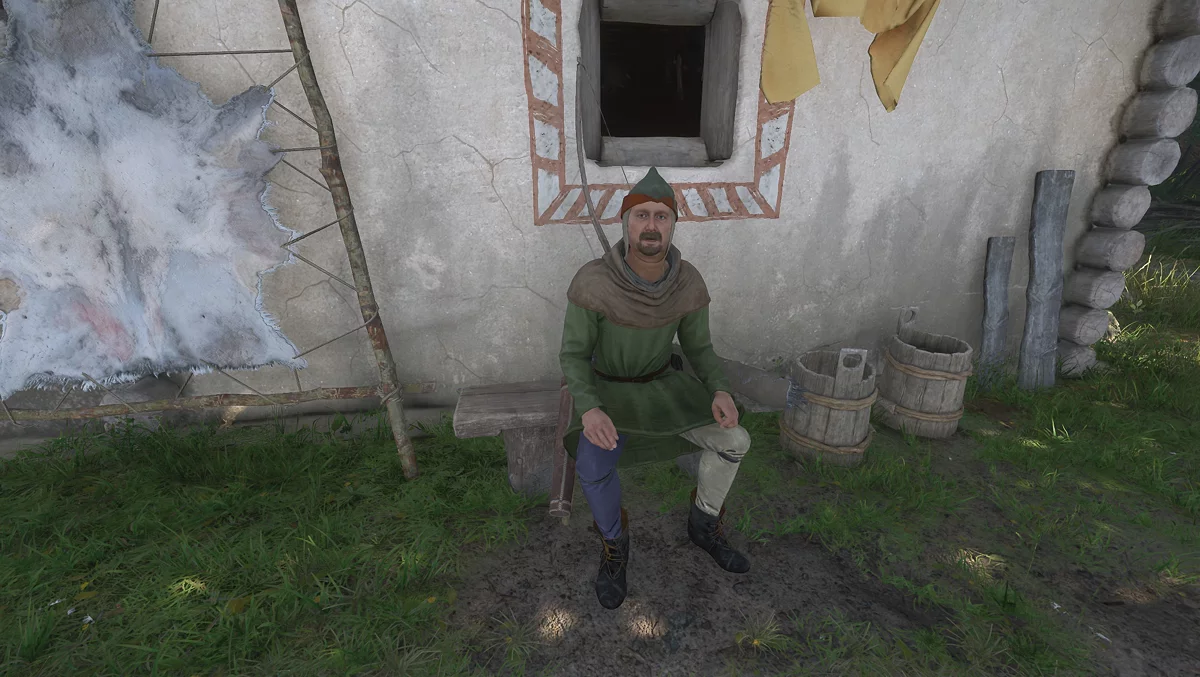
Ask About Huntsman Varel's Work
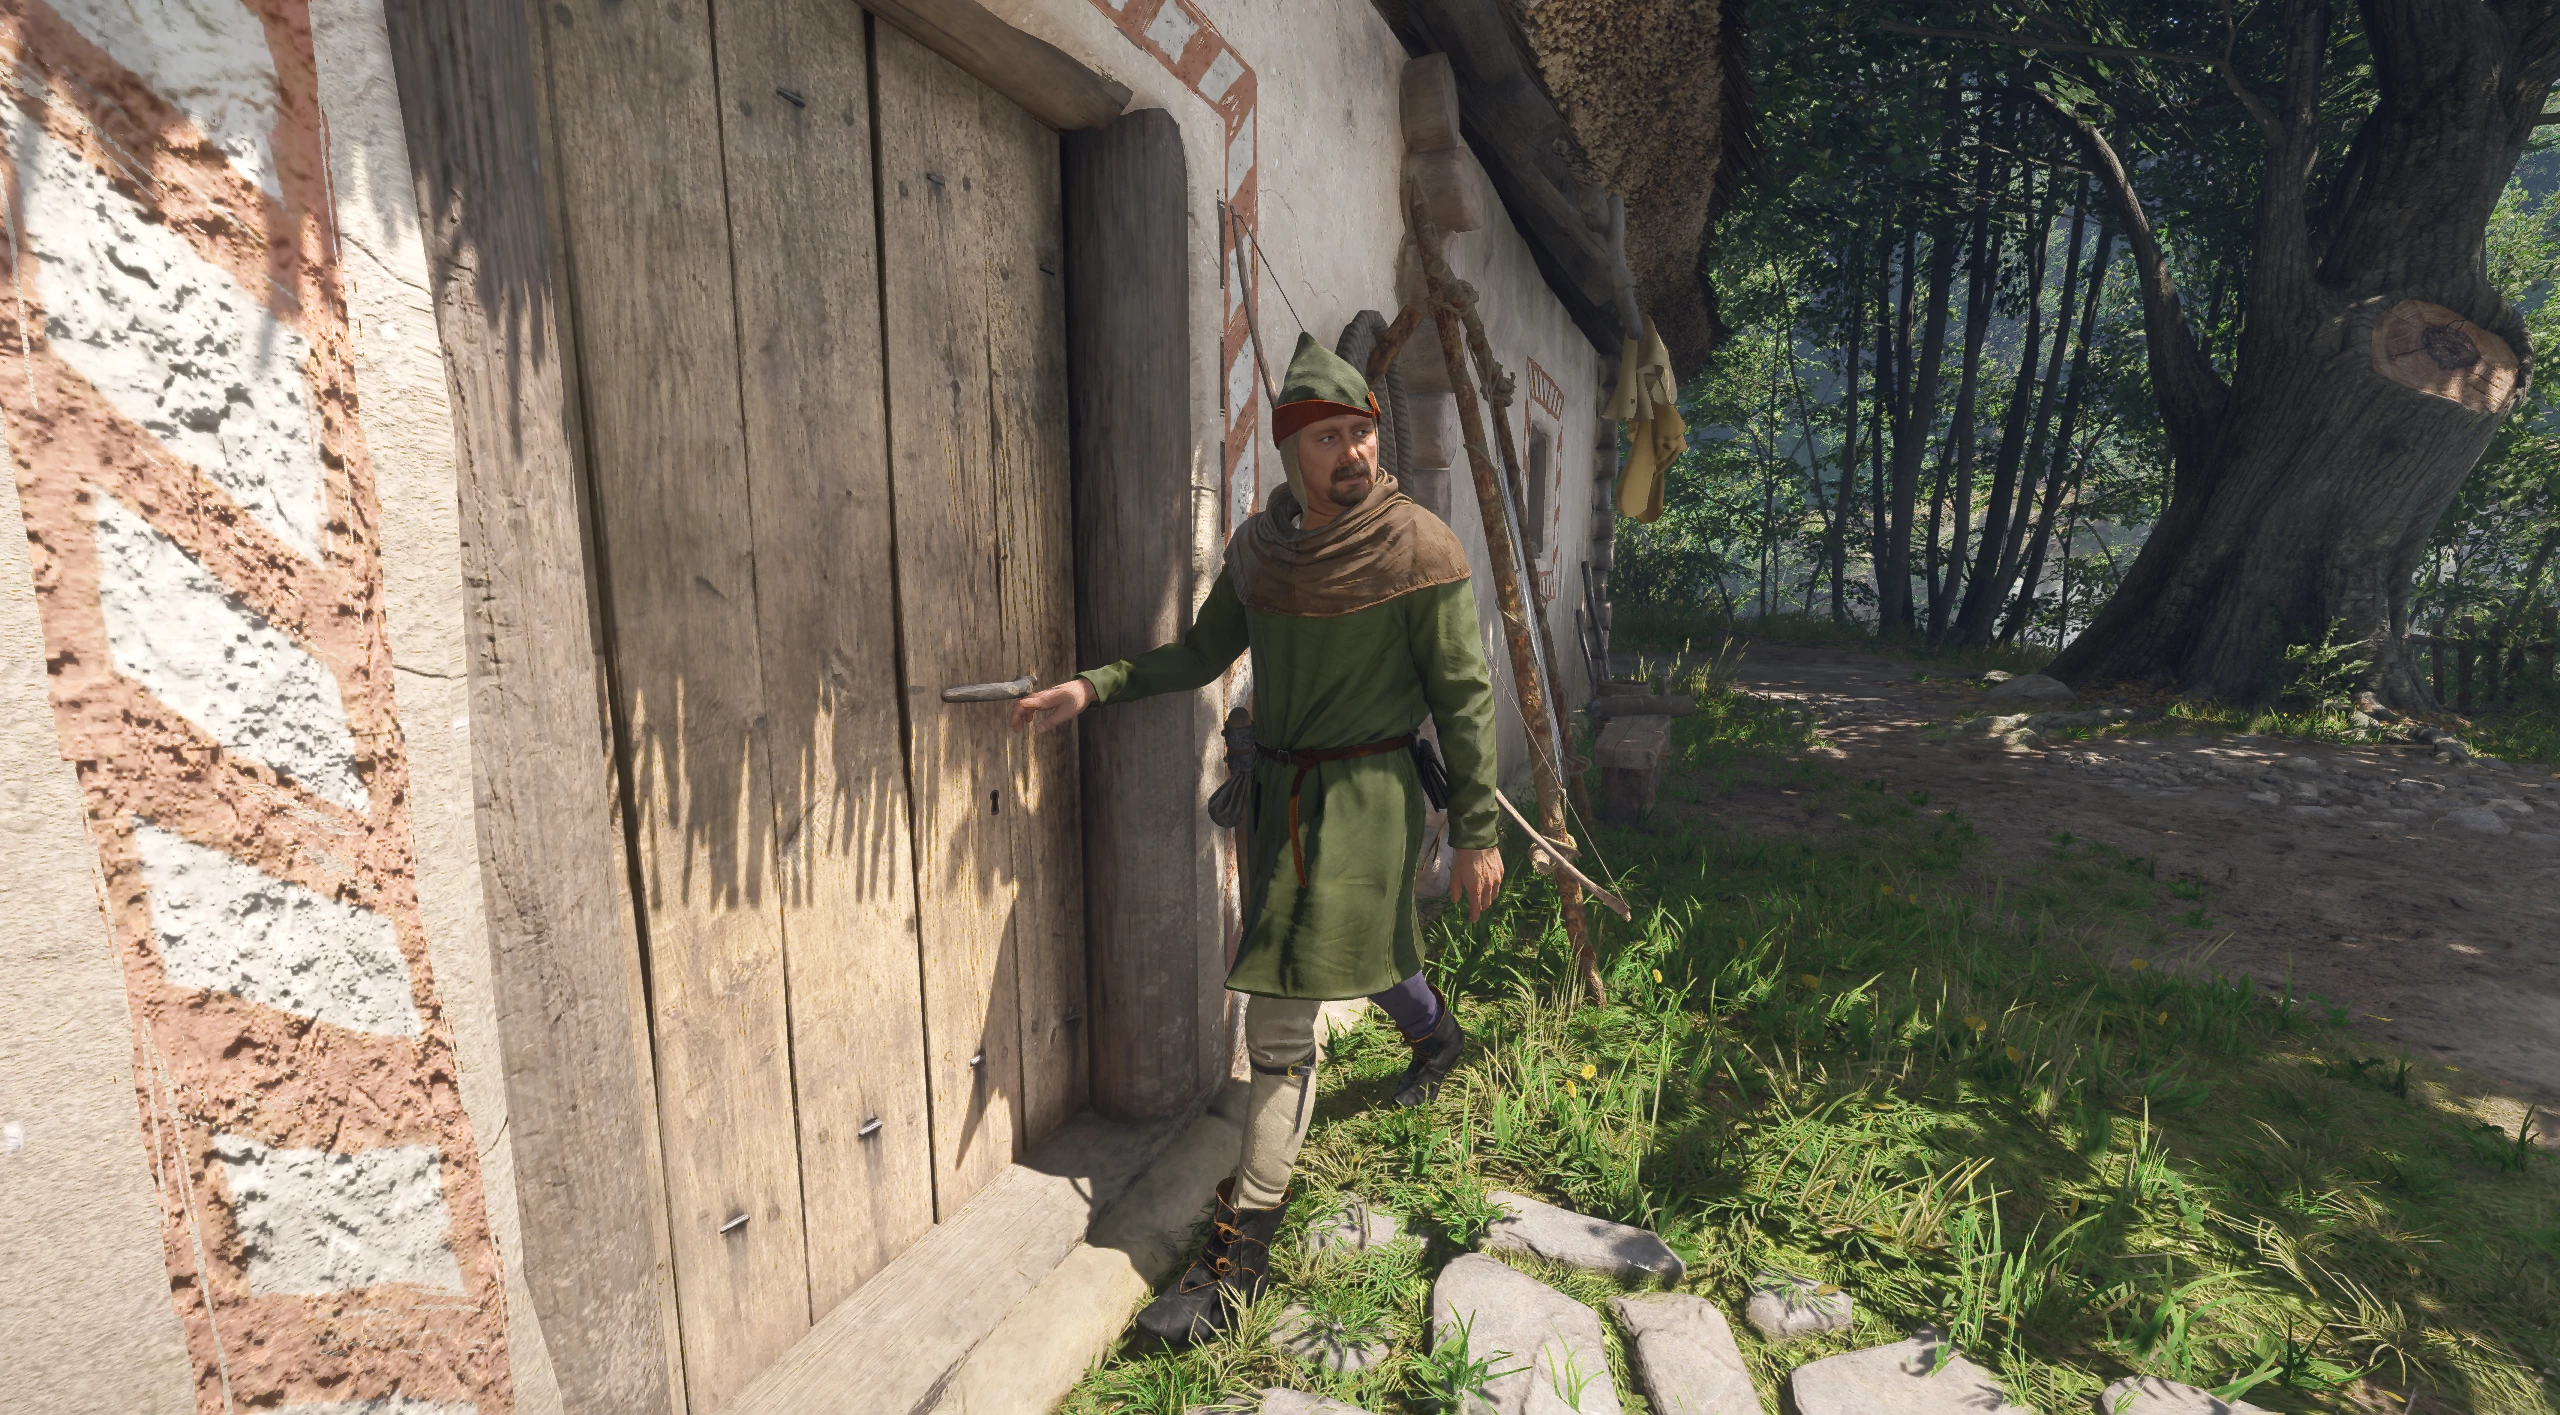
Find Huntsman Varel at the Nebakov mill. Say that Voislav sent you. The huntsman will tell you that a poacher needs to be dealt with in the Troskovice area.
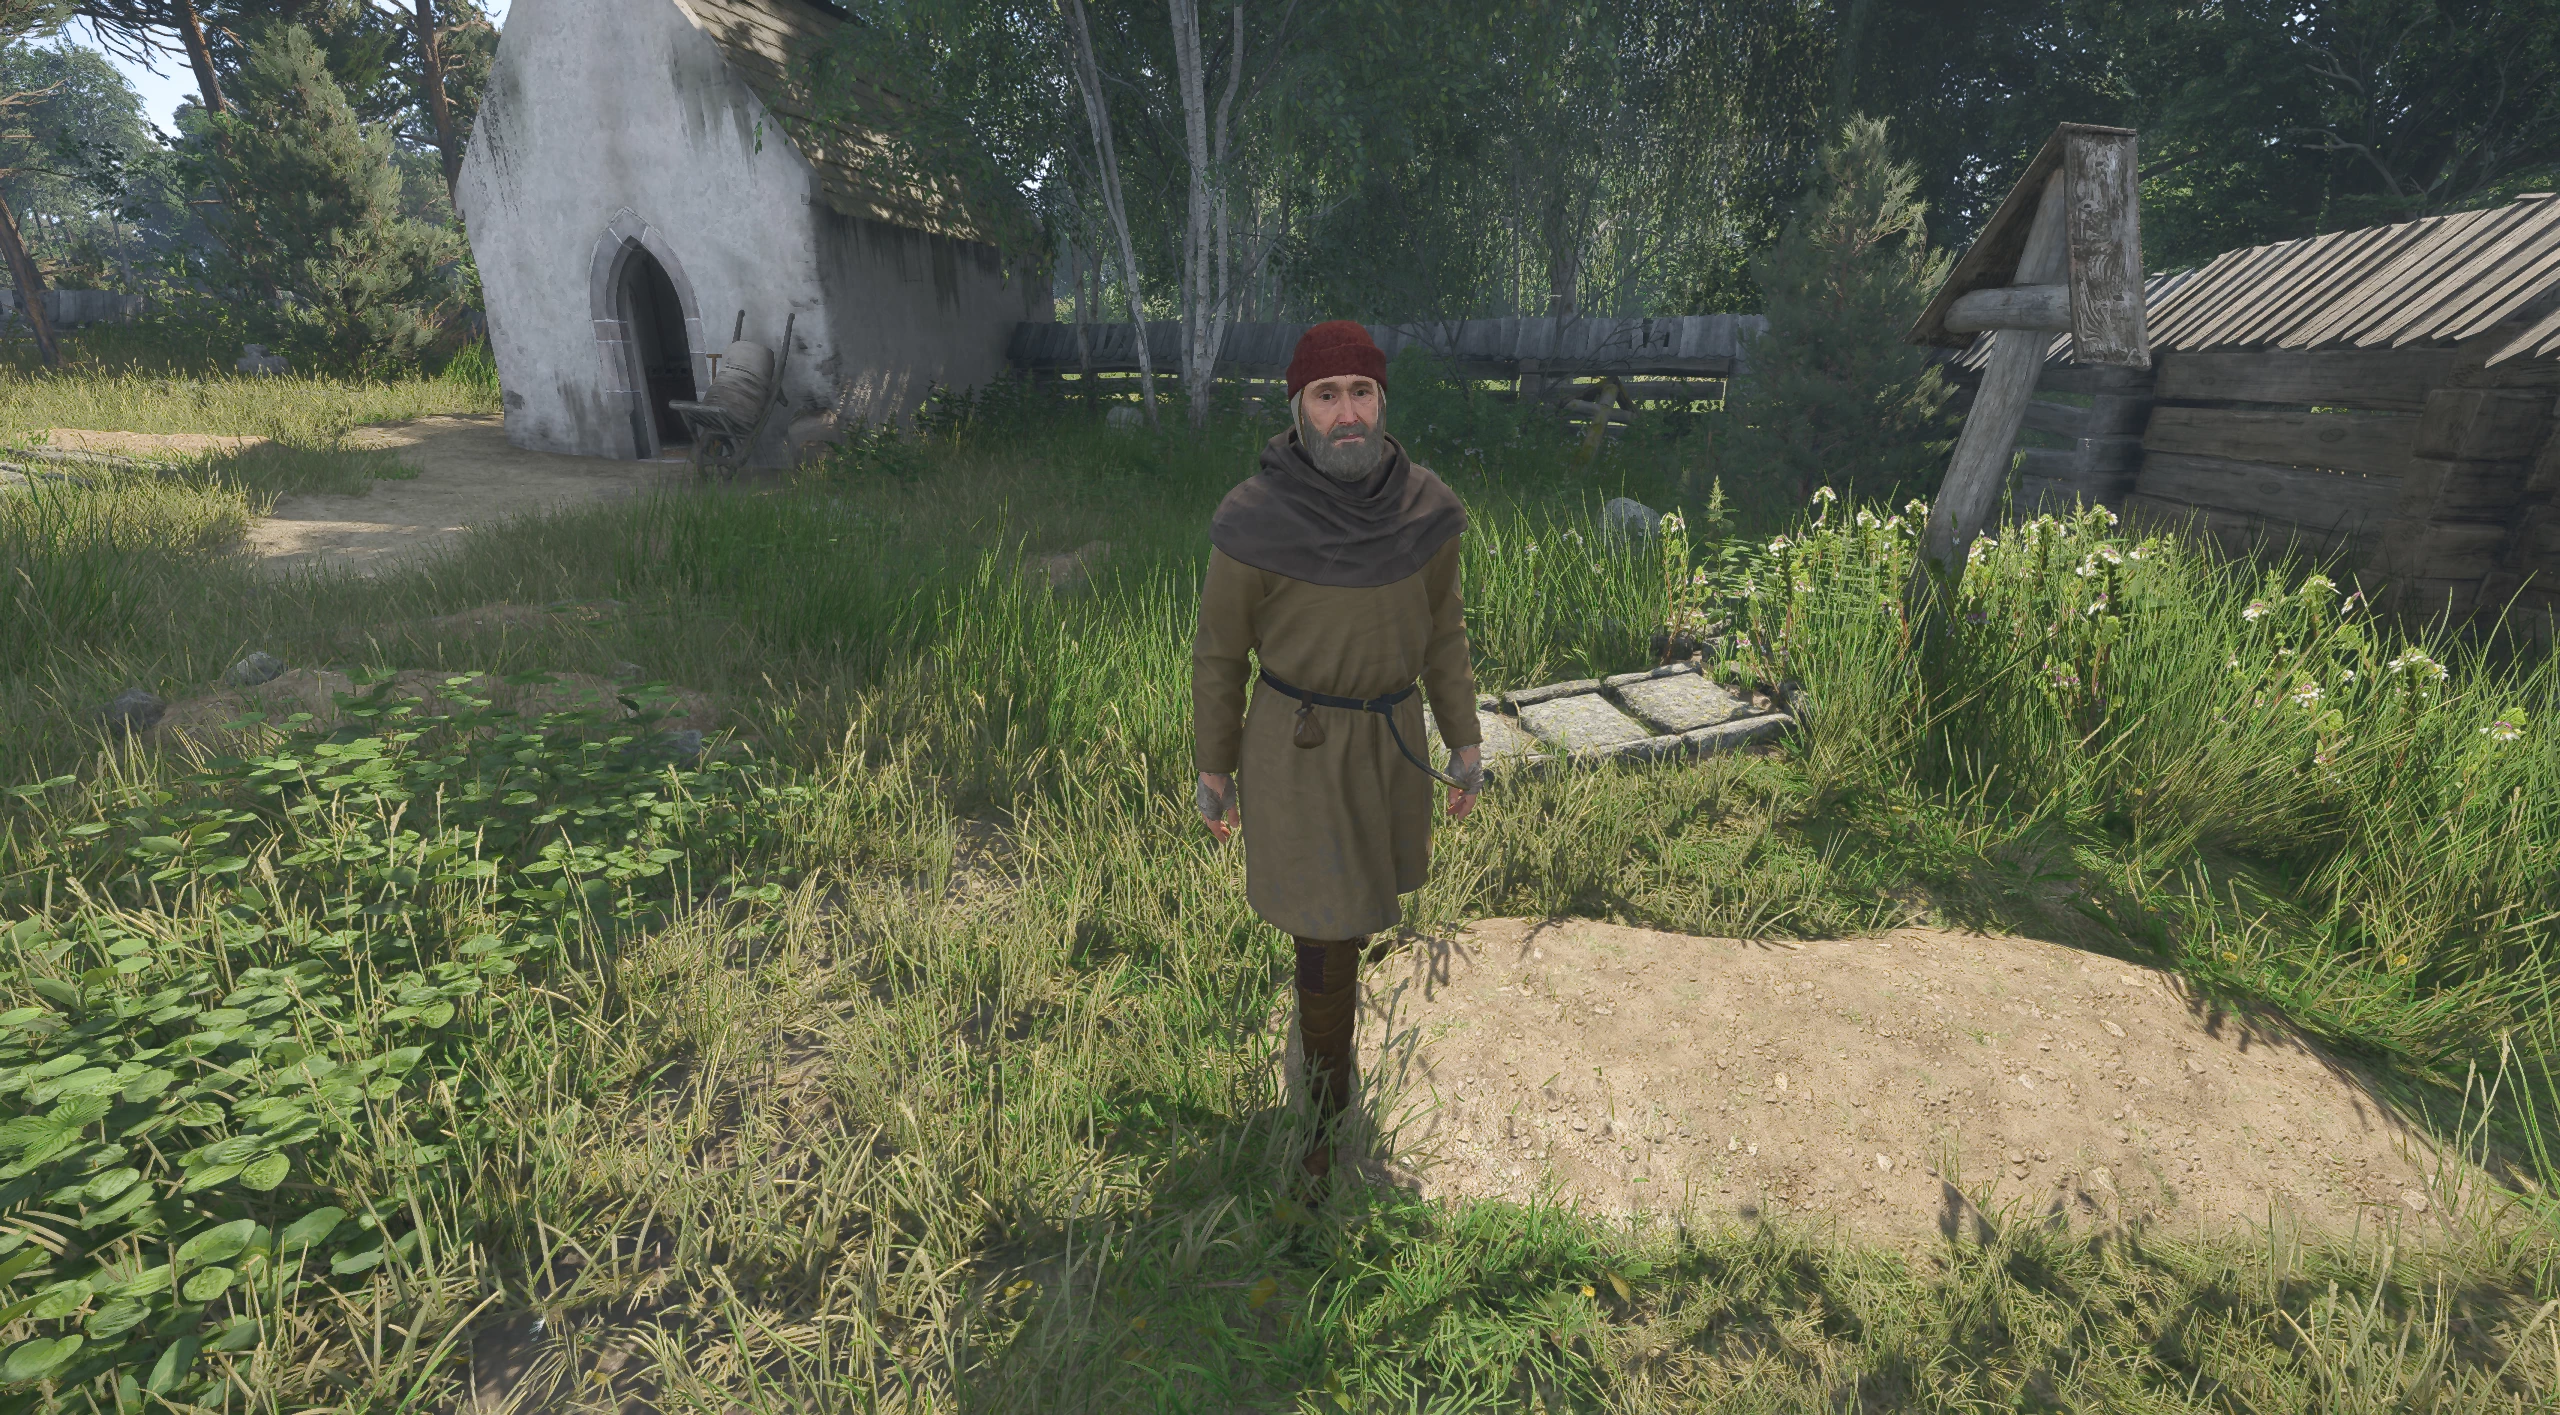
Ask the Gravedigger About the Poacher
Following the huntsman's lead, head to the cemetery east of Troskovice. Find a gravedigger named Ignatz and ask about the poachers in the nearby forests.
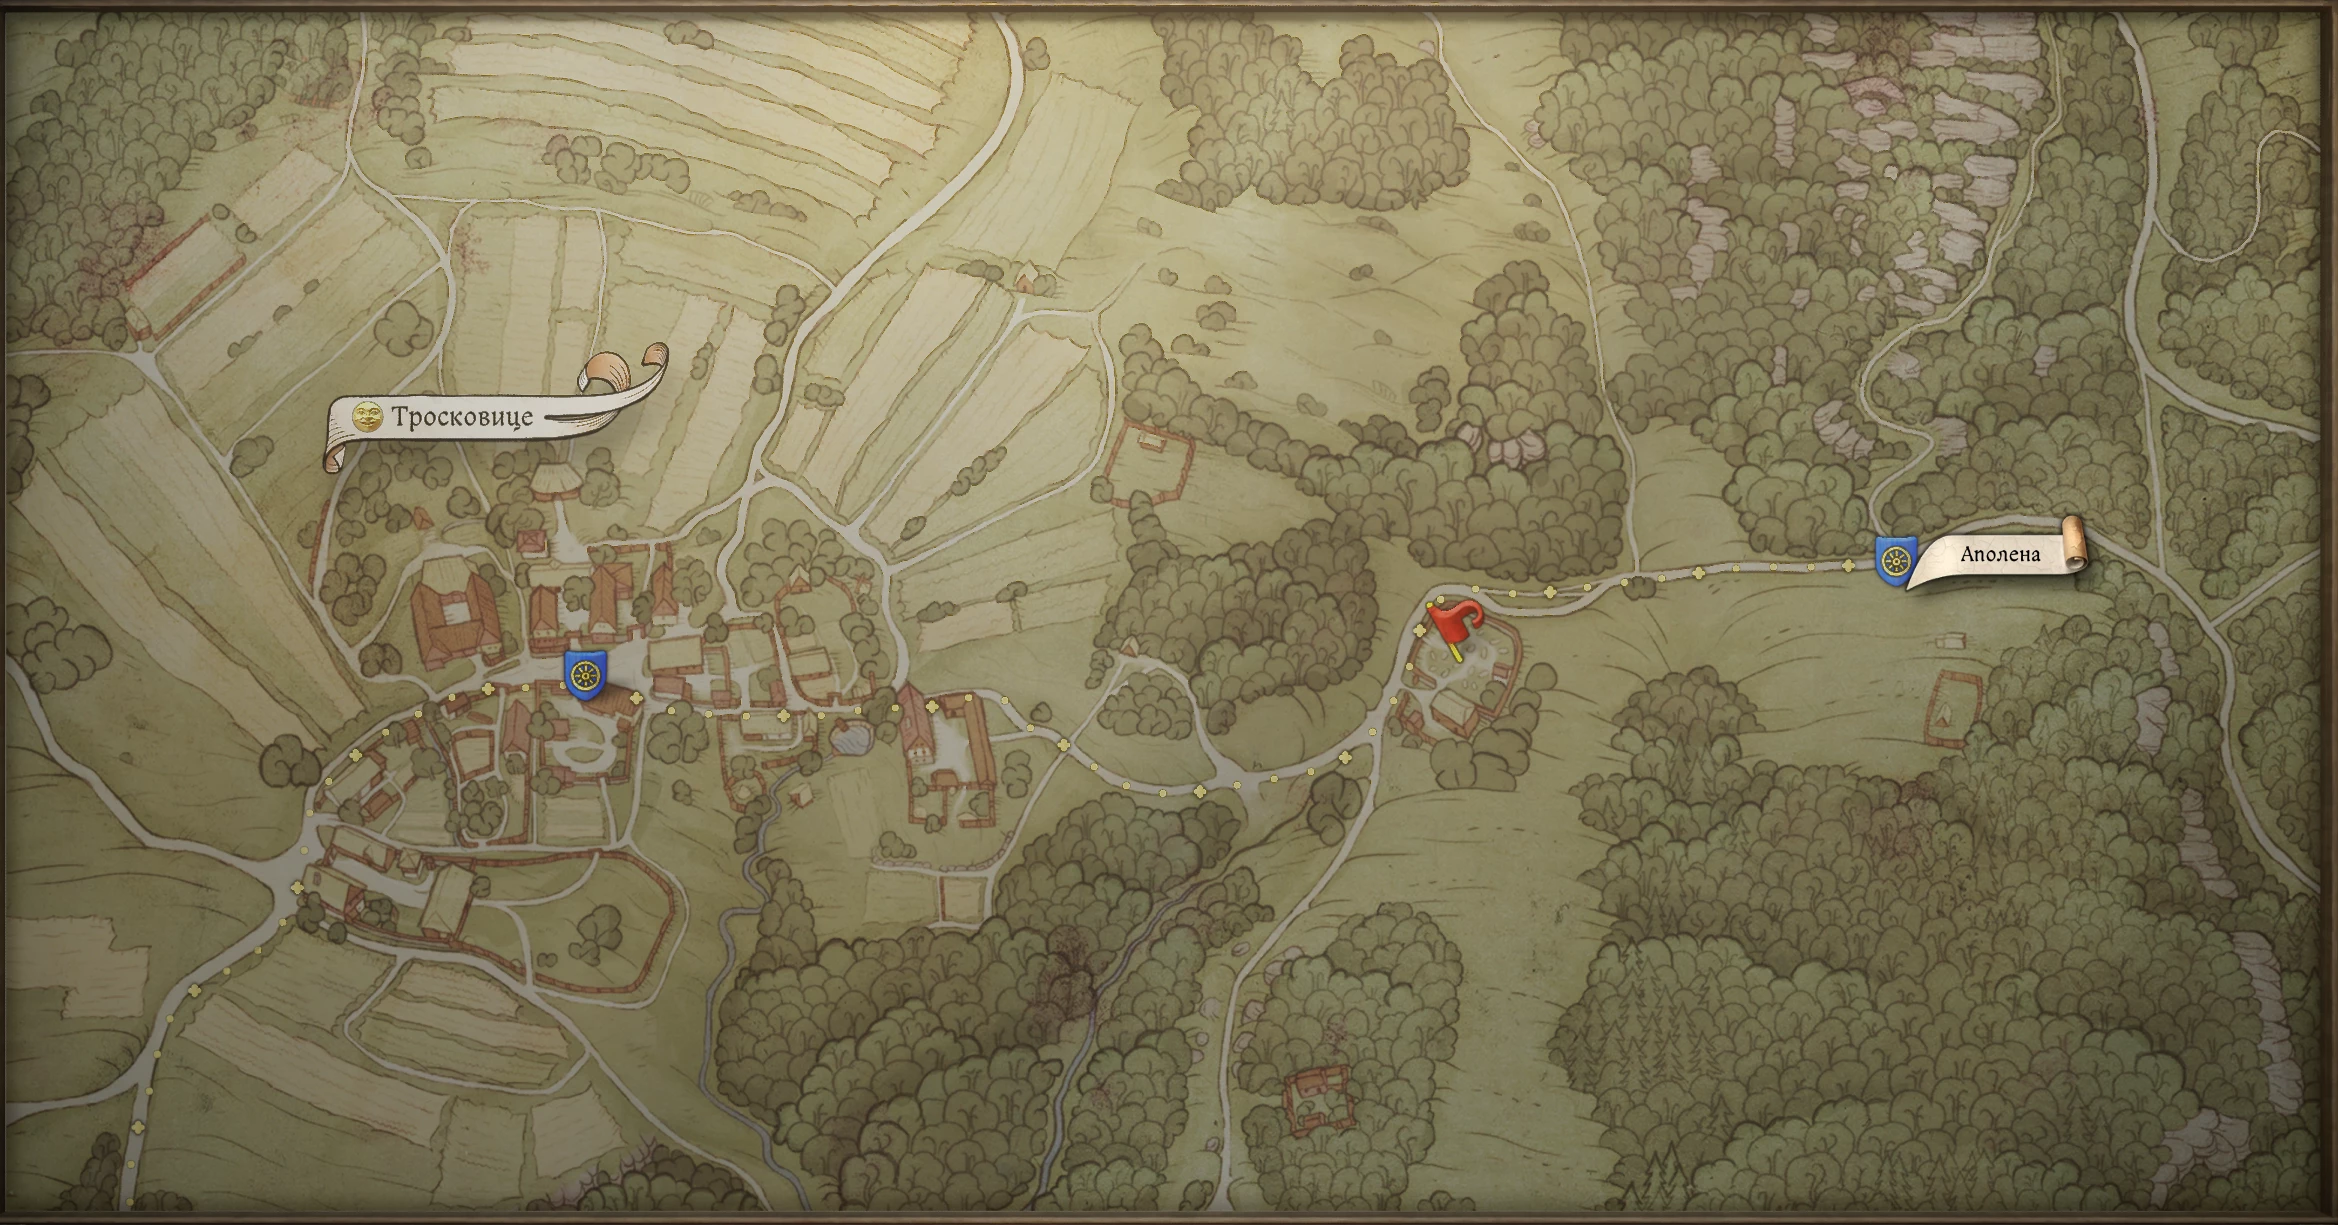
The old man will advise you to look for poachers by moving east from the cemetery along the stones in the forest, warning that wolves inhabit the thickets.
Find Out the Truth About the Poacher from the Forest Near Slatevo
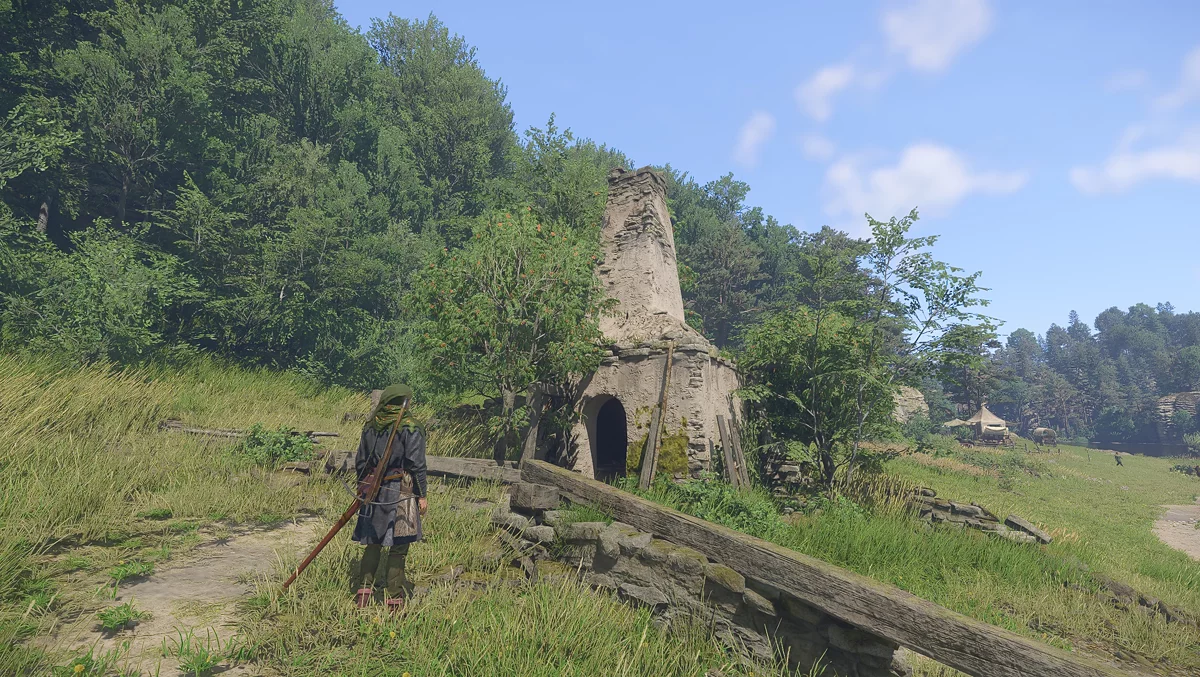
Following the stones across the road east of the cemetery, find an unfinished hut.
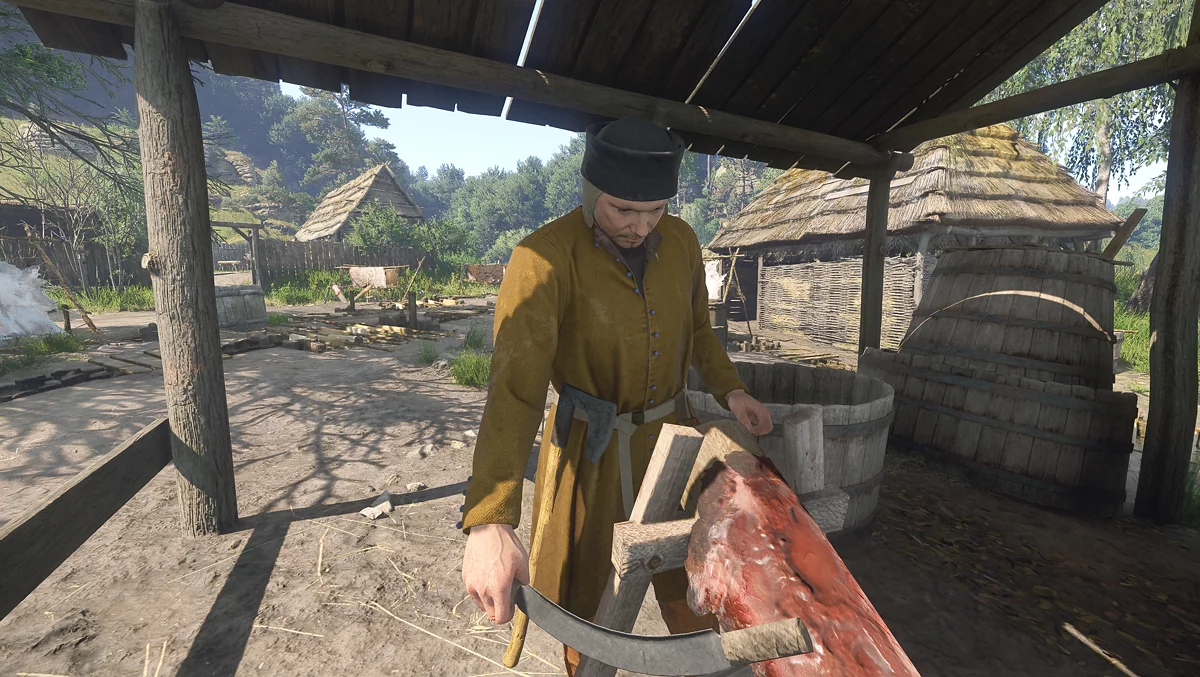
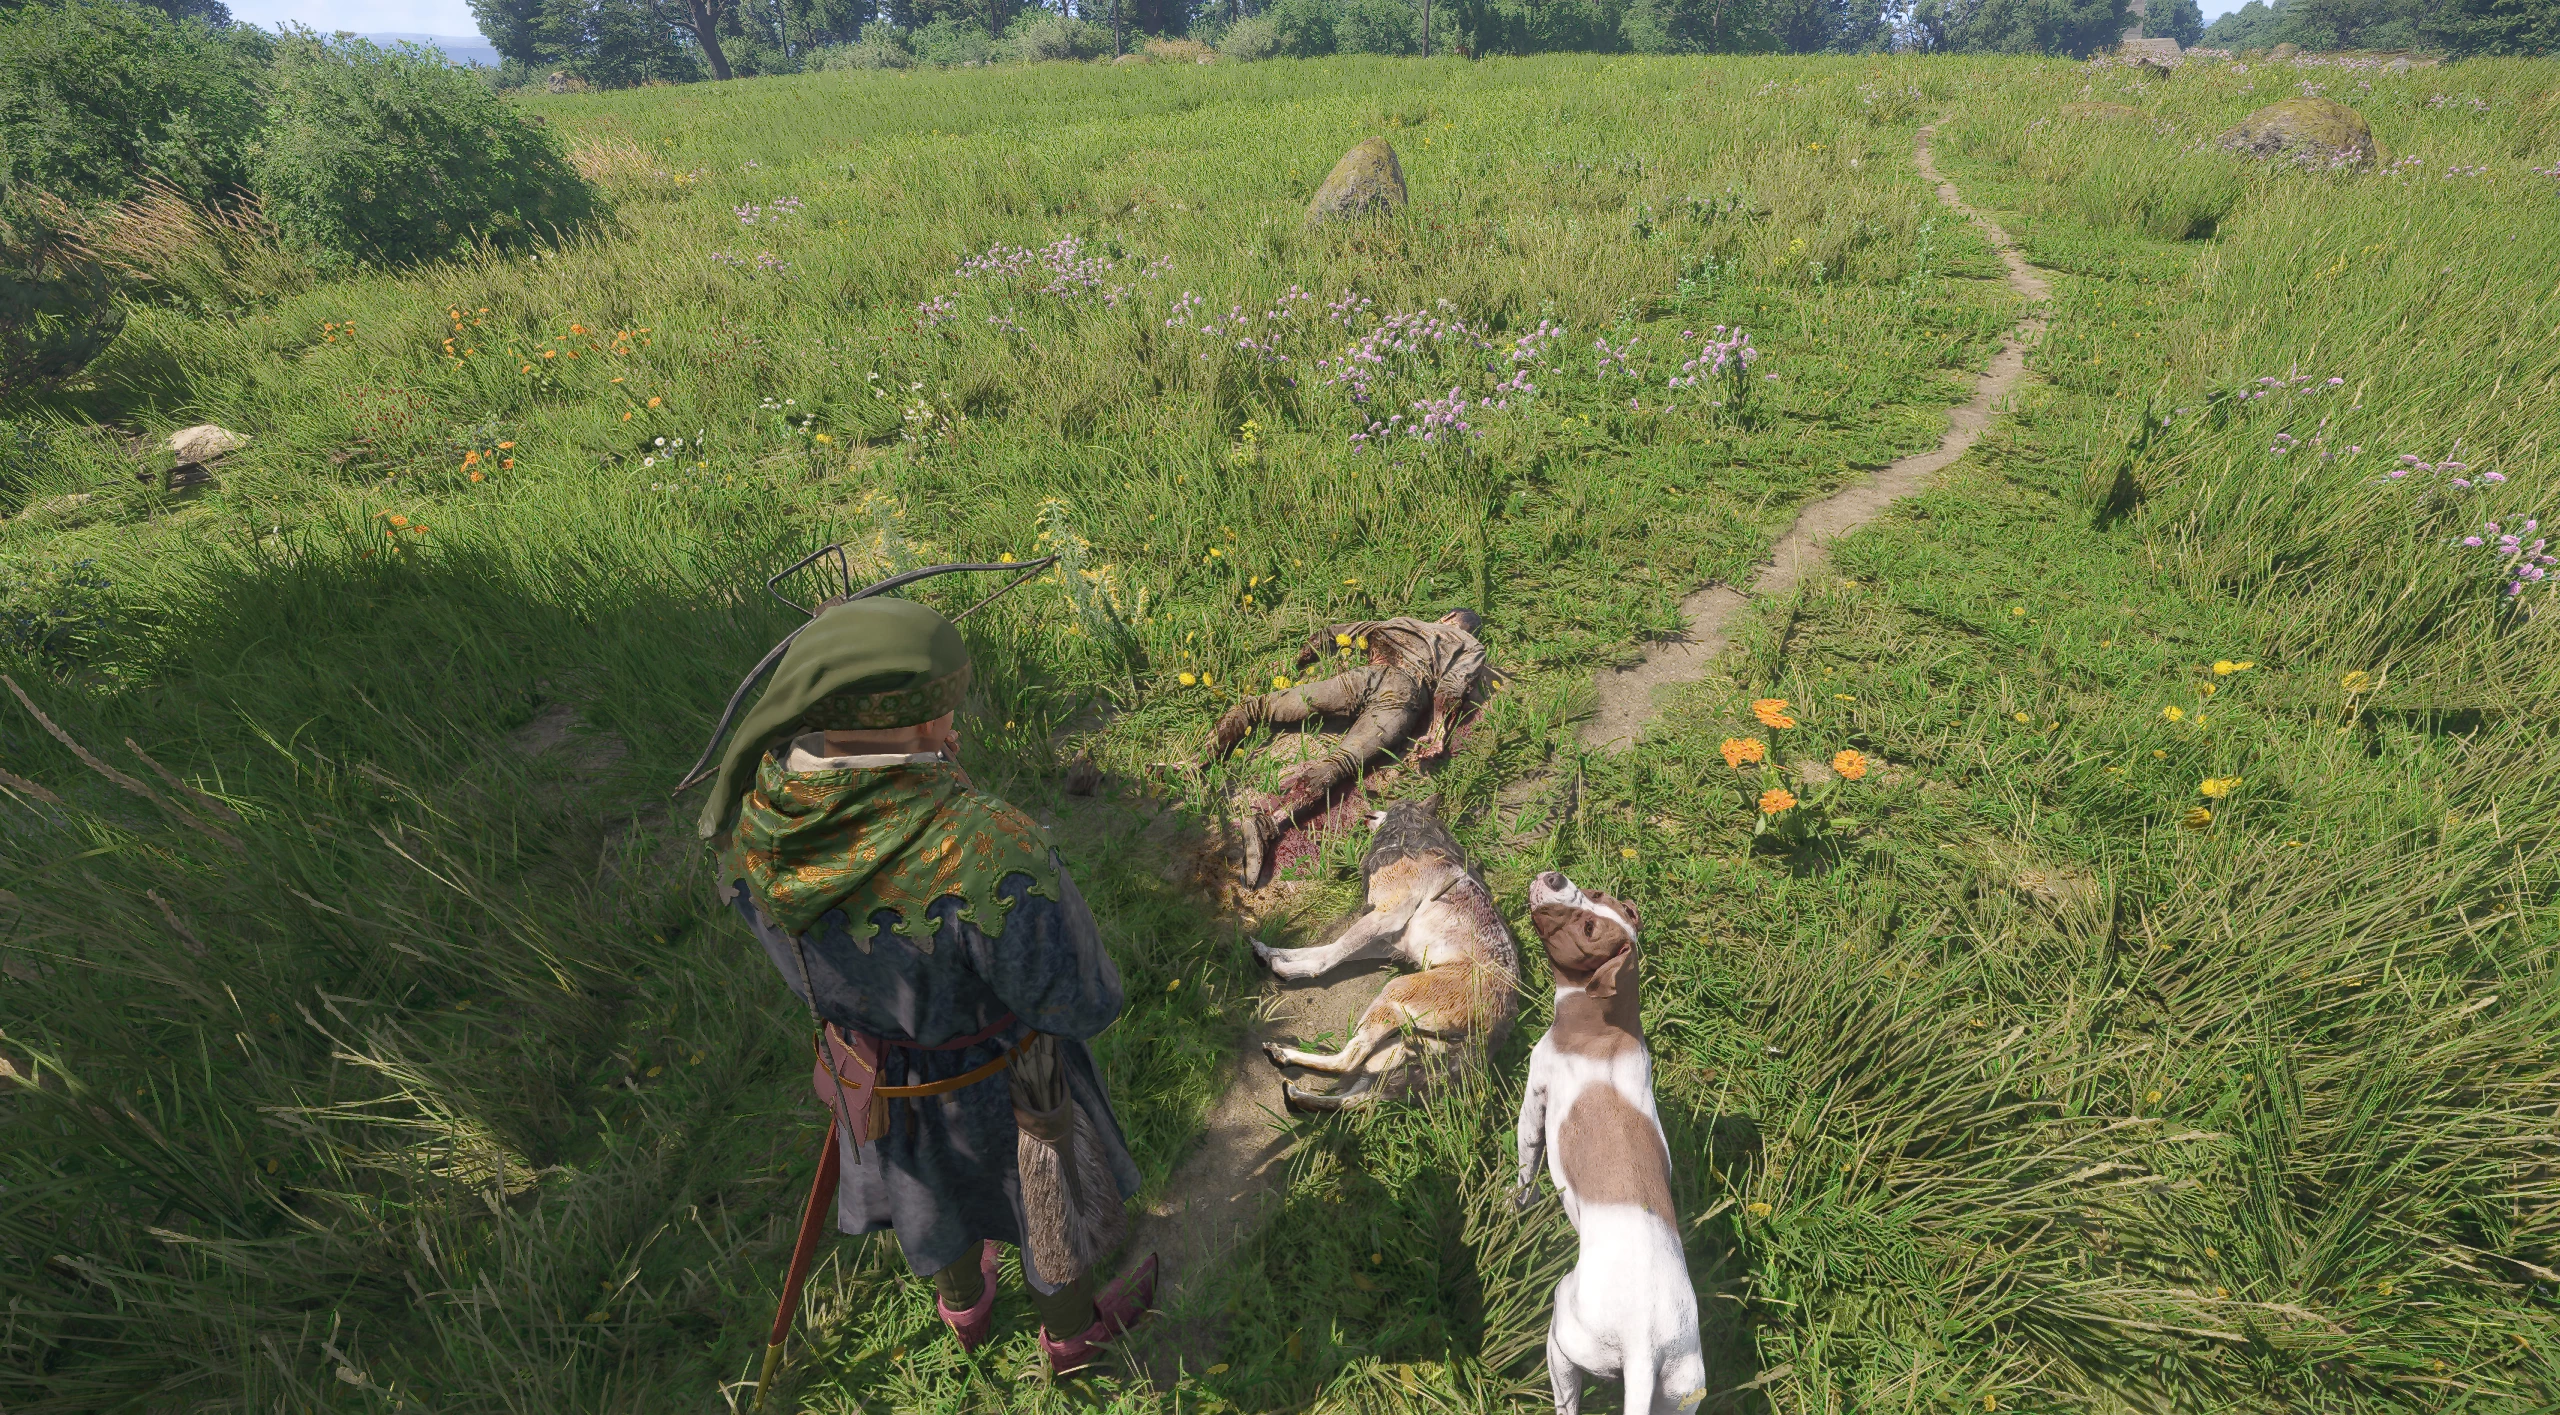
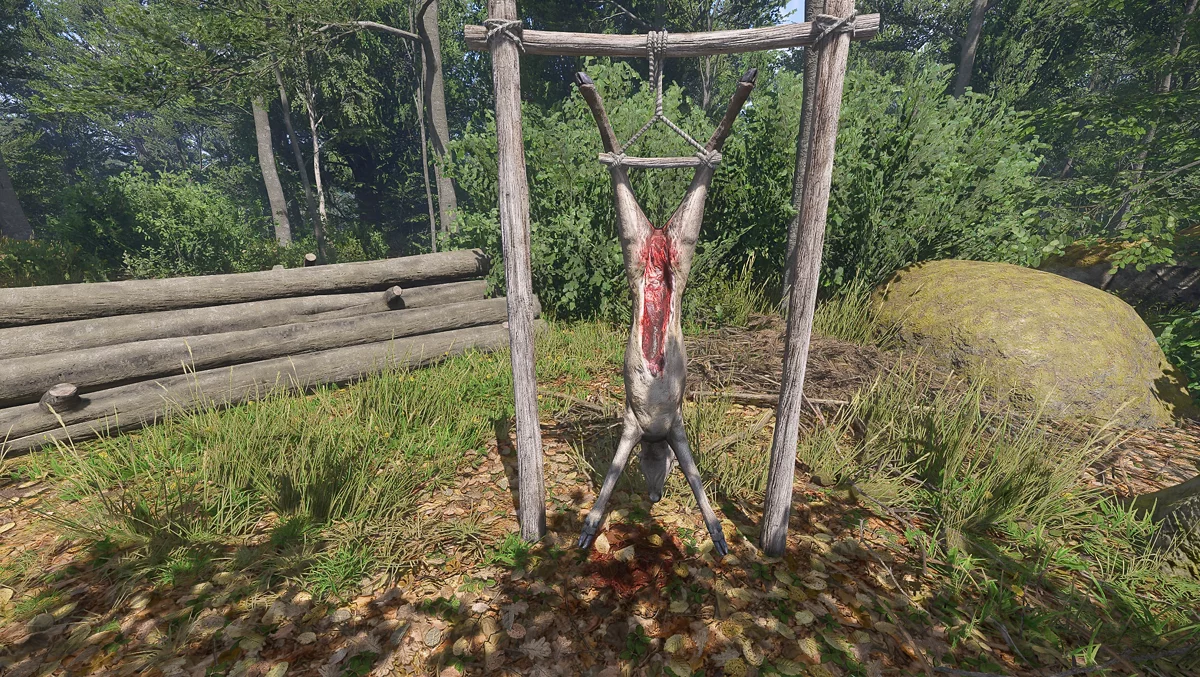
From there, head southwest to a ruined hunting camp. Take the poacher's knife from the bag under the shelter. A wolf roams near the camp.

Then from the camp, go west towards the deer hunting spot, where you will find wolves devouring a corpse. Take the skinner's knife from the poacher's body.
Report to Varel About the Poacher from Slatevo
Return to the huntsman at the Nebakov mill. Report what you discovered in the forests near the cemetery. Then Varel will ask you to deal with the criminal operating in the Semina forests.
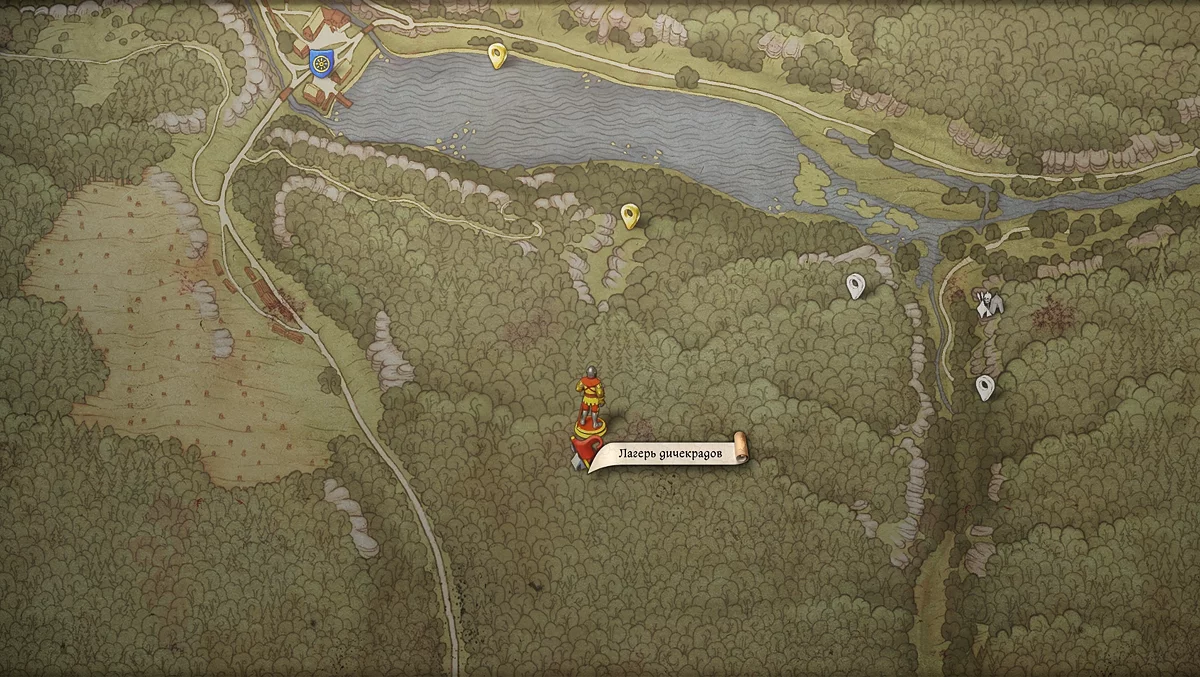
Ask in the Den About the Poachers
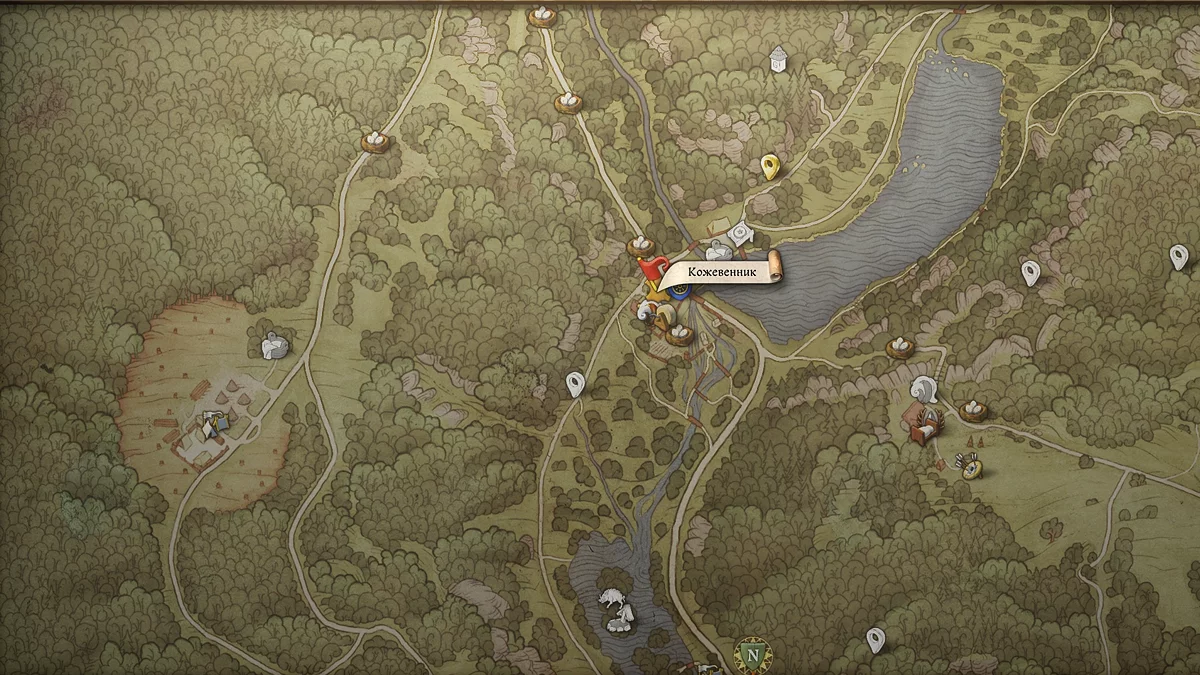
Head to the mill in Lower Semina.
Then go to the den and talk to the farmhand Zinek or Bonka about the poachers.
They will tell you that the poachers operate in the southern forests. Follow the lead into the thicket until you come across the bandit camp.
Destroy the Bandit-Skinners
There are three bandits in the camp. They will attack you as soon as they see you. You can deal with them in open combat or act stealthily, killing them at night.
Find Evidence of Poaching in the Camp
You don't have to kill the poachers; the main thing is to find evidence.
Find three pieces of evidence of the skinners' guilt:
- A gutted carcass near the latrine.
- A stretched hide by the fire.
- A hanging carcass near the logs.

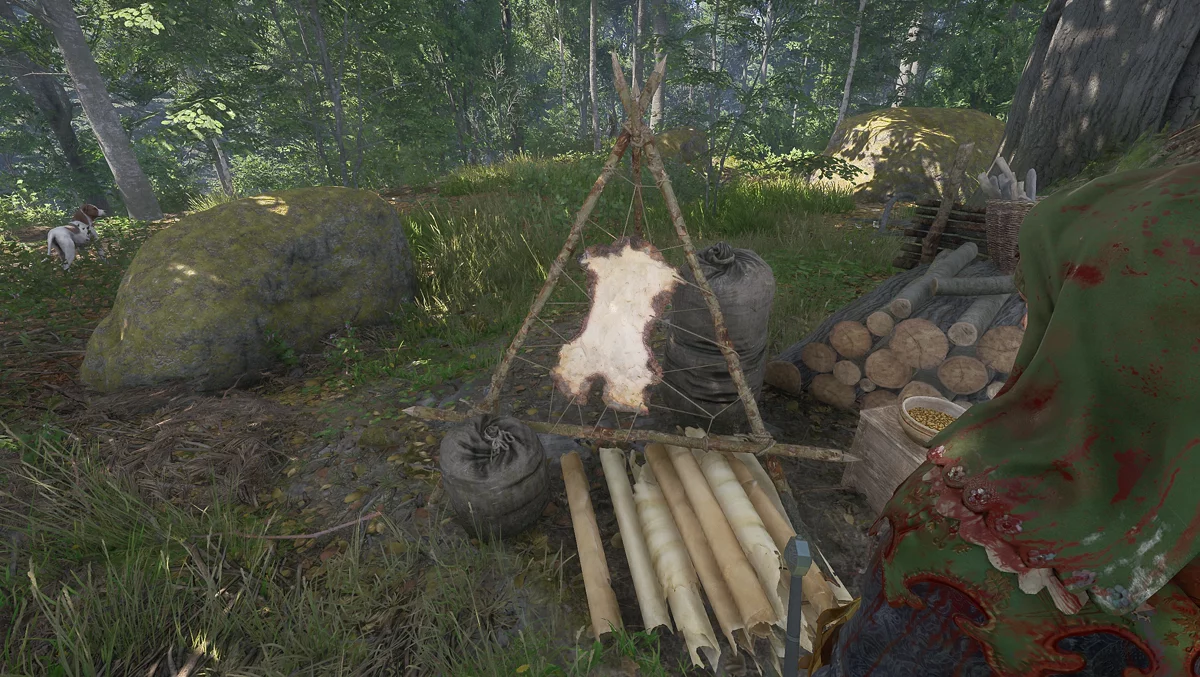
These pieces of evidence will be enough to confirm the poachers' crimes.
Report to the Huntsman About the Camp in Lower Semina
Return to the huntsman and tell him about the skinners' camp. Report the evidence of their guilt you found. Then Varel will ask you to find the last criminal in the northern forests.
If the story quest "For Whom the Bell Tolls" is completed, the huntsman will say that the last poacher has already been dealt with, you will receive groschen as a reward, and the quest will end there.
Learn About the Poachers in the Kopanina Forests
Varel will tell you about a poacher north of Trosky Castle. Head in the indicated direction, where you will meet Jan Ptacek. Explain to the nobleman that a reward has been placed on his head, and take from him items that will serve as proof that the poacher has been eliminated.
Tell Varel About the Poachers from Kopanina
Return to the huntsman and tell him that you dealt with the last criminal. Henry will be thanked for his valiant service and generously rewarded with good potions, a repair kit, and money. At this point, the quest will end.
Walkthrough of Side Quests in Kingdom Come: Deliverance 2
- Mutt
- Lackey
- Bad Blood
- Materia Prima
- Forbidden Fruit
- Opus Magnum
- The Lion's Crest
- Invaders
- The Axe from the Lake
- Mice
- The Blacksmith's Son
- The Jaunt
- The Hermit
- Miri Fajta
- The Mouth of Hell
- Bellatores
- Skeleton in the Closet
- Dragon's Lair
- Canker
- Handsome Charlie
- Johnny the Gob
- Casper
- The White Roebuck
- Hush, My Darling...
- Absolver
- The Thunderstone
- X Marks the Spot
- Hammer and Tongs
- Yackers 'n' Fash
- Ransom
- The Reliquary
- Thou art but dust
- Striped Tonies
- Popinjay Shoot
- Ars Dimicatoria
- Arrow-head
- In Vino Virilitas
- Feast for the Poor
- Spoils of War
- Post Scriptum
- The Thieves' Code
- Troubadours
- Bird of Prey
- A Good Scrub
- Ill Repute
- The Spark
- All's fair
- Seeking Justice
Other guides
- Kingdom Come Deliverance 2: Via Argentum Quest Walkthrough
- Kingdom Come: Deliverance 2 Walkthrough Guide
- Kingdom Come Deliverance 2 Beginner's Guide: Tips and Tricks
- Kingdom Come Deliverance 2: The Lion's Den Quest Walkthrough
- Kingdom Come Deliverance 2: Lady Rosa Romance Guide
- Kingdom Come Deliverance 2: Back in the Saddle Walkthrough
- Kingdom Come Deliverance 2: For Victory! Walkthrough
- Kingdom Come Deliverance 2: Fixing Technical Problems and Bugs
- Location of Save Files in Kingdom Come: Deliverance 2
- Kingdom Come Deliverance 2: The King's Gambit Walkthrough
-
Kingdom Come Deliverance 2: Lady Rosa Romance Guide
-
Kingdom Come: Deliverance 2 Walkthrough Guide
-
Kingdom Come Deliverance 2 Beginner's Guide: Tips and Tricks
-
Kingdom Come Deliverance 2: For Victory! Walkthrough
-
Kingdom Come Deliverance 2: Back in the Saddle Walkthrough
-
Kingdom Come Deliverance 2: Laboratores Walkthrough
-
Kingdom Come Deliverance 2: Wedding Crashers Walkthrough
-
How to Find Armor by Maps in Kingdom Come Deliverance 2: The Lion's Crest Guide
-
Kingdom Come Deliverance 2: How to Increase Reputation
-
Kingdom Come Deliverance 2: Dragon's Lair Walkthrough
-
Kingdom Come Deliverance 2: Hush, My Darling Walkthrough
-
Kingdom Come Deliverance 2: Absolver Walkthrough
-
Kingdom Come Deliverance 2: X Marks the Spot Walkthrough
-
Kingdom Come Deliverance 2: How to Find the Holy Grail
-
Kingdom Come Deliverance 2: Arrow-head Walkthrough
-
Kingdom Come Deliverance 2: Spoils of War Walkthrough