
The Outer Worlds 2 Walkthrough Guide
 Vladyslav Shamshurov
The Outer Worlds 2 is the long-awaited sequel to the futuristic RPG-shooter set in a stylish universe of distant planet conquerors. Players will need to assemble a powerful team of unique and well-developed characters to prevent the destruction of Earth’s colonies. In this guide, we’ll describe in detail all the options for completing story quests. In addition, you’ll learn the basics of gameplay mechanics, features of the dialogue system, and get practical advice on developing your protagonist.
The game begins with a promotional video from the Earth Directorate. Then the character creation menu appears. With it, you can customize the hero’s cosmetic features, choose a background, assign positive and negative traits, distribute skill boost points, and select the difficulty level. You can find more information on character creation in a separate guide.
A Cause Worth Killing
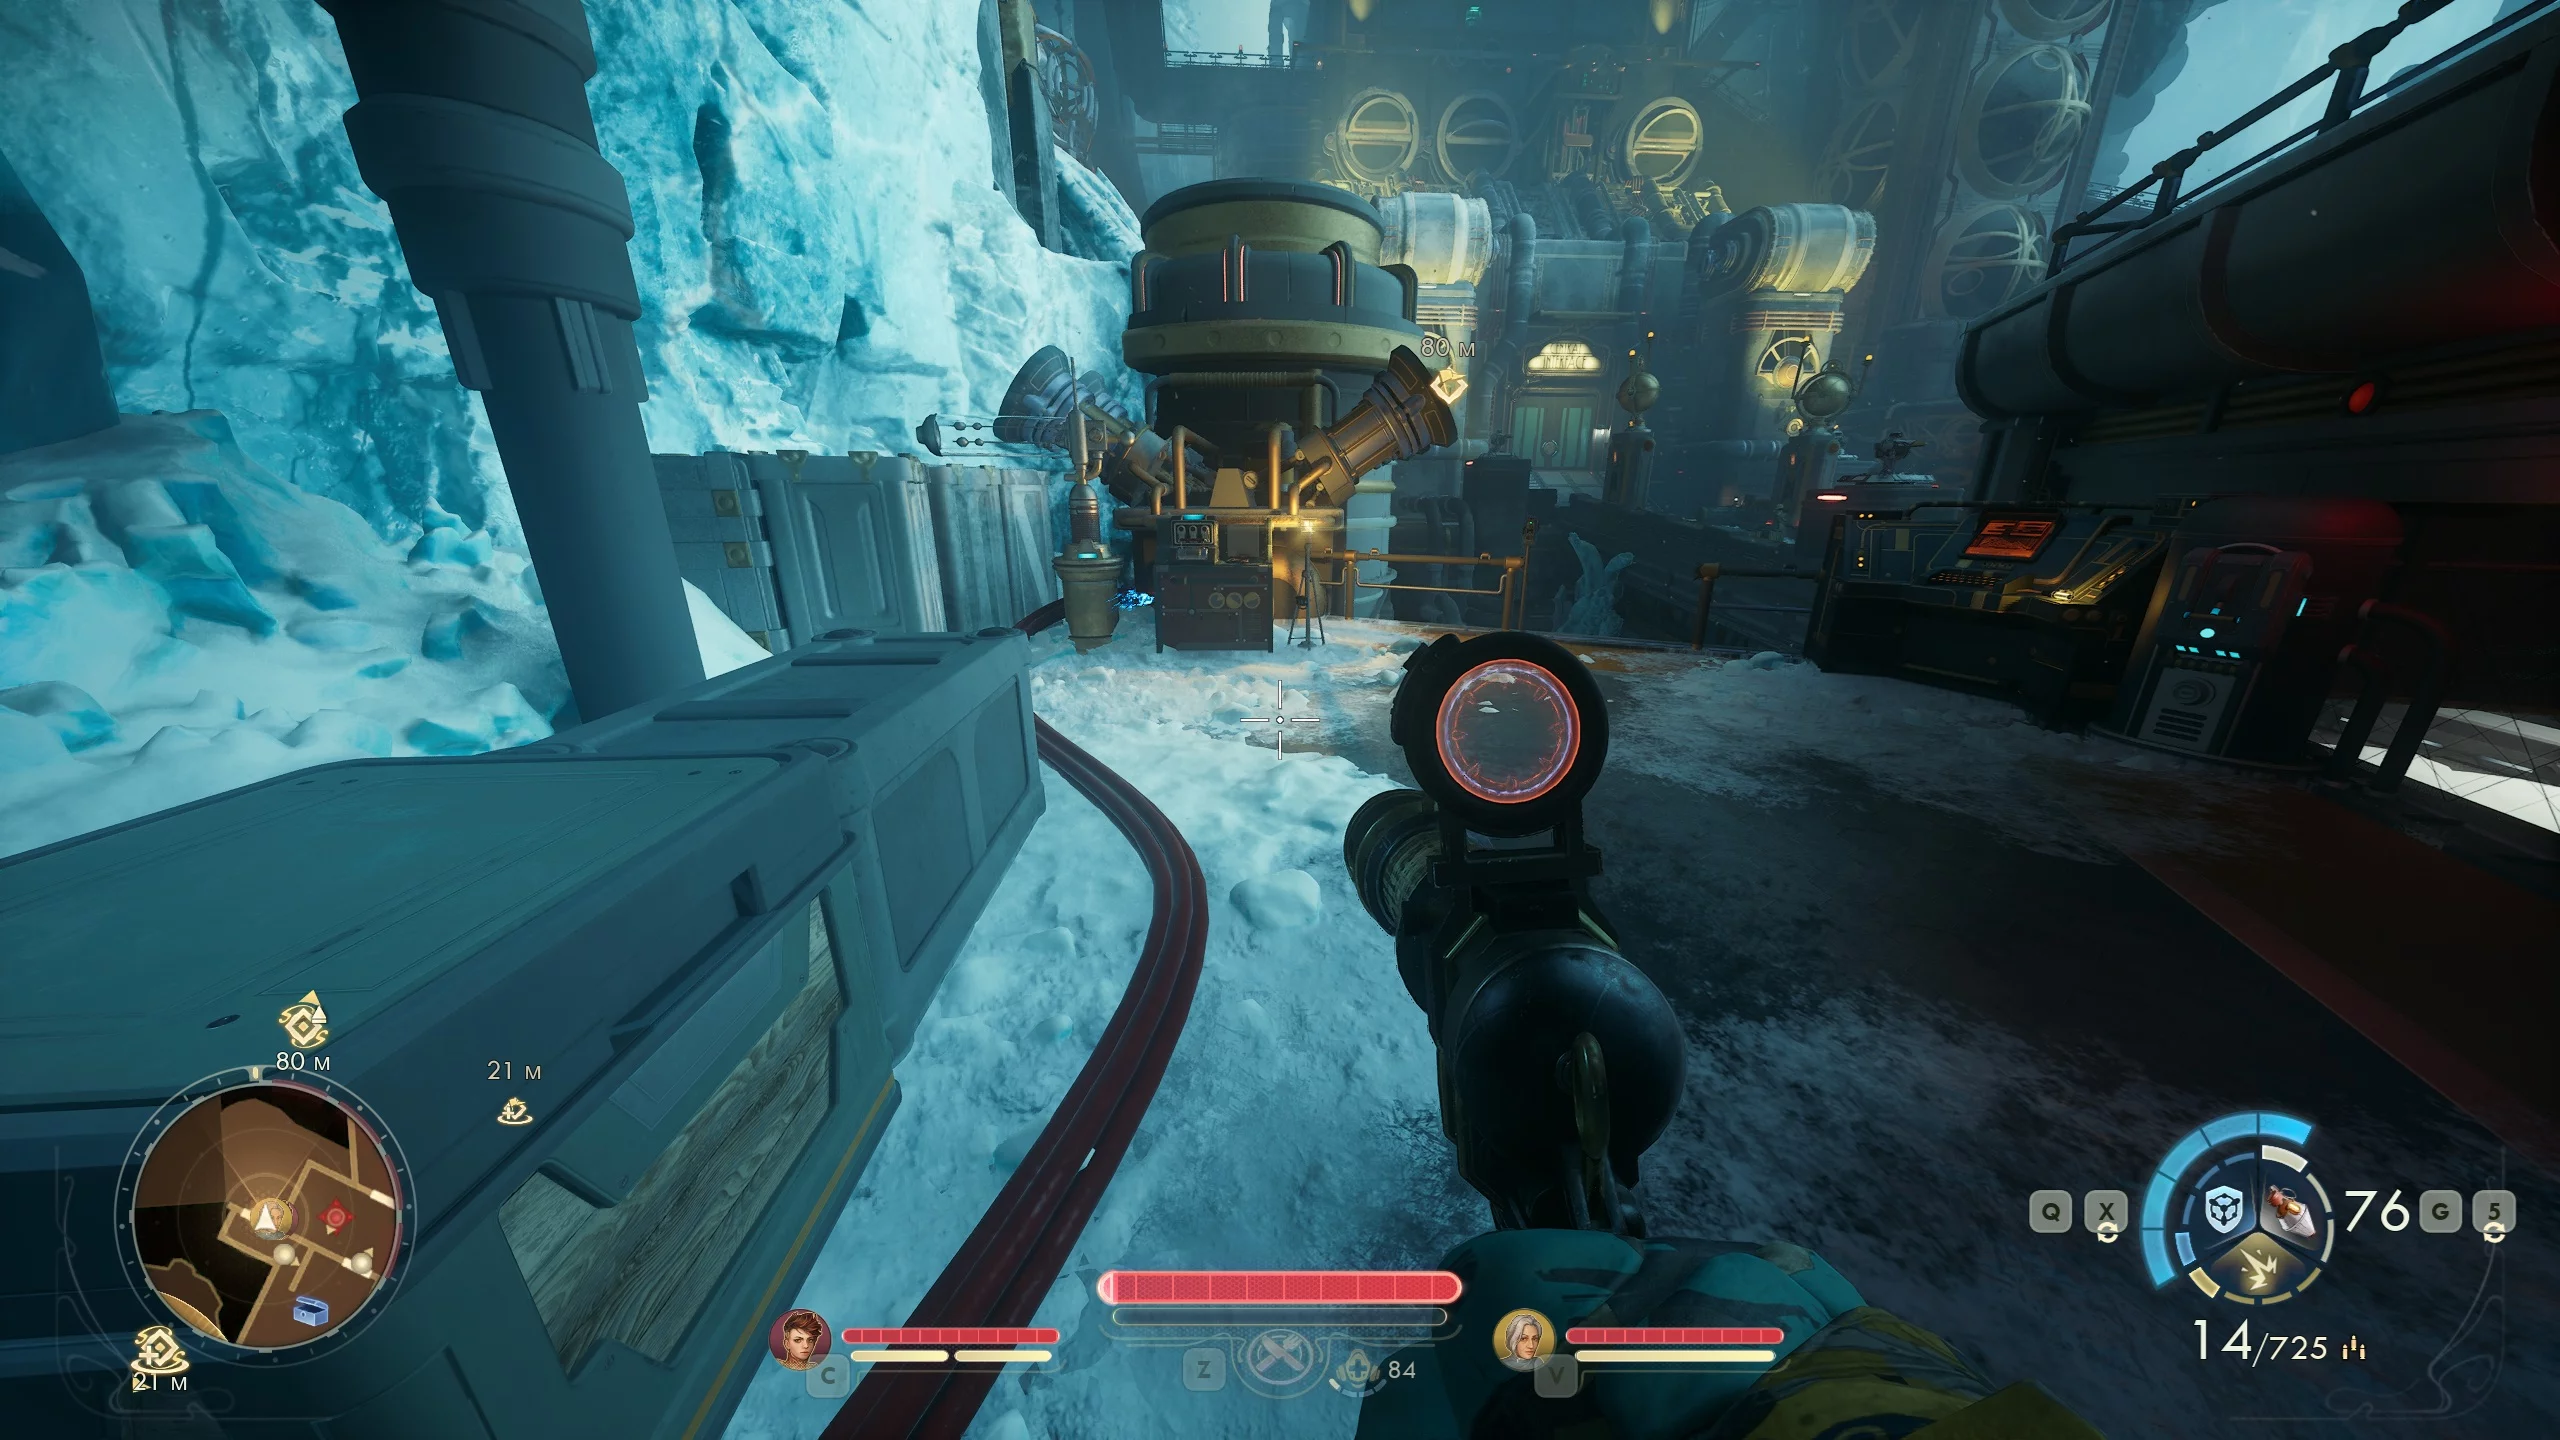
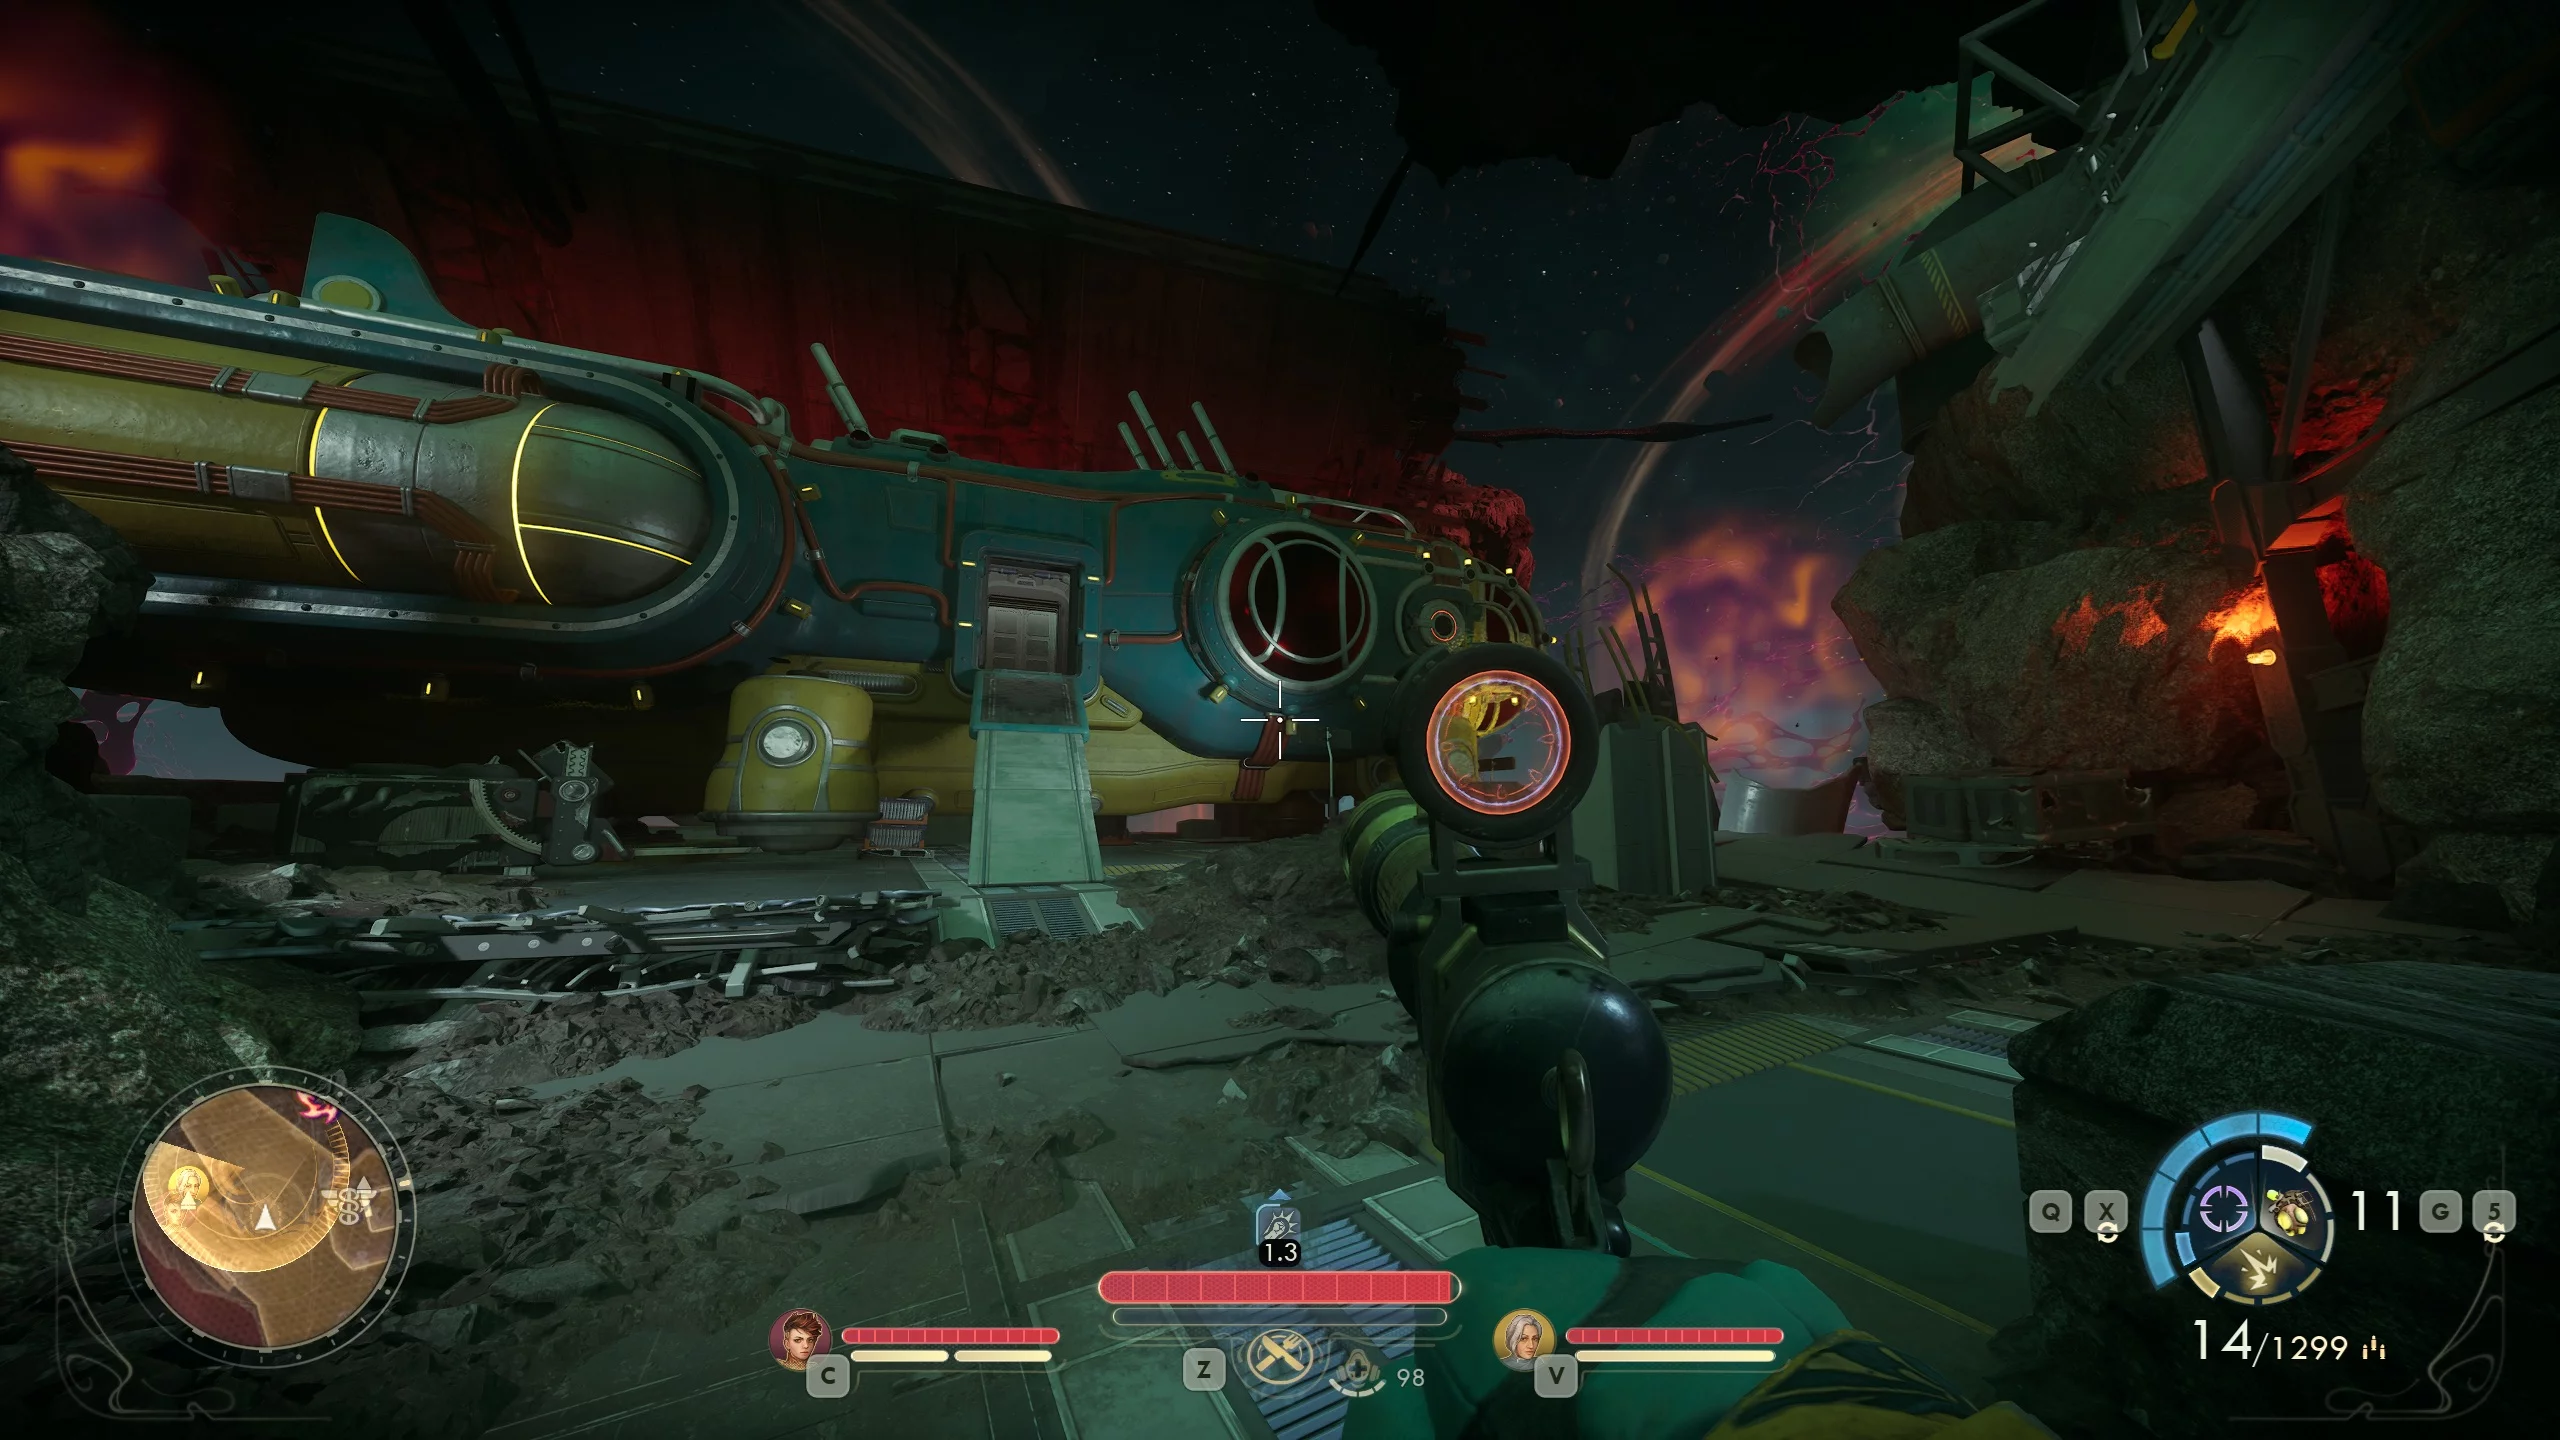
Watch the briefing from the head of the special operations department. The objective is to infiltrate the Horizon research station and steal secret data on jump drives required for interstellar travel.
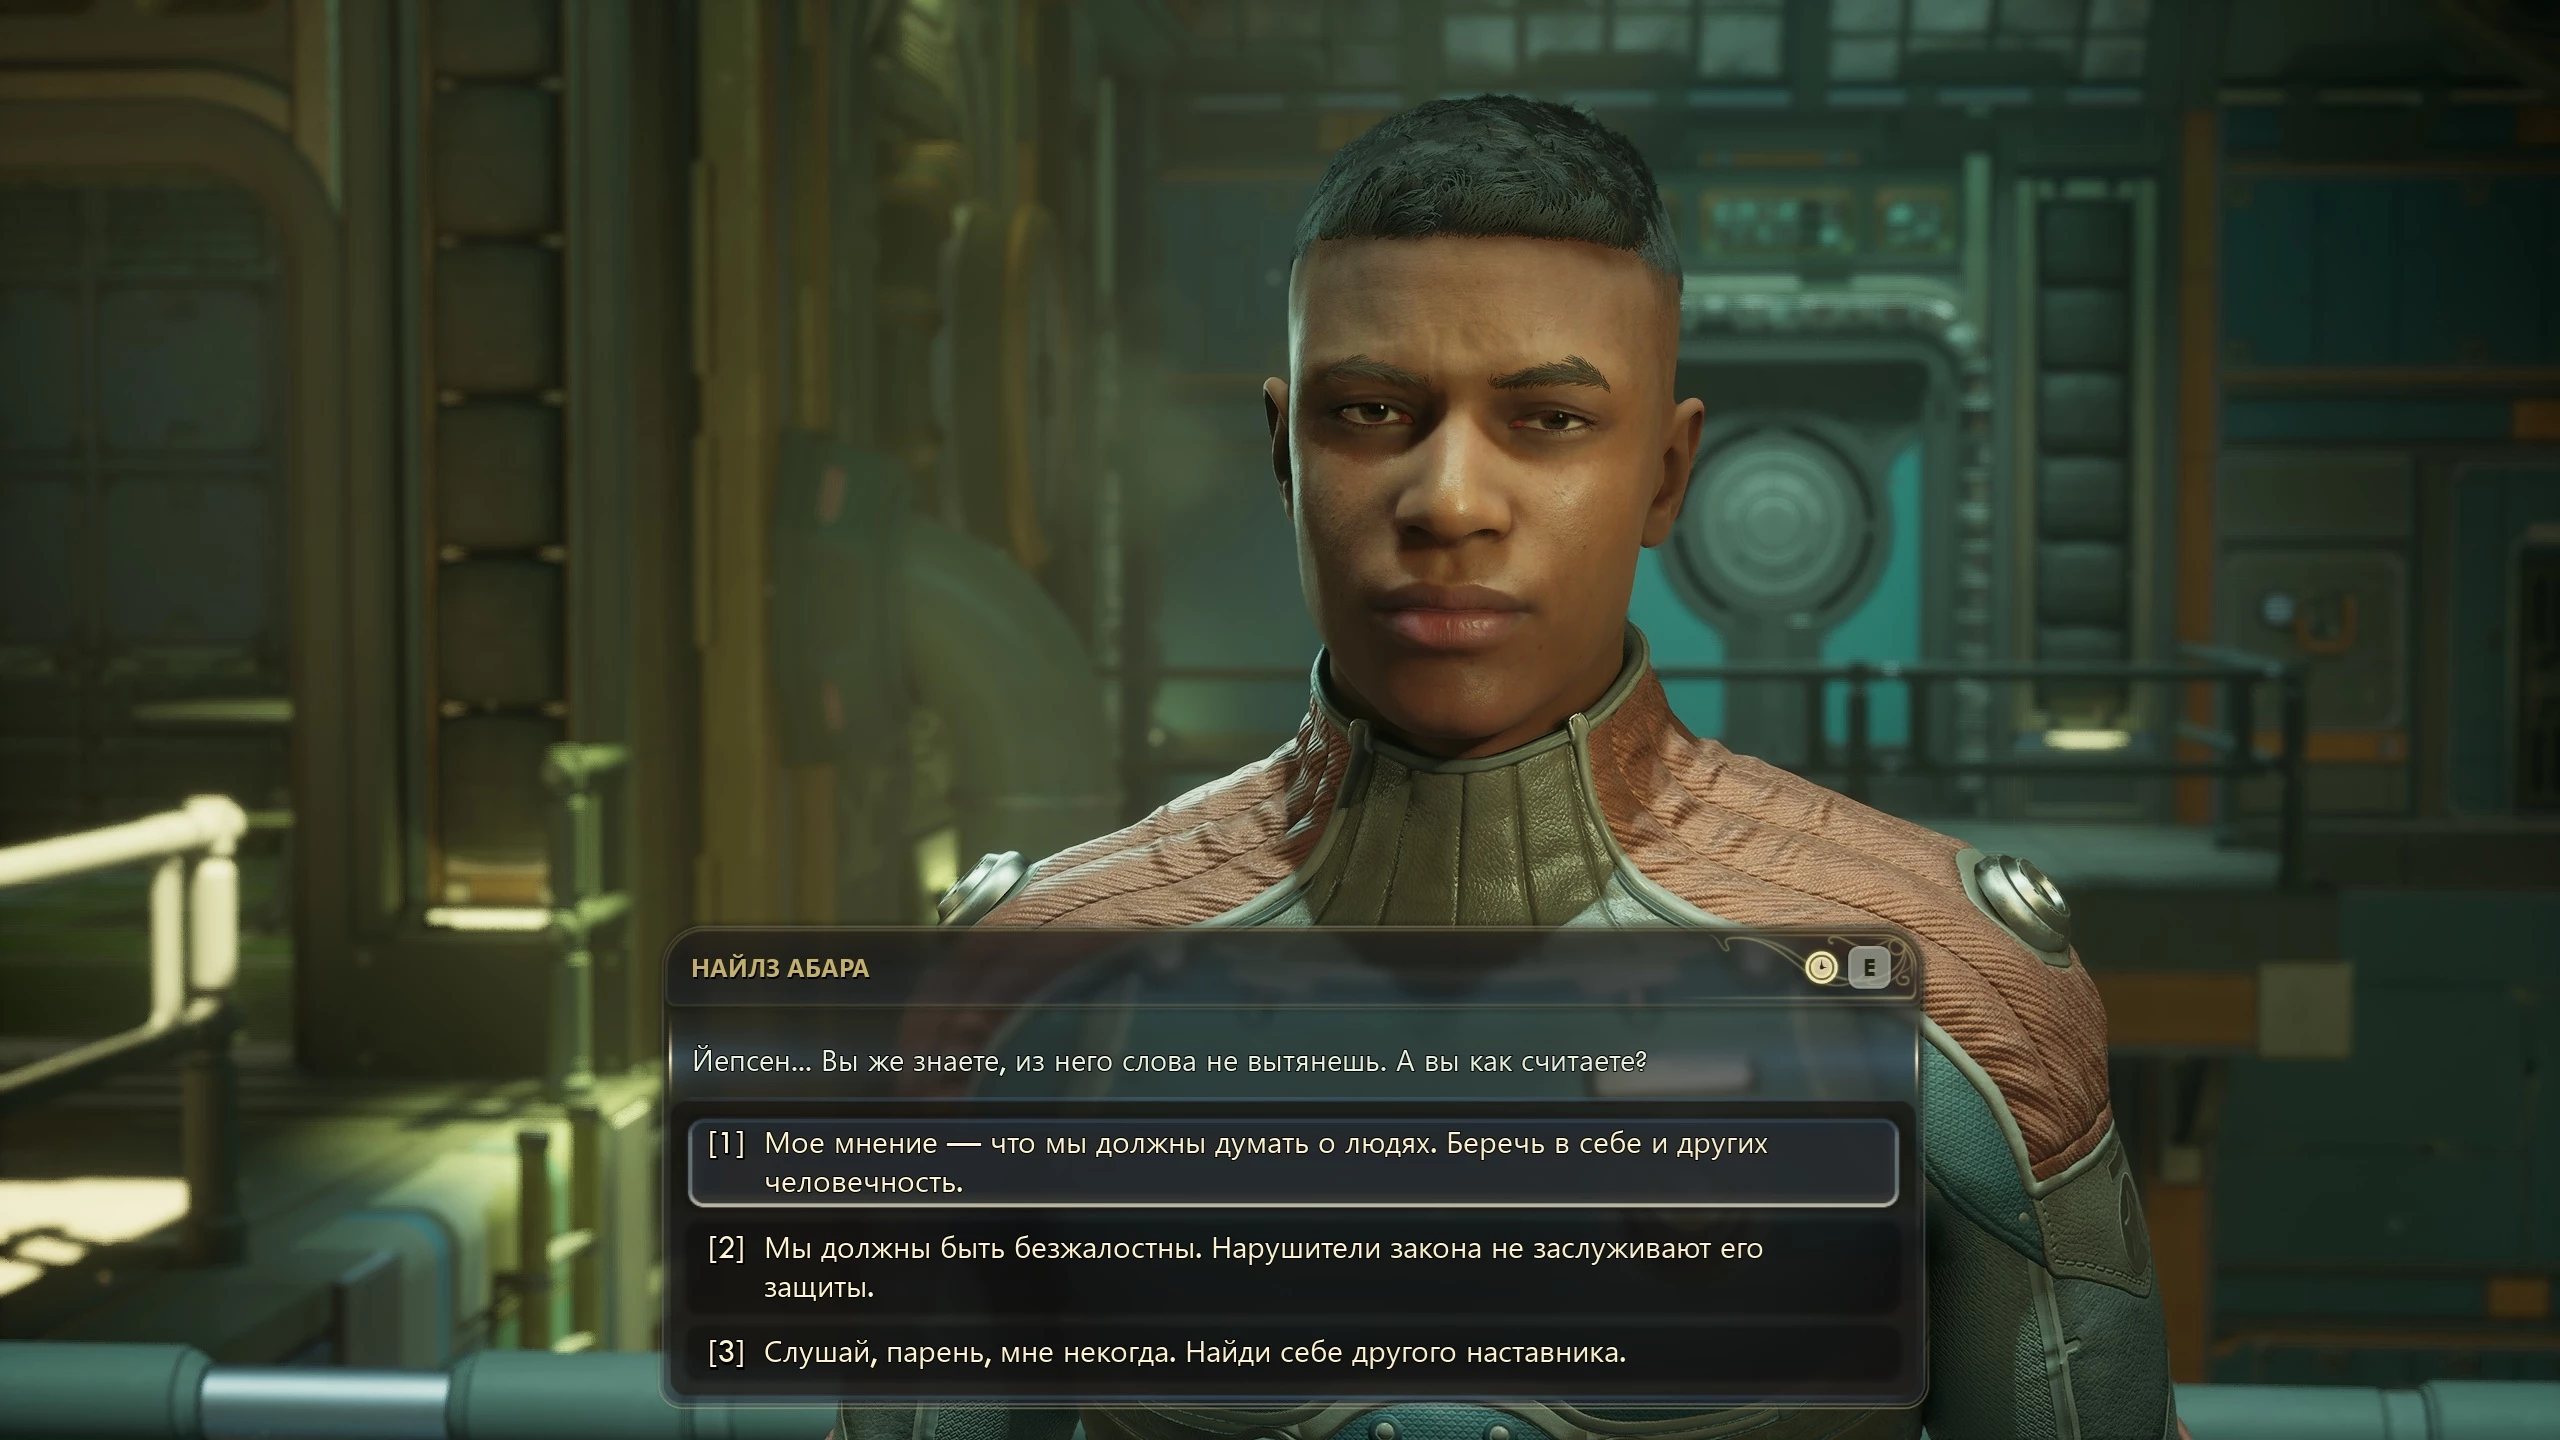
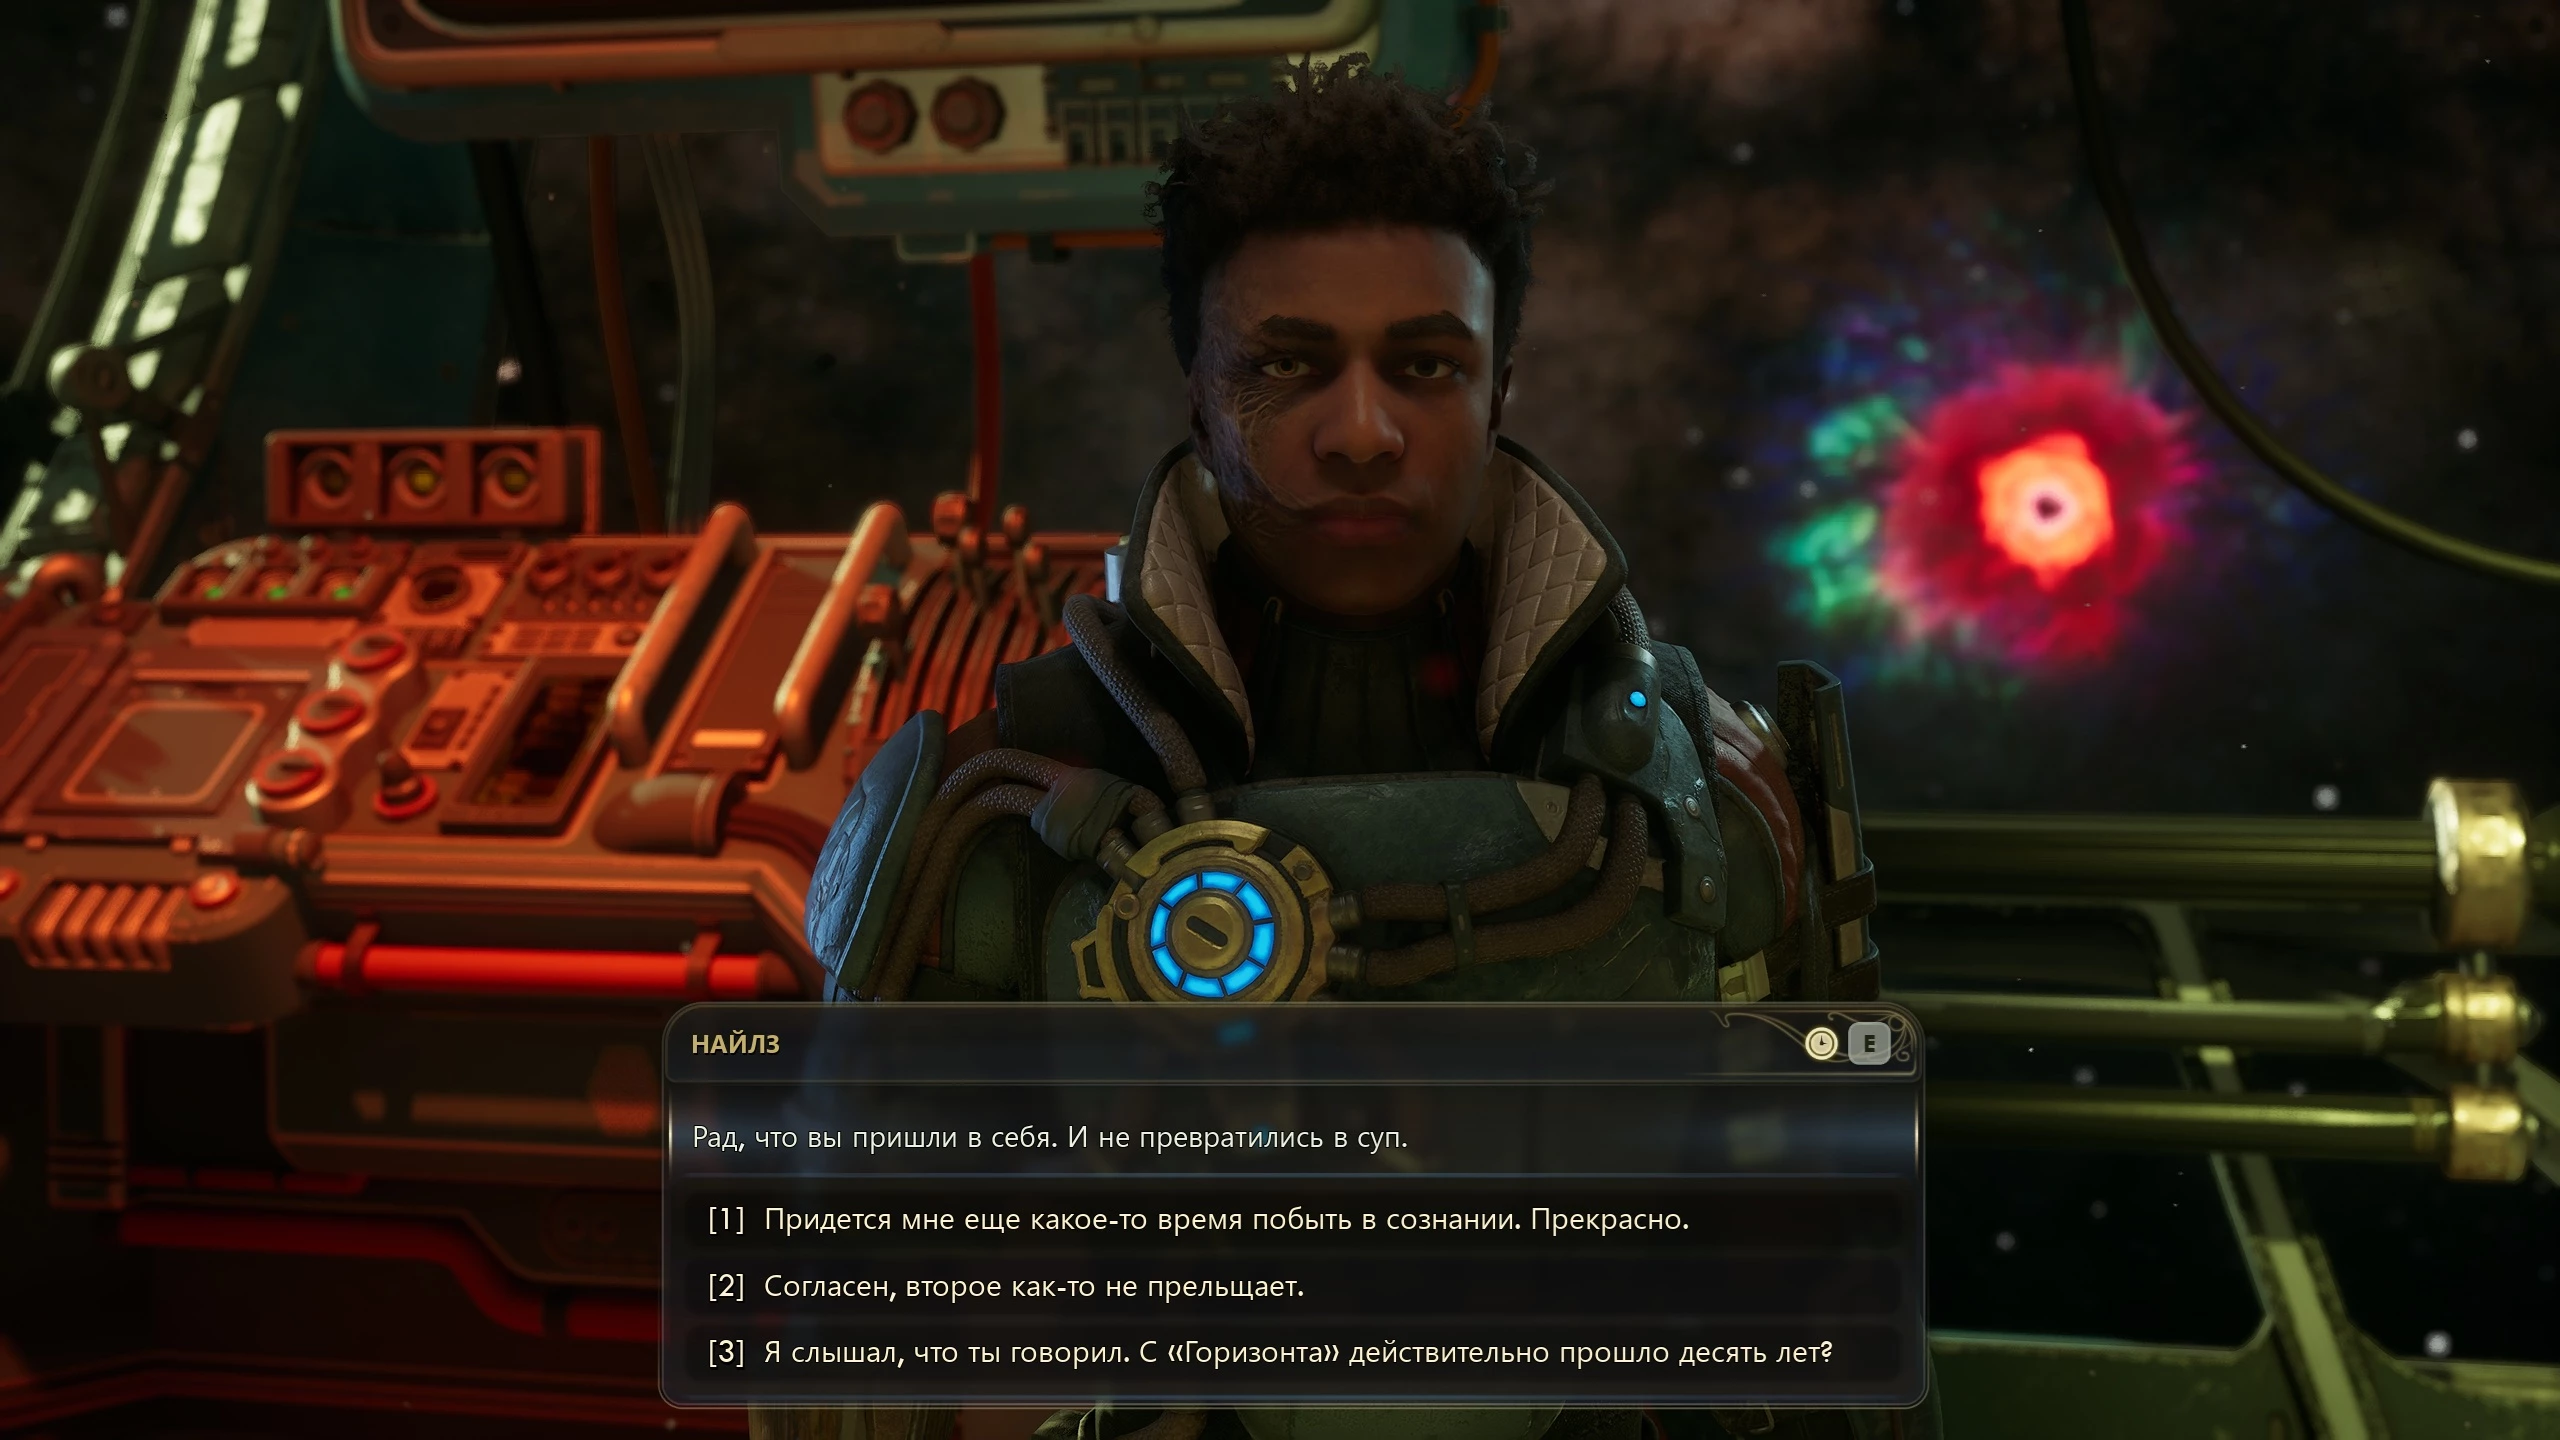
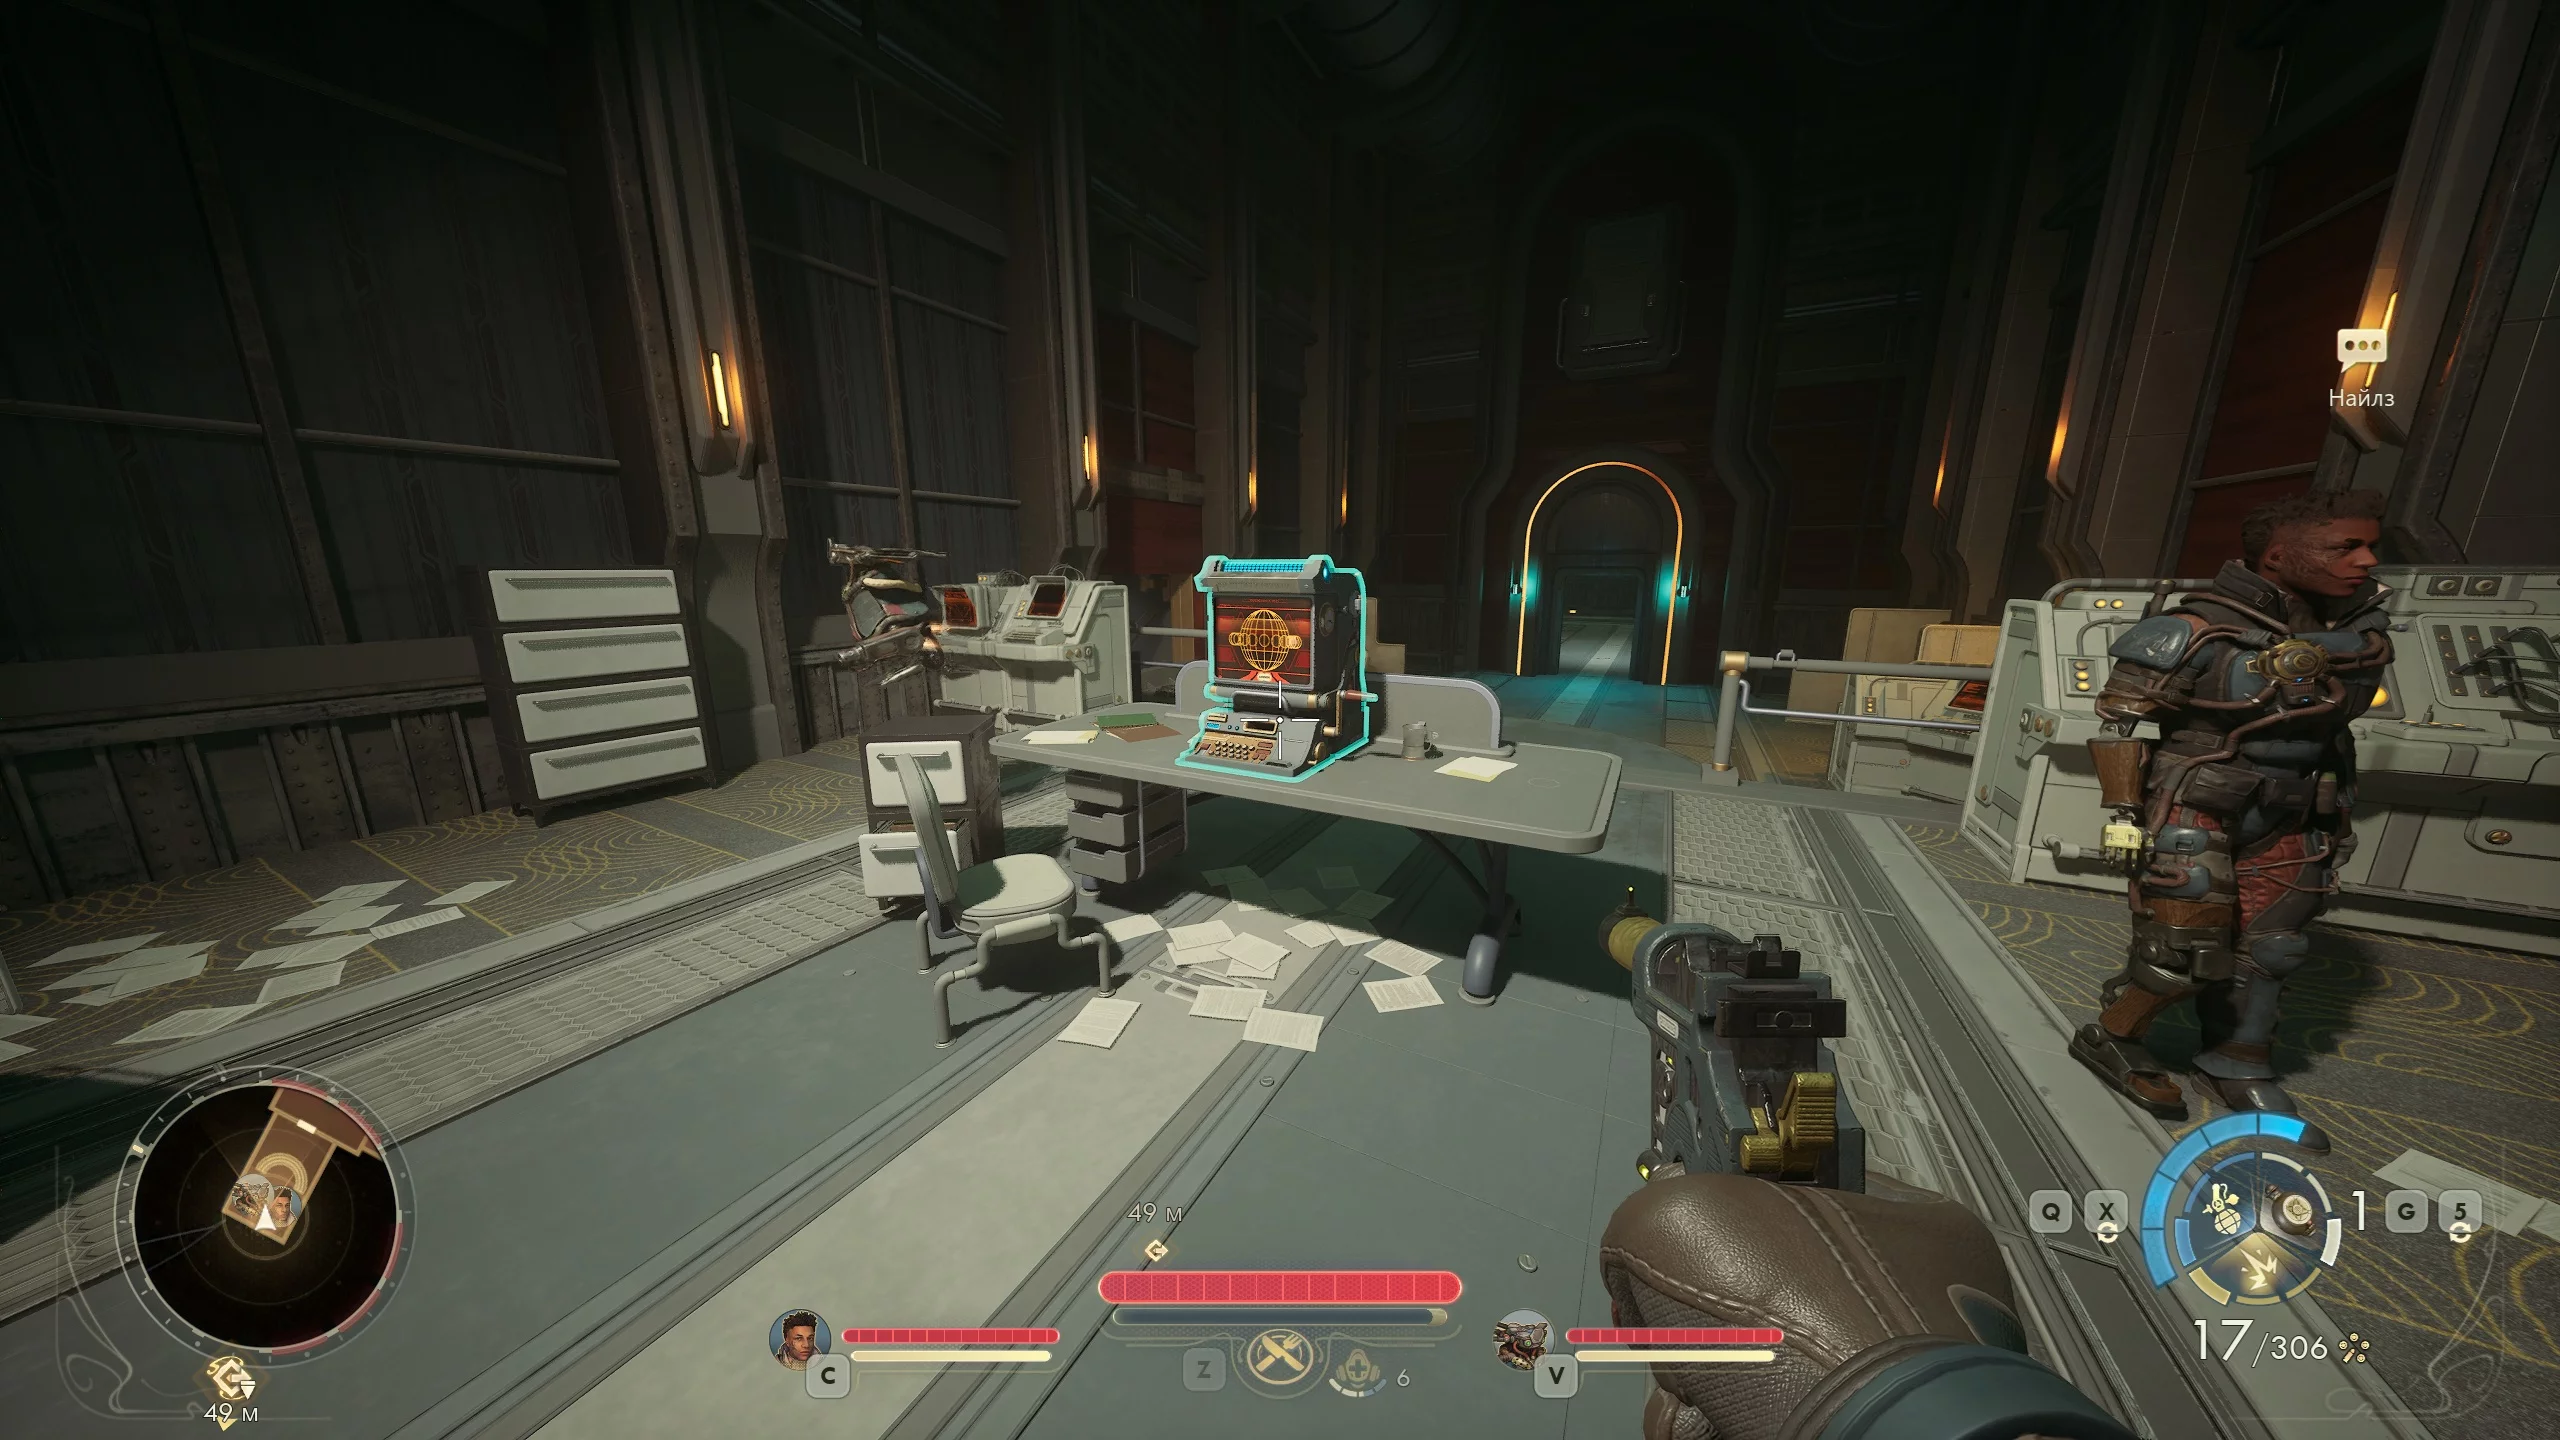
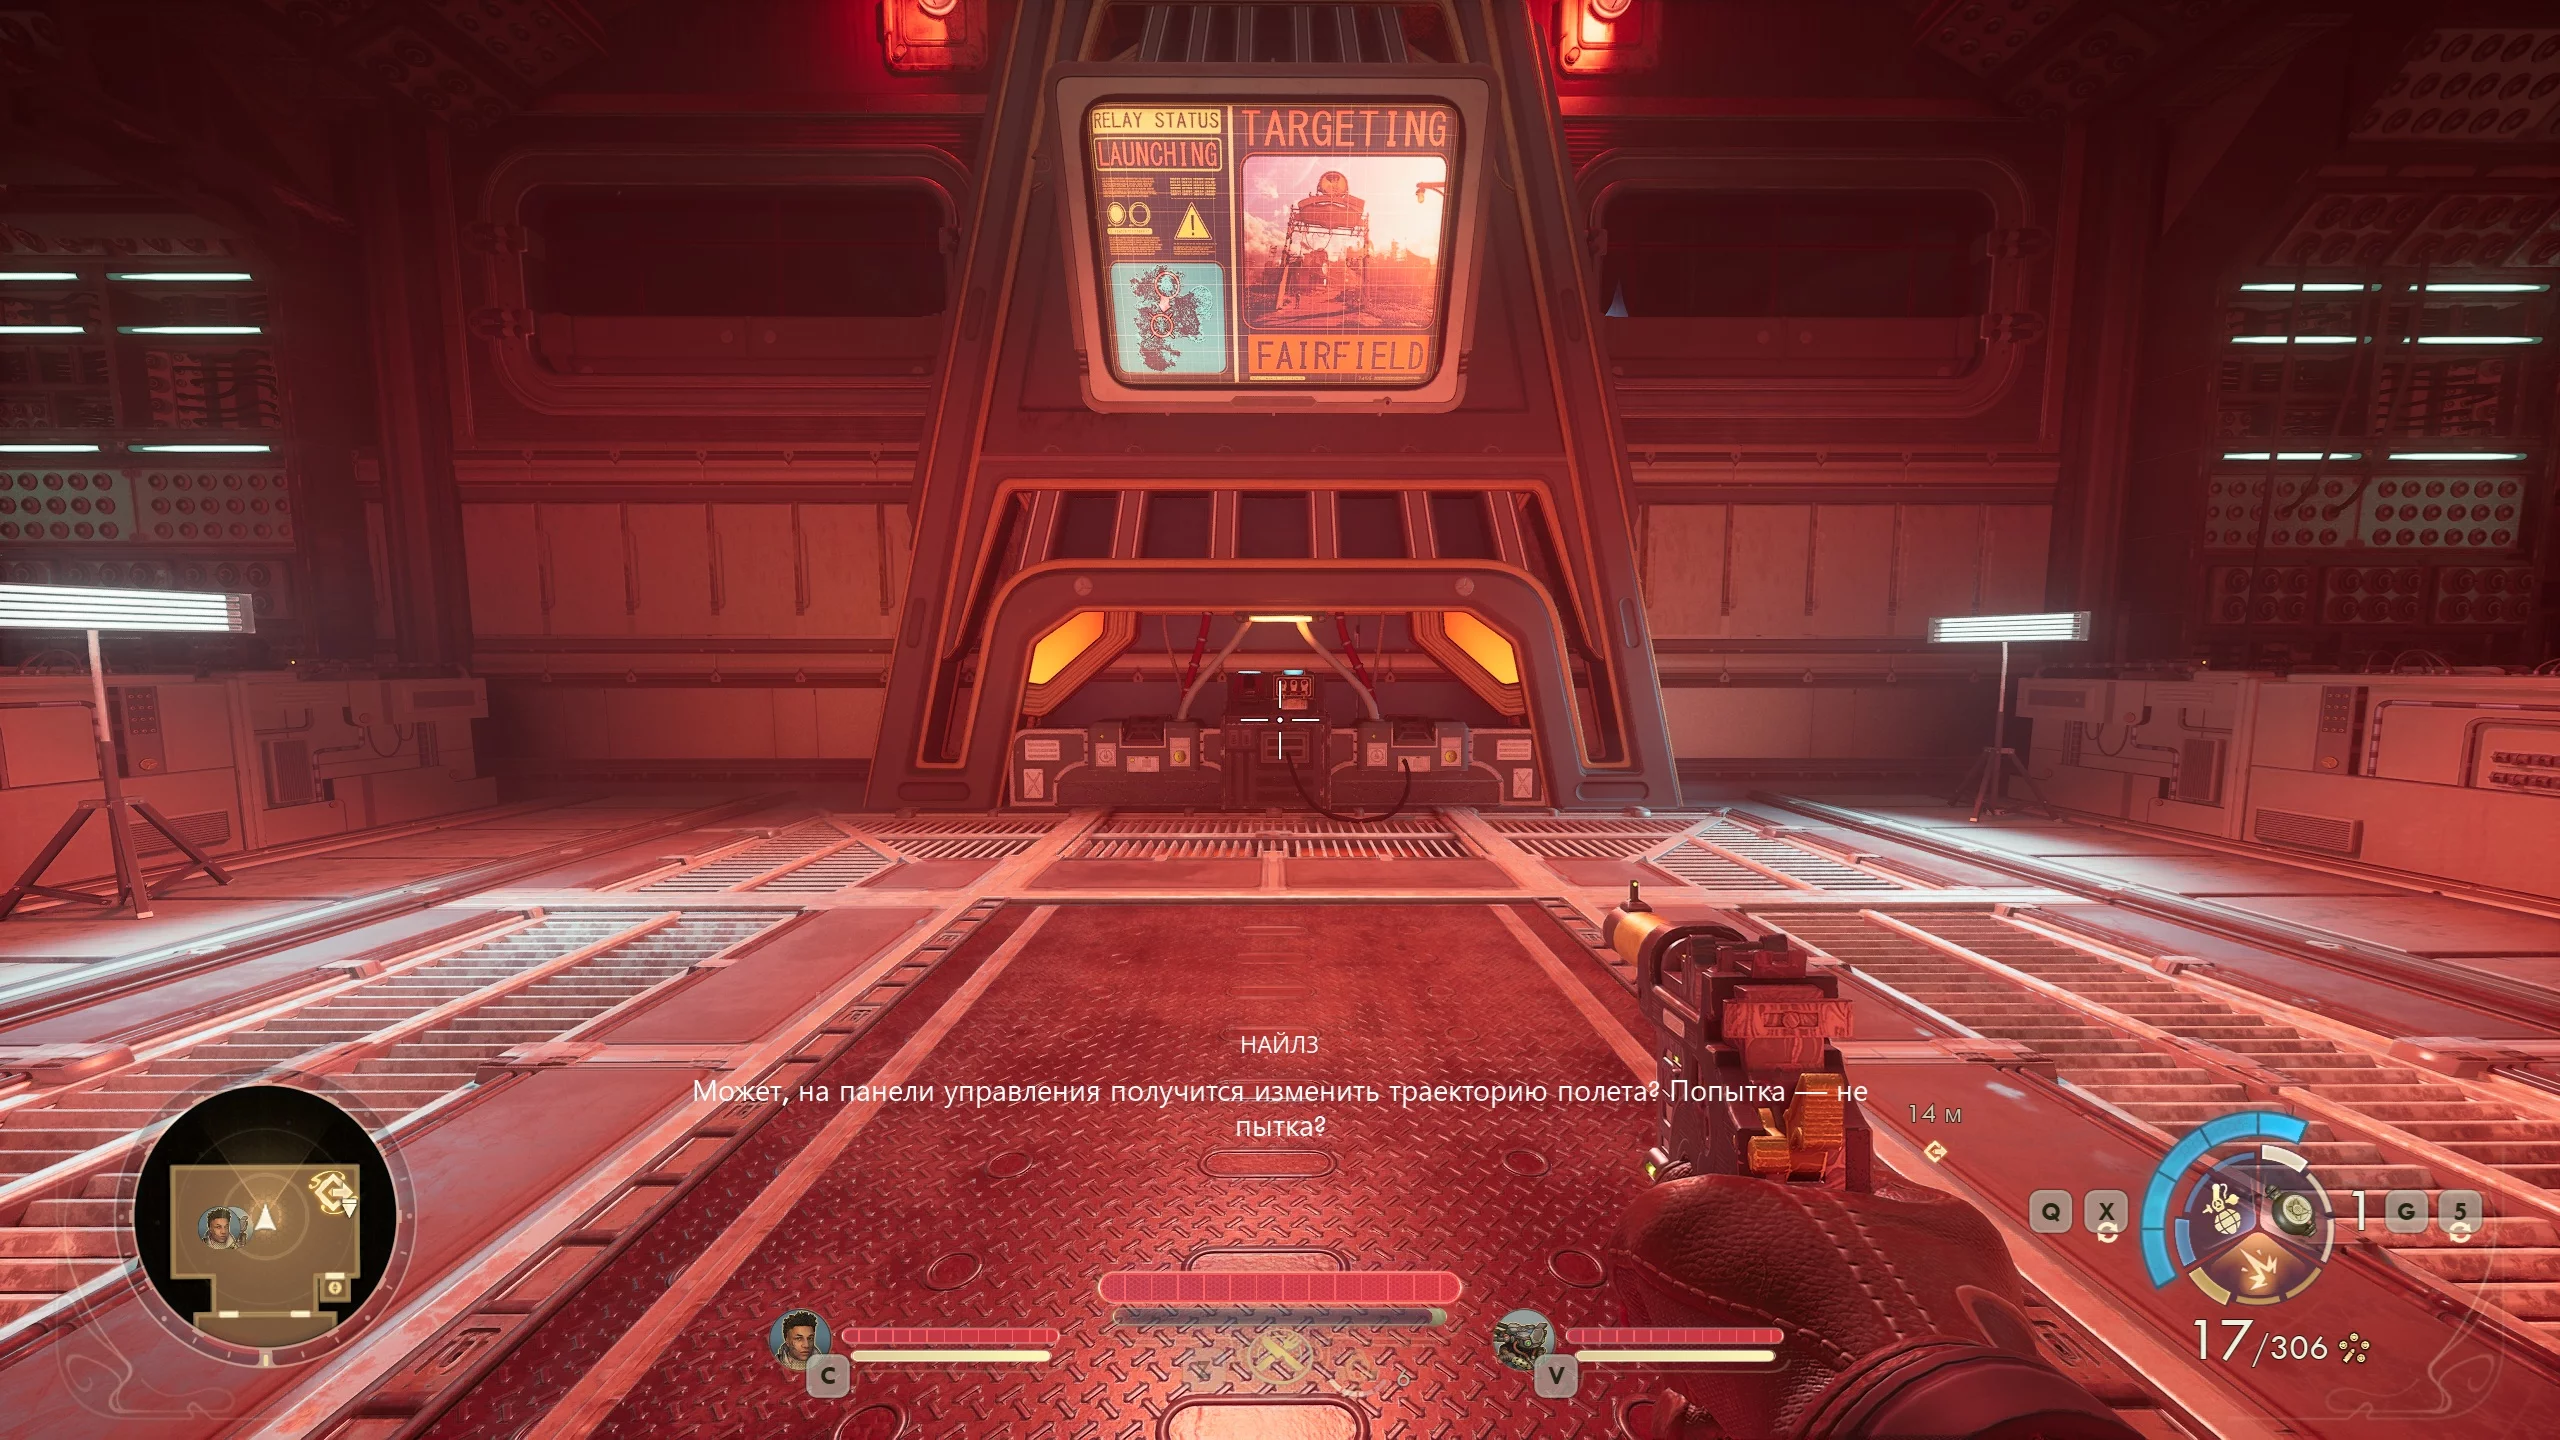
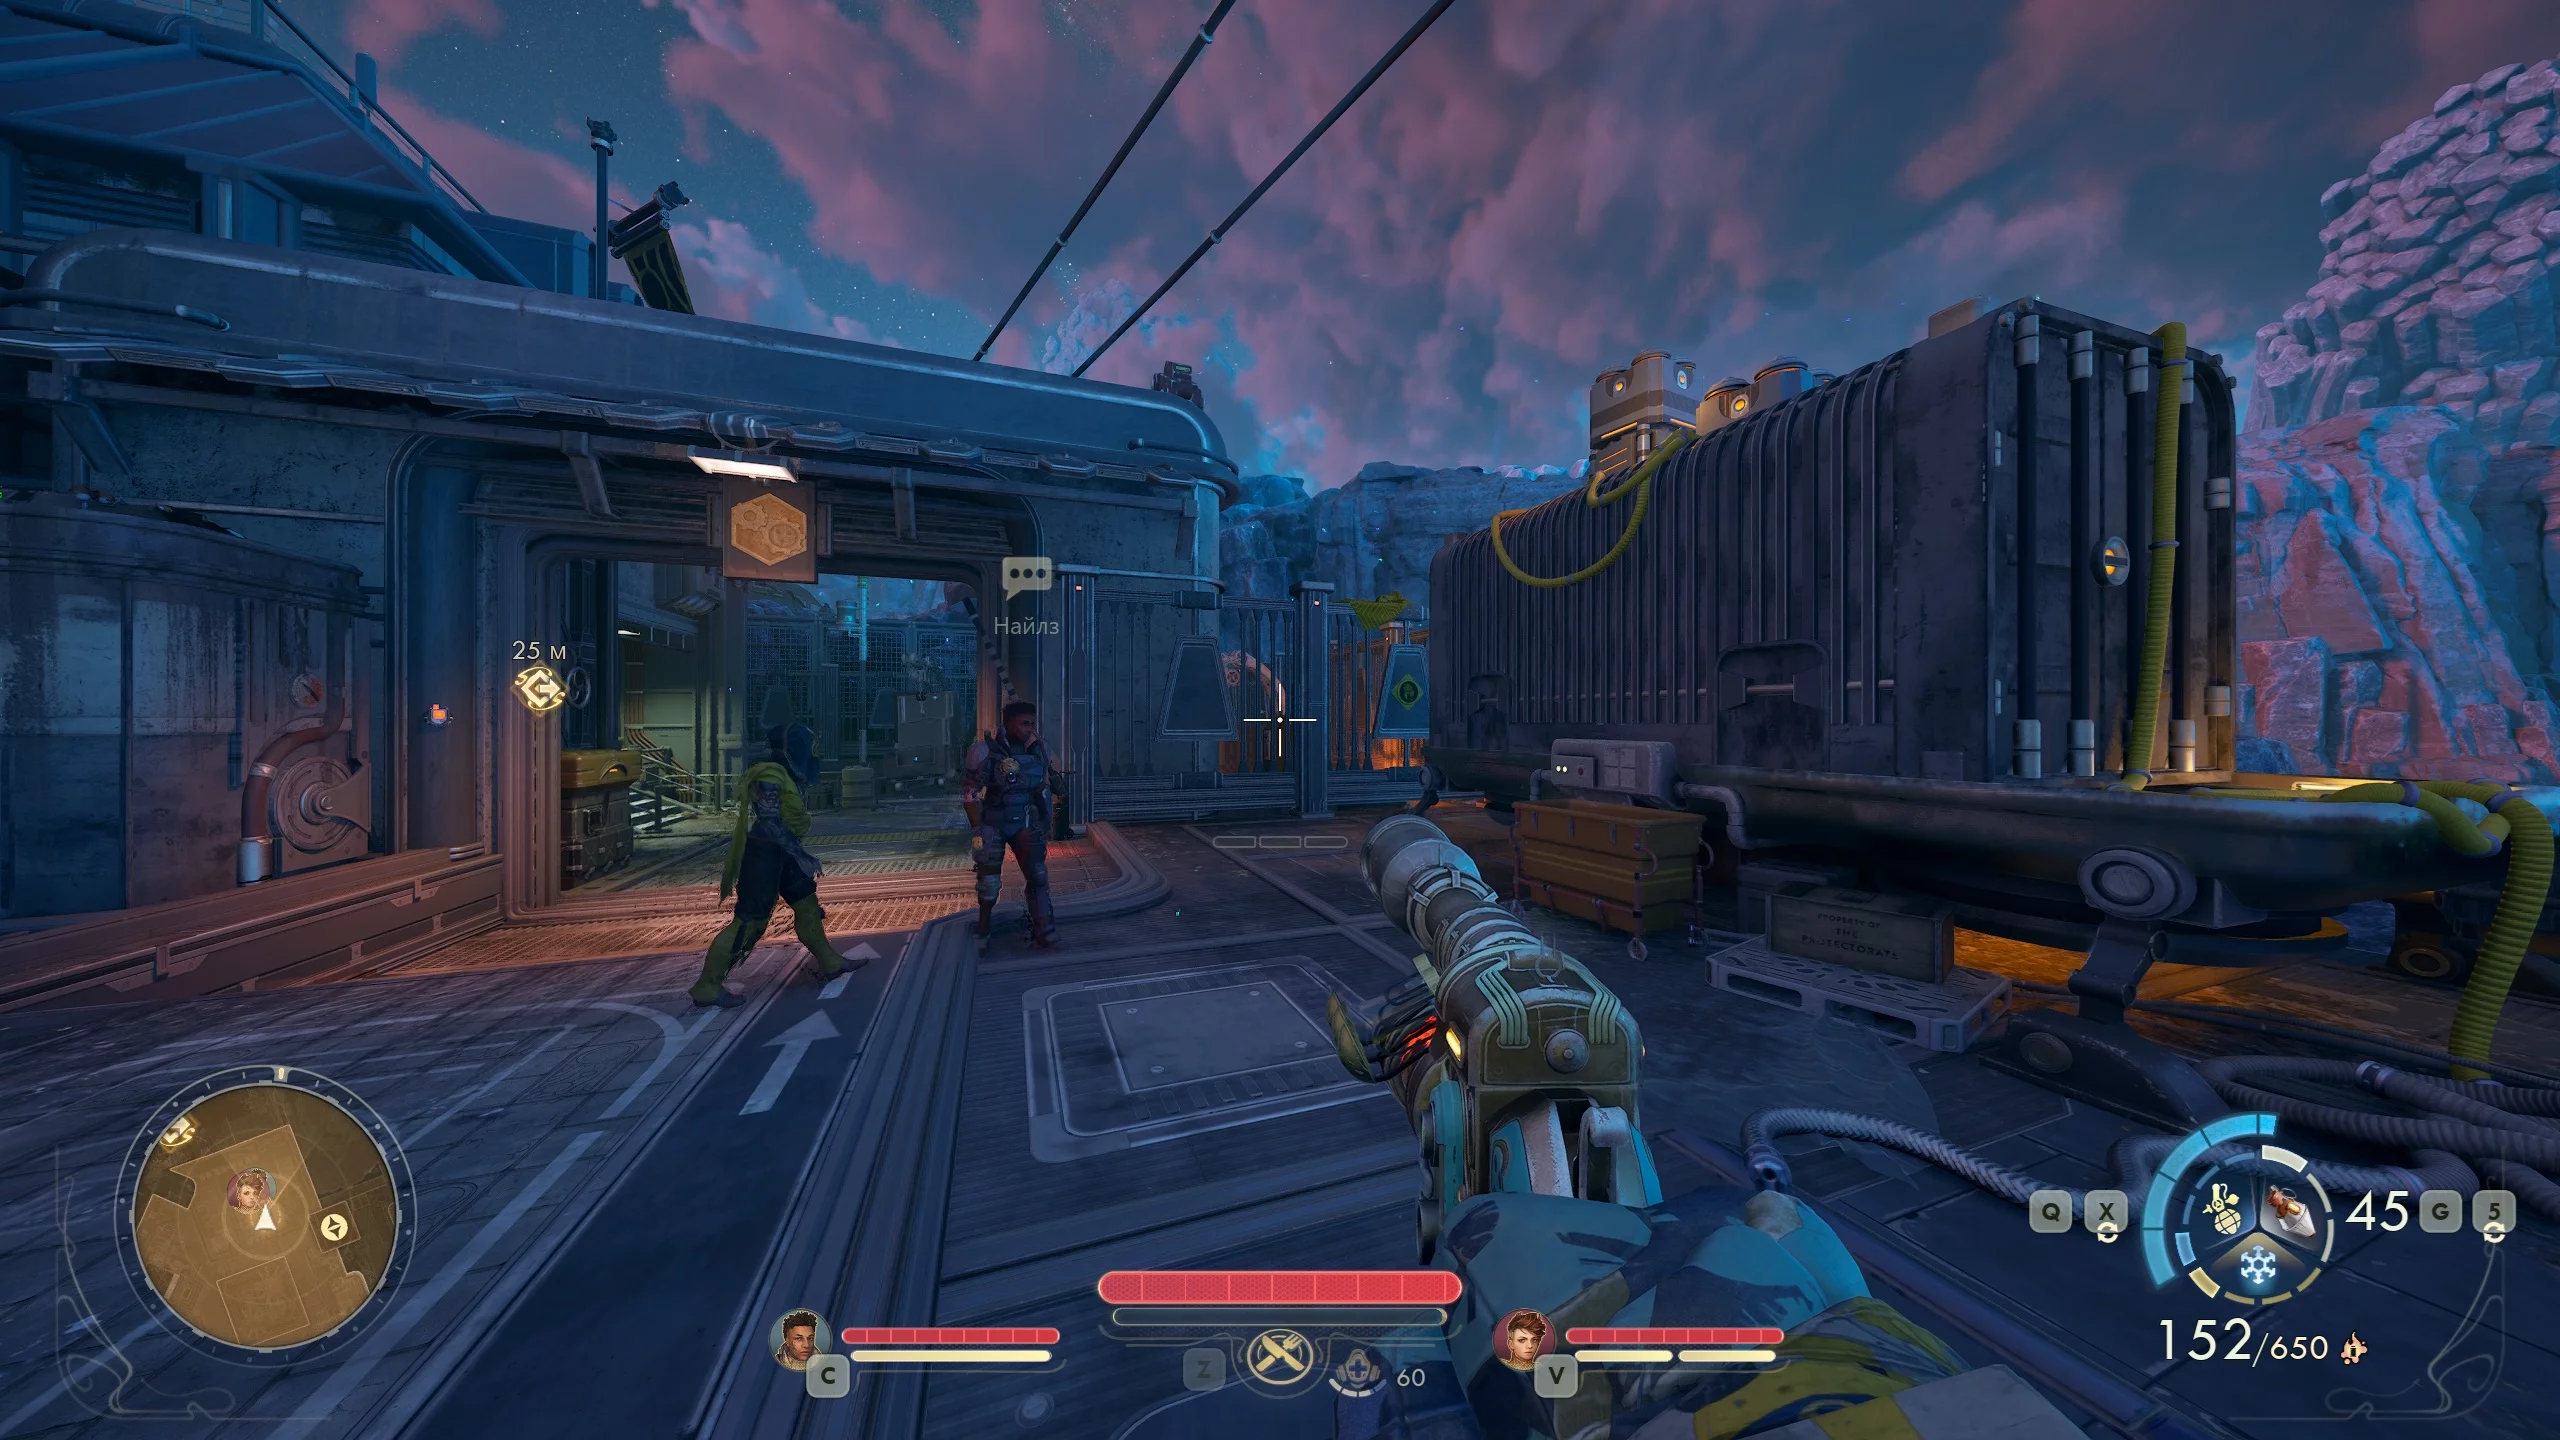
Turn around, open the door, and approach the young agent Niles Abara, from whom you’ll receive the Tactical Time Dilation Gadget. The young man will then ask for your command advice.
The game features an advanced relationship system. You can influence it during dialogues or by performing certain actions. So, choose your words carefully when conversing and consider the consequences of your choices ahead of time. From time to time, after your replies or certain actions, the line "The character will remember this" will appear.
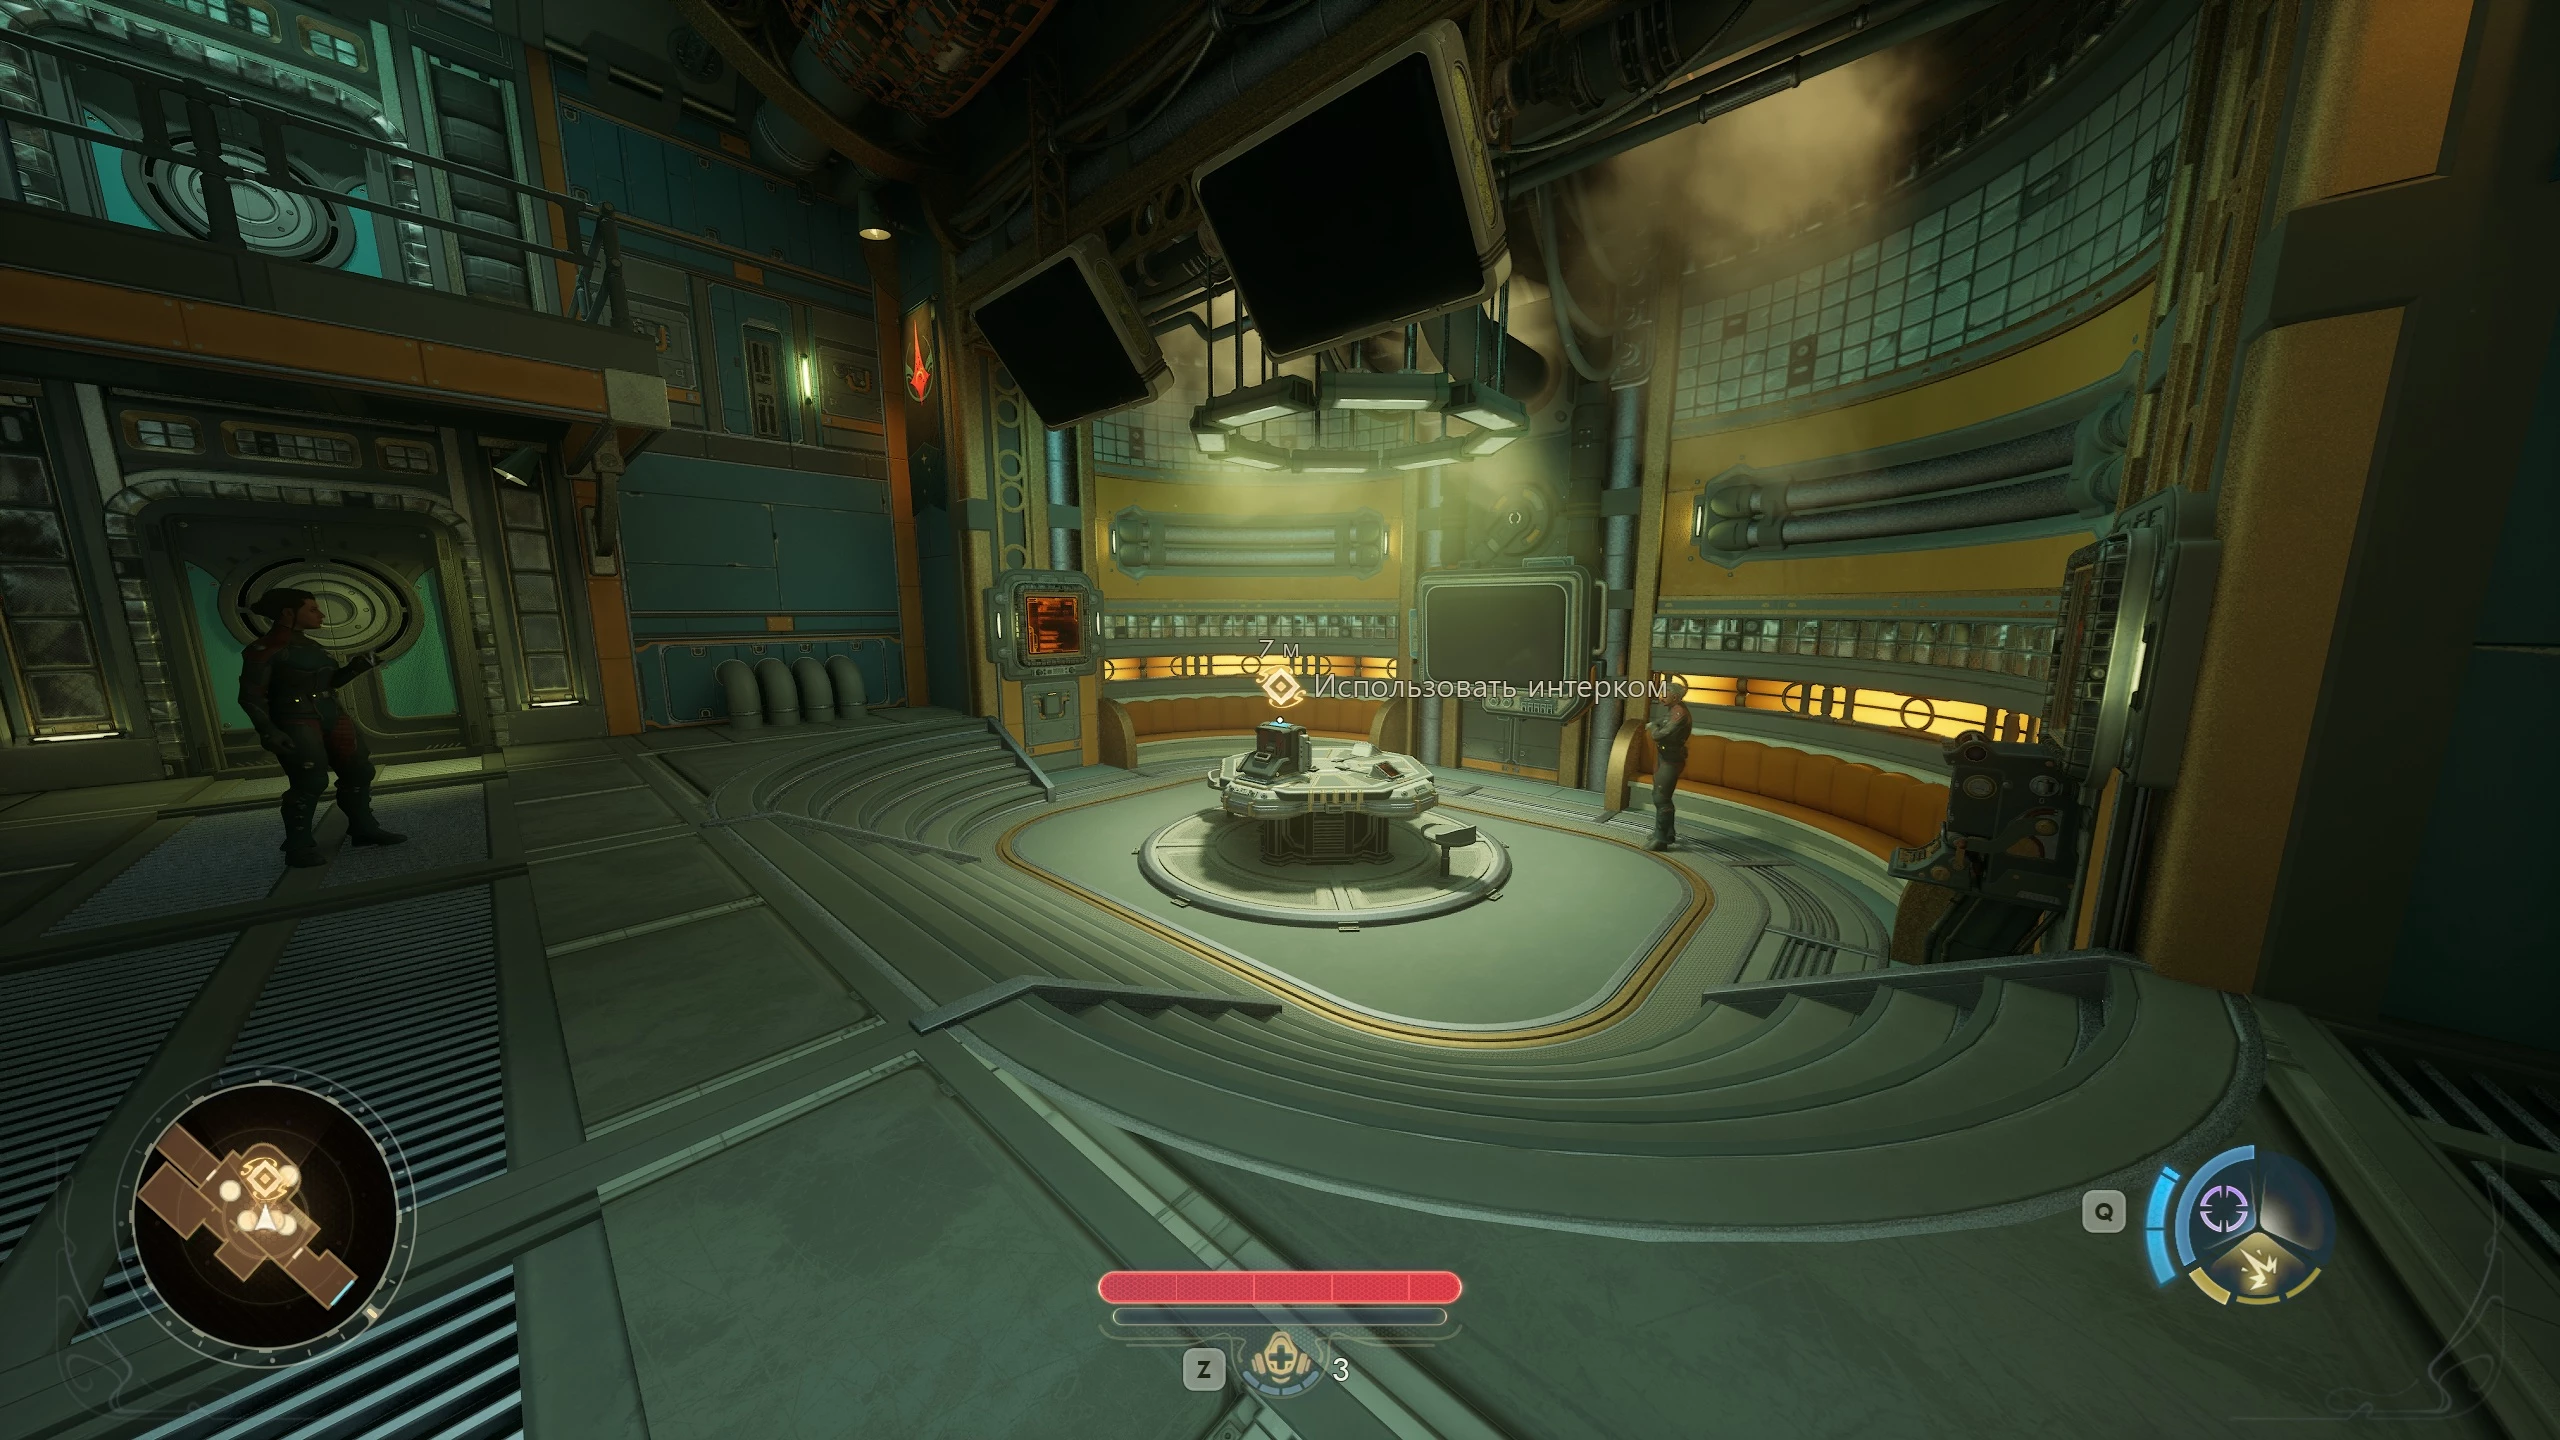
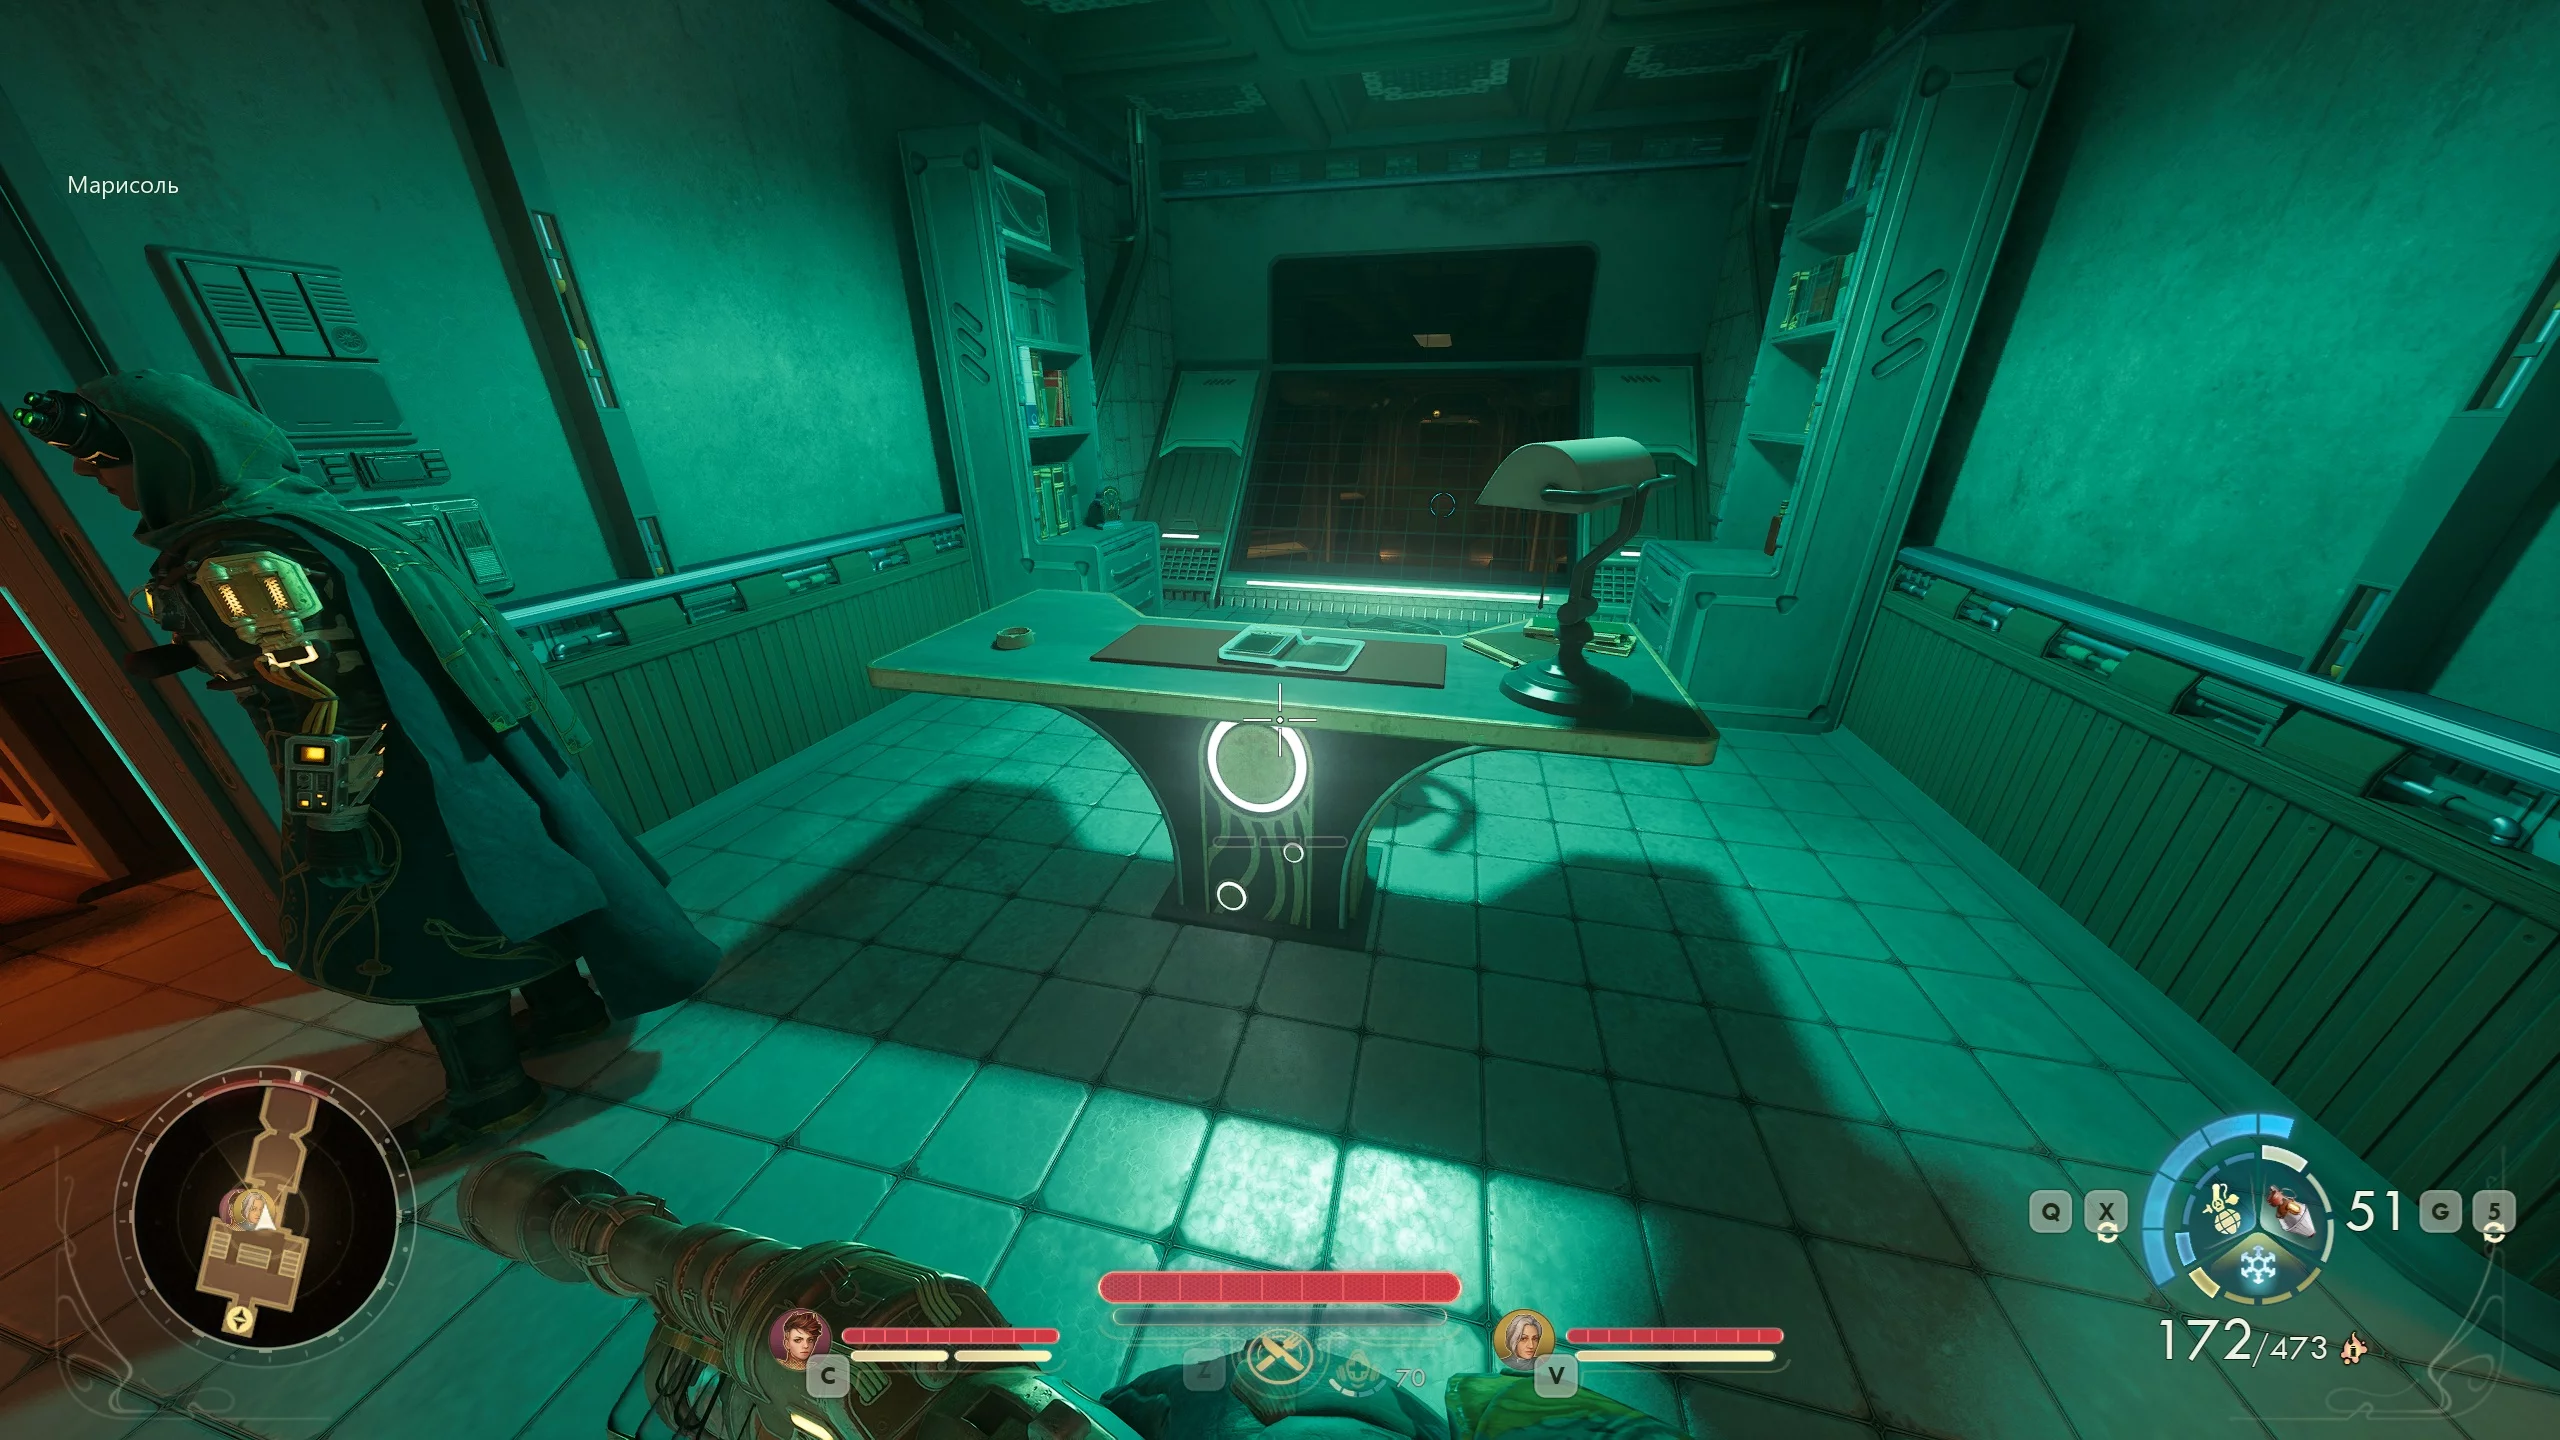
Follow the young man down to the intercom to contact agent Augustine de Vries, who will brief the crew on the operation. But to activate the device, you’ll need to insert the Commander's Credentials.
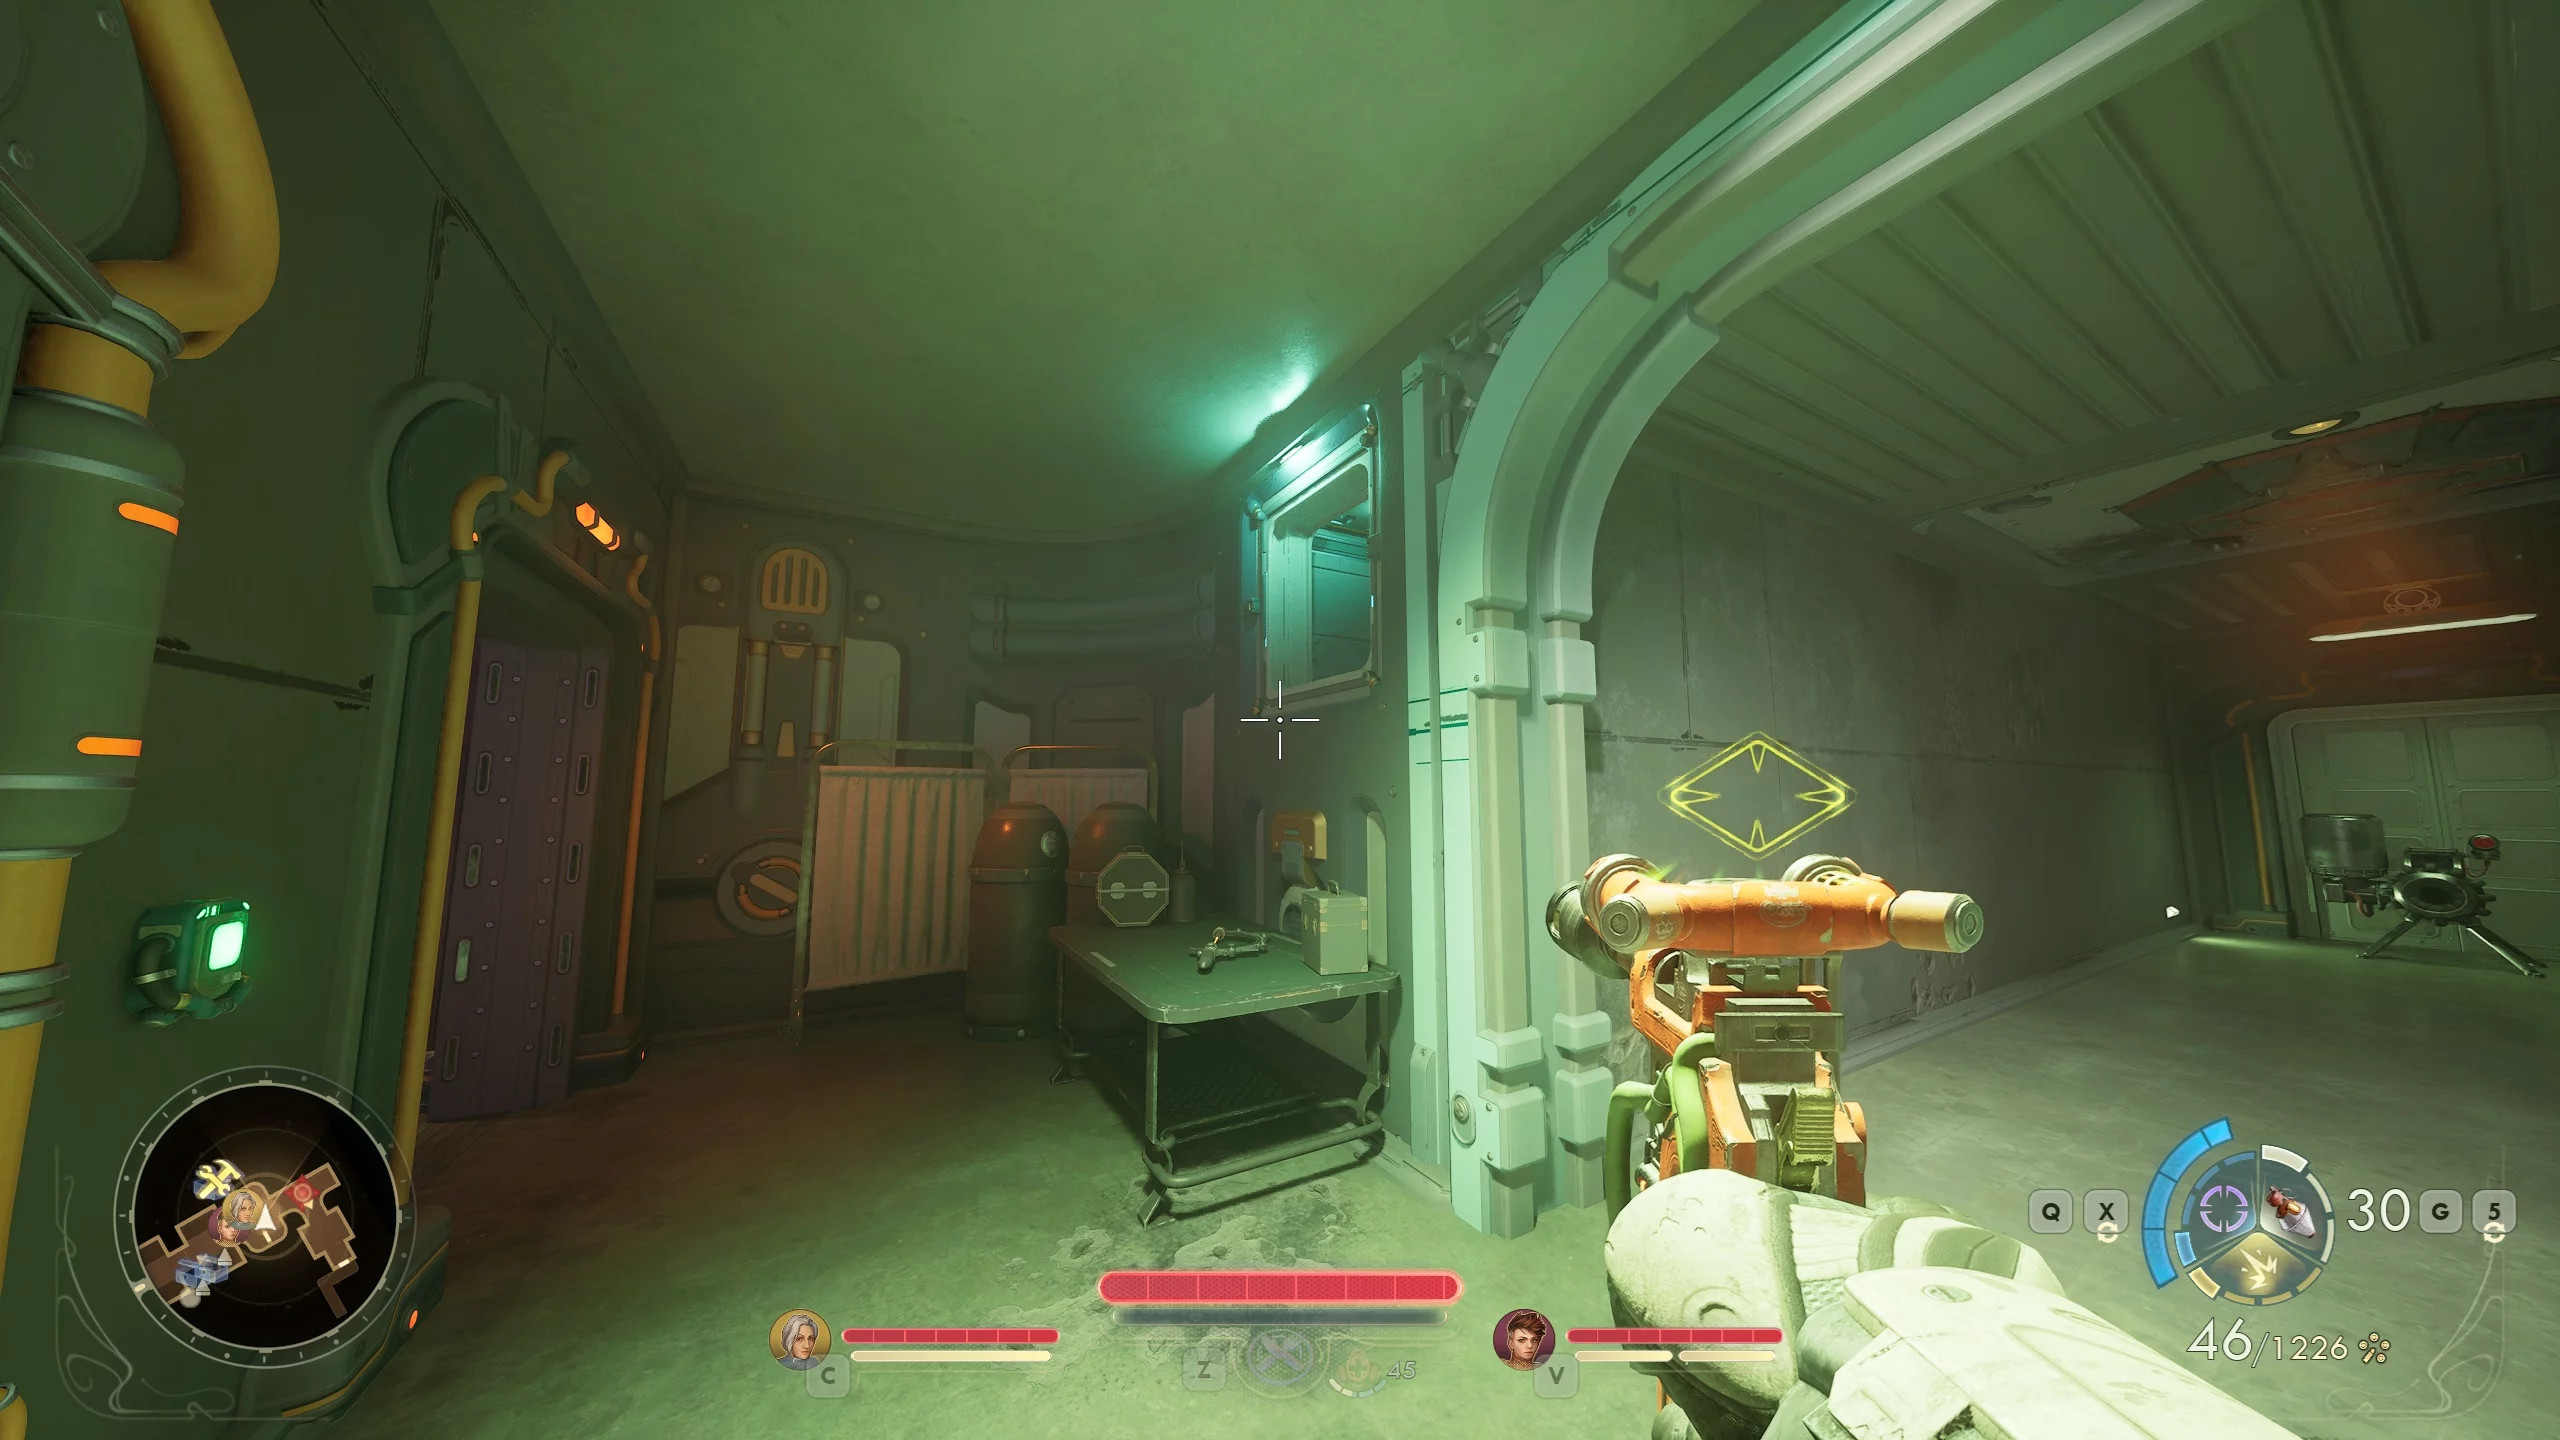
The card is located upstairs in the captain’s cabin. The door is broken; to open it, you need the "Brawny" trait or the Engineering skill. Otherwise, enter the neighboring room and find the vent shaft on the left side.
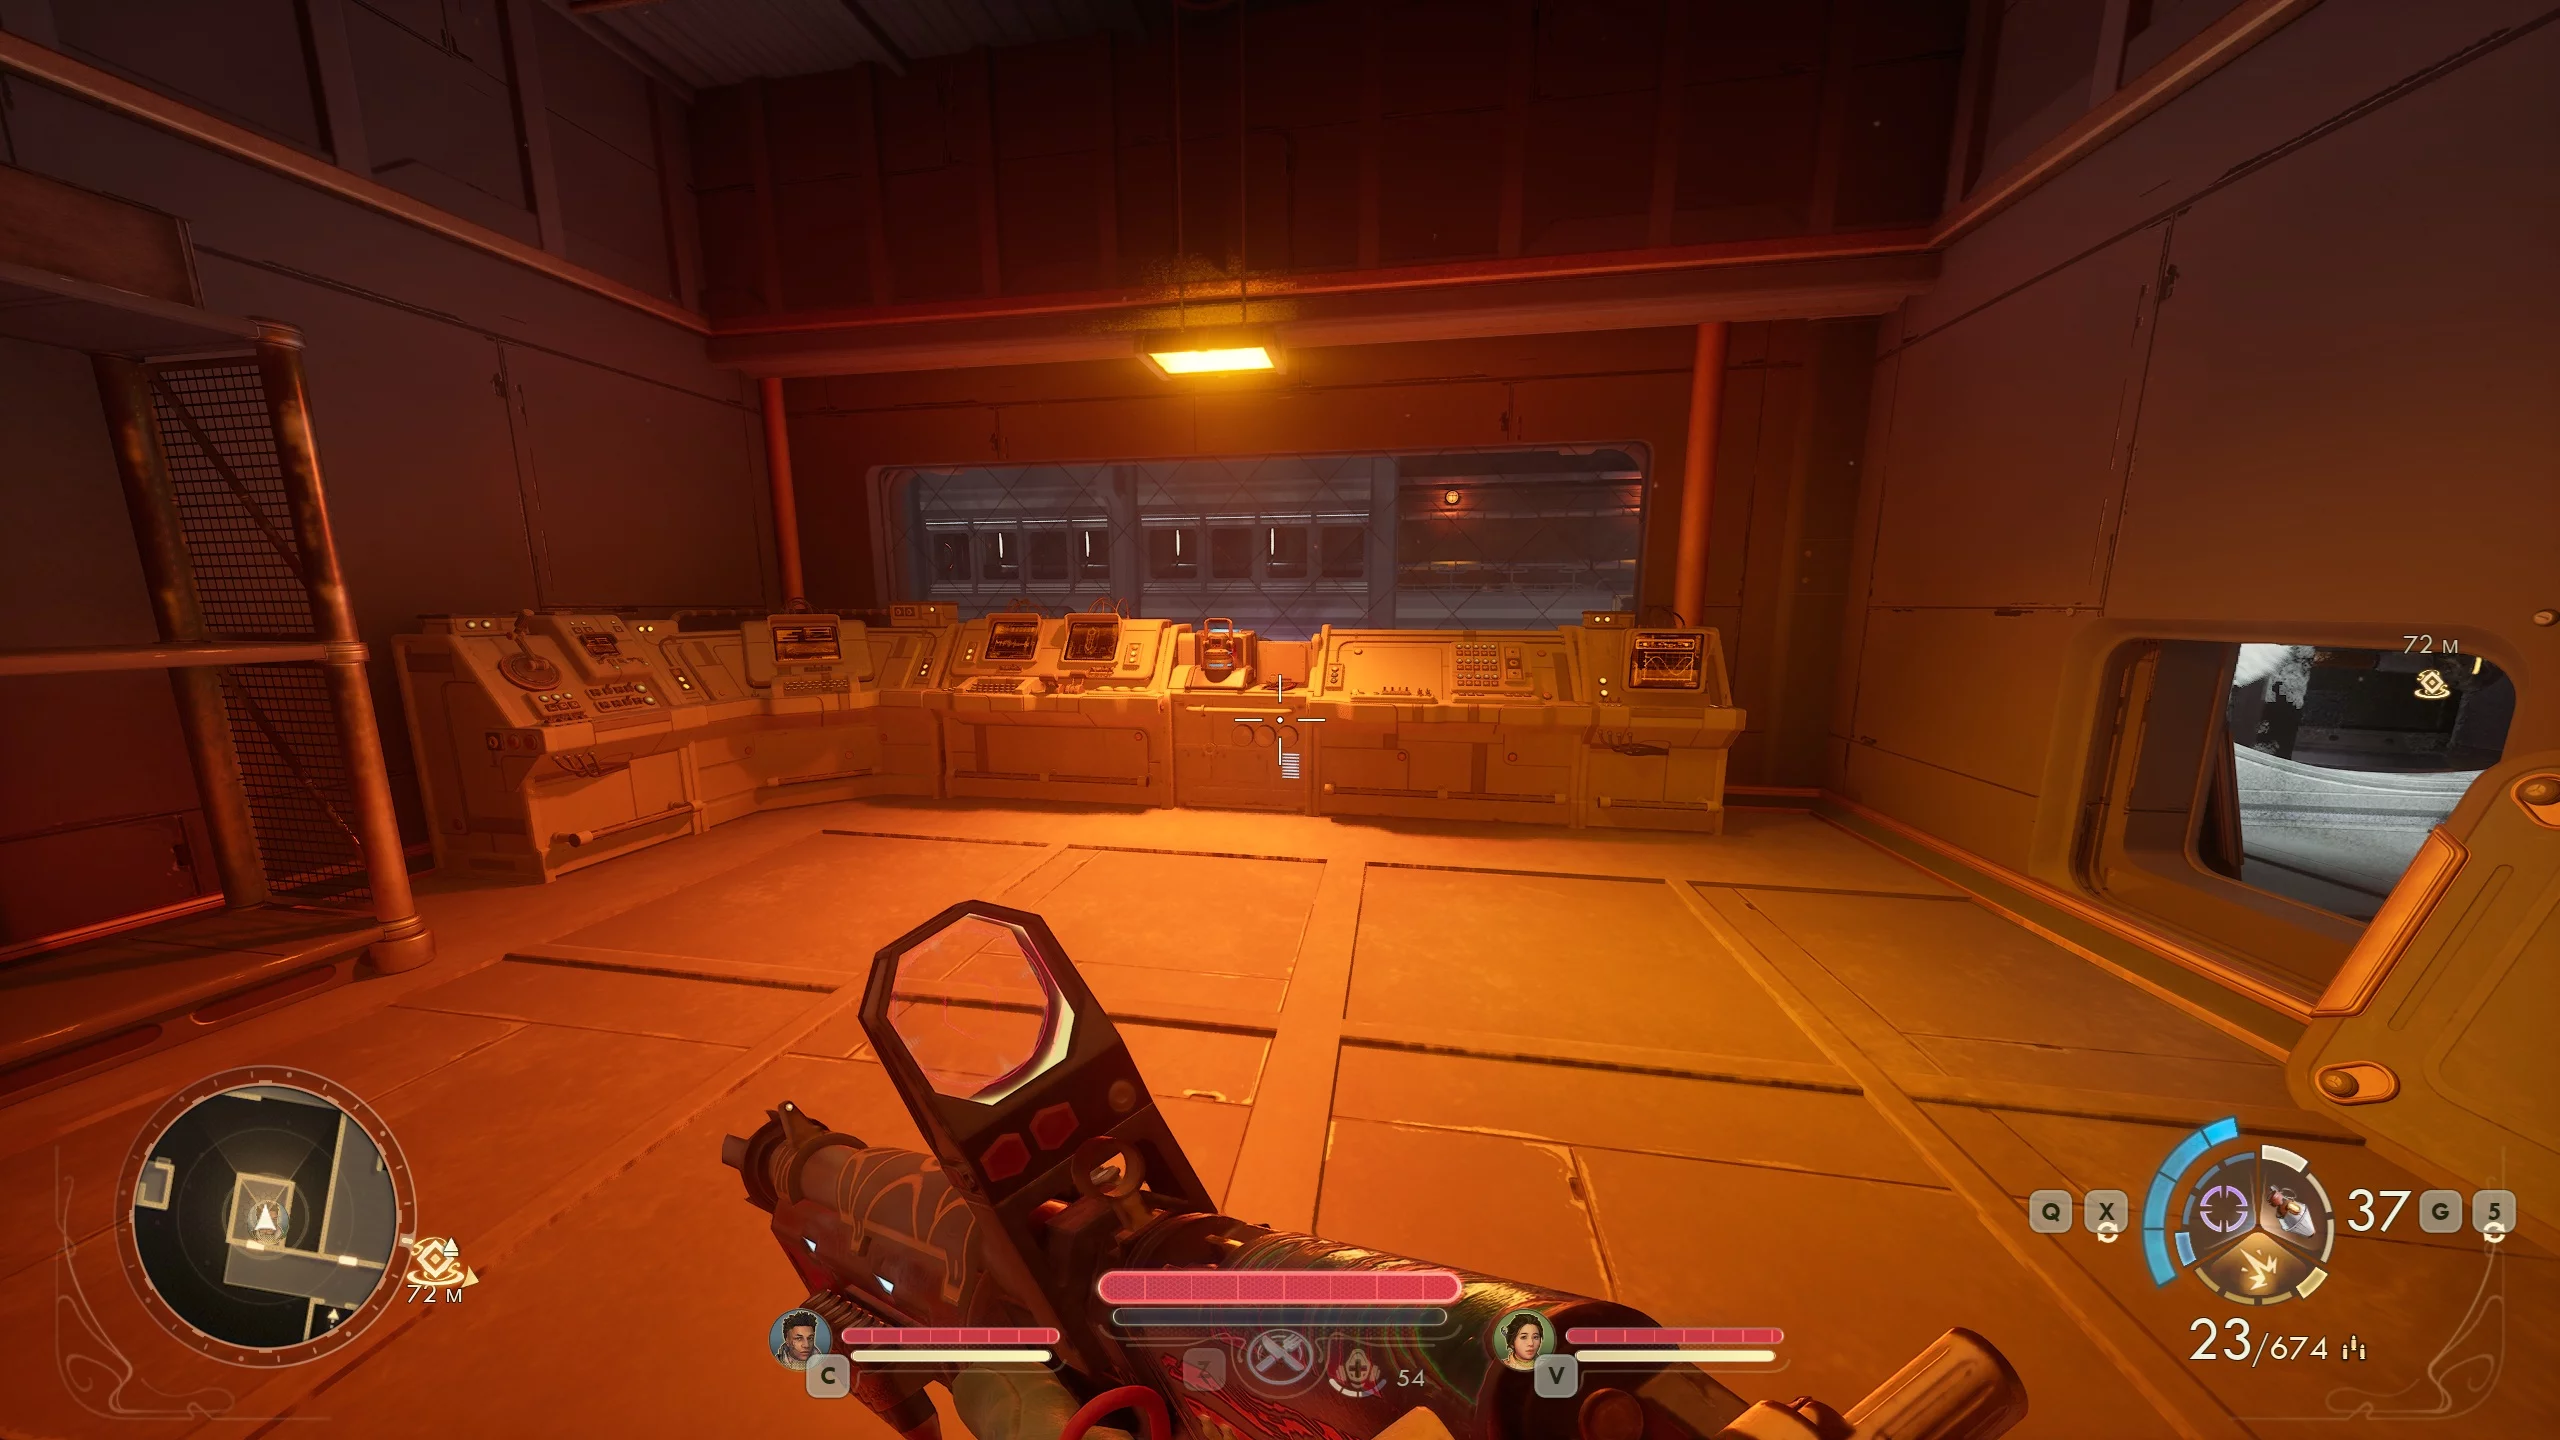
Pick up the card from the table, go down to the intercom, and contact the agent. You need to land at an unused landing pad and infiltrate the core of the research center, avoiding encounters with automatons. After the call, go up to the captain’s bridge and interact with the navigation terminal (Navigator). Select the "Horizon Point Station" and watch the landing cutscene of the team.
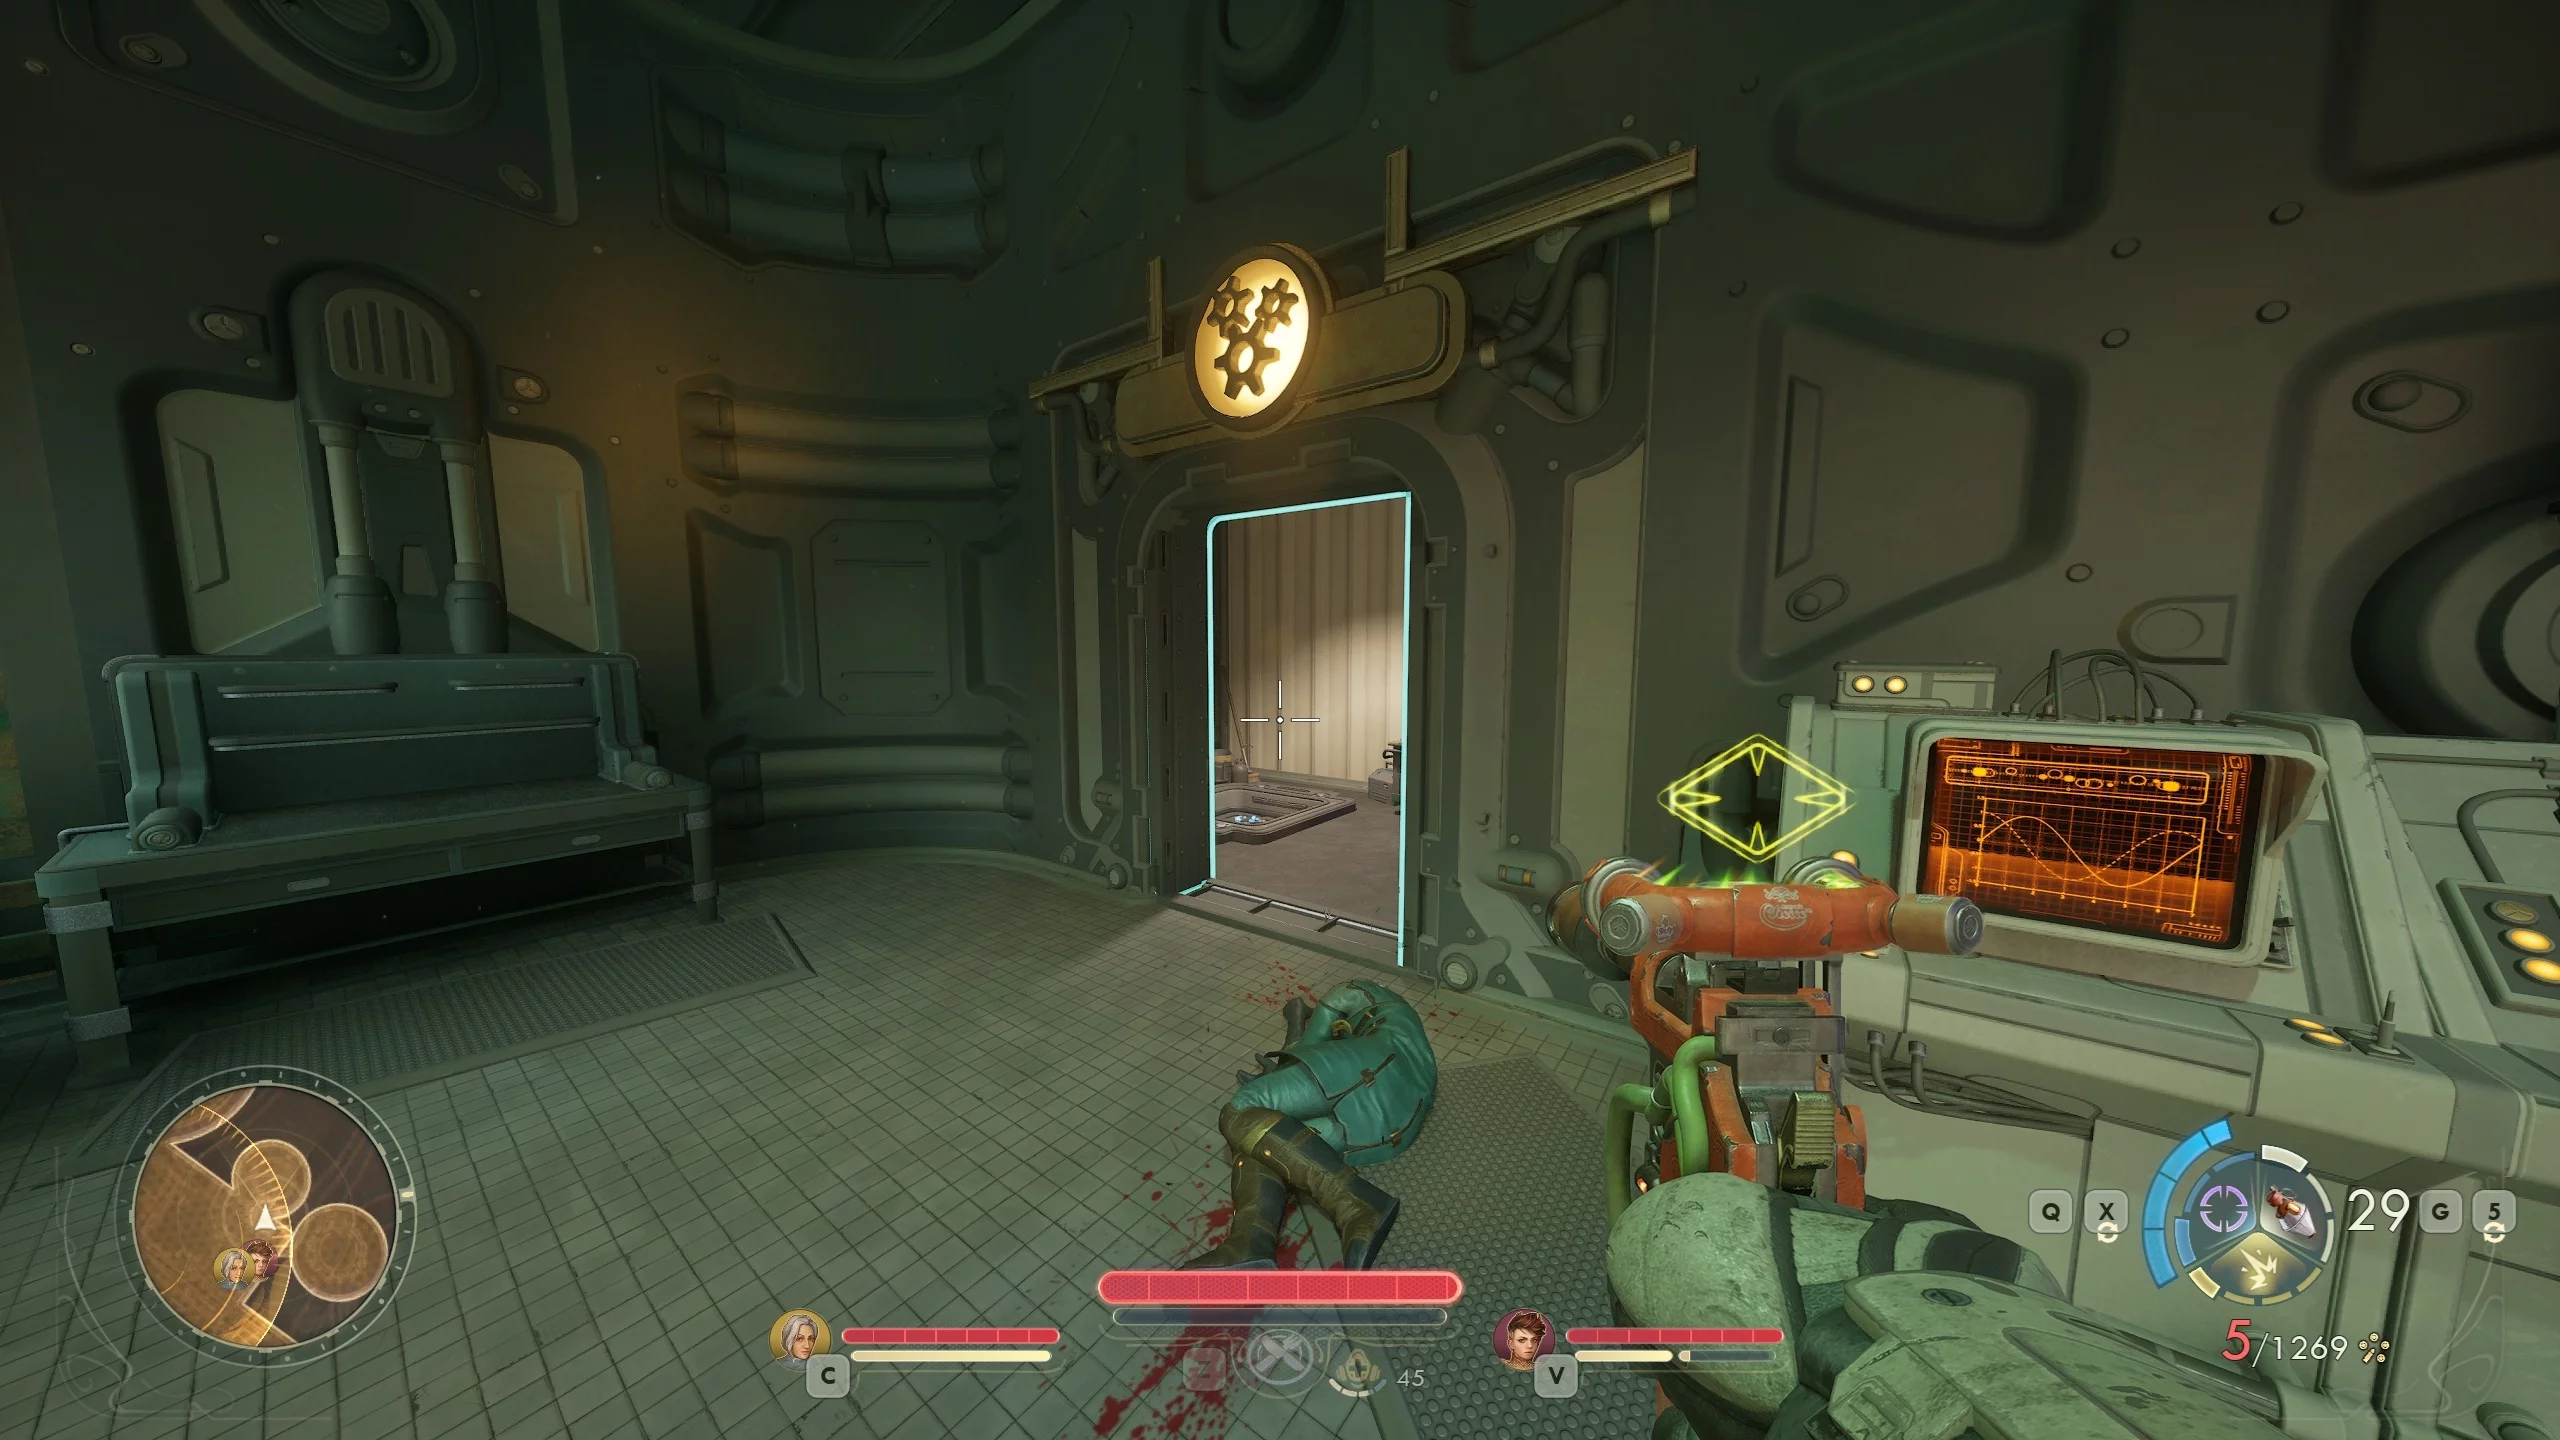
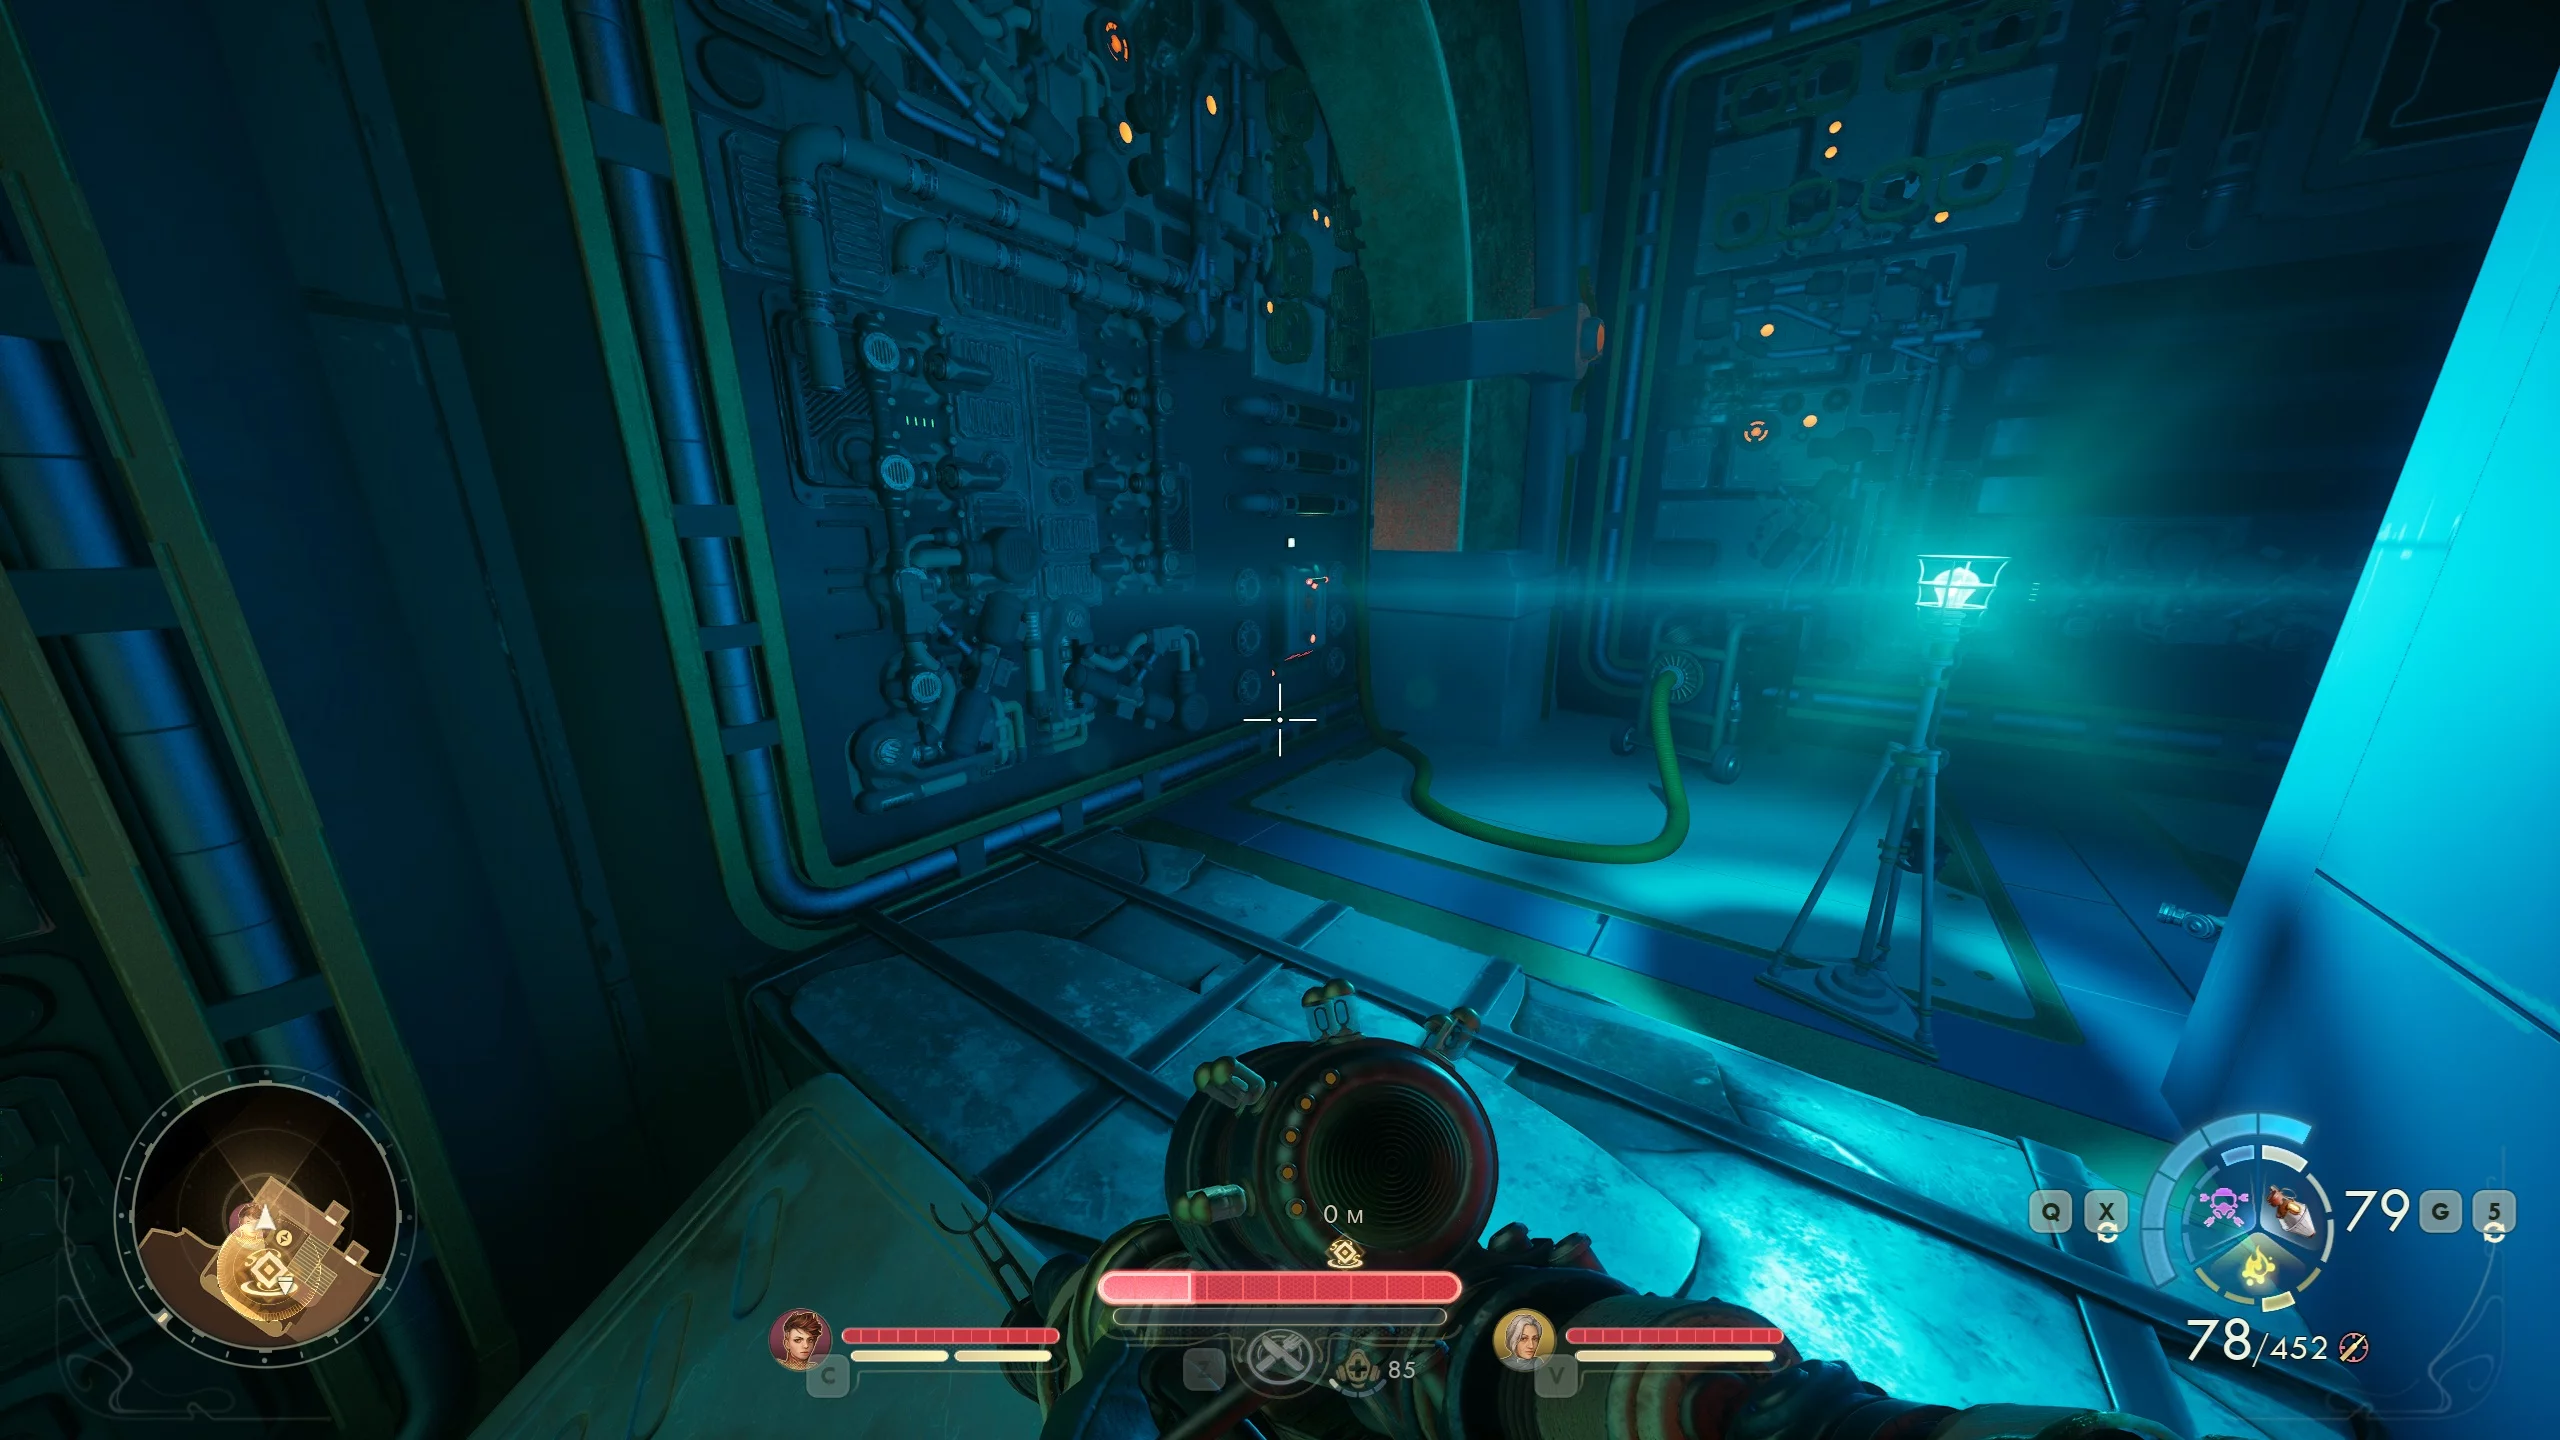
How to Disable the Automatons
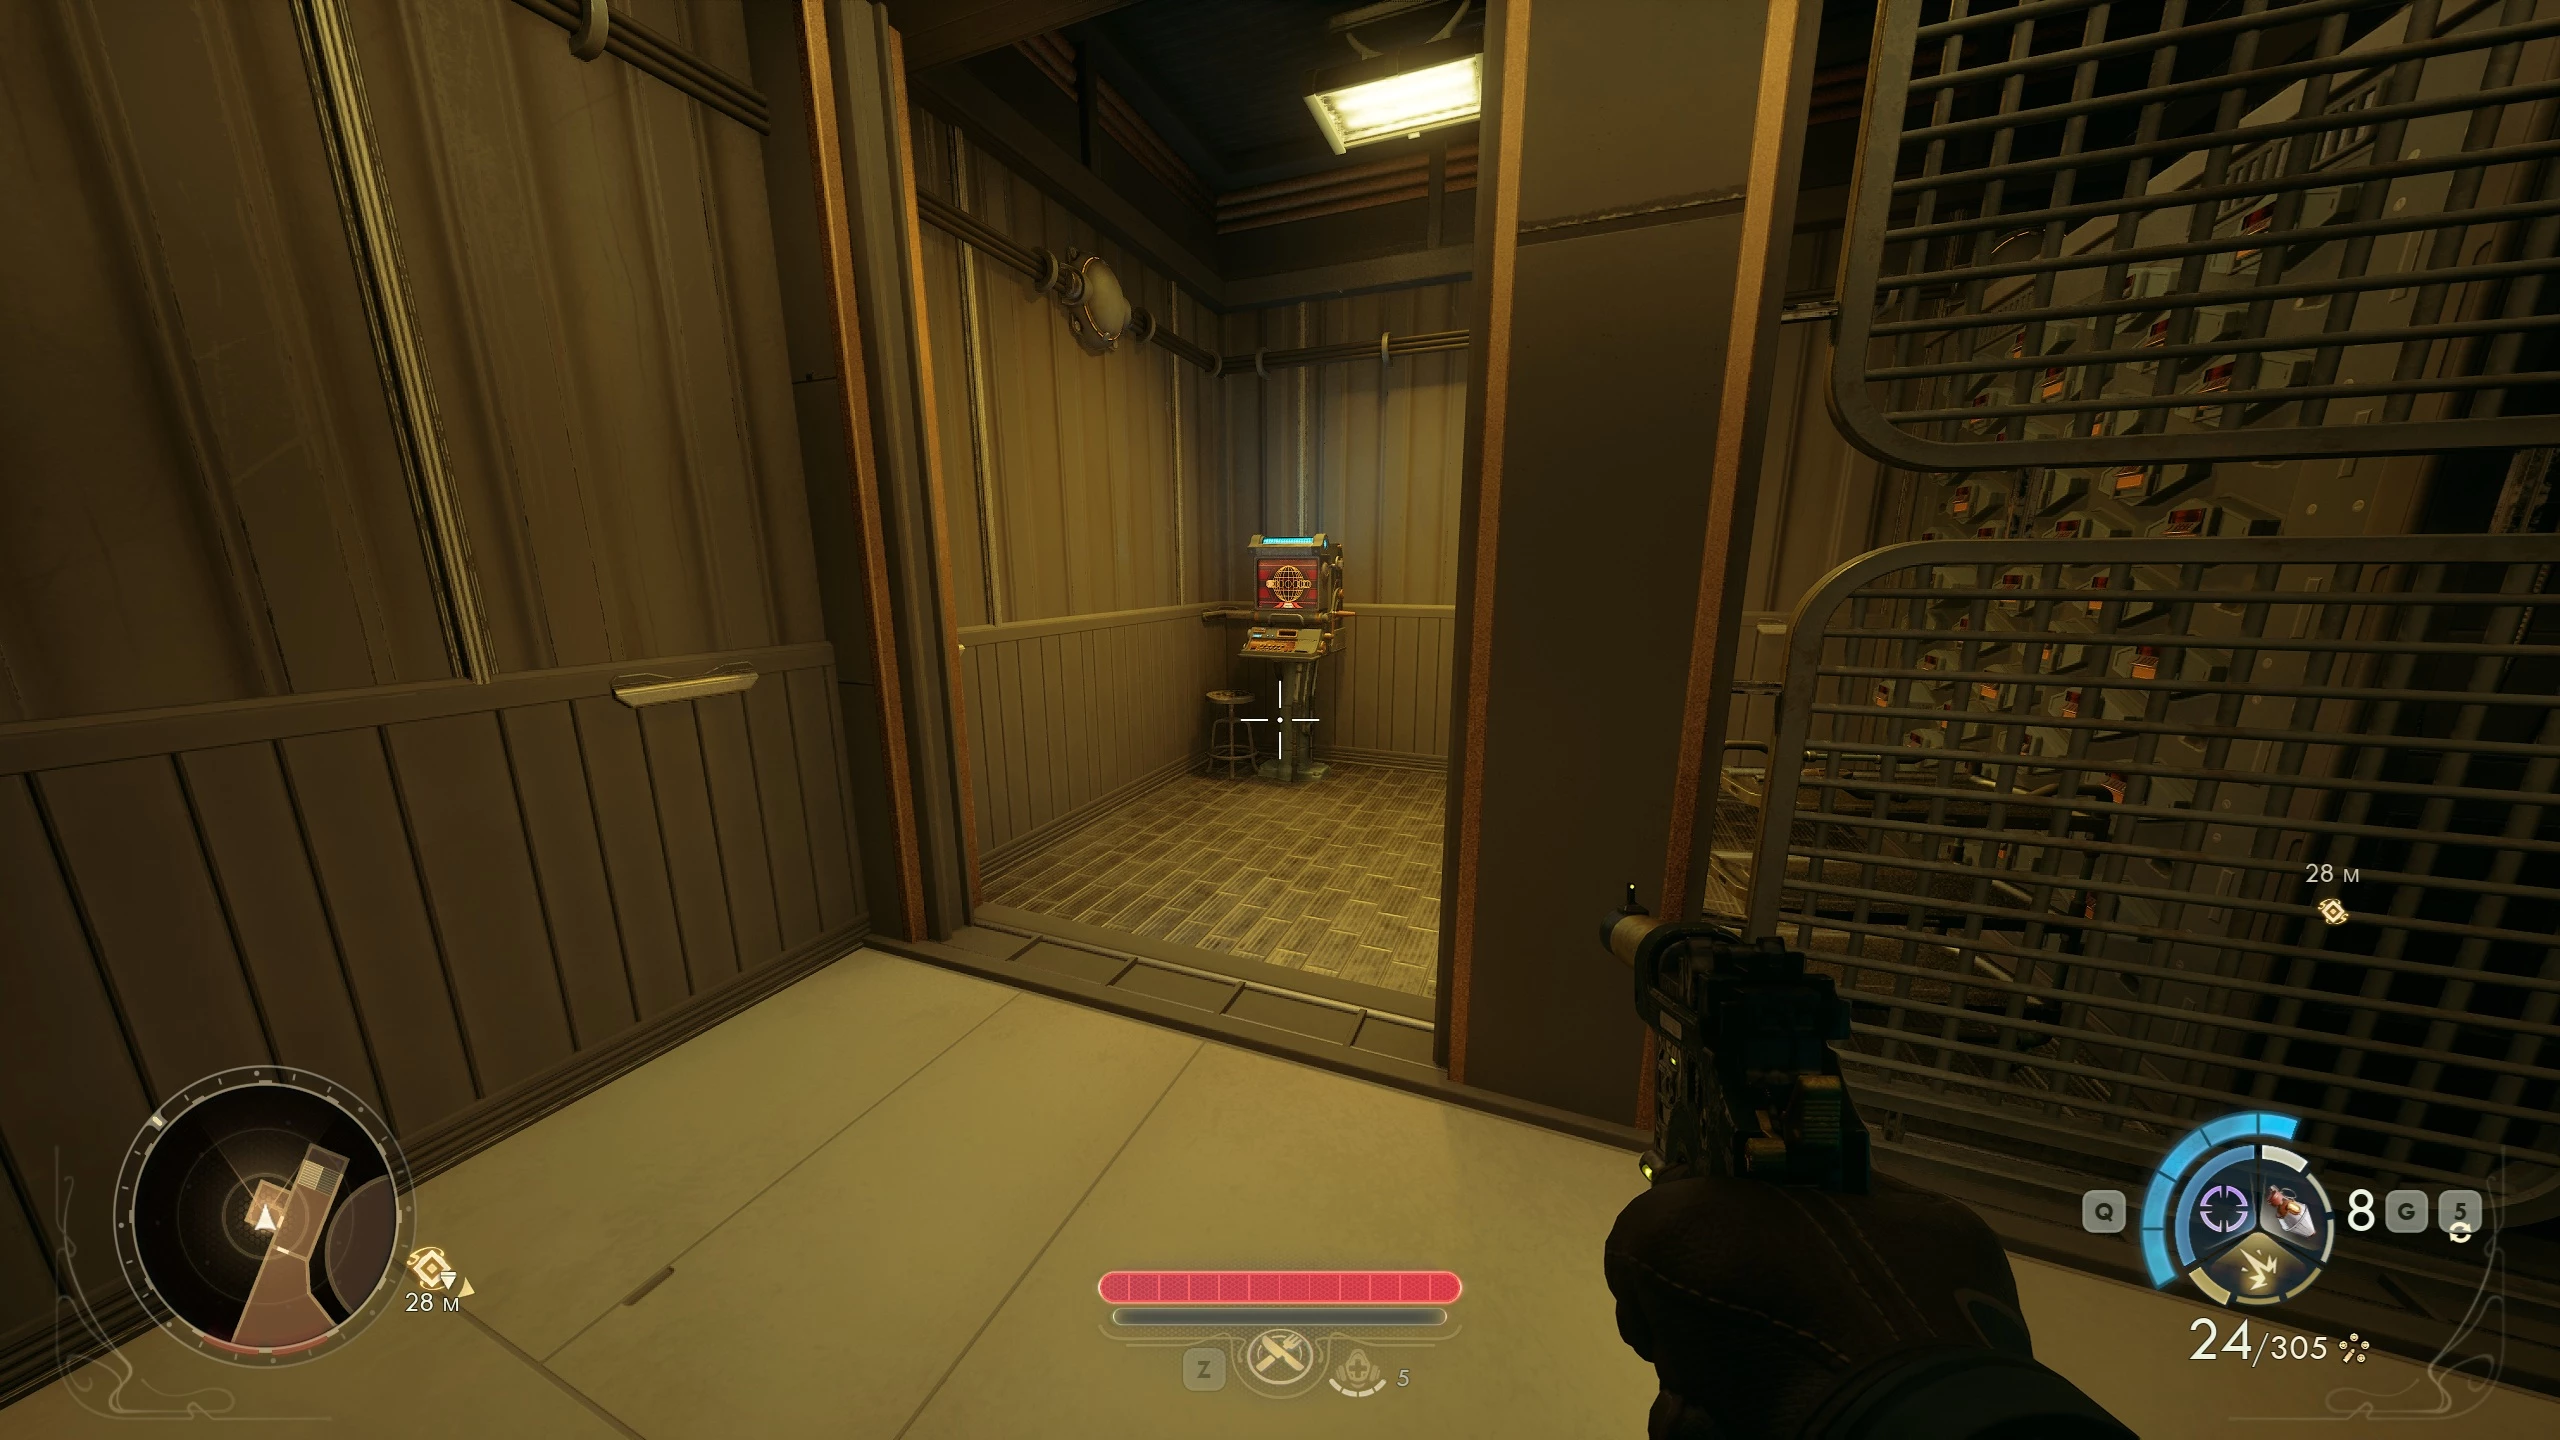
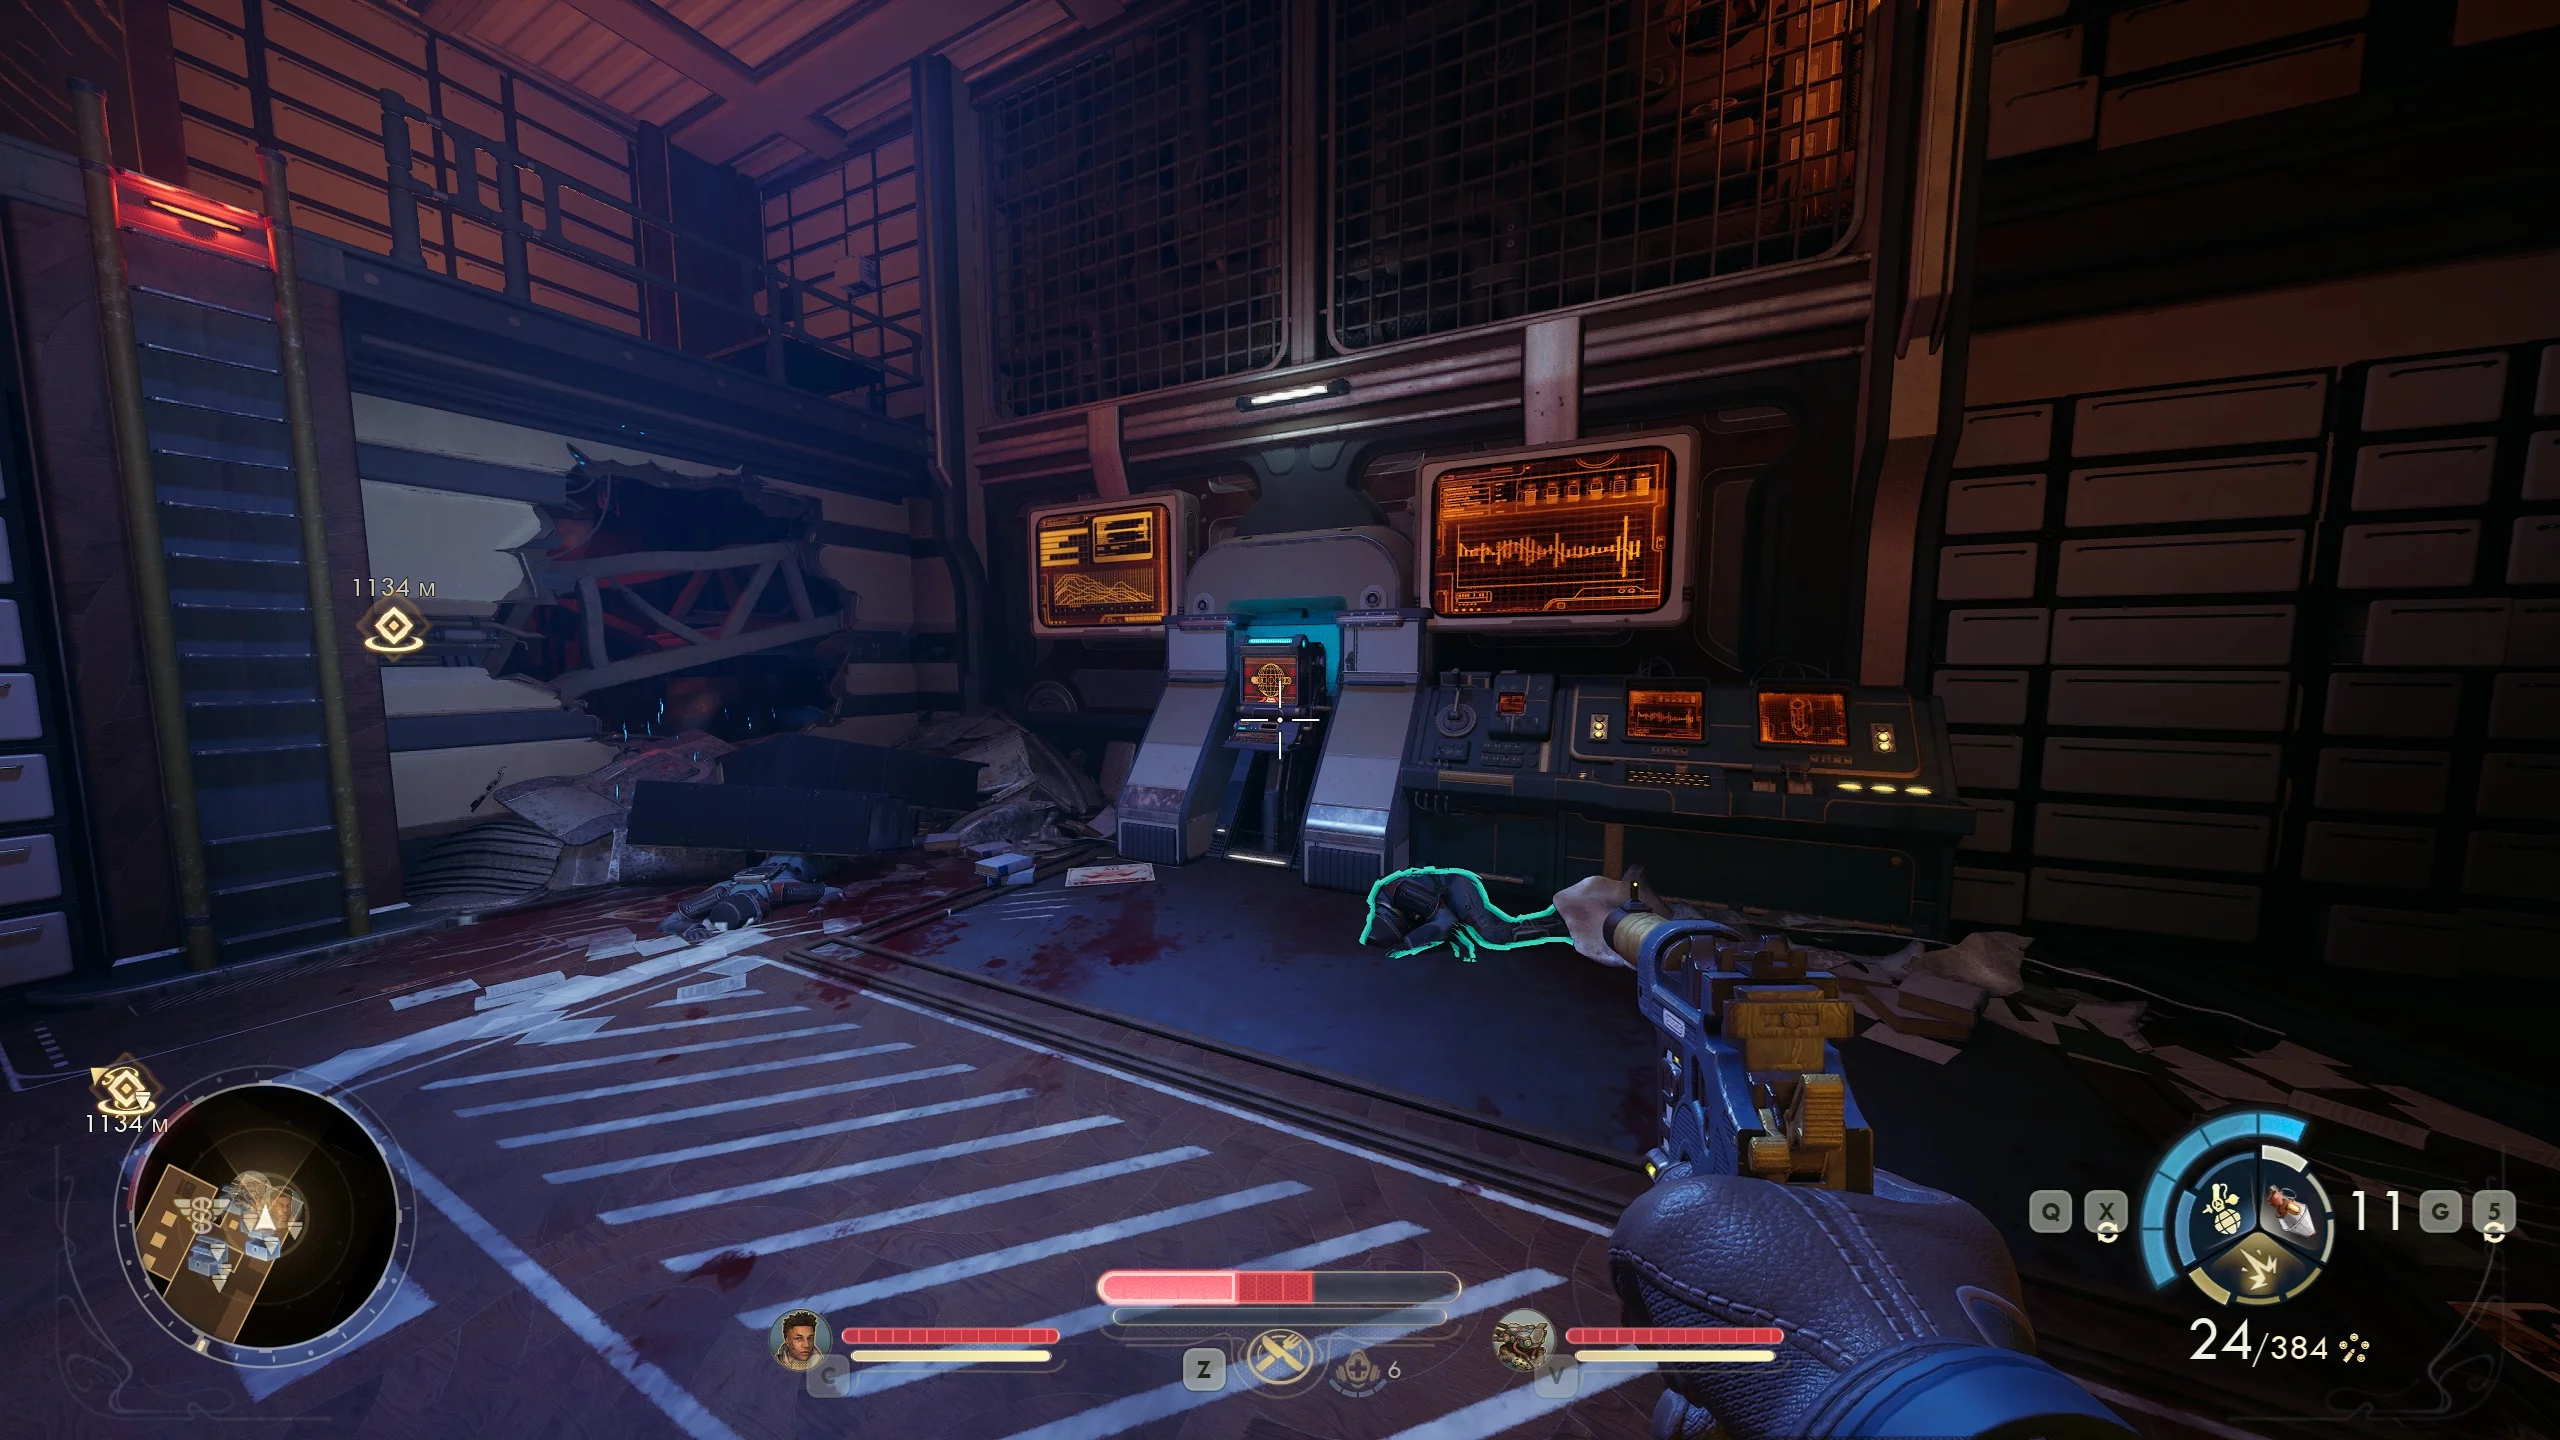
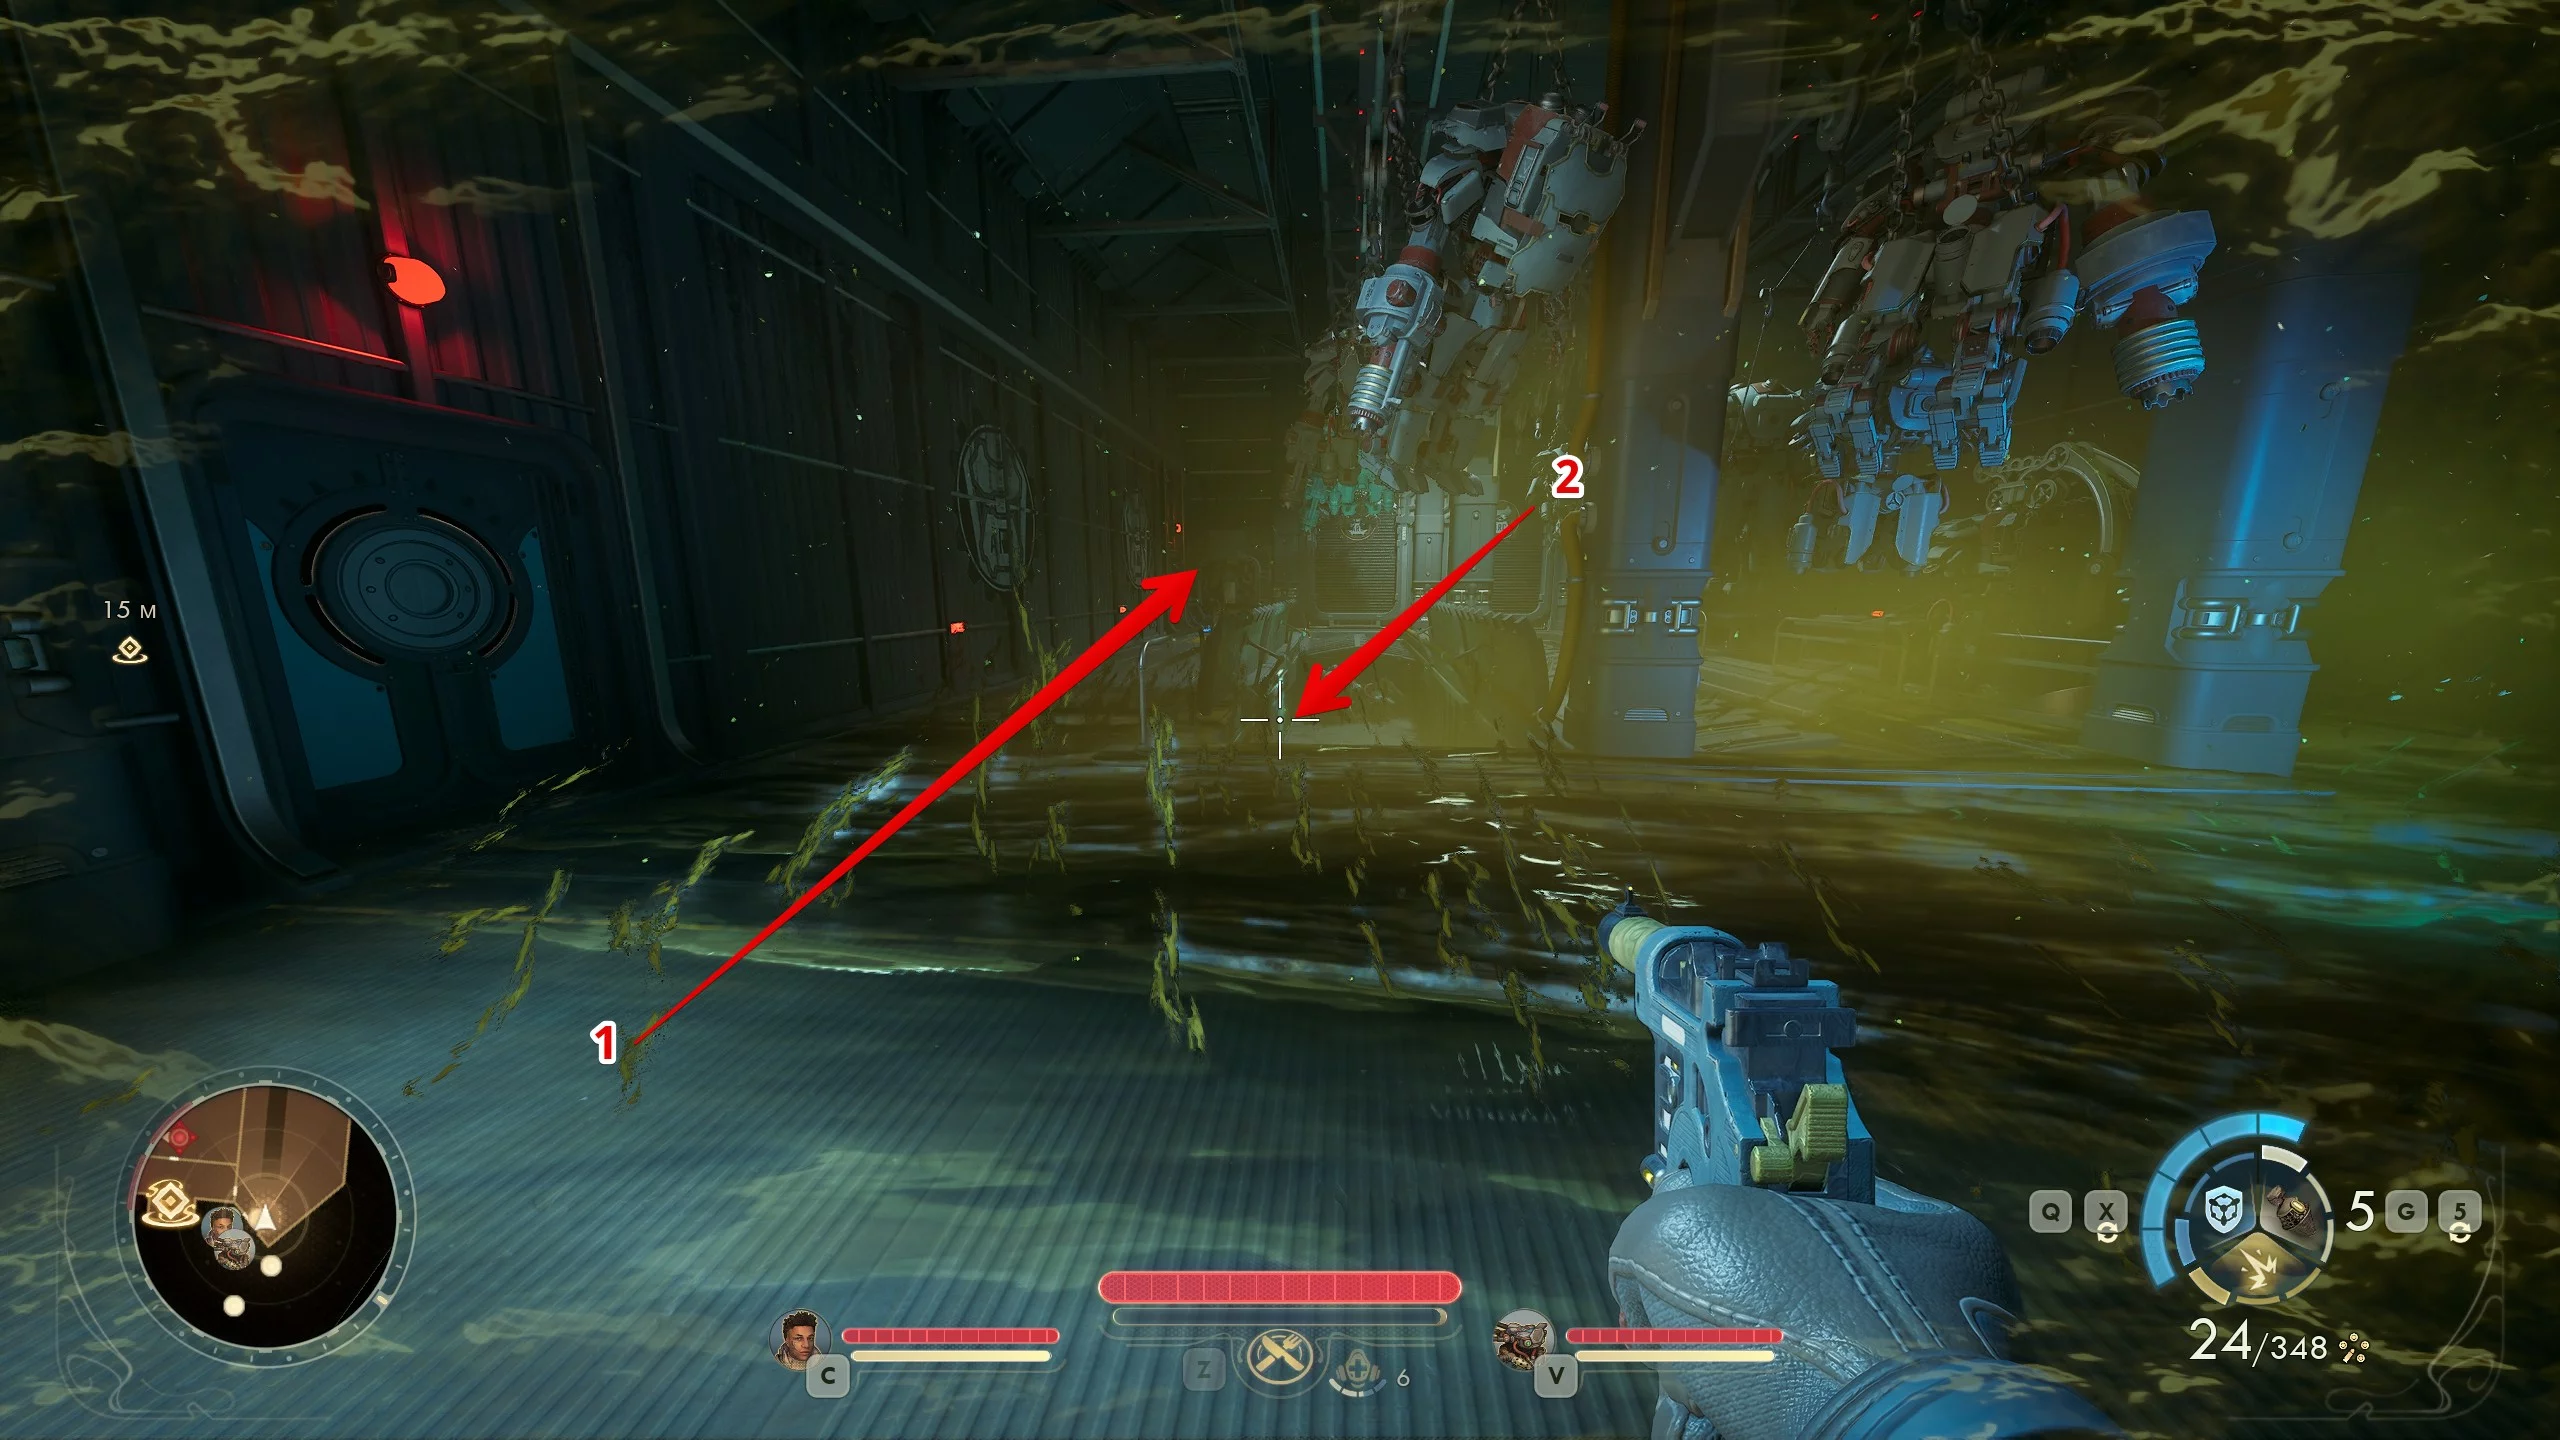
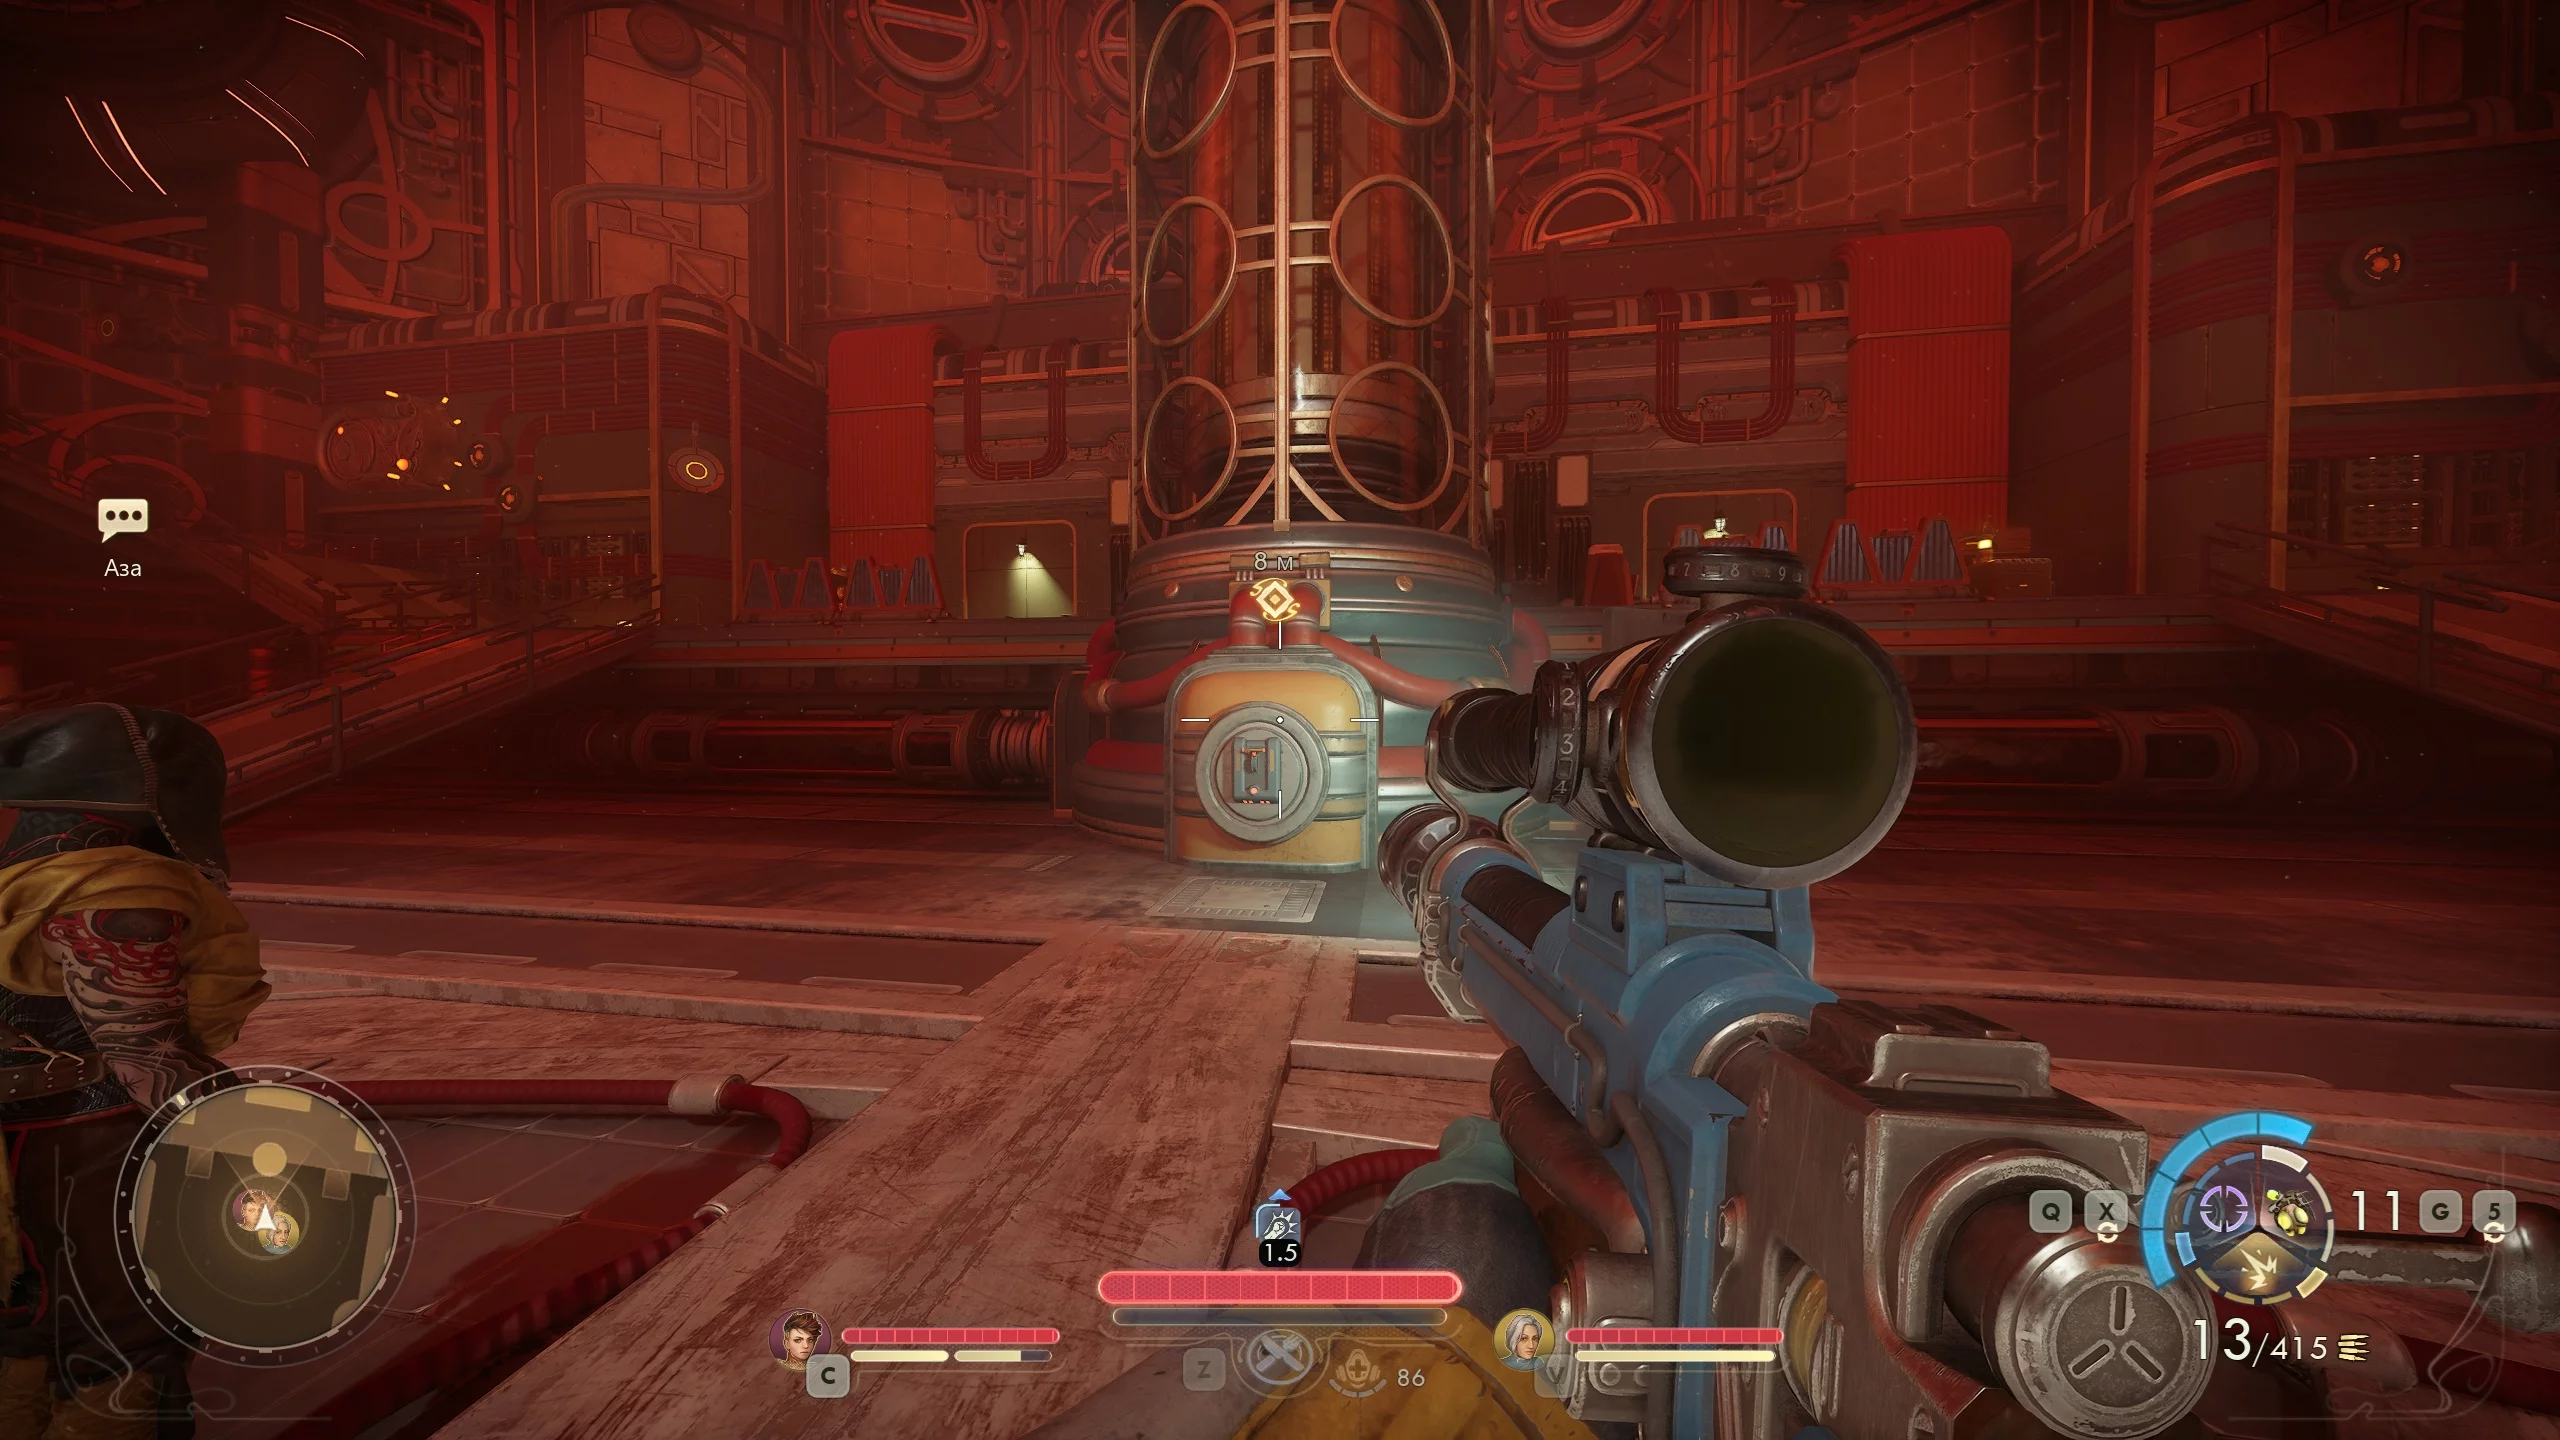
Follow your allies until you reach the room with the intercom. To activate it, you need to supply electricity. Go up to the second floor, pick up the Mechanist Badge from the body, and the Power Fuse next to it. Insert the device into the unit with the red cable attached. As a result, the main doors of the station will open, but the security system will activate, and many automatons will appear at the entrance.
Go down to the first floor to your companions, listen to their suggestions regarding the drone situation, and receive a bypass shunt. There are four ways to solve the problem.
- Read the paper on the wall to the left of the table and check the computer records. Use the intercom and, pretending to be Cadet Mowry, ask the security officer to disable the automatons. The best option.
- Enter the next room and use the magnet to hack the ventilation hatch. Go into the small room near the hangar and use the bypass shunt to disable the automatons.
- Destroy all the automatons.
- Go through the main gates unnoticed, avoiding the machines' line of sight.

Go through the main gates. You’ll need to split up with your companions and choose one of two options: head to the security center or the communications block. The difference is that the first location can be completed stealthily, while the second requires a firefight. This choice doesn’t fundamentally affect anything, but we’ll describe both walkthrough options.
How to Get Through the Security Center
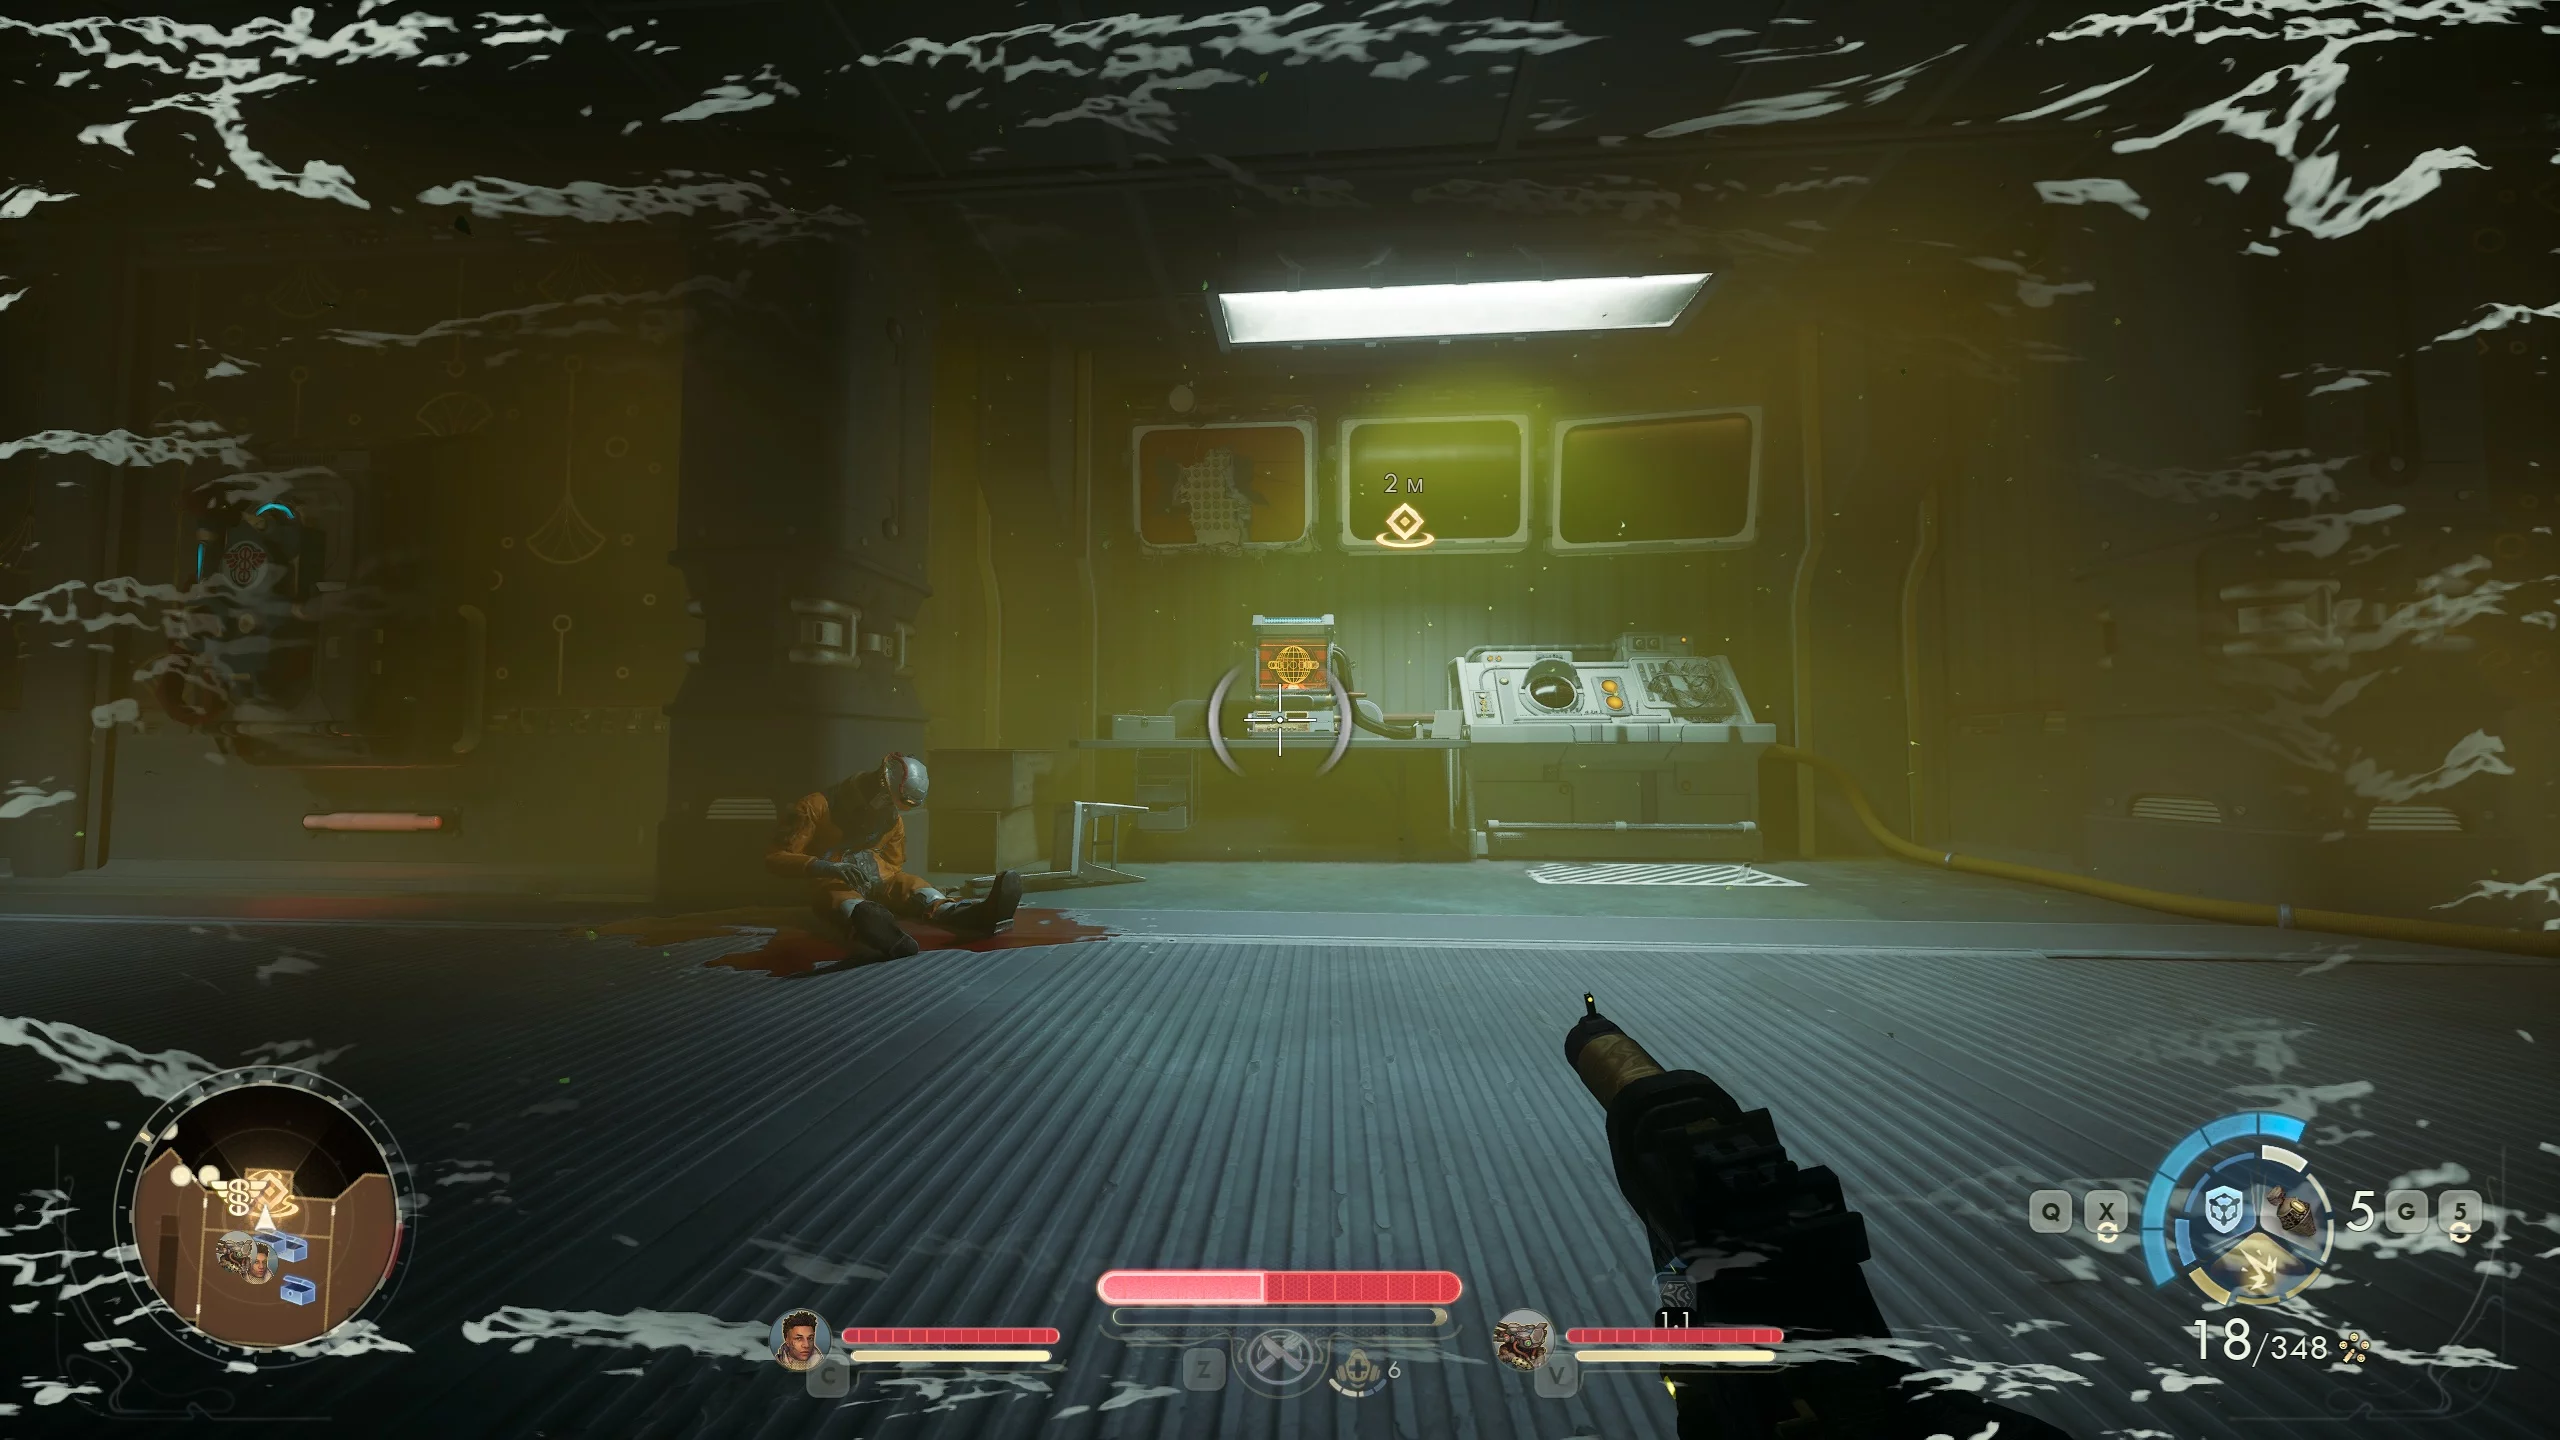
Go left until you find a ventilation hatch. To open it, you need to find the Security Ops Maintenance Key for Horizon. You can get the card from the green folder on the table in the room on the right.

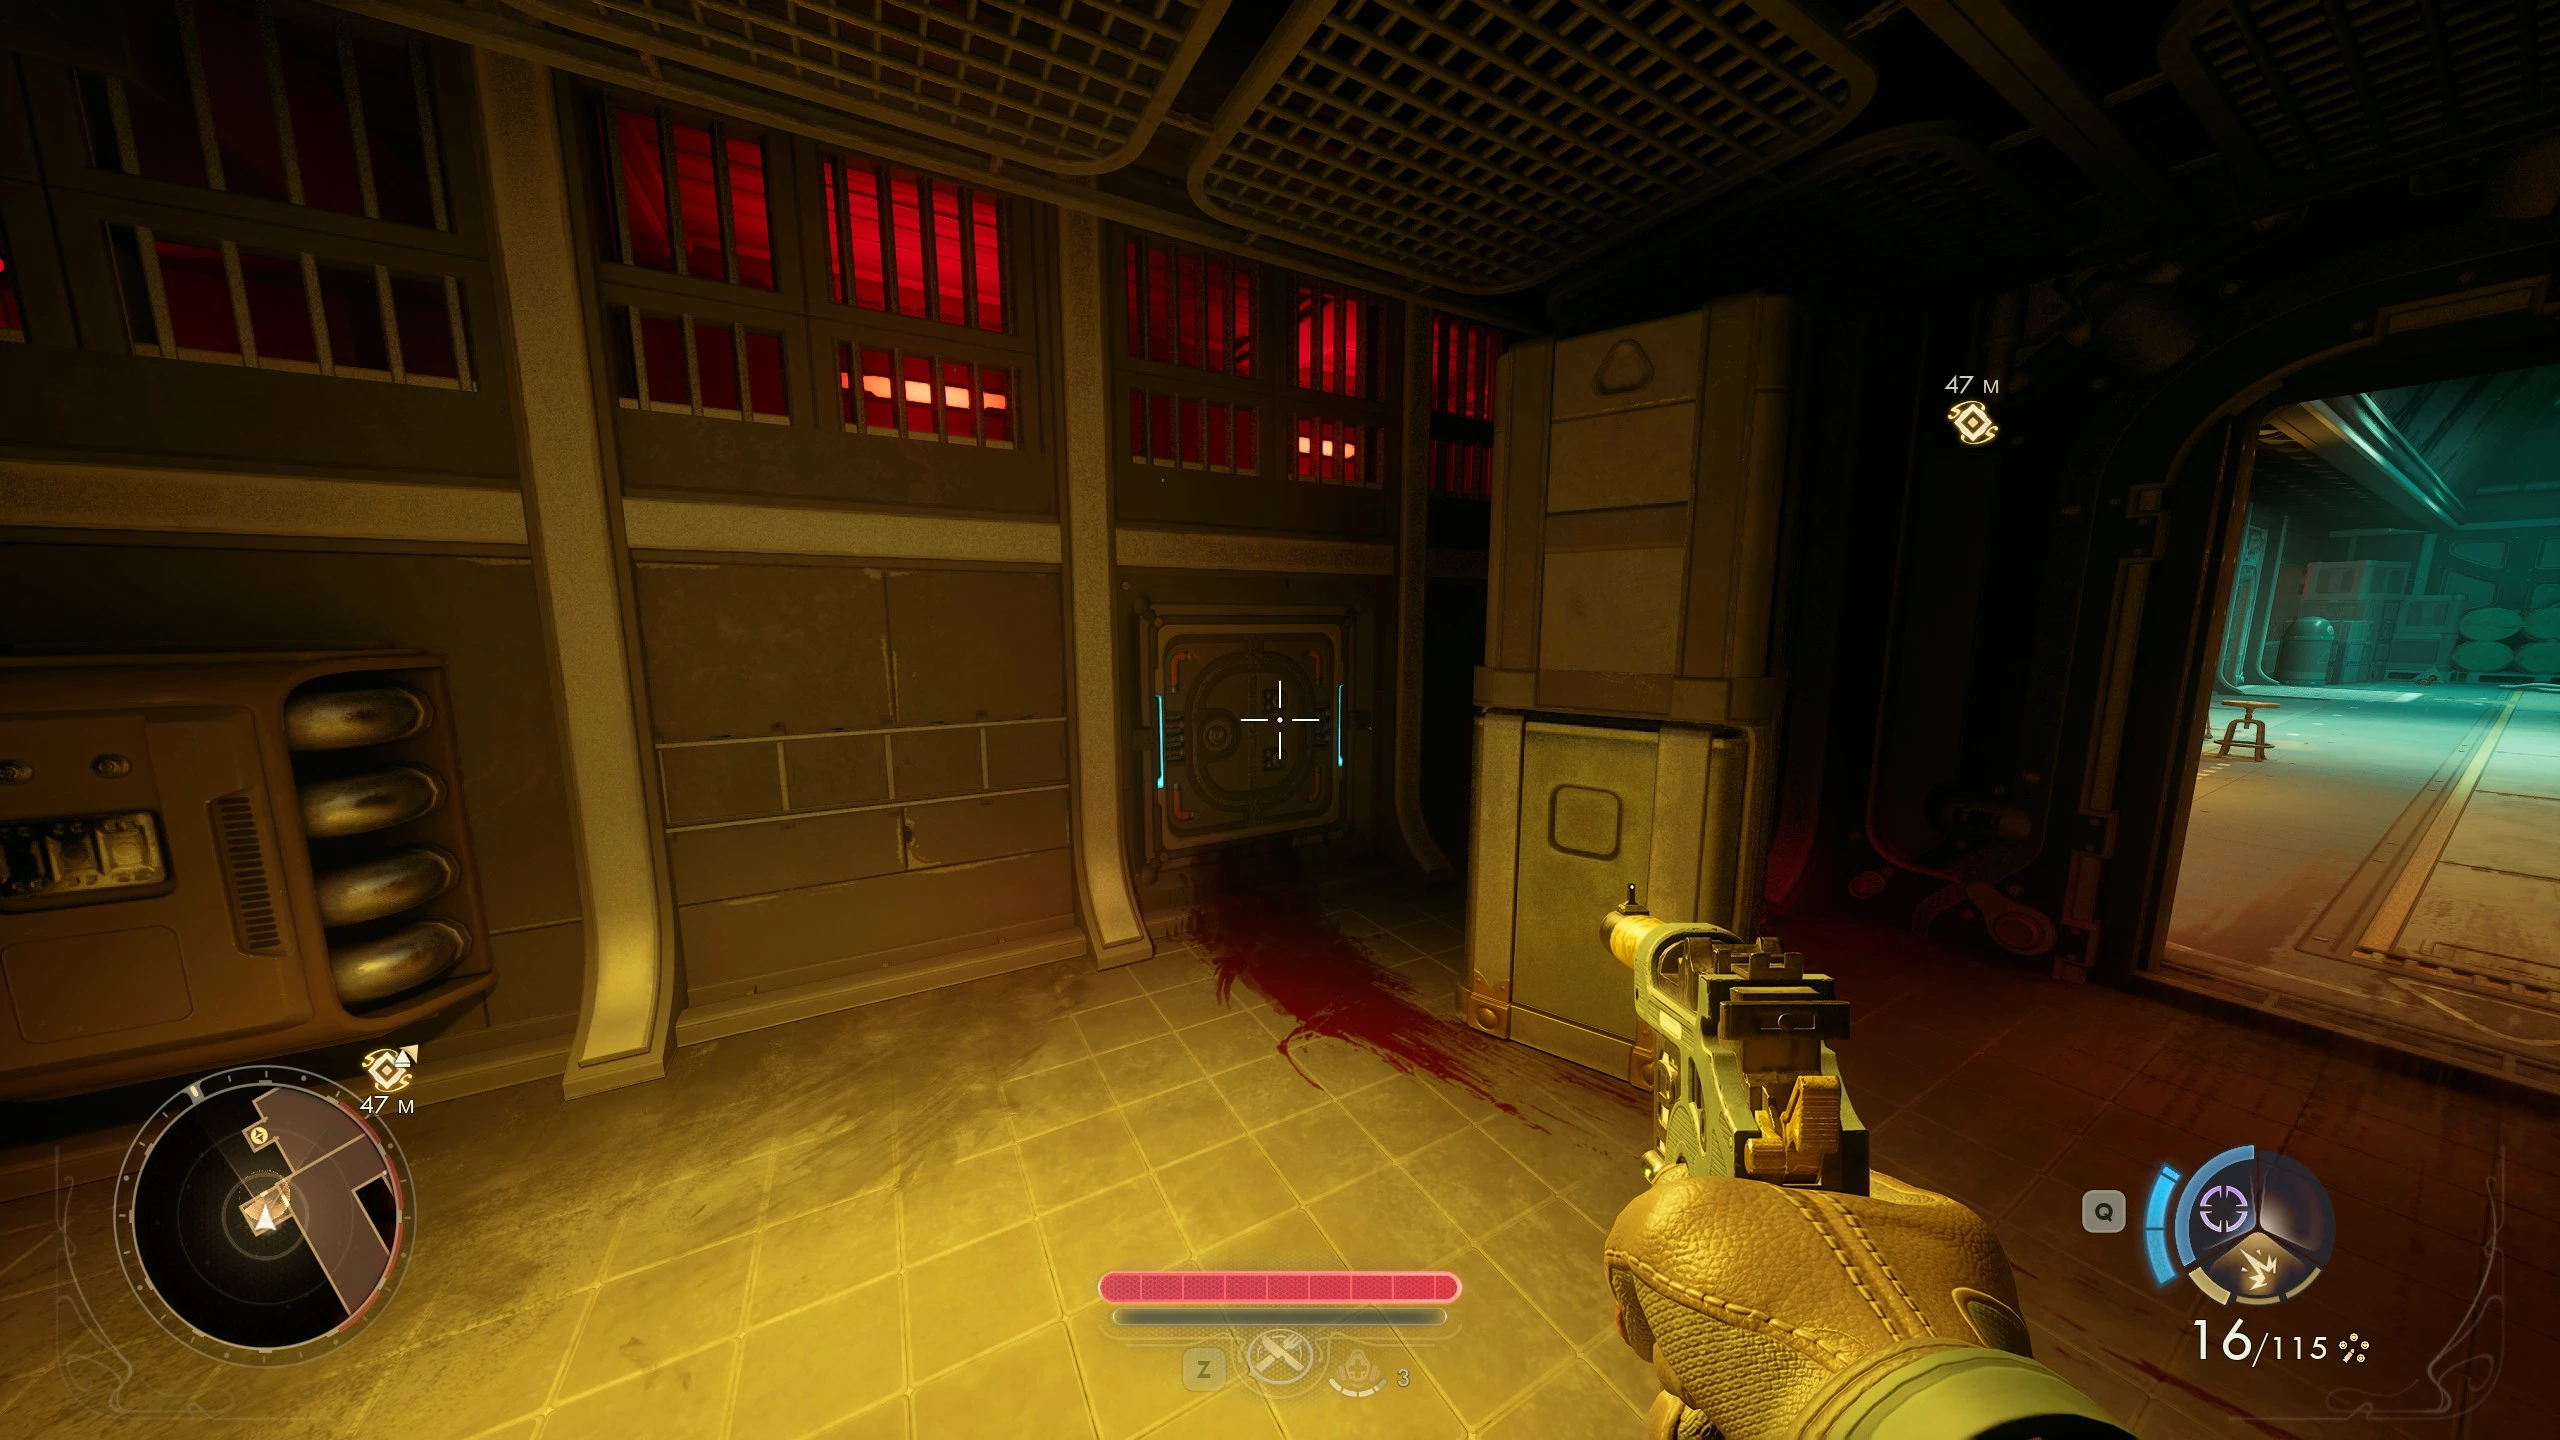
Move forward, sneak through the room with the automaton unnoticed. Enter the corridor, turn right, and head to the room at the end. Pay attention to the bloody trail leading to the hatch. There you’ll get a blade, which you can use to silently eliminate enemies.
Just so you know, this location can be completed without any kills if you wish. Return to the corridor and go right. Pass through the hall with a couple of soldiers and enter the next hall.

Enter the hall on the right, and De Vries will contact you, mentioning she left Distraction Devices. Climb up the scaffolding and enter the room with the automaton control panel and two soldiers. In one of the technical rooms, there’s a suspended machine from which you can extract a special microchip if you have the Engineering skill.

Distract the infantryman from the control panel and disable the automatons, or reprogram them using the microchip so they attack the Protectorate soldiers. Leave the hall using the elevator at the opposite end.
Exit the security center and you’ll find yourself in the jump lab. But before continuing the walkthrough, let’s describe the path through the communications block.
How to Get Through the Communications Block
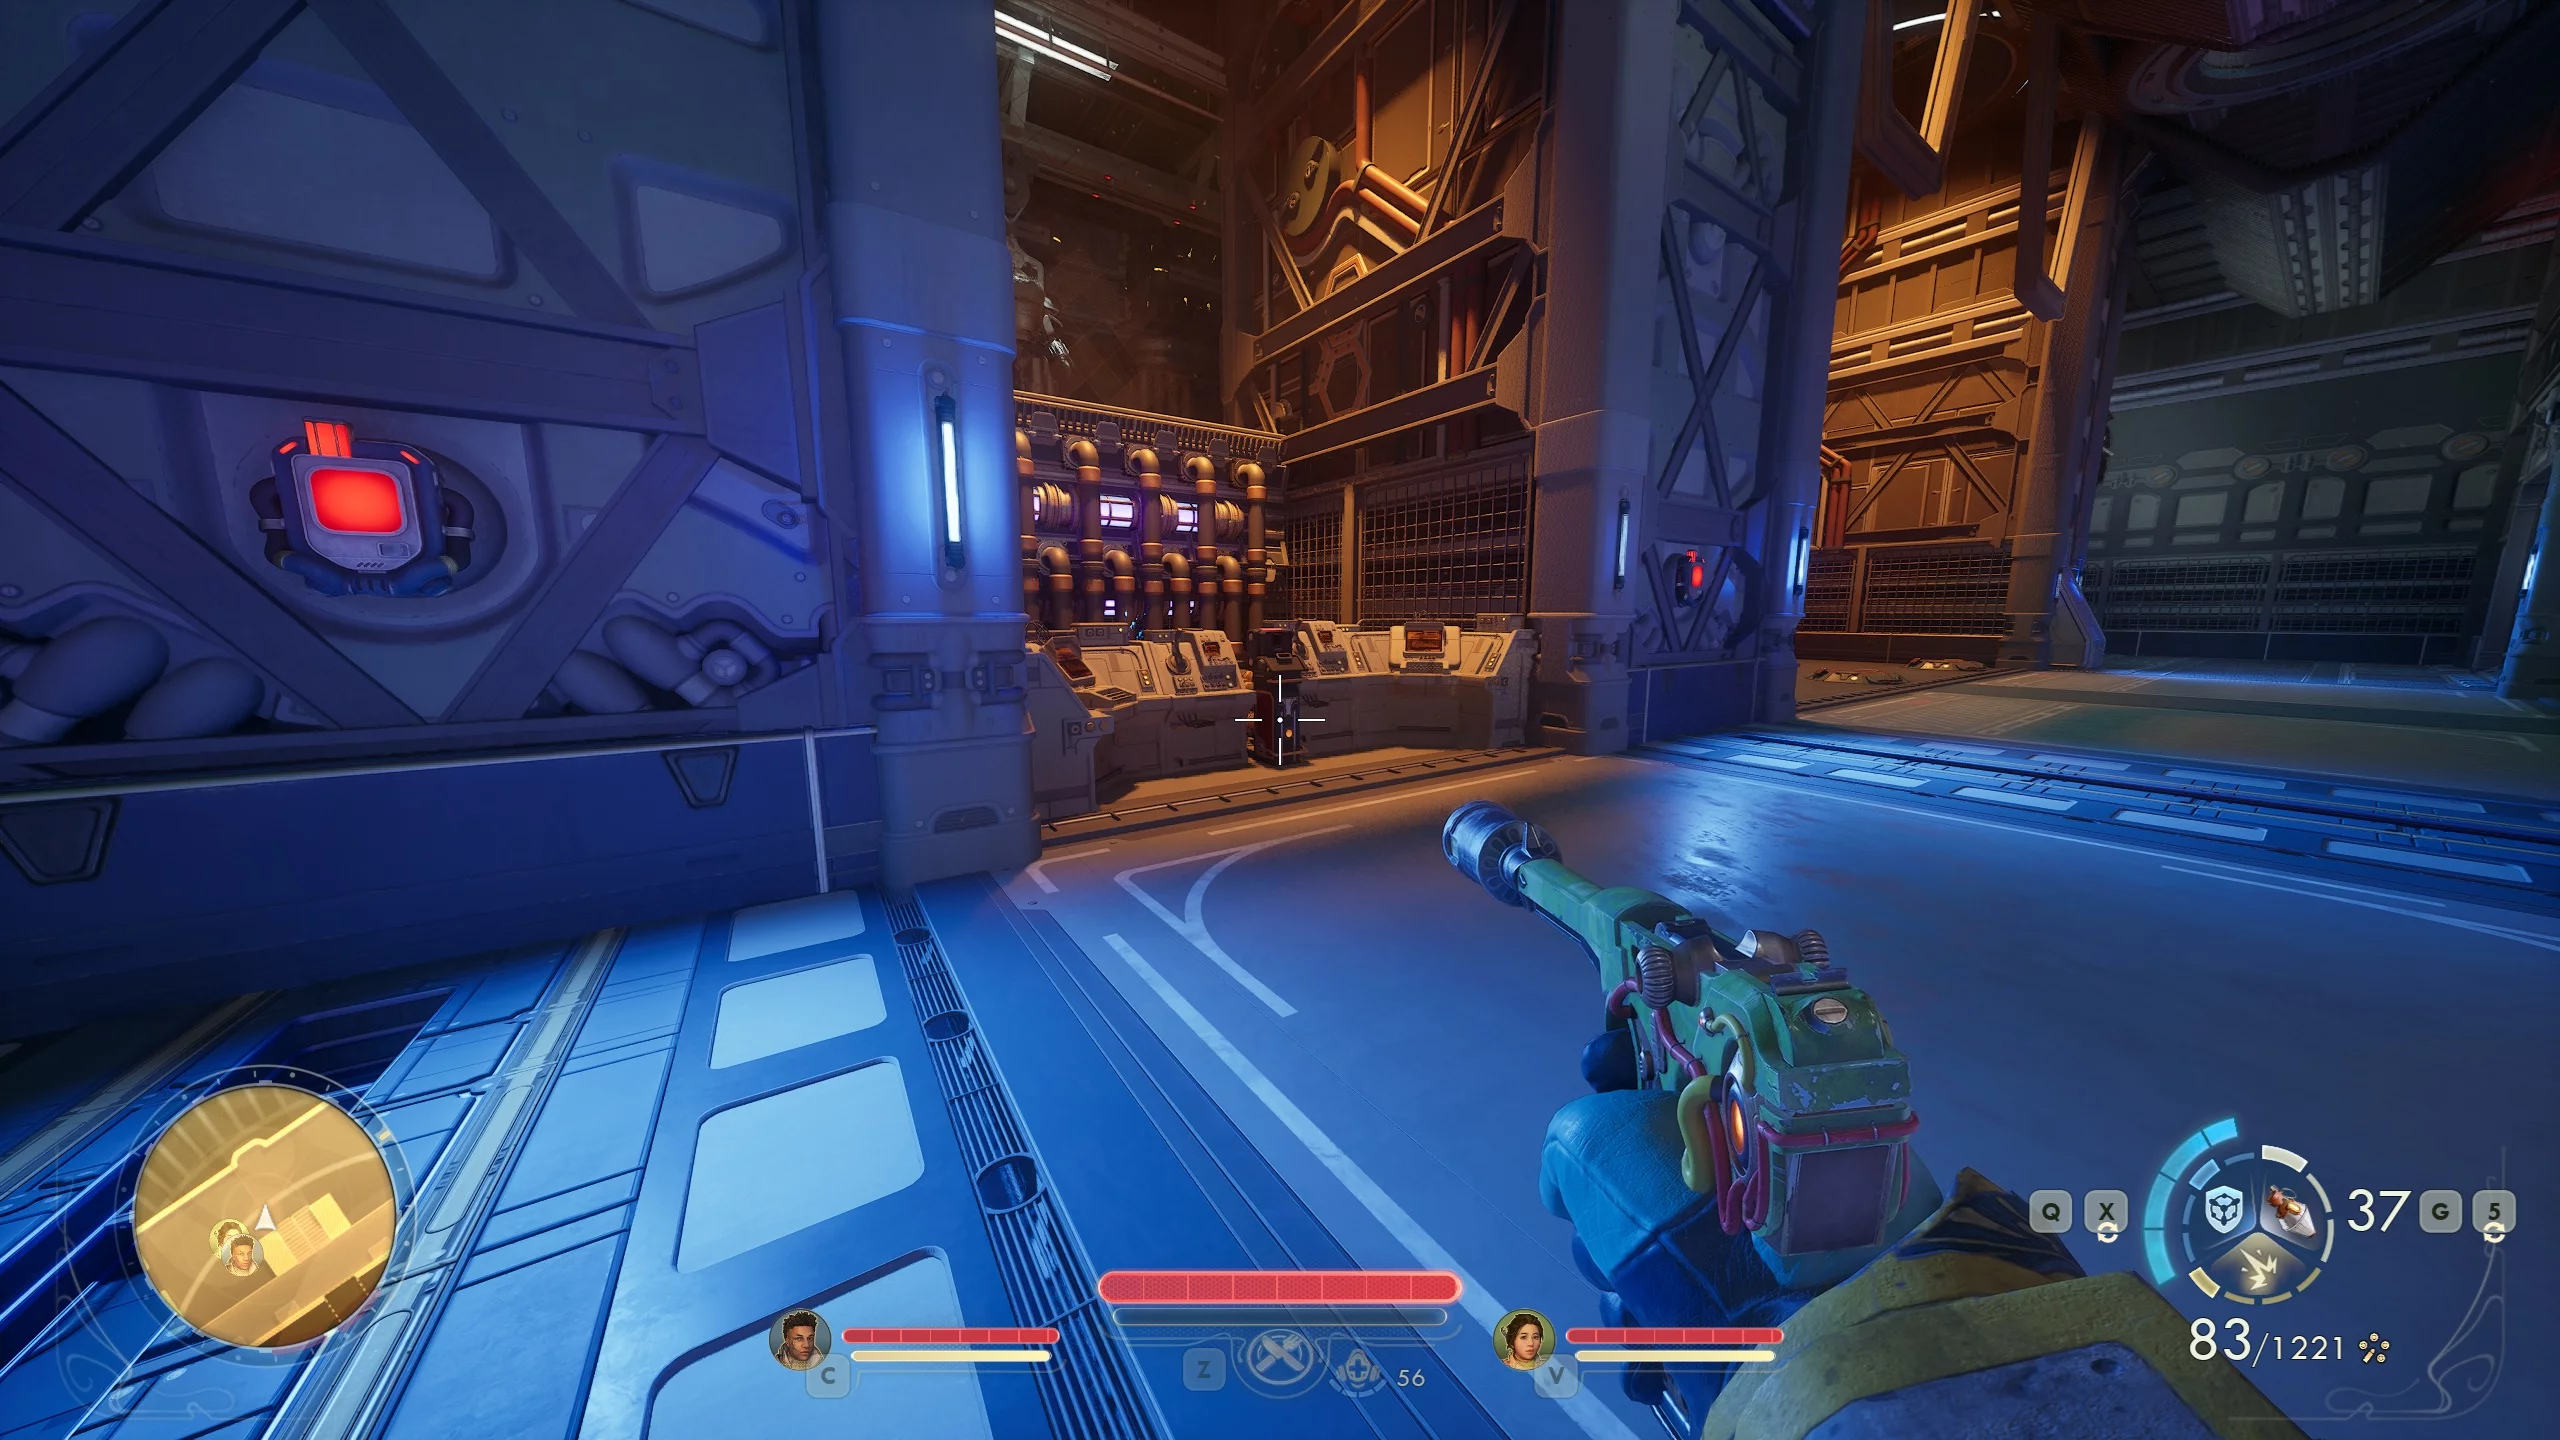
Move to the right and push forward, fighting through enemies until you reach the data center. You need to disable the device. To do this, find the Transformer Manual in the crates or use the Engineering skill.
Fight your way through the soldiers ahead. At the end, climb to the second floor and find the backup power core control panel for the communications tower. You can remove the core, or, using the Hack skill, install a recording of Earth government propaganda. This will open the passage to the elevator leading to the jump lab.

As you approach the lab, you’ll witness an explosion. There you’ll see a wounded Niles; order him and the robot to return to the ship. This decision will improve relationships in the future. Leave the burning ruins, eliminate the soldiers, and follow the Protectorate scientists. They’ll lead you to a room where you’ll find the diary of Fourth Class Cadet Corbin, which you’ll need a bit later.

How to Lower the Bridge to the Core
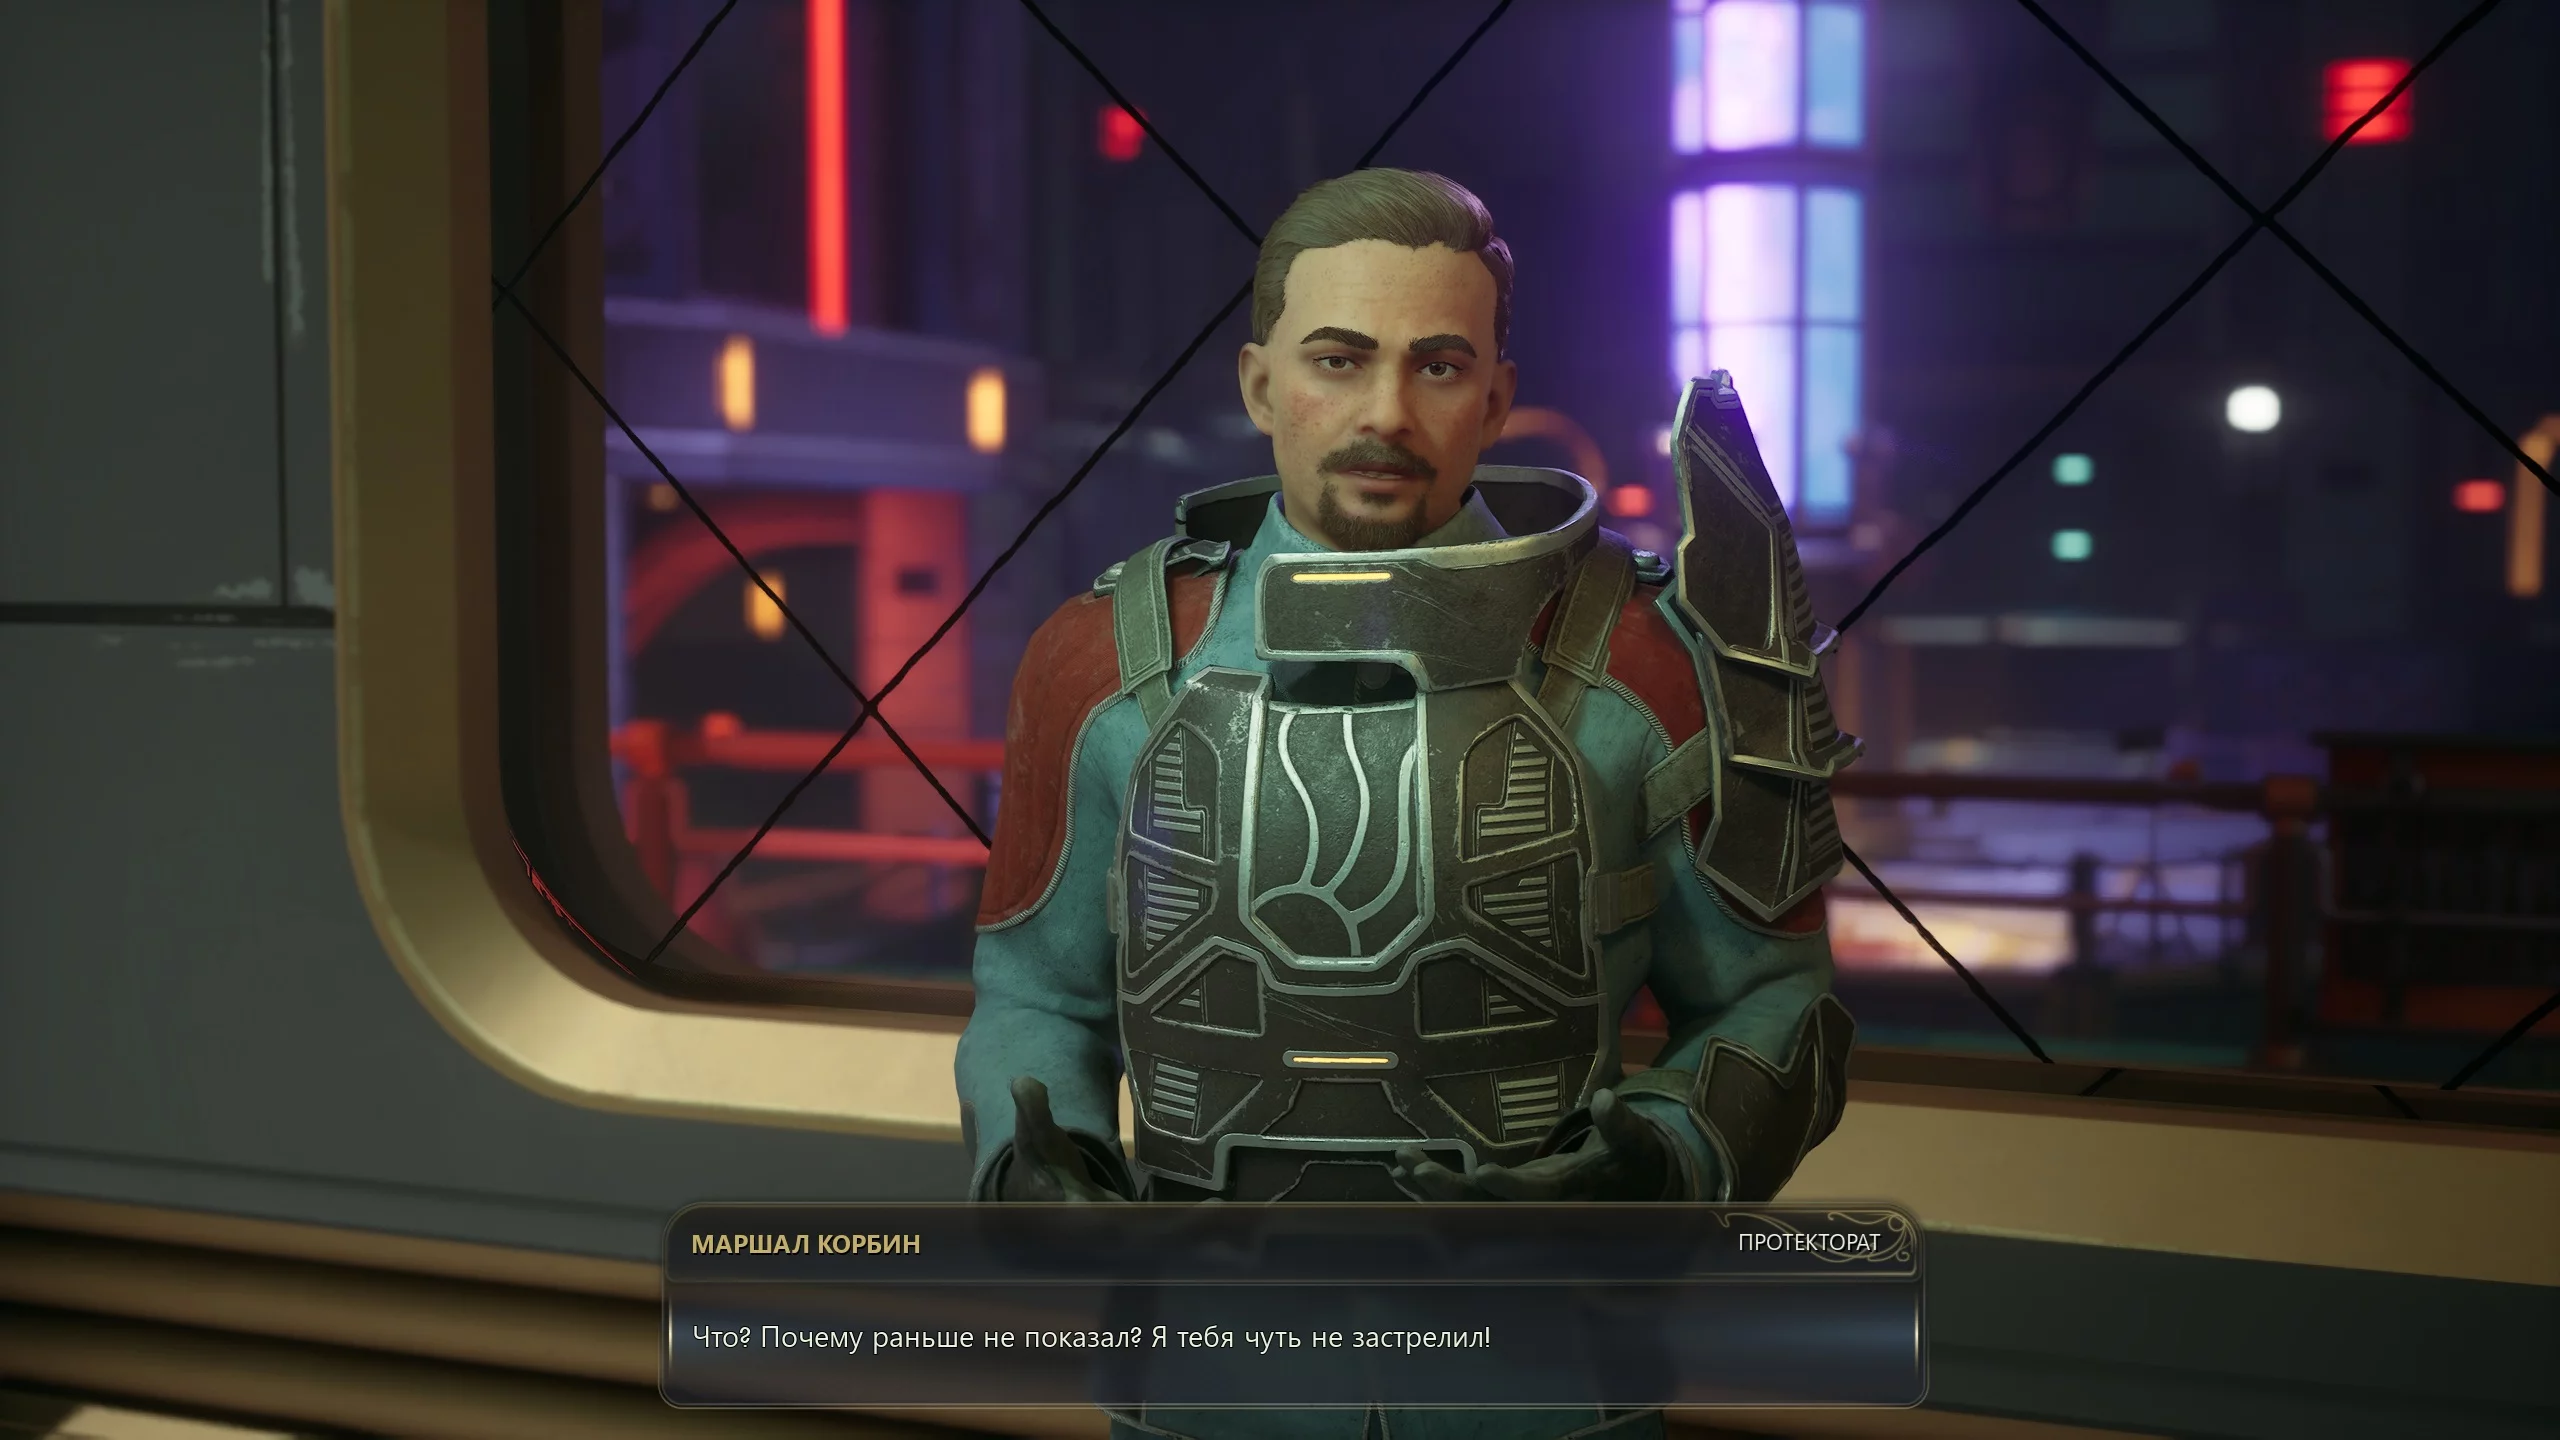
Now you need to lower the bridge to reach the station’s core. On the left is a booth with Cadet Corbin, who is in charge of the crossing. There are several ways to get to the other side.
- Promise the cadet to erase his disciplinary infractions from his personal file. Use hacking skills or knowledge from his diary. This is the best option, as these actions will affect the future.
- Force Corbin to lower the bridge and have the automatons attack you.
- Break into the cadet’s booth and kill him, then lower the lever.
- Don’t talk to Corbin and go through the pump station to the left of his booth.
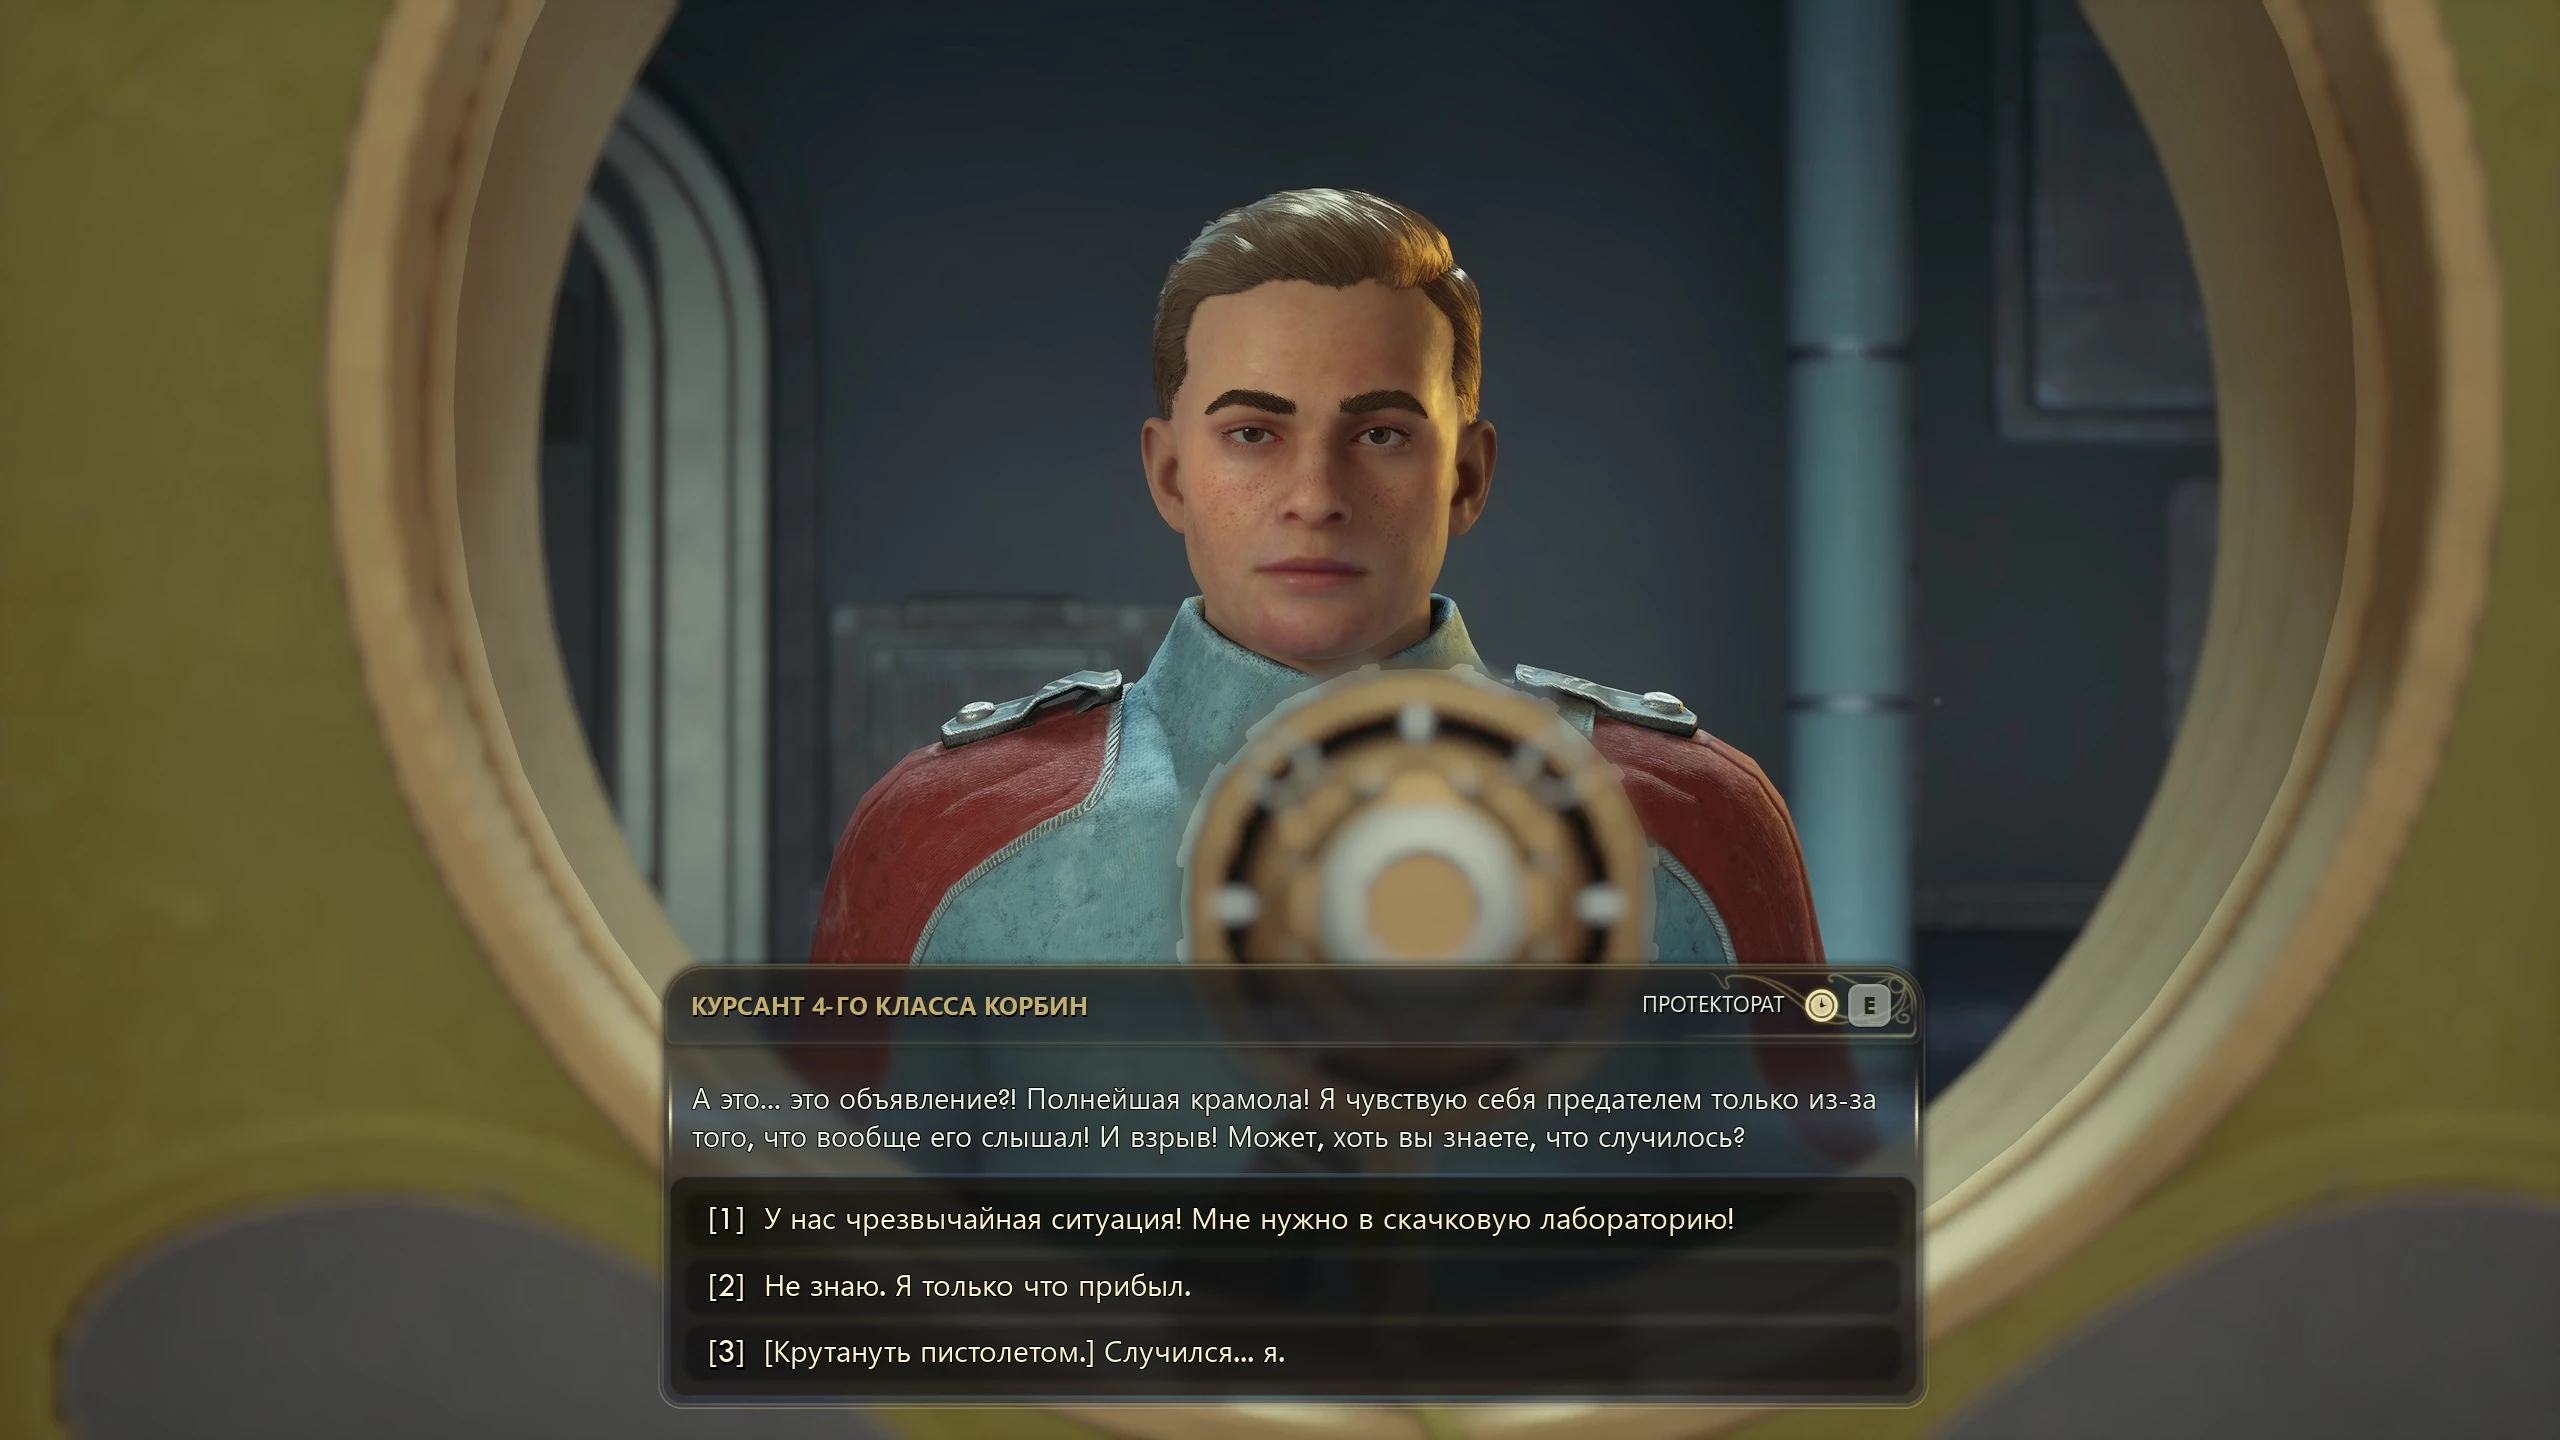
Meet with De Vries, then take the elevator up. Move forward until you see soldiers you’ll have to eliminate. Enter the room on the left and go to the computer. Fulfill your promise to Corbin and delete all penalties from the cadet’s personal file.
Keep moving forward, fighting through soldiers, until you reach the giant hangar. Try to eliminate enemies quietly or sneak unnoticed into the room to the right of the blue gates, where the unlocking lever is located. Otherwise, an alarm will go off and automatons will appear.

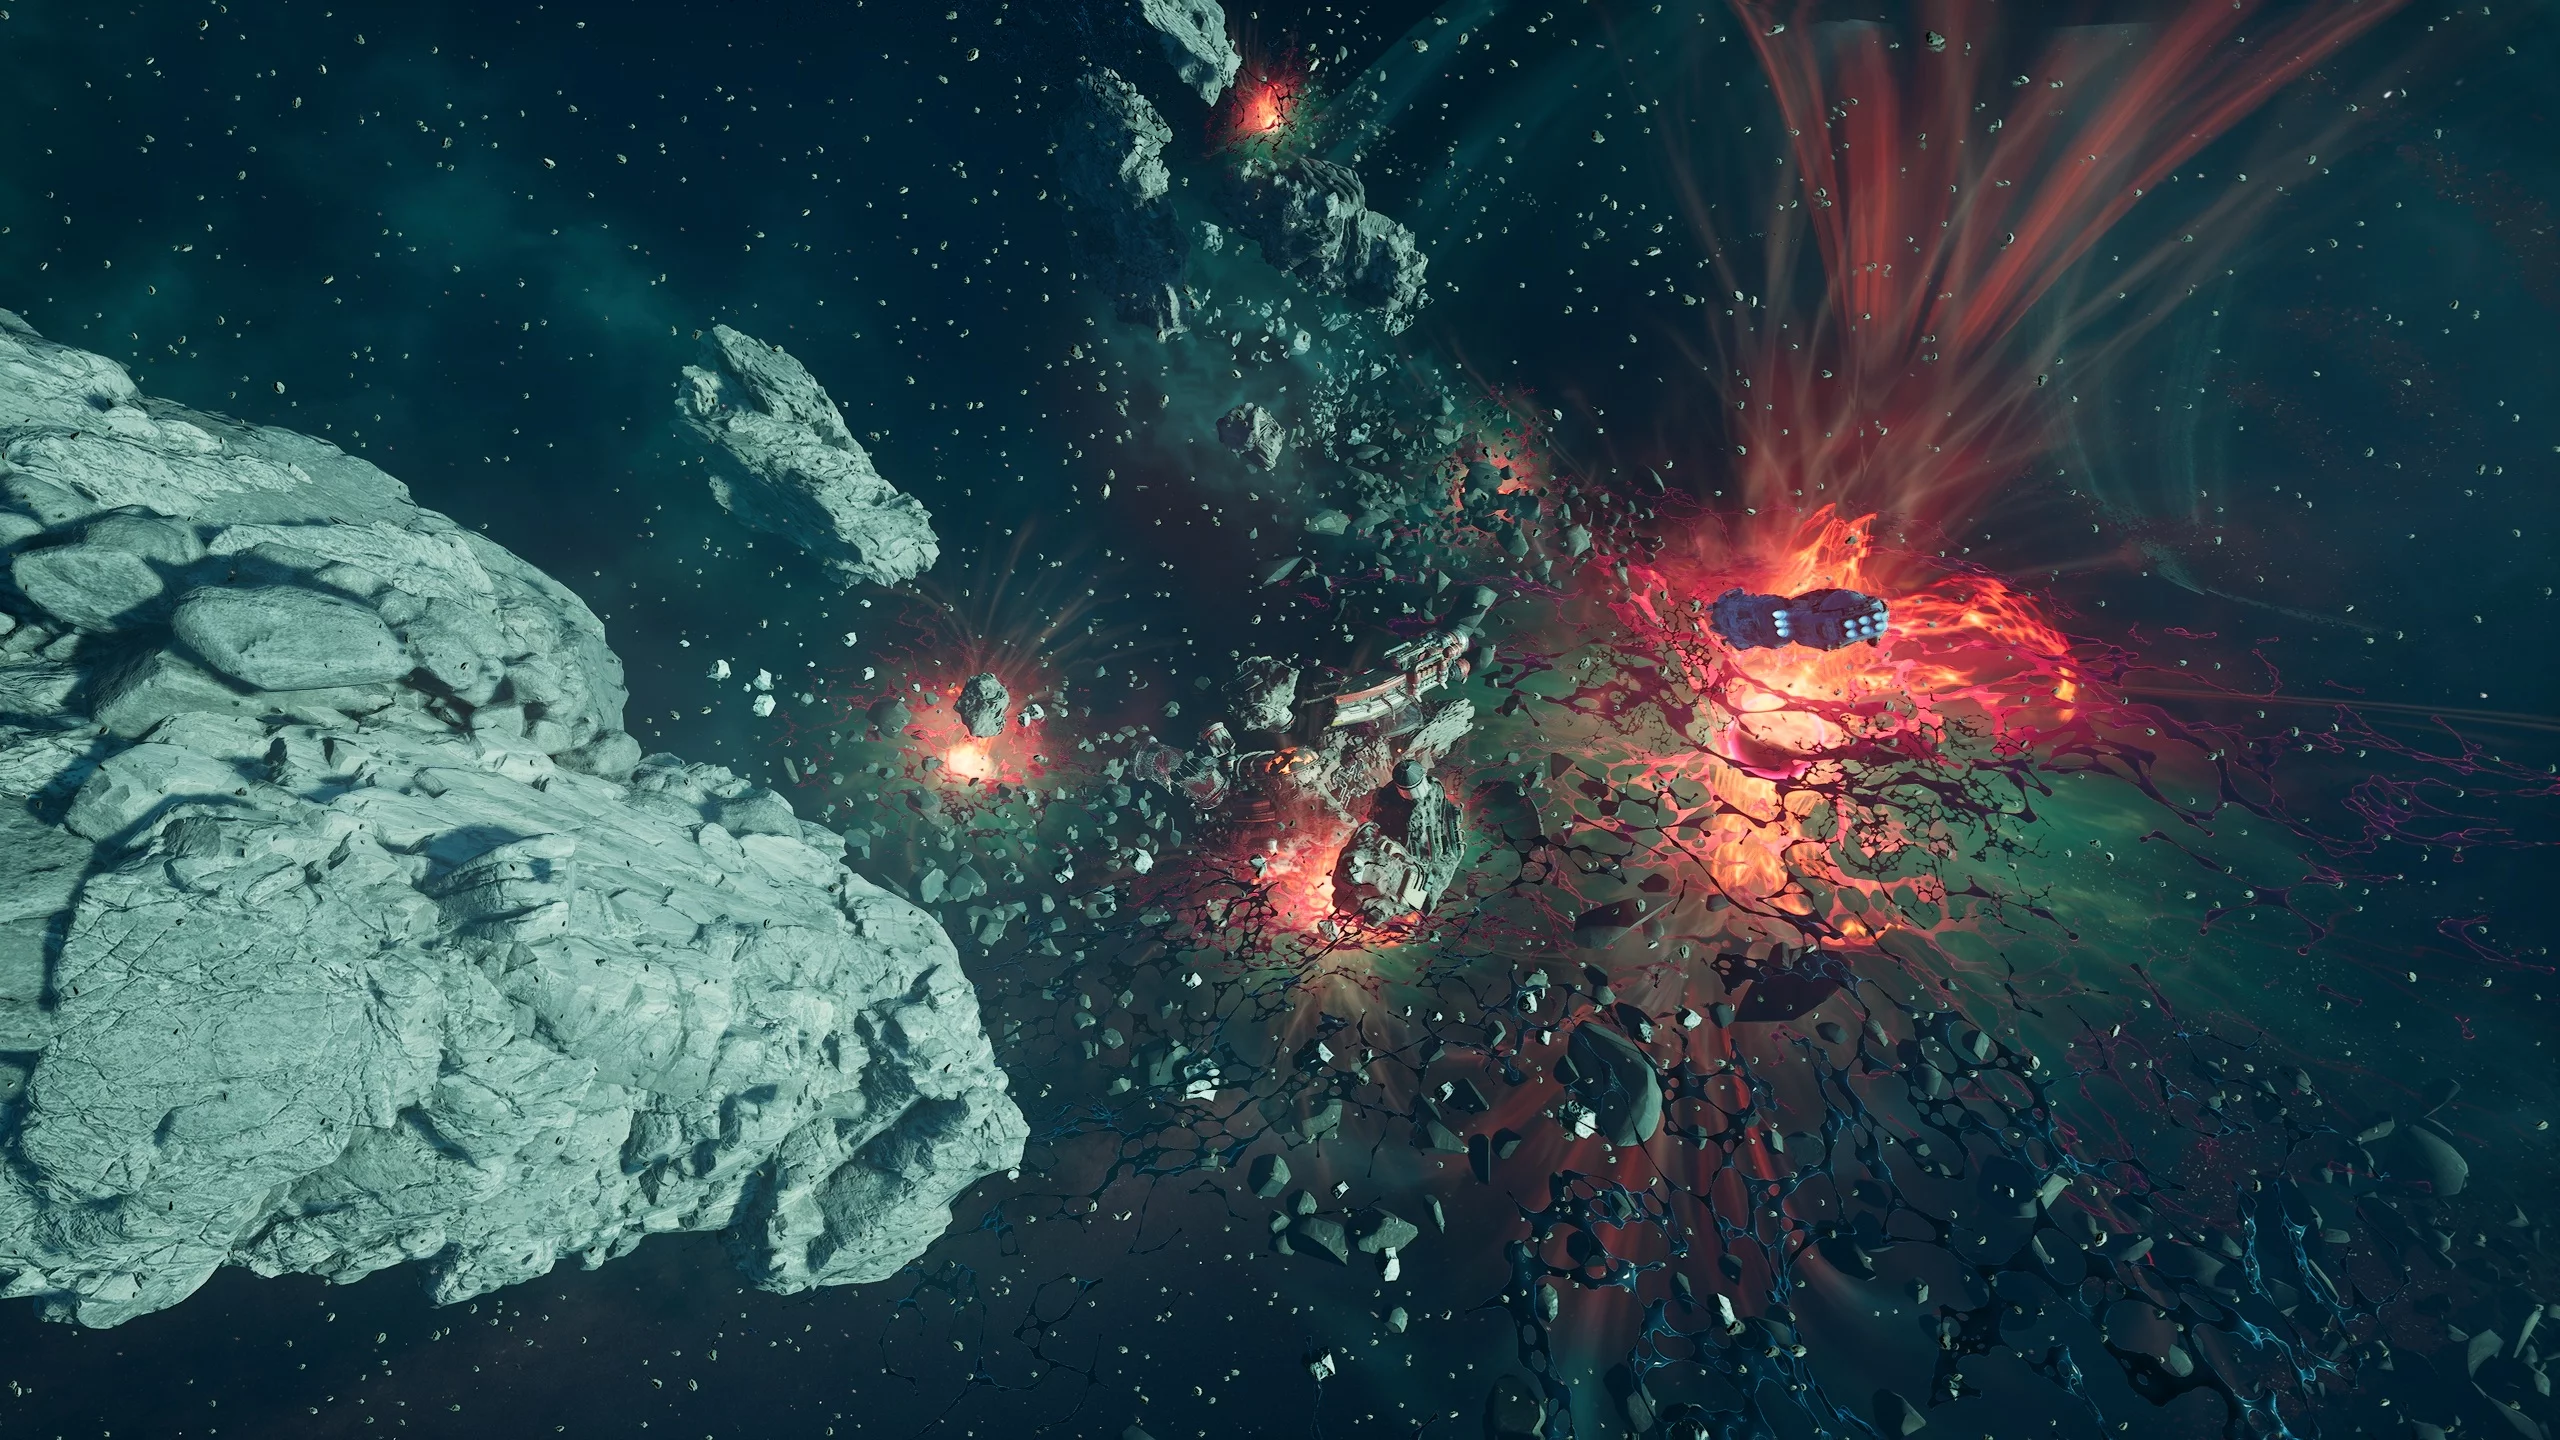
Approach the core and you’ll be alone with Augustine de Vries. After a short dialogue, she will stop the forces containing the core. As a result, an explosion occurs, destroying the research station and creating a giant space-time anomaly in its place. The hero manages to escape using an escape pod and ends up in open space in a state of cryogenic stasis.

Thus, the hero’s pod drifts through space for ten years until it is found by the new ship’s captain, Niles, who survived the explosion in the jump lab. The robot Valerie will tell you what happened over these years. Because of the spatial anomaly, no one can leave the colony, and most importantly, Augustine de Vries is alive. At the end of the dialogue, you’ll be offered the chance to redistribute your character’s positive and negative traits and skills. At this point, you can consider the prologue complete.
What Are Flaws
From time to time during the game, a flaw will appear on the screen, affecting your character’s stats. For example, this time you’ll get the “Consumerism” perk: -15% prices at vendors and -10% value of goods when selling. They can have both positive and negative effects on gameplay. You can either reject or accept it. It’s important to understand that such traits are assigned for the rest of the game and cannot be removed.

Recalling the Score
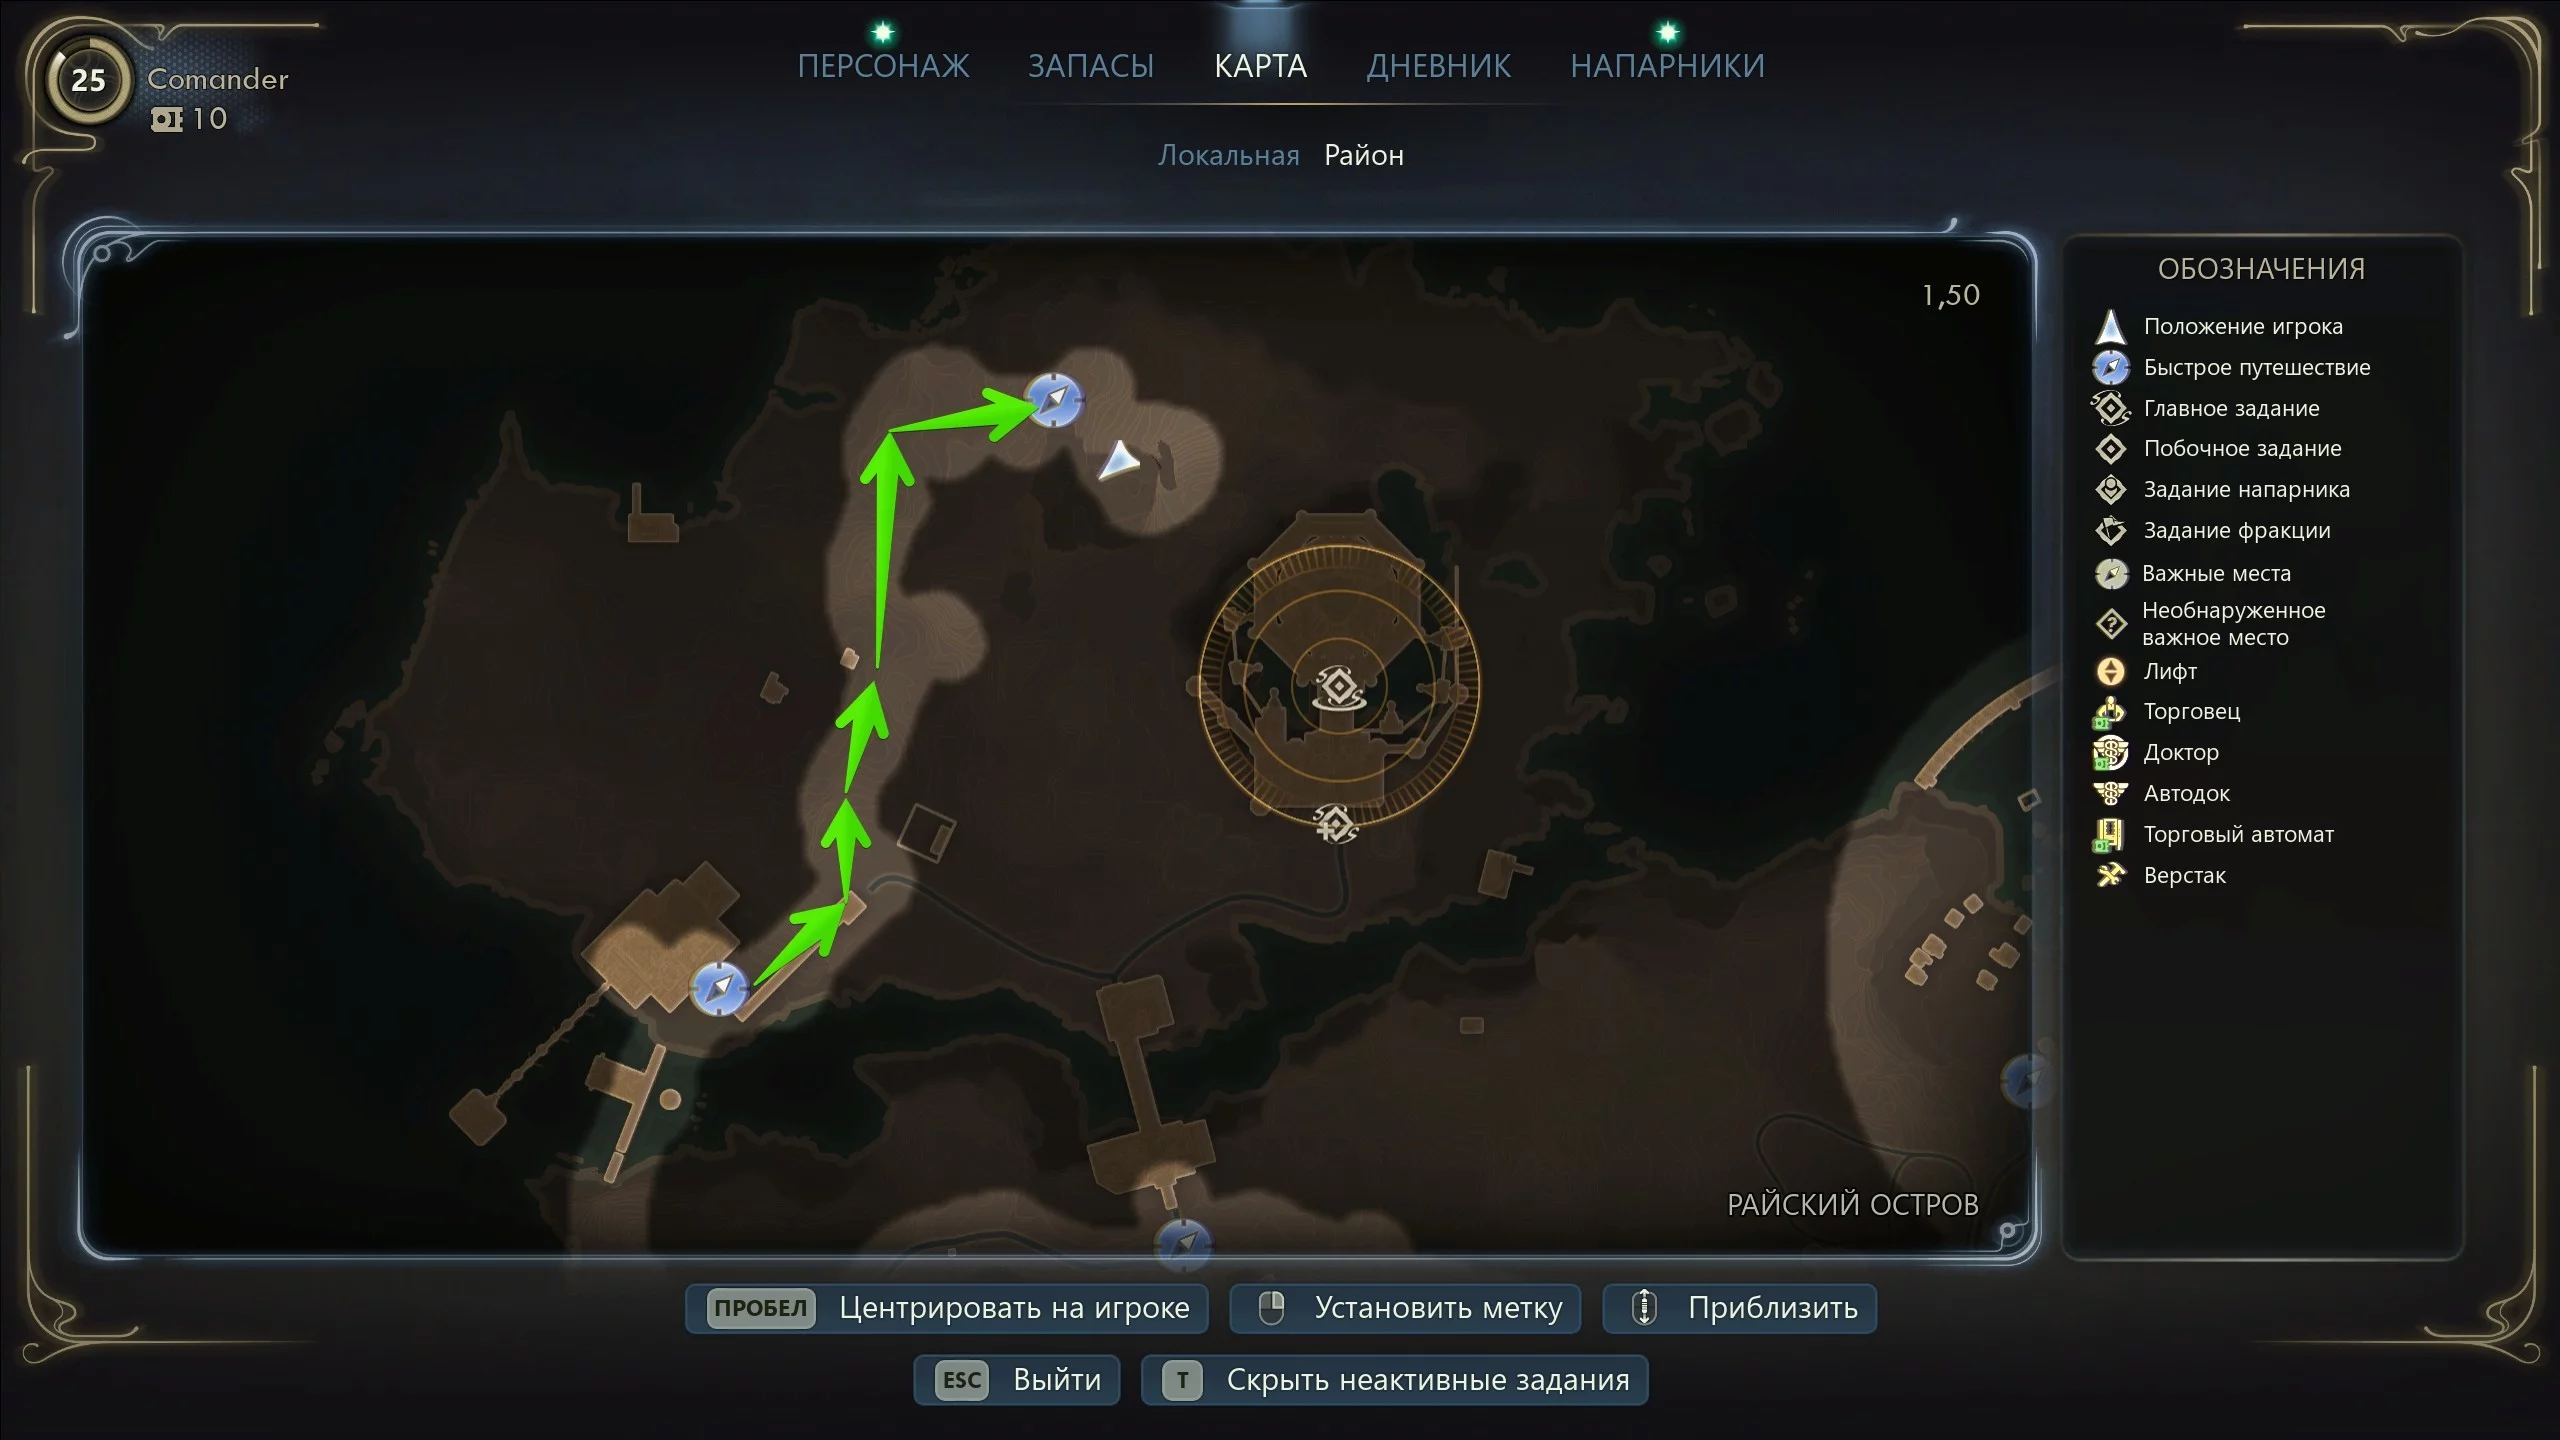
Go up to the captain’s bridge and talk to Niles. The agent will tell you that you should start searching for the traitor at a place called “Paradise Island.” Approach the navigator and set course for the planet Eden.
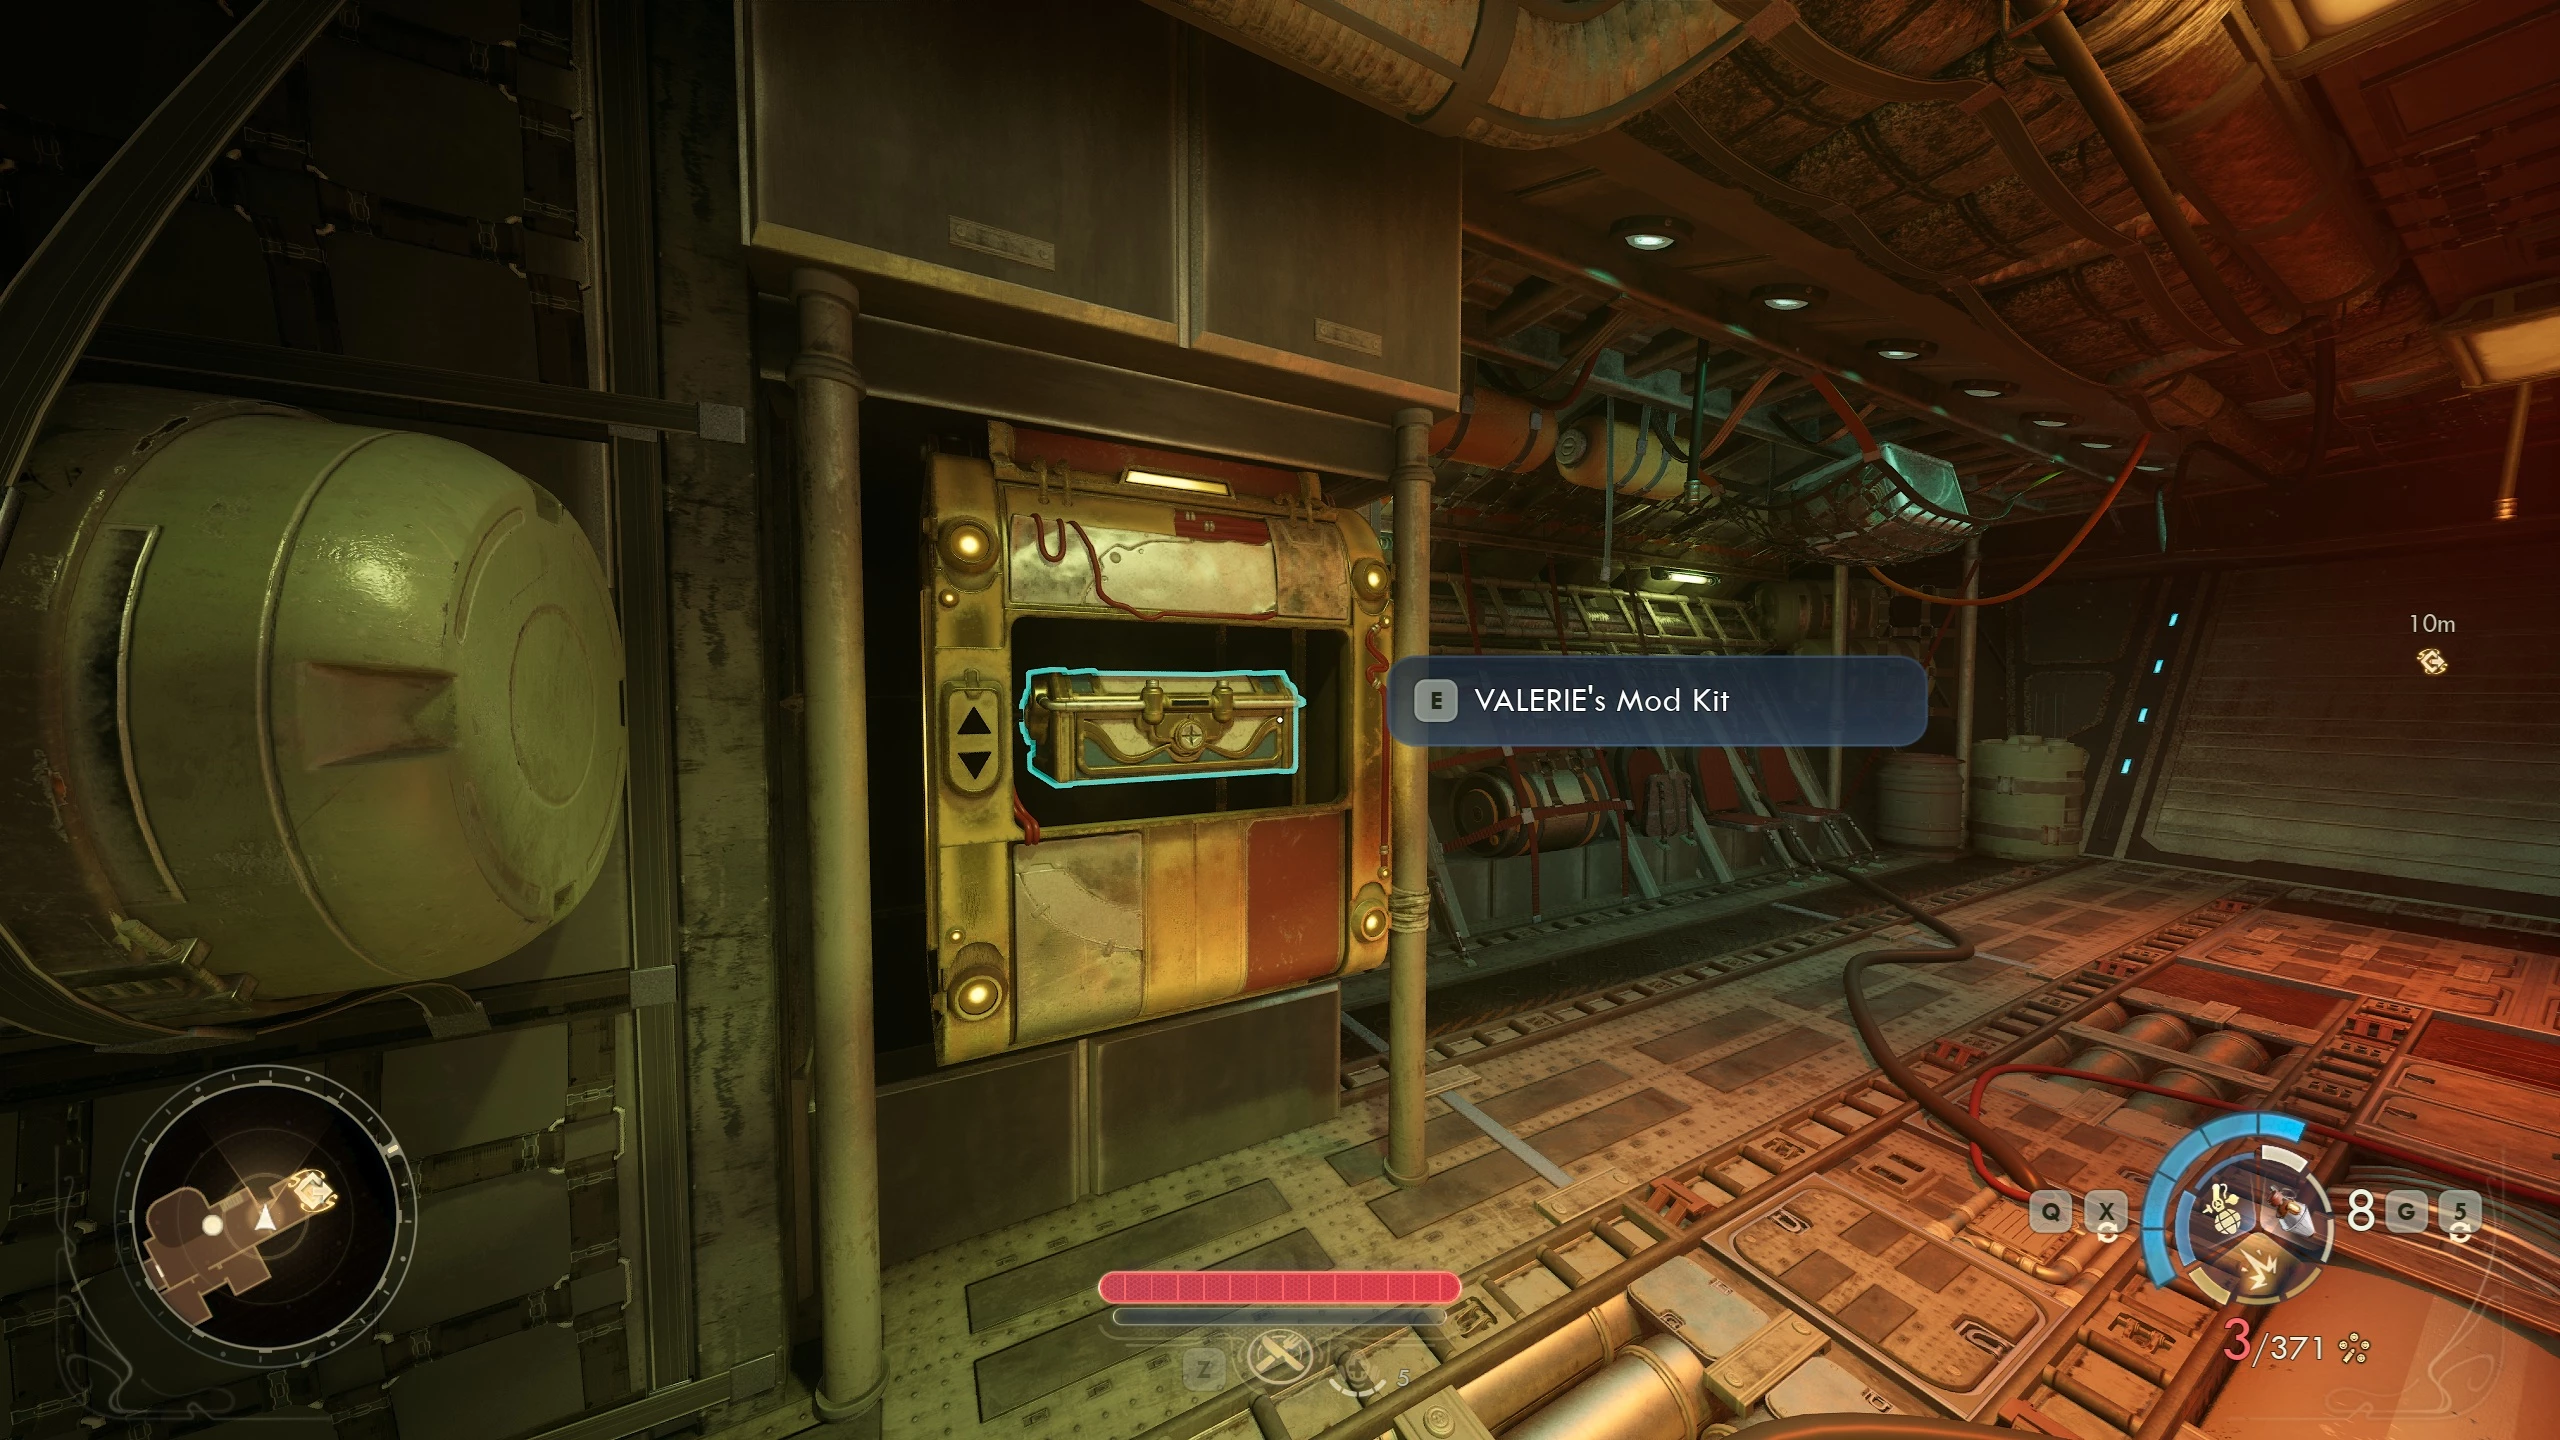
Go down to the entrance frame, where you’ll meet Valerie, who will say there are special chests on board. They can be opened using an Advanced Decryption Key. This way you can modify the android. You’ll get the first card from the robot, and in the case you’ll find Auntie’s Acidic Dematerializer. This device is designed for destroying bodies. All other keys can be found in the open world.
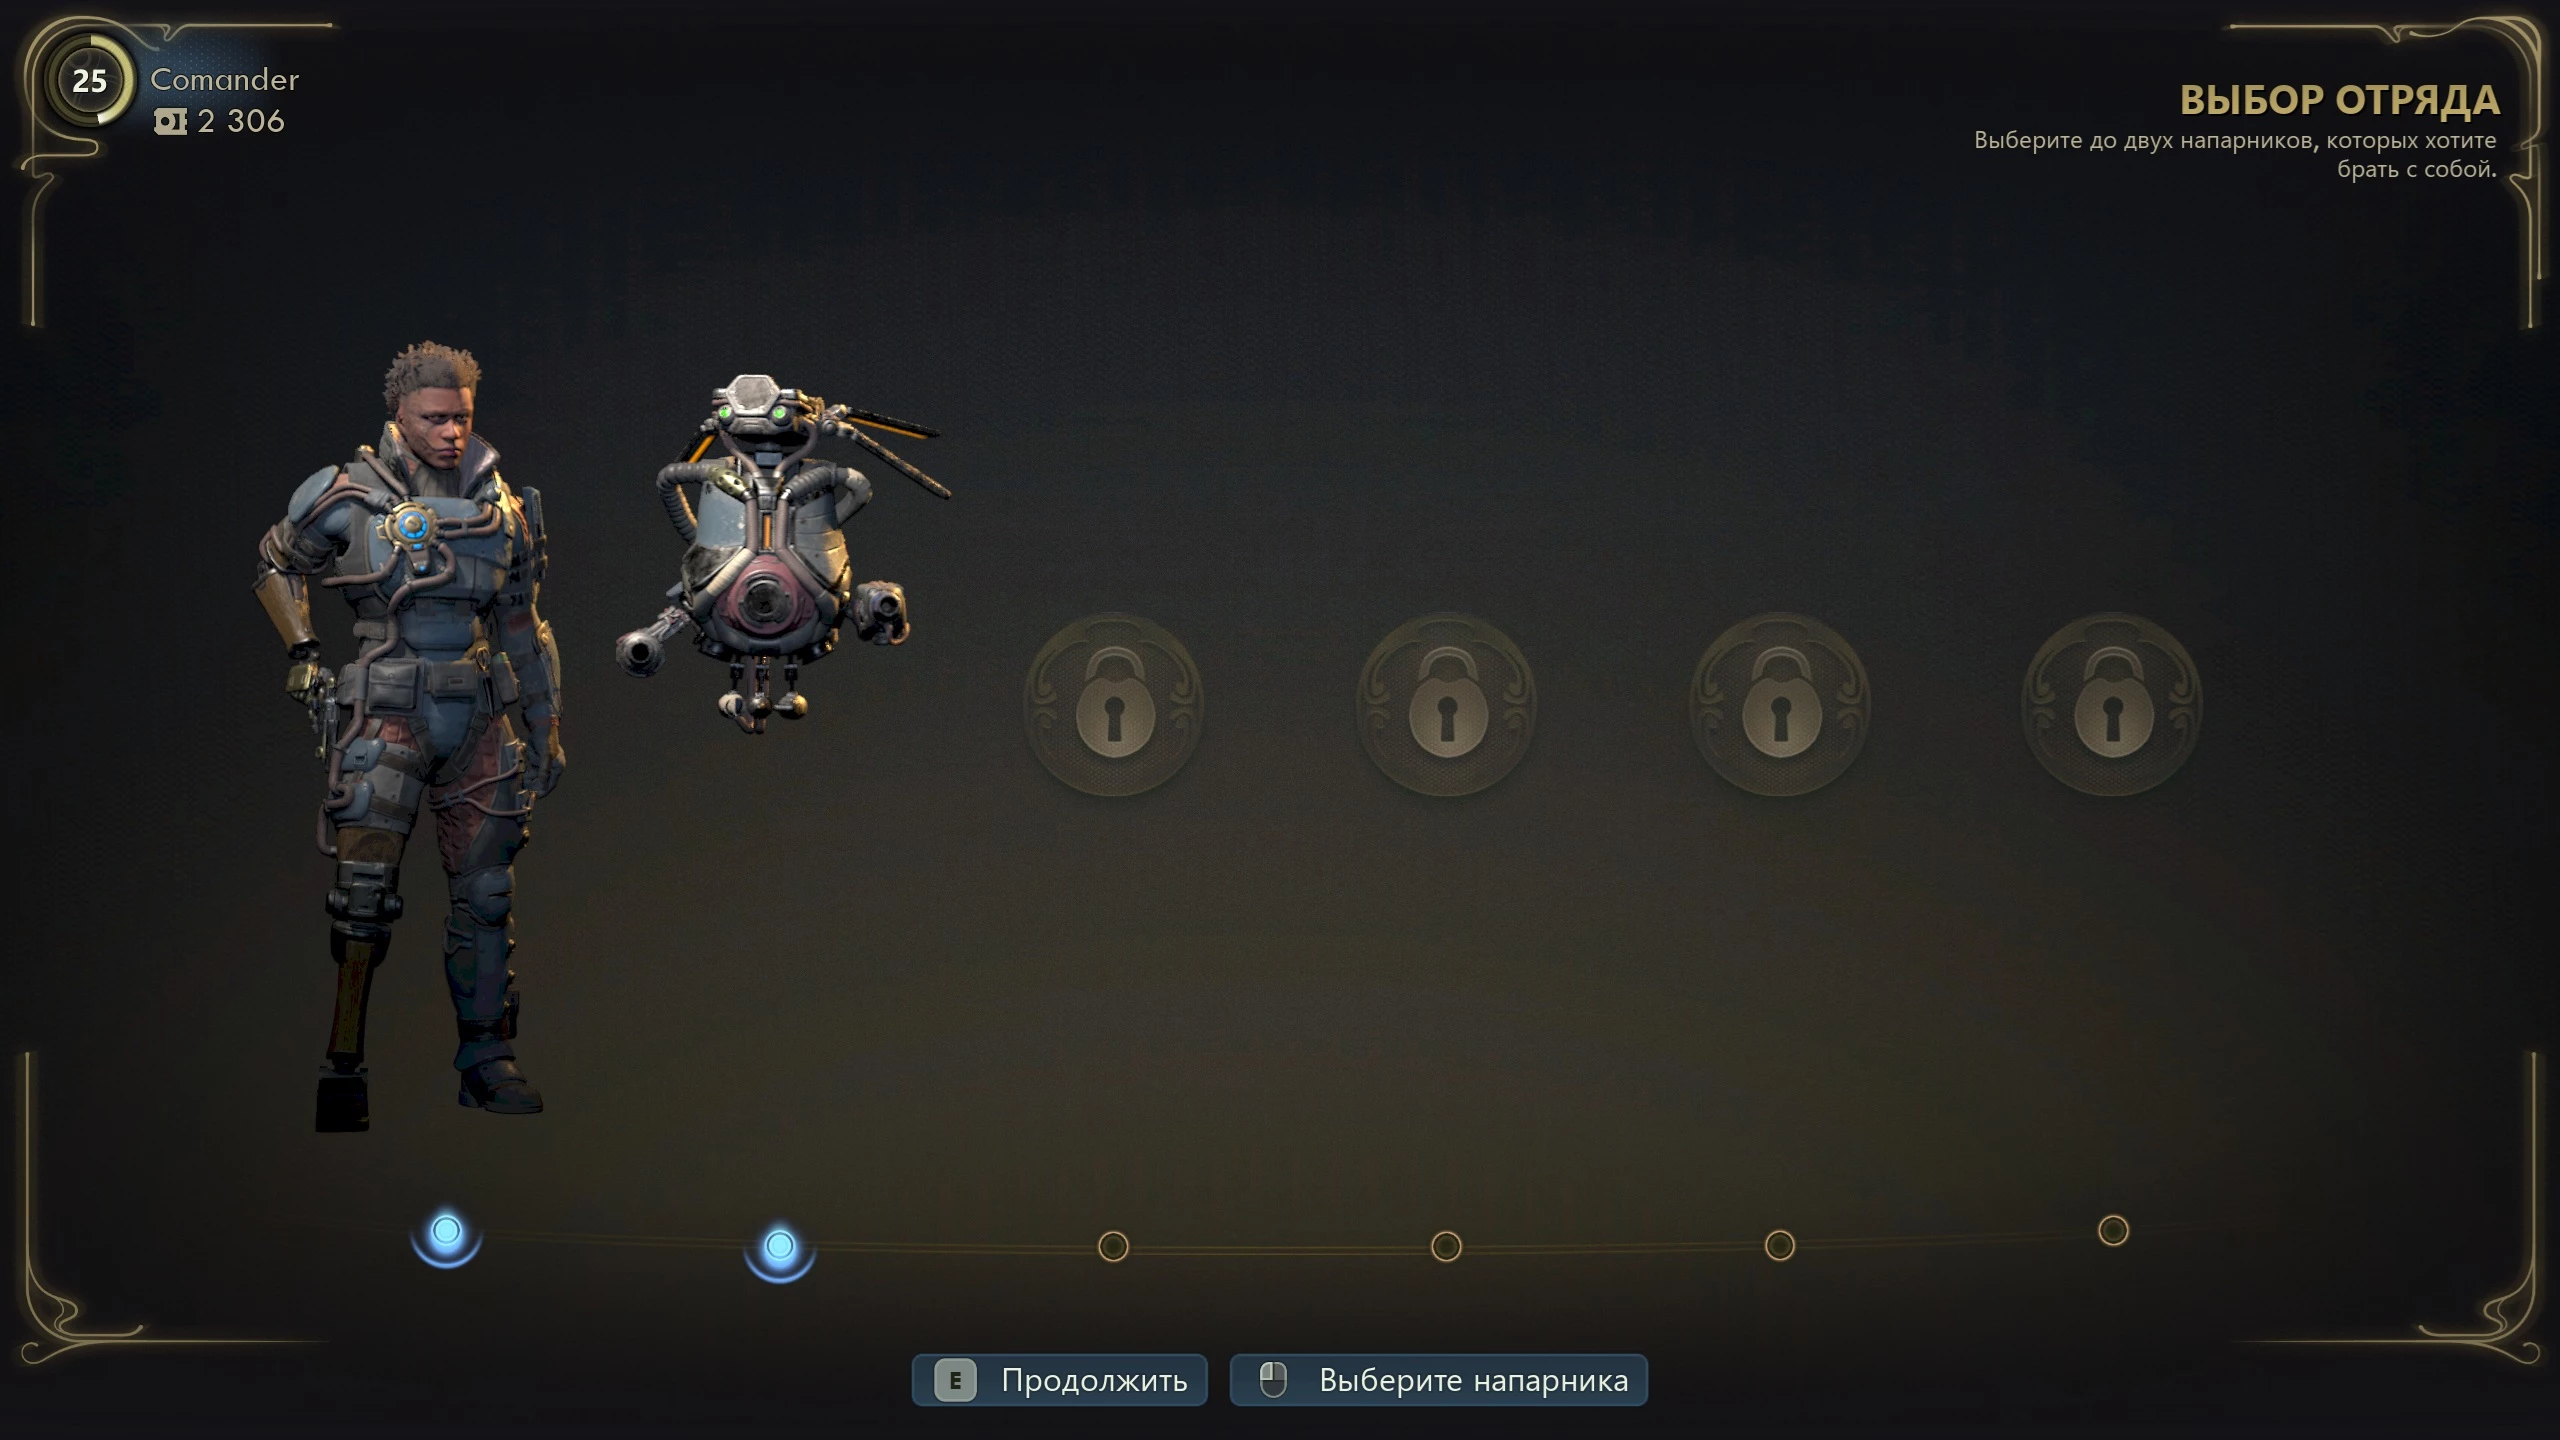
When interacting with the airlock at the ship’s exit, a companion selection menu will appear. This feature determines which companions will go with you. You can explore the world alone, but in this case, unique interactions with companions during dialogues and battles are blocked. You also won’t be able to level them up or complete special quests. Therefore, we recommend always traveling with a team.
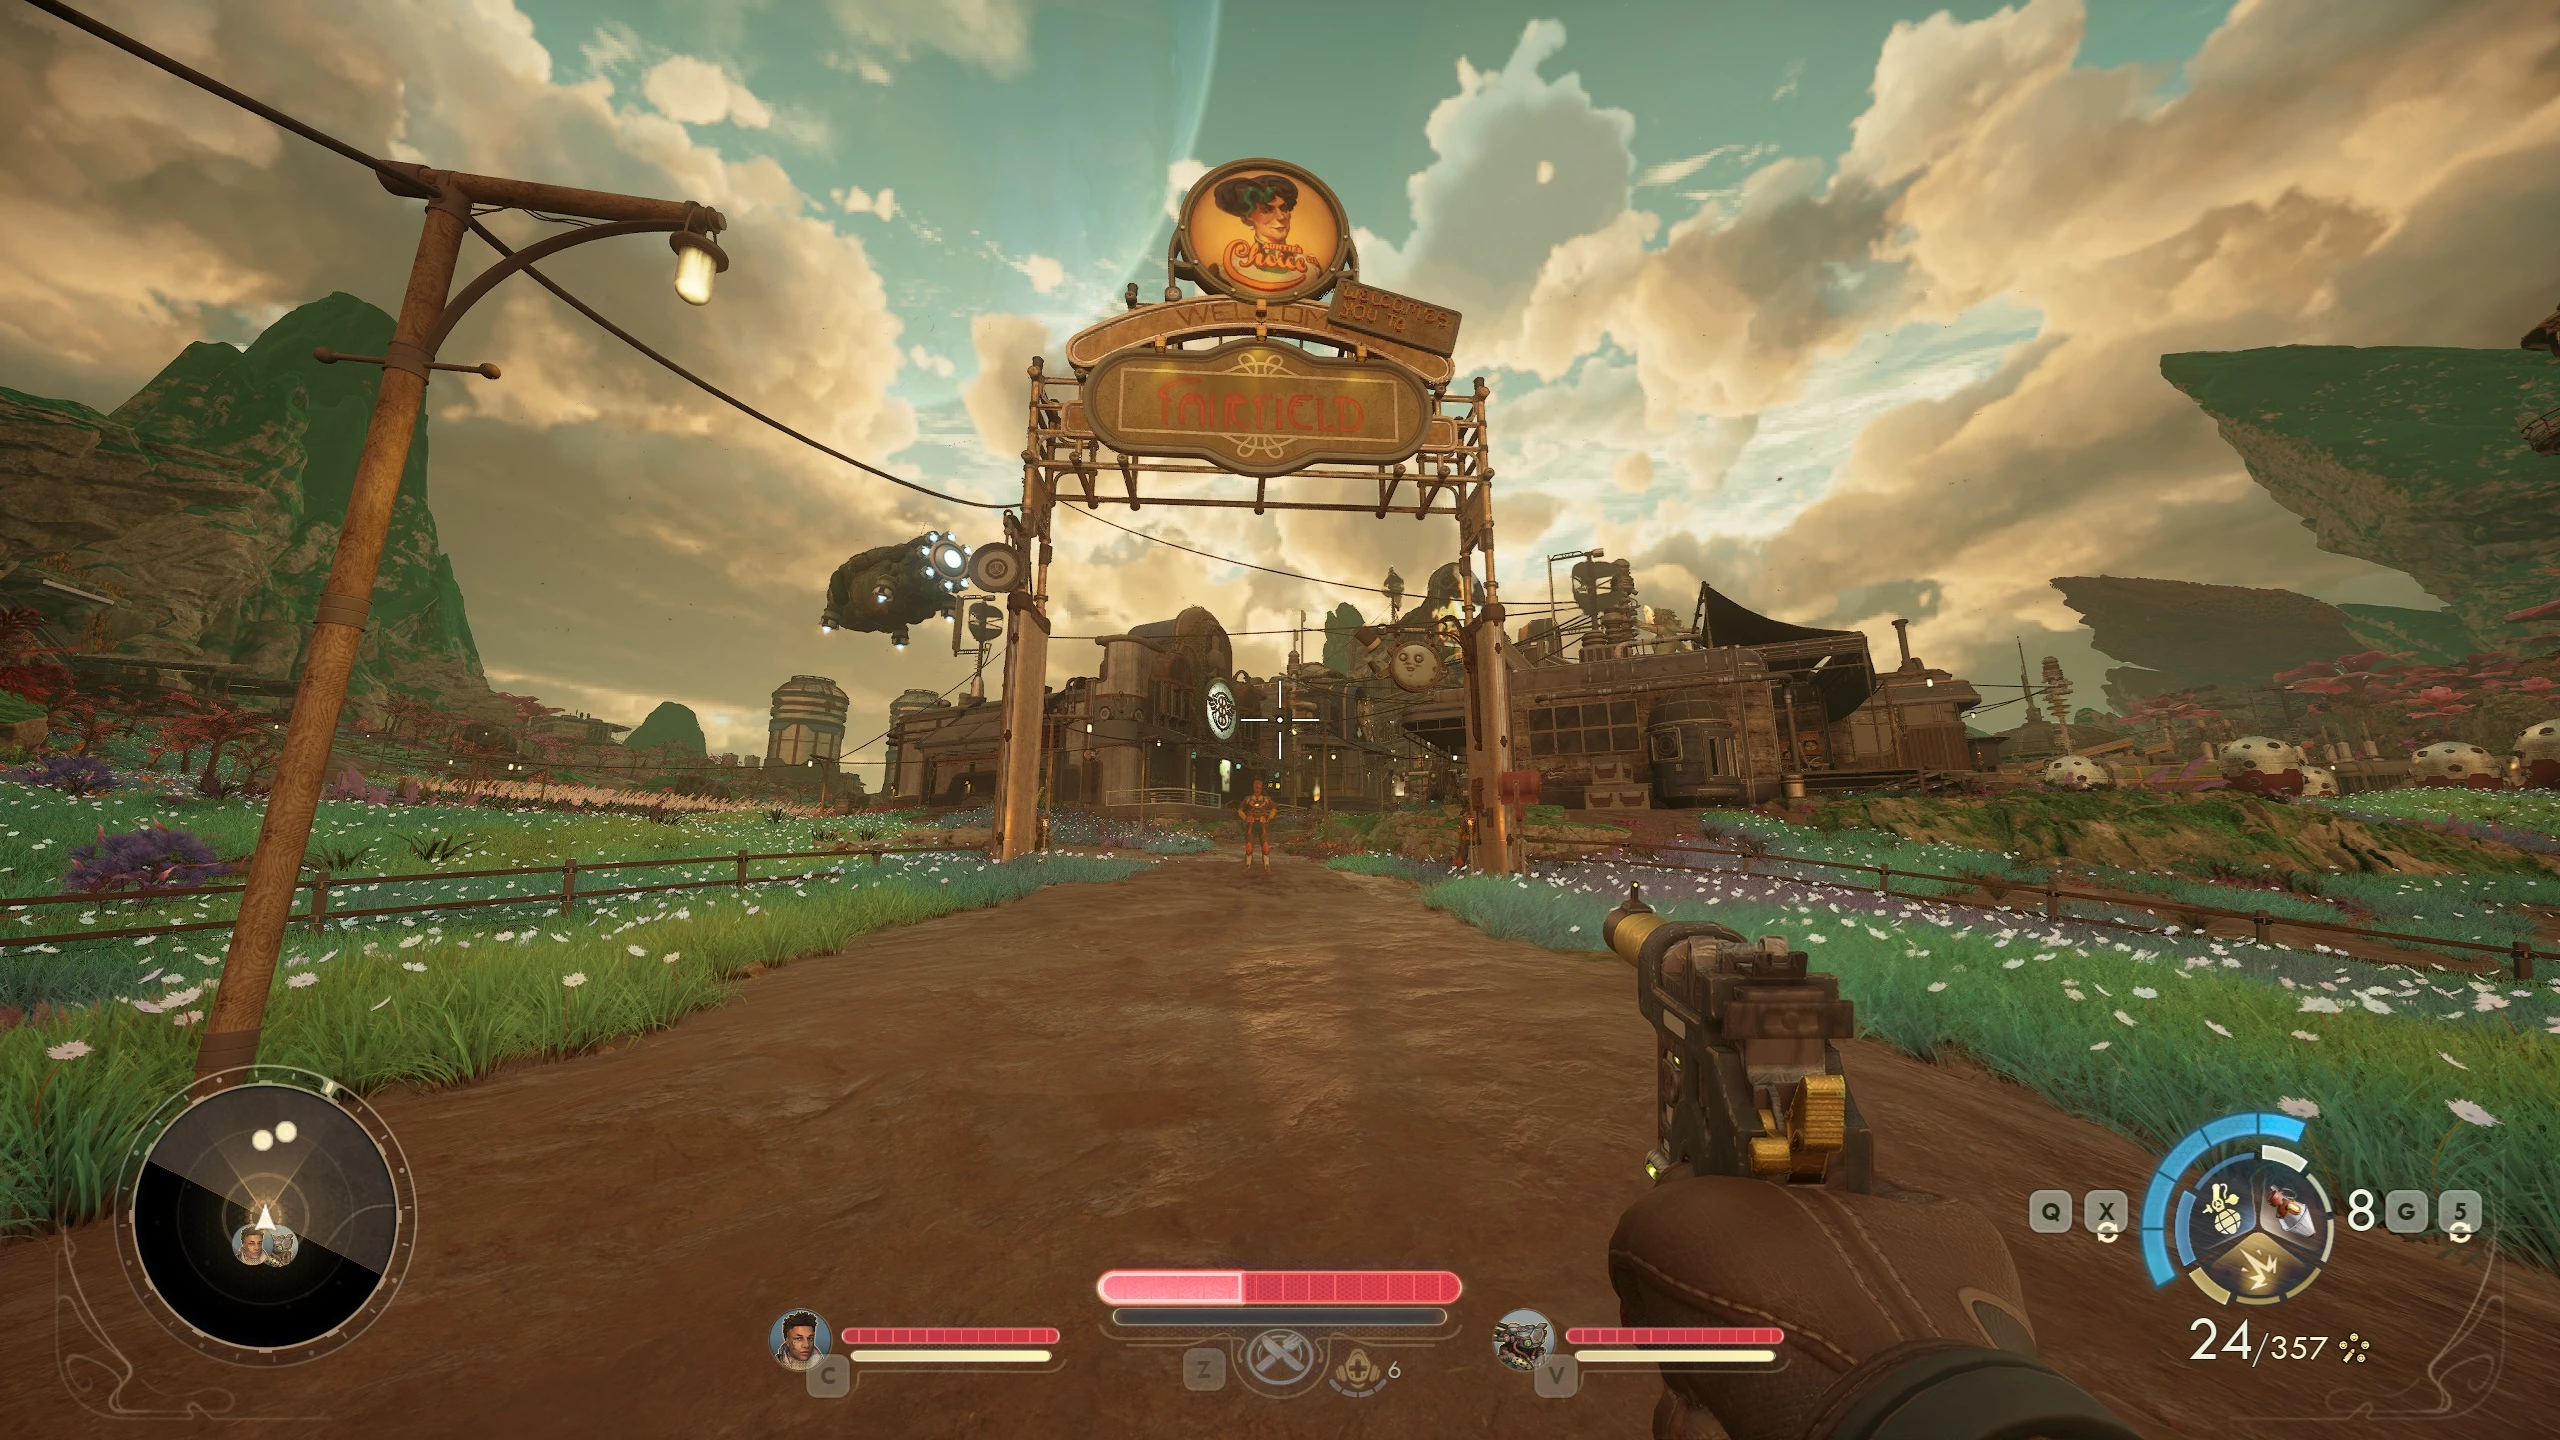
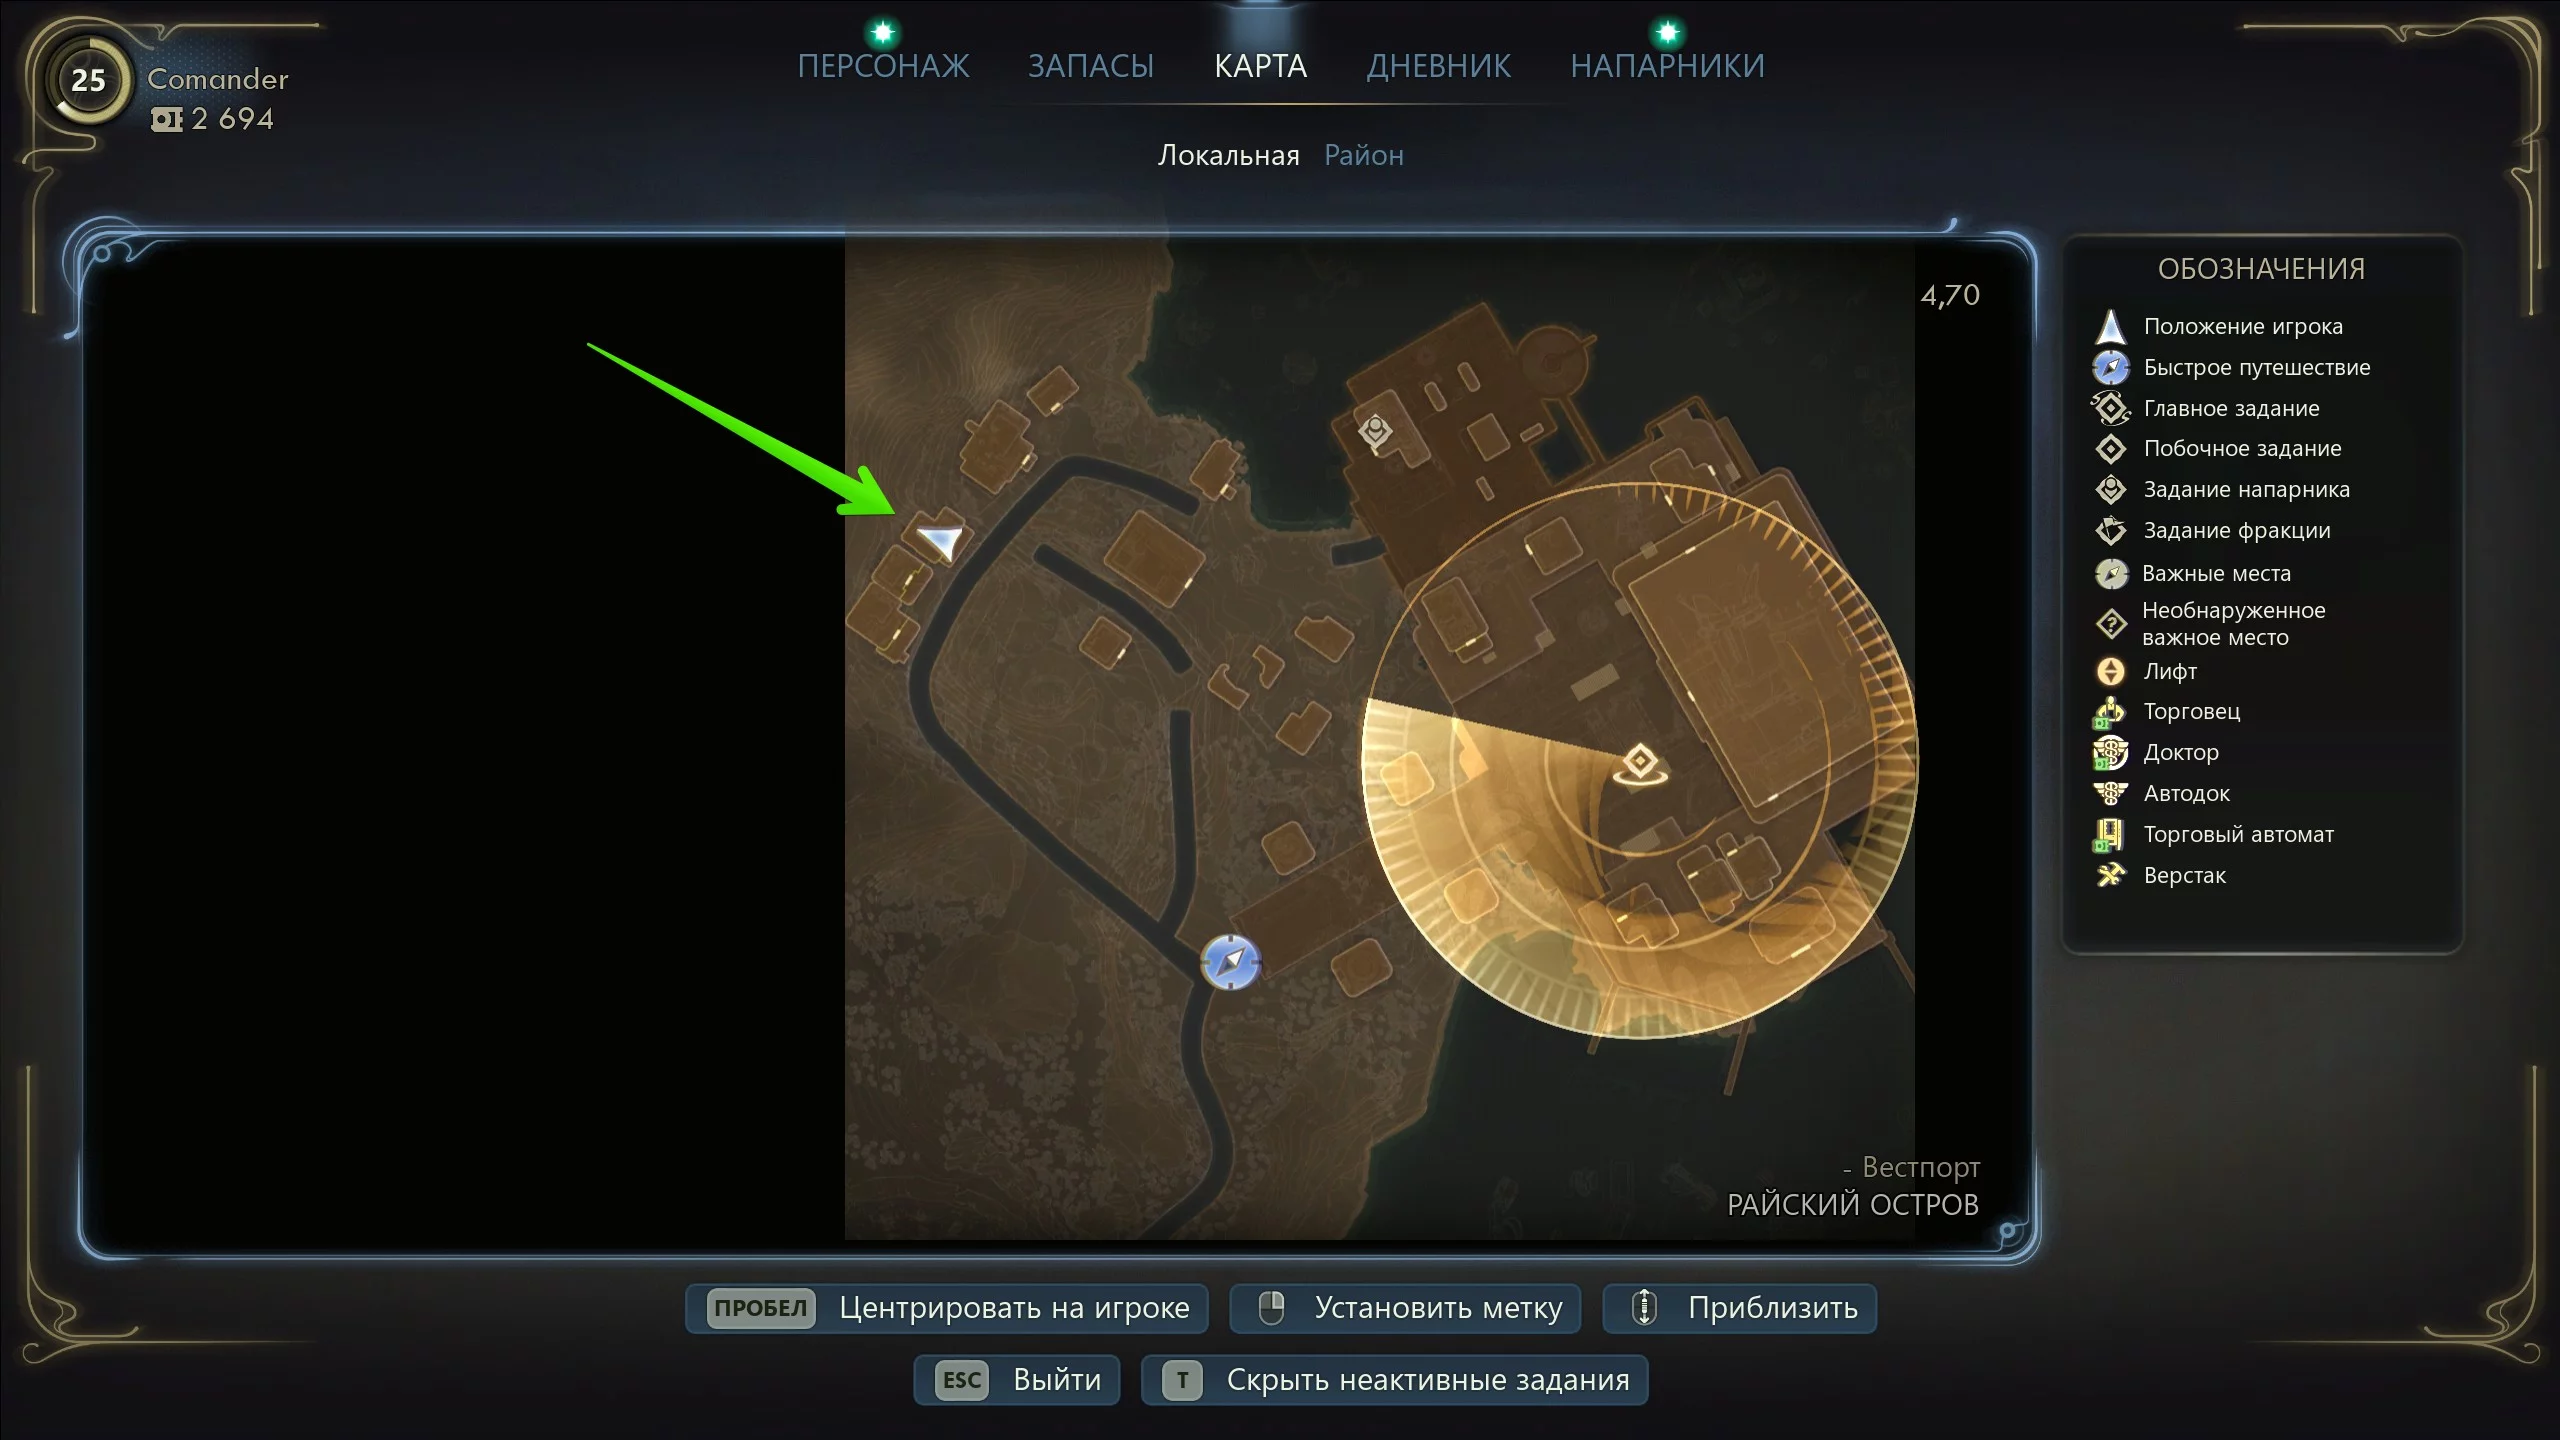
The Saboteur of Paradise
After landing on the surface of Eden, the open world becomes available. Find the ground monorail road and follow it forward until you come across a settlement. We recommend inspecting bodies and taking out drones along the way. At the city entrance, you’ll be met by a corporate soldier. Tell him about your mission and hand over the trophy ball from one of the fallen. As a result, you’ll learn that you need to look for information in the town hall.
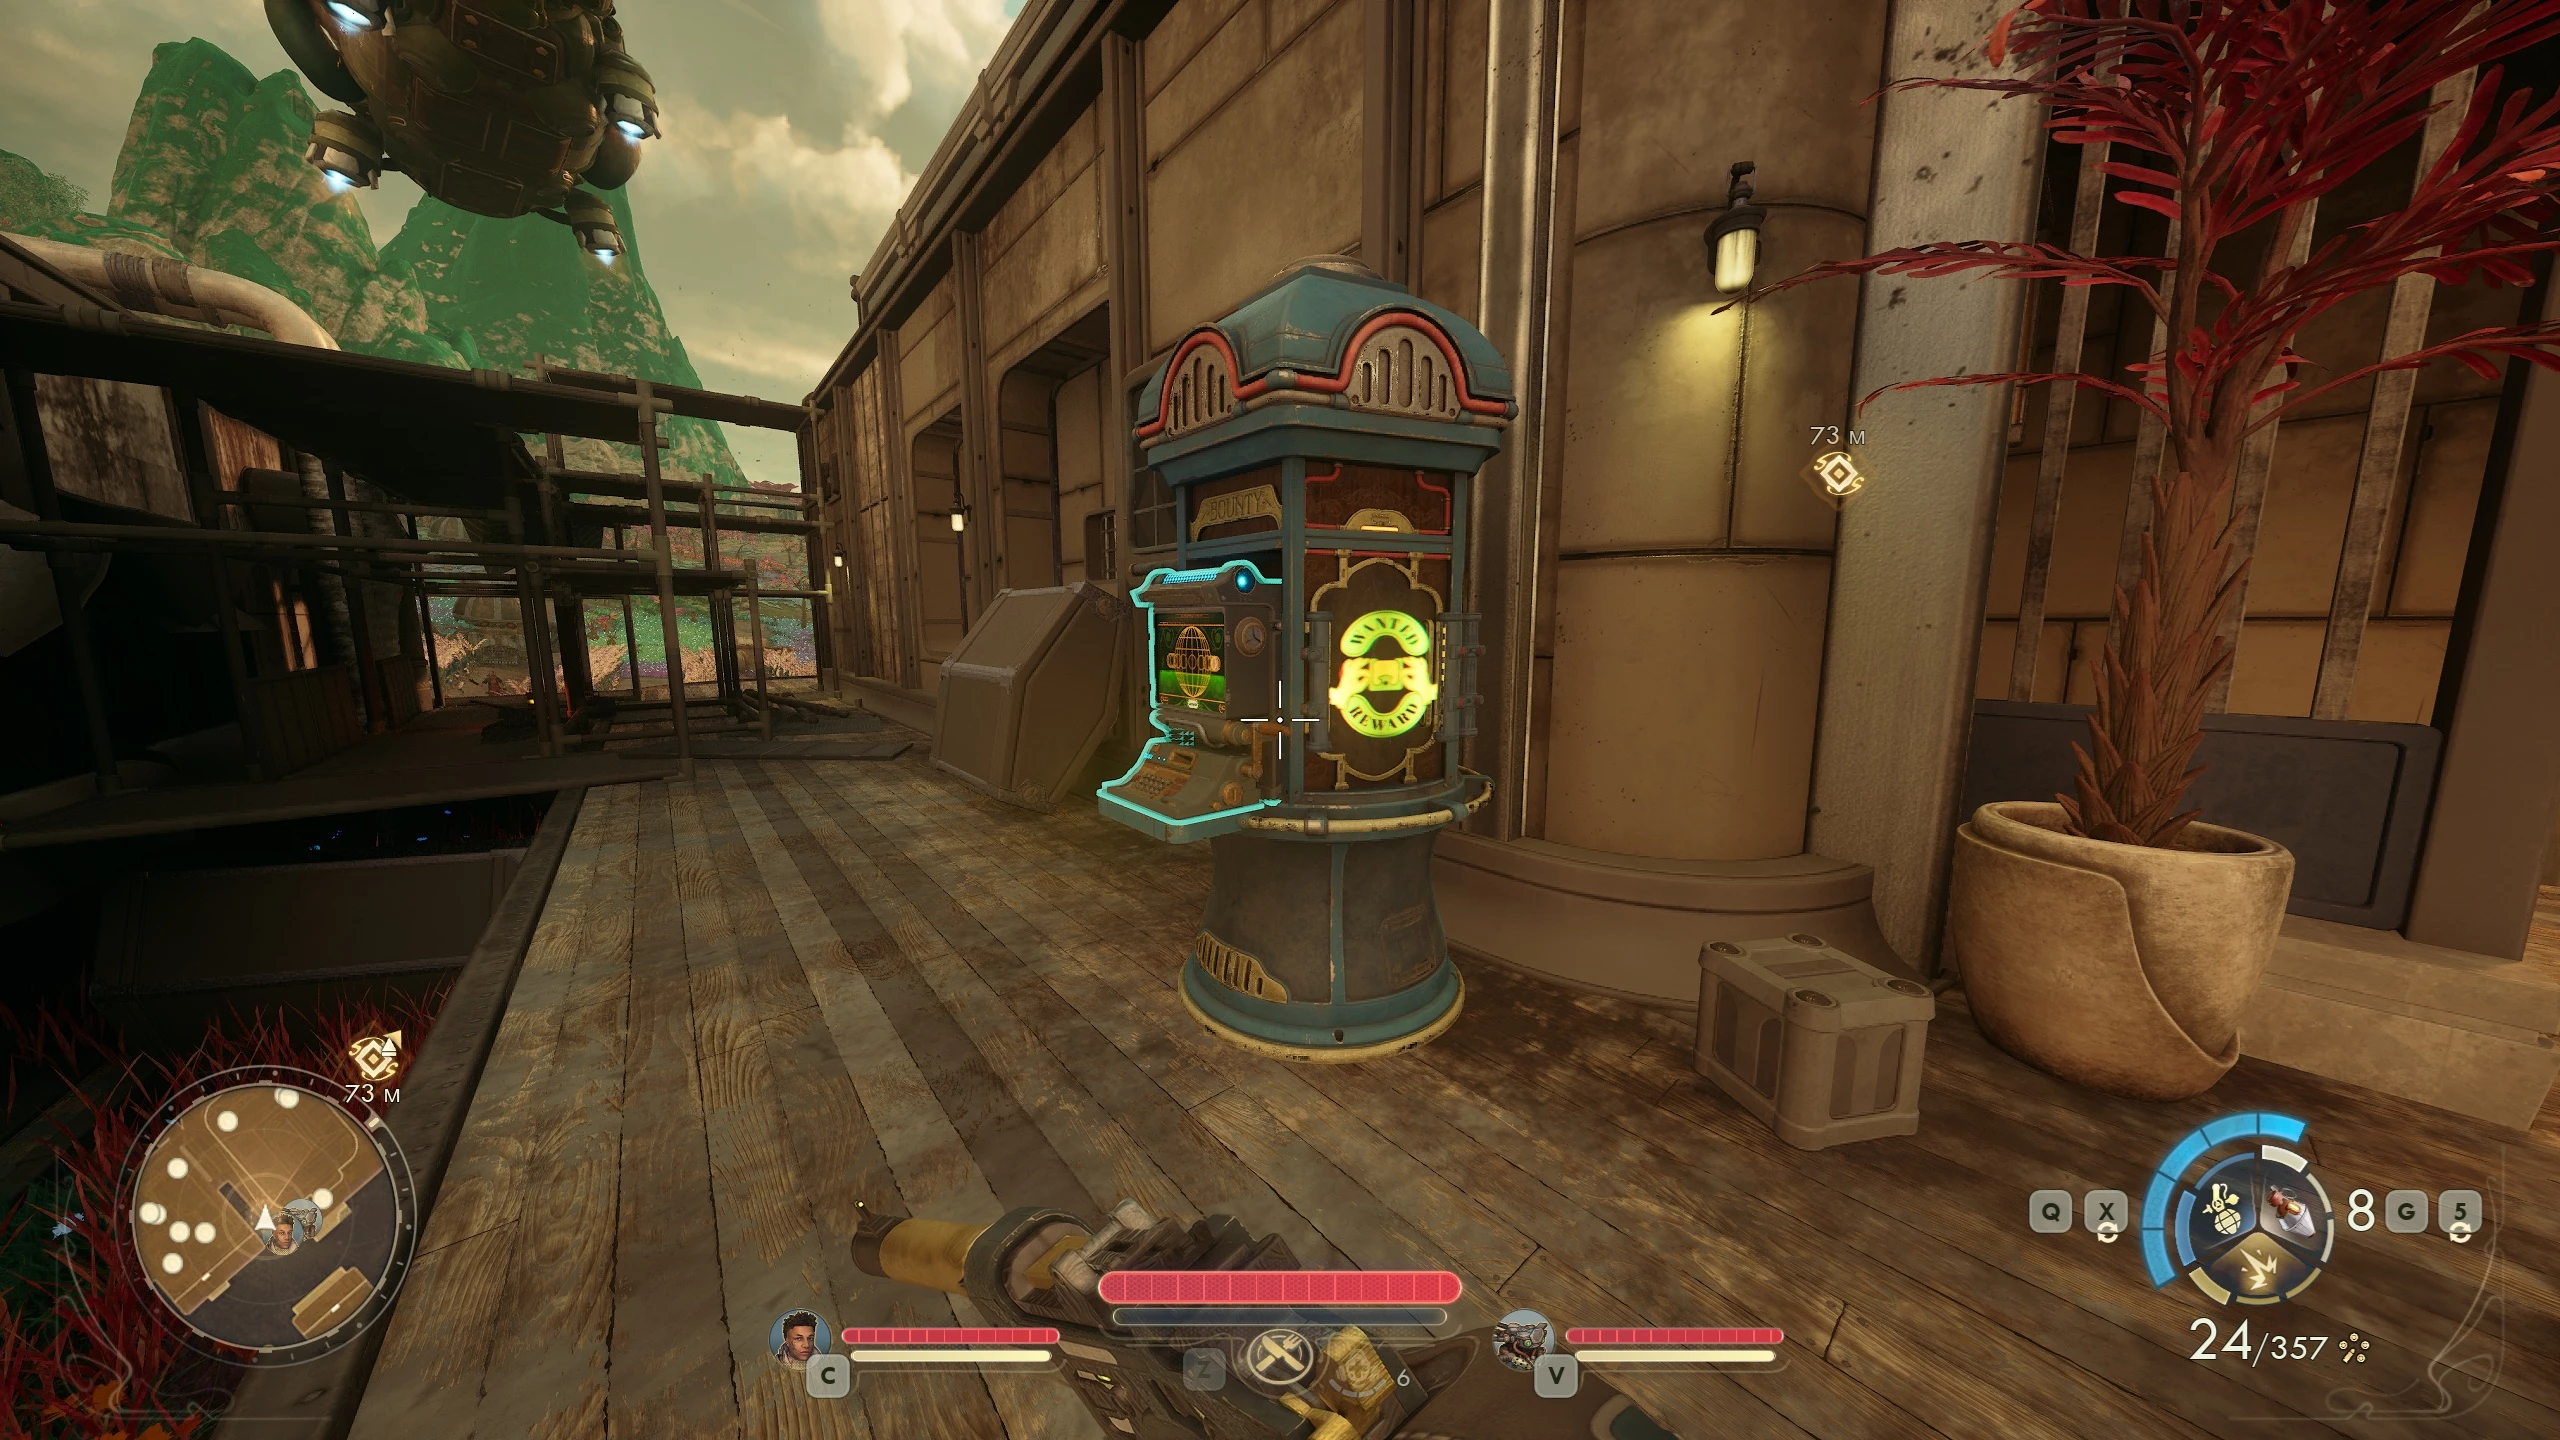
During the conversation, the soldier mentioned a terminal at the police station. With it, you can take on additional quests and find out if there’s a bounty on your head. You can also use it to pay fines and collect rewards for completed tasks.
From this moment on, you are completely free within this planet. You can talk to numerous characters, complete side quests, explore the area, and level up your heroes. Progressing the main story does not require immediate action, so we recommend taking your time to first explore the surroundings and talk to the locals.
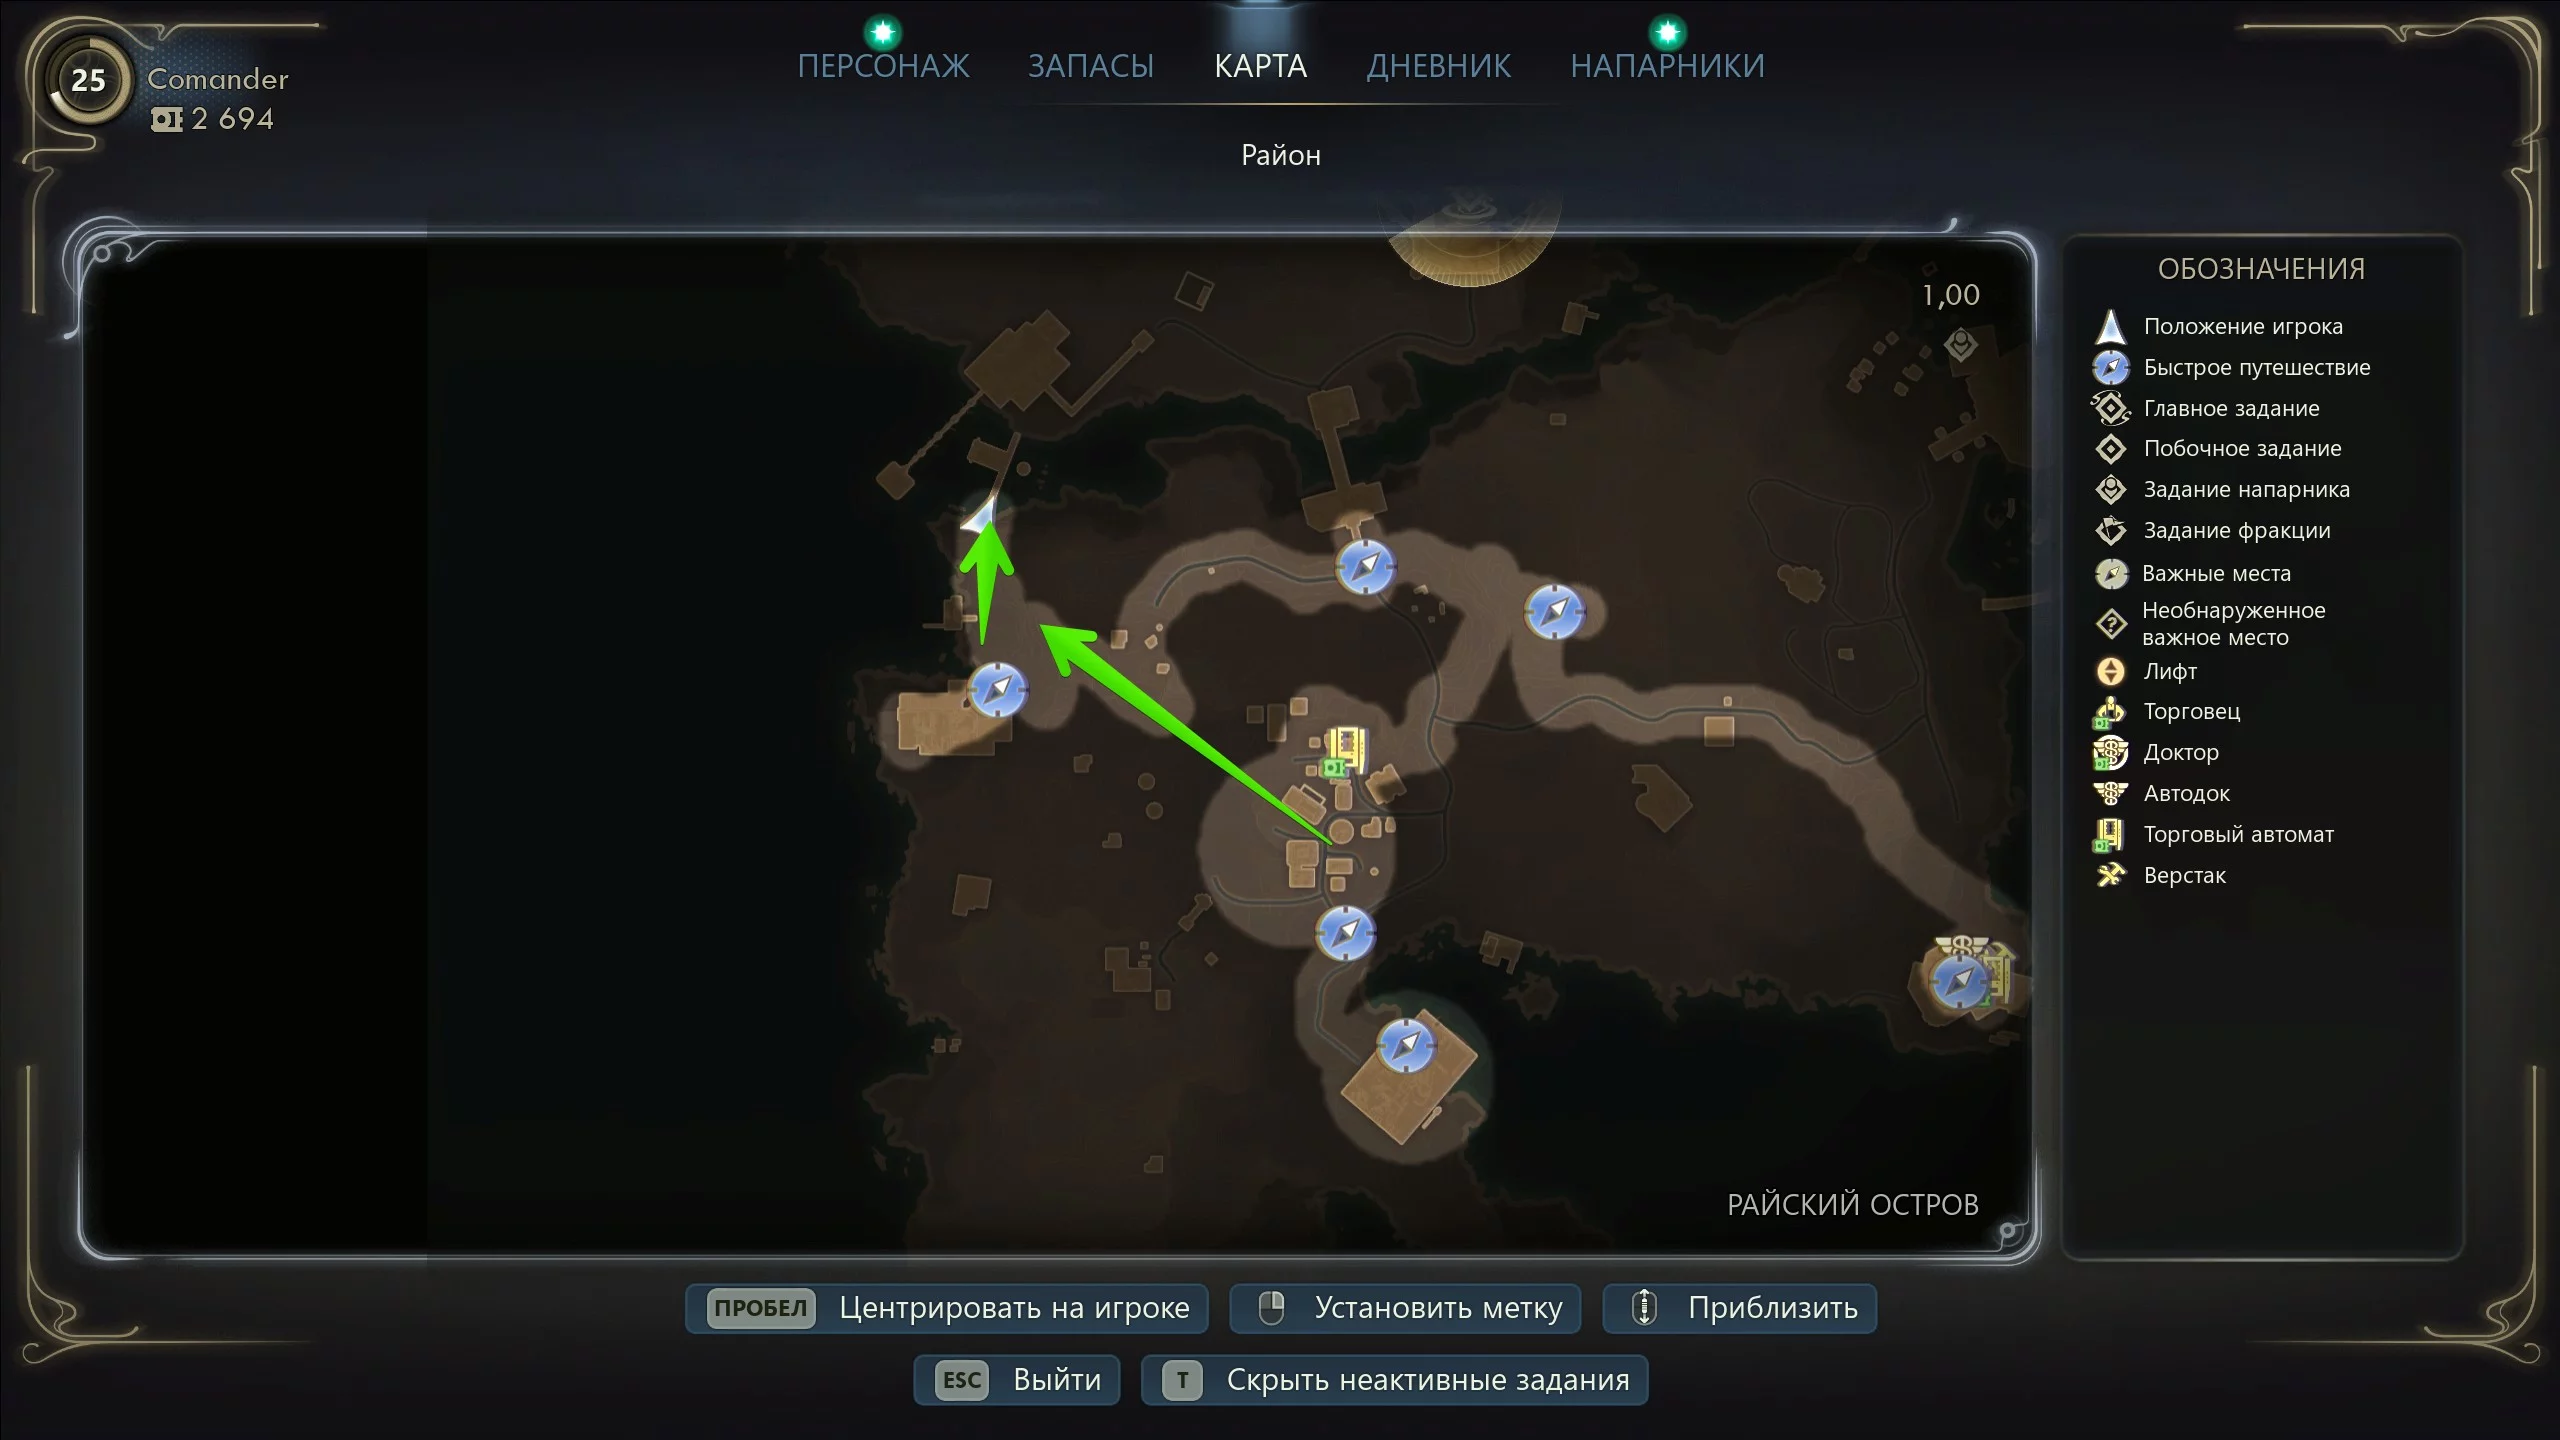
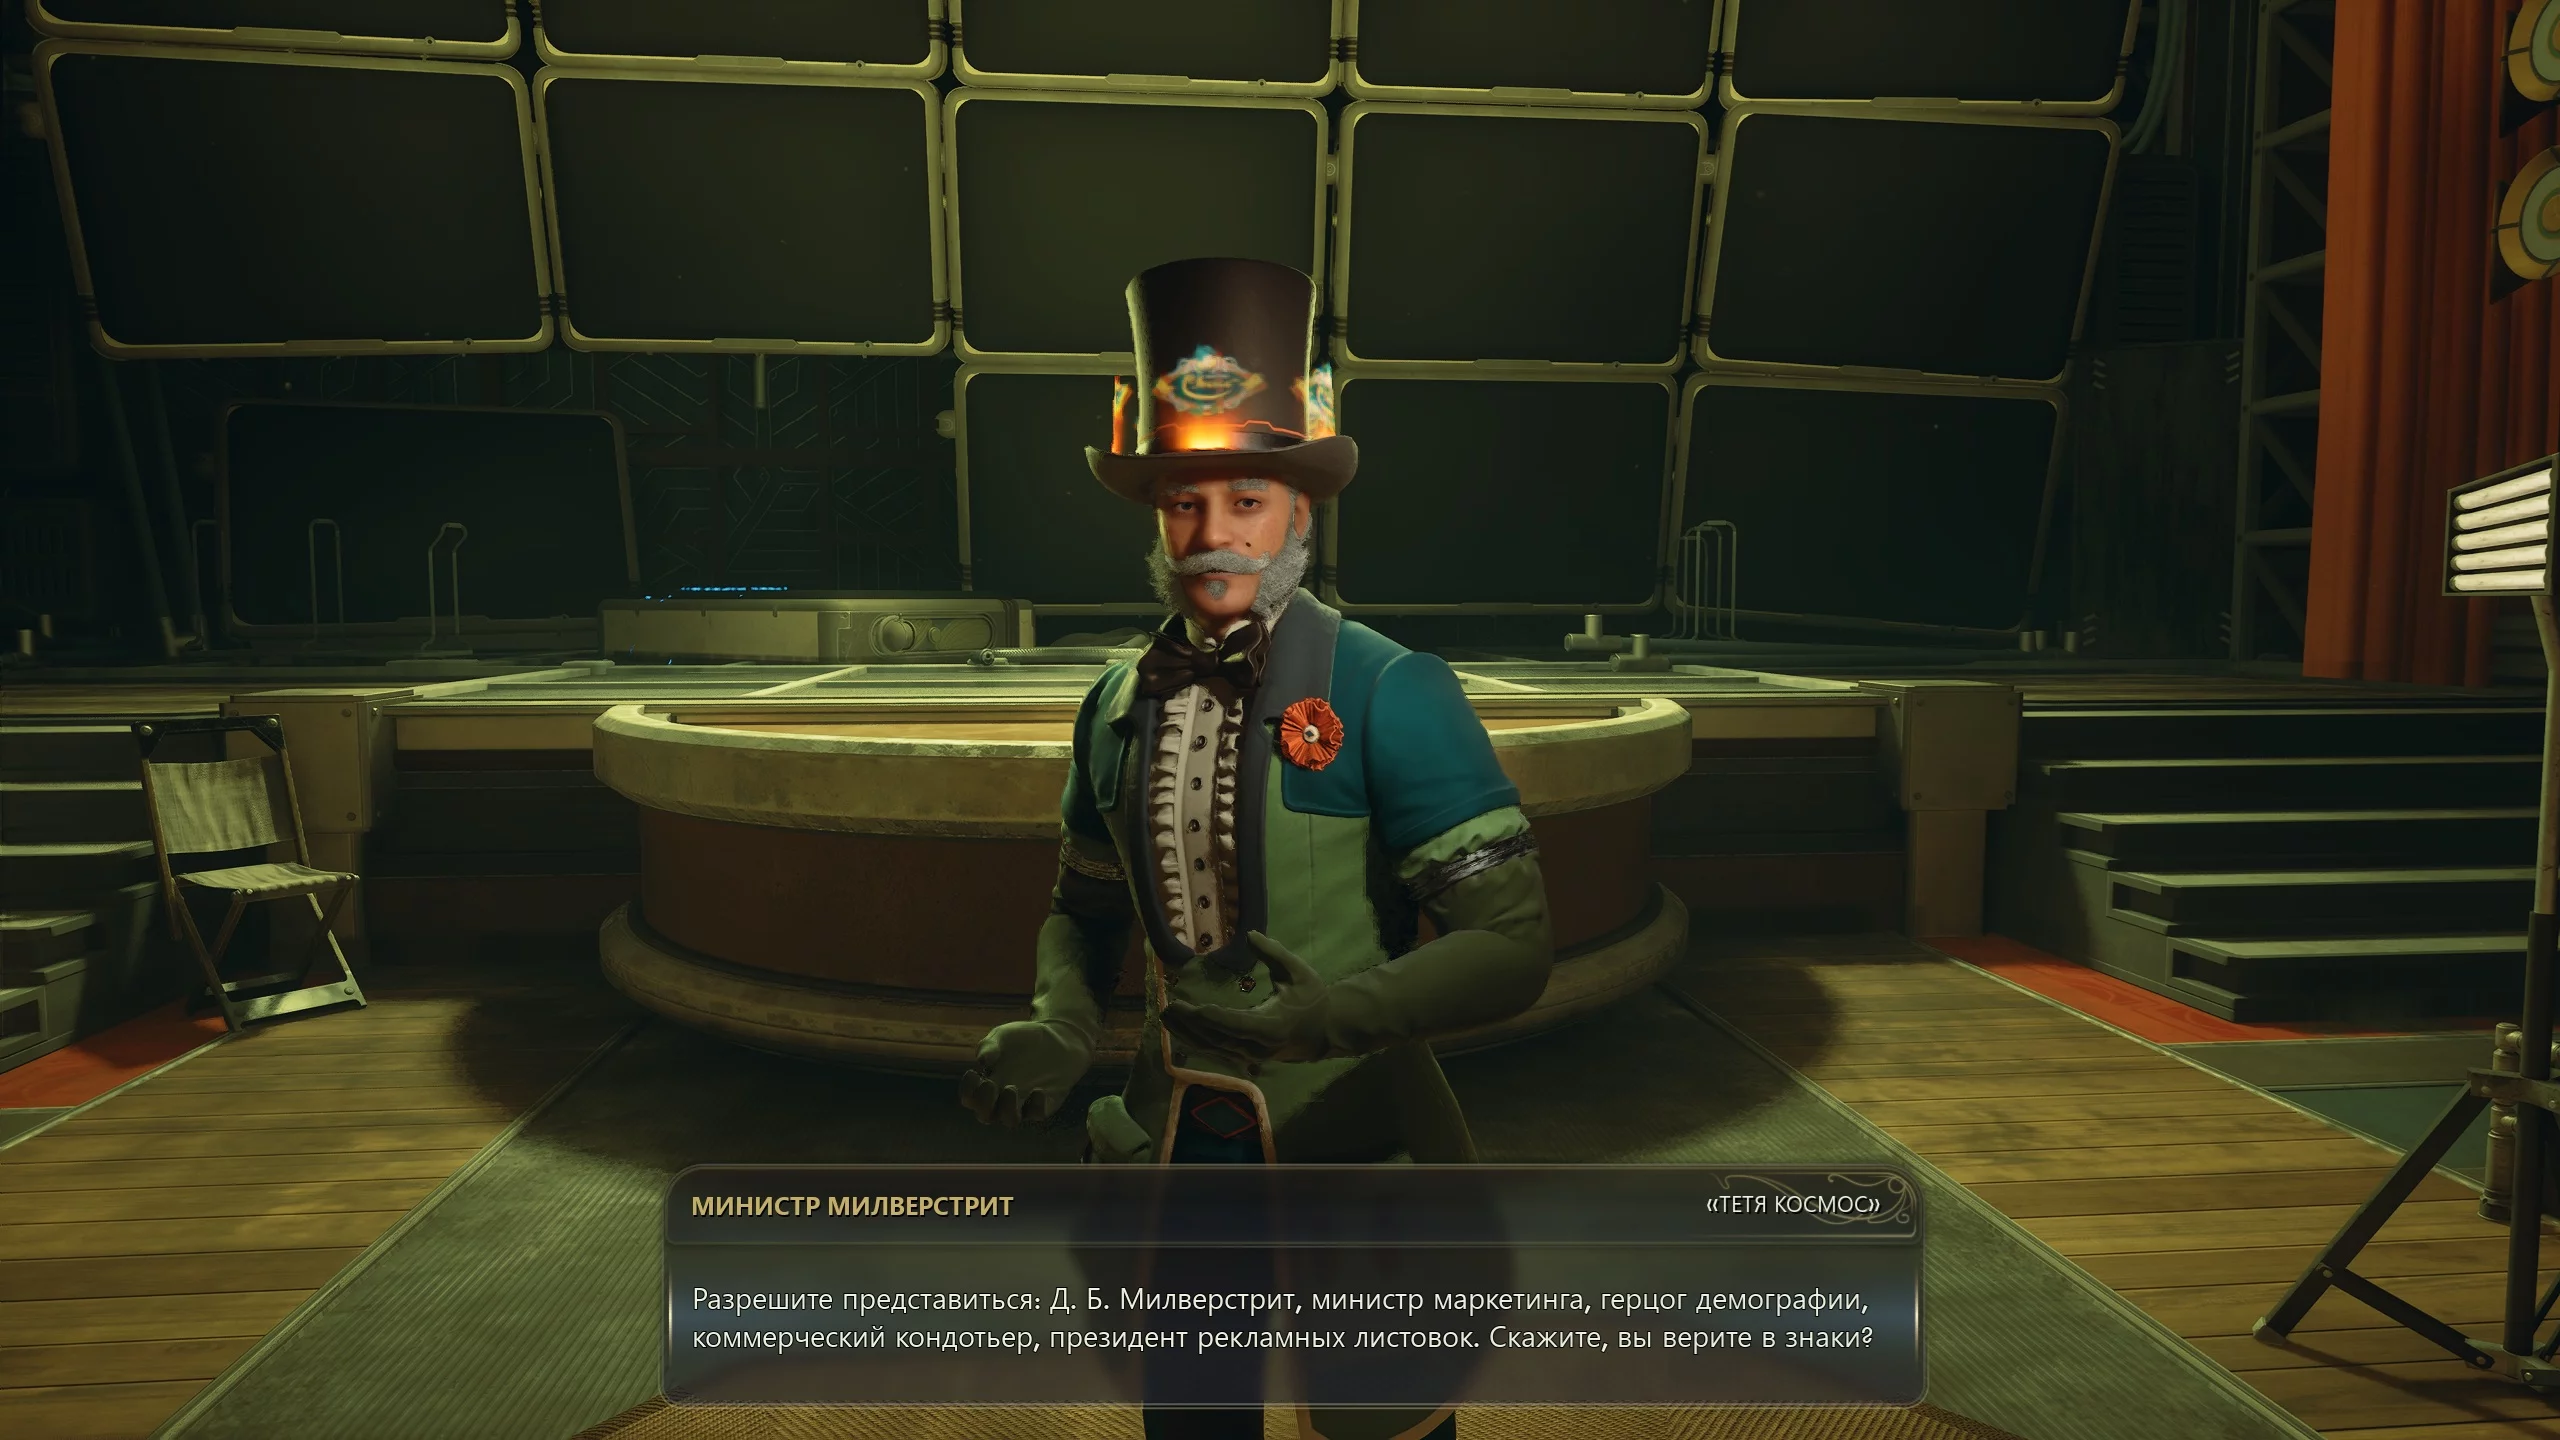
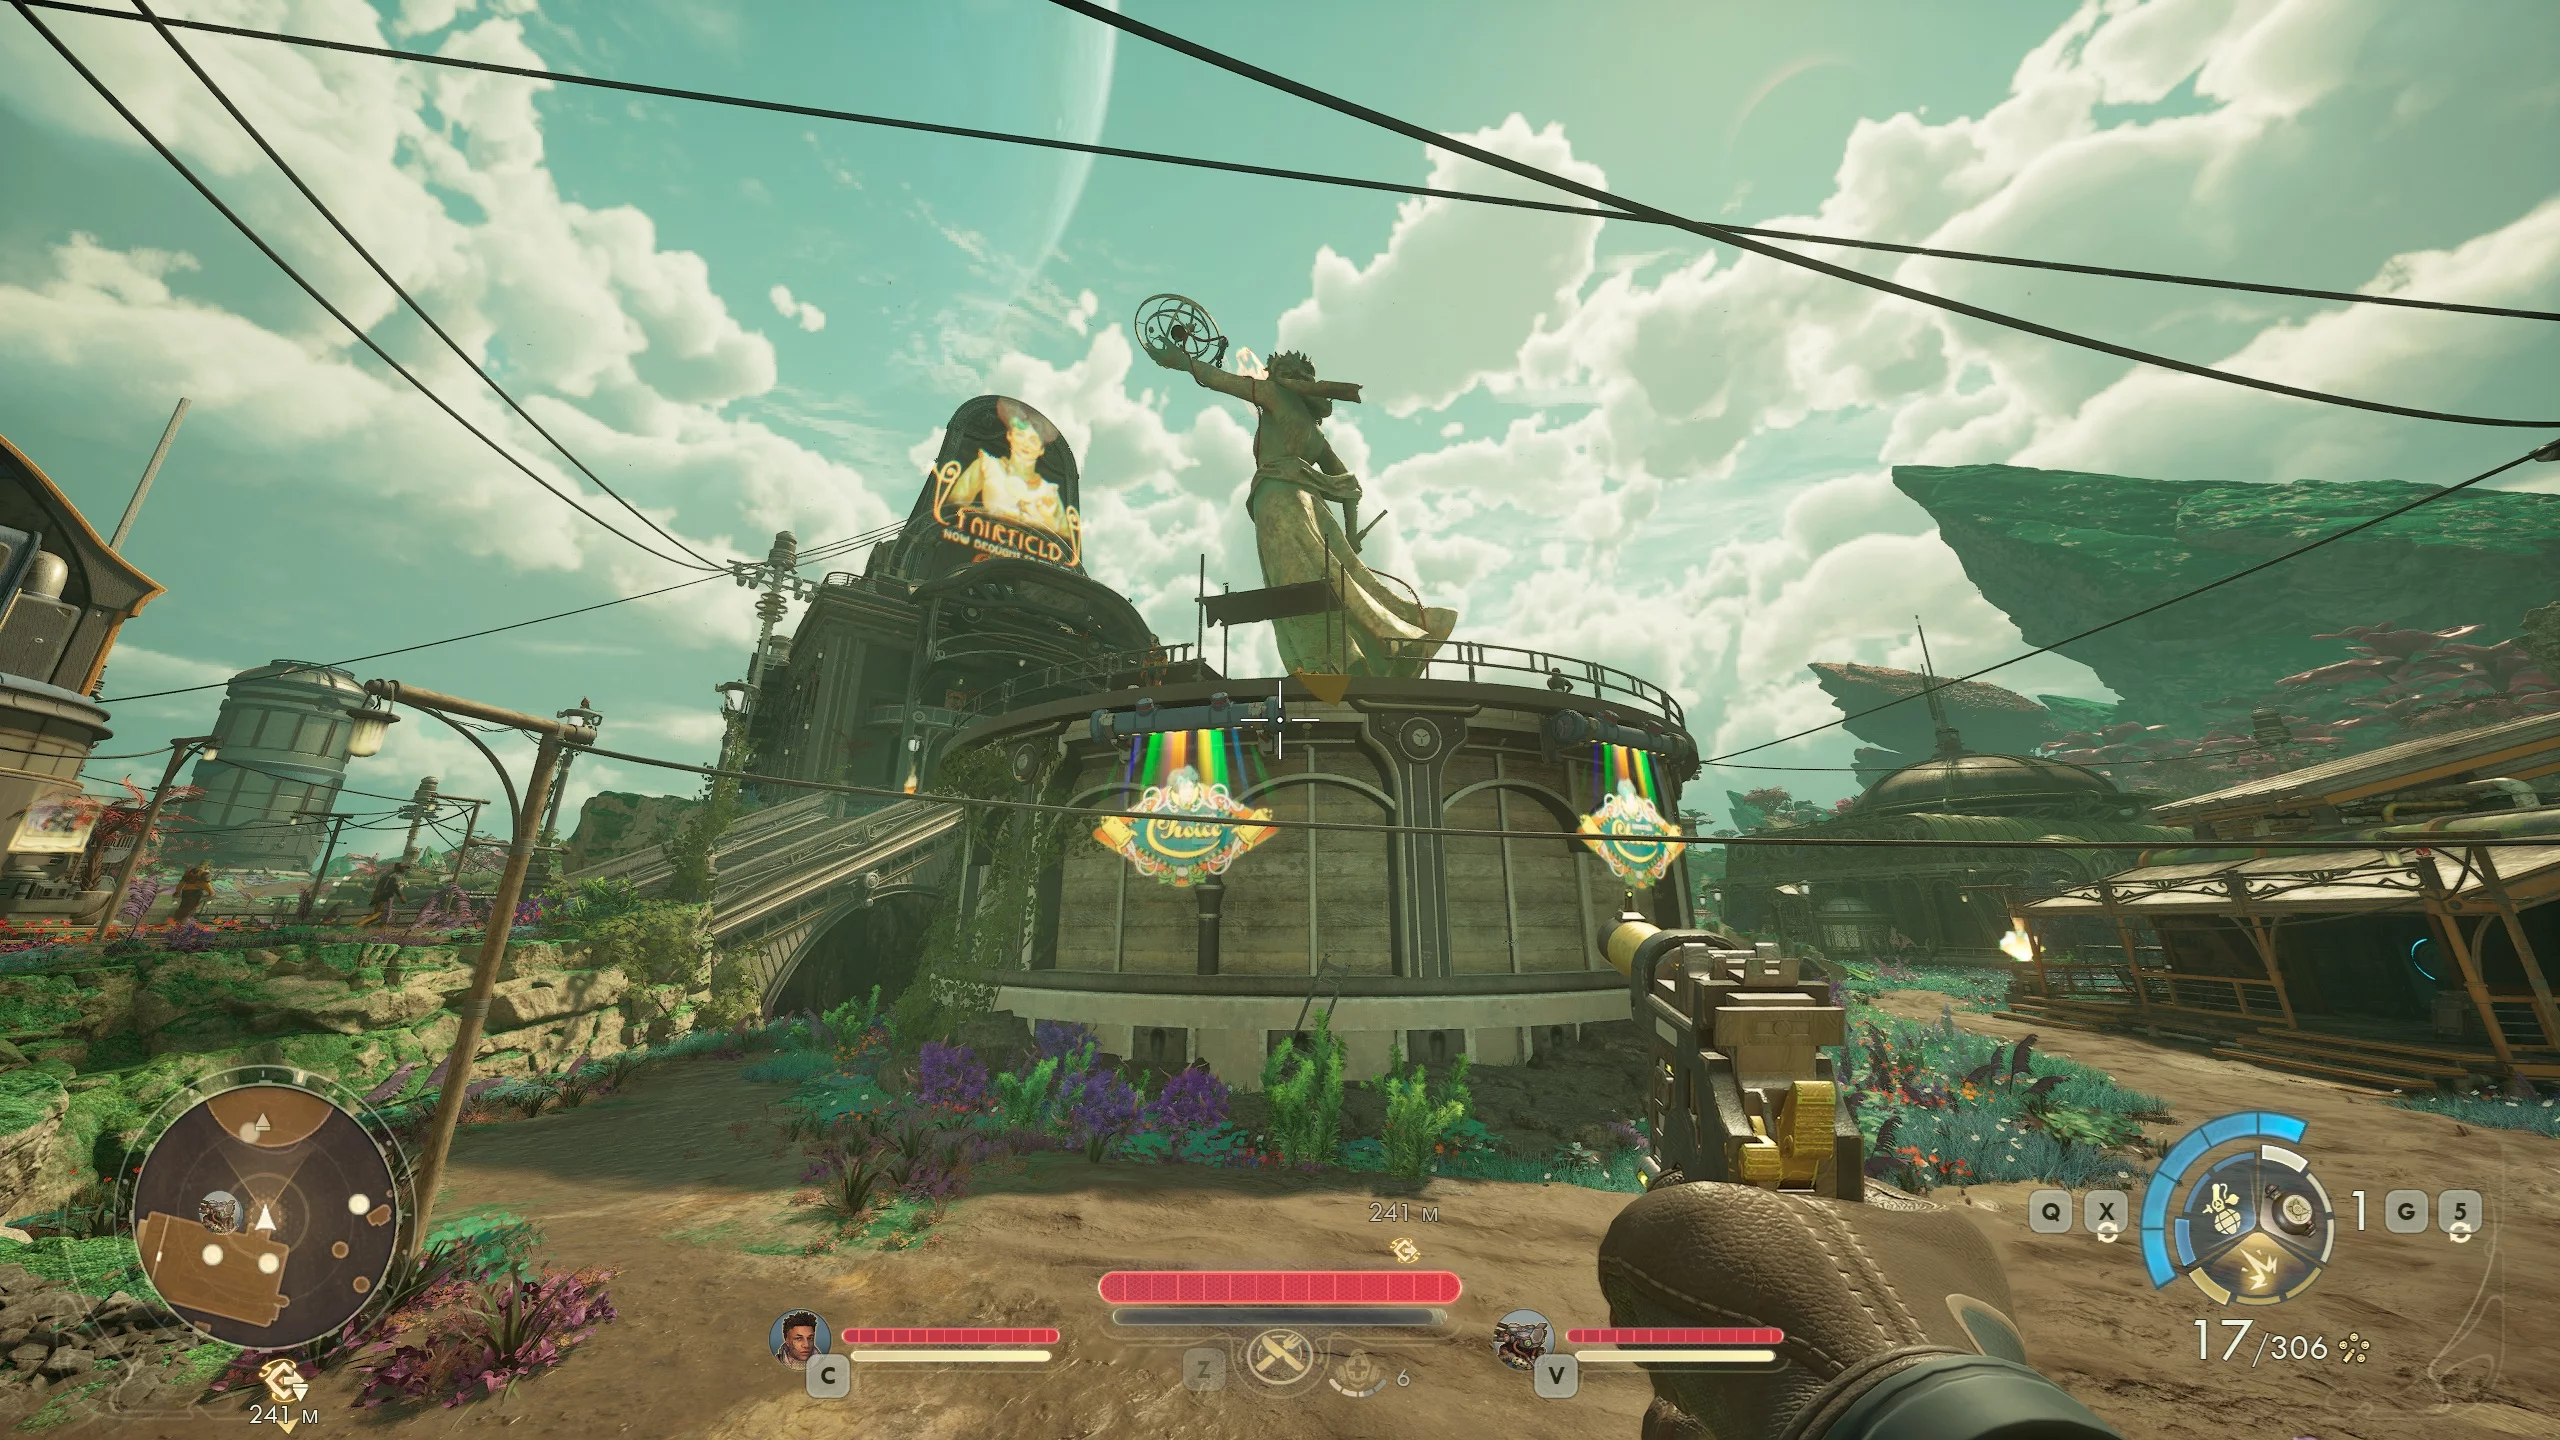
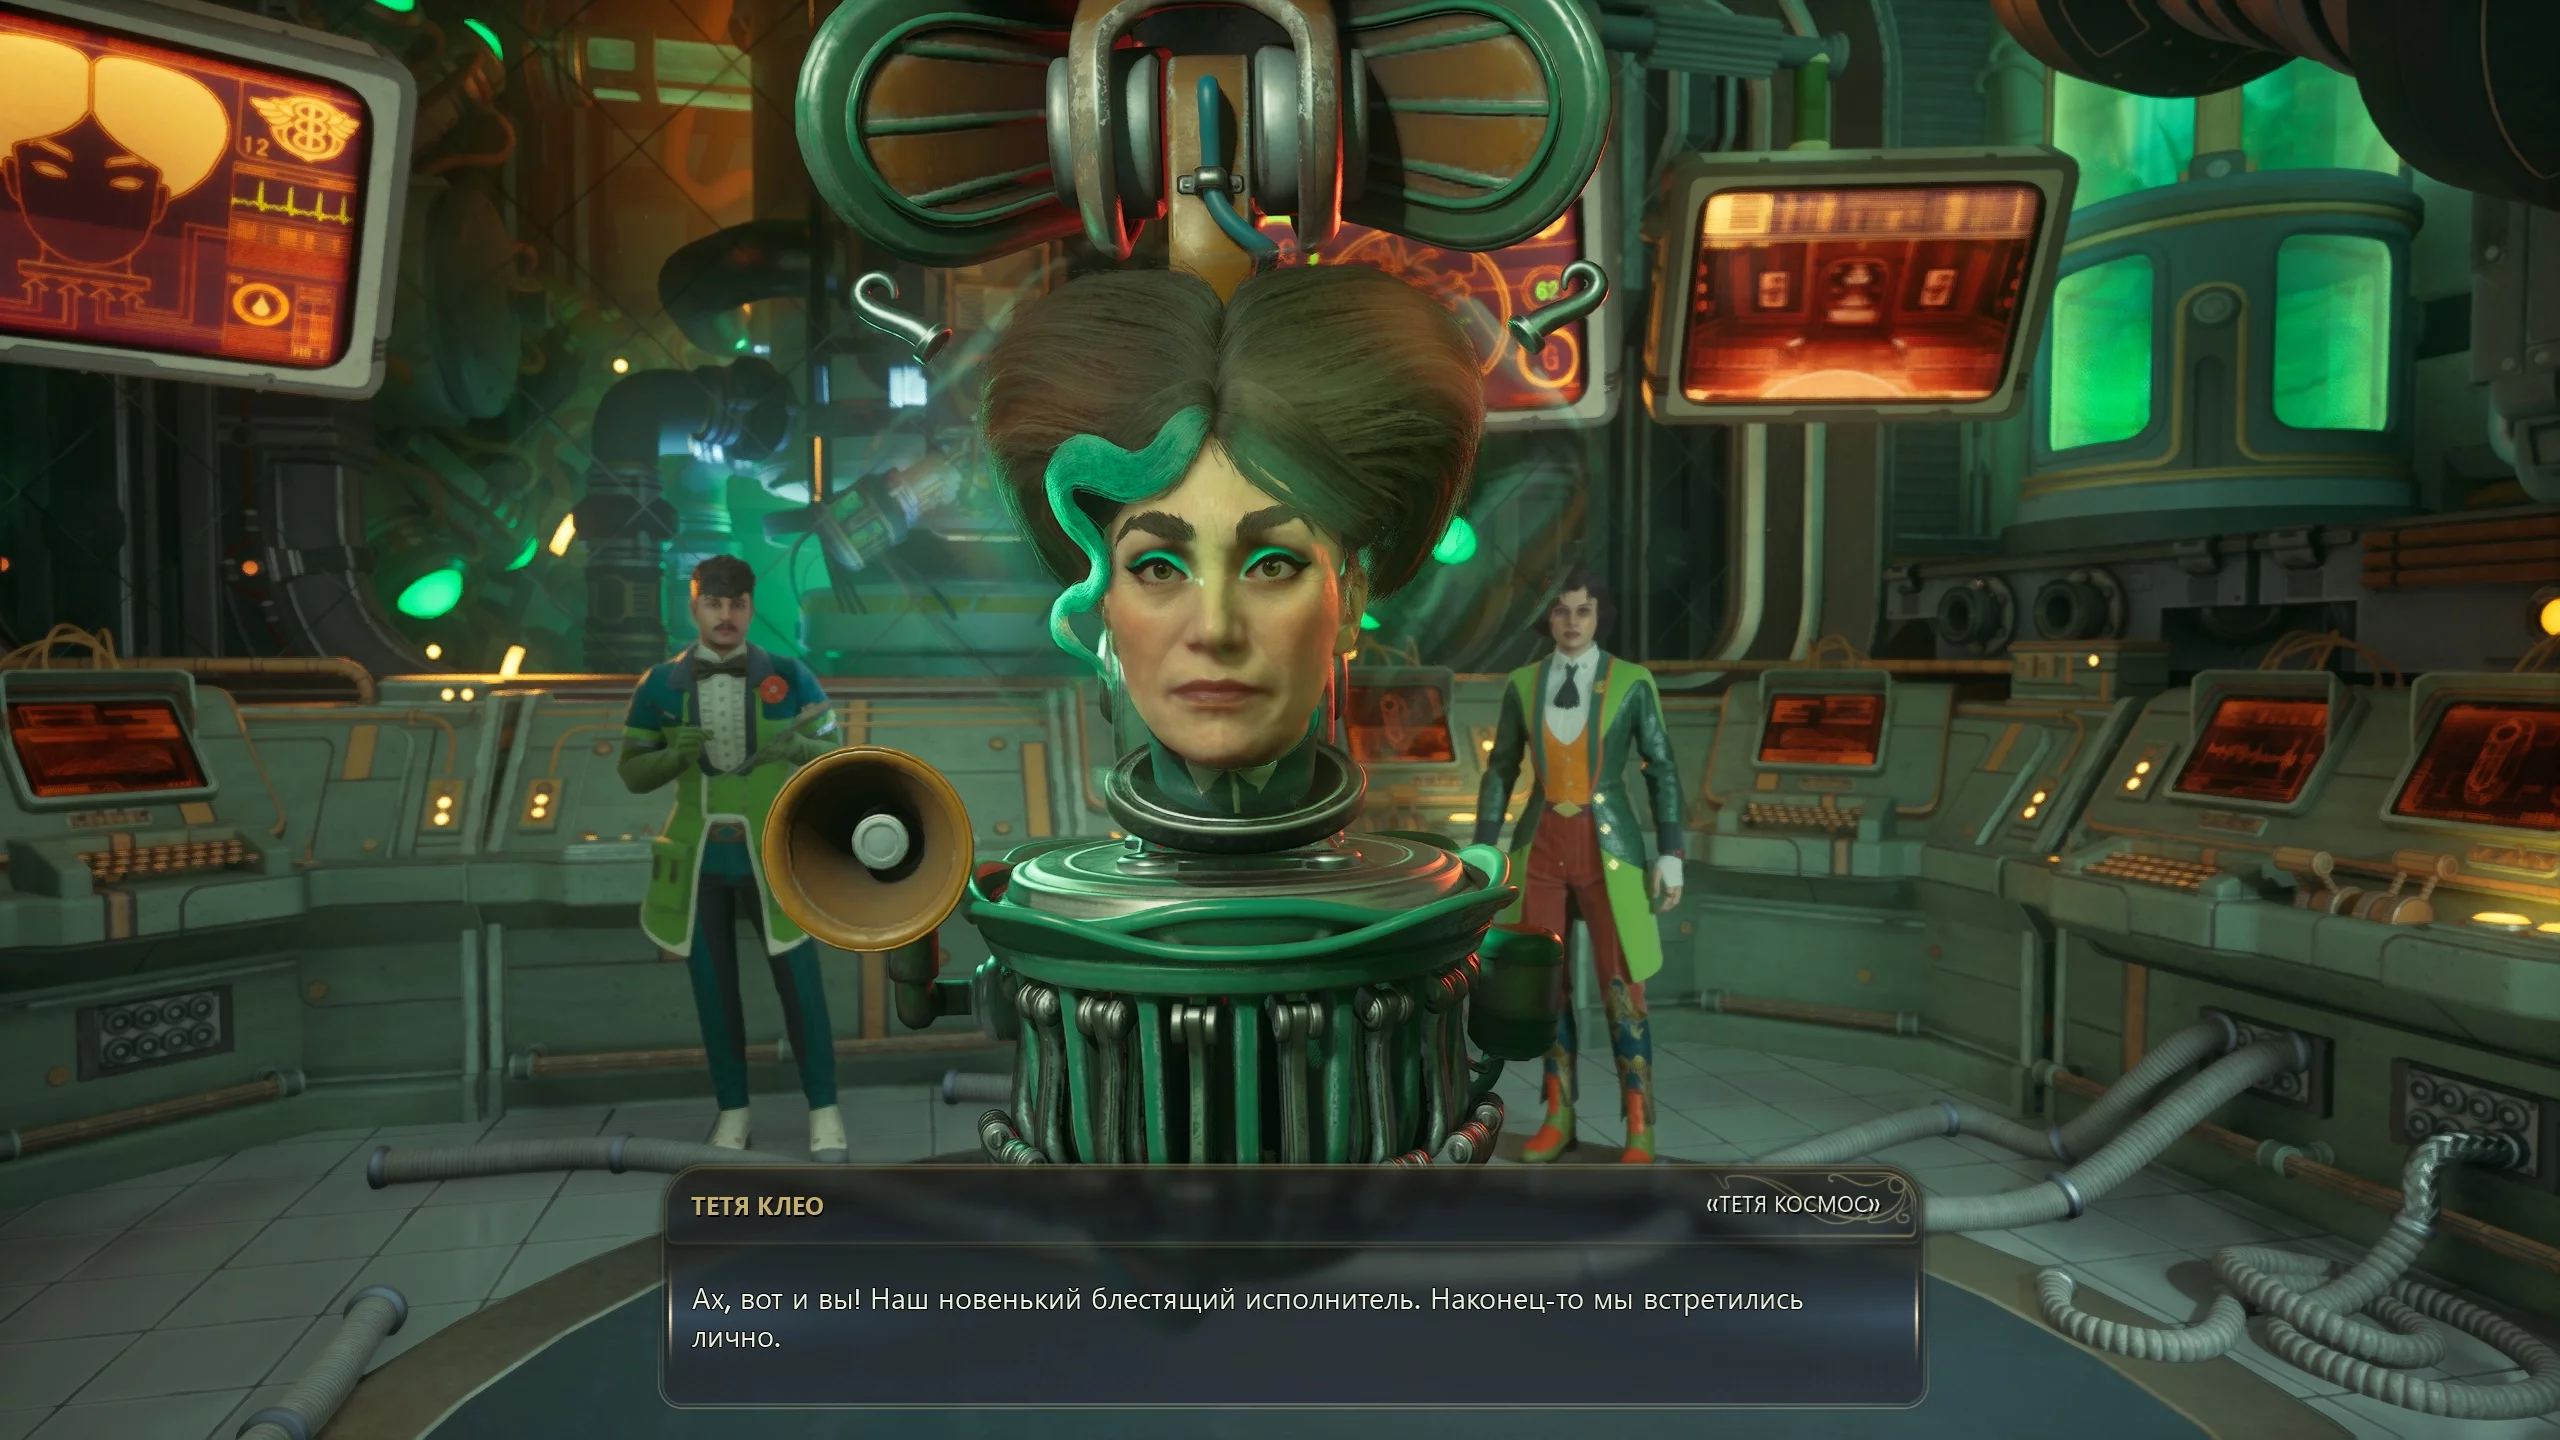
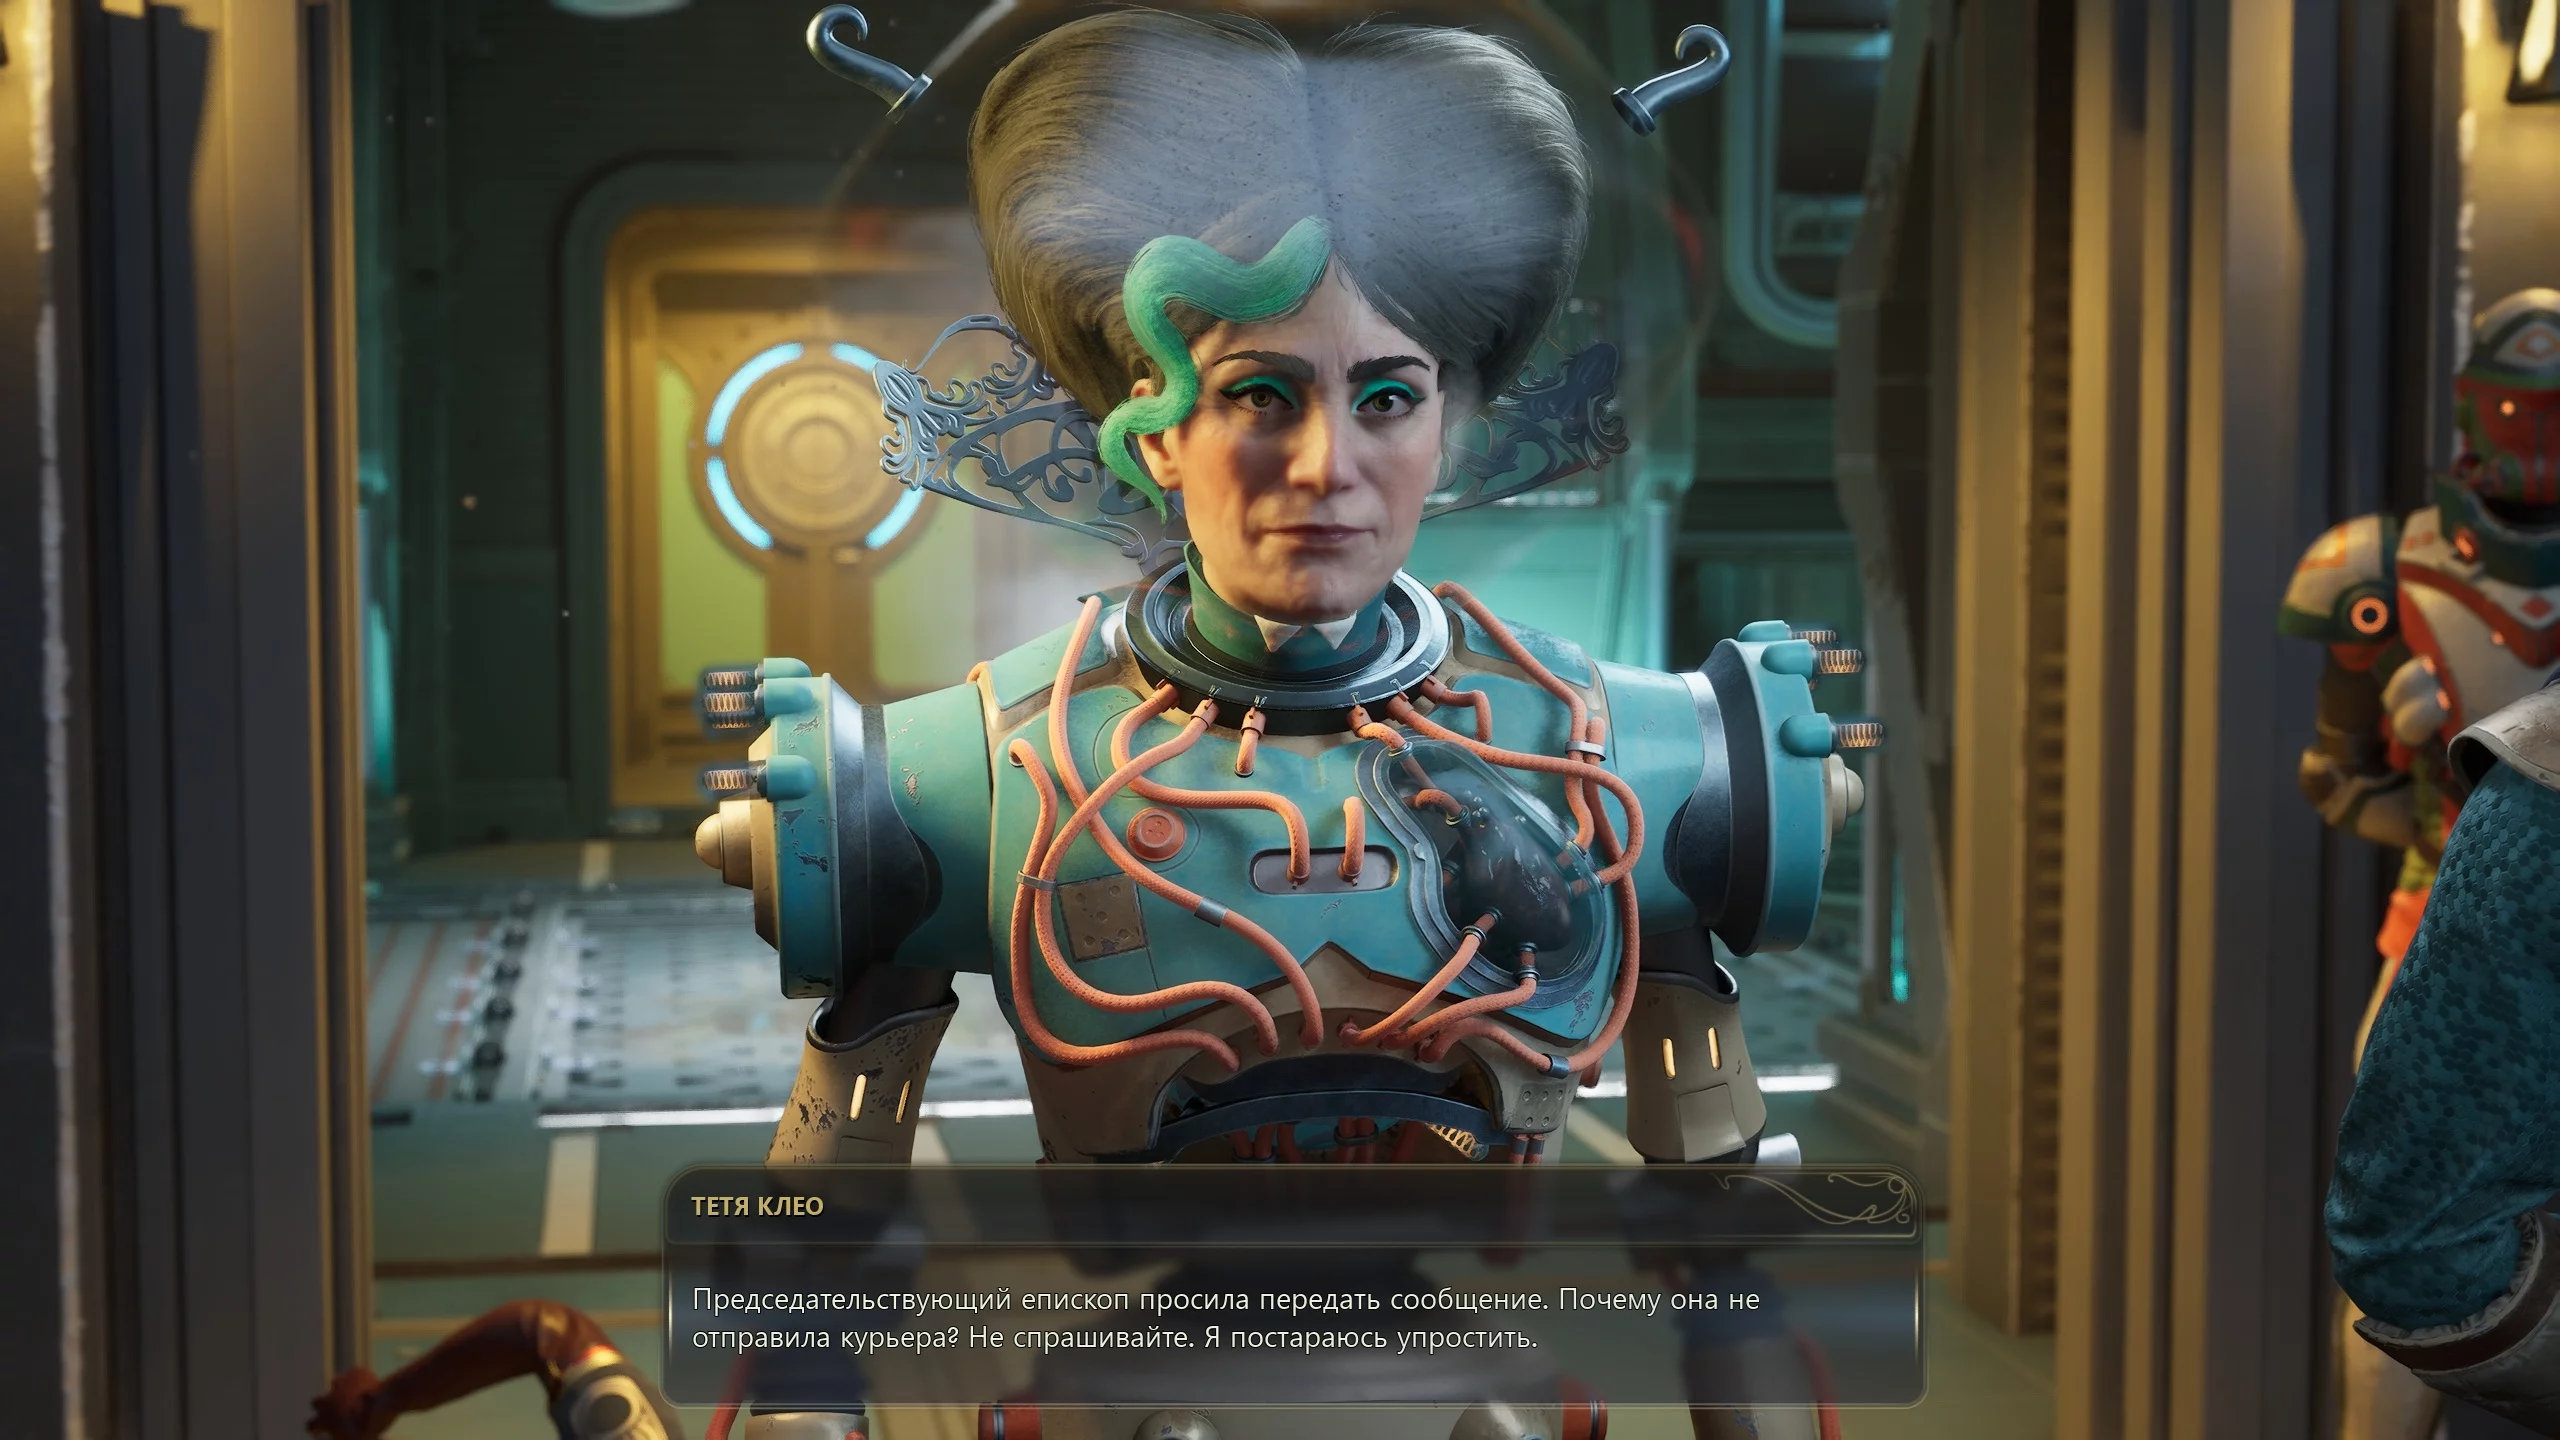
Move towards the town hall — a giant building with a hologram on its roof. Inside, you'll witness Auntie Cleo, the head of Auntie's Choice Corporation, scolding Minister Milverstreet and Acquisitions Officer Kaur.
How to Find Augustine de Vries
After the call, the minister will start a conversation with you. Ask him about Augustine, and you’ll learn that you need to look for information about her in the archive, which is located to the right of the town hall entrance. Milverstreet, and then Kaur, will offer you a job. For now, don’t accept anything — we’ll explain why a bit later.
Right now, you need to find out where the traitor might be. Enter the archive and find the rental housing register on the table. This will tell you which house the girl lived in before the corporation arrived. Leave the town hall, turn left, and proceed forward until you reach the residential area.
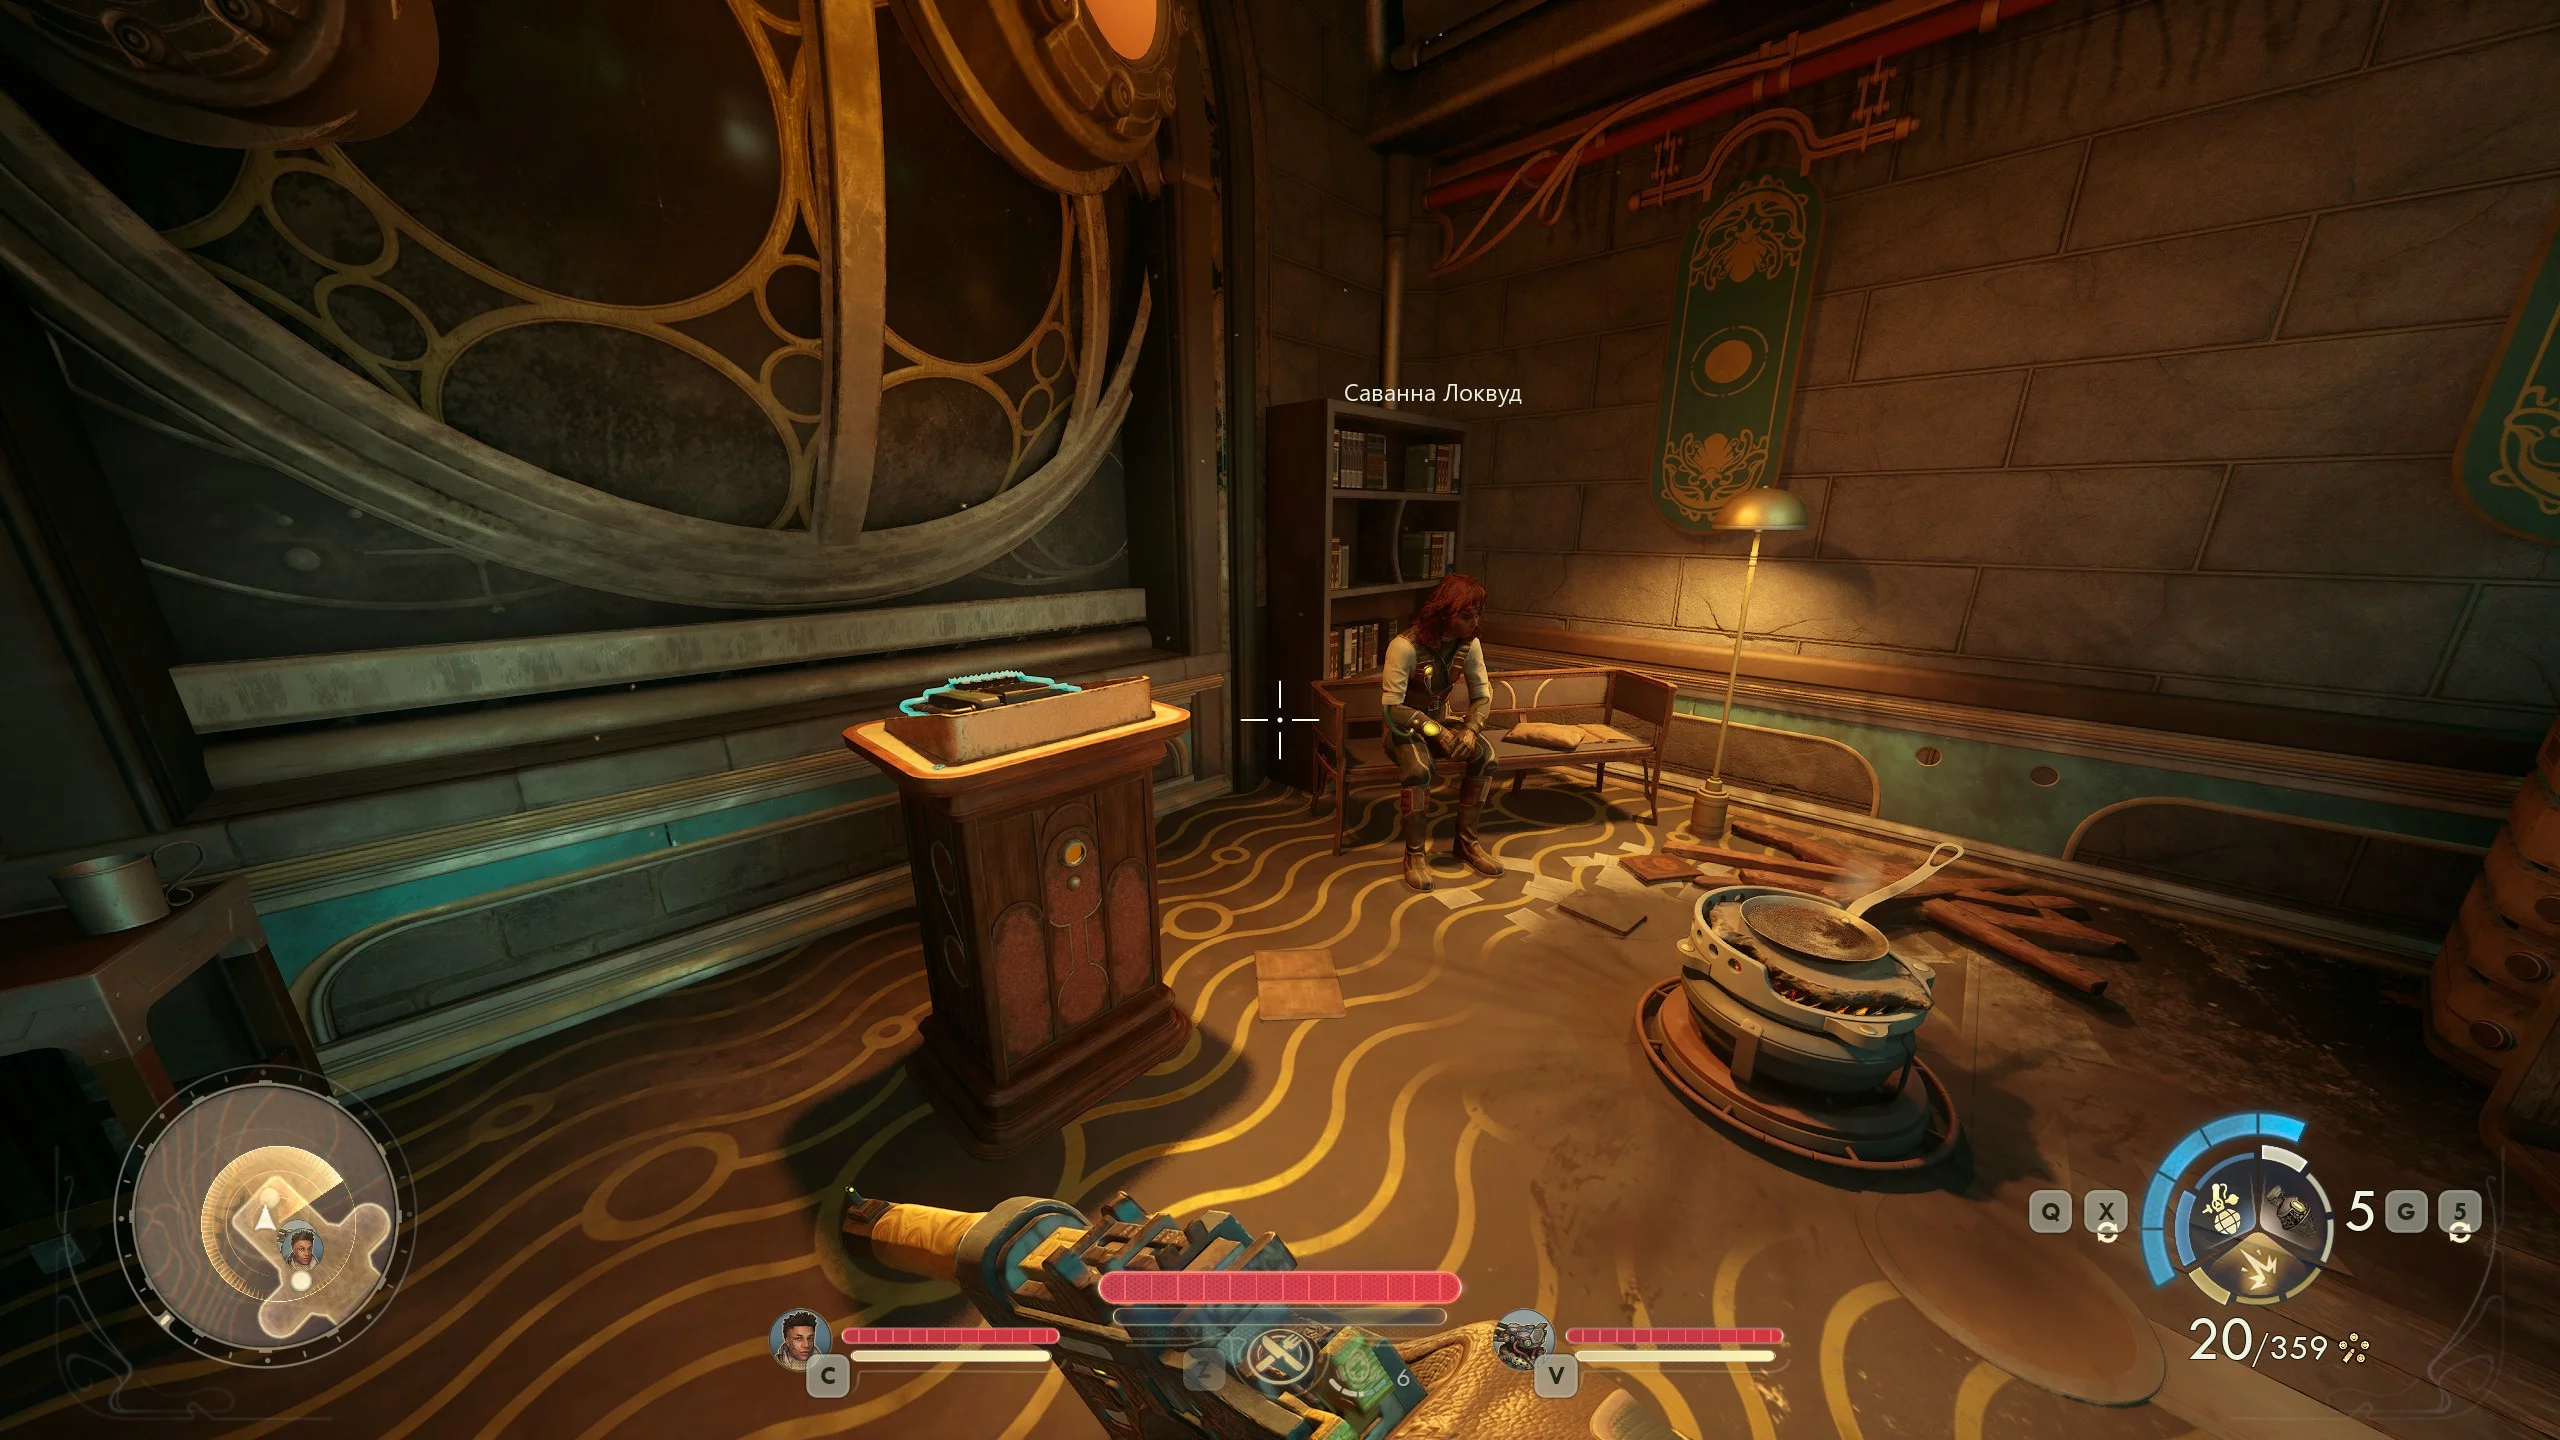
Augustine’s former house can be recognized by its red interior and exterior, as well as round windows. Go inside and approach the toilet. Next to it, you'll see a lever that opens a secret room containing a computer and a jar with a removed Earth Government beacon. Look for the correspondence with Savannah Lockwood.
Leave the city and head northeast until you find the Excogitation Chapel. Talk to Savannah and find out that Augustine was a member of an occult order, then developed radical ideas. Eventually, she left the faction, destroyed the research base, and went to work as a secret agent at the Vox Relay Station.
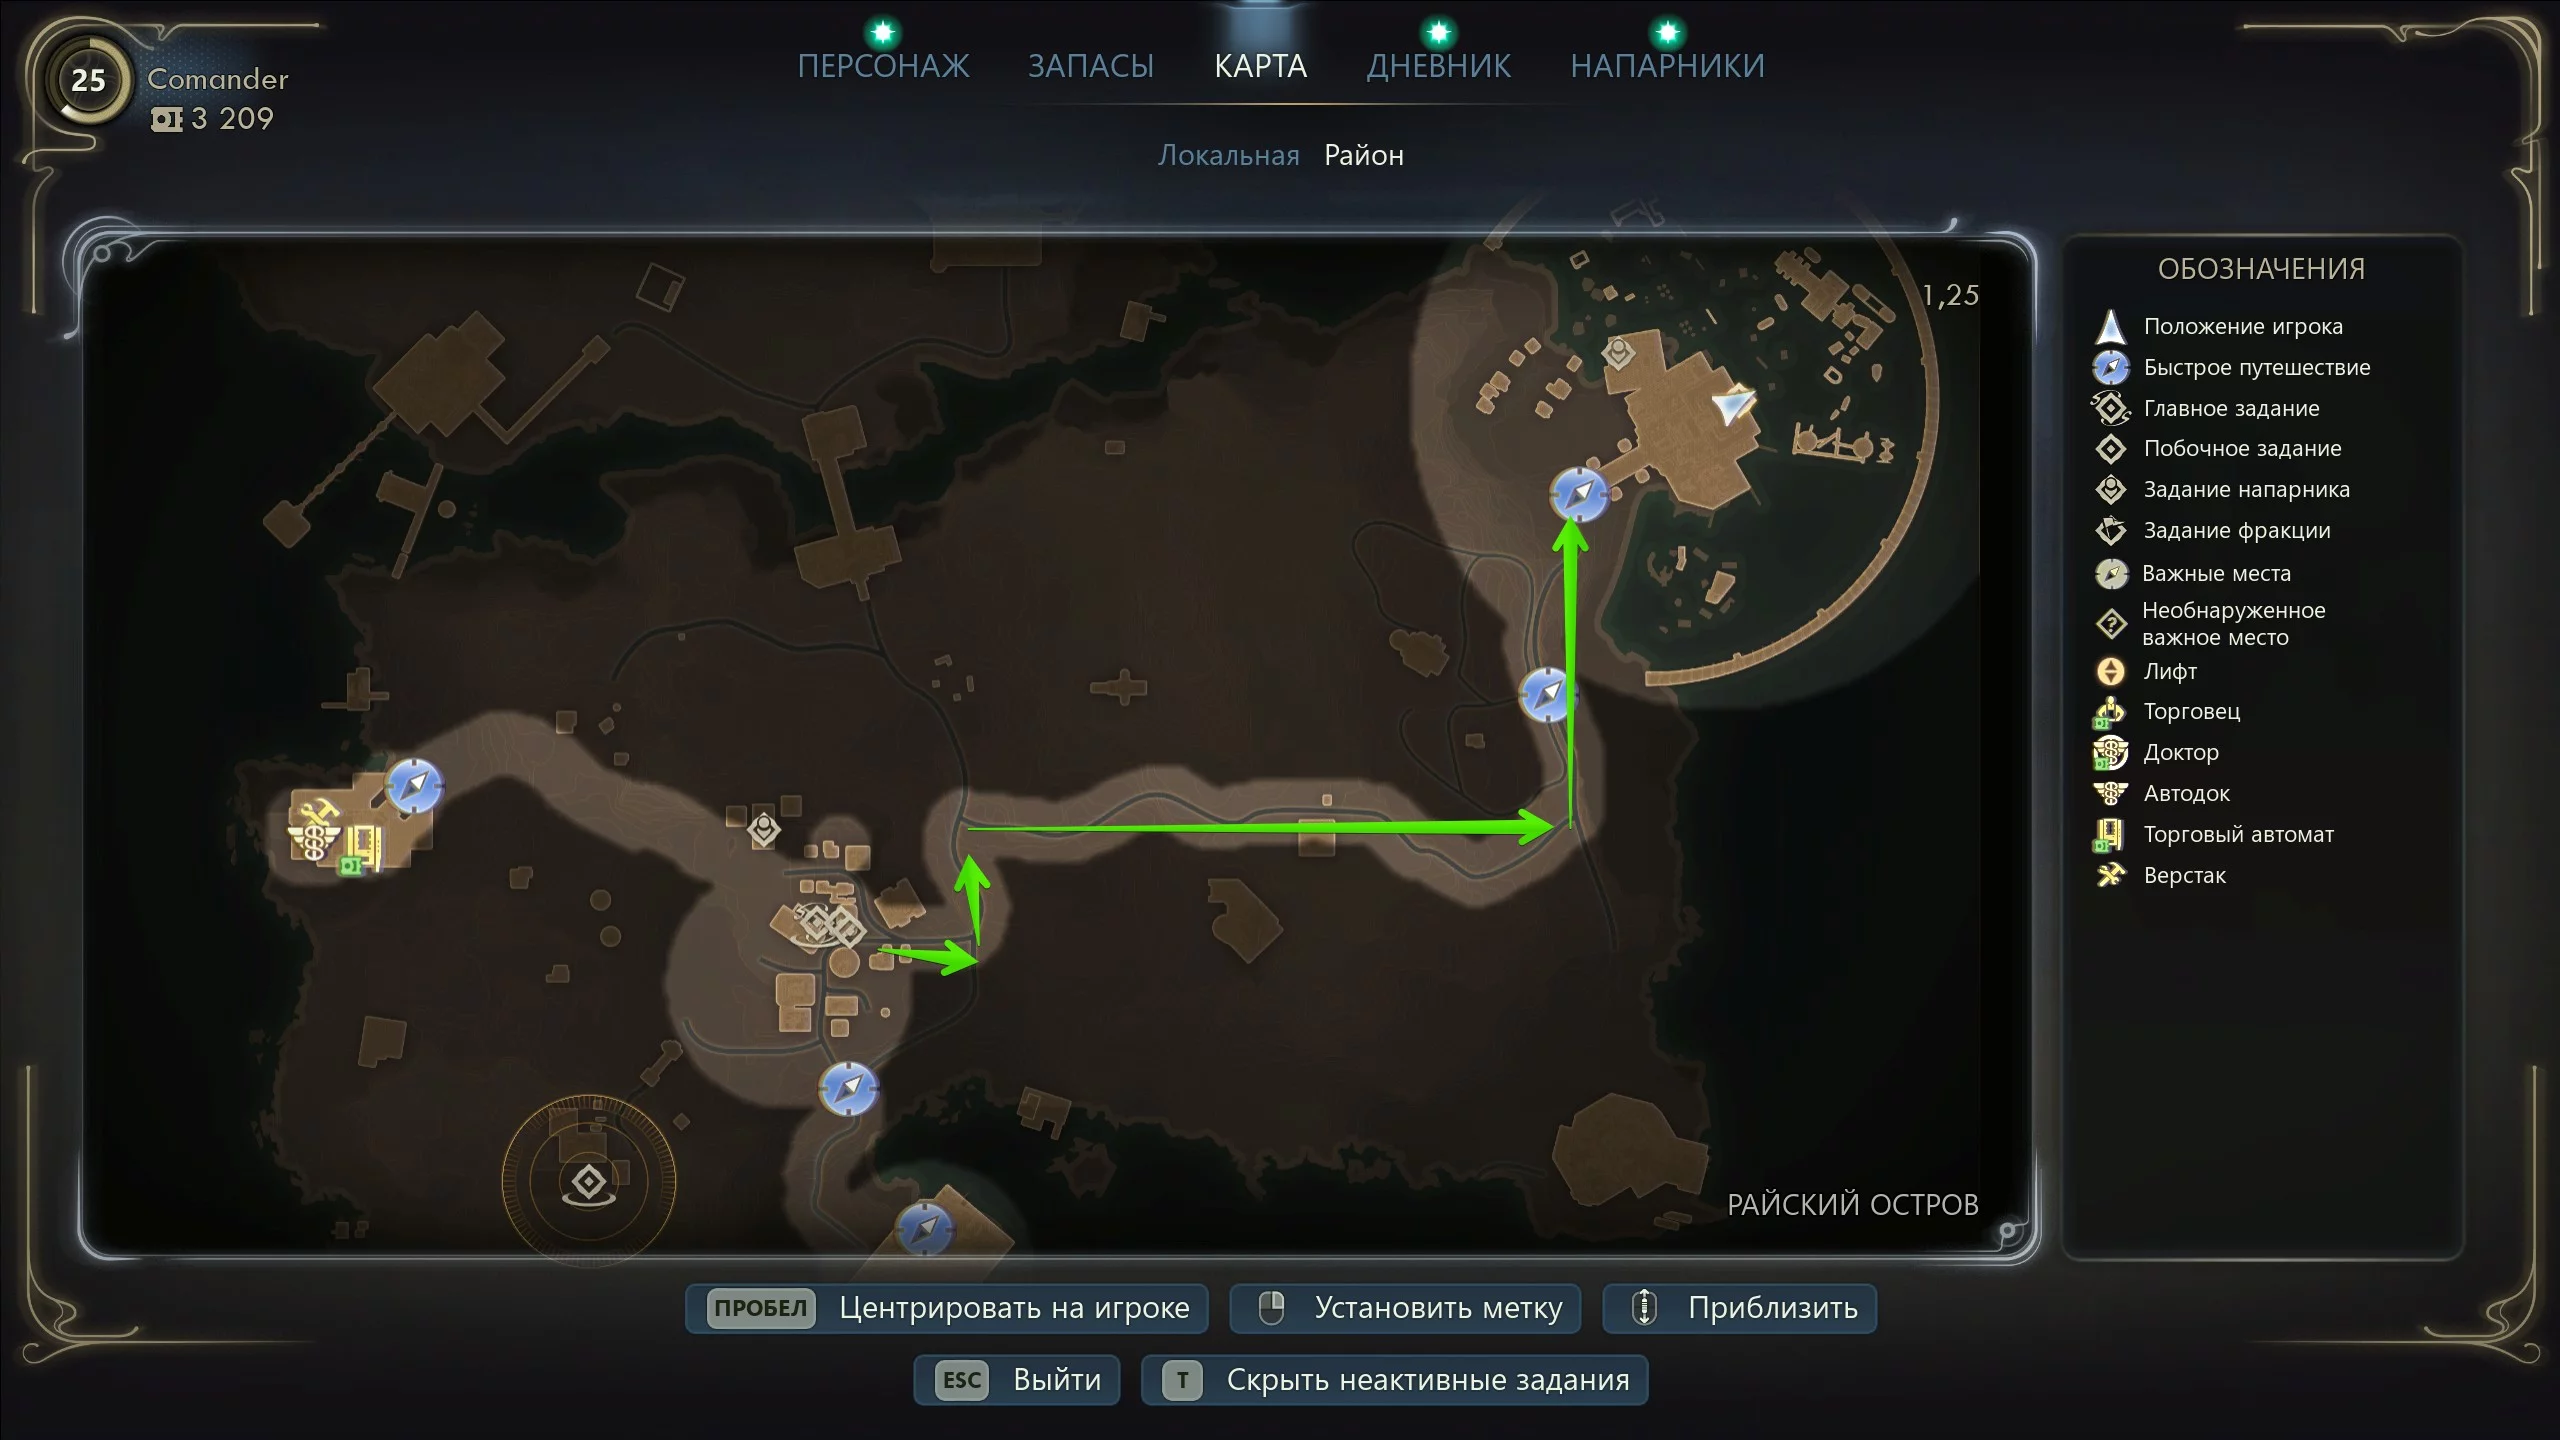
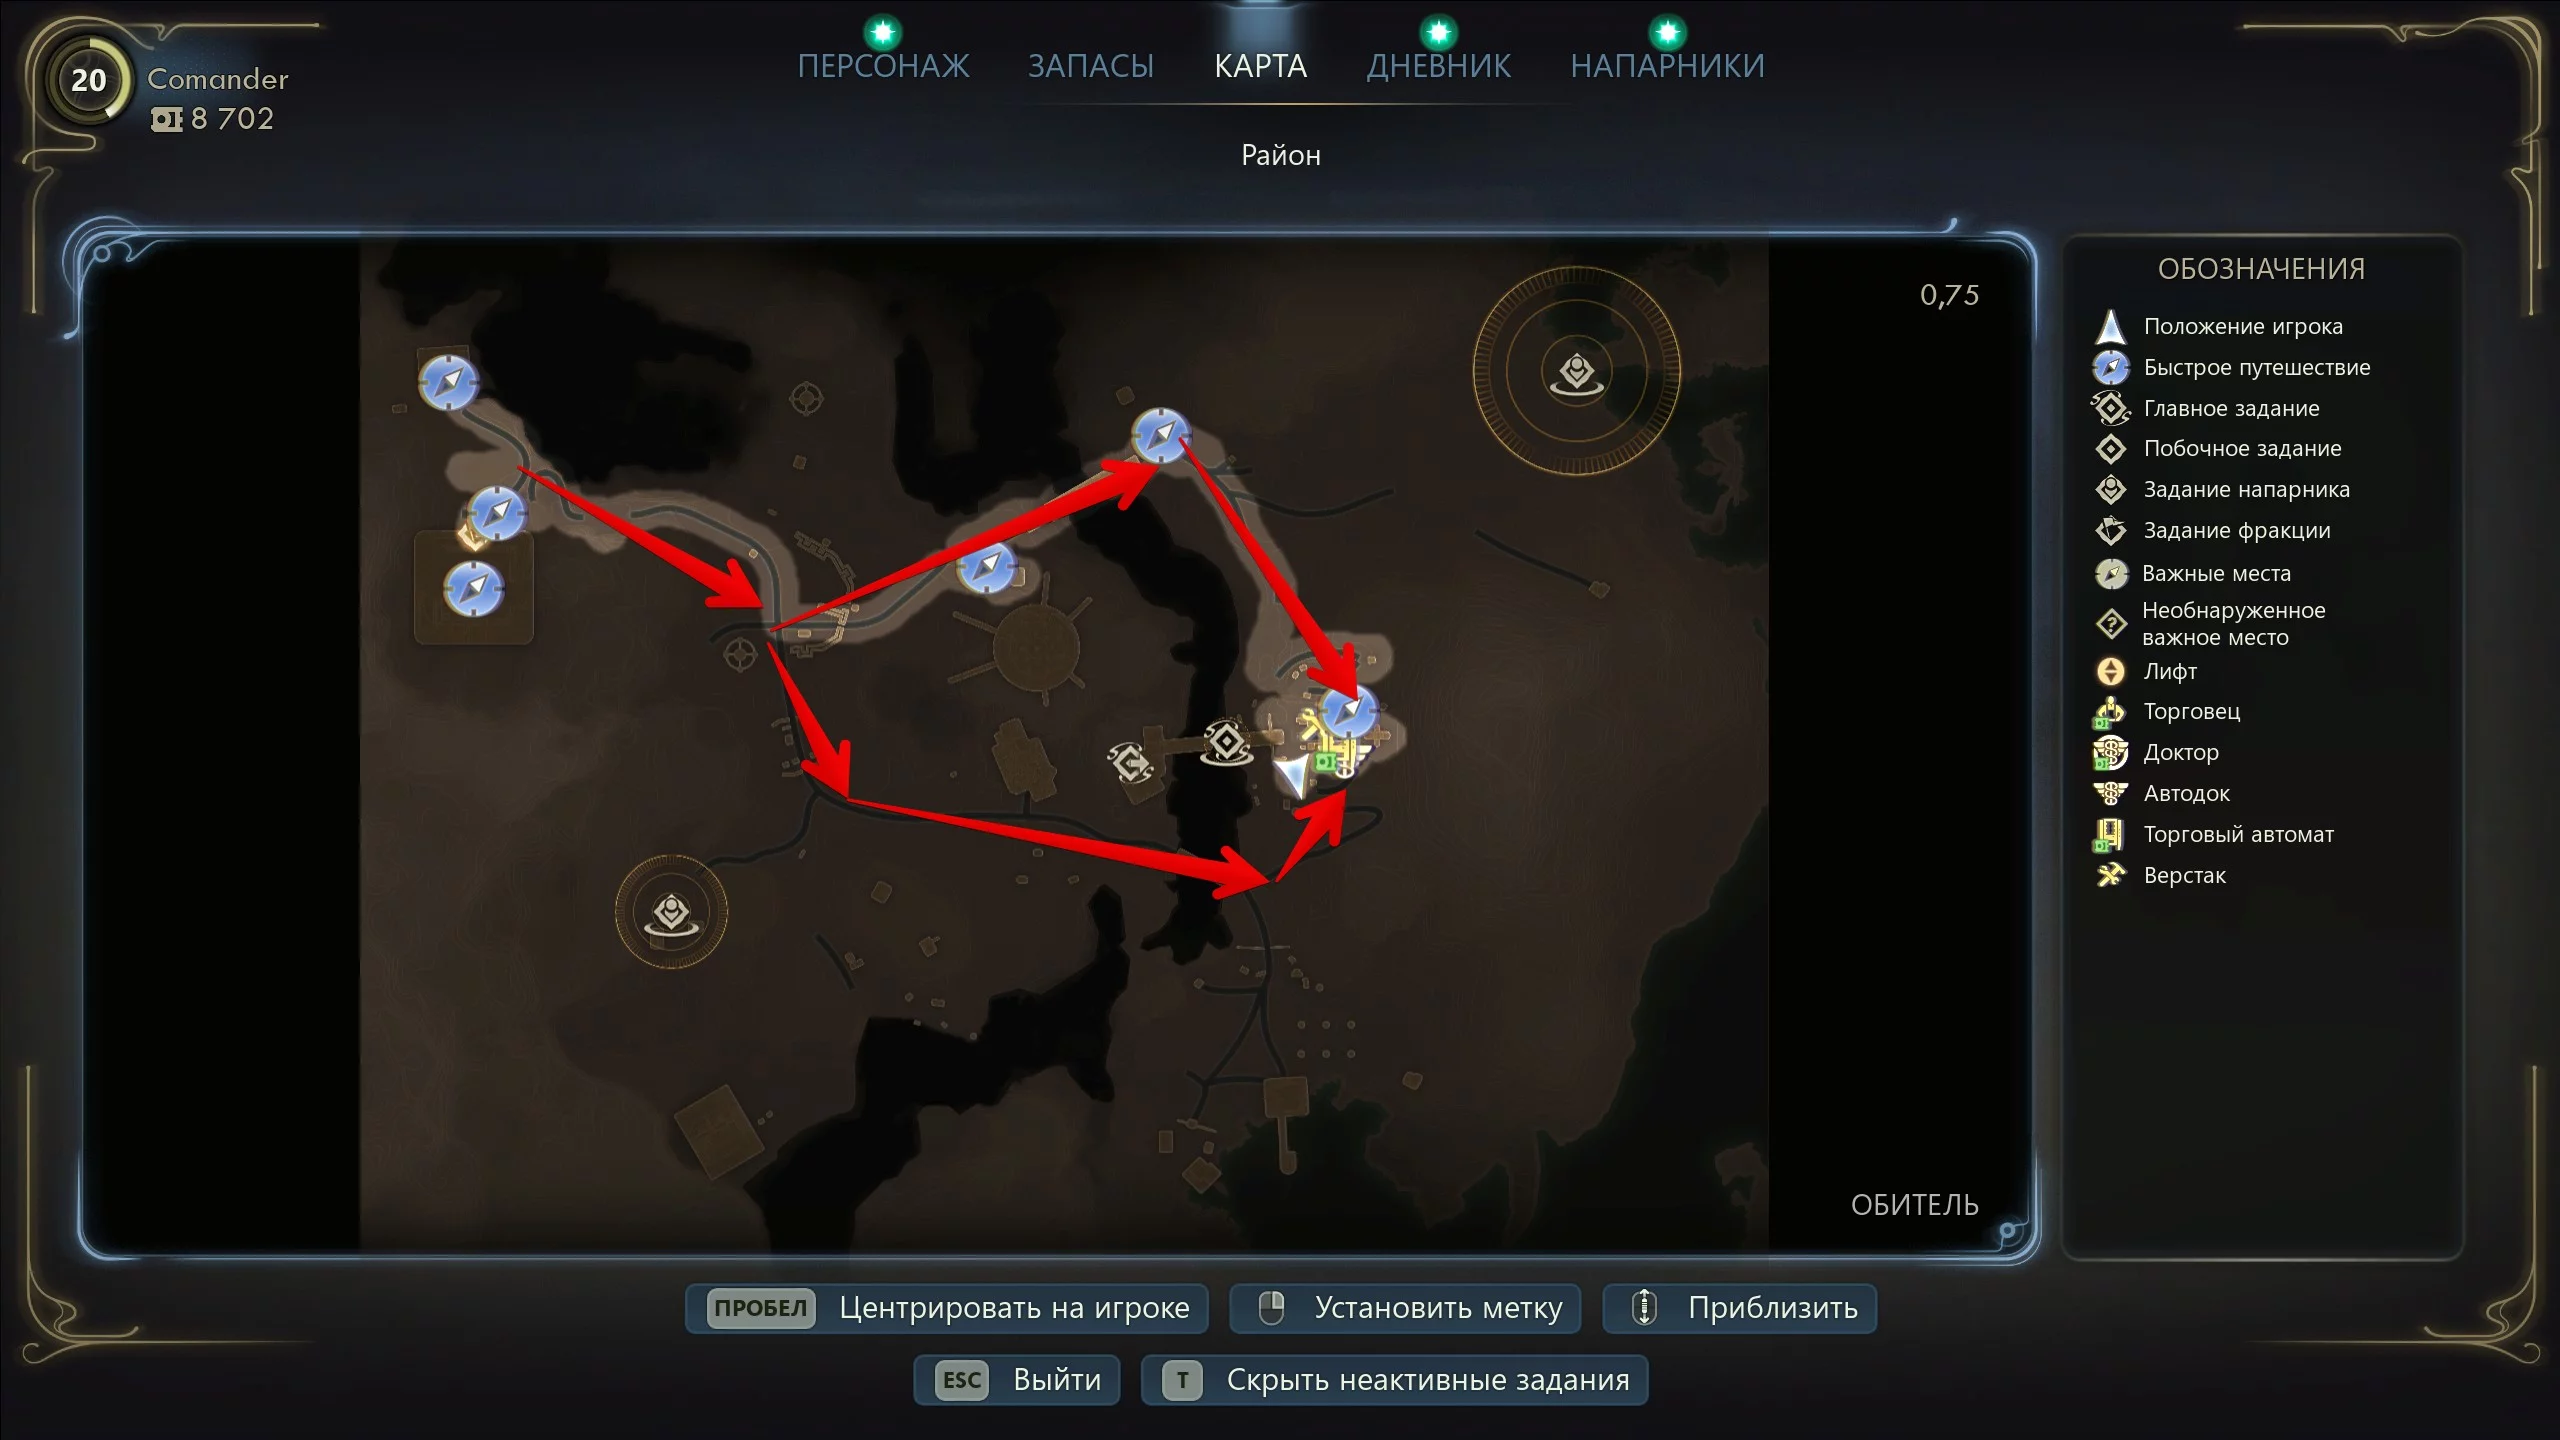
Now your task is to infiltrate the Vox Relay Station. To get there, you need to cross the bridge guarded by the Protectorate soldiers. There are six ways to reach the other side of the island:
- Fulfill the bridge commander’s request.
- Allow the commander to execute the ally Ines.
- Sneak behind the walls and lower the bridge secretly.
- Take the bridge by storm.
- Go through the western power station.
- Cross using the broken ship to the east.
In addition to getting to the other side of the island, you’ll also need to infiltrate the station itself. There are four ways to get into the Protectorate base.
- Convince the guard to let you inside the station.
- Weaken the station’s security and storm it or sneak in.
- Enter through the lizard den.
- Get in on your own, either unnoticed or by fighting your way through.
Before deciding which path to take, we recommend exploring all possible ways to get into the station, as some methods can lock entire quest lines.
How to Get to the Second Part of the Island
In this section, we’ll describe all the ways to reach the second part of the island.
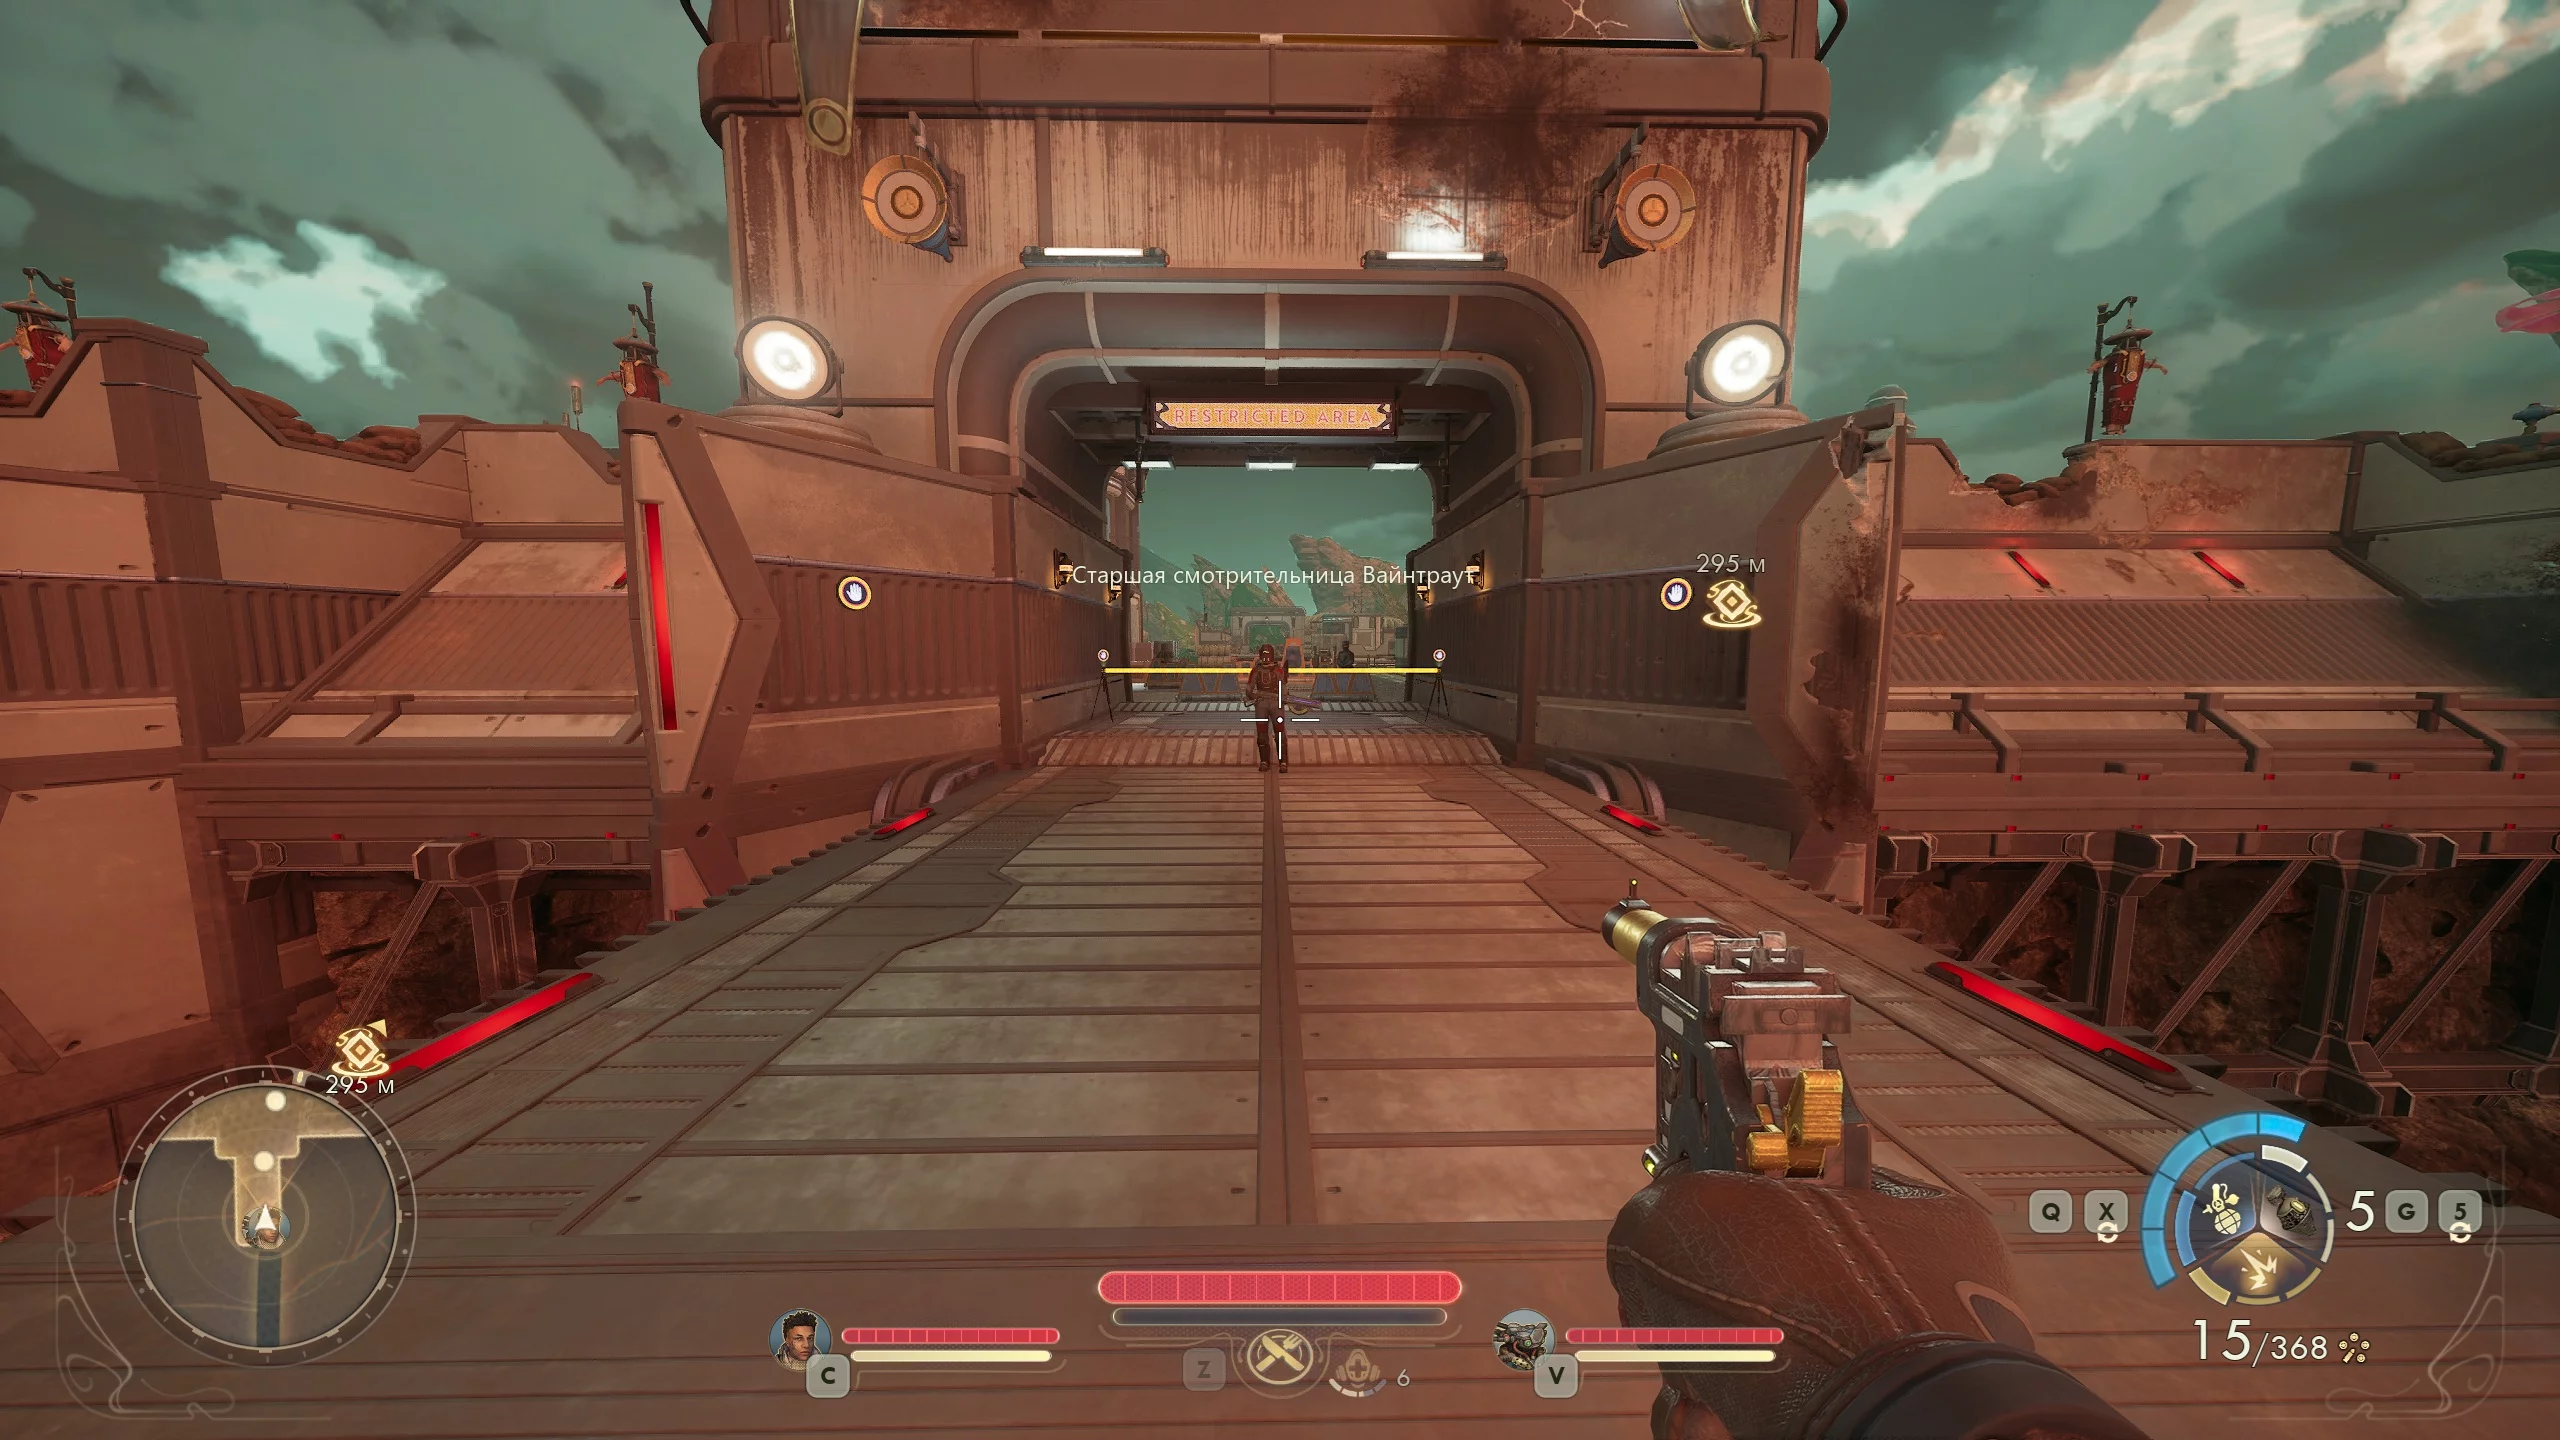
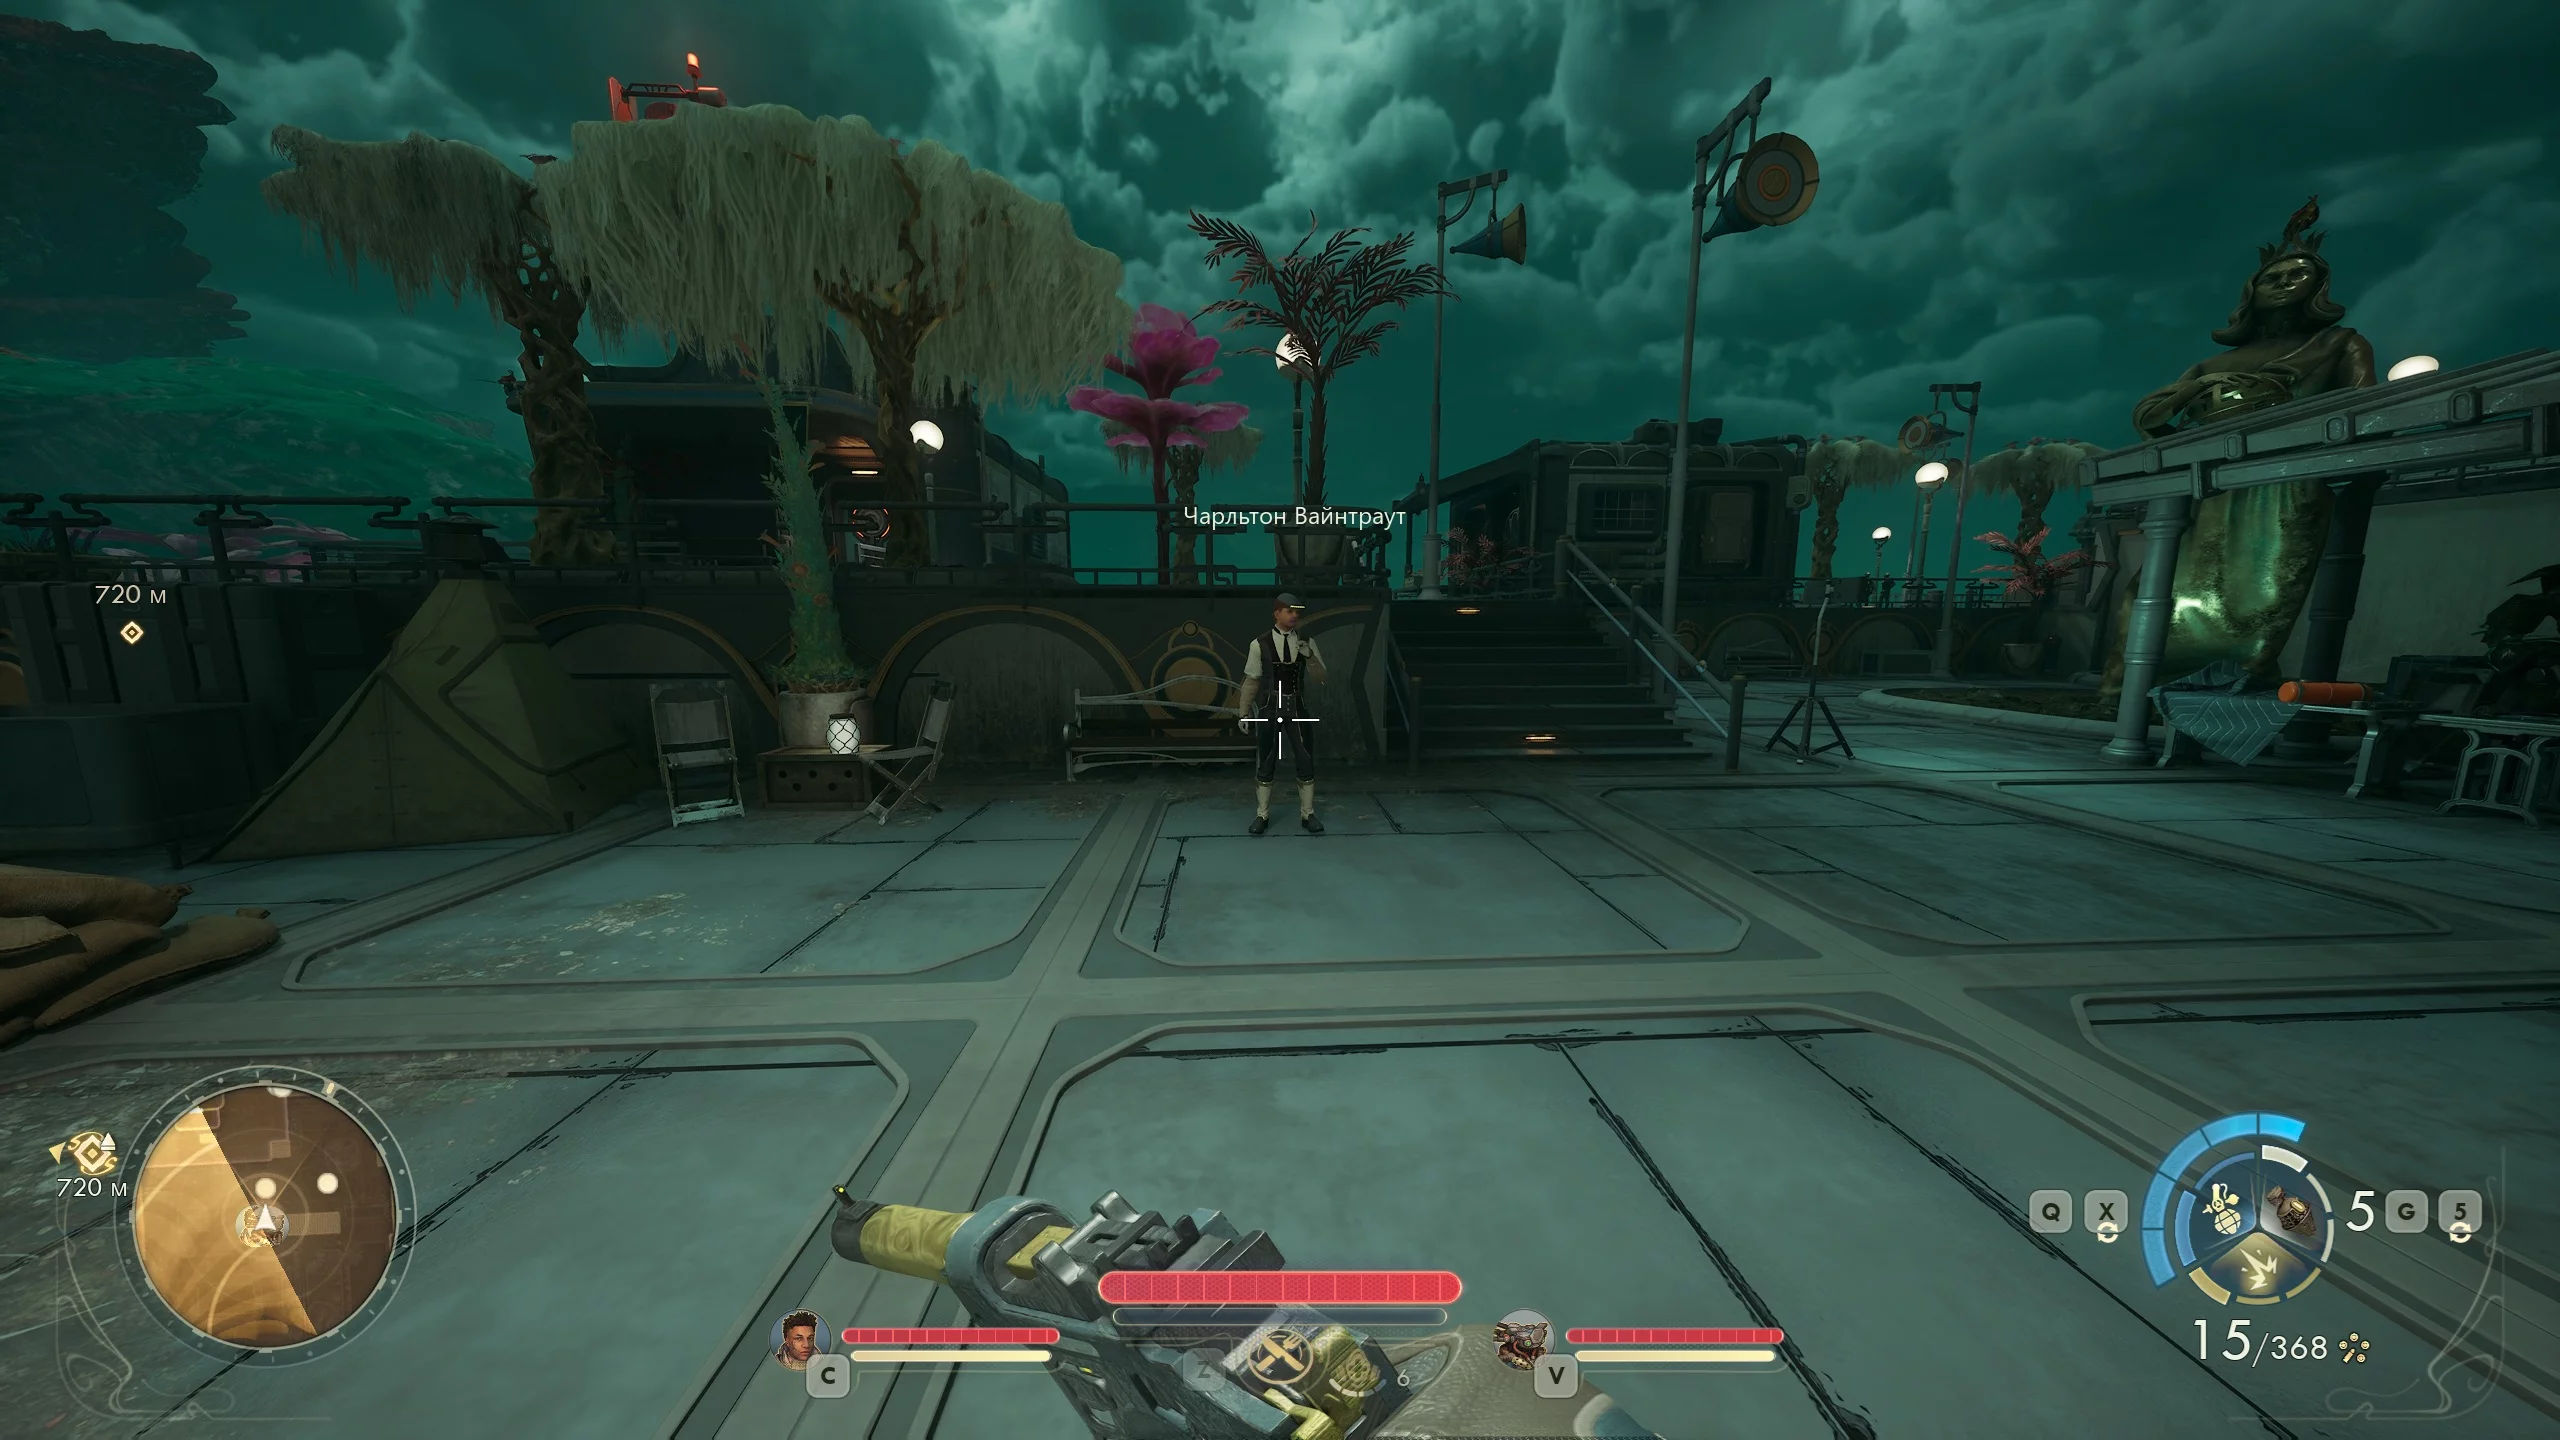
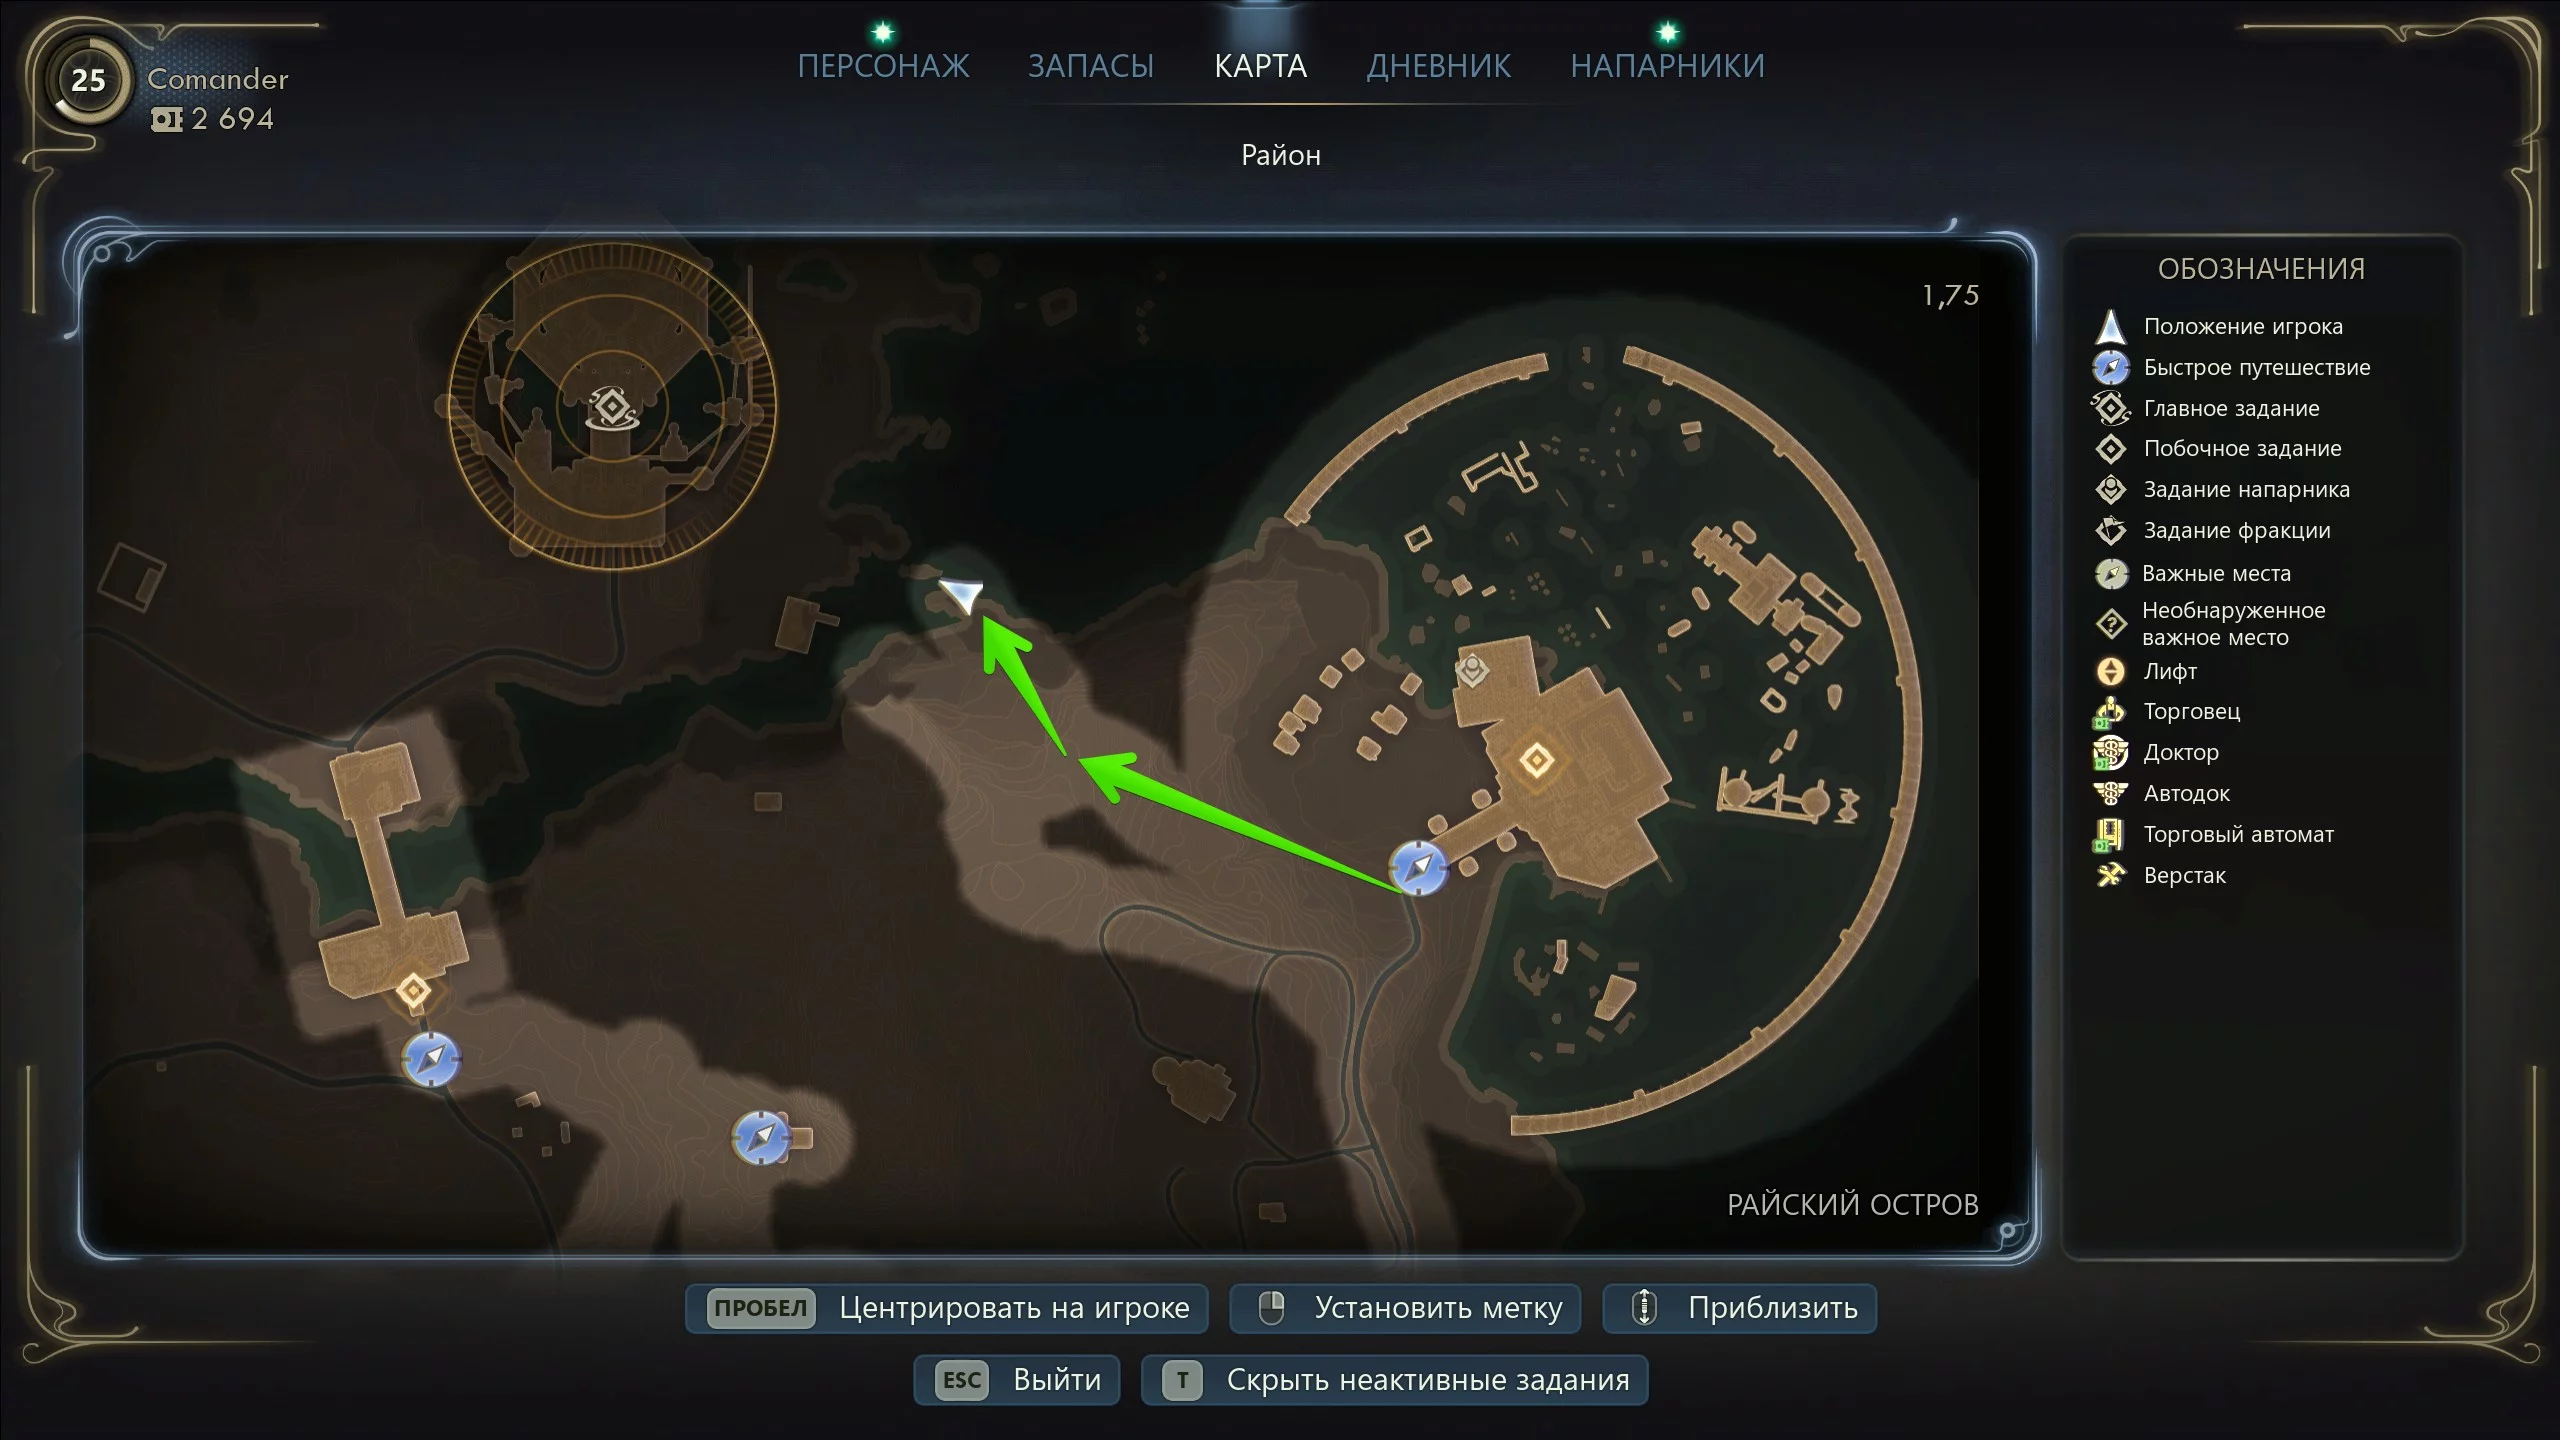
Deal with Weintraut
Head to the Bridge of the Reverent and talk to Senior Warden Weintraut. She will ask you to bring Charlton Weintraut and Ida Rutledge for execution. This will start the side quest For Whom the Bridge Tolls.
Ida Rutledge
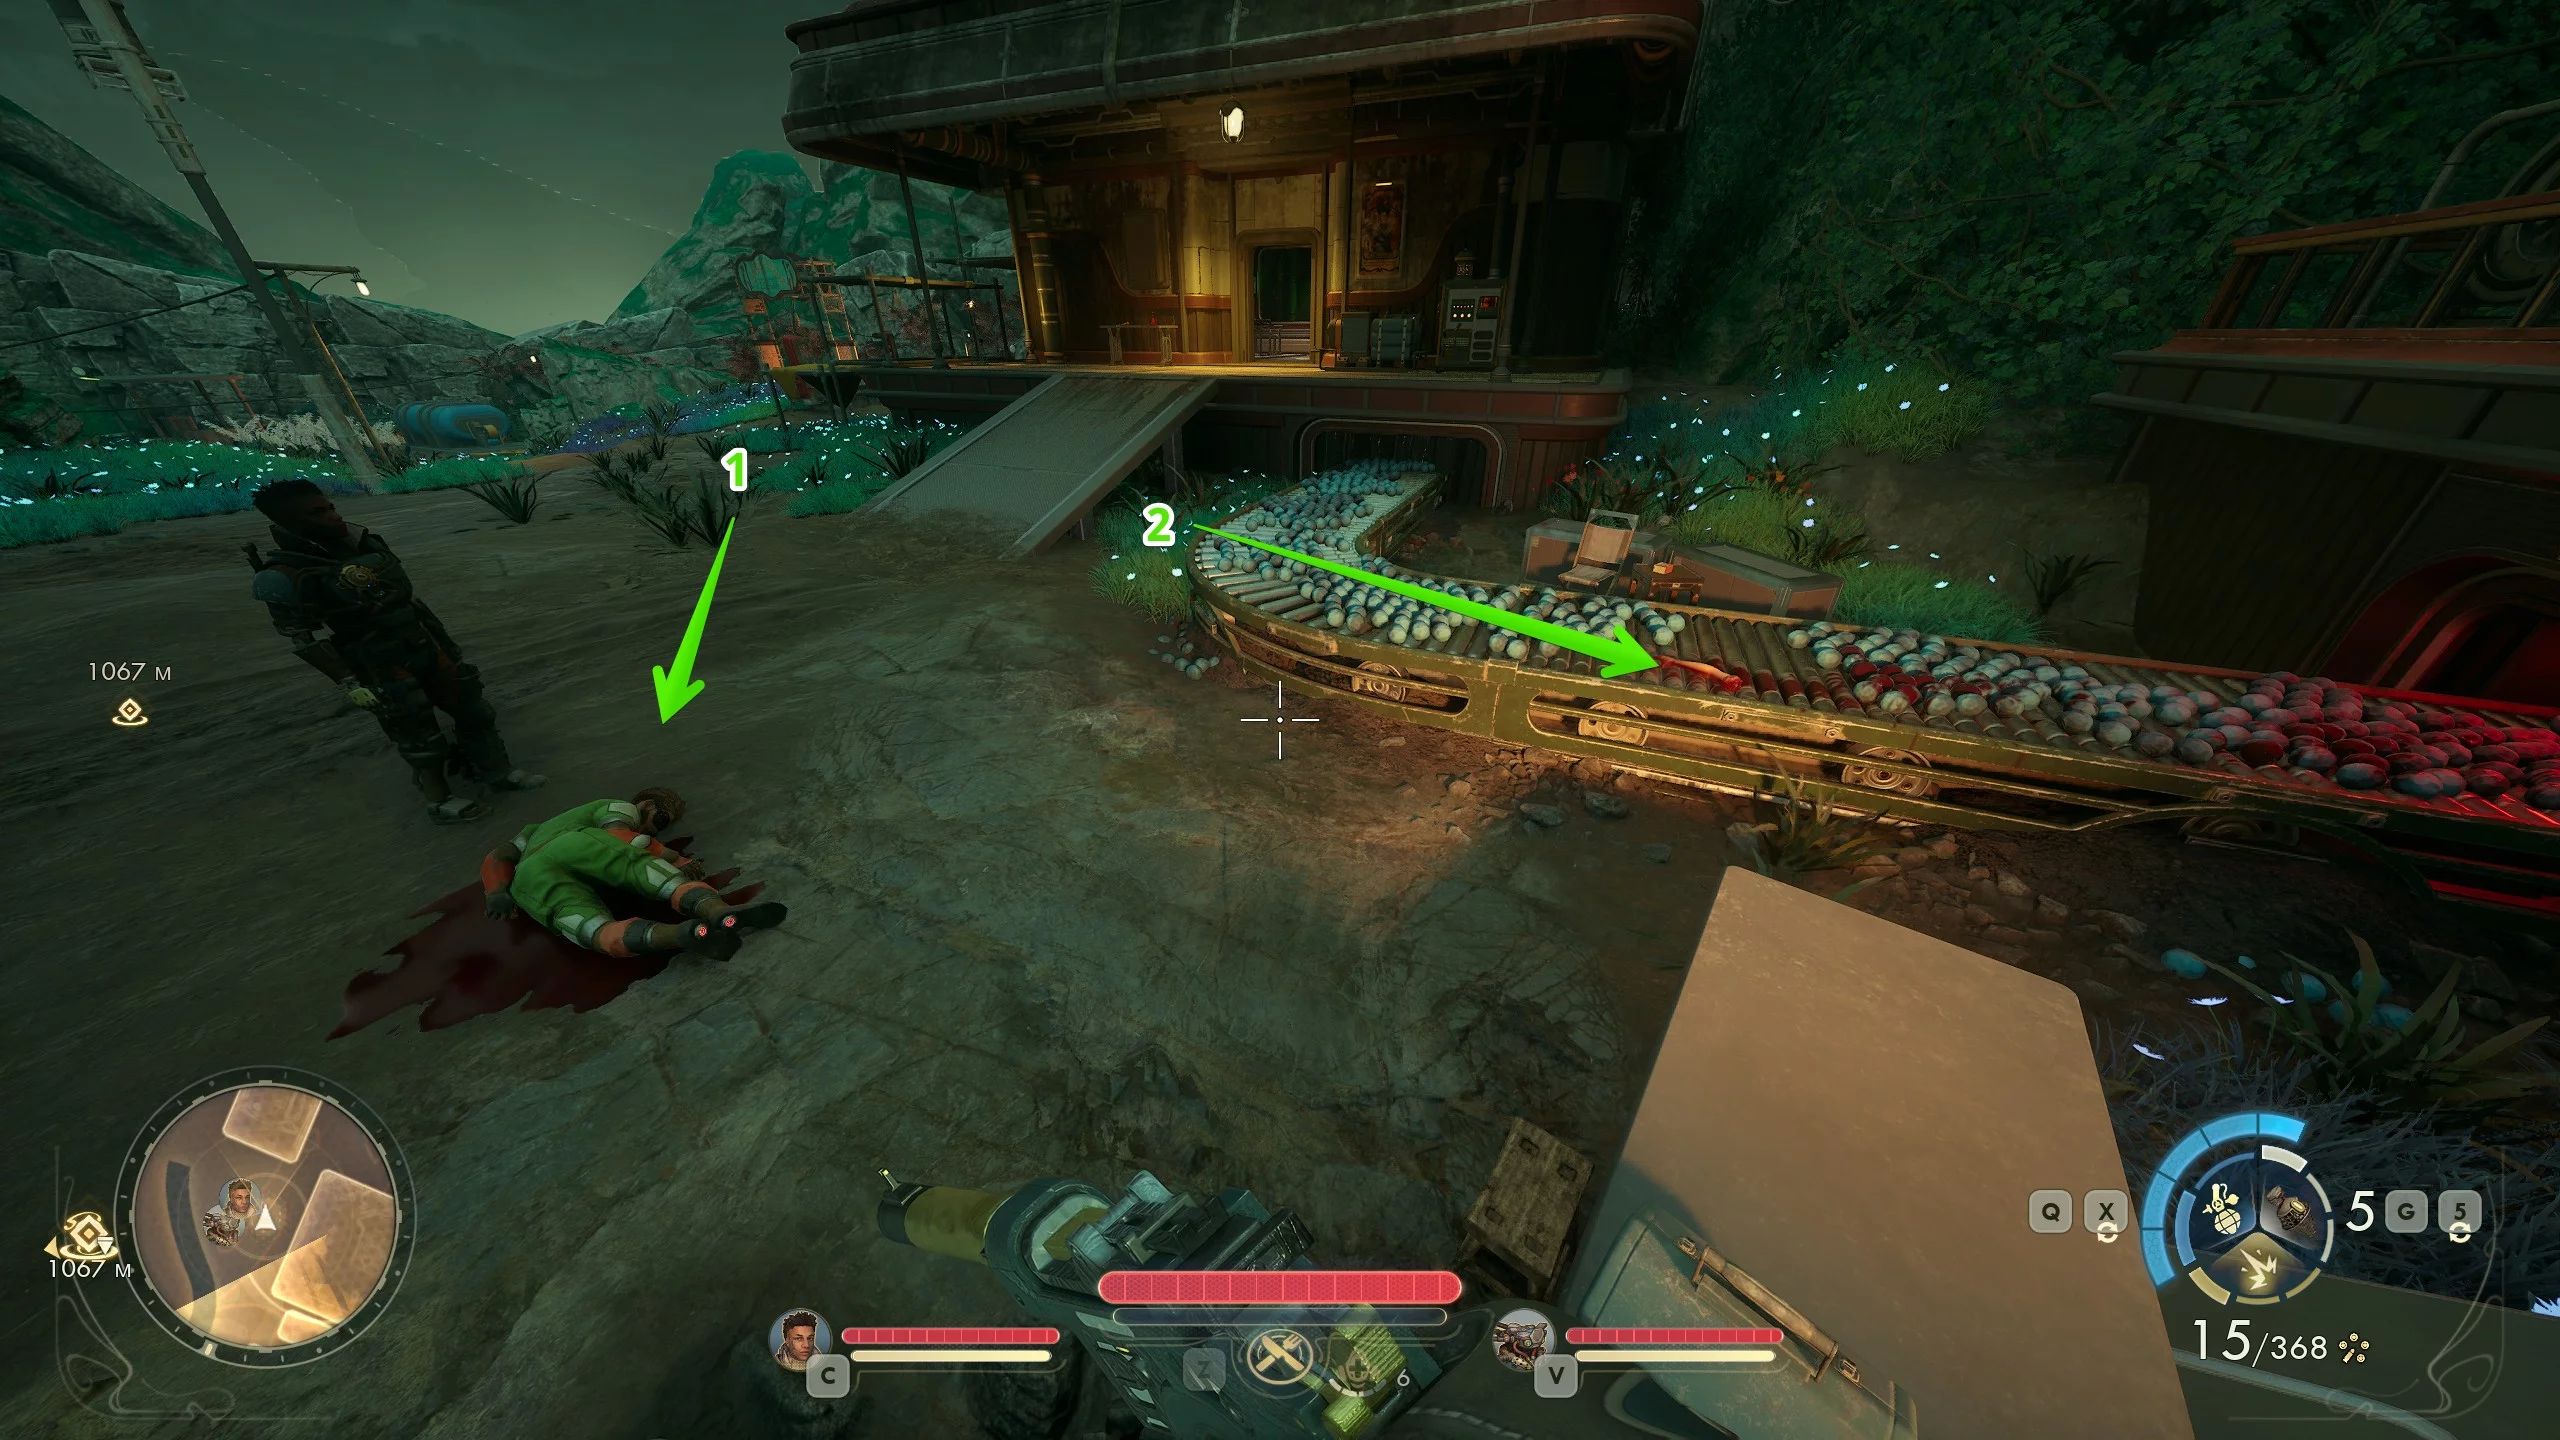
Return to the city and find the broken elevator in the east. To repair it, you need level three in the engineering skill. Otherwise, go around the rocks on the right side until you make your way up.

Approach the platform where a man will fall. Pick up the P.I.P. device from his body, which allows you to double jump. The people above will ask for help — it's up to you whether to save them or not. For the current quest, pick up the severed hand from the conveyor belt, which belonged to Ida, to use it as proof of her death.
Charlton Weintraut
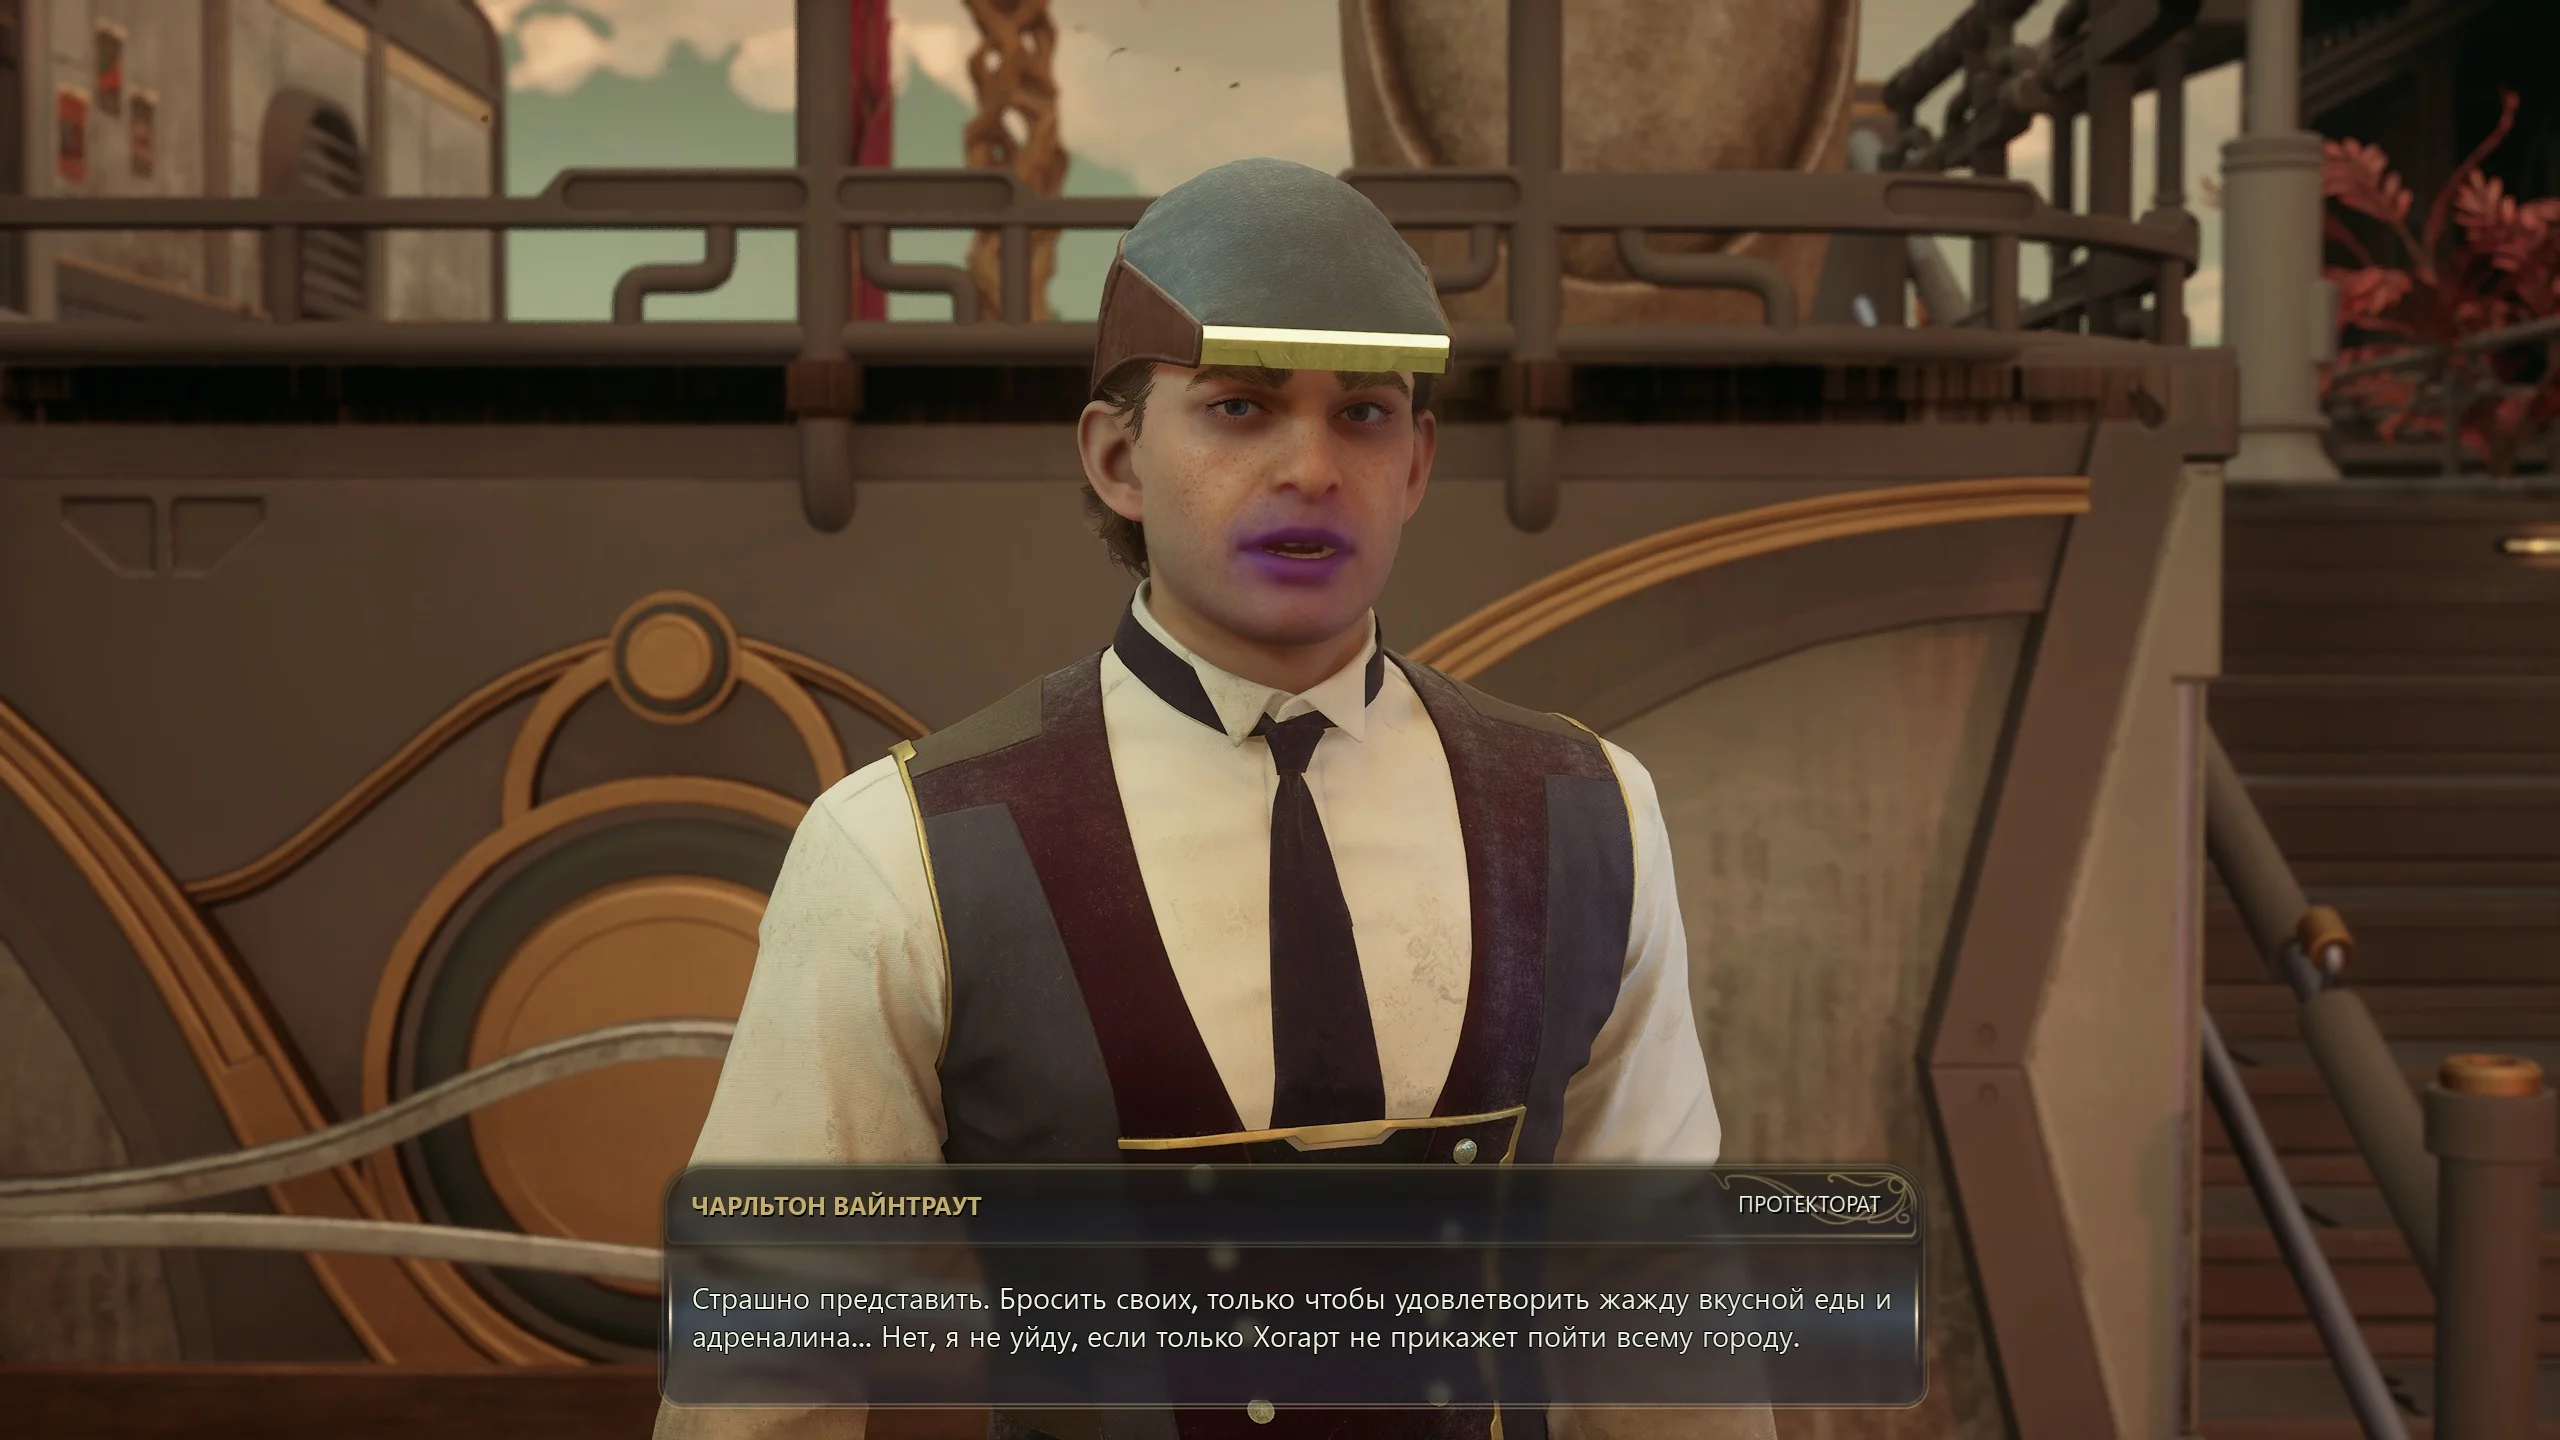
Head west to the flooded city of Westport, but first find Charlton’s house in the northwest, the third one on the right. Inside, you’ll find evidence of his addiction to Tethys Cosmos purple products. There are also records about this in his terminal.
Enter the city and find Charlton standing near the stairs leading to a huge mansion. Talk to him about his addiction to the purple flakes. Now, using the Speech skill, convince him to go to his sister at the Bridge of the Reverent.
Return to the crossing and start a dialogue with the warden. No matter which phrase you choose, Charlton will be hanged. Then show her Ida’s hand, and the passage will open. It's important to understand that this decision will greatly worsen your relationship with all your companions.
Sacrifice a Companion
This option is available if Ines Silang is in your party. Bring her to the bridge and offer her to the warden as a sacrifice for execution. The passage will open, but you will permanently lose the warrior and Niles, who will refuse to accompany the hero.
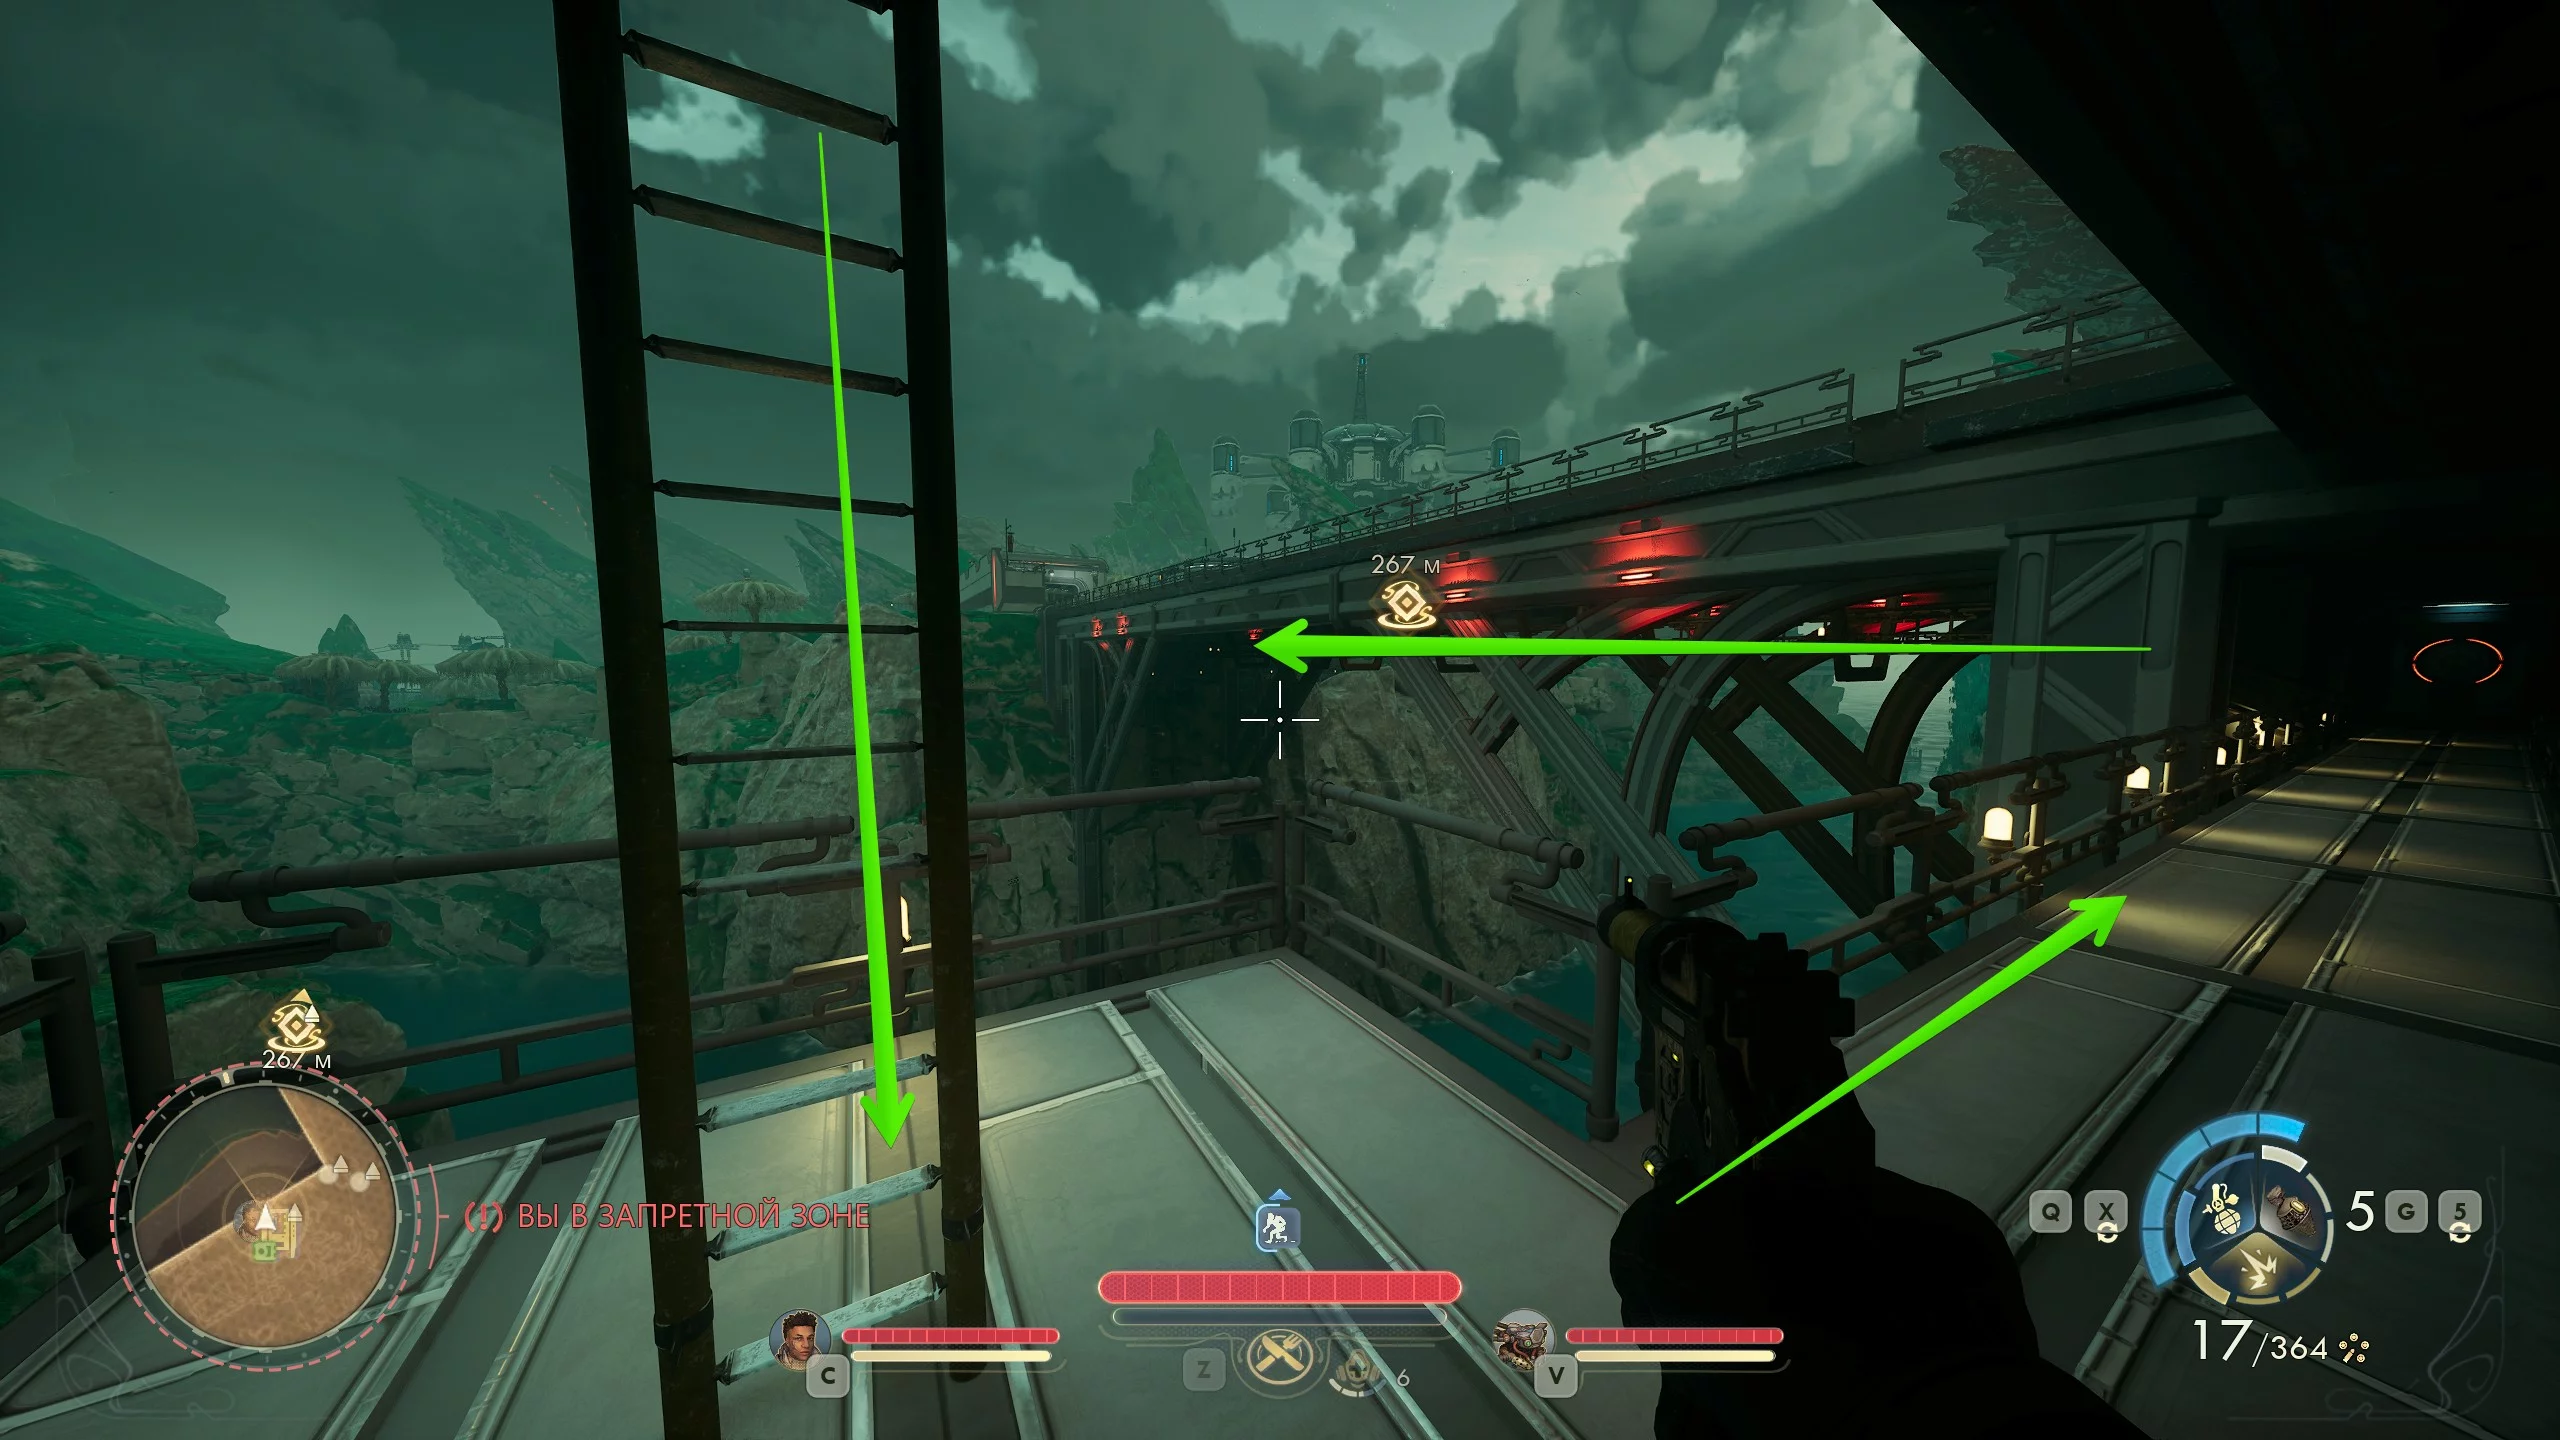
Cross the Bridge Unnoticed
There is a deep moat in front of the bridge. The ladder to it is on the left side, but keep in mind that the area is littered with mines. On the left, you’ll find a crawlspace under the wall, which will get you onto the inner territory. However, keep in mind that you will be fired upon as soon as you are seen.

Enter the building, climb to the second floor, and you’ll find yourself in the control room. To lower the bridge, use the lever and immediately climb up the boxes, because soldiers will rush into the room. When performing stealth kills, don’t forget to hide the bodies.

Exit through the ventilation shaft onto the roof and climb down to the ground. Go around the building to the left and use the ladder leading down. Now you can cross the bridge using the lower technical passage. Don’t worry, there won’t be any soldiers on the other side.
Storm the Bridge
This is one of the simplest options. However, keep in mind that there are many soldiers, and they are actively assisted by automatons. If you decide to go for this adventure, gather as much ammunition and as many grenades as possible. The main objective is to get to the control room and lower the bridge using the lever.
Jump Across the Shipwreck
Obtain the P.I.P. at the Sovereign's sweet spire grove to the east of Farfield. Now head to the road intersection before Westport and find a narrow path leading up the hill. Follow it, taking out animals along the way, until you see the wreckage of a fallen ship on the right.
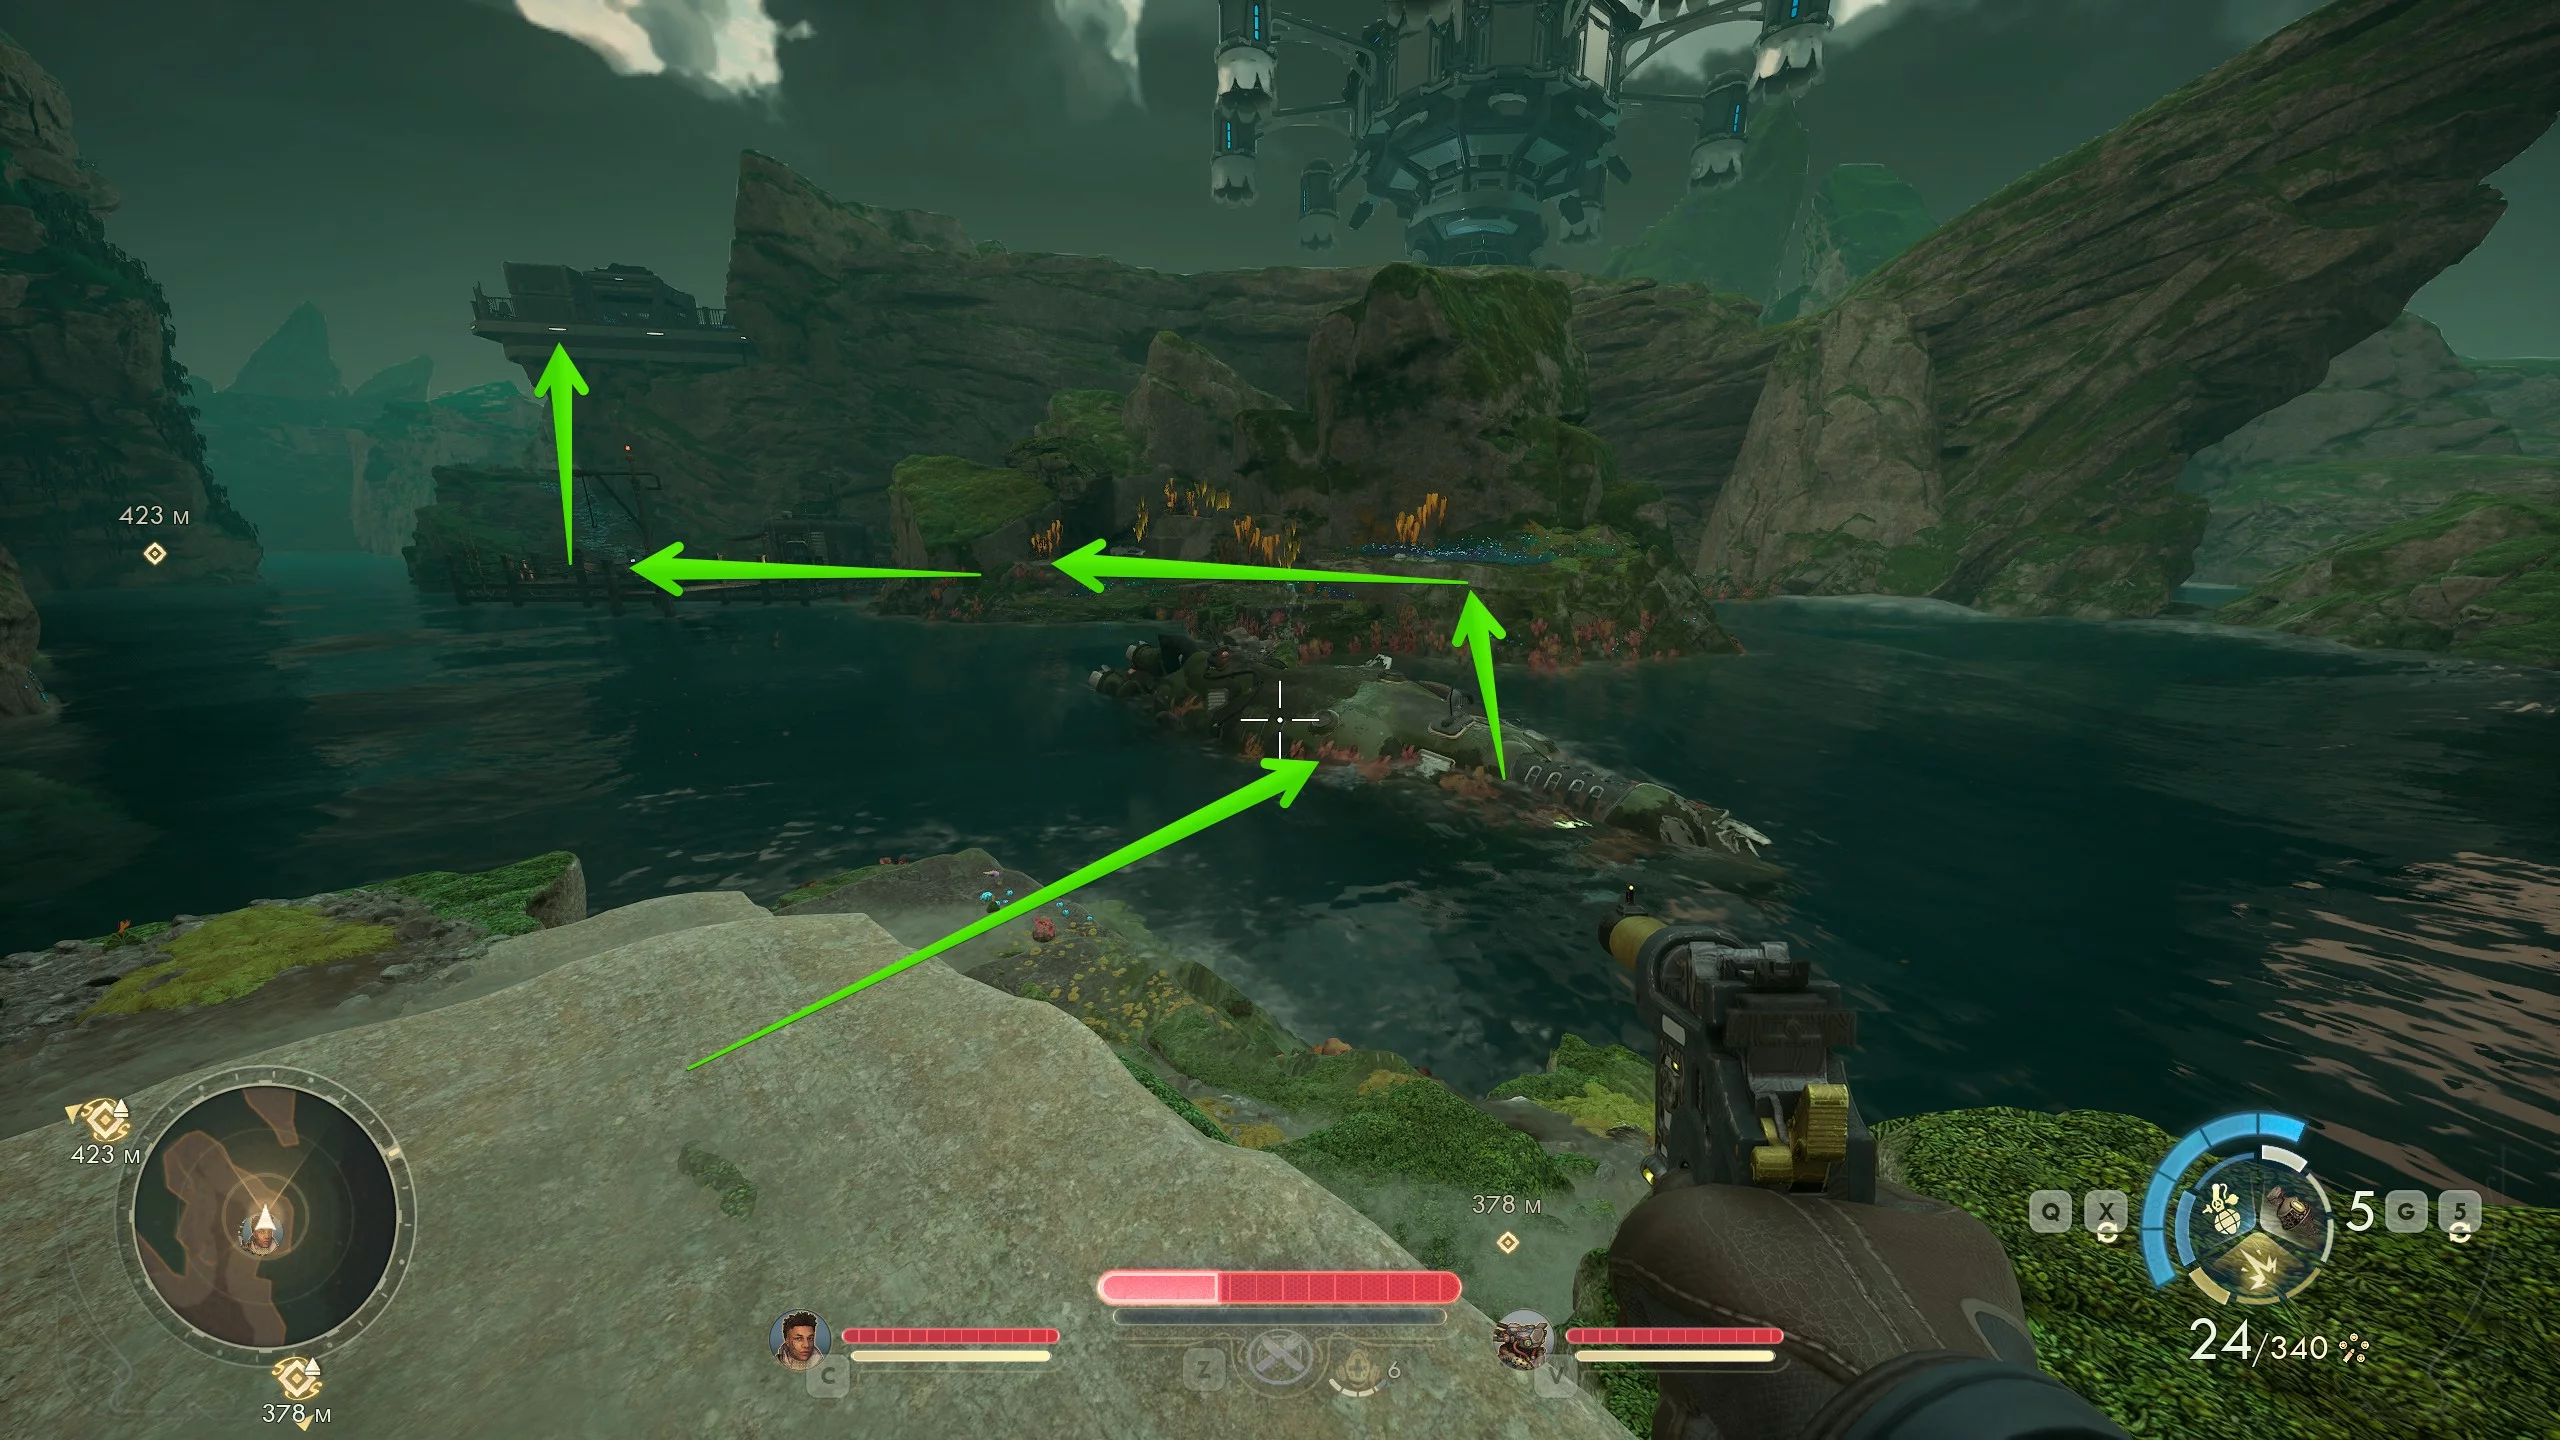
Climb down to the wreckage and use the double jump to get to the second part of the island, then ride the elevator up. This way, you'll end up in a small area near the Vox Relay Station. Note that if you took the quest from the doctor at Niles' request, there will be soldiers there.
Cross Through the Power Plant
To the east, there is a passage near the wind power plant, but it is filled with zyranium gas sources — a poisonous gas. Therefore, we recommend first going to the Ministry of Veracity. To get there, leave the city to the west and follow the path forward. Meet Ines and go up to the second floor, then use the terminal to print a pass to the repair center.
Follow the western road and before the turn to Westport, go right. Approach the repair shop and talk to the guards. To get in, use your engineering skill or show the printed pass.
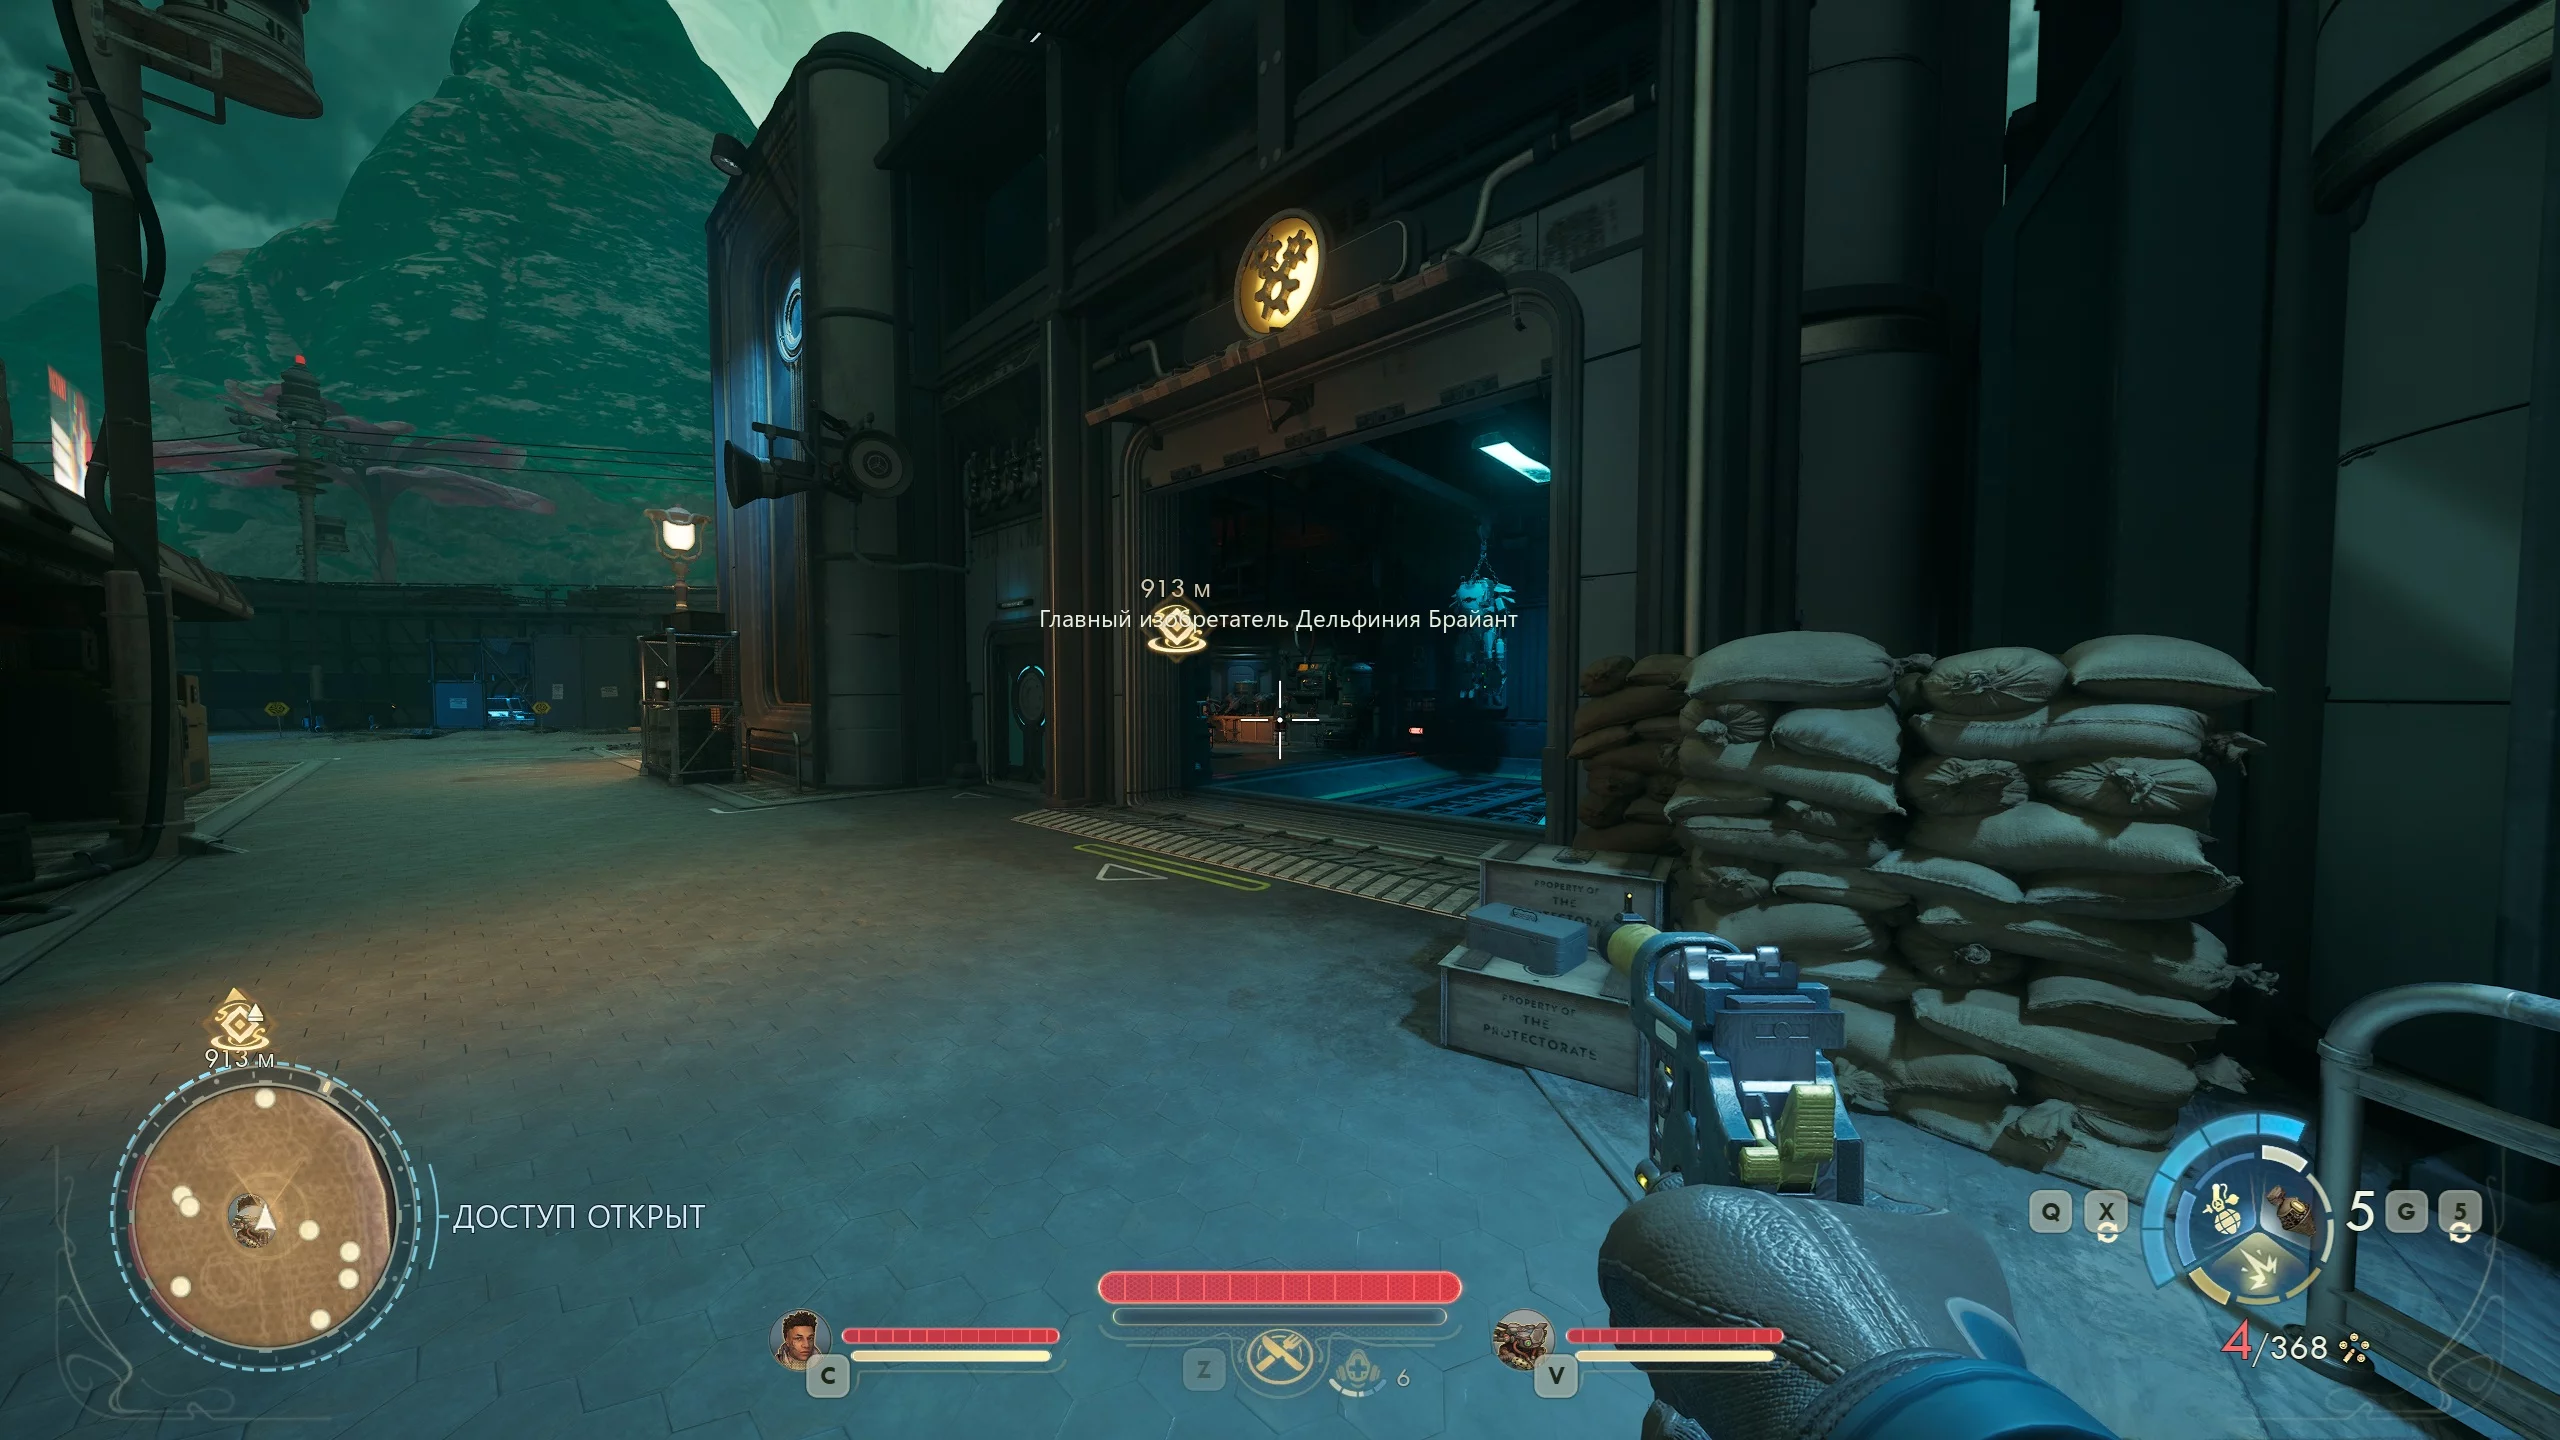
In the first mechanical block, find Chief Deviser Delphinia Bryant. She will tell you that she is developing technology to protect against harmful fumes and will give you a Zyranium collector. This will start the quest An Aegis Against the Miasma.
Leave the repair shop, turn right, and to the left of the rift, find a green cloud in the main building. Collect zyranium with the collector and return to the inventor. Just keep in mind that you shouldn’t get too close, or you’ll suffocate from the poisonous fumes.
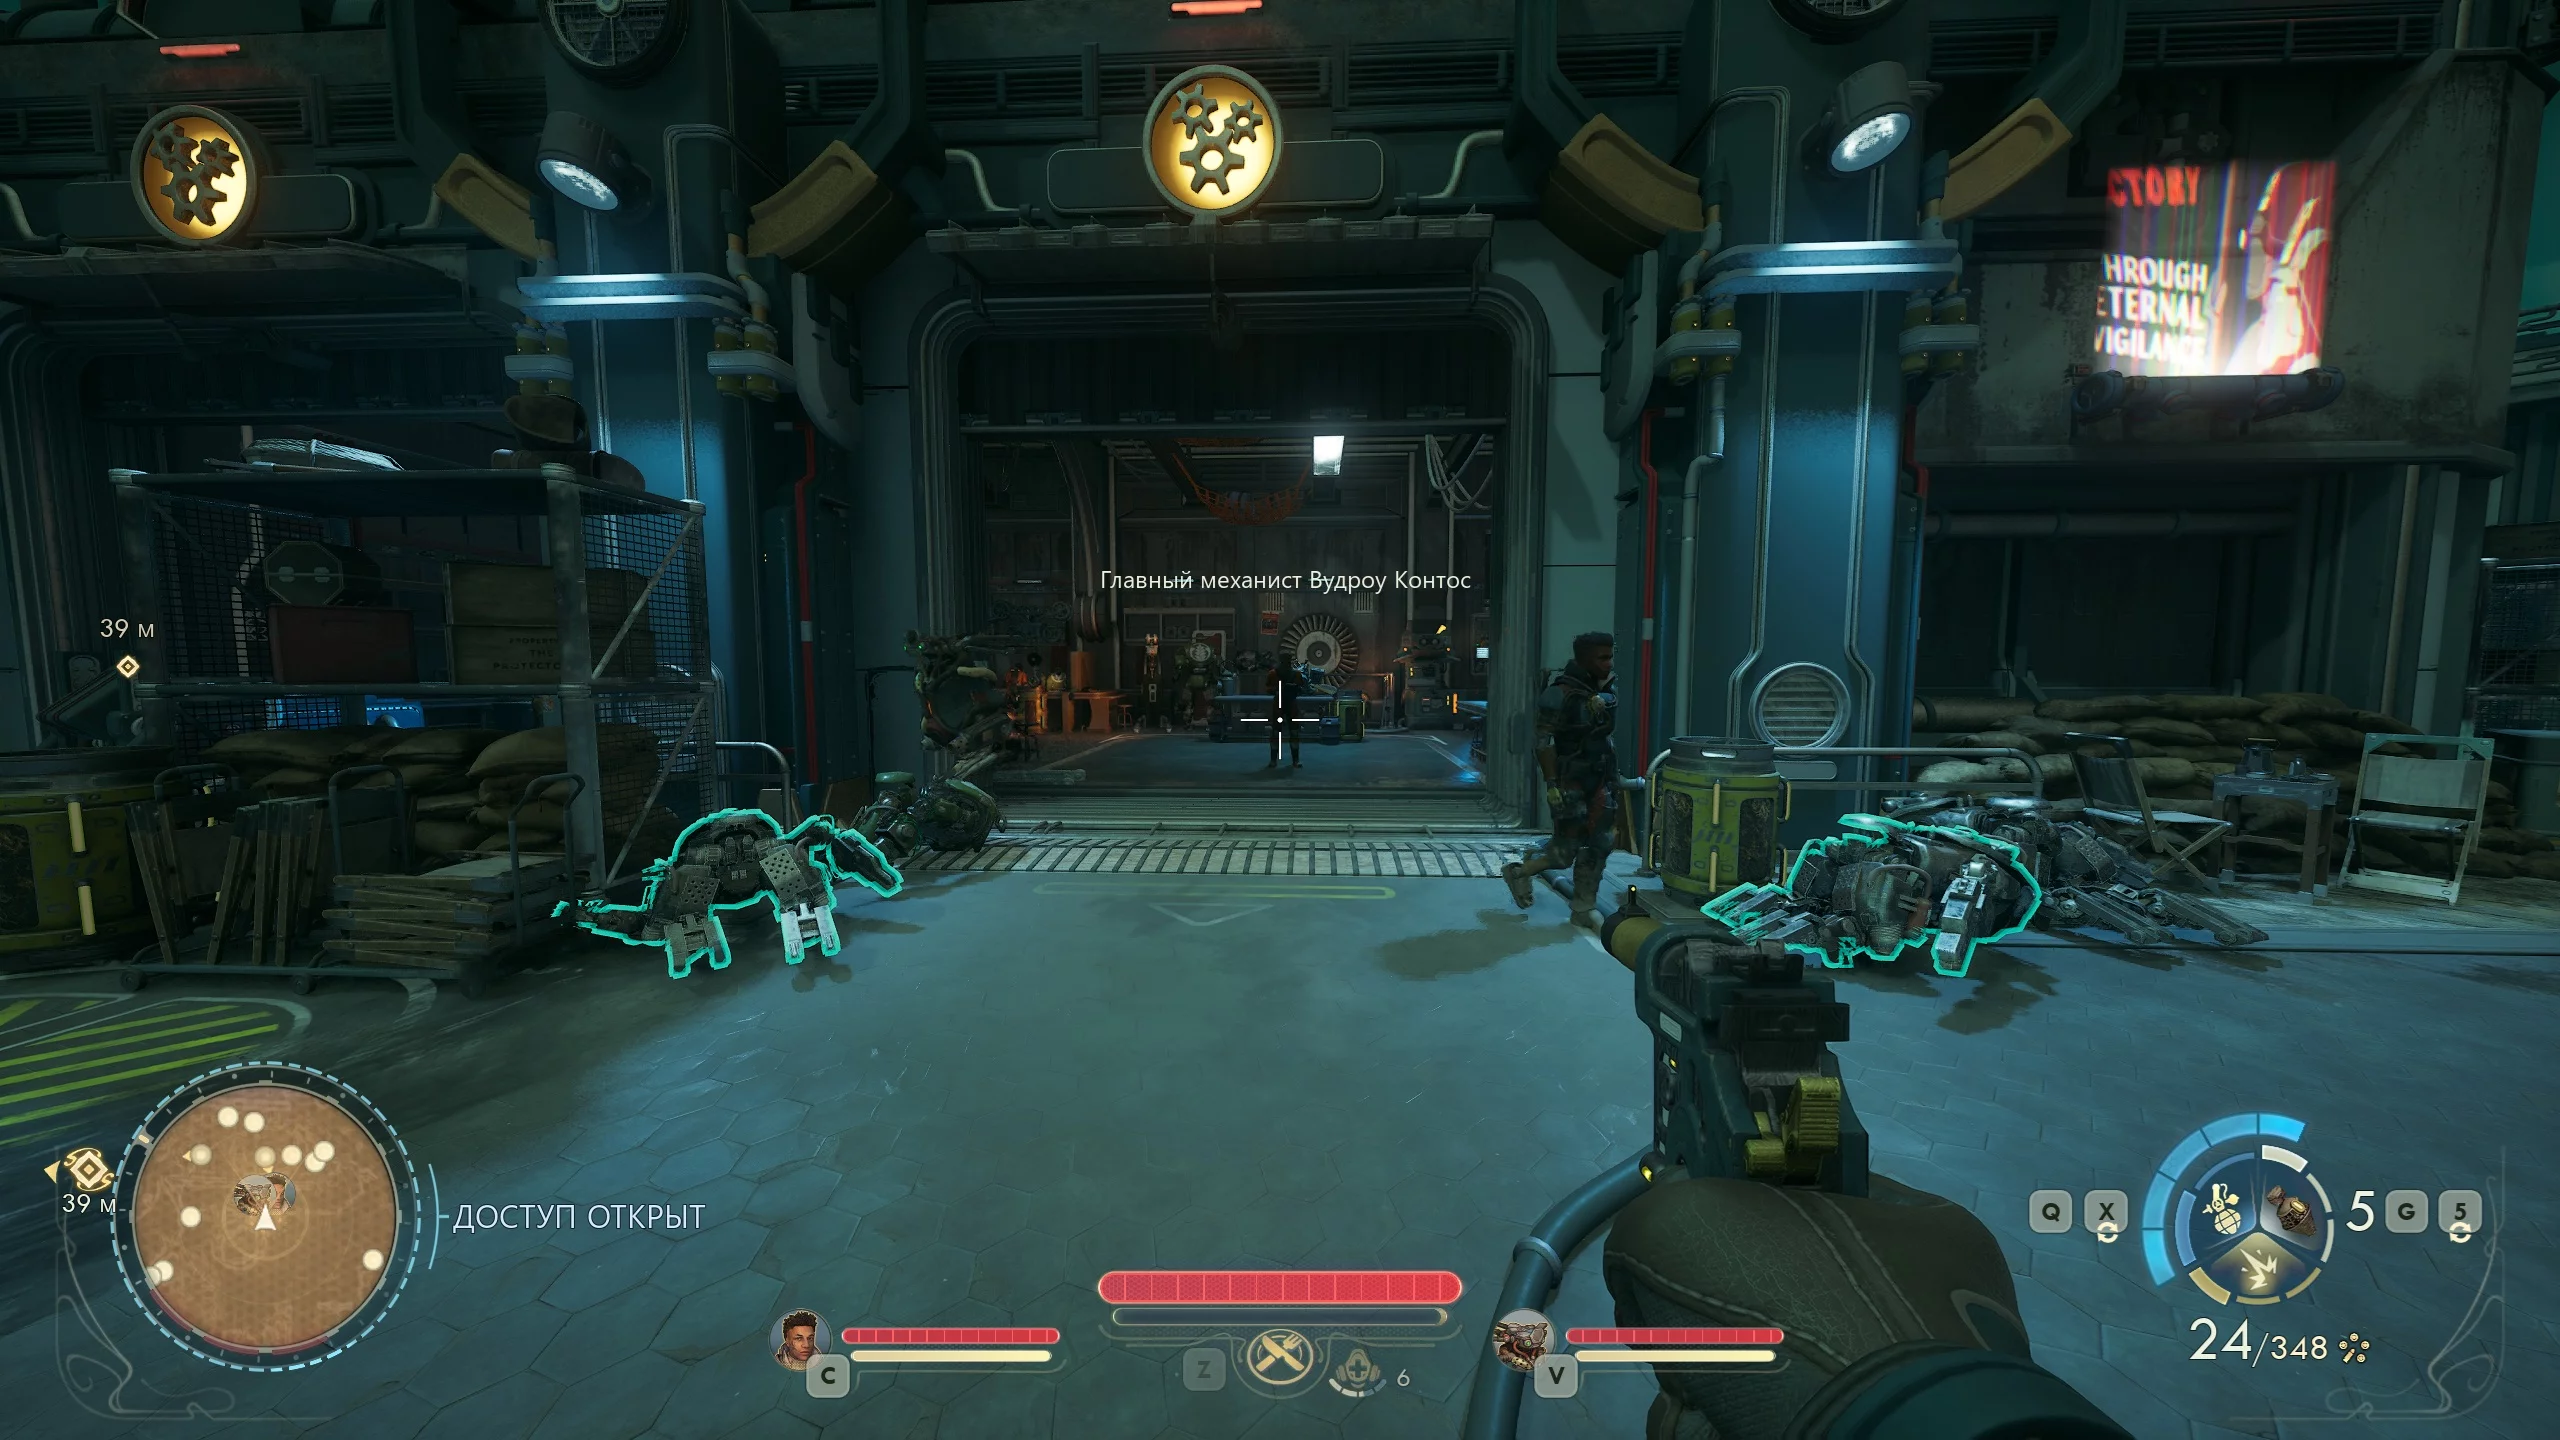
Now you need to find a Catalytic Amplifier. The part is with the dragoons, the combat robots. To get it, talk to Chief Mechanic Woodrow Contos in the neighboring block. You can convince him to give you the part by using the Leadership skill.
Otherwise, you’ll have to look for a dragoon outside the complex. The machine is lying near the shore, surrounded by crabs. You can also go up to Marshal Donelson's office and look for compromising material on the chief mechanic in the terminal. Don’t worry, the marshal won’t react to this in any way.

Return to Delphinia with the part and receive the Gas-Energy Deflection Apparatus. While it's active, zyranium fumes won't harm you. Now you can head to the Skycutter A102 wind power station.

The giant wind power station is located in the west. To reach it, follow the road towards the Ministry of Veracity. Then turn toward the shore and find a path leading north. Cross the two most dangerous zyranium sections and you'll end up on the other part of the island.
In theory, you can avoid using the protective gadget at all. However, in this case, you probably won't make it across the poisonous zyranium fumes in time.
How to Get to the Vox Relay Station
In this section, we’ll describe all the ways to get inside the Vox Relay station.
Convince the Guard to Let You Inside
There are two ways to get a document that can convince the guard to let you directly into the station. Help Minister Milverstreet or Patron Hogarth.
Minister Milverstreet
Enter the town hall and, as soon as the call with Auntie Cleo ends, agree to help Milverstreet. This will start the quest A Refreshing Bit of News. You need to go to the Ministry of Veracity and find out how the Protectorate’s "Mental Rehabilitation" technology works.
Leave the town hall and turn right. Find the path leading out of the city and follow it straight until you reach a complex inhabited by hostile animals.
Once inside the main building, meet with Ines Silang. Climb to the very top, fighting your way through reptiles. Jump into the square hatch and interact with the terminal. Now you can return to the minister; to avoid retracing your steps, leave the building, open the menu, and fast travel by clicking the blue compass icon next to the city.

Approach the minister and watch as he fires Ines. Give him the Protectorate documents and listen to the next assignment. In the east, there is the settlement of Westport, and you need to convince all the residents and the leader to relocate to Fairfield. This will start the quest The Brain Benders of Auntie's Choice!.
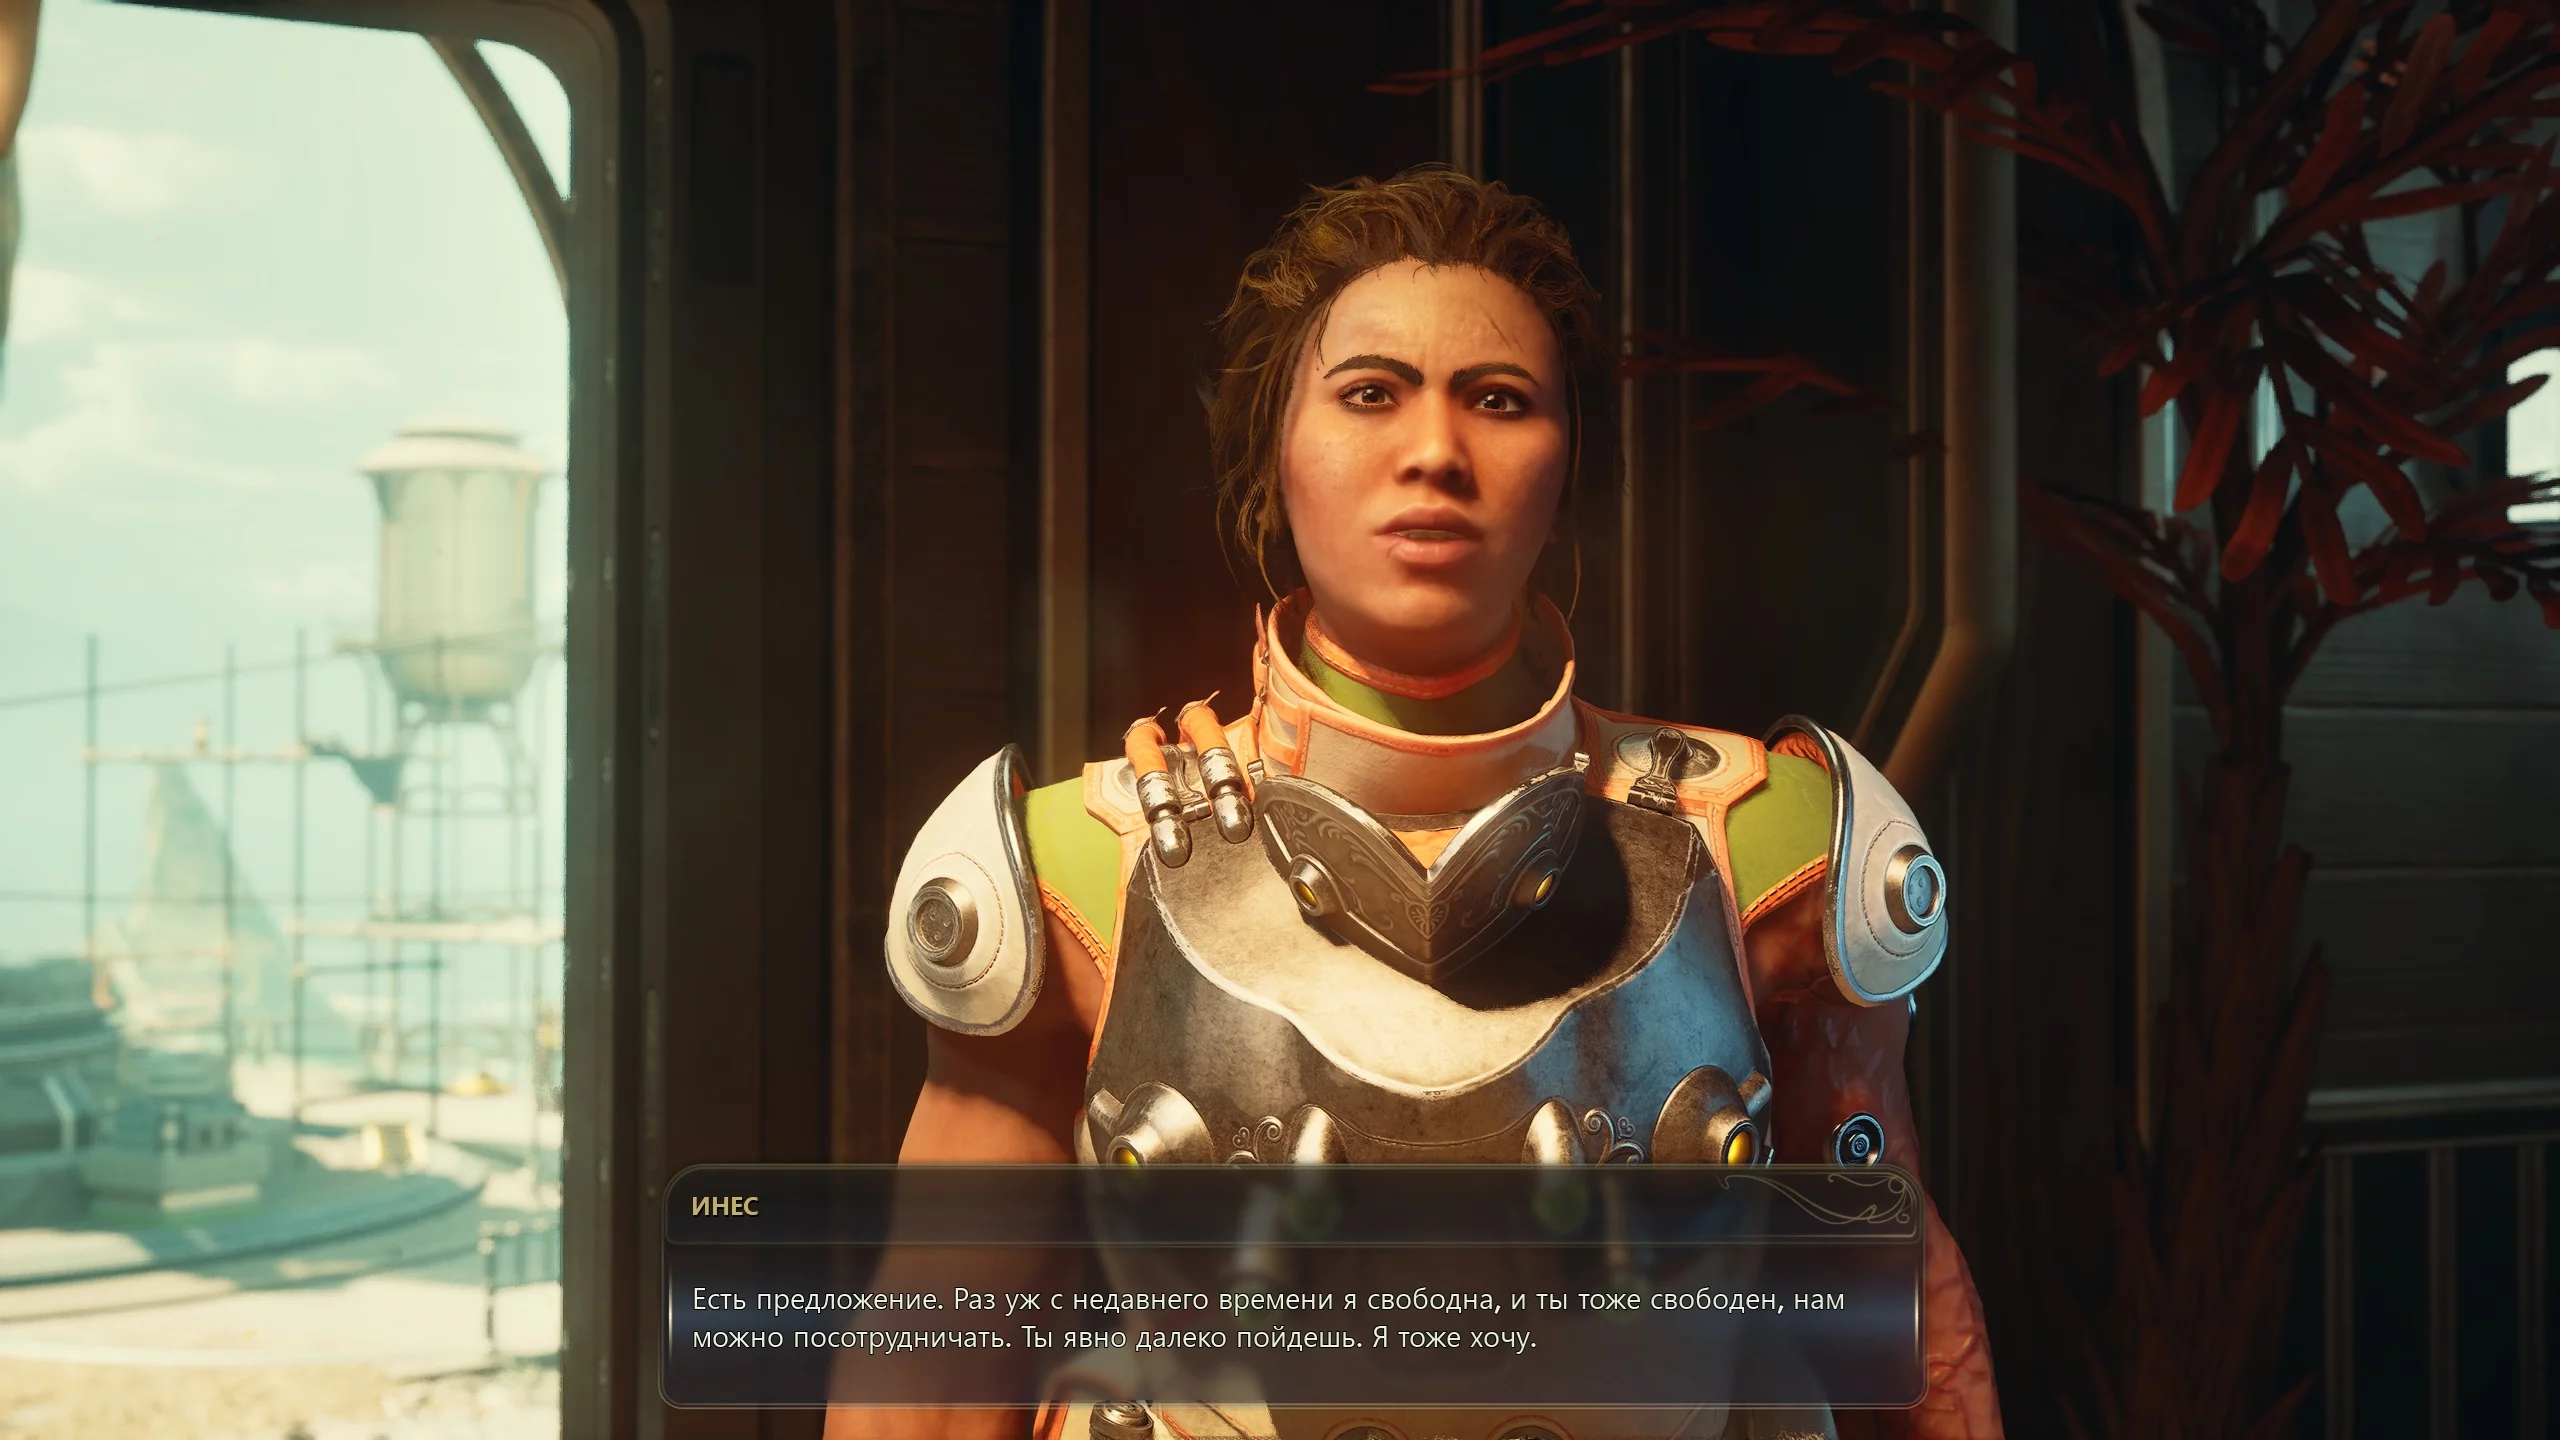
As you leave the town hall, Ines will be waiting for you. She will ask to join your party. You don't have to accept, but it's recommended to take her along. In this case, you'll have to send one of your companions back to the ship, for example, the robot.
Leave the city and head east until you see the sunken city. Find Patron Hogarth on the balcony of the main building. Attempting negotiations will be fruitless. Moreover, the leader of Westport will offer his own way to cross the bridge. Refuse to participate in order to continue the minister’s questline.
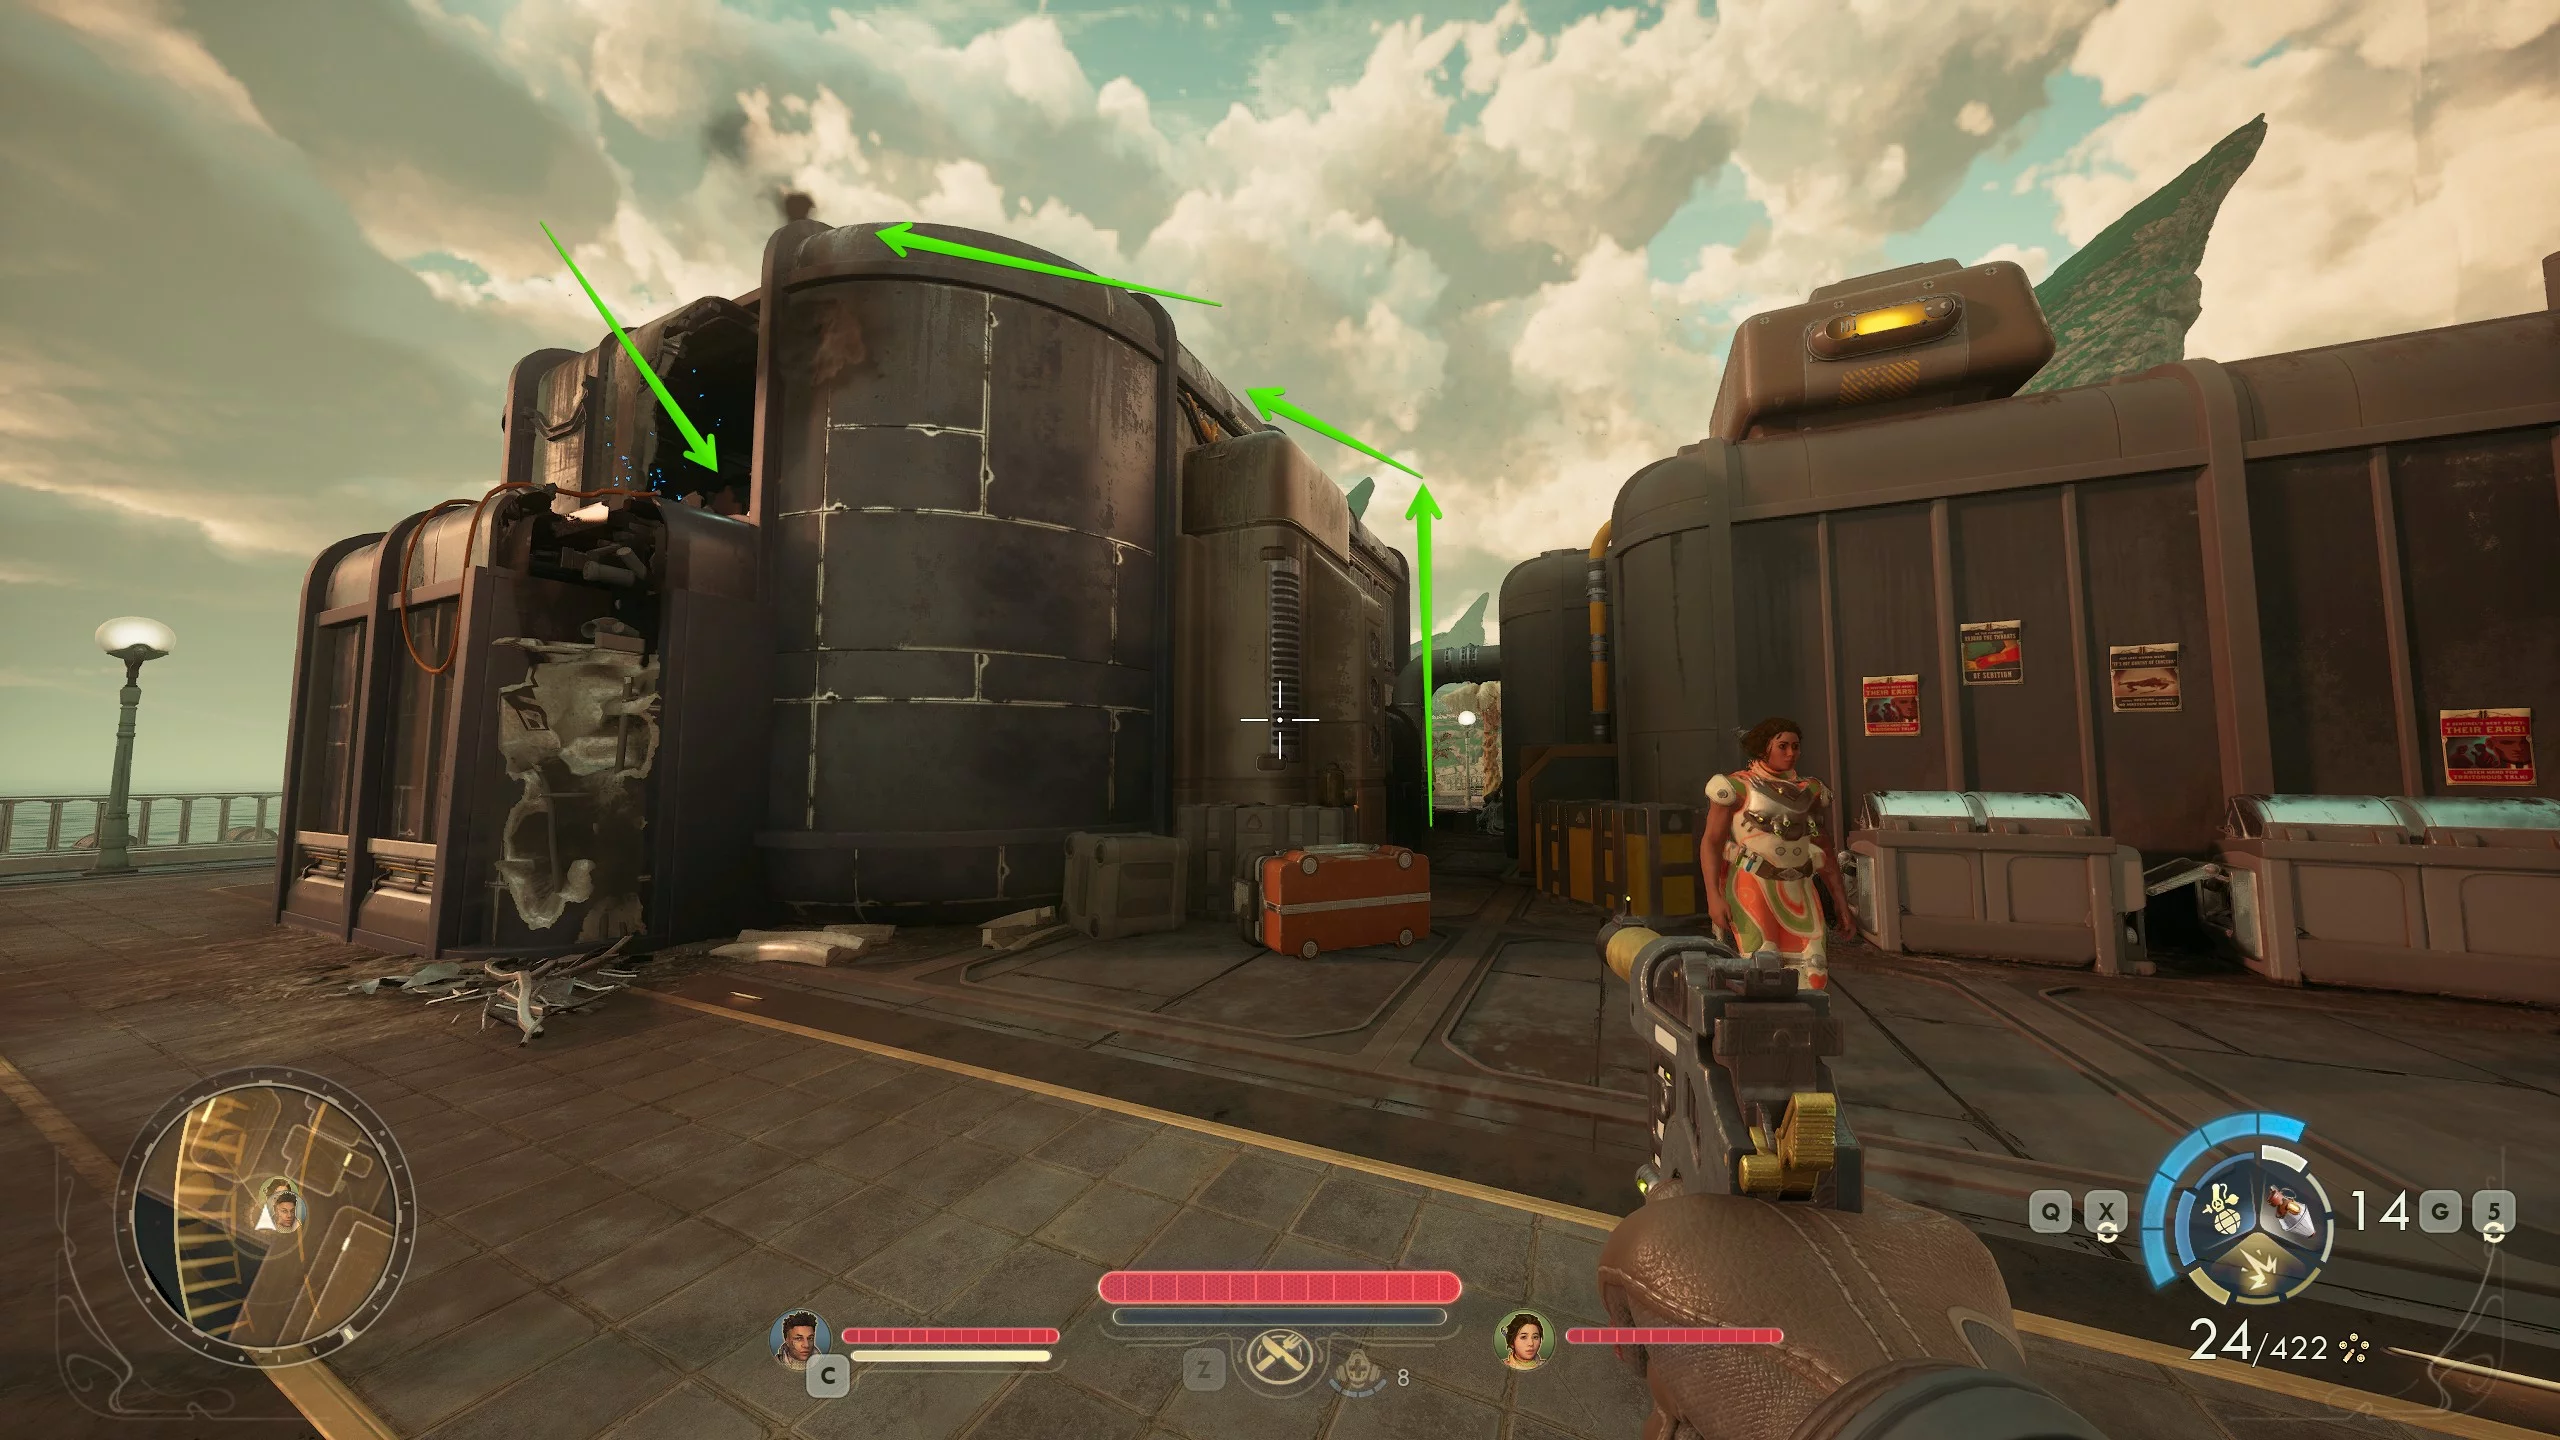
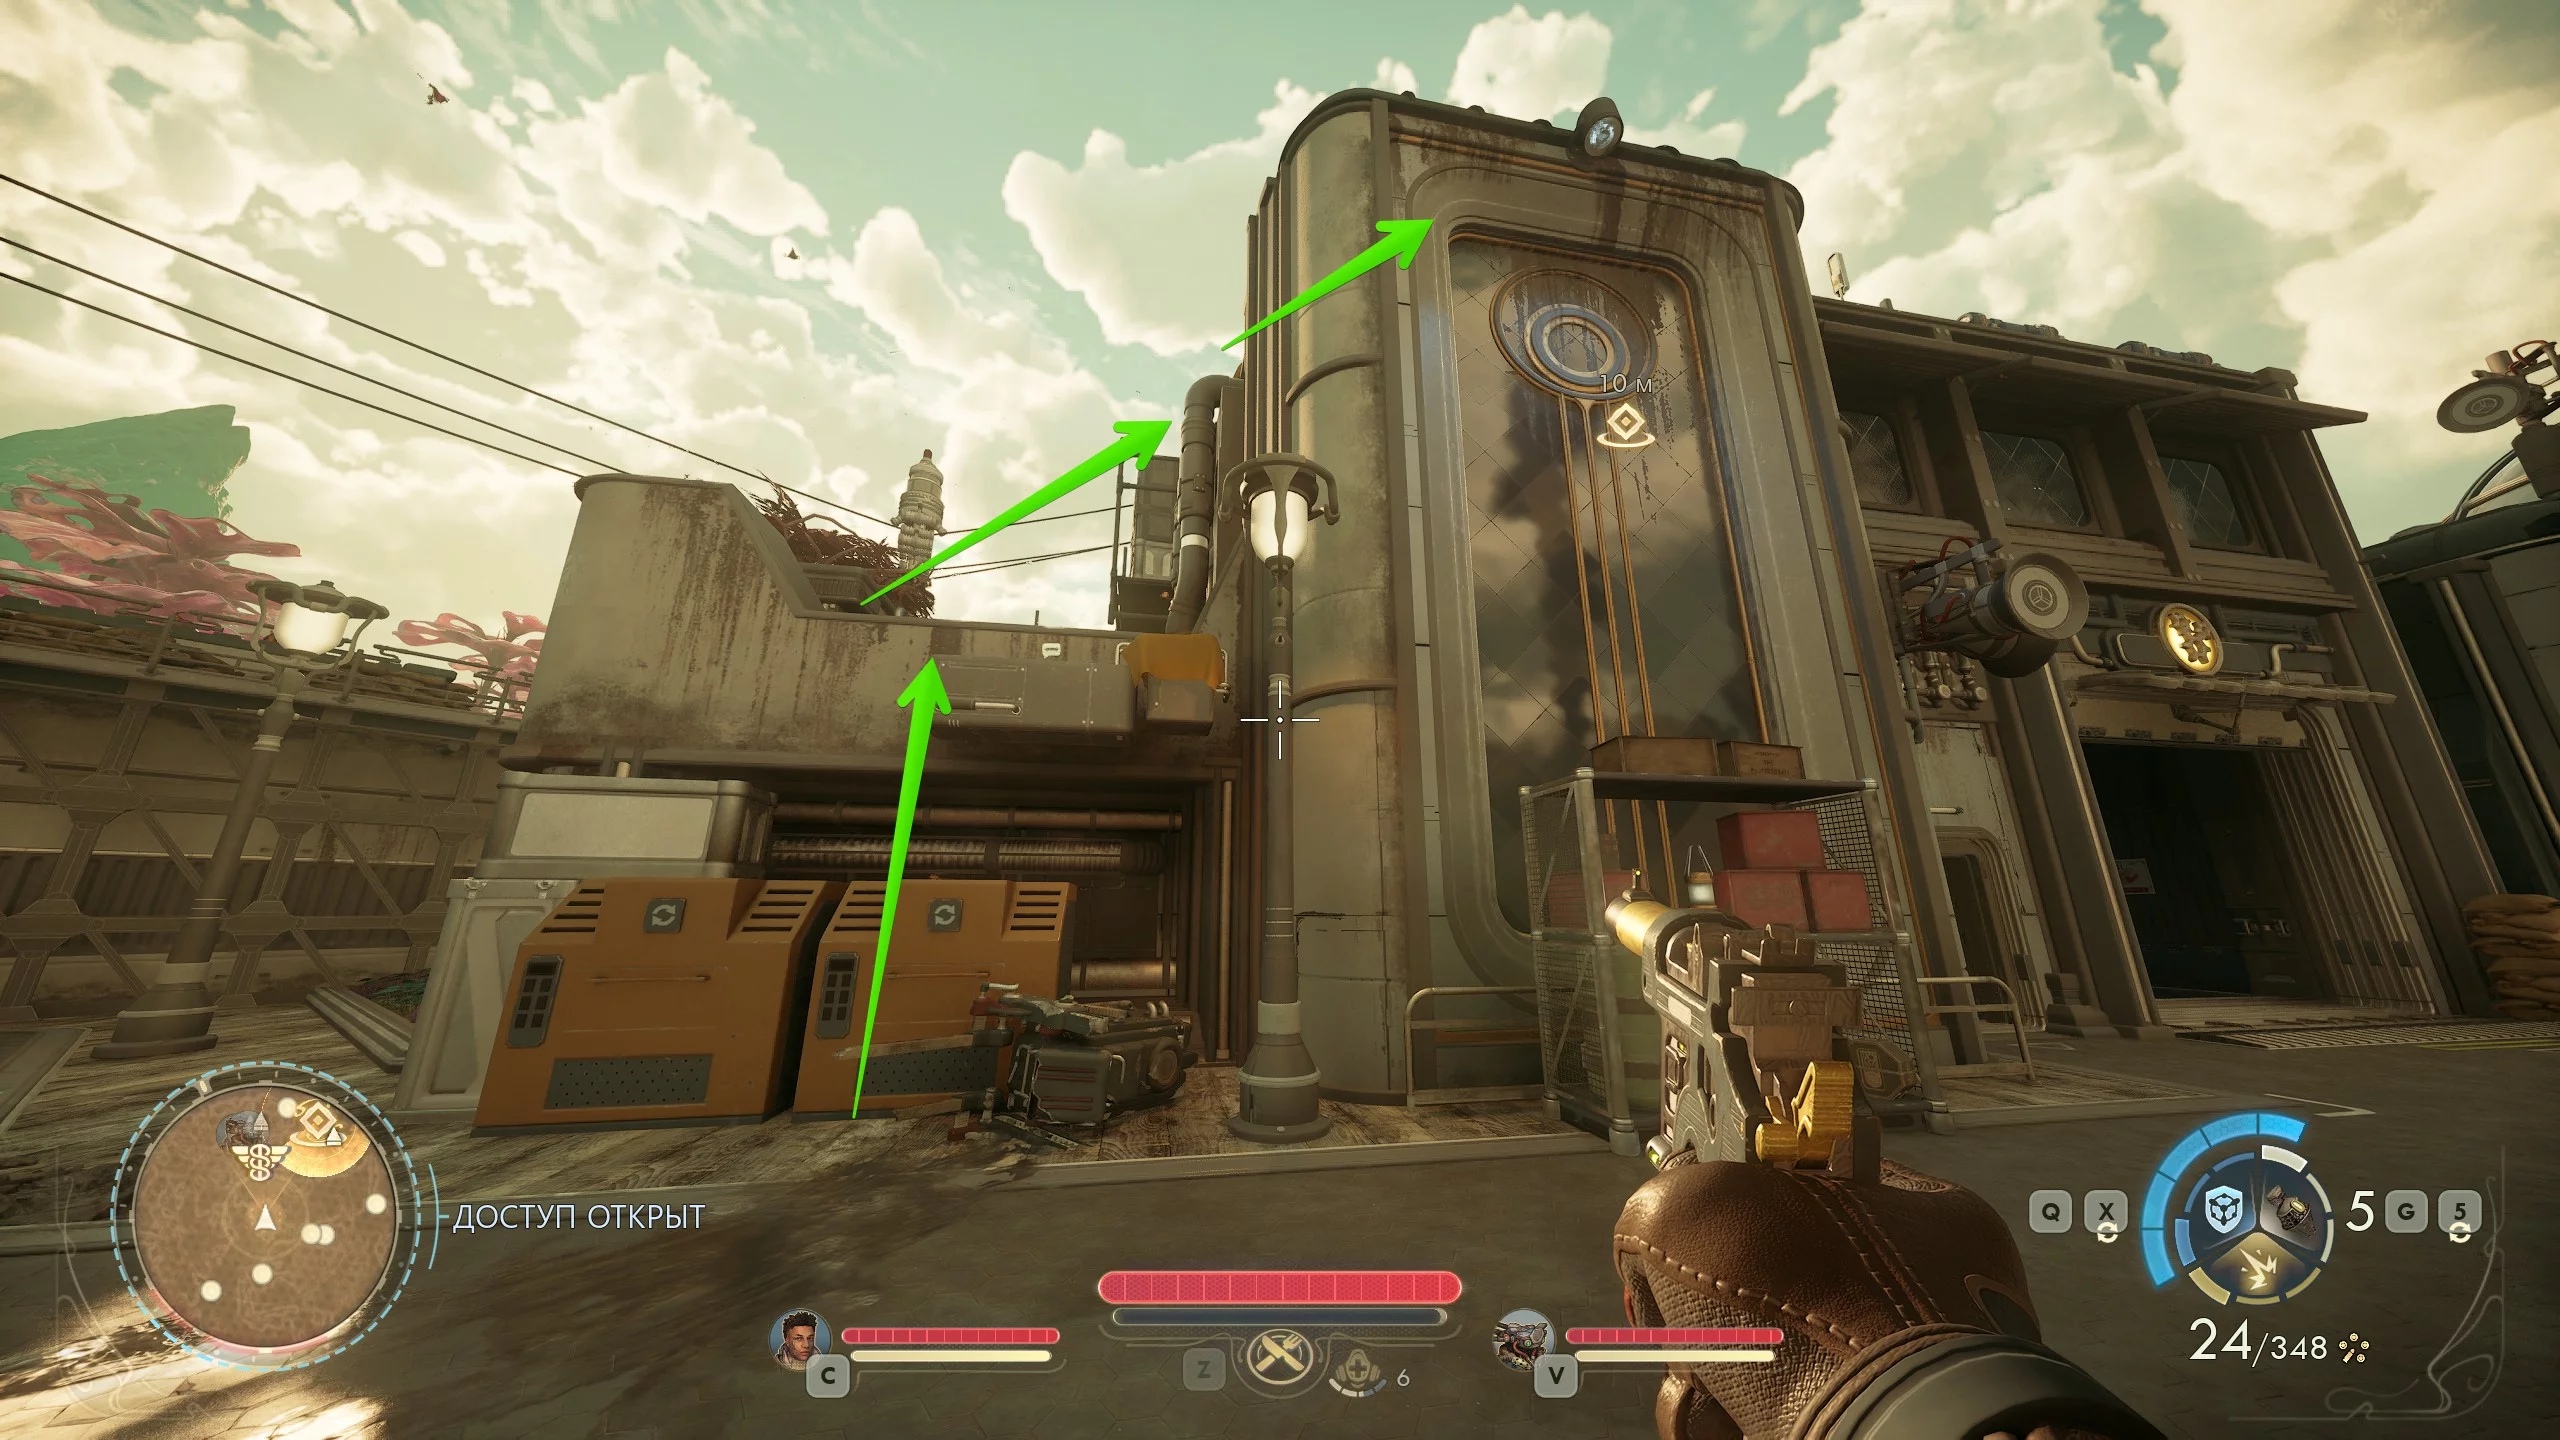
Go around Westport from the left side. Try to pass through the automaton territory unnoticed. Find the giant water filter and use glitter or the engineering skill. This way, the people will be left without clean water. Now you can climb up to Hogarth’s mansion using the ladder.

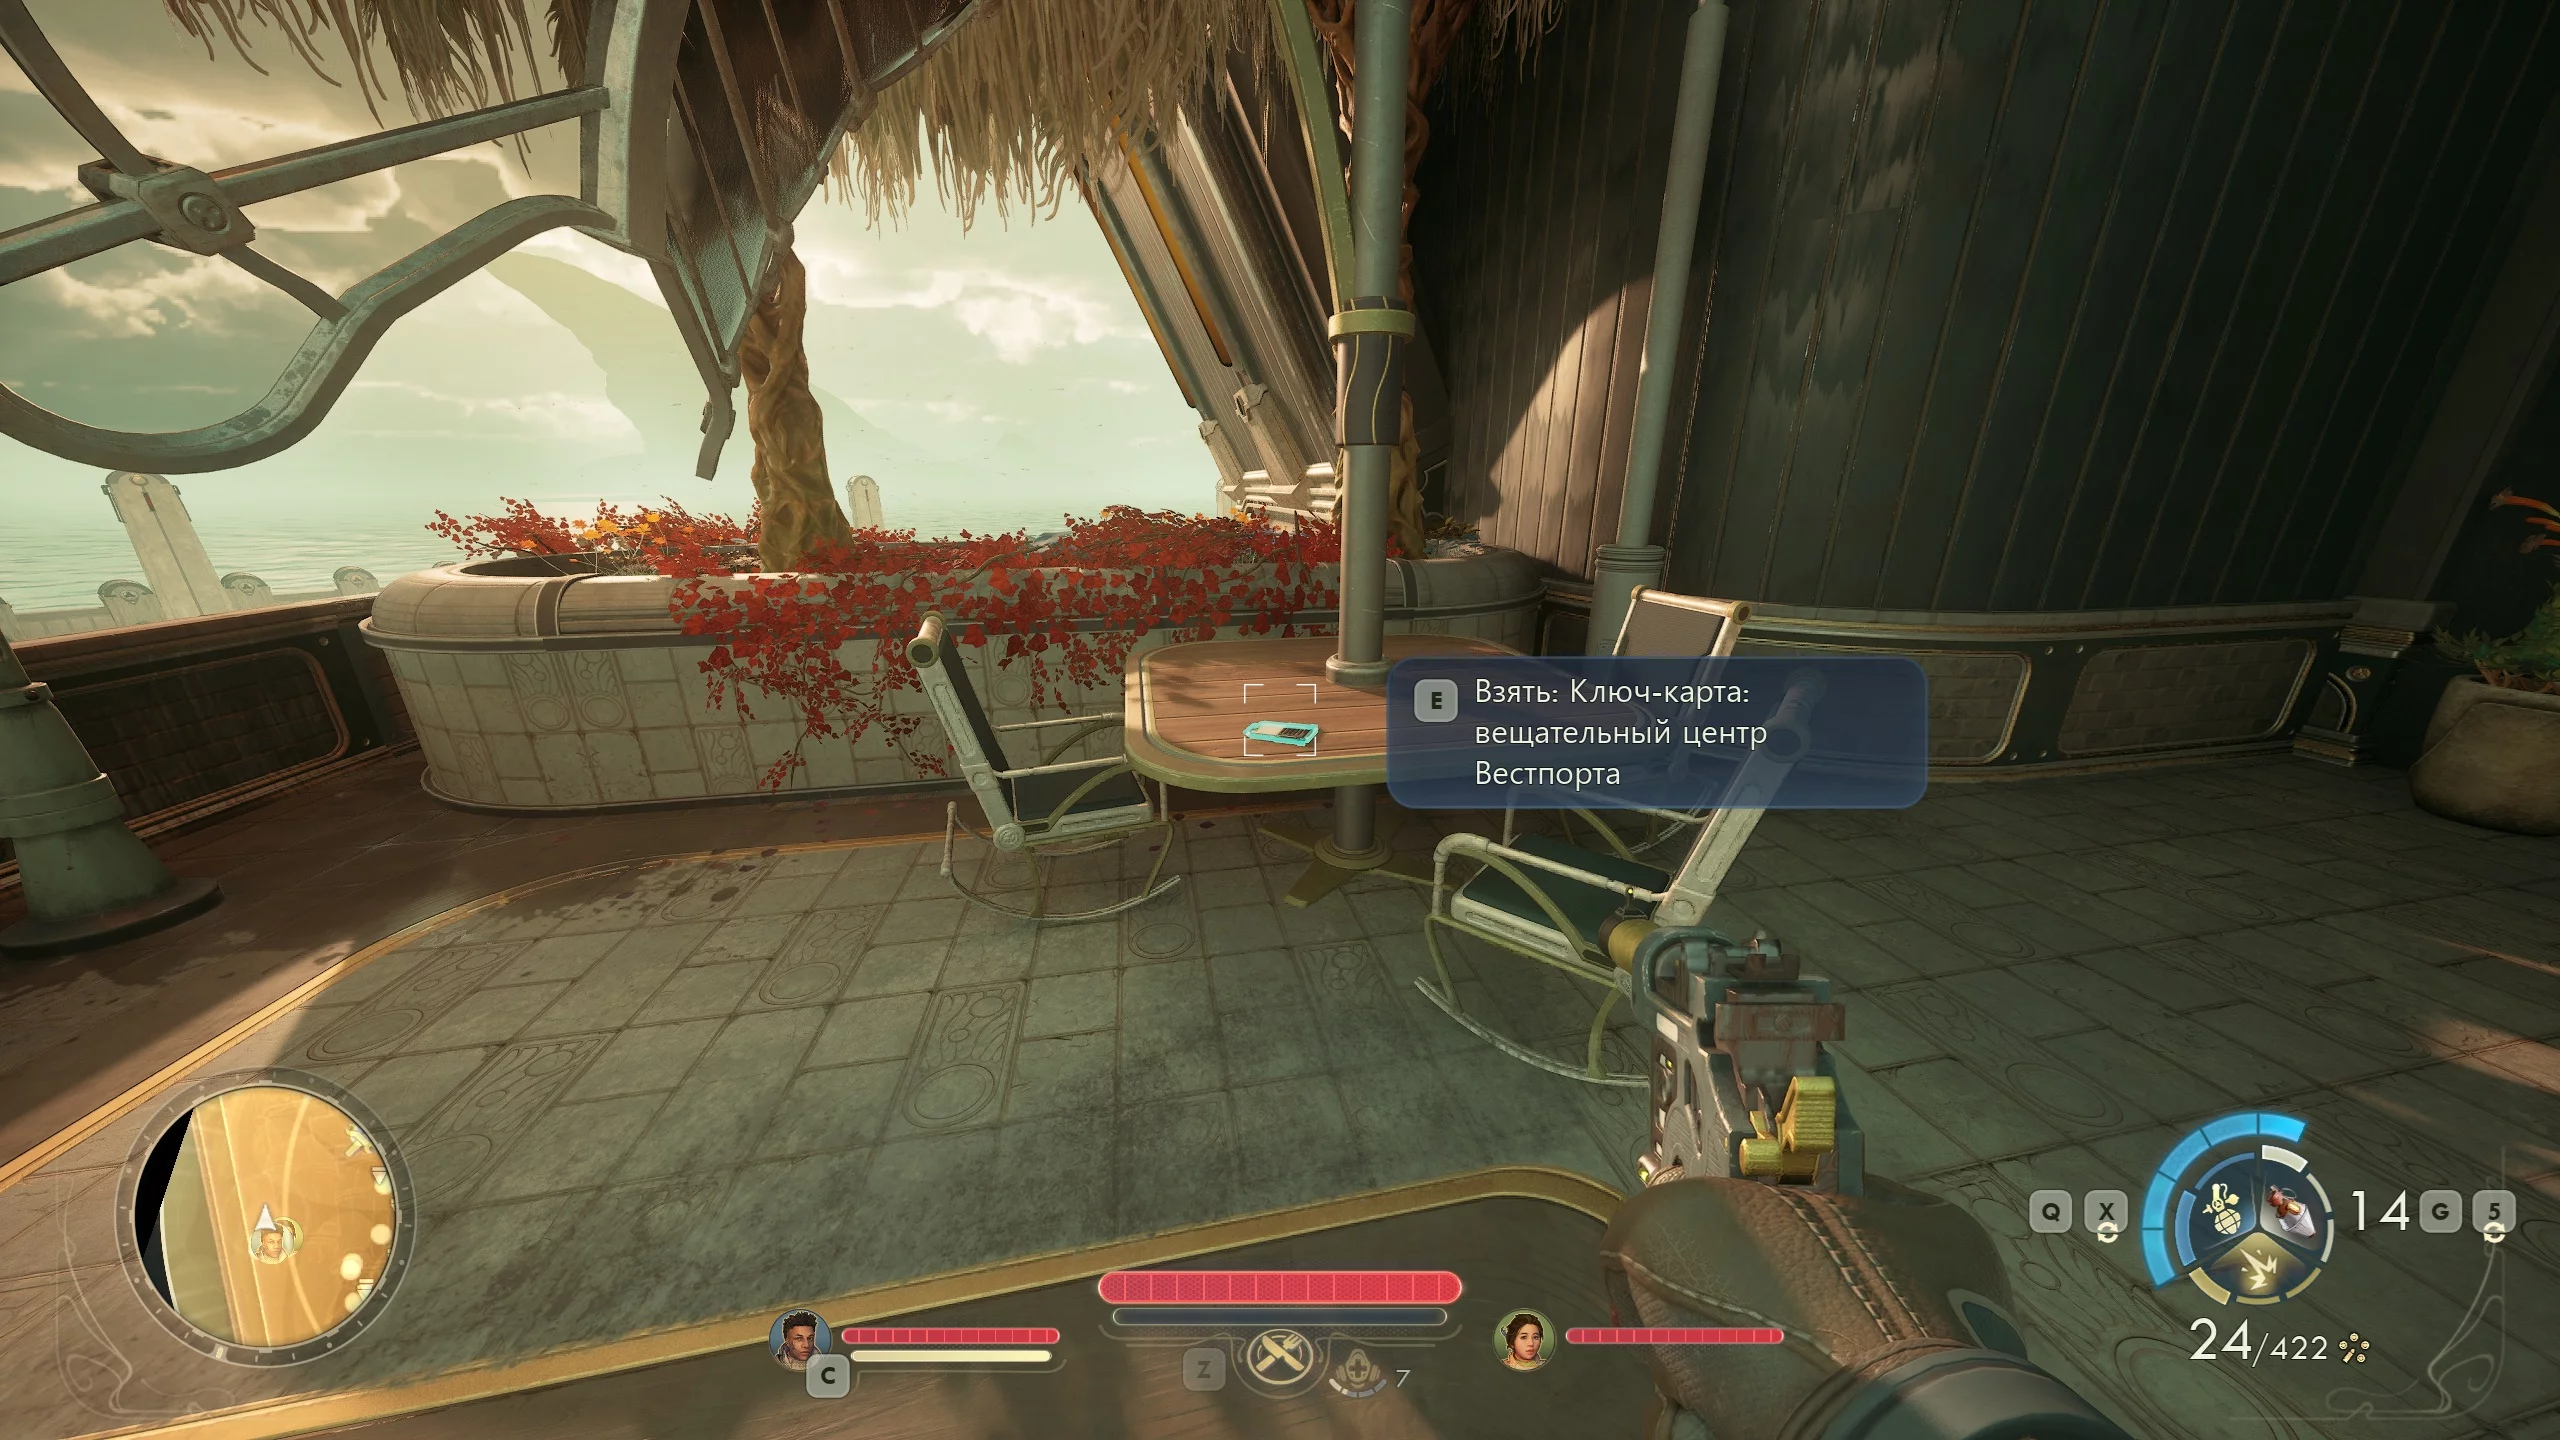
Return to Hogarth’s balcony and pick up the Westport Broadcast Facility keycard from the table. Leave the mansion and find the building with antennas on its roof on the left side. Open the door using the pass or the lockpicking skill. Enter the technical room and insert the Auntie's Choice Automated Propagandizer into the device.
Find the generator in the southeast part of the settlement. To get inside, go around the building and climb onto the roof using the ledges, then crawl through the hole. Approach the installation and use the Explosives skill or the Portable Galvanic Subverter.
If you have a high Speech skill, you can go straight to Hogarth and convince him to leave the city with the people. Otherwise, you’ll have to win over the residents of Westport.
- Charlton Weintraut: Stands at the central square. Offer him a box of flakes.
- Curativist Rowe: Treats patients in the left wing on the first floor of Hogarth’s mansion. Give her an Auntie's Choice medkit and use the Persuasion or Medicine skill. Otherwise, look for medicine in the ruined houses where animals have settled.
- Interim chief mechanist Pinckney: Repairs an automaton at the city entrance. To convince him to leave Westport, break the generator and tell him that now the machines have nowhere to recharge.
Now that the city’s infrastructure is destroyed and people are ready to relocate, return to the patron and convince him to leave Westport, causing the settlement to become deserted. Return to the minister, who will send you to Hogarth again.
Find Patron Hogarth’s house to the right of the bar. Talk to the man, who will give you the "Mobilization Decree." With this document, you can ask the guard to let you into the Vox Relay fortress and convince Marshal Corbin to overthrow Commander Montelli.
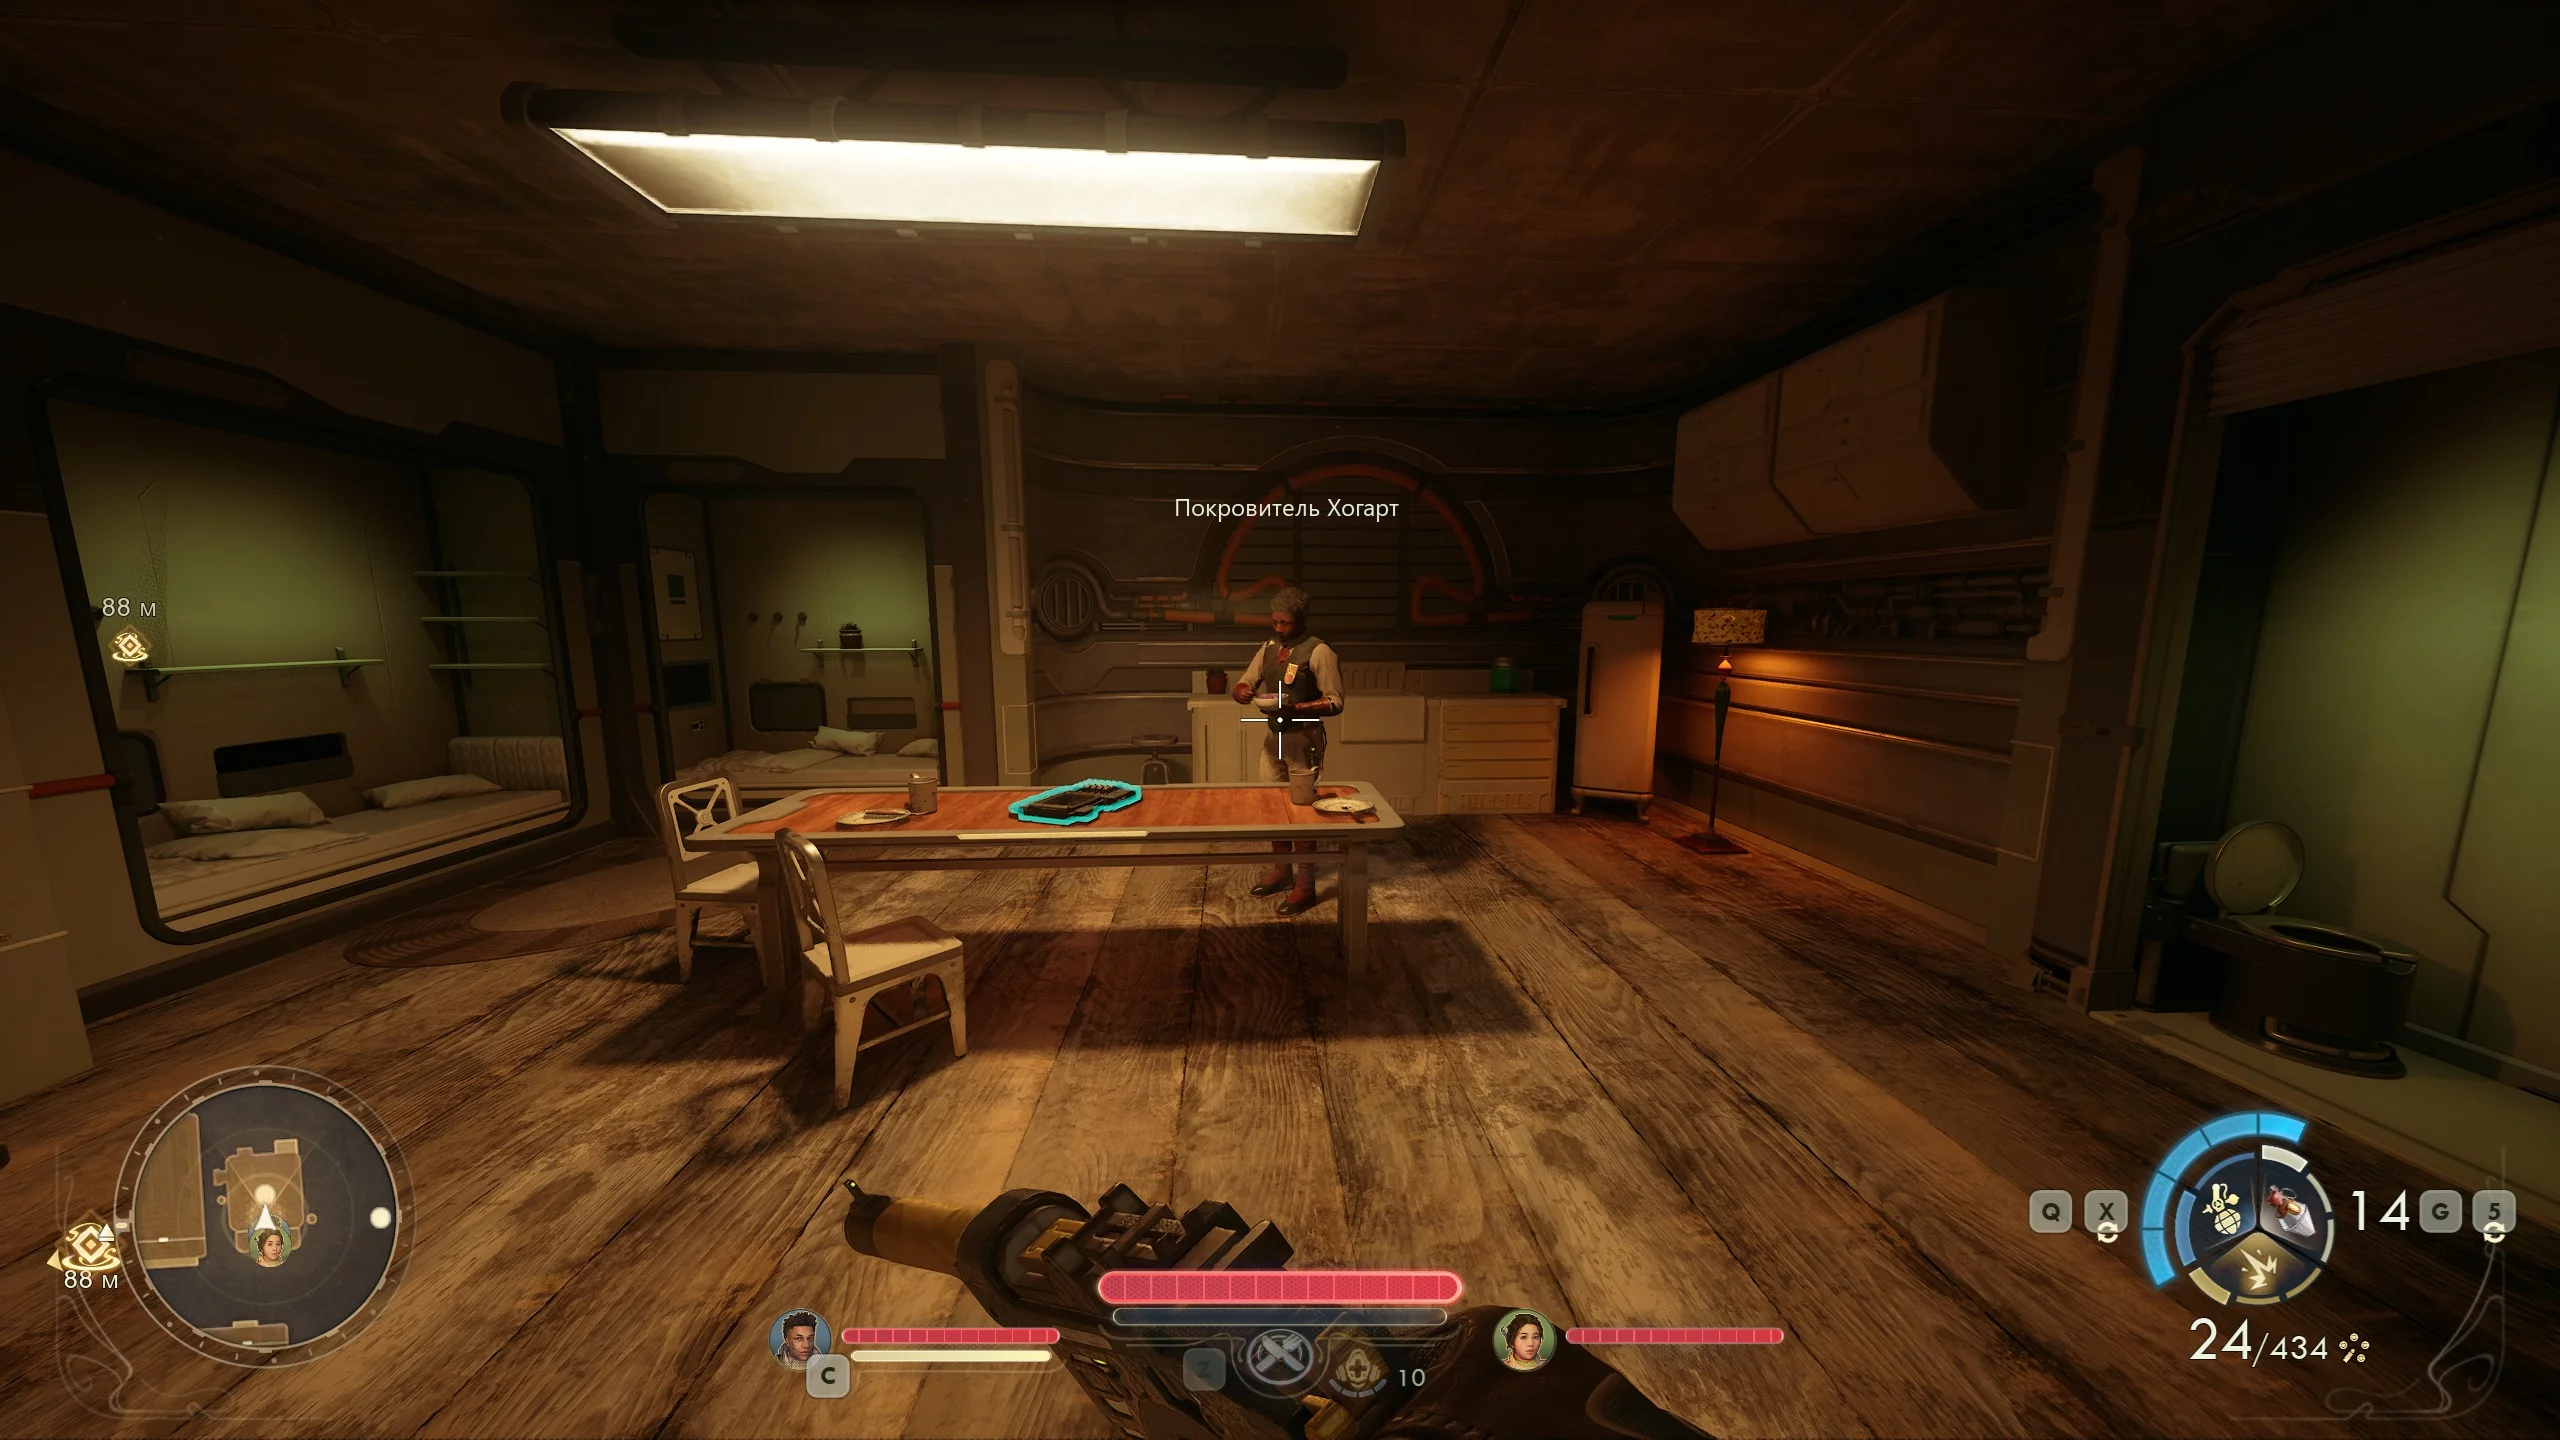
Patron Hogarth
This questline becomes available when you come to Patron Hogarth in Westport. It doesn’t matter how this happens: whether it’s during the marshal’s quest or if you arrive on your own.
The leader of the flooded city needs spare parts for the machines, which can be found at the Euphoria Coast Automech Repair Center. This will start the quest The Saga of the Malfunctioning Mechanicals.
Head to the repair shop. If your engineering skill is low and you don’t have a pass, visit the Ministry of Integrity in the west. Find the first mechanical box and examine the crashed loader by the orange metal crates.
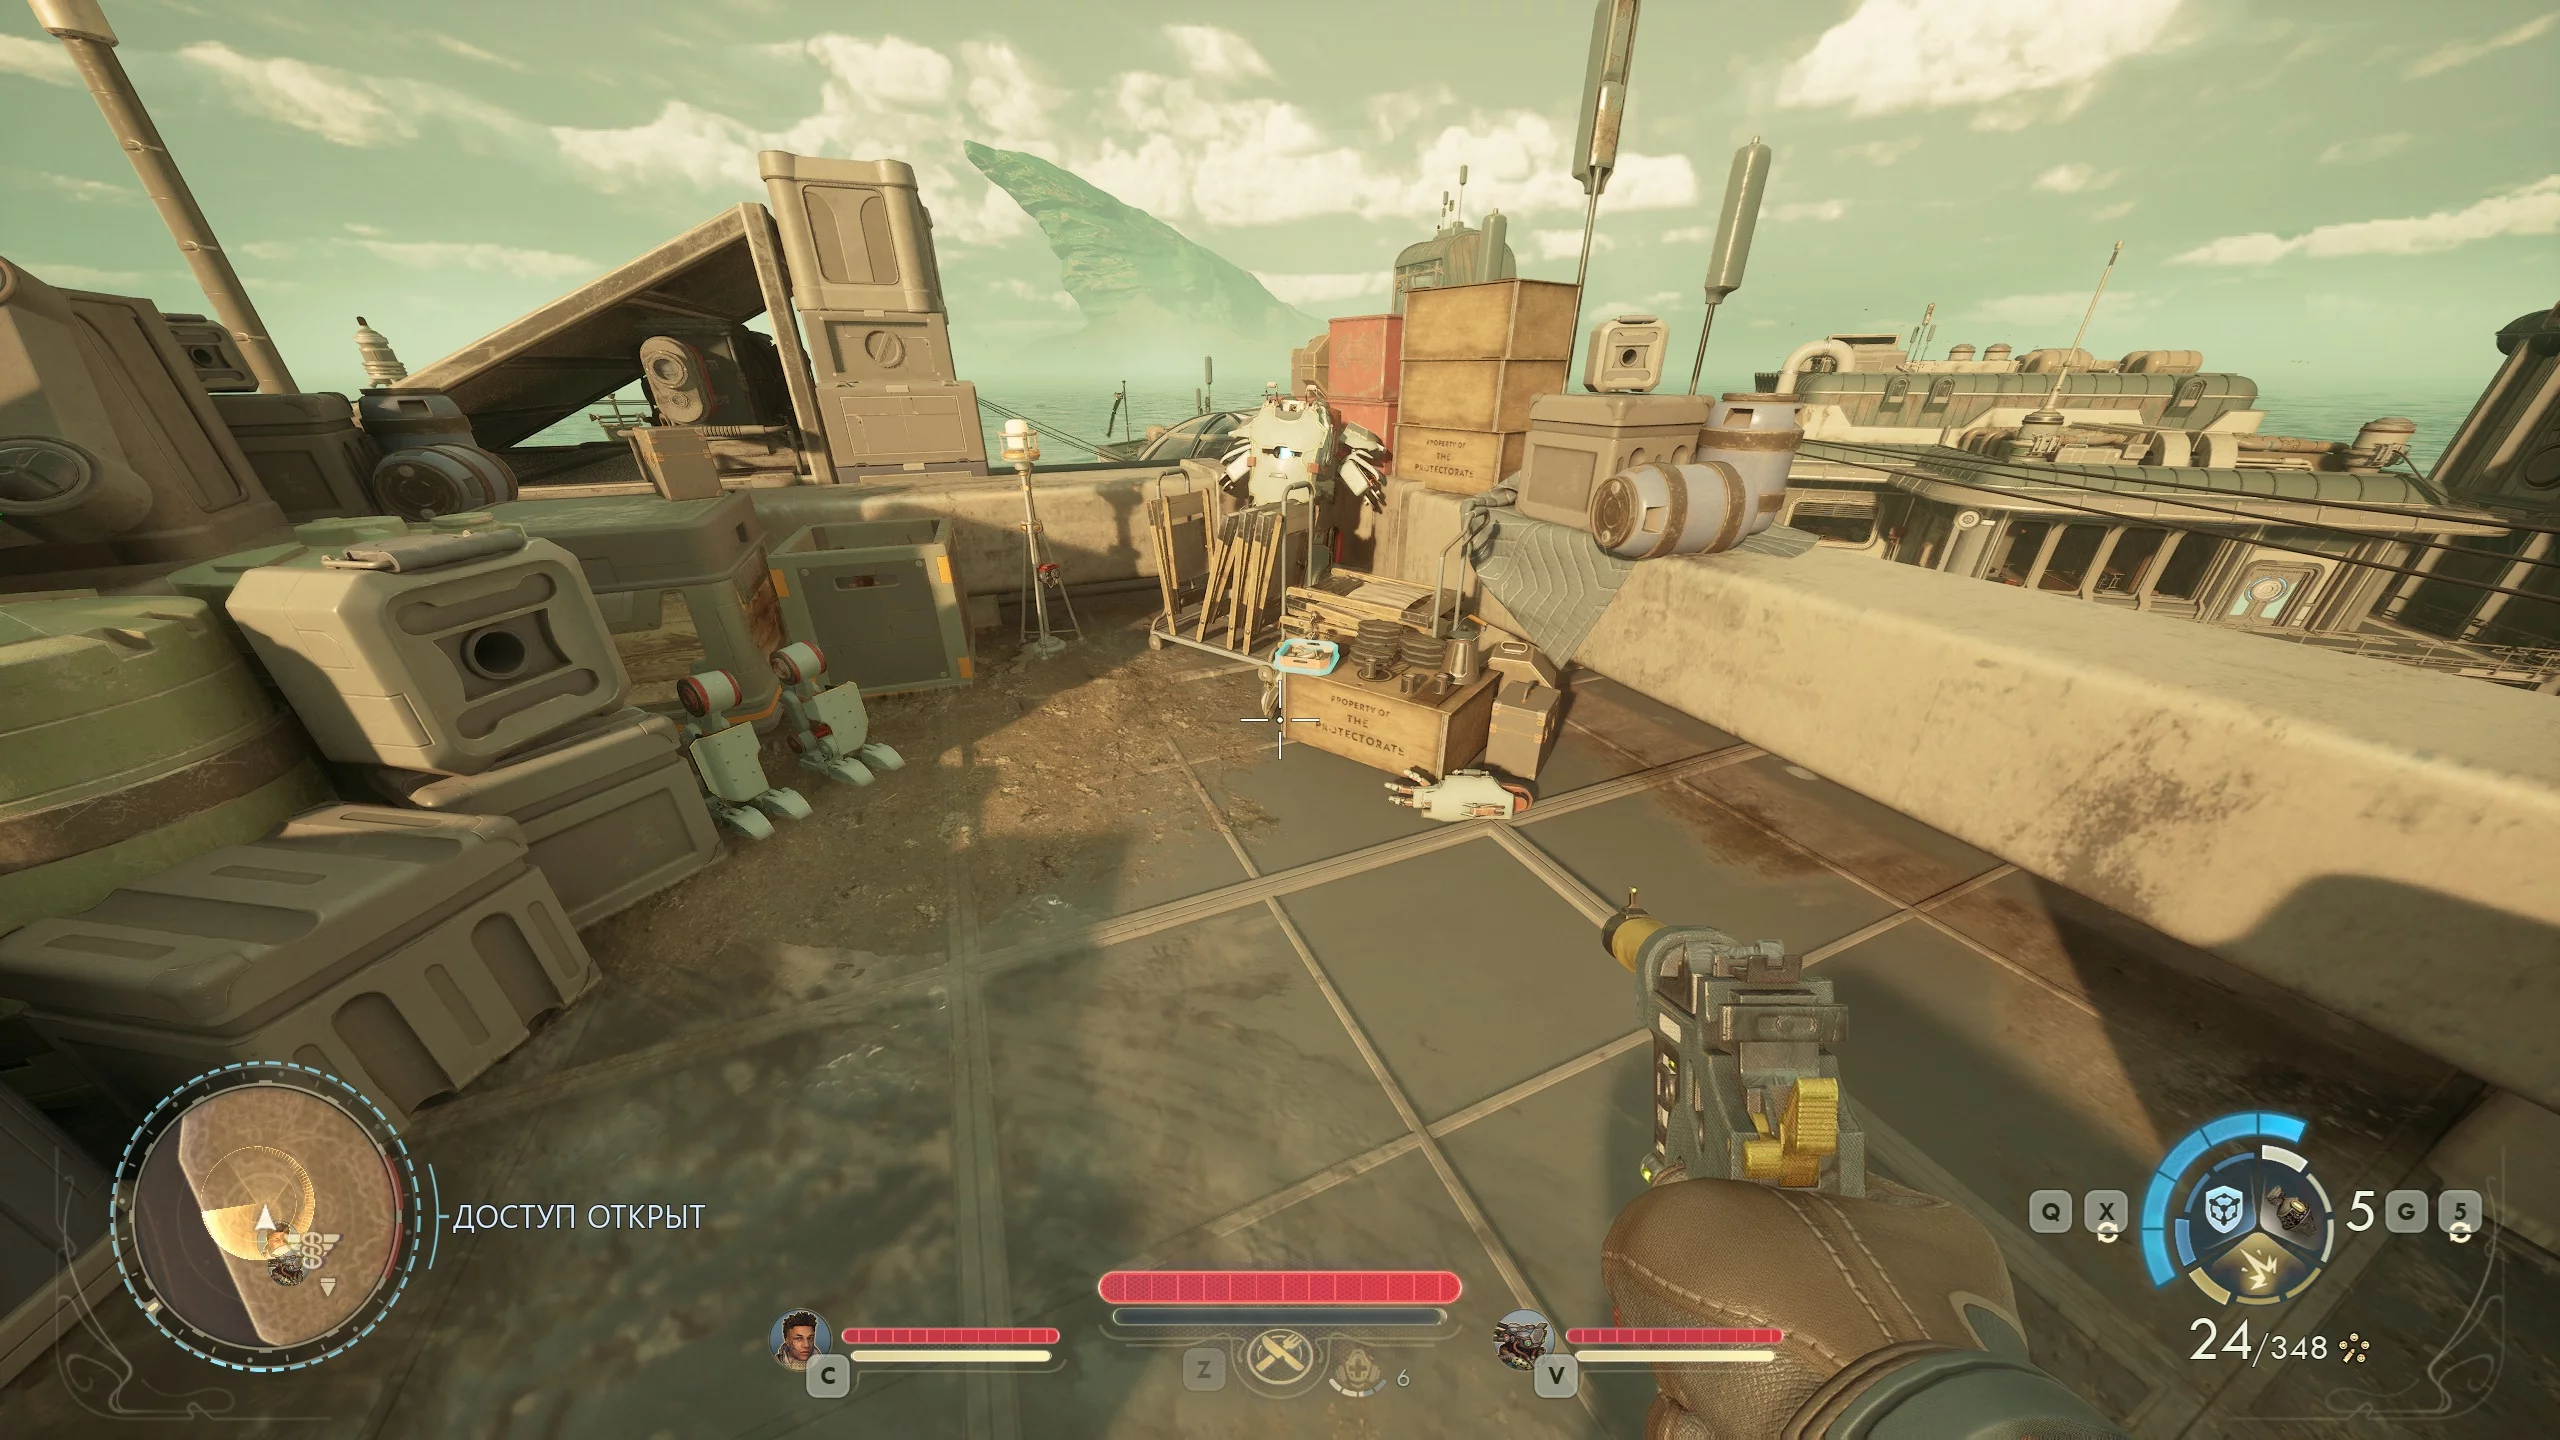
If you talk to the chief mechanic, the quartermaster, and Delphinia, you’ll learn that you need to continue your search on the roof of the mechanical shop. Climb up the orange crates and you’ll find the spare parts for the automatons lying on a wooden box.
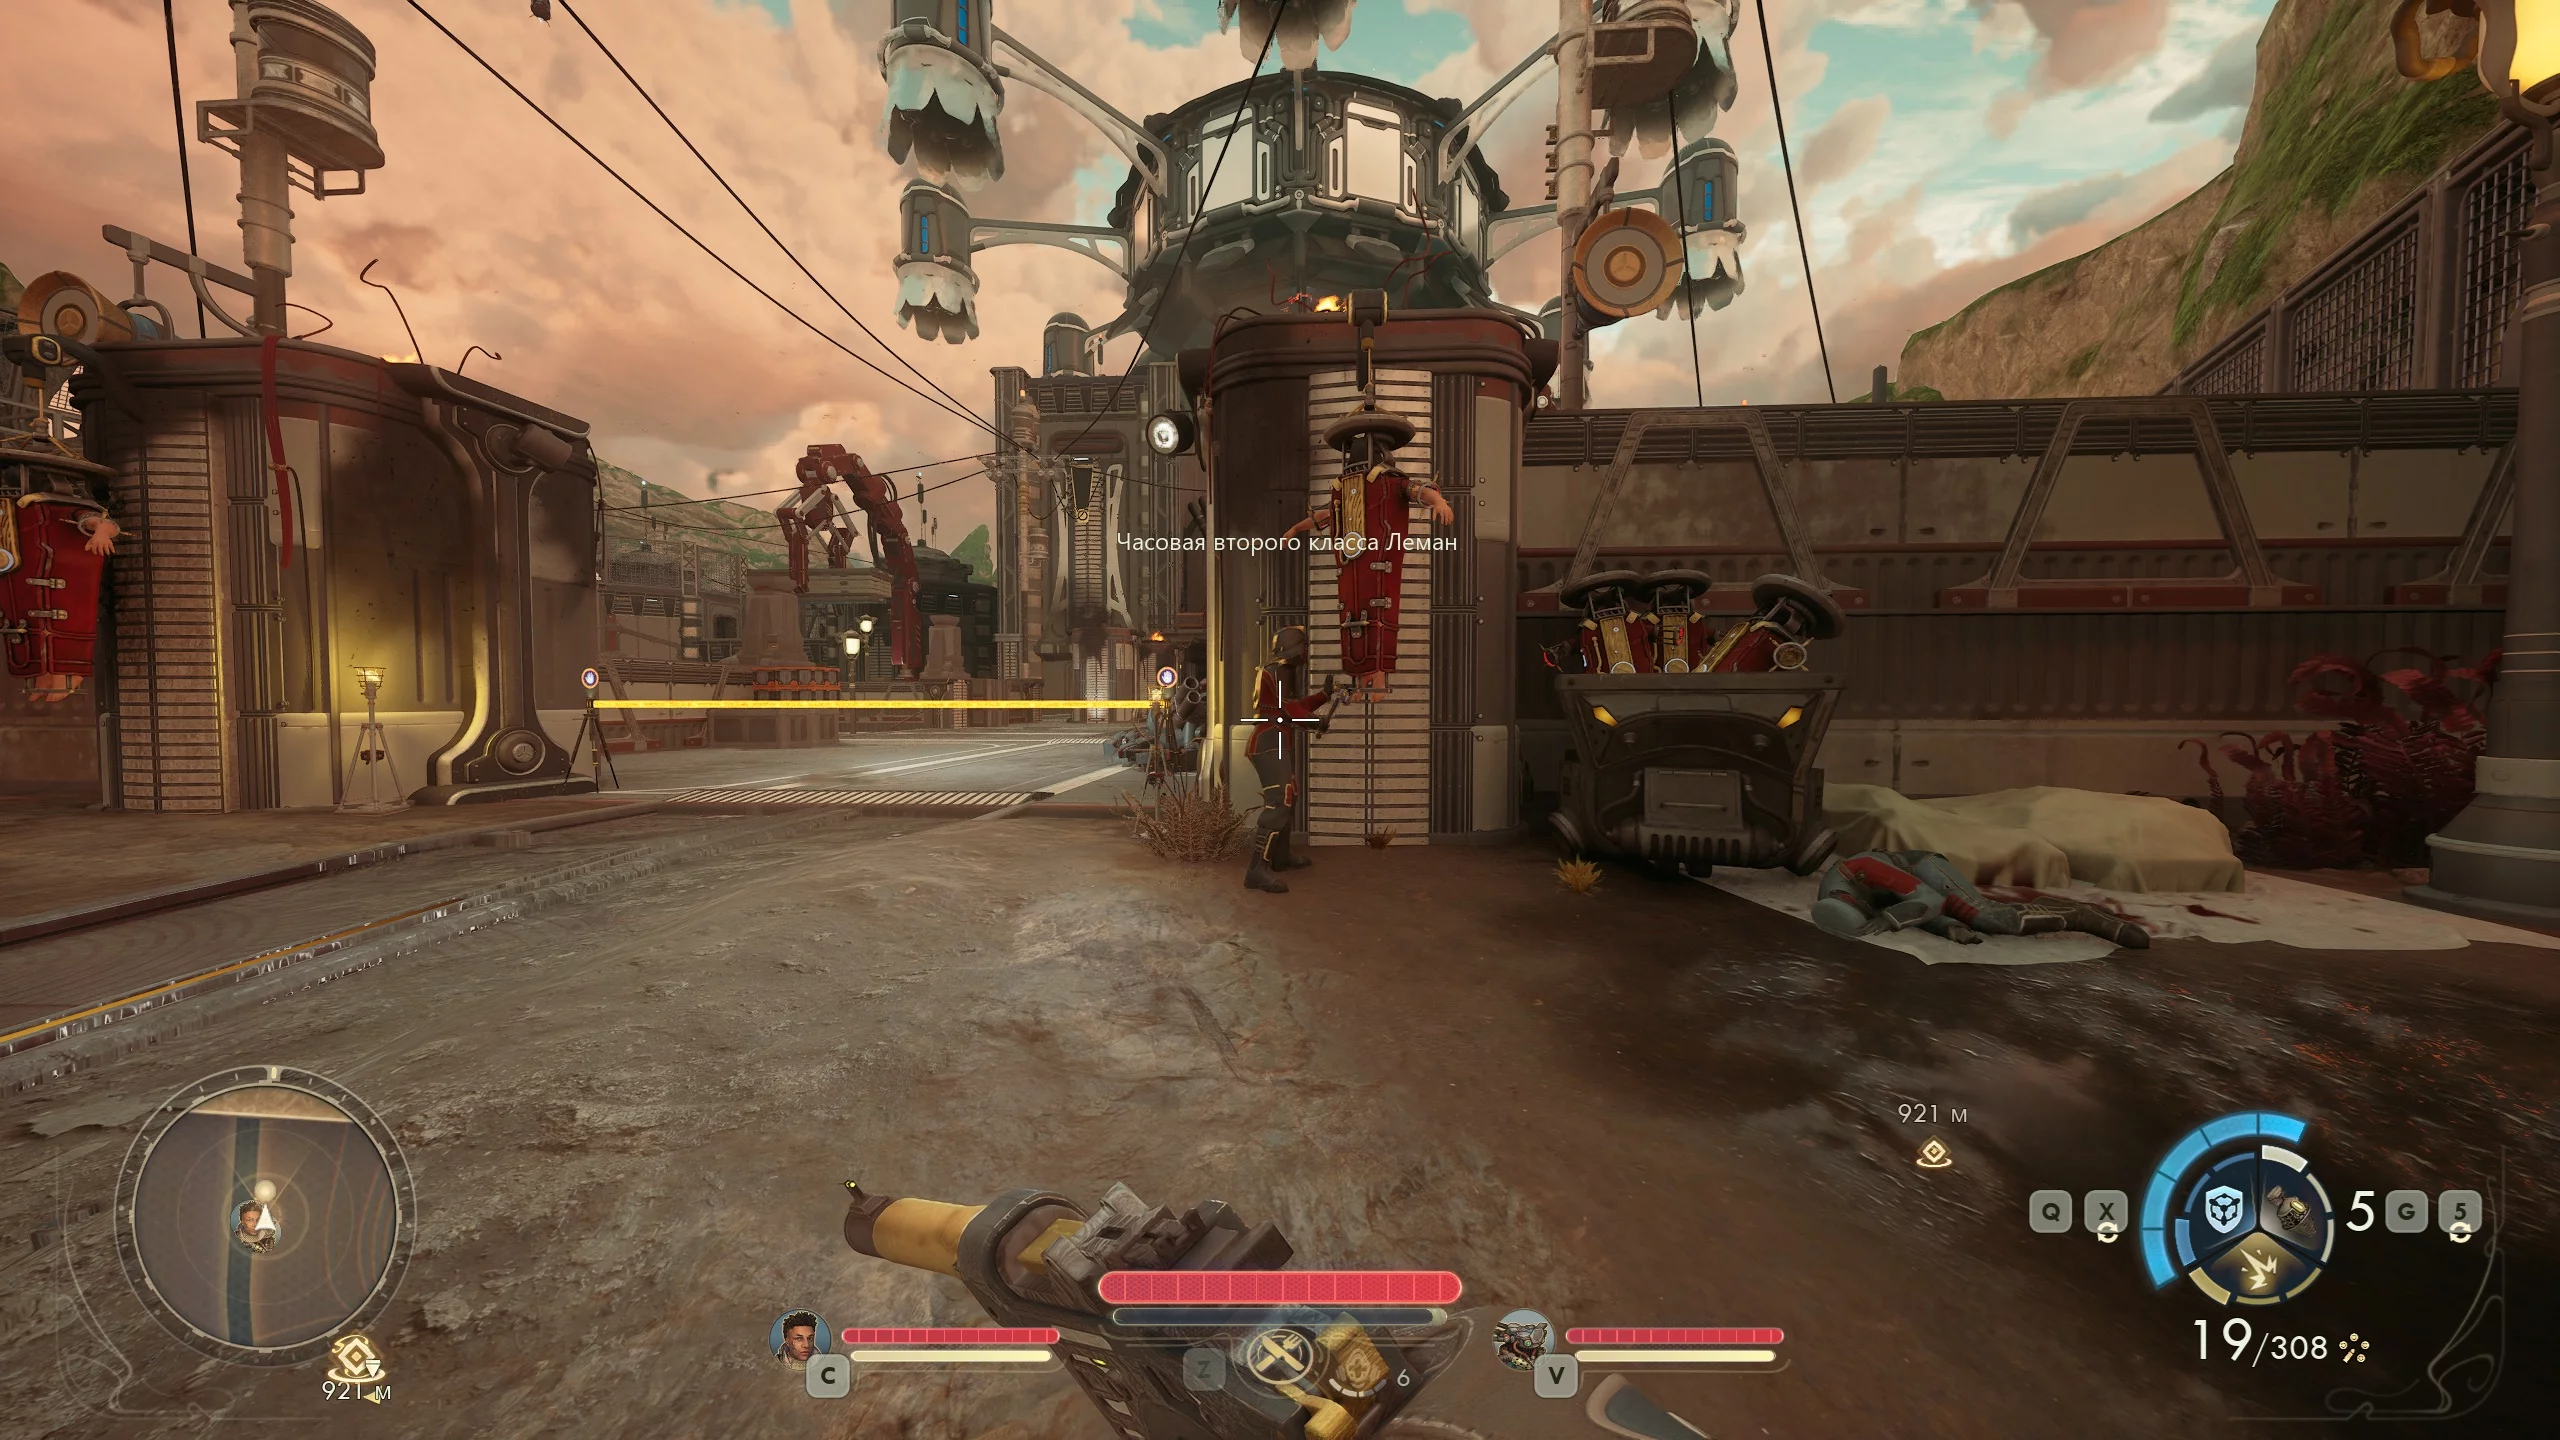
Take the parts to Hogarth. The patron will tell you about the shipwreck, which you can jump across using the P.I.P. device, and will give you the "Mobilization Decree." To use it, go to the main entrance of the Vox Relay station. Show the document to Protectorate Sentry Lehman, and she will escort you inside the base.
Weaken the Station’s Security
Refuse Milverstreet’s request, leave the screen room, and talk to Quara. The city is under attack by Protectorate drones, so you need to sneak into the Ministry of Veracity, get a pass to the automech repair center, and commit sabotage there. This will start the quest Above and Beyond Repair.
Sneak into the repair shop in the southeast of the island using a pass or engineering skills. There has been a major zyranium leak at the facility. Go up to Marshal Donelson, who will ask you to eliminate the consequences of the accident. This will start another side quest, Vanquishing the Vexing Vapors.
It’s recommended to visit Delphinia first and create a gadget that protects against zyranium fumes. Enter the main building through a breach in the wall. You need to walk through the toxic puddle and open the door at the end on the left using the lockpicking skill. Otherwise, jump into the technical pit and crawl through the ventilation shaft.
As a result, you’ll find yourself in a hall with drones; pass through them to reach the control room. You have a choice: shut off the gas flow and cause sabotage, or repair two pipes and fix the accident. In the first case, Marshal Donelson will scold the hero a little, and you can return to Quara; your relationship with the Protectorate won’t suffer.
In the second case, the commander will thank the hero for saving the repair shop. When you return to Quara, the quest will proceed as usual, except she won’t give you a set of armor and weapons.
It doesn’t matter whether you committed sabotage or not, Quara will tell you about the "Skycutter," disabling which will greatly weaken the Protectorate army. Head to the power station and enter it. First, you need to find the key to the main hall entrance, which is on a body being eaten by a lizard, or you can use the lockpicking skill.
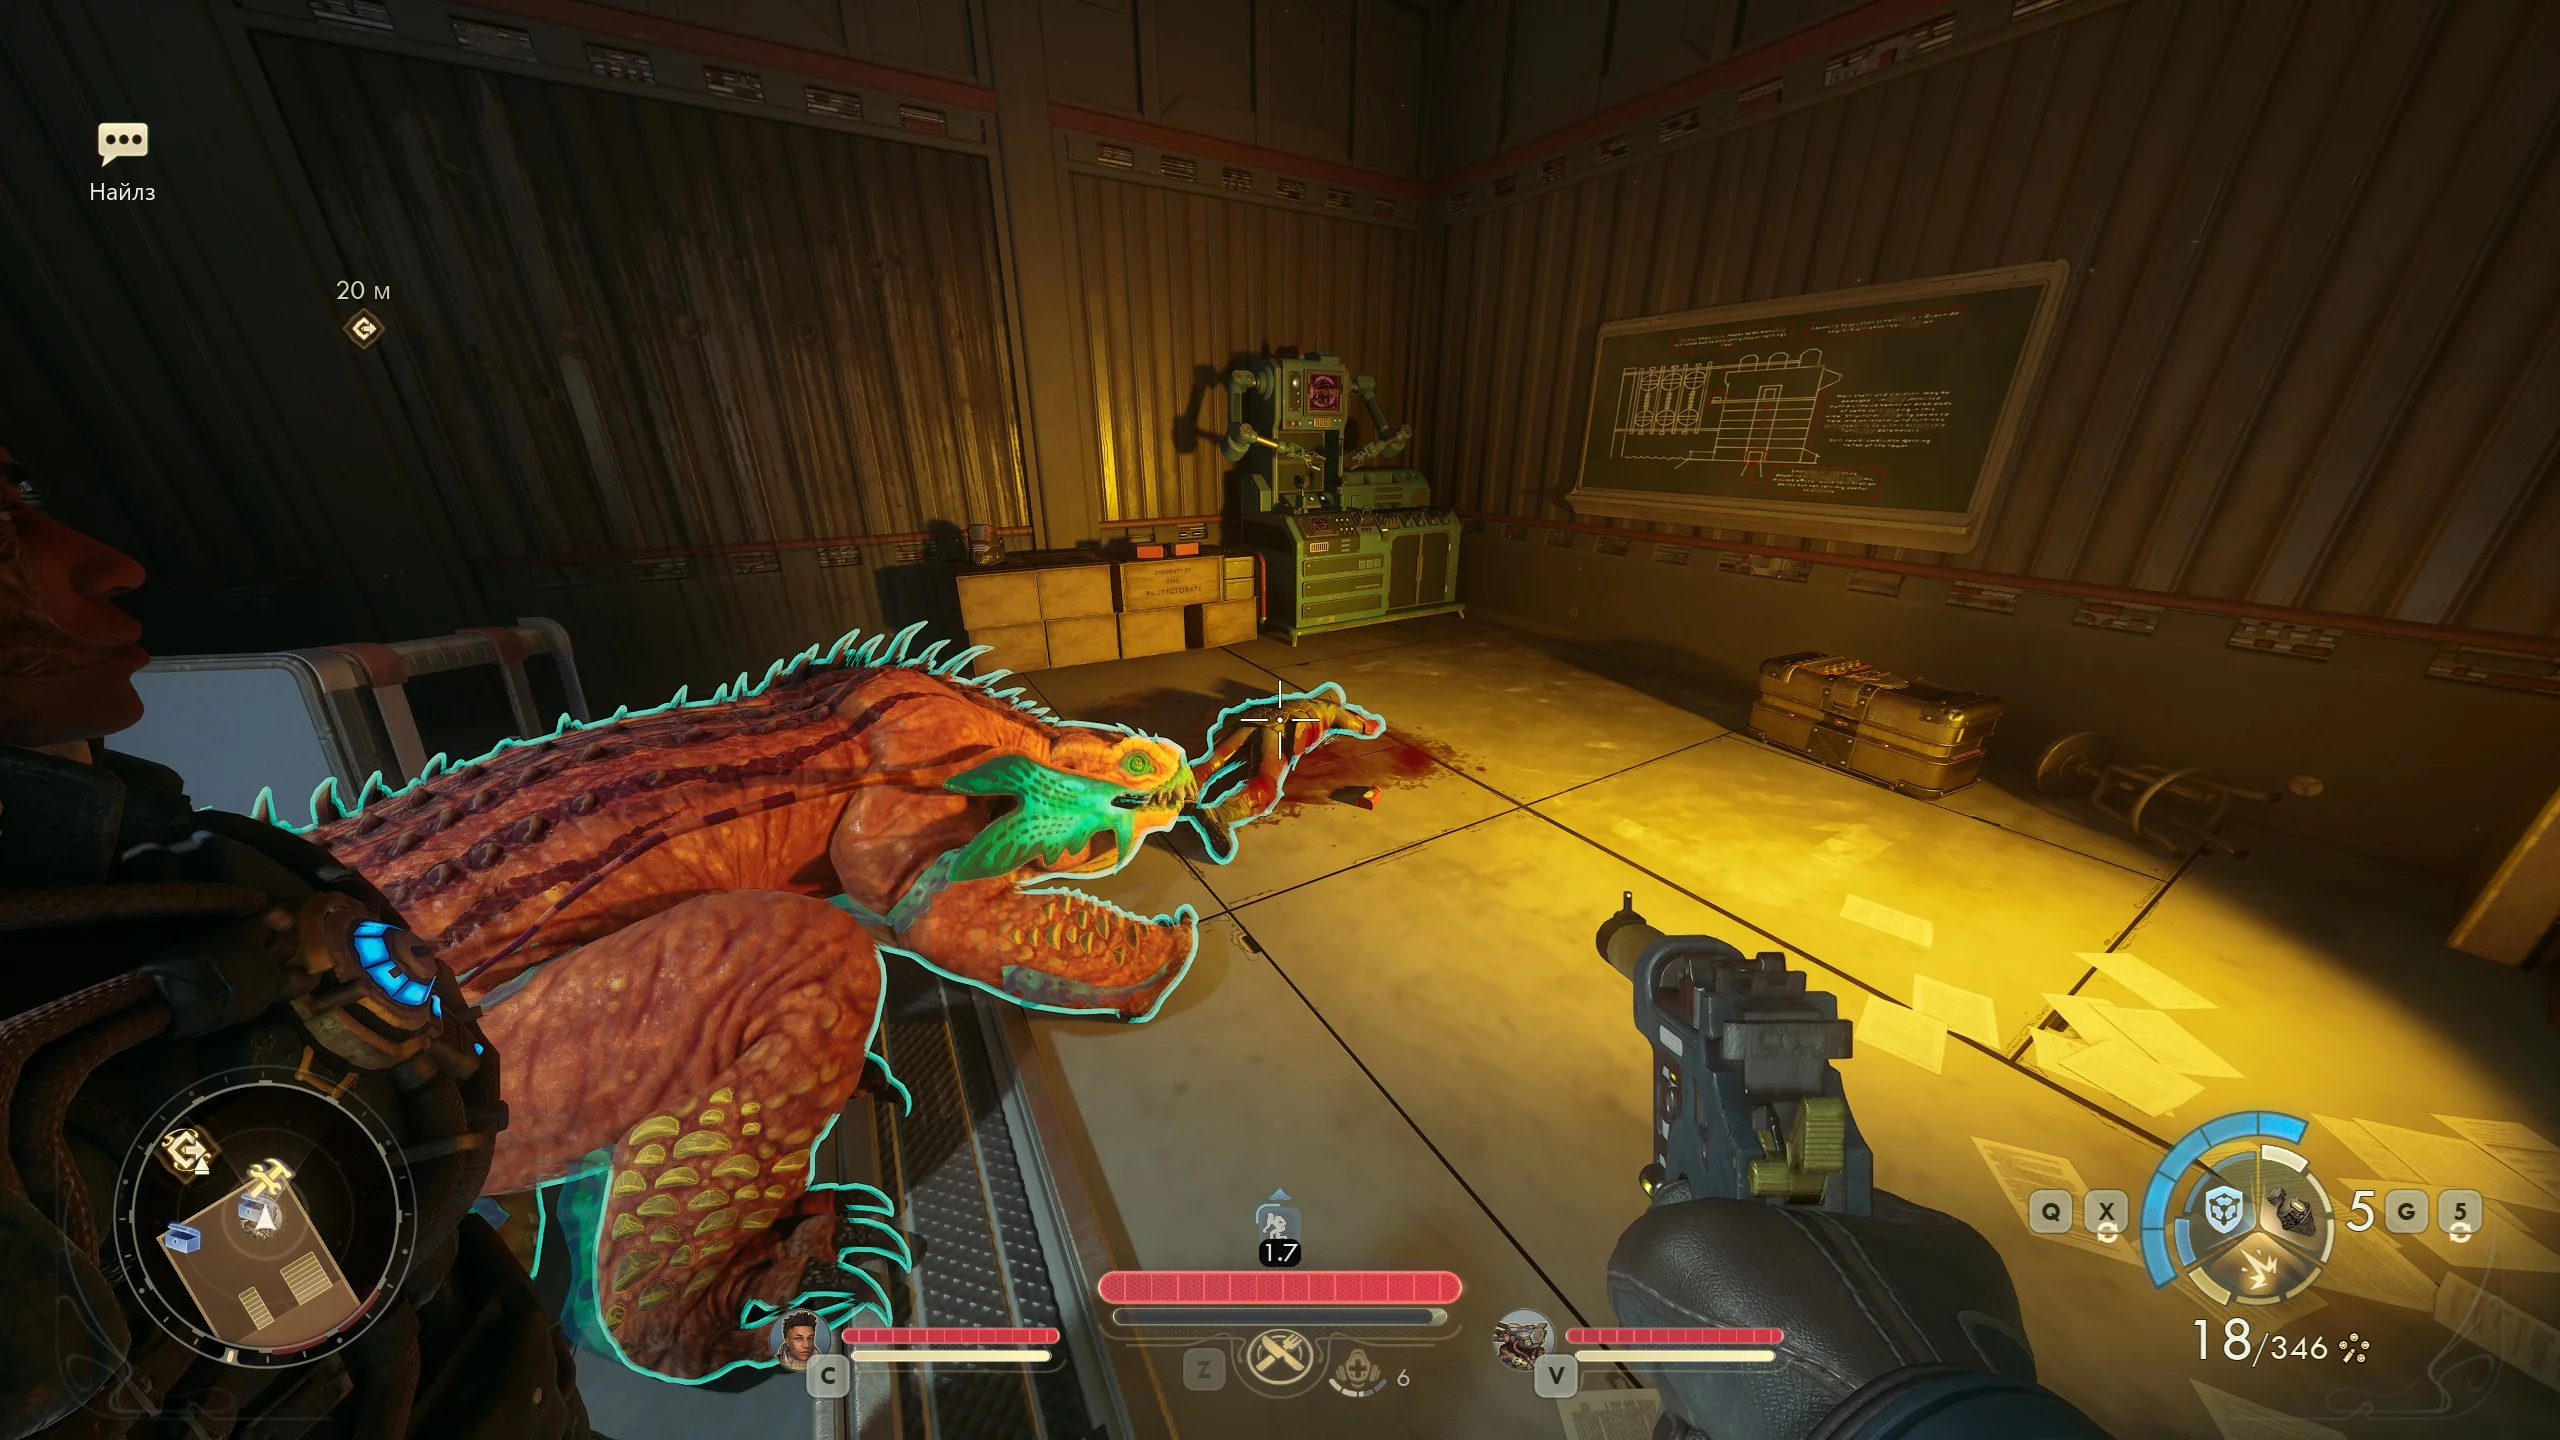
Go up to the second-to-last level of the power station and activate the elevator, the key for which is in a body to the right of the gate. Prepare for a battle with several waves of high-level lizards. When you insert the card into the elevator terminal, the platform will slowly descend, while animals attack you.

Climb to the top floor and enter the balcony. Pick up the control panel blueprints from the body and insert them into the main device. As a result, the entire automatic security system of the Vox Relay station will be disabled. This means you will only have to fight enemy troops, and you’ll be able to infiltrate Montelli’s base with ease.
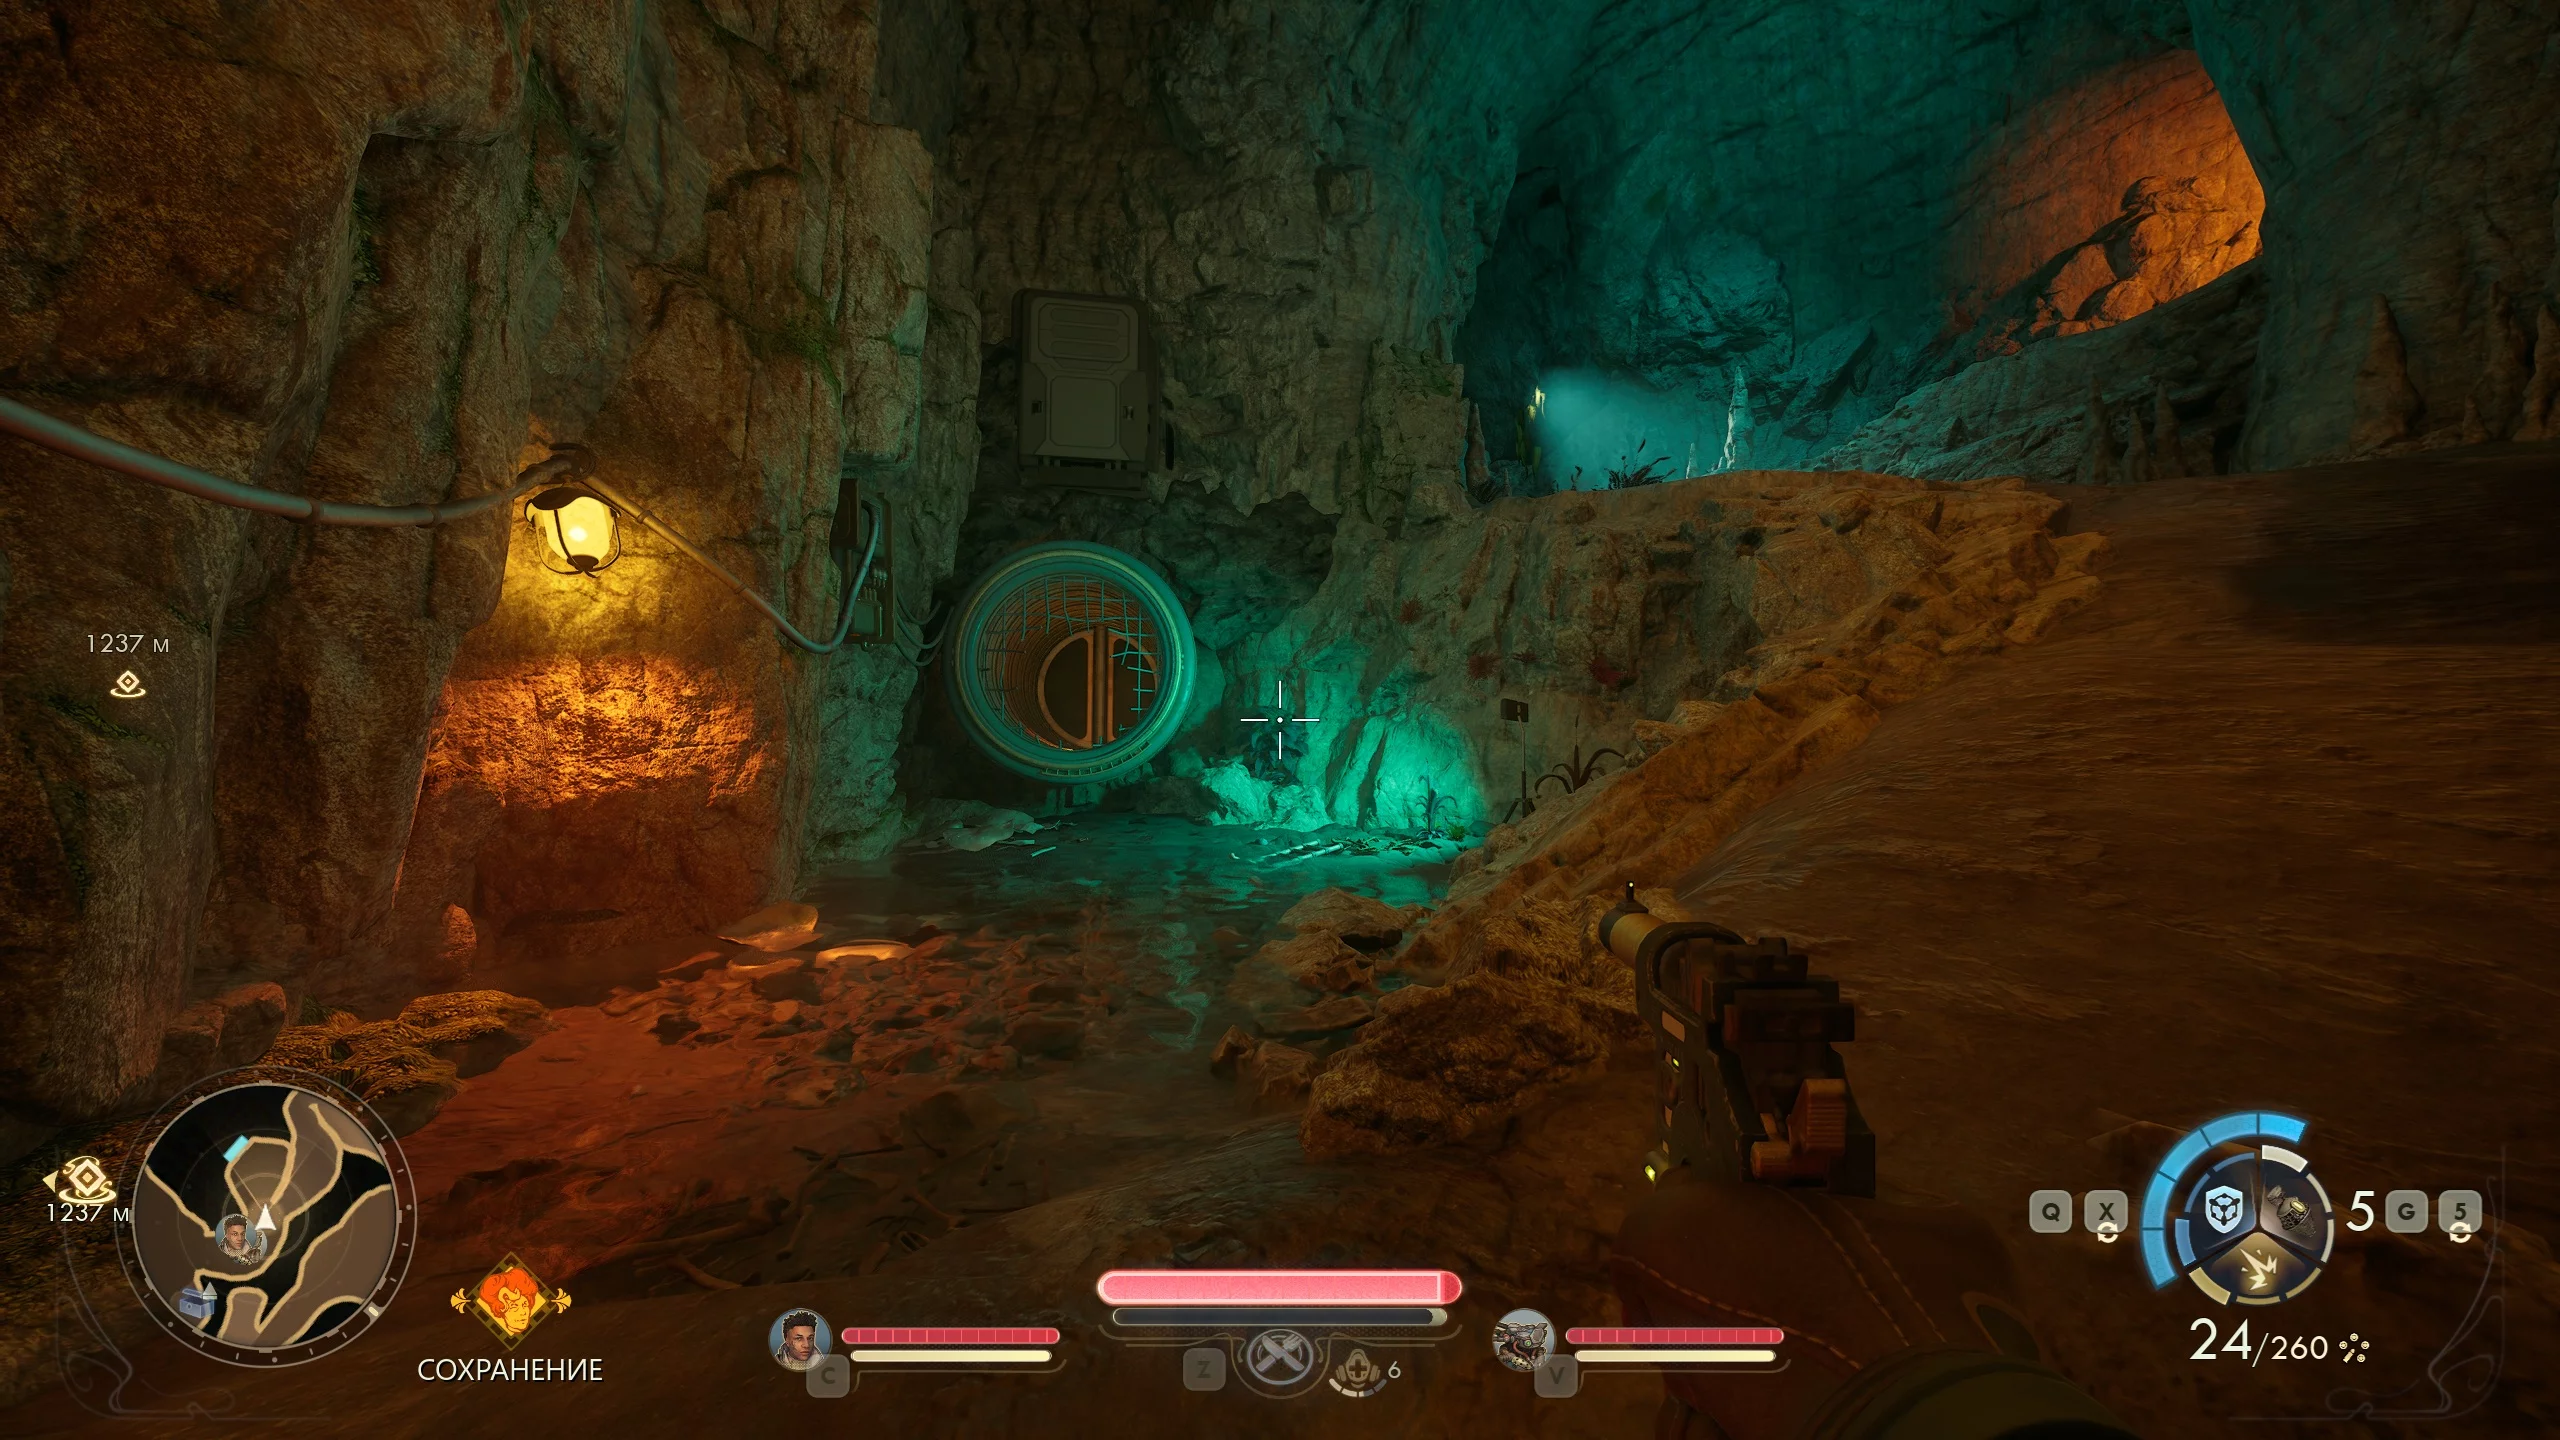
Sneak Through the Lizard Lair
In the north of the second part of the island, there is a cave with a pipe leading deep into the station. The easiest way to get there is from the power station. Take the elevator up and find the path on the left, then follow it forward.
If you encounter a lot of lizards along the way, you’re going the right way. Enter the cave and kill all the reptiles; at the end, you’ll find a giant pipe leading into the station. This way, you’ll immediately reach the access control terminal.
Enter Through the Main Entrance
You can ignore all the side routes and attack the station. In this case, you’ll have to kill all the soldiers and automatons, then enter through the main entrance. You can infiltrate the base without raising an alarm. Go left from the checkpoint and you’ll end up on the roof of one of the buildings.
Drop down to the base area, hack the door opposite, go past two soldiers, and you’ll end up under the bridge leading inside the complex. Climb the ladder and enter the station through the main gate.
How to Get Data on Augustine
Now that you’re inside the station, you need to find information about Augustine. To do this, you must reach the captain’s bridge, which is guarded by General Montelli.
If you helped Corbin in the prologue and cleared his personal file, he will be the marshal here. If you have the document from Hogarth, you can convince the guy to kill or remove the general from his post. Otherwise, the soldier won’t appear here, or you’ll have to eliminate him.
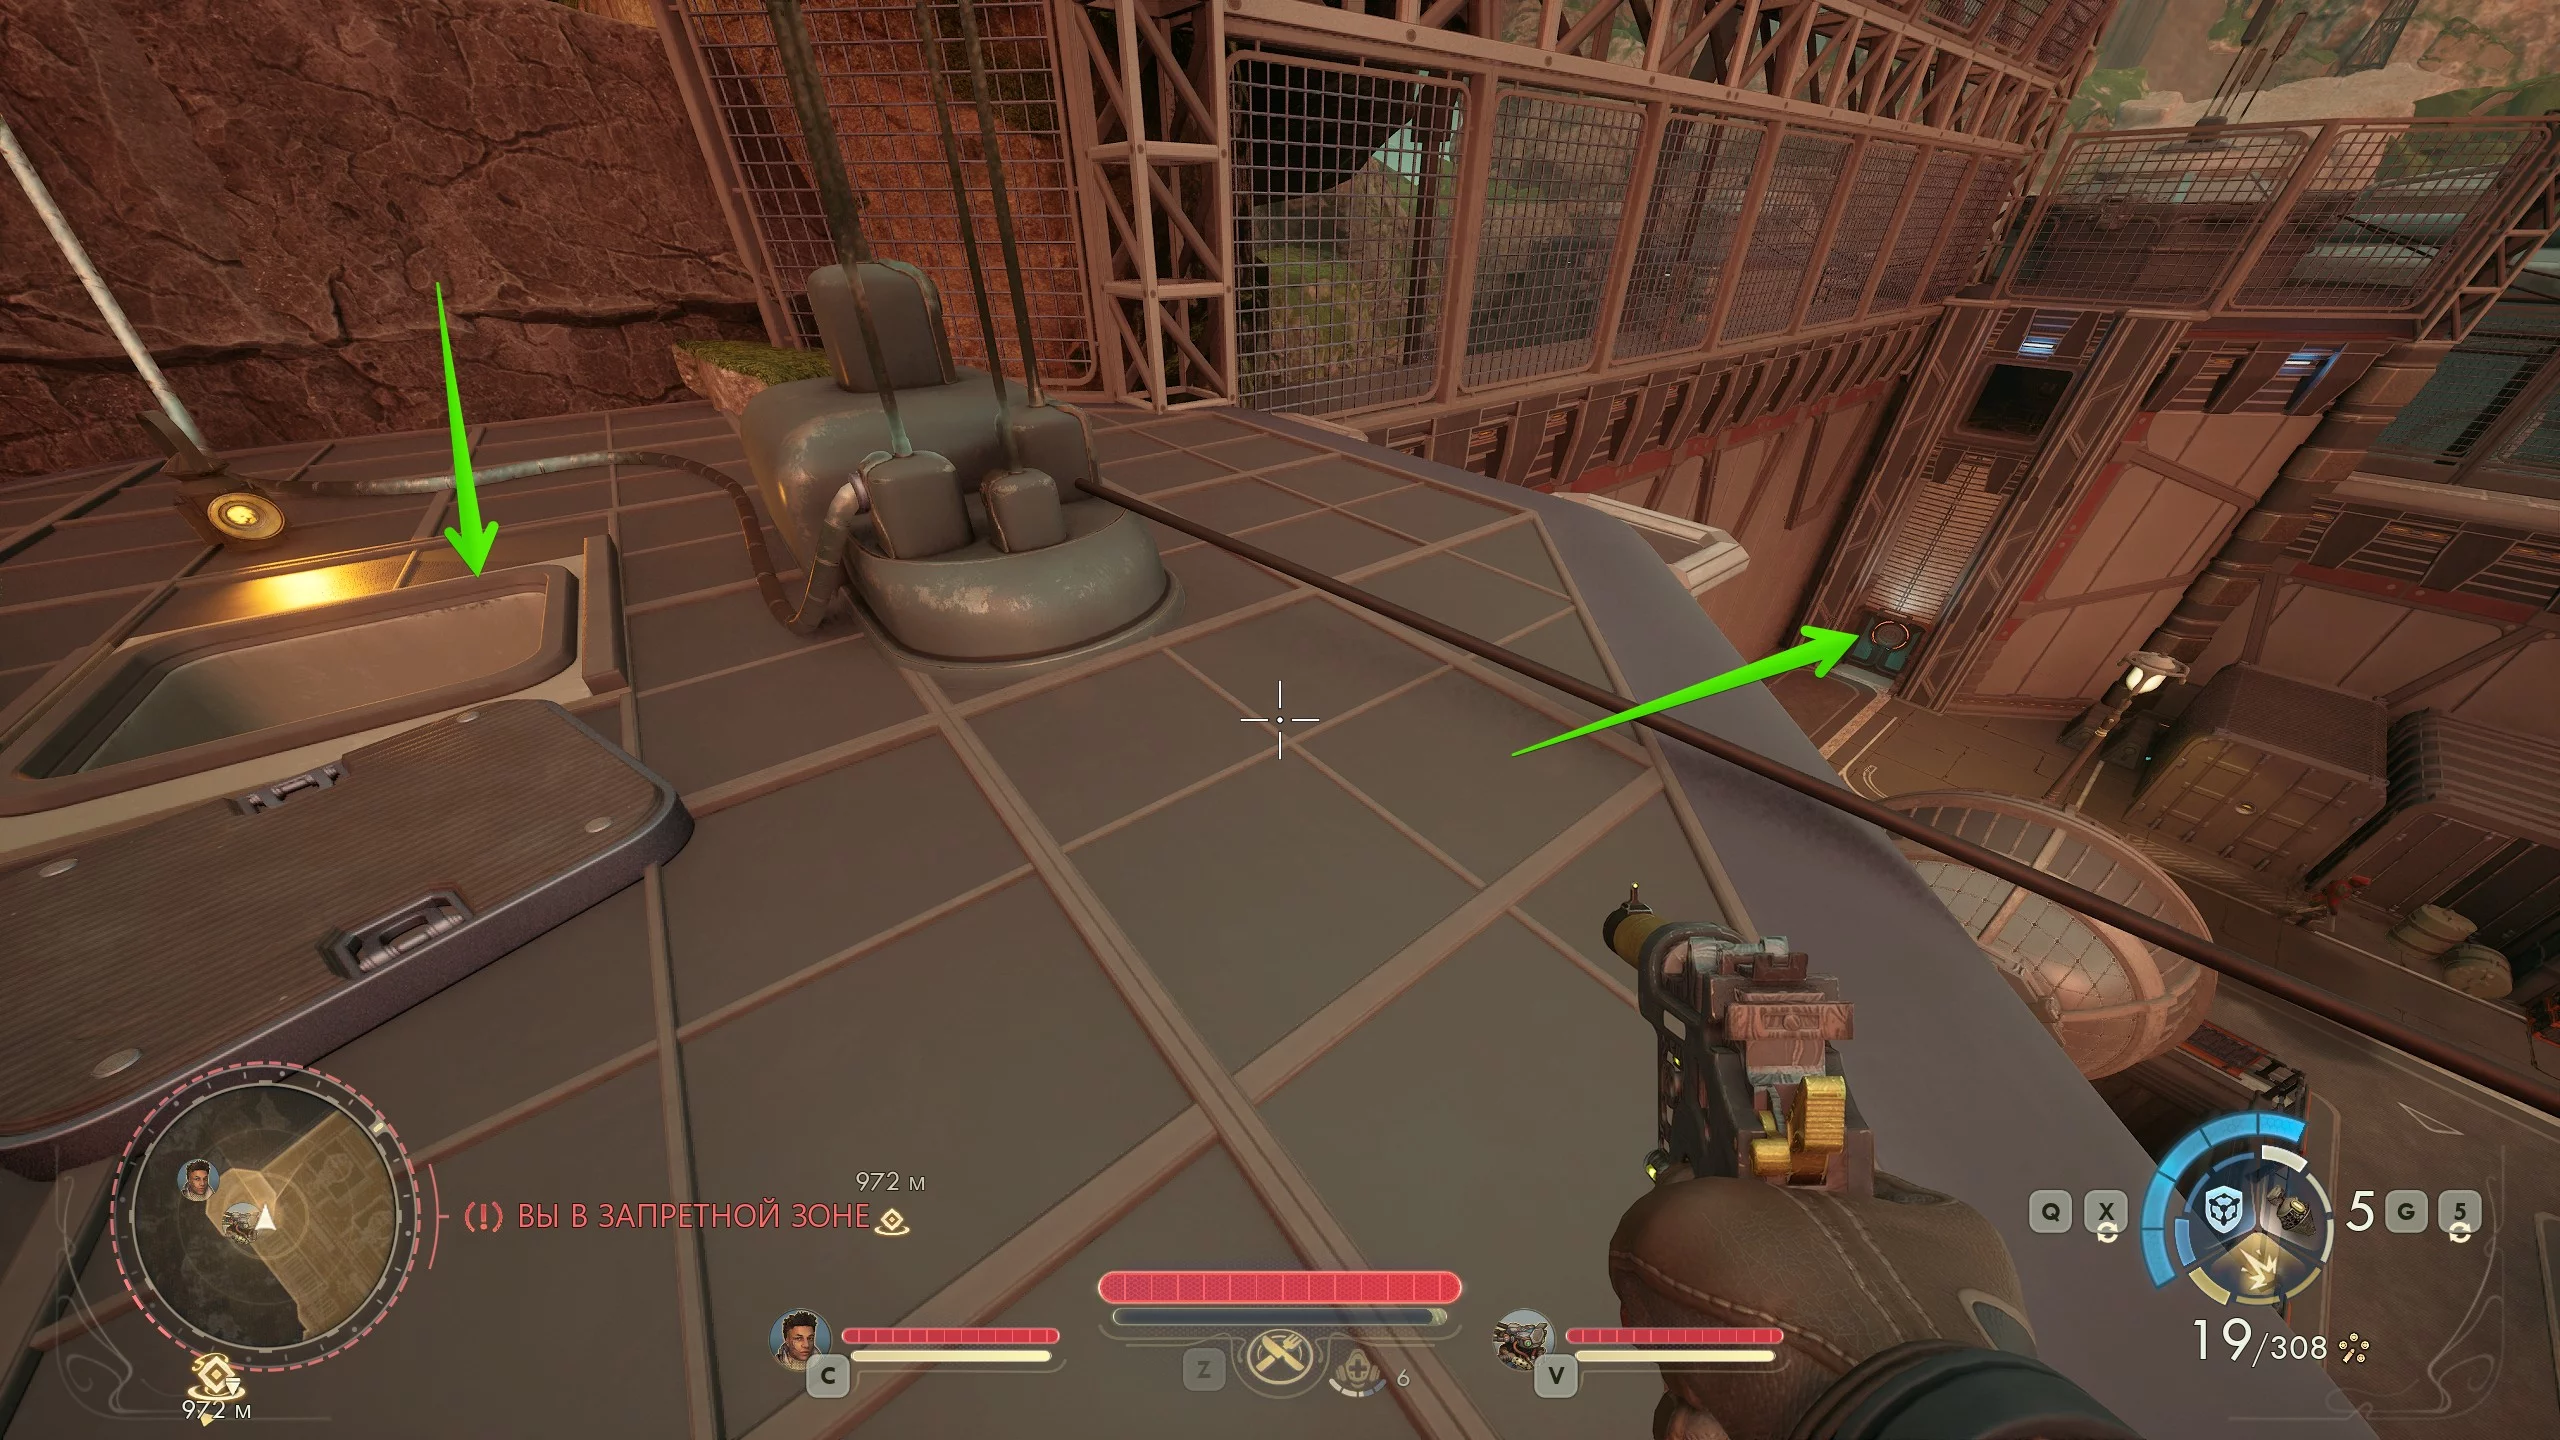
In any case, enter the right door and move forward until you find yourself in a corridor resembling a storage area. In the right section, find a clean Vox Relay keycard in a small brown box next to the ventilation shaft.
Now crawl into the shaft, from which you’ll end up in a corridor. Go through the door on the right and you’ll find yourself in a hall before the terminal. Use it to reprint the card, then head to the place where you met Corbin.
Enter the main hall, find the elevator at the end, and use it to get to the door leading to the meeting with Montelli. But first, enter his office, send the general’s resignation letter from the terminal, and then read all the messages.
Meet with Montelli and Corbin. There are two ways to resolve the situation: convince the general to step down voluntarily or kill him; if you wish, you can also eliminate the marshal. Regardless of the outcome, go up to the command post. Go around the first row of computers on the left and open the fake panel, where you’ll find Augustine’s secret terminal.

How to Decide the Fate of Paradise Island
Read all the messages, after which the emergency ejection process of the entire station will begin. This means the station will launch into the sky and then fall according to the set coordinates. By default, this is the city of Fairfield, but you can influence the landing point.
Go to the main terminal and send the station to Westport, or, best of all, into space using level four Hacking skill or the "Lucky" trait. It’s important to note that the flooded city option will only appear if you have the Mobilization Decree.
Therefore, if you decide to send the station to Westport, you must first complete the Marshal’s quest and resettle all the people in Fairfield. Also keep in mind, the crashed base will completely destroy the settlement and all its inhabitants.
If the station destroys at least one city with living people and Ines is in your party, she will leave the team forever. Fairfield will be destroyed if you don’t change the coordinates and simply leave using the elevator.

Decide where to send the station and return to the ship to figure out how to find Augustine, or complete all the region’s side quests.
The Best Way to Complete Paradise Island
This story location can be conditionally divided into three parts.
- Transition to the second part of the island.
- Infiltration of the station.
- Deciding the fate of the station and the island.
For your first playthrough, we recommend completing a series of actions in a specific order.
- Enter the town hall and take the quest from the marshal.
- Find out everything about Augustine from Savannah in the church and steal her diary.
- Get the automech repair center keycard from the Ministry of Veracity and meet Ines, then recruit her at city hall.
- Pick up the P.I.P. at the Sovereign’s Glorious Rocky Grove to perform double jumps.
- Get into the repair center and, with Delphinia’s help, make a gadget to protect against zyranium fumes.
- Resettle all the people from Westport to Fairfield and obtain the Mobilization Decree.
- Infiltrate the station through the lizard lair; this way you’ll reach the command center faster.
- Convince the general to step down.
- Send the station into space or to an uninhabited Westport.
This way, you’ll get useful items that will come in handy throughout the game and maintain your relationships with many characters. In addition, you’ll be able to complete almost all side quests after finishing the main story quest at the Vox Relay station.
On the Trail of the Traitor
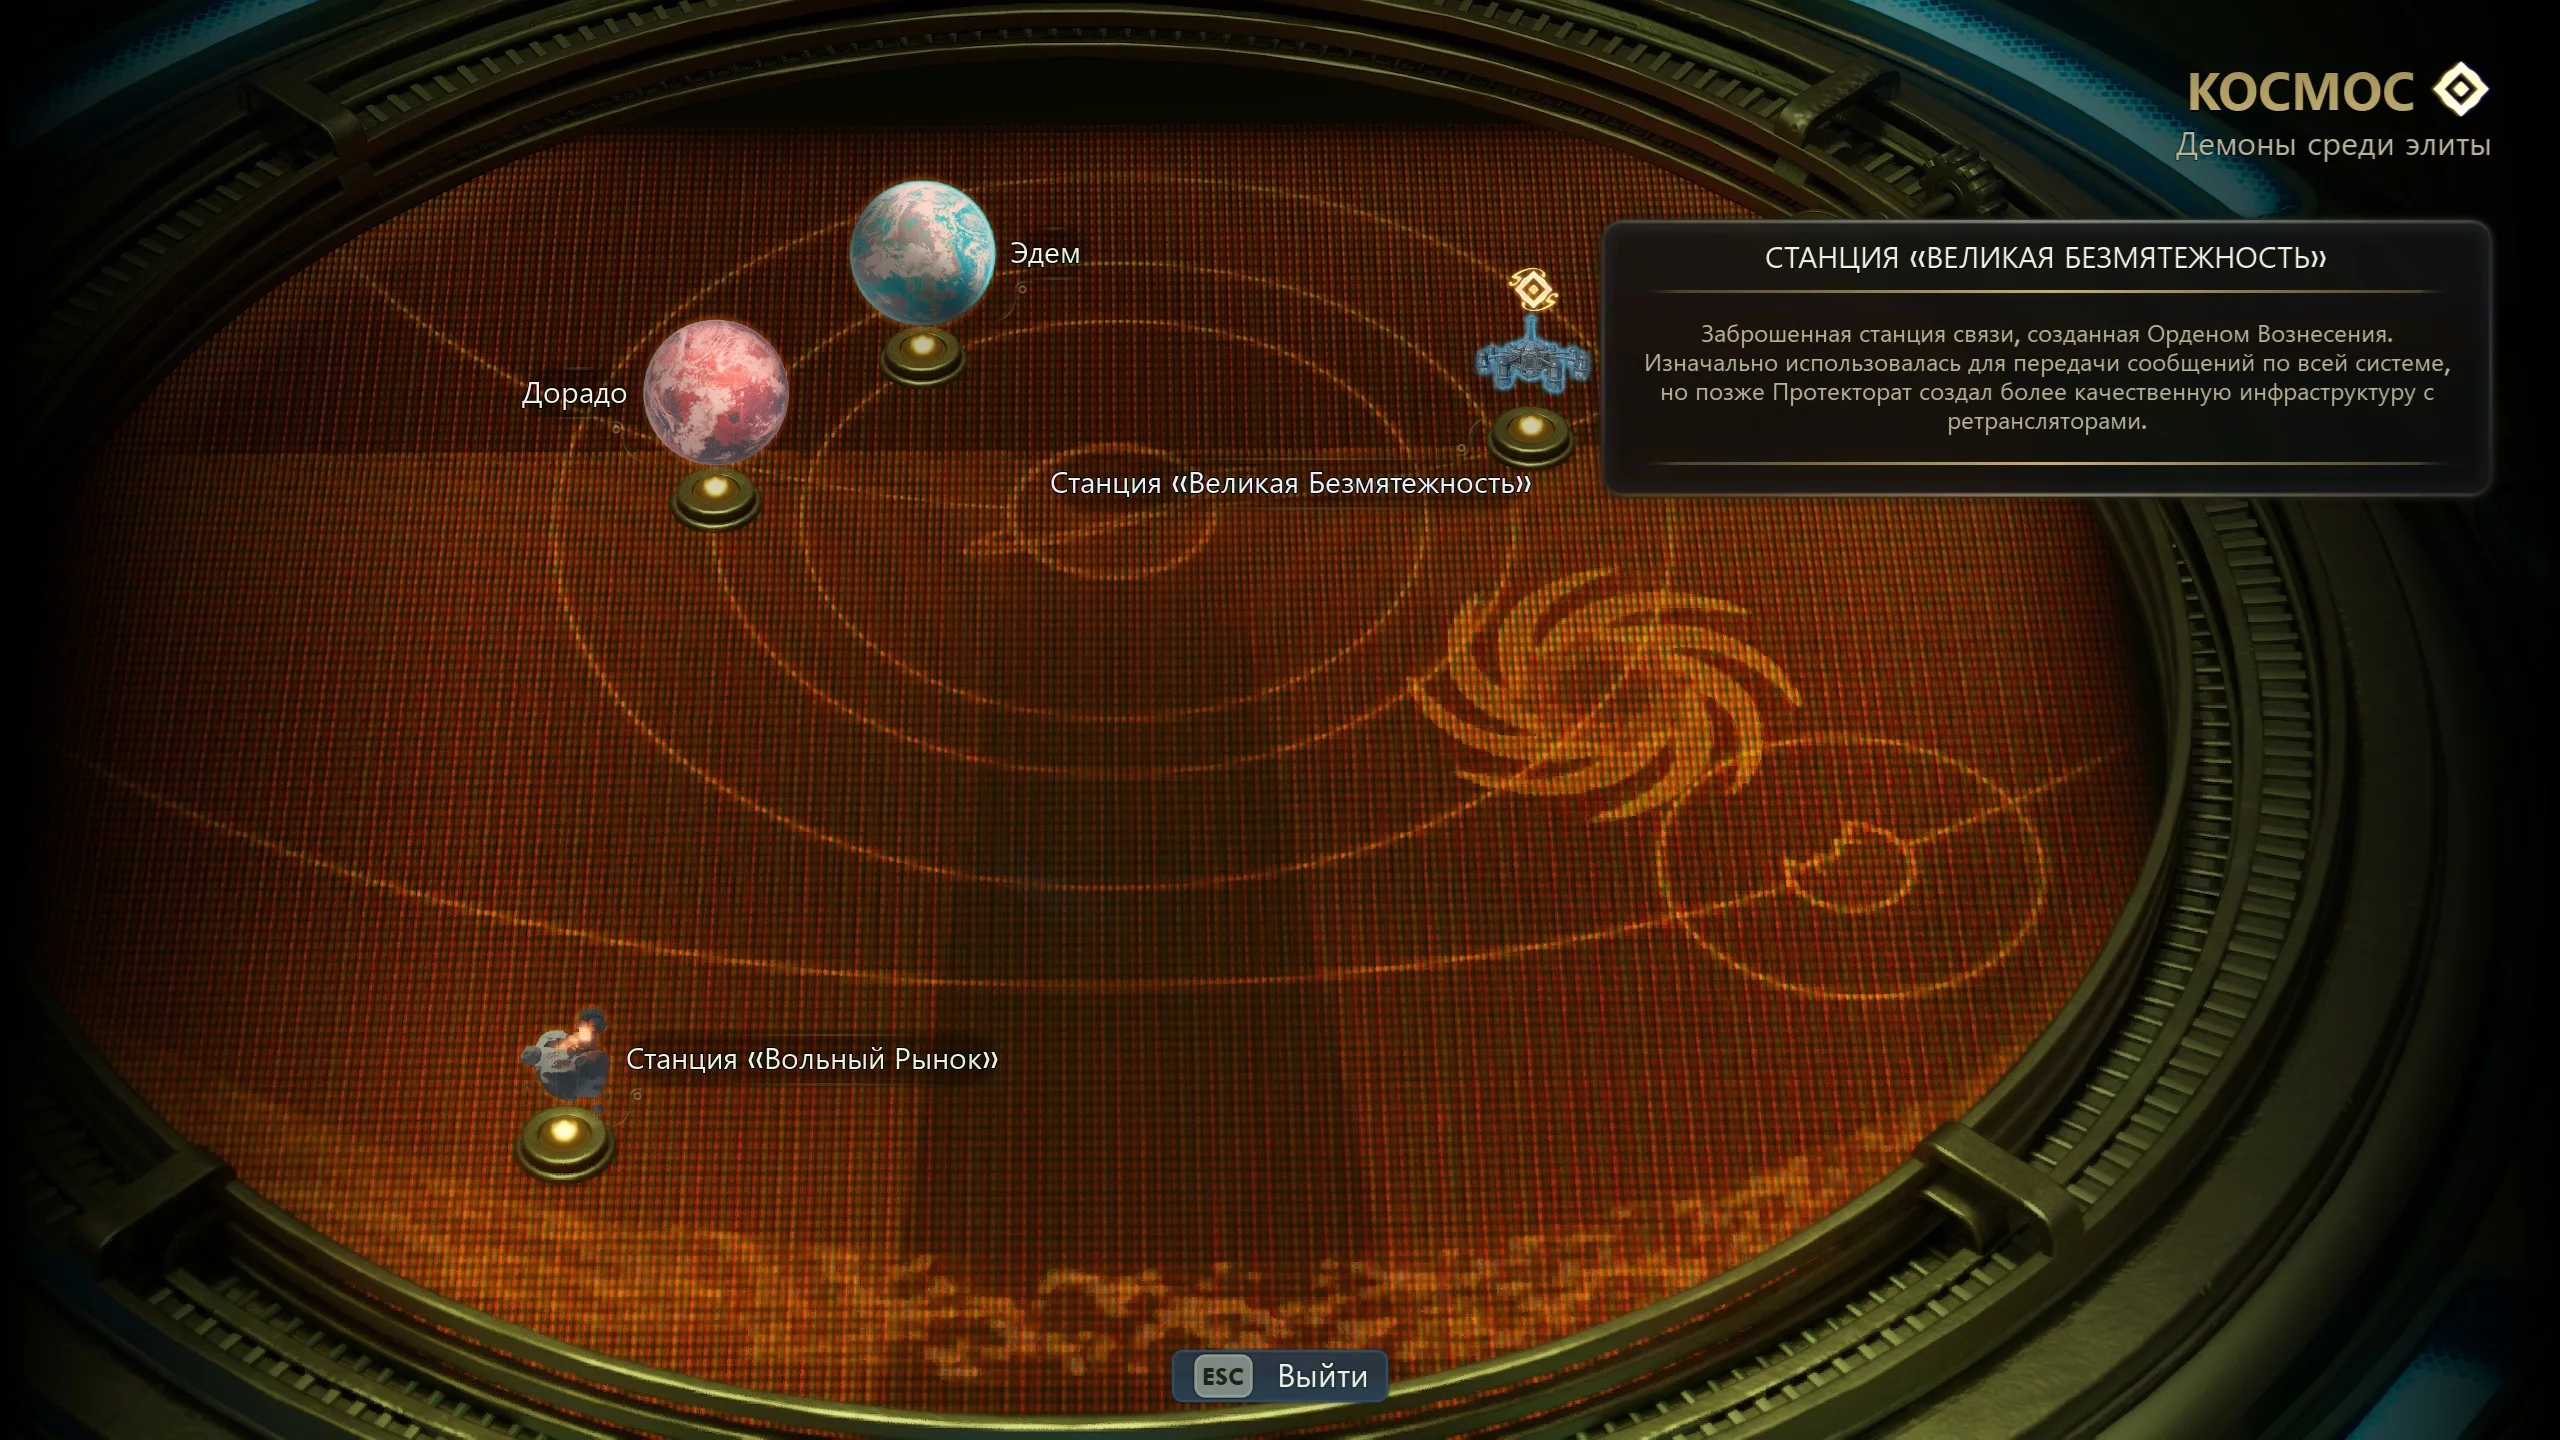
Return to the ship "Incognito." On the landing pad, the squad will be met by a messenger from the Order of Ascension, who will hand over a cassette. Board the ship and insert it into the intercom. As a result, you will learn that you need to find a place called "Golden Ridge."
Now approach the navigator and you will see that you have two landing targets: the planet Dorado and the Free Market Station. We recommend visiting the bazaar first to upgrade your equipment.
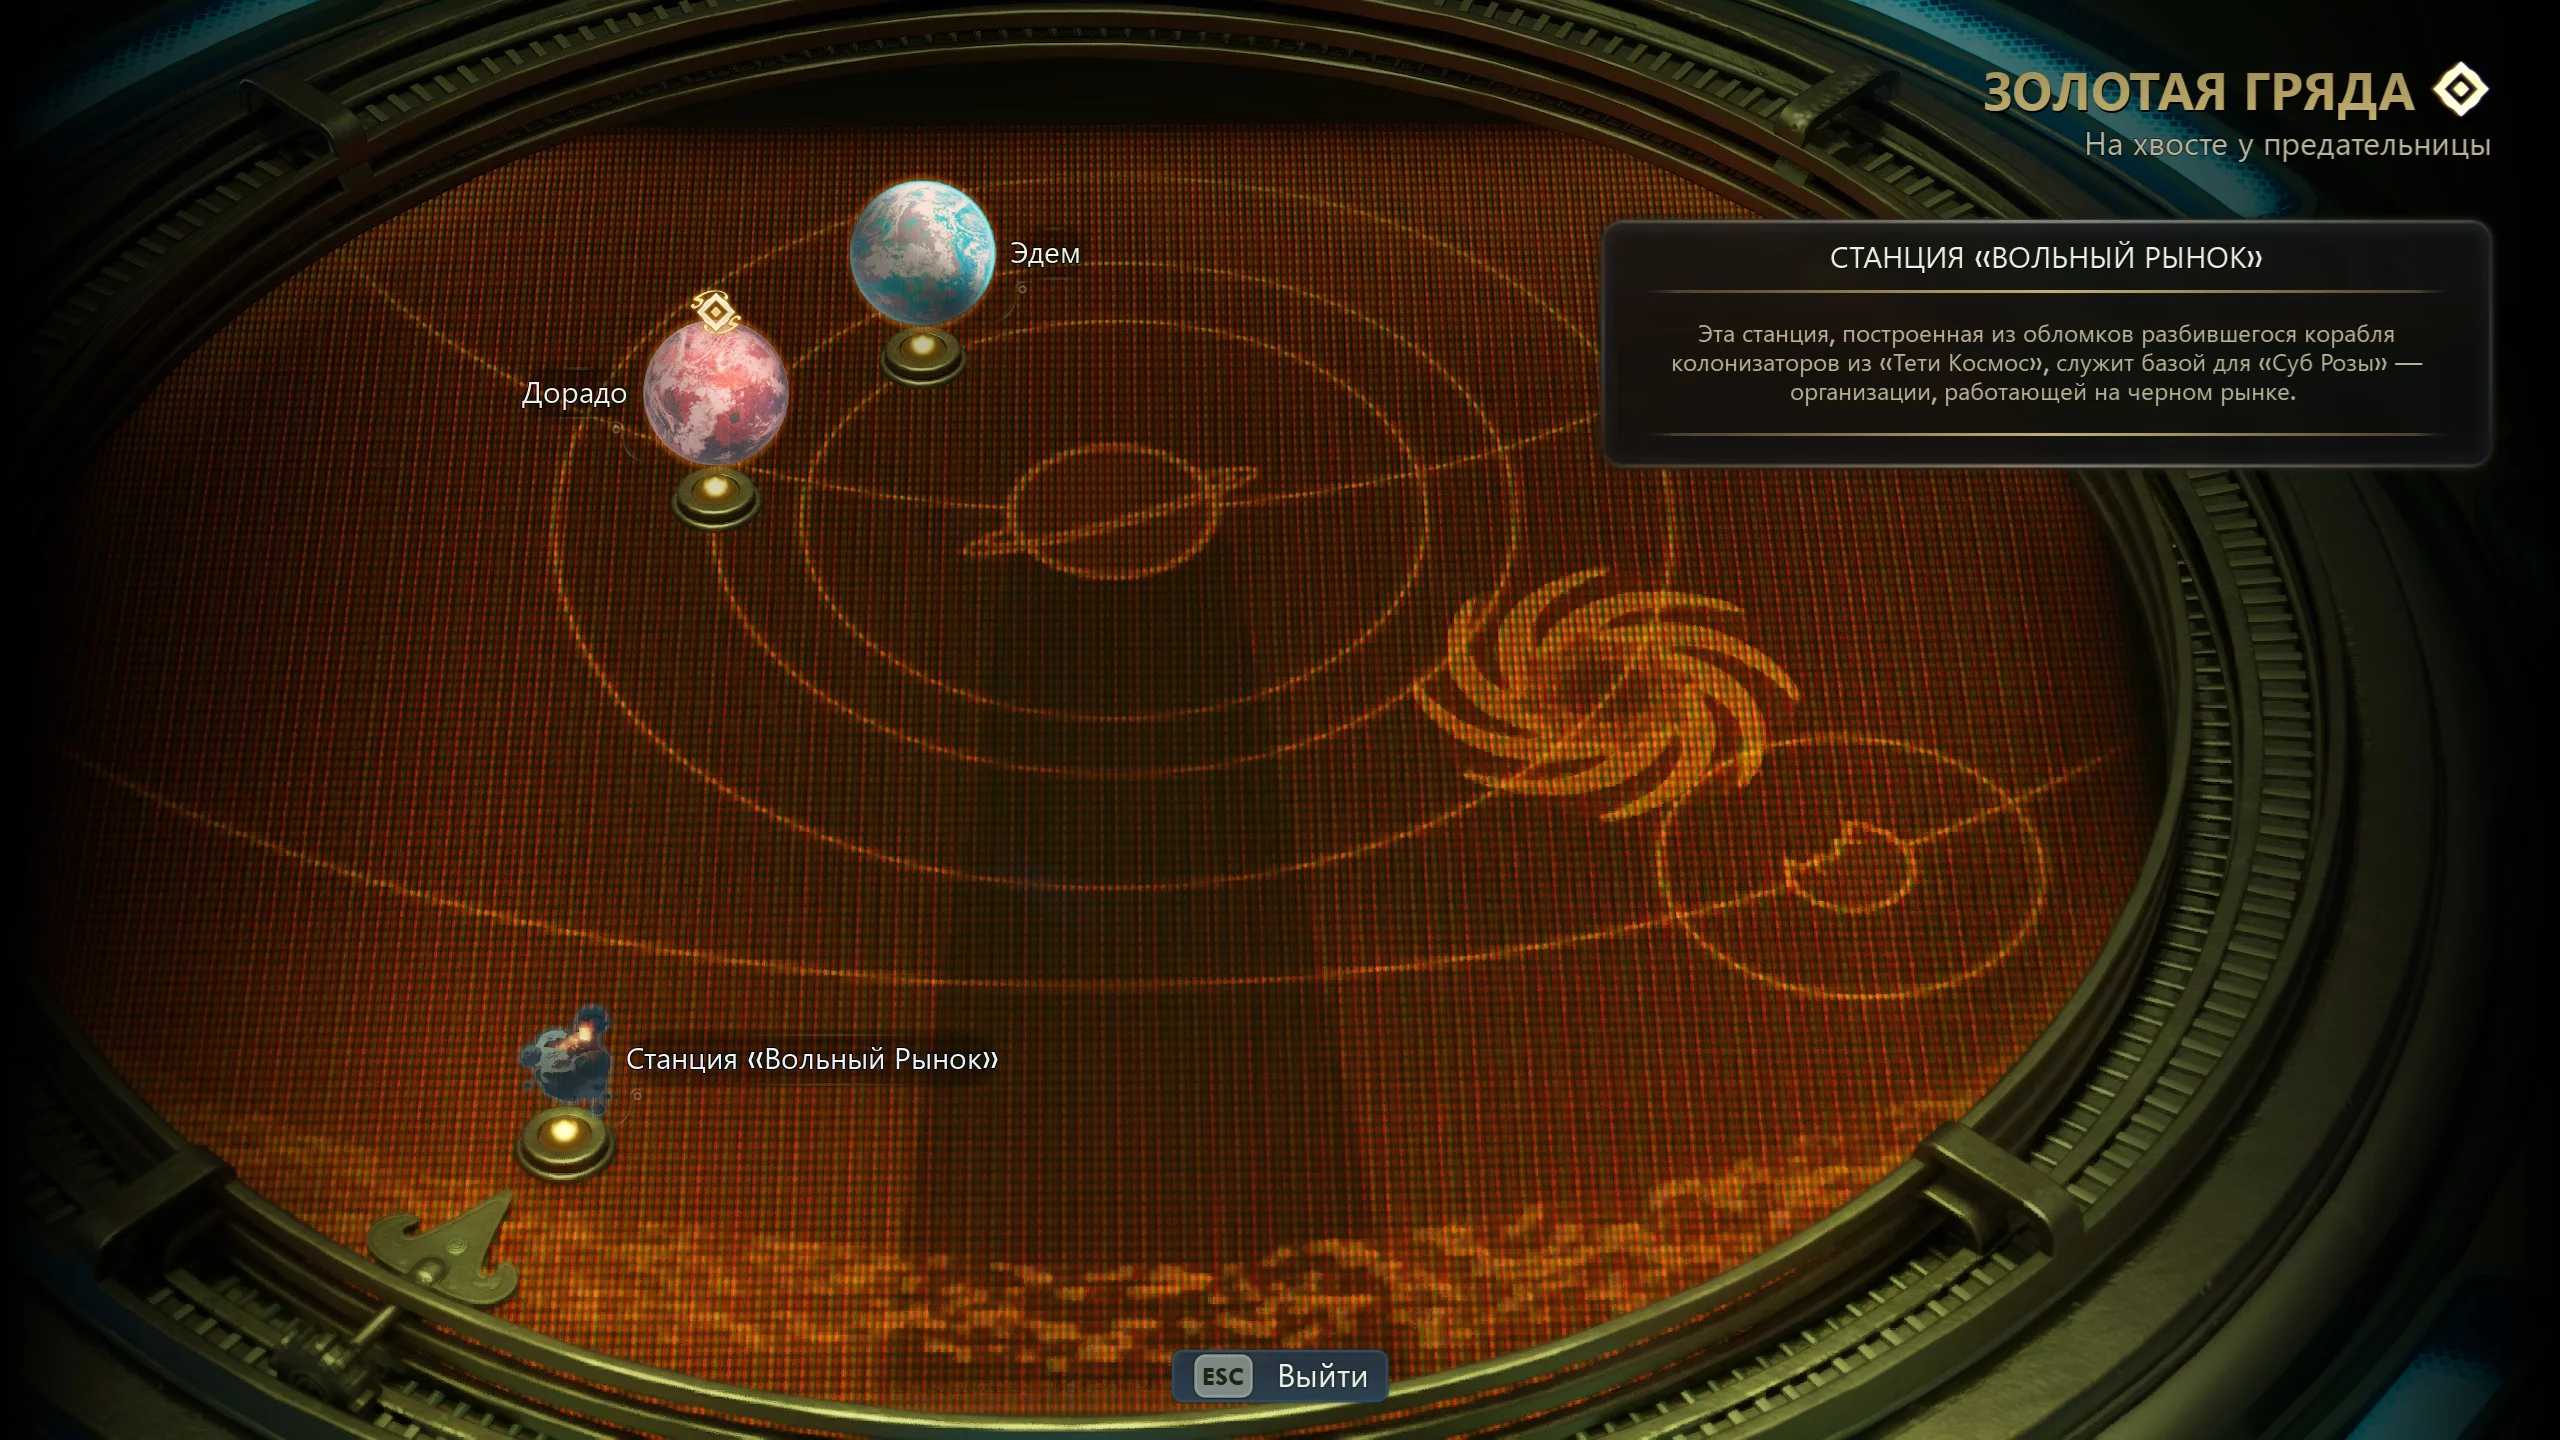
Land on the planet Dorado, and you will find yourself at a ruined railway station. Take the elevator down, then go straight along the road until you reach the Matriarch's Mercy shelter. Tell the guard that you are here by invitation, then enter the main building and talk to Abbot Josef Newell.
Augustina's former accomplice works in one of the Order's laboratories. Josef will approve your investigation, but first you need to find out what happened at the local zyranium manufactory.

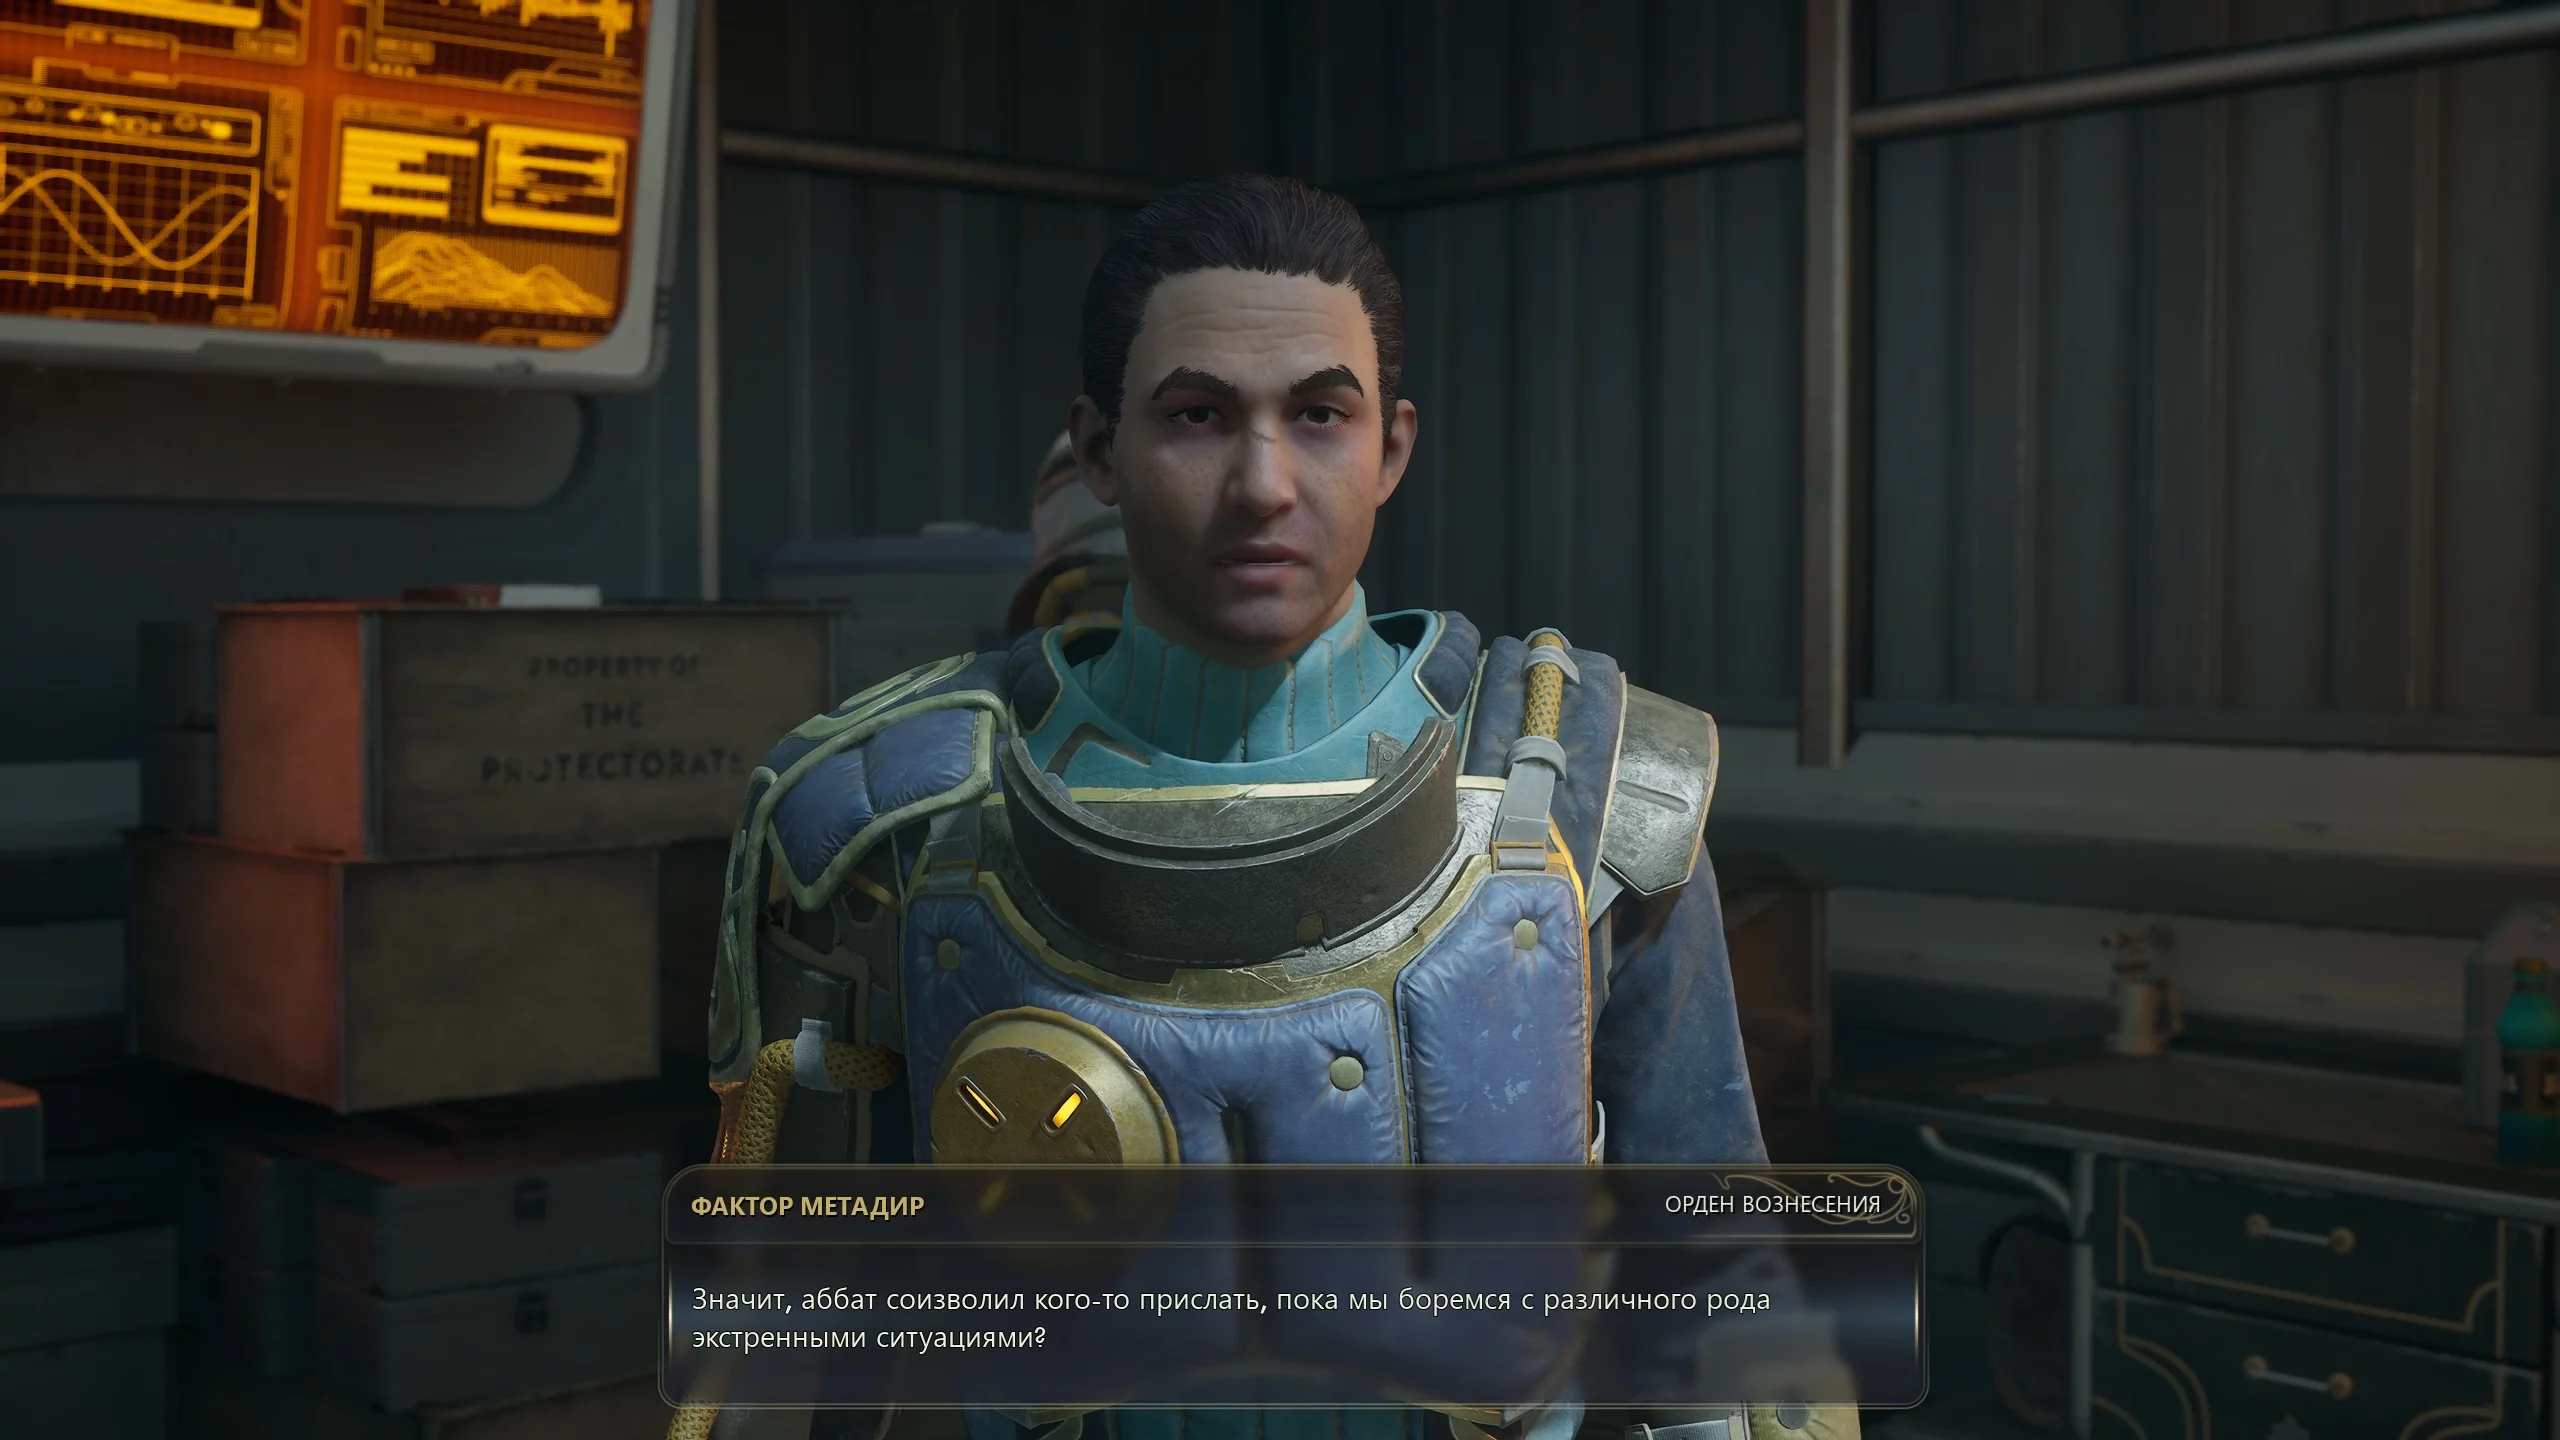
Leave the city and head northeast to Zyranium Manufactory VII. Tell the checkpoint that you have an order for inquiry, enter and talk to Factor Metadier. Show him the document and listen to the details of the accident, after which the quest "Beginning at the Endpoint" will be activated. Now you need to figure out what really happened at the plant.
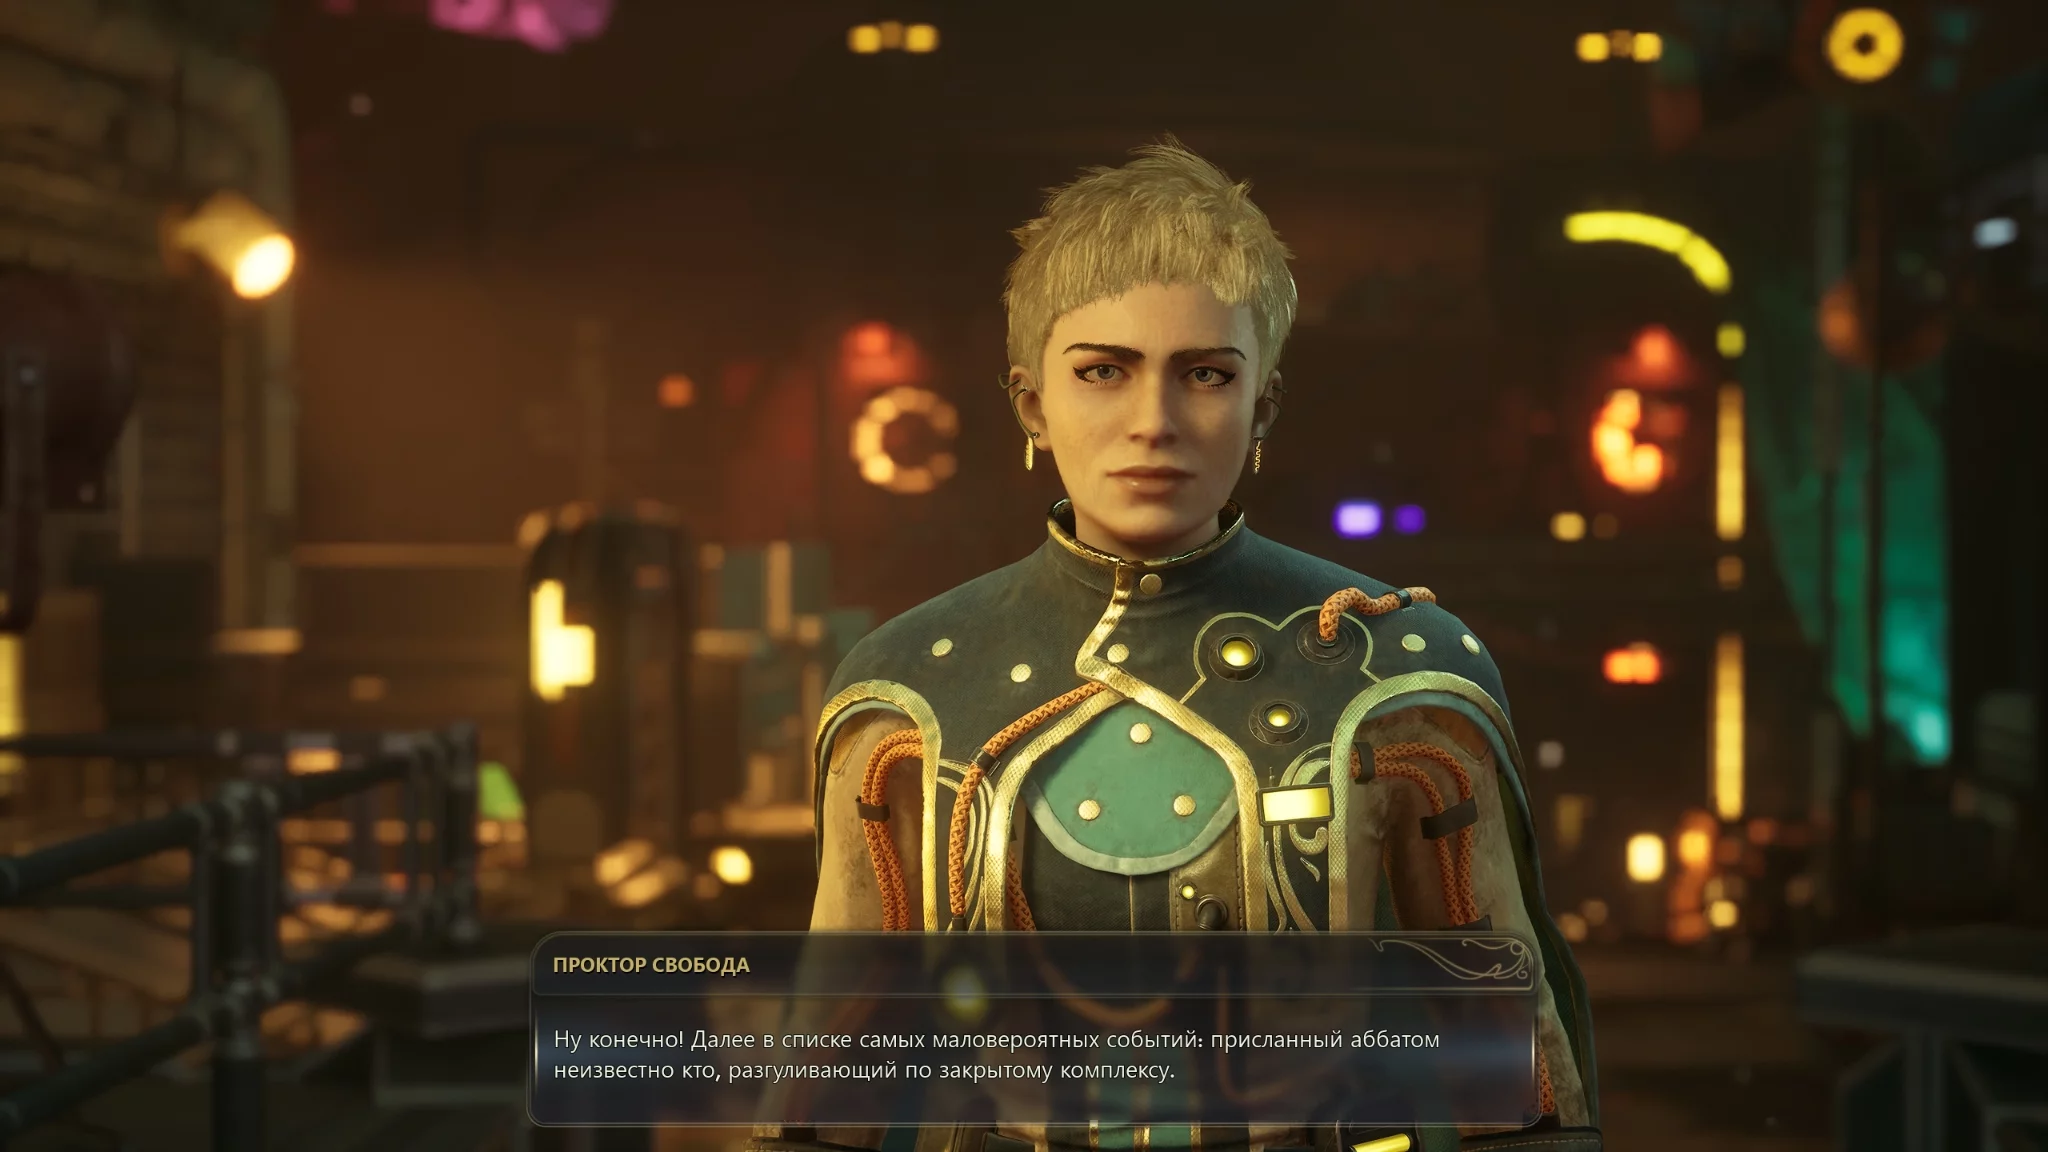
Take the elevator down and talk to Proctor Svoboda. The station supervisor will tell you that the accident was caused by a spy, Initiate Alva, who locked herself in the control block and must be executed for treason.
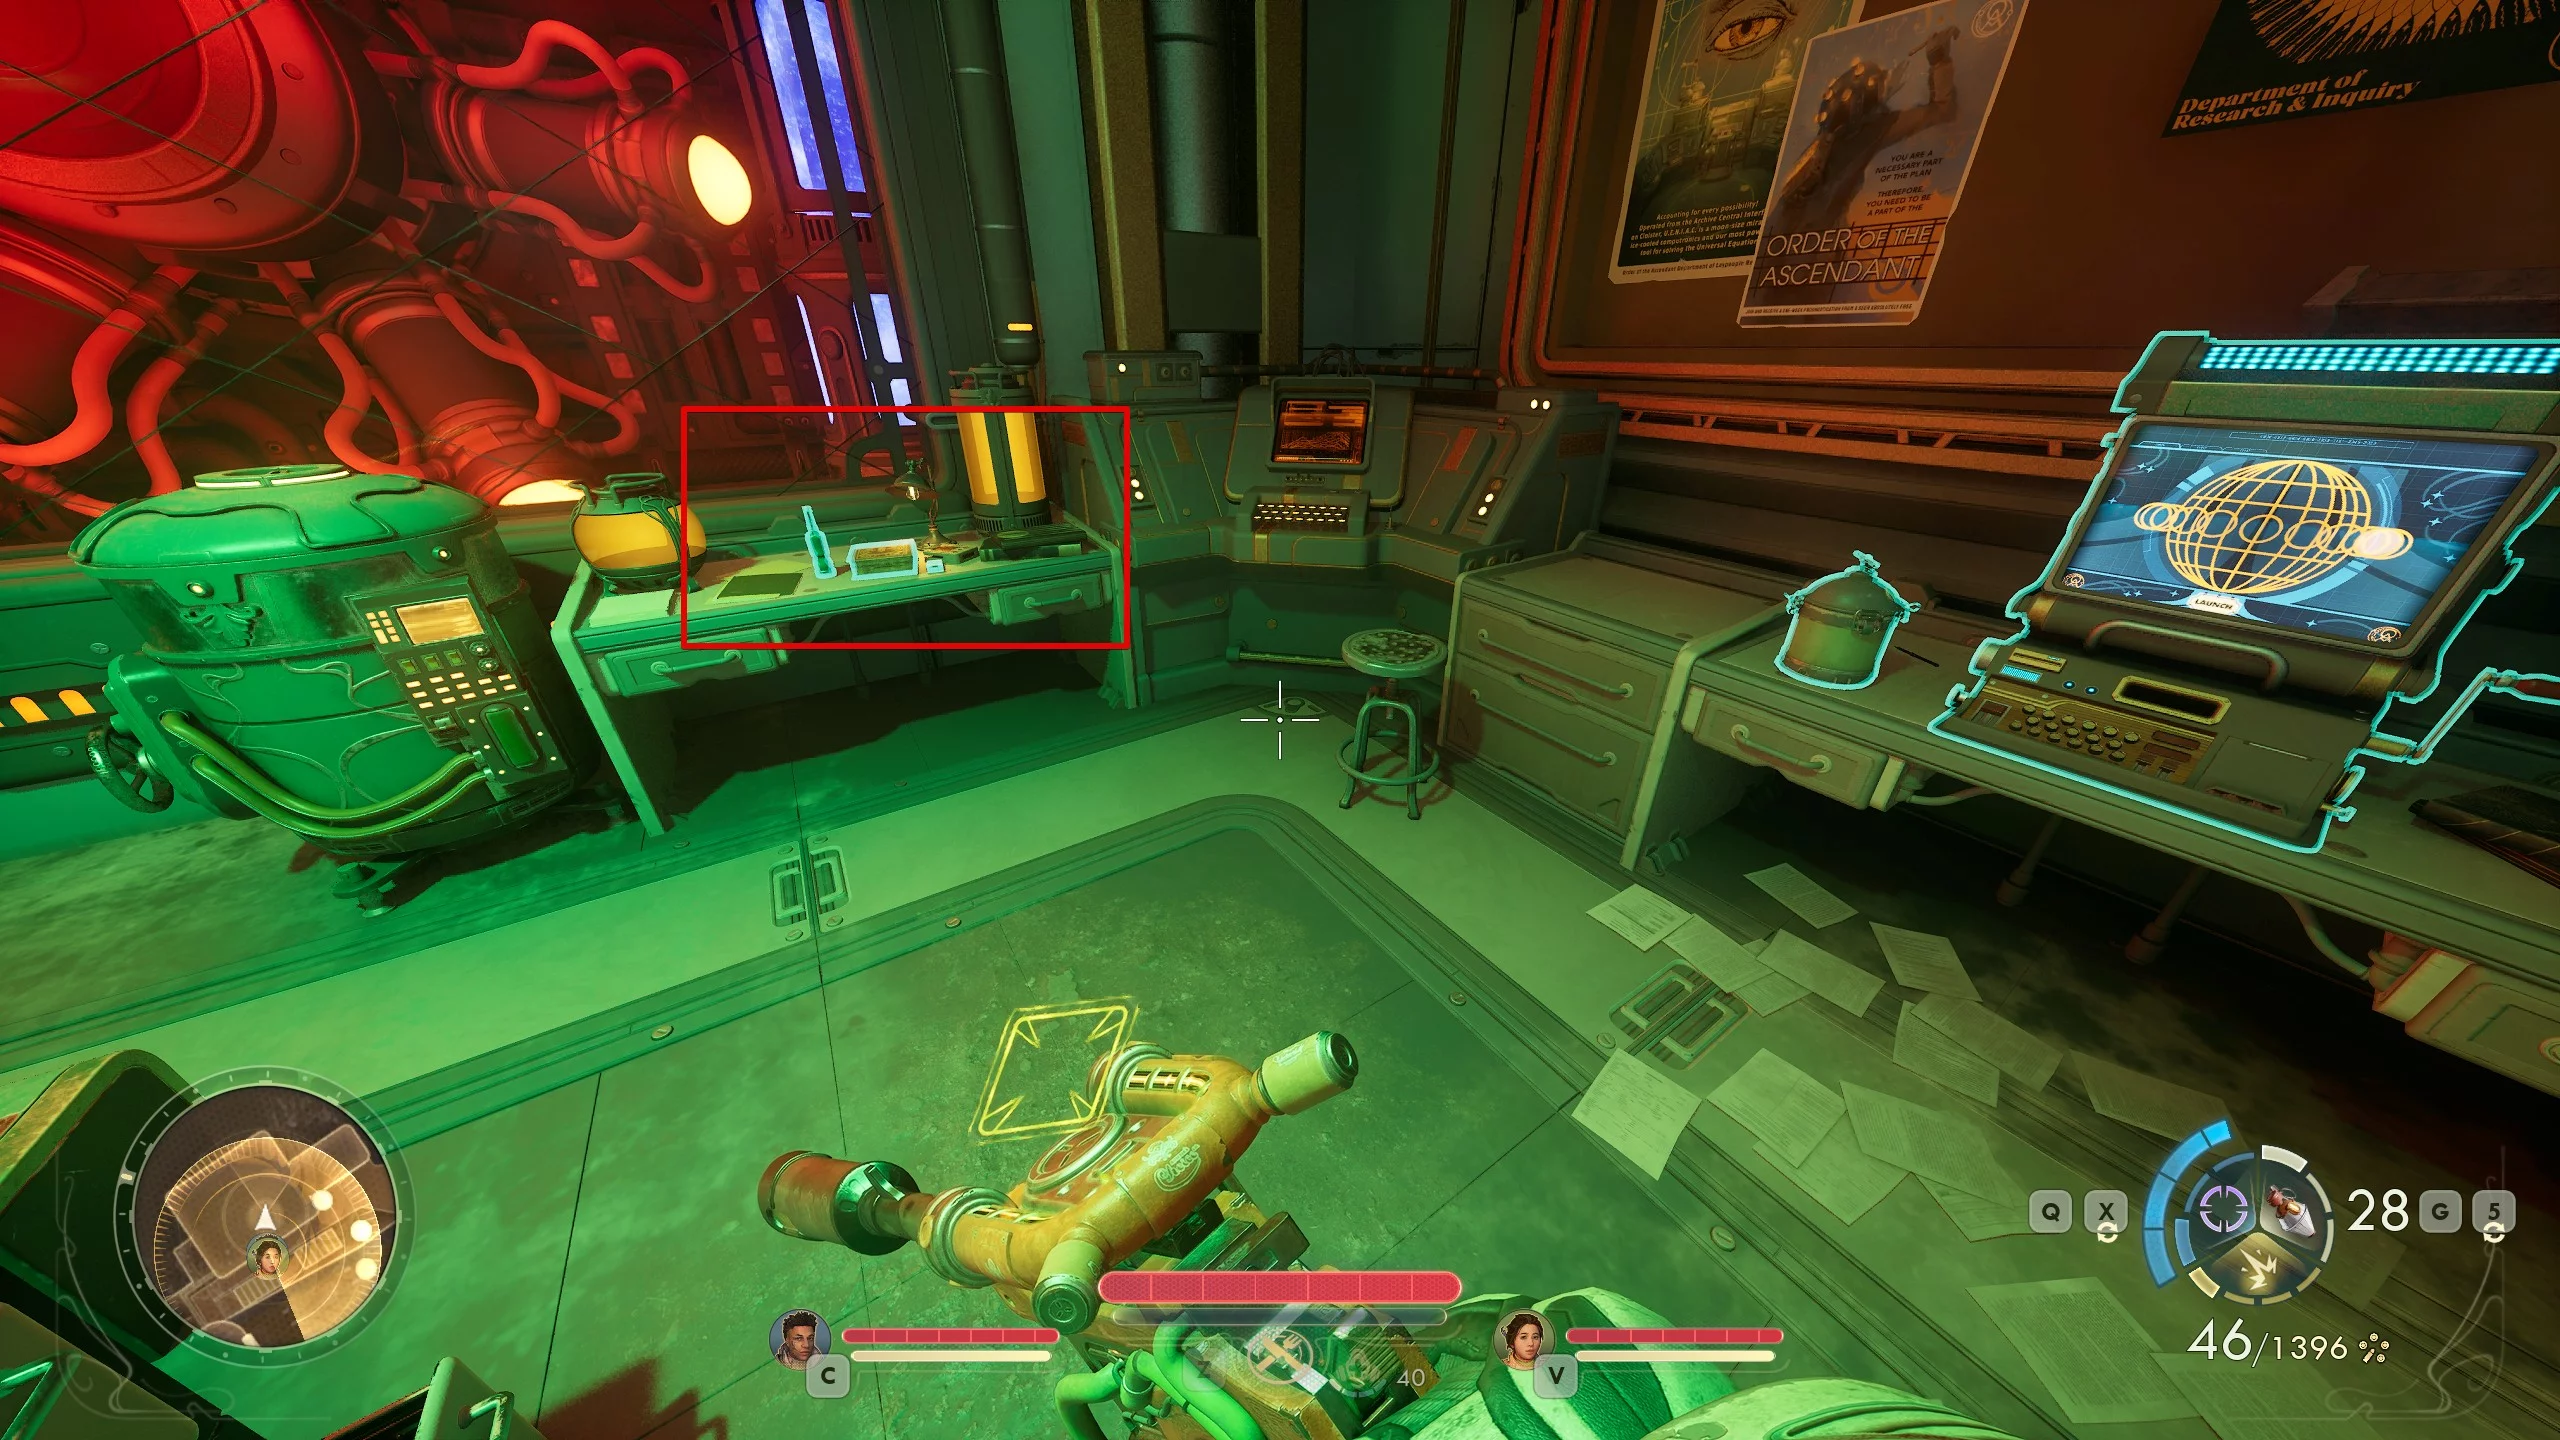
Enter the manufactory control block and talk to Alva. The woman will ask you to prove her innocence and find the repository logbooks. Leave the command post and head north. Open the door to the building labeled Records Repository and access the terminal.
All log entries have been erased, but there is a book on the table to the left. It says that Alva was giving the orders, but the pages emit a strange smell, indicating the use of chemicals. Return to the woman and tell her what you found. As a result, she will ask you to go to the central processing unit.
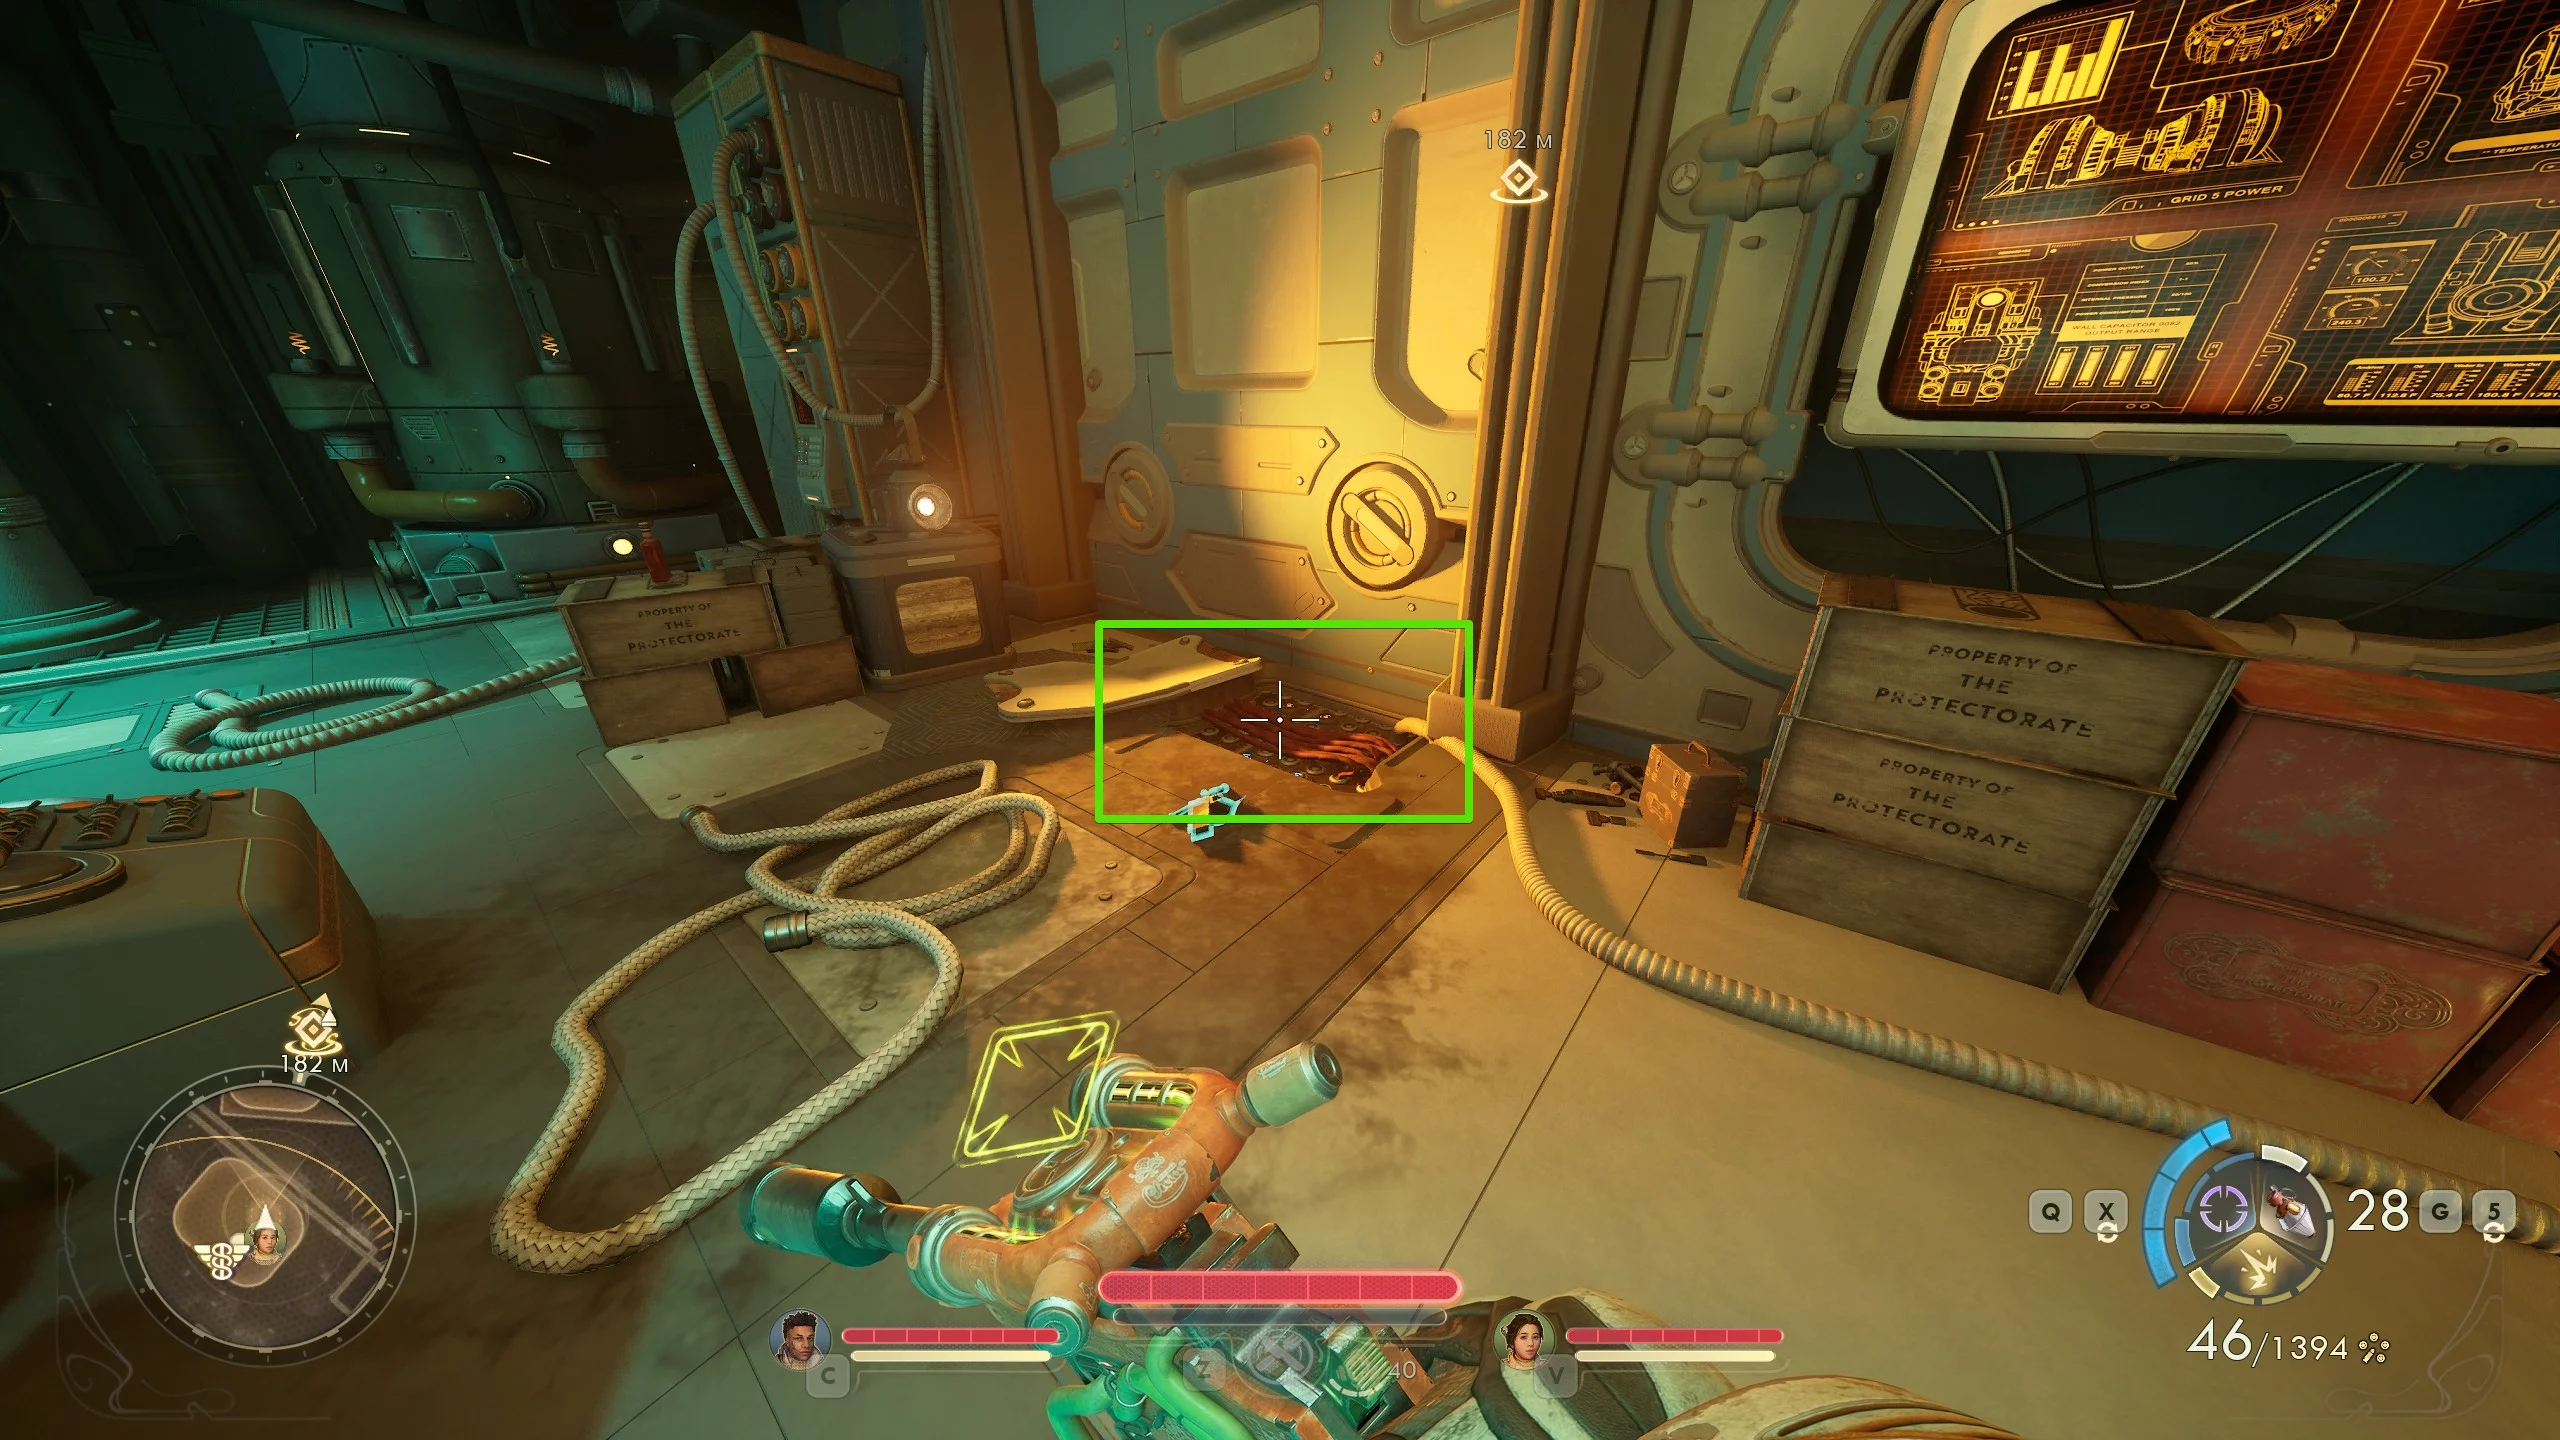
Now head south, take the elevator up and clear out the arachnids. Open the door to the building using the lever on the left and talk to Conkling. Listen to the archivist, then look for the orange wires on the floor, which have been rearranged so that all commands come from Alva.
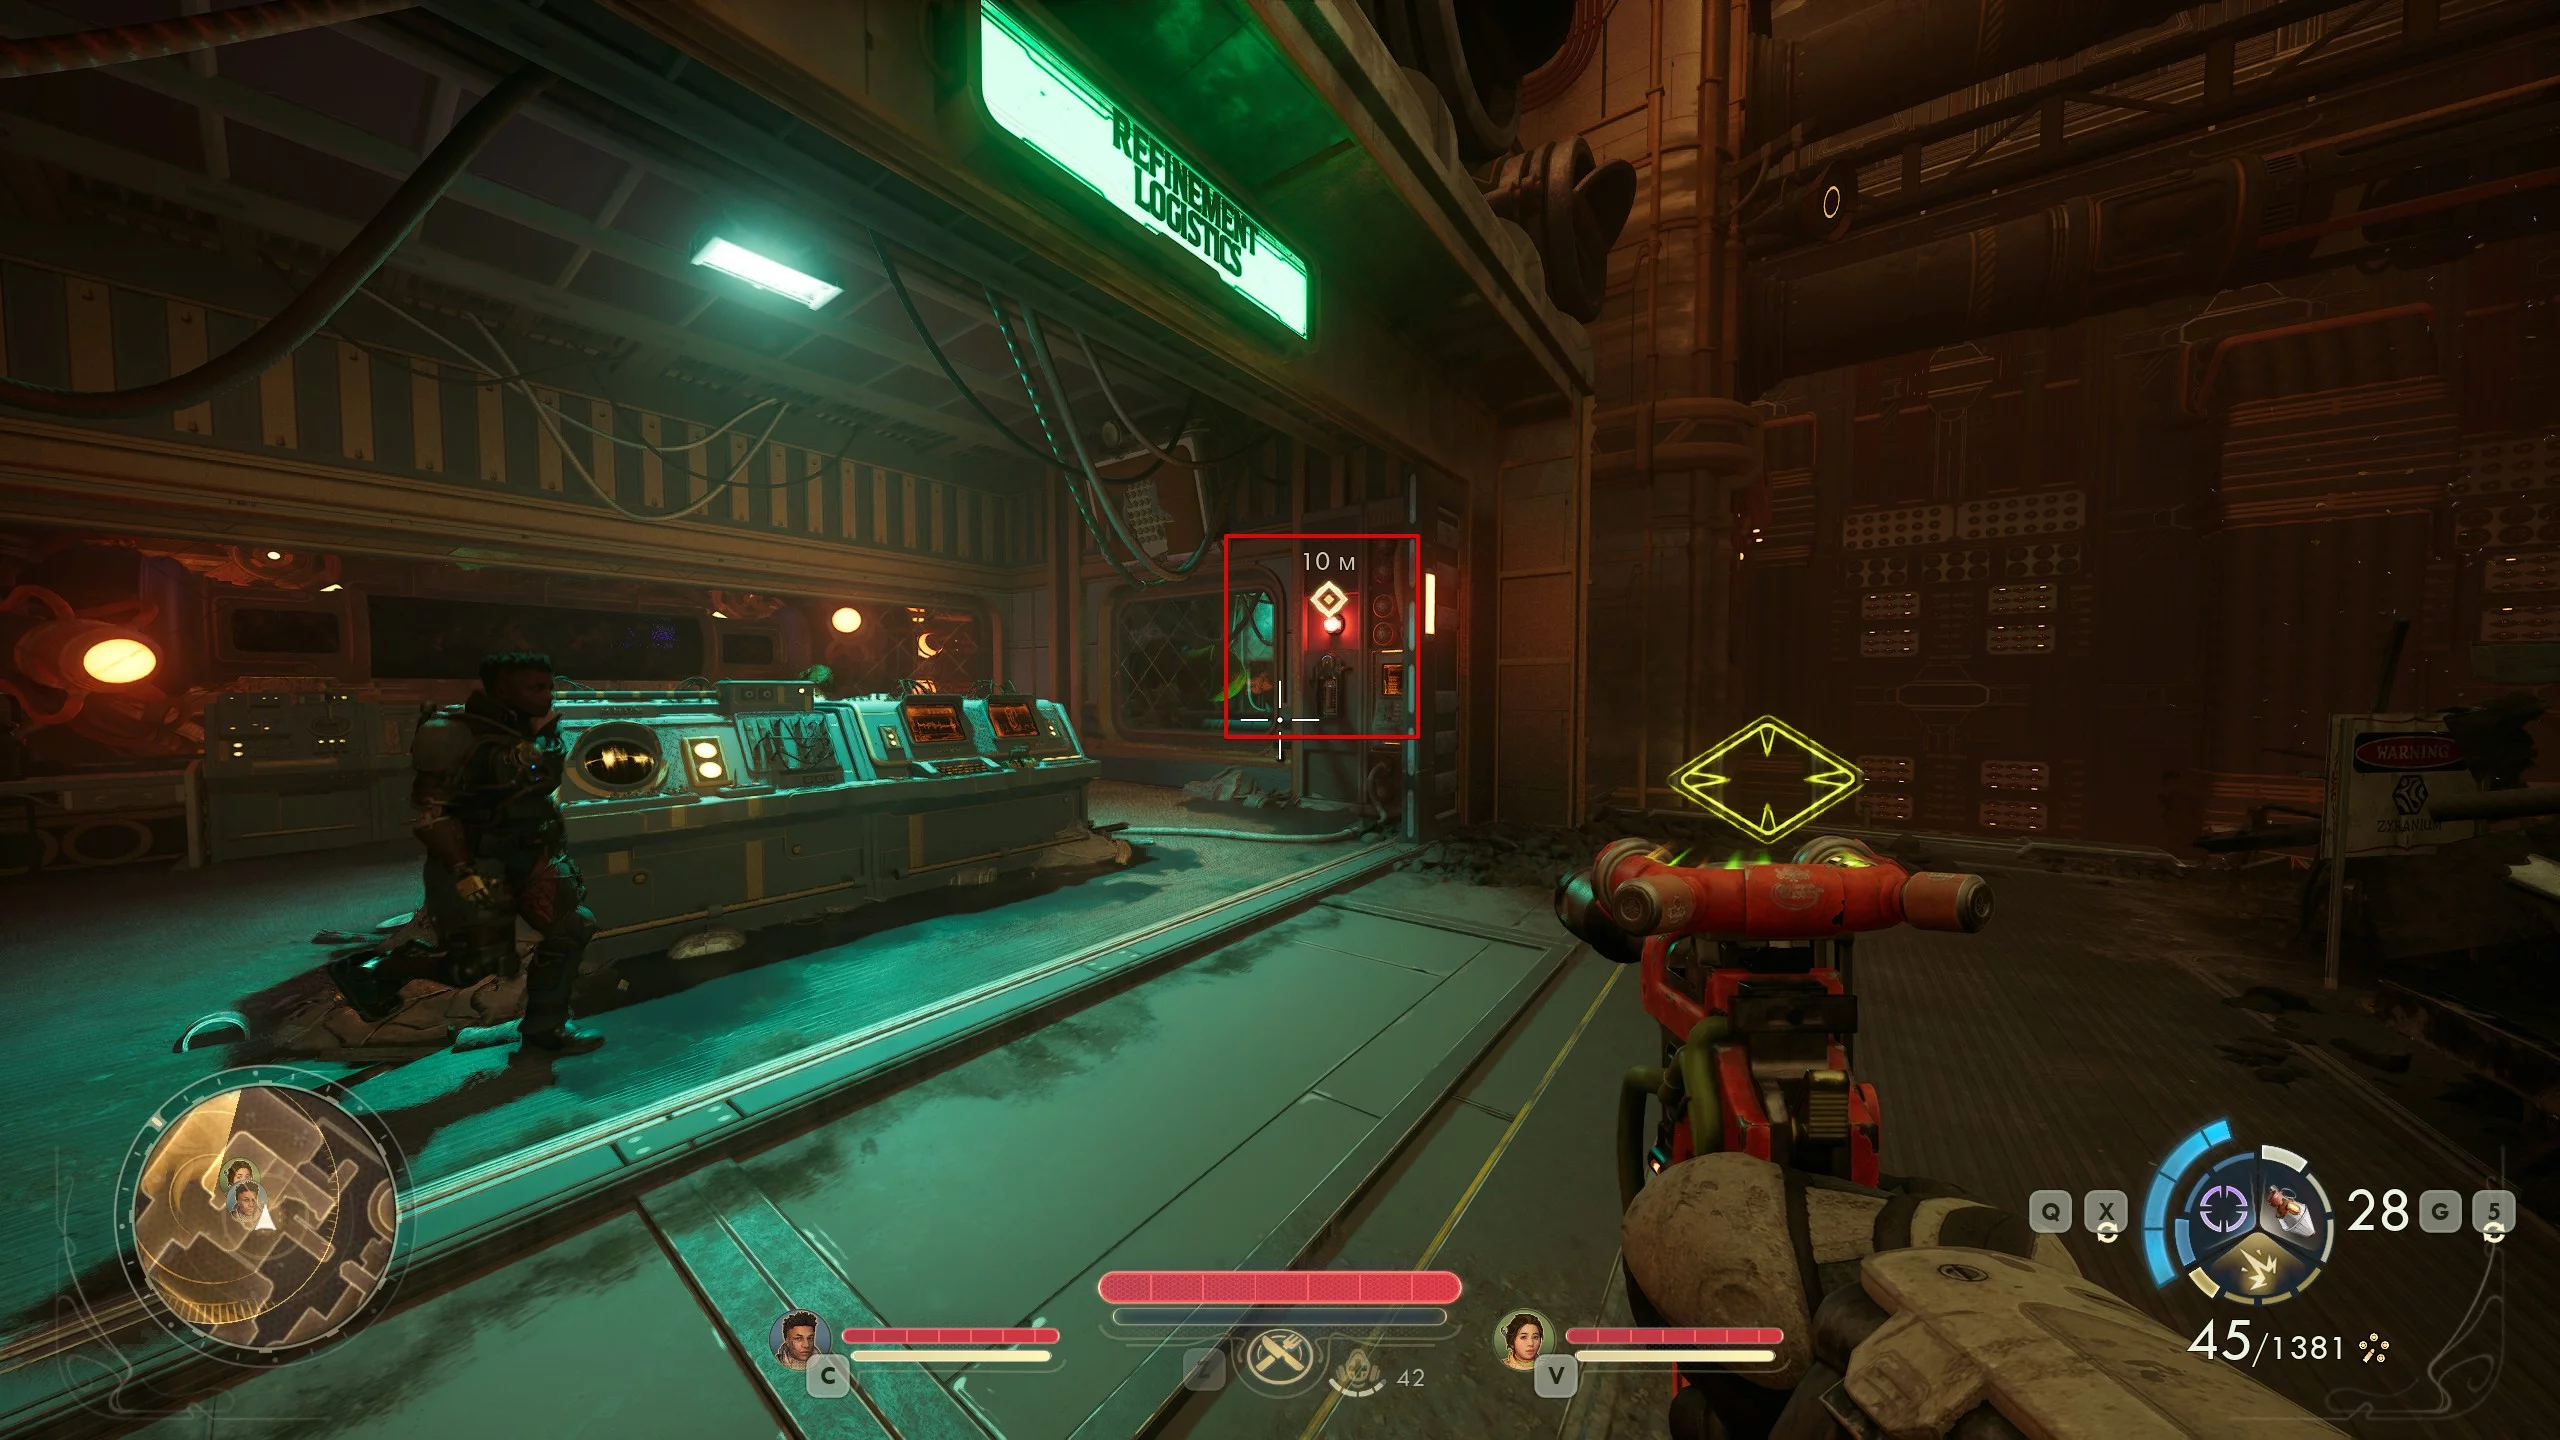
Leave the sector and head north to the Logistics Department. Pass the rift hotspots and enter the room labeled Refinement Logistics. Find the control panel on the right side, examine it, and you will learn that only high-ranking employees are responsible for the gas supply.
Return to the woman and you will find out that she has actually been working undercover for many years. Her real name is Marisol, and now you have a choice: accuse her of sabotage or kill the proctor.
We recommend siding with Marisol so she can become your companion. Go to her personal cabin and read all the entries from the terminal, then leave the complex to head to the N-Ray Range.

Leave the zyranium manufactory and go north. We recommend visiting the Decommissioned Autonomous Extractorium to save Aza and recruit her to your squad.
Discrete Mathematics
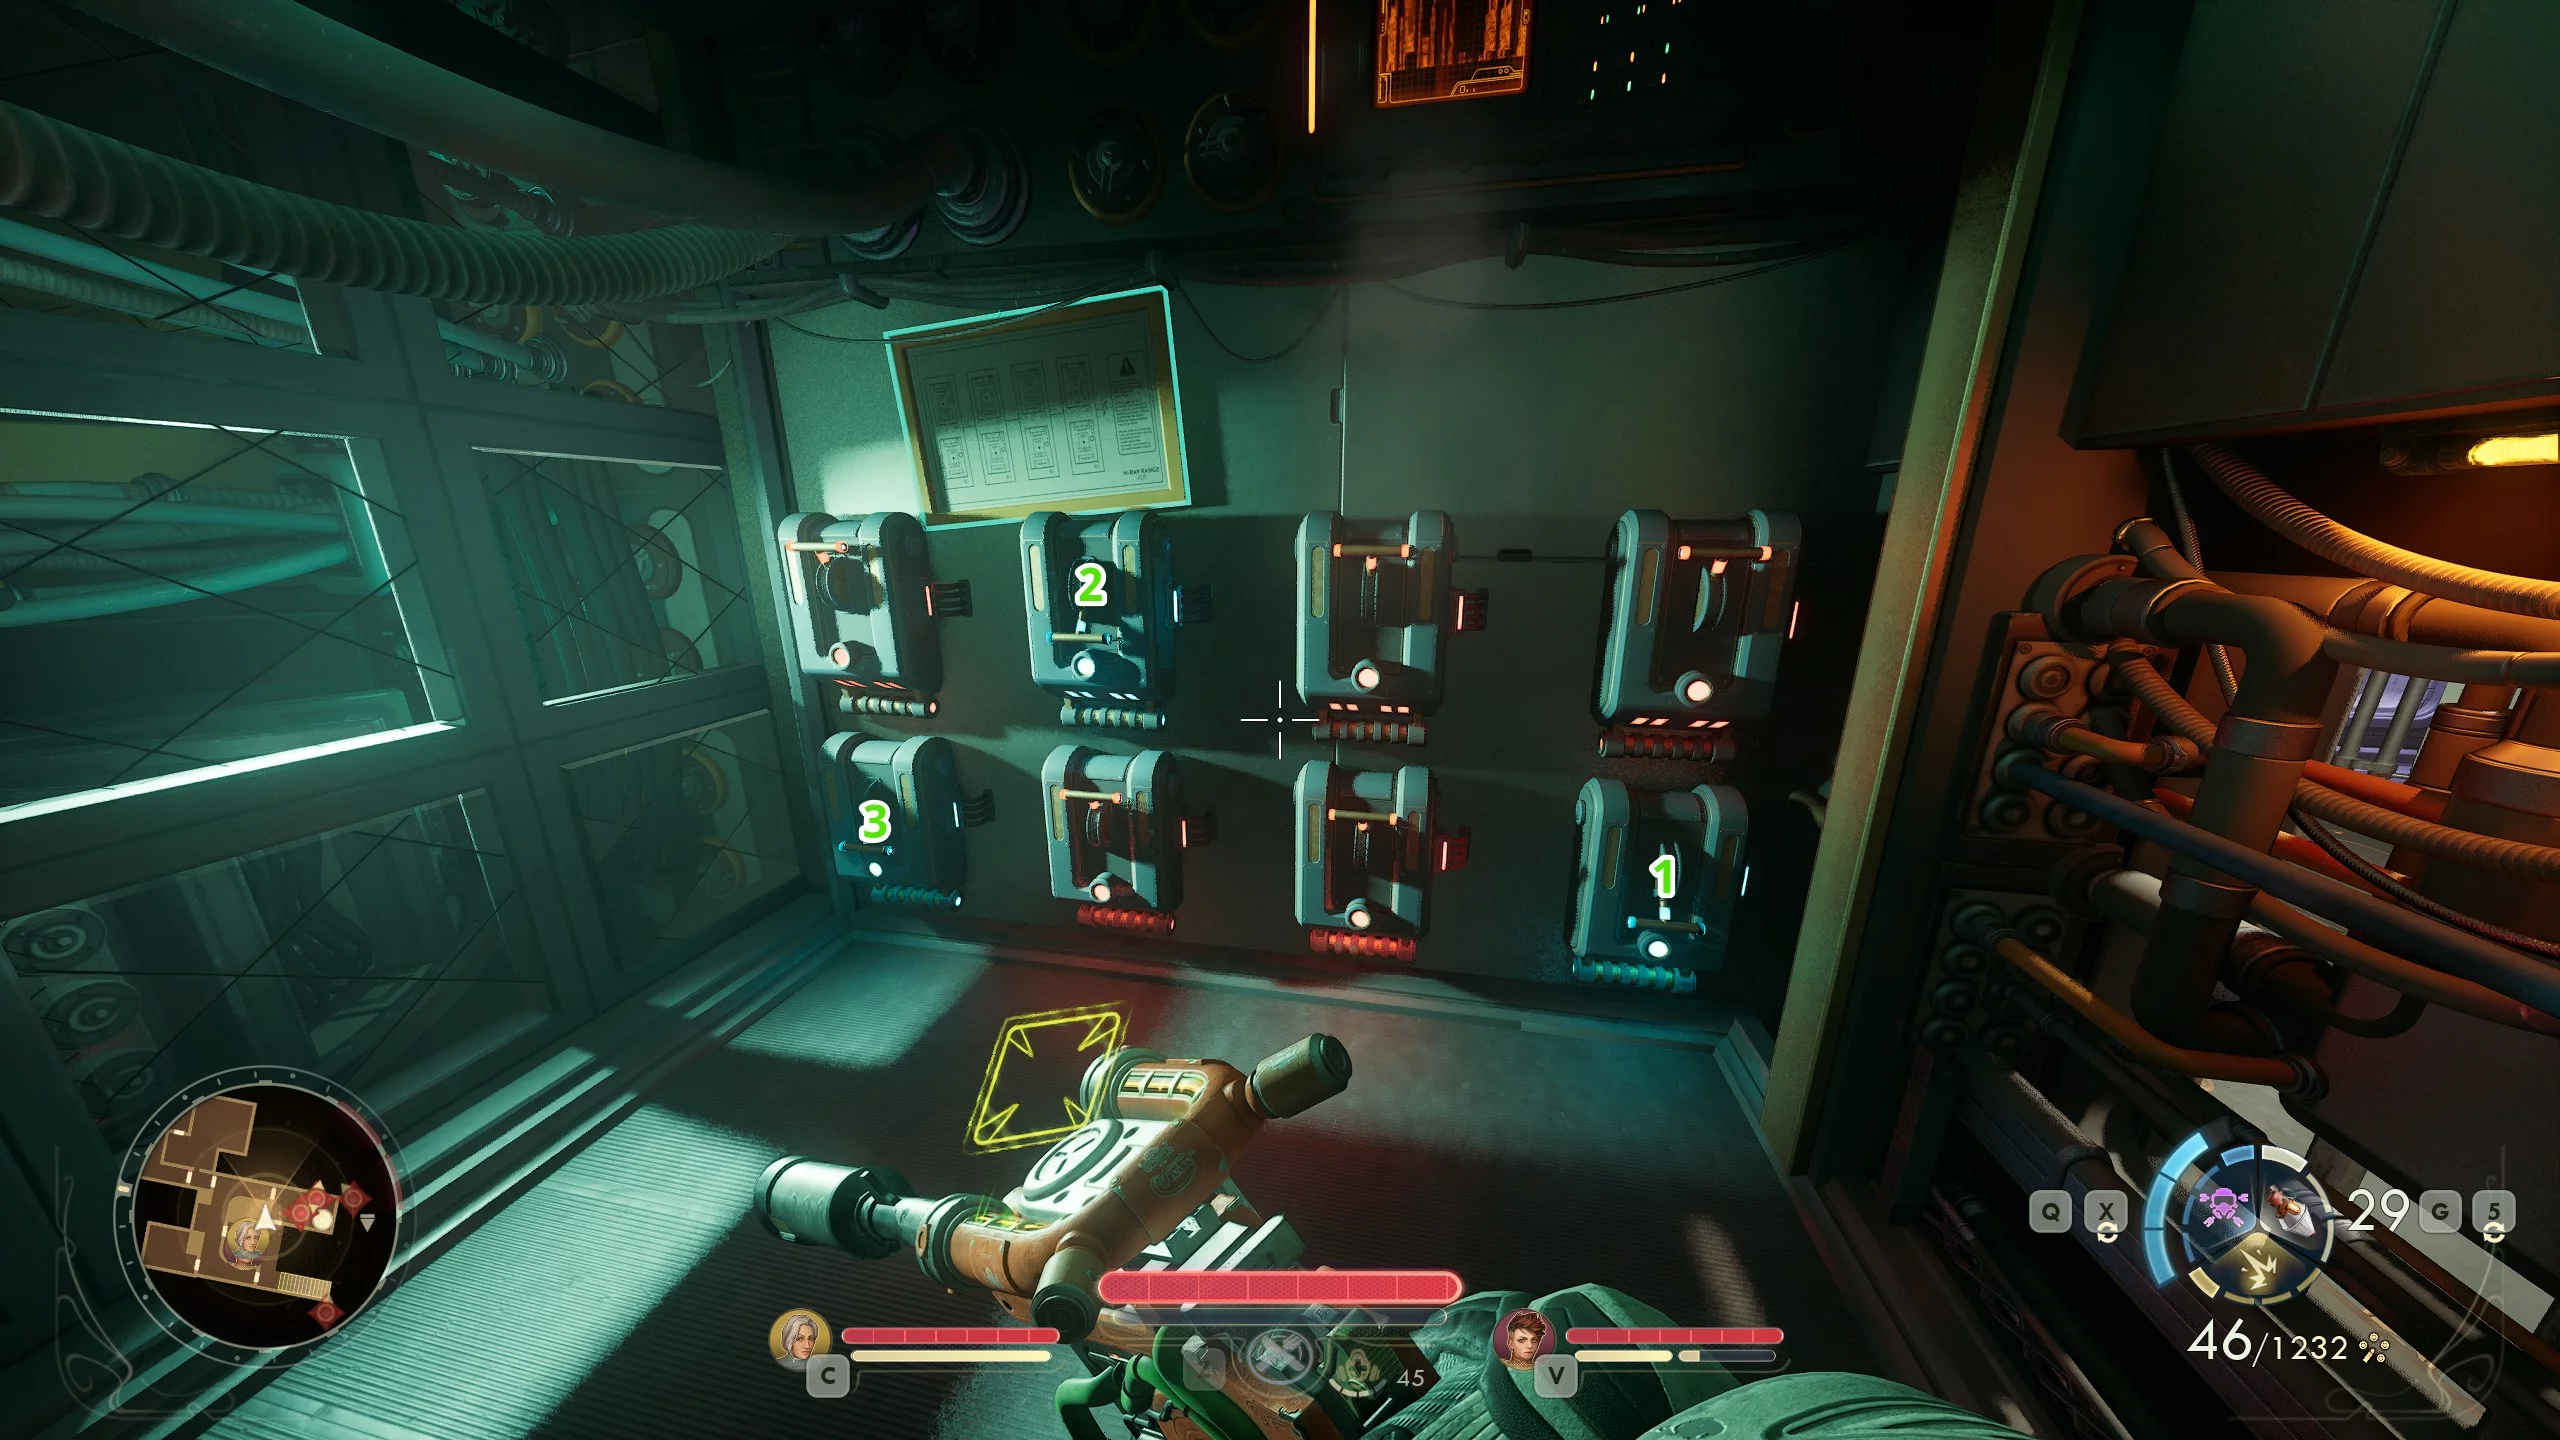
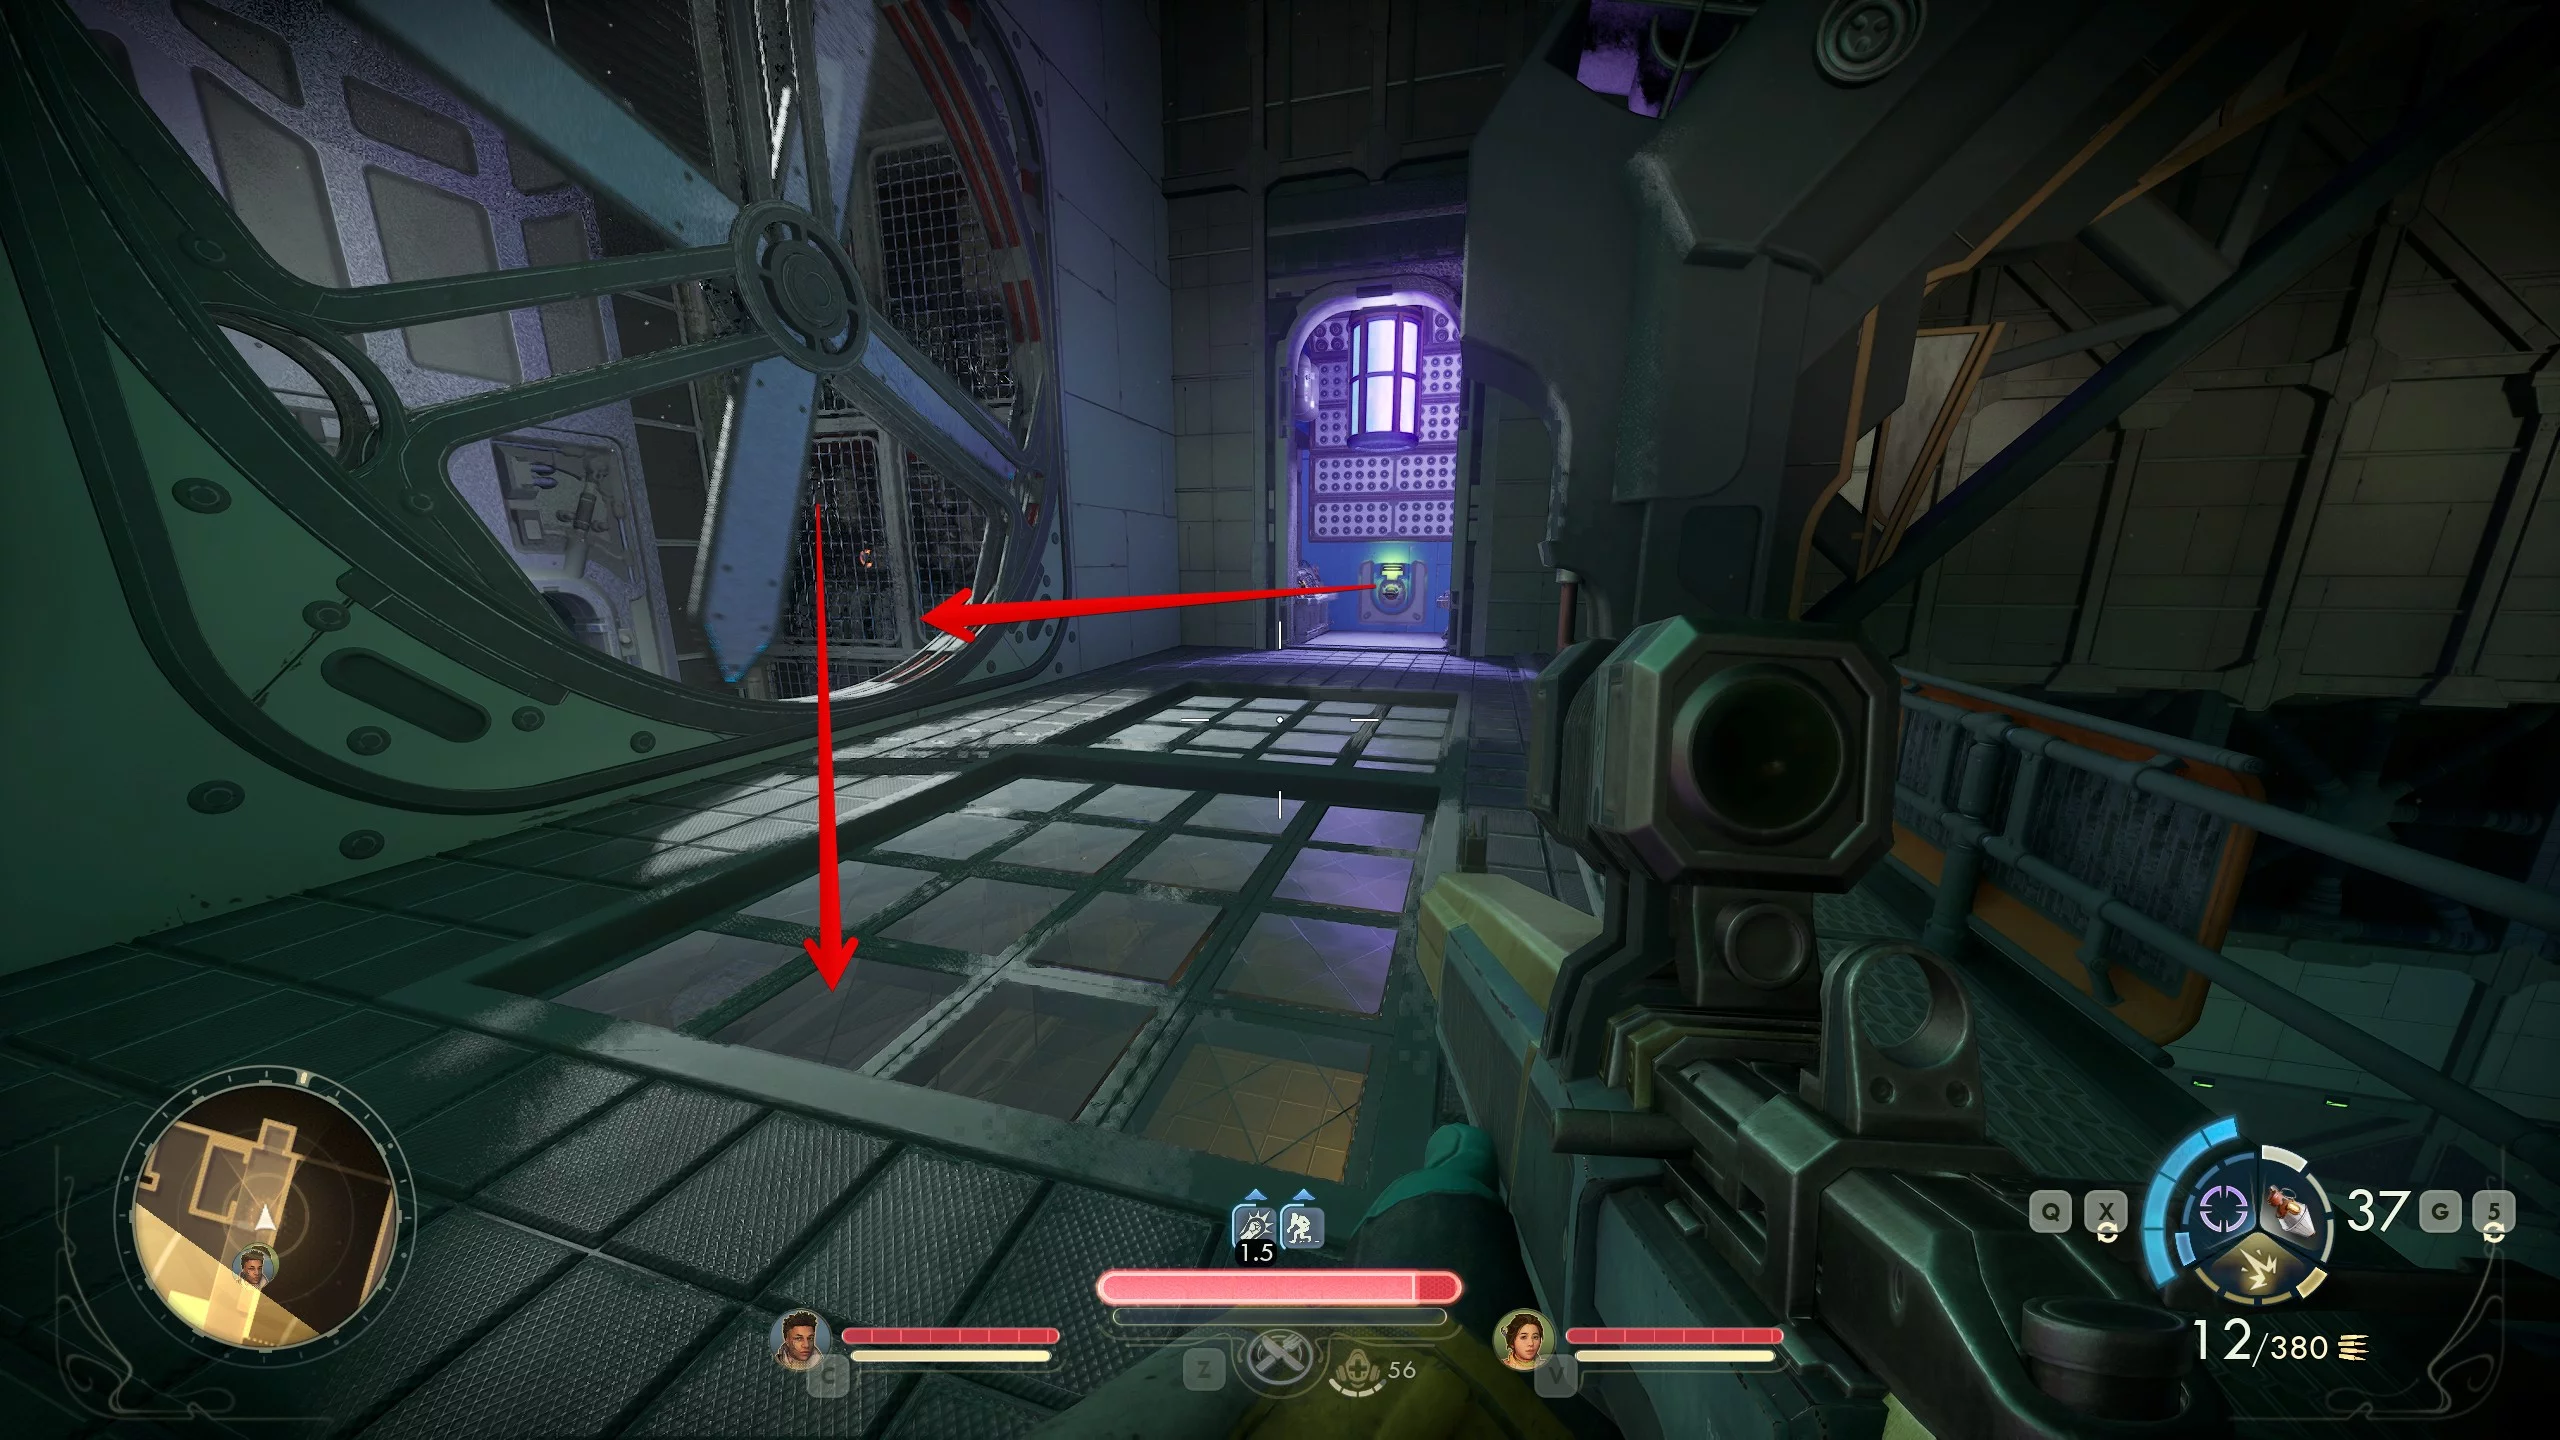
Reach the N-Ray Range and take out the cultists. The main entrance will be blocked, so enter the door on the right and go into the room with the gear symbol above it, then descend into the ventilation duct.
Move through the complex and find Exemplar Foxworth. Talk to her and climb into the ventilation shaft. Pass through the electric discharges, moving clockwise, and find the N-Ray Scanner.
Return to the exemplar, then go into the room to the right of the door and you will see switches on the wall. The scanner helps you see invisible enemies and hidden wiring. Lower the levers in the following order.
- The last one from the bottom.
- The second from the top.
- The first from the bottom.
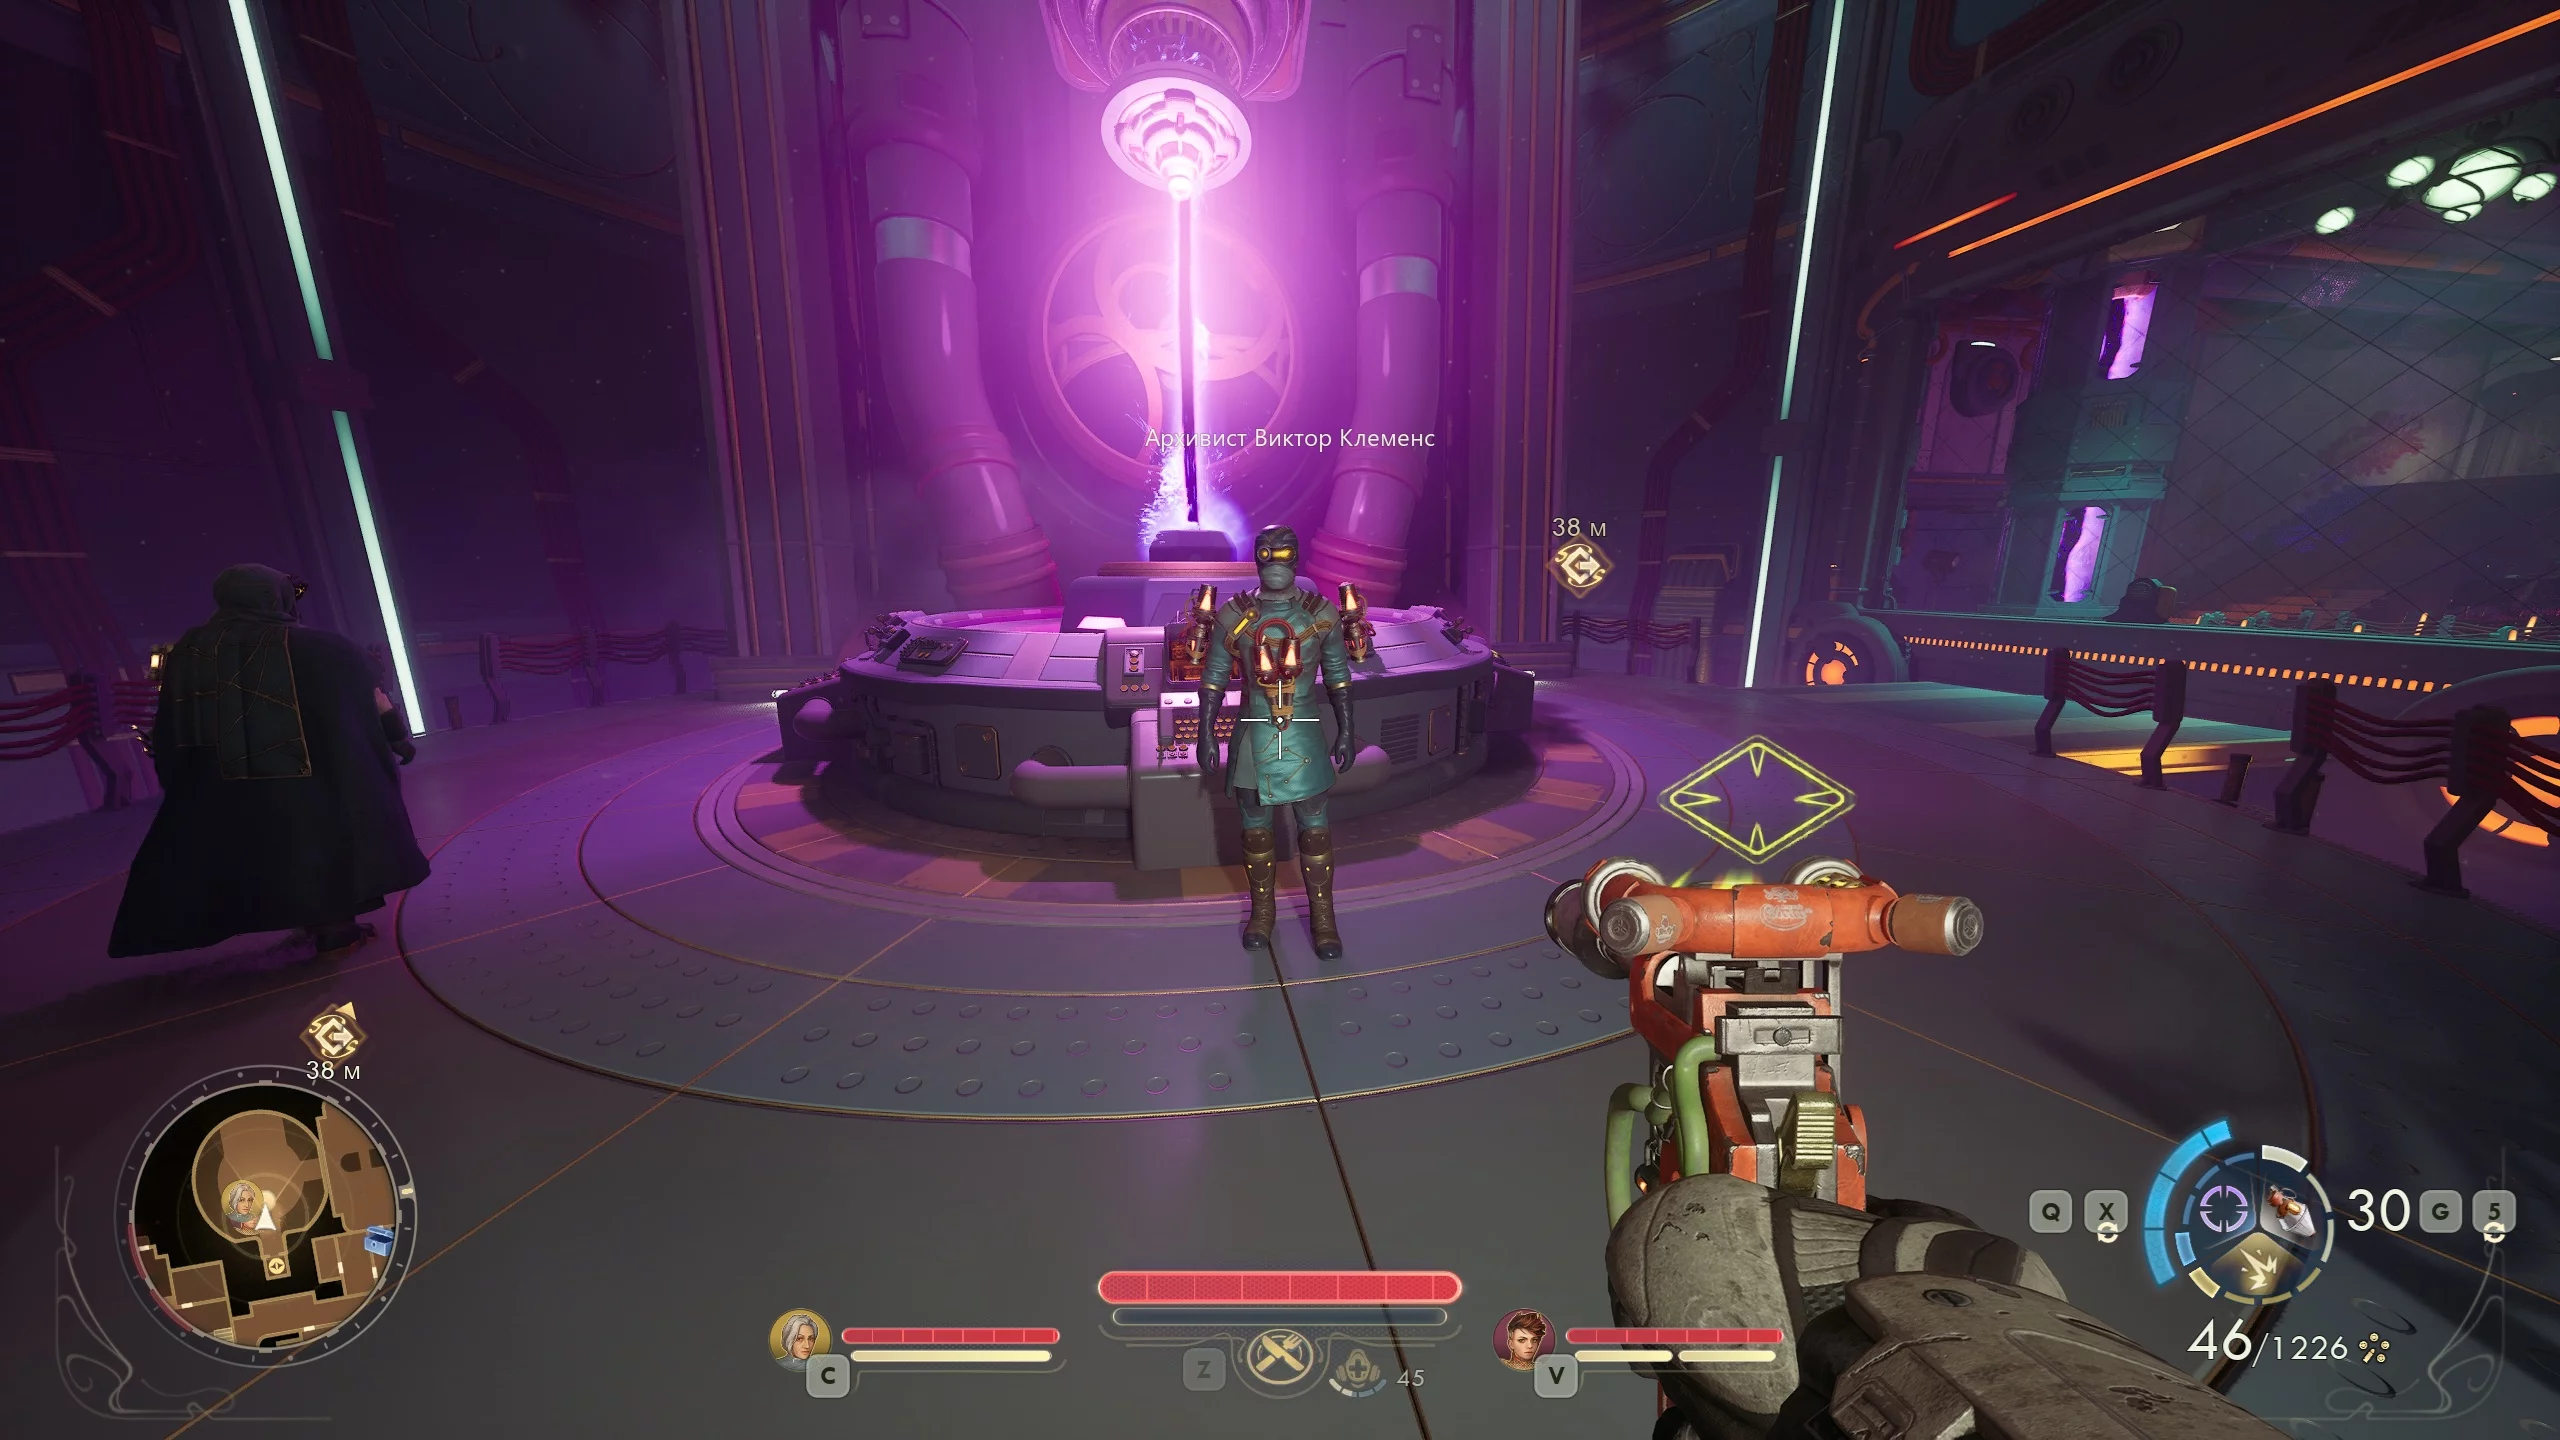
Eliminate the cultists, find the terminal, and read all the messages from Augusta de Vries. Rescue novice archivist Trammell, who will tell you where to look for Victor. Move ahead and you will find yourself in a room with a locked door. To open it, find the switch on the wall to the left.
Ahead is an area full of traps. To avoid them, use the scanner actively. The next door is opened by a lever in the maintenance room, which you can access through the ventilation shaft. Next, go through the corridor with the laser and take the elevator up.
Archivist Victor Clemens, a former ally of Augustina, wants to blow up the range reactor. You can eliminate him or persuade him to retreat. To do this, you need to read all the station's terminals, save all the staff, and have Marisol in your squad.
Find the hatch at the bottom of the arena. This will take you to Victor's personal office. There you will see a message from Seer Wiley, Augusta's new ally who has taken over the Order's temple. Return to the Matriarch's Mercy shelter and inform the abbot about the prophet's betrayal, then use the terminal to open the elevator leading to the observatory.
Go up to the Alexandra Monastery and head to the left. You will end up in the garden, then you need to go through the locked door. To open it, visit the recluses and ask for a book about locks. Now go to the baths and find the electrical panel in the bathhouse on the right. Use the textbook or have level 8 in the "Hacking" skill.
Move forward until you find yourself in a room with hostages. You have a choice: leave or save them. If you decide to help, enter the location through the door on the right and defeat all enemies. Now you need to roll the ball along the rails so it falls onto the platform.
- Climb to the second floor and enter the balcony.
- Press the platforms from right to left in order so the ball rolls along the rails.
- Go down and shoot the boxes blocking the ball's path.
- Approach the lever.
- Raise the platform on the left, then the one on the right.
- Find two plates on the right side.
- Stand on the first, then on the second platform.
Wait for the ball to fall, go down to it, and take the punch card from the safe. Rescue the hostages and go through the door on the left.
To reach the final level of the observatory, you need to activate all the bells. To do this, defeat all enemies and then sequentially turn three levers: near the main entrance and in the towers.
Meet with the seer. There are two ways to resolve the conflict: kill him or persuade him to retreat. To achieve a peaceful resolution, Marisol must be in your squad, you must have information from the abbot, and at least level 5 in the "Speech" skill.
Regardless of the seer's fate, you need to read all the messages from the terminal, record them onto the cartridge, and disable isolation mode. Augusta wants to disrupt the negotiations between the Order and "Aunt Cosmos" to start a corporate war.
Fiends in High Places
Return to the ship and discuss the operation plan with your companions. Use the navigator and head to Greater Tranquility Station. Take Ines and Niles with you.
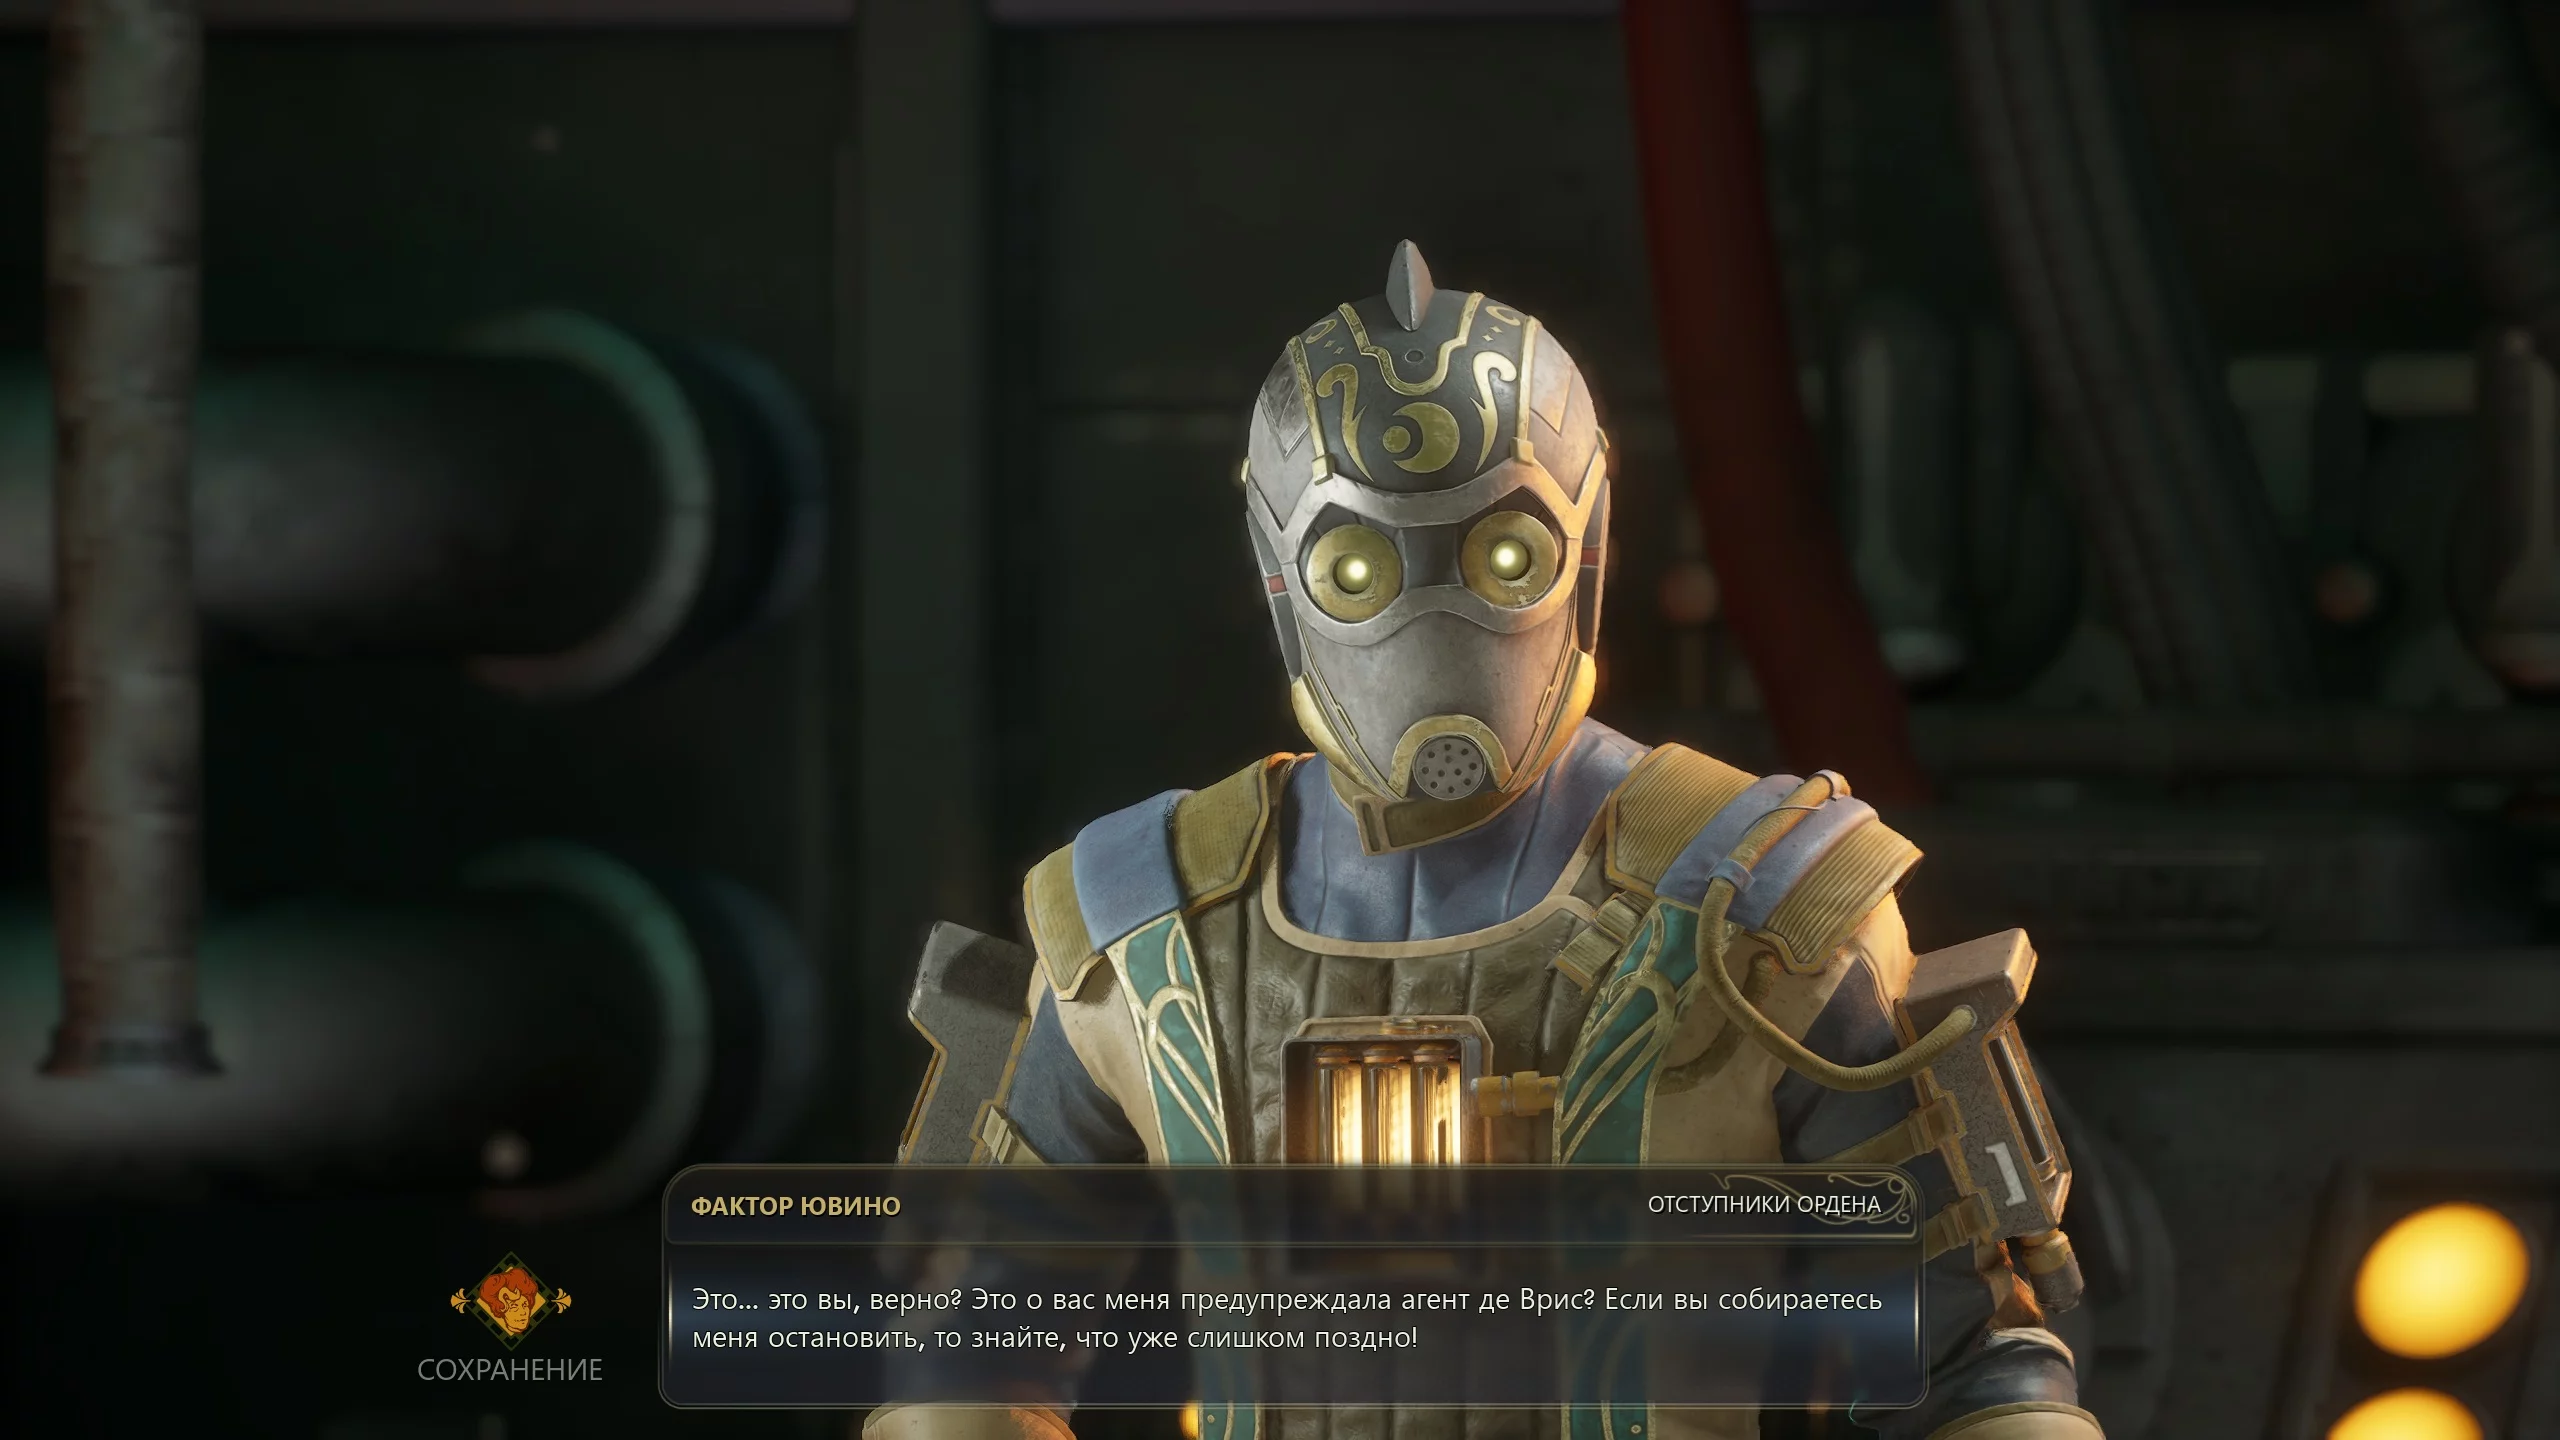
After landing at the station, find Factor Iuivino. If you saved the hostages in the previous quest, you can persuade him to surrender, otherwise you'll have to eliminate everyone. Regardless of the outcome, you need to go down the stairs and use the elevator.
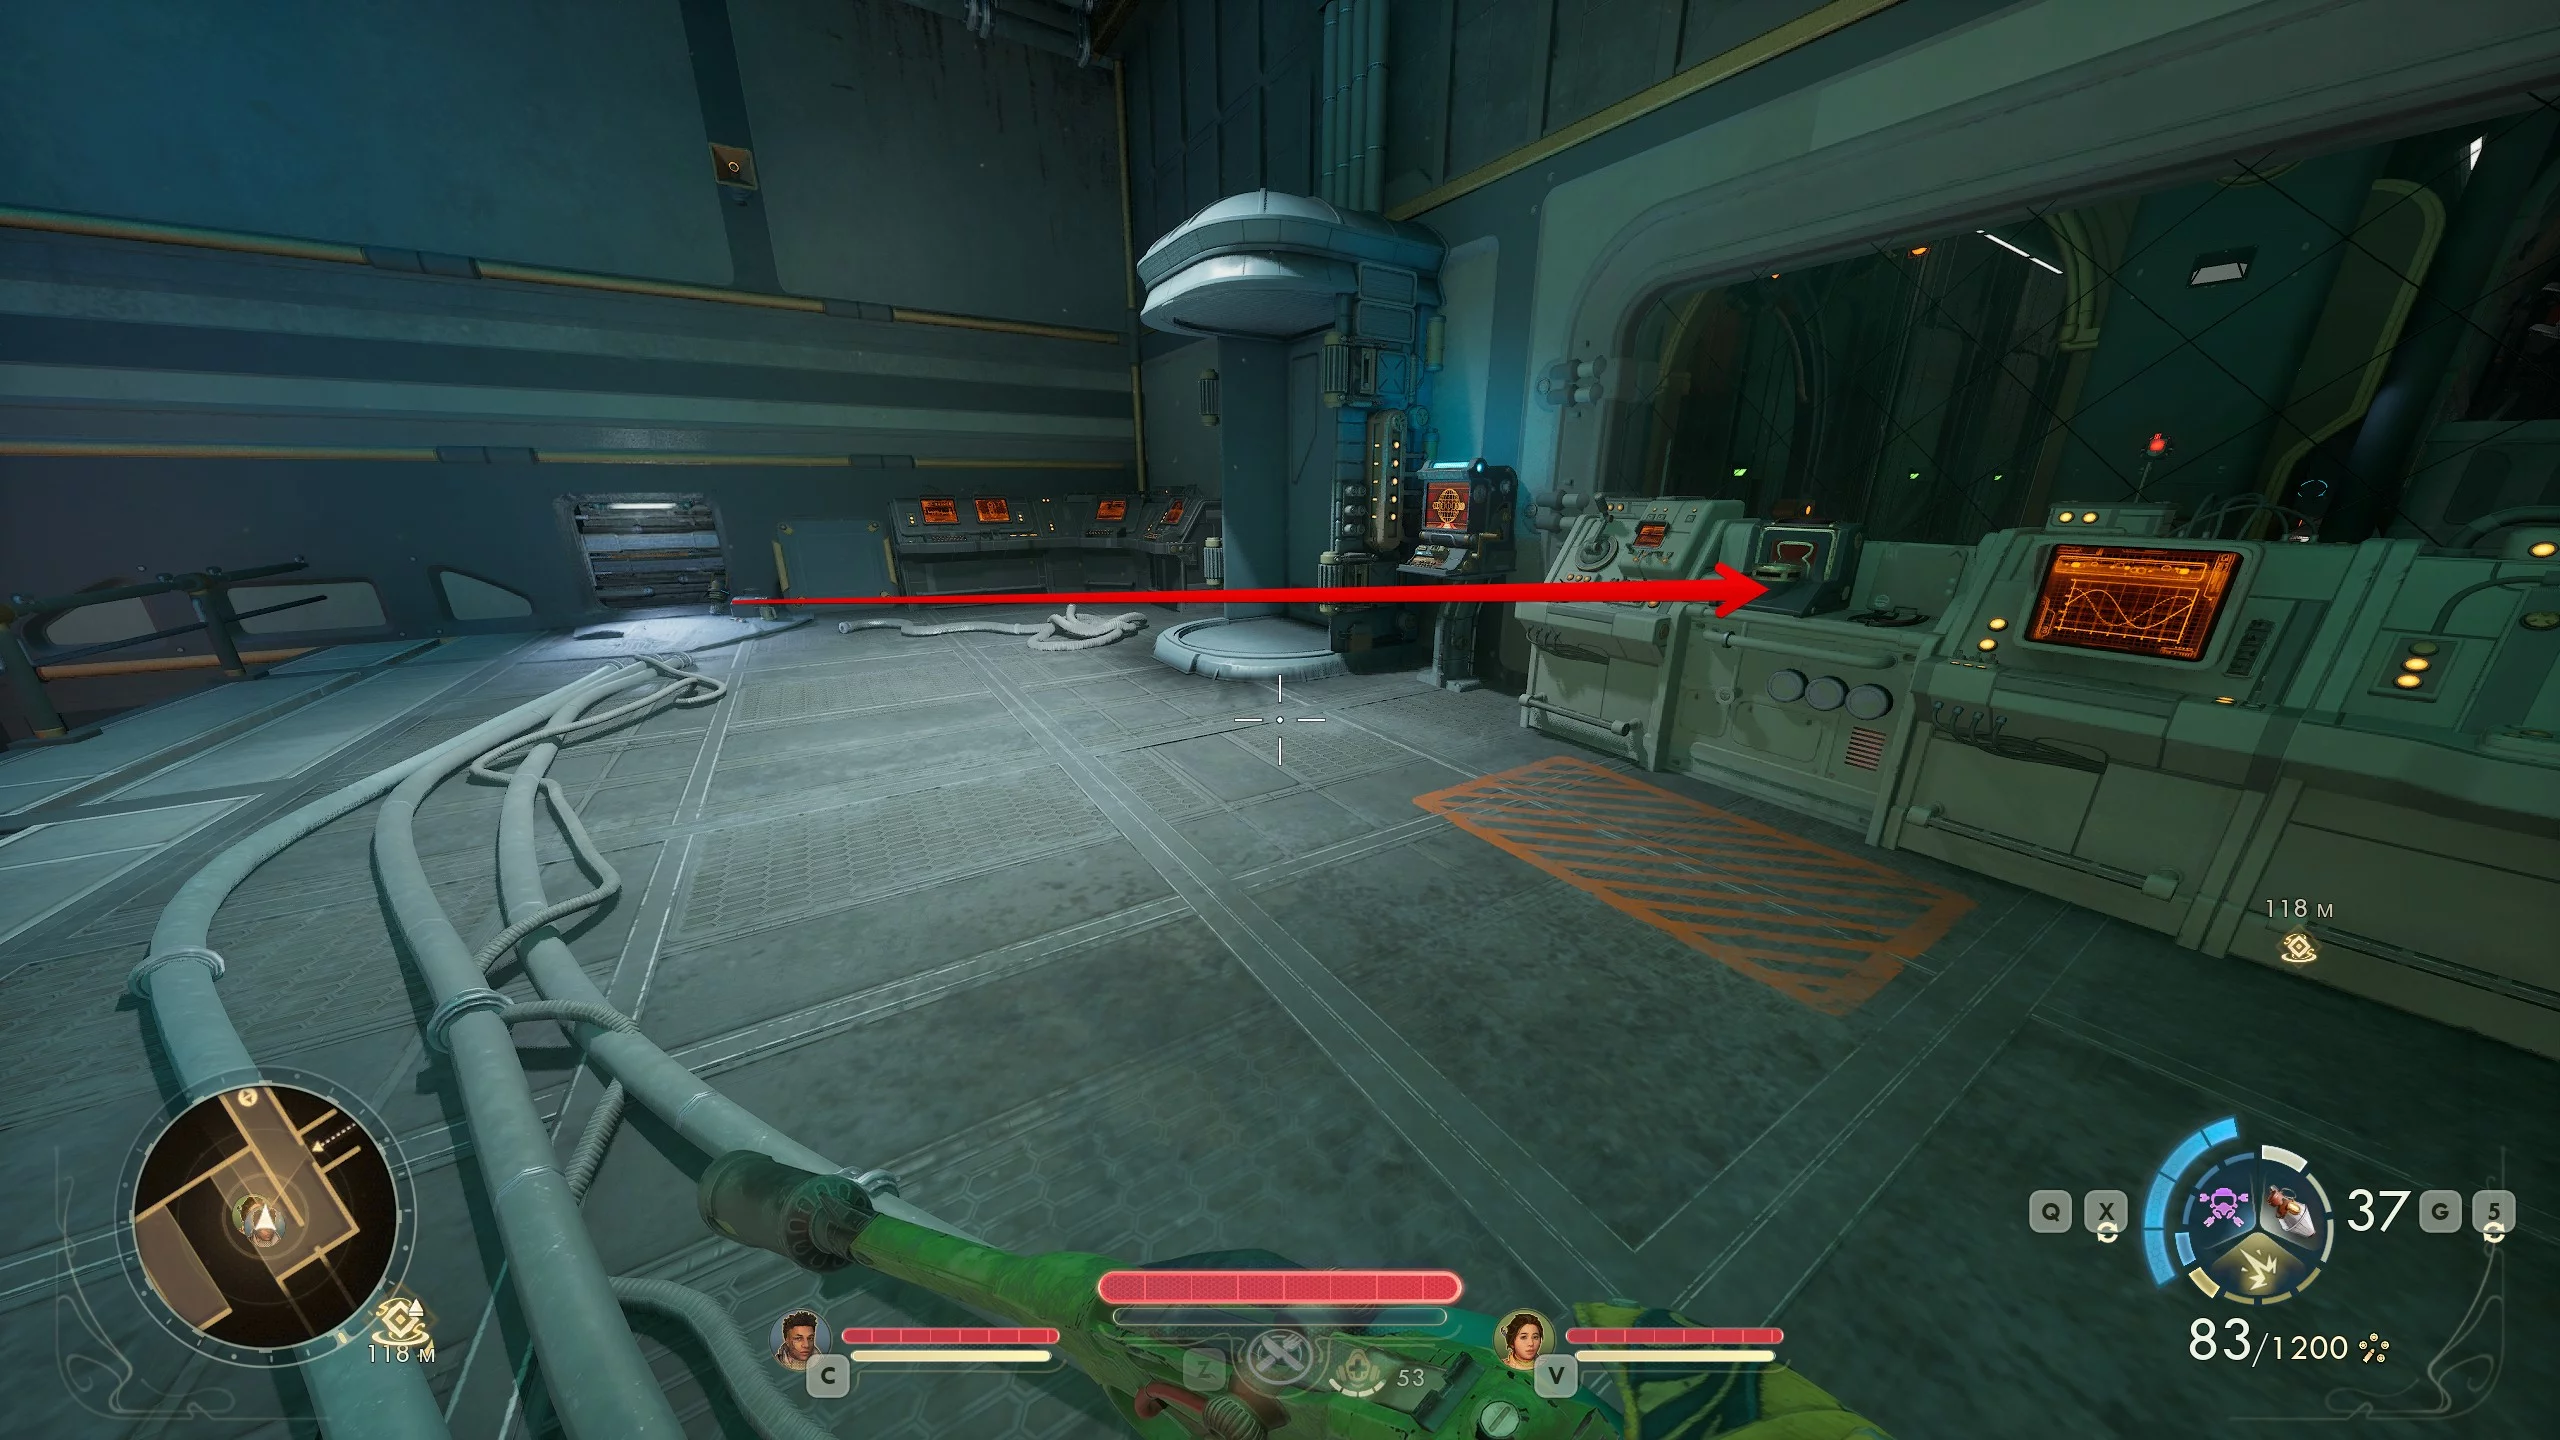
Next, you need to repair the platform. Enter the room on the right, pick up the fuse by the wall, and insert it into place. Then use the terminal and record the automaton control program onto the cartridge. Now you can cross to the other side and either turn the robots against Augusta's people or disable them. In any case, you must eliminate all enemies.
Head to the right part of the location and find the giant fan below. Use the time-slowing gadget to slip through the blades. Pull out the fuse in the next room, then insert it upstairs to activate the platform and cross to the other side.
Go past the robo-merchant, go down, and use the moving platform again. Move forward and find the terminal on the left side. Disable all automaton stations. Then go up the stairs opposite and take out the snipers.
Along the edges of the balcony, fuses and giant fans are built into the walls. You need to pull them out, slow down time, and jump between the blades. In this way, you need to place two devices so that a crossing appears. Keep in mind that snipers will keep appearing on the other side. Cross the bridge, open the door, and use the elevator.
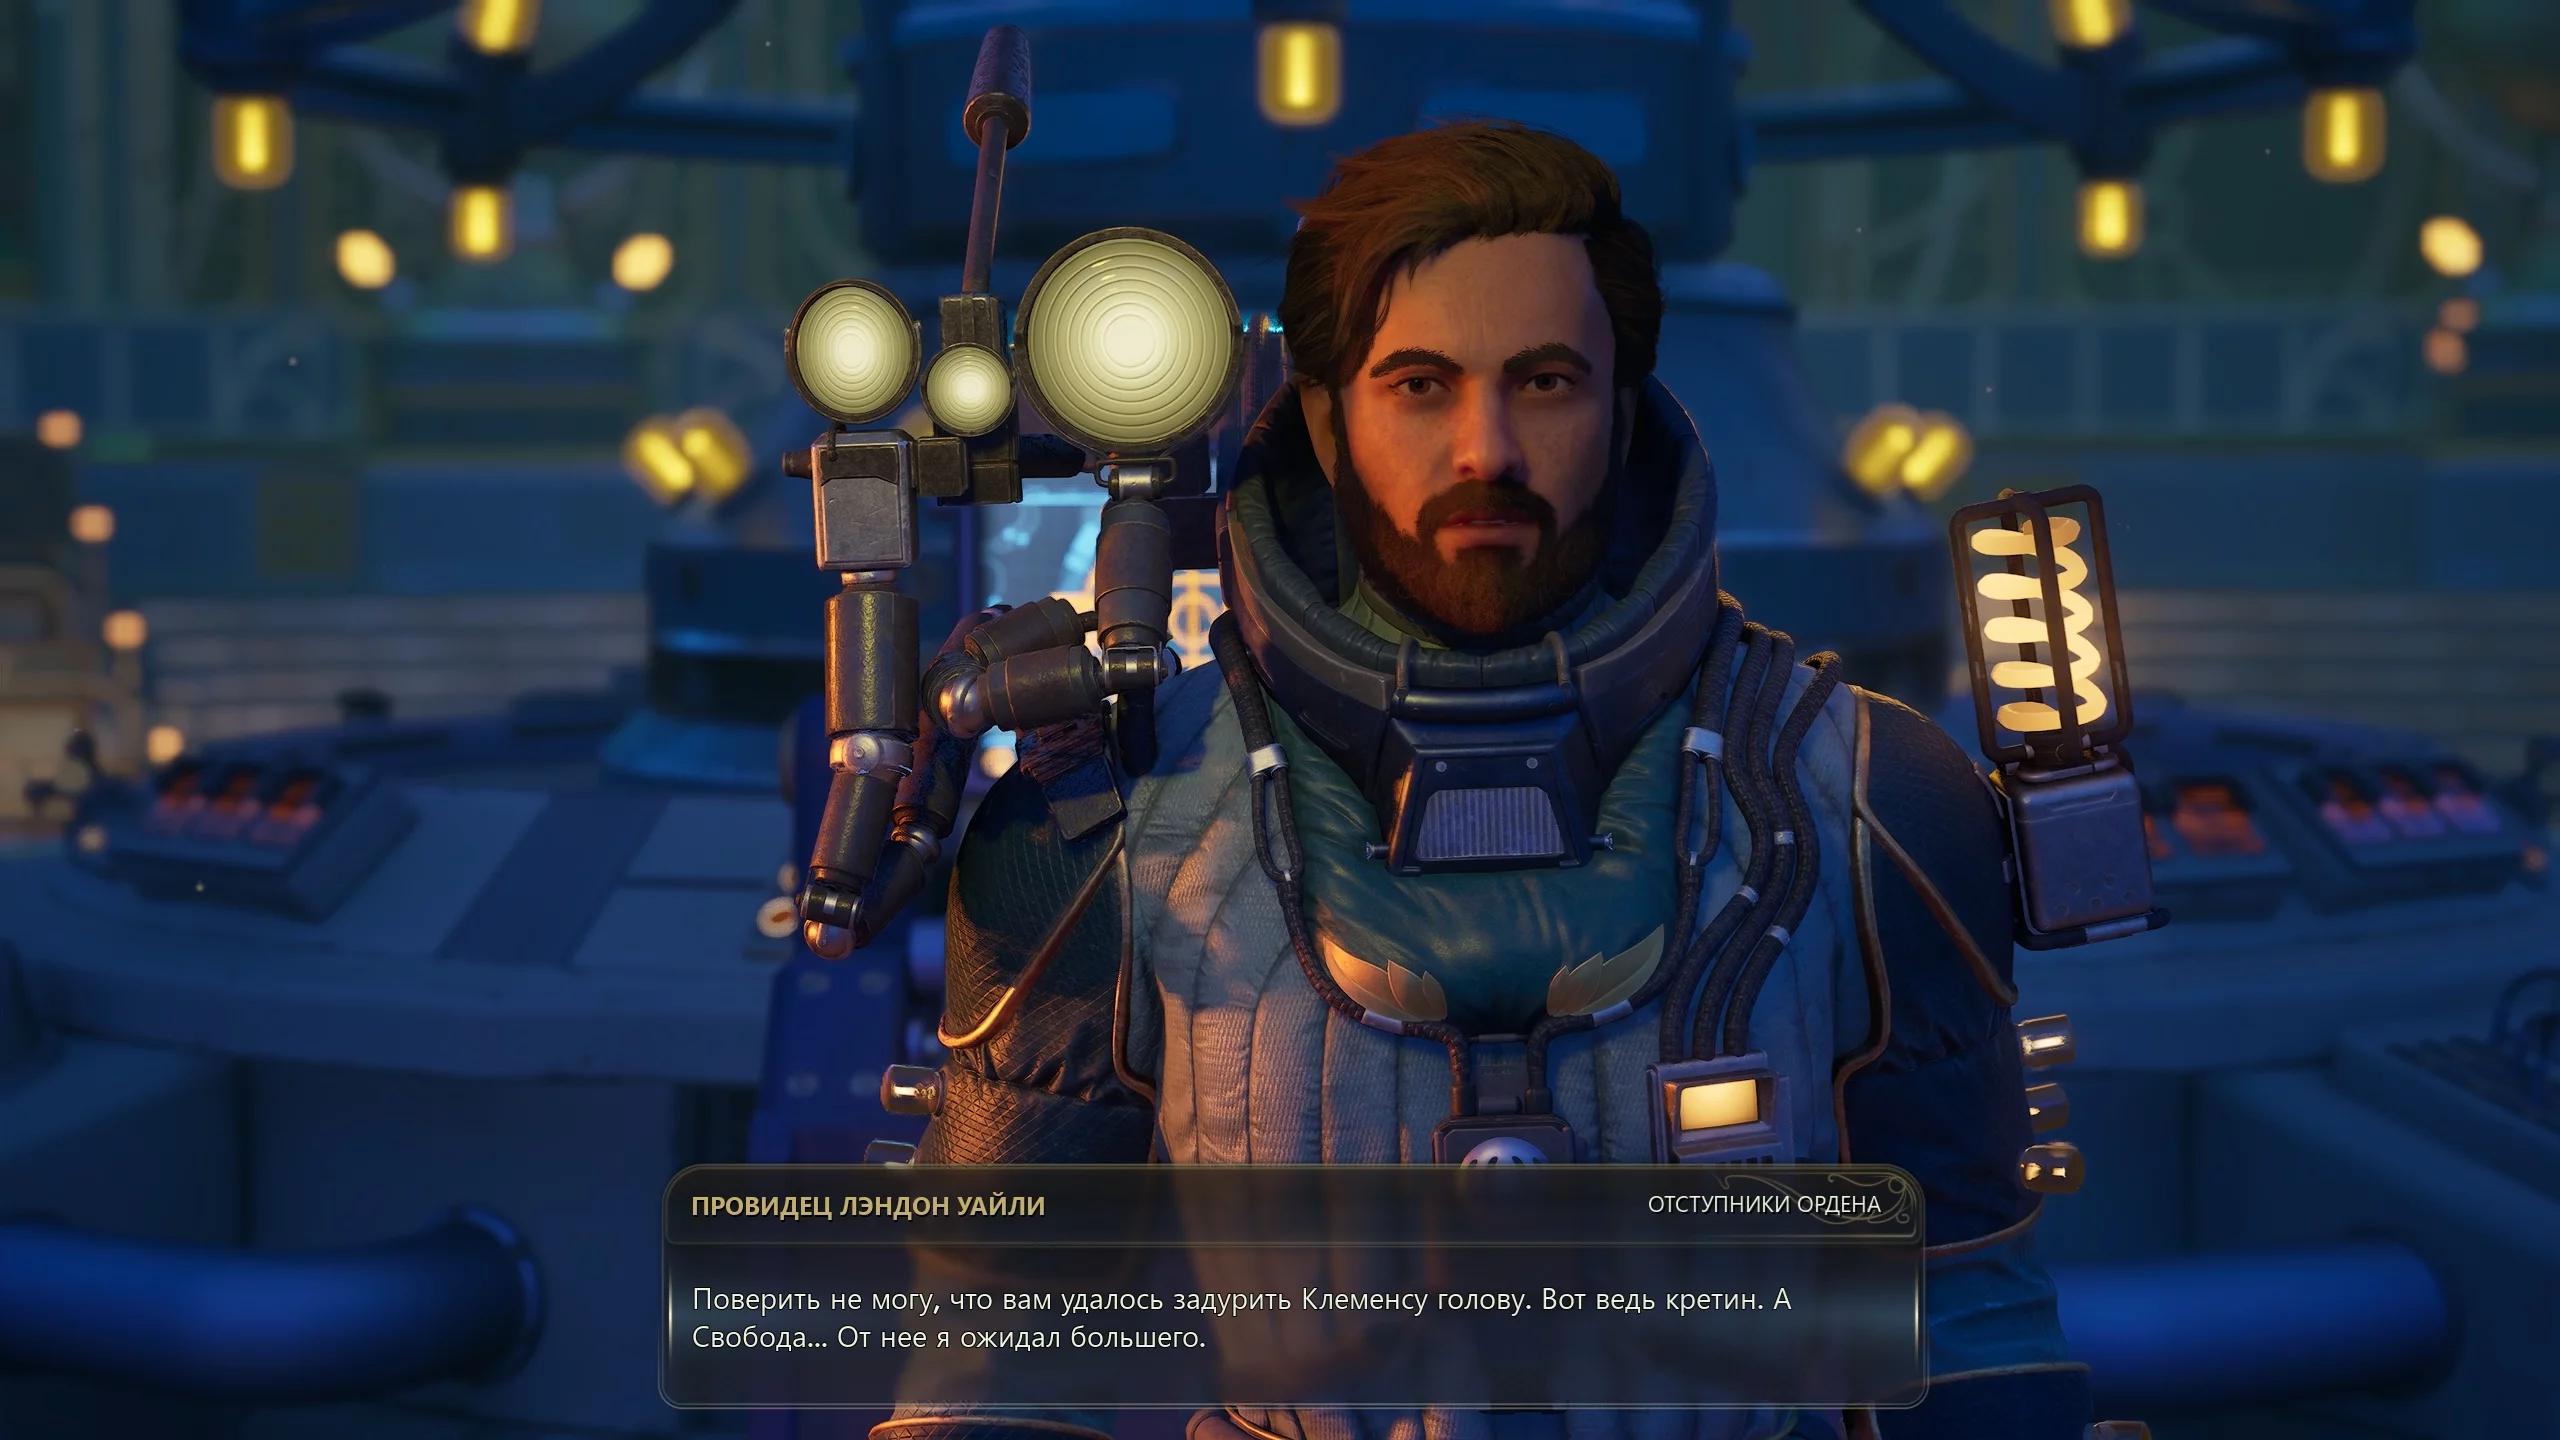
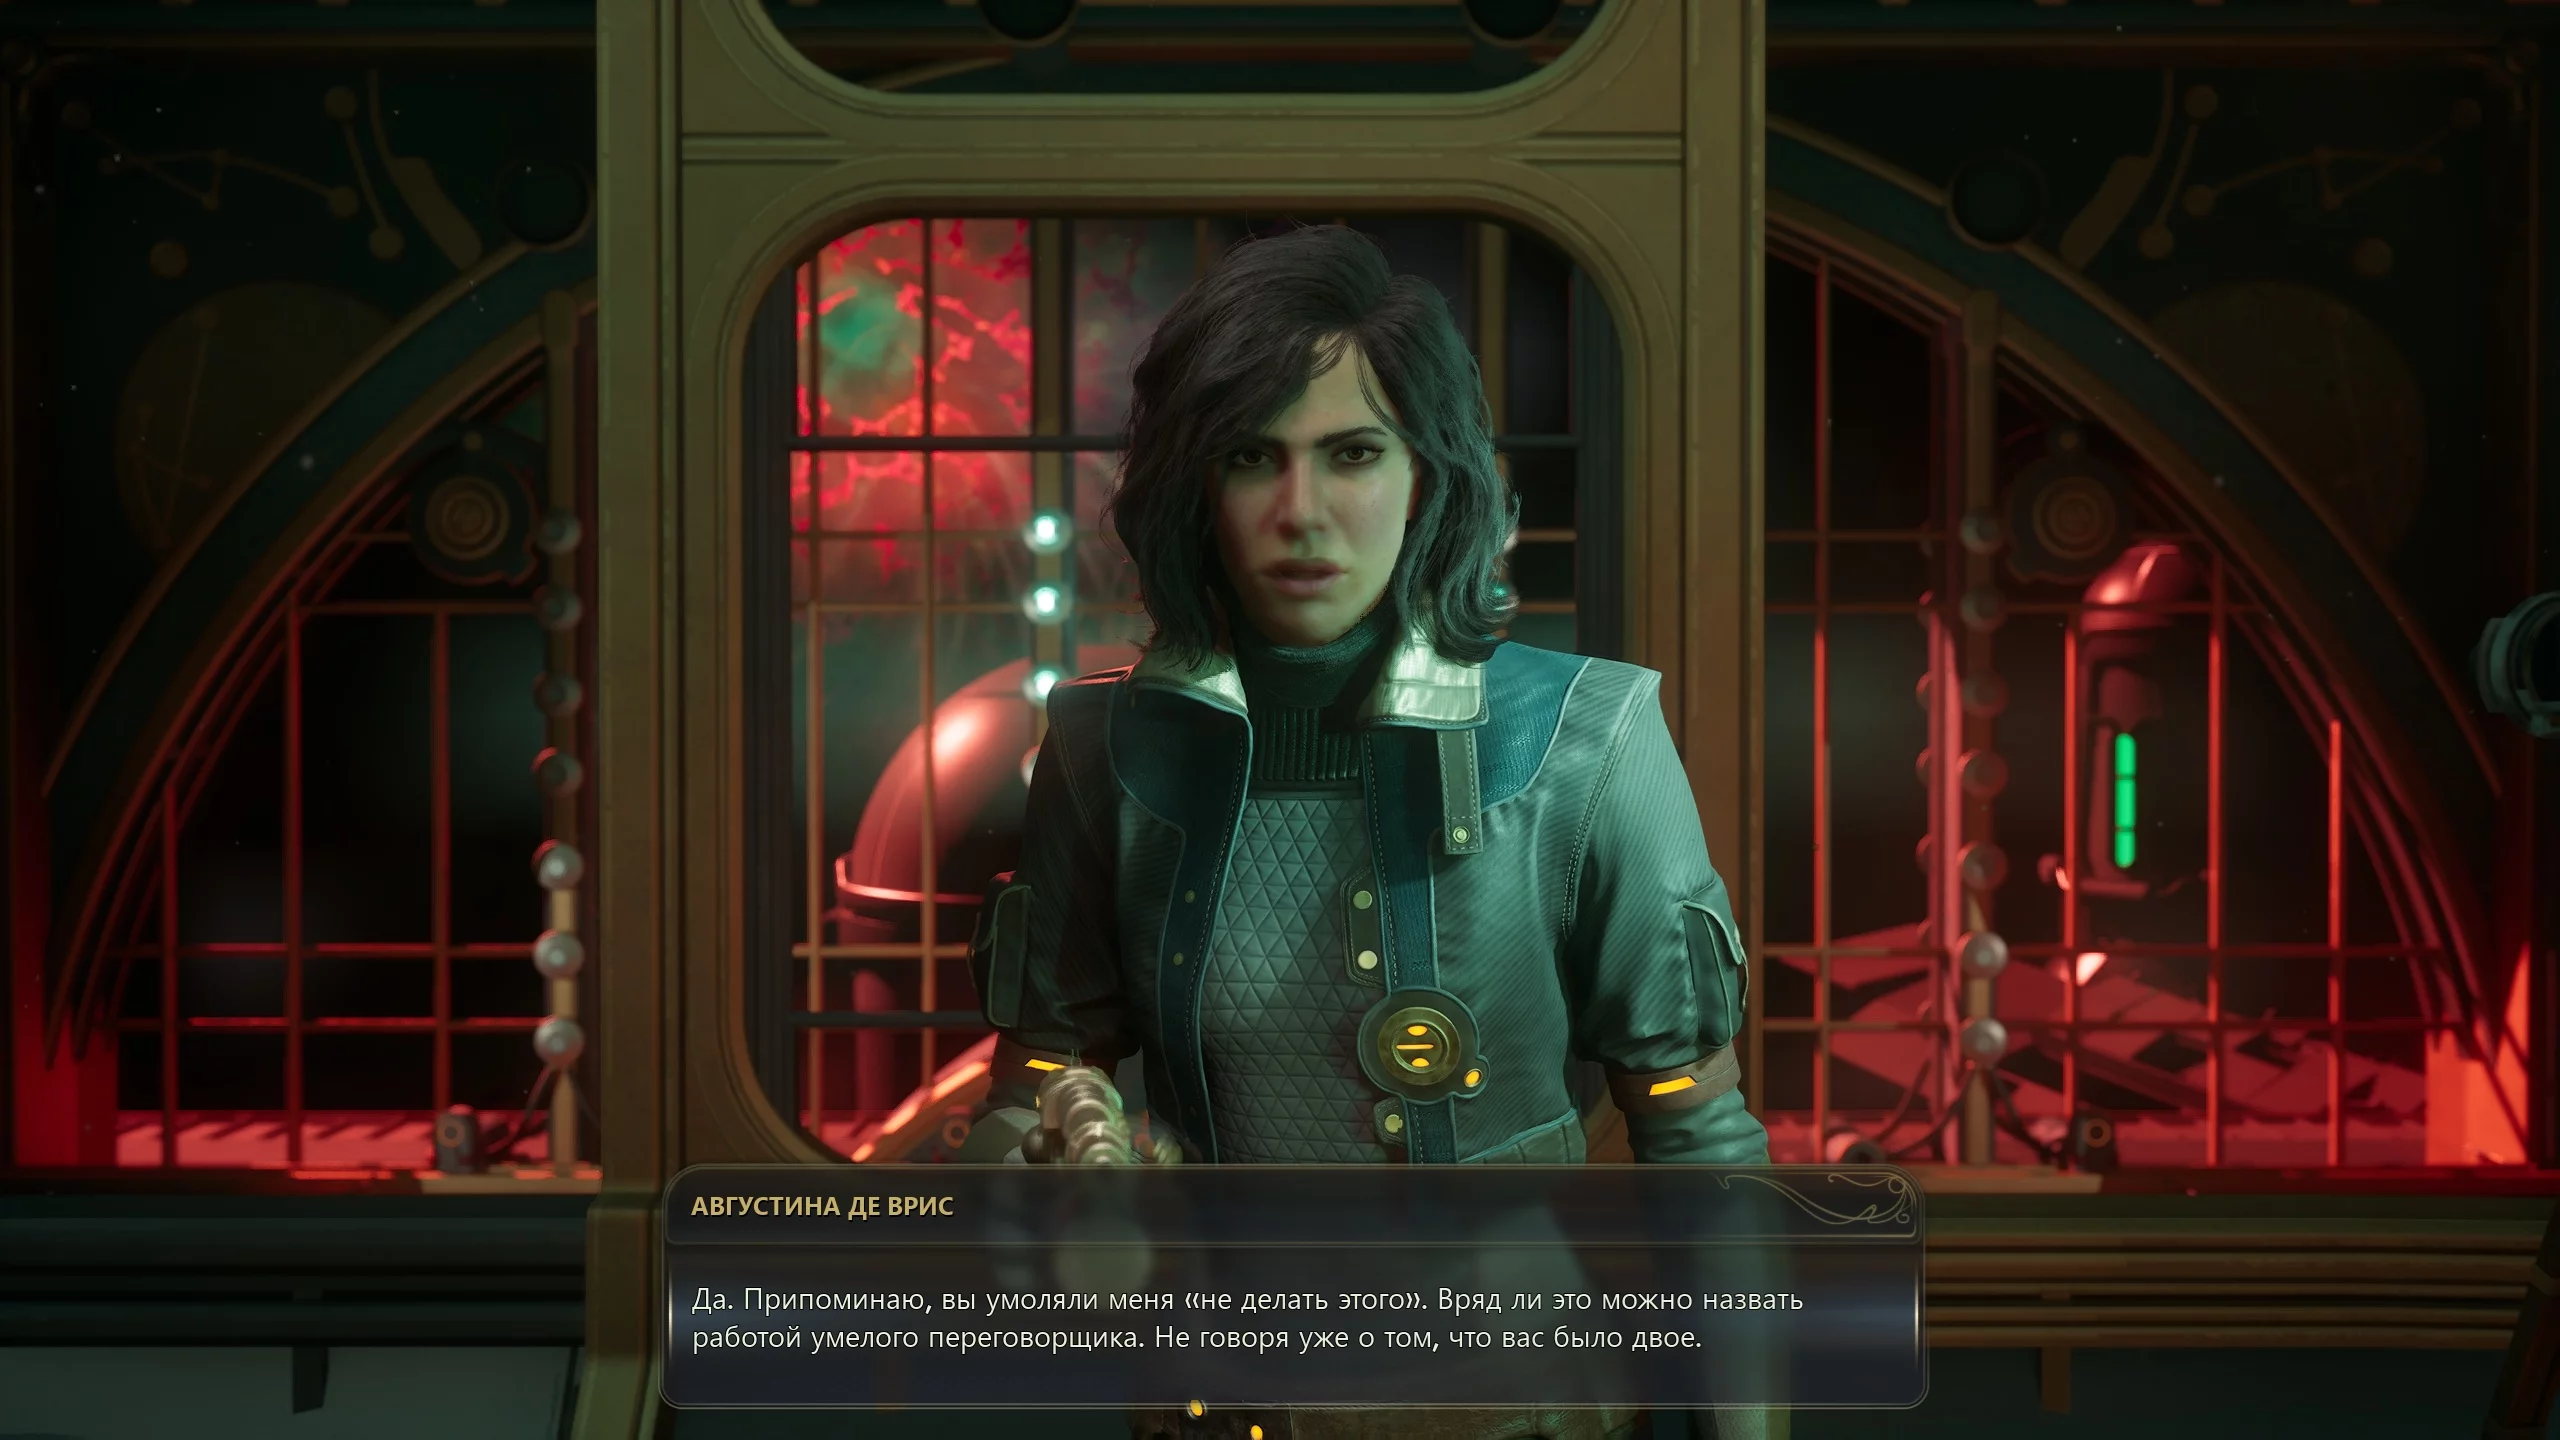
Meet with Augusta, who is preparing to kill the delegates of "Aunt Cosmos" and the Order of Ascension. She will also reveal that there is a technology to control rifts, and the explosion on the "Horizon" was an attempt to destroy it. If any faction learns to use rifts for their own purposes, an intergalactic apocalypse will occur.
There are three possible outcomes to the dialogue with de Vries:
- Augusta's death.
- You agree to kill the delegates. If Niles is in the squad, you will have to eliminate him.
- Force Niles to retreat. Persuade Augusta not to kill the delegates, using information from Savannah and level 5 in the "Speech" skill.
This choice will affect the ending of the game. Regardless of the negotiation outcome, a rift will open near the station, partially damaging it. Therefore, you must urgently return to the ship.
An Instrument to Unfold Space & Time
Valerie received a message from the Earth Government that all agents have been granted emergency powers. Now you need to find the prototype rift anomaly modulator and convince "Aunt Cosmos" or the Order of Ascension to help you take the Protectorate base in order to use the Archive supercomputer.
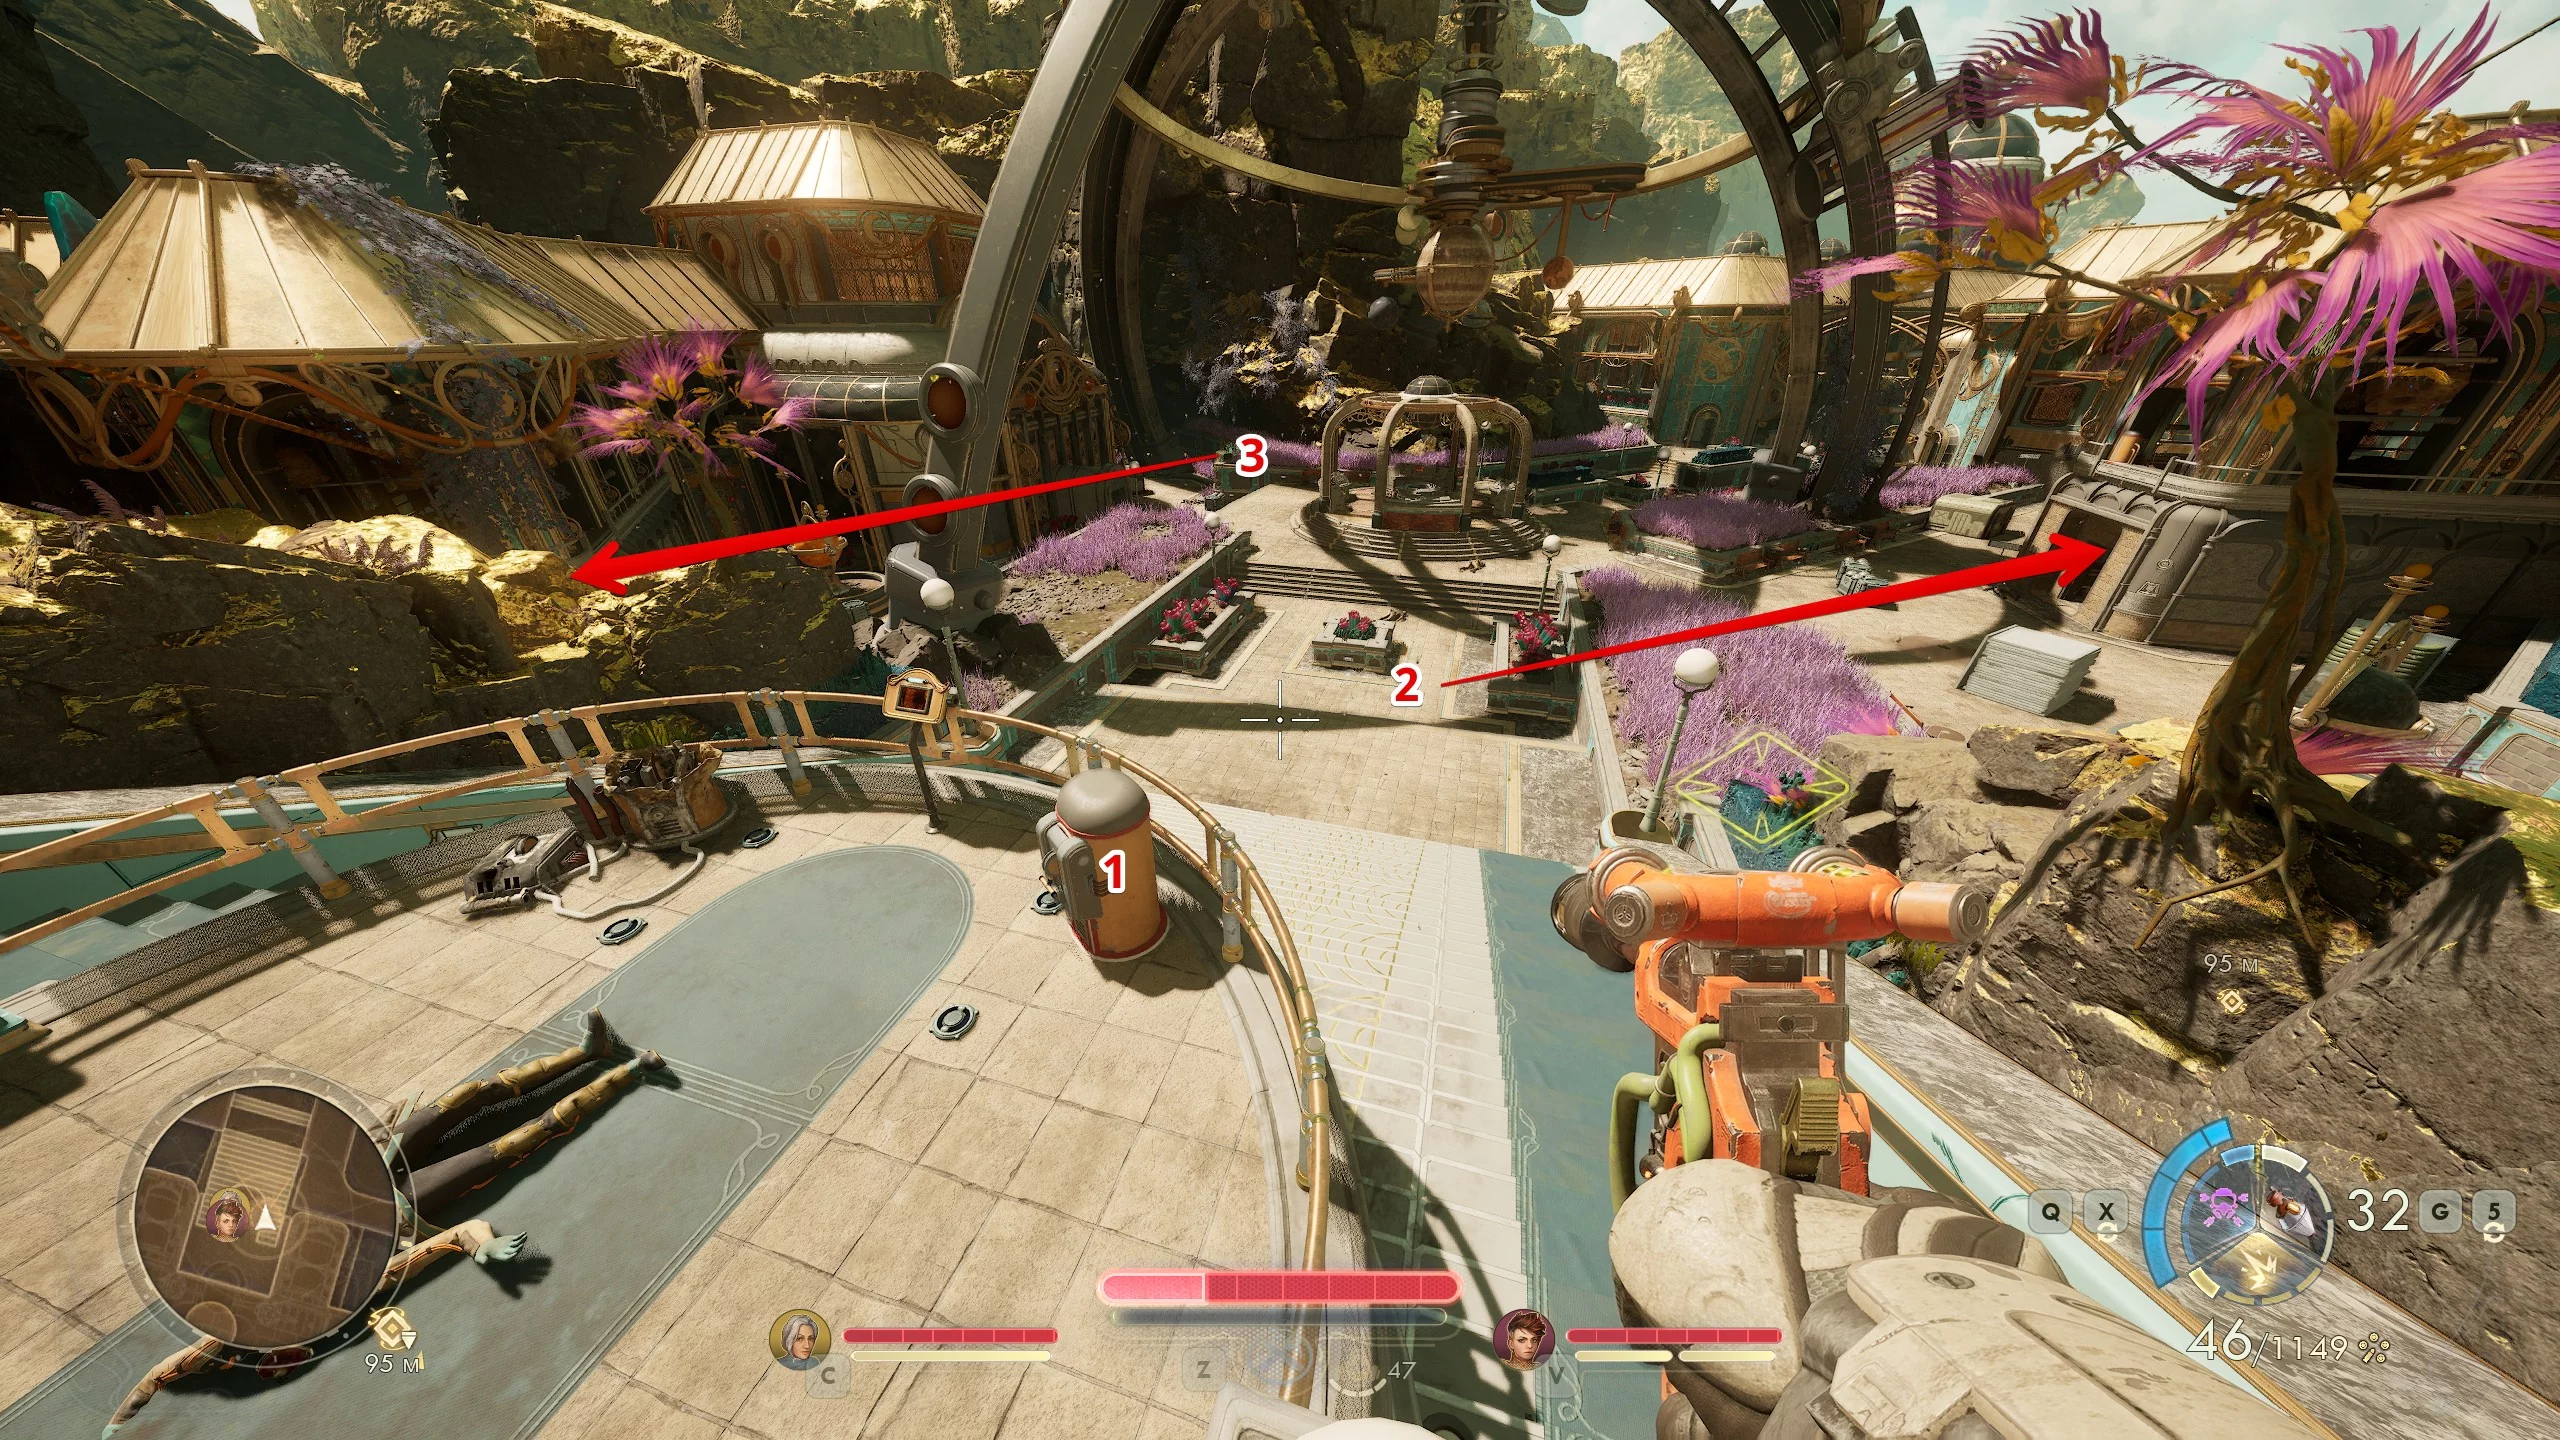
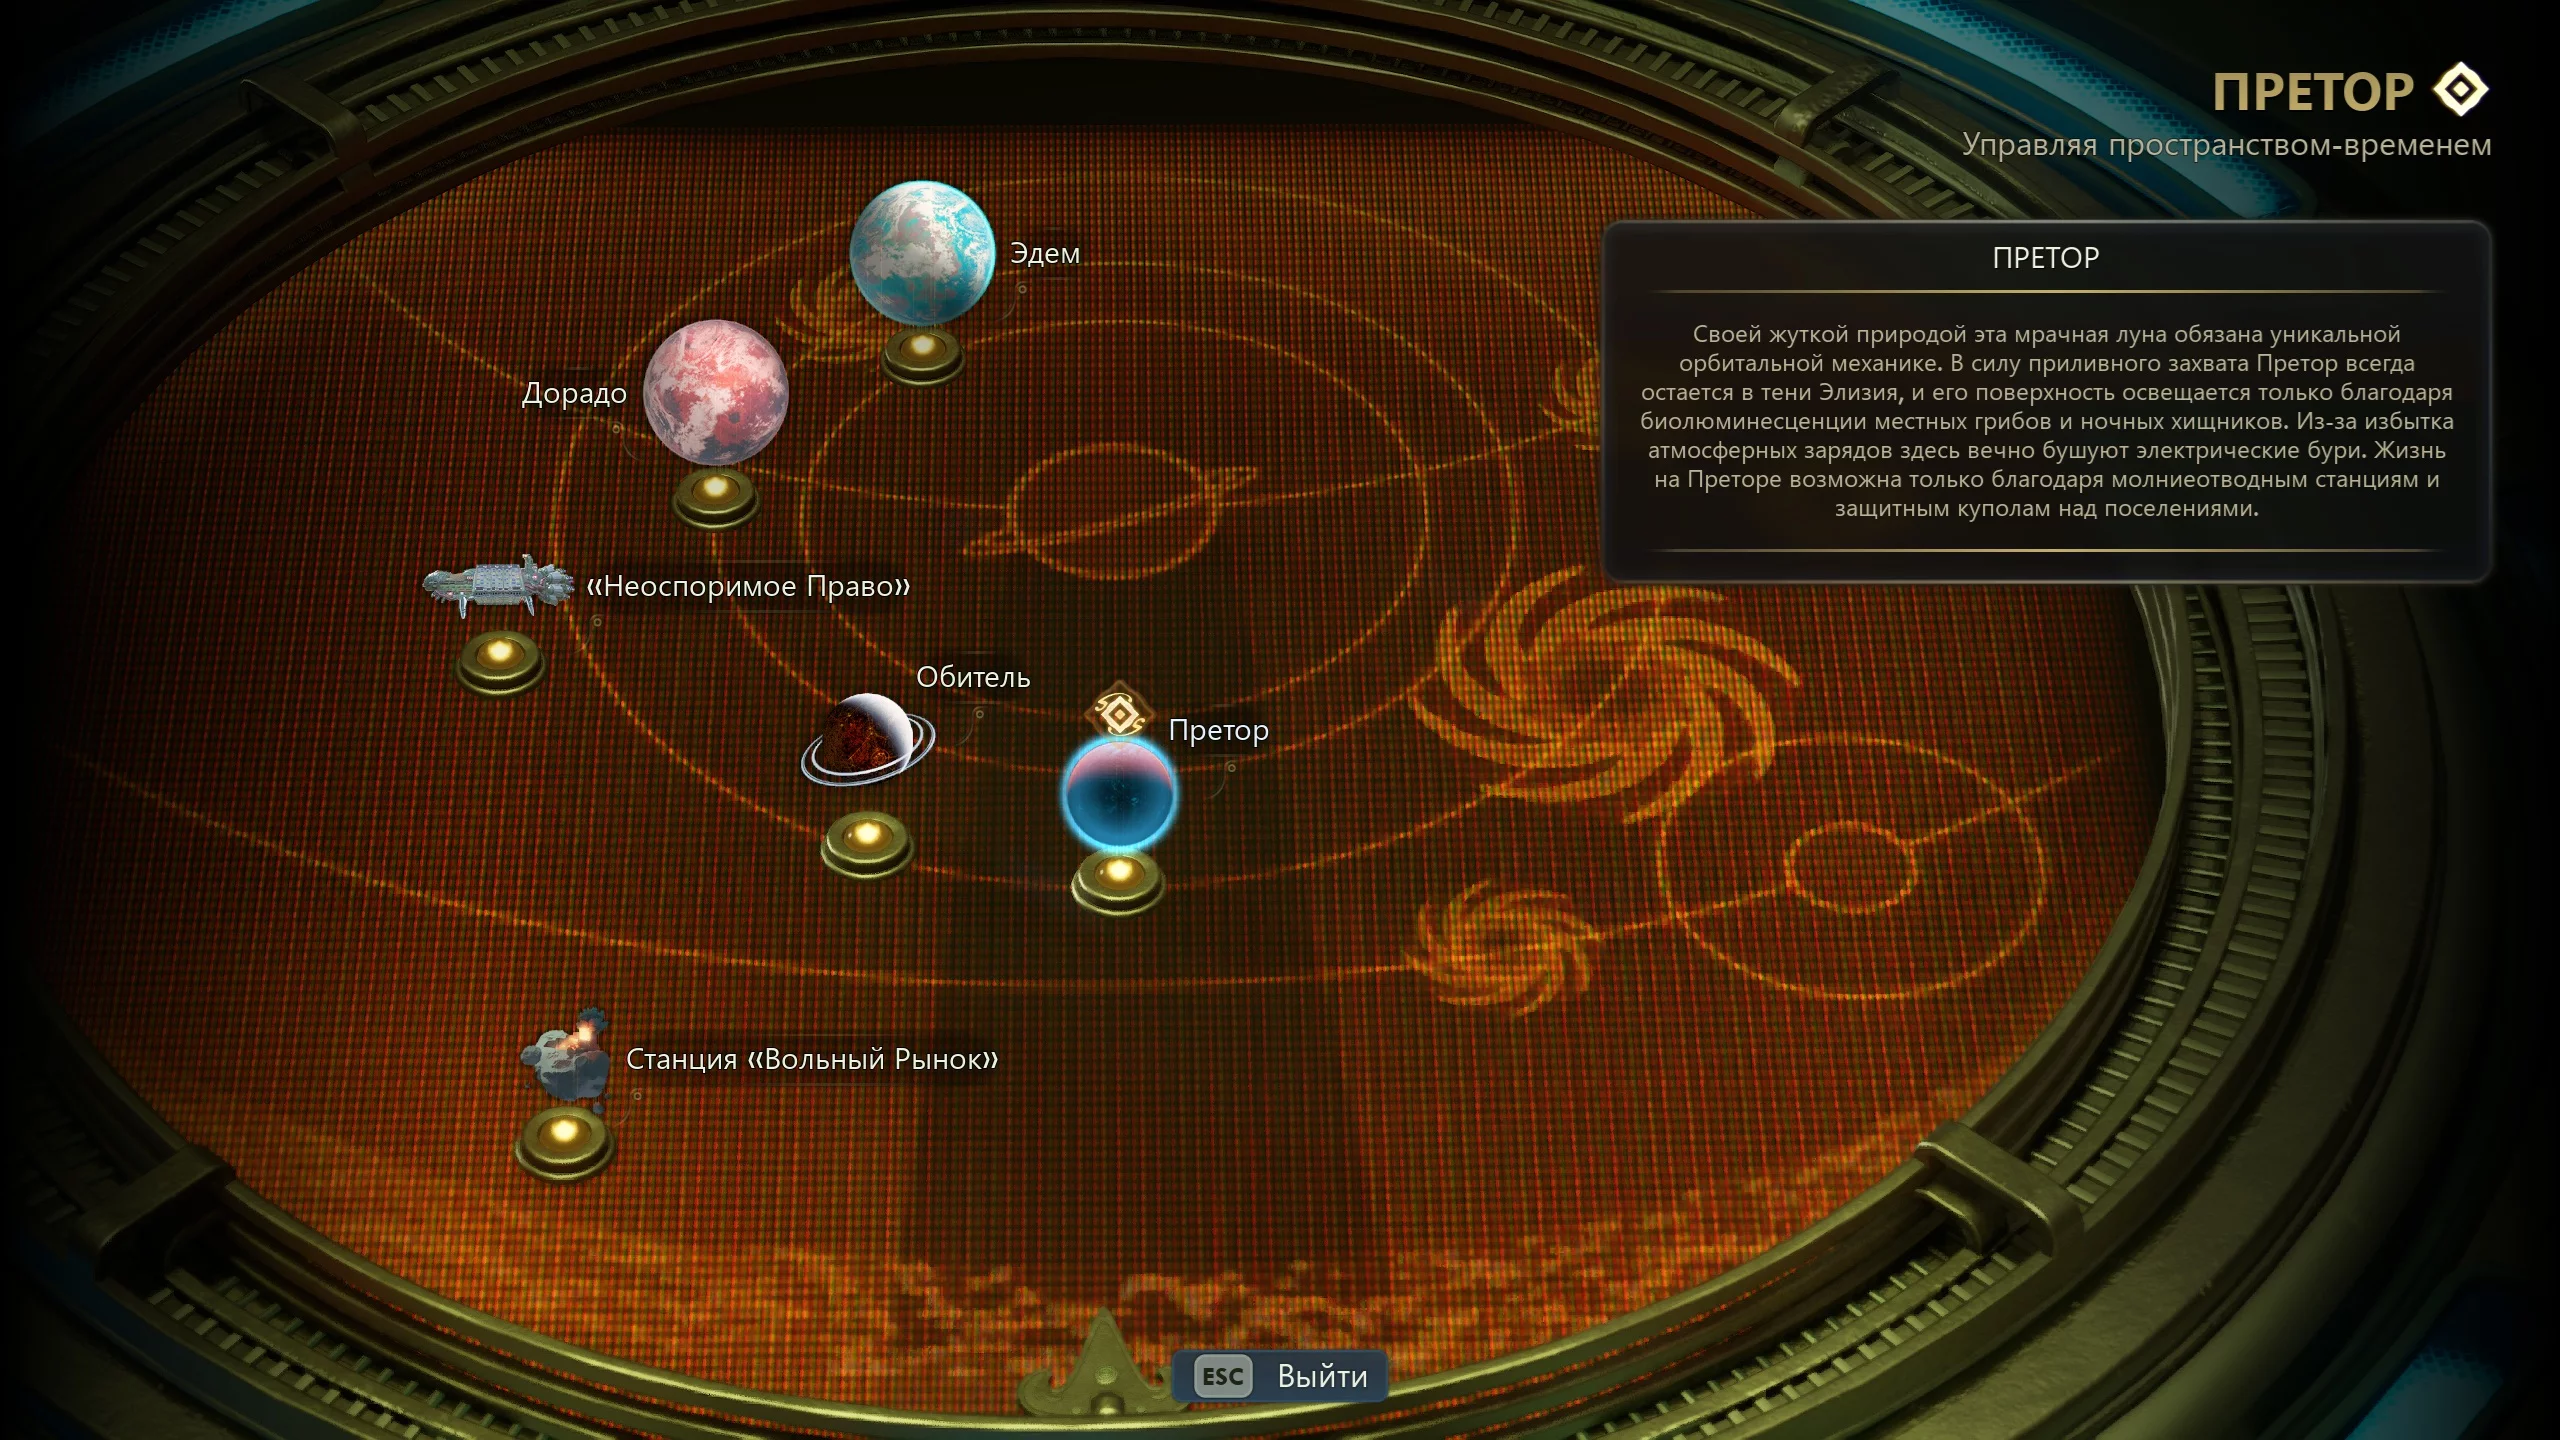
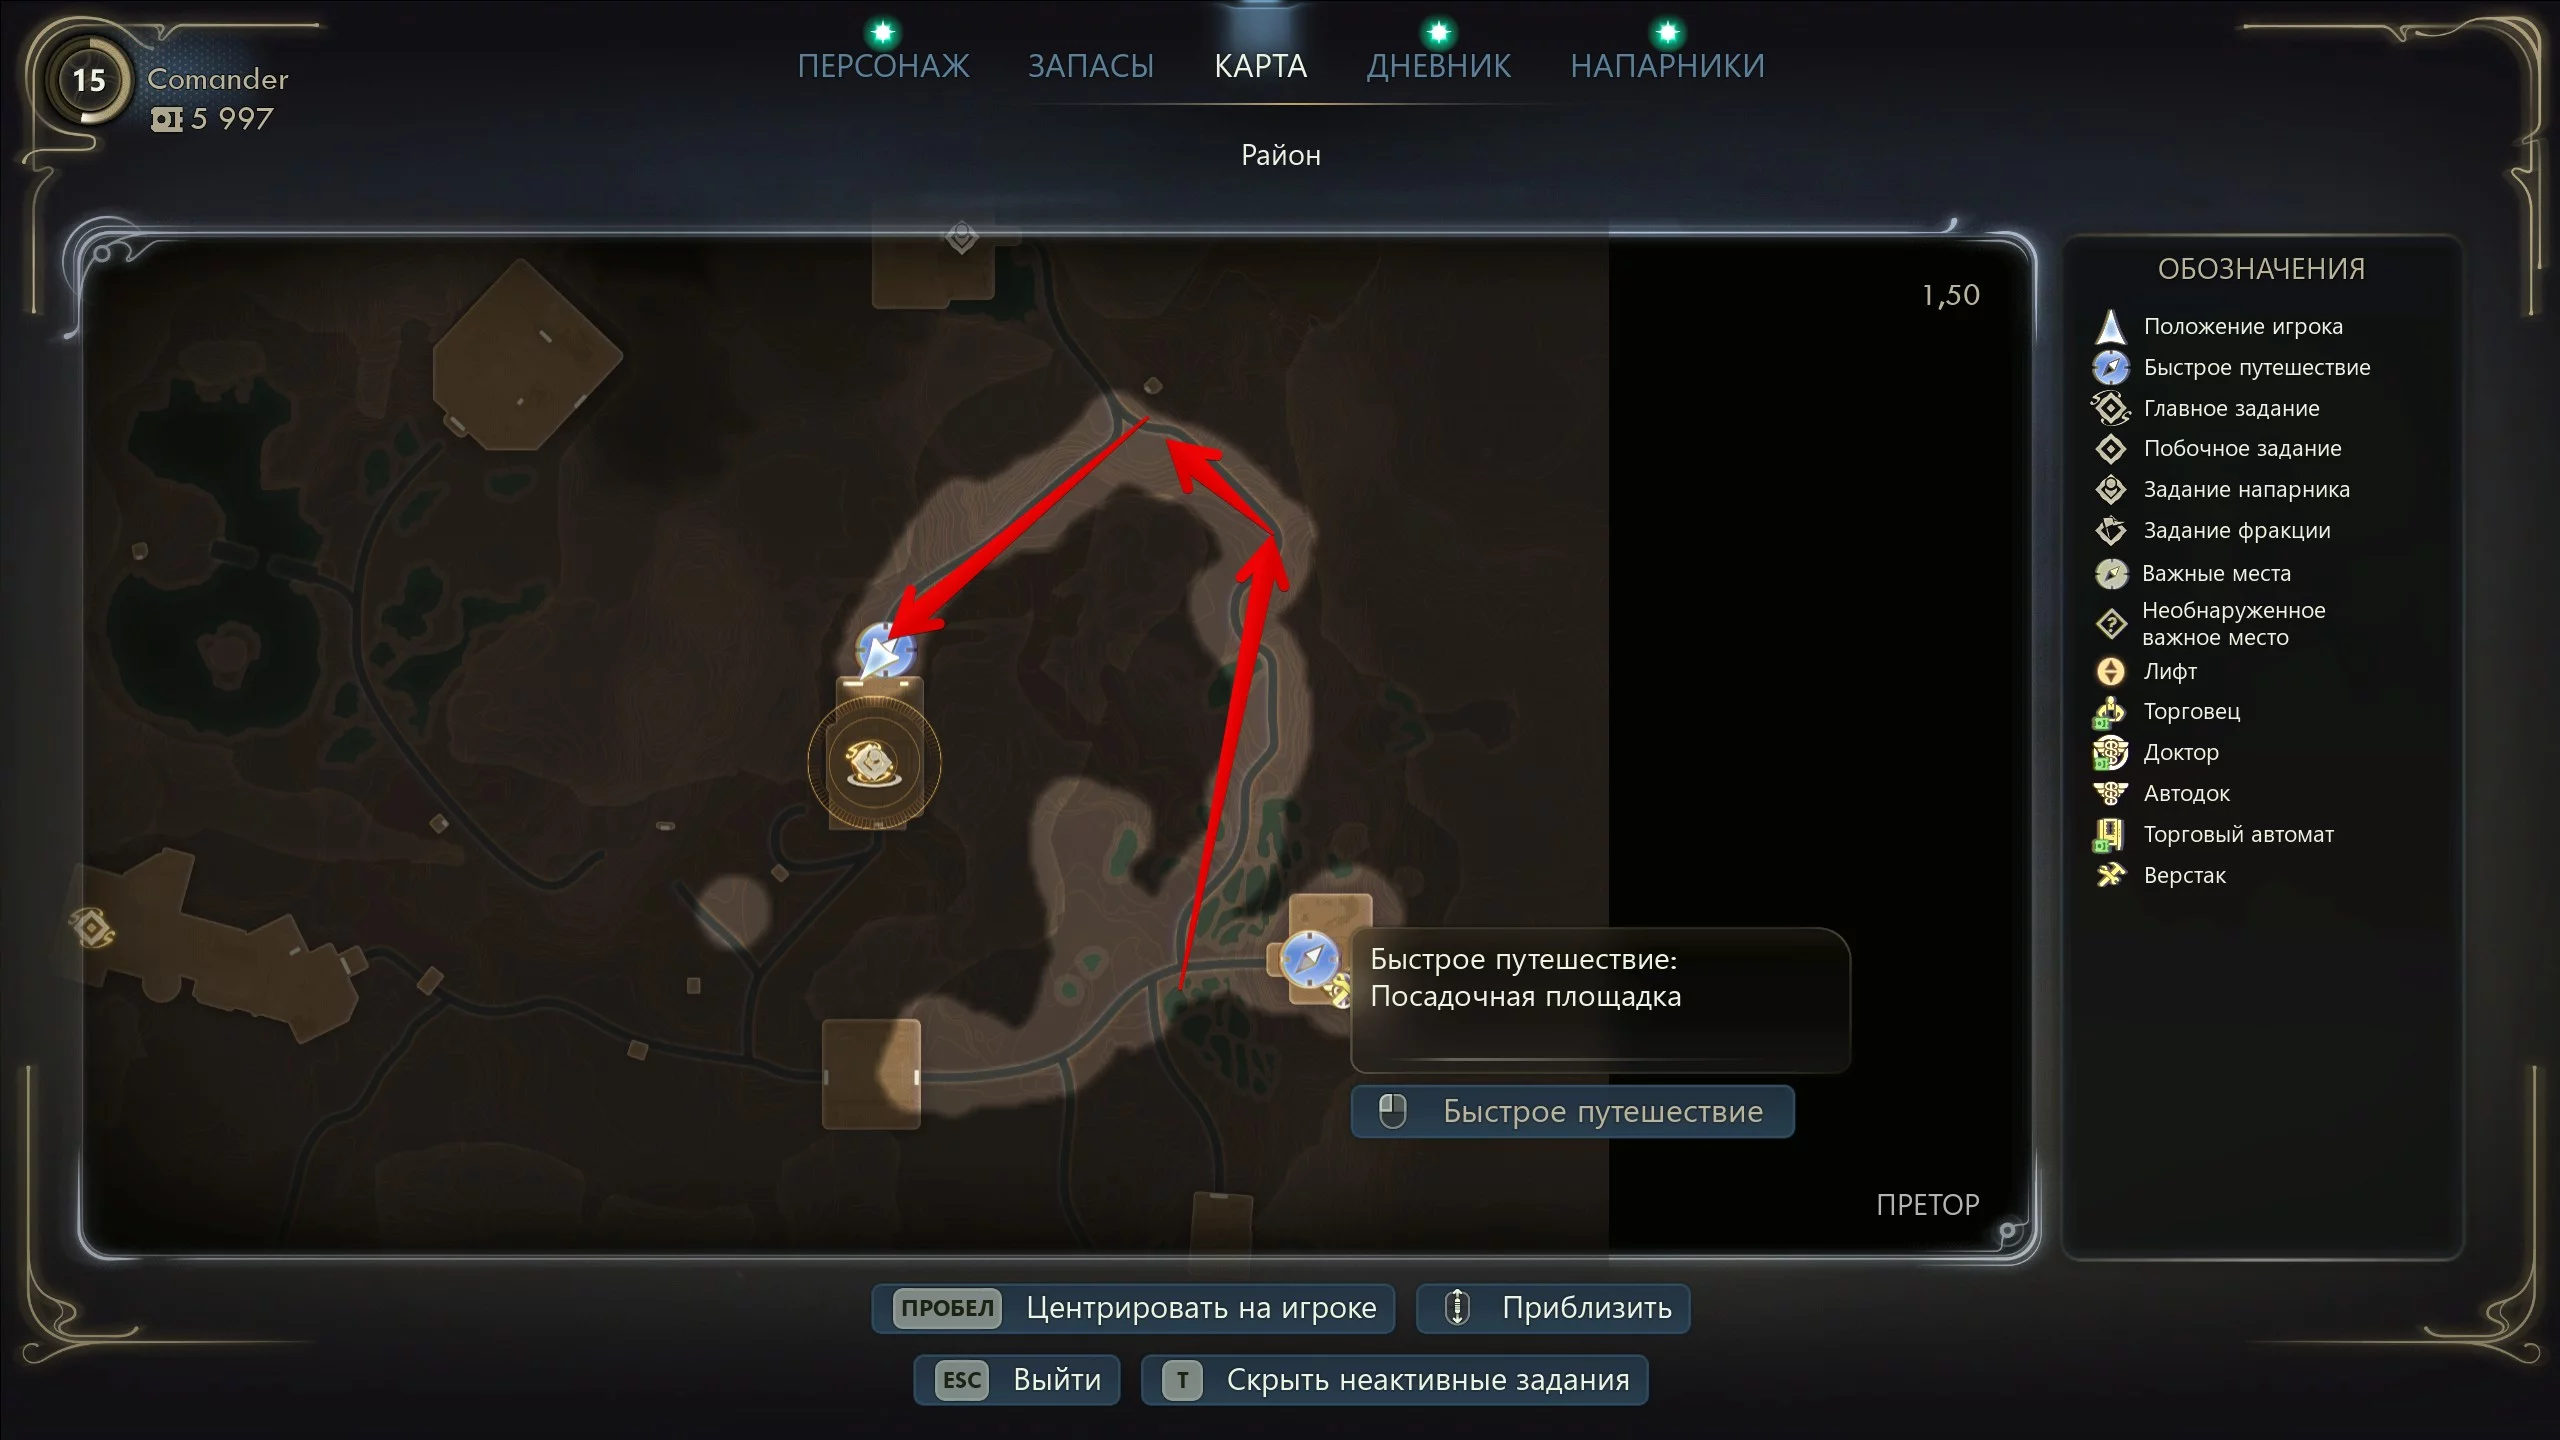
First, we recommend finding the modulator. Approach the navigator and select the planet Praetor. Take Niles and any companion with you. Take the elevator down and head northwest to the automaton factory.
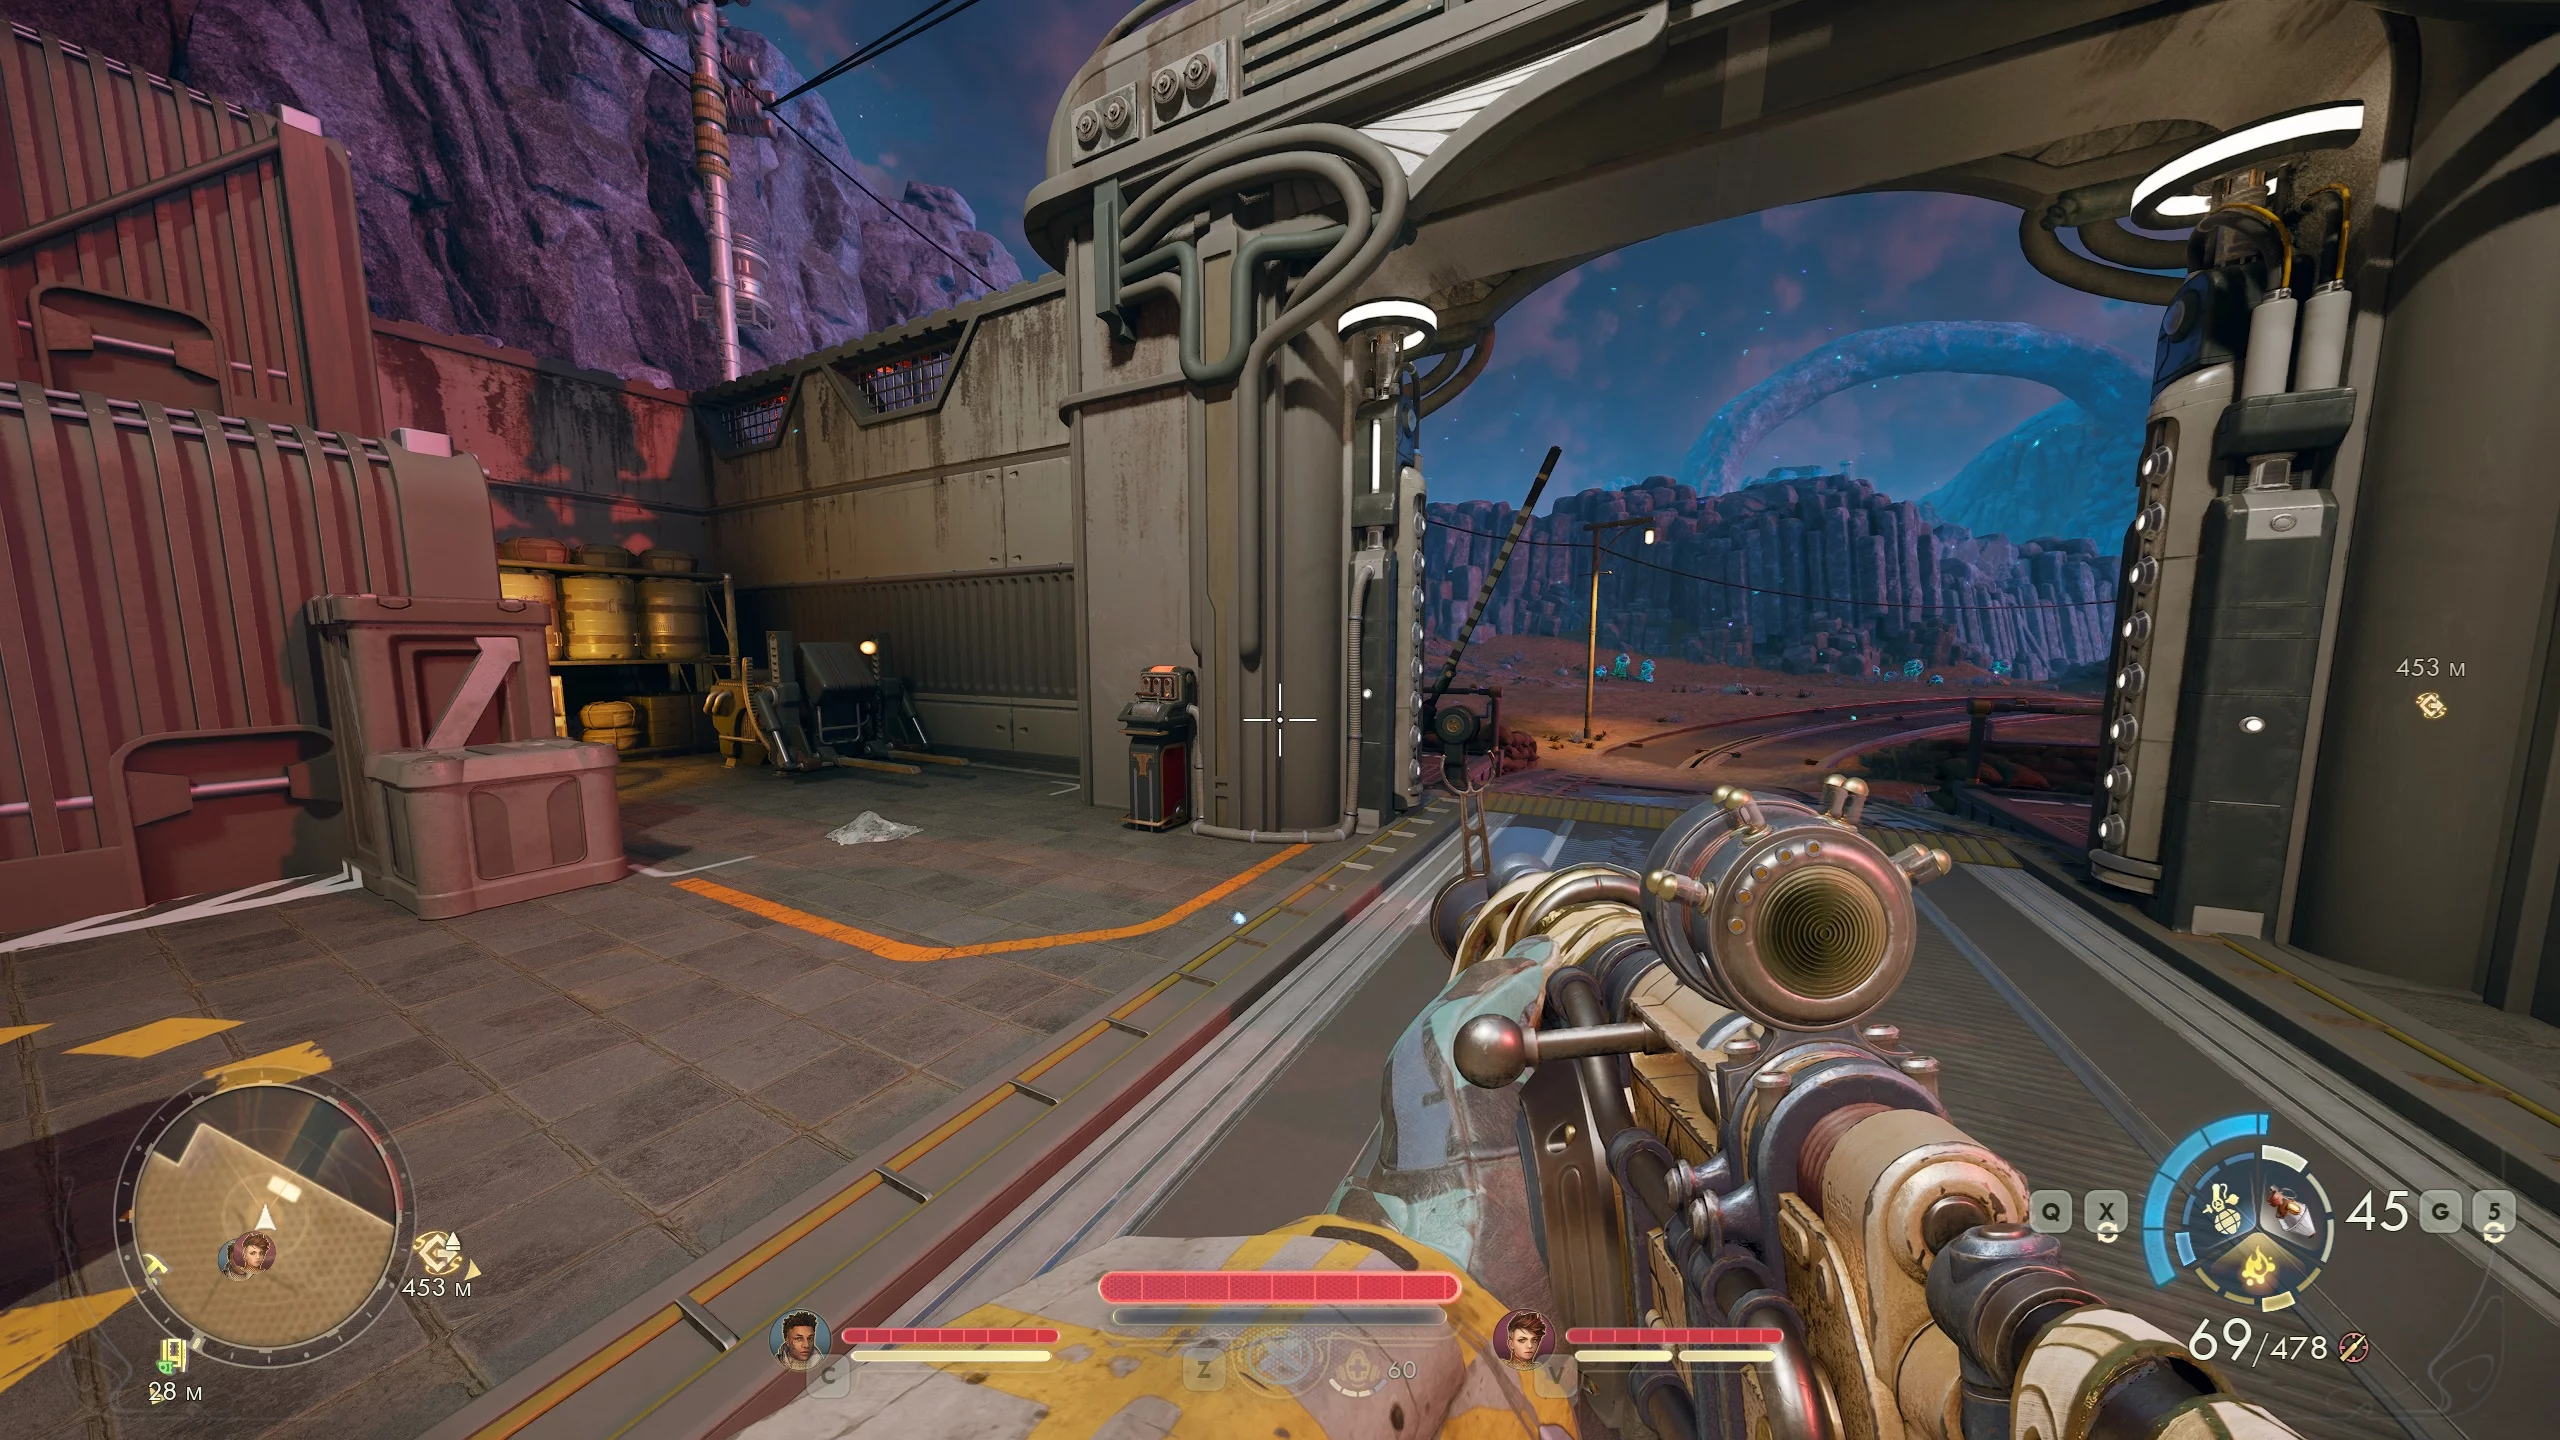
From the landing pad, turn right and follow the path straight until you see the railway. Turn left and continue to the Automech Production Facility. Along the way, you will encounter dangerous animals called primatopterixes. It is recommended to avoid them if your character is below level 15.
Now you need to get through the factory. Inside, there will be soldiers and many automatons, which can be disabled using terminals if you have level 17 in the "Hacking" skill. Otherwise, you will have to sneak through or fight your way in. At the end, you need to reach the south gate and turn it off using the lever on the left. If you find this stage difficult, it is recommended to return to other locations and level up your character.
Now you need to reach the Interstitial Reconfiguration Center. On the way, you will encounter many soldiers and automatons. We recommend not wasting time and trying to slip past them. At the entrance, you will see non-hostile robots. Just walk around them and enter the complex.
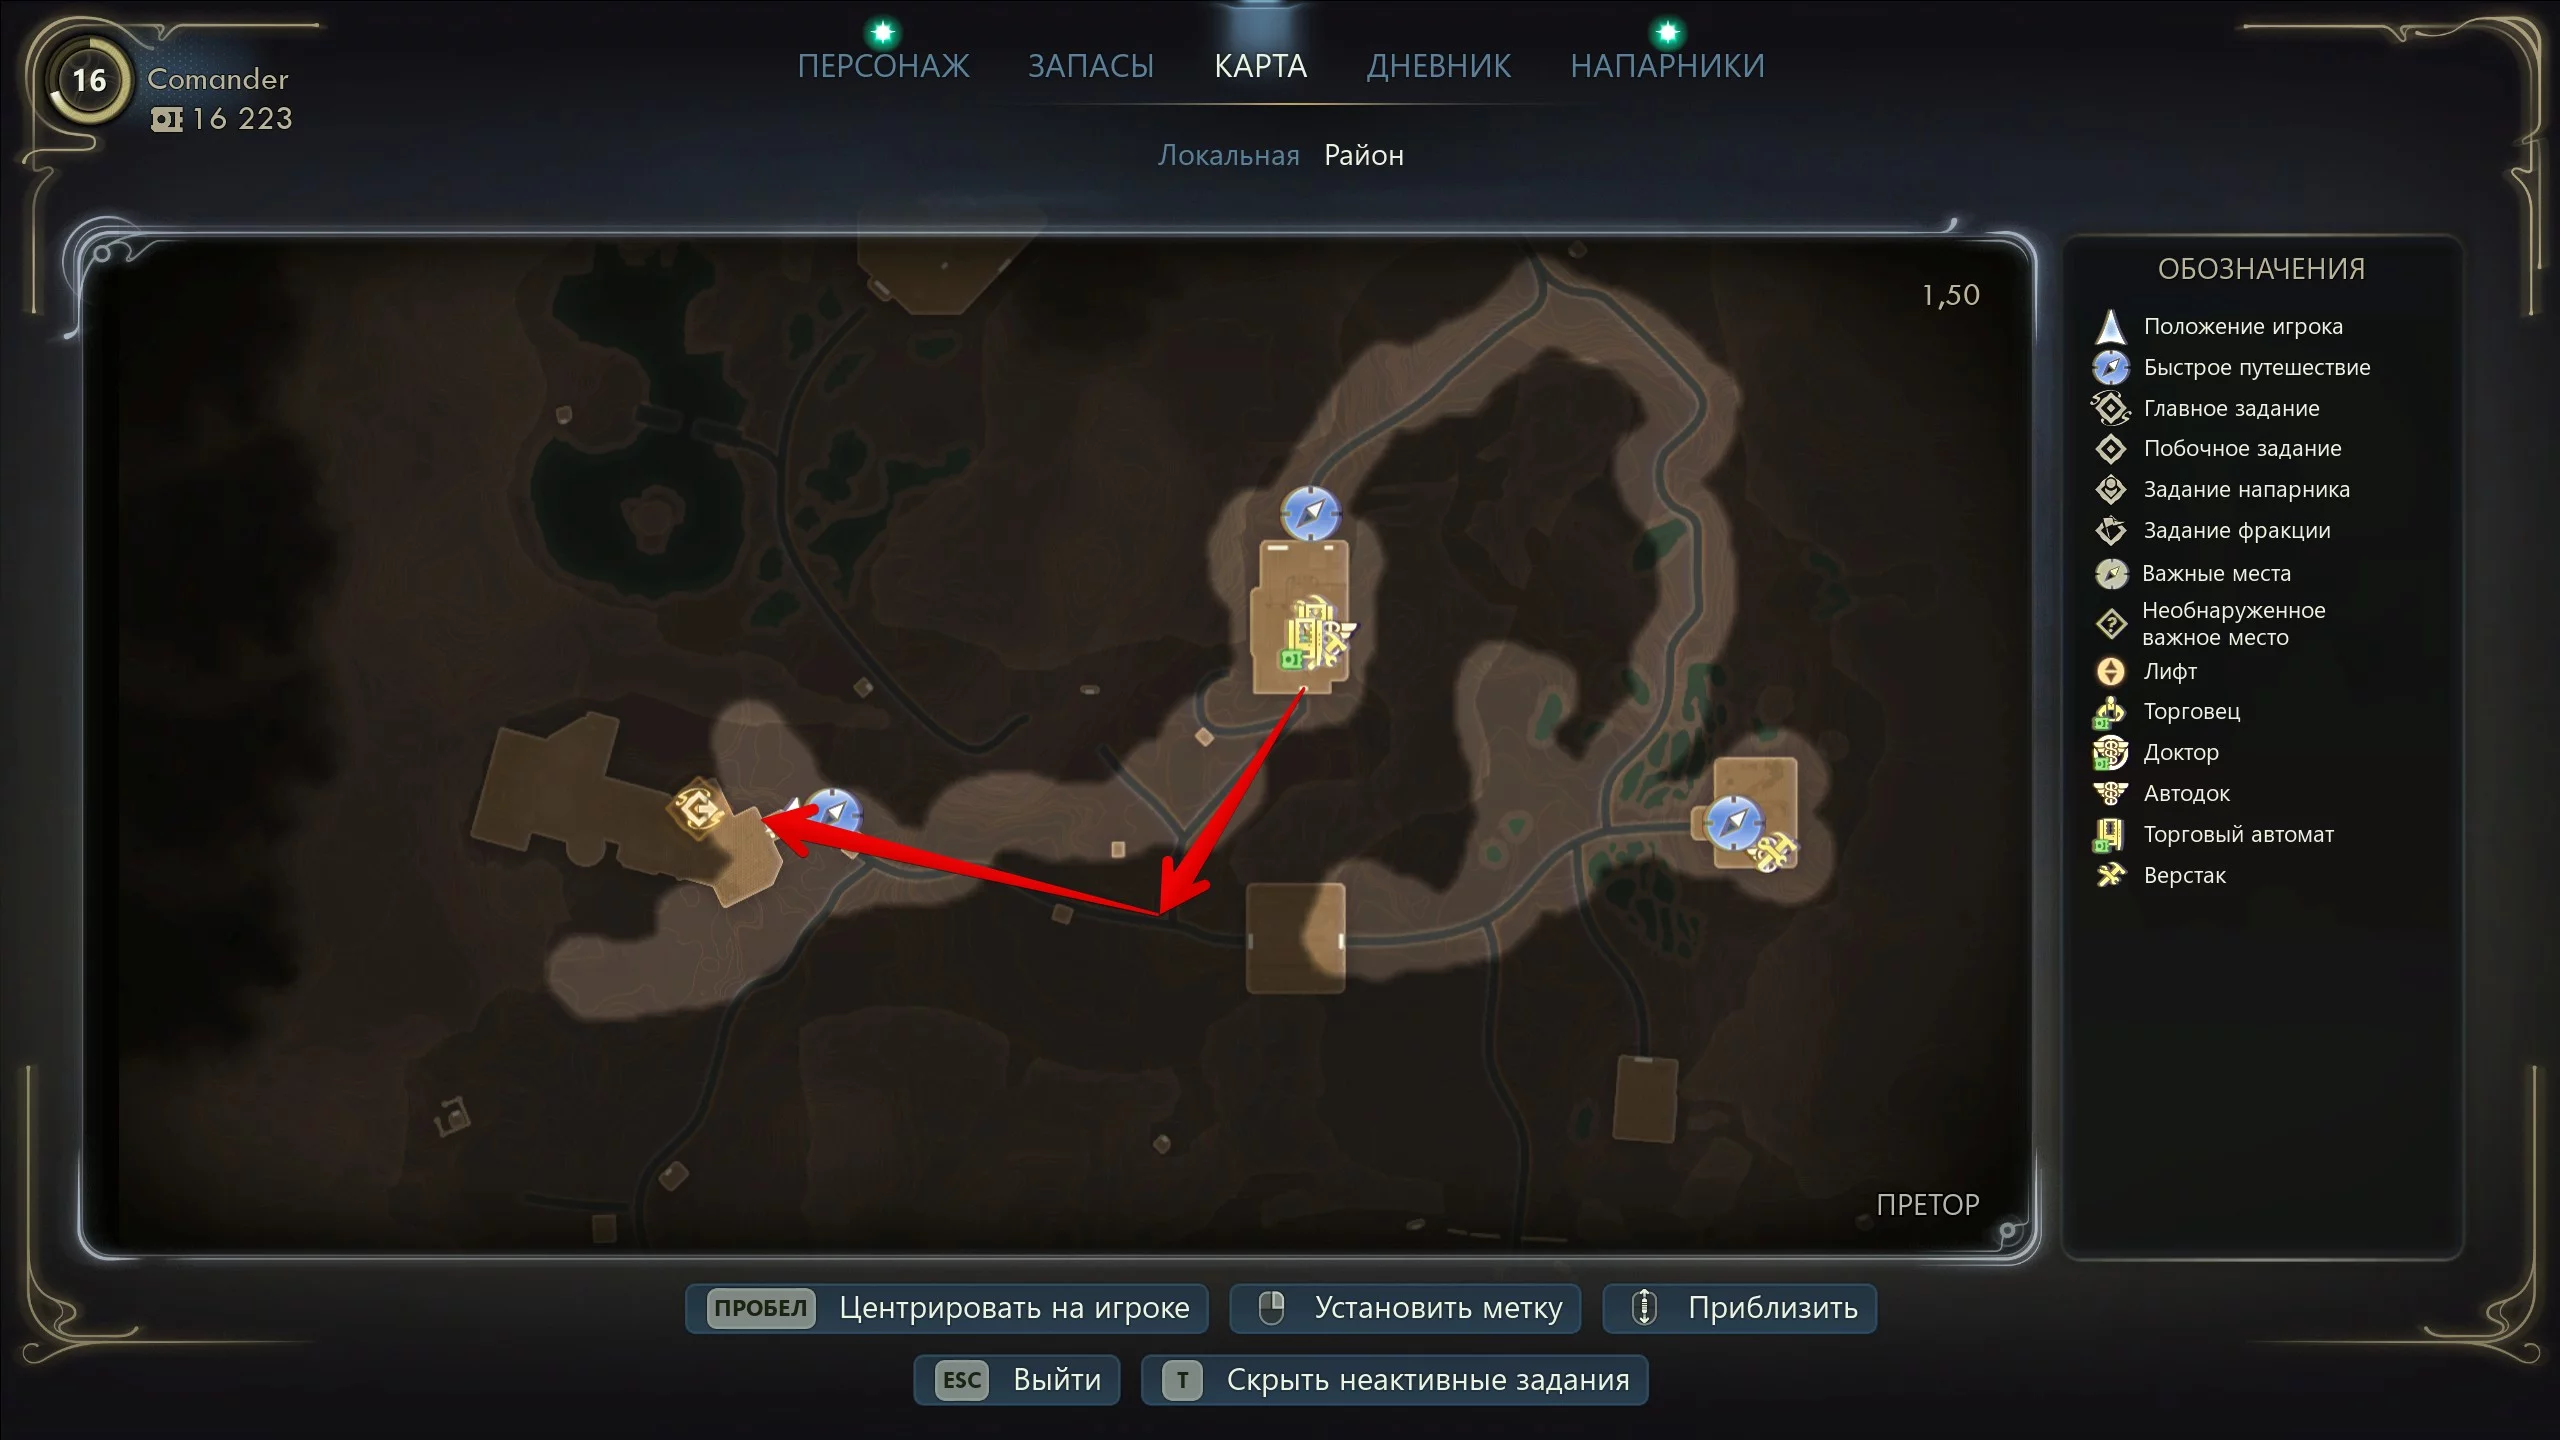
Take the elevator up and defeat the automatons. To enter the complex, you need to open the large door with gears drawn above it. To do this, you need level 4 in "Hacking," or you can use a double jump to climb onto a container and jump over the fence.
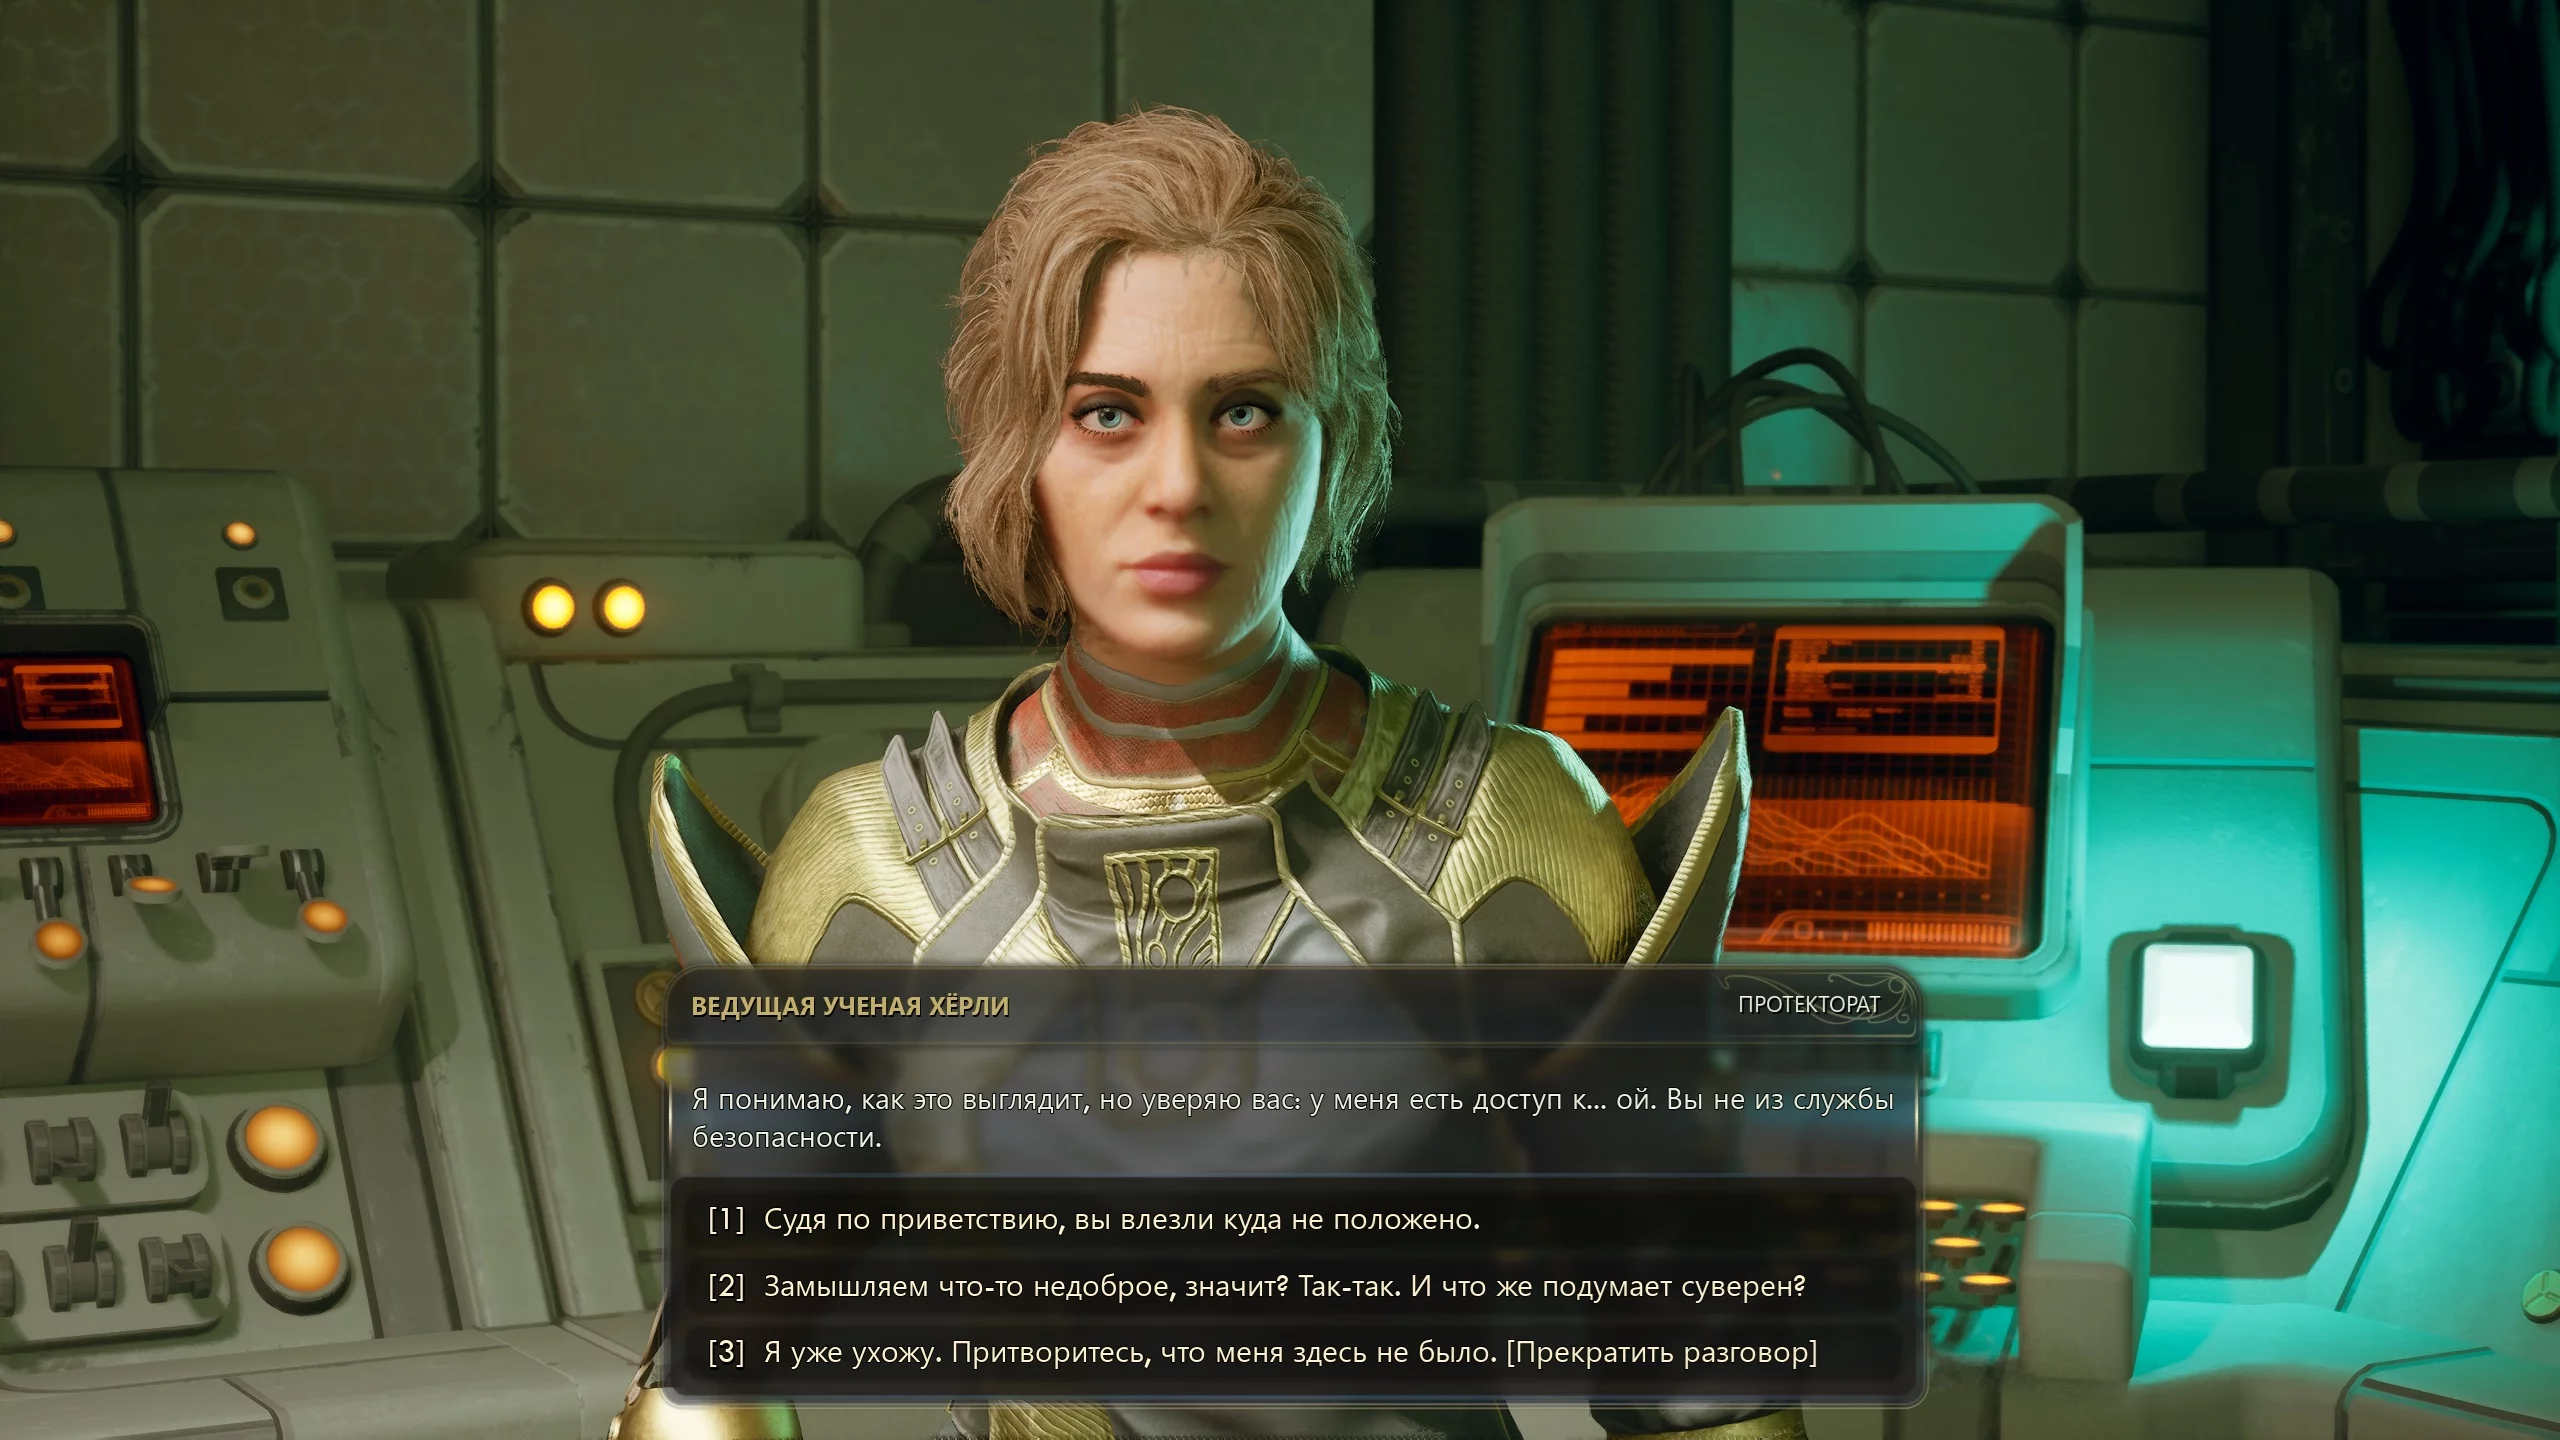
Go through the hangar to a small command center, then head right to meet lead researcher Hurley. This center was used for rift research, so the destruction of the "Horizon" did not stop the Protectorate's studies. She will agree to help with the modulator if you find important information for her in the restricted section of the complex.
A Complication with the Computronic Cerebrum
Now you need to gain access to the "Archive" supercomputer, which belongs to the leadership of the Protectorate. To do this, you need to enlist the support of the "Aunt Cosmos" corporation and the Order of Ascension.
How to Earn Aunt Cleo's Trust
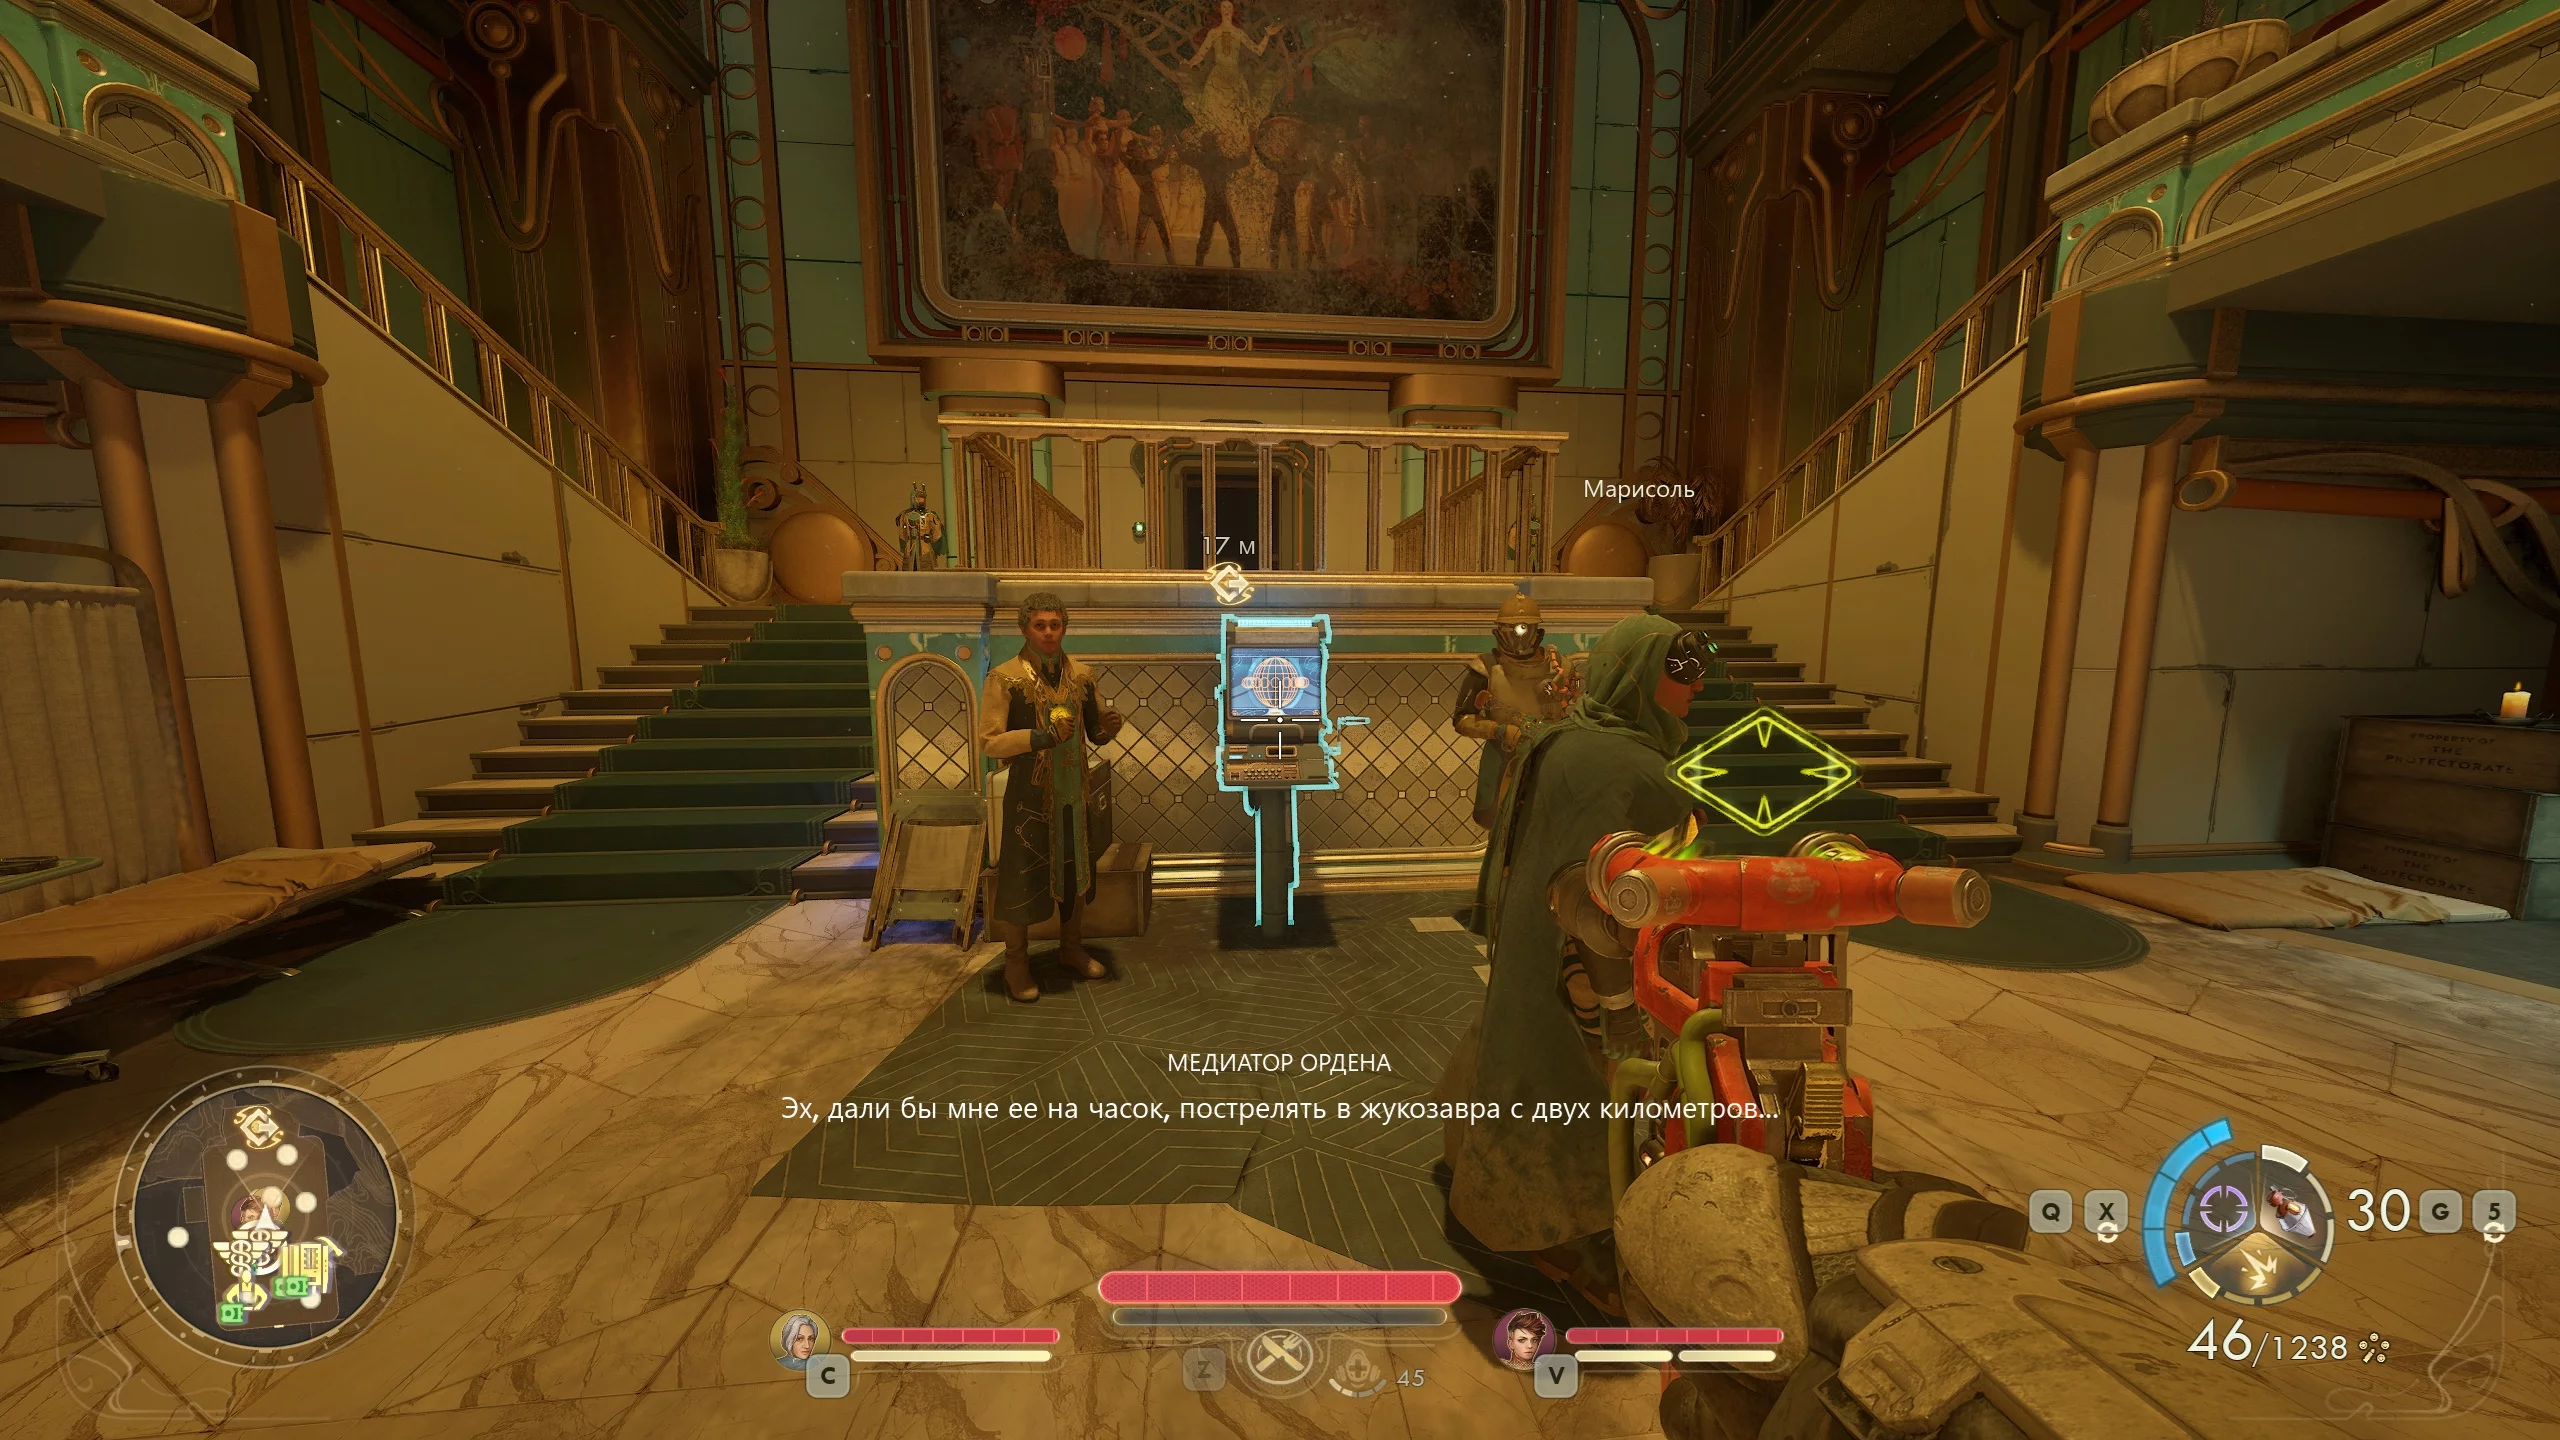
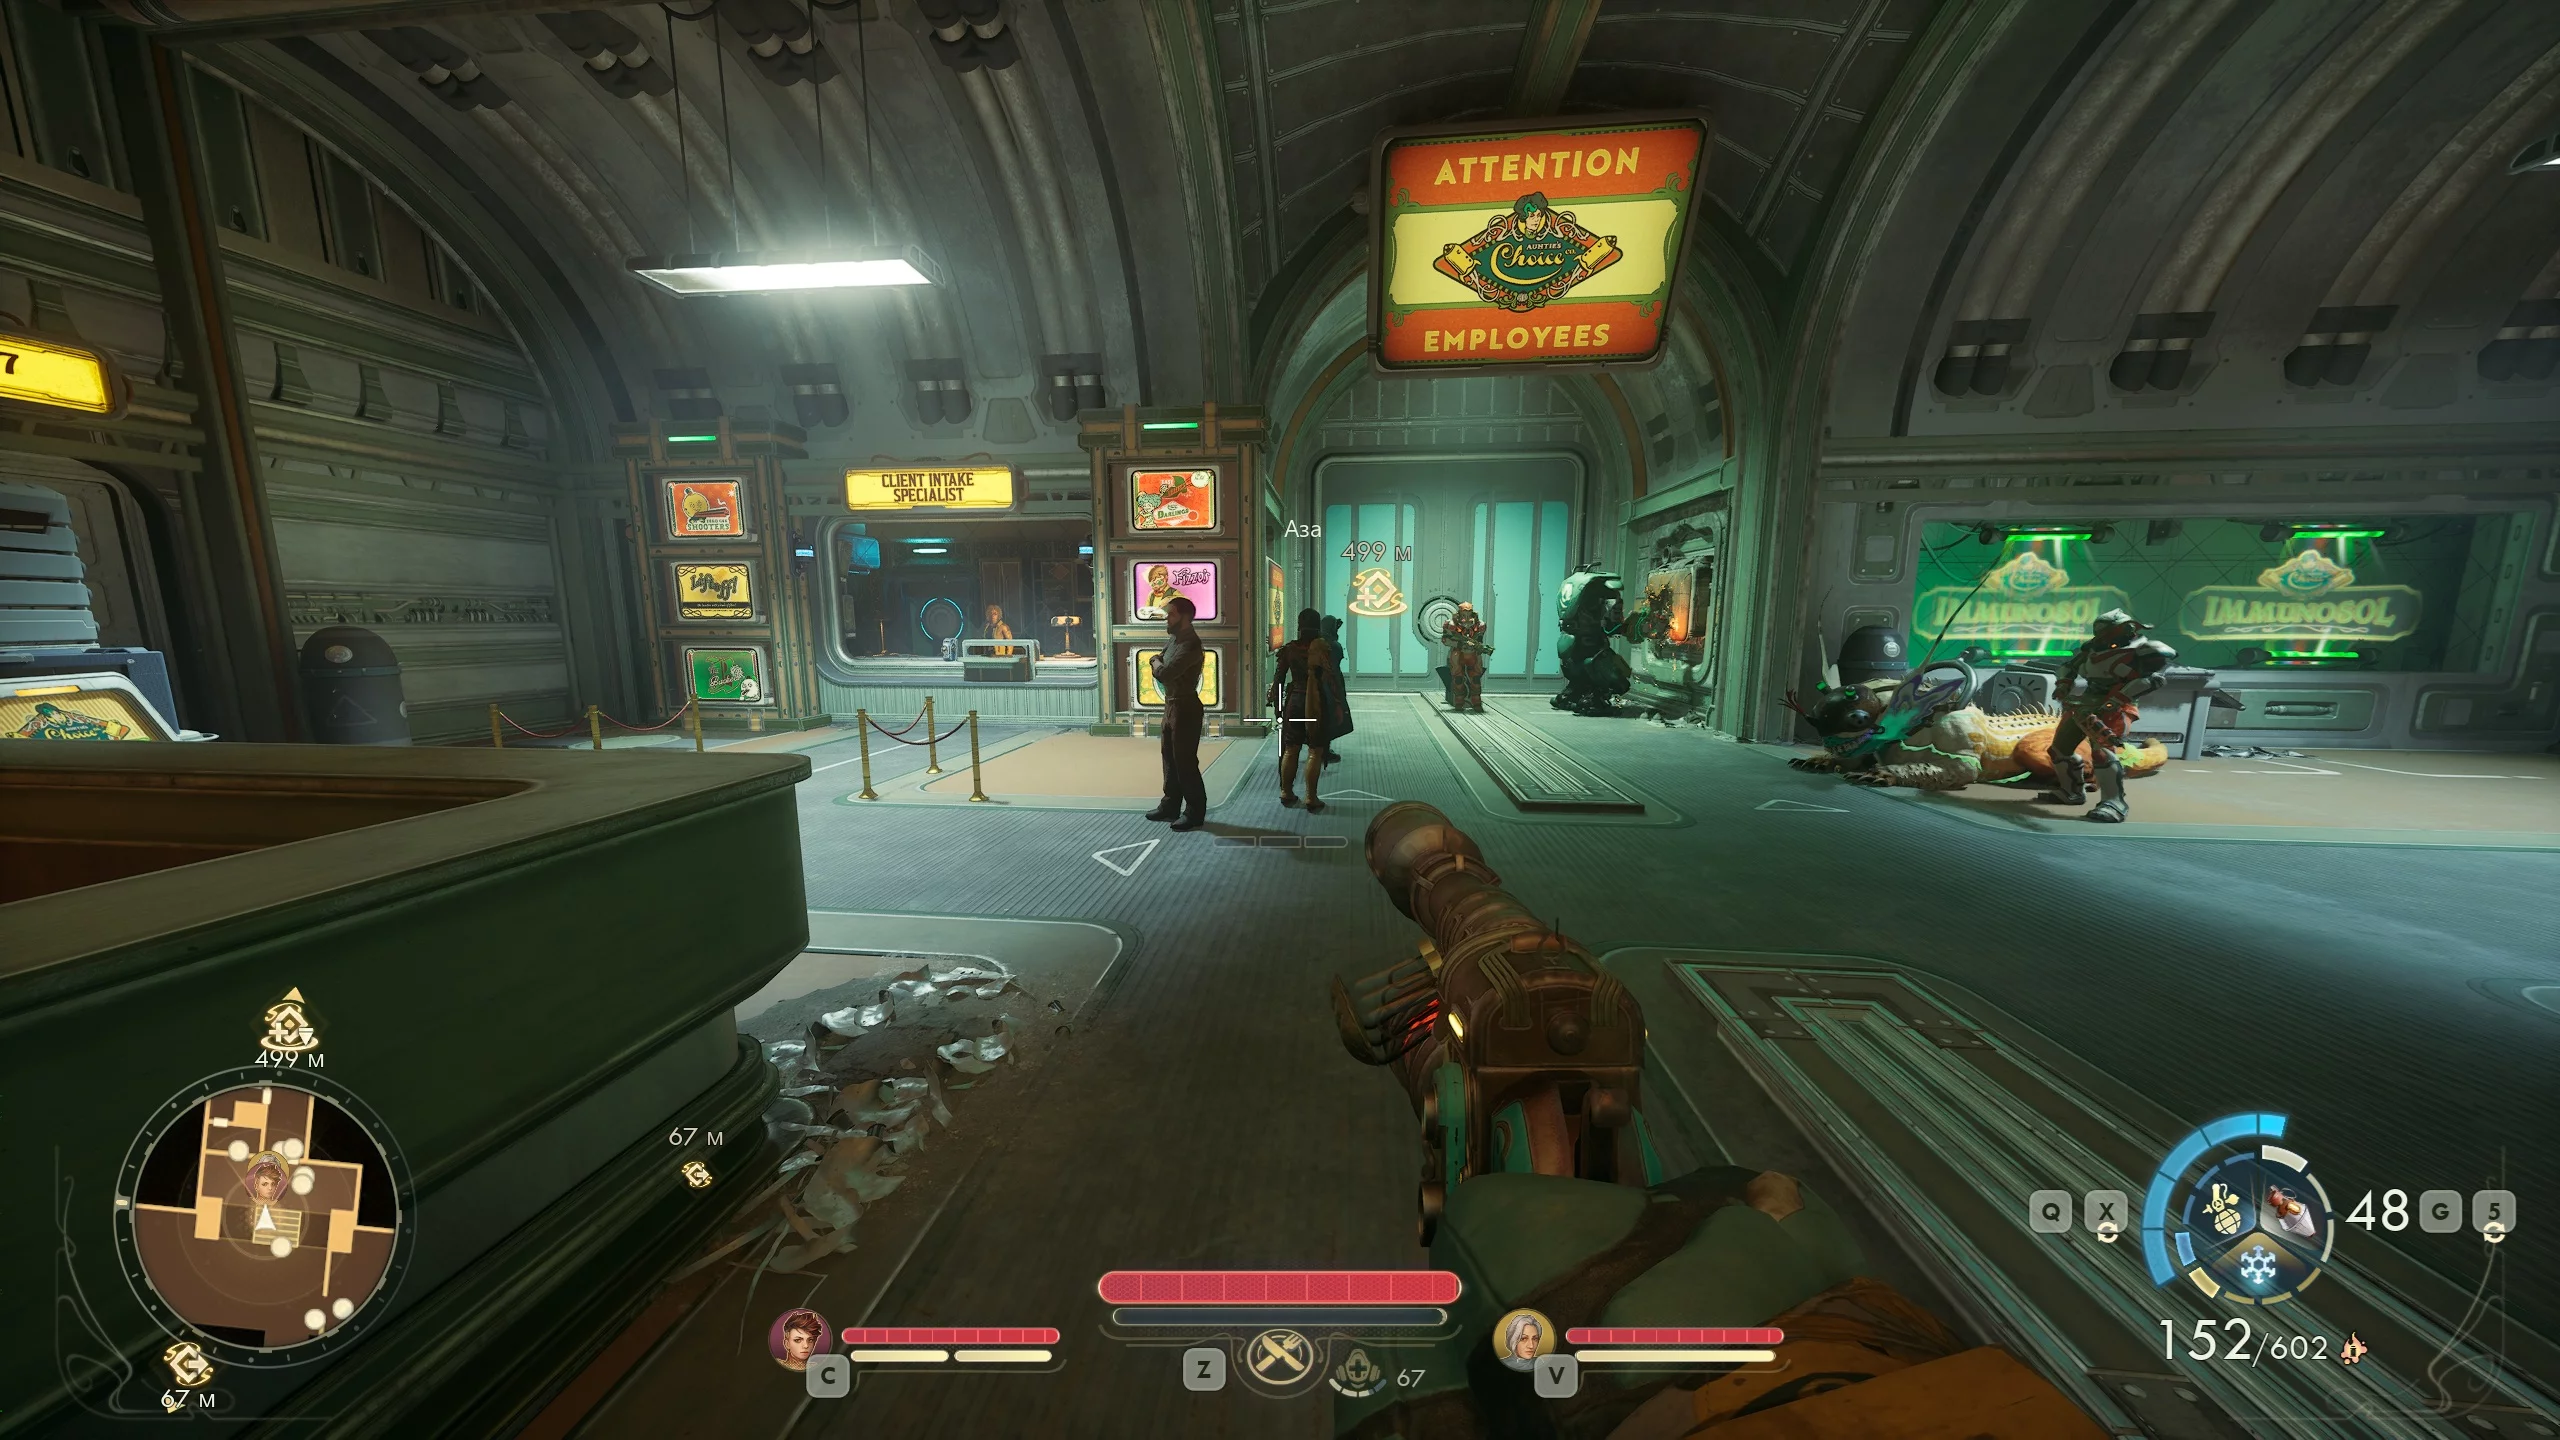
After completing the quest "Demons Among the Elite," Valeri will give you an invitation to the "Undisputed Right" station from Aunt Cleo. Upon landing, move straight ahead and find the window labeled Client intake specialist. Tell the client intake specialist Hugerhyde about your mission and go through the main gate.
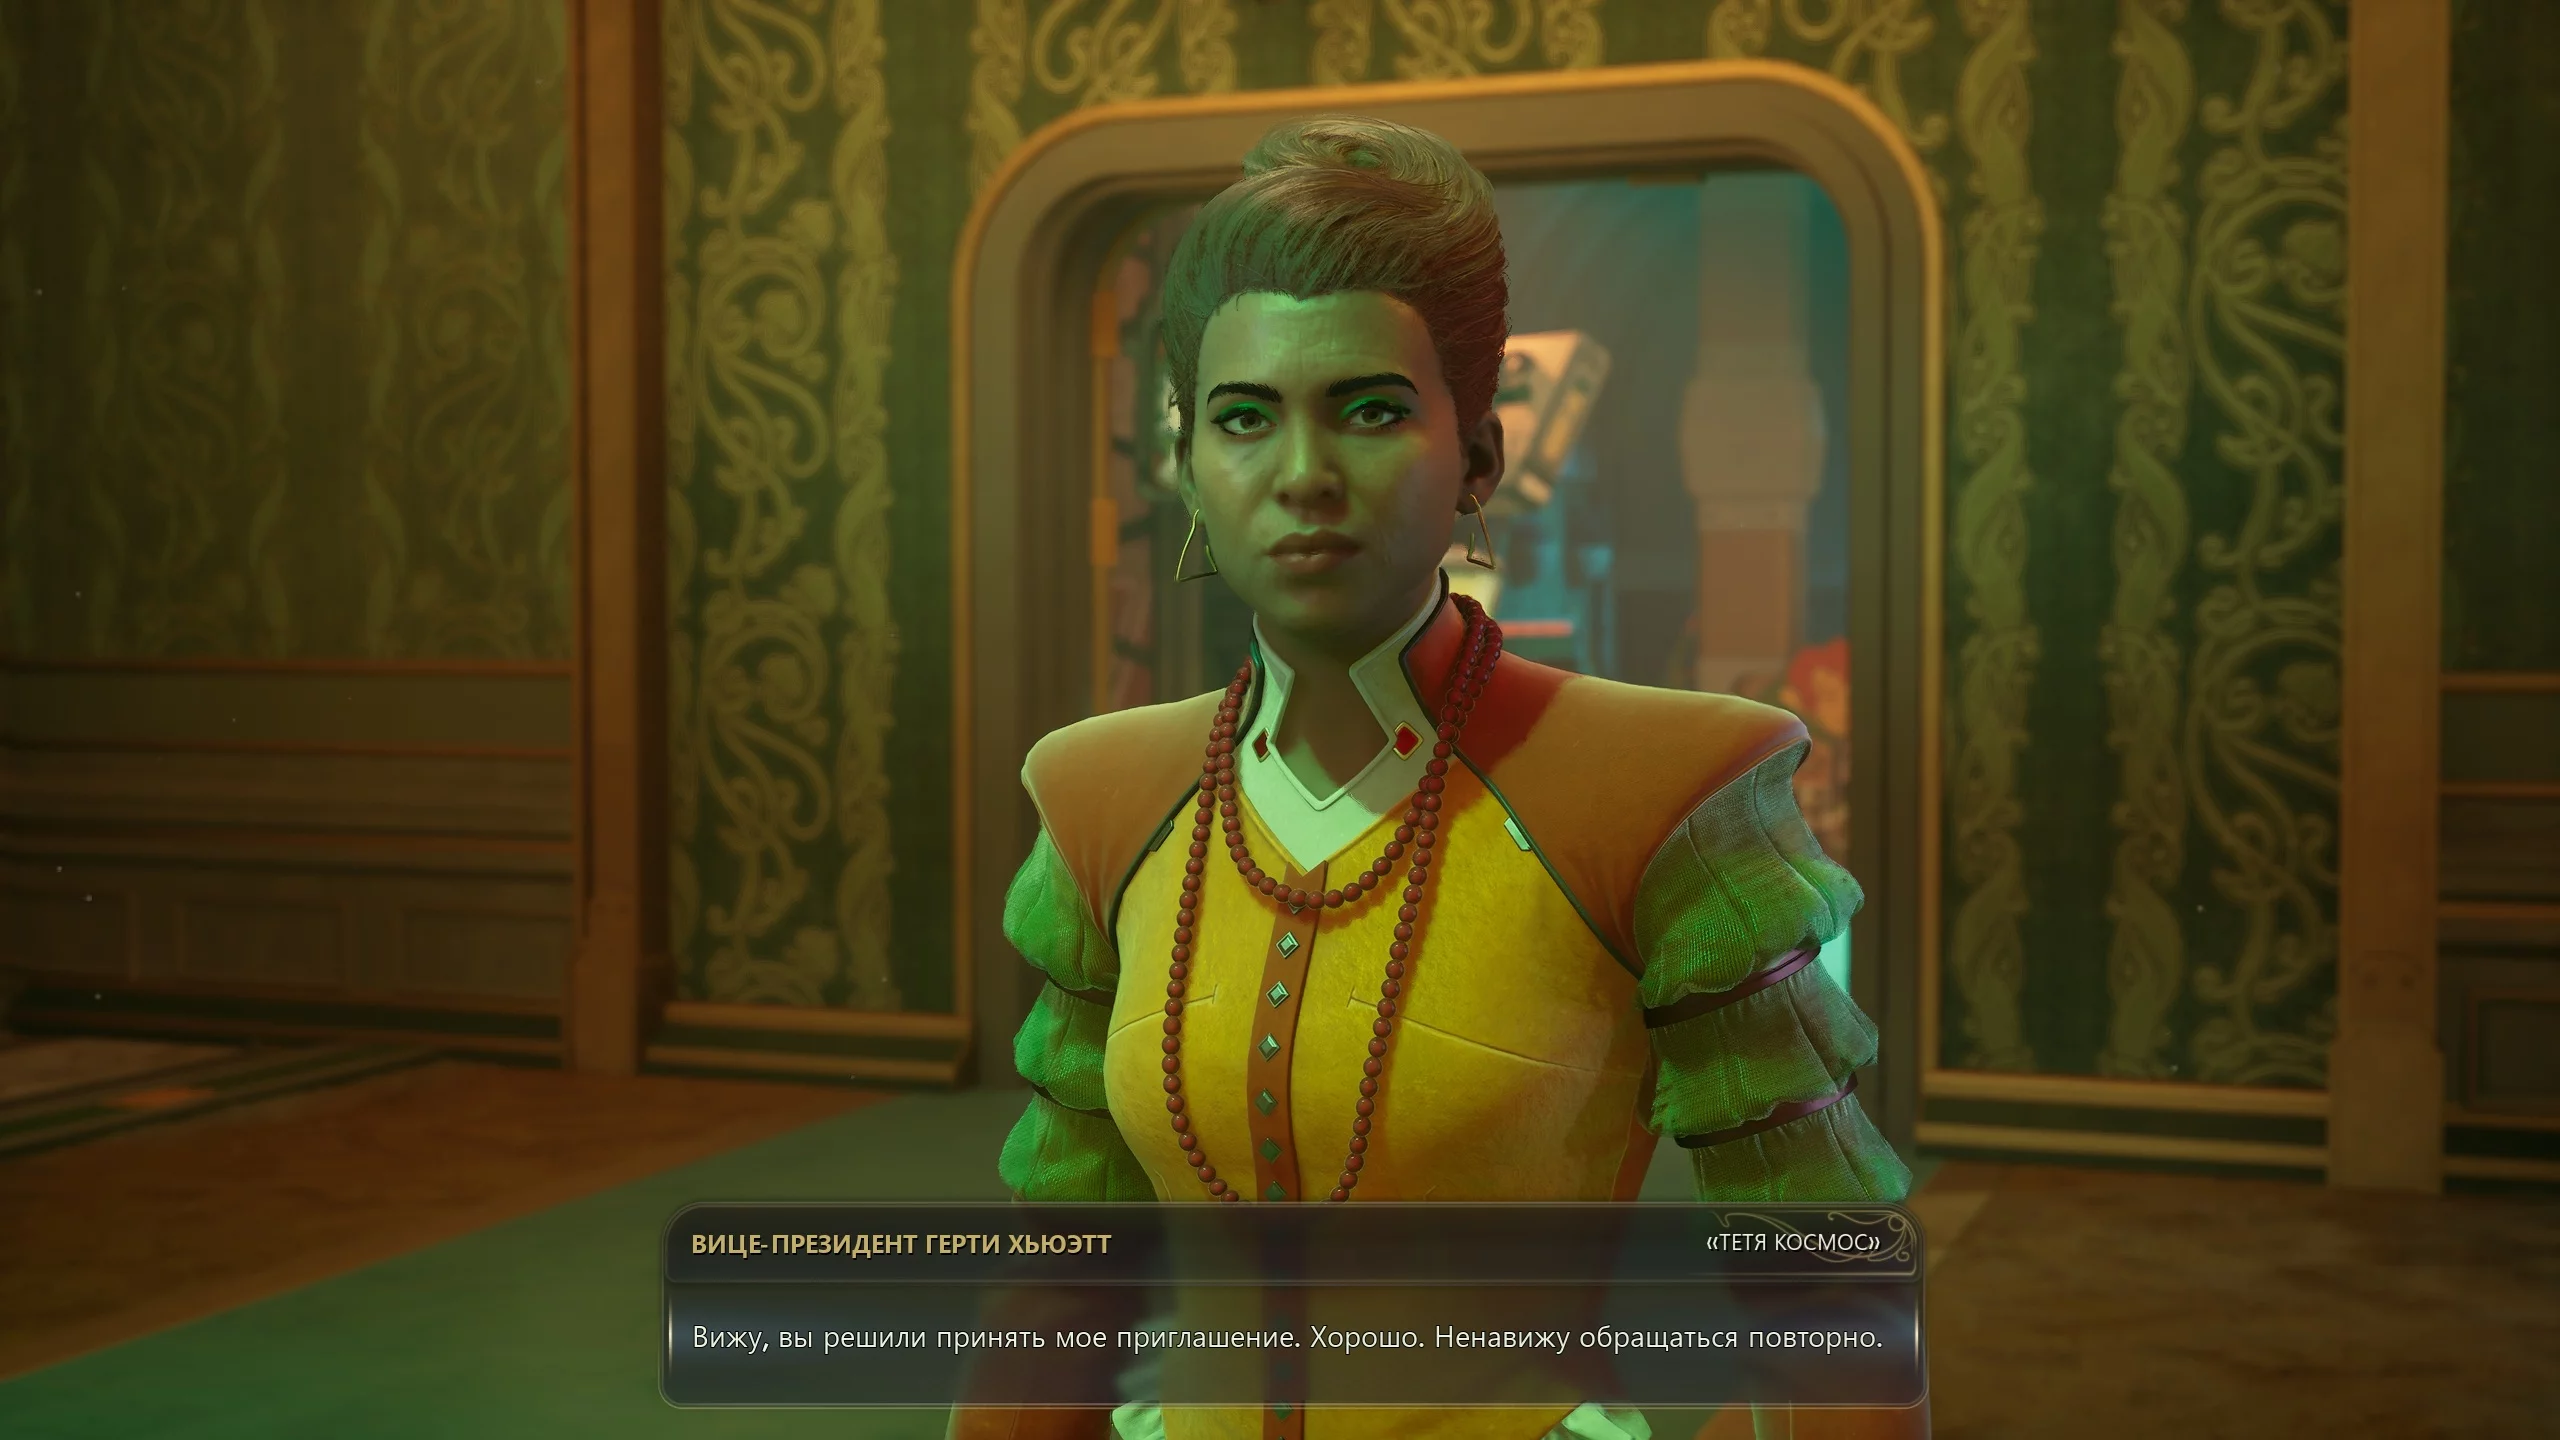
Go down to the shuttle using the terminal, and travel to the location "Profitable Esplanade." Exit the car and head straight to the main office tower to meet Vice President Gertie Hewitt.
The woman will ask you to win the favor of Aunt Cleo and the Laureates of the Order to persuade both sides to start negotiations. Enter the room to the left of the administrator's desk and take the quest "Vacancy Open: Valuable but Replaceable Agent". You need to go to Praetor and resolve the issue with the striking workers.

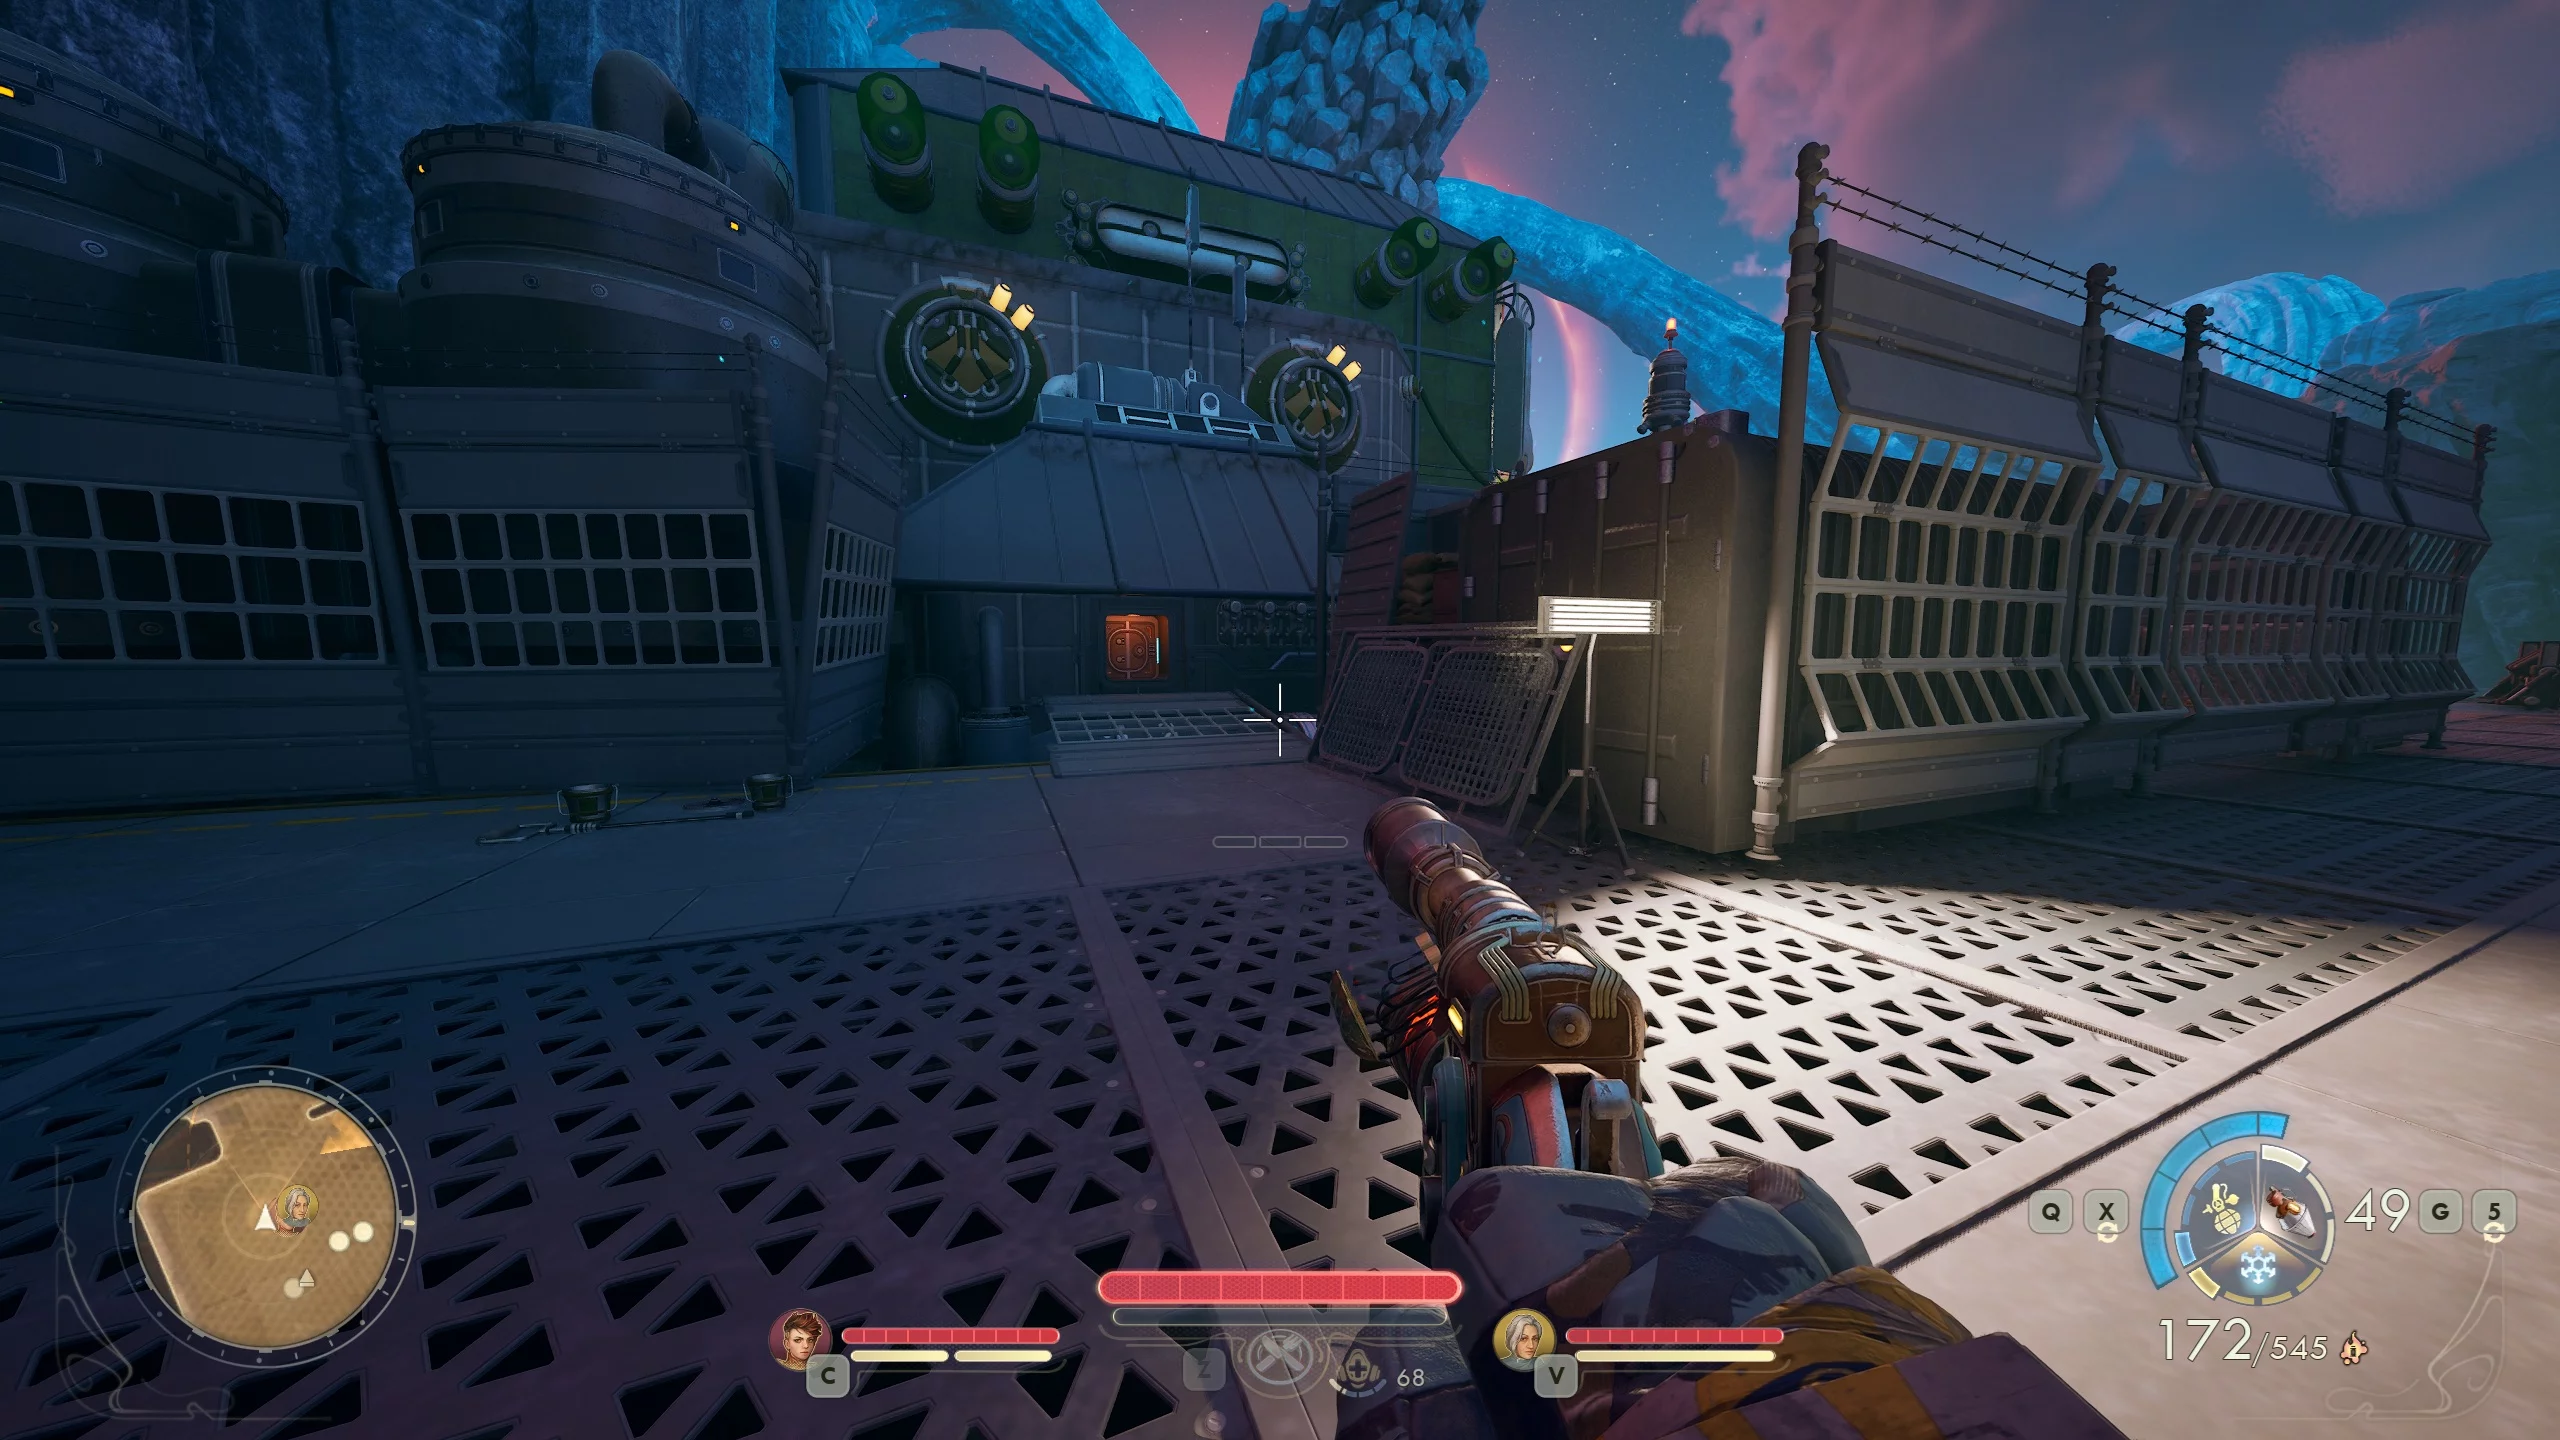
Land on the planet, move forward, and turn right at the second bend. Pass through the corporation-controlled area and go left. Eventually, you'll see a crowd of factory workers chanting provocative slogans.
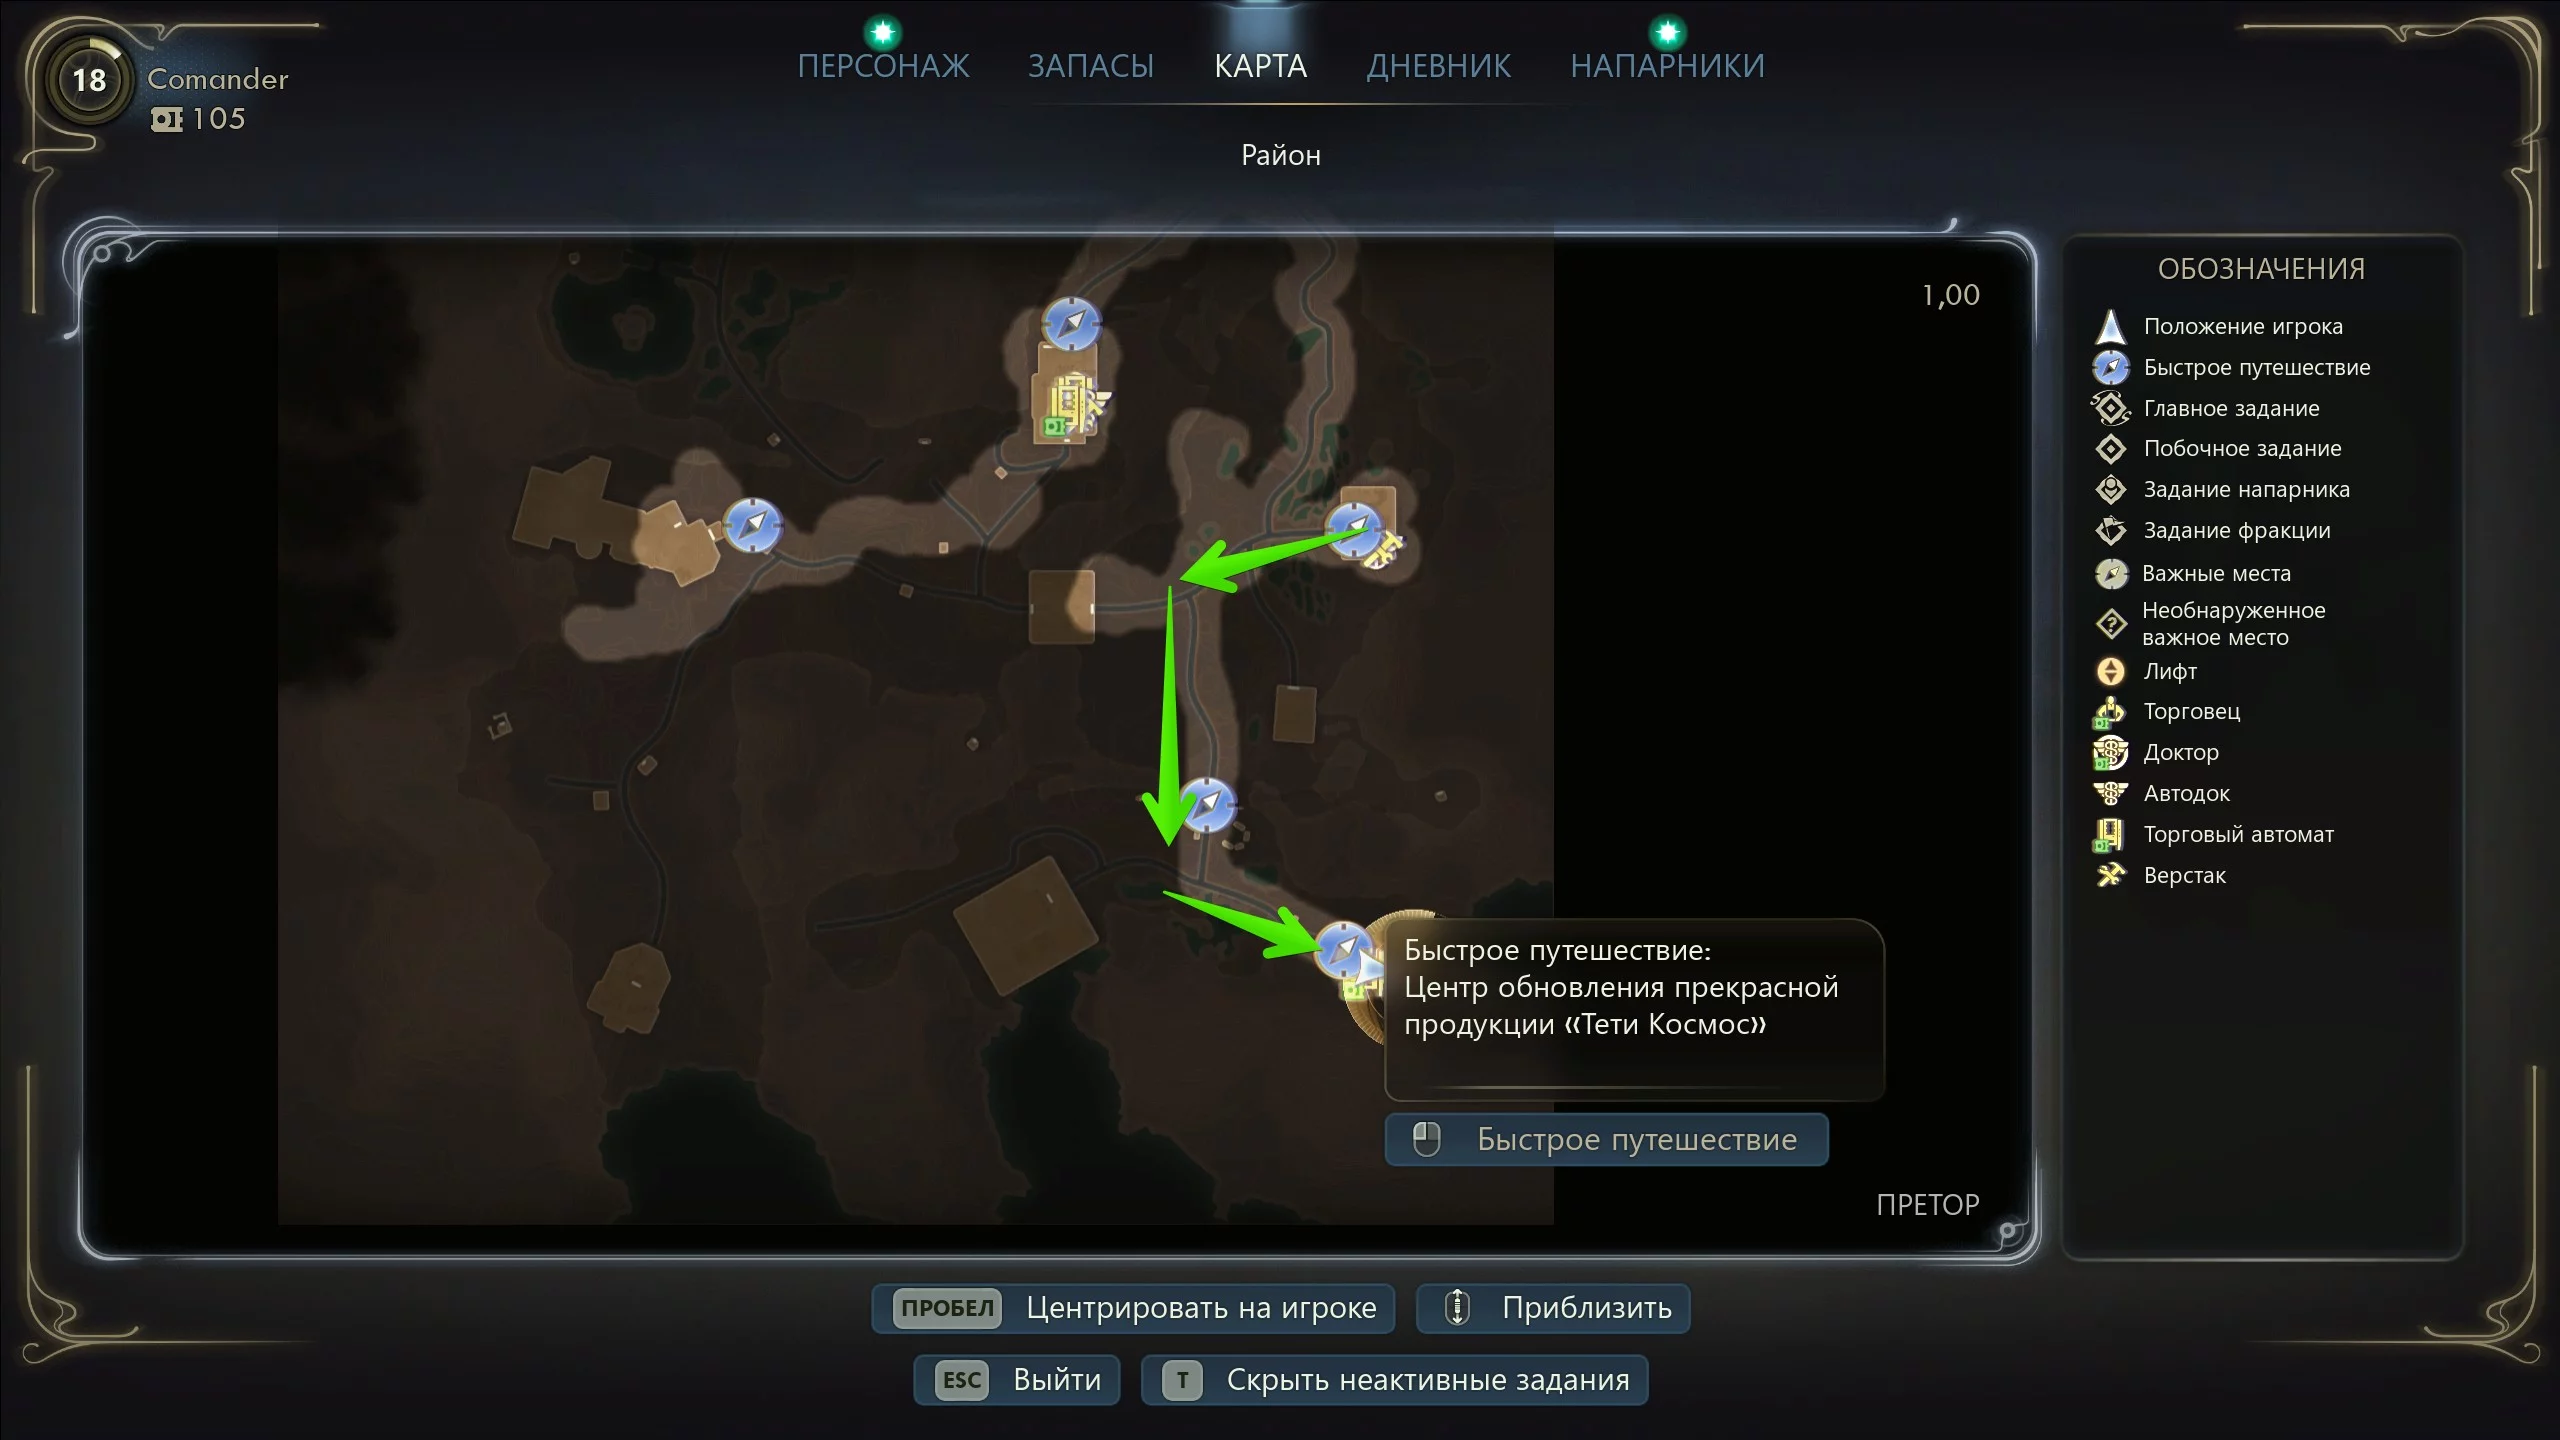
The main entrance to the factory will be closed, so go around the protesters on the left side. Go behind the containers on the right and you'll see a ventilation hatch. Sneak inside and first read all the entries from the terminal on the second floor, then talk to the relabeling supervisor Griss, who will tell you where to start.
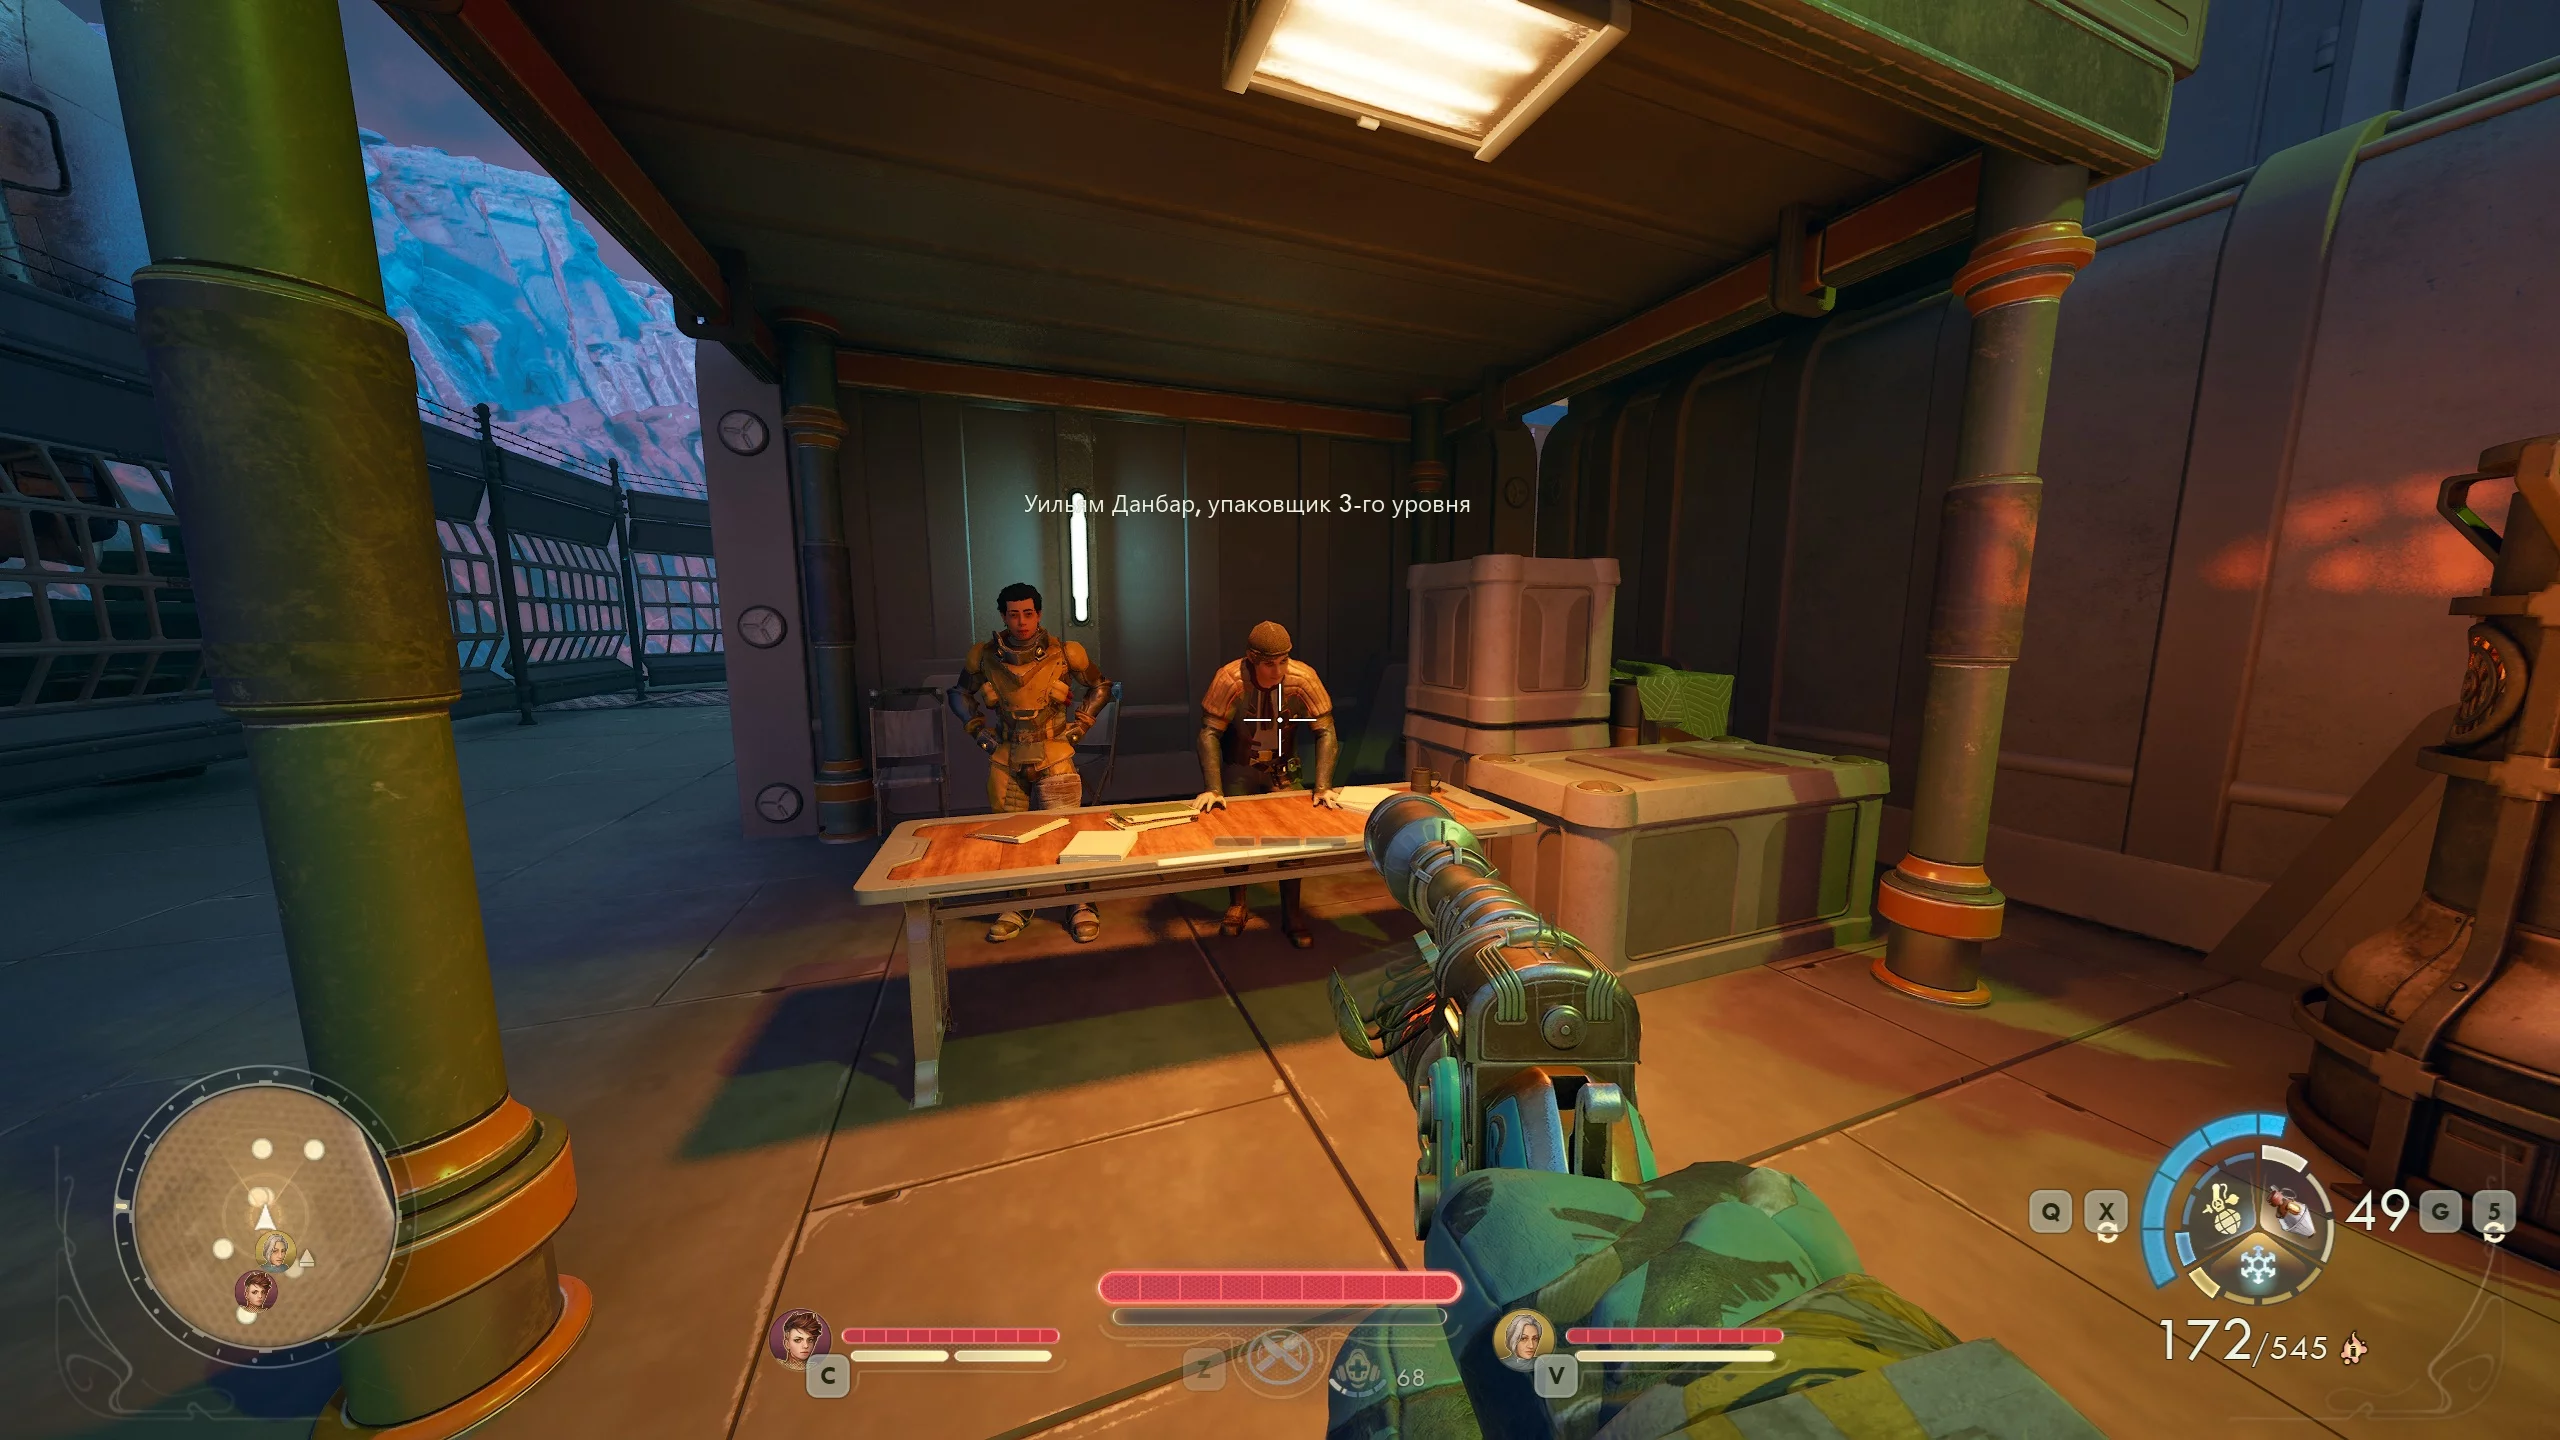
To the left of the factory, at the table, is William Dunbar, a third-class packer. Listen to the workers' demands, then convince Griss to meet them halfway using your skills, or blackmail her with the letters from the terminal.
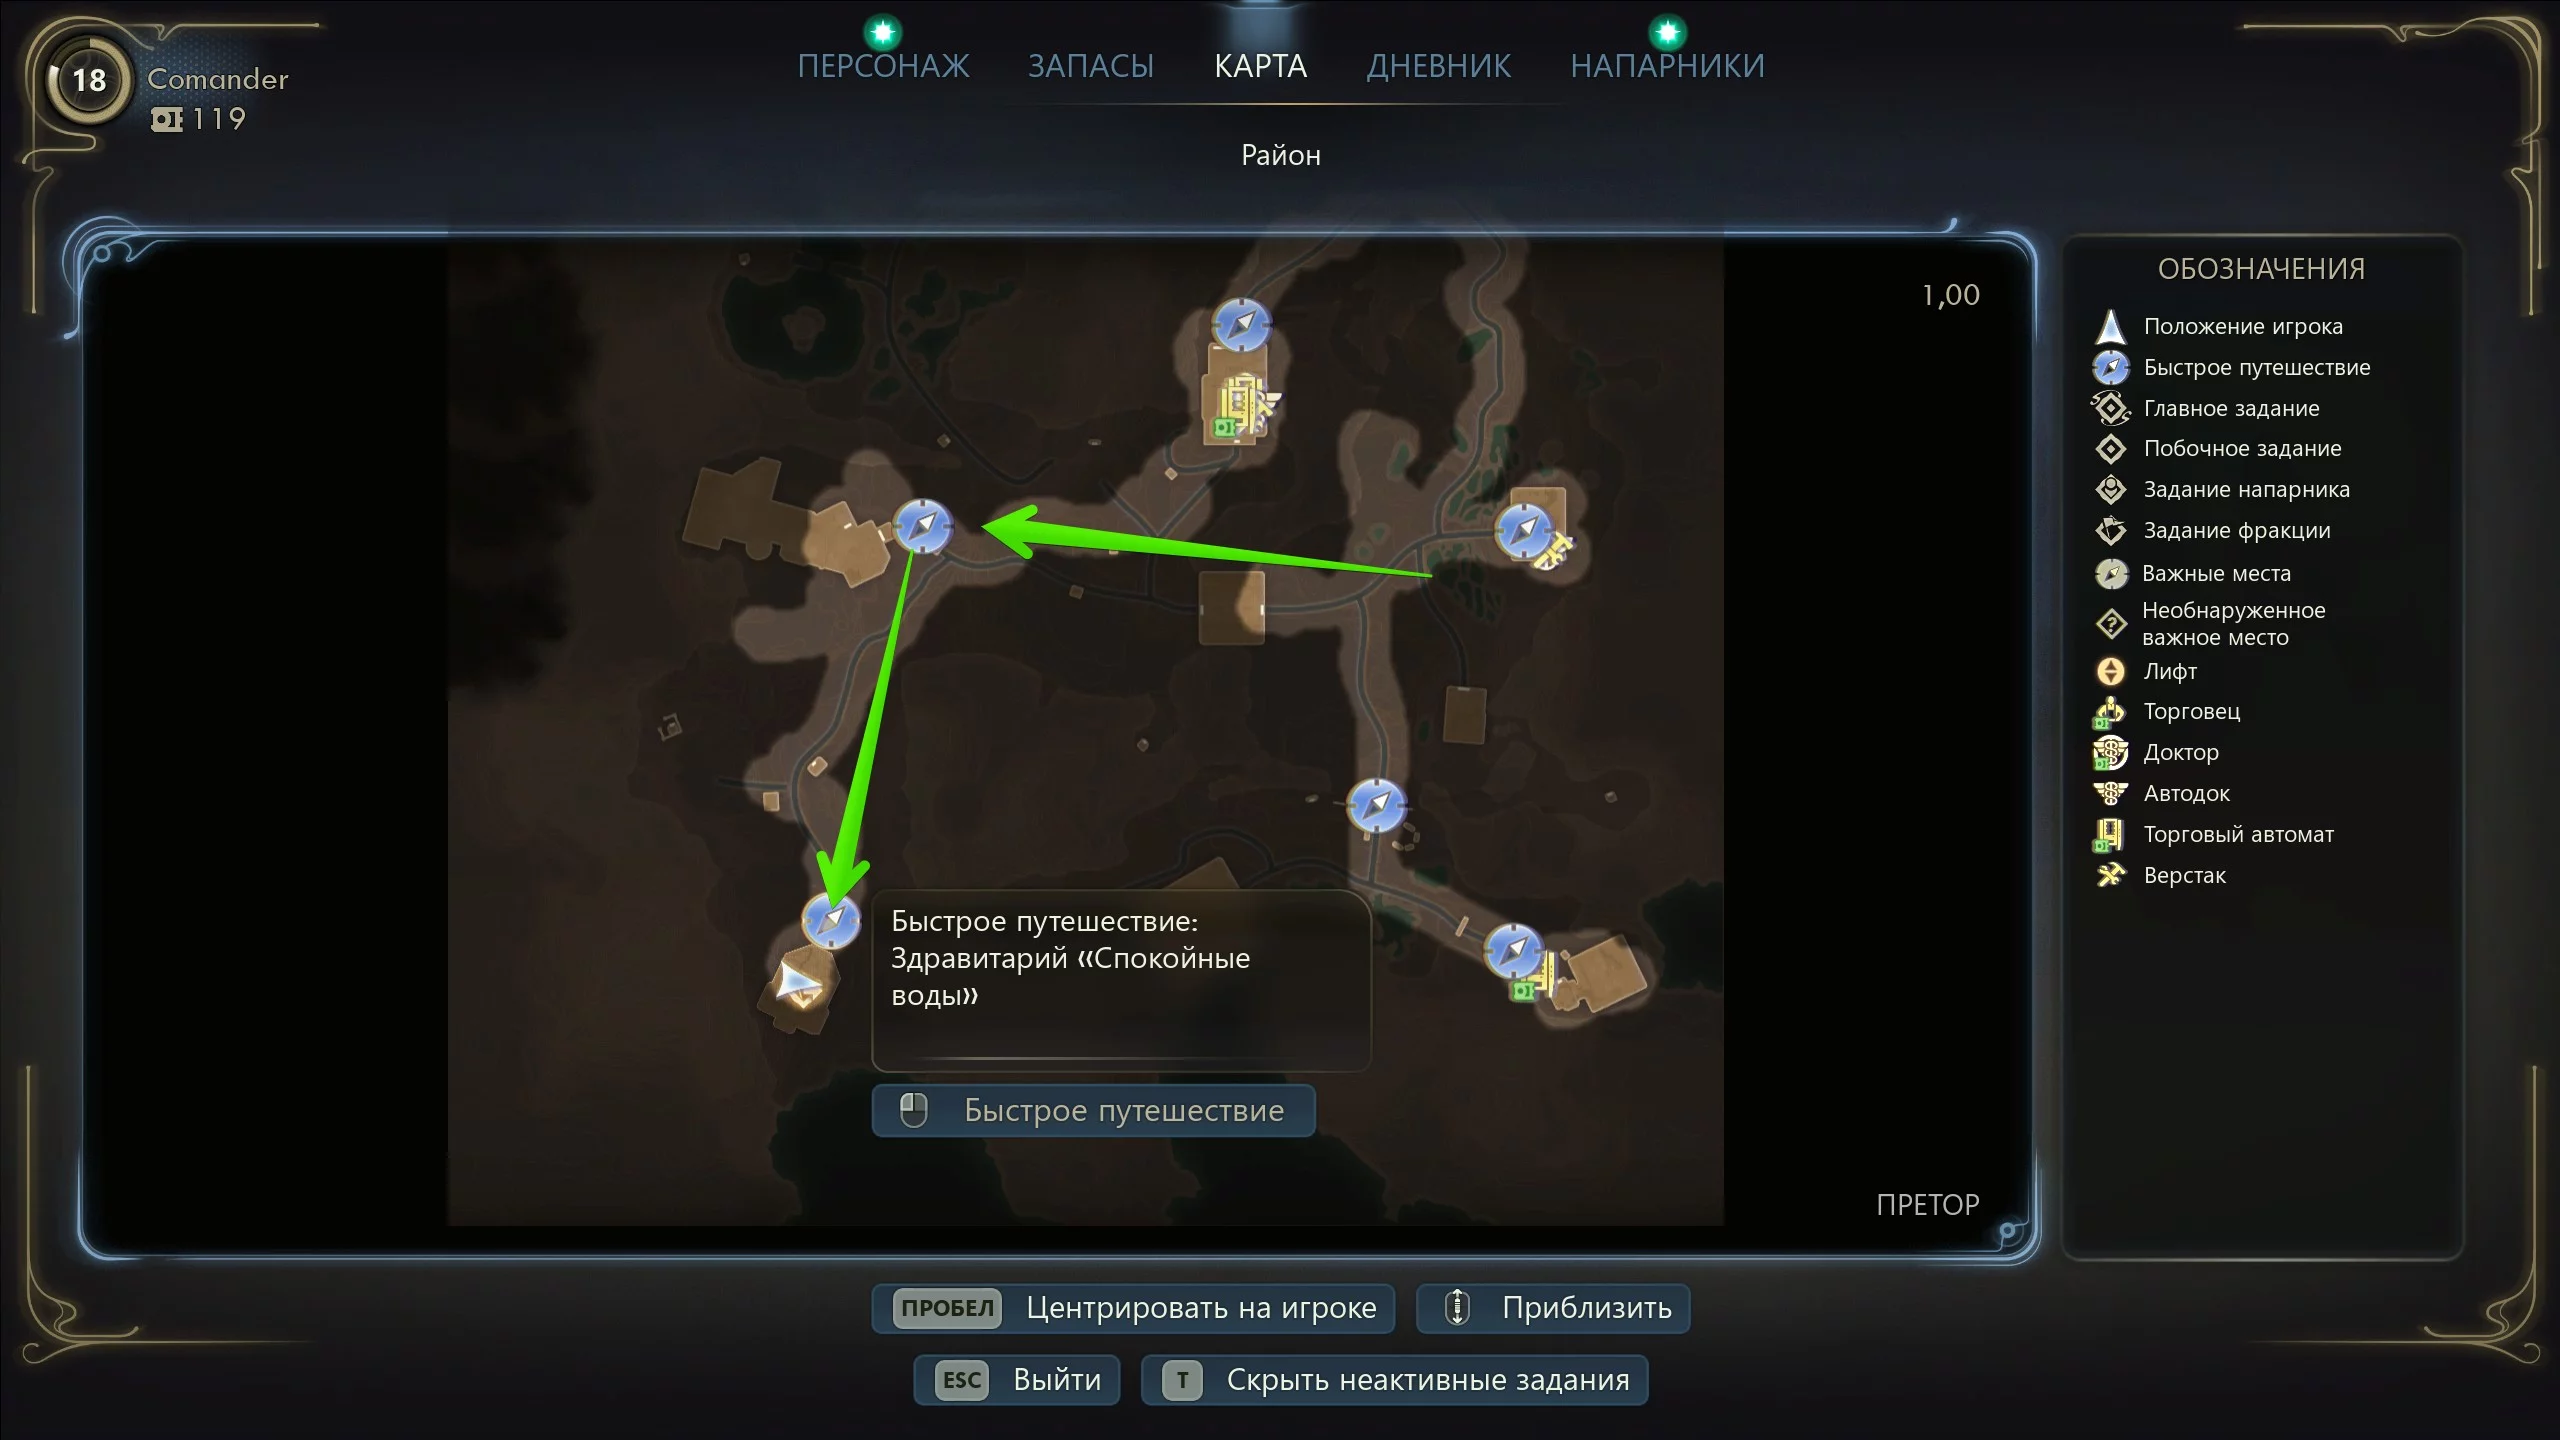
Once the parties reach an agreement, return to the clients and take the new quest "Mystery of Mental Modulation". The task is to infiltrate the "Calm Waters" sanitorium, located in the southwest of Praetor, and steal the mental rehabilitation technology.
Enter through the main entrance or the ventilation on the left side of the building and use the elevator. Enter the office above the corridor and pick up the note from the table, then move deeper into the complex.
Go through the corridor and talk to the sanitorium administrator, then take the test at the vending machine. Regardless of your answers, the hero will be sent for mental rehabilitation. Take the pass from the device on the left to use the elevator.
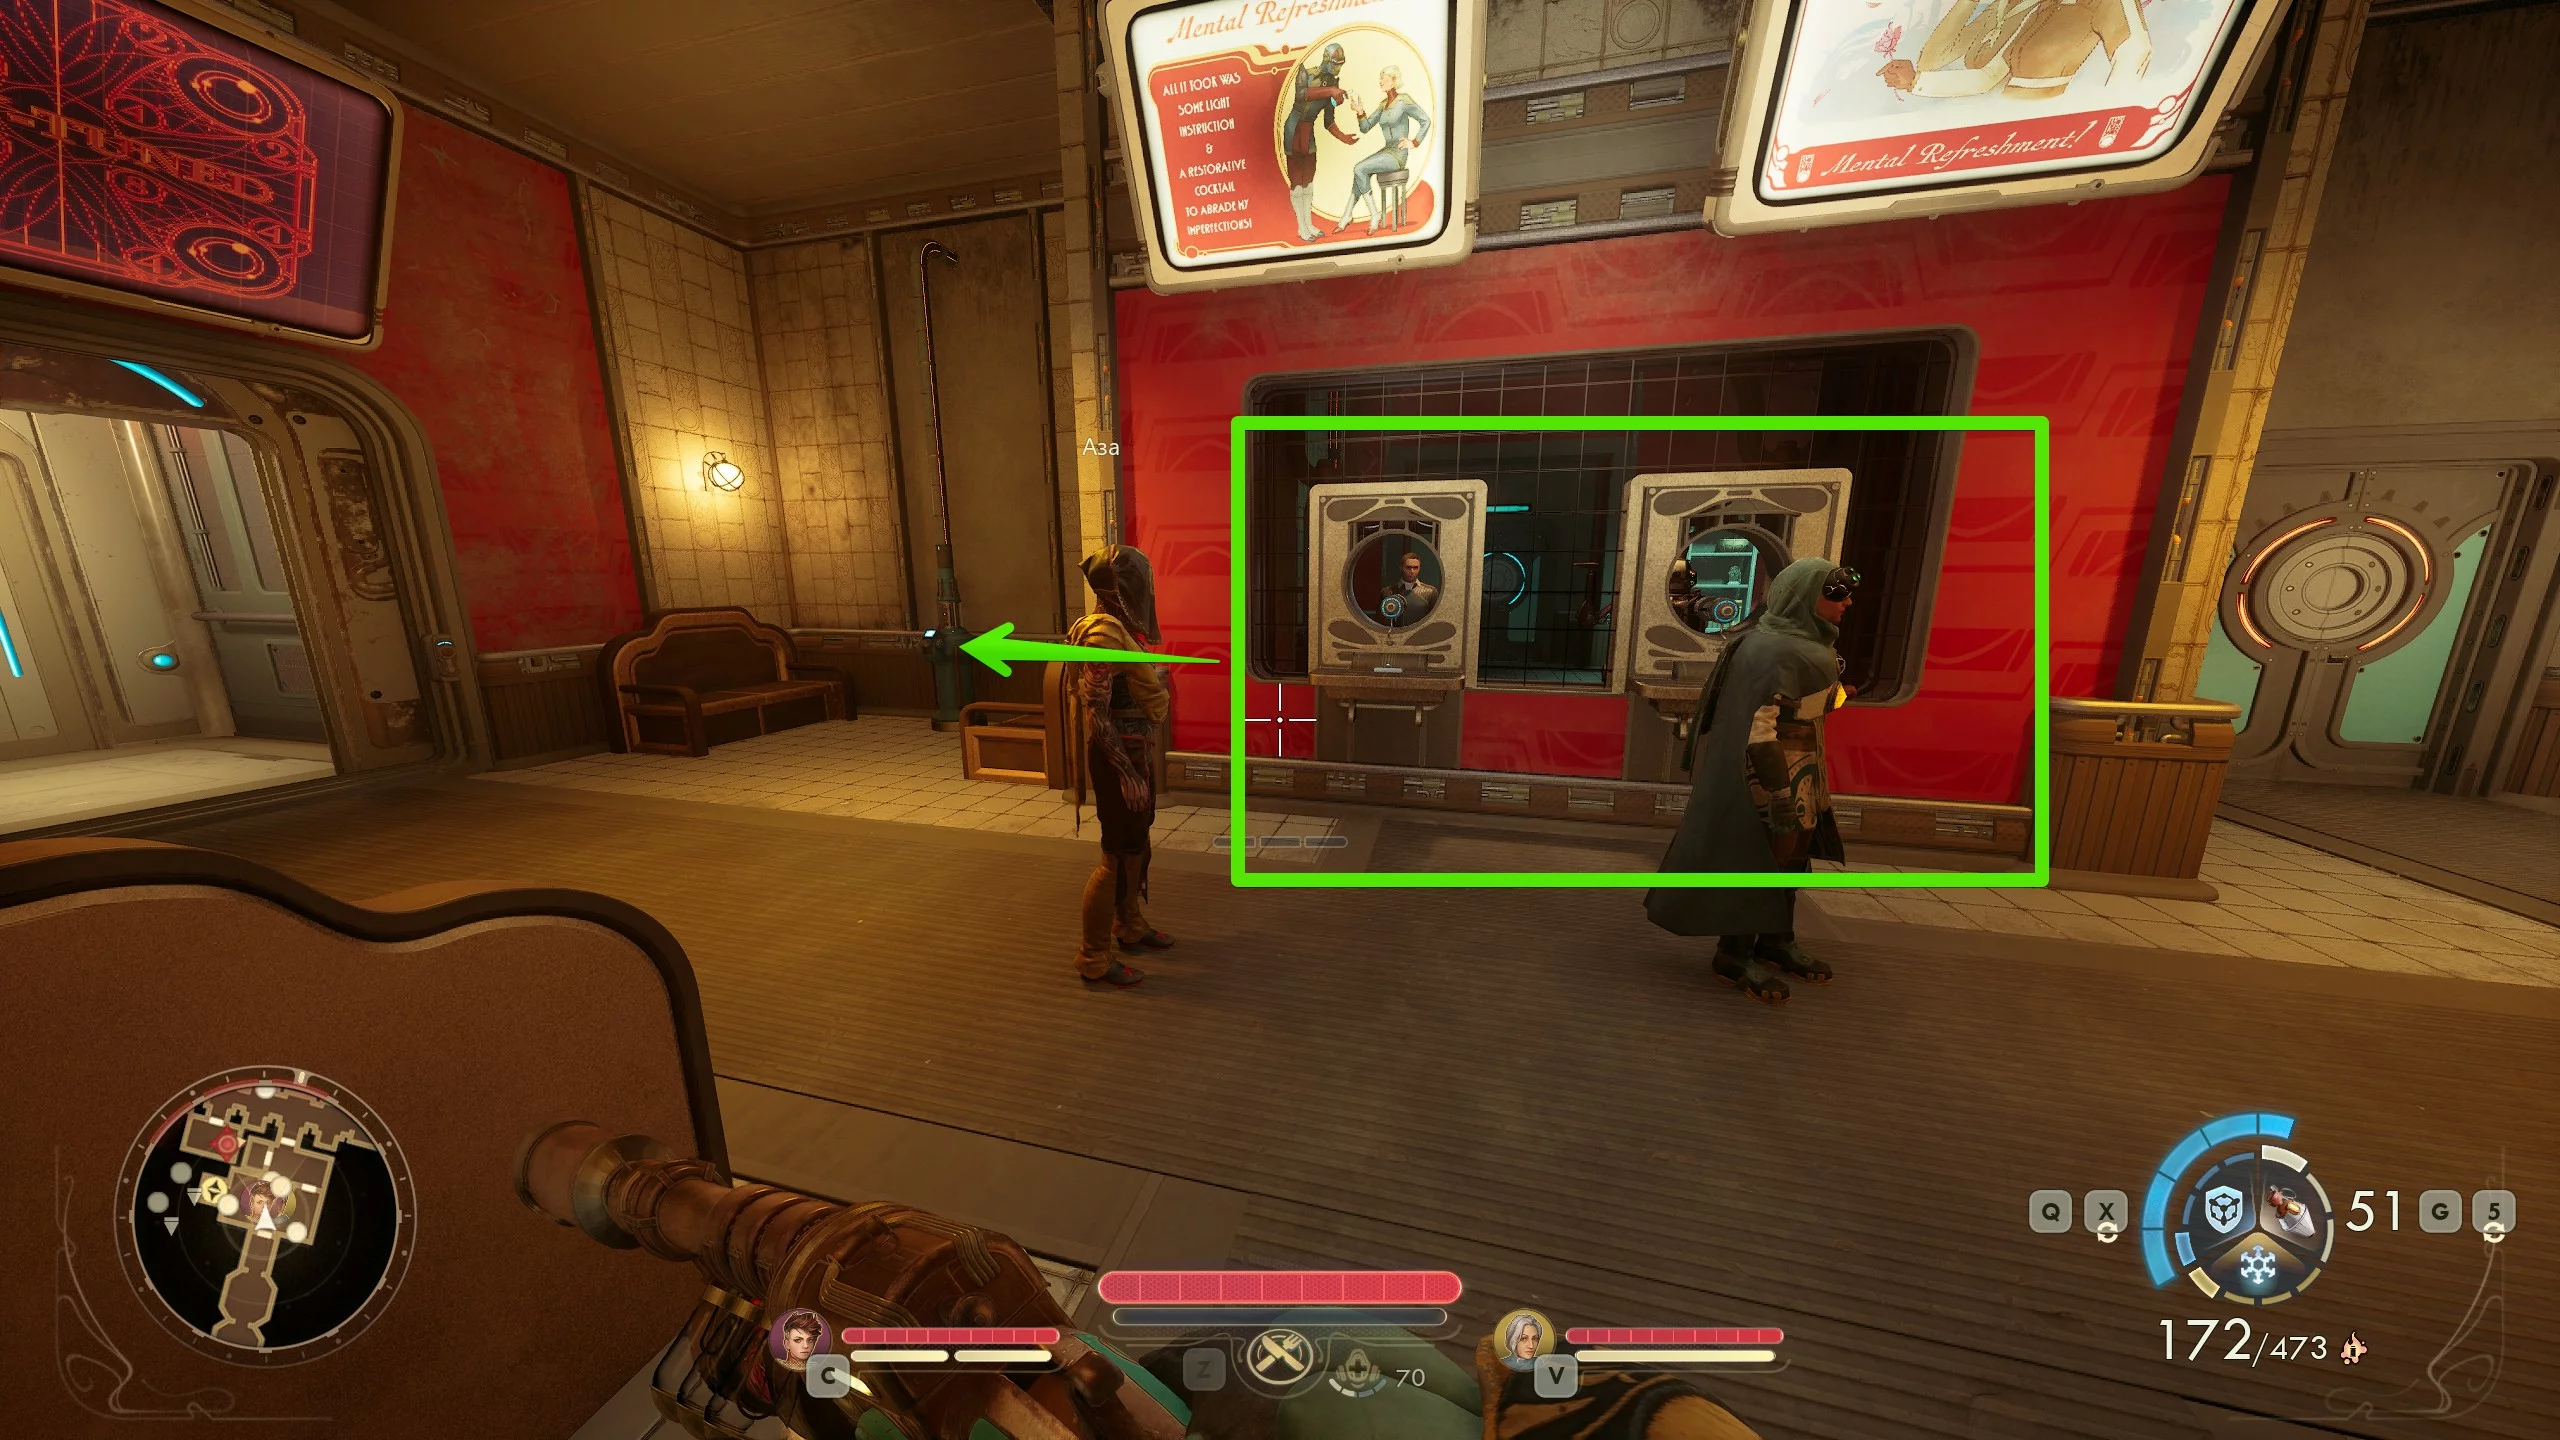
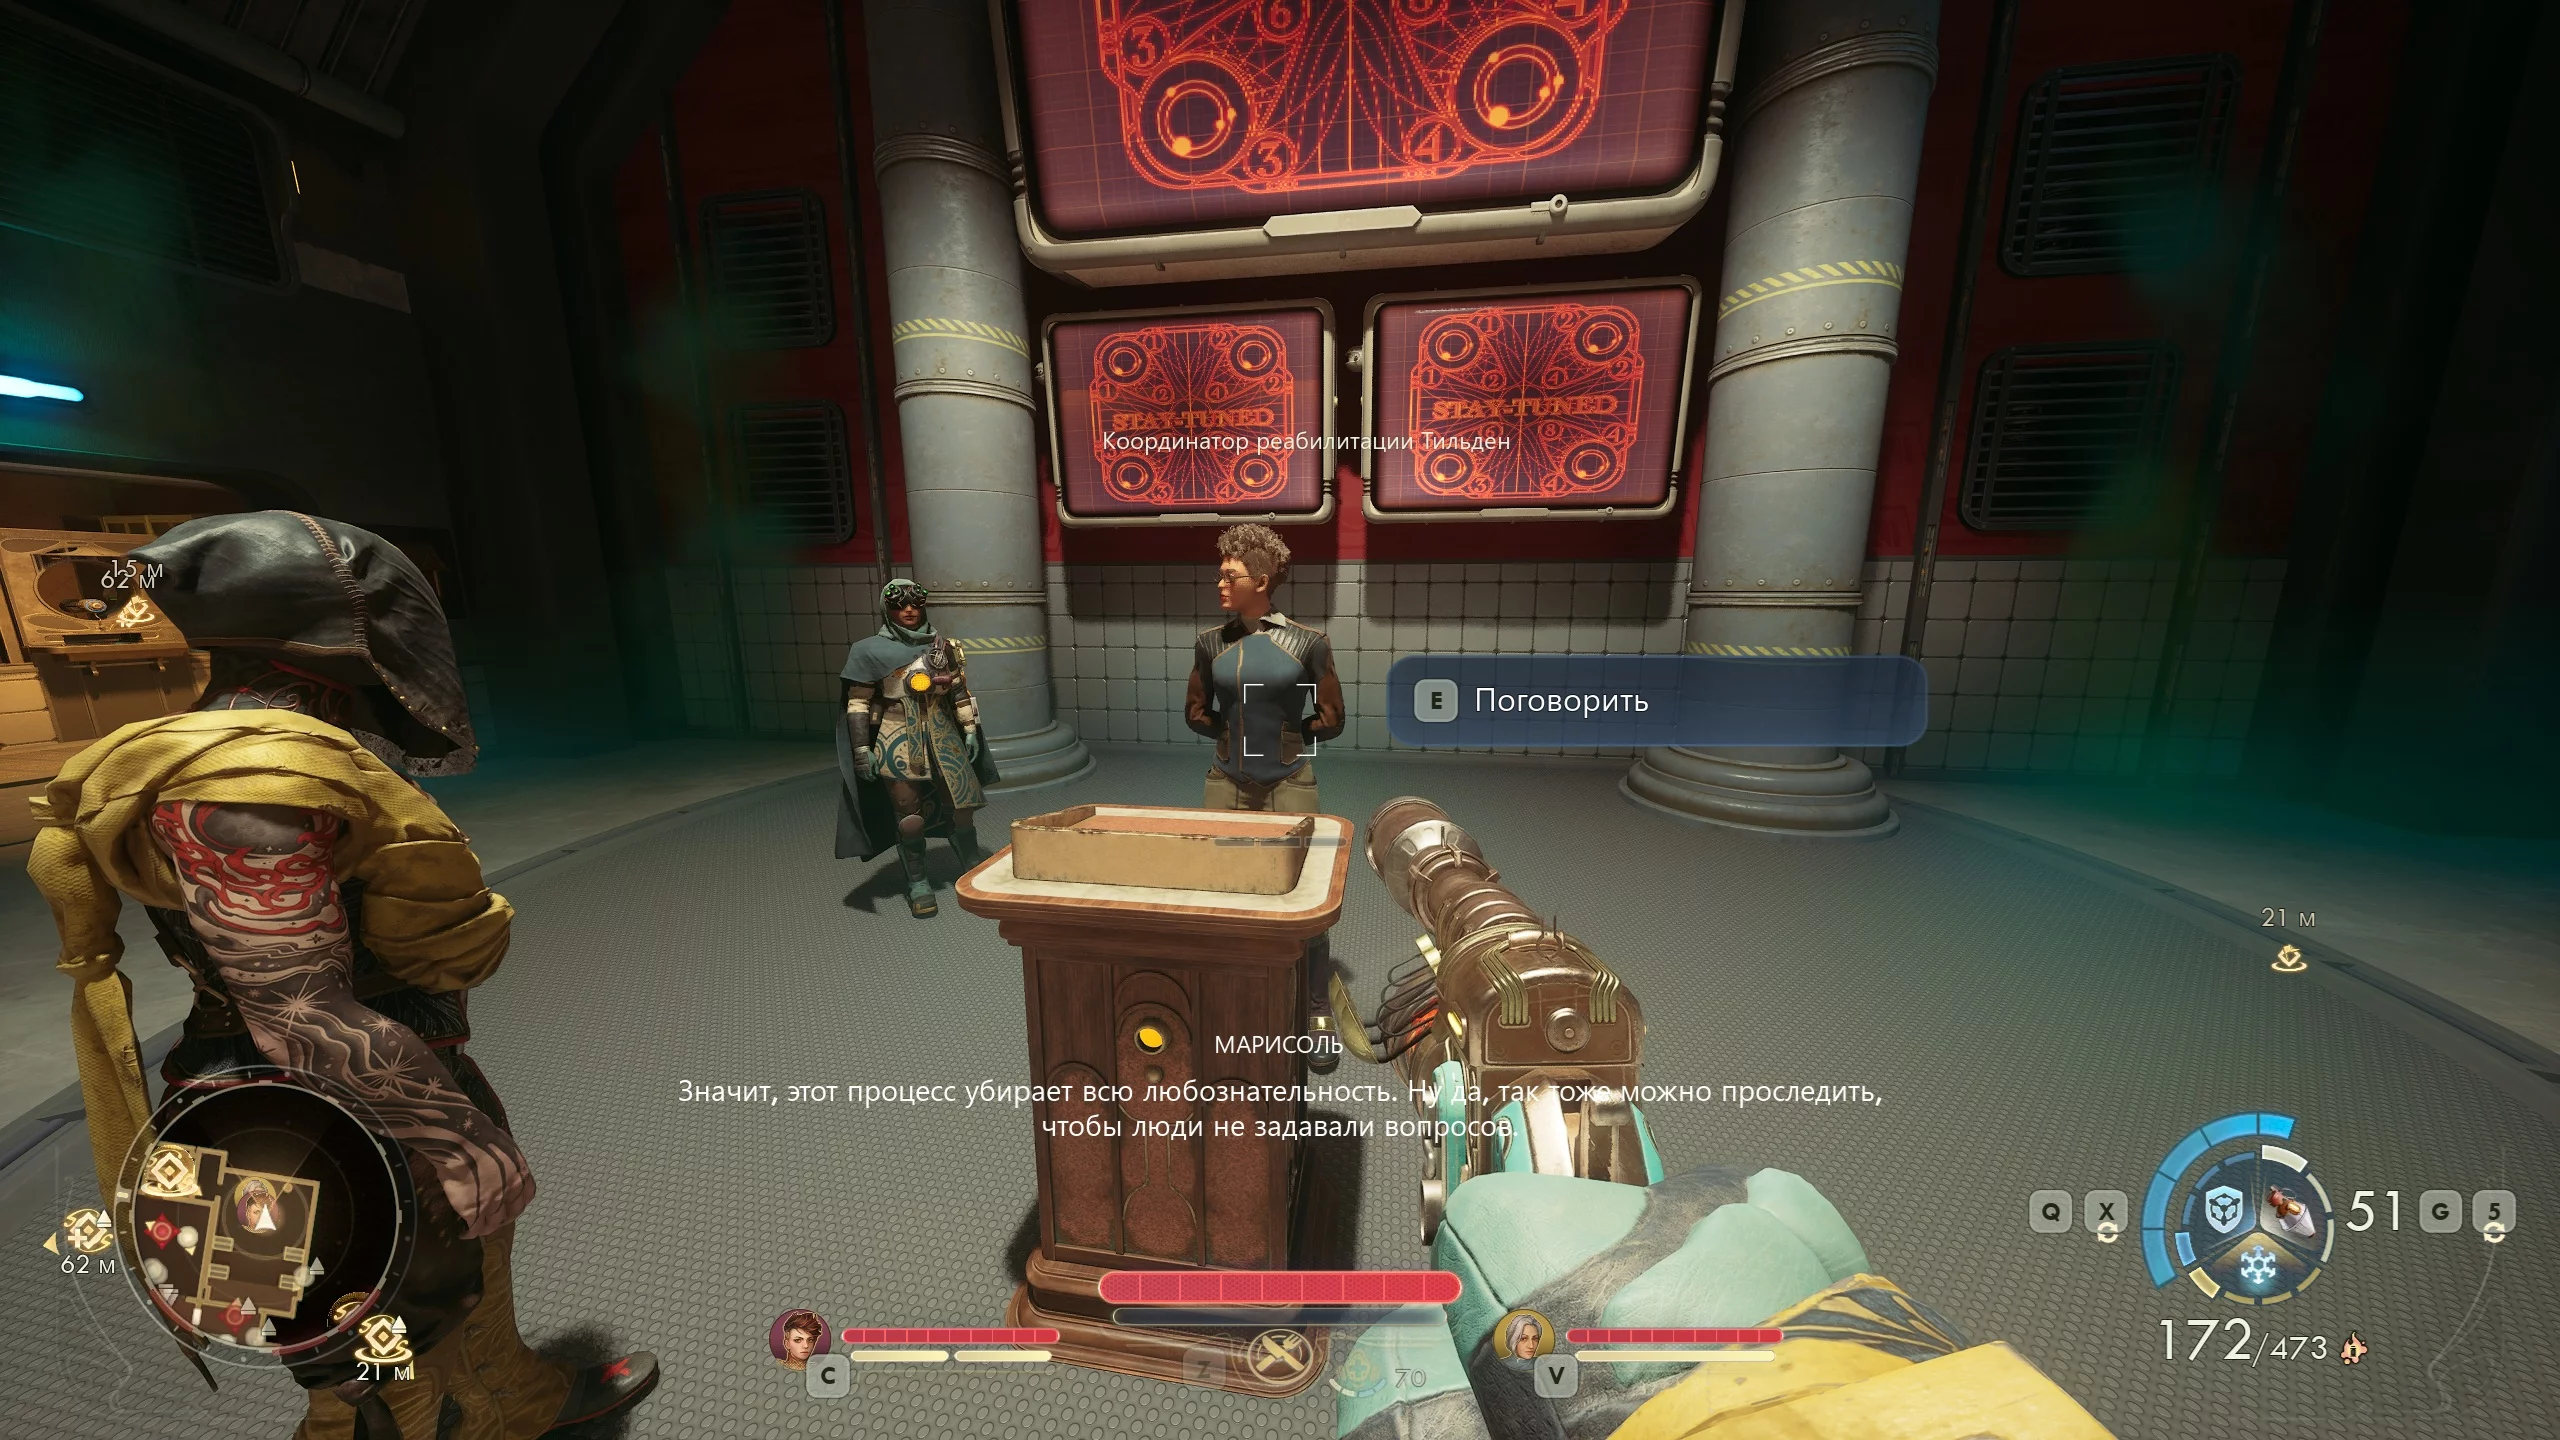
Enter the lecture hall and wait for the lesson to end. Talk to the rehabilitation coordinator Tilden, who will give you a medium-priority pass. Use it to enter the room to the left of the auditorium—just keep in mind there will be soldiers inside.
Enter the room with the automaton and pick up the sample of the mental rehabilitation drug from the table. Now use the elevator to get to the third floor. Keep moving right to reach the surveillance room. There you will find the book "Additional Information on Pharmacology" and a high-priority pass. Leave the post, enter the first room on the right, and take the audiocartridge with the chief rehabilitator's lectures.
Return to the elevator and go down to the "Special Treatment" floor to talk to the former Sovereign's assistant. Now go up to the chief rehabilitator Gould's hall. Use the terminal to disperse the gas, approach the doctor and convince him to join the corporation. Then enter the office, take the cap off the mannequin, and grab the blueprints.
How to Earn Ruth's Trust
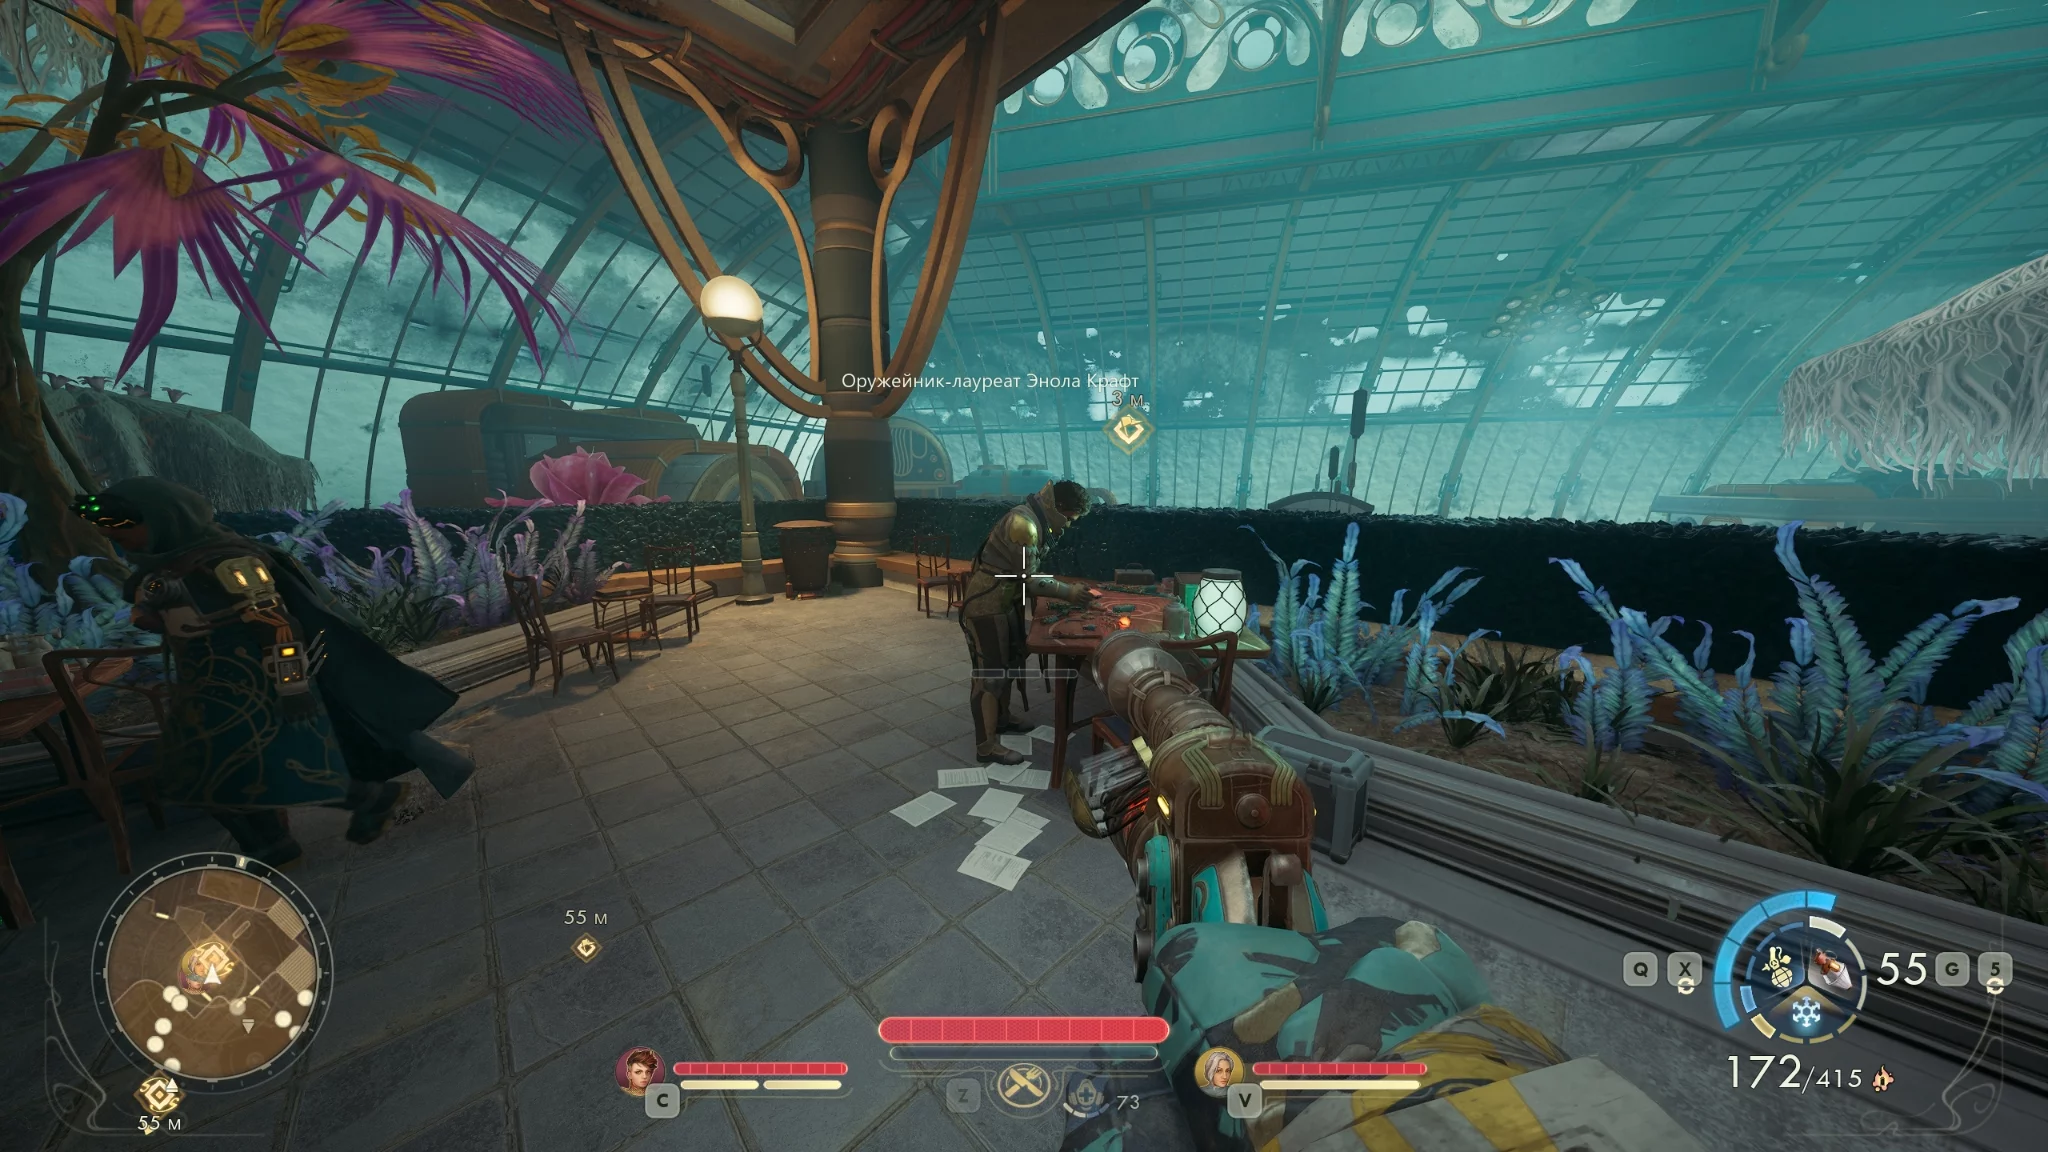
Return to the vice presidents and talk to Aunt Cleo. She will agree to participate in the negotiations on the condition that the leadership of the Order of Resurrection also agrees. Travel to the "Abode" planet, to the "Laplace Garden" location, and find the laureate gunsmith Enola Craft to start the quest "Aggression Under the Microscope".
The task is to travel to the city of Newton and eliminate the cultists. There are two ways to get to the settlement.
- Northern Road: A long but relatively safe route. The main difficulty is the bridge with arachnids and pairs of ziranium.
- Southern Road: A shorter route. After the allied territory, you will have to break through Protectorate soldier posts and automaton patrols.
There are about 20 enemies at the base. You can eliminate them all quietly, or as a last resort, climb onto the roof. After the battle, return to Enola and take the new quest "Emergency Telemetry Course". You need to go to "Paradise Island" and inspect the crashed satellite.
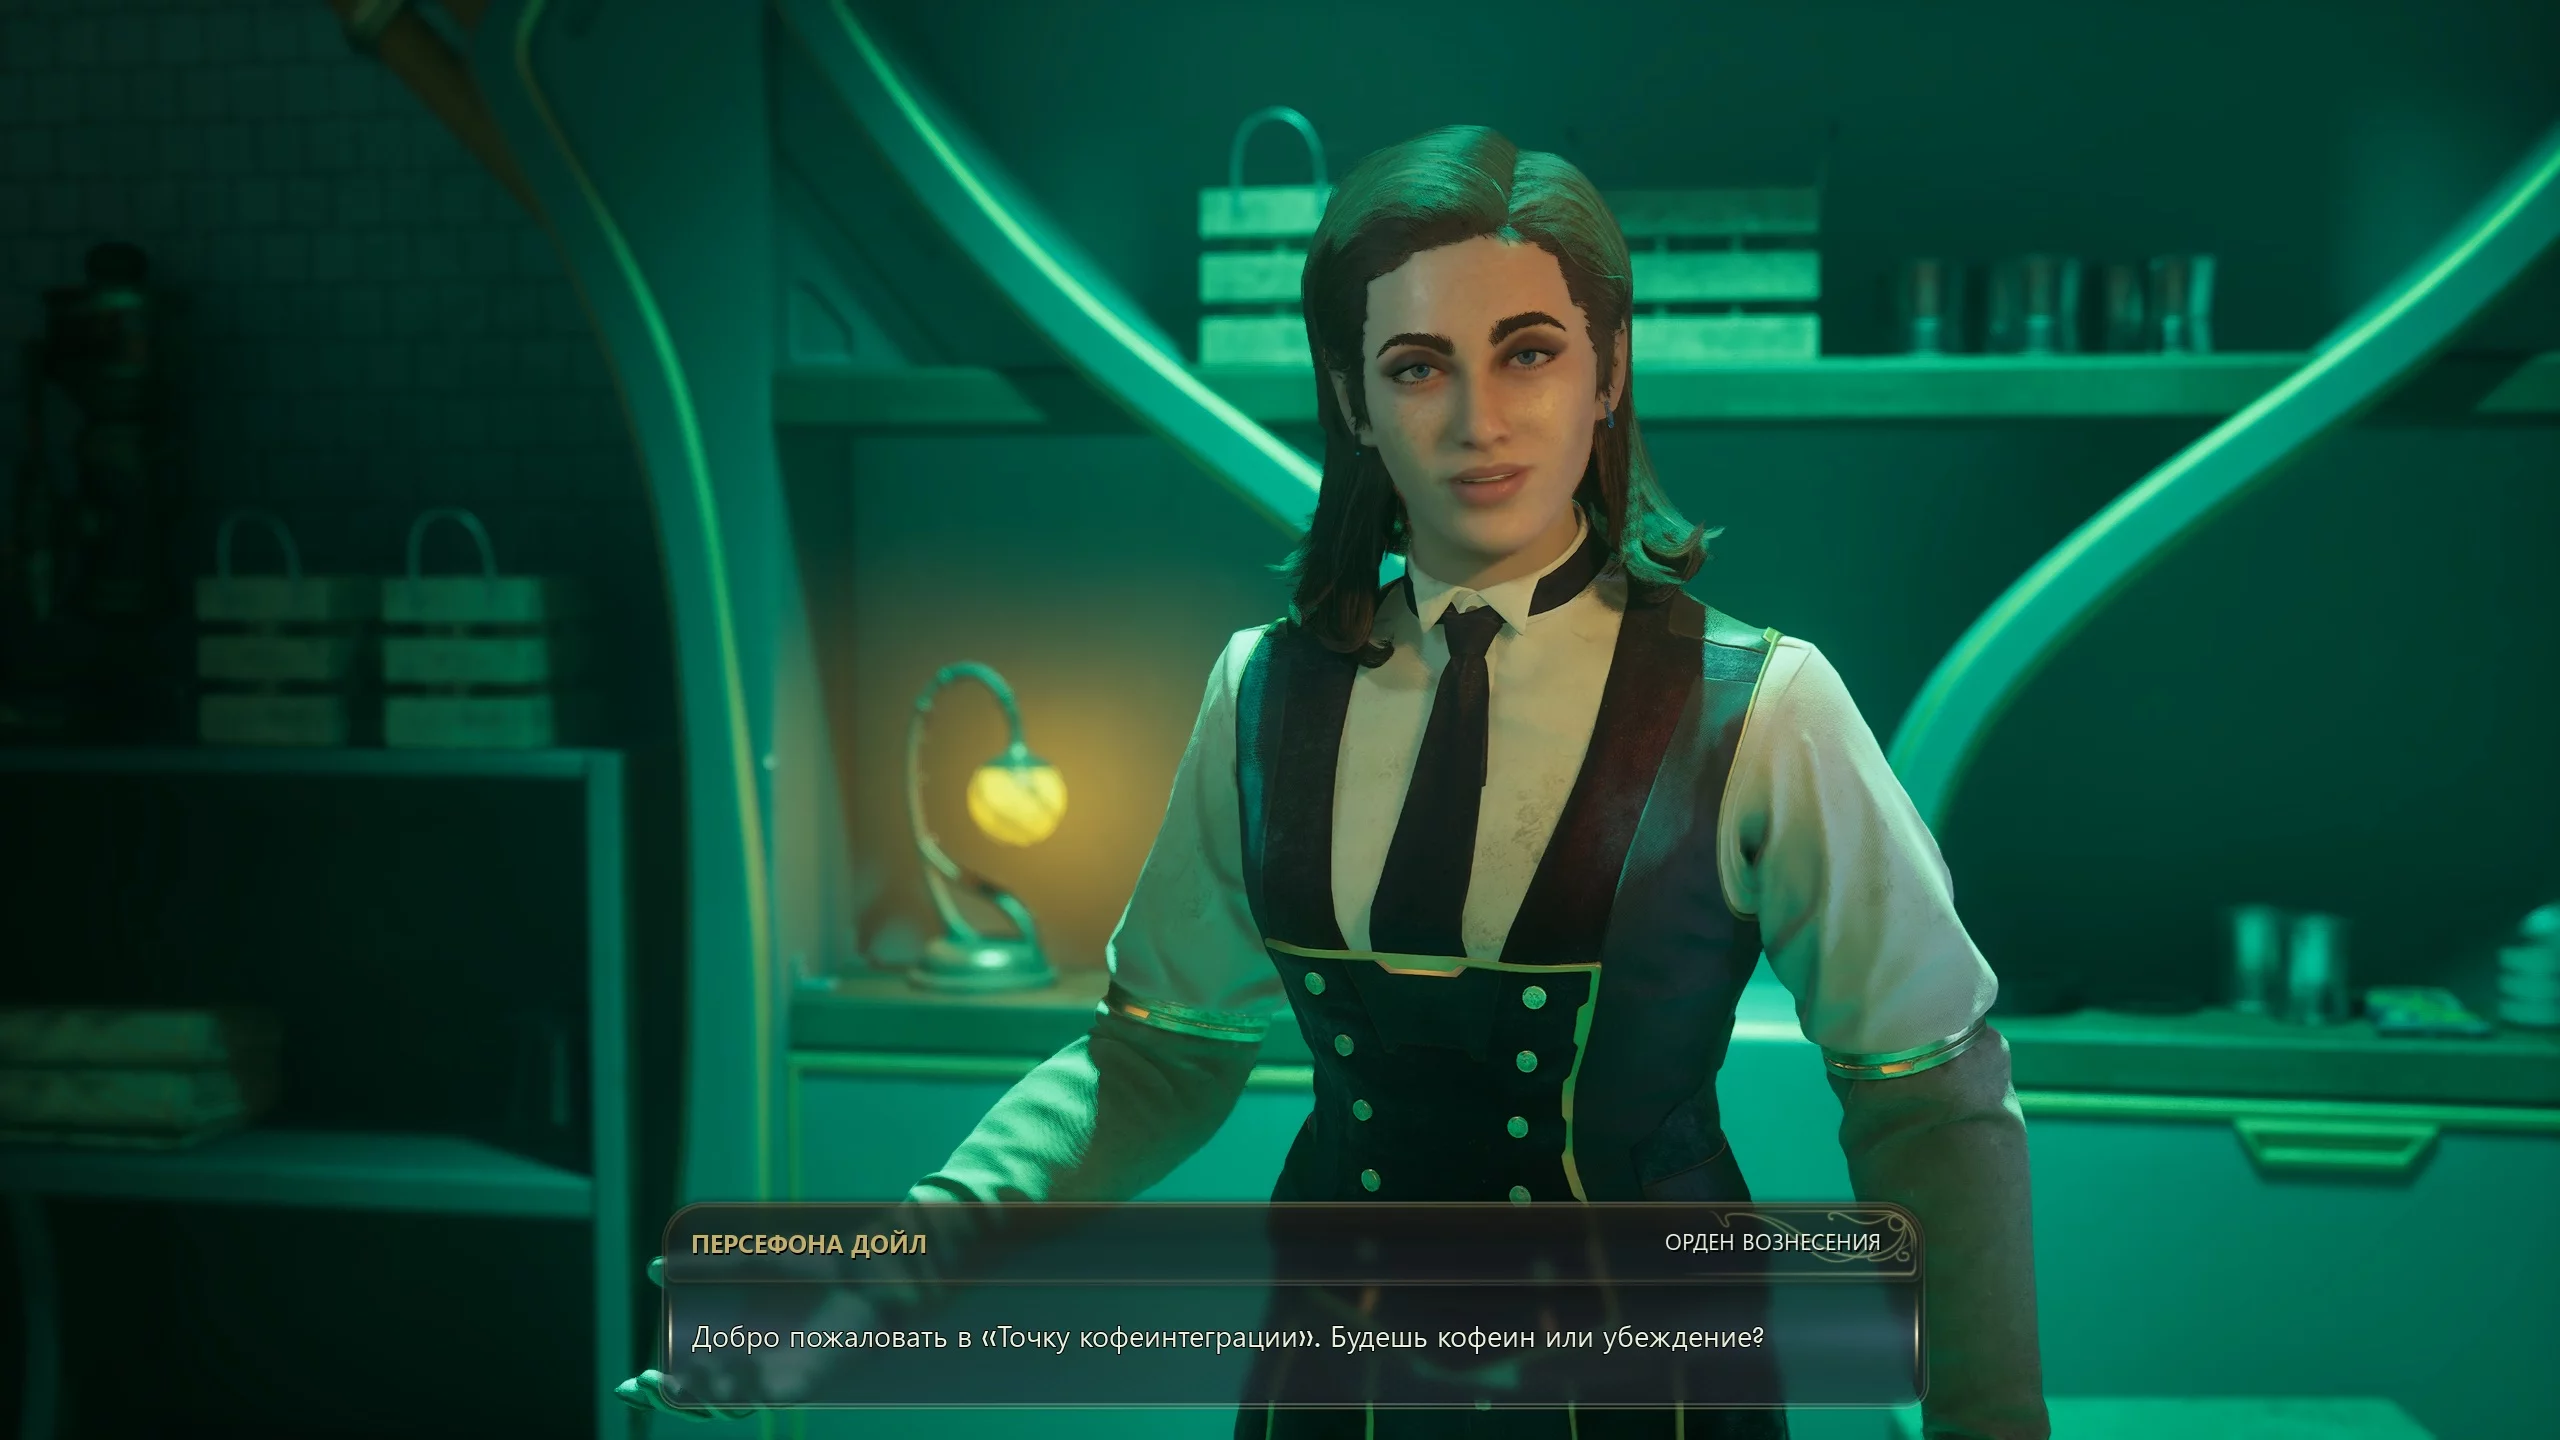
First, go to the "Coffeengration Point" bar near the exit from Laplace Garden. Talk to the barista Persephone Doyle, who is a secret agent of "Sub Rosa." She needs to obtain water used for mind control.
If you haven't been to the sanitorium yet, find the laureate oracle Leslie Beckett near the pond, then go to the pumping station for a sample. As a result, the woman will arrange for the Protectorate soldiers not to shoot at you and will ask you to share information from the satellite with her.

Land on Eden and head to the Bridge of Humility. Turn left and proceed to the soldiers' base around the wreckage. Convince Cadet Warden Holstead that you are a mechanic and collect the data from the satellite. Return to the garden, allow Persephone to copy the information, and then go to Enola.

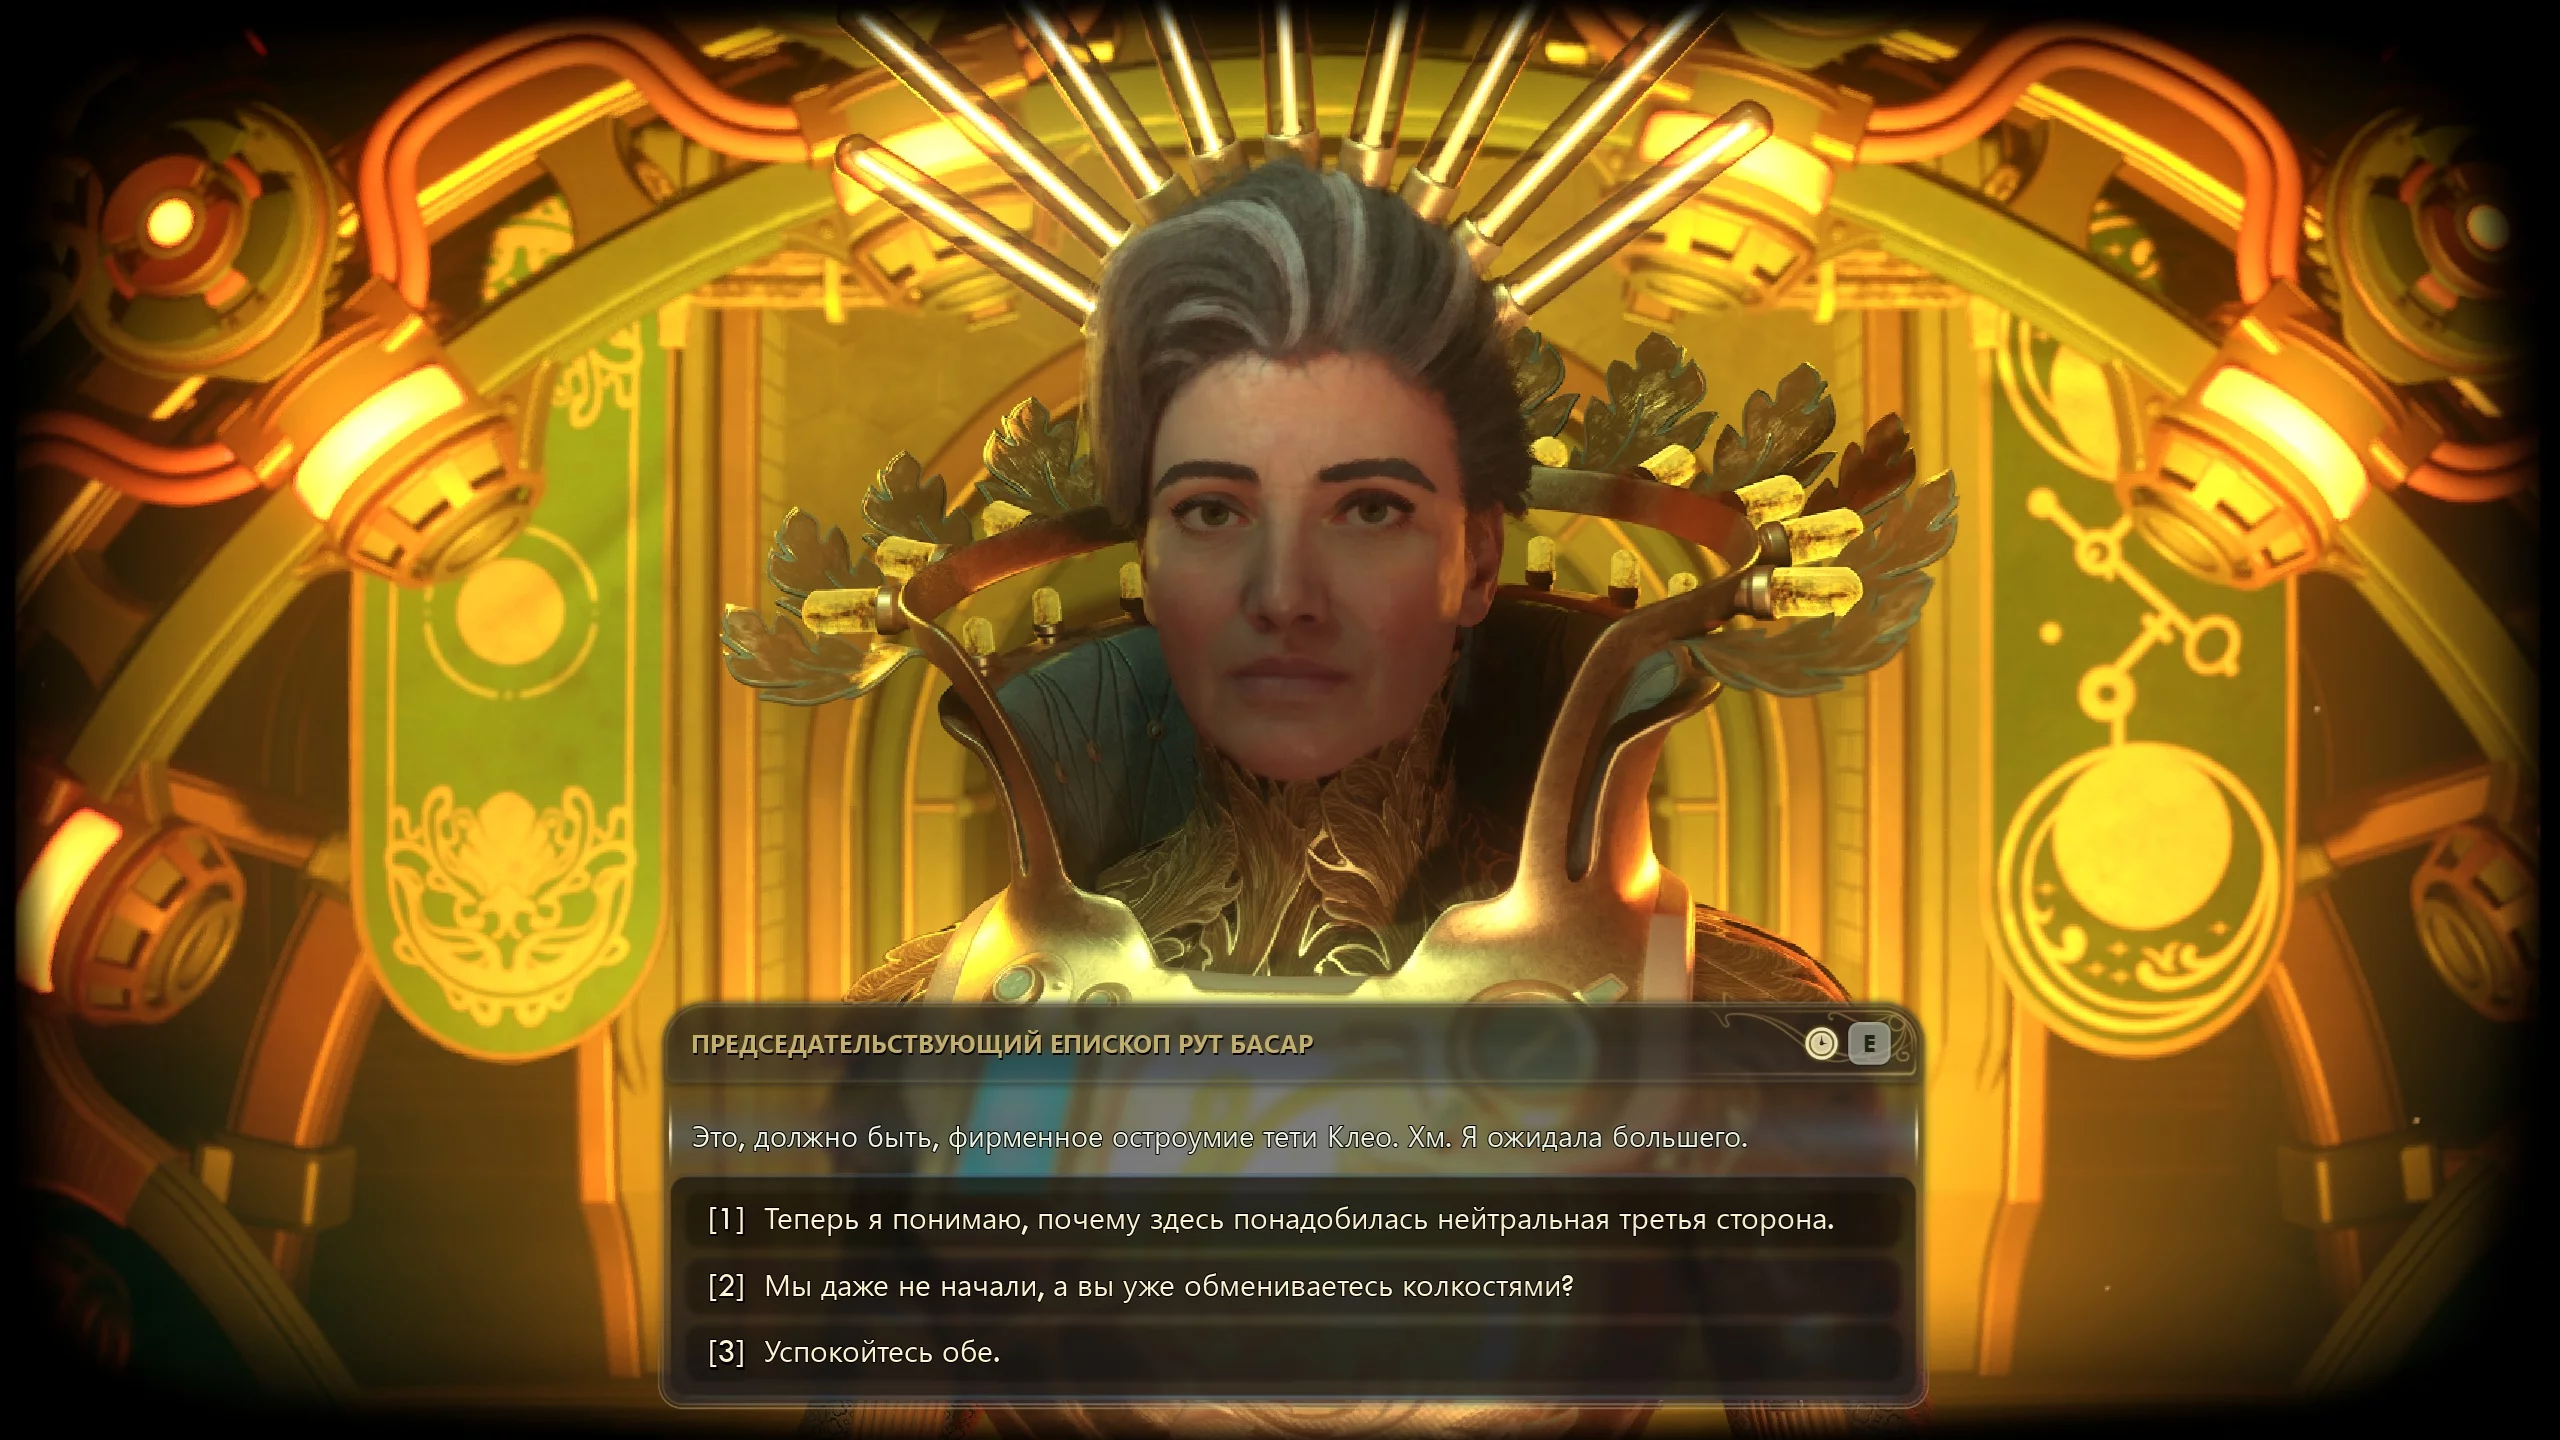
Talk to Presiding Bishop Rub Basar and persuade her to start negotiations with Aunt Cleo. Return to your ship and travel to the "Undisputed Right." Take the elevator in the main office tower and descend to the secure negotiation room.
You need to resolve three issues that will determine the future of the "Aunt Cosmos" corporation and the Order of Ascension. Your decisions will affect the game's ending.
- Control over the "Archive" supercomputer.
- Management of jump drive production.
- Ownership of rift control technology.
Regardless of the negotiation results, both sides will help you get to the "Archive" station.
How to Break into the Archive
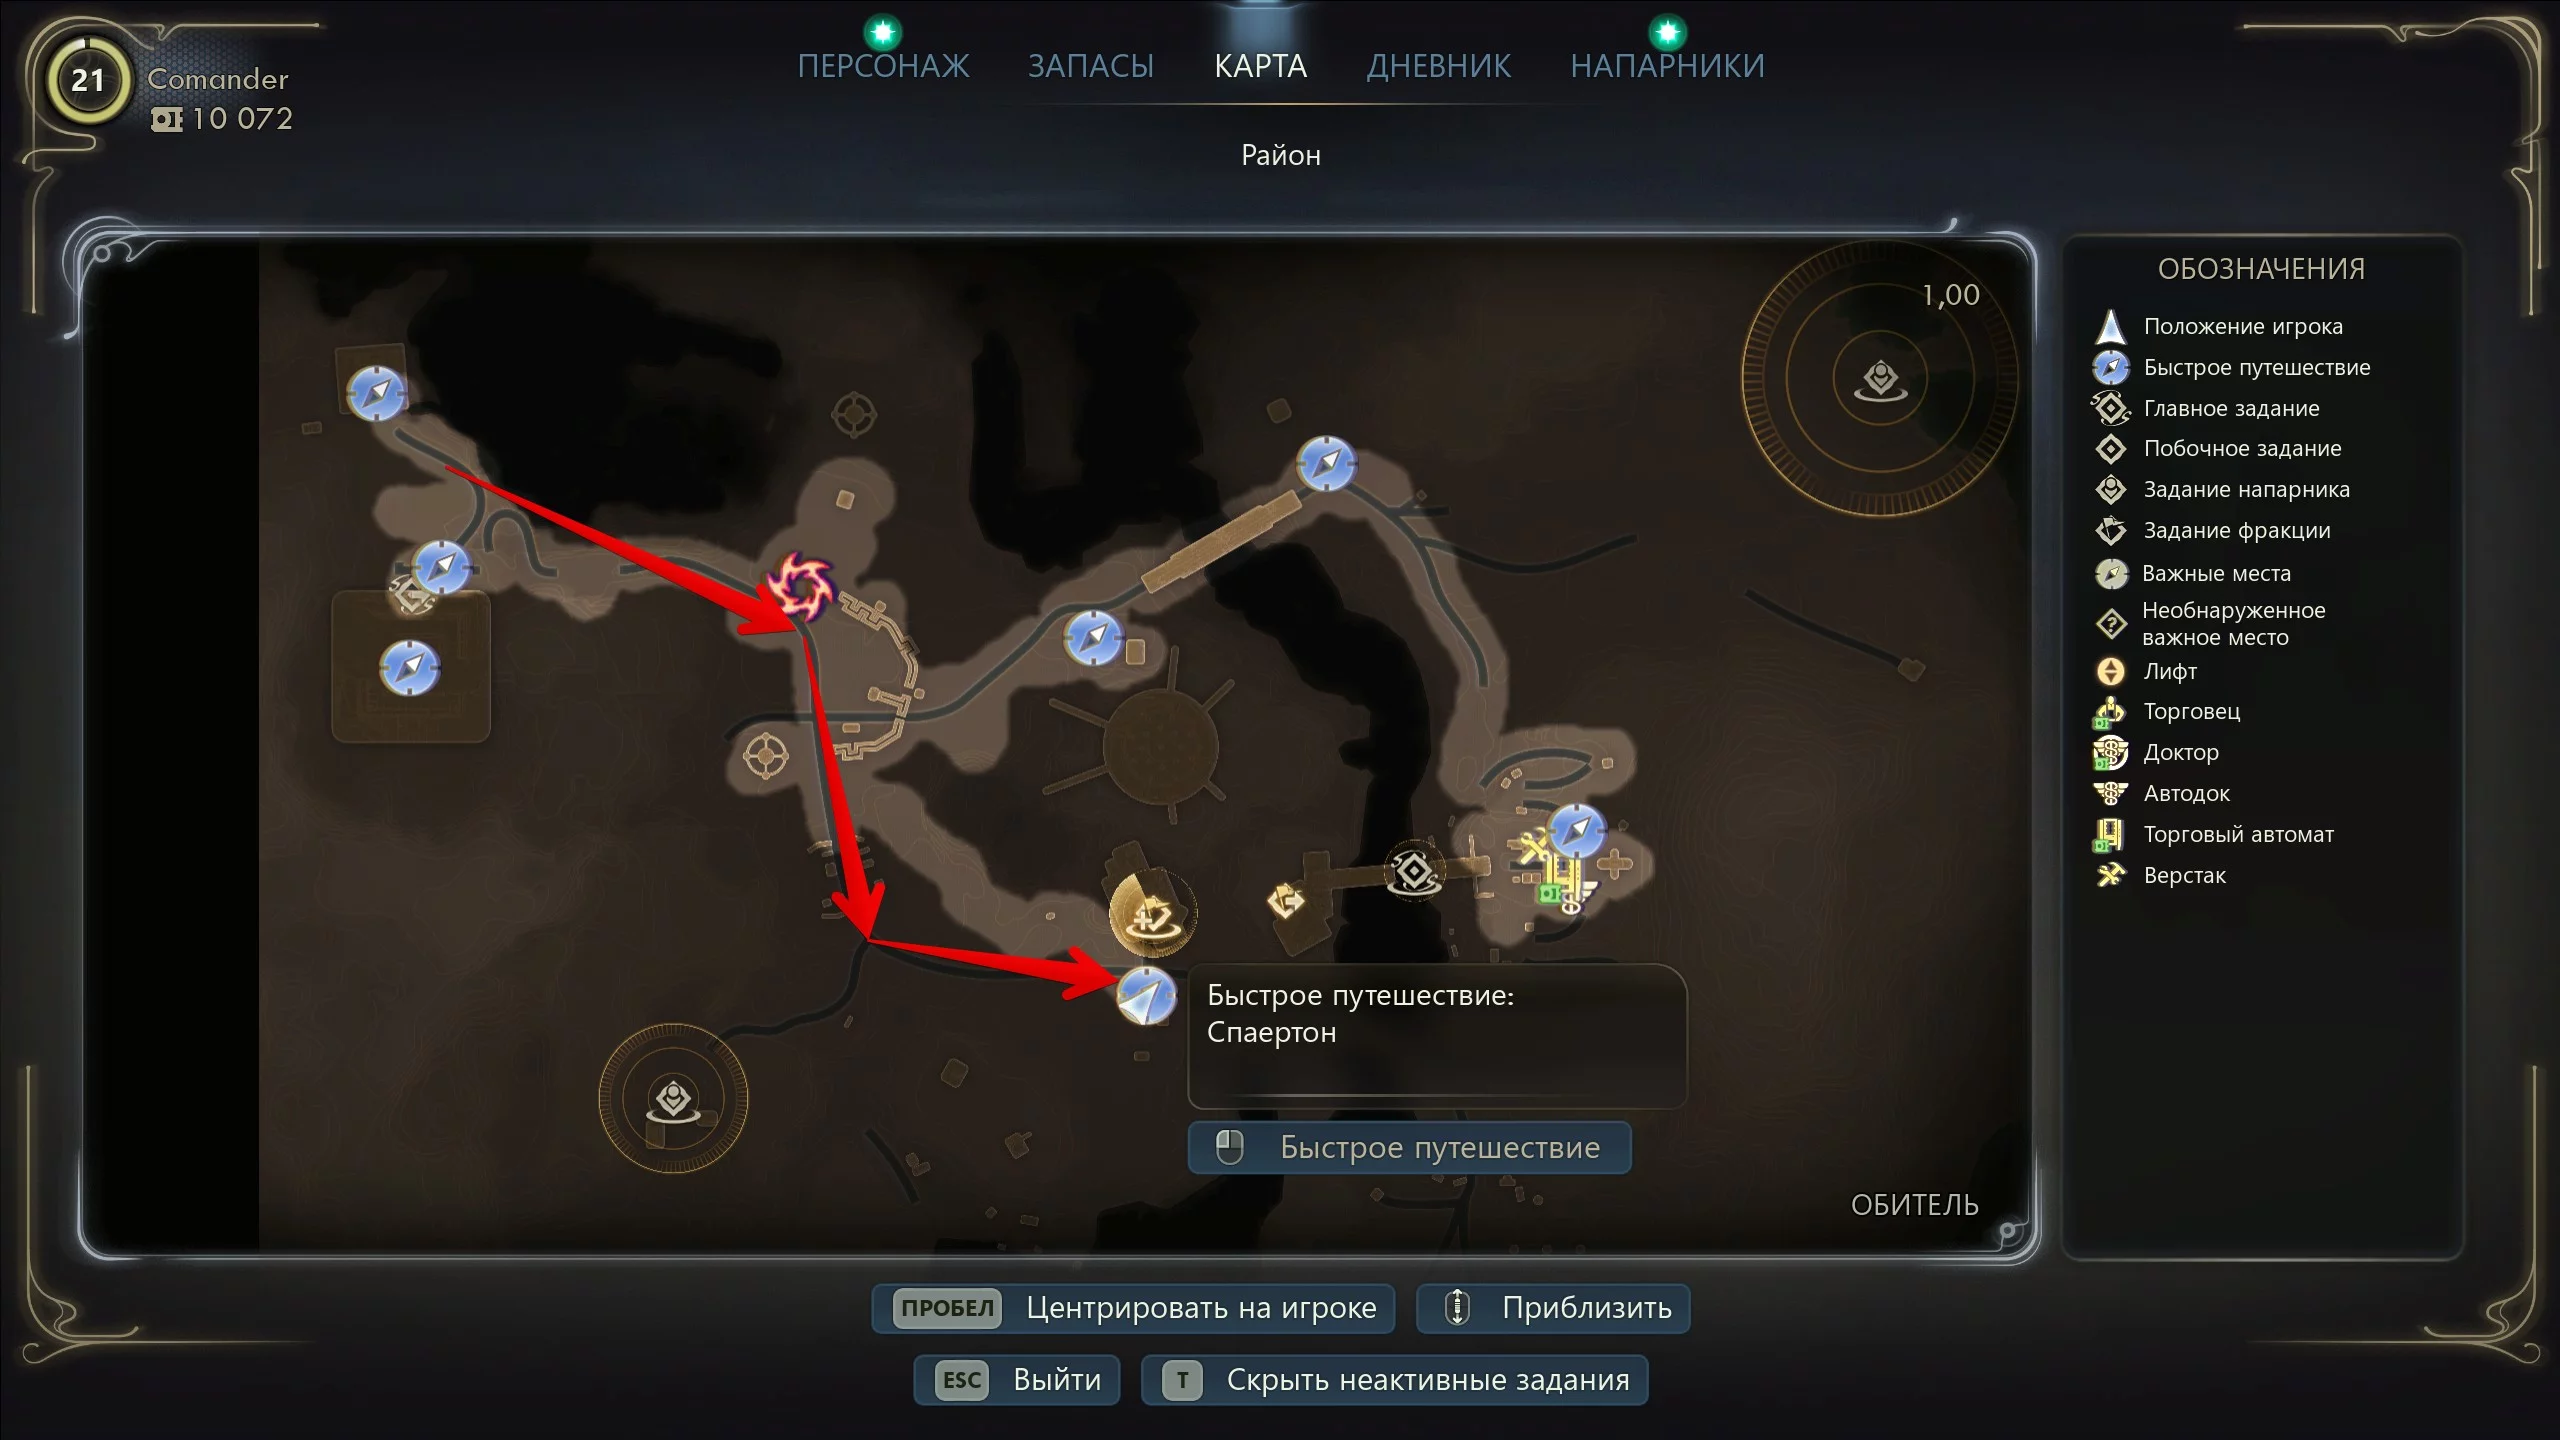
Return to Praetor and head to the entrance of the city of Spaerton. There, a squad of six allied fighters is waiting for you. To start the assault, talk to Zealot Levek. It's recommended to choose the second dialogue option, then quietly sneak in from the left, take the elevator up, enter the control block, and reconfigure the turrets. After that, begin the sweep.
Now head to Newton and activate the rift on the bridge. Cross to the other side, then use the elevator to reach the base of the "Archive." Go through the soldiers on the left side and examine the panel, which will allow allied squads to come to your aid. The device will be broken; to repair it, follow the red wires.
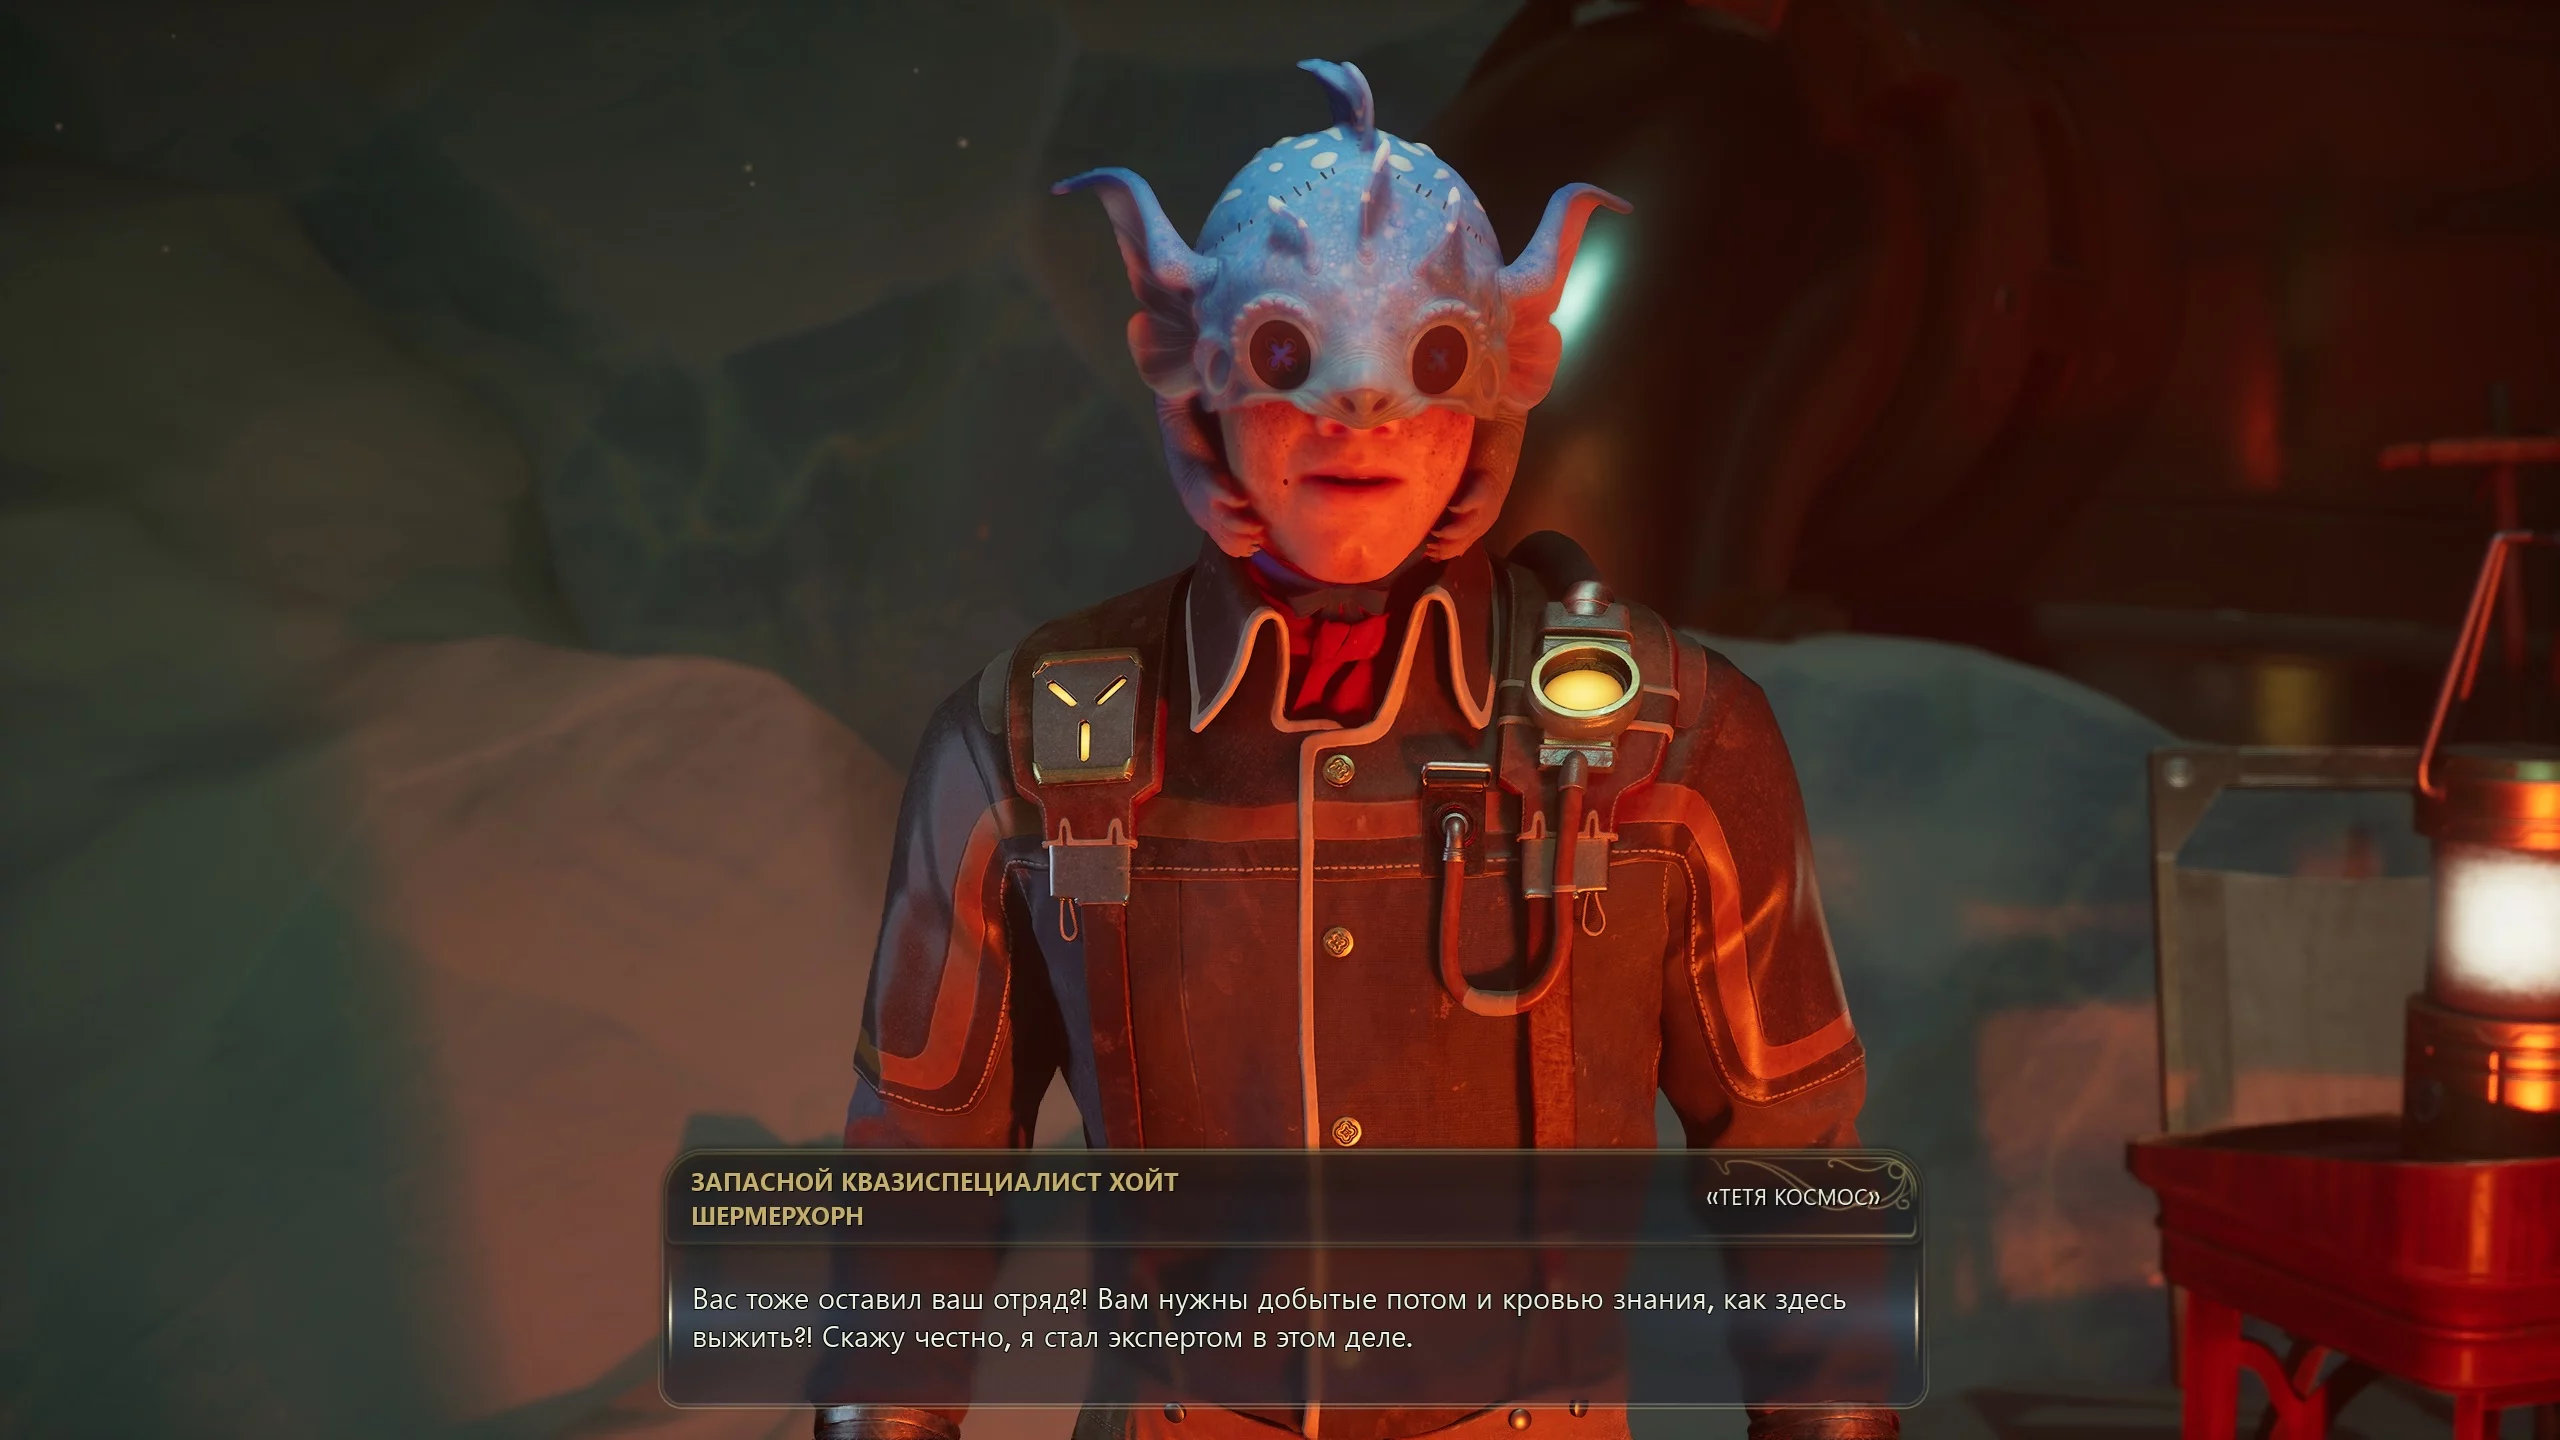
Eventually, you'll run into backup quasi-specialist Hoyt Schermerhorn, who has the Spaerton elevator control component. The guy will ask you to get him five Shprys tails. You can also try to steal the part or successfully pass a persuasion check.
Return to the control panel, install the part, and call for reinforcements. As a result, allied forces will clear the bridge, allowing you to enter the main building. Find Auditor Torbert Ostergard in the restroom to the left. Convince the supercomputer operator to hand over the calcaducium.

How to Repair the Supercomputer
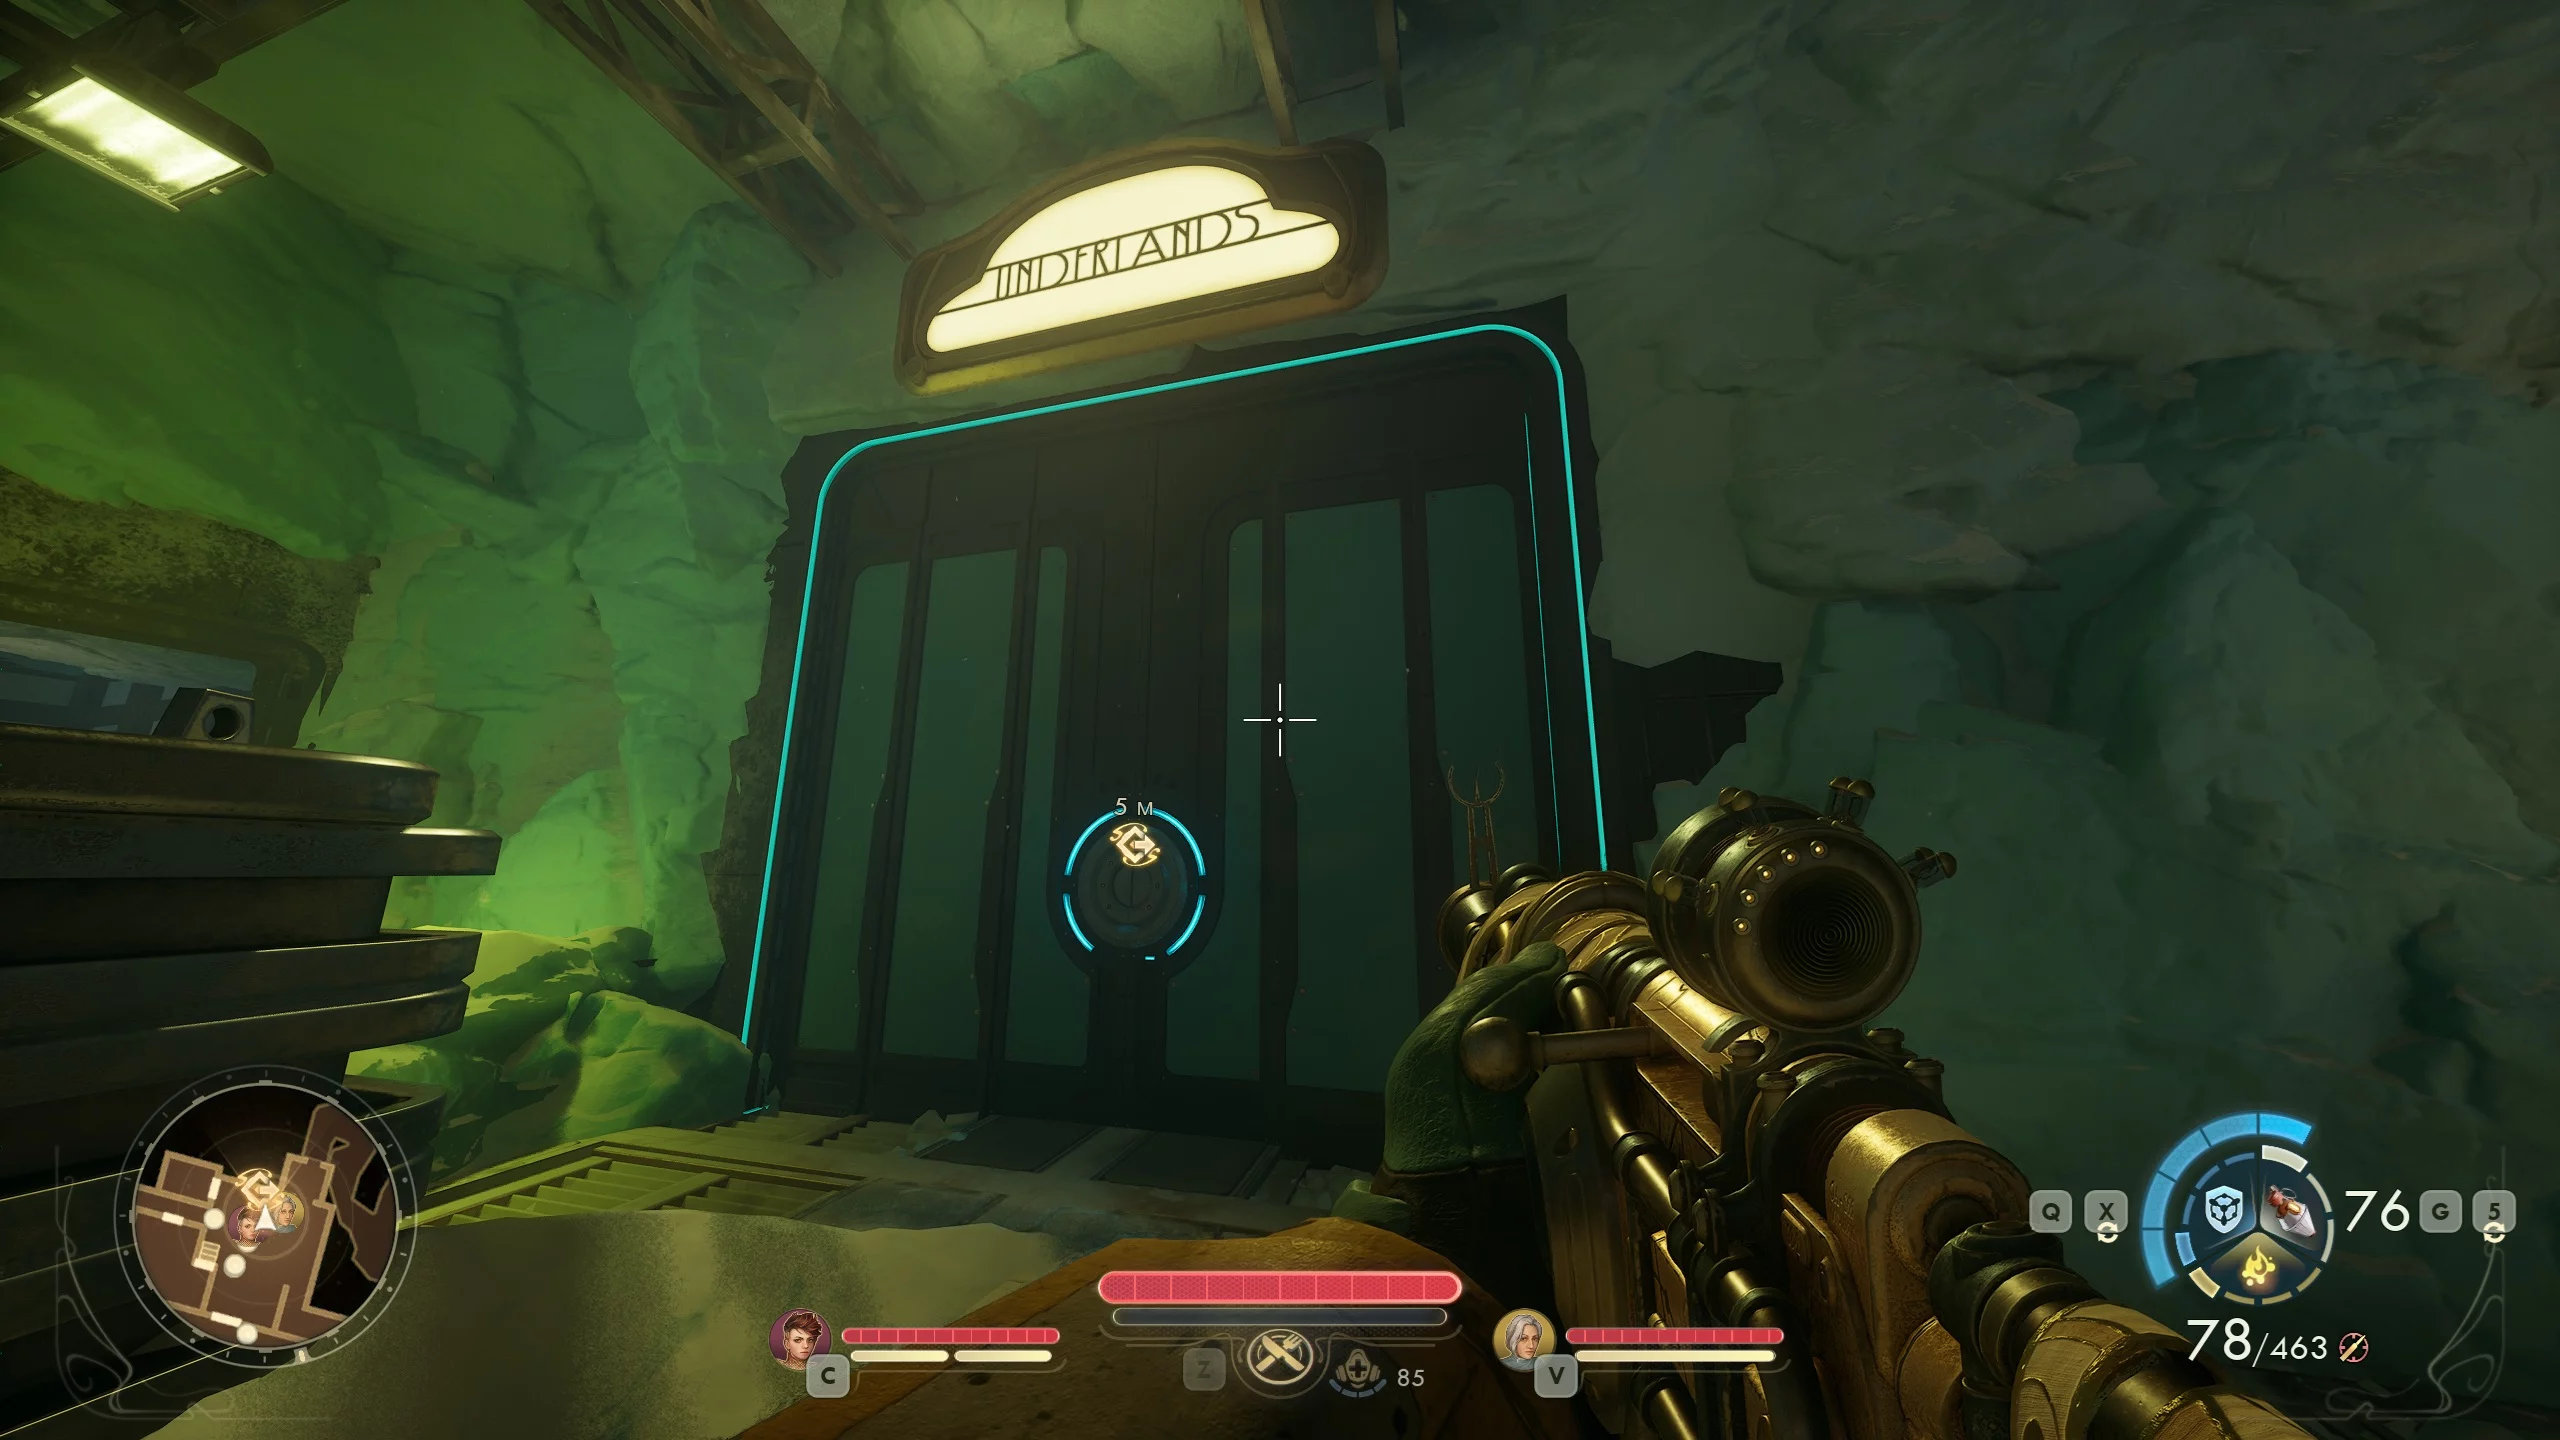
Approach the device that looks like an antenna and register yourself as the operator. Give the de Vries cartridge to the supercomputer. The "Archive" lacks computing power, so you need to descend to the underworld and reach the cold storage, then the heat exchanger, to balance the system. Exit the building, cross the bridge, turn left, and approach the door labeled Underlands.
Follow the road to the right and deal with the turrets on the bridge. Find the entrance on the left and eliminate the enemies. Use the operator rights, launch the storage, go through the medblock, and use the elevator.
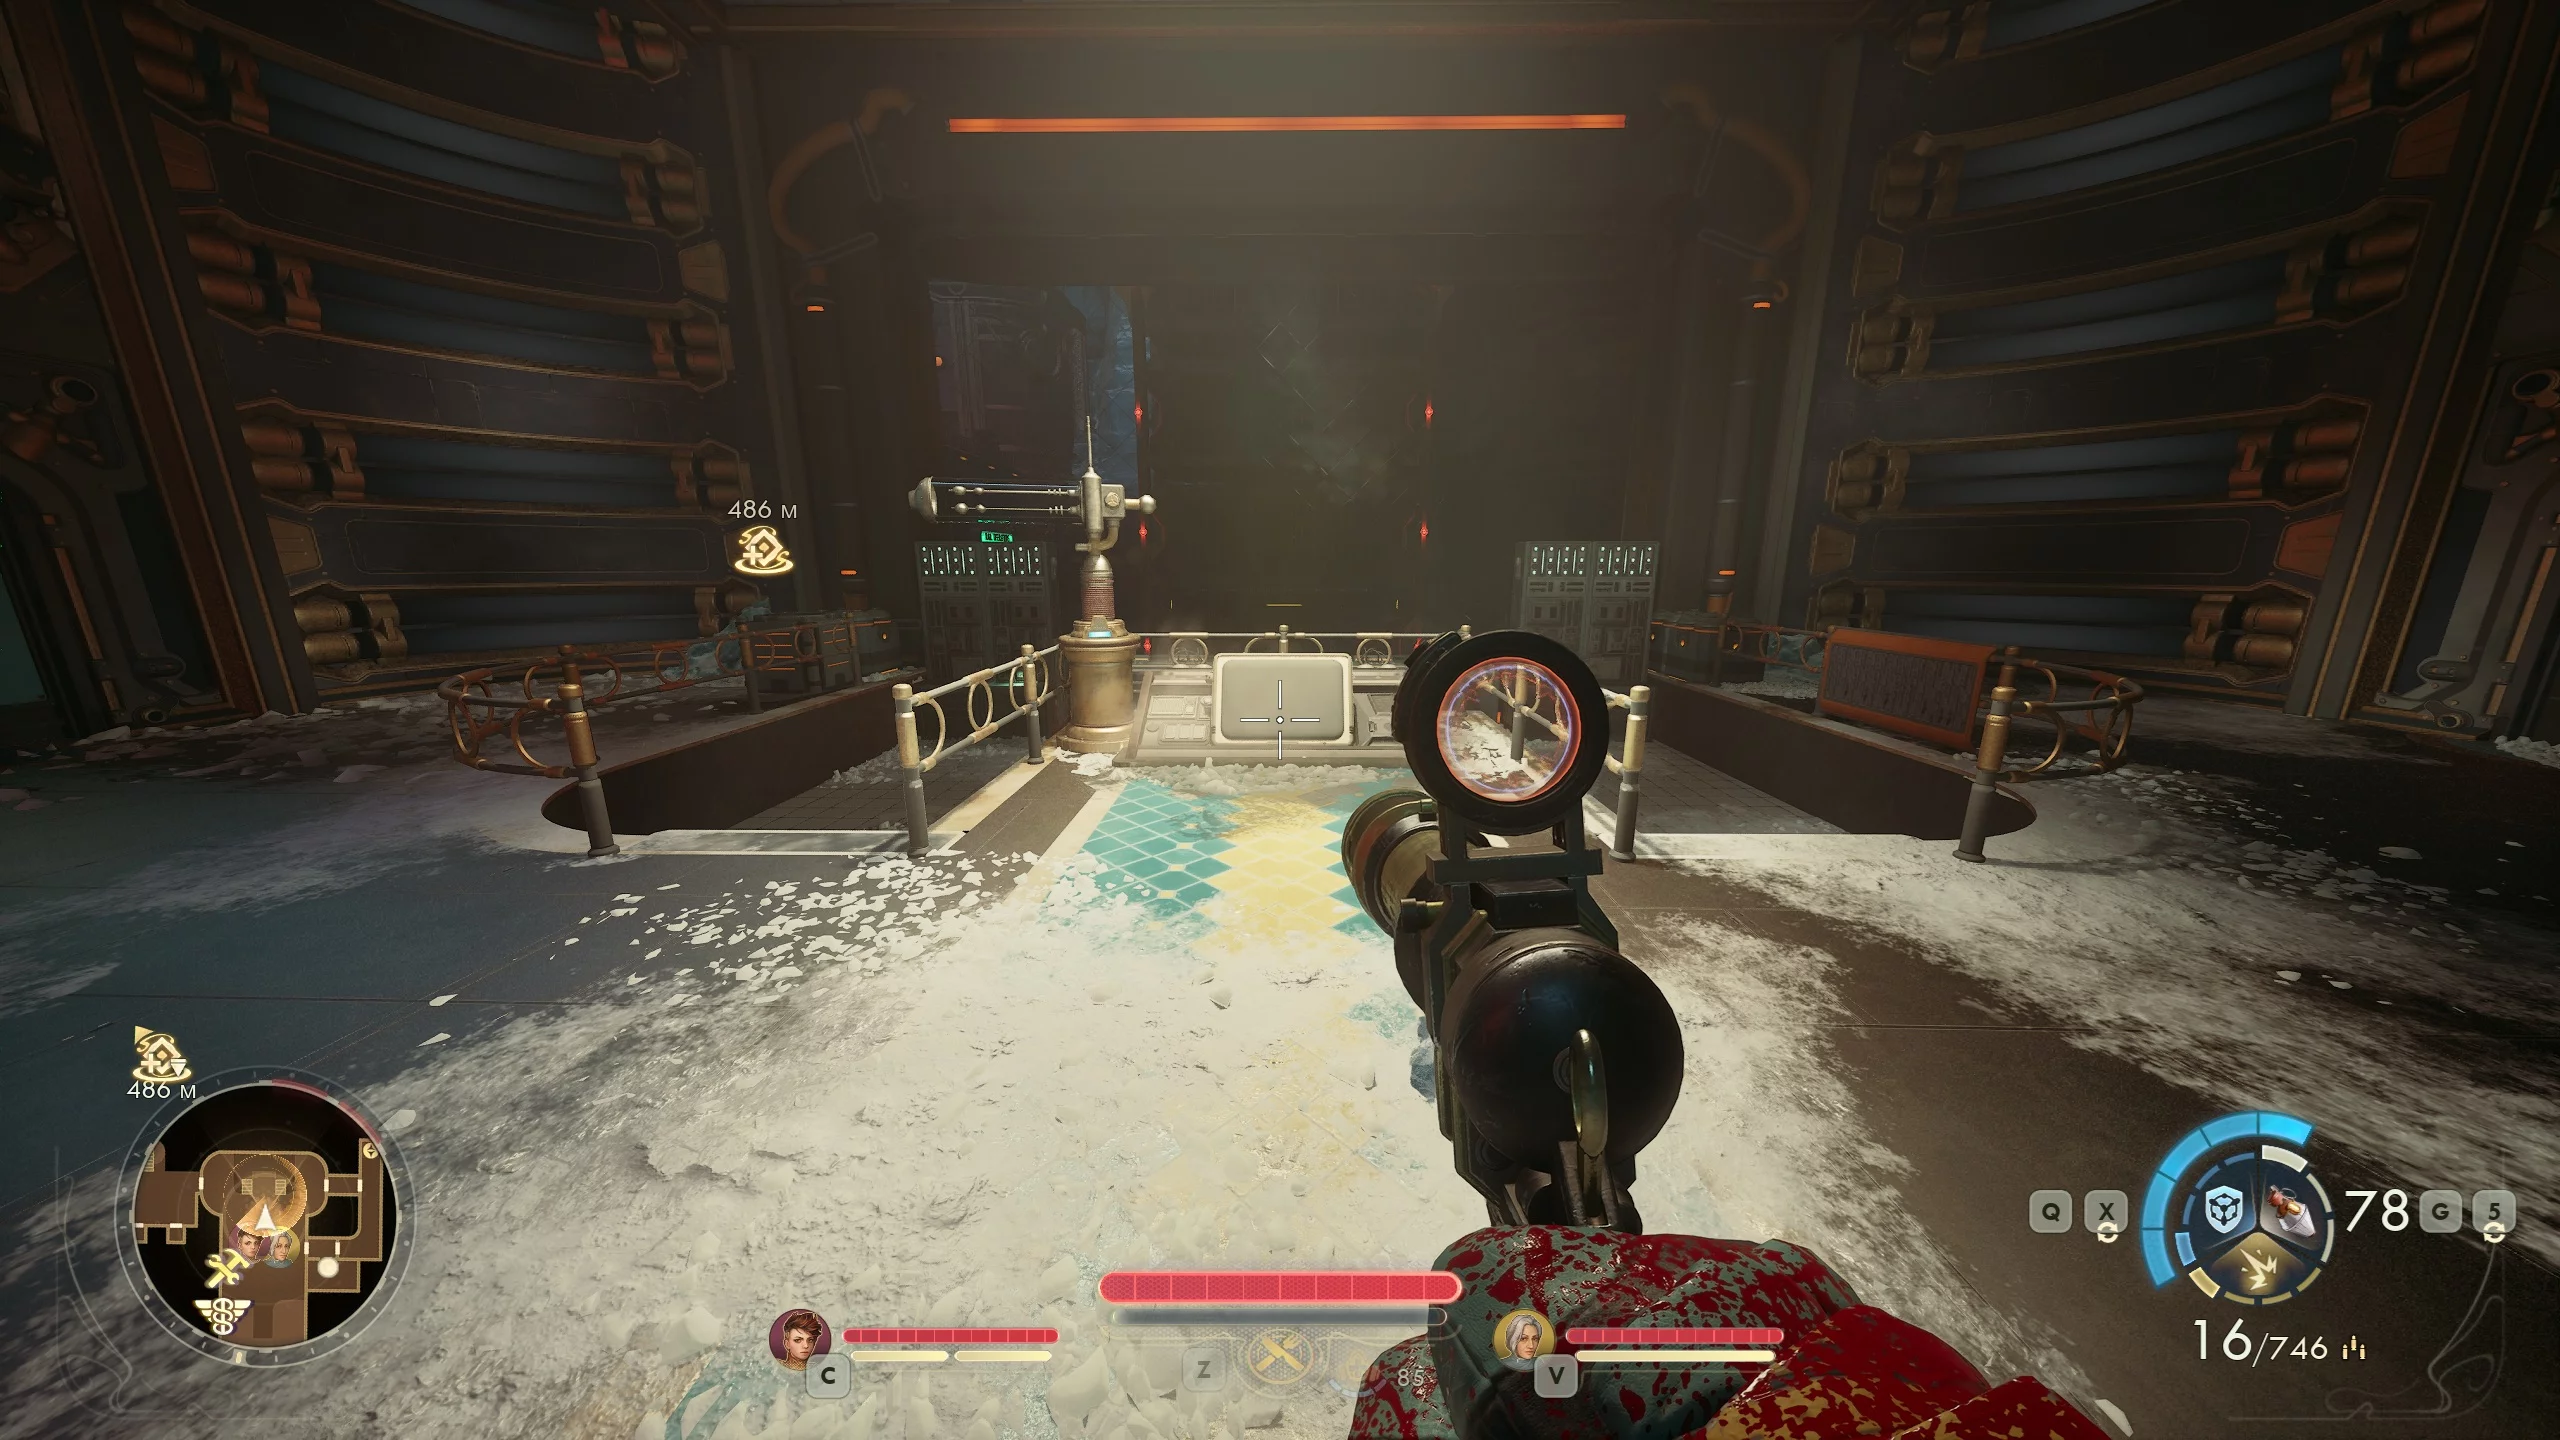
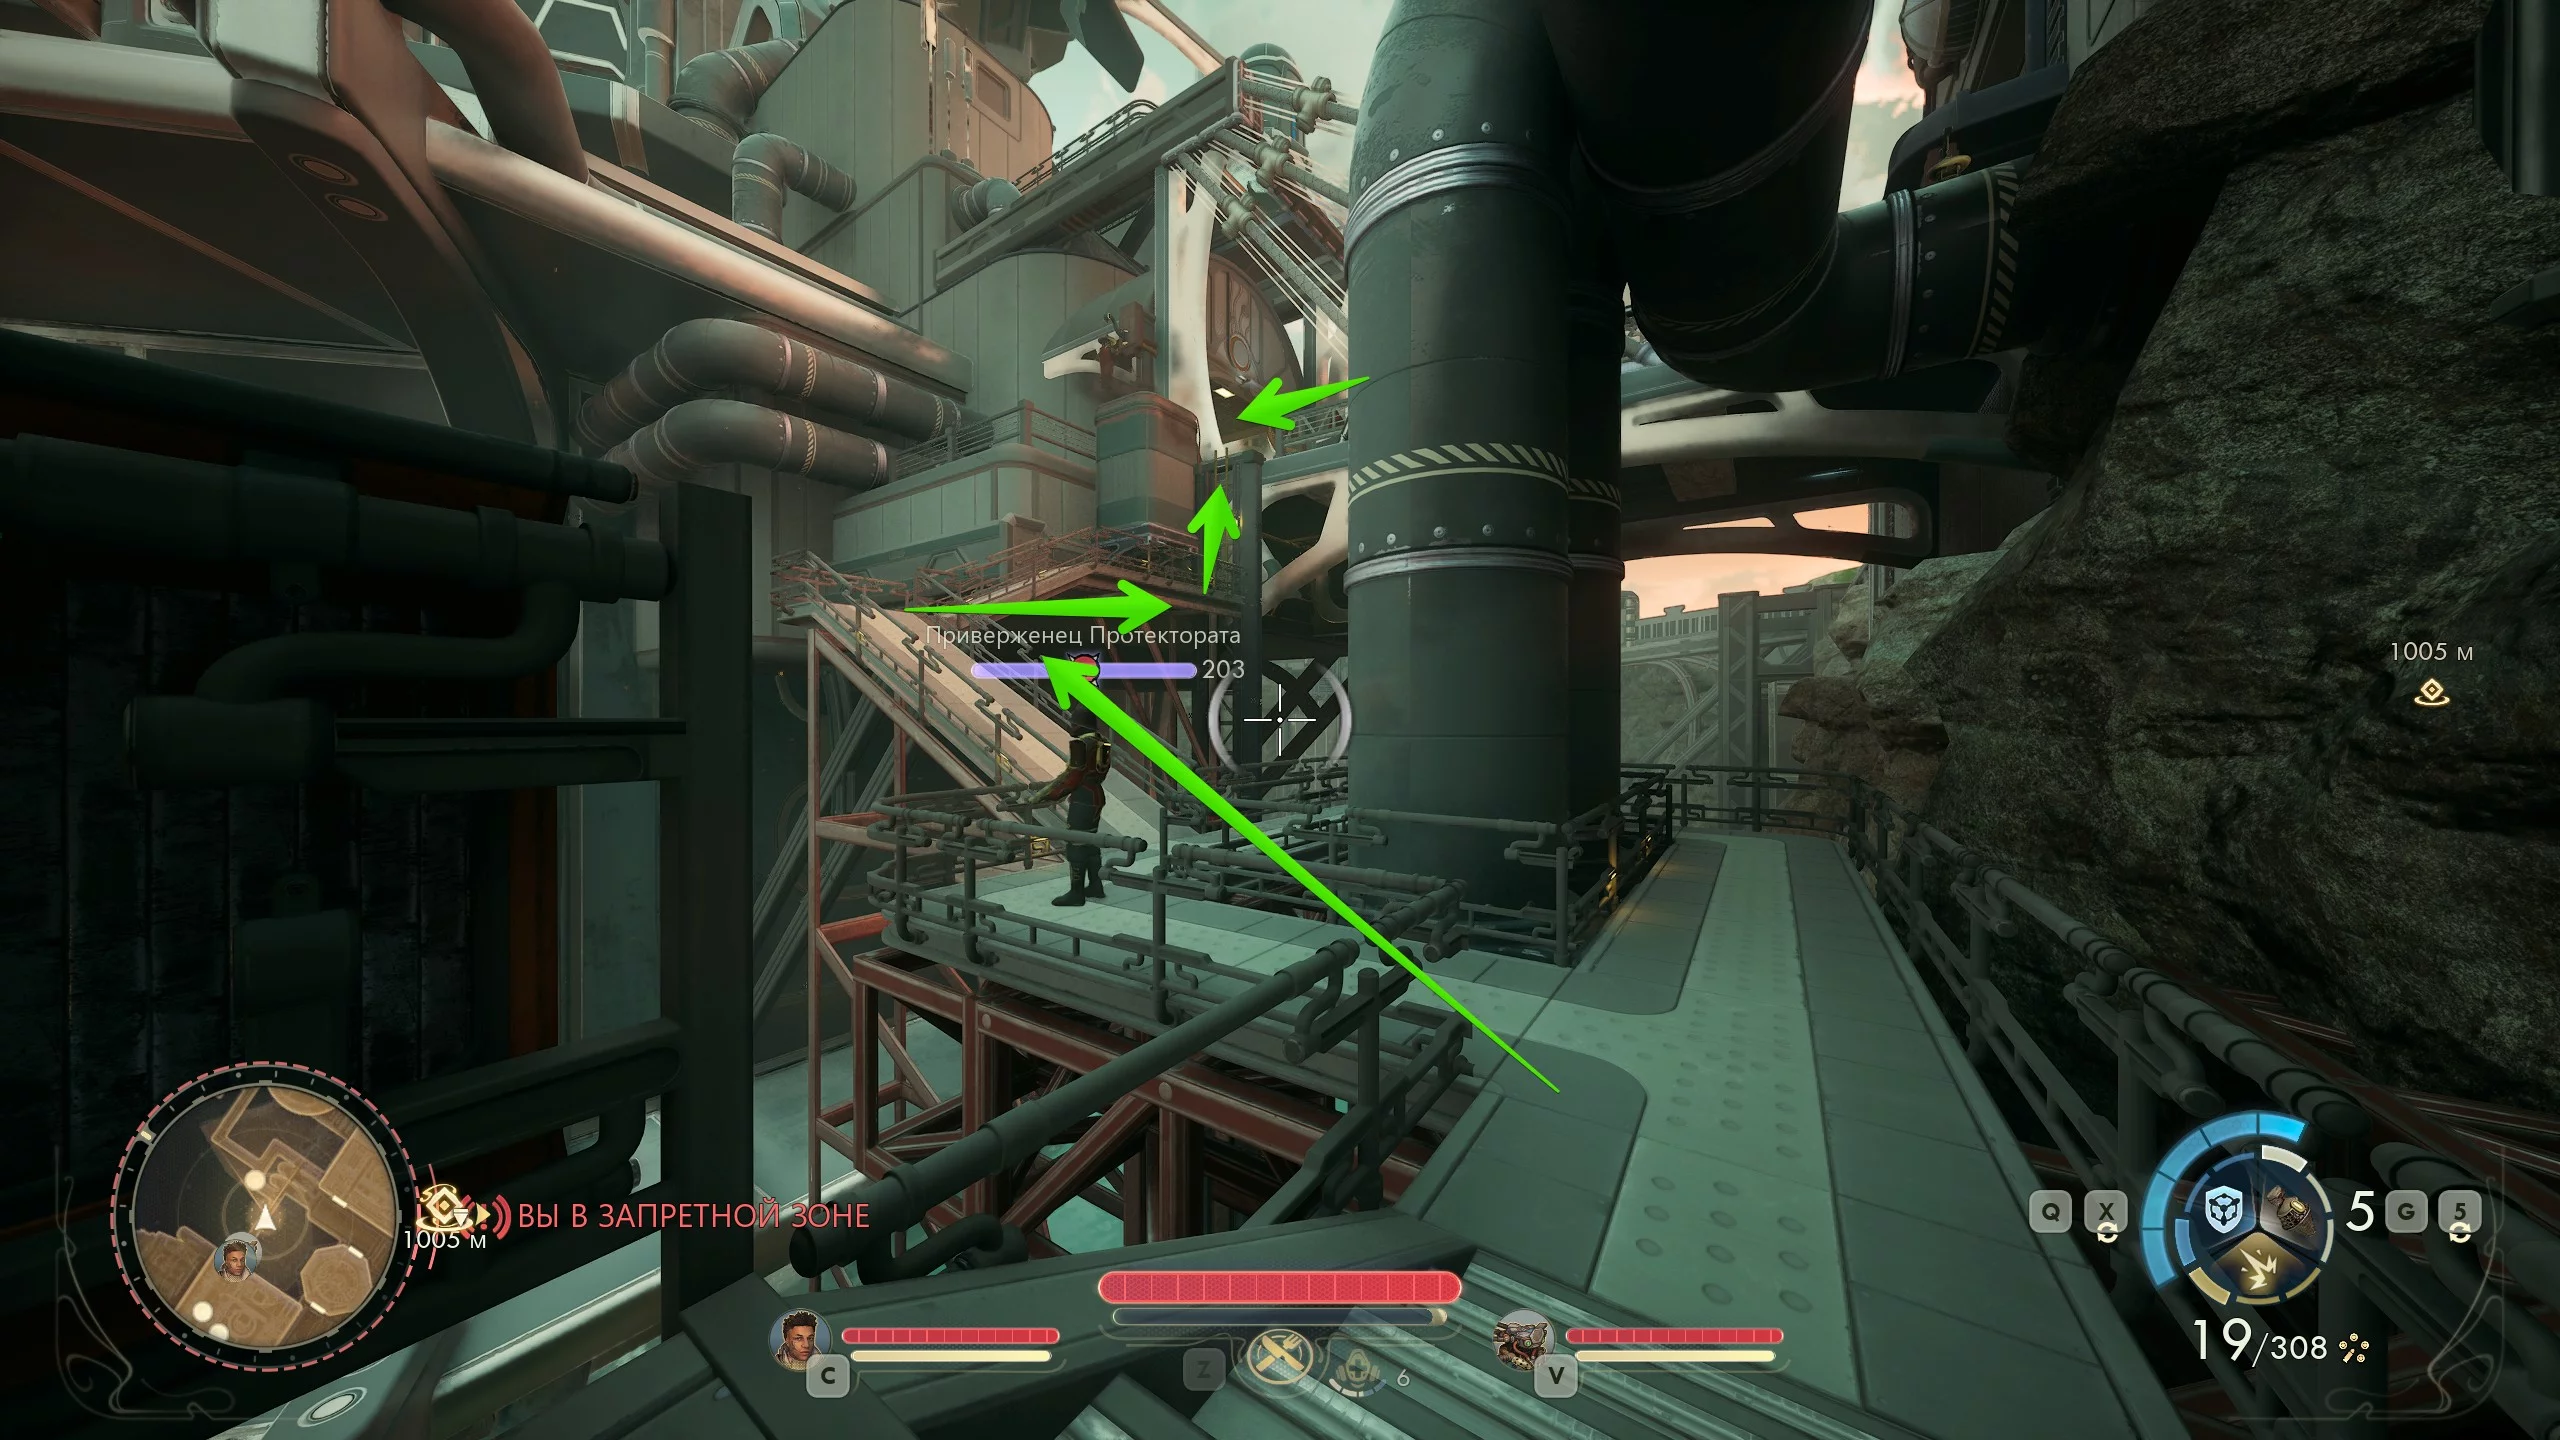
Cross to the other side, pass the soldiers, and take the elevator up. To avoid conflict, enter the room on the right and activate the fire suppression system to freeze everyone. Approach the control panel and start the data block extraction procedure, after which a squad of infantry with automatons will appear.

Go down to the block marked Rail Operations Platform. Climb onto the parapet to the right of the control panel and pull the lever on the wall. Activate the device, use the elevator, and eliminate the soldiers on the other side to open the gate for the conveyor.
Leave the complex and head south to the heat exchange block, inhabited by frost crabs. Open access with an electronic key and find the pump control panel inside. You need to repair it using an auxiliary pump rebuild kit, which can be found by following the bloody trail to the left of the unit.
Next, you need to repair the water discharge system generator. To do this, find a fuse. Opposite the device, there is a room filled with crab eggs. Enter it and pay attention to the bed.
Open the valve, move to the right, and restore power to the complex using the terminal. Leave the underworld and return to the supercomputer, which will open access to the upper levels. Now you need to reboot, distribute the punch cards, and repair the reactor.

Take the elevator down and move to the right. Eliminate all the bugs, then restart the punch card distributor's guiding system. Move forward and enter the room on the left to configure the vertical distribution system.

You will encounter such levers again in this location. They are used to change the direction of the platforms. Next, go down, eliminate all the bugs, and find the control panel to upload the punch card with the rift program to the Archive's central interface.

Return to the elevators in the Archive, enter the left door, and descend to the rector. Eliminate the soldiers and distribute the fuses to disable the turrets, open the rooms with medkits and ammunition, then enter the elevator.
Descend to the rector, eliminate all automatons and soldiers. Approach the huge glass column and flip the lever. Now that the supercomputer can operate at full power, return to the main control panel.
Three AI personality settings are stuck in the supercomputer at the same time. All factions have used it at some point. Now you need to decide which personality type it will continue to operate with.
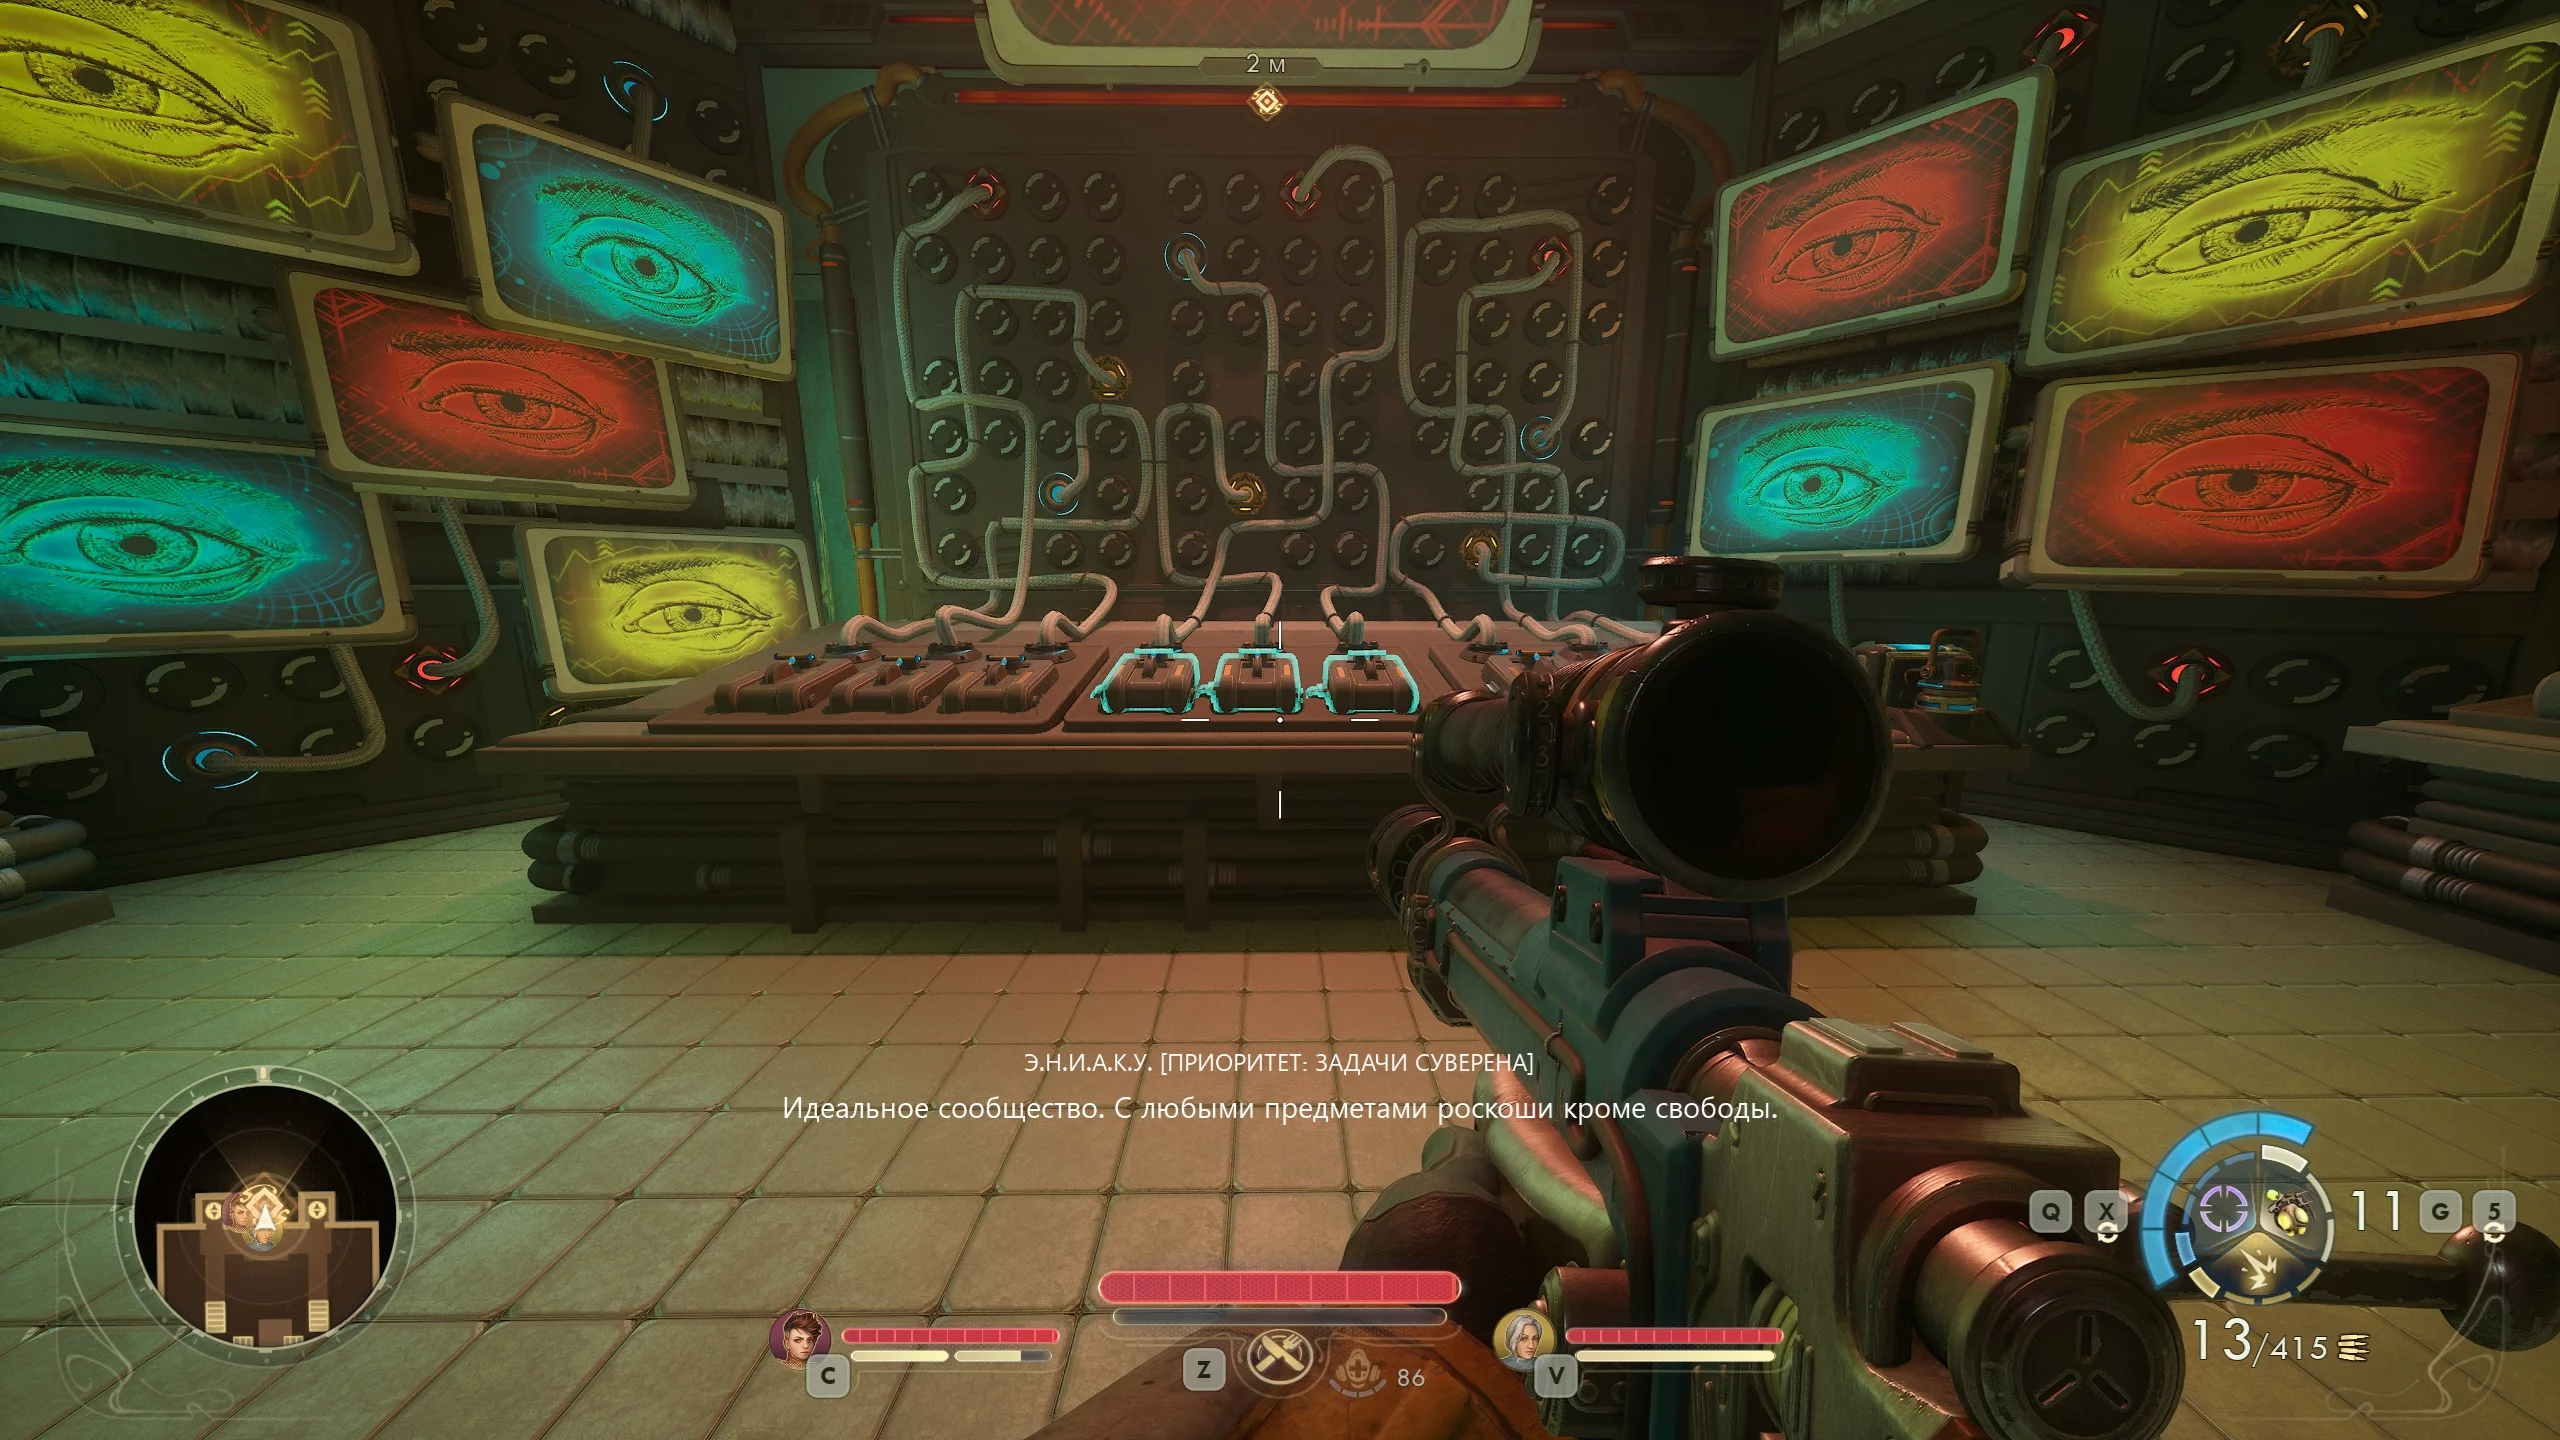
To do this, go down to the newly opened room. In front of you will be a panel with switches. You need to disable two AI personality types so that only one remains. Mentally number the levers from one to nine and determine the future of the supercomputer. For example, to keep the Order, turn off all except the first, sixth, and eighth, then reset the fuse on the right.
- Order of Ascension: 1, 6, 8.
- Protectorate: 2, 4, 9.
- Aunt Cosmos Corporation: 3, 5, 7.
To avoid ruining relations with all factions, do not choose the Protectorate setting. This choice does not have a global impact on the quest or story.
Return to the supercomputer panel. While it processes the rift data, it will ask who you want to transfer control to. Choose between the corporation and the order, then hand over the key to the "Archive" and return to Ruth in Laplace Garden to receive the order's support in the final mission.
Sins of the Past on the Precipice of the Future
Return to the ship and talk to Valeri. Theoretically, you can head to the restored Horizon and begin the final part of the story, but it is recommended to secure the corporation's support first. So, go to Aunt Claudia and find out how to complete the "Mechanical Matriarch" quest.
For Aunt Claudia, you need to find a mechanical body. Travel to the planet "Praetor" to the automaton production complex. Enter the room to the right of the kitchen, go down the stairs, and at the end, find the "Automaton Life Support System of the Sovereign."
Give Aunt Cleo her new body and return to the ship. The final mission will end on the reconstructed "Horizon." If you go there now, there will be no way back. Therefore, it is advised to complete all side quests and fully upgrade your allies. Also, it is recommended to level up your hero to the maximum and gather the best weapons and armor.
The goal of the mission is to reach the Protectorate consul's ship and prevent the destruction of Arcadia. The reconstructed "Horizon" is a heavily distorted version of the starting location. Move straight from the landing pad. Ahead there will be soldiers and automatons. You can bypass the squad or fight your way through. You can also climb onto the roof of the building on the left and use level 13 melee to pull out the fuse and disable the robots.
Keep moving forward, then turn left. Avoid the deadly green rays. Activate the rift and climb up. If you convince the faction leaders to help, a new objective will appear: meet with your allies.
Go through the building with the plasma corridor. To do this, go down and open the rift. Now climb up the boxes and pull the lever to stop the flames. Leave the building, and if you spared Deris, you will see her ship surrounded by soldiers.
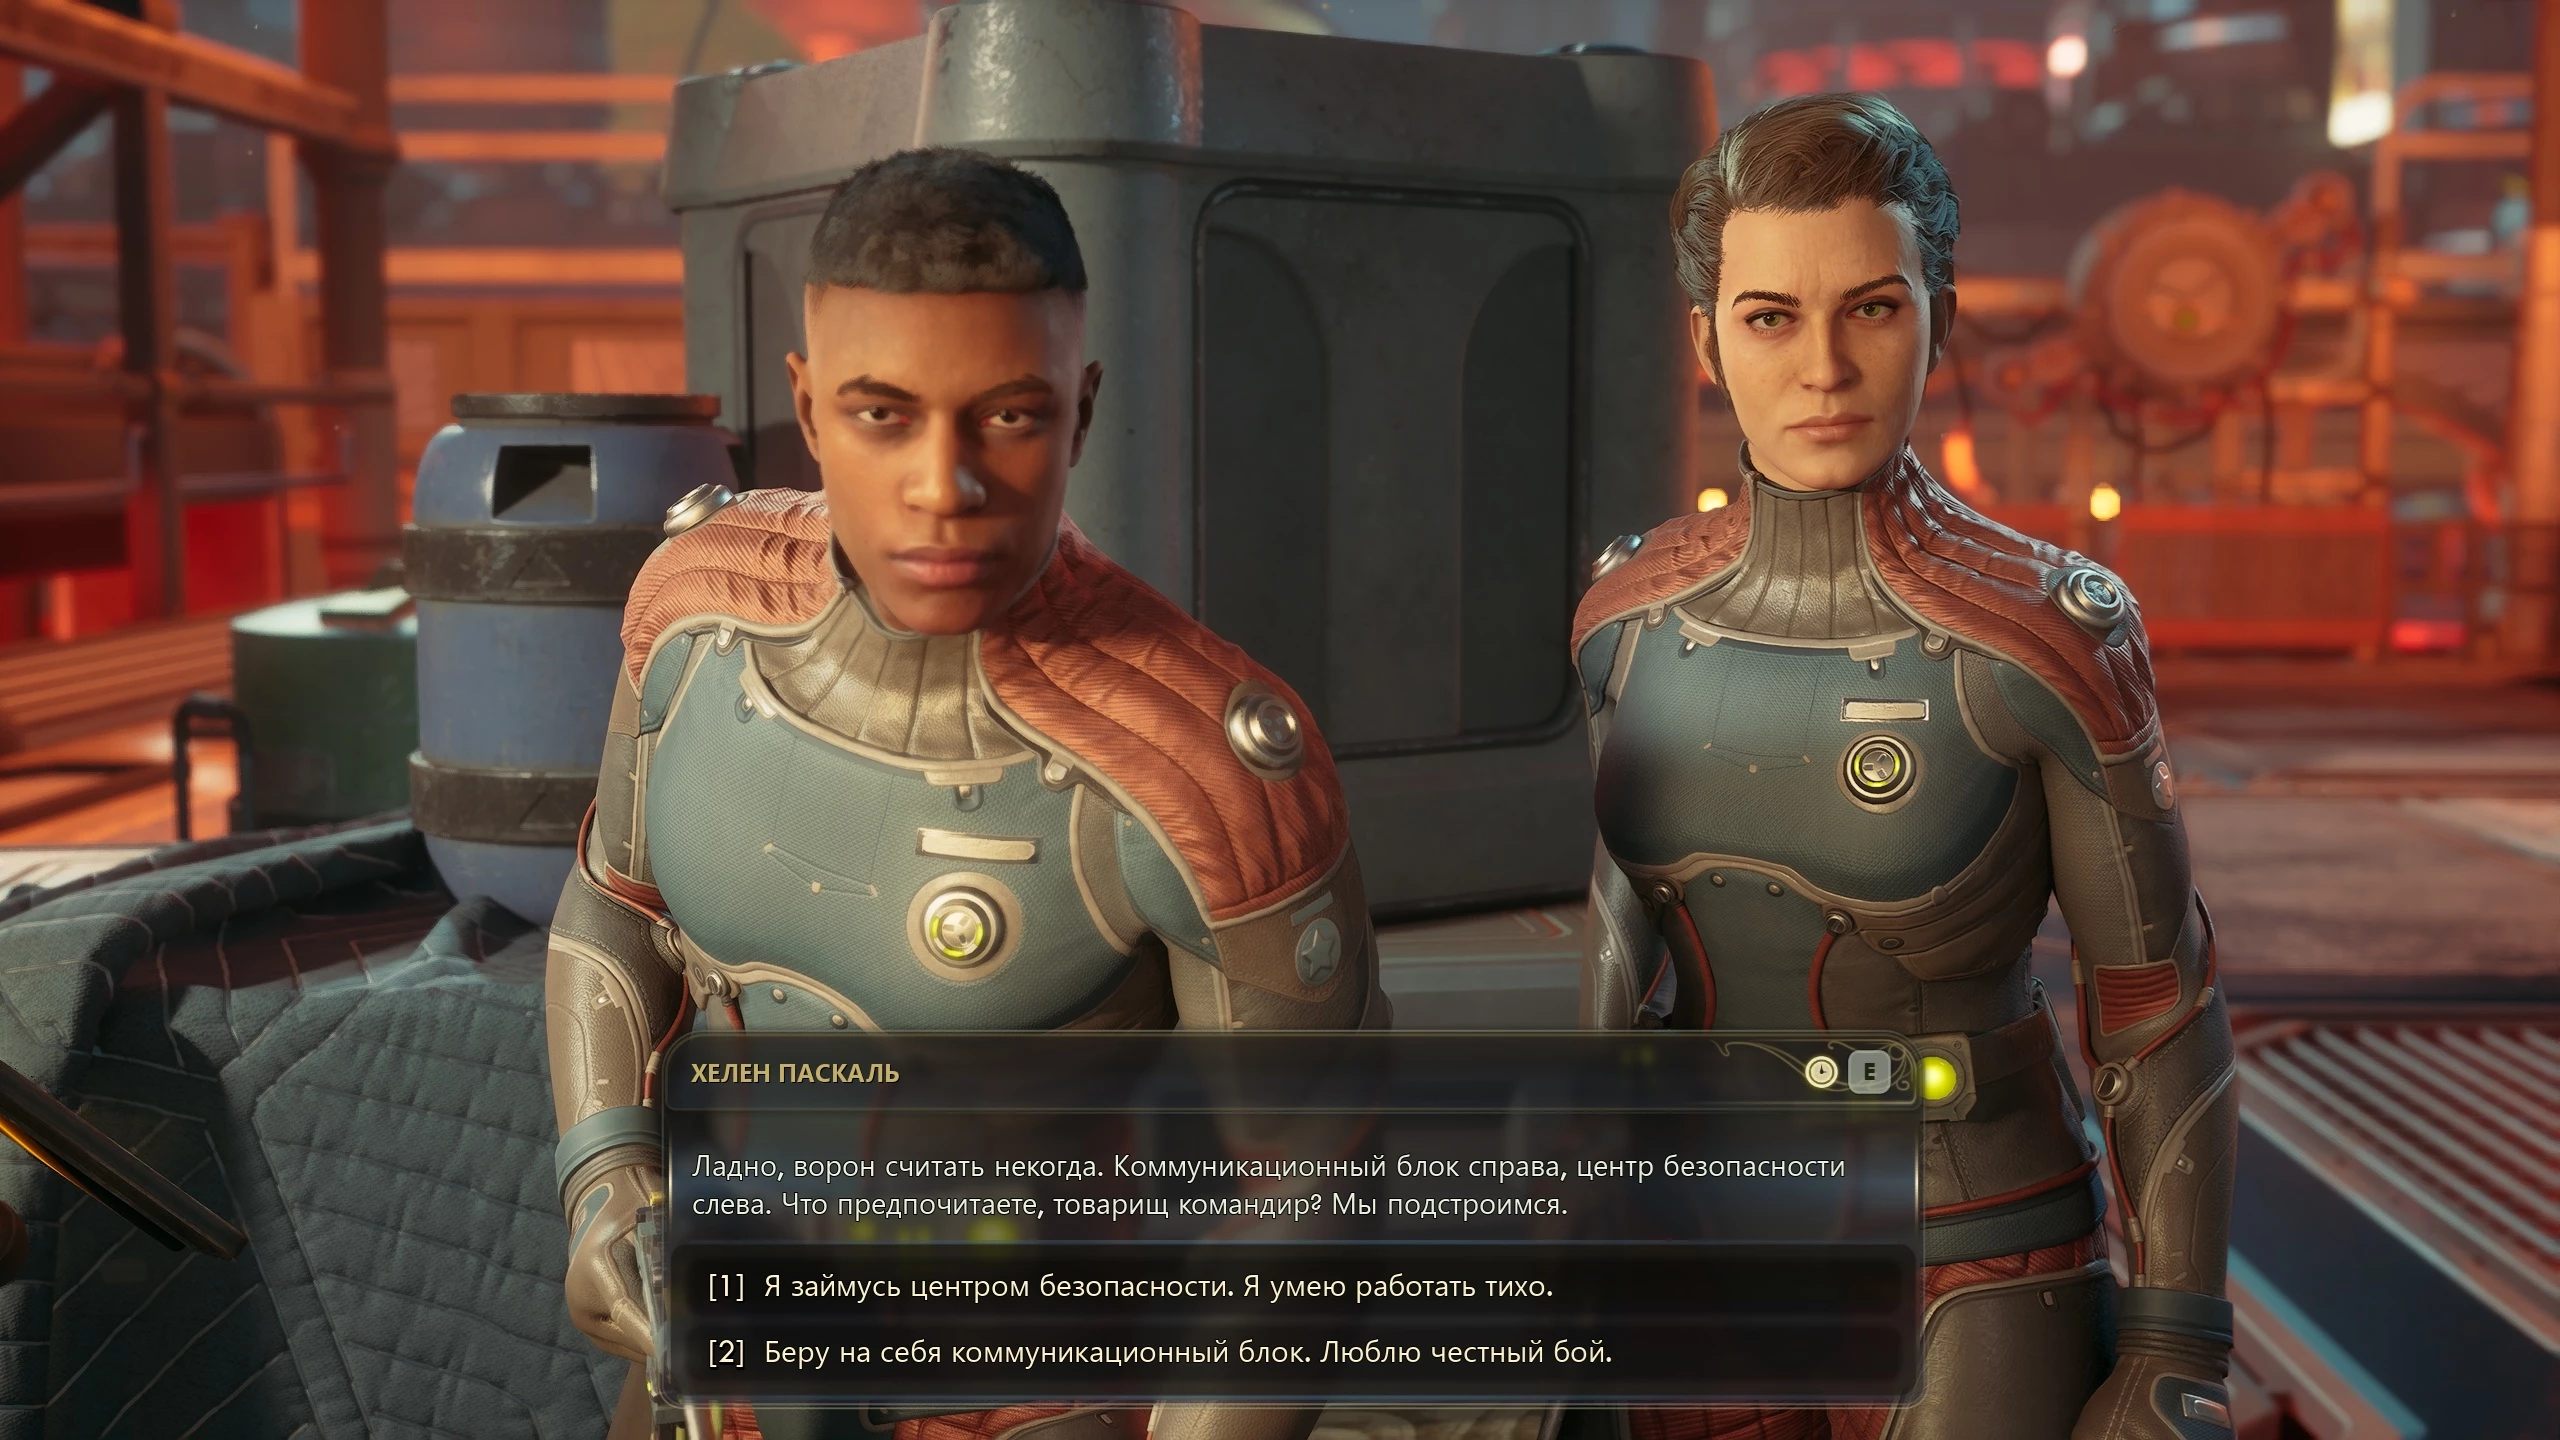
Find the notes on the ship and head to the allies' camp. Help them fend off the soldiers and restock supplies. Move forward and meet with Agustina de Vries and the phantom Helen Pascal. Convince the ghost to calm down and find the second ally point.
Fight your way through the soldiers toward the station core. Climb up the boxes to pick up a fragment of the equation. Go around the reactor on the left side and you’ll enter the sovereign’s room. Read the records on the computer and the board. Return to the terminal and neutralize the anomaly. Now you can activate the rift to move forward. If you have Aza and Marisol in your squad, you won’t need to search for the equation parts, just talk to them.

Reach the Protectorate shuttle. Eliminate the soldiers and board the consul’s ship. Move forward, at the end go right and climb to the second floor to use the terminal to open access to the hangar.
Go down to the hangar and help your allies defeat the enemies. Meet with Aunt Cleo and discuss the next steps. Now you need to go up to the upper deck. Enter the corridor and turn right. To use the elevator, crawl through the hatch and use Engineer level 13. Otherwise, sneak or fight your way through the room to the right of the elevator.
Scientists wander the science deck. Use Speech skills to lull their vigilance. Find a body near the rift and collect a tissue sample. Enter the opposite room and use the centrifuge on the table to get valuable information about the rifts.
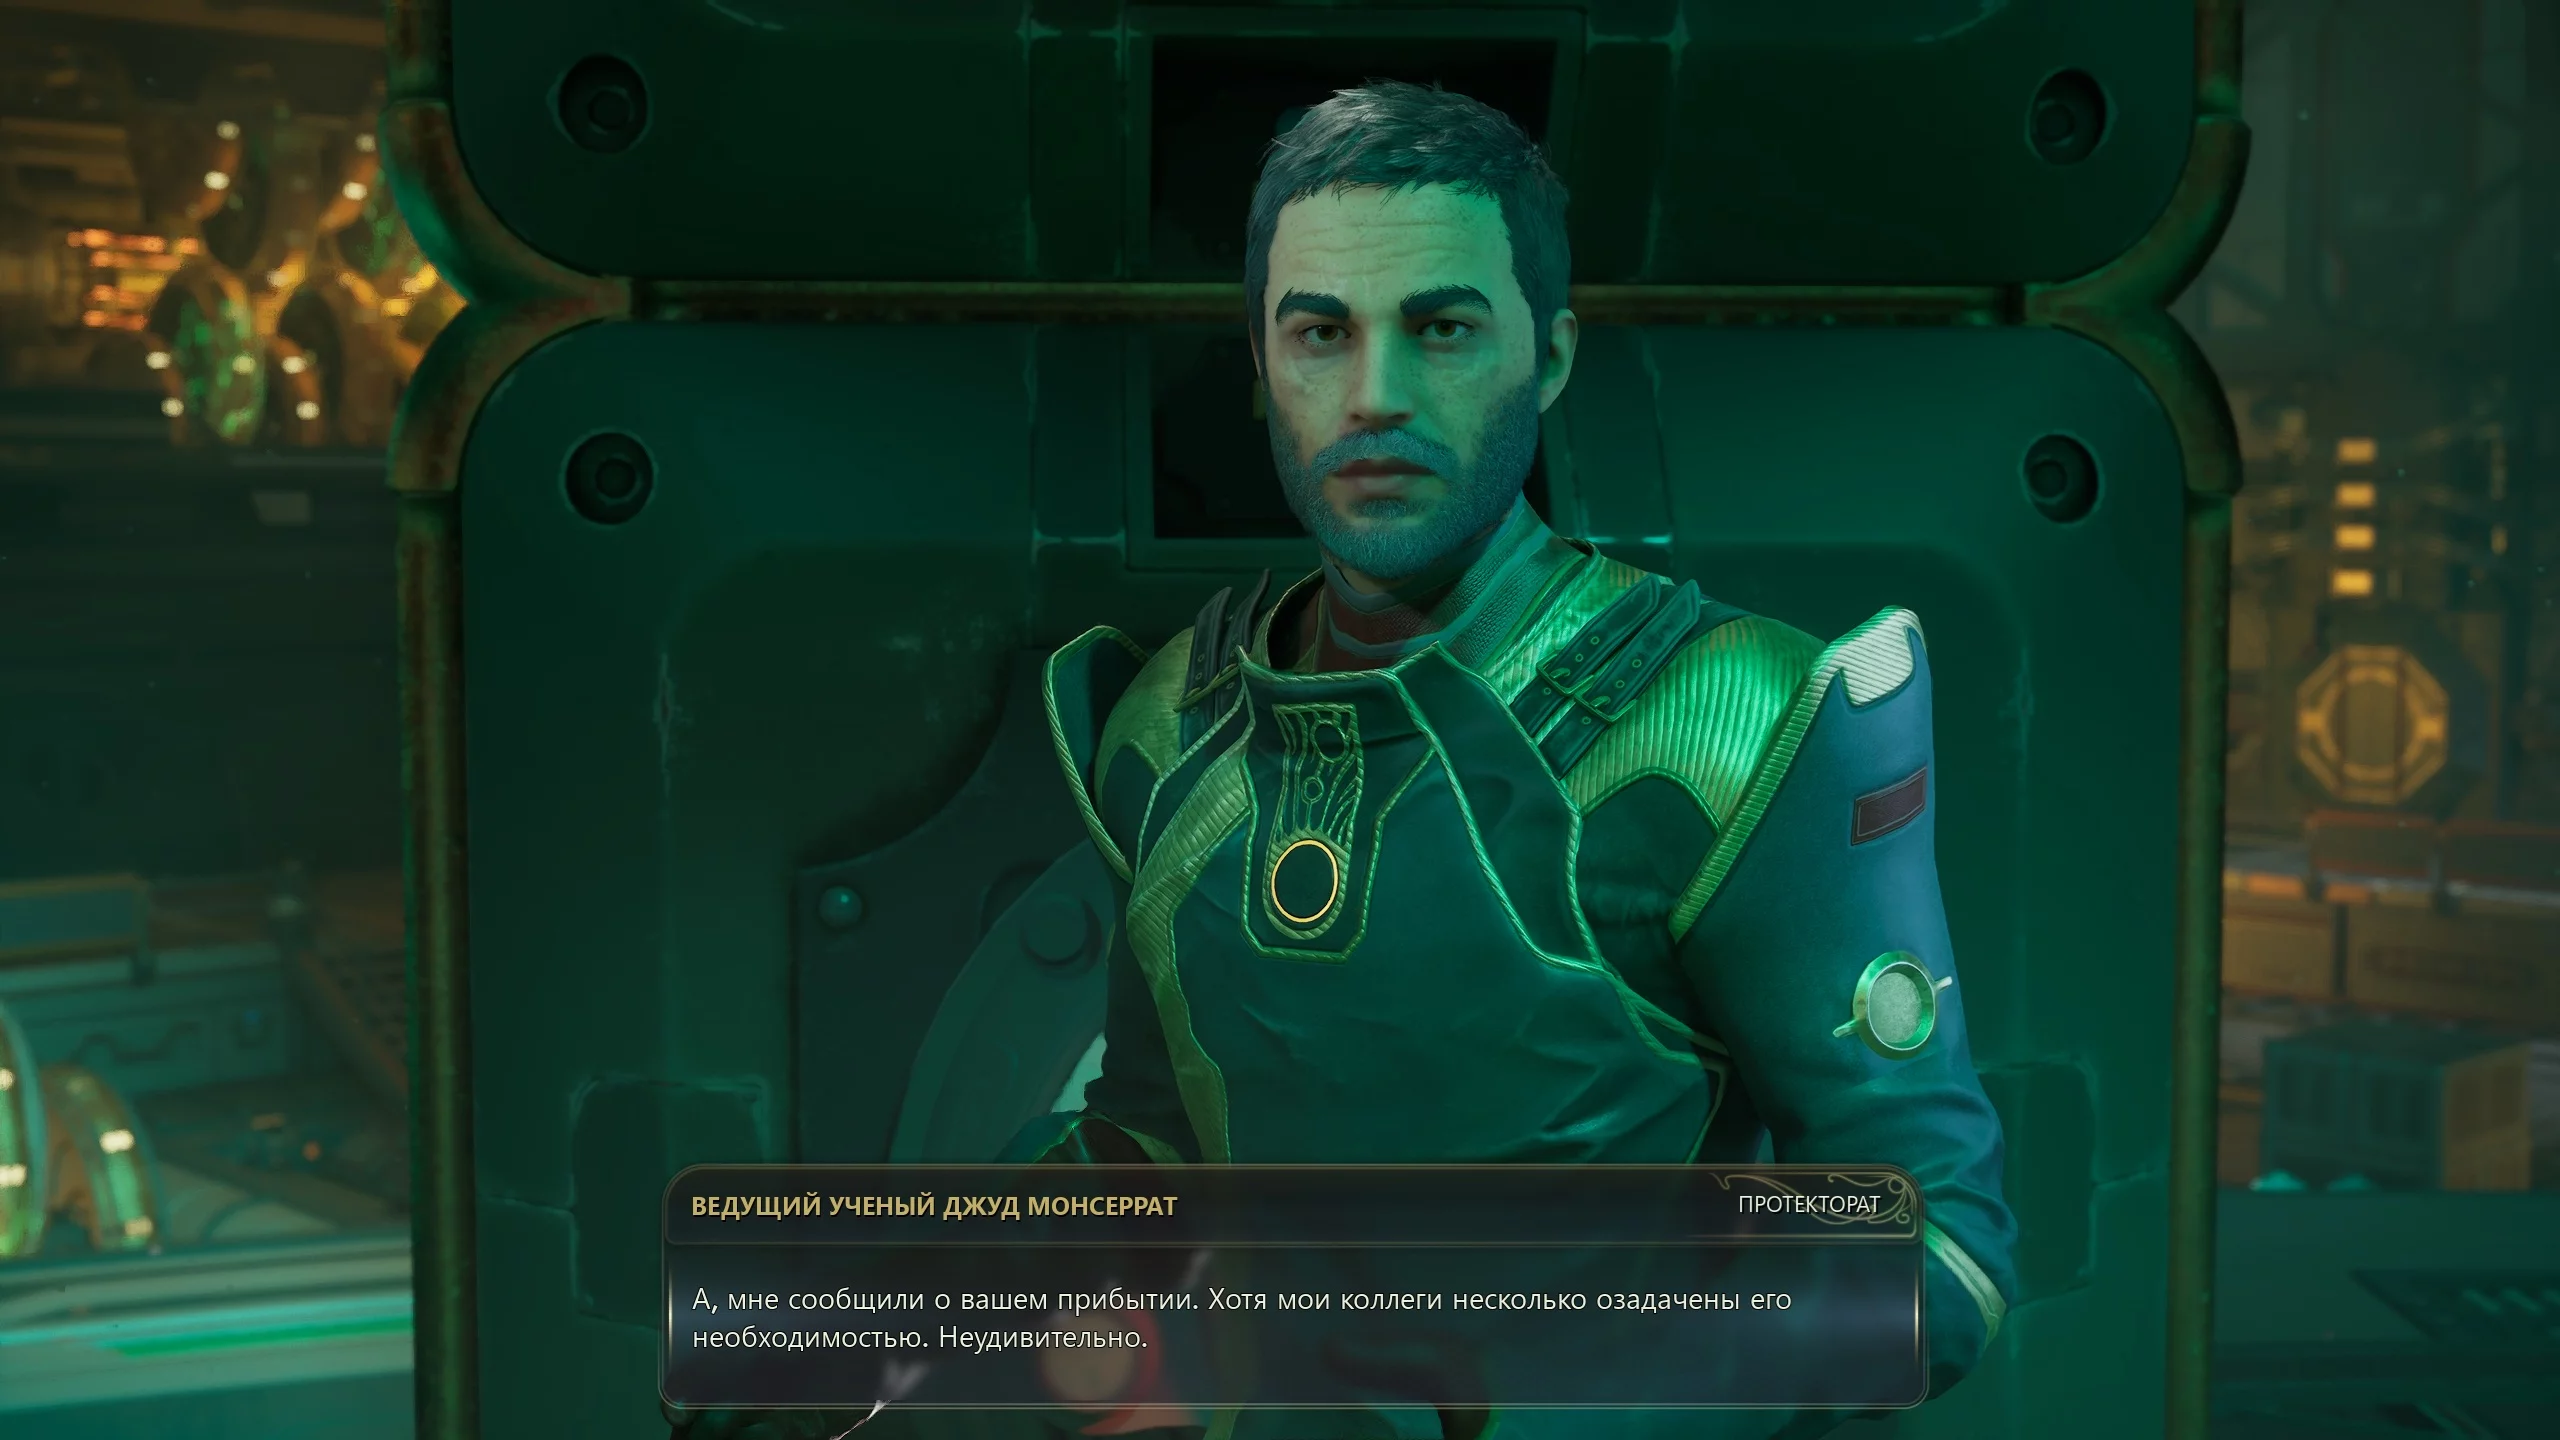
Enter the giant hangar and find lead scientist Judah Monserrat at the control panel. Convince him to give you the key card to access the control panel and record information about the destructive nature of the rifts onto the cartridge.
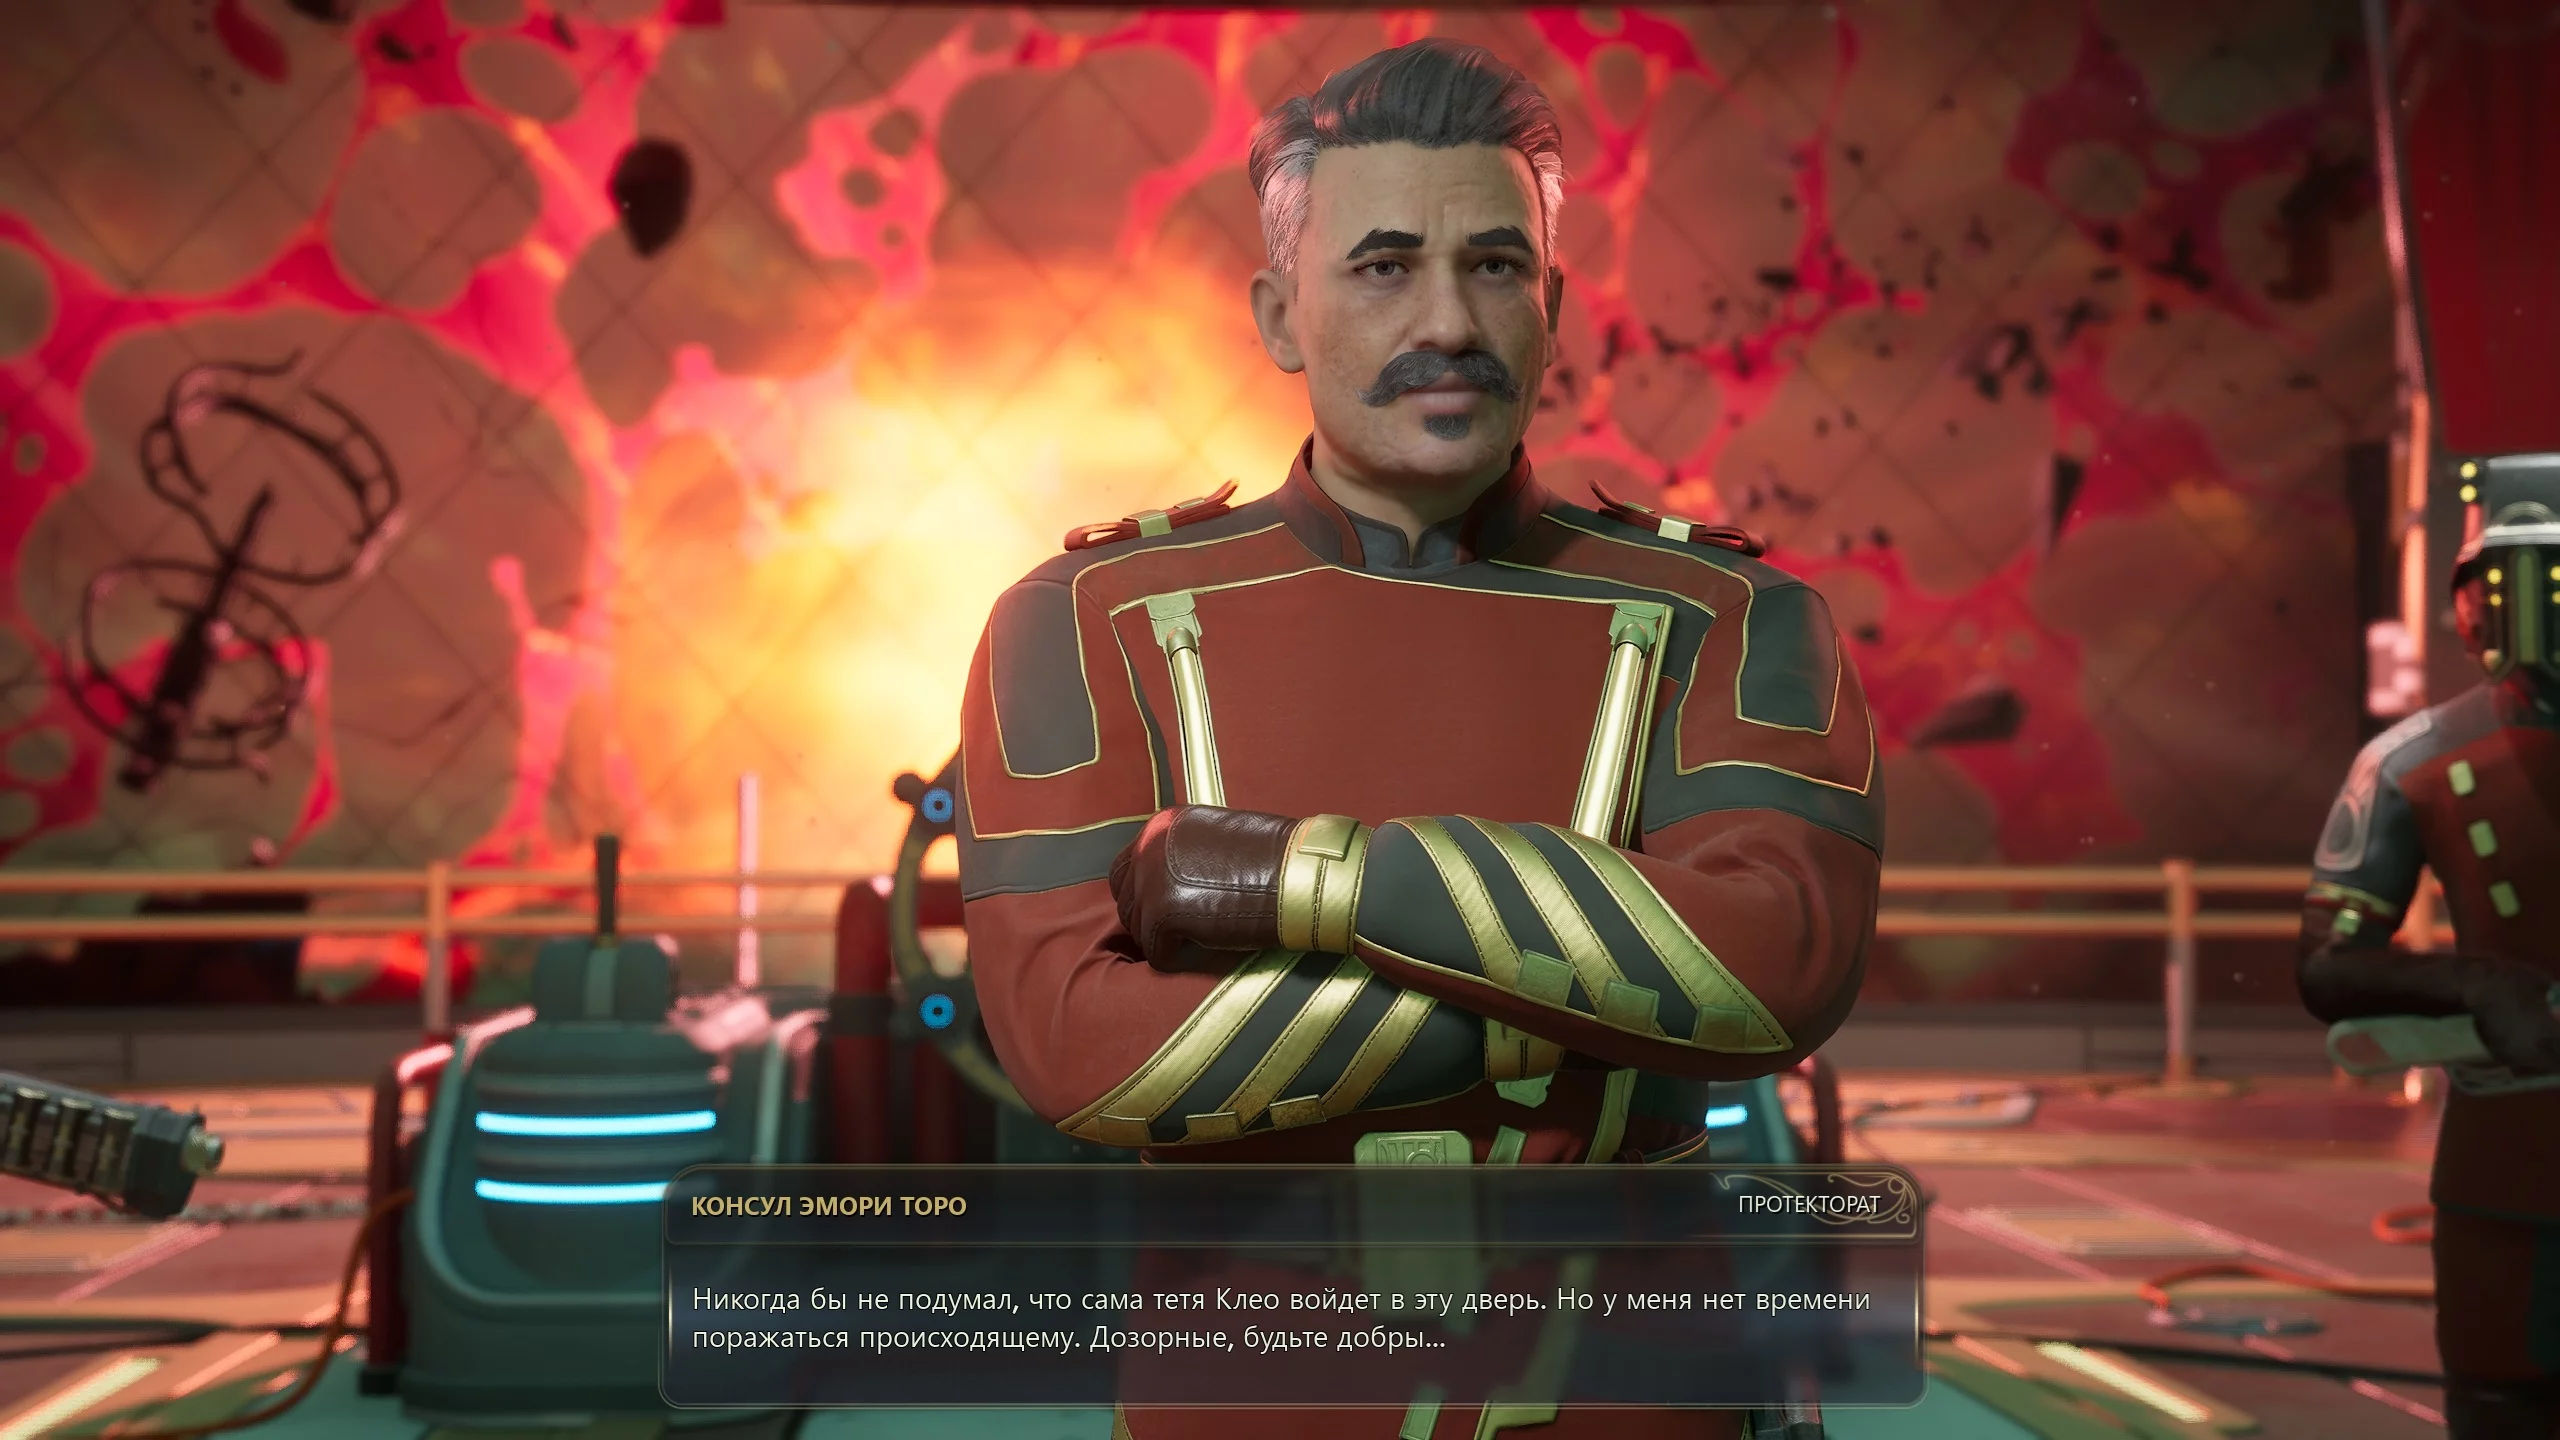
Go up to the command section, meet with Aunt Cleo and Agustina de Vries. Prepare for the final negotiations. Consul Emilio Toro believes that with rift control technology, all of Arcadia can be rebuilt from scratch. To stop the apocalypse, you need to destroy the ship with the modulator at the heart of the anomaly.
There are several ways to end the story.
- Convince the consul to retreat. This requires Speech level 20. You also need information from the science deck. As a result, Emory will decide to go to the center of the rift.
- Sacrifice a companion. This will happen if you failed to negotiate with the consul and had to kill him. In this case, Agustina de Vries or one of your companions can go into the anomaly.
- Sacrifice yourself. The only option if you came solo and couldn’t convince the consul. You can also sacrifice yourself instead of a companion.
- Destroy the galaxy. To do this, after the consul's death, refuse to make any choice. Arcadia will disappear, and the rifts will spread throughout the galaxy.
Determine Arcadia’s fate and watch the side endings. There you will see the consequences of your decisions regarding factions, settlements, companions, and secondary characters. The game lacks the classic free exploration mode and New Game+ mode typical for such projects, so you’ll need to start over and load one of your previous saves.
Other guides
- The Outer Worlds 2: Complete Companion Guide — How to Recruit and Upgrade All Allies
- The Outer Worlds 2: How to Cure Drug Crash Status Effect
- The Outer Worlds 2 Map Guide — Interactive Map with All Locations and Landmarks
- Should You Help the Refugee in The Outer Worlds 2
- The Outer Worlds 2: Fastest Ways to Level Up Every Skill
- How to Tame Animals in The Outer Worlds 2
- Who Else But Us in The Outer Worlds 2: How to Find All Armory Passes
- The Outer Worlds 2 — Saga of Malfunctioning Mechanicals: Automech Part Location Guide
- The Outer Worlds 2 — How to Get Double Jump Ability
- Victory Over Noxious Fumes in The Outer Worlds 2: How to Shut Off the Zyranium Pipeline
-
 The Outer Worlds 2 — How to Get Double Jump Ability
 -
 Victory Over Noxious Fumes in The Outer Worlds 2: How to Shut Off the Zyranium Pipeline
 -
 The Outer Worlds 2 — Saga of Malfunctioning Mechanicals: Automech Part Location Guide
 -
 Who Else But Us in The Outer Worlds 2: How to Find All Armory Passes
 -
 How to Tame Animals in The Outer Worlds 2
 -
 Palworld 1.0 Best Pals for Early Game, Combat, Bases, and Mounts
 -
 The Outer Worlds 2 Scores 85% Positive Reviews on Steam
 -
 The Outer Worlds 2 Tested on 31 Different Graphics Cards
 -
 The Outer Worlds 2 Playfully Roasts $99.99 Premium Edition Buyers — and Fans Are Loving It
 -
 The Outer Worlds 2 Character Creation Guide: Best Background, Attributes & Skills
 -
 The Outer Worlds 2 Receives Hotfix 1.0.4.1 to Fix Crashes and Improve Stability