Kingdom Come Deliverance 2: Johnny the Gob Walkthrough

Johnny the Gob is the third quest to be completed by assignment from Centurion Rudy in the game Kingdom Come: Deliverance 2. This time, you will return to the place where the hero's entourage was attacked by robbers at the beginning of the game. You will not only have to deal with a gang of dangerous thugs but also fulfill an unusual request from the centurion.
How to Start the Johnny the Gob Quest
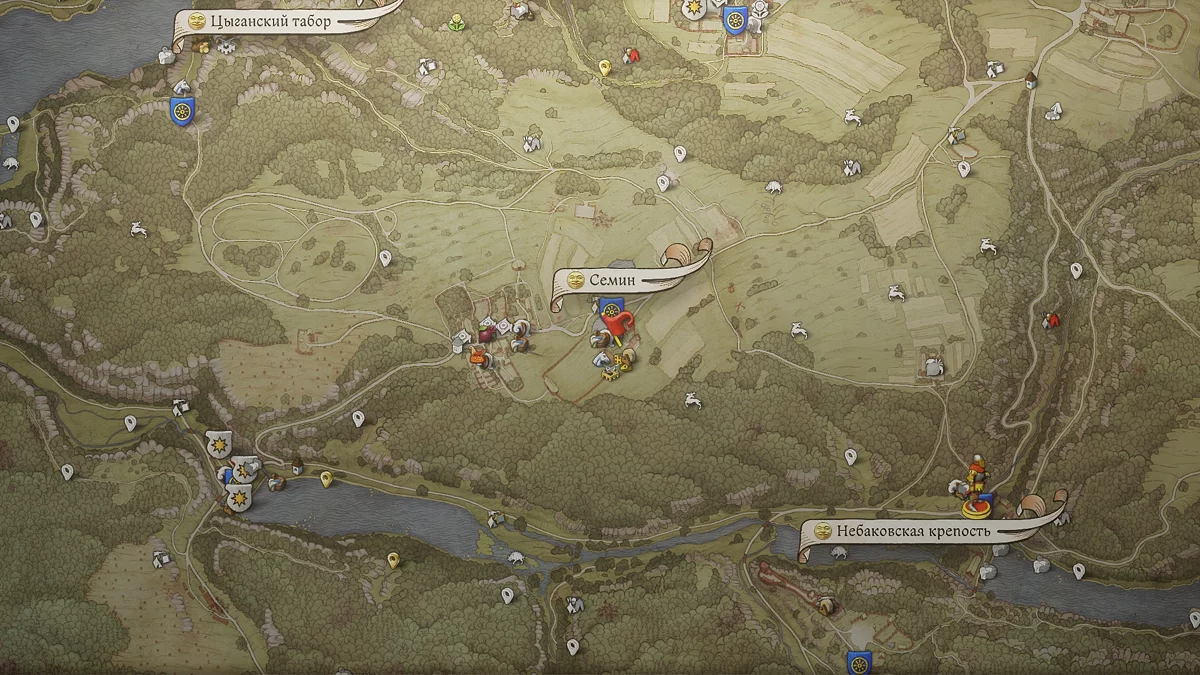
You can start this task after completing the "Handsome Charlie" quest. Head to the Semin fortress in Trosky and find Centurion Rudy there. If you showed mercy in the previous assignment and spared the charcoal burners, Rudy will give you money and express gratitude for saving their lives. After that, he will tell you about a robber named Jan, who was once his comrade, whose gang needs to be destroyed. However, the centurion asks you to spare Jan if possible and bring his shield as proof of the completed task.
Defeat Johnny the Gob's Gang
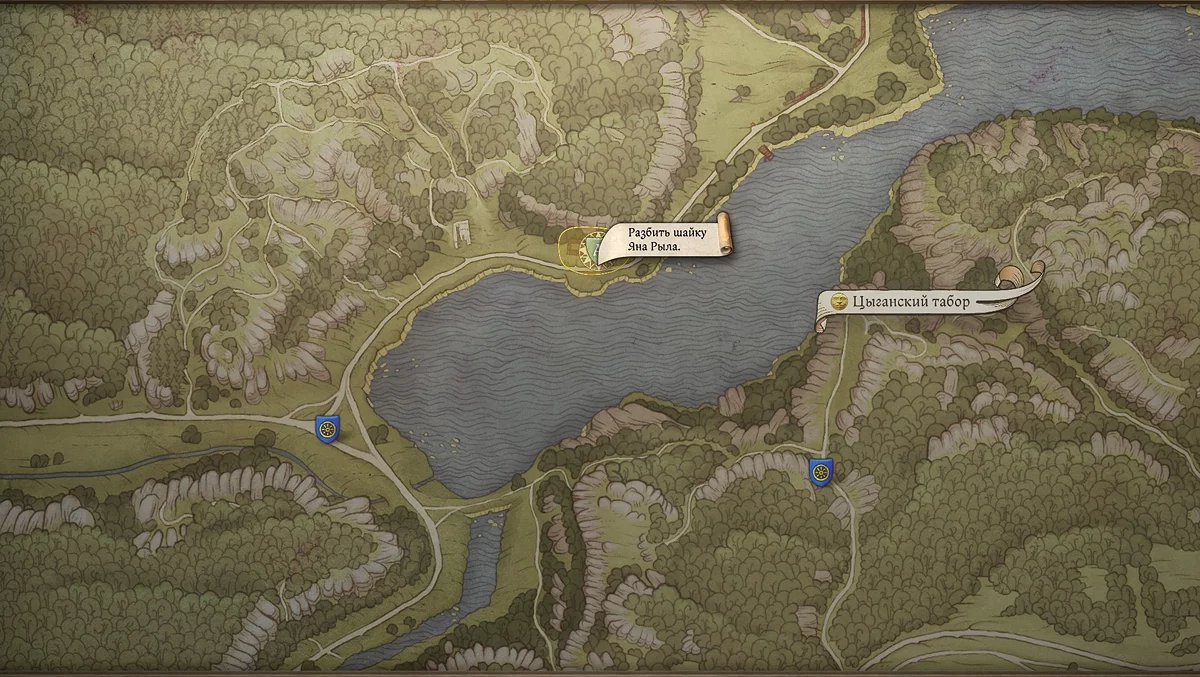
Head to the Vezhicky Pond. Follow the main road, skirting the lake on the left side, and soon you will find the bandit camp. You will be met by seven fighters. We recommend attacking them at night: at this time, only two patrols will be awake, while the others will be asleep. The main difficulty is that Jan, the gang leader, will only surrender after all his accomplices are dead. Even if you kill them in their sleep, you will still have to fight Jan — he will fight to the last until he begs for mercy. You can avoid the fight altogether if you are cunning. Jan always sleeps in the same place — under a canopy next to the bushes. You can simply steal his shield and take it to the centurion.
If you are forced to fight them all, try to lure them into the tent: in the narrow space, you can deal with them one by one. Regardless of the outcome of the battle, do not forget to take Jan's shield from the camp. Also, thoroughly search the chests — in addition to valuables, there may be useful resources that will come in handy later.
Bring Jan's Shield to Rudy
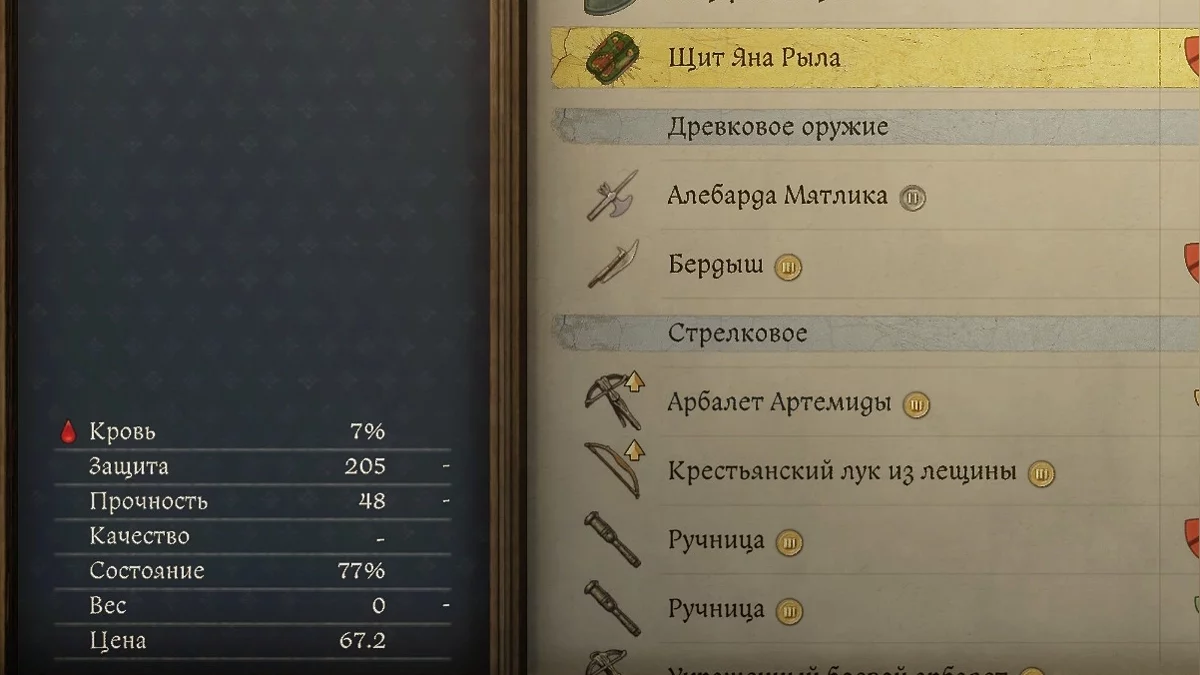
Go to the centurion in Semin and tell him that the robbers have been dealt with. Present the shield as proof. The centurion will be grateful to you for sparing Jan's life. Ask Rudy to let you keep the shield, and he will not refuse your request. This trophy will be your only reward for successfully completing the assignment.
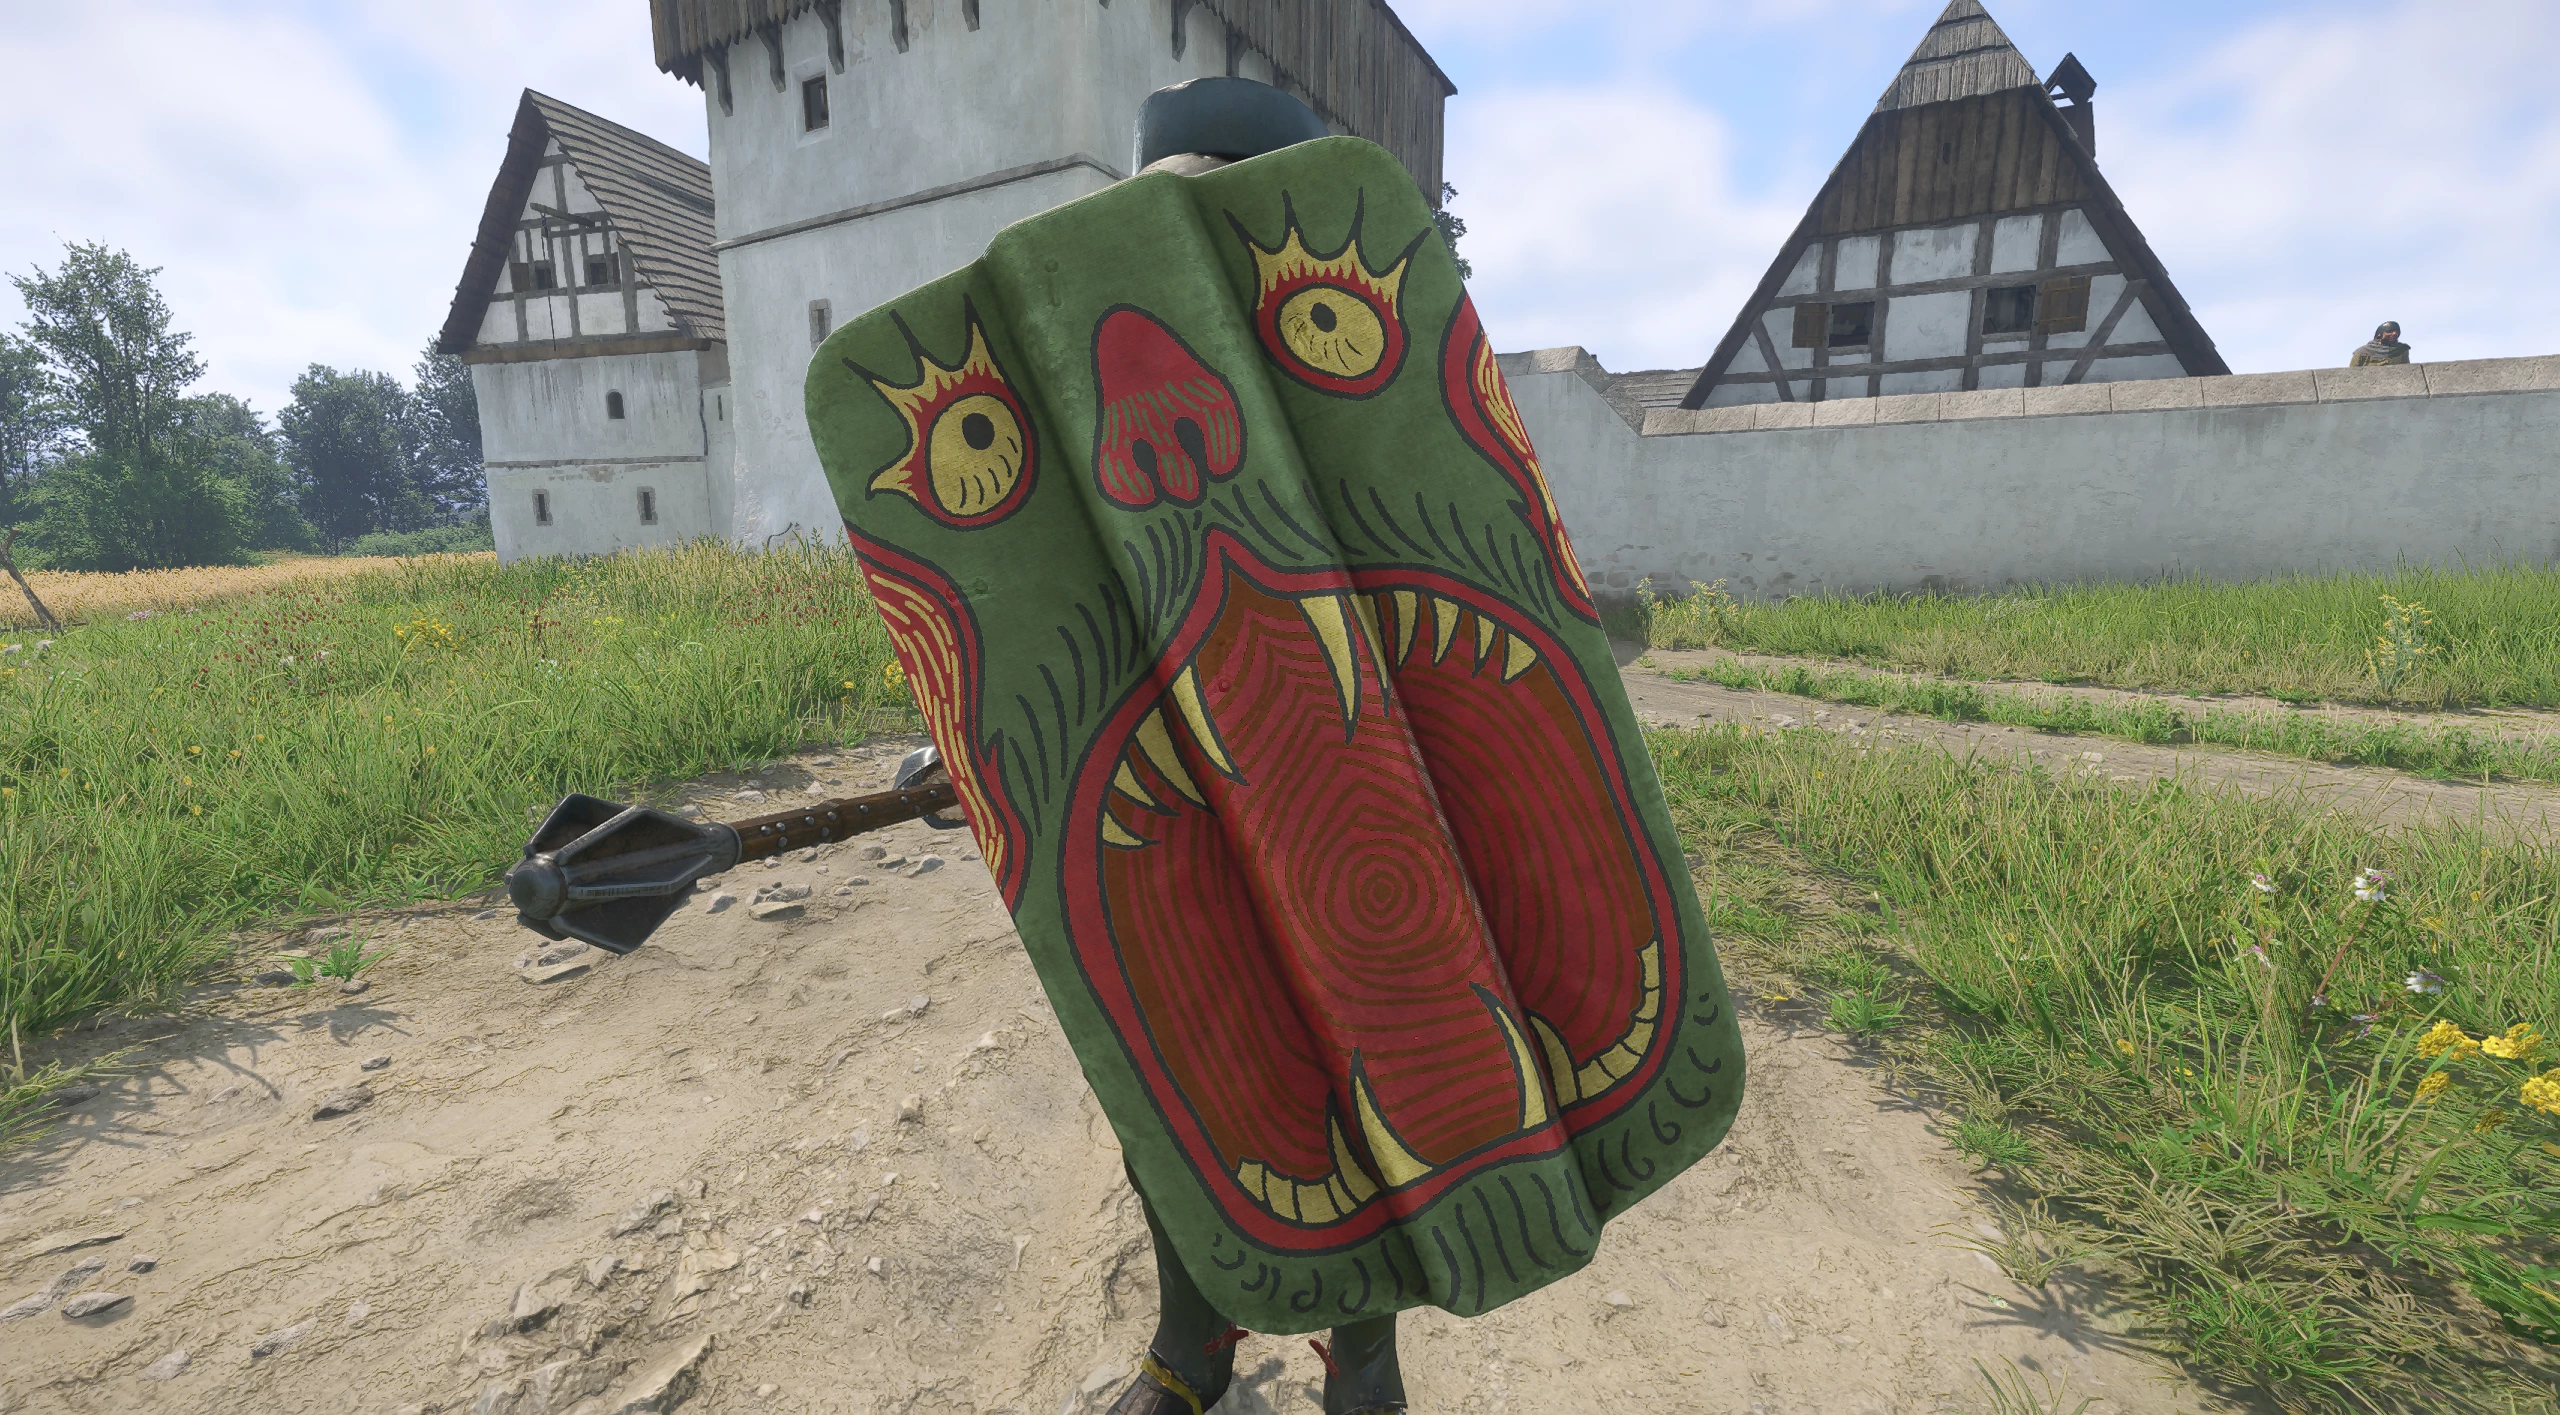
After this, wait a few days and return to Rudy — he will give you the last task. At the end of the quest, you may receive a shield that can rightfully be called one of the most impressive in the game. It not only has outstanding characteristics but also stands out with its unique design.
Next quest: Casper.
Walkthrough of Side Quests in Kingdom Come: Deliverance 2
- Mutt
- Lackey
- Bad Blood
- Materia Prima
- Forbidden Fruit
- Opus Magnum
- The Lion's Crest
- Invaders
- The Axe from the Lake
- Mice
- The Blacksmith's Son
- The Jaunt
- The Hermit
- Miri Fajta
- The Mouth of Hell
- Bellatores
- Skeleton in the Closet
- Dragon's Lair
- Canker
- Handsome Charlie
- Johnny the Gob
- Casper
- The White Roebuck
- Hush, My Darling...
- Absolver
- The Thunderstone
- X Marks the Spot
- Hammer and Tongs
- Yackers 'n' Fash
- Ransom
- The Reliquary
- Thou art but dust
- Striped Tonies
- Popinjay Shoot
- Ars Dimicatoria
- Arrow-head
- In Vino Virilitas
- Feast for the Poor
- Spoils of War
- Post Scriptum
- The Thieves' Code
- Troubadours
- Bird of Prey
- A Good Scrub
- Ill Repute
- The Spark
- All's fair
- Seeking Justice
Other guides
- Kingdom Come Deliverance 2: Via Argentum Quest Walkthrough
- Kingdom Come: Deliverance 2 Walkthrough Guide
- Kingdom Come Deliverance 2 Beginner's Guide: Tips and Tricks
- Kingdom Come Deliverance 2: The Lion's Den Quest Walkthrough
- Kingdom Come Deliverance 2: Lady Rosa Romance Guide
- Kingdom Come Deliverance 2: Back in the Saddle Walkthrough
- Kingdom Come Deliverance 2: For Victory! Walkthrough
- Kingdom Come Deliverance 2: Fixing Technical Problems and Bugs
- Location of Save Files in Kingdom Come: Deliverance 2
- Kingdom Come Deliverance 2: The King's Gambit Walkthrough