Kingdom Come Deliverance 2: Invaders Walkthrough

In Kingdom Come: Deliverance 2, the quest "Invaders" presents players with a challenging task: to fight the Cumans or befriend them. In this guide, you'll learn how to successfully complete the quest, avoid mistakes, and earn all the rewards.
Walkthrough of Side Quests in Kingdom Come: Deliverance 2
- Mutt
- Lackey
- Bad Blood
- Materia Prima
- Forbidden Fruit
- Opus Magnum
- The Lion's Crest
- Invaders
- The Axe from the Lake
- Mice
- The Blacksmith's Son
- The Jaunt
- The Hermit
- Miri Fajta
- The Mouth of Hell
- Bellatores
- Skeleton in the Closet
- Dragon's Lair
- Canker
- Handsome Charlie
- Johnny the Gob
- Casper
- The White Roebuck
- Hush, My Darling...
- Absolver
- The Thunderstone
- X Marks the Spot
- Hammer and Tongs
- Yackers 'n' Fash
- Ransom
- The Reliquary
- Thou art but dust
- Striped Tonies
- Popinjay Shoot
- Ars Dimicatoria
- Arrow-head
- In Vino Virilitas
- Feast for the Poor
- Spoils of War
- Post Scriptum
- The Thieves' Code
- Troubadours
- Bird of Prey
- A Good Scrub
- Ill Repute
- The Spark
- All's fair
- Seeking Justice
How to Start the "Invaders" Quest
The quest becomes available as soon as you part ways with Lord Ptacek in Troskovice. Enter the tavern and respond to the Cumans' remark, then talk to Beta. She will ask you to serve them, which will result in a fight. It's better to switch to other tasks and wait until the Cumans leave the city and settle near the Gypsy camp.
Talk to Vujtek
If you didn't complete the quest immediately, the Cumans will leave after some time, and the task will change. Return to Beta and ask what to do next. She will send you to Vujtek.
Find the Cumans' Camp
You can head straight to the Gypsy camp or first visit Lord Somin's estate. There you will get information about a shepherd, and from the latter, you will learn where the Cumans have settled.
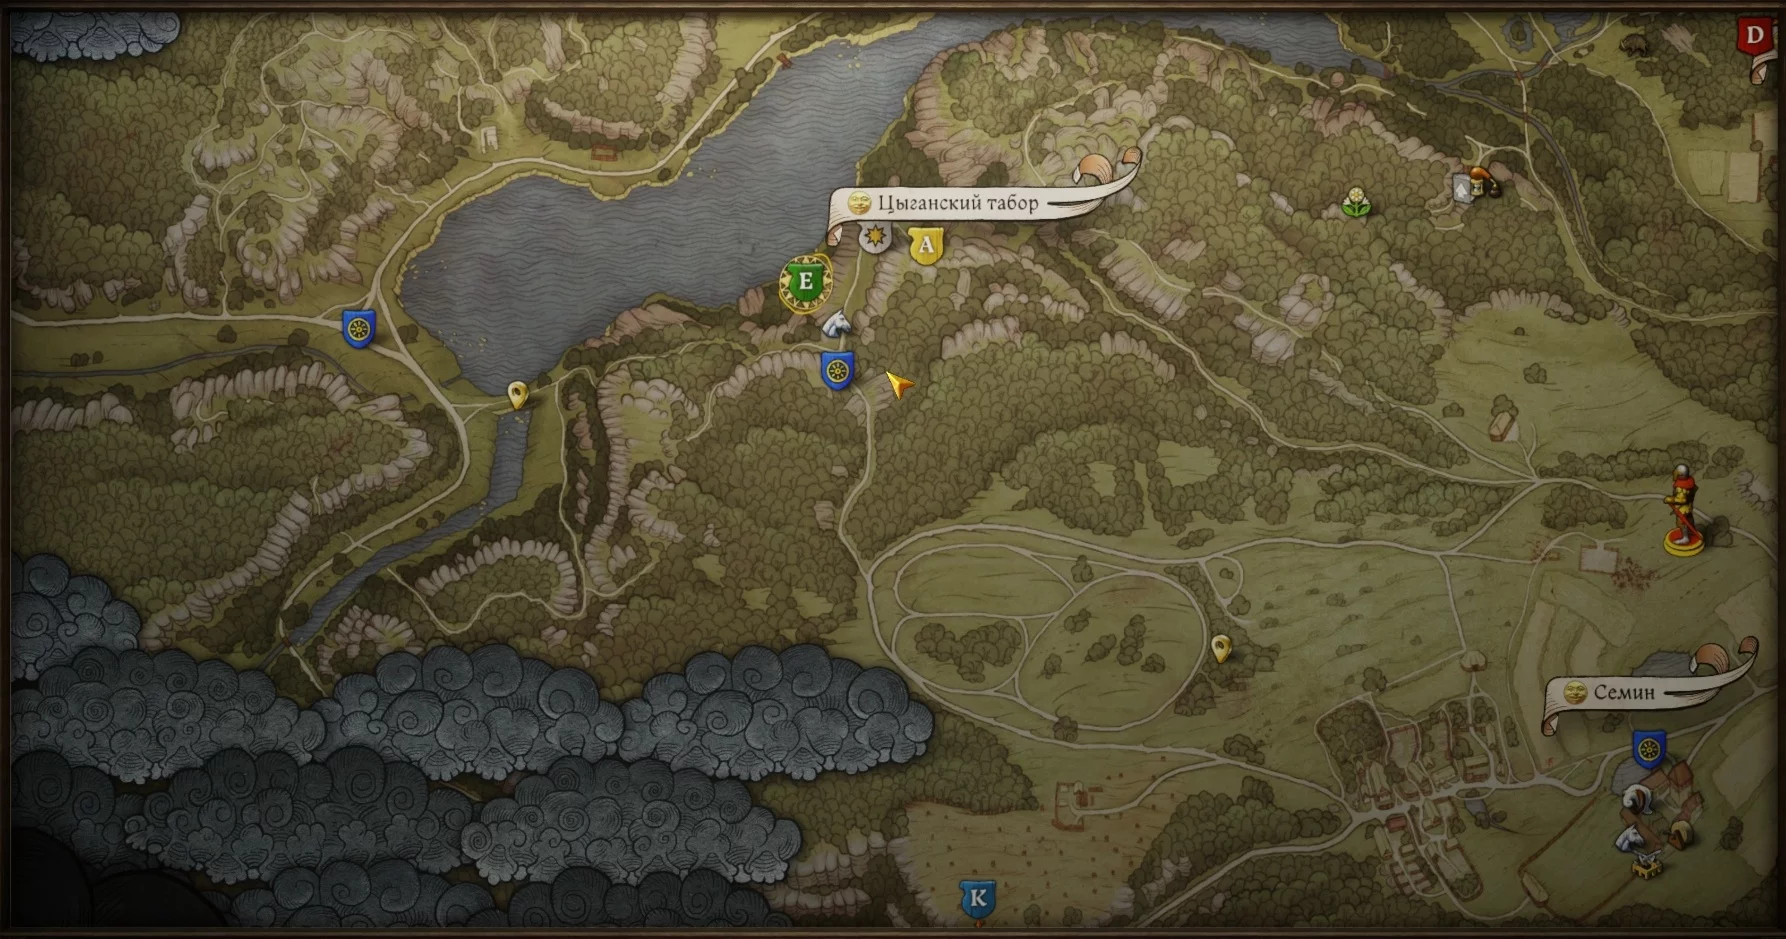
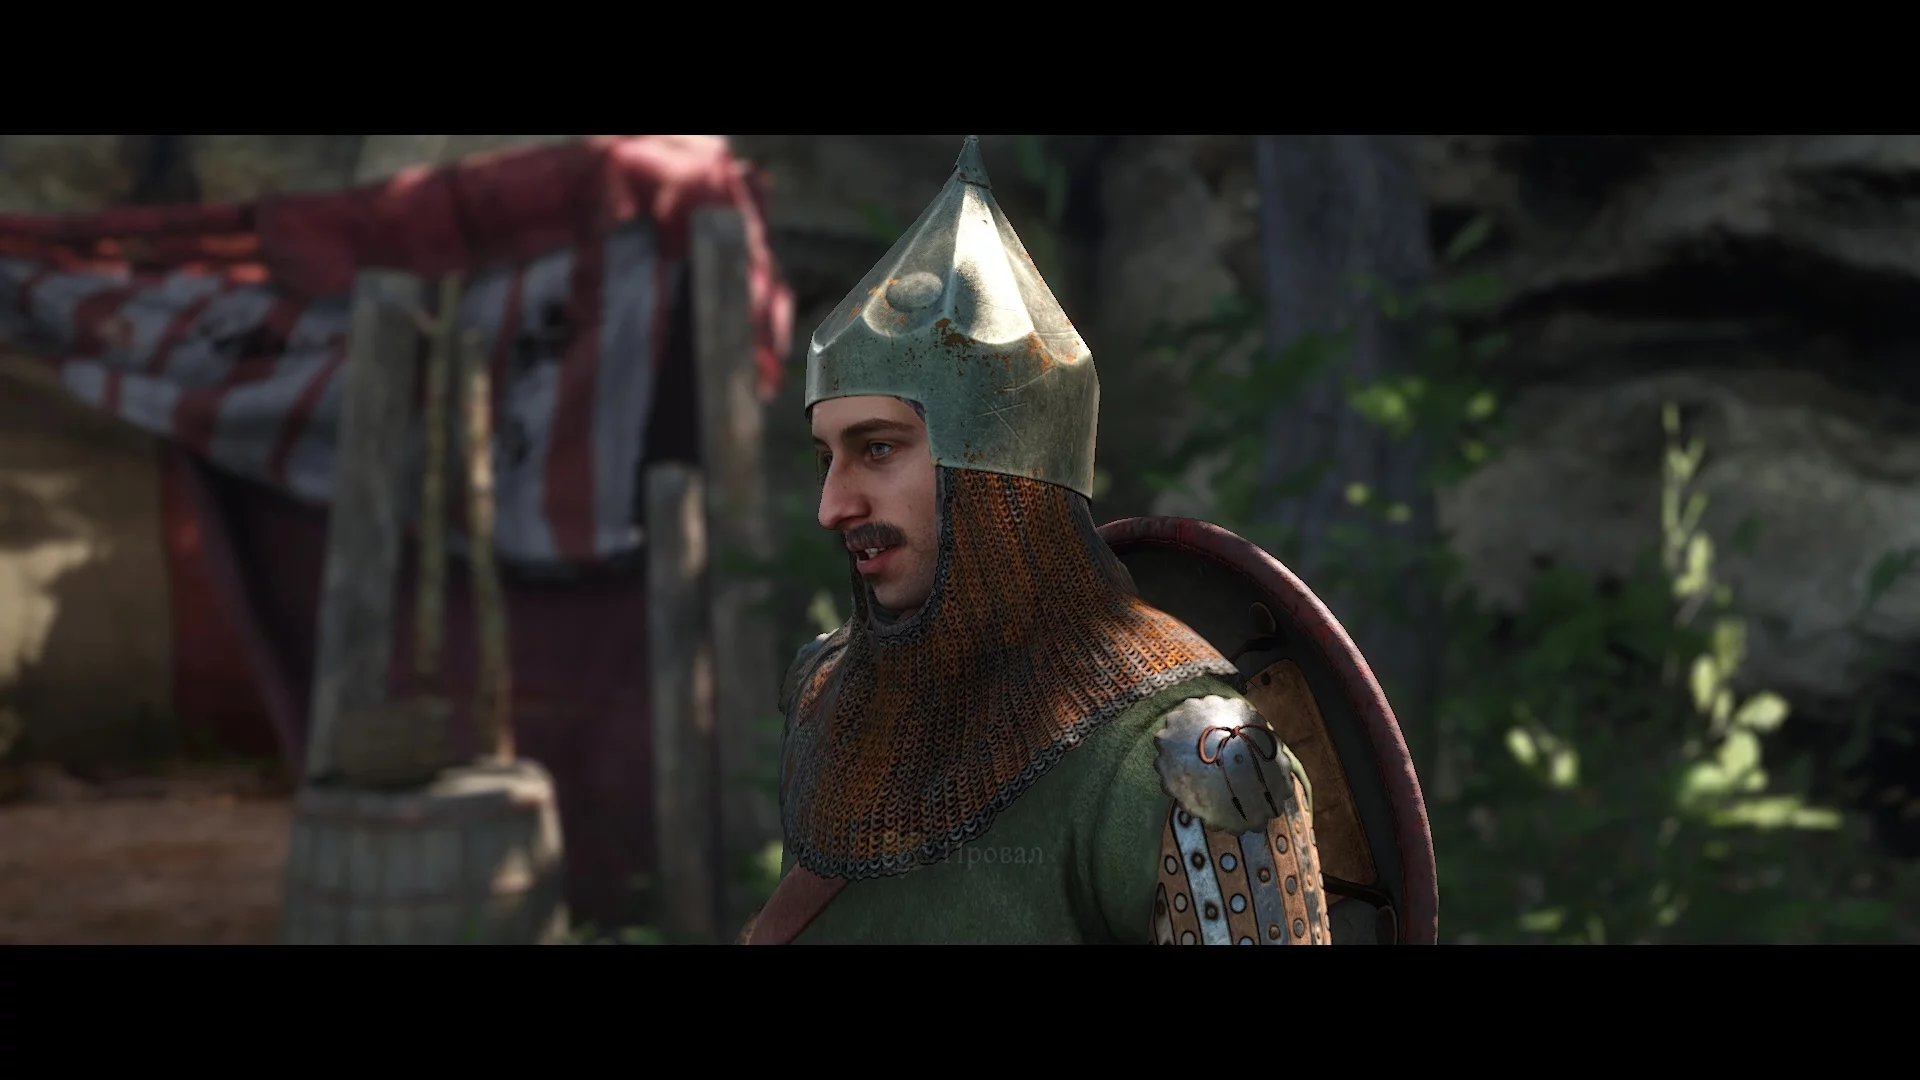
Talk to the Cumans in Their Camp
In the camp, find a mustached man named Vasco. He is the local leader with whom you'll spend some time. Tell him "I just wanted to warn you" and ask the available questions. If you agree to drink with the squad, you'll slightly increase your reputation.
Talk to the Nomad Girl
In this segment of the walkthrough, you need to try to explain to the girl from the camp that Yasak likes her. Some skill checks will be available for this, but no matter how hard we tried, we couldn't complete them positively. If you also achieve nothing, you can choose the option "Give him a chance" for a good laugh.
If the dialogue ends negatively, you'll have to beat Yasak. Even if you pass all the skill checks, another man from the camp will soon approach and try to provoke a fight. There will be plenty of such situations in the game, which is why we recommend leveling up your fist fighting skill as soon as possible.
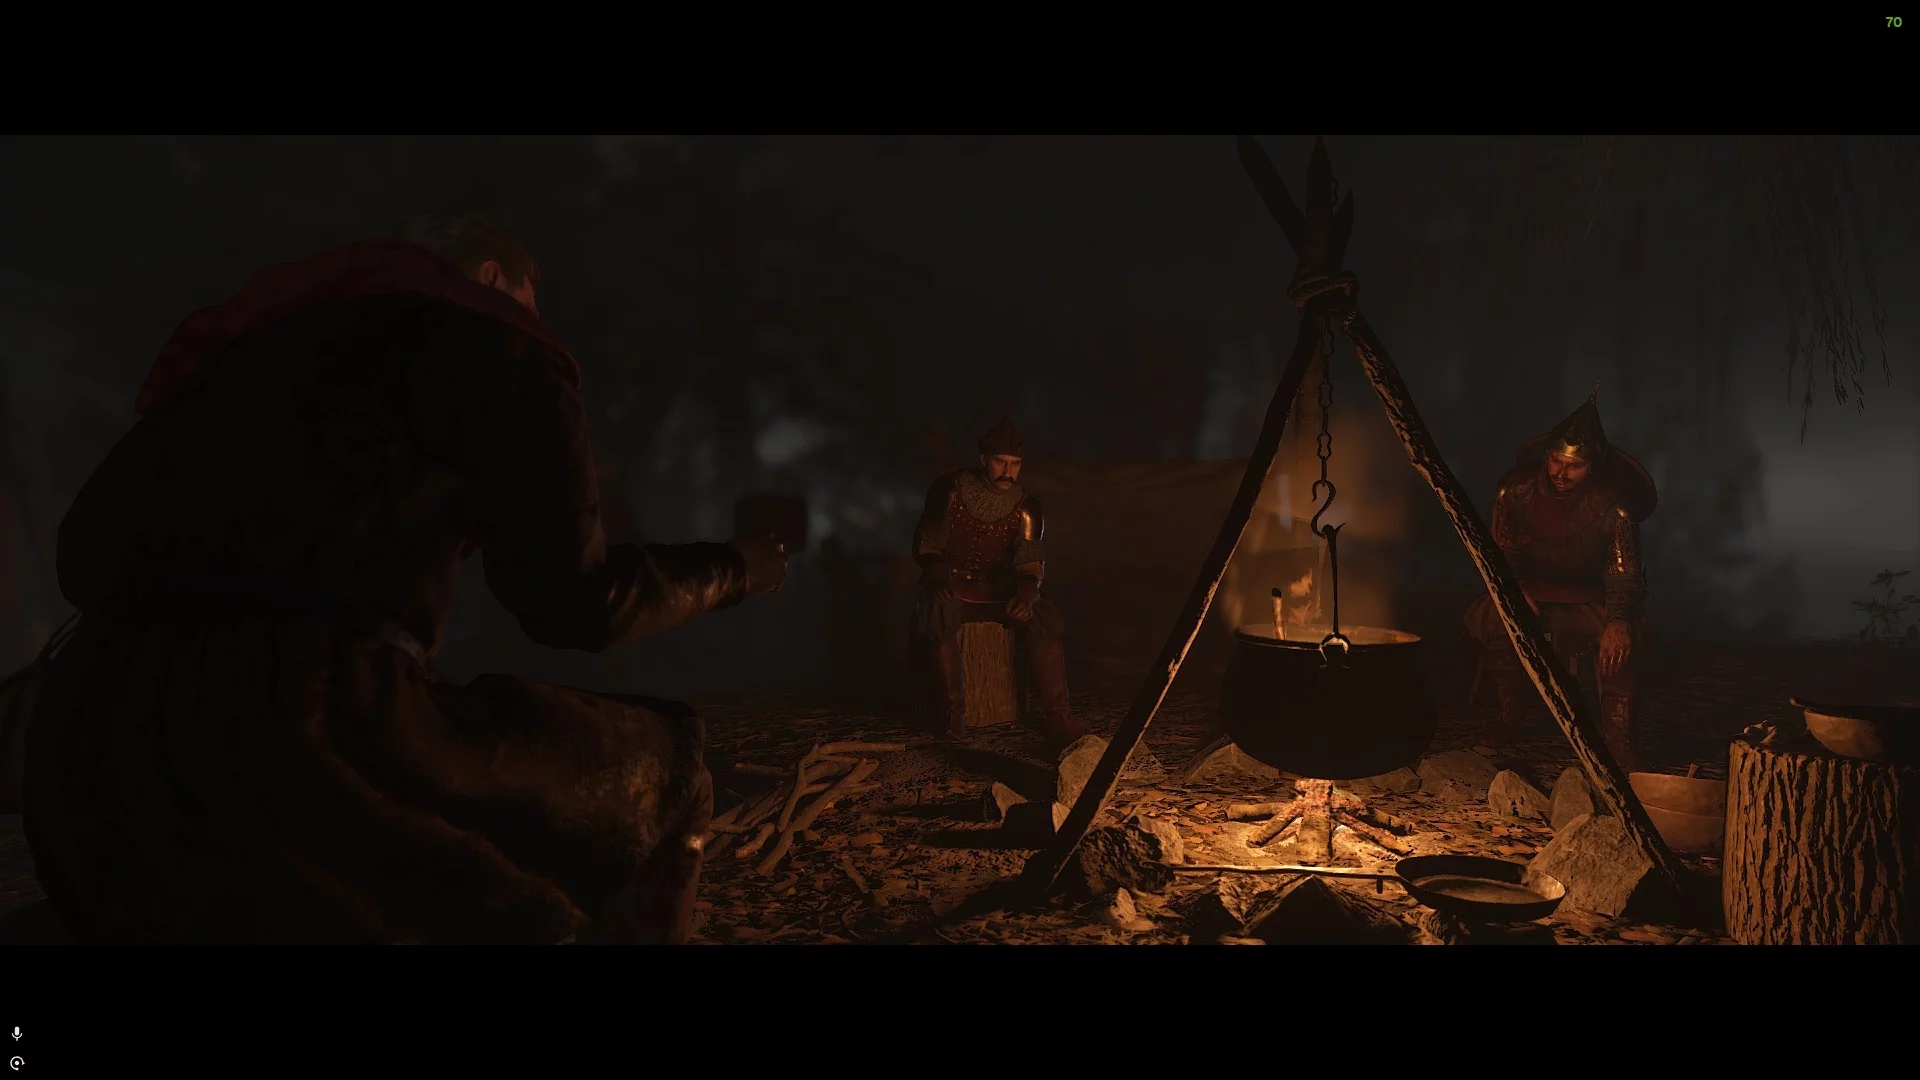
Return to Vasco
Interact with the Cuman leader again. You will then have a lengthy dialogue with various response options — choose them yourself. Soon, the man will suggest going to the stash to get some drinks.
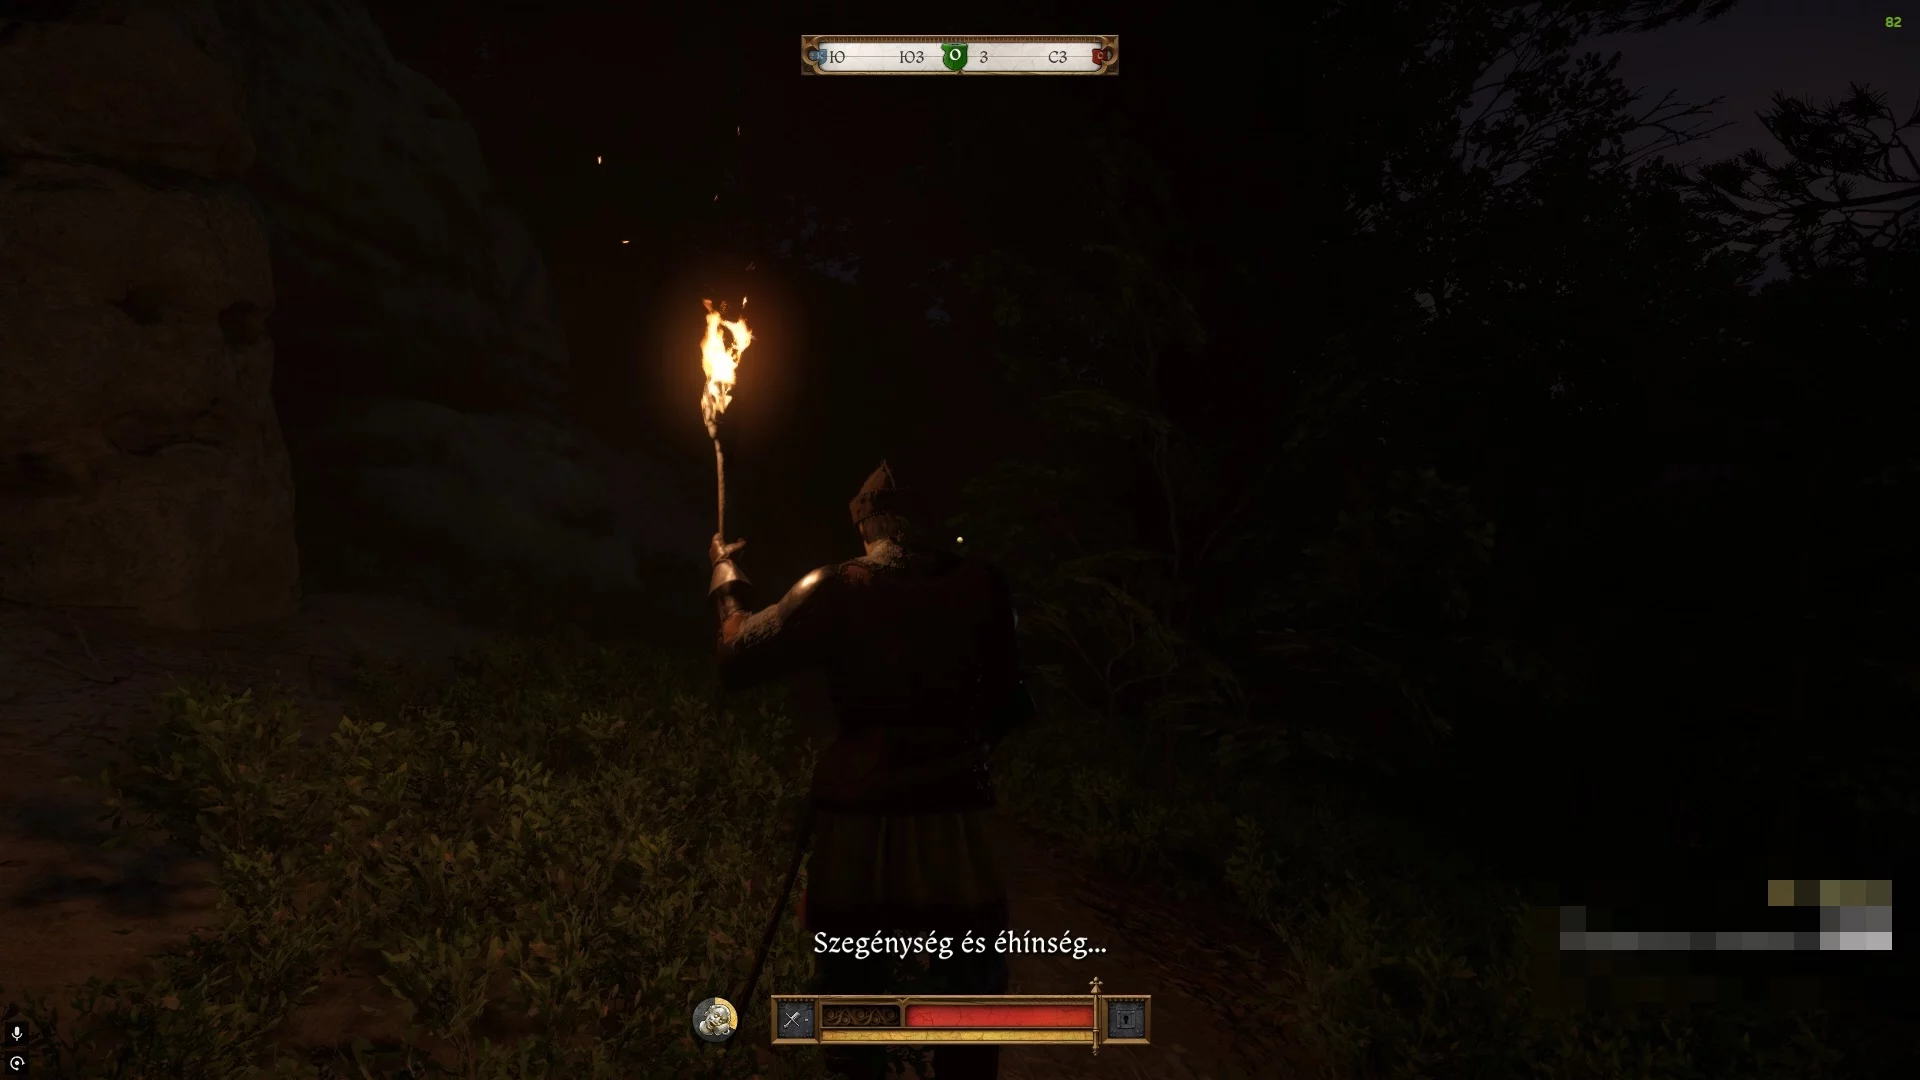
You can choose the option "Follow Vasco" and simply sing along with him. With each new verse, Henry's reputation among the Cumans will increase.
After a while, Vasco will lose consciousness, and the main character will be approached by a dog. Respond to its question with any option, then use a torch and move forward along the path. Between two large boulders, you'll find the stash.
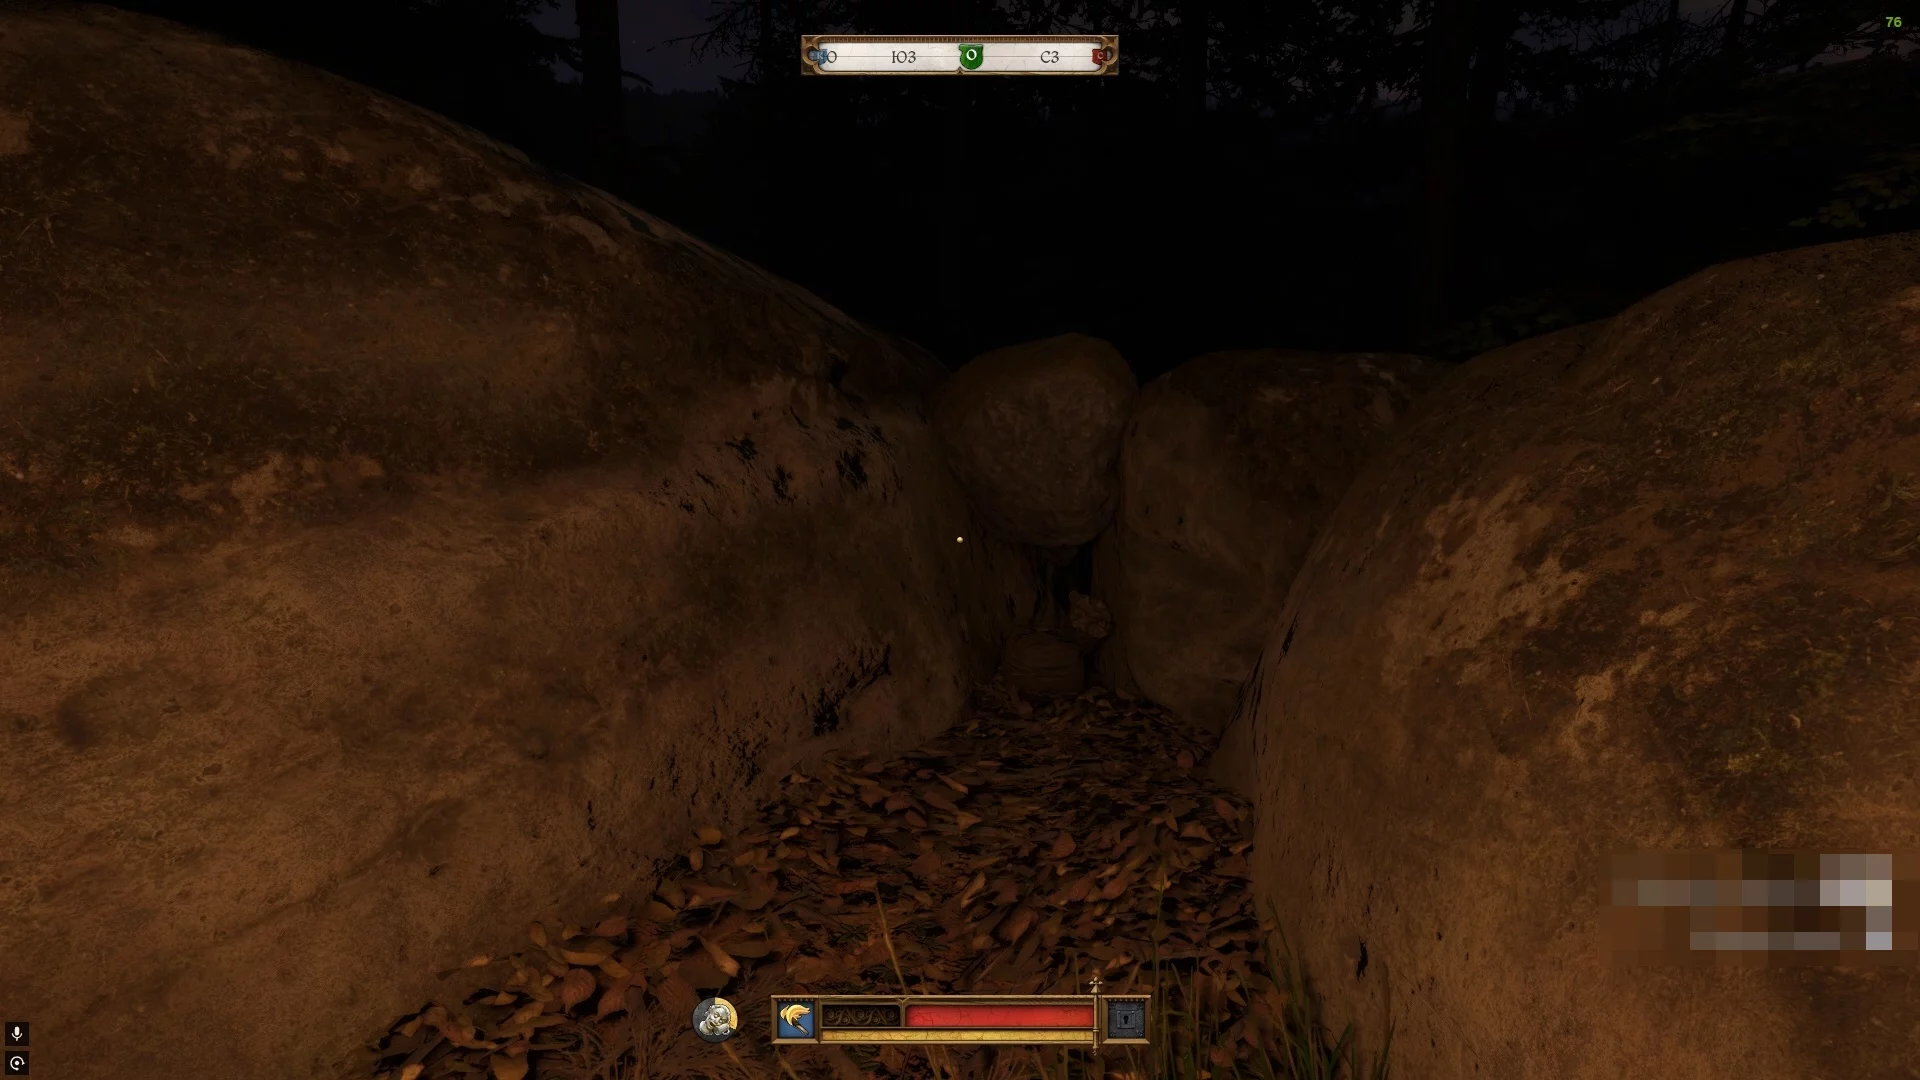
As soon as you open it, your friend will come to his senses and run back to the camp. Take the drinks and follow him to the tents to continue the evening.
Don't Drown!
The night continues, and at some point, Henry finds himself on a piece of wood in the middle of a lake. Although the task's name suggests you shouldn't dive into the water, that's exactly what you need to do.
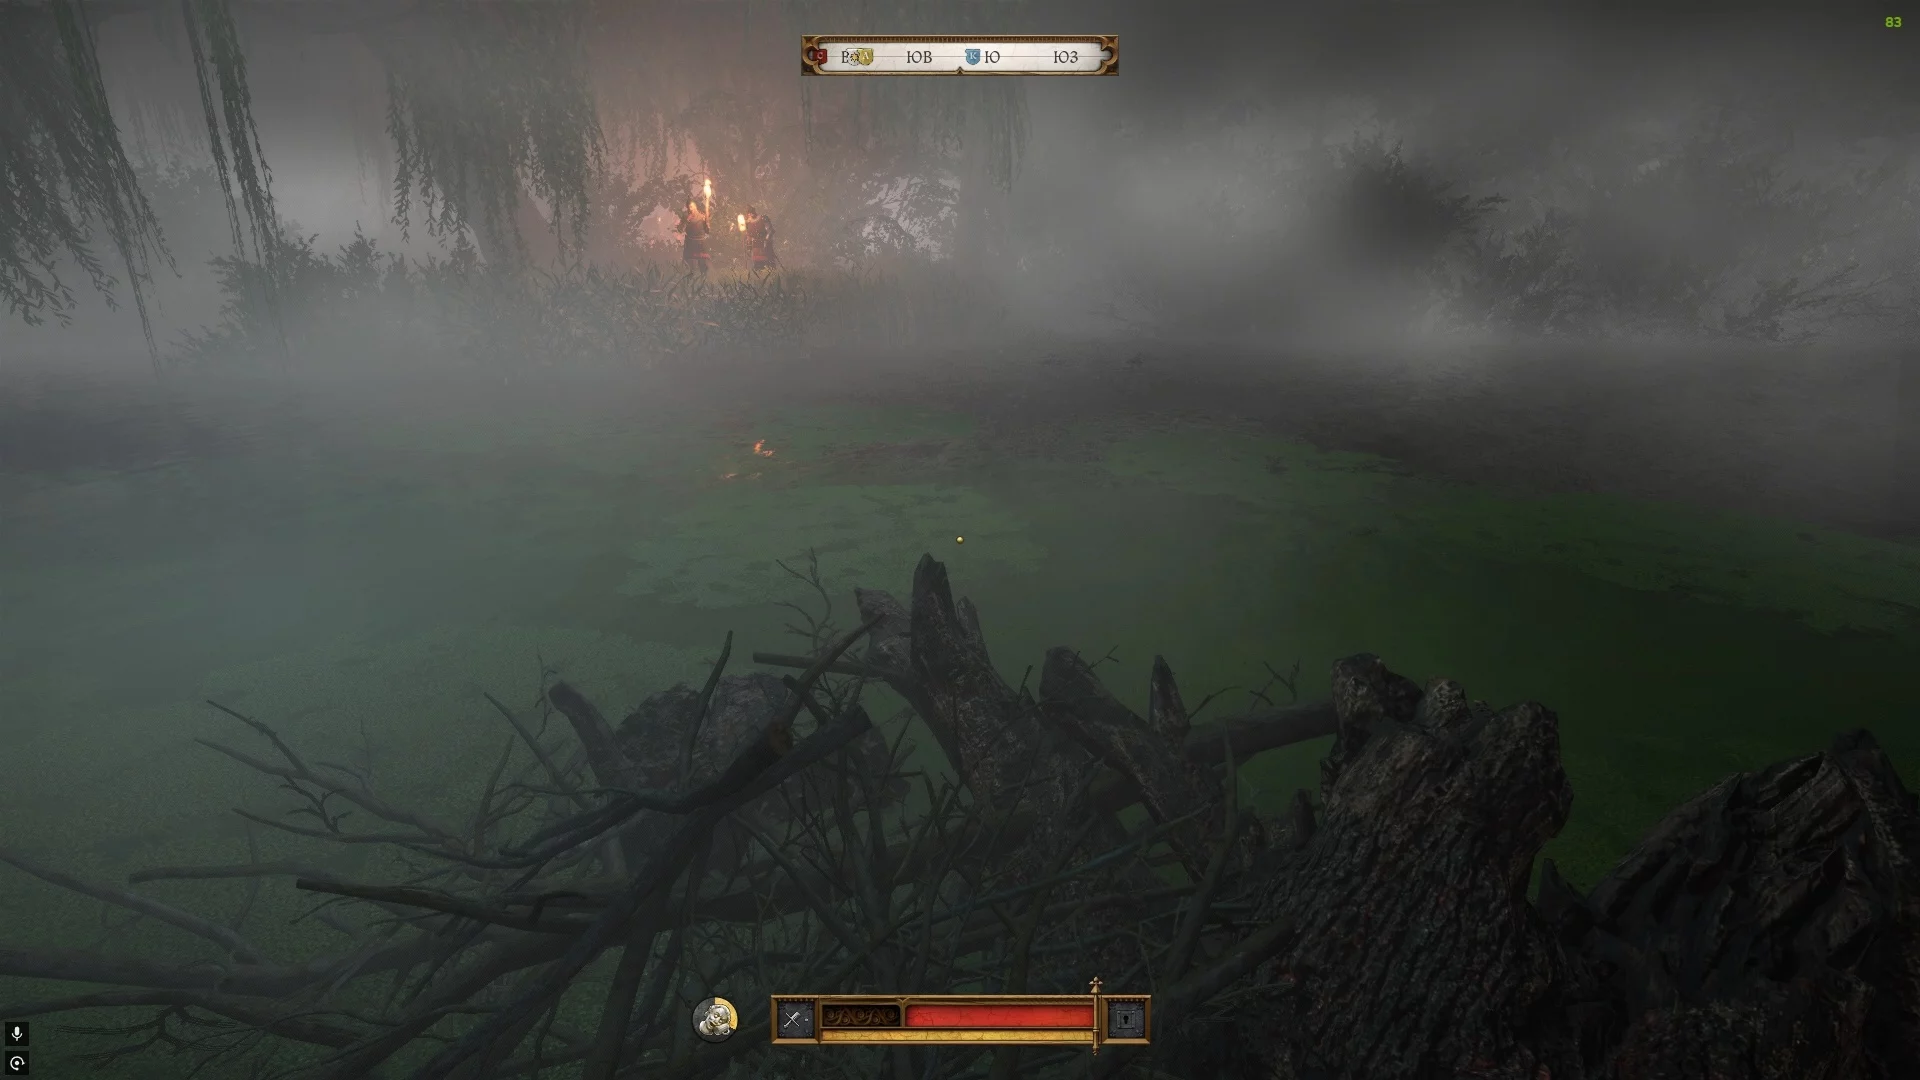
Returning to the shore, choose the option "I need to talk to you about Troskovice...". This way, Henry will once again warn Vasco that it's better not to appear in the city. The Cuman leader will listen to you, but in this case, you'll have to prove to Vujtek that you're telling the truth. In any case, wait until the protagonist starts speaking in a foreign language, after which the task will update.
Talk to Vujtek
Head to Troskovice and tell Vujtek that the Cumans will no longer bother the townspeople. If you manage to pass the skill check, you'll receive a small reward. Also, don't forget to visit Beta in the tavern and share the good news with her as well.
Other guides
- Kingdom Come Deliverance 2: Via Argentum Quest Walkthrough
- Kingdom Come: Deliverance 2 Walkthrough Guide
- Kingdom Come Deliverance 2 Beginner's Guide: Tips and Tricks
- Kingdom Come Deliverance 2: The Lion's Den Quest Walkthrough
- Kingdom Come Deliverance 2: Lady Rosa Romance Guide
- Kingdom Come Deliverance 2: Back in the Saddle Walkthrough
- Kingdom Come Deliverance 2: For Victory! Walkthrough
- Kingdom Come Deliverance 2: Fixing Technical Problems and Bugs
- Location of Save Files in Kingdom Come: Deliverance 2
- Kingdom Come Deliverance 2: The King's Gambit Walkthrough
-
Kingdom Come Deliverance 2: Lady Rosa Romance Guide
-
Kingdom Come Deliverance 2 Beginner's Guide: Tips and Tricks
-
Kingdom Come: Deliverance 2 Walkthrough Guide
-
Kingdom Come Deliverance 2: Back in the Saddle Walkthrough
-
Kingdom Come Deliverance 2: For Victory! Walkthrough
-
Kingdom Come Deliverance 2: Last Rites Walkthrough
-
Kingdom Come Deliverance 2: Laboratores Walkthrough
-
Kingdom Come Deliverance 2: Bad Blood Walkthrough
-
How to Find Armor by Maps in Kingdom Come Deliverance 2: The Lion's Crest Guide
-
Kingdom Come Deliverance 2: How to Increase Reputation
-
Kingdom Come Deliverance 2: Into the Underworld Quest Walkthrough
-
Kingdom Come Deliverance 2: Potion Recipes Guide
-
Kingdom Come Deliverance 2: Dancing with the Devil Walkthrough
-
Kingdom Come Deliverance 2: Oratores Walkthrough
-
Kingdom Come Deliverance 2: The Italian Job Walkthrough
-
Kingdom Come Deliverance 2: Dragon's Lair Walkthrough
-
Kingdom Come Deliverance 2: The White Roebuck Walkthrough
-
Kingdom Come Deliverance 2: Absolver Walkthrough
-
Kingdom Come Deliverance 2: X Marks the Spot Walkthrough
-
Kingdom Come Deliverance 2: Arrow-head Walkthrough