
Kingdom Come Deliverance 2: Post Scriptum Walkthrough
 Vladyslav Shamshurov
In the Post Scriptum quest from the game Kingdom Come: Deliverance 2, players will delve into an intriguing story involving a conflict between miners and a mine owner. This quest offers numerous options for the development of events, where each choice will affect the finale. In this guide, we will tell you how to complete this quest.
How to Start the Post Scriptum Quest
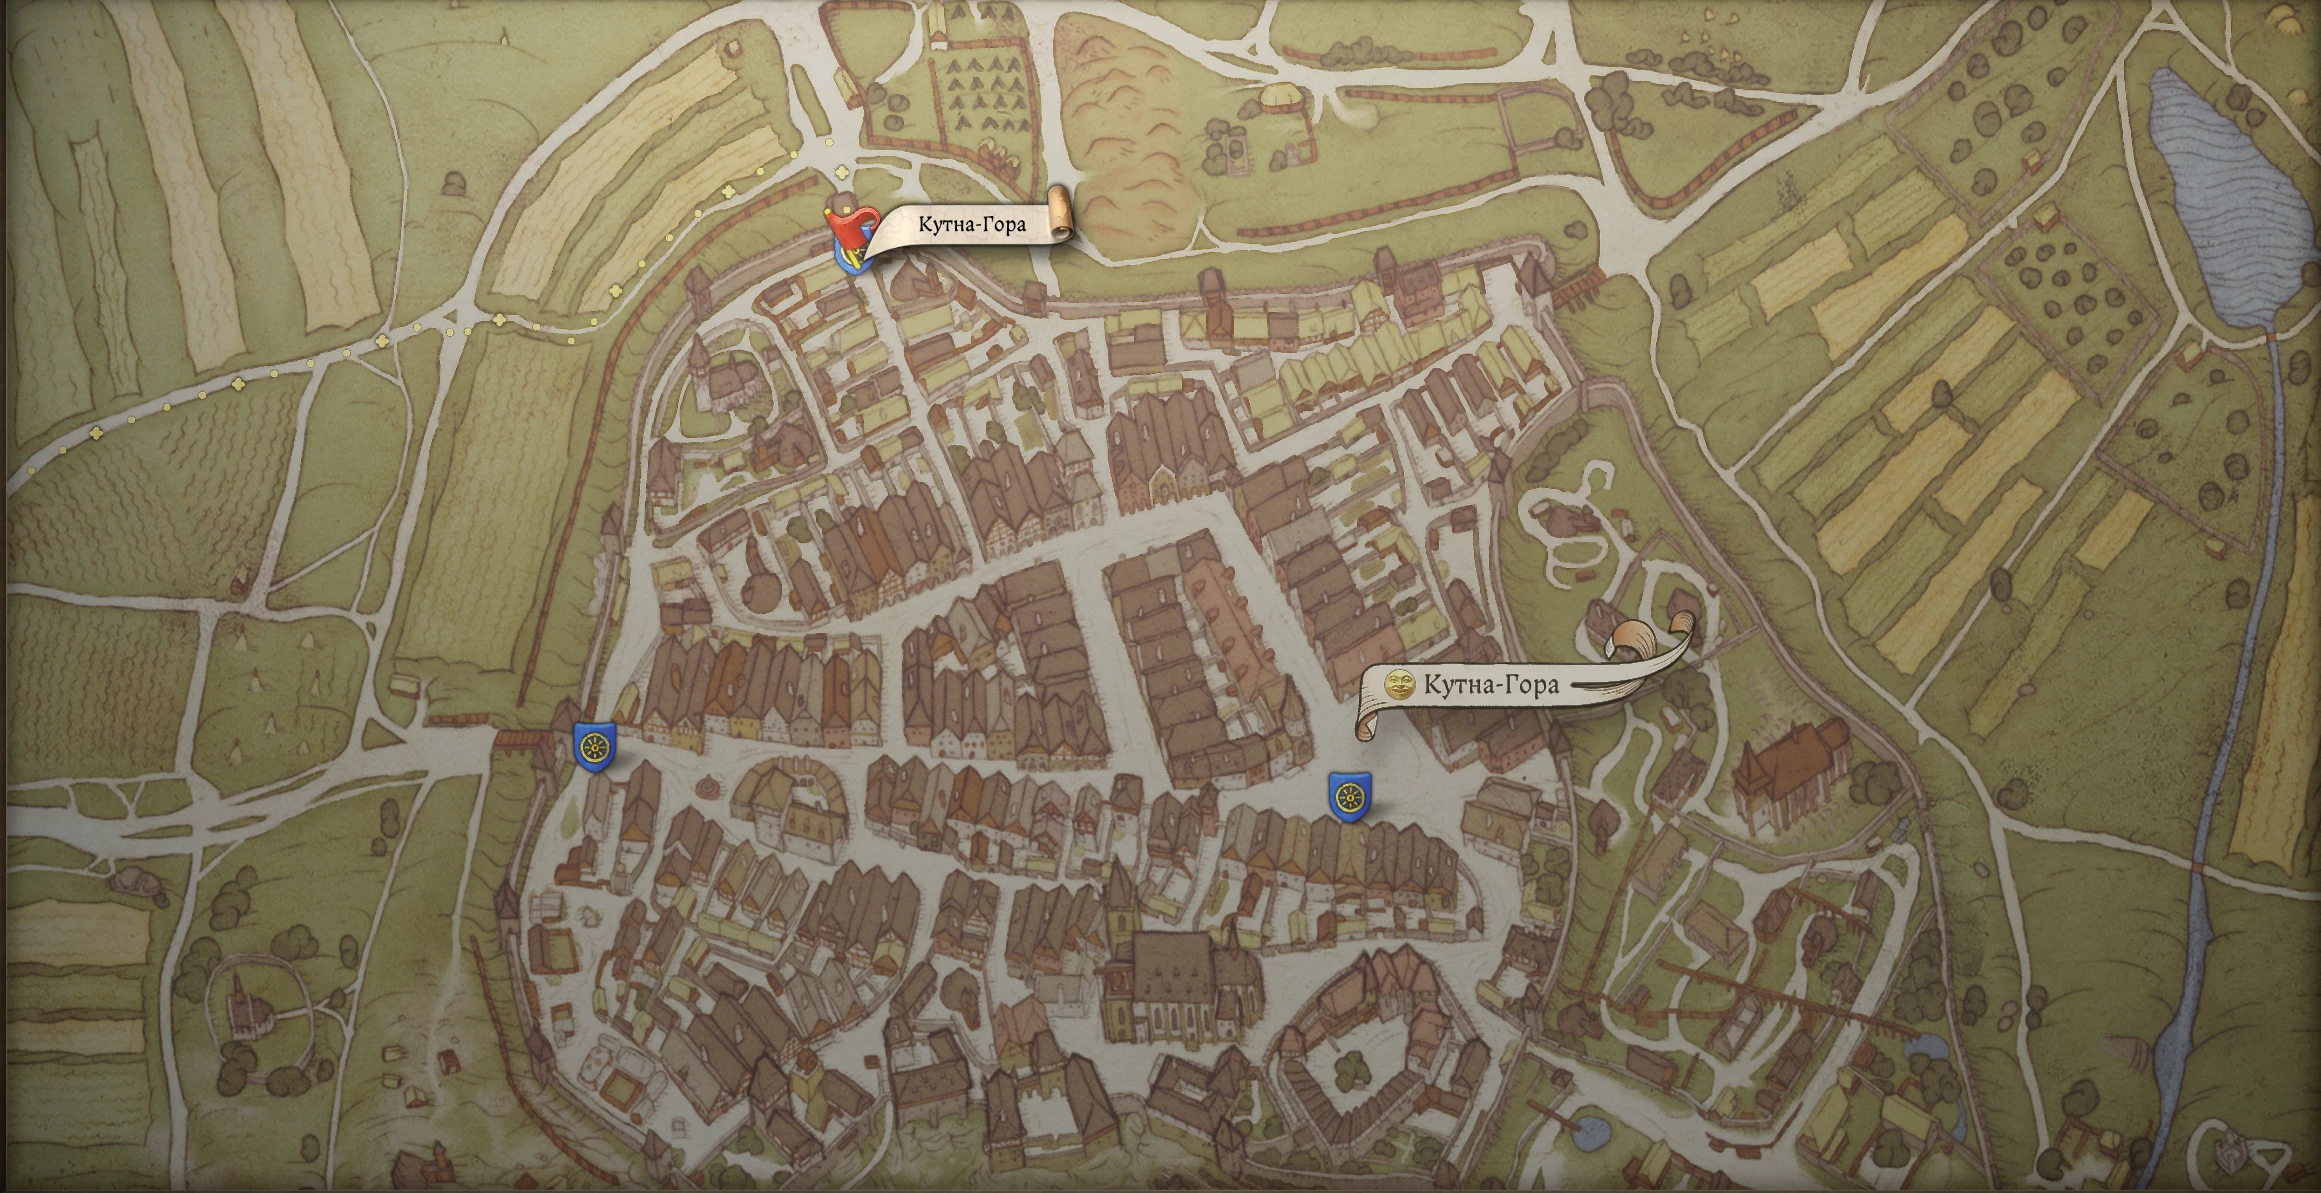
This quest becomes available after the story quest Into the Underworld. Head to the "Under the Oak" inn, located near the western city gates in the Kuttenberg region. There, you need to find a man named Květoslav.
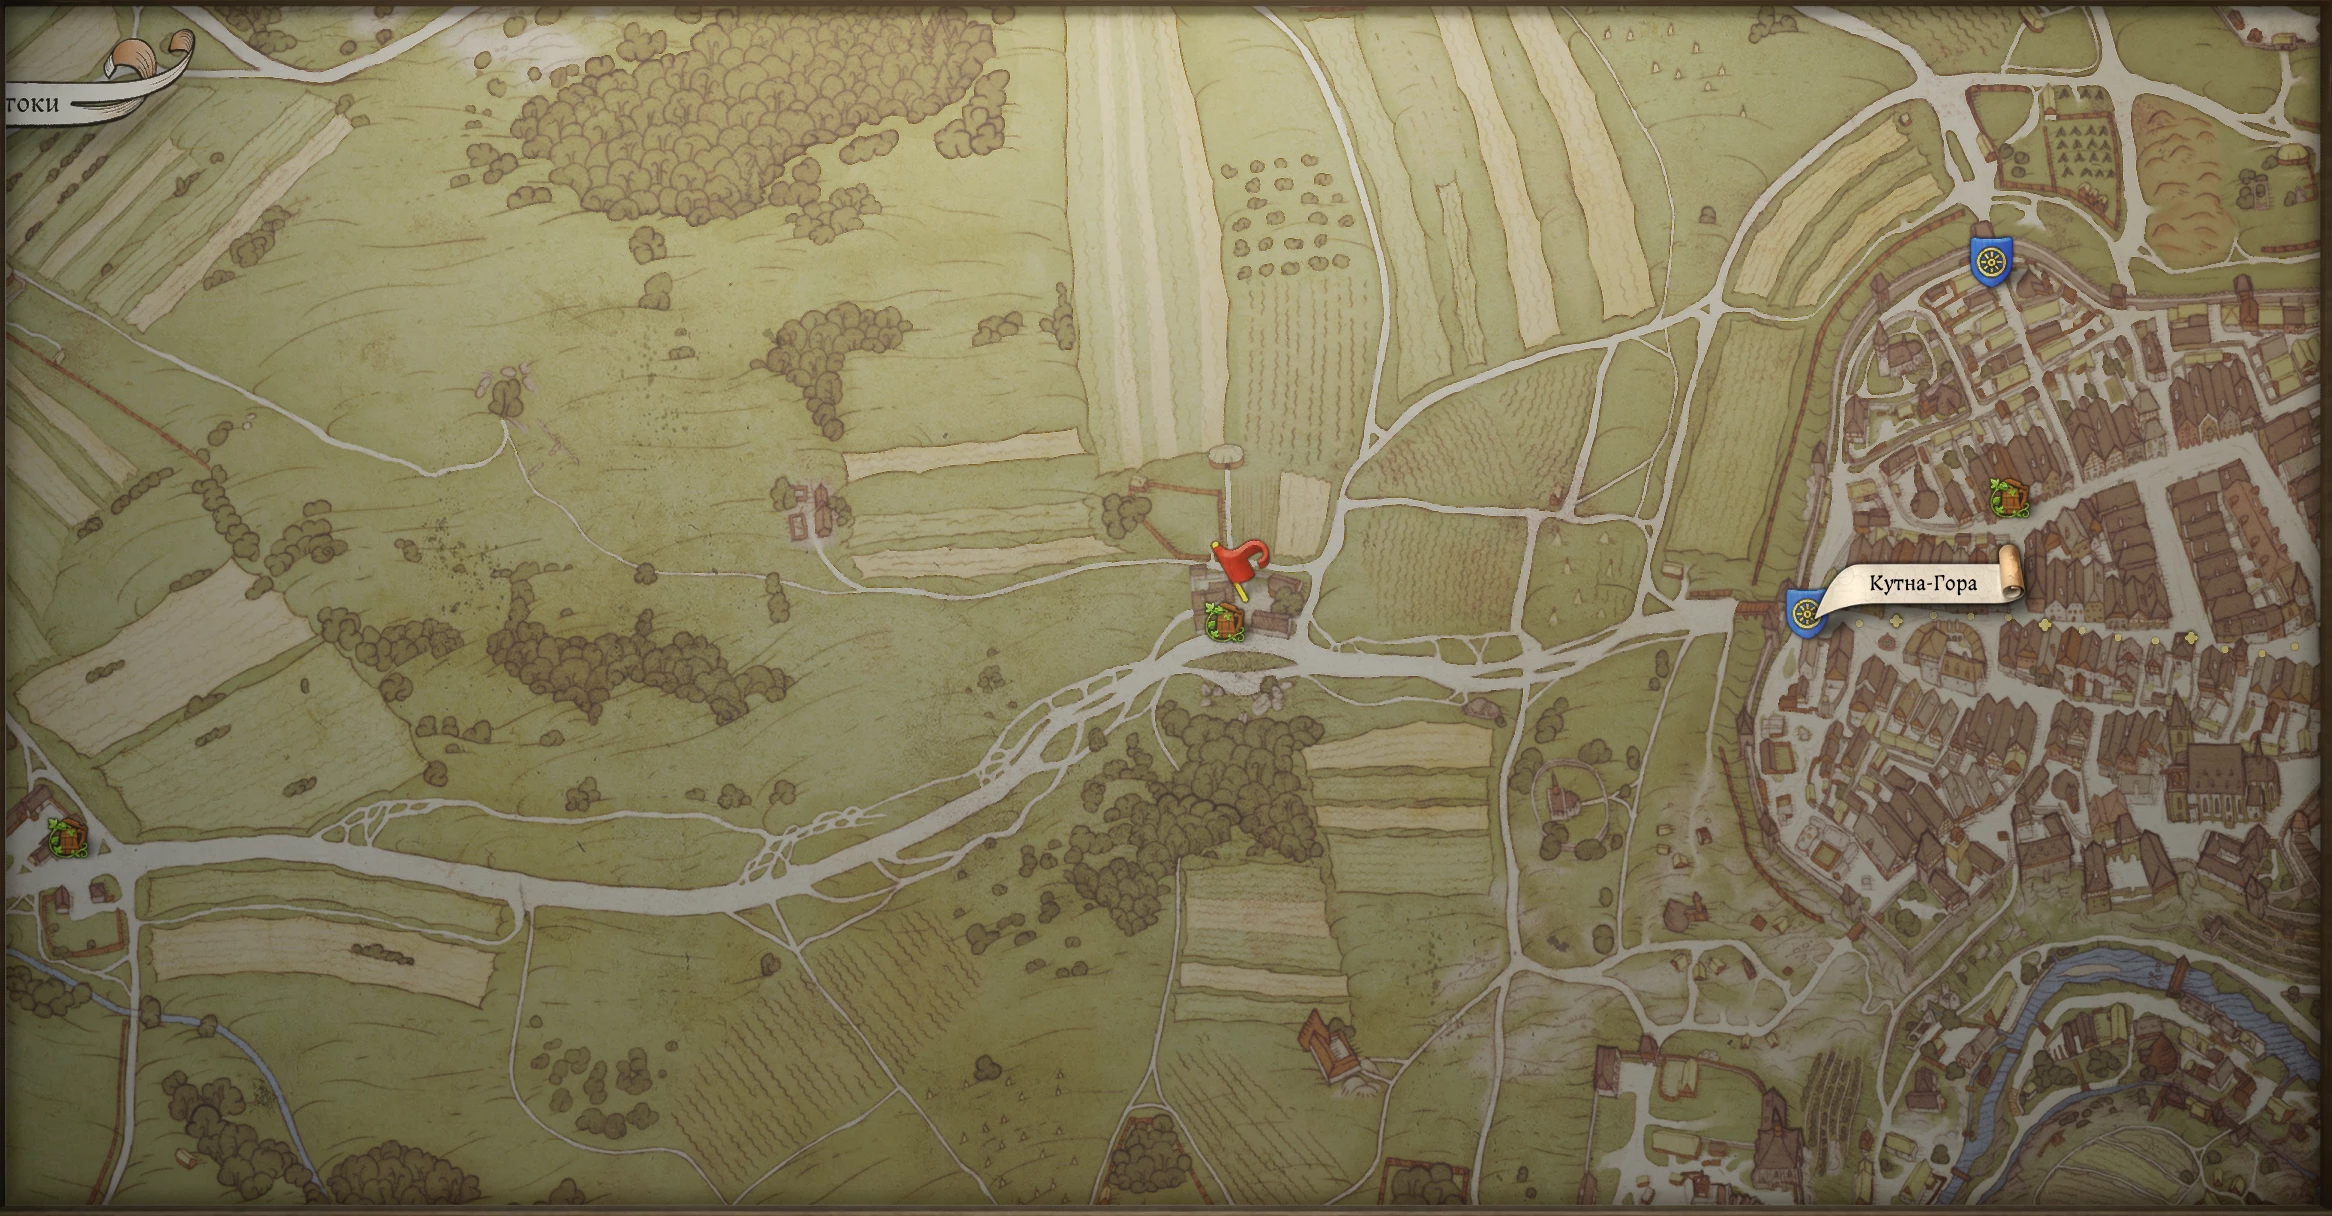
Talk to him and ask if he has any work for you. He will tell you that he is looking for a literate person to compose a business letter. It turns out that Květoslav has quarreled with an influential person, and now he needs to persuade the opponent to negotiate.
After talking with Květoslav, head to his office located in Kutná Hora. There, his people will provide you with further instructions.
Enter the House in Kutná Hora and Write the Letter
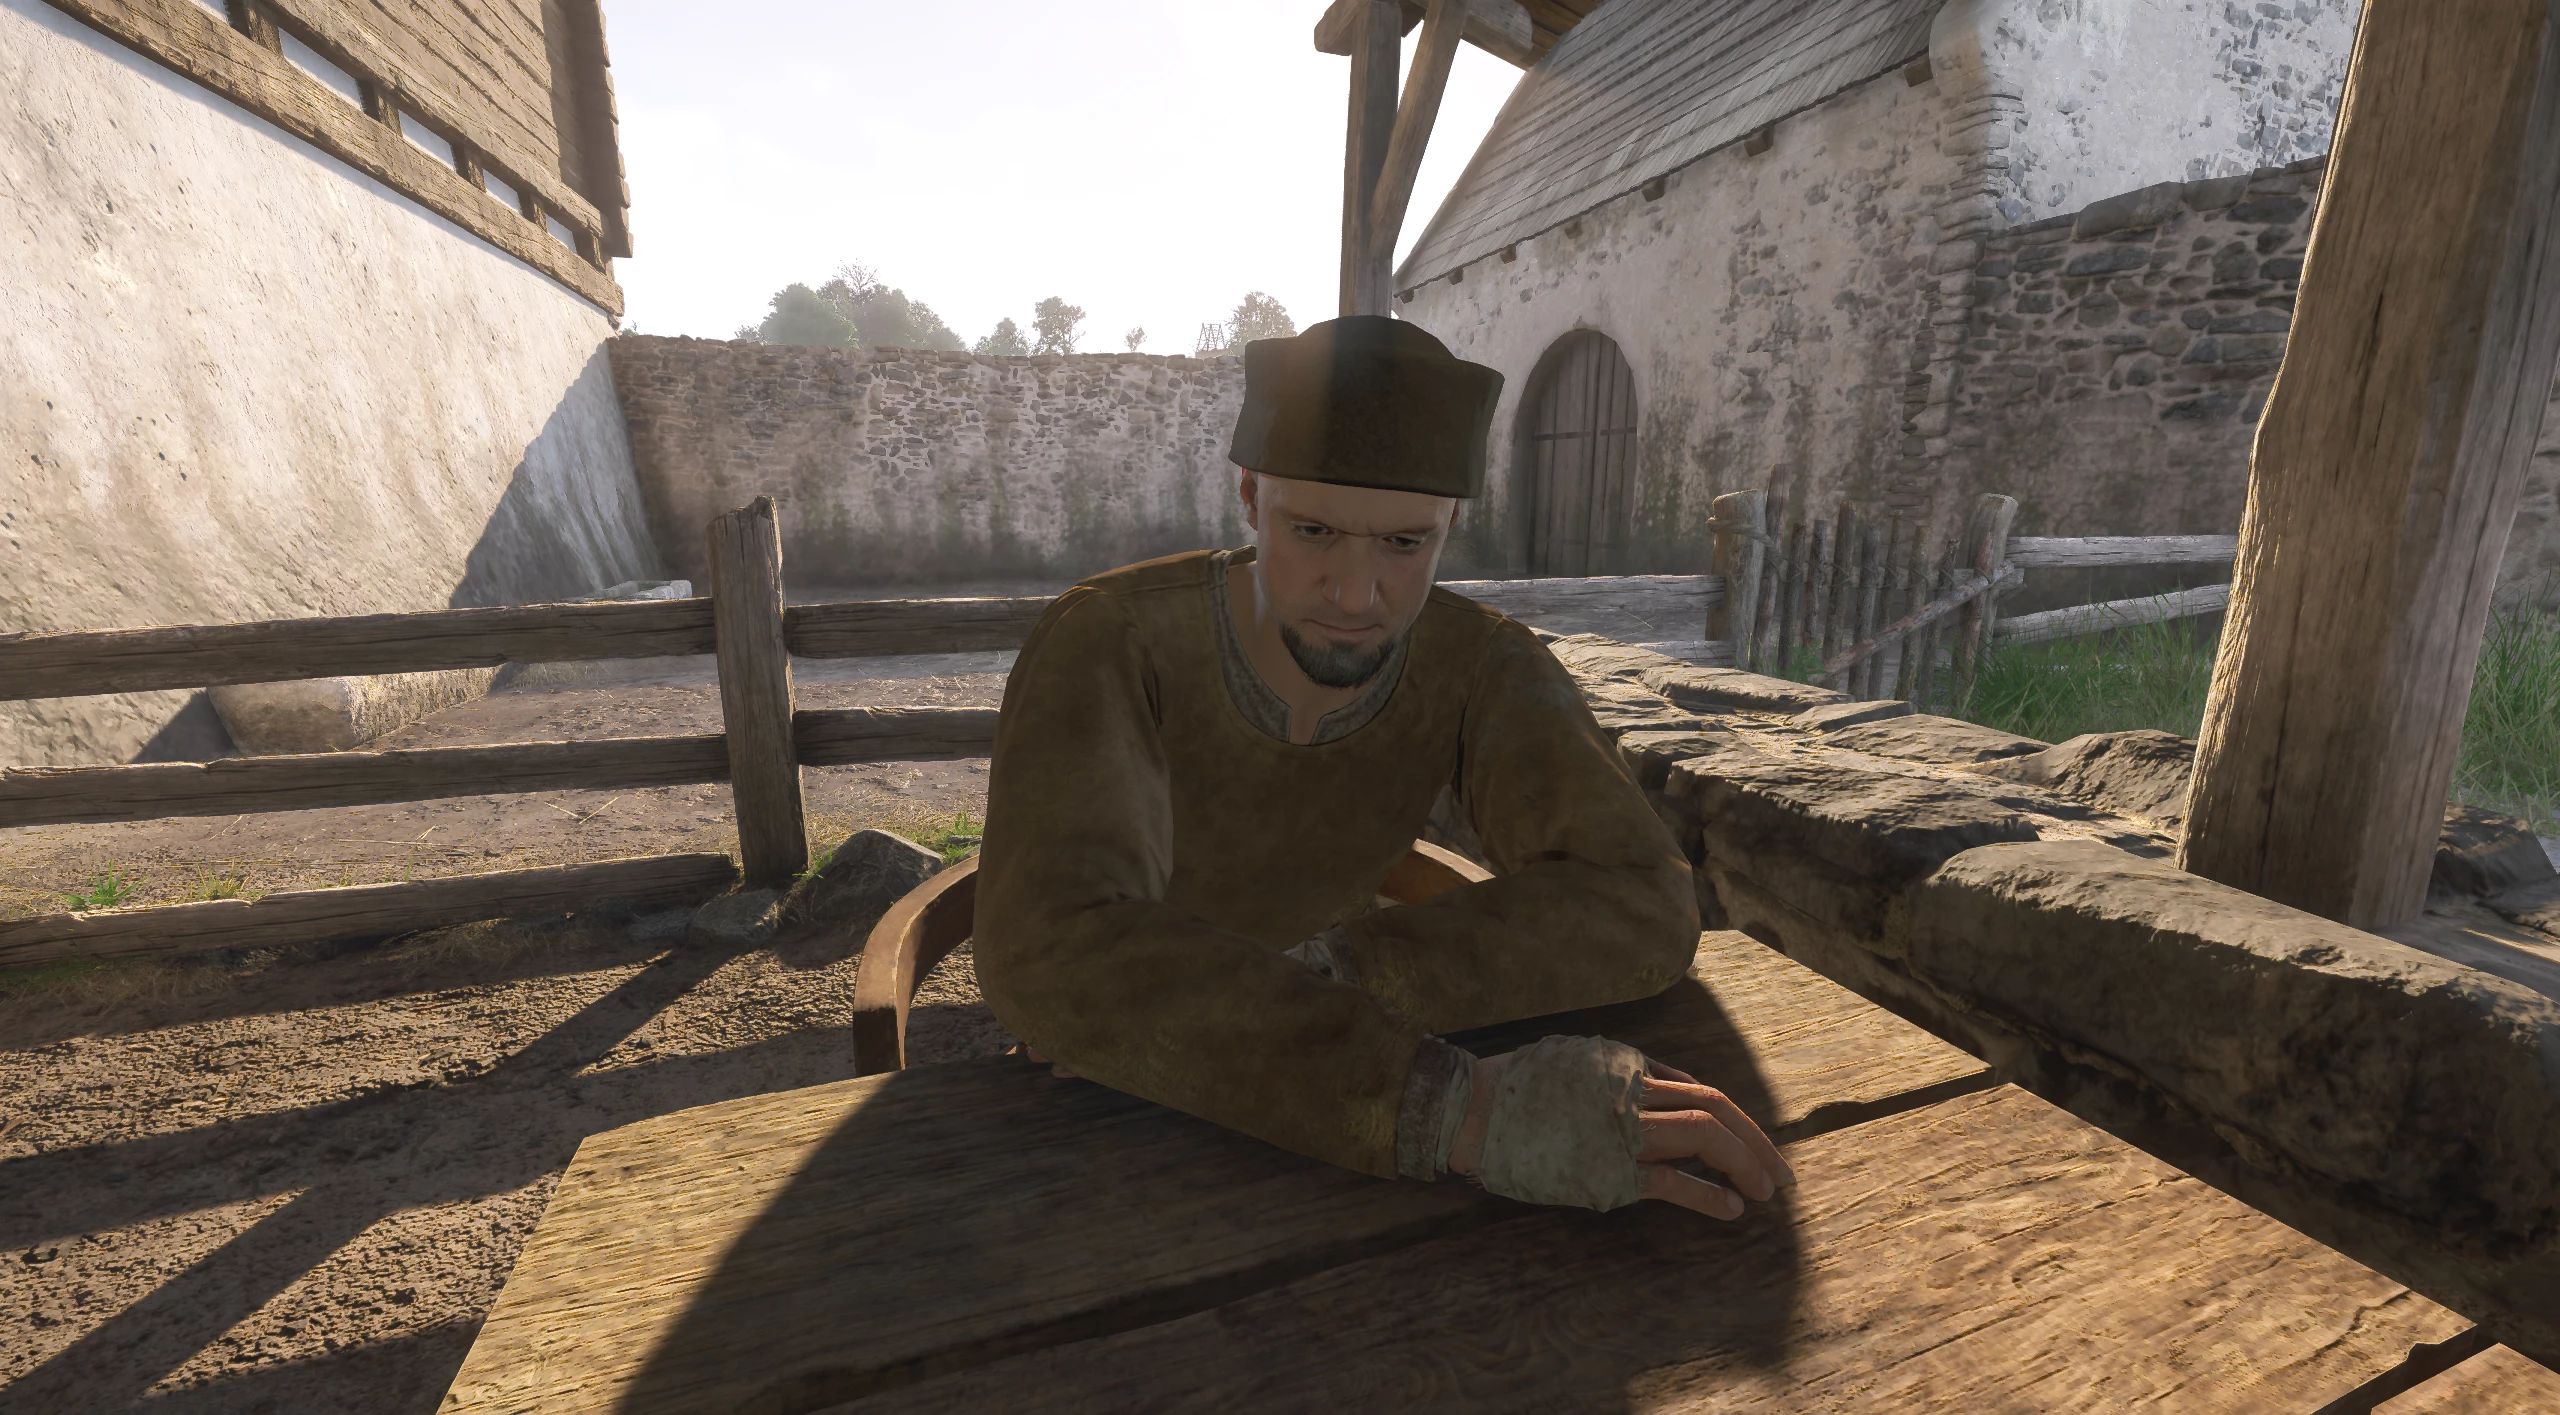
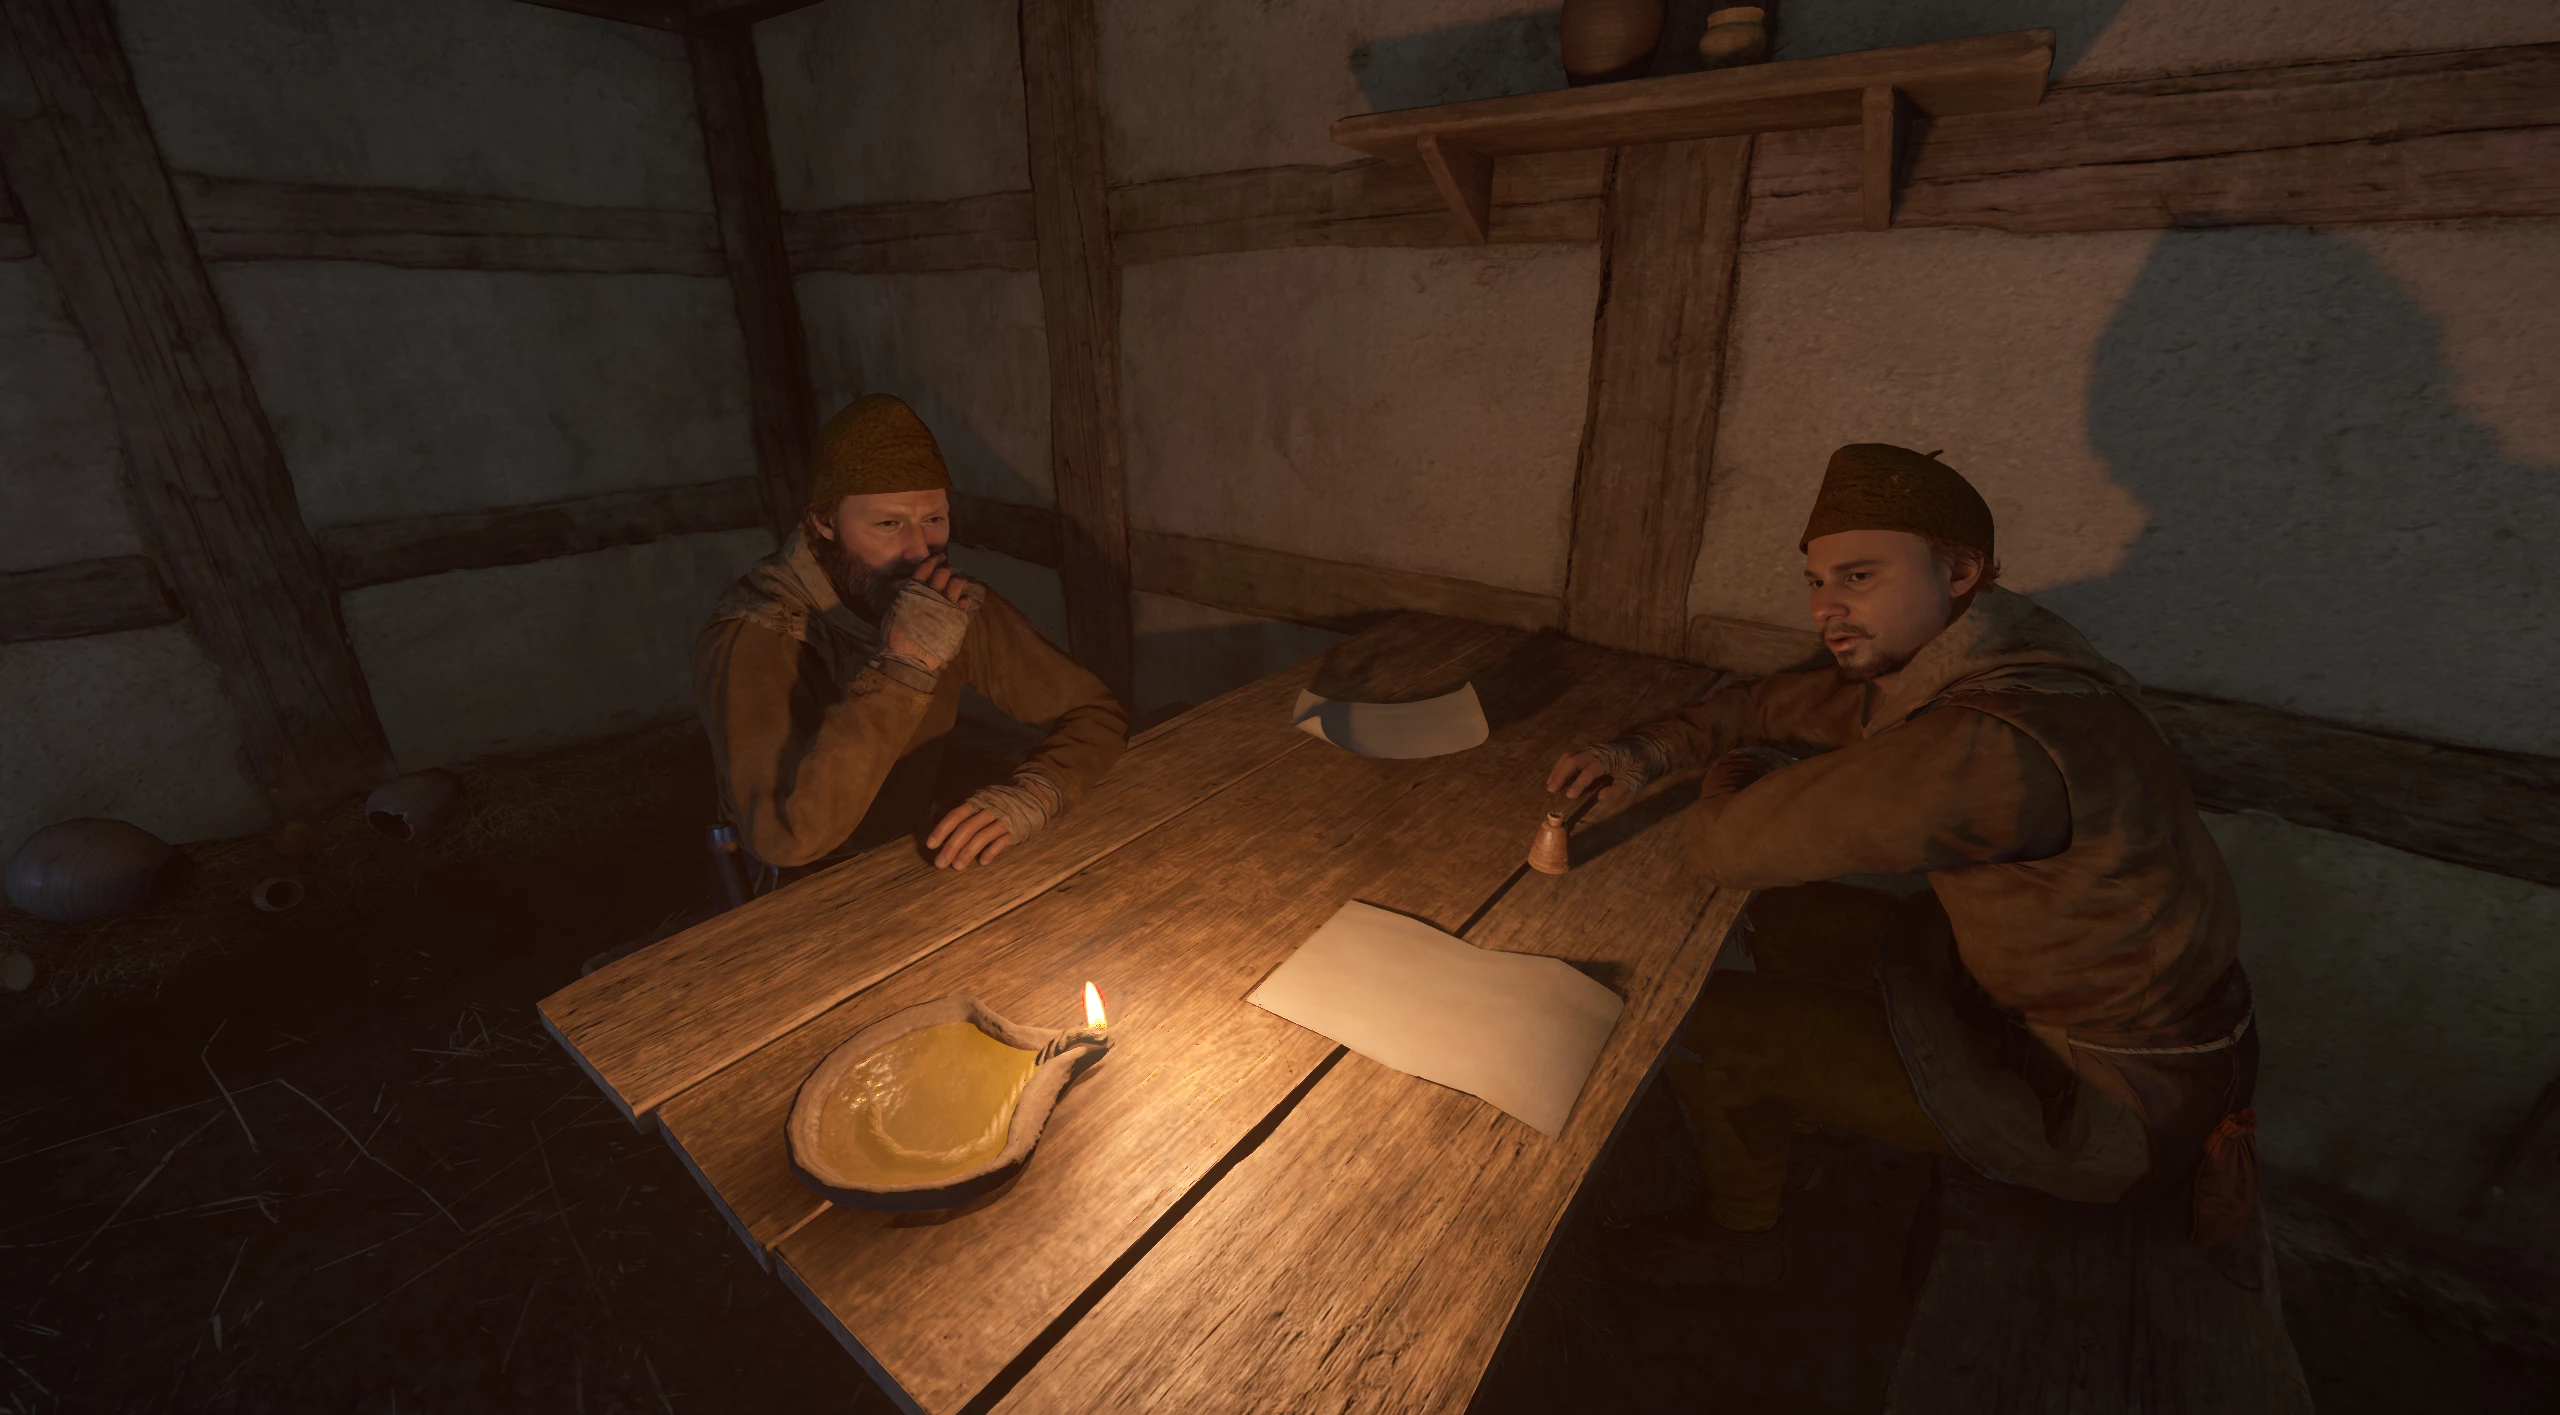
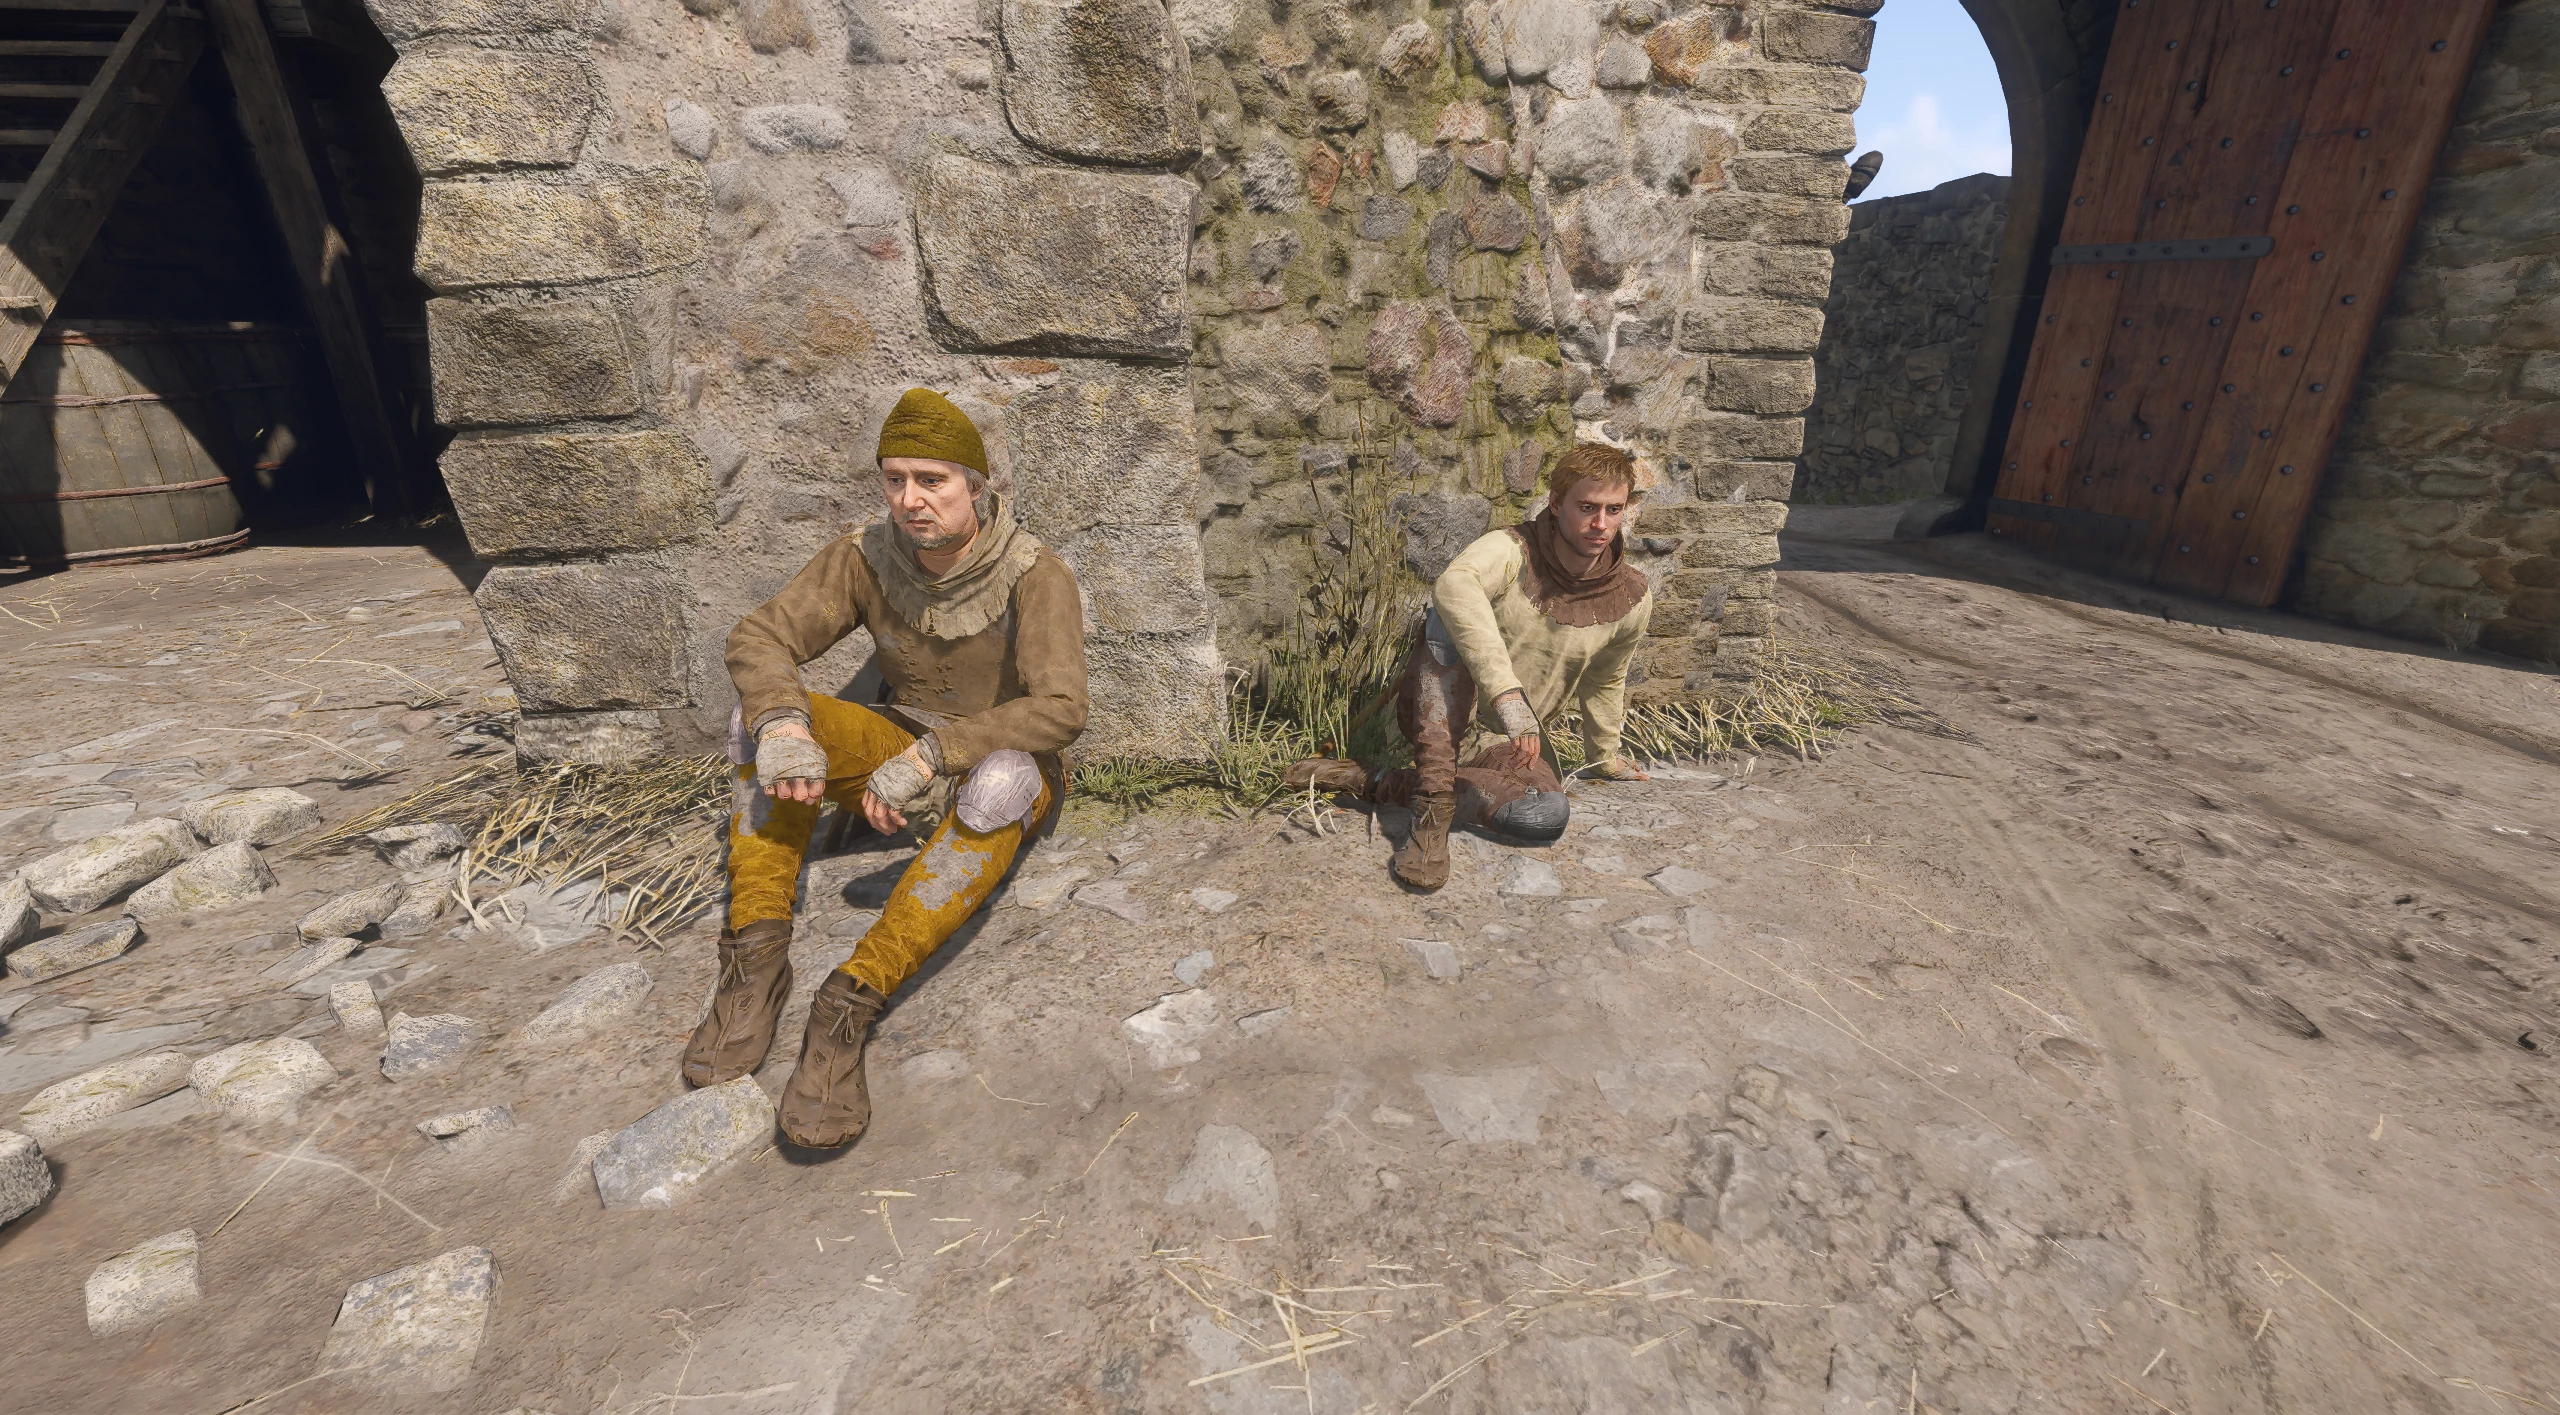
From the market stalls at the town hall, follow the marker on the map until you find an abandoned farmstead. Go up to the second floor, where you will meet Myslibor and Ranek. Say the code phrase: "Justice is more precious than silver," to confirm that you are from Květoslav. They will begin dictating the text of the letter, and you will be offered several options for its formatting. Ultimately, it doesn't matter how you write the letter.
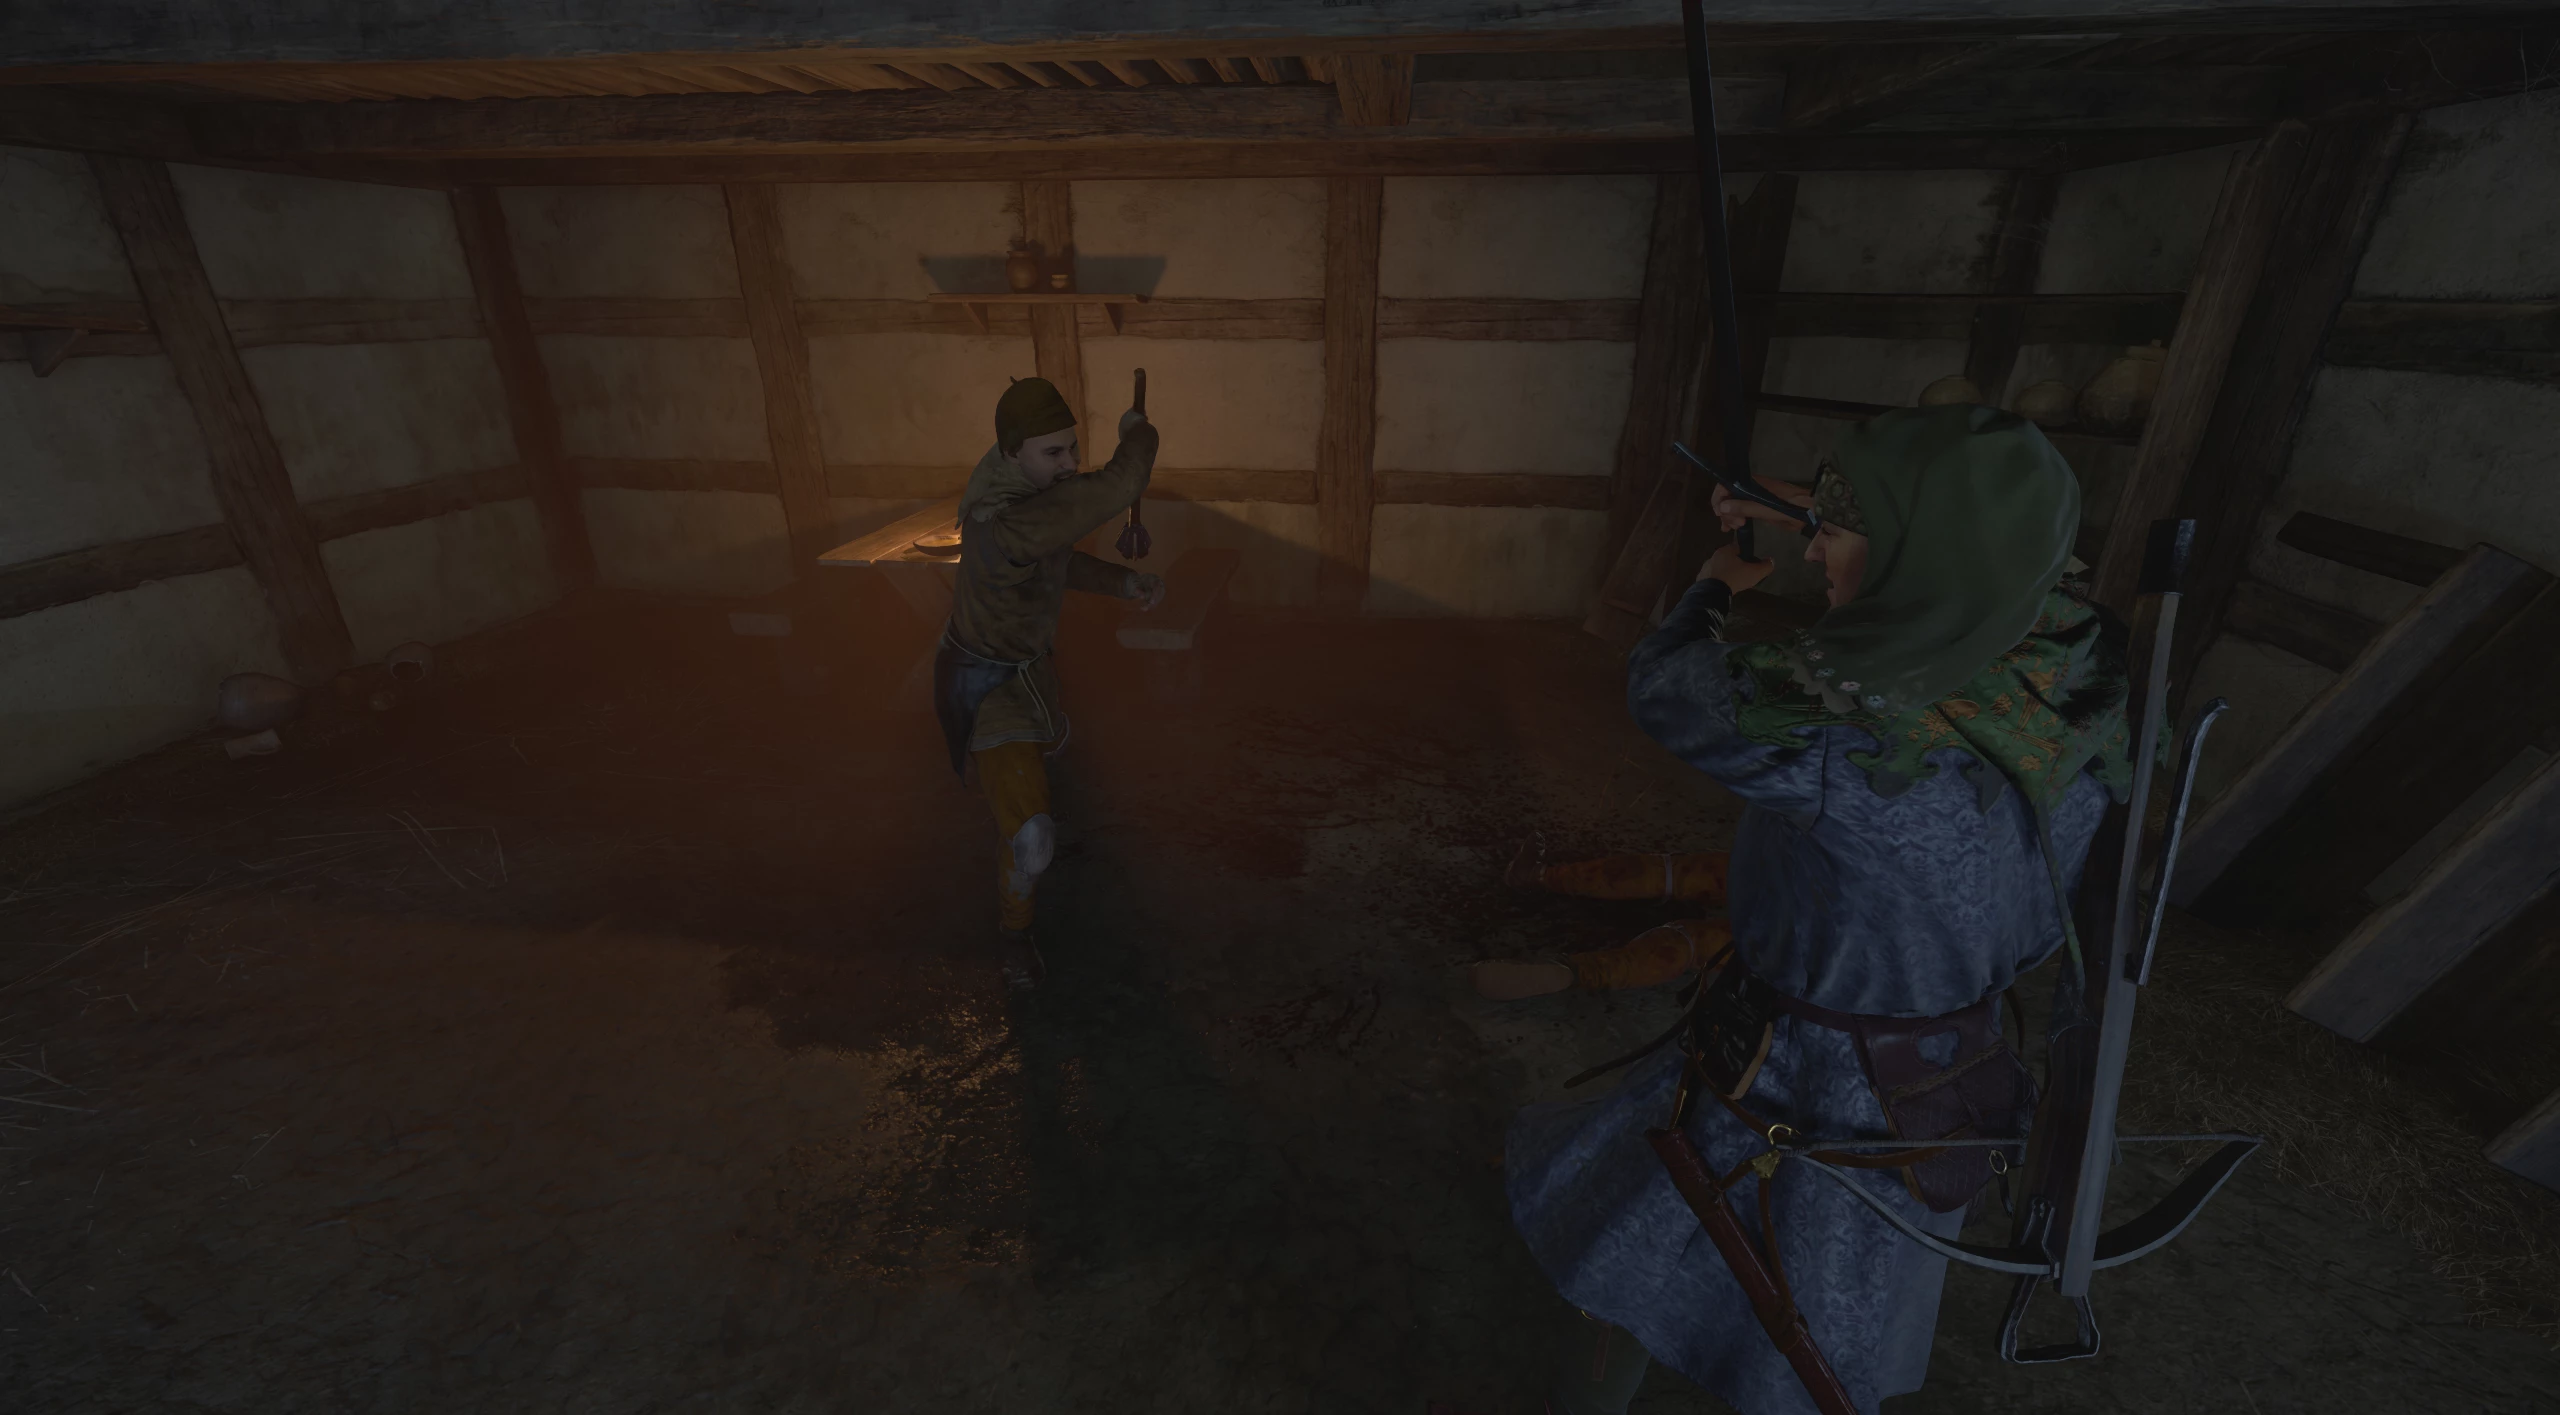
After writing the letter, they will decide that you know too much and will try to kill you. You can either persuade them not to do this by passing a persuasion check or engage in a fight. In any case, regardless of the outcome, you will have a choice: report their plans to the authorities or deliver the letter to the addressee.
Escape
You failed the persuasion check or provoked a fight after writing the letter, resulting in the miners' deaths. After this, you can go to the mine owner with the letter and tell him what happened. He will apologize for the incident and give you a small sum of money as compensation. The quest will then conclude.
Report the Miners to the Reeve
You head to the town hall to meet with the reeve Andreas Plümel. Tell him everything you know about the miners' activities.
He will commend you for your vigilance and give you a small monetary reward. The quest will then conclude. However, it is worth noting that you will not learn the entire story related to the miners.
Deliver the Letter to the Mine Owner
Head to the market stalls, where many grocery shops are located. Find the door between two stalls and go up to the second floor.
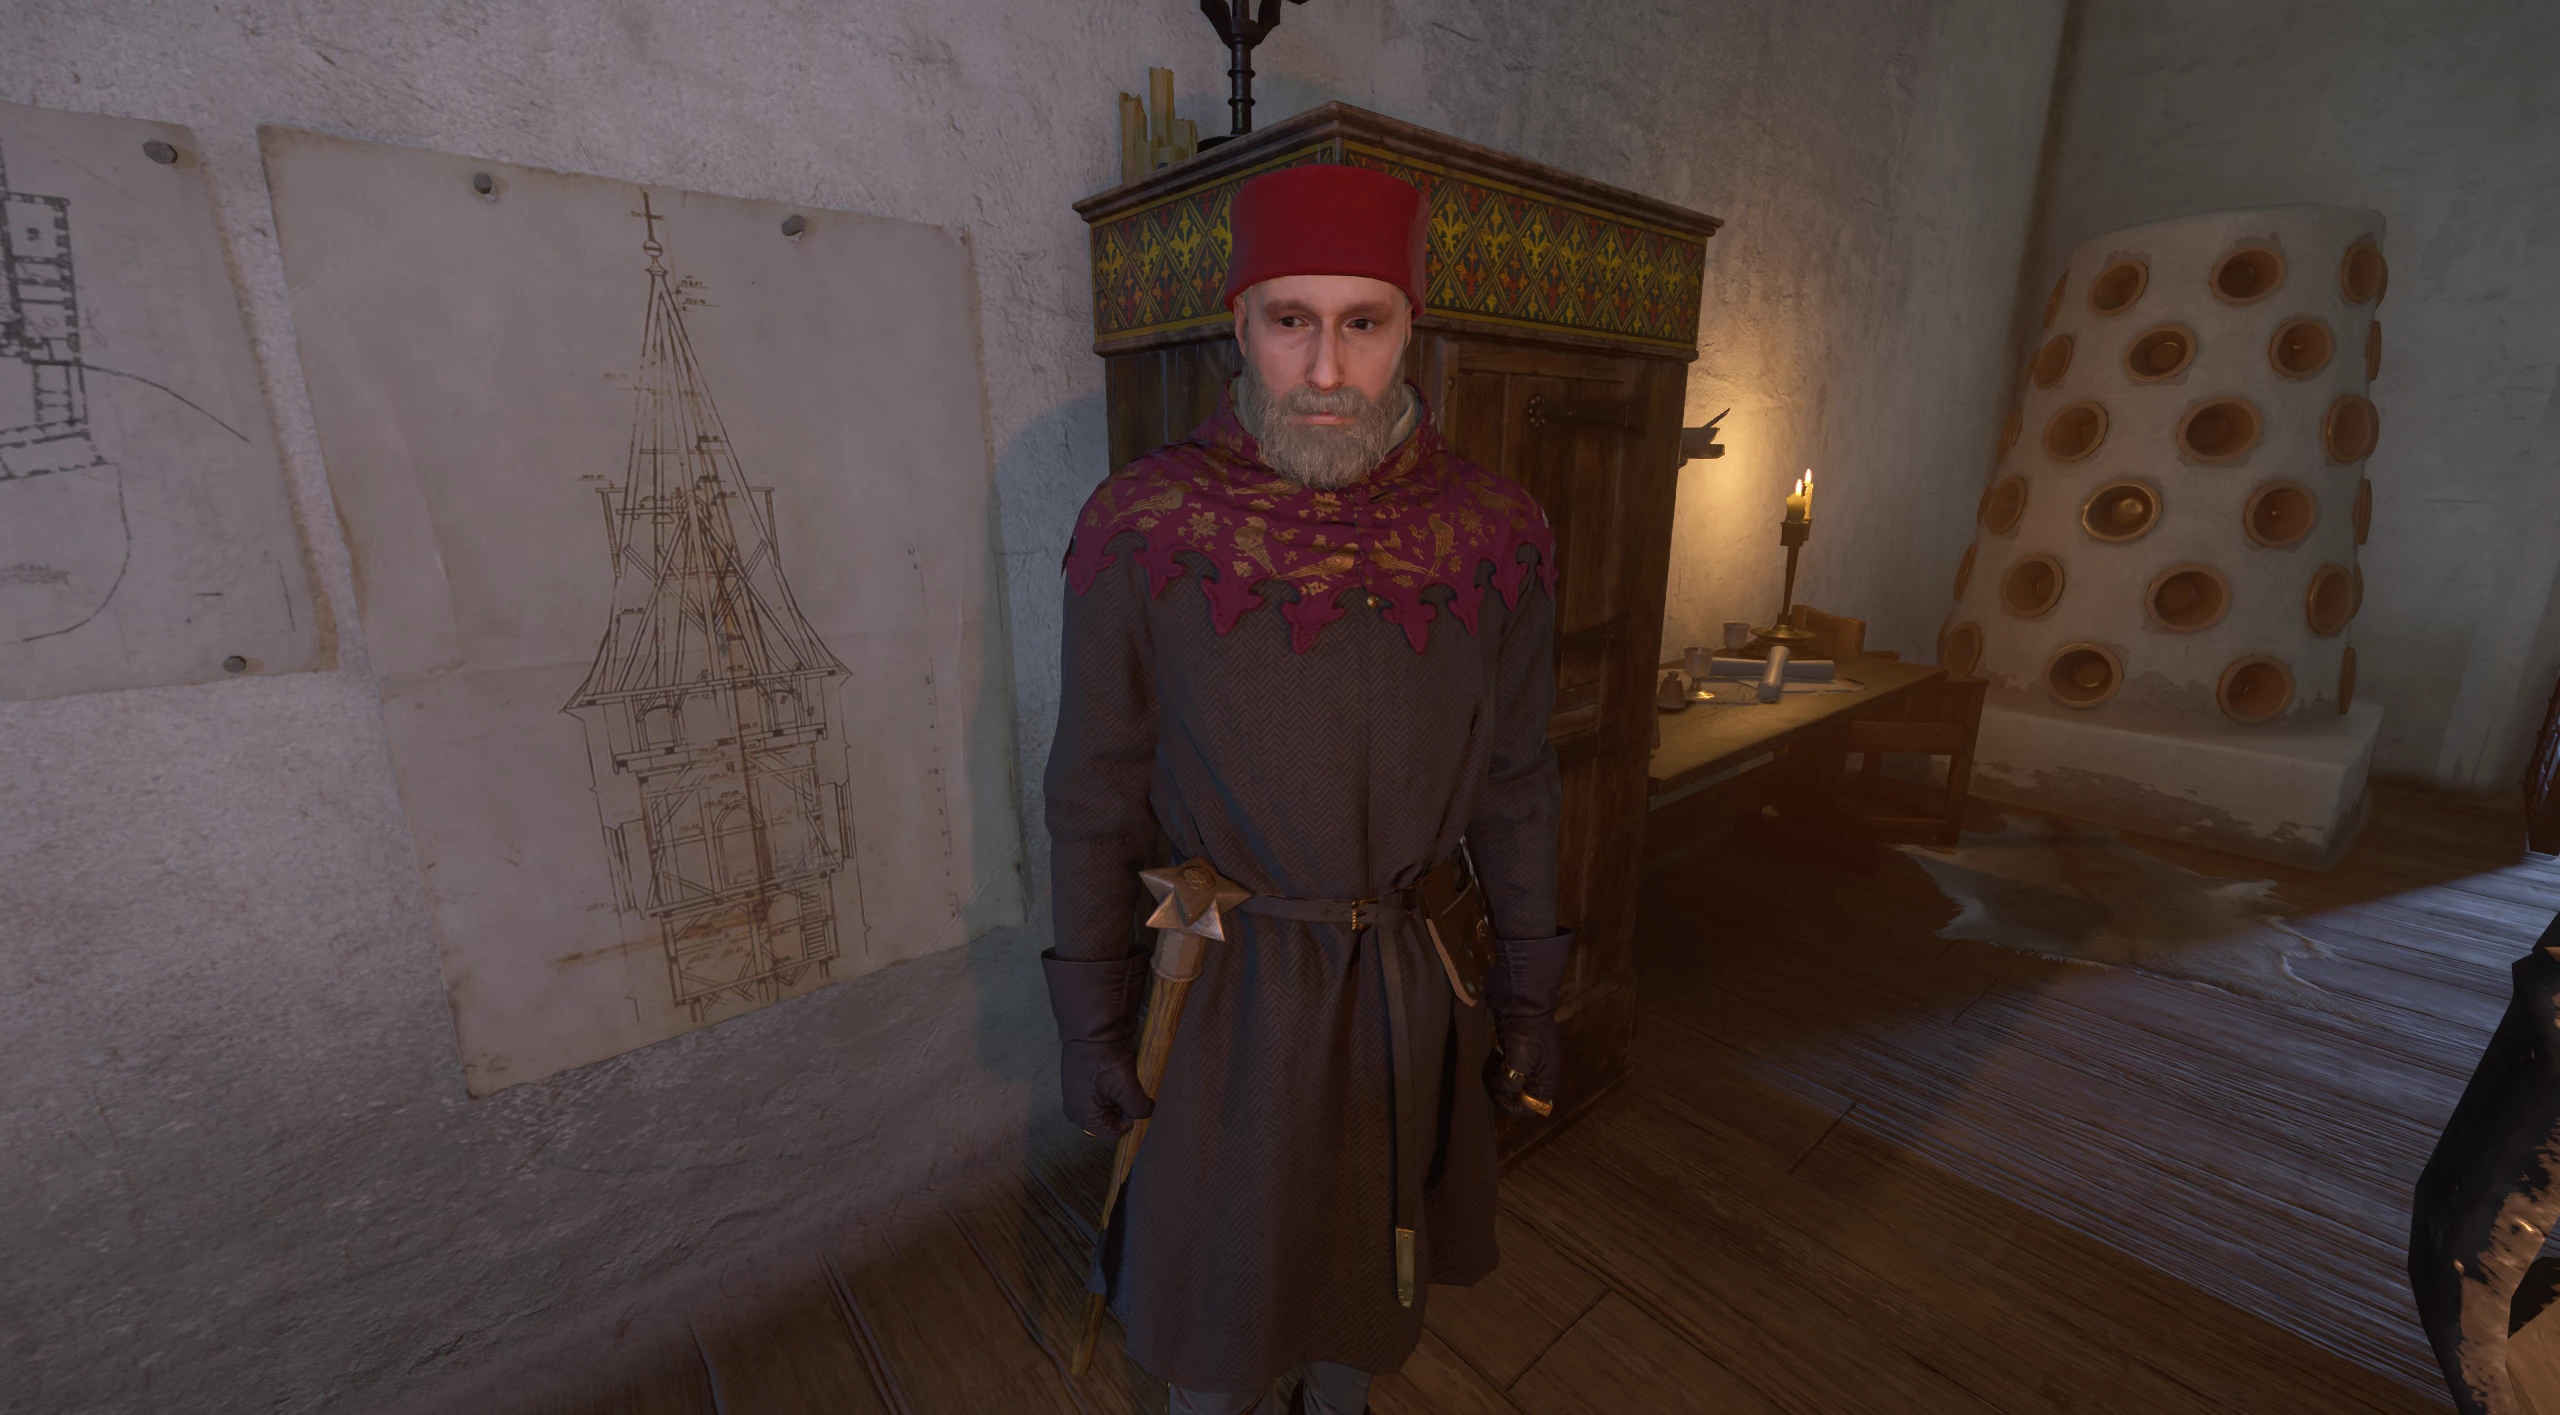
There you will meet Marhold of Loun. If you decide to blackmail him by mentioning that you know about his misdeeds, then with a successful persuasion check, he will give you money. Otherwise, his guards will attack you. In this case, the quest will end.

Alternatively, you will have to decide which side you support:
- If you are on the miners' side, give Marhold the letter and head to the miners to escort them to the camp.
- If you are against the miners, offer to join him against them, and you will go to their camp together.
Meet the Miners at the City Gates on Chlouska
If you chose the miners' side. A couple of hours after meeting the mine owner, head to the northern exit of the city. To the left of the gates, you will find the miners. Tell them they are now free and offer to go with them to the camp or head there on your own.
In fact, this step is not mandatory — you can immediately head to the camp without meeting the miners.
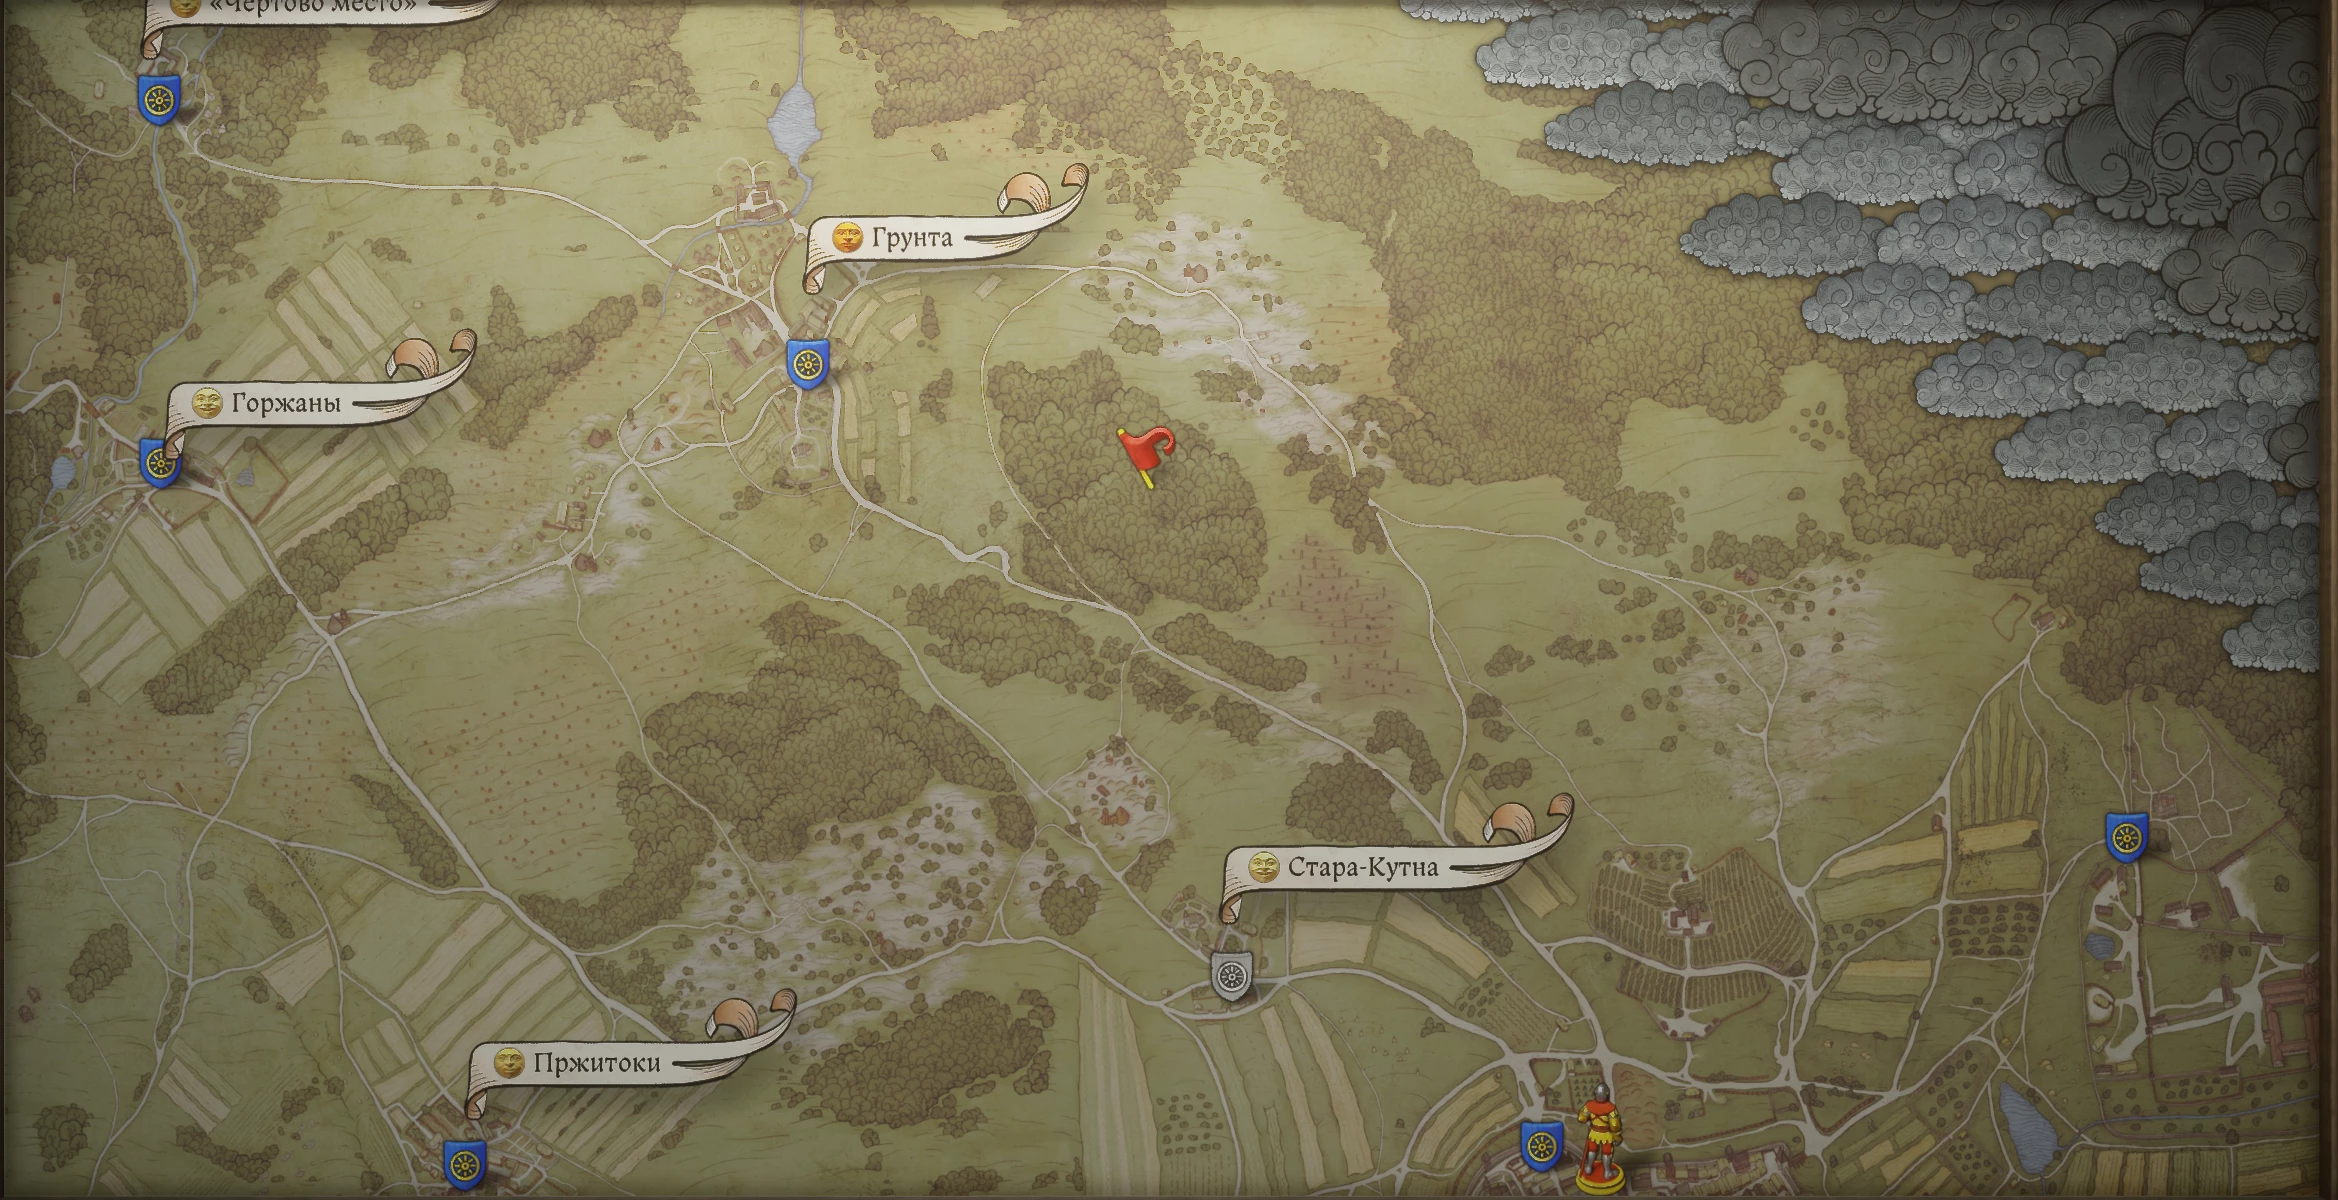
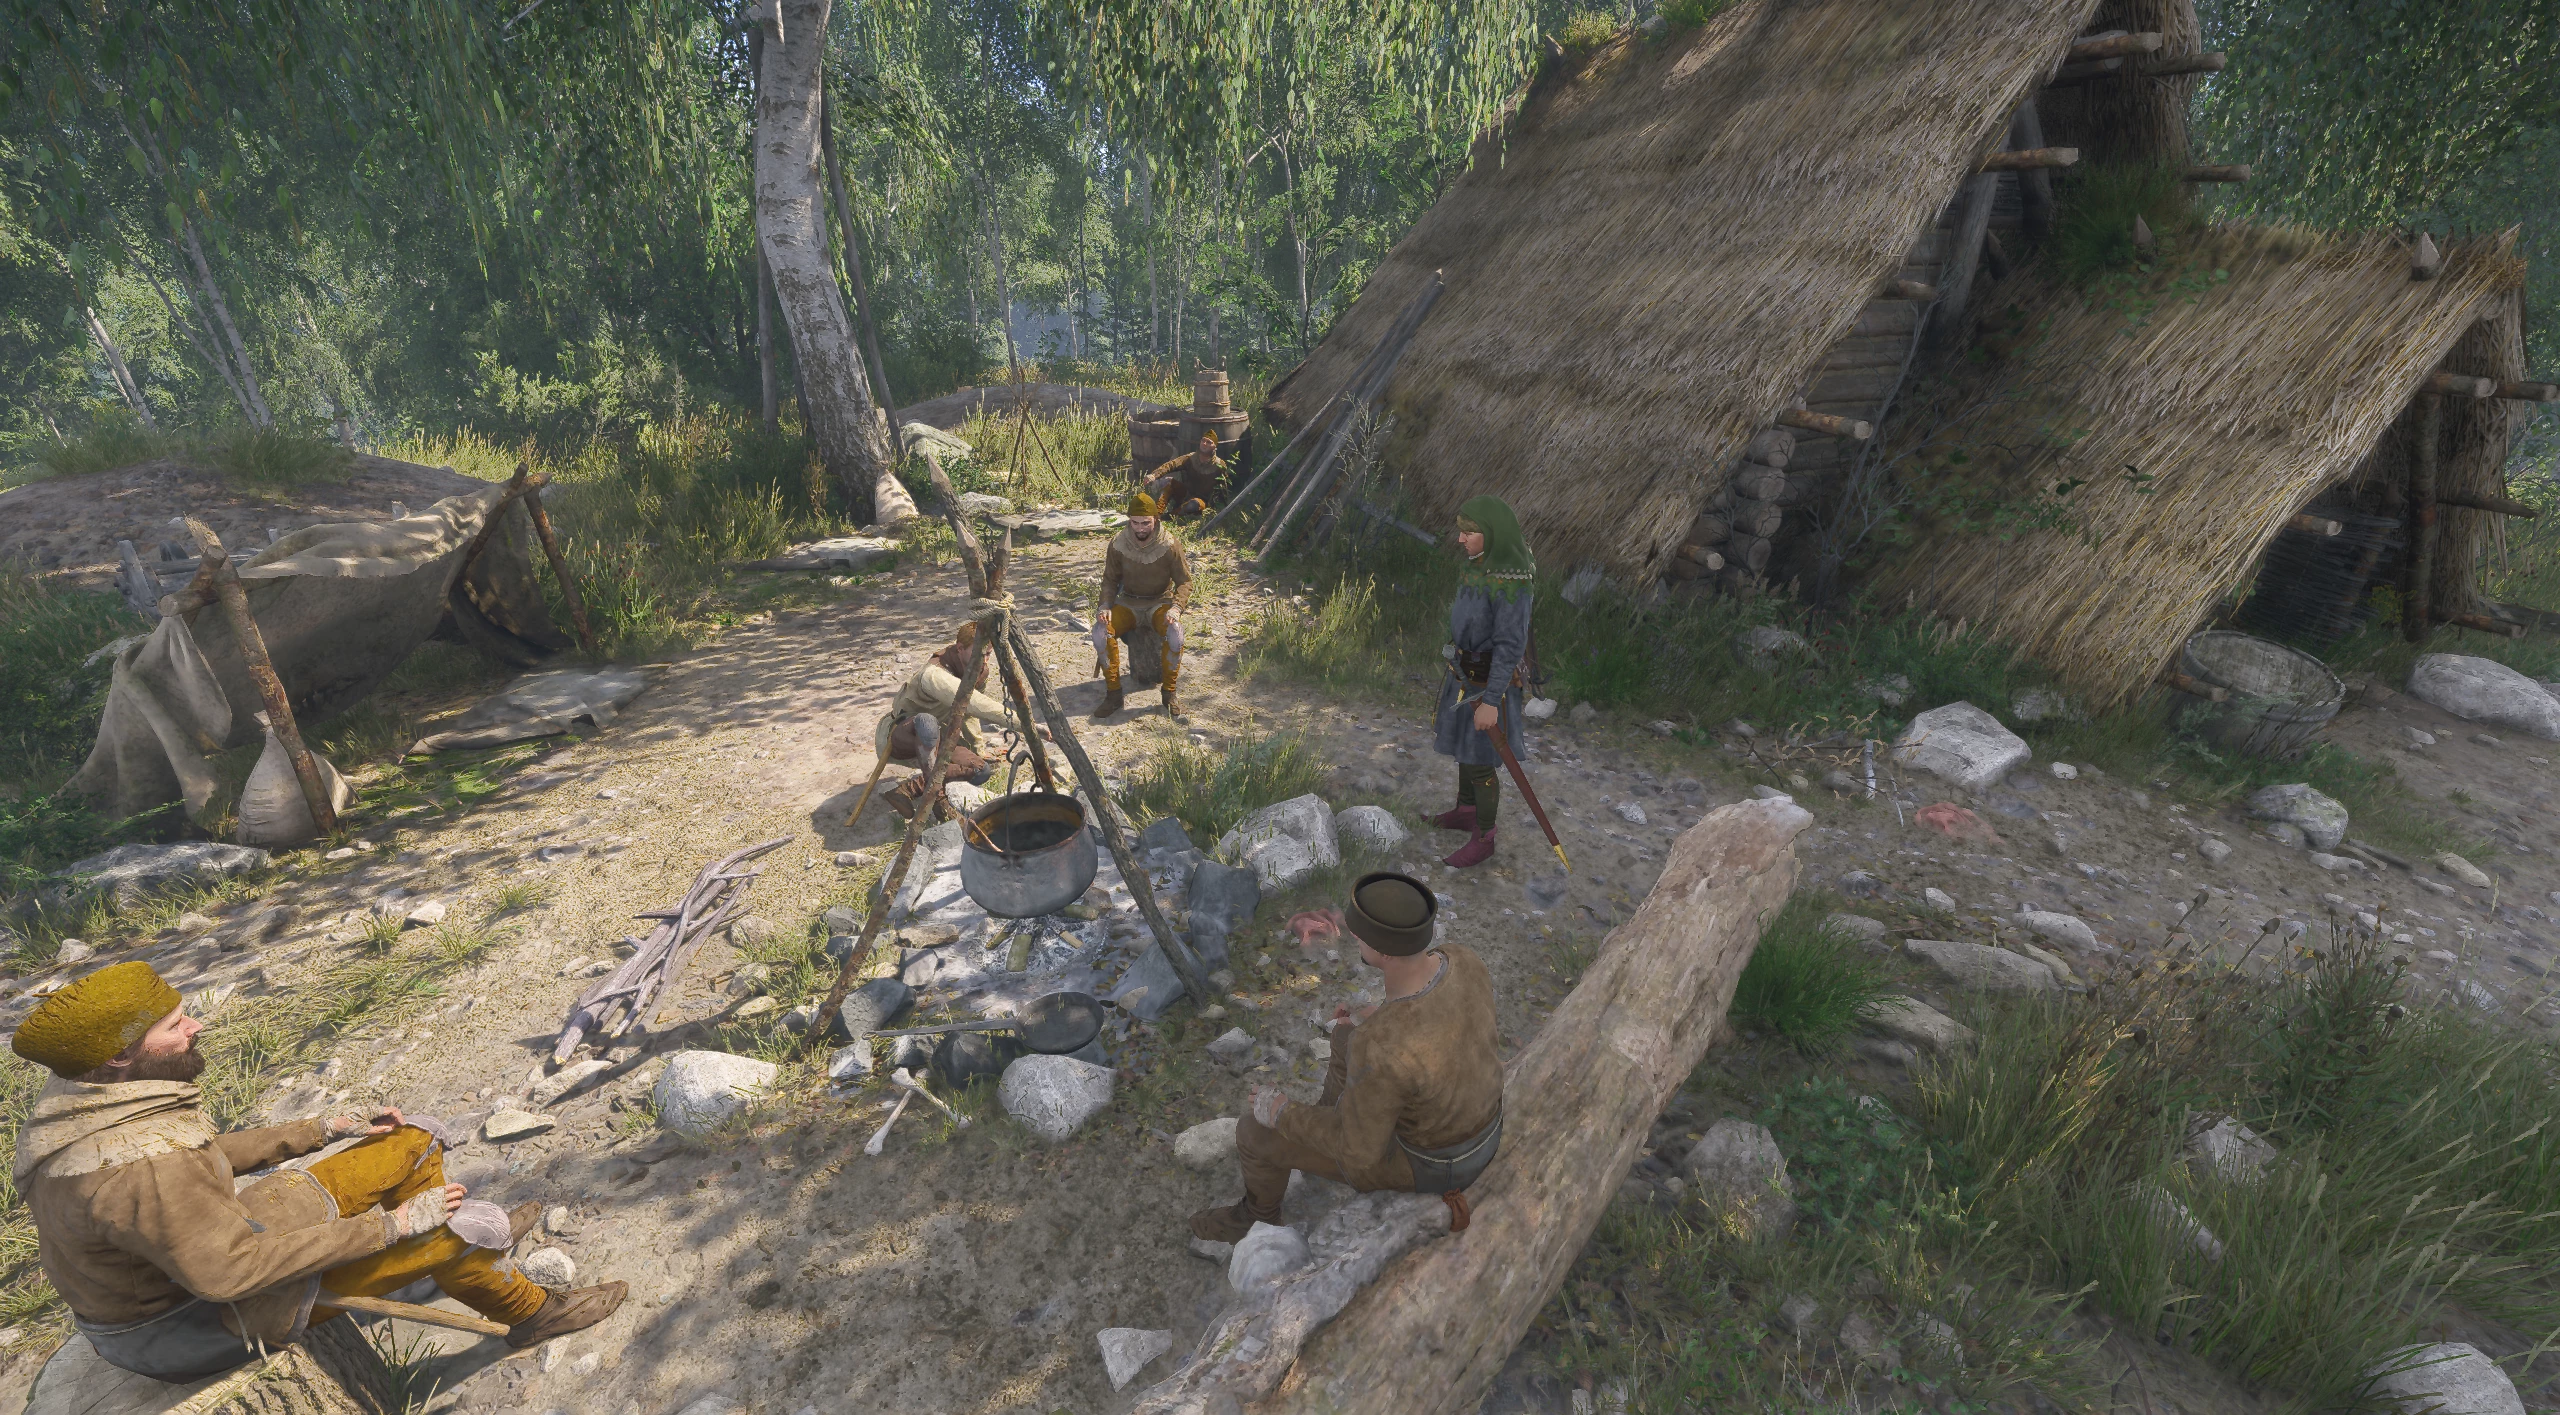
Return to the Miners
Find the miners' camp in the woods east of the village of Grunta. If you meet the miners at the northern city gates, you can go there with them. Talk to Myslibor and discuss the successful plan, but soon the mine owner will arrive at the camp with armed guards.
You can pass a persuasion check to avoid the fight. In this case, the quest will be completed, but the miners will be killed, and you will not receive a reward. Alternatively, engage in a fight to protect them.
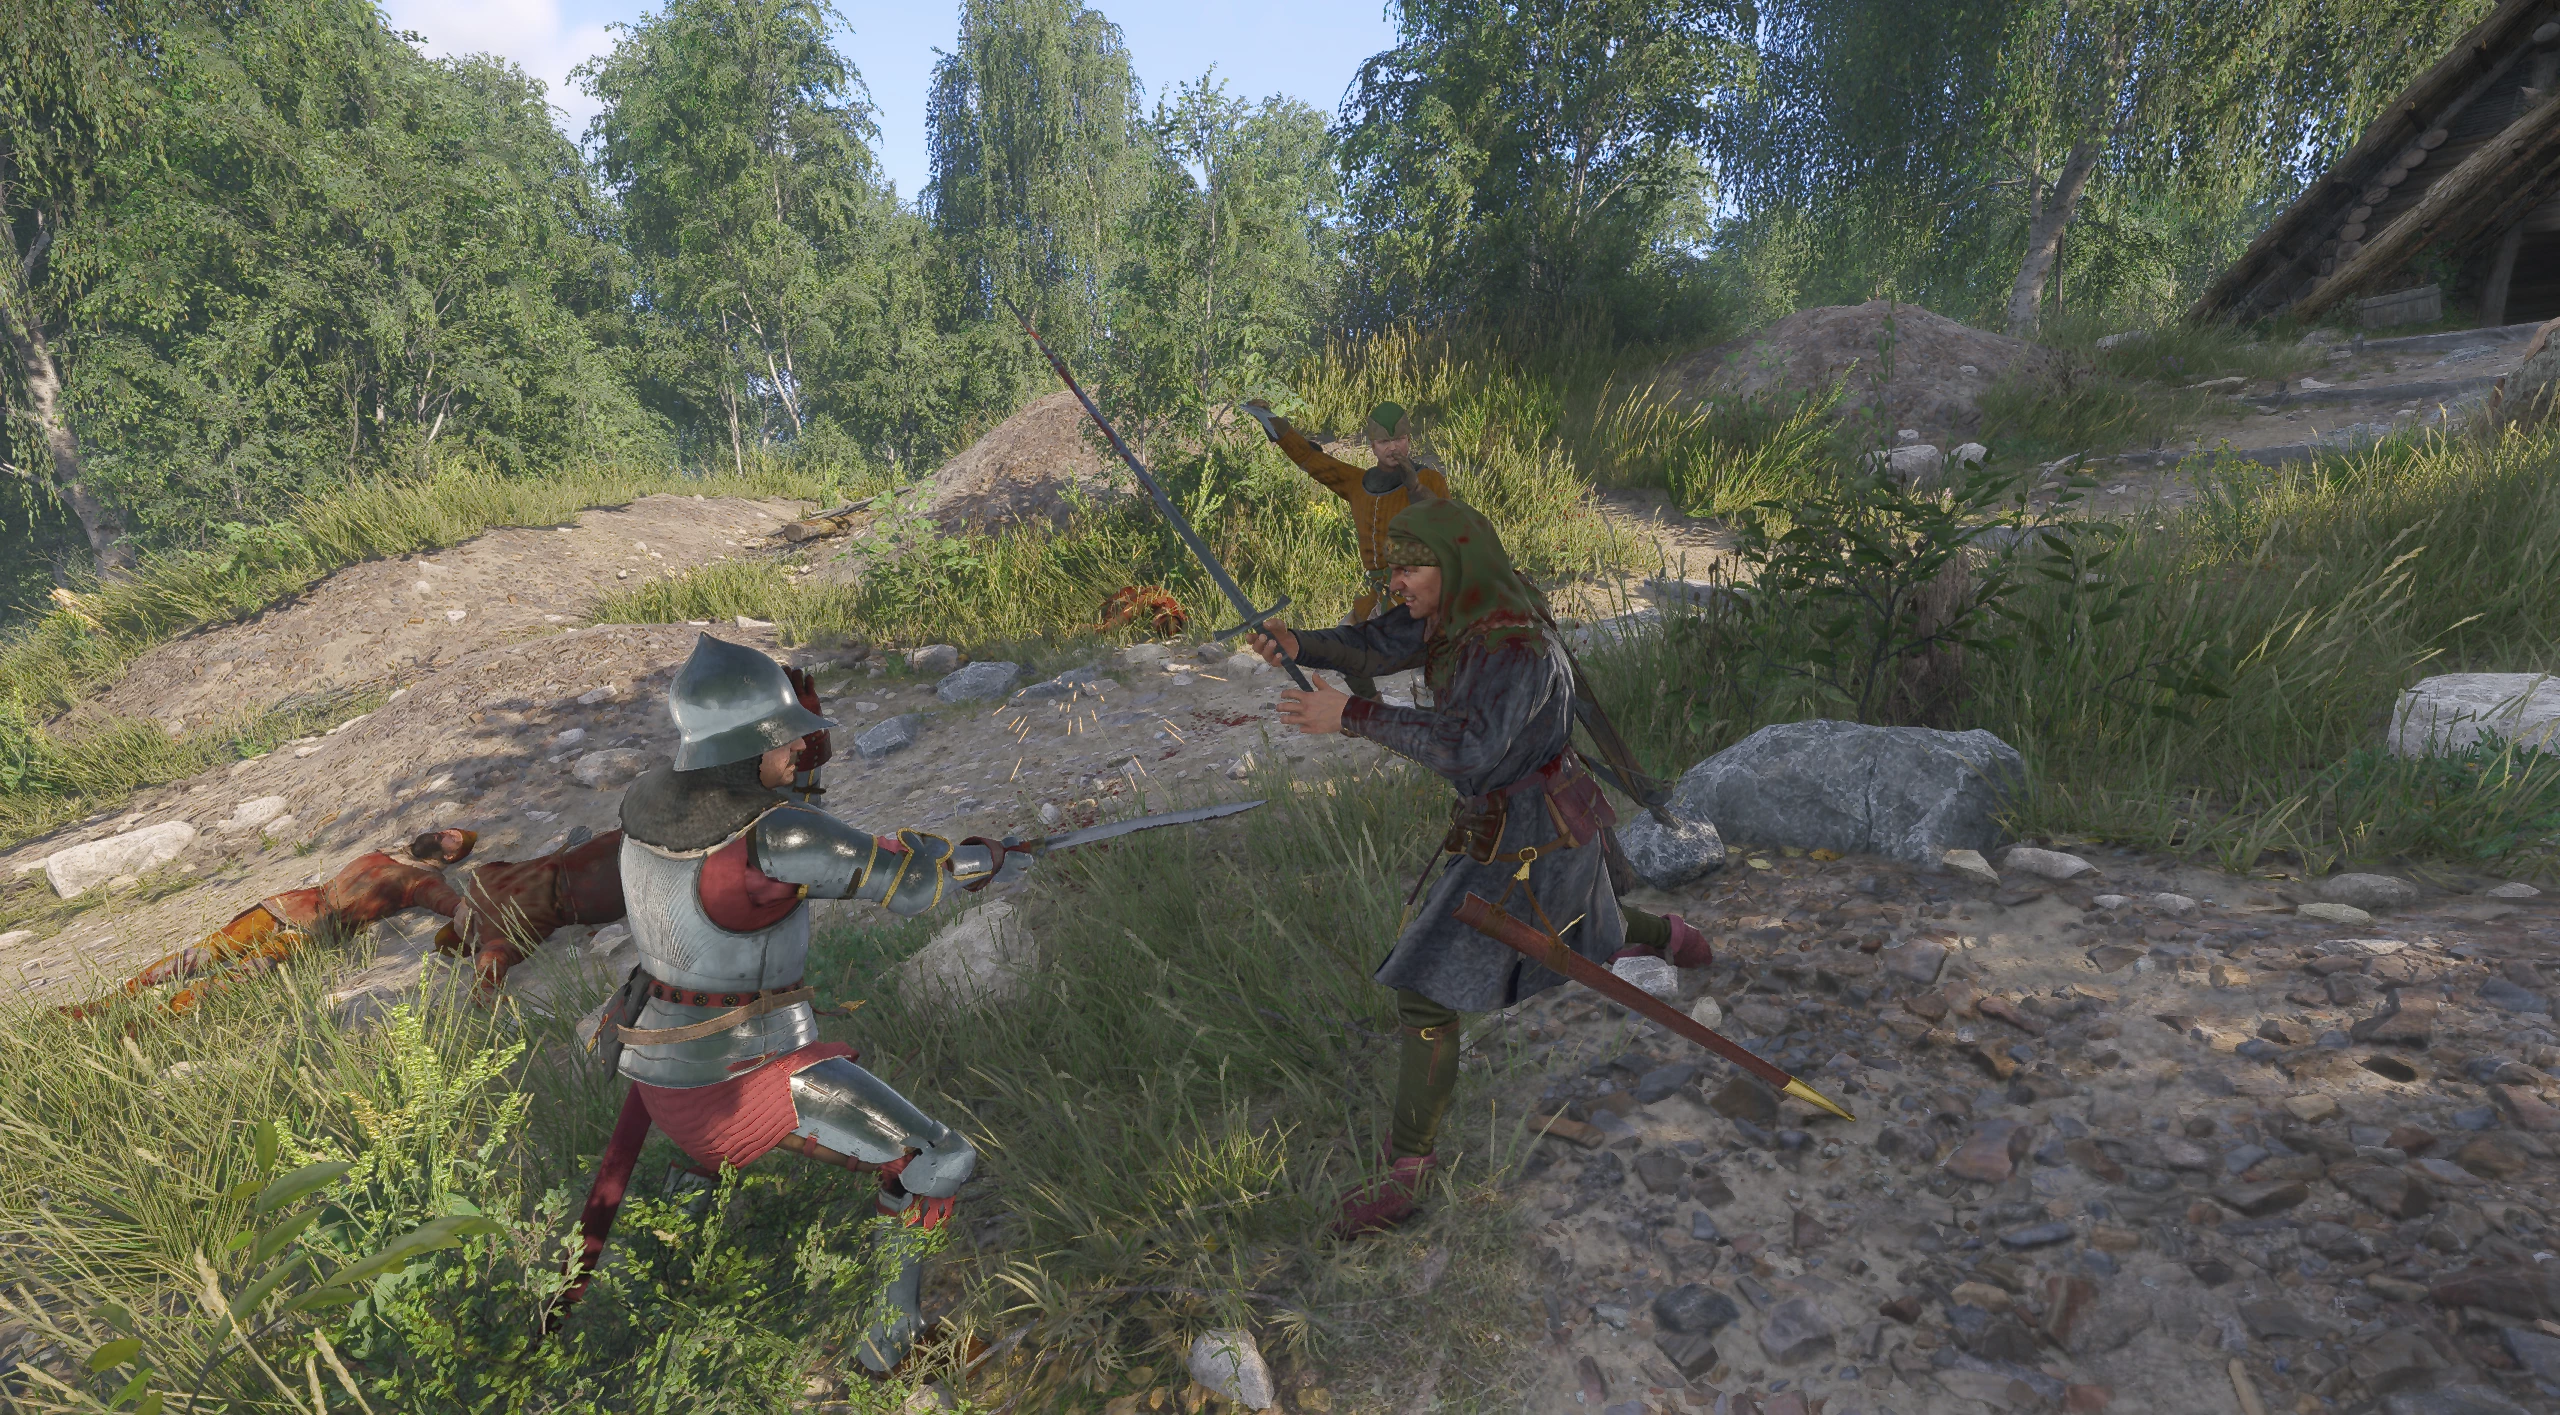
Defeat Marhold of Loun
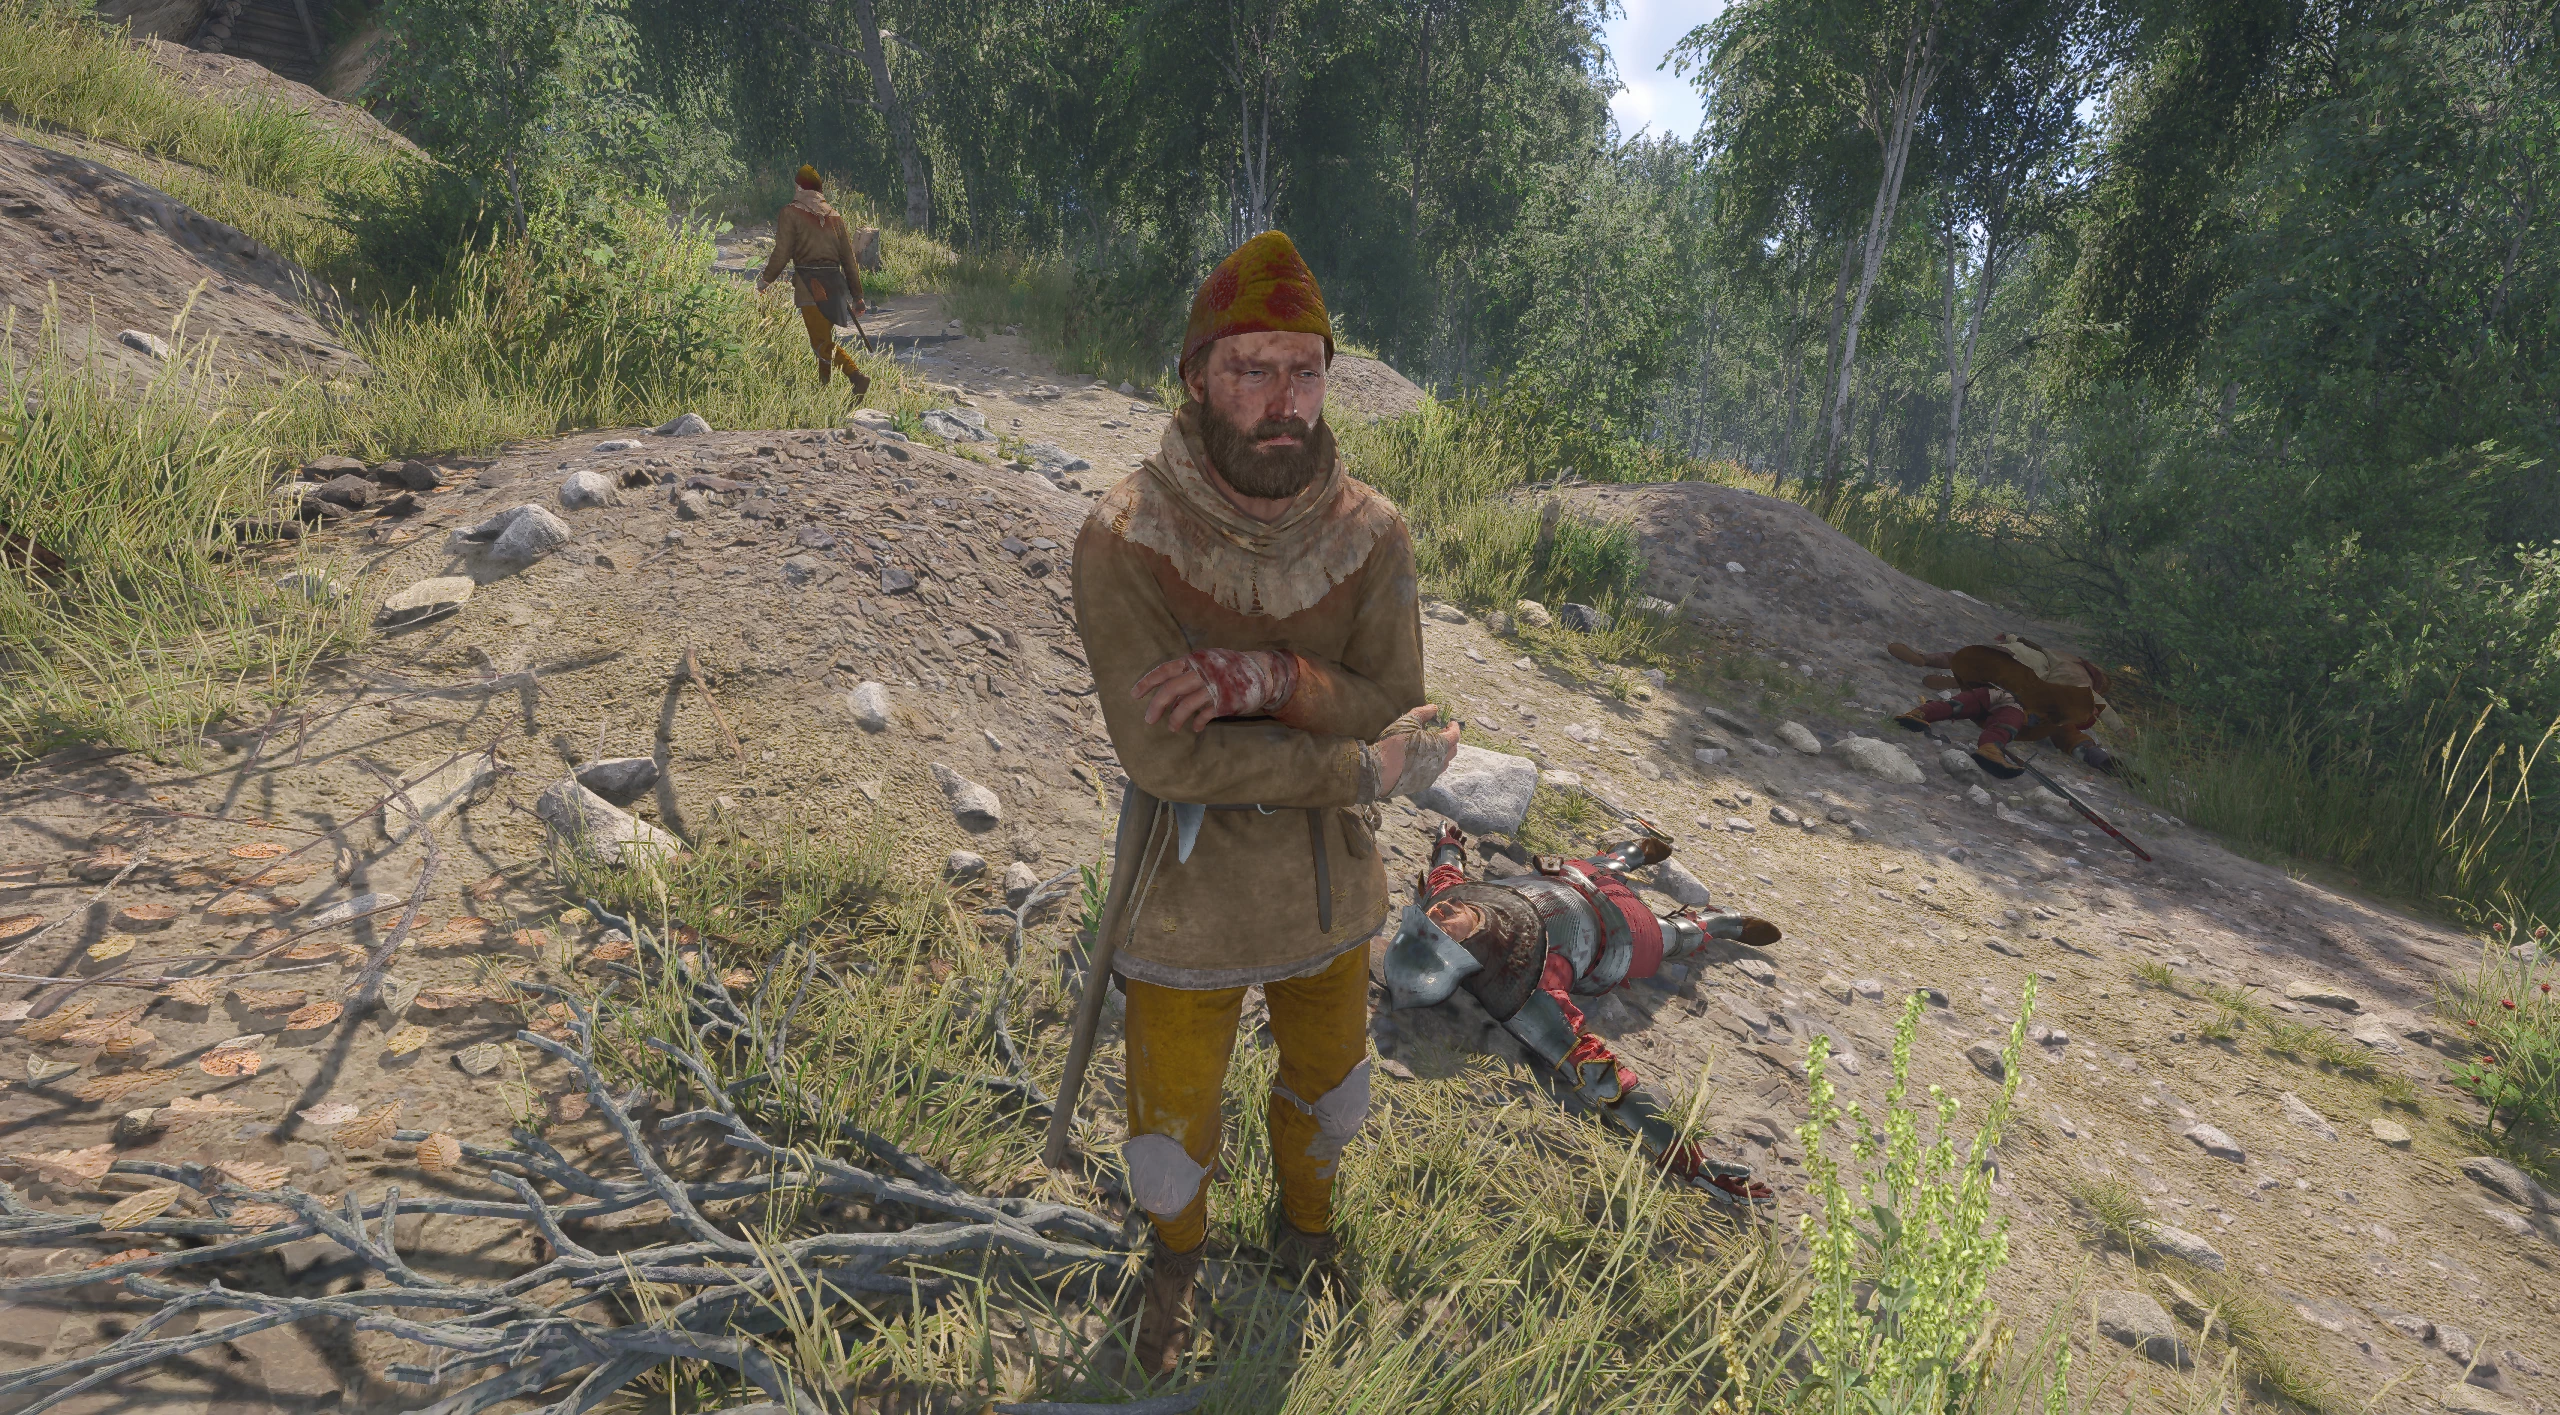
You decided to help the miners and engaged in a fight against the mine owner and his men. Marhold will be in plate armor, accompanied by four fighters. Despite the open space, you are on higher ground, giving you a tactical advantage.
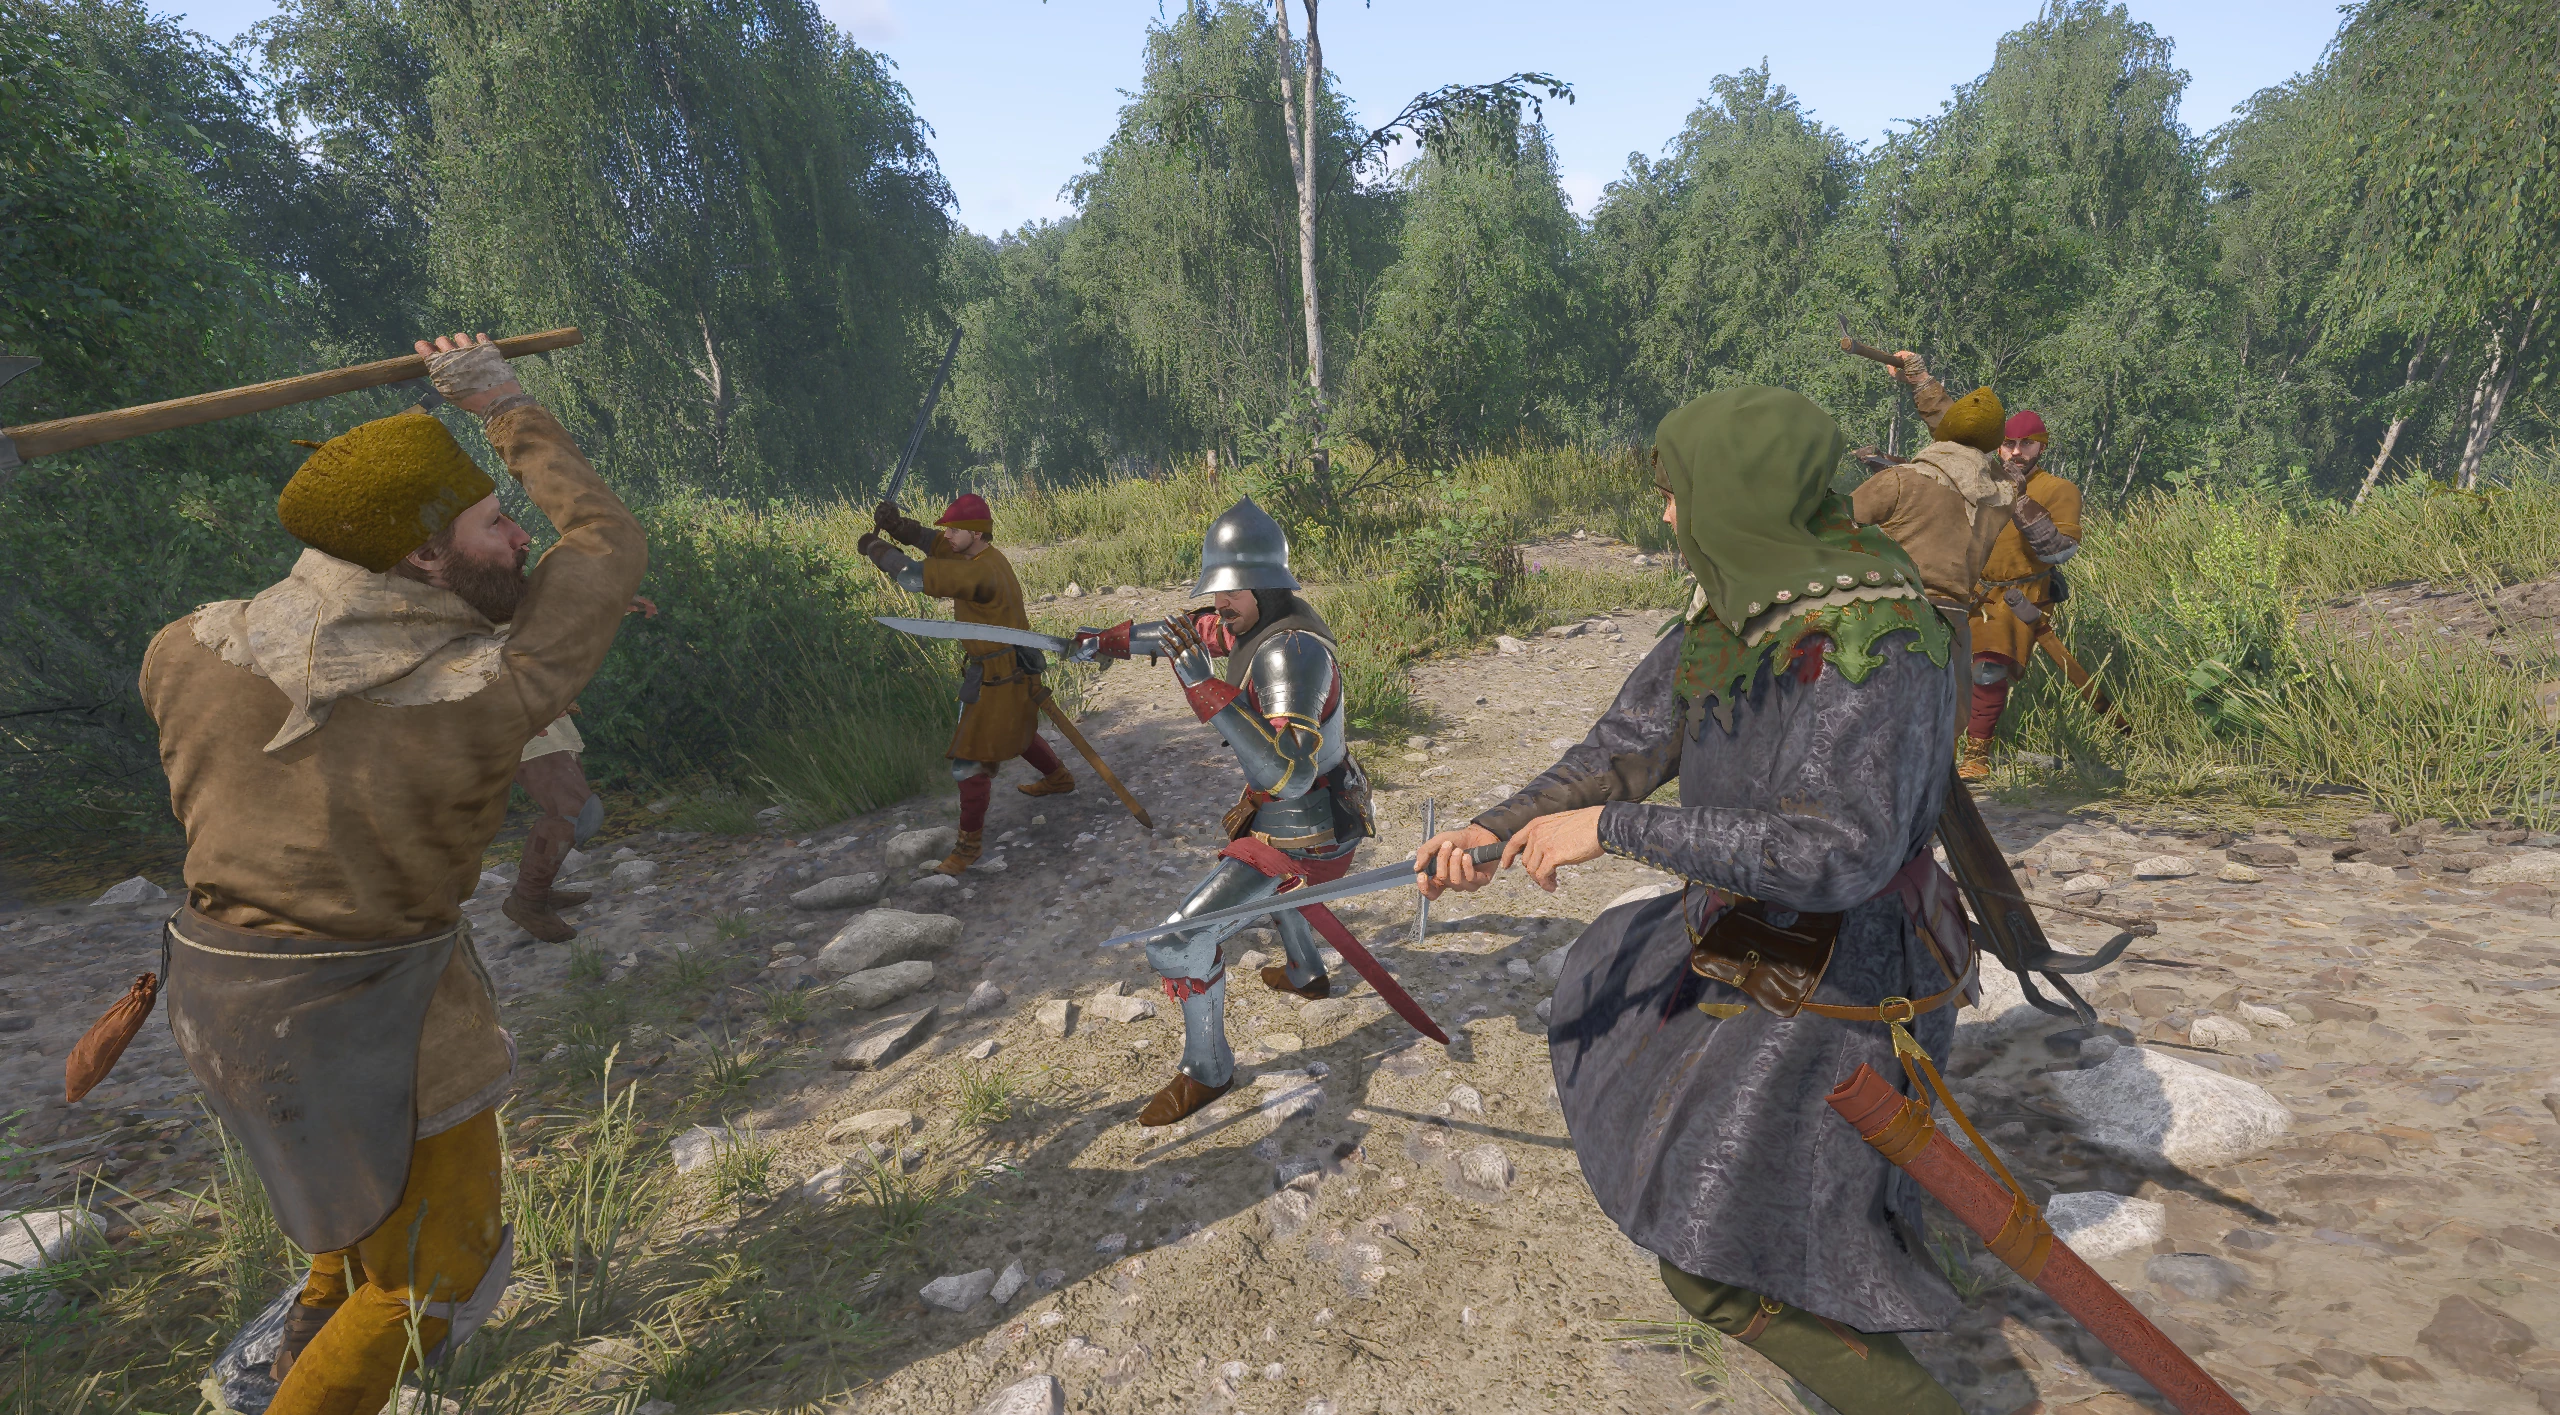
Focus on eliminating the armored fighter first. Try to attack the other fighters from behind.
Receive a Reward from the Miners
After defeating Marhold and his men, approach Myslibor. He will thank you for your help and give you a small monetary reward. The quest will then conclude on the miners' side.
Attack the Miners' Camp
You decided to join forces with Marhold and eliminate the miners. Together with him and his men, you head to the miners' camp.
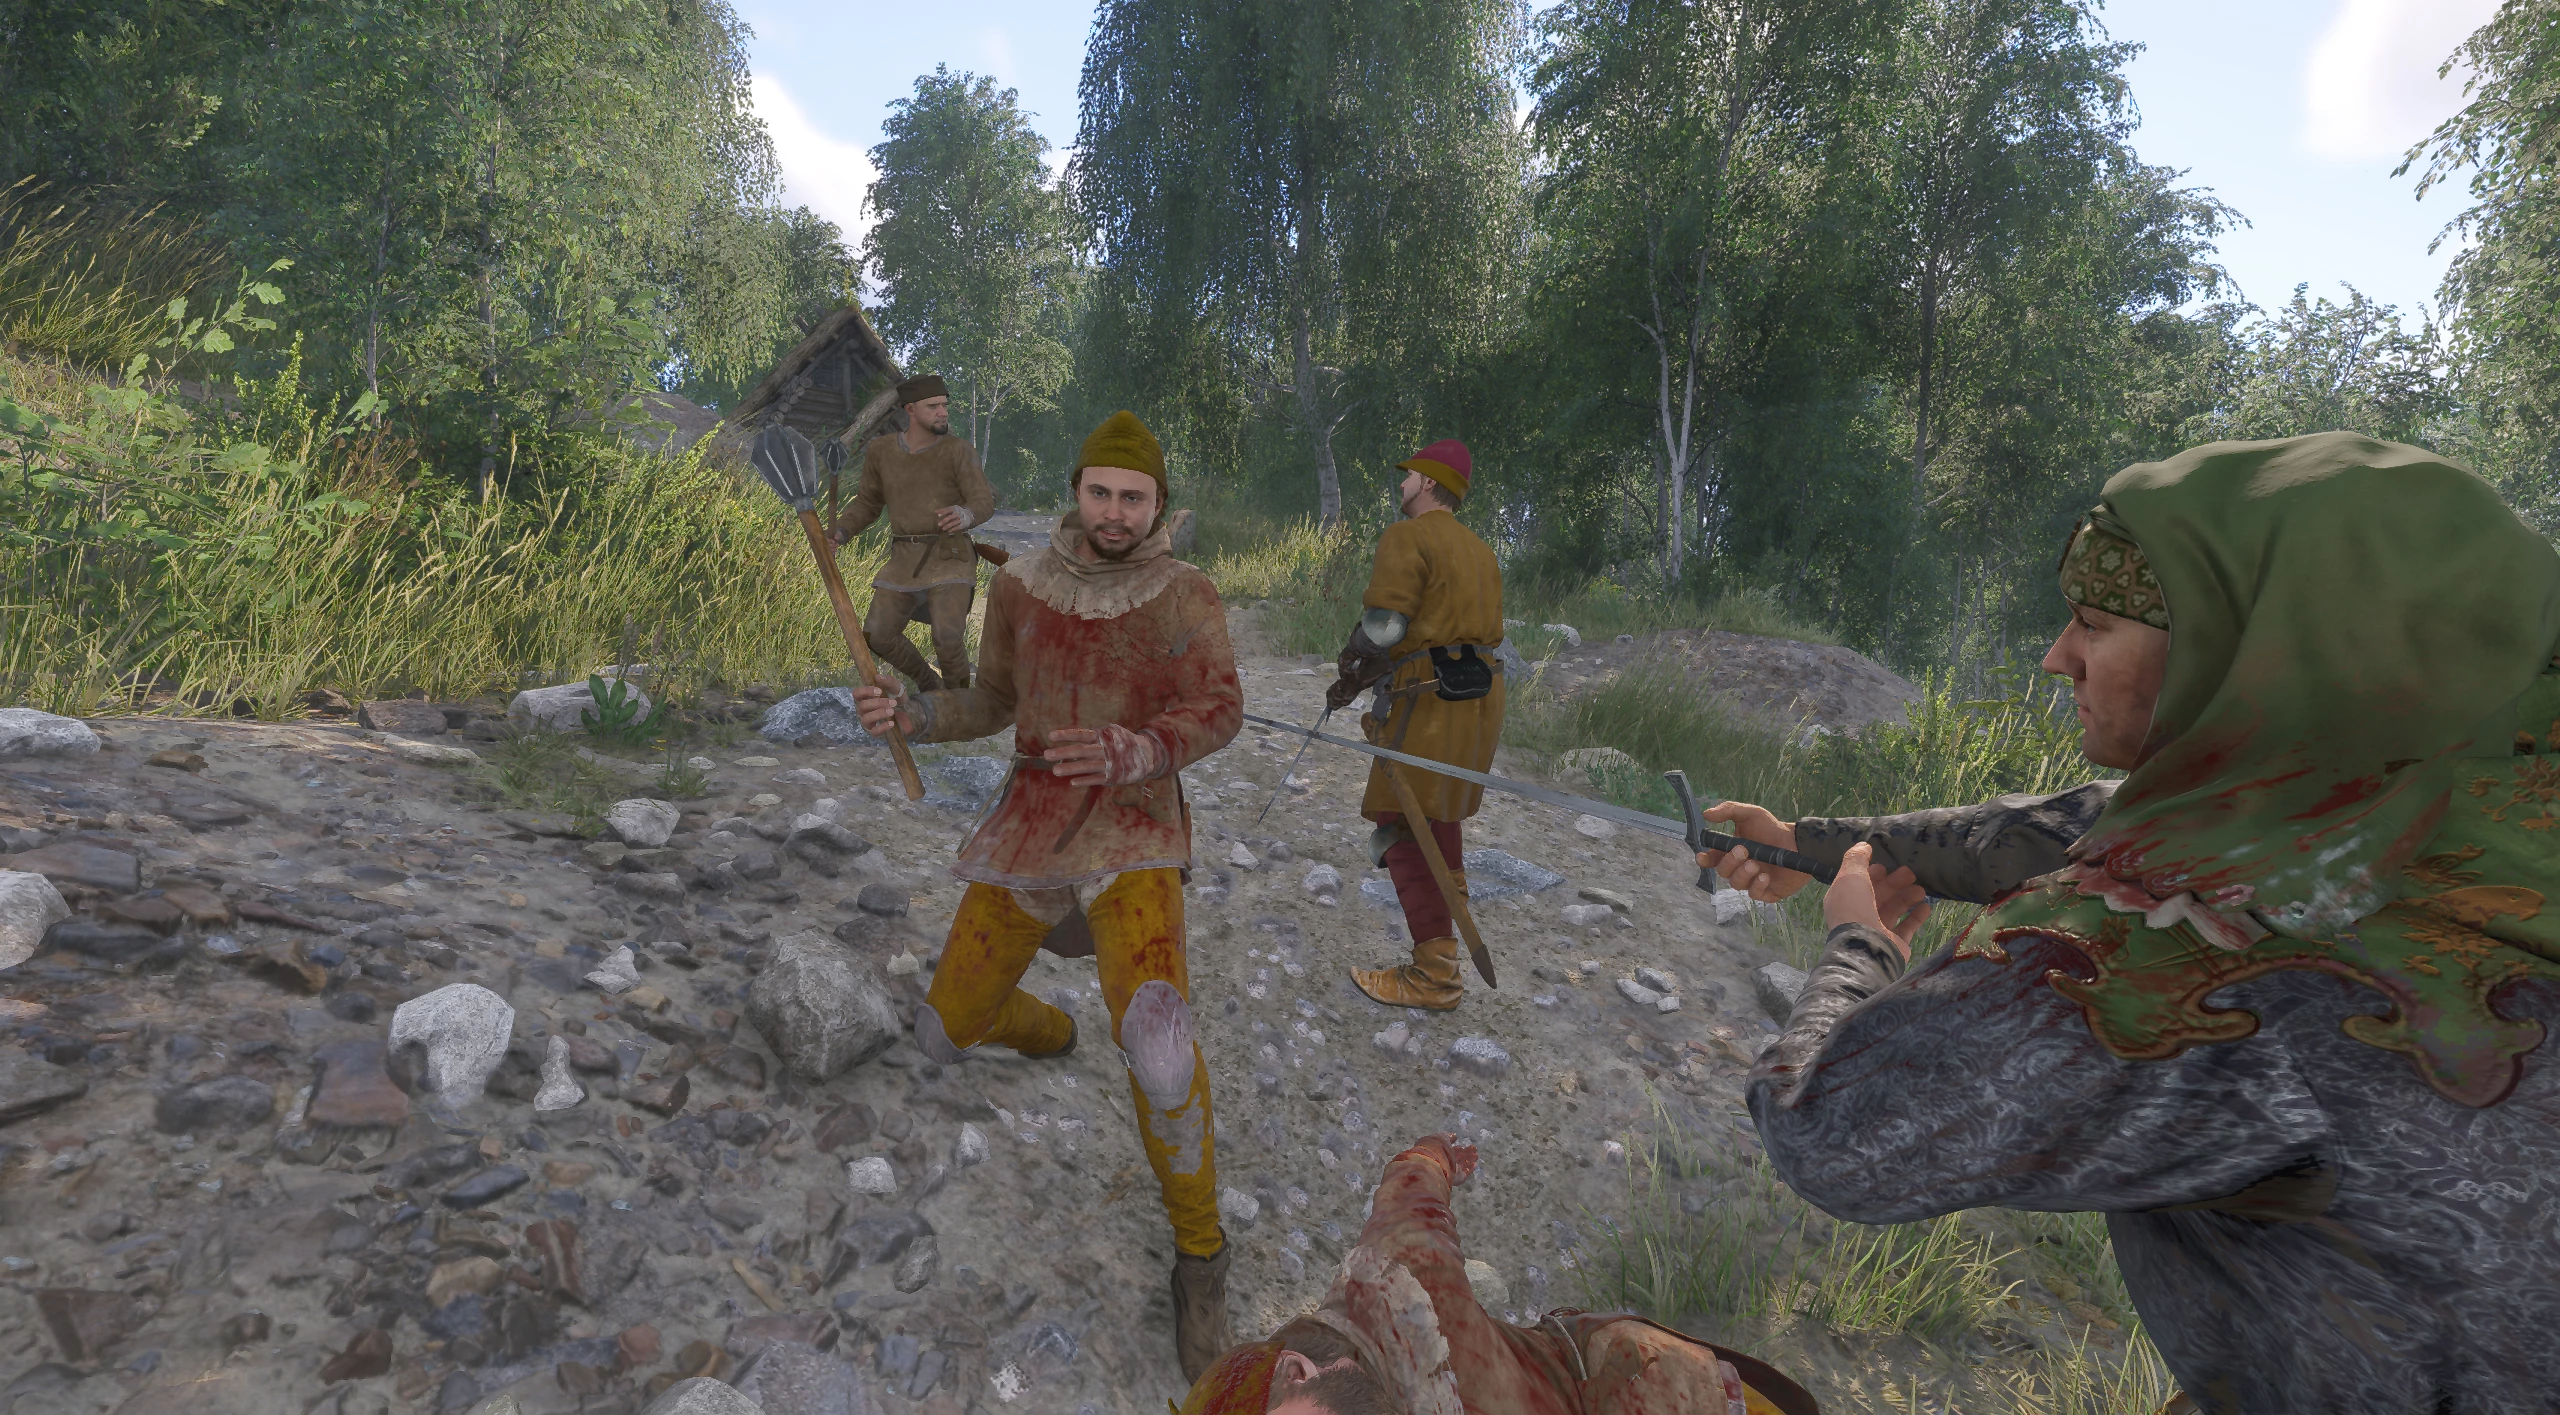
Defeat the Blackmailing Miners
Upon arriving at the camp, the miners will accuse you of betrayal, and a fight will immediately begin. They are poorly armed and inexperienced with weapons, so the battle will not be difficult.

Receive a Reward from Marhold
After dealing with the miners, collect your reward from the mine owner. You can try to threaten him with blackmail. If the persuasion check is successful, you will receive an increased reward. In case of failure, you will have to fight Marhold and his men.
Walkthrough of Side Quests in Kingdom Come: Deliverance 2
- Kingdom Come Deliverance 2: Mutt Walkthrough (How to Find the Dog)
- Kingdom Come Deliverance 2: Lackey Walkthrough
- Kingdom Come Deliverance 2: Bad Blood Walkthrough
- Kingdom Come Deliverance 2: Materia Prima Walkthrough
- Kingdom Come Deliverance 2: Forbidden Fruit Walkthrough
- Kingdom Come: Deliverance 2: Opus Magnum Walkthrough
- How to Find Armor by Maps in Kingdom Come Deliverance 2: The Lion's Crest Guide
- Kingdom Come Deliverance 2: Invaders Walkthrough
- Kingdom Come Deliverance 2: The Axe from the Lake Walkthrough
- Kingdom Come Deliverance 2: Mice Walkthrough
- Kingdom Come Deliverance 2: The Blacksmith's Son Walkthrough
- Kingdom Come Deliverance 2: The Jaunt Walkthrough
- Kingdom Come Deliverance 2: The Hermit Walkthrough
- Kingdom Come Deliverance 2: Miri Fajta Walkthrough
- Kingdom Come Deliverance 2: The Mouth of Hell Walkthrough
- Kingdom Come Deliverance 2: Bellatores Walkthrough
- Kingdom Come Deliverance 2: Skeleton in the Closet Walkthrough
- Kingdom Come Deliverance 2: Dragon's Lair Walkthrough
- Kingdom Come Deliverance 2: Canker Walkthrough
- Kingdom Come Deliverance 2: Handsome Charlie Walkthrough
- Kingdom Come Deliverance 2: Johnny the Gob Walkthrough
- Kingdom Come Deliverance 2: Casper Walkthrough
- Kingdom Come Deliverance 2: The White Roebuck Walkthrough
- Kingdom Come Deliverance 2: Hush, My Darling Walkthrough
- Kingdom Come Deliverance 2: Absolver Walkthrough
- Kingdom Come Deliverance 2: The Thunderstone Walkthrough
- Kingdom Come Deliverance 2: X Marks the Spot Walkthrough
- Kingdom Come Deliverance 2: Hammer and Tongs Walkthrough
- Kingdom Come Deliverance 2: Yackers 'n' Fash Walkthrough
- Kingdom Come Deliverance 2: Ransom Walkthrough
- Kingdom Come Deliverance 2: The Reliquary Walkthrough
- Kingdom Come Deliverance 2: Thou art but dust Walkthrough
- Kingdom Come Deliverance 2: Striped Tonies Walkthrough
- Kingdom Come Deliverance 2: Popinjay Shoot Walkthrough
- Kingdom Come Deliverance 2: Ars Dimicatoria Walkthrough
- Kingdom Come Deliverance 2: Arrow-head Walkthrough
- Kingdom Come Deliverance 2: In Vino Virilitas Walkthrough
- Kingdom Come Deliverance 2: Feast for the Poor Walkthrough
- Kingdom Come Deliverance 2: Spoils of War Walkthrough
- Kingdom Come Deliverance 2: Post Scriptum Walkthrough
- Kingdom Come Deliverance 2: The Thieves' Code Walkthrough
- Kingdom Come Deliverance 2: Troubadours Walkthrough
- Kingdom Come Deliverance 2: Bird of Prey Walkthrough
- Kingdom Come Deliverance 2: A Good Scrub Walkthrough
- Kingdom Come Deliverance 2: Ill Repute Walkthrough
- Kingdom Come Deliverance 2: The Spark Walkthrough
- Kingdom Come Deliverance 2: All's fair Walkthrough
- Kingdom Come Deliverance 2: Seeking Justice Walkthrough
Other guides
- Kingdom Come: Deliverance 2 Mysteria Ecclesiae — Weapon Locations and How to Obtain Them
- Kingdom Come: Deliverance 2 Mysteria Ecclesiae — How to Find Slavek’s Purse
- Kingdom Come: Deliverance 2 Mysteria Ecclesiae — Devilish Pain Quest Guide: How to Help Madla
- Kingdom Come: Deliverance 2 — Mysteria Ecclesiae DLC Walkthrough Guide
- Kingdom Come: Deliverance 2 — How to Access and Start the Mysteria Ecclesiae DLC
- Kingdom Come: Deliverance 2 — Chiaroscuro Quest Walkthrough
- Kingdom Come: Deliverance 2 — Source of Inspiration Quest Walkthrough
- Brushes with Death DLC in Kingdom Come: Deliverance 2 — How to Start and Complete All Quests
- Kingdom Come Deliverance 2: A Sketchy Situation Walkthrough
- Kingdom Come: Deliverance 2 — Fixing High Toll Quest Issues
-
 Kingdom Come: Deliverance 2 — Chiaroscuro Quest Walkthrough
 -
 Kingdom Come: Deliverance 2 — Source of Inspiration Quest Walkthrough
 -
 Brushes with Death DLC in Kingdom Come: Deliverance 2 — How to Start and Complete All Quests
 -
 Kingdom Come Deliverance 2: A Sketchy Situation Walkthrough
 -
 Kingdom Come: Deliverance 2 — Fixing High Toll Quest Issues
 -
 Palworld 1.0 Best Pals for Early Game, Combat, Bases, and Mounts