Kingdom Come Deliverance 2: Spoils of War Walkthrough

In the world of Kingdom Come: Deliverance 2, you will face difficult moral choices where every step affects the fate of those around you. The quest Spoils of War tasks you with gathering supplies for the army, but how you do it is up to your conscience.
How to Start the Spoils of War Quest
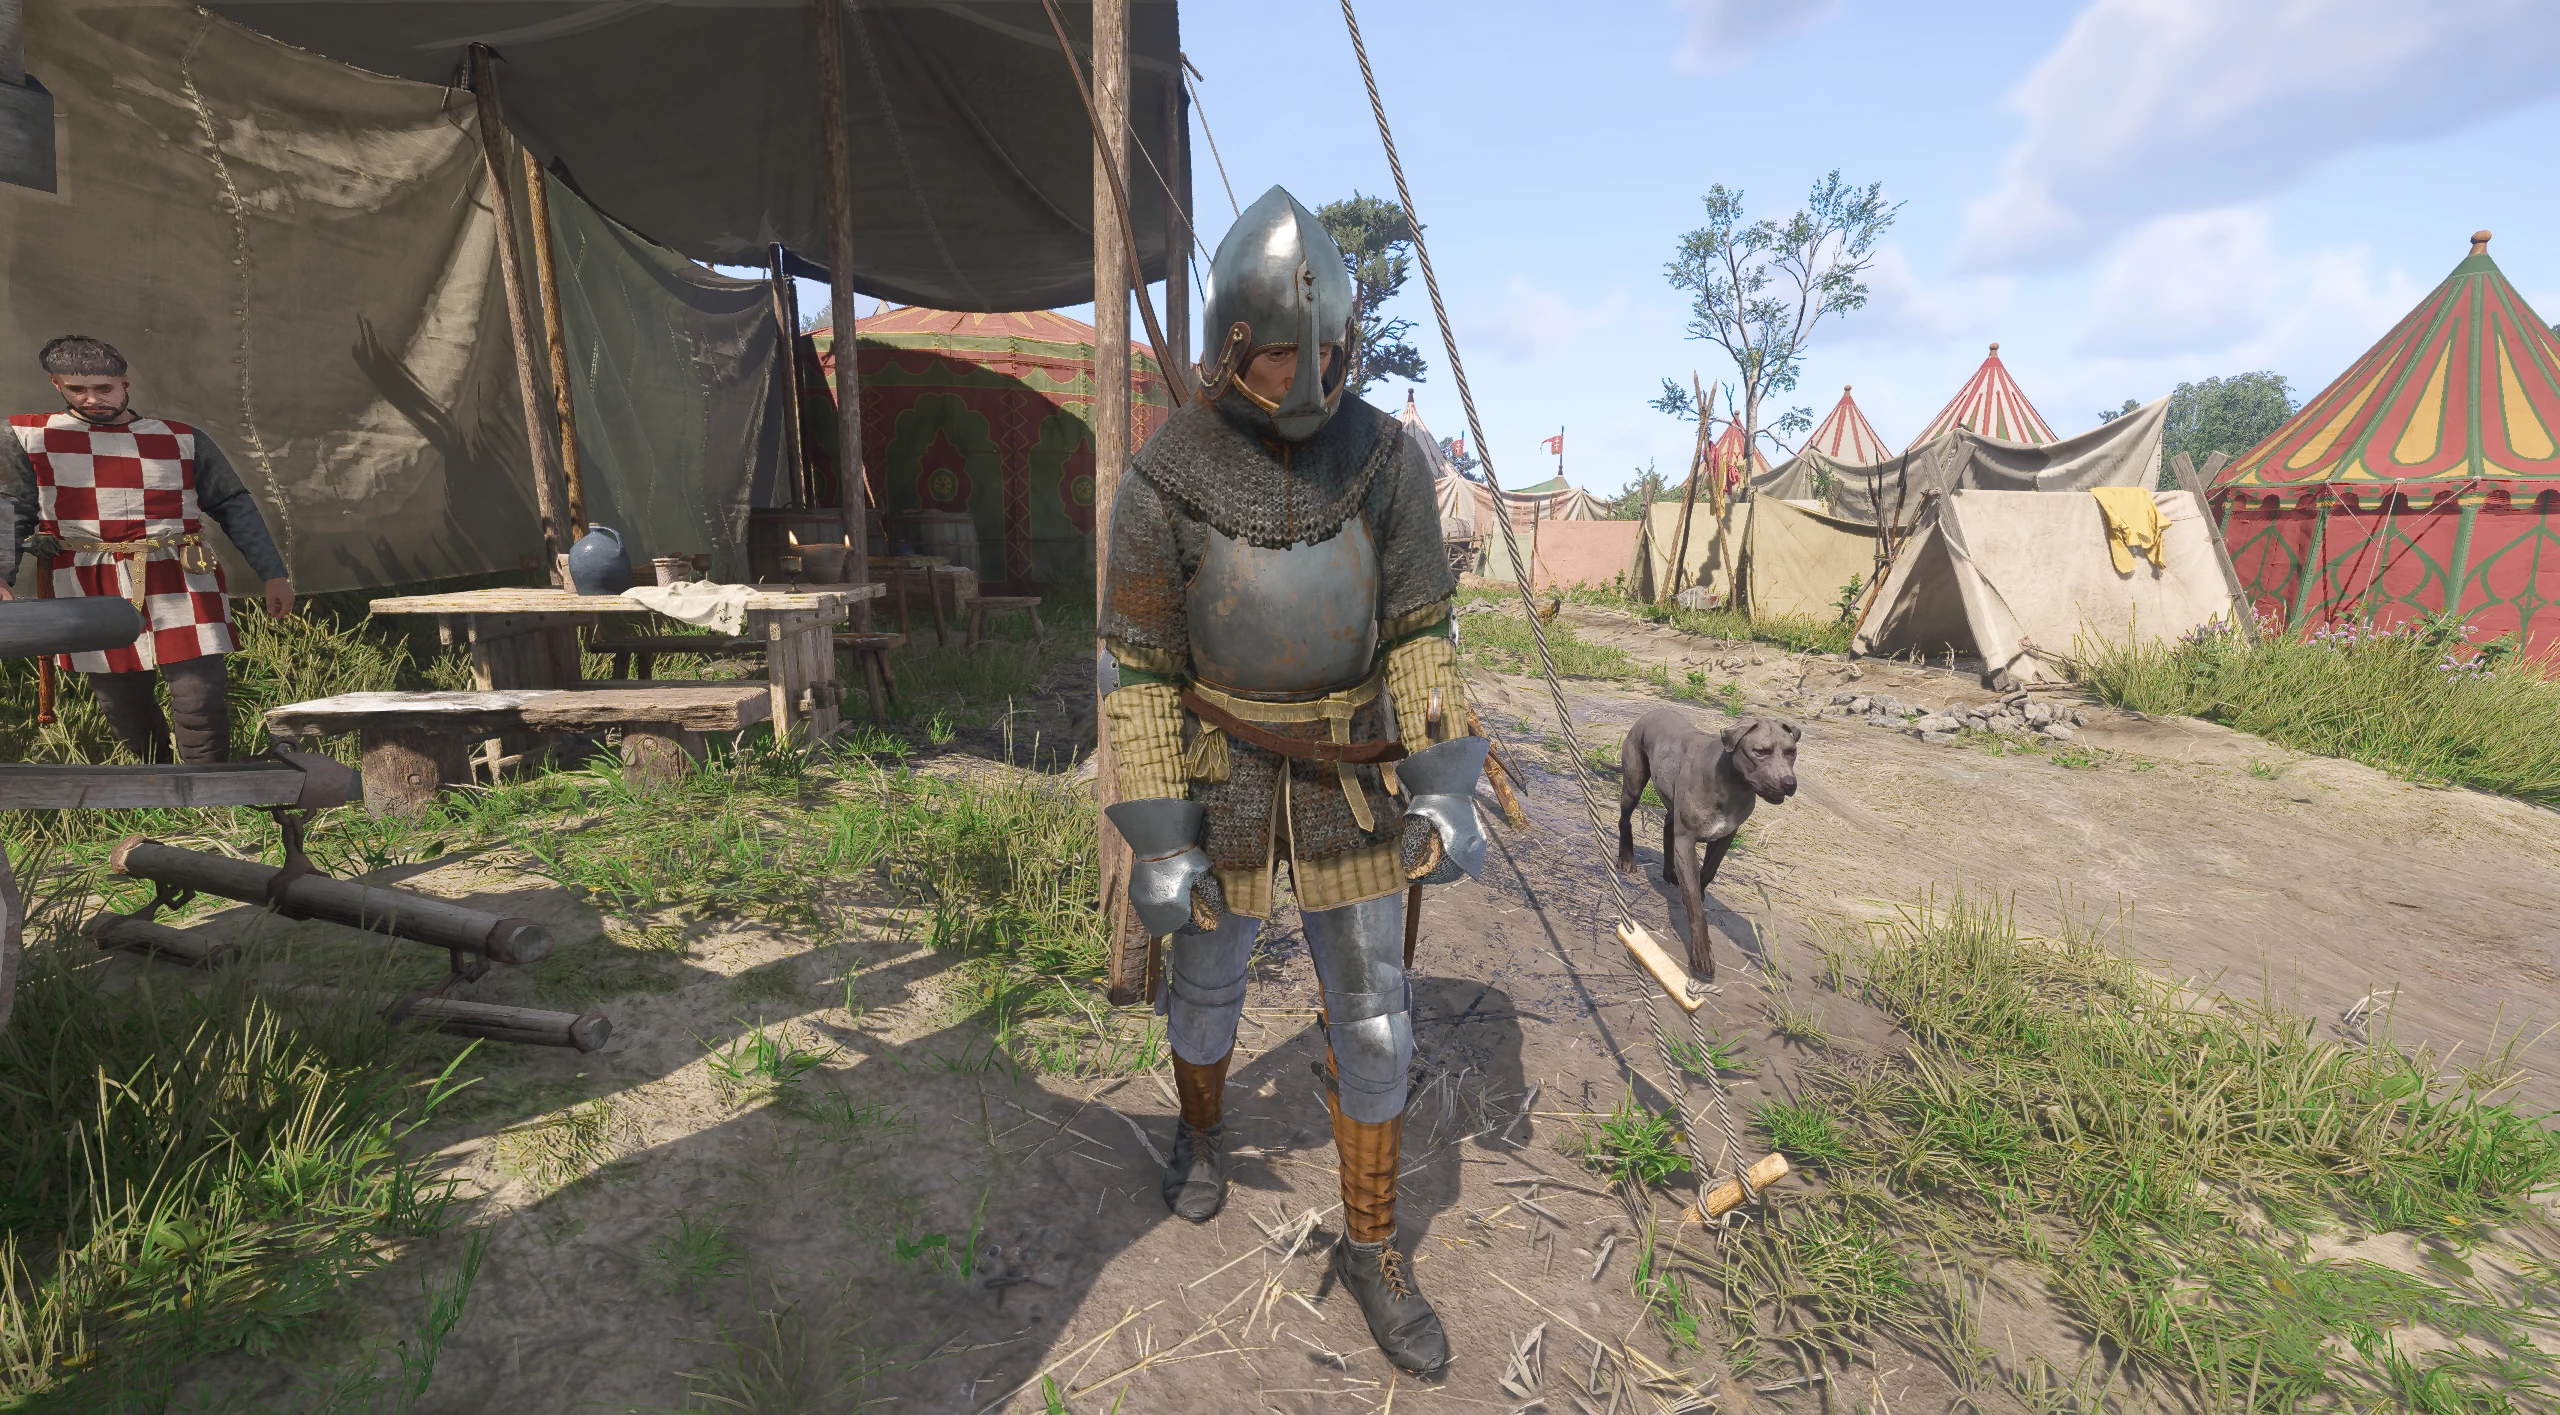
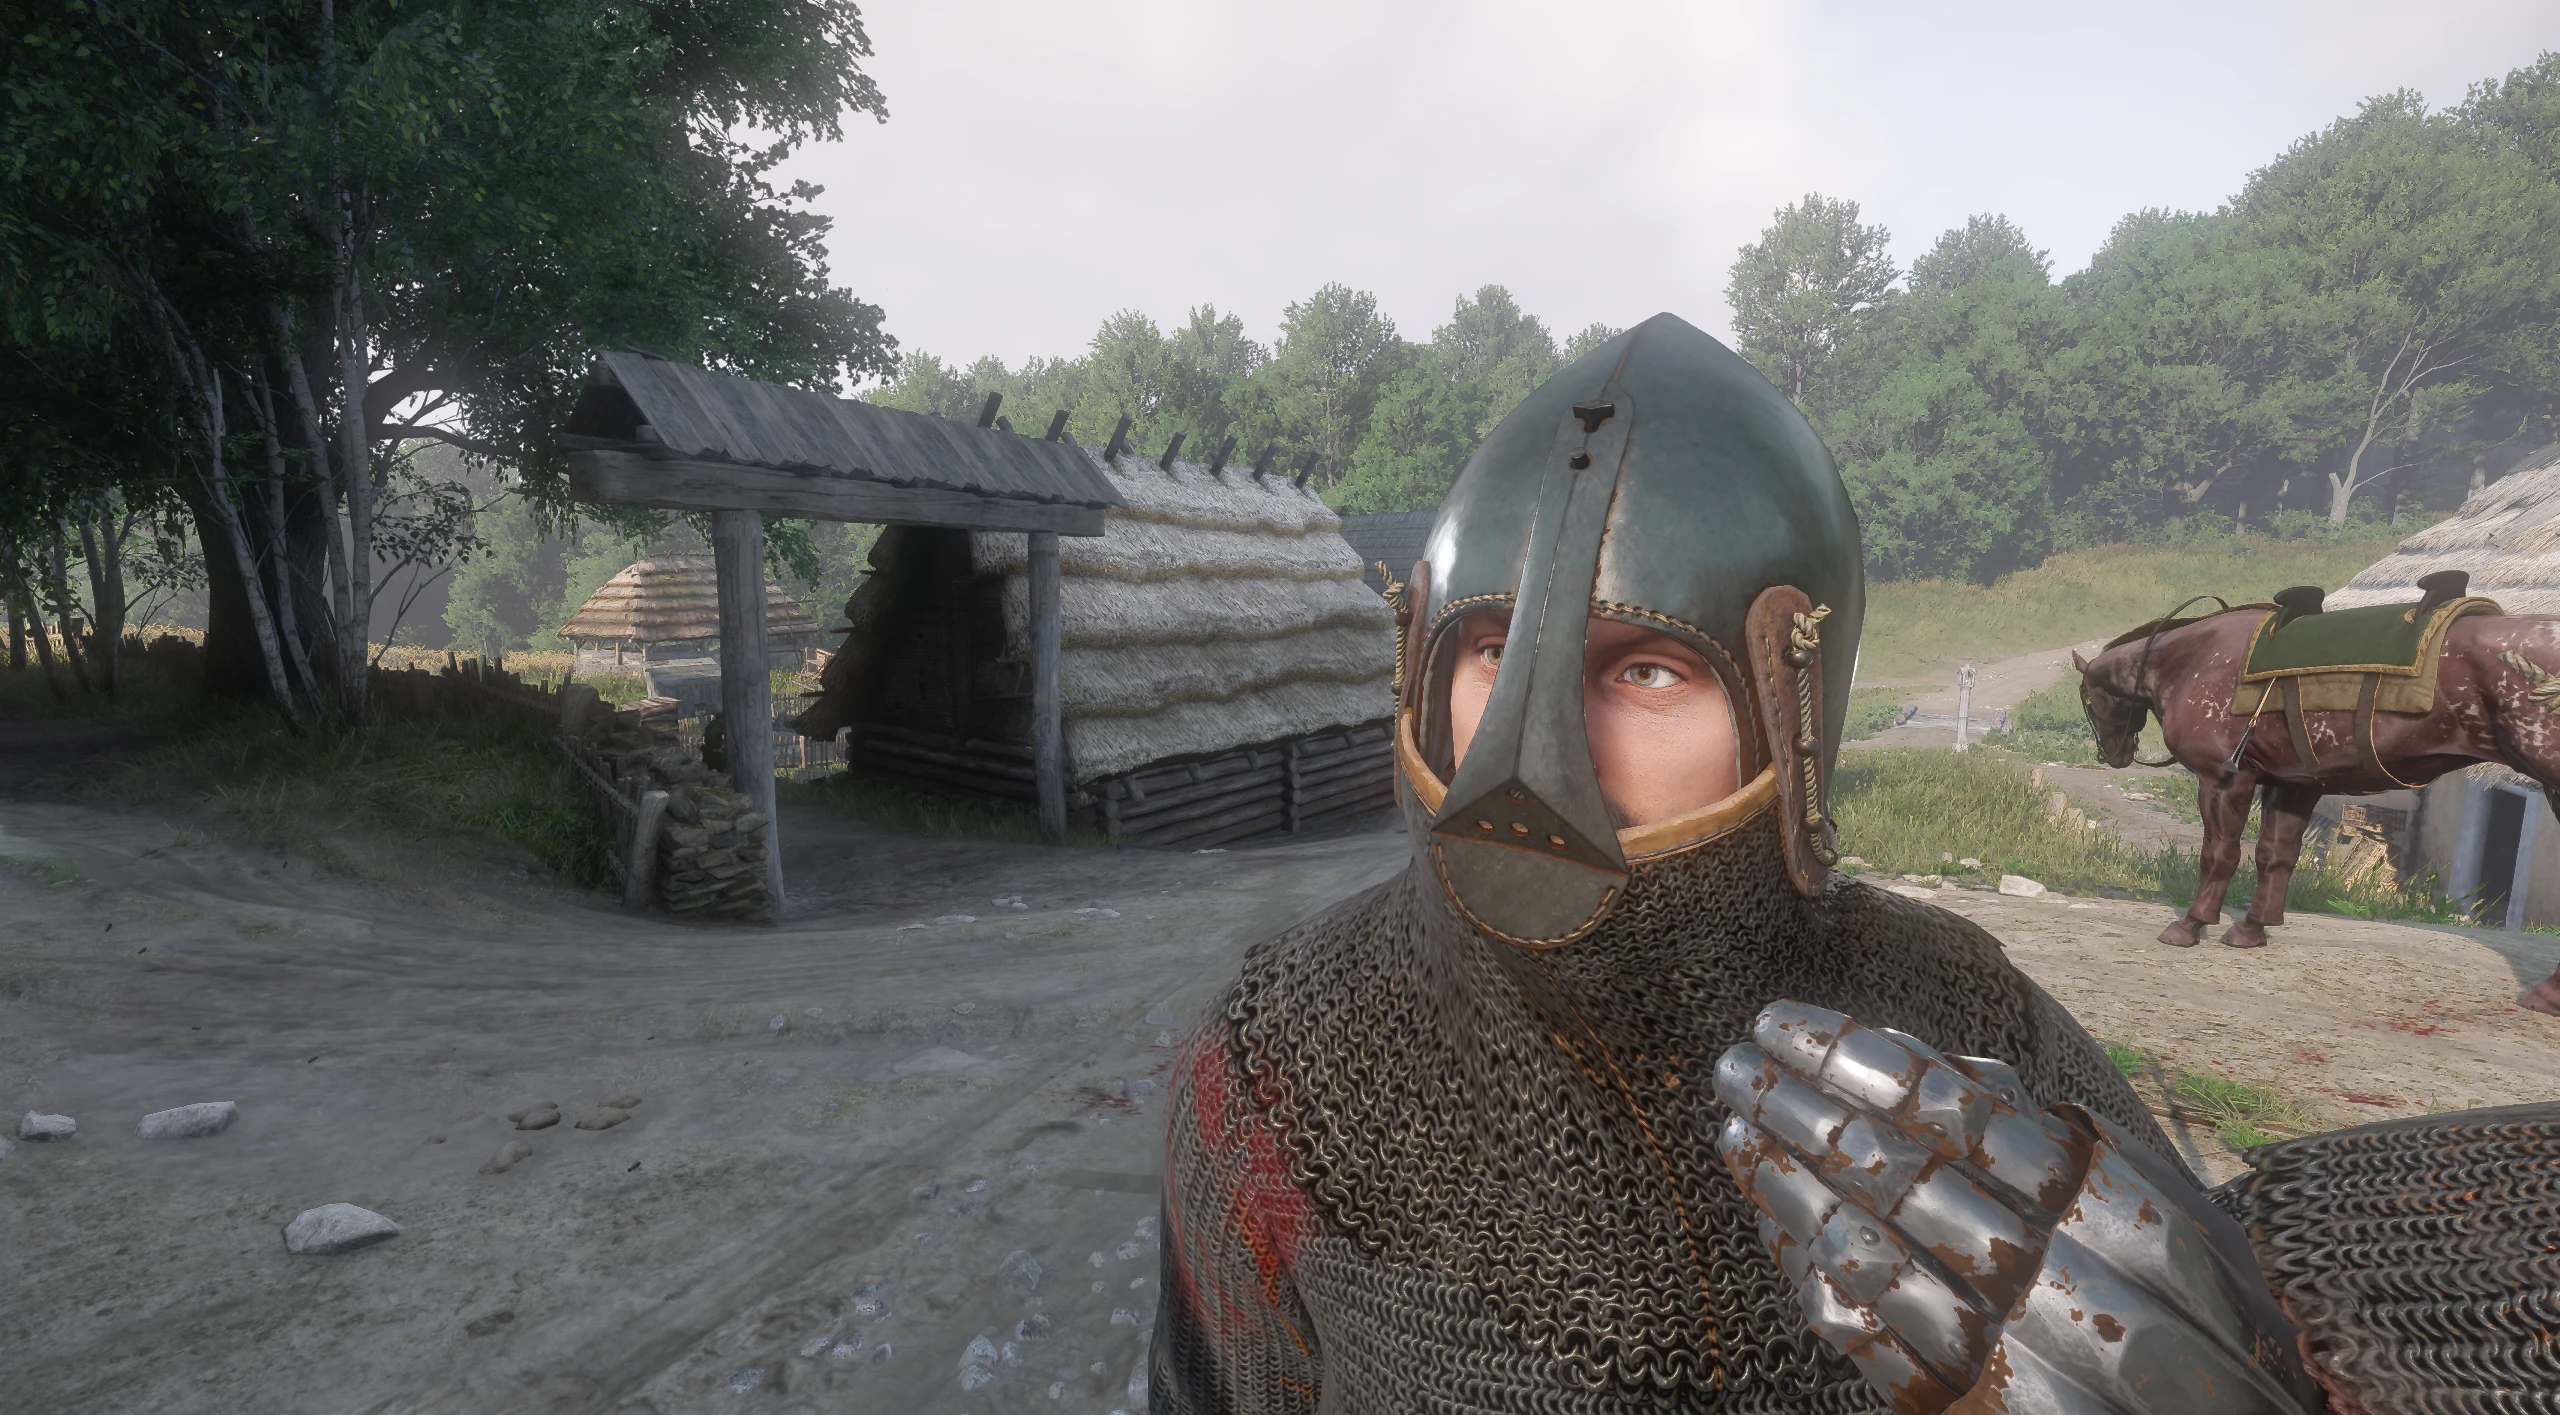
This quest becomes available after completing the main storyline mission Speak of the Devil. In the Kuttenberg region, at Sigismund's camp, you need to find a centurion named Putov. He is located near the northern entrance to the camp.
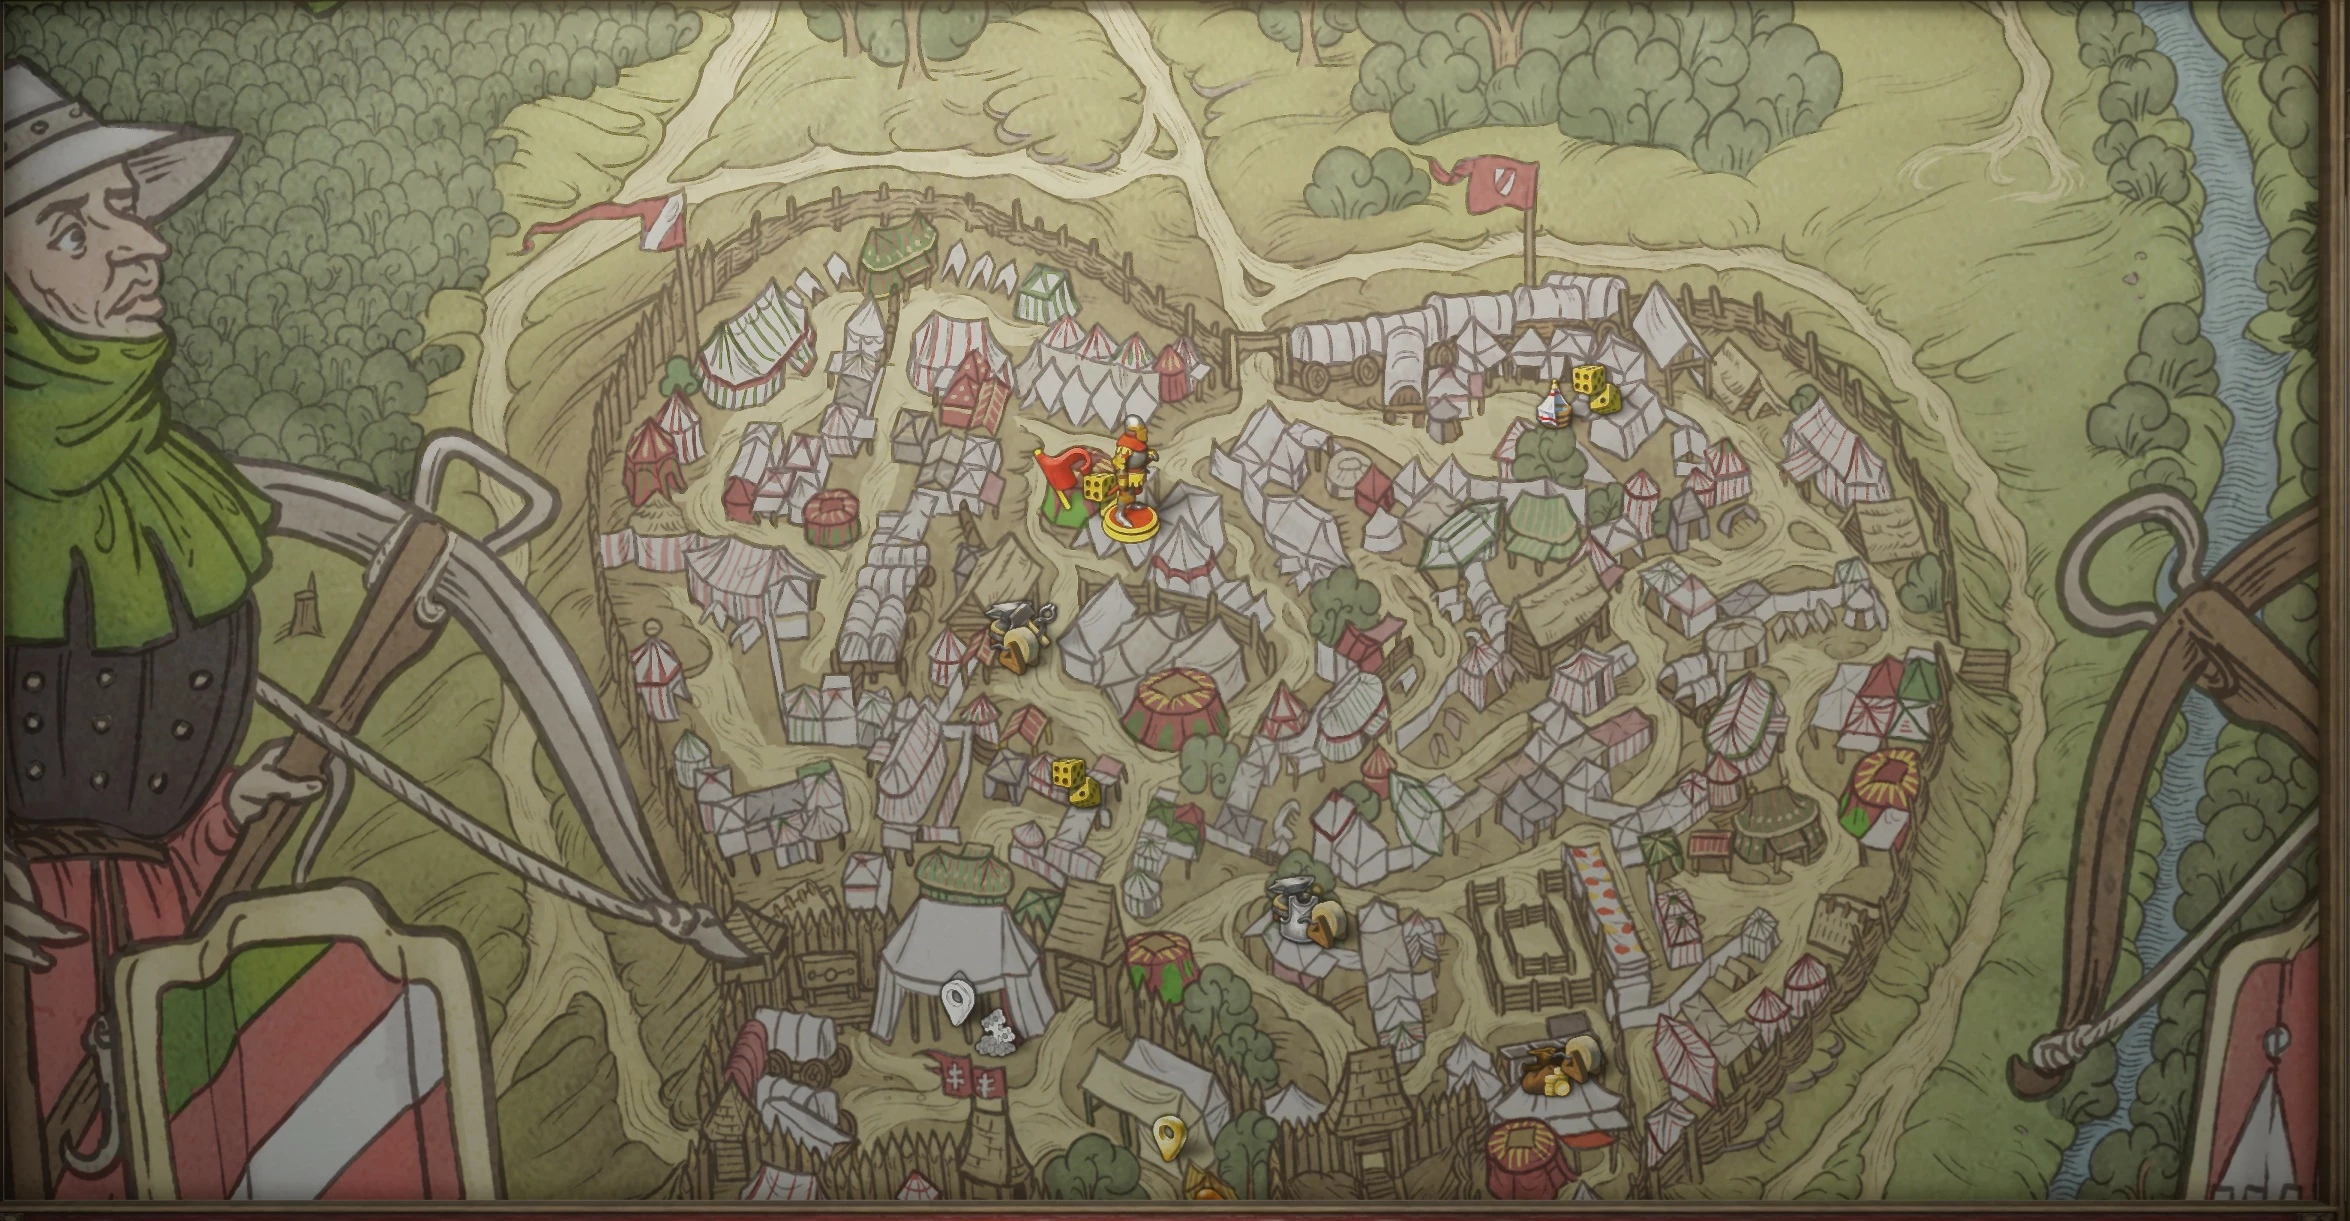
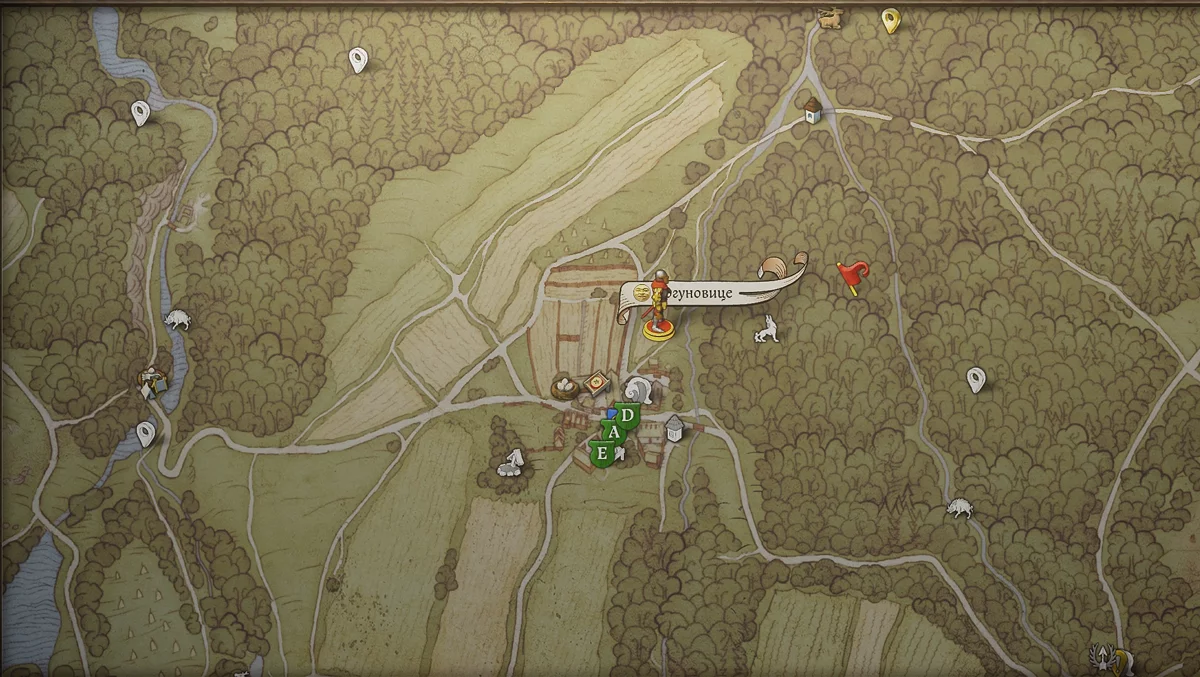
Approach him and inform him that you have been sent to him for assignments. Putov will tell you that you will need to accompany him to local settlements to gather supplies for the army's needs. Agreeing will start the quest, and you will immediately find yourself in Bogunovice.
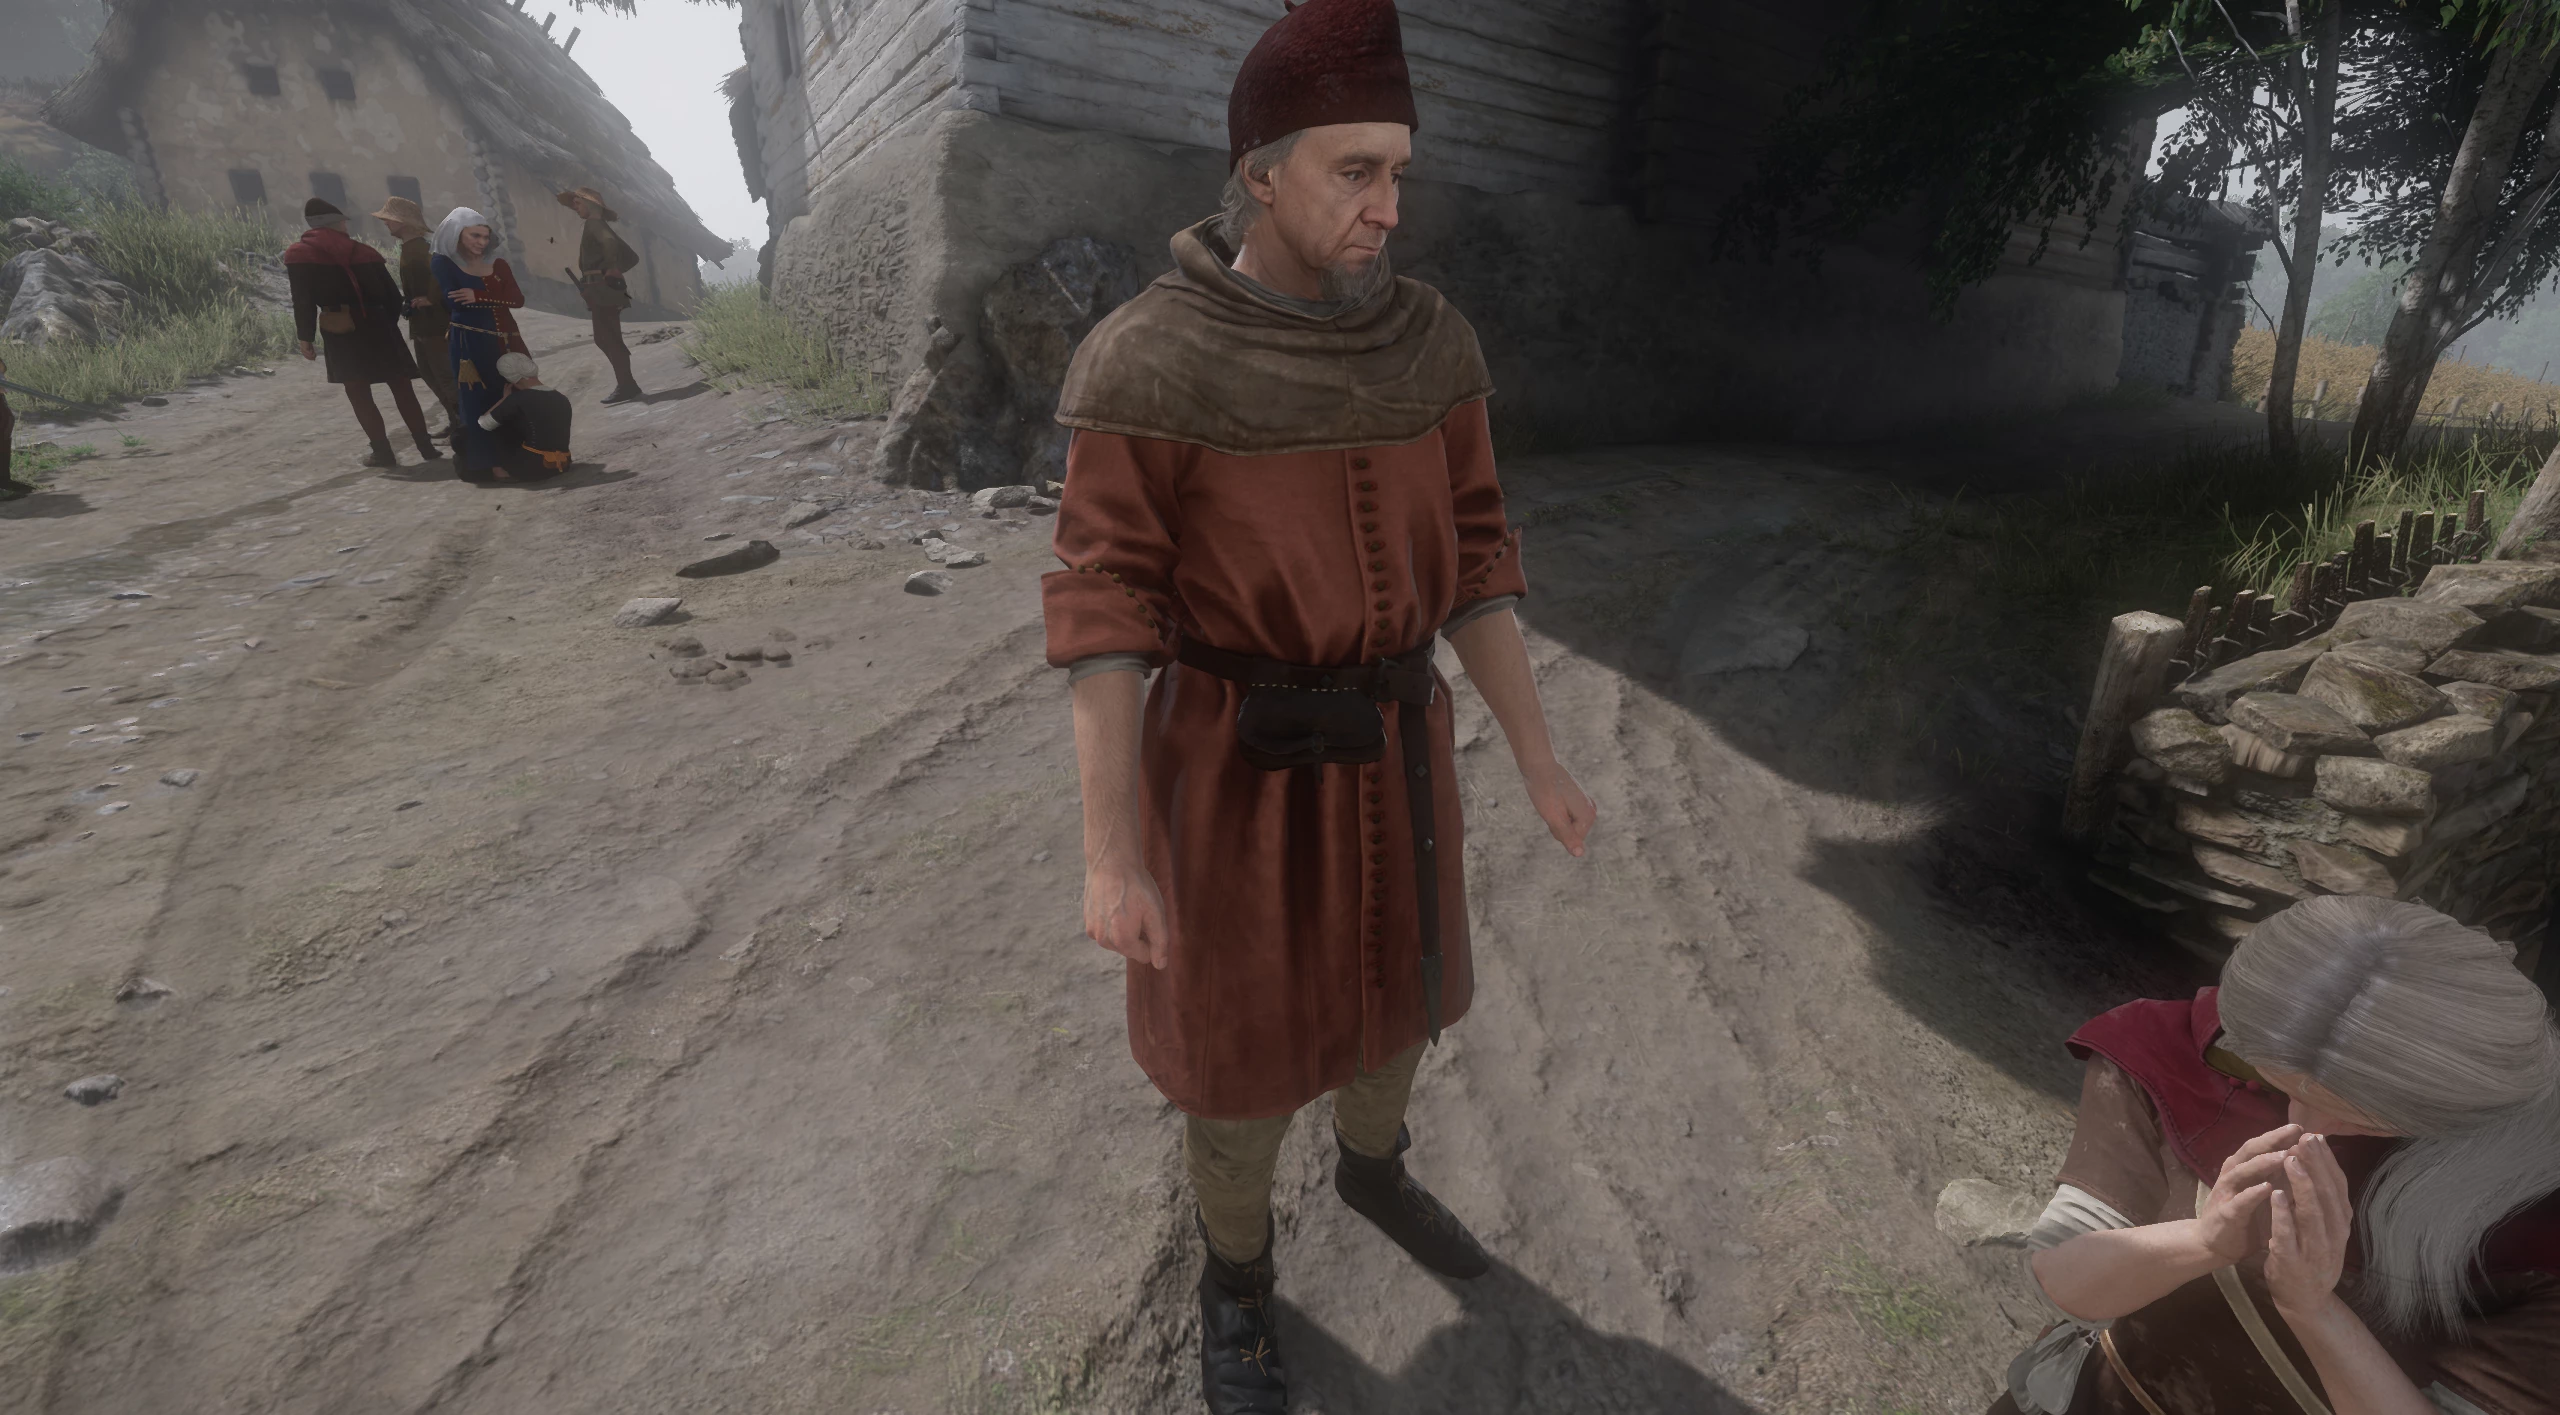
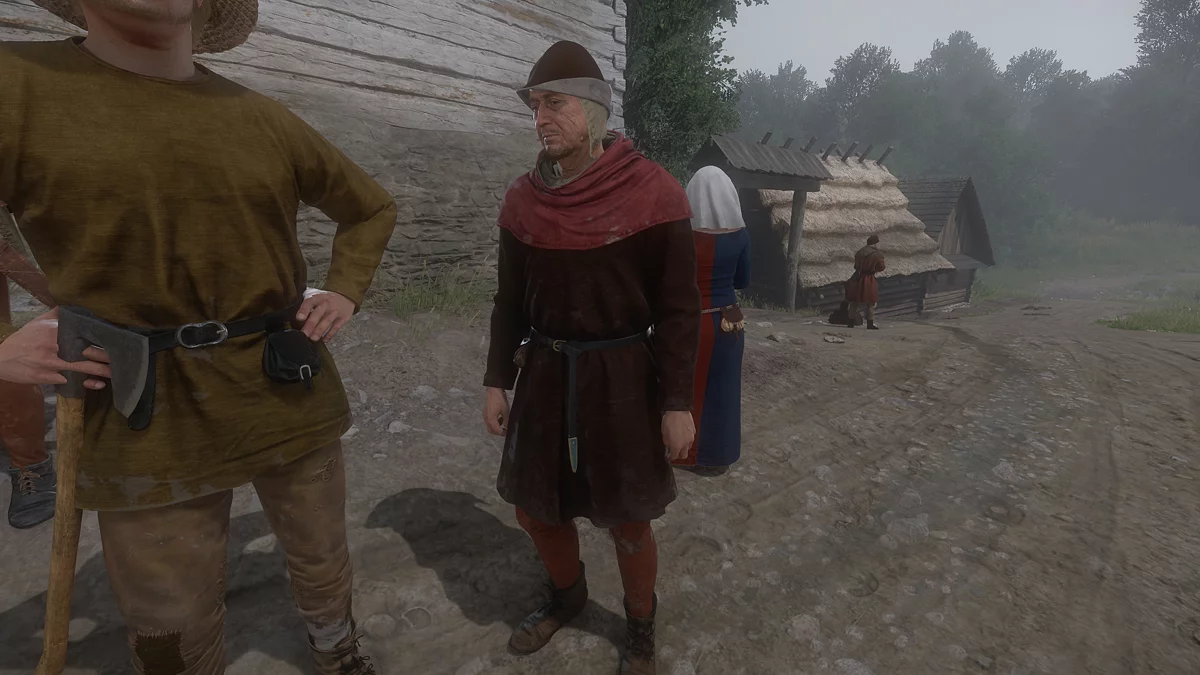
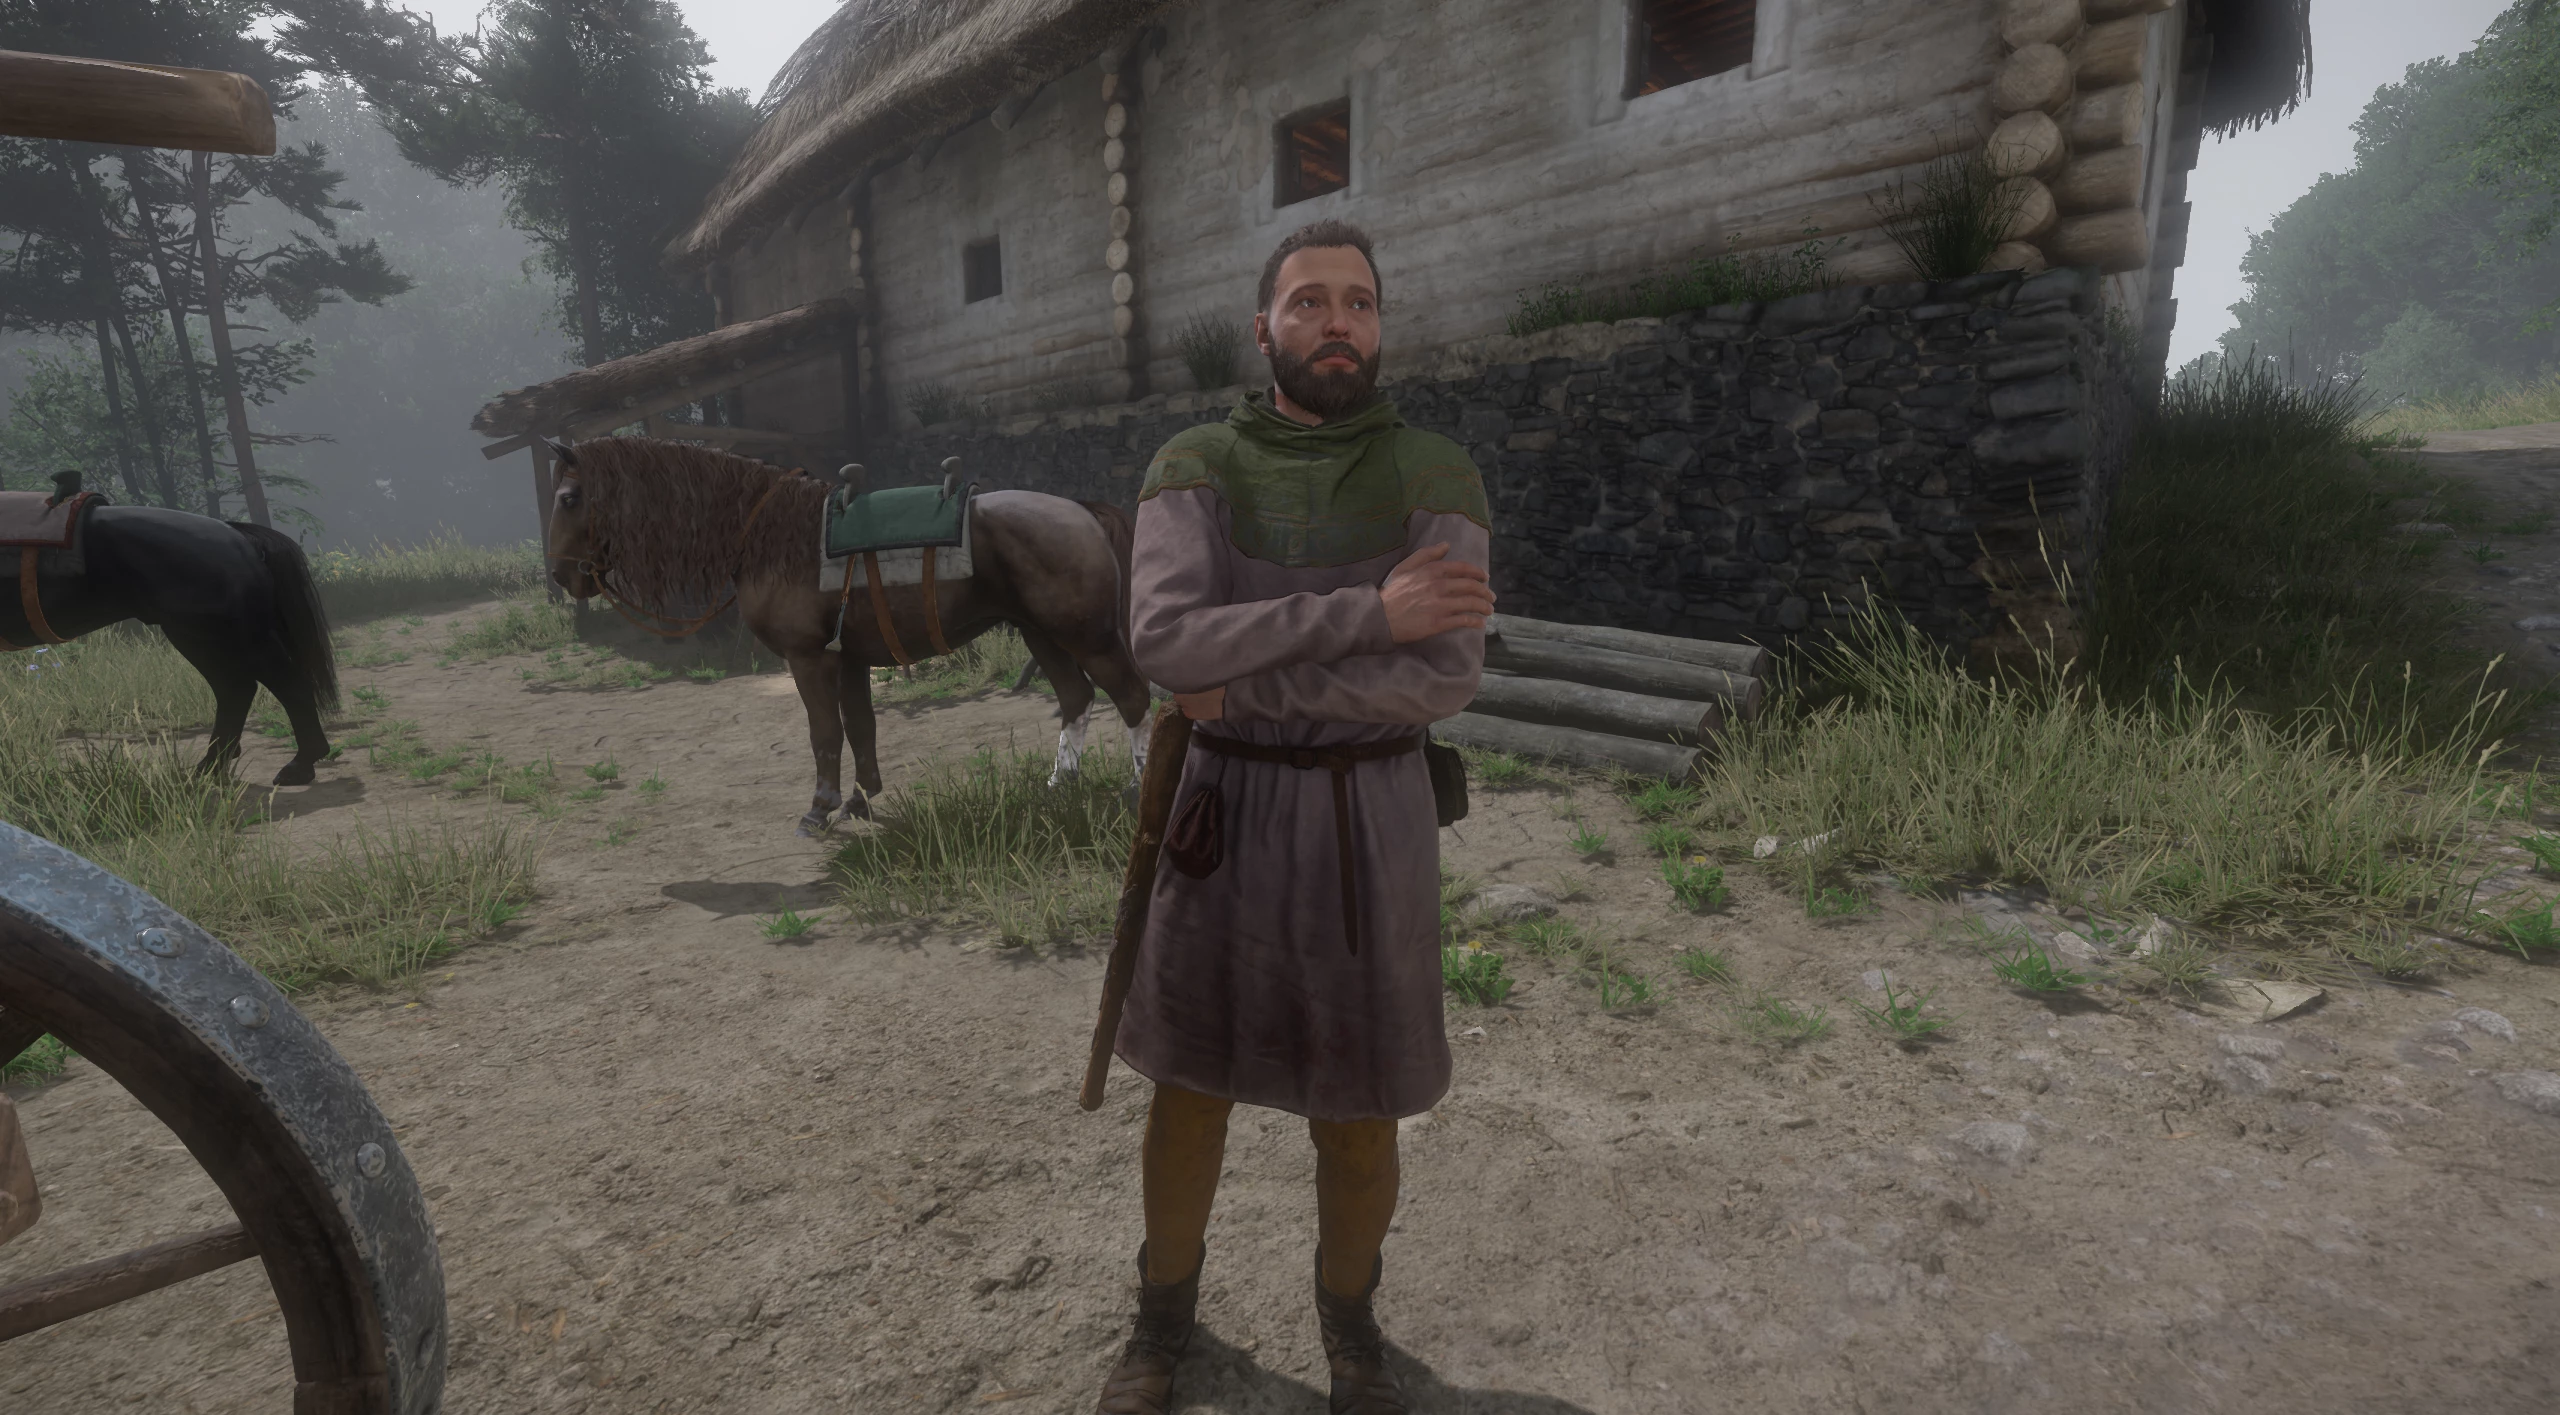
You will have a conversation with the village elder named Bynek, who will inform you that the village is short on provisions. As a result, the centurion will demand to gather as many valuable resources from the villagers as possible. You have a choice: fully comply with the centurion or try to sabotage his orders in favor of the villagers.
Inspect Ivnyak's Supplies
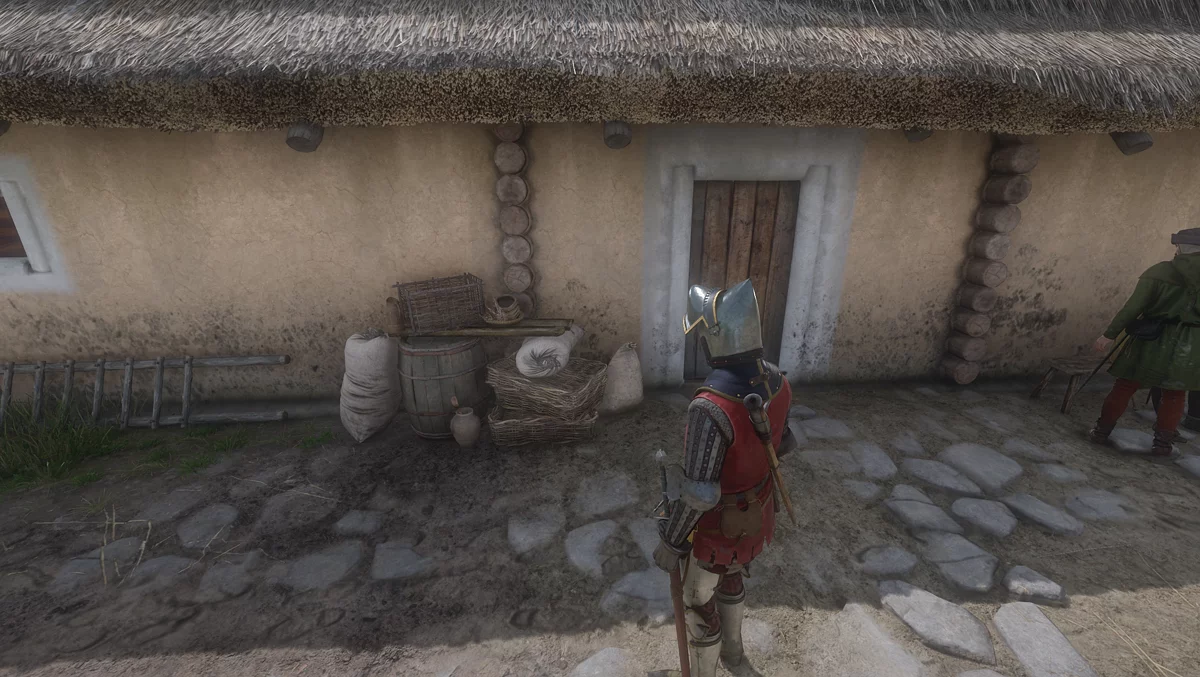
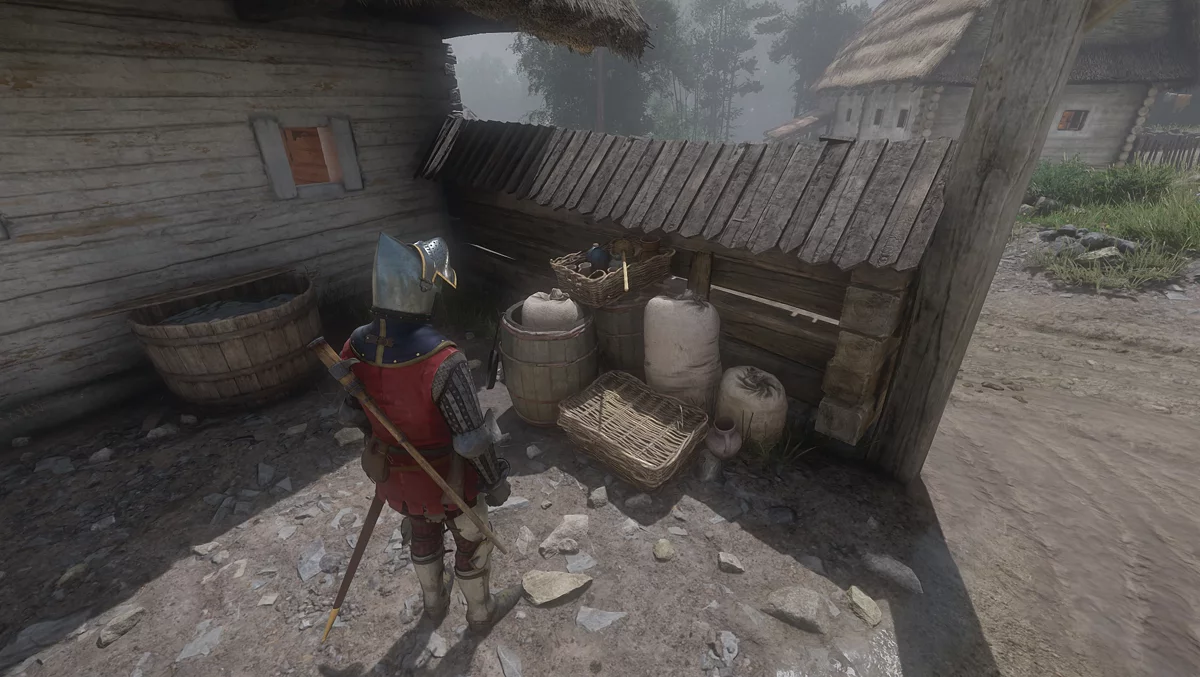
Ask Ivnyak about the supplies.
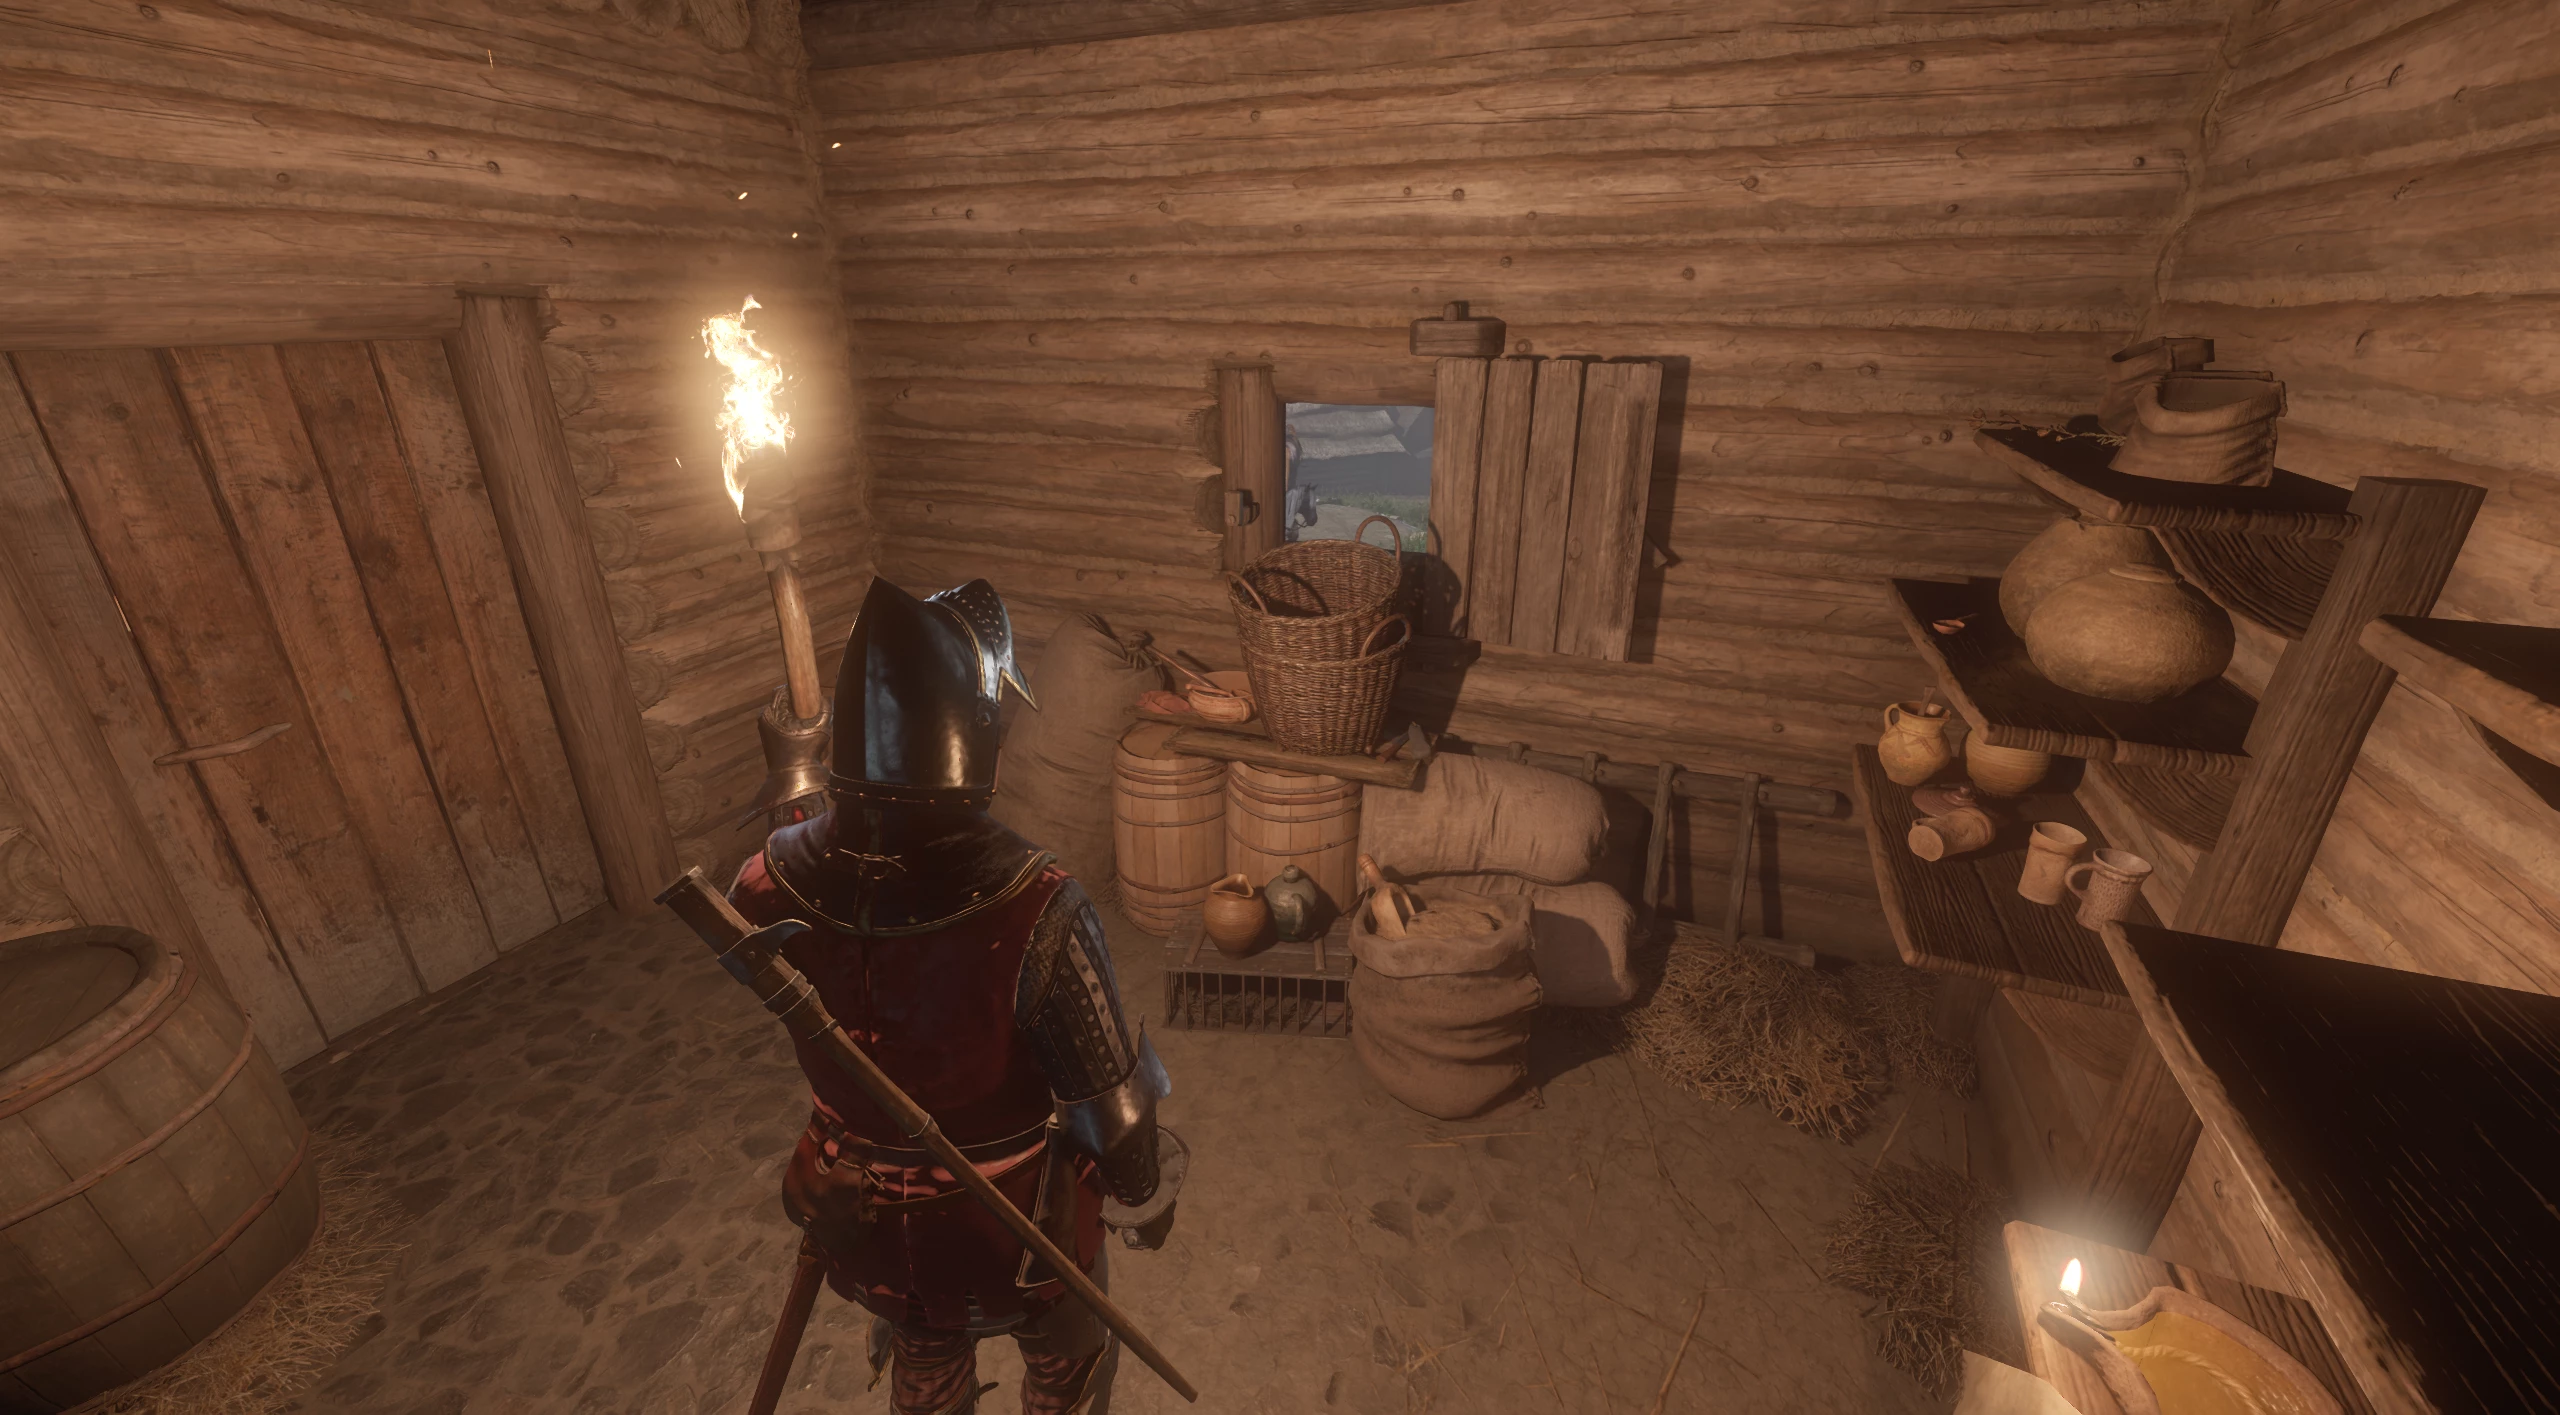
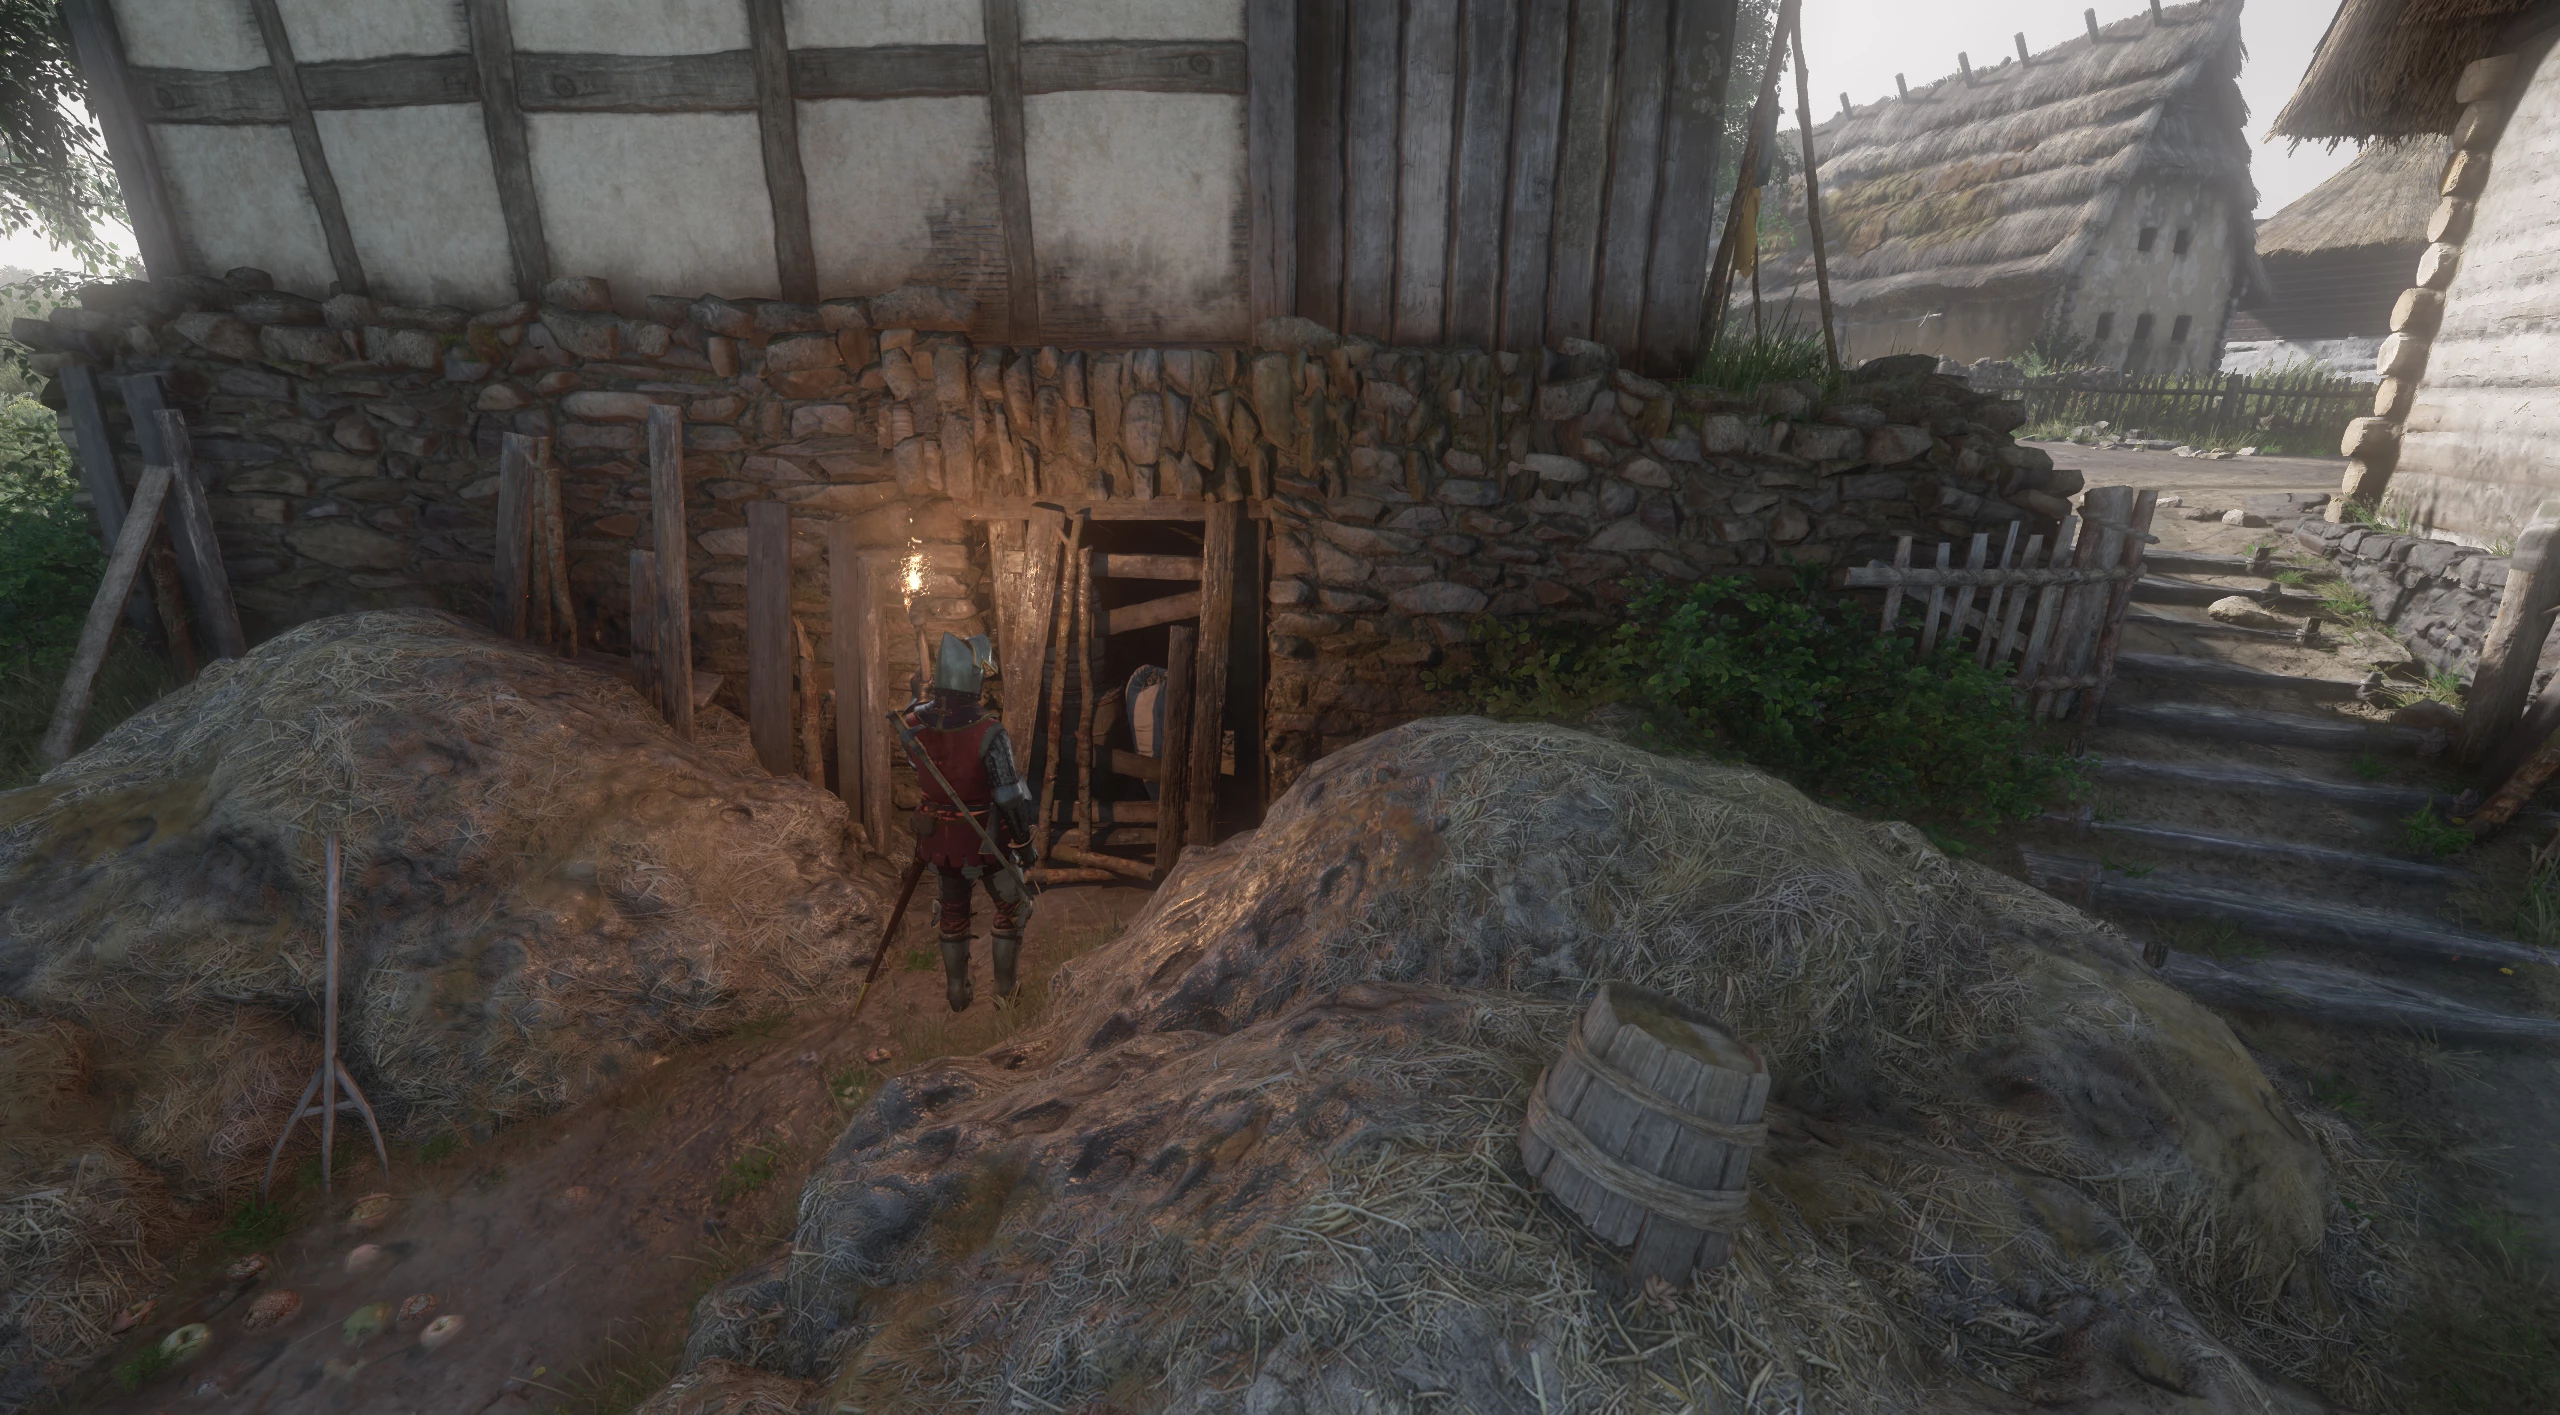
He will reply that they are located by the wall to the left of the entrance to the hut.
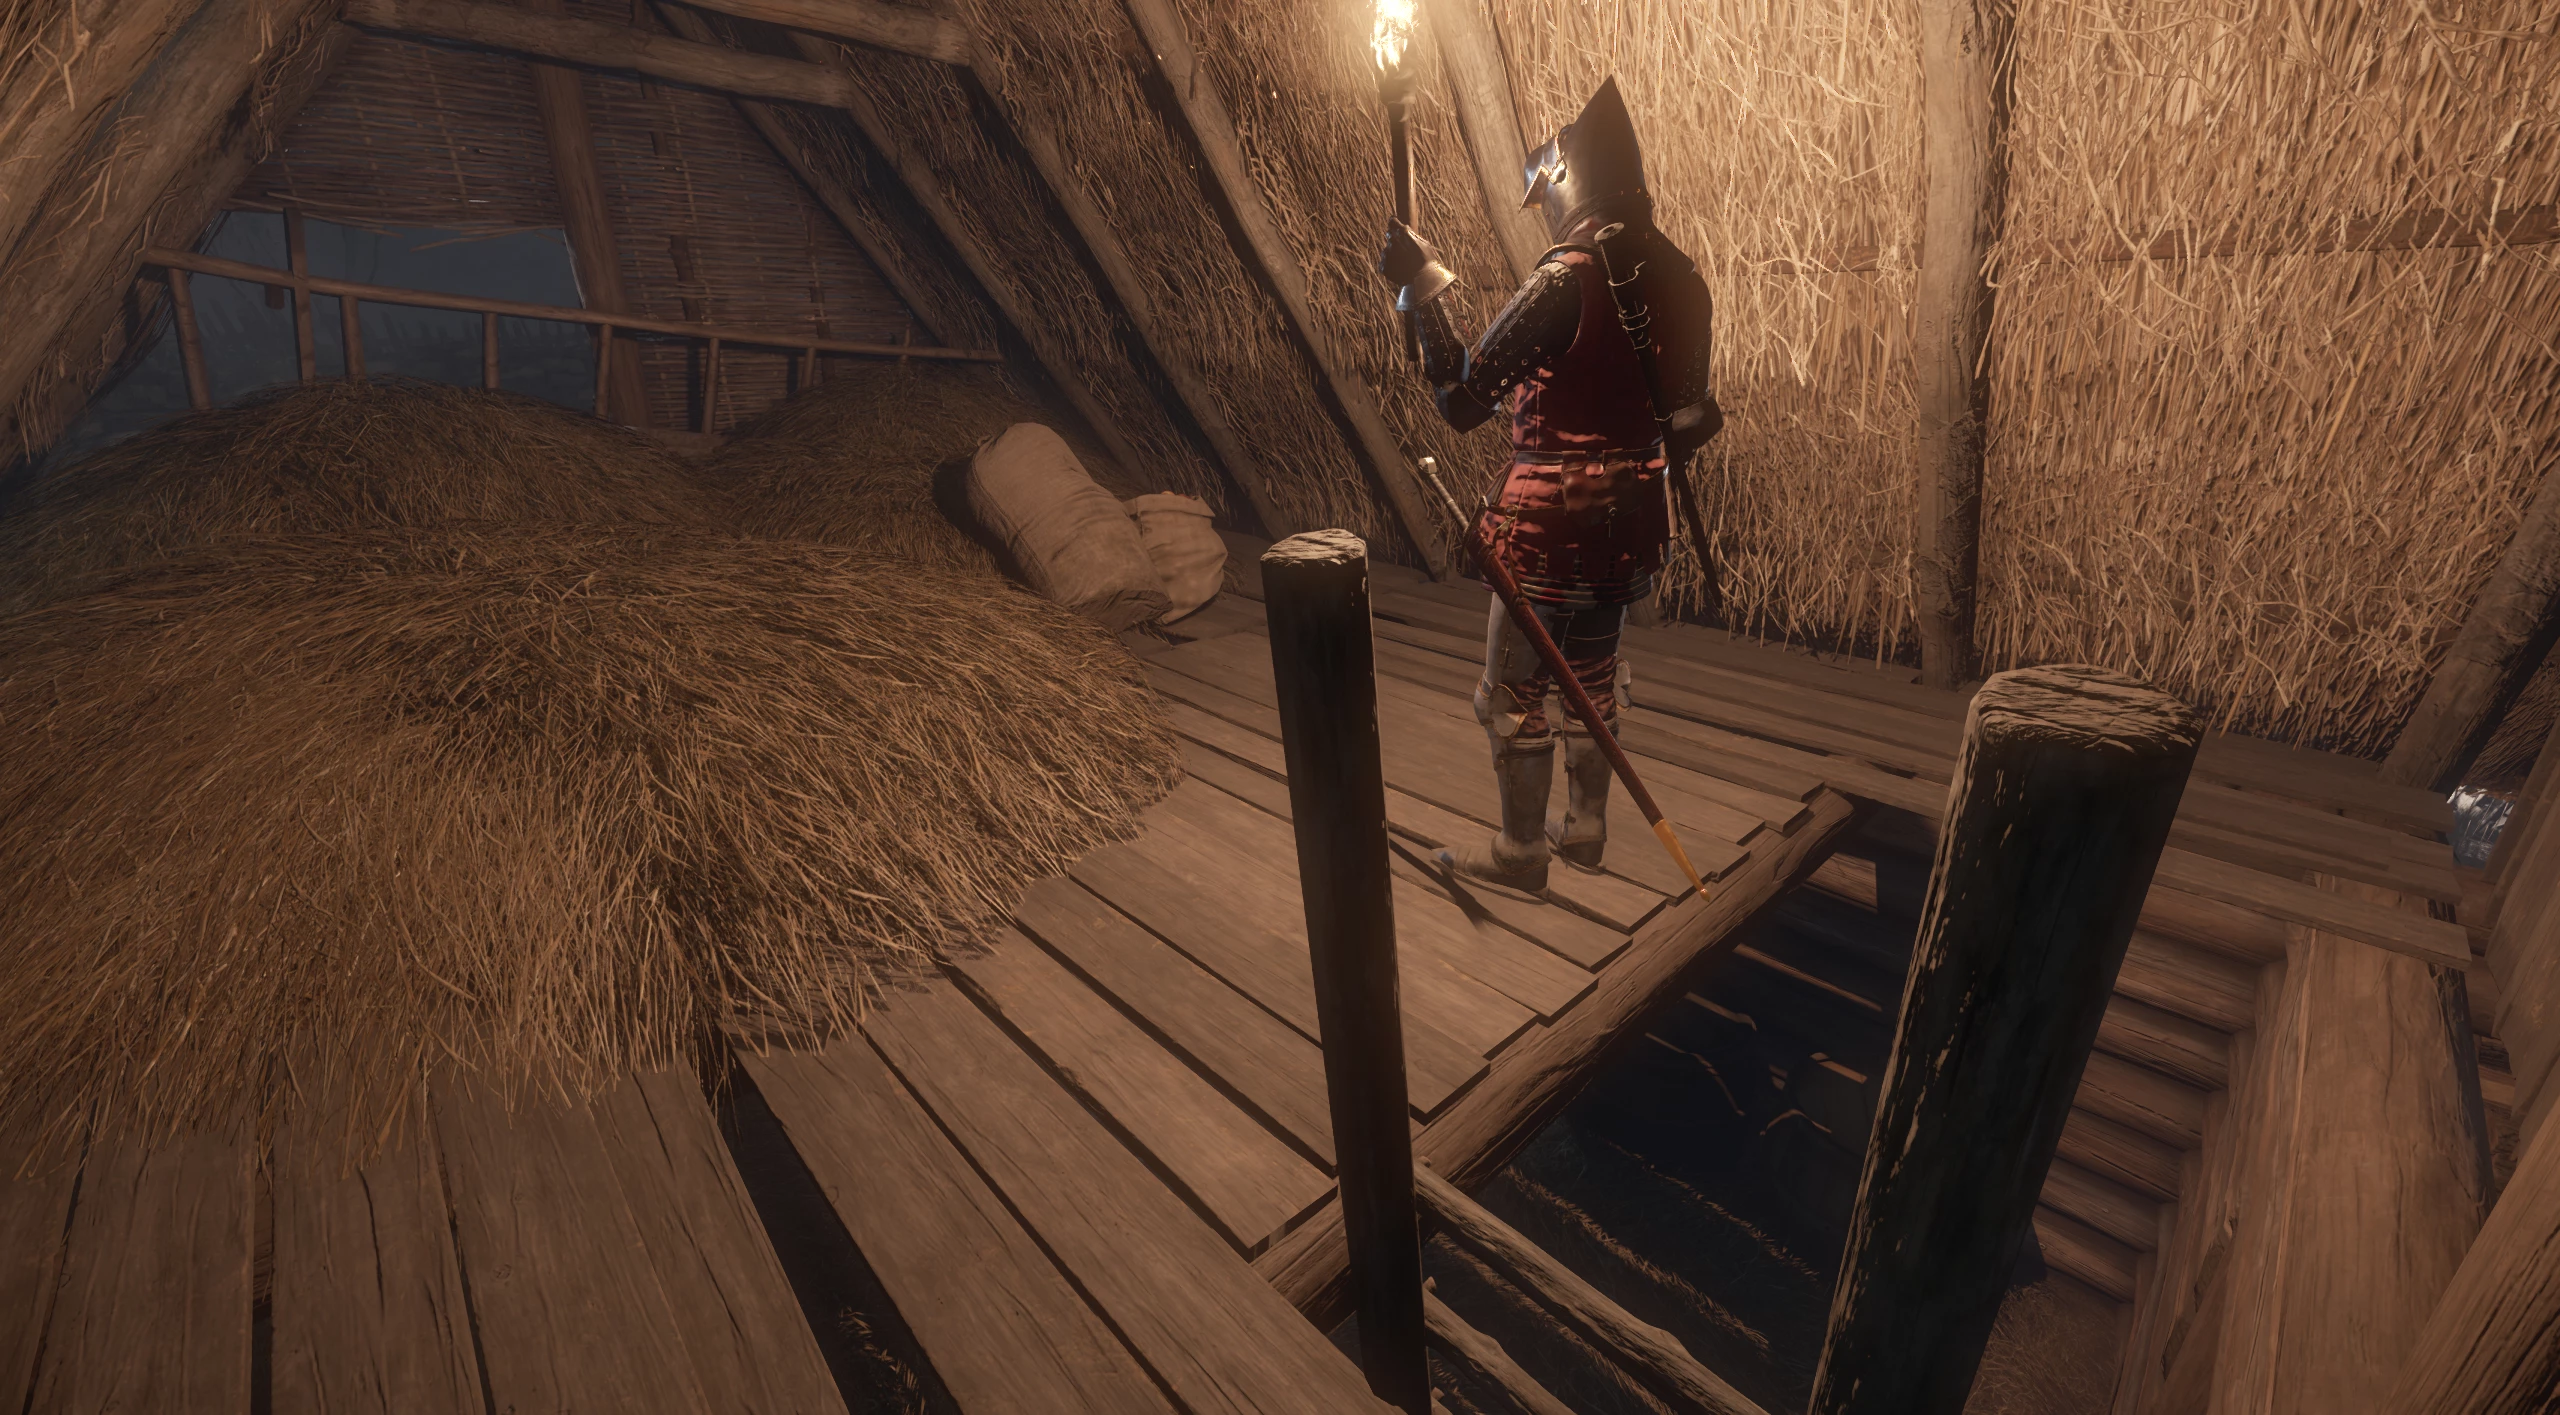
You can also find supplies in the attic of the barn to the right of the house.
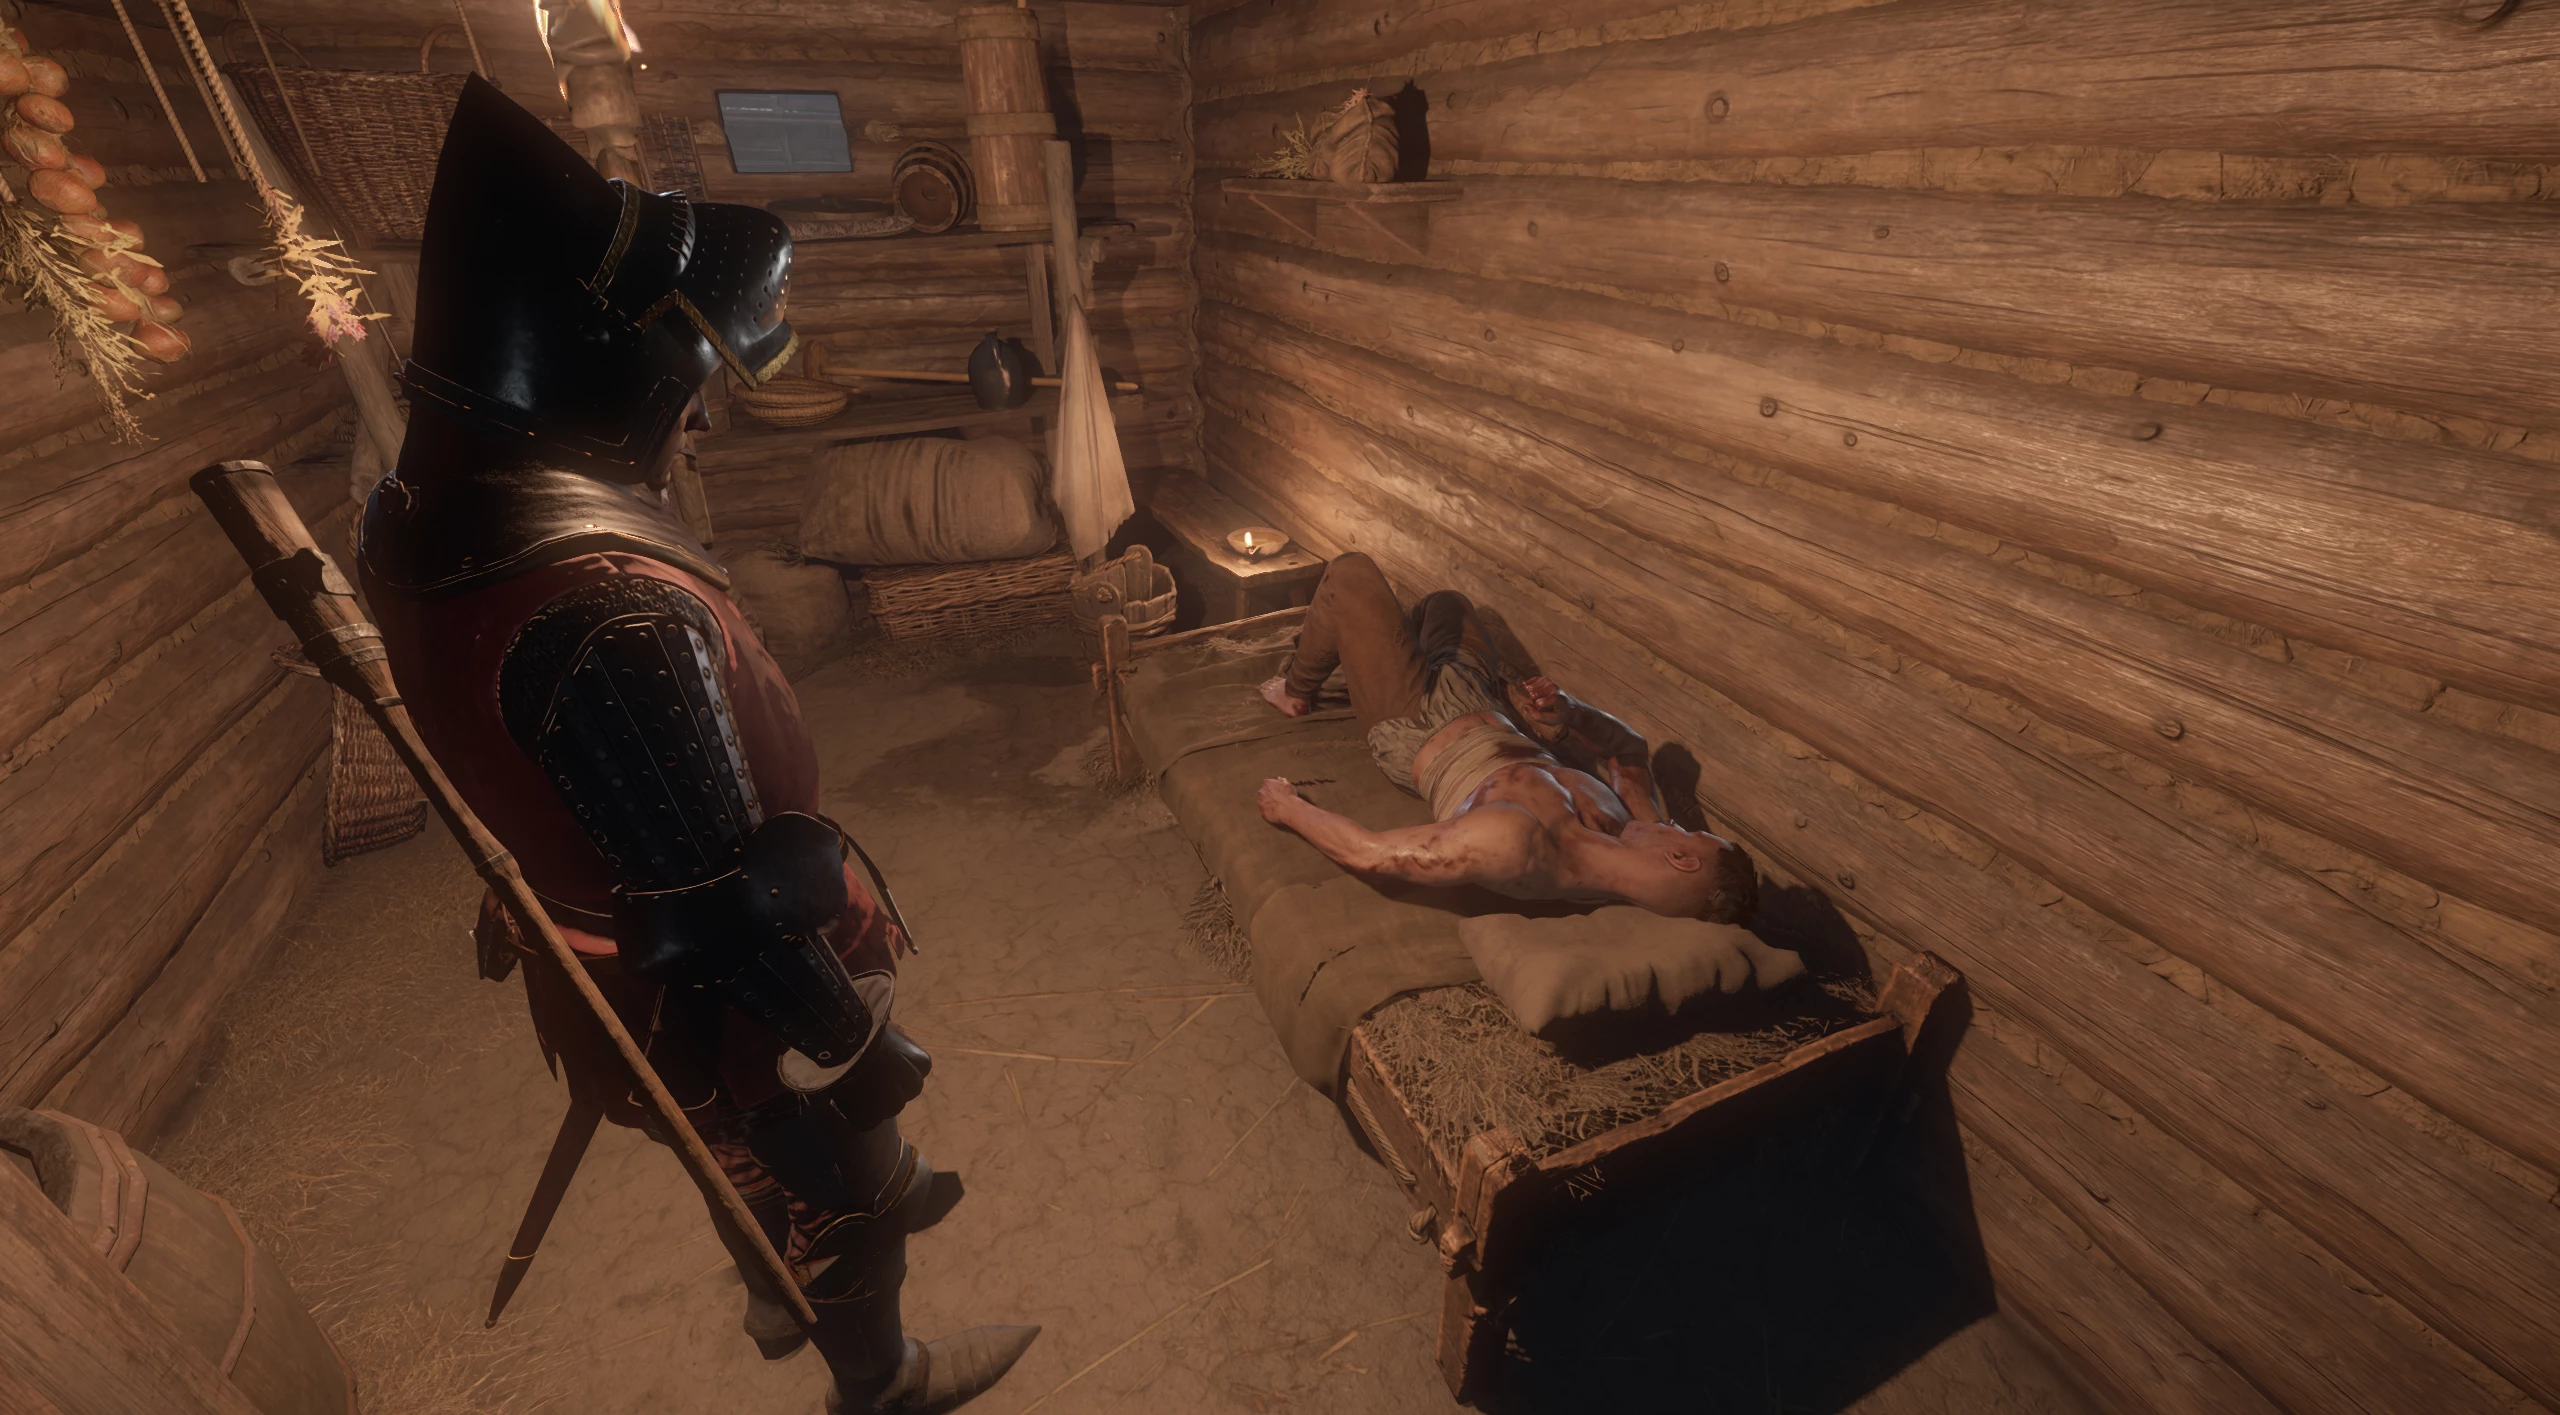
Entering the room on the left, you will discover an injured young man. Examine him to understand how you can help.
Examine the Injured Villager
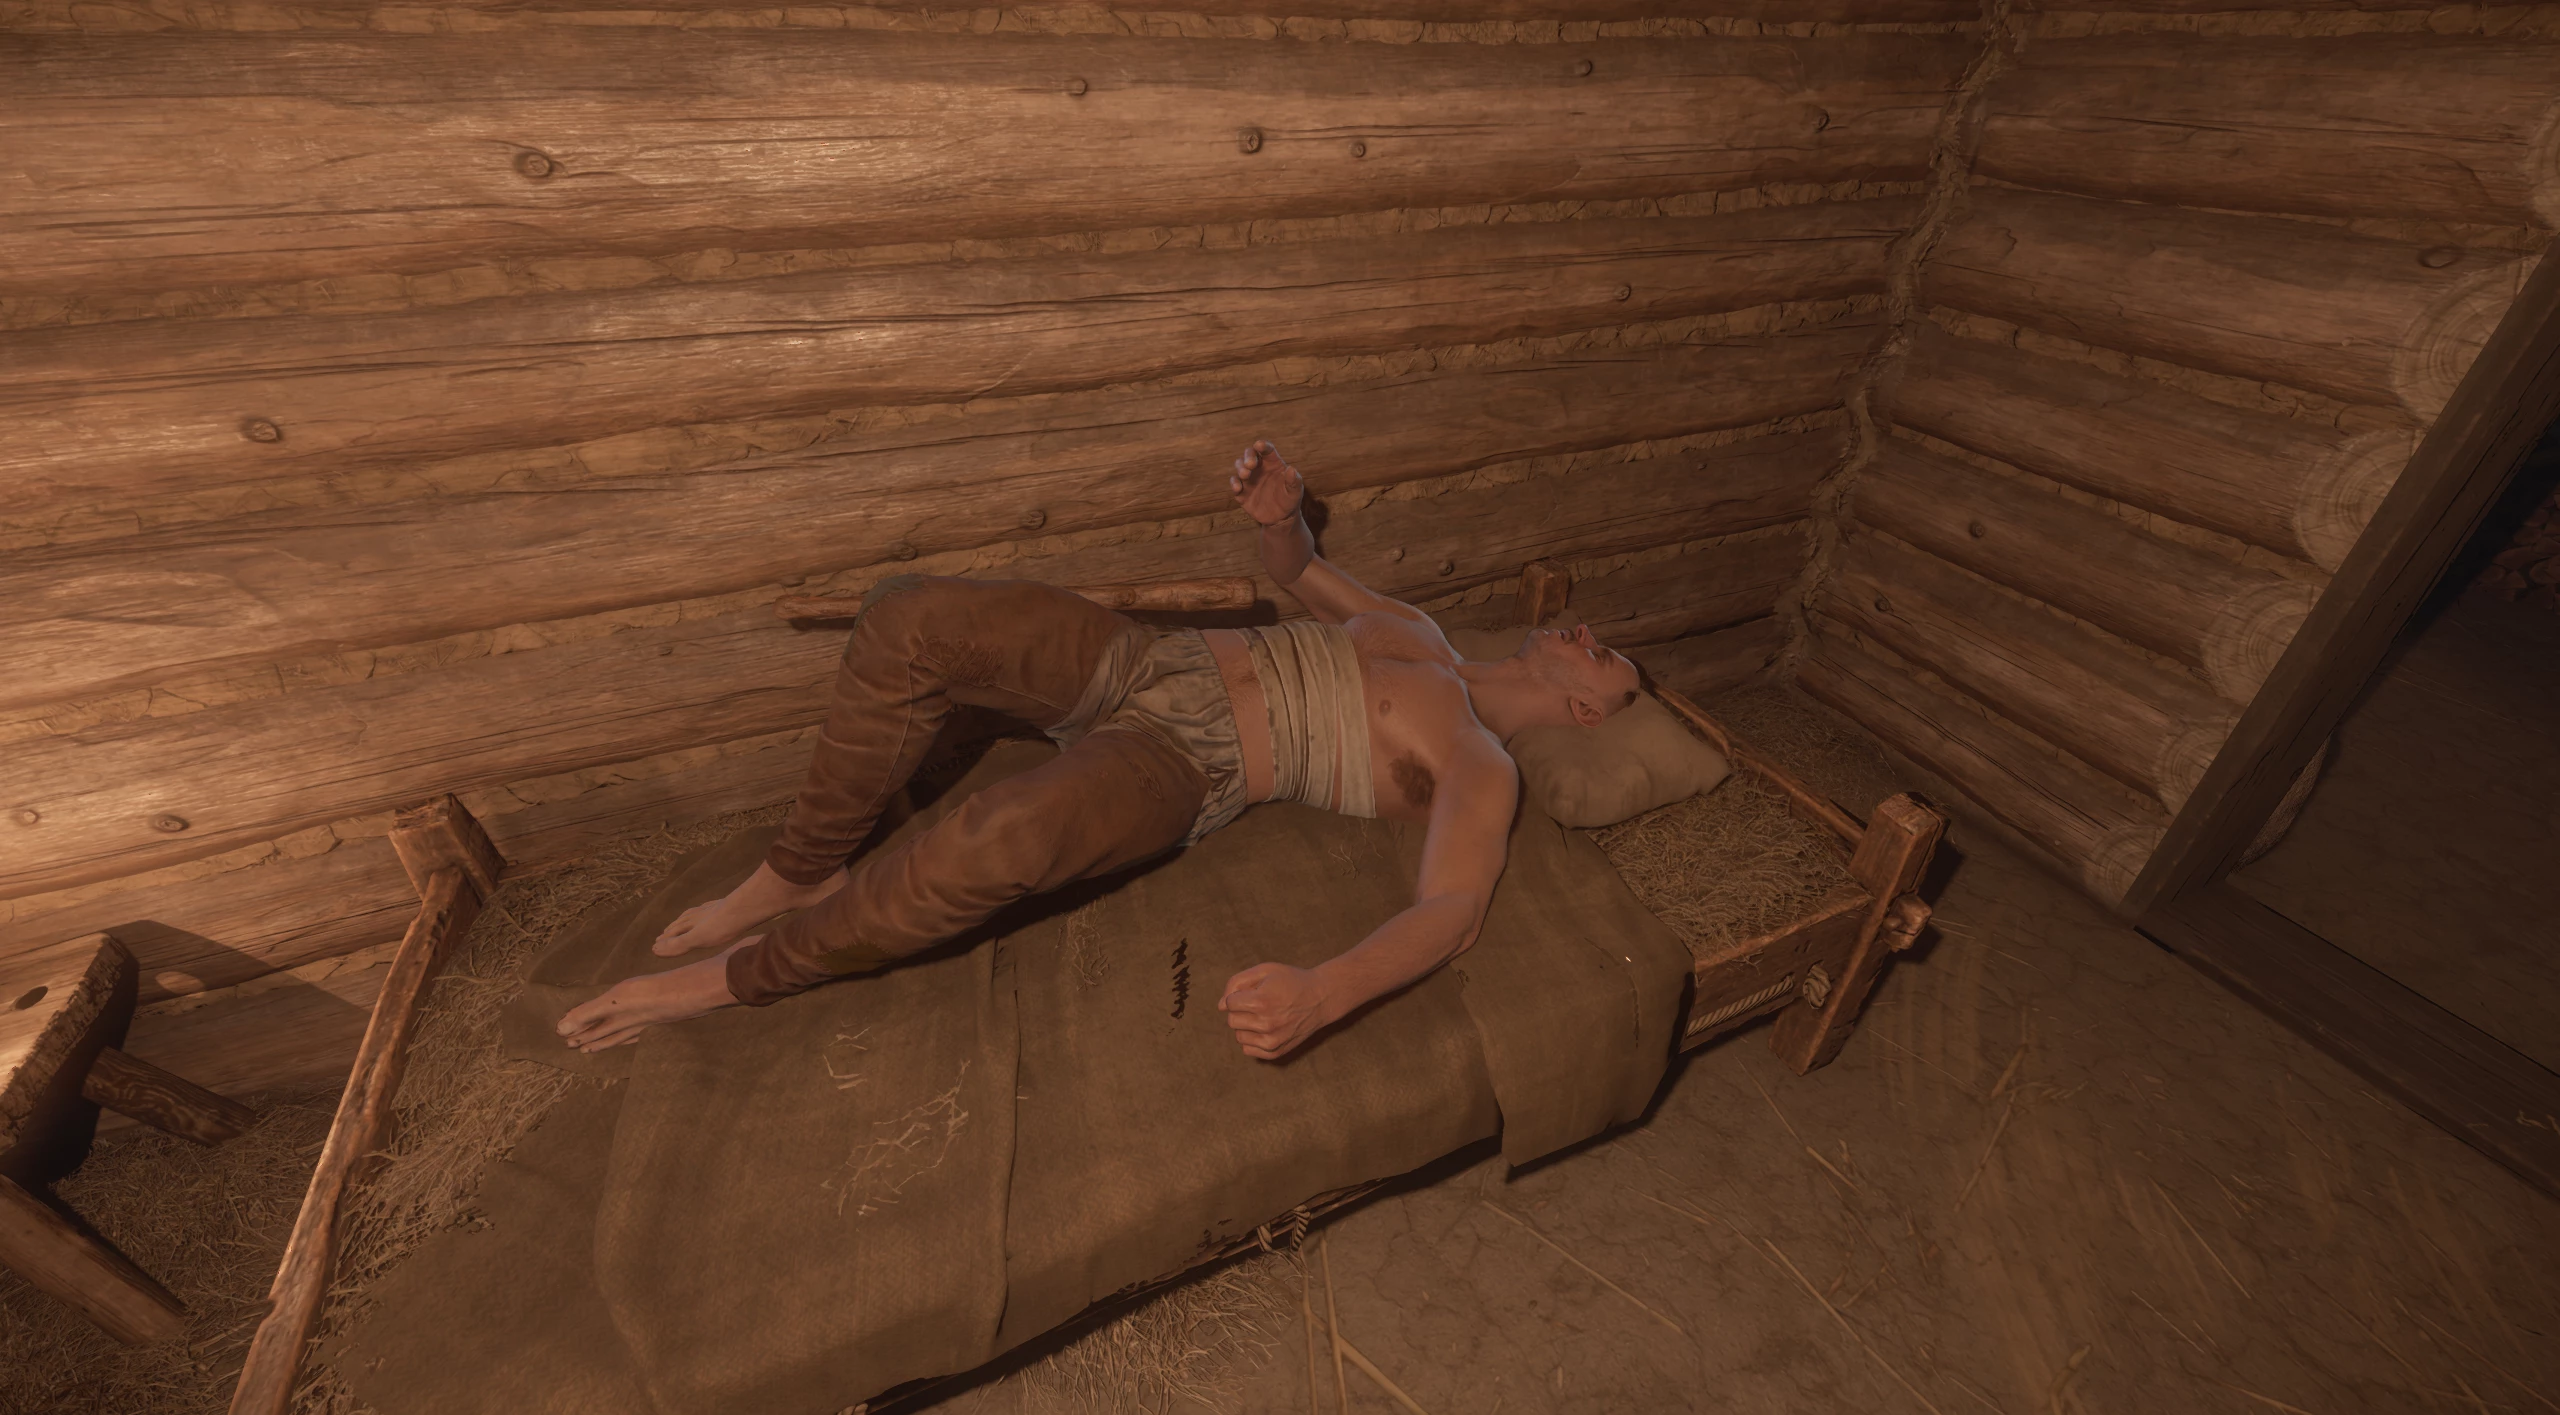
On the bed lies an injured Vitek. With a successful skill check, you will determine that he was wounded by a sword.
Heal the Injured Peasant
Bandage Vitek's wound and give him a pain-relieving potion to ease his condition. Once he feels better, you will be able to talk to him. Vitek will tell you that soldiers of Sigismund previously came to the village, trying to profit at the settlement's expense, but the locals fought back and killed them.
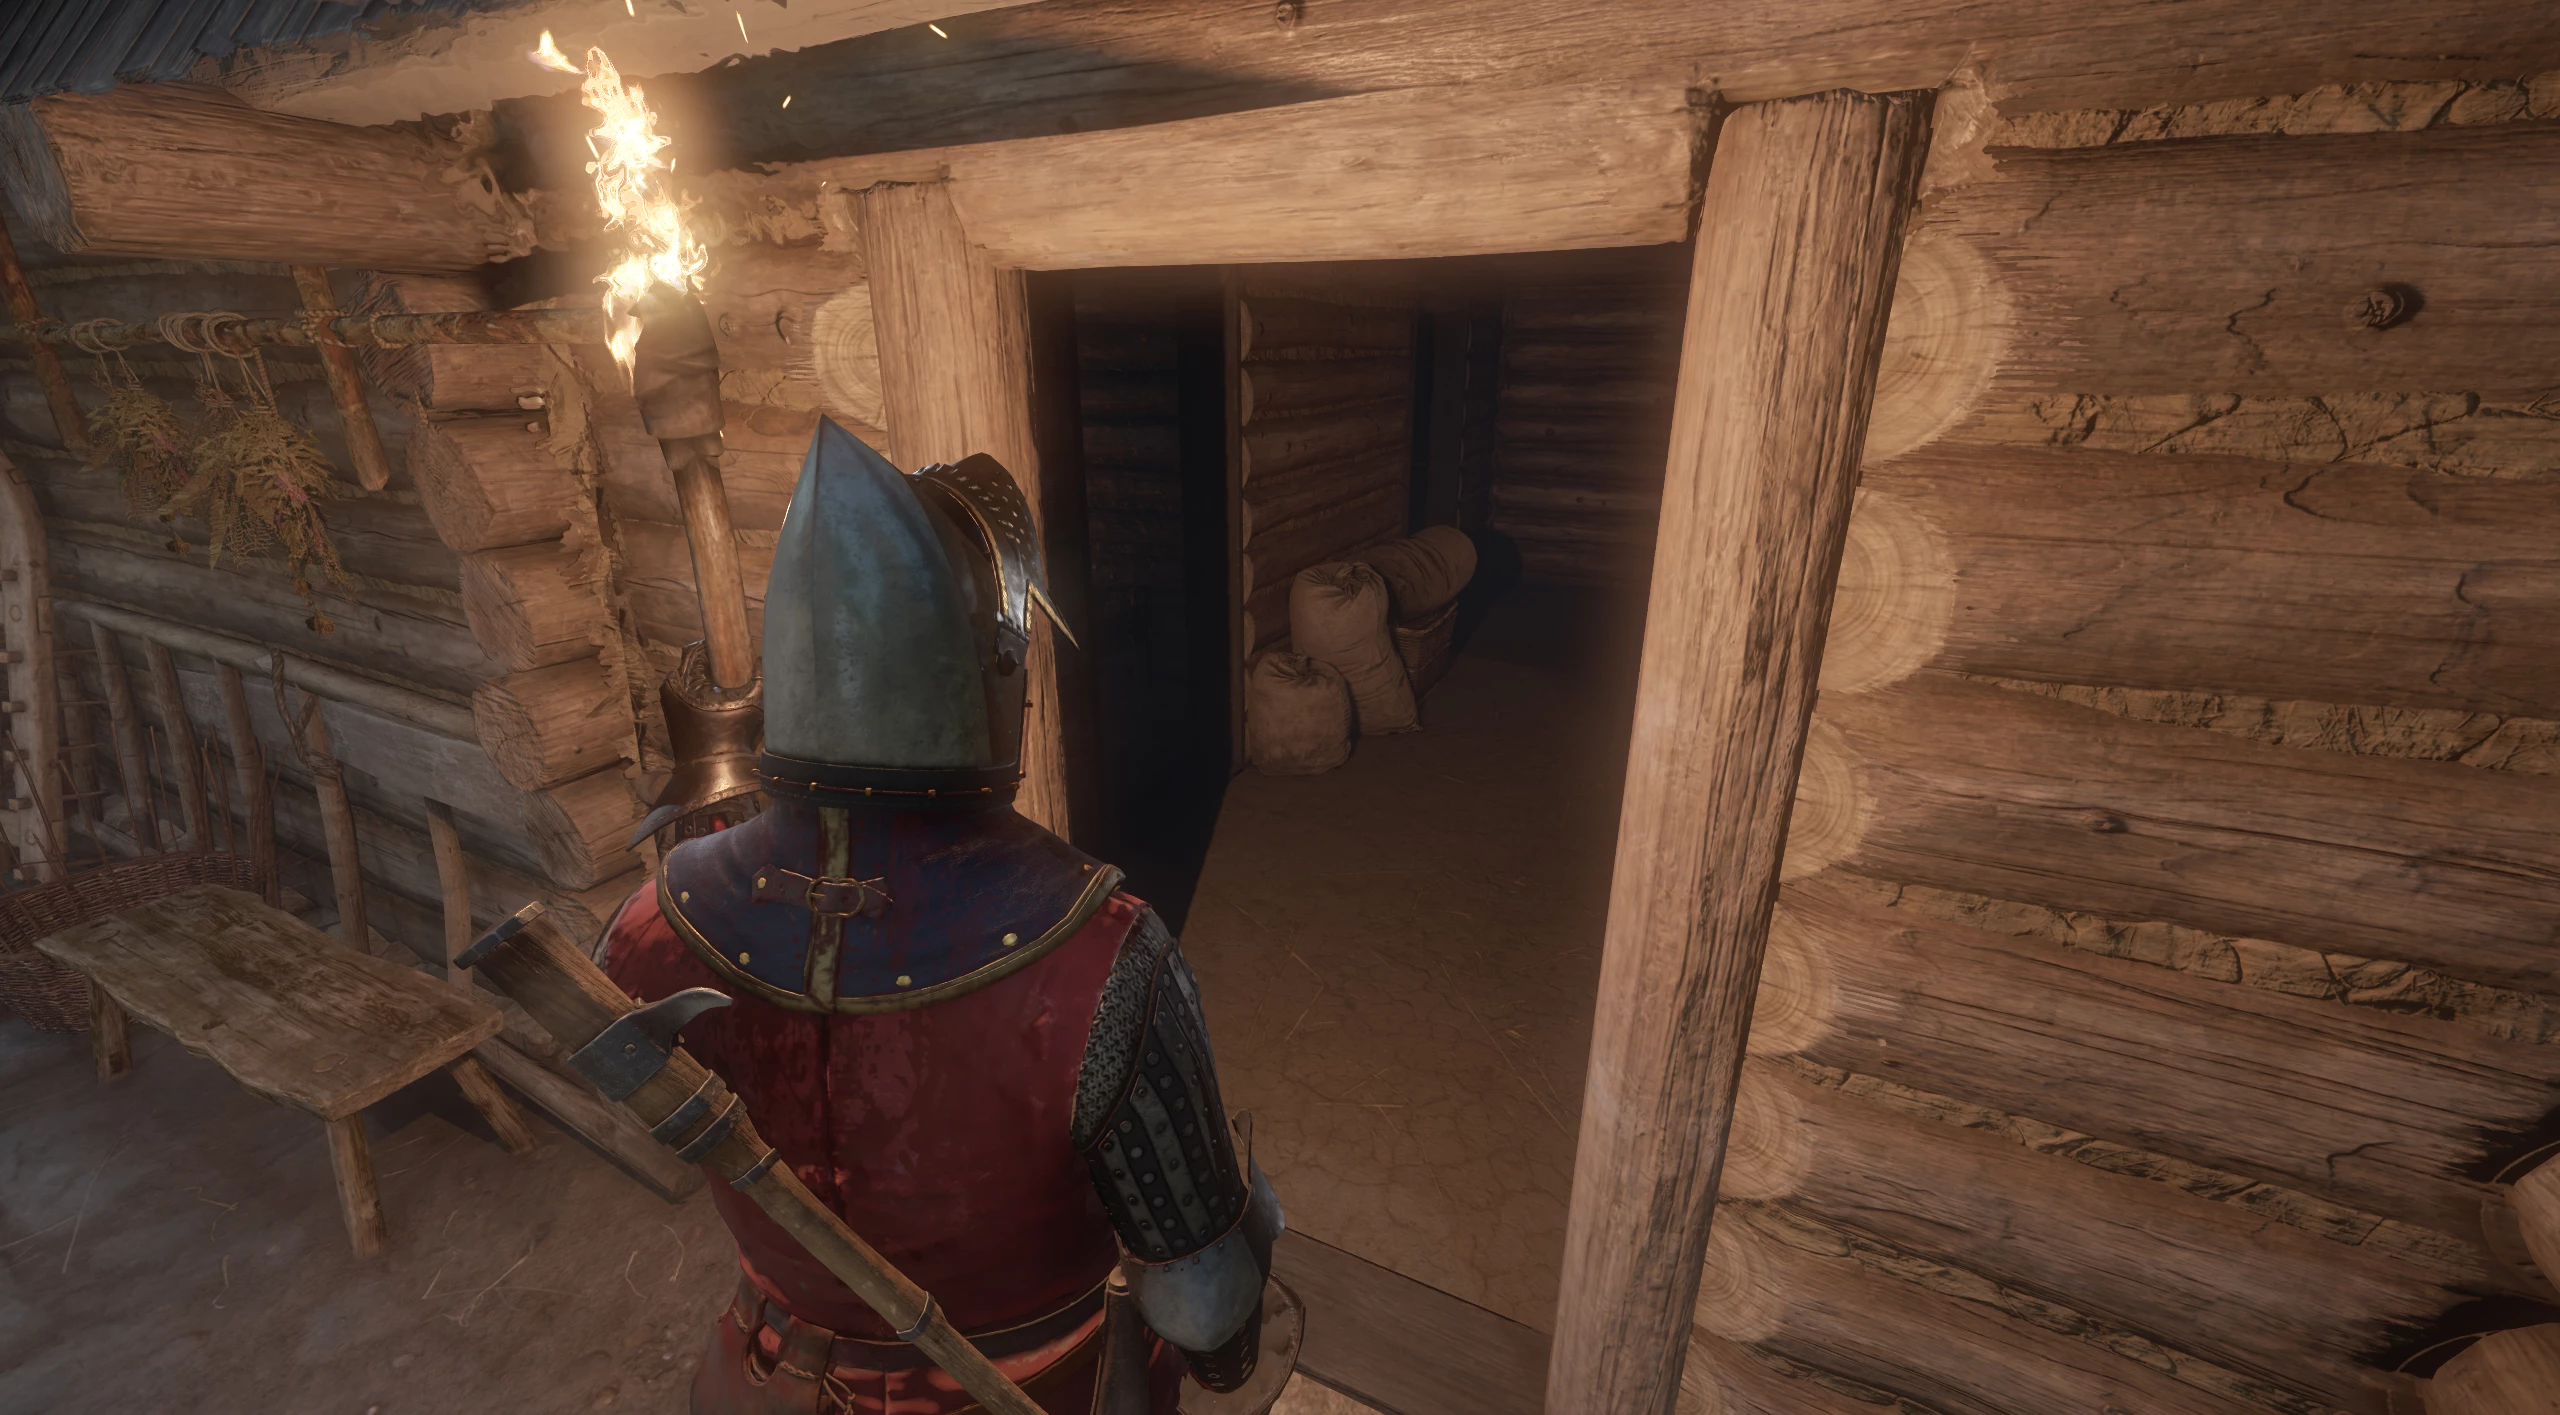
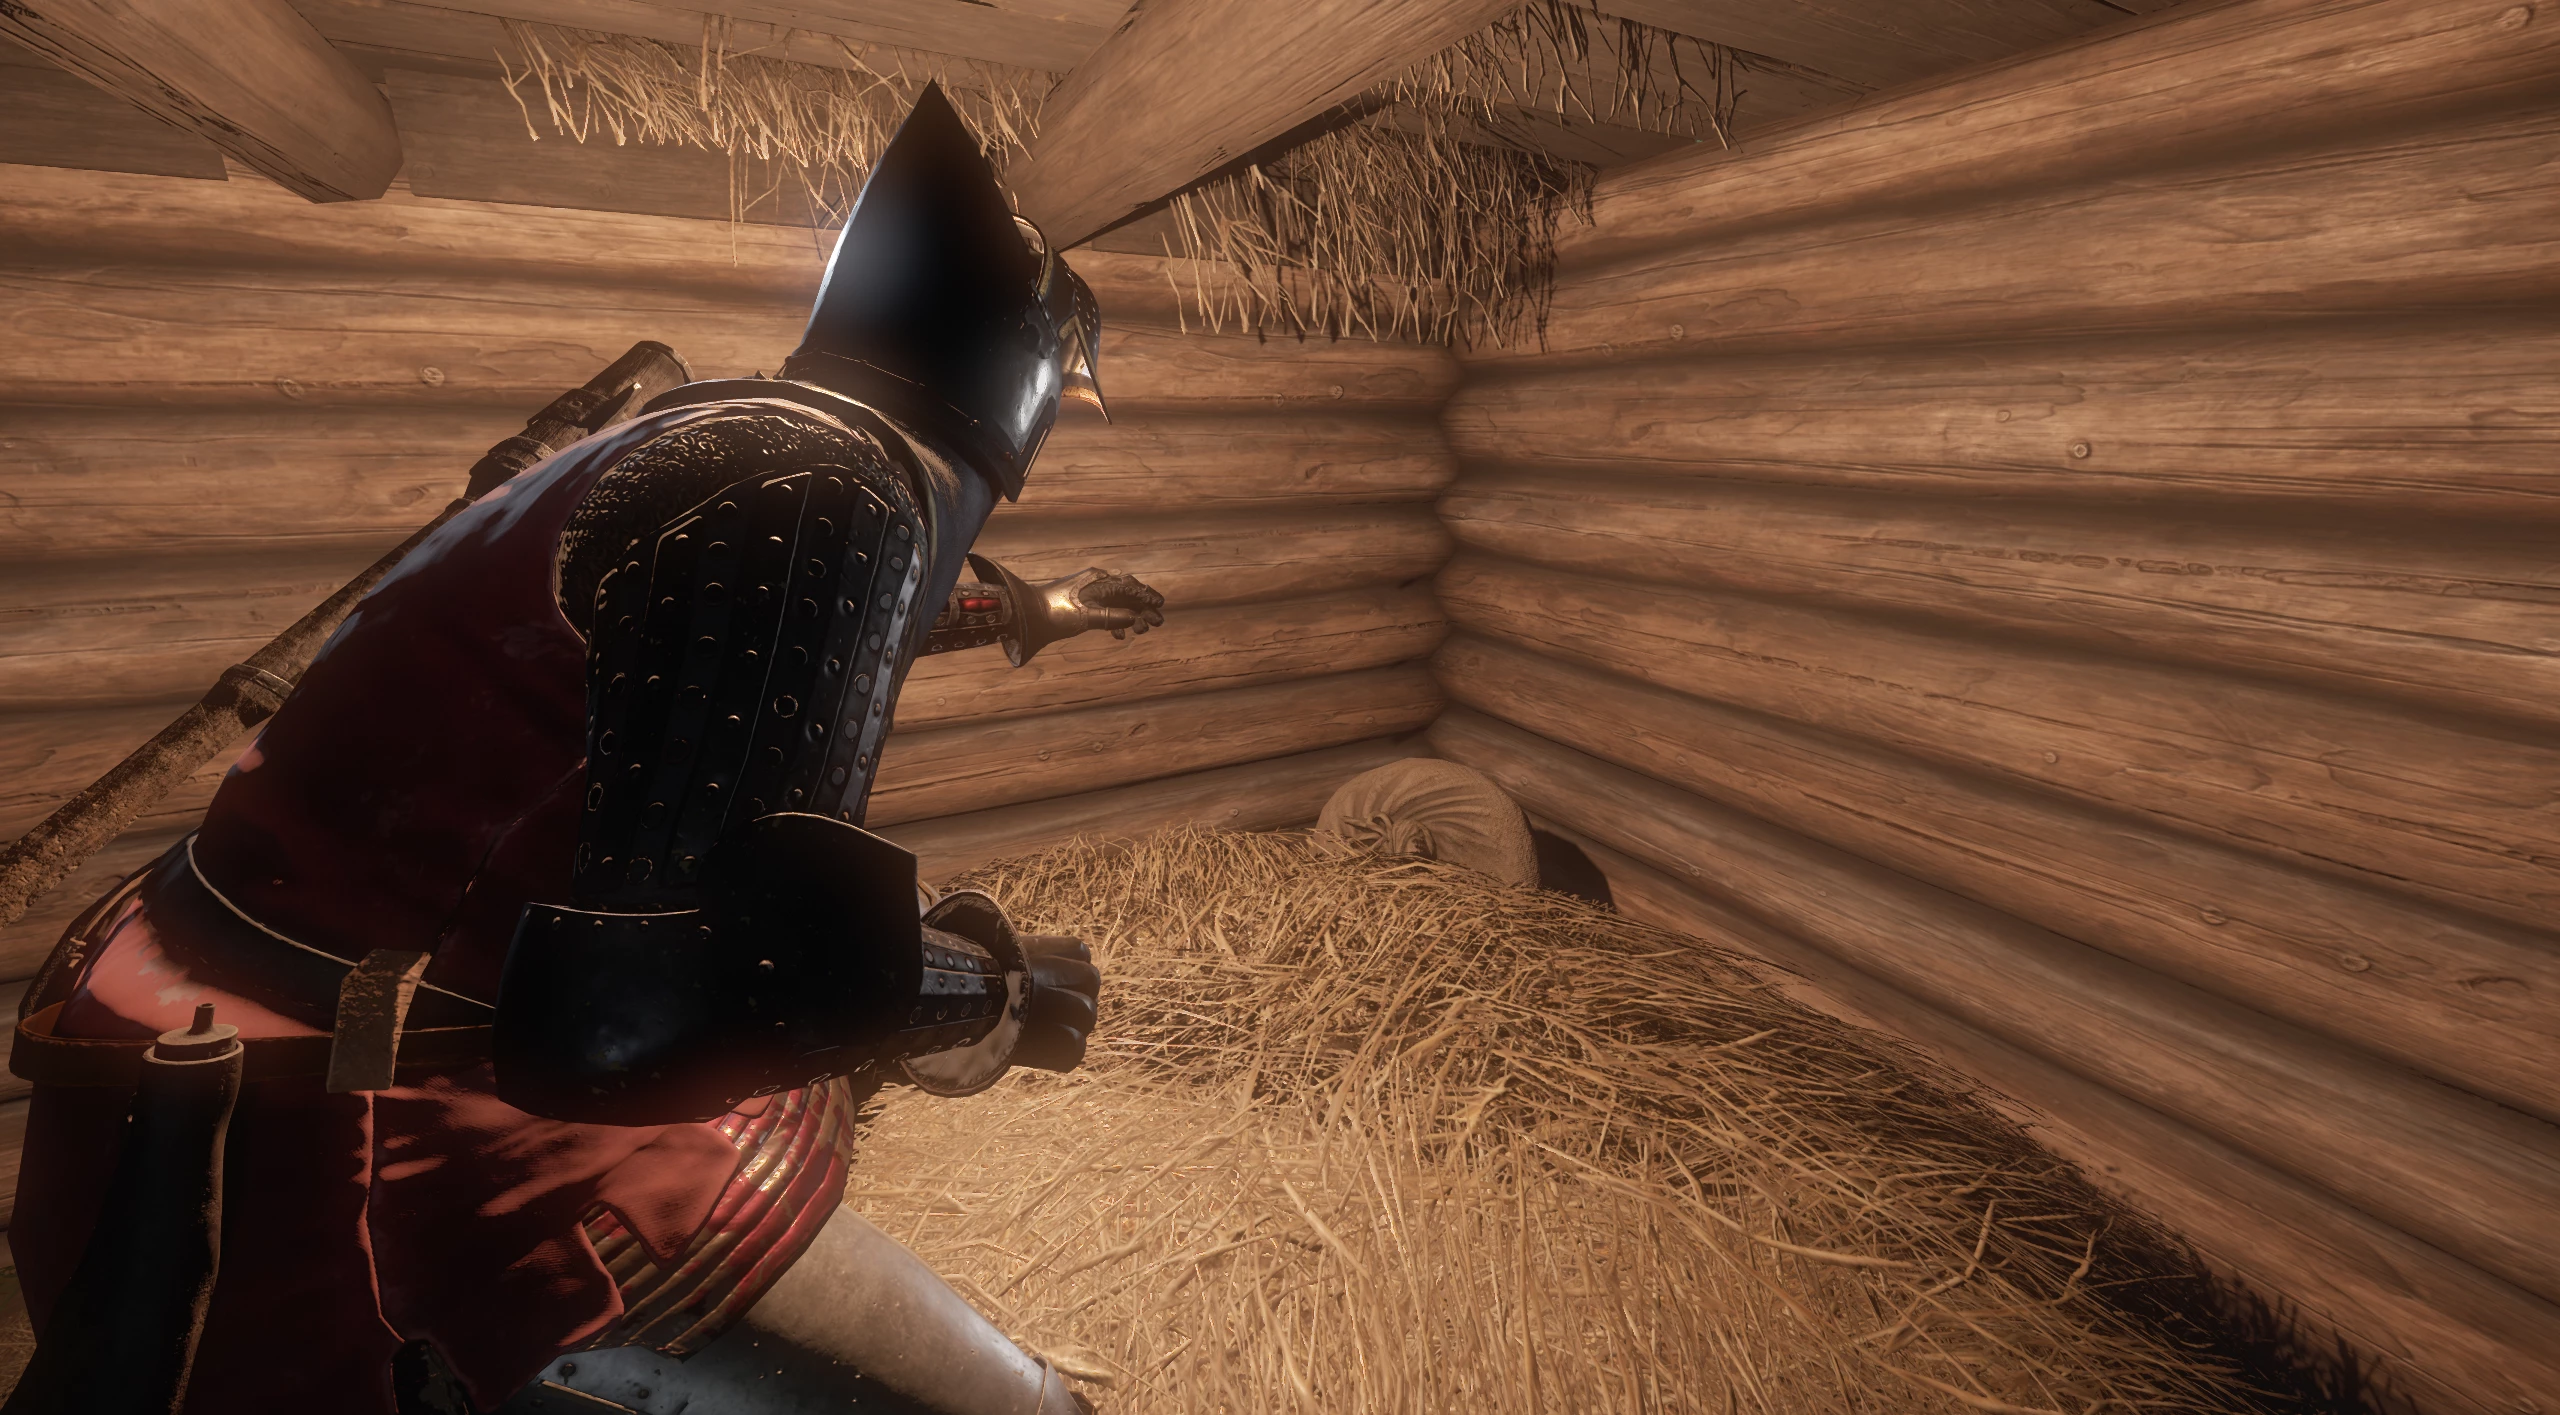
Descend into the basement via the stairs. In the corridor, in the right or left corner from the entrance behind the sacks, you will find a Hungarian shield of Sigismund's soldiers.
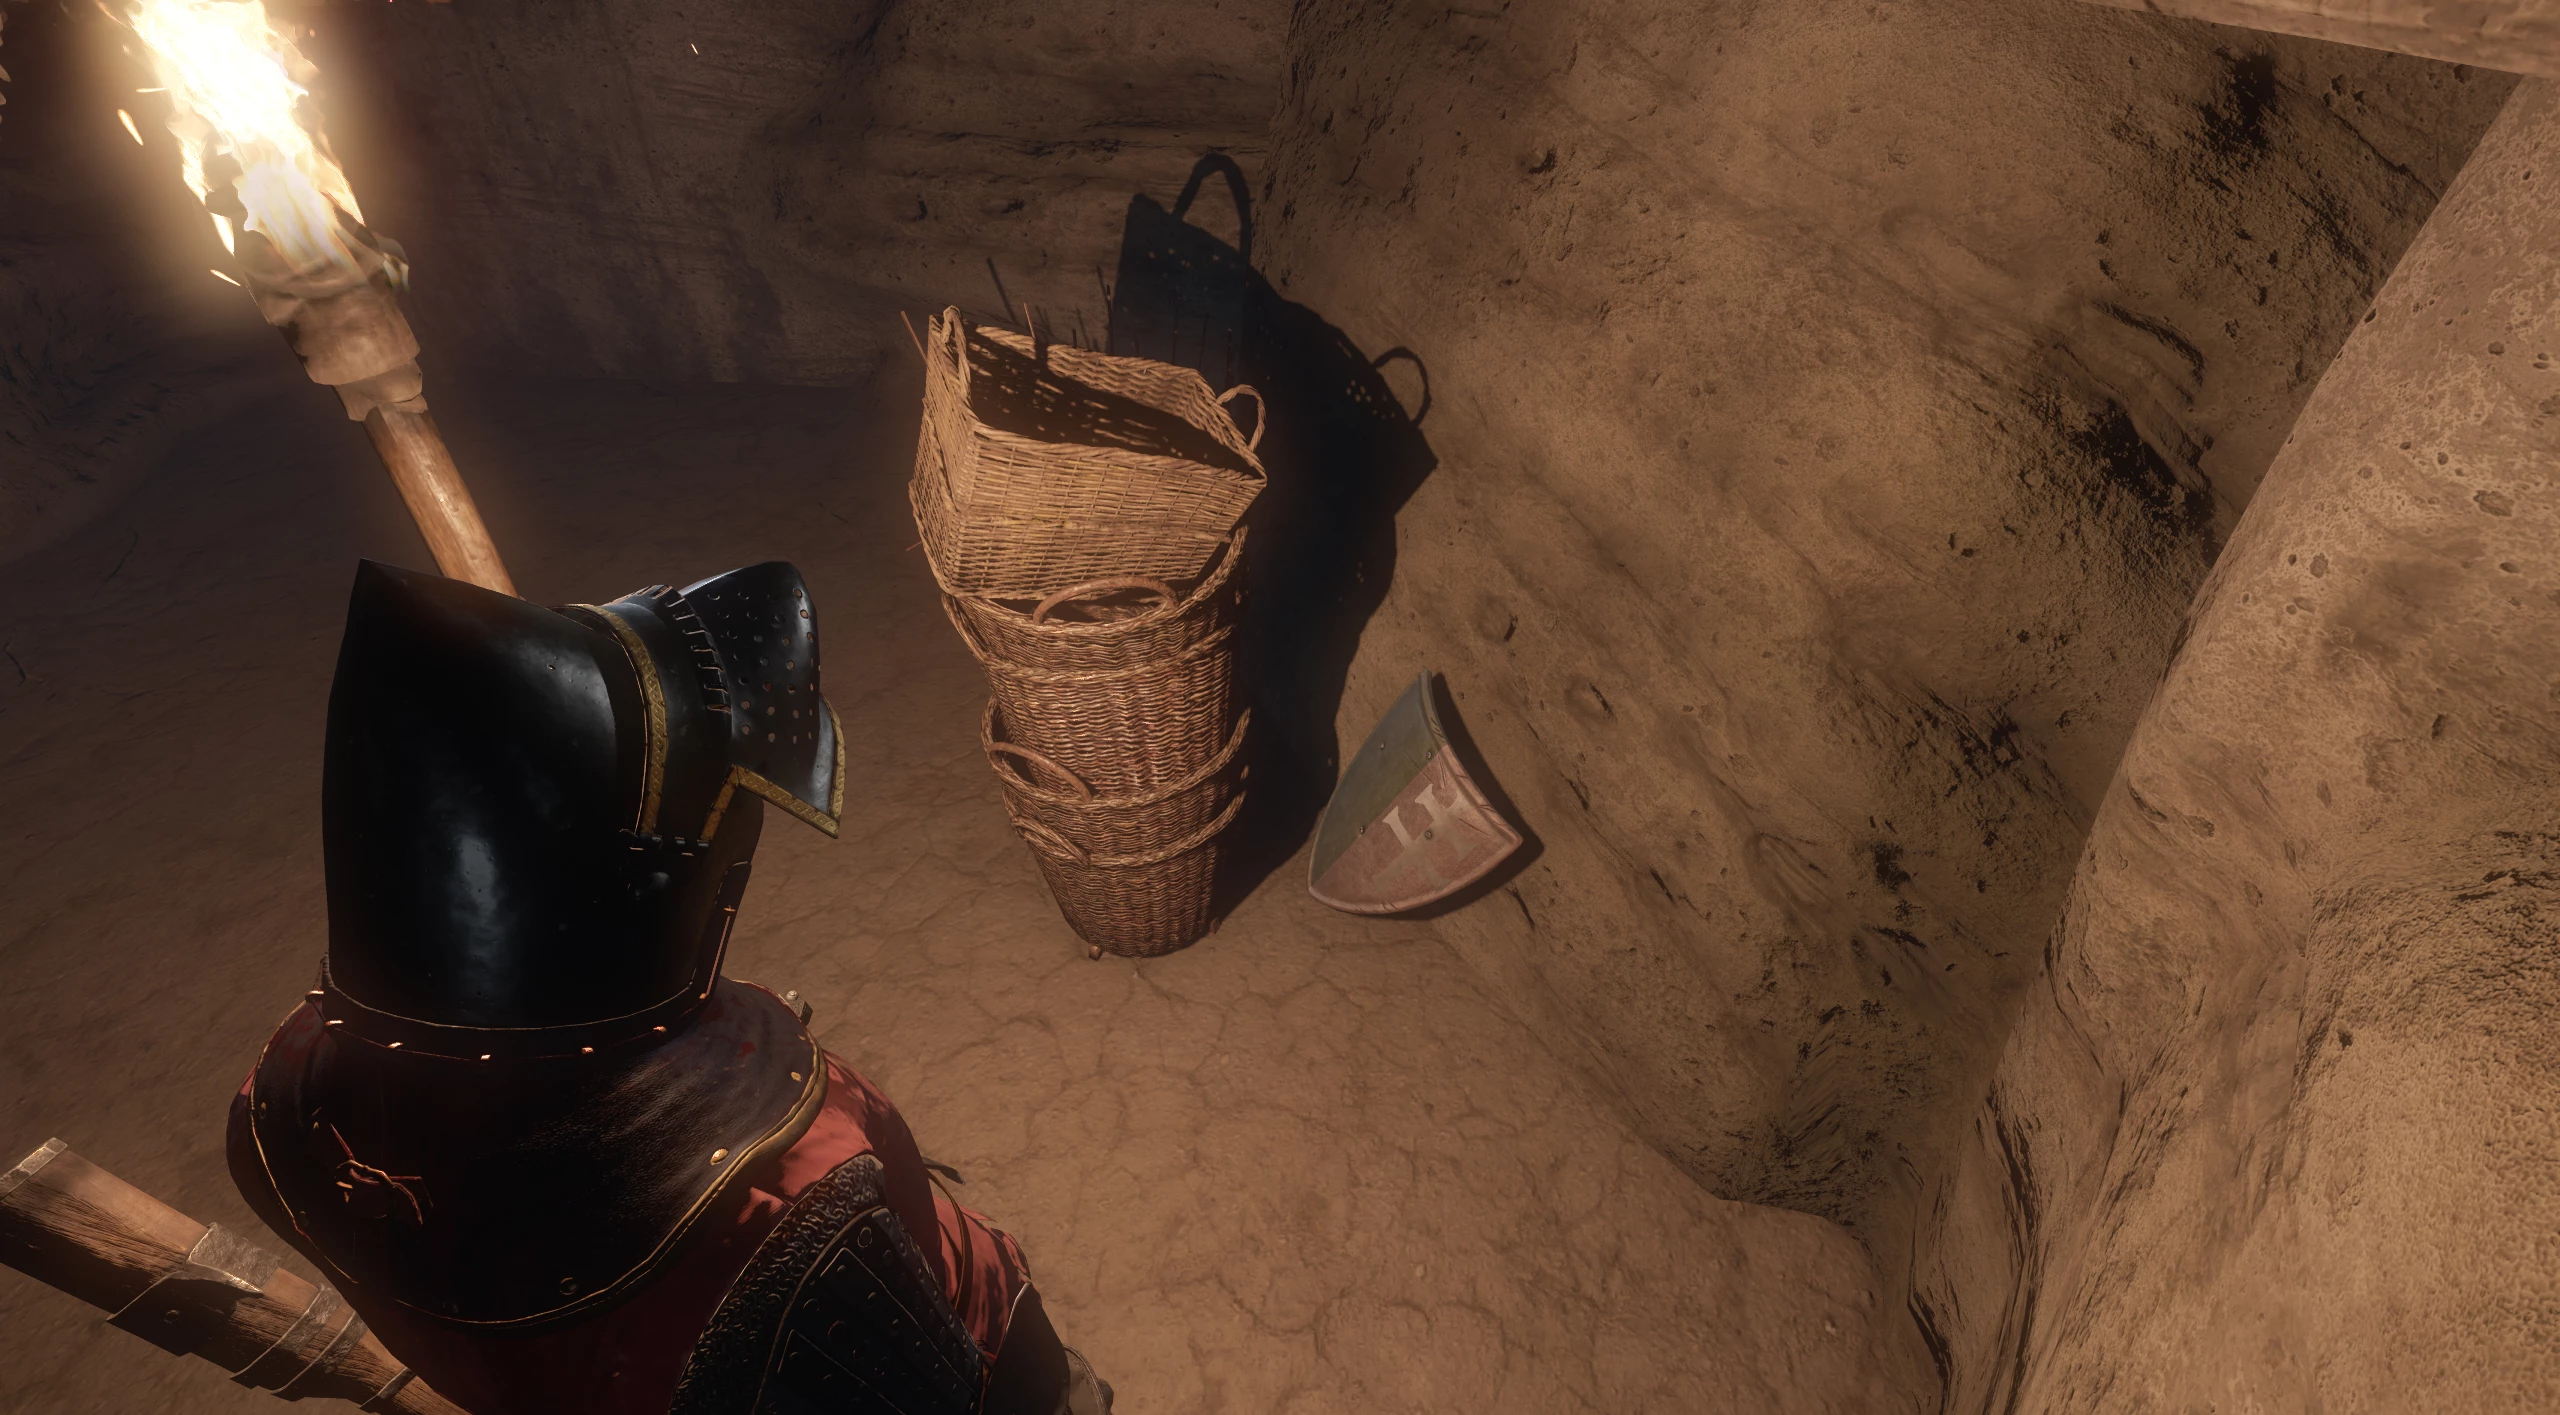
You will find a similar shield and a sack of provisions in the outdoor barn located to the left of the house.
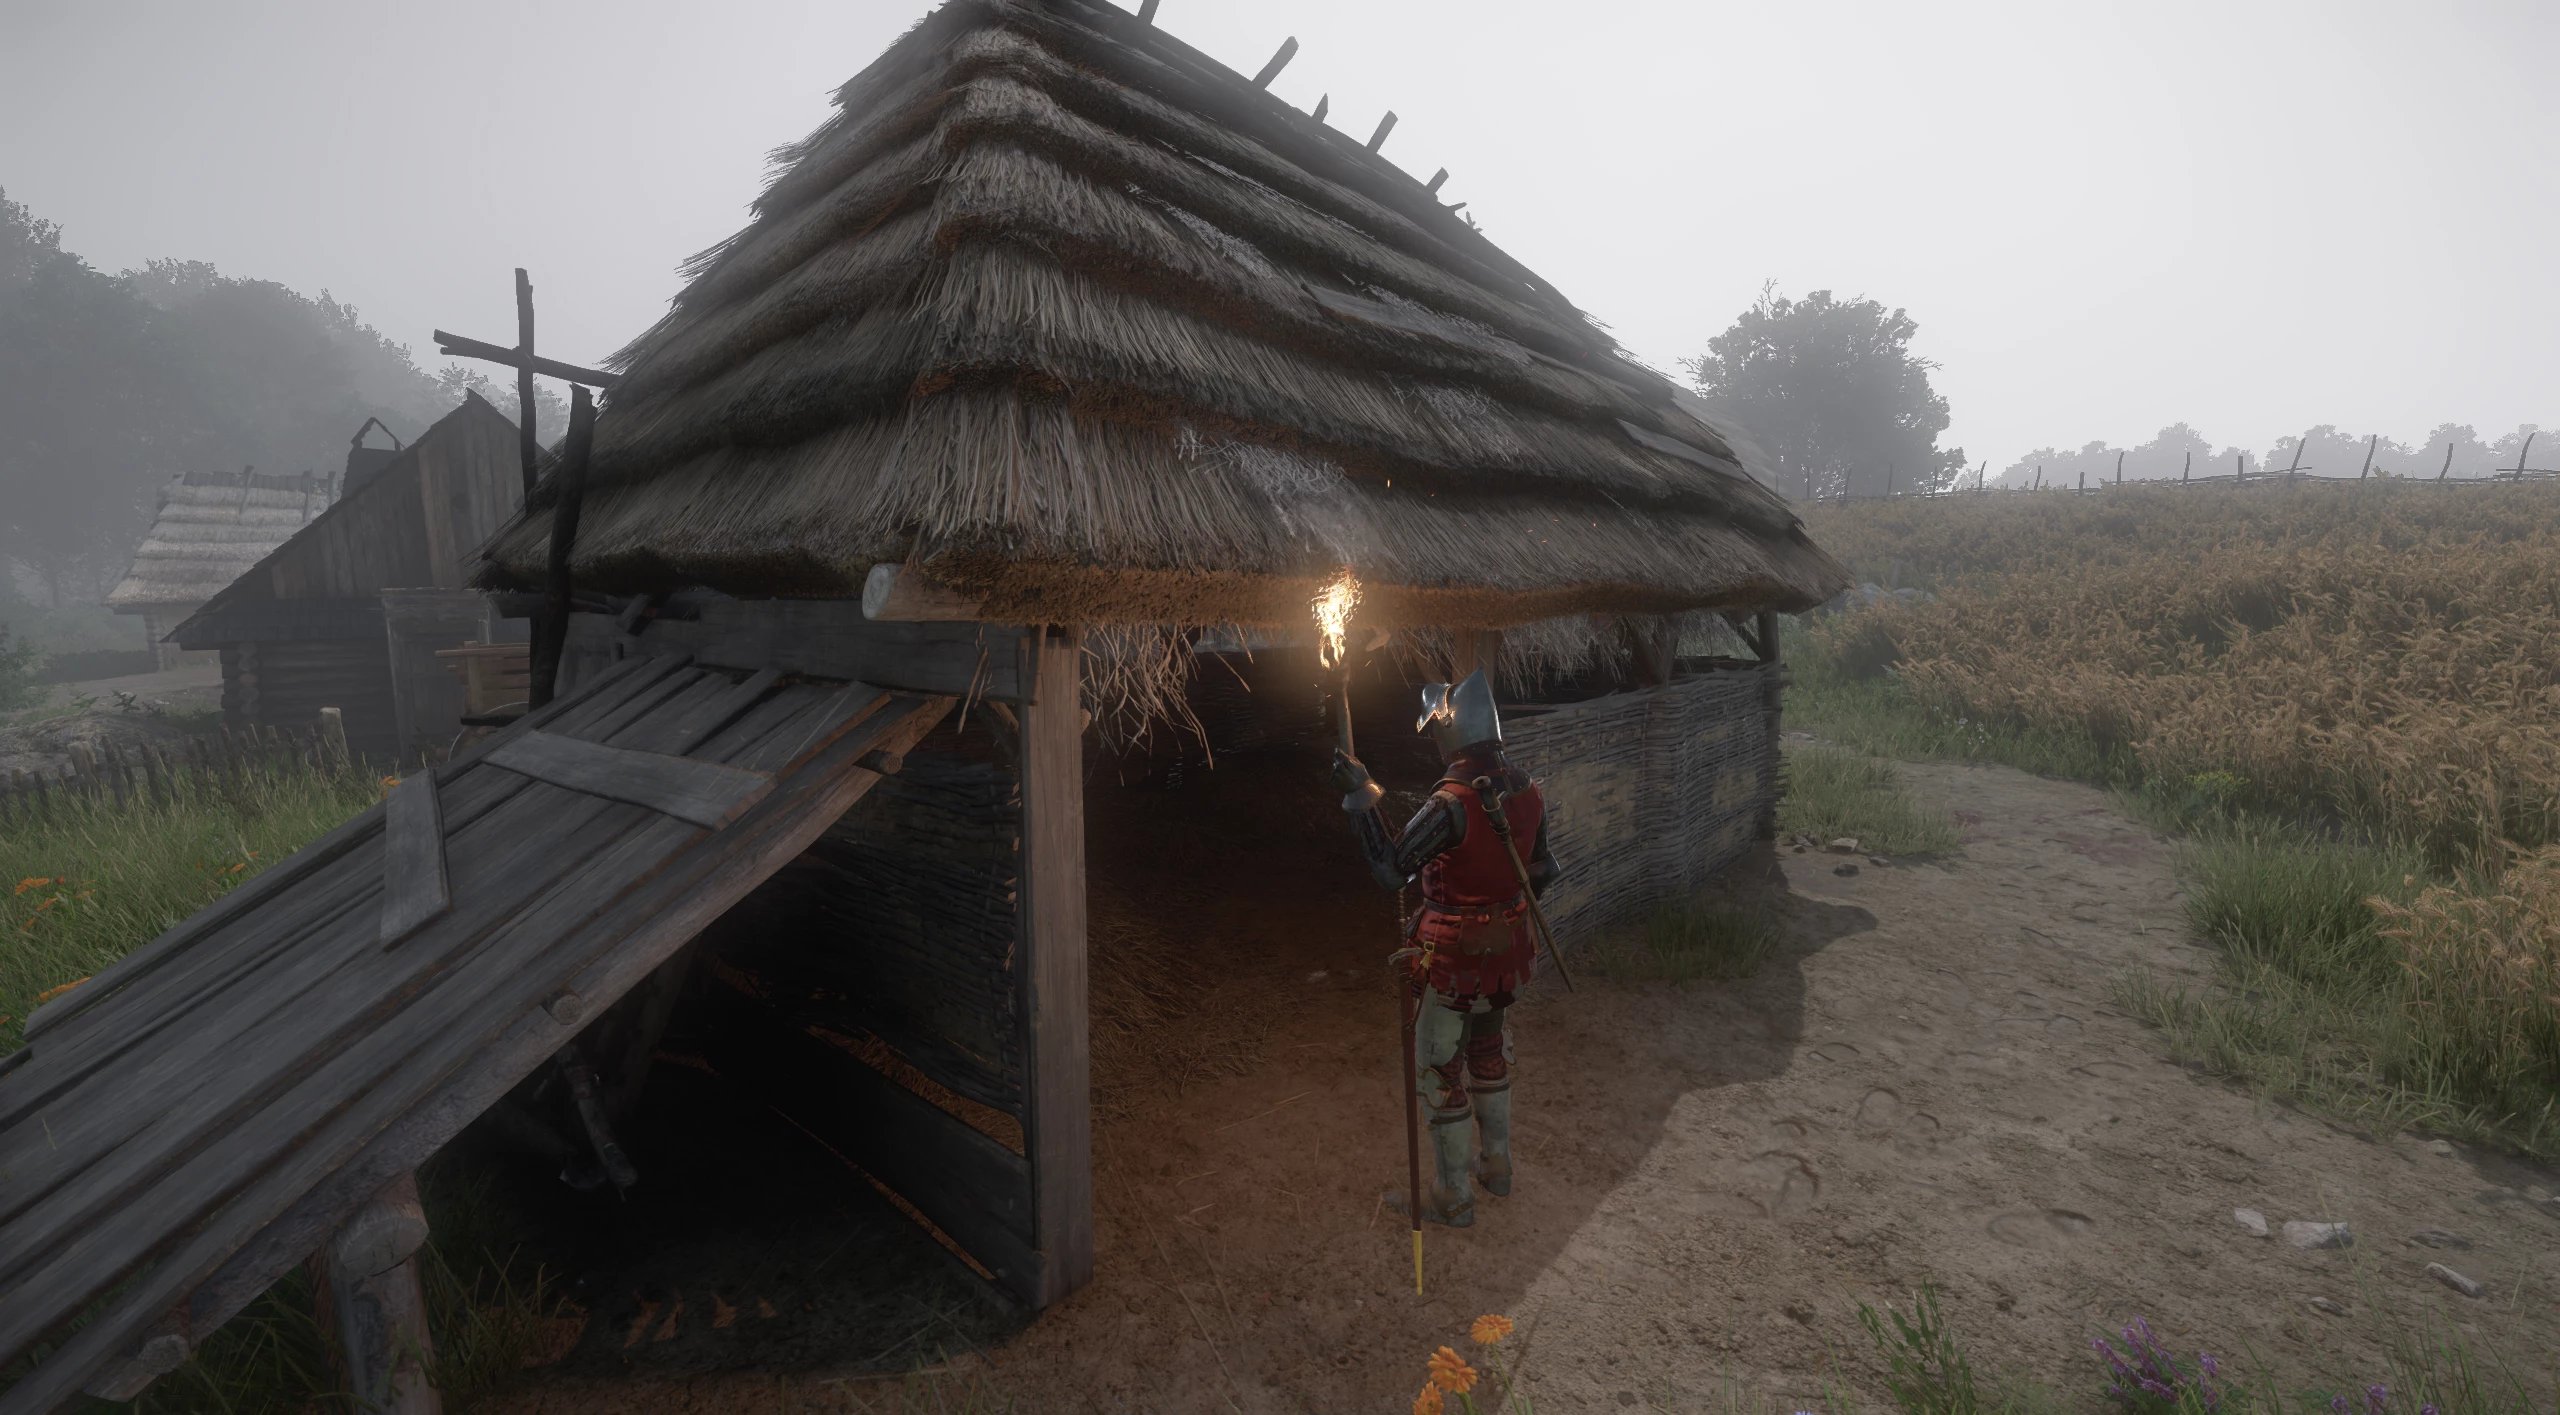
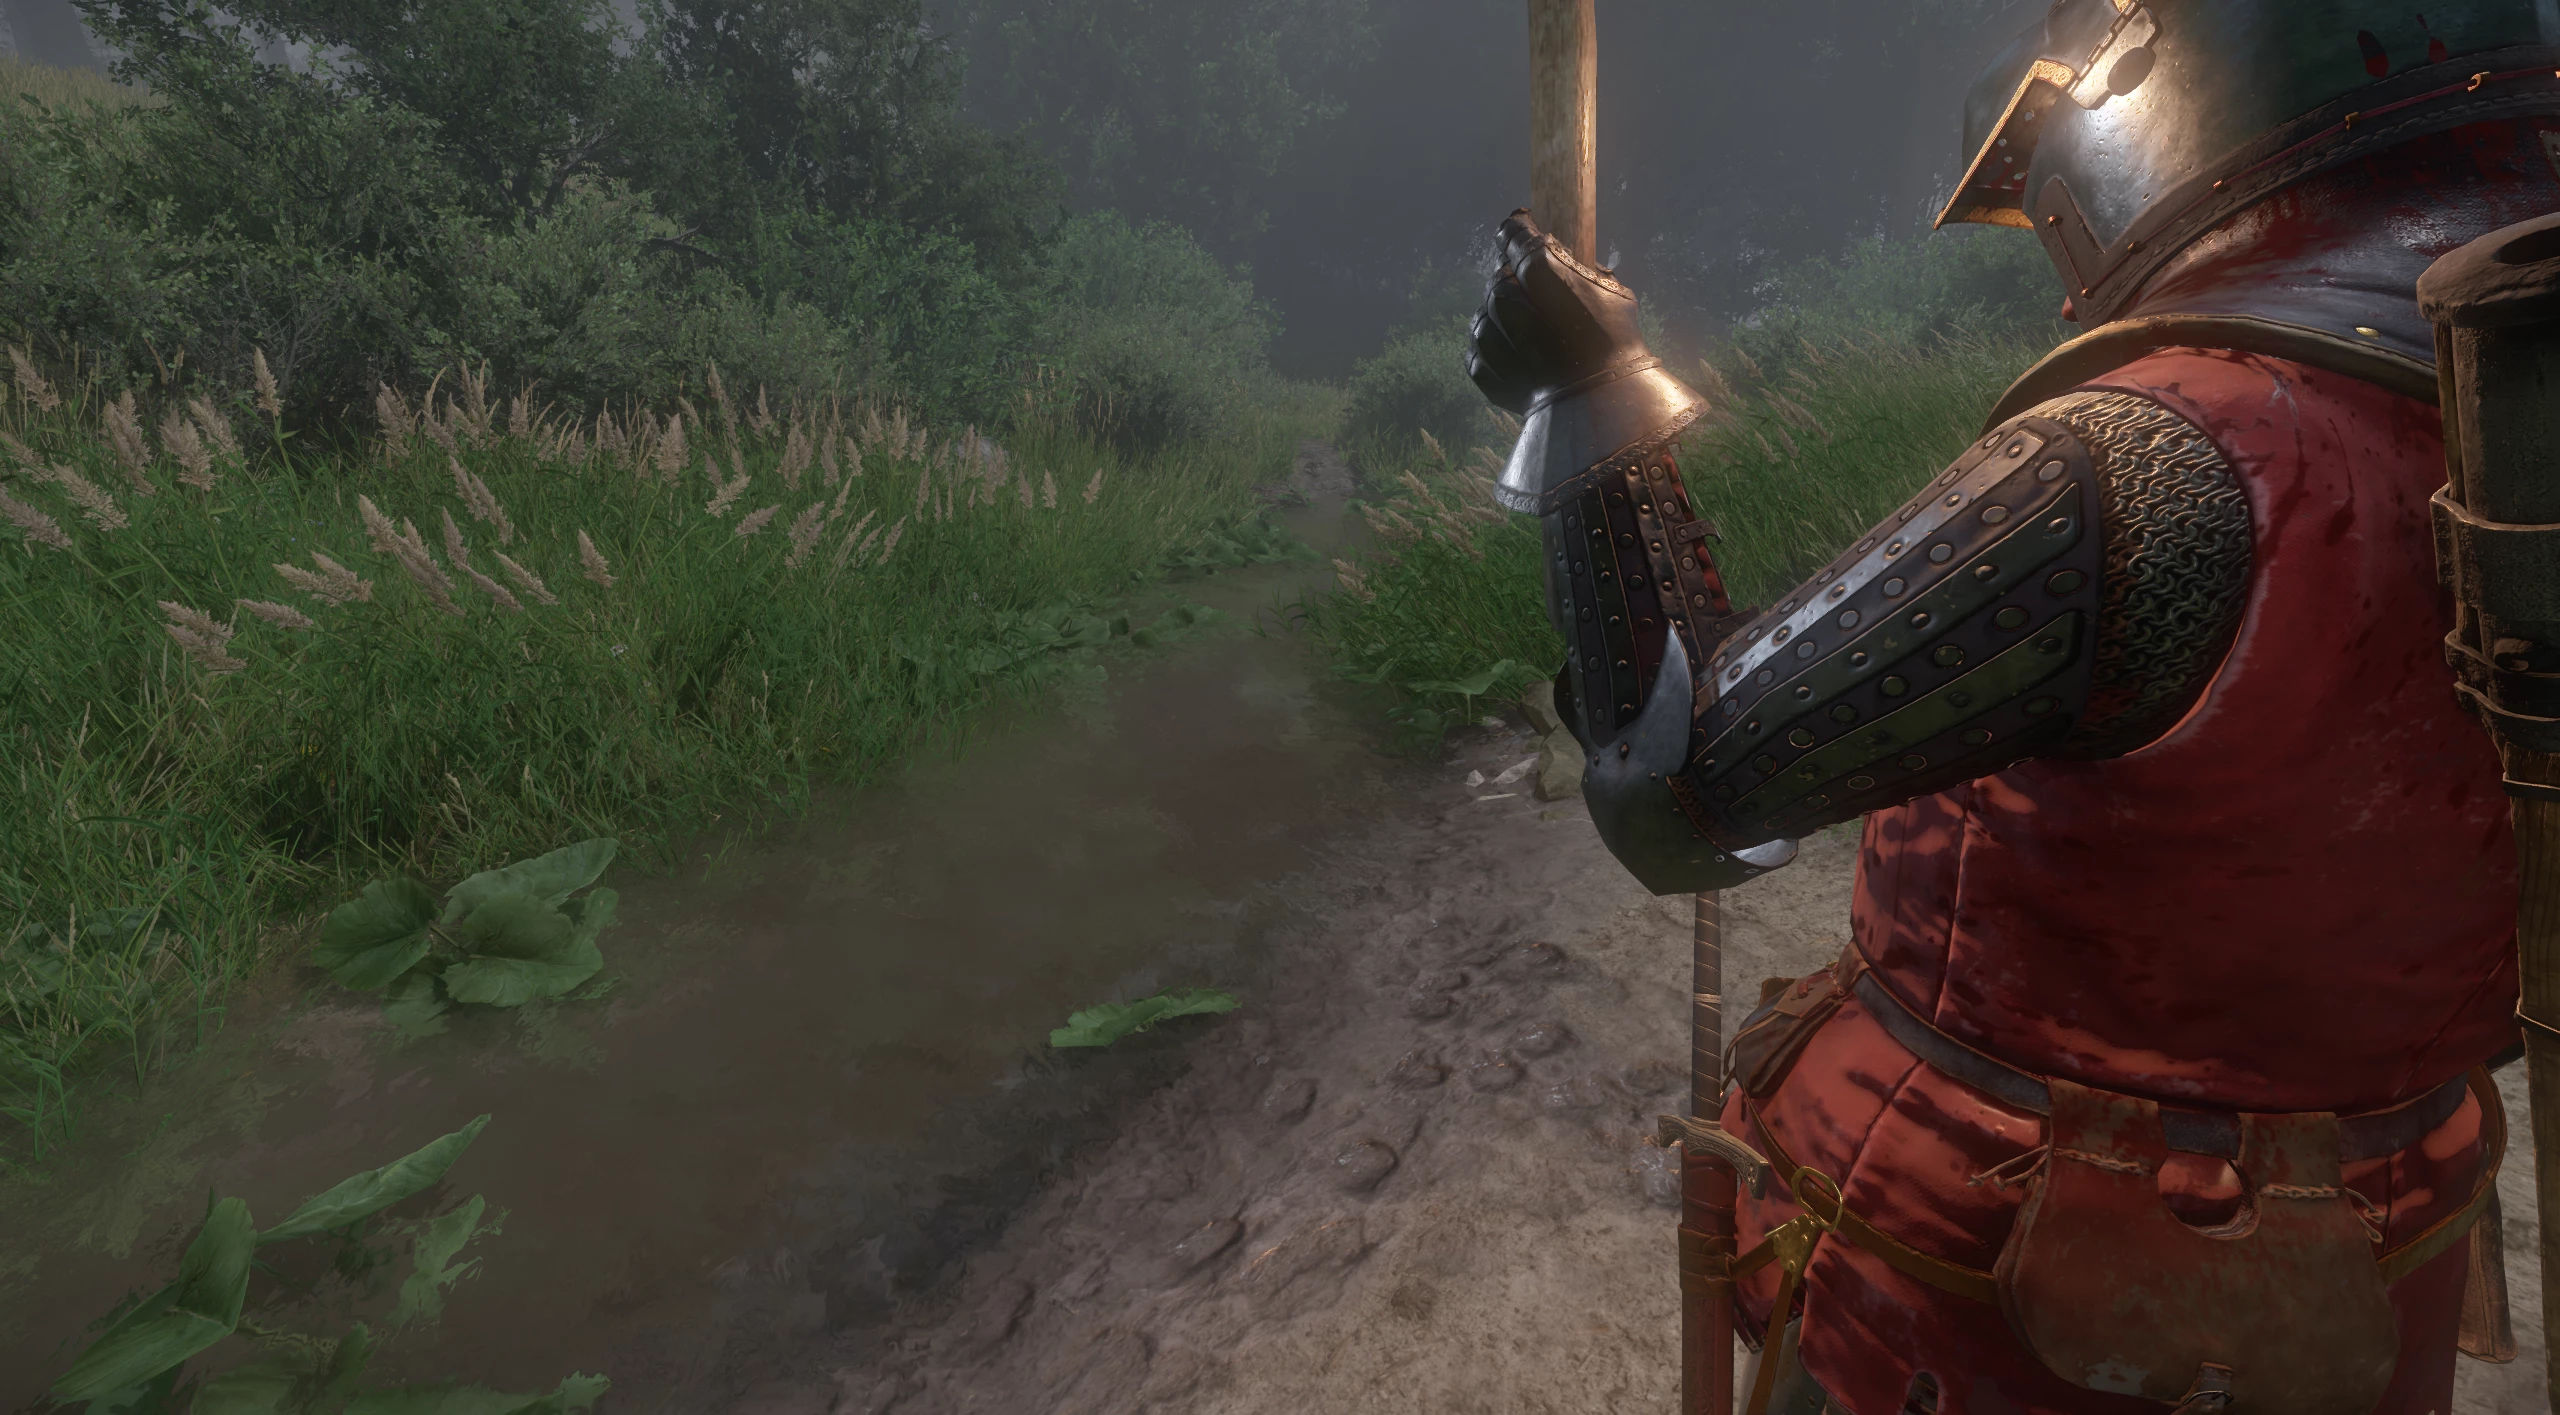
There, you will also notice bloody tracks on the ground; turn left and descend the path to the road.
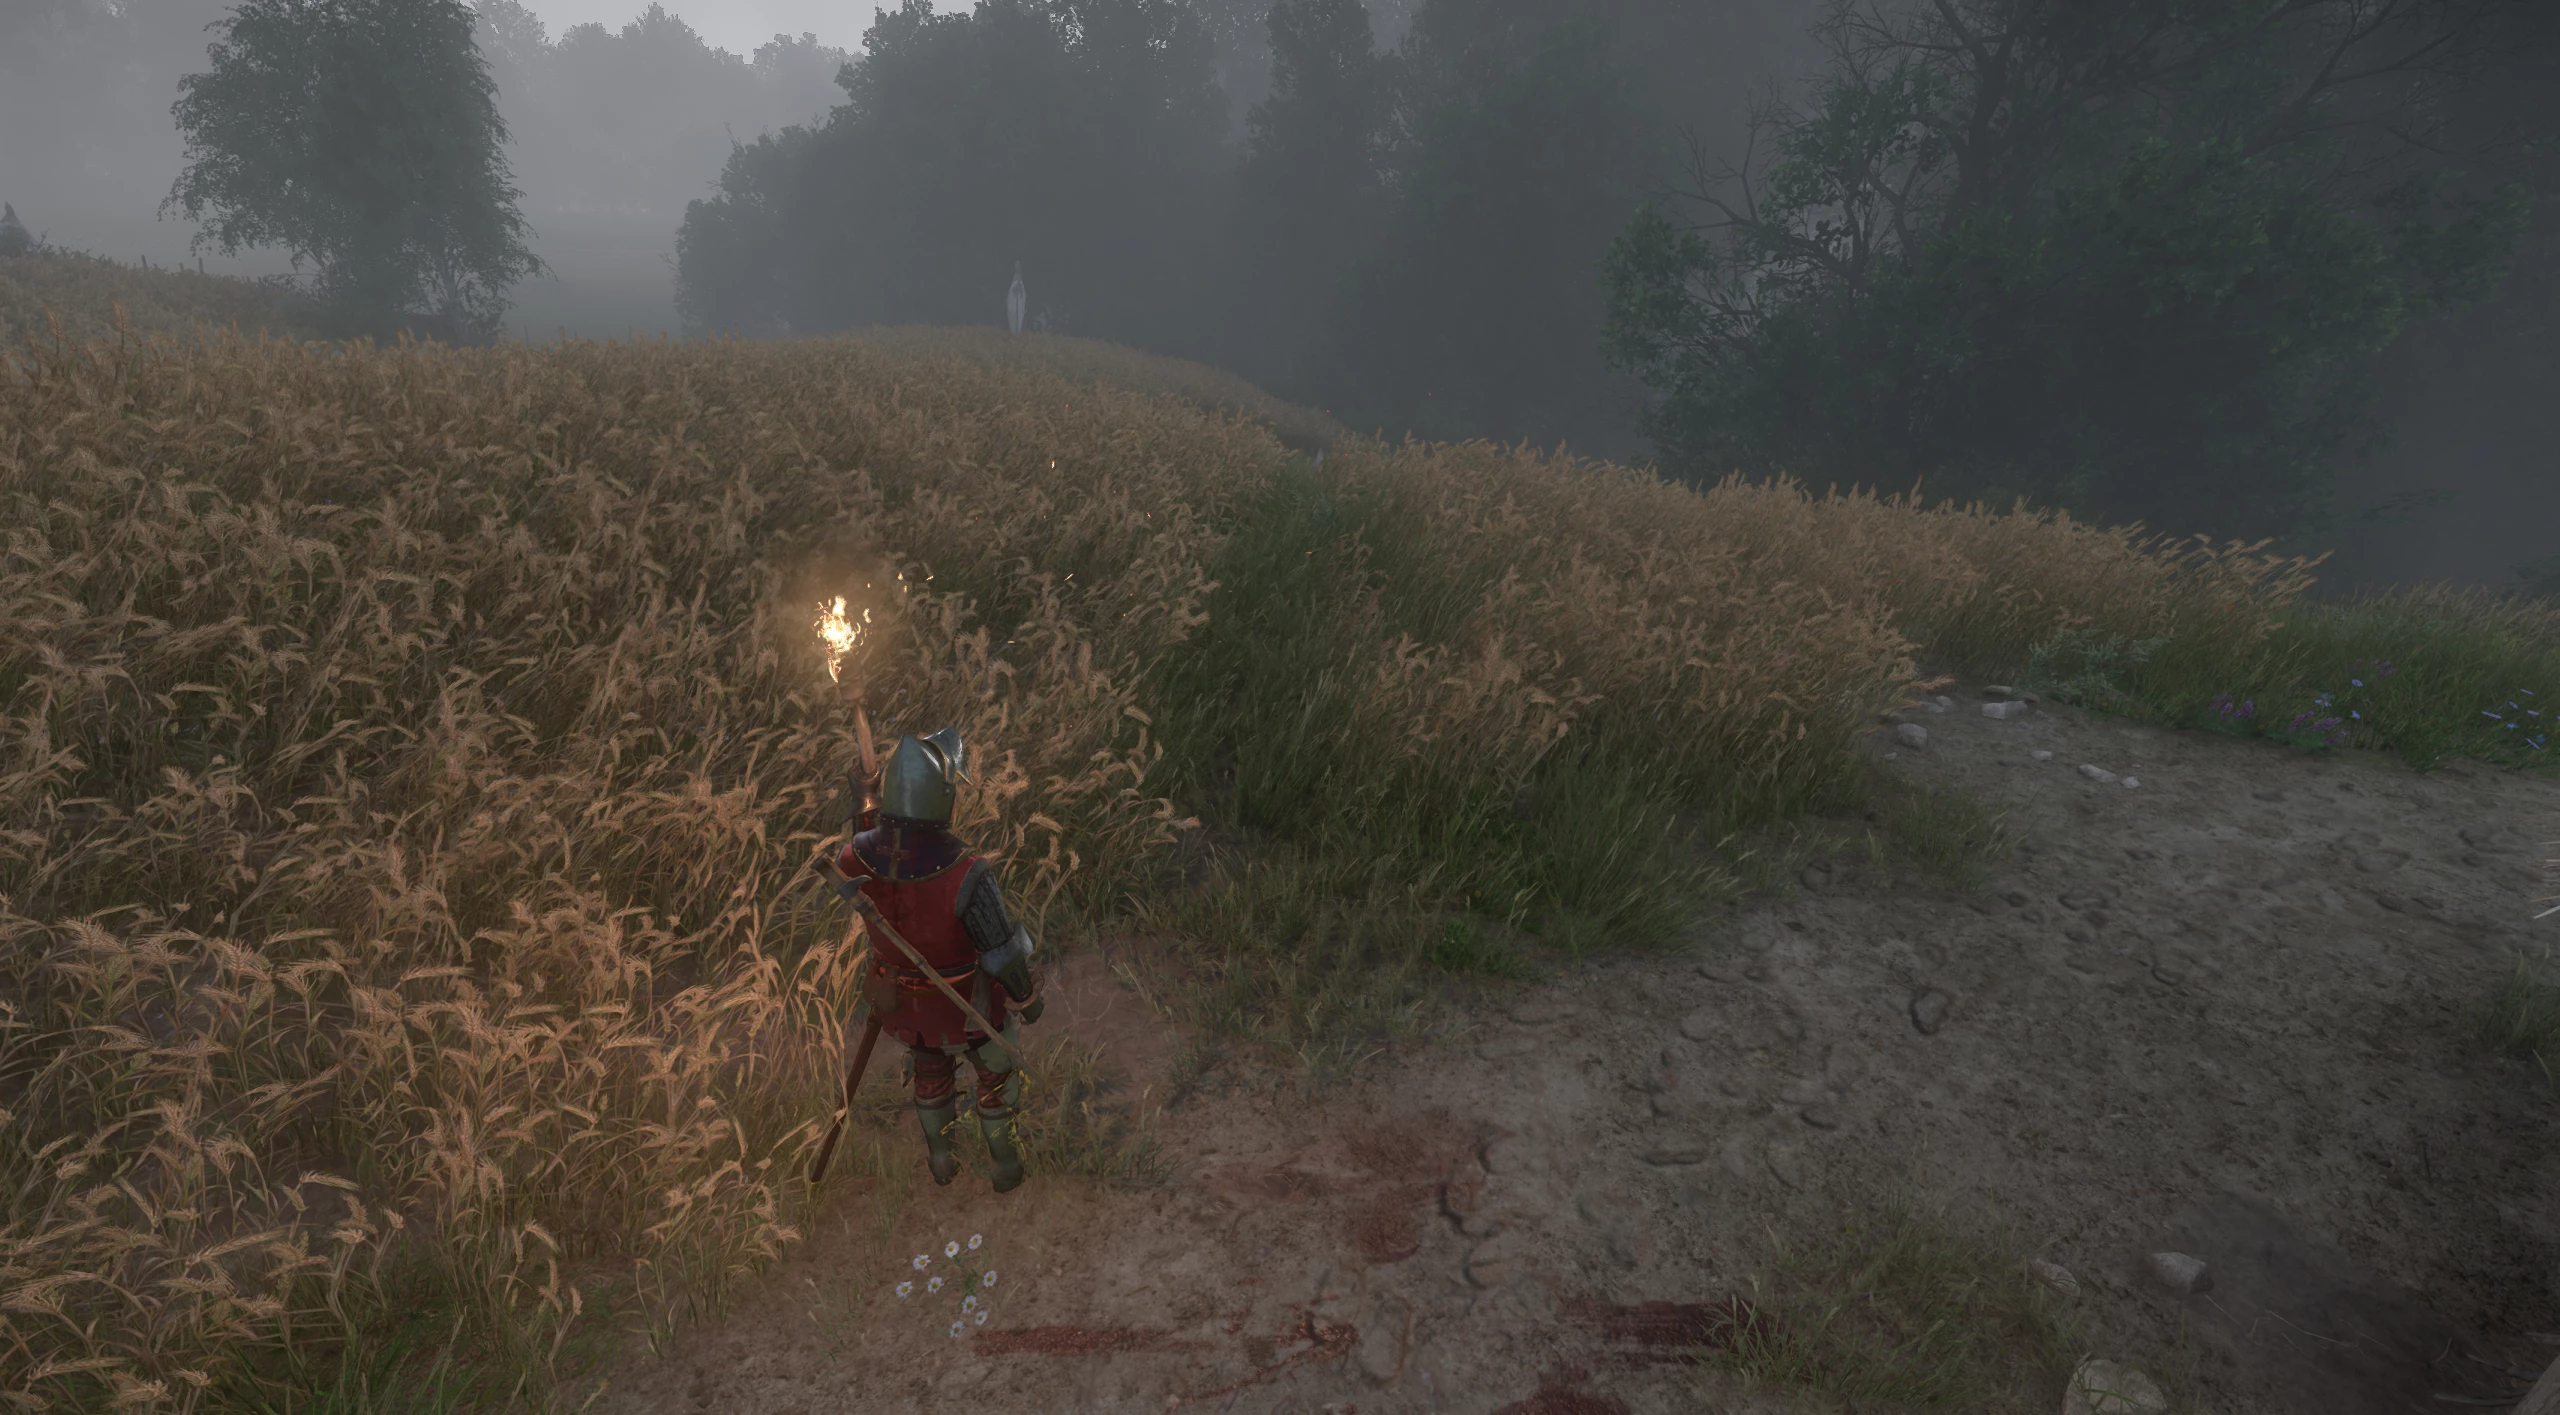
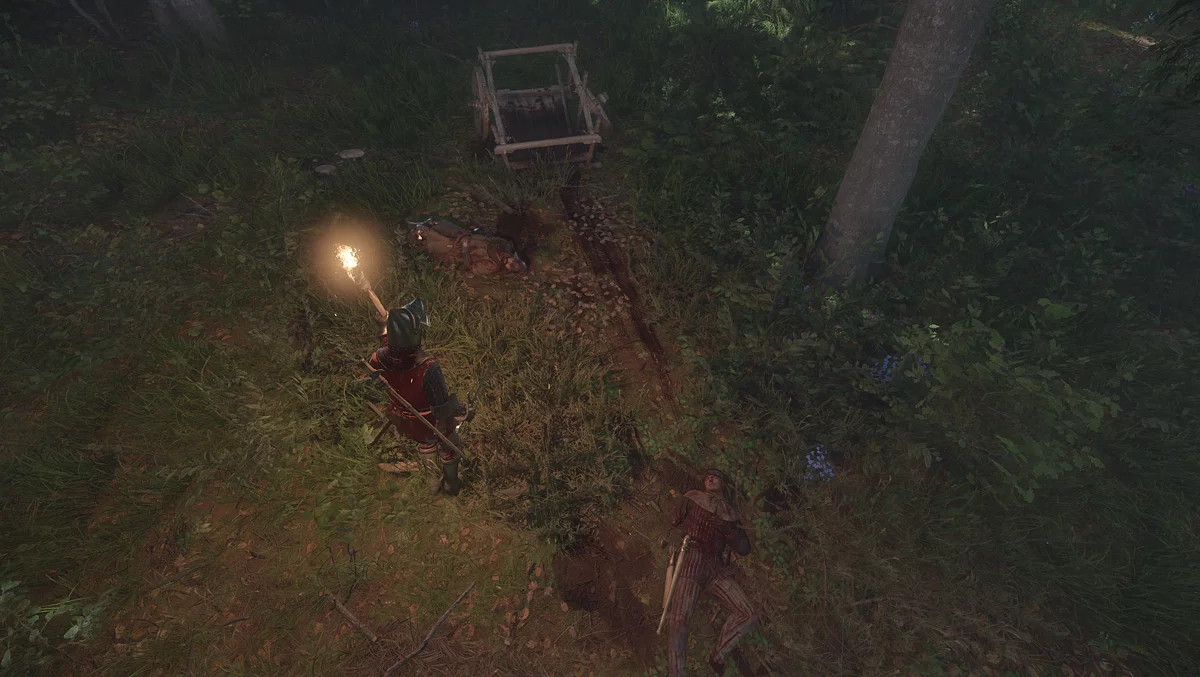
Continue walking until you see more blood trails and cart wheel tracks.
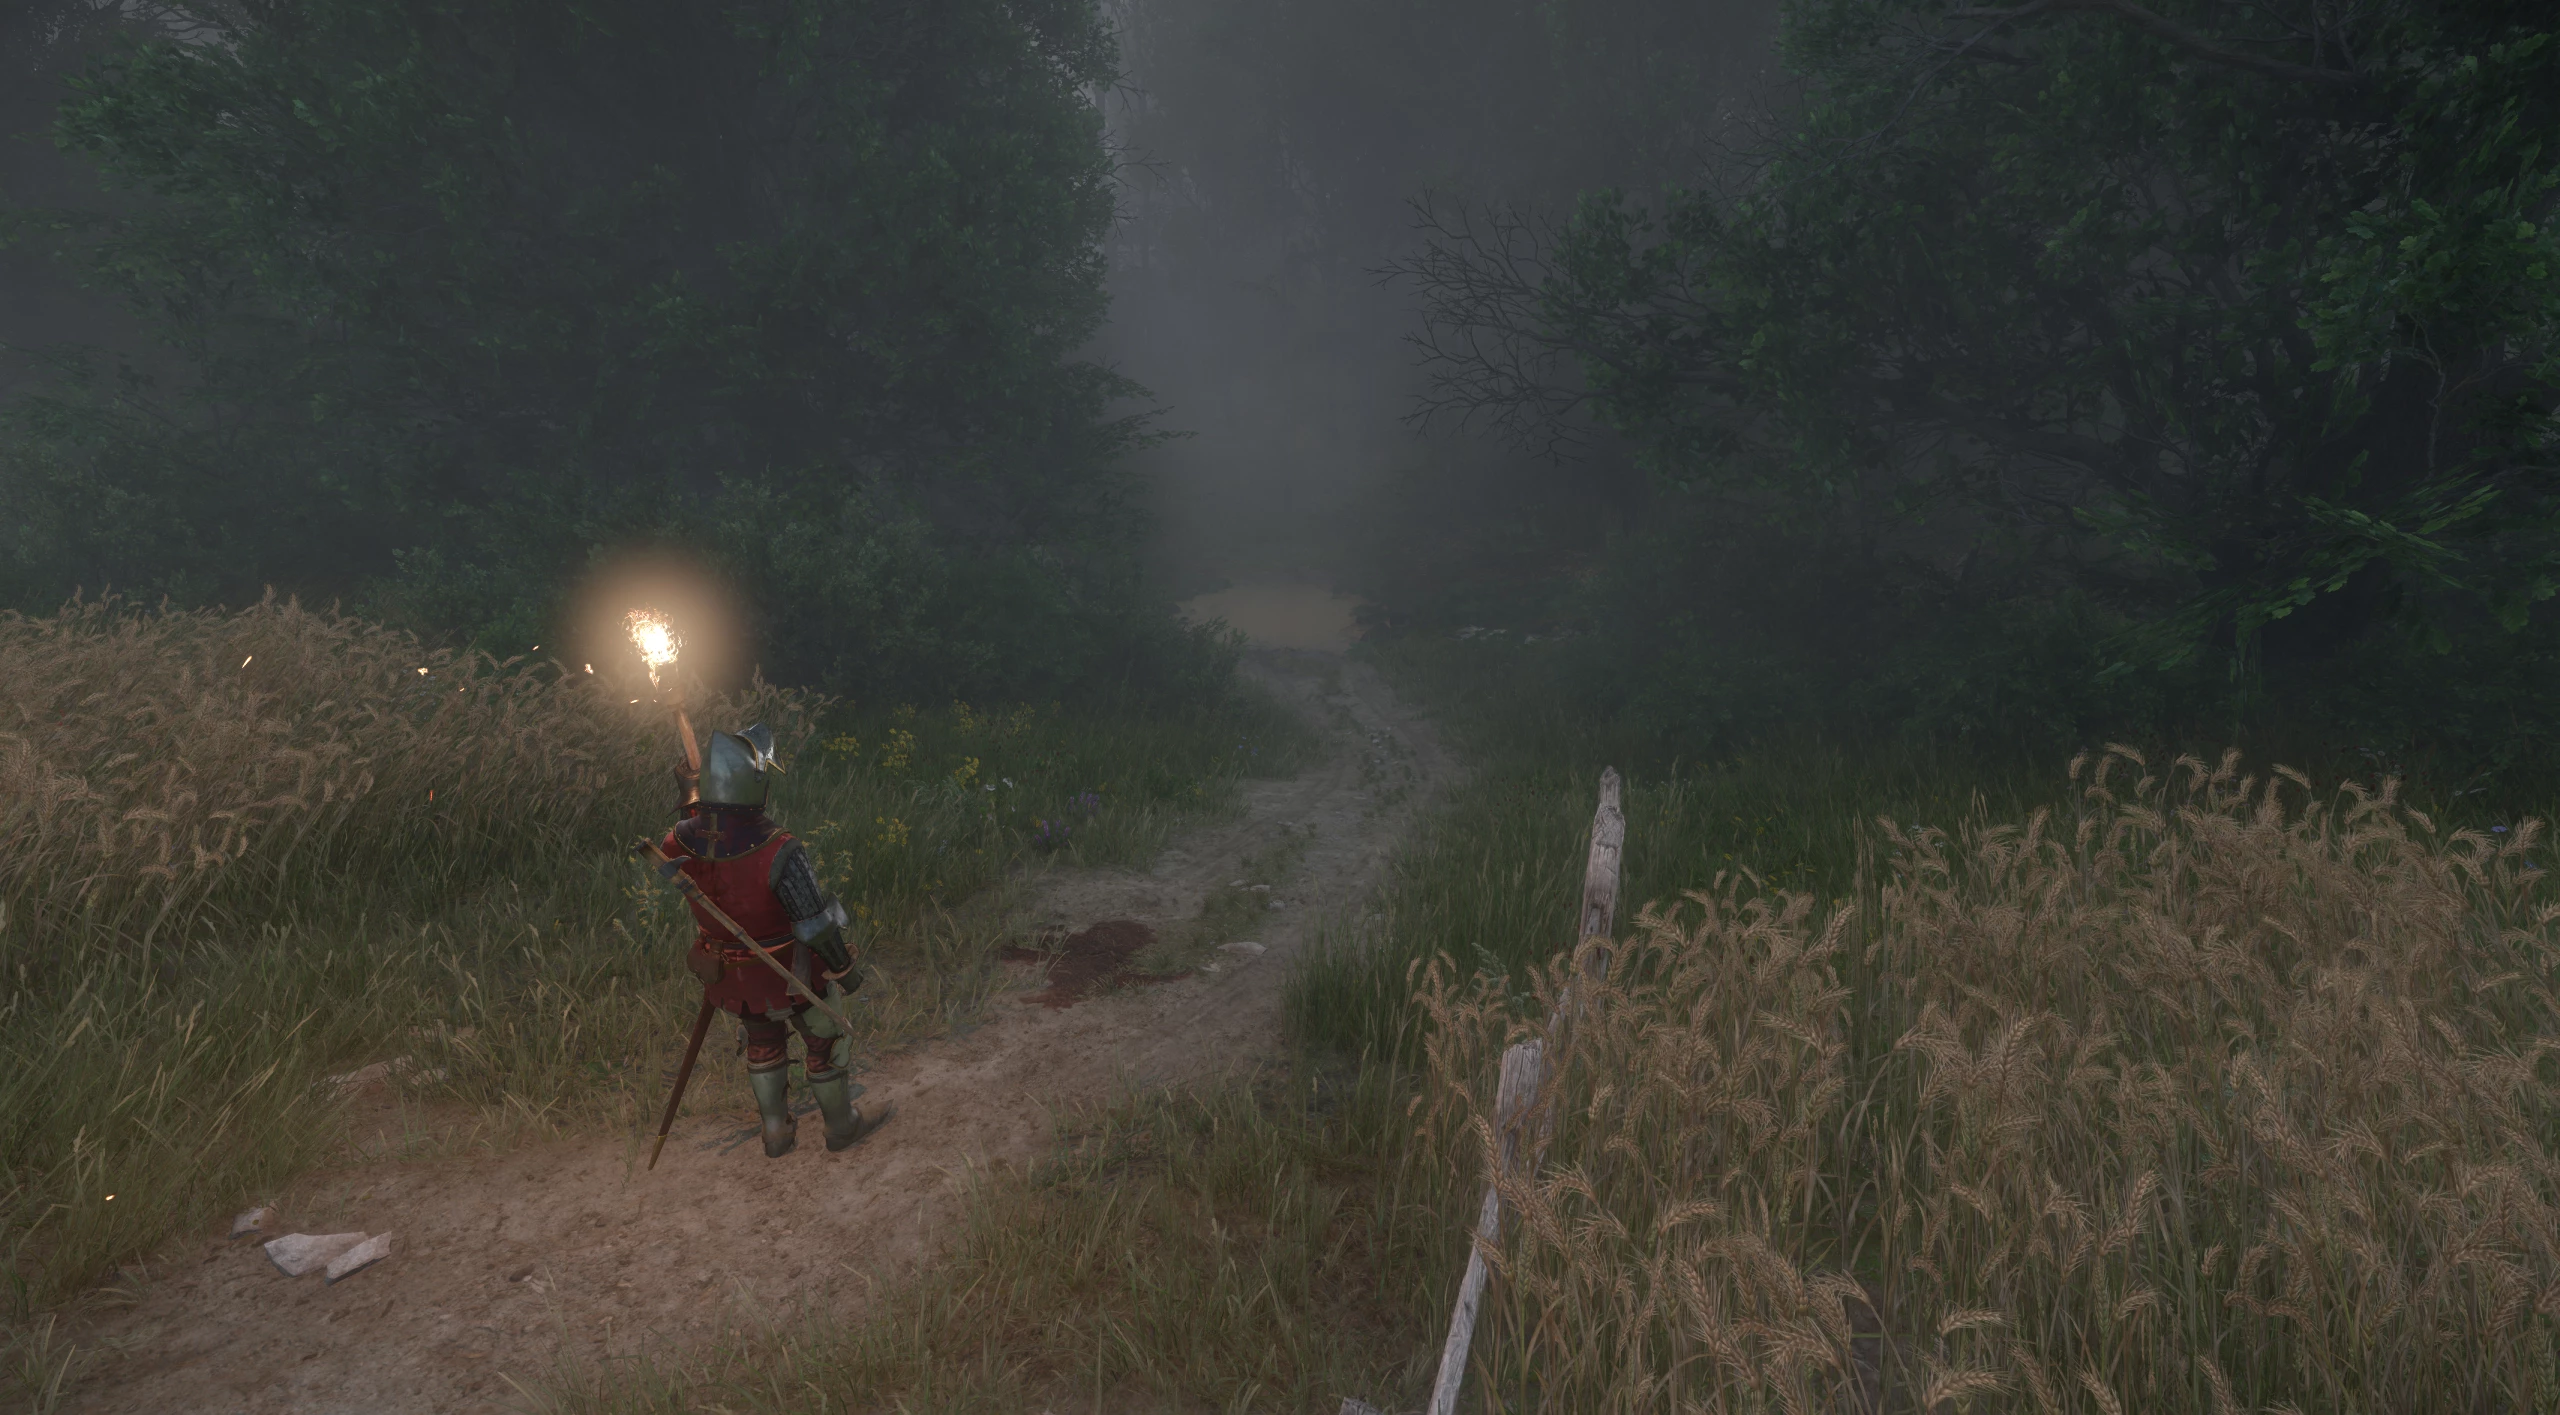
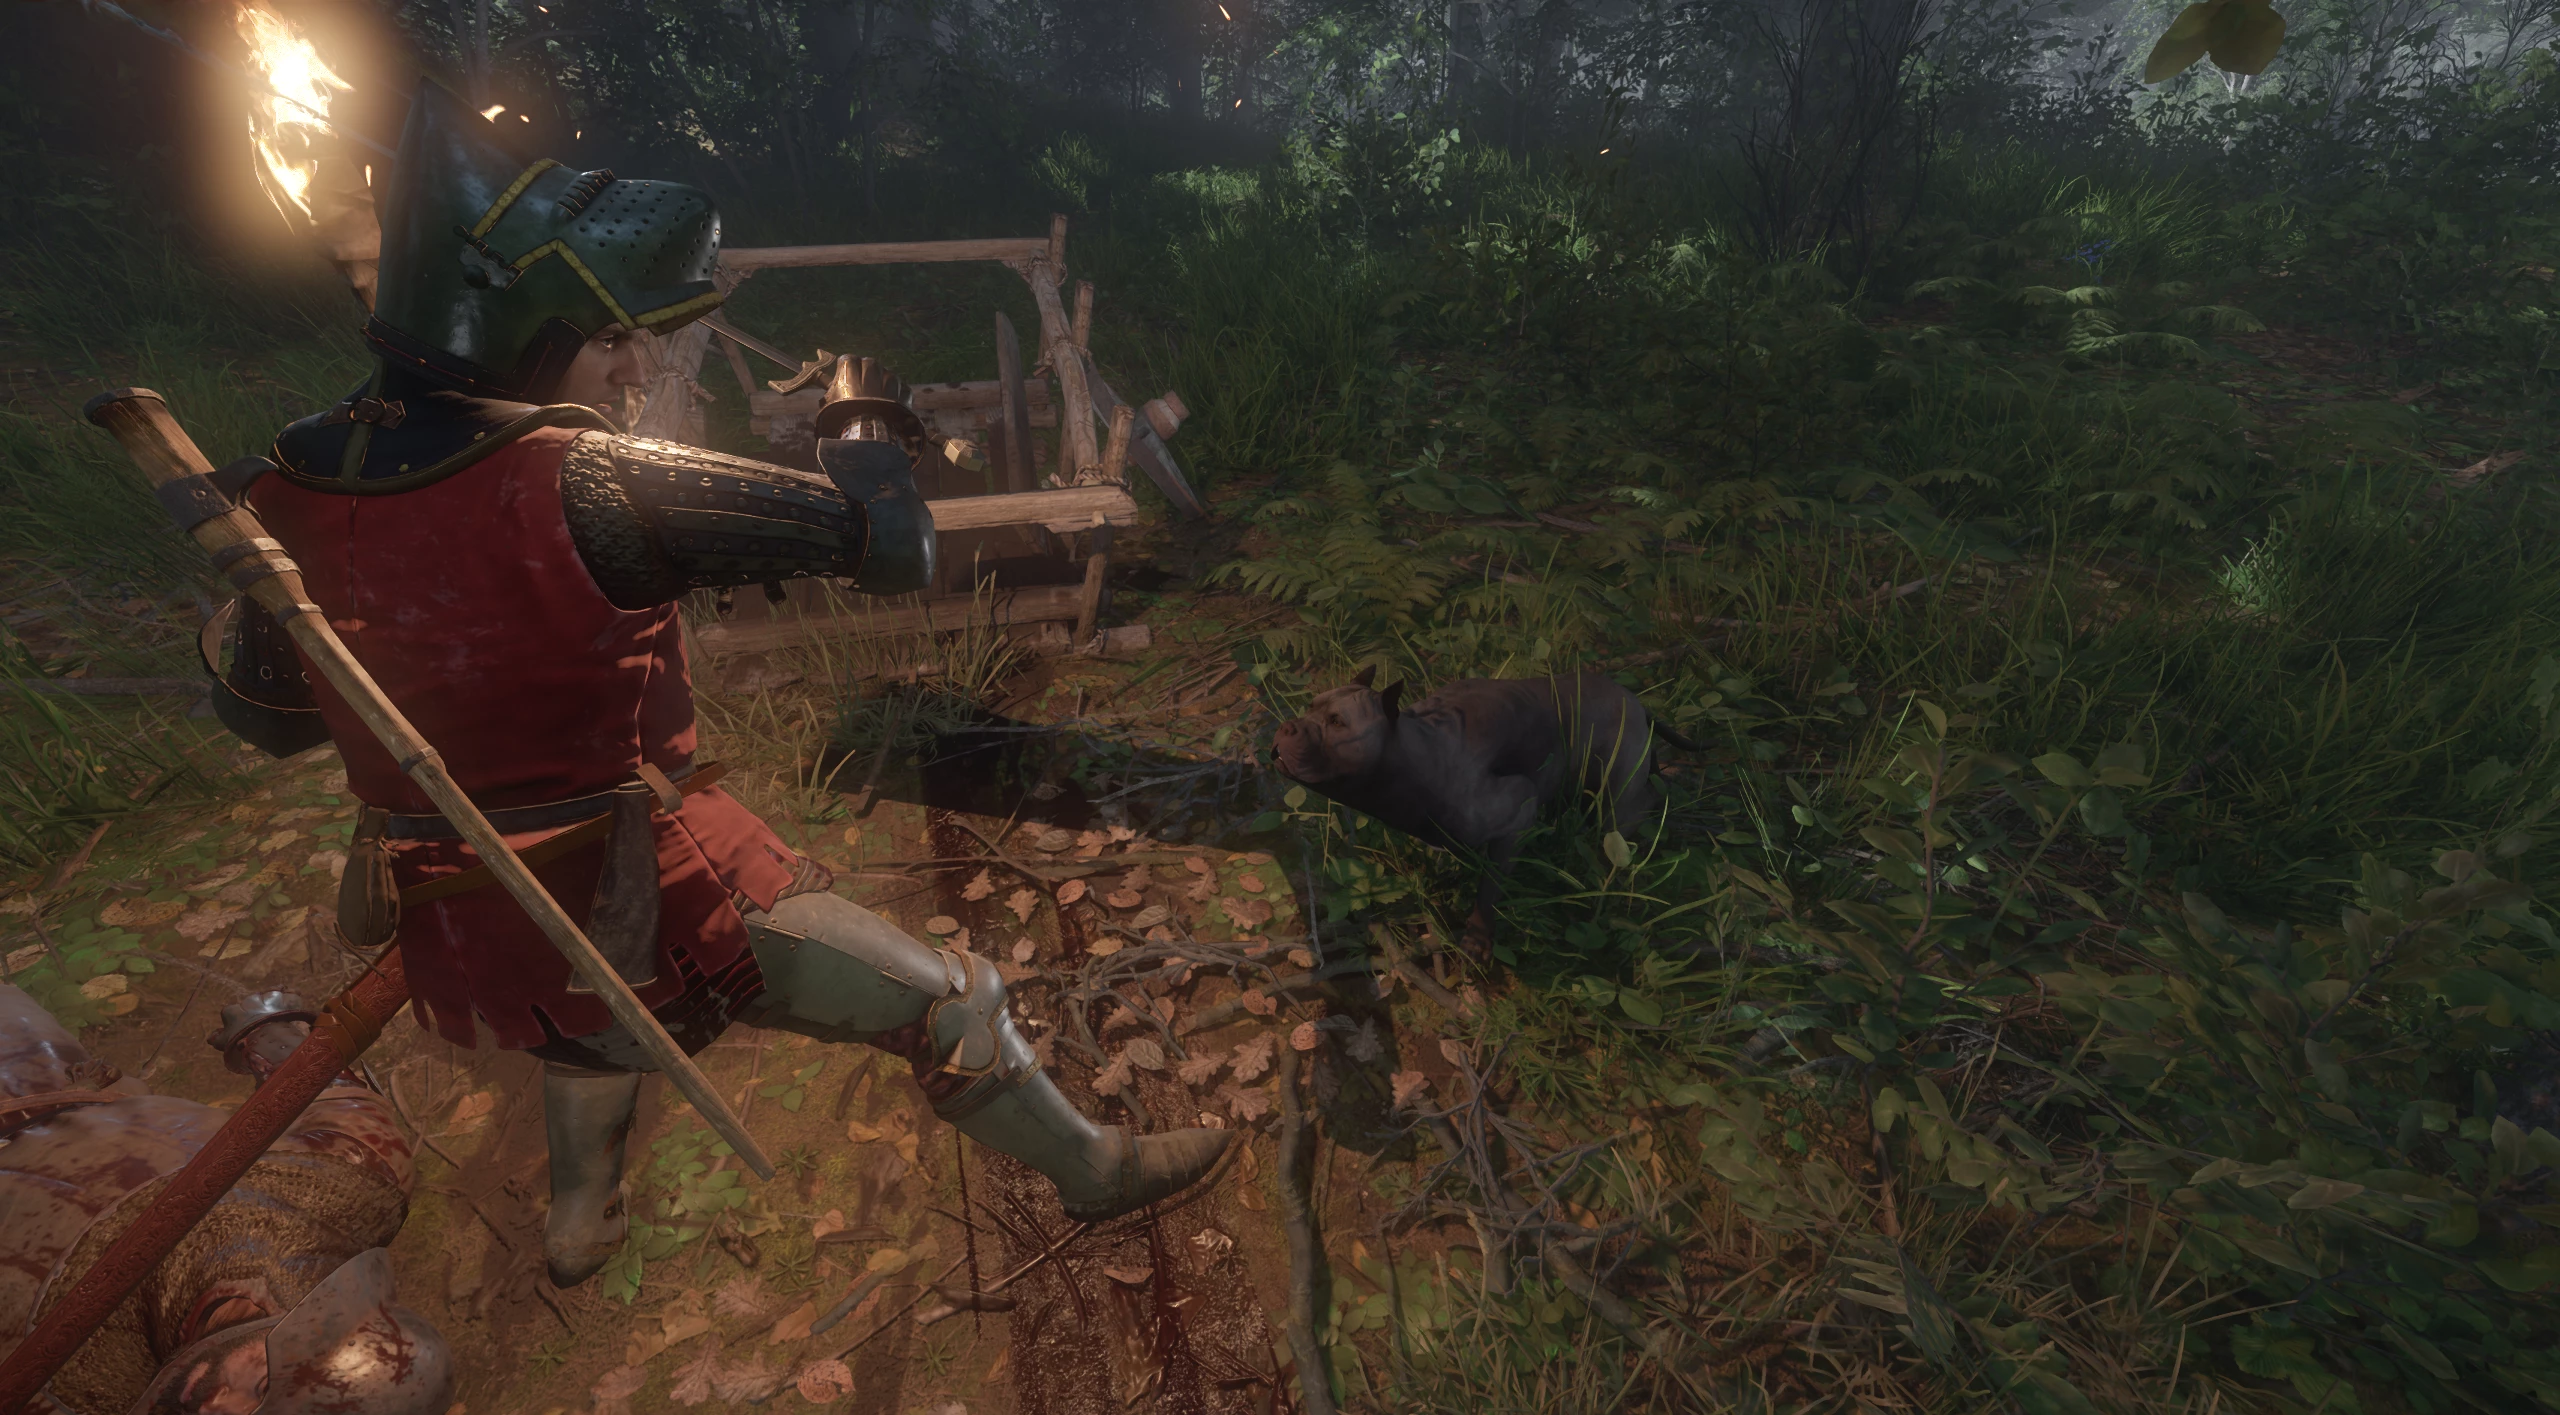
Follow the wheel tracks until you come across a broken cart and the bodies of Hungarian soldiers. Be prepared for an attack by stray dogs.
Gathering evidence will allow you to blackmail Ivnyak. If you successfully pass persuasion checks, he will reveal who is hiding what and where, after you present evidence that the villagers killed the soldiers.
Check Smil's Supplies
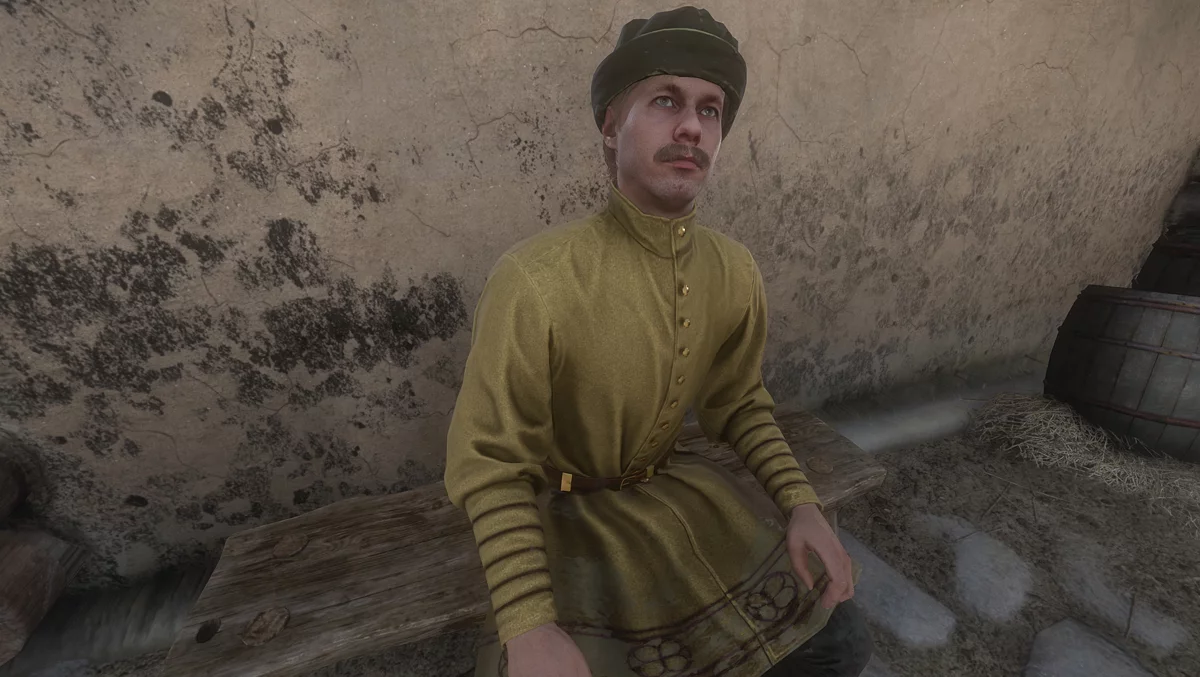
The peasant Smil is sitting on a bench near his house. Talk to him about the supplies, and he will inform you that they are located to the left of the door.
A sack of food is hidden behind the haystack in the right corner of the barn.
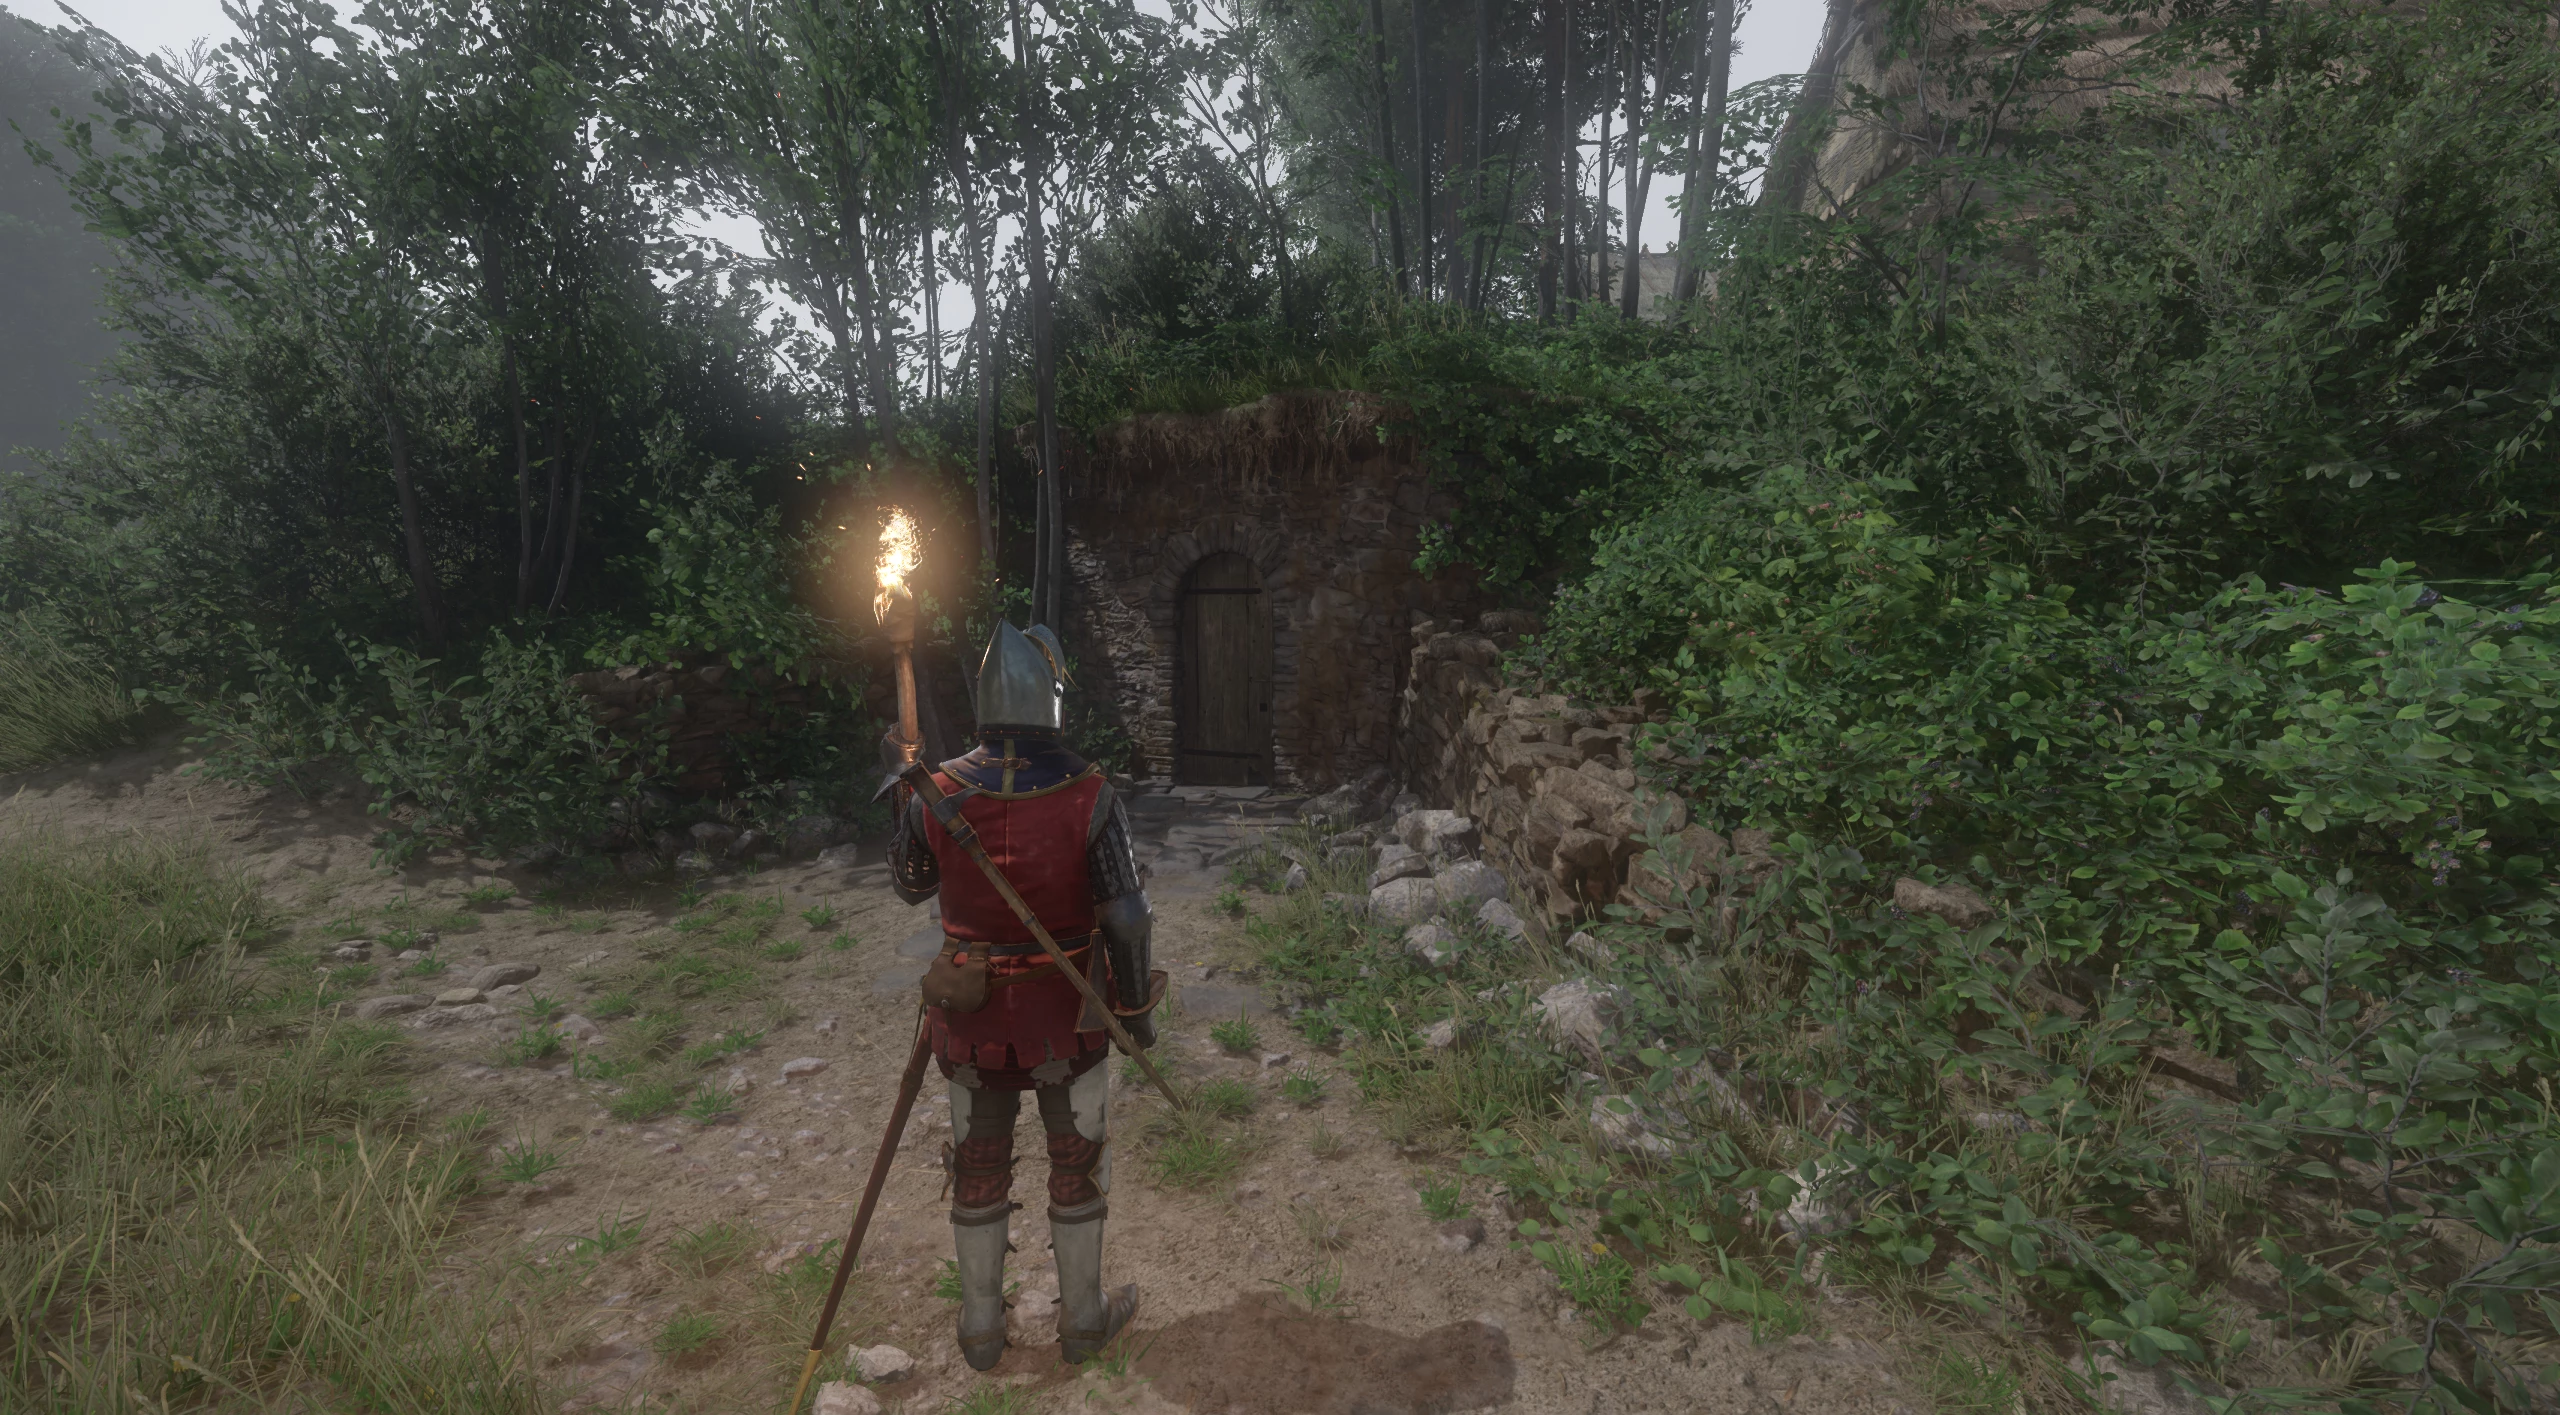
Go around his house on the right side, and you will see a door to the cellar.
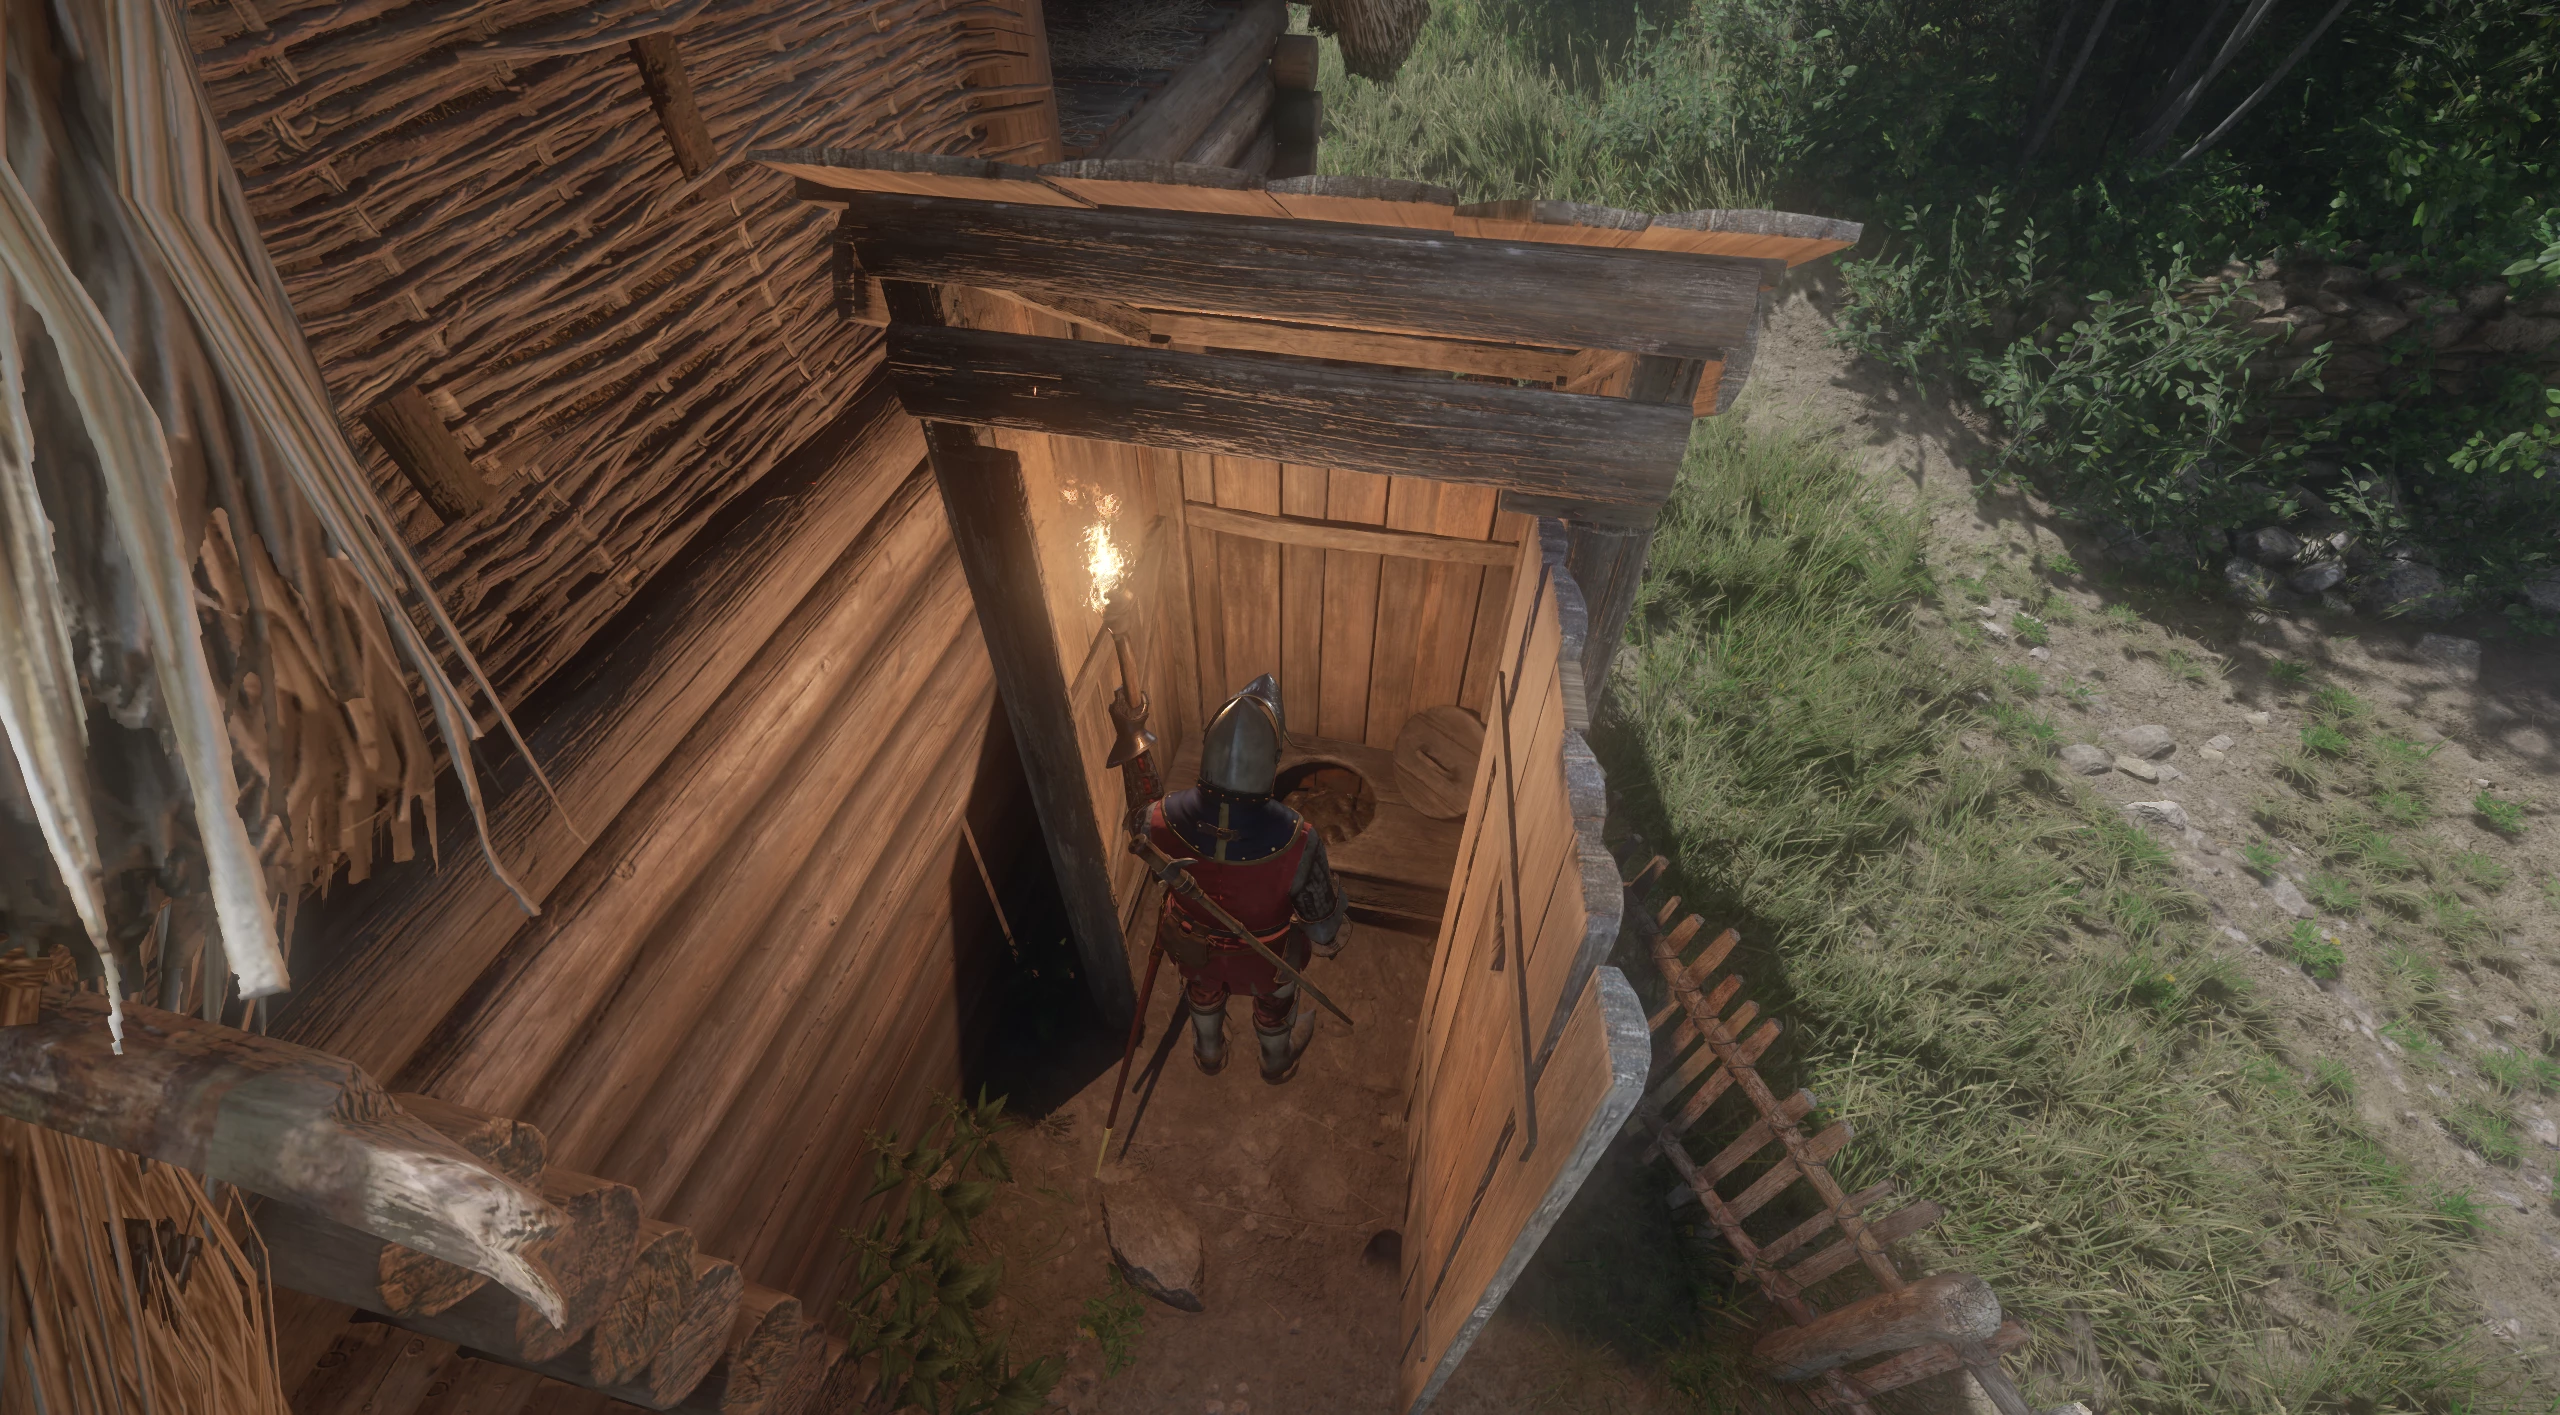
The key to the cellar can be found in the outhouse, located to the right of the barn.
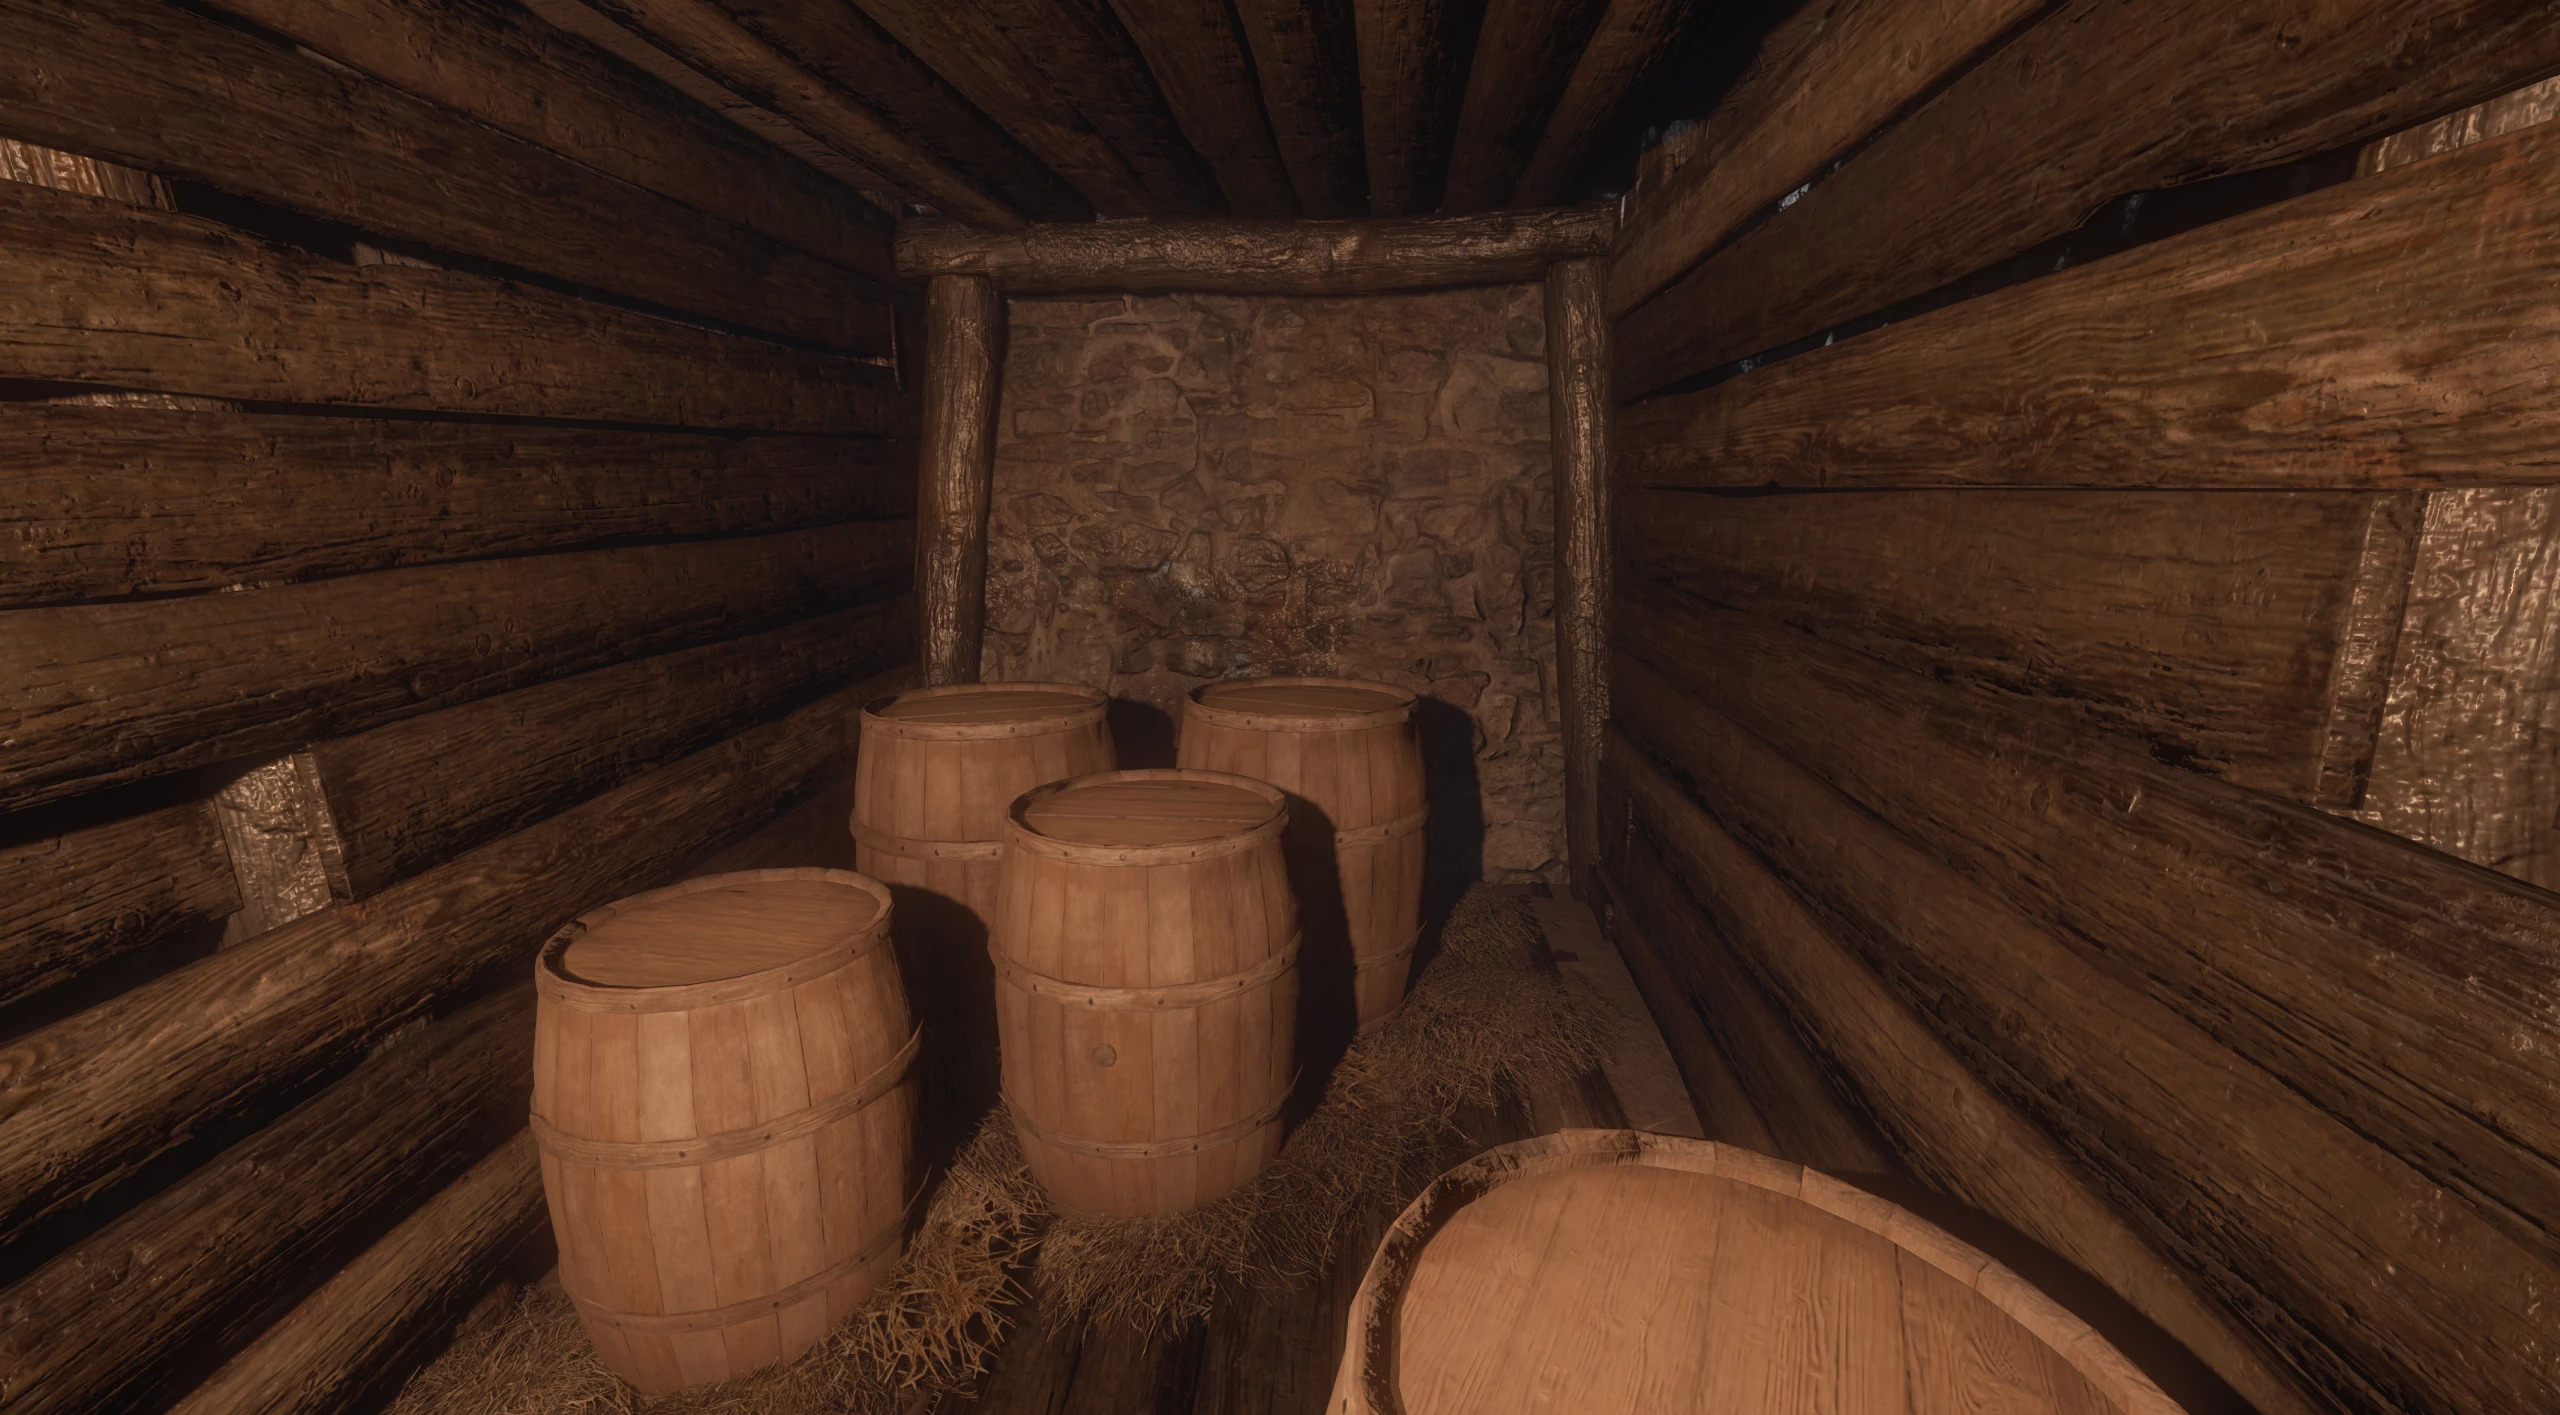
Inside the cellar, you will find barrels of beer.
You can discuss this with Smil himself, but he will deny everything. However, you can make a deal with him by offering to split the profit from the sale in a couple of days, choosing the silver option. The elder won't mind if you take the beer. The centurion will be delighted with such a find.
Check Kaplun's Supplies
You will find Kaplun's supplies to the right of the entrance to the farm.
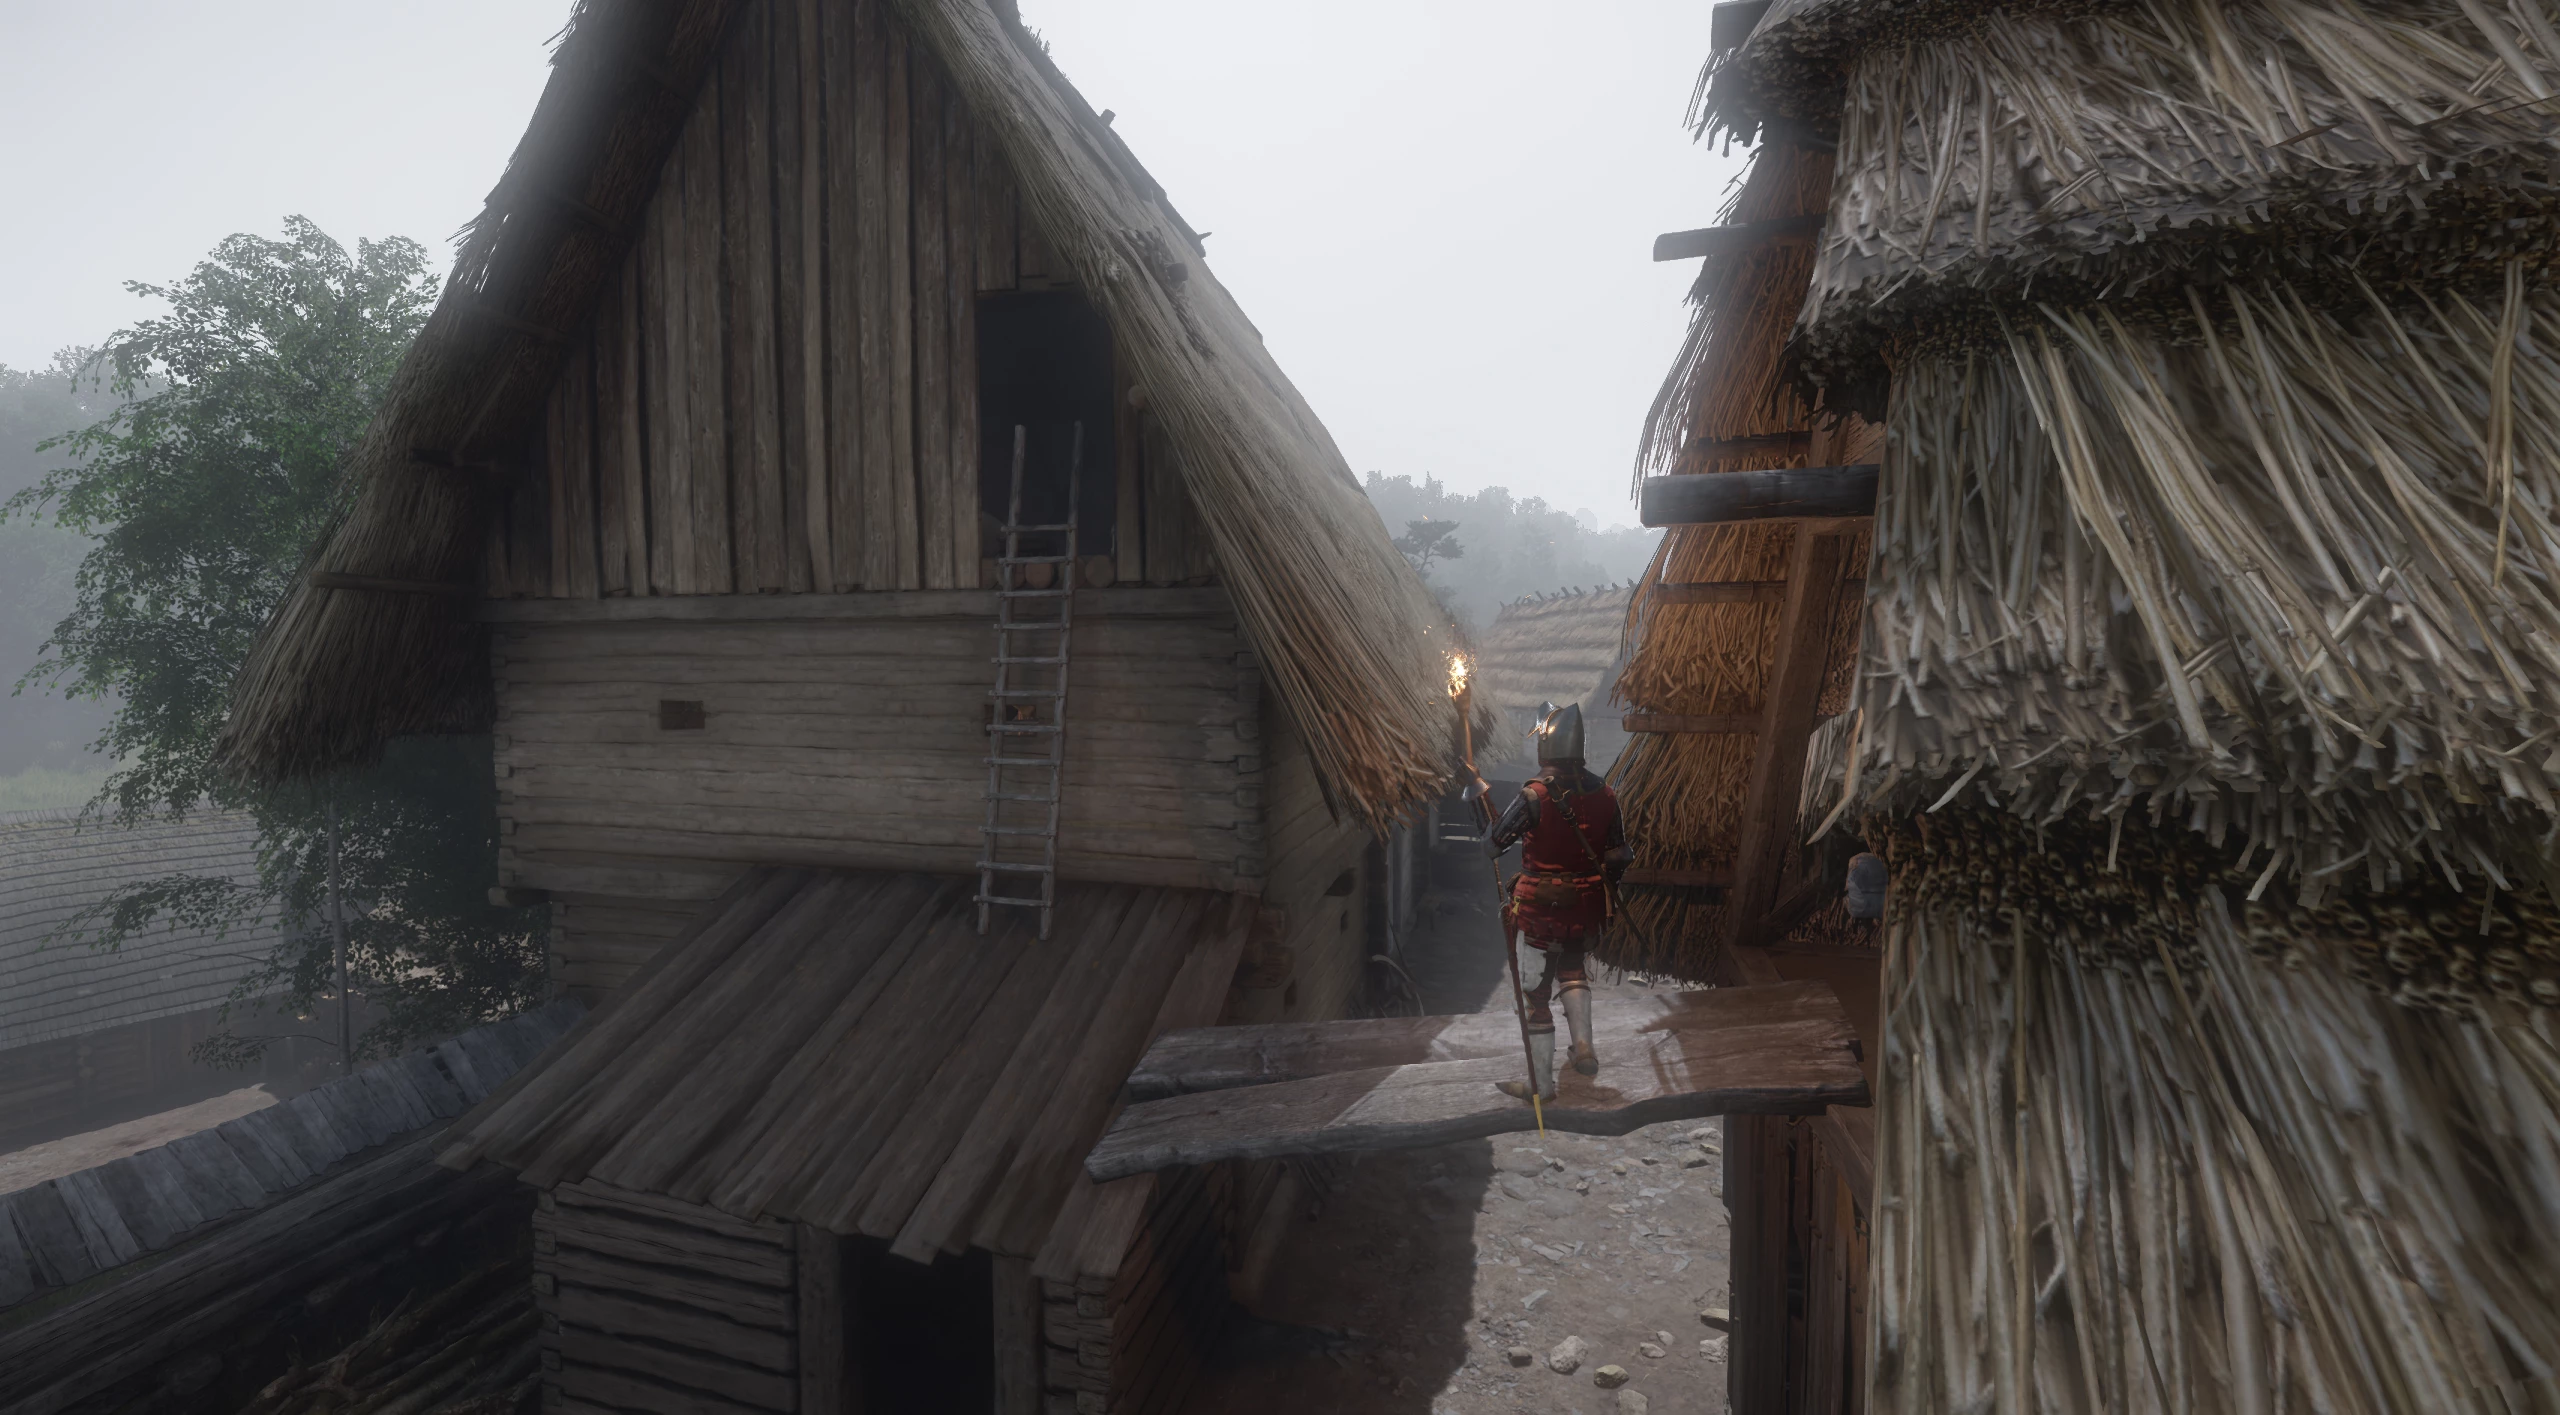
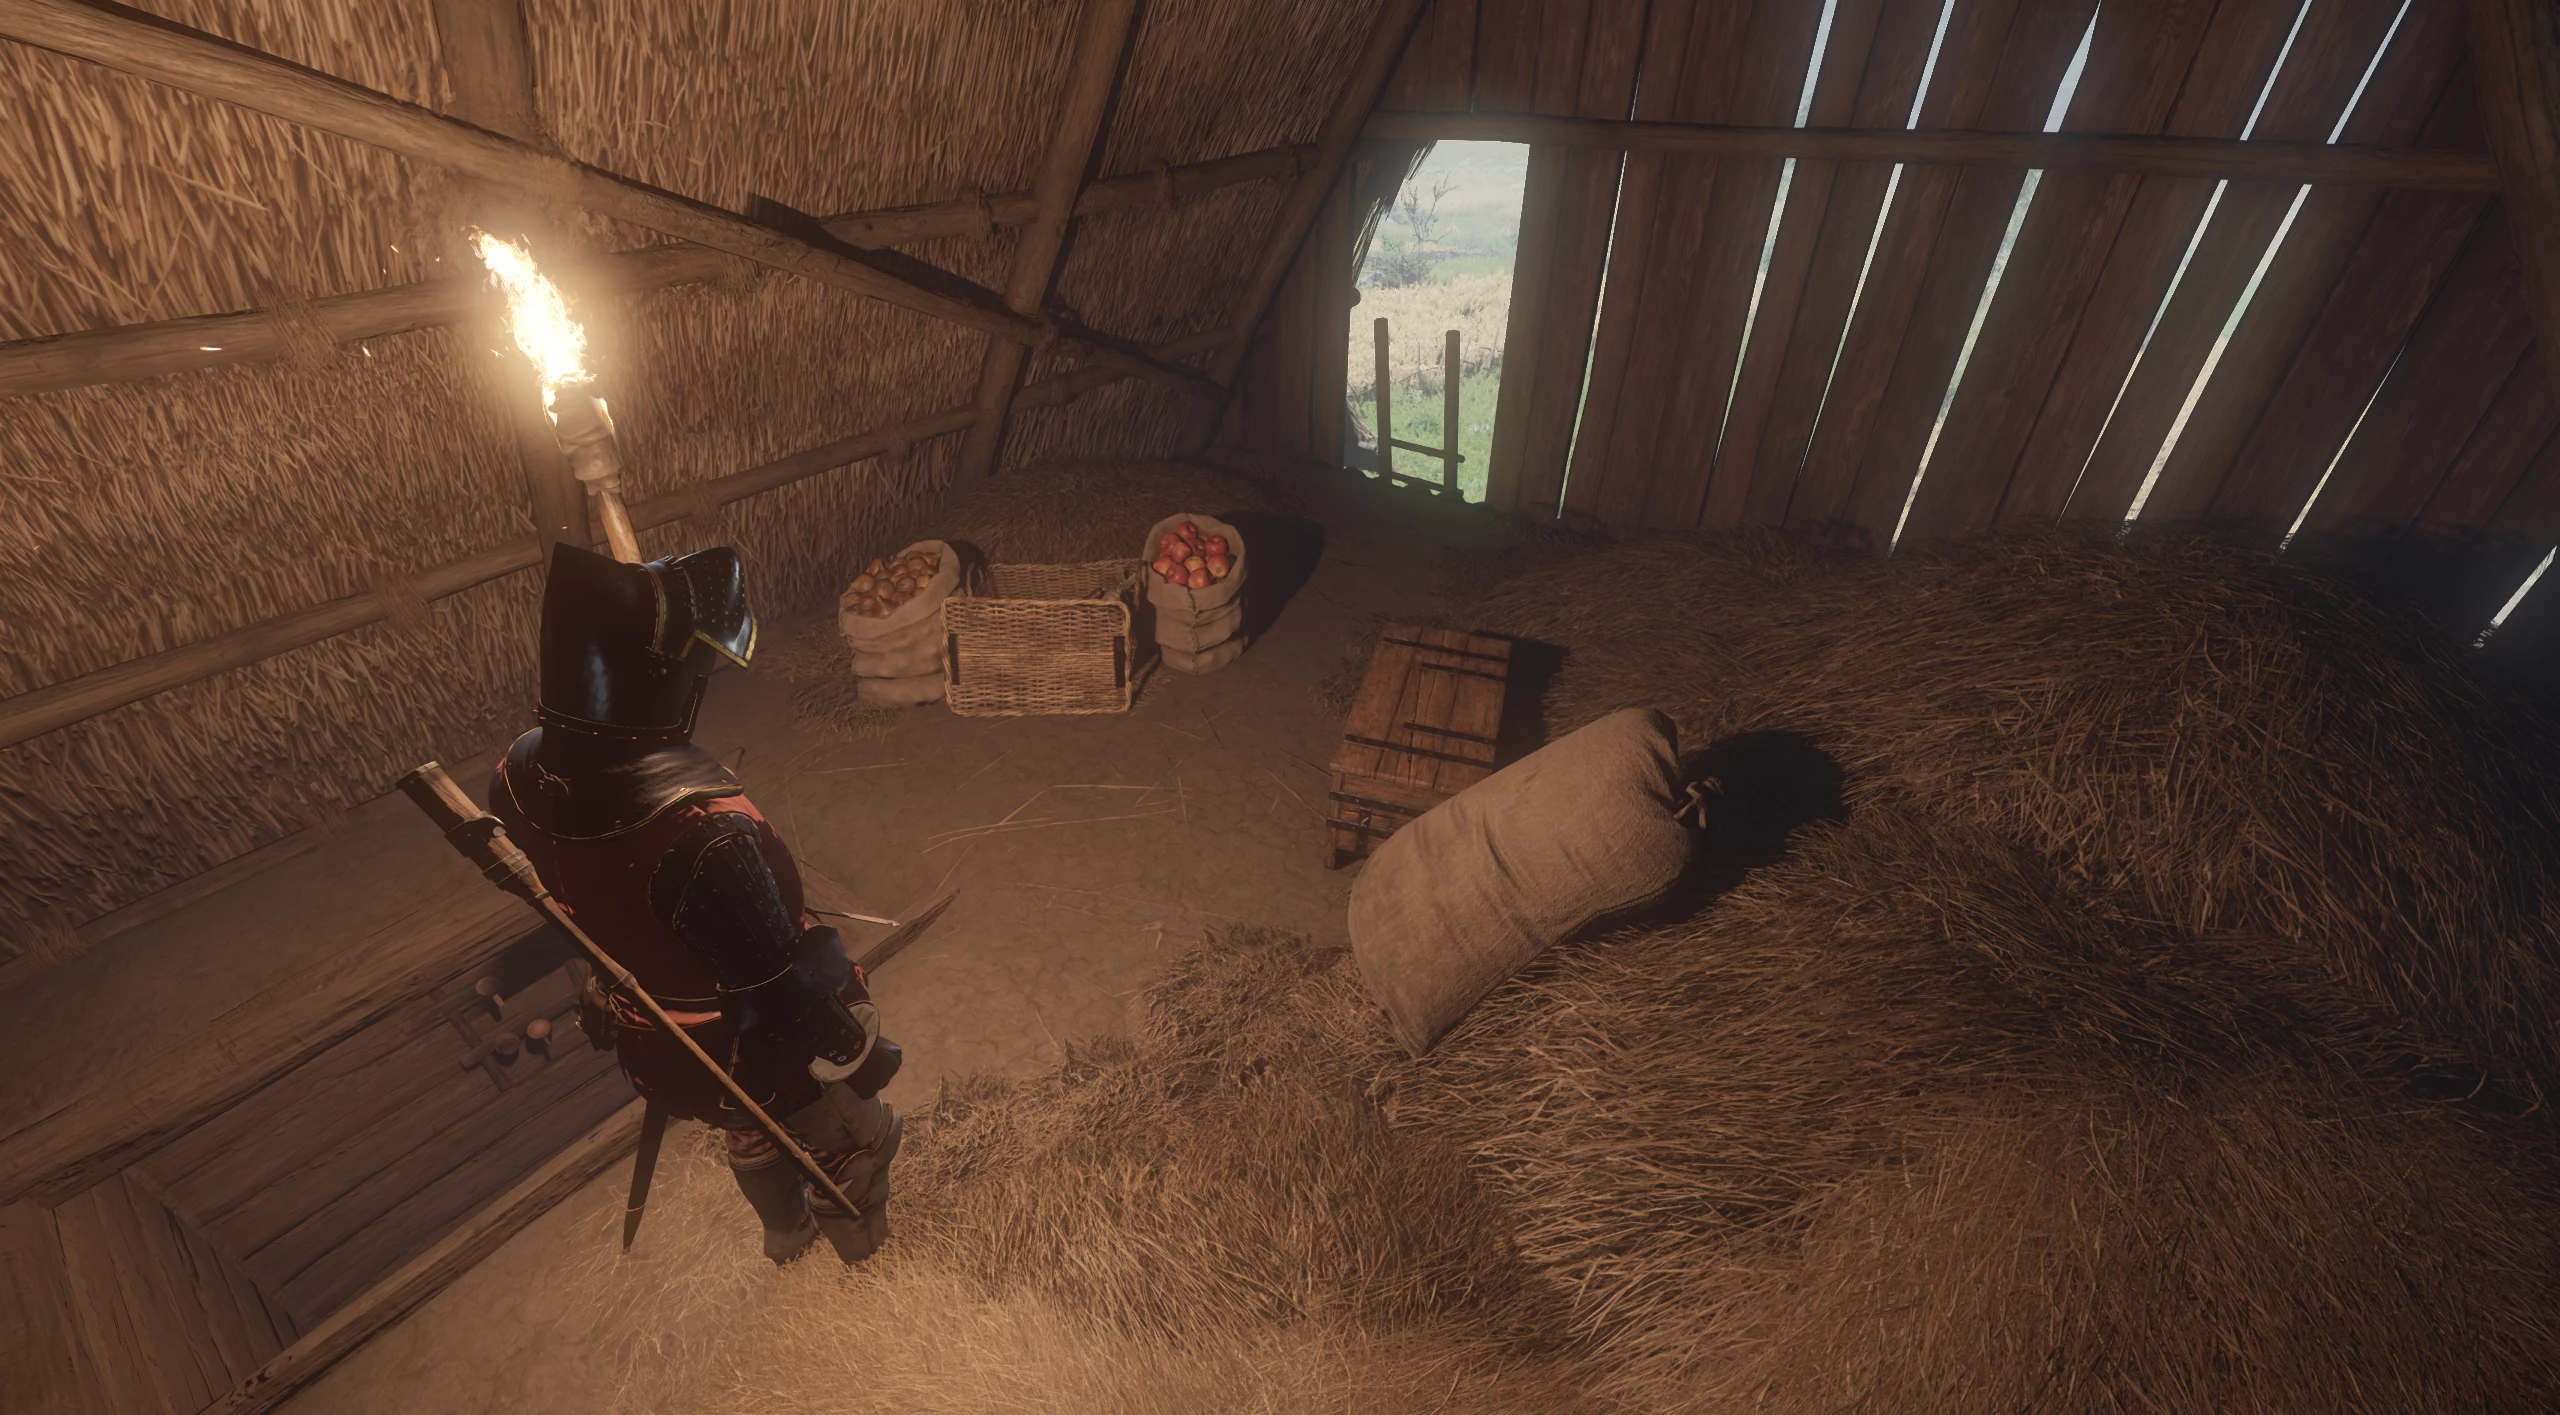
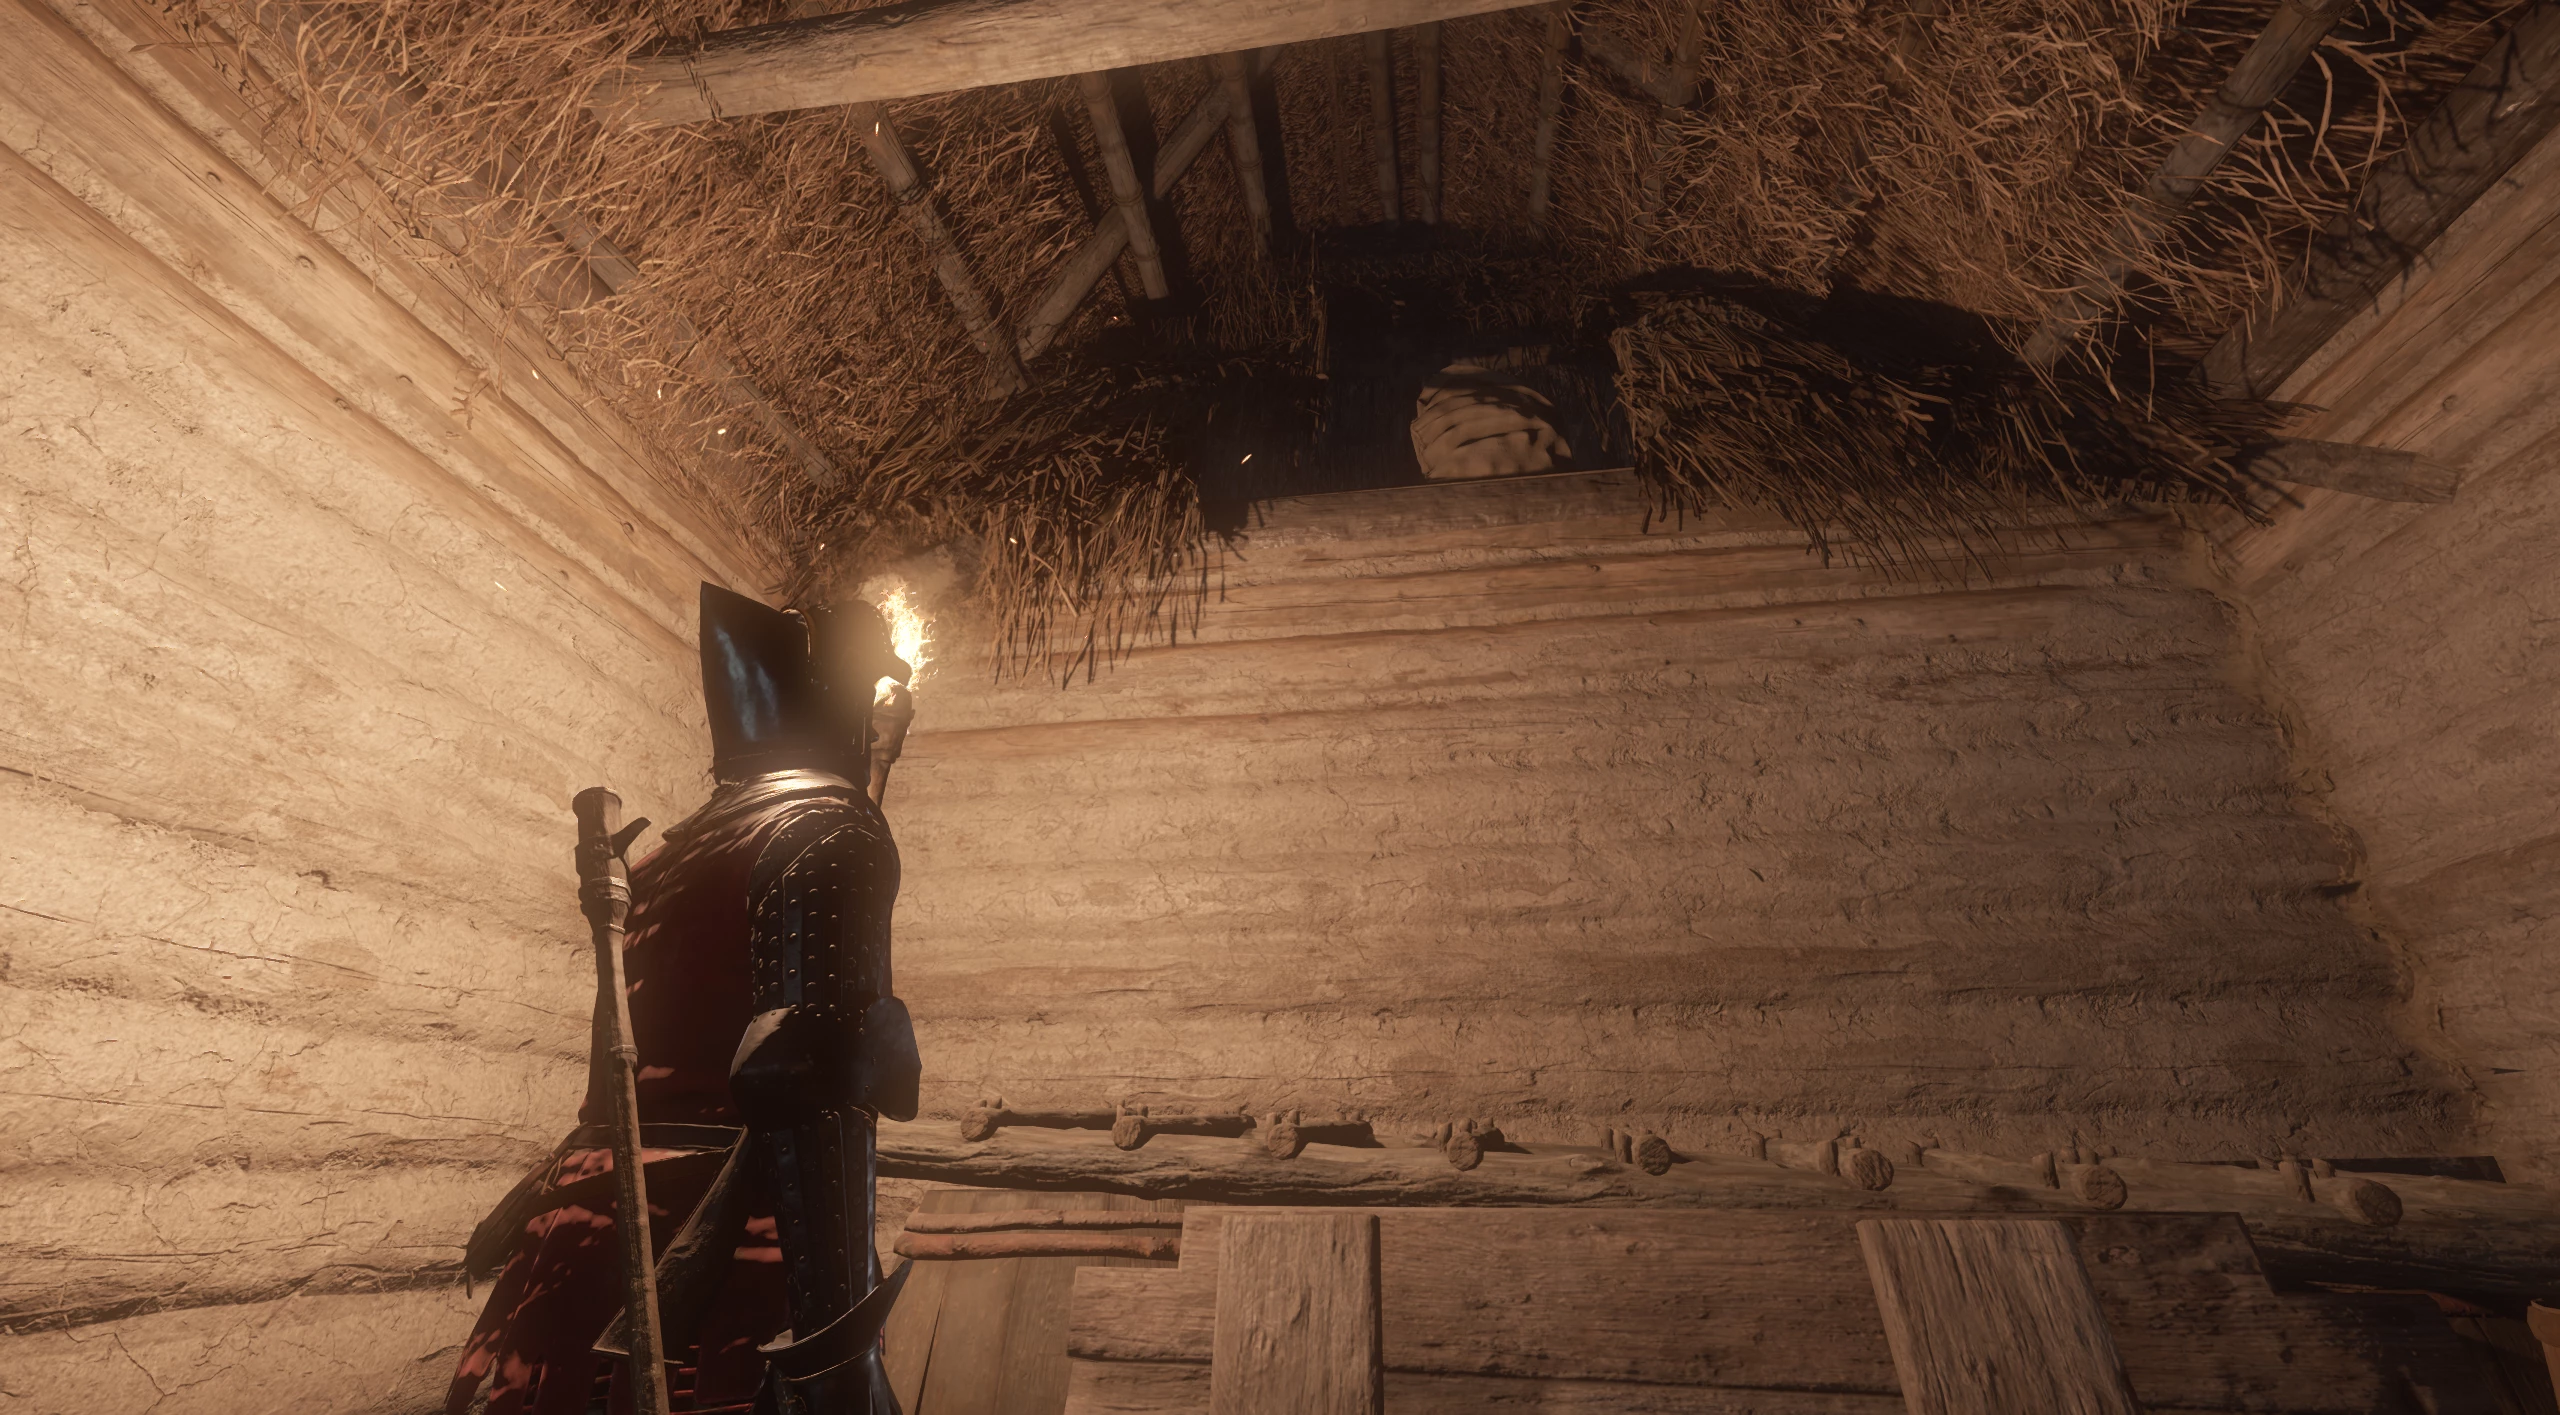
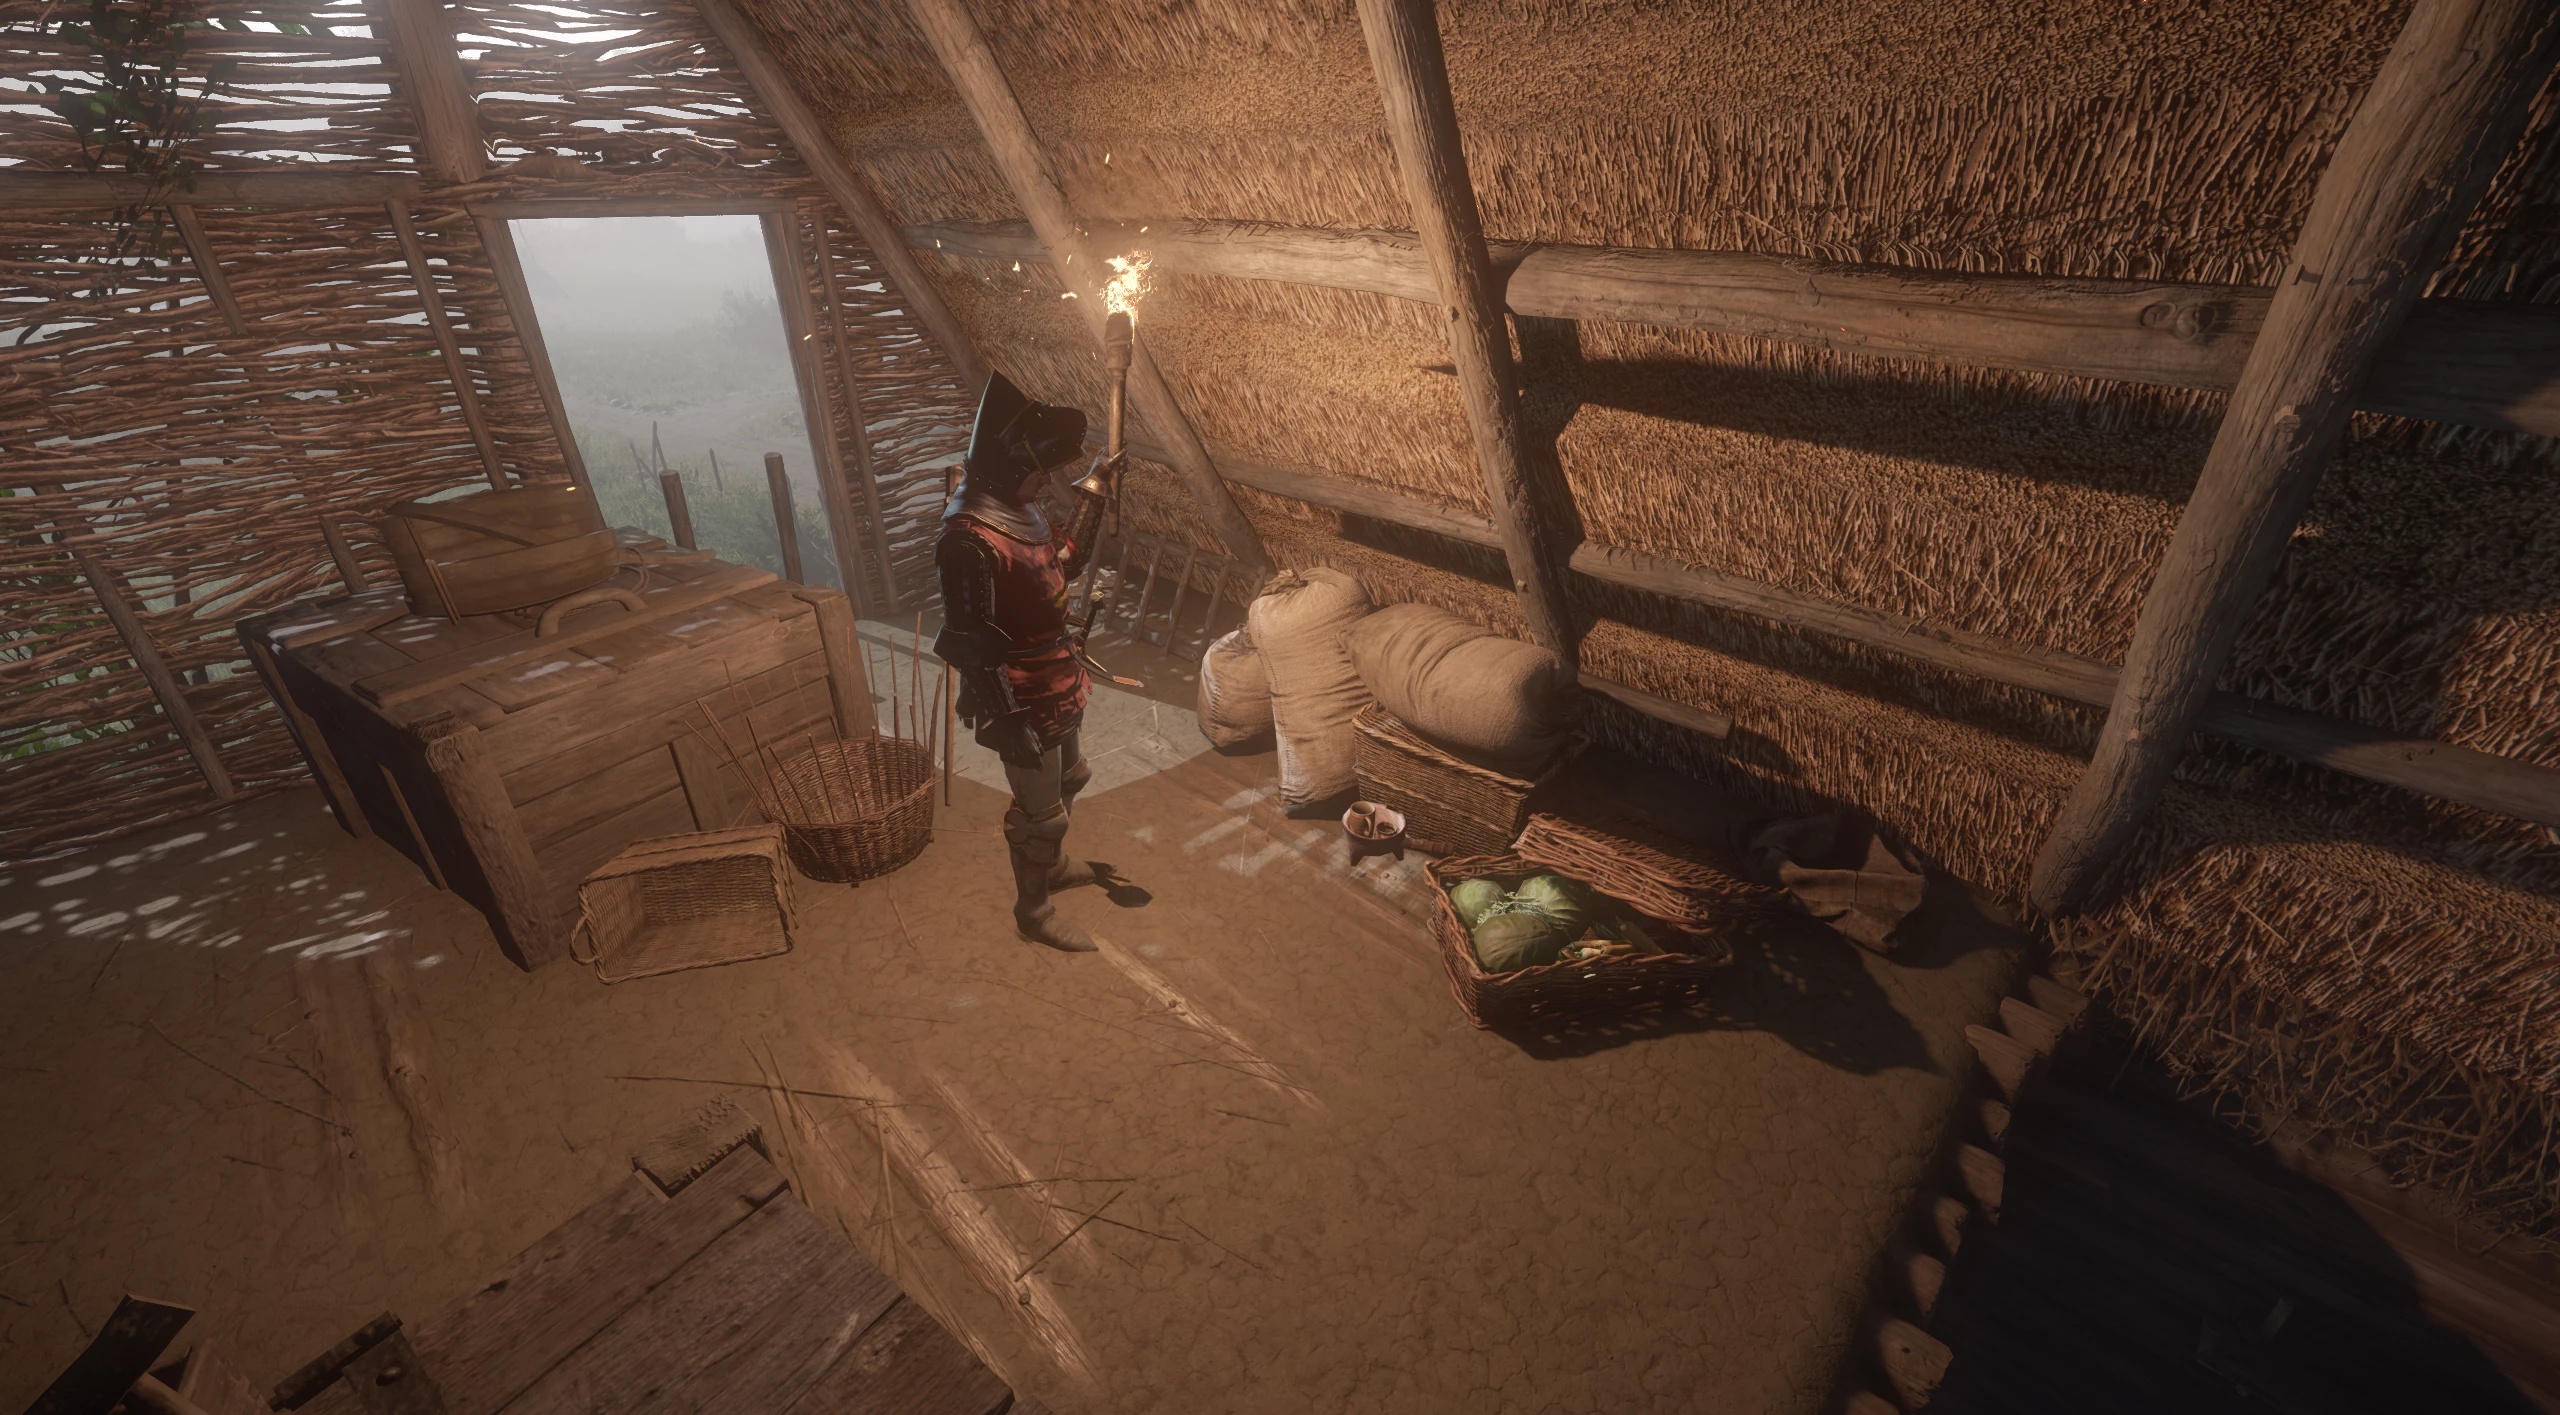
Enter the barn, climb up to the attic, and turn right. Walk along the boards, and you will see a ladder leading to the house attic.
Once there, you will discover provisions.
In the barn, you will notice fresh manure, indicating that the villagers have moved the cattle. Kaplun will initially be reluctant to share information with you. Head to Smil's house, go around it on the left side, and descend to the stream, where you will find hoofprints.
Cross the stream to the other side, following the direction of the tracks. Continue into the forest, guided by the hoofprints on the ground. Eventually, you will find a couple of cows.
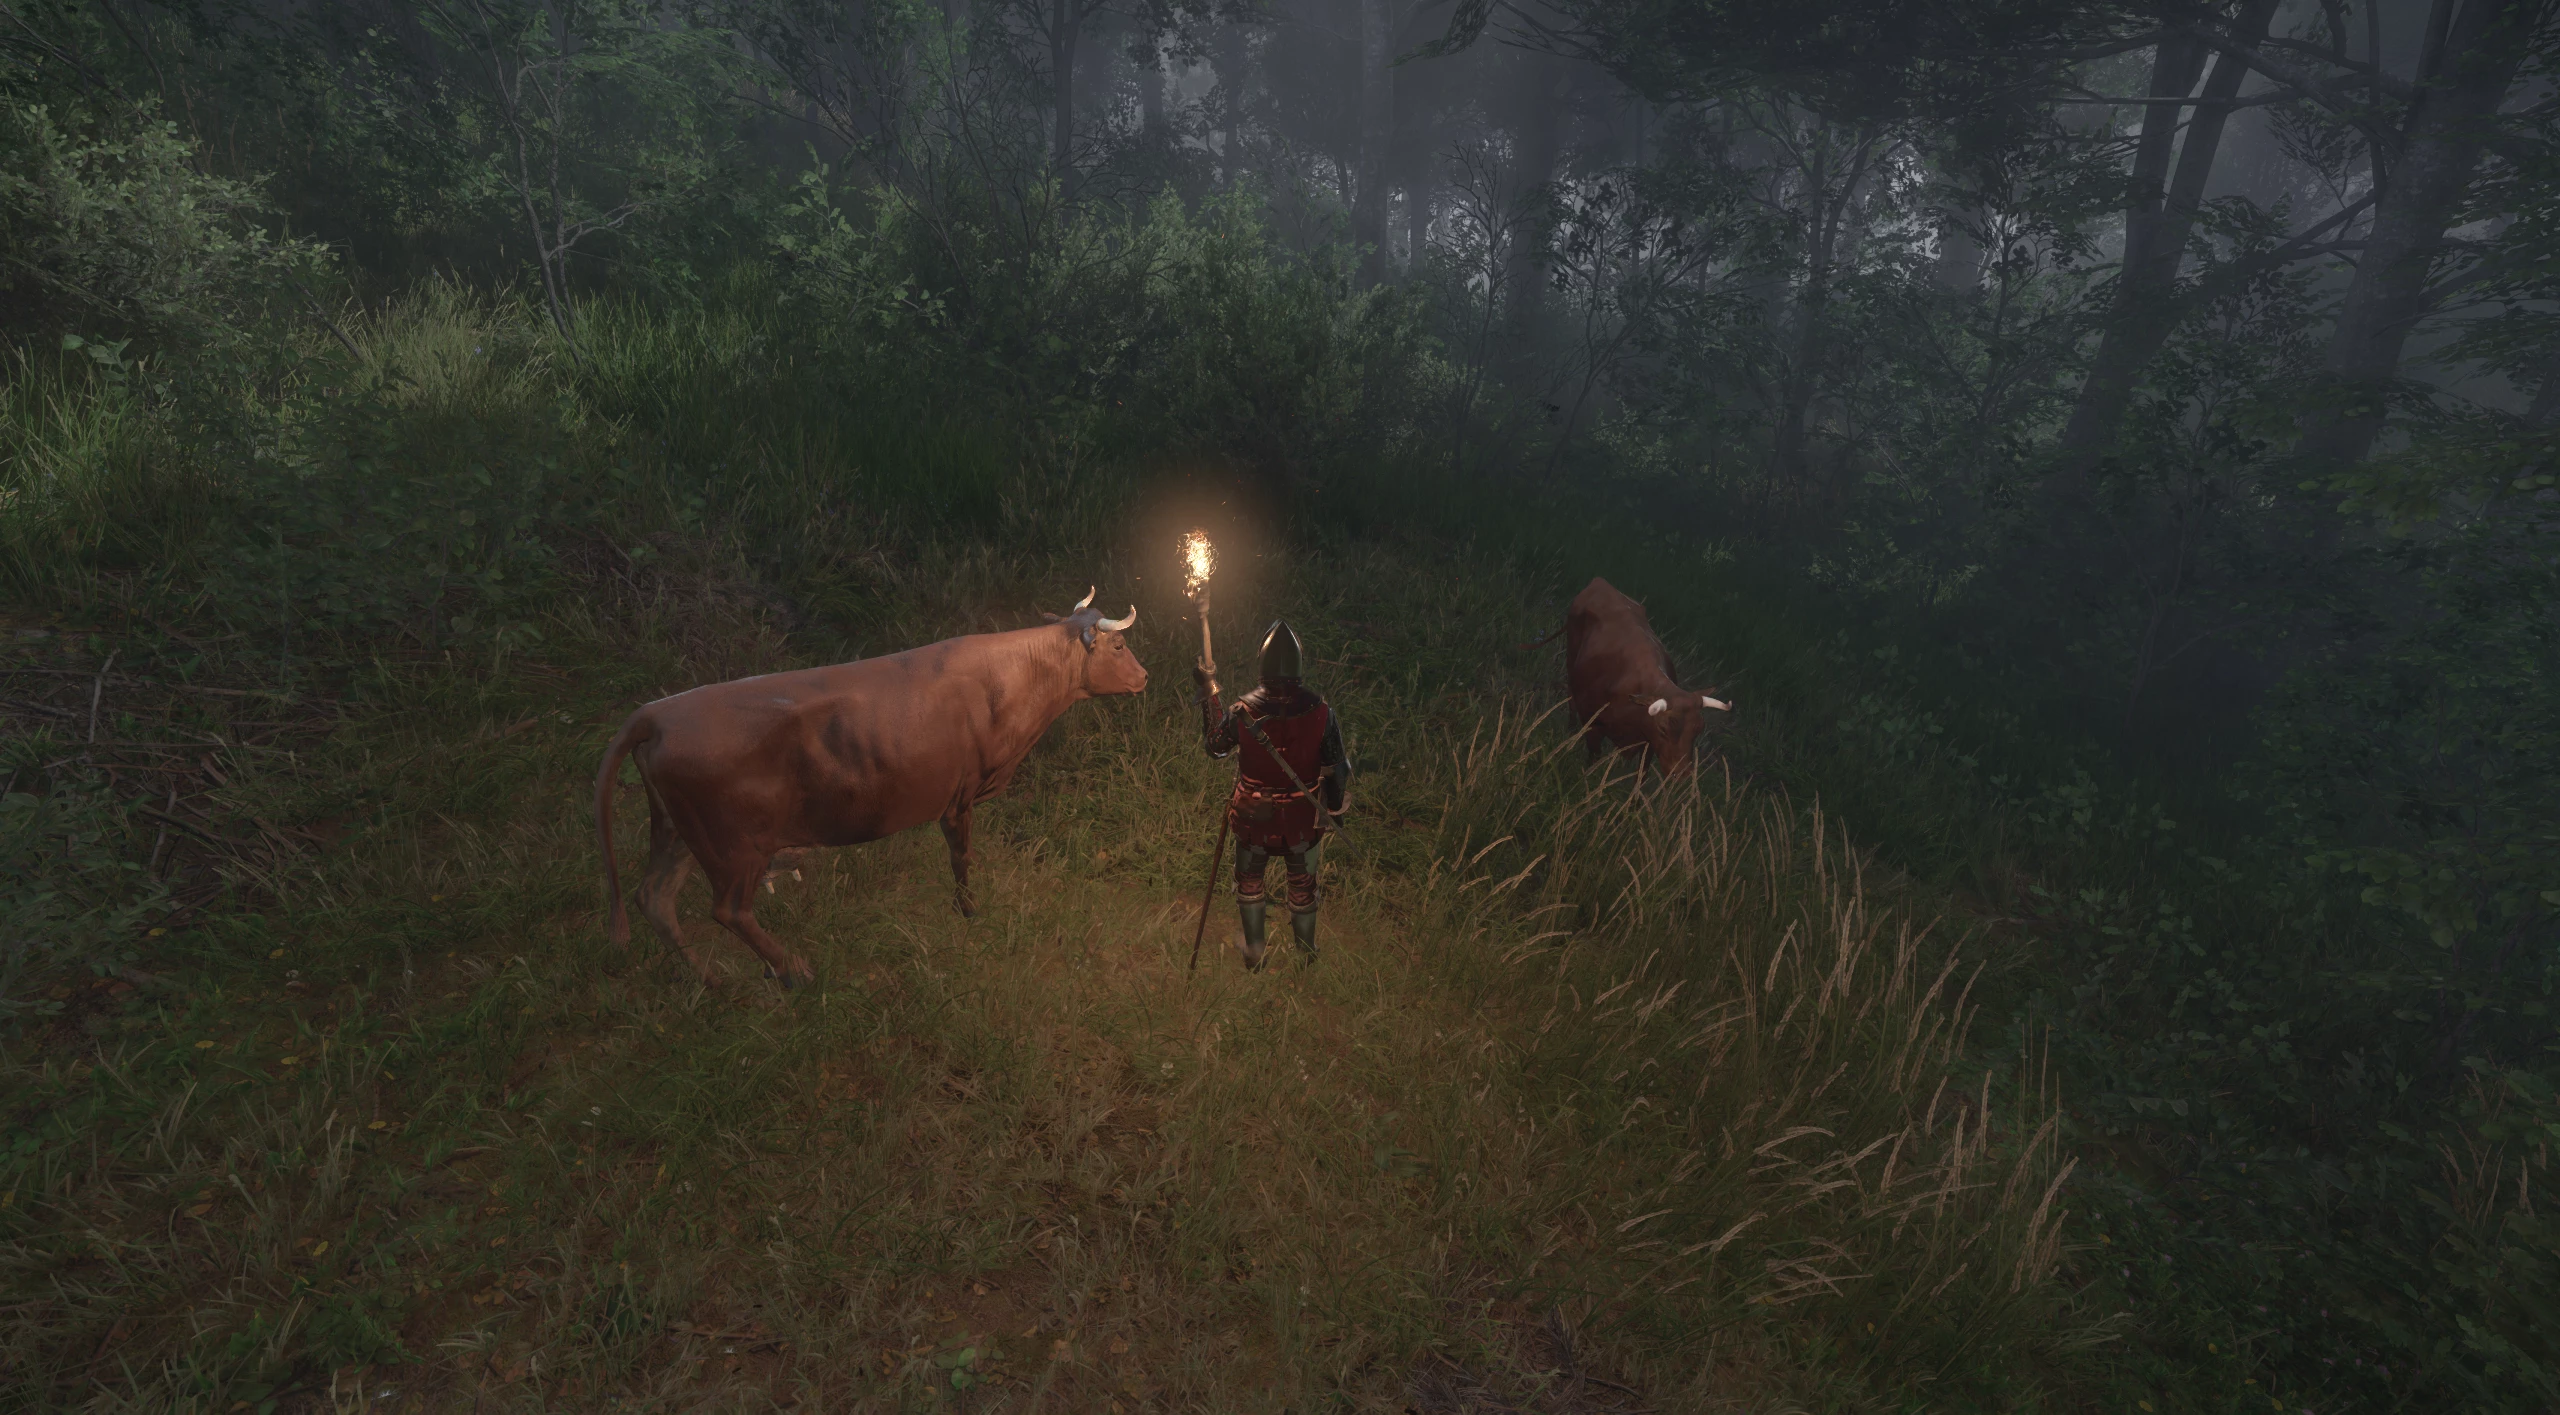
Kaplun will ask you not to tell anyone about this. The elder will allow you to take one cow, and the centurion, pleased with such a find, will send someone for the animals.
Inspect Bynek's Supplies
You will find the elder's supplies by the window as soon as you enter the house.
A sack of supplies is located by the wall upstairs to the right of the entrance to the small part of the house.
Additional supplies can be found at the end of the barn, next to the manure pile.
There are also supplies hidden on the roof of the plague house attic.
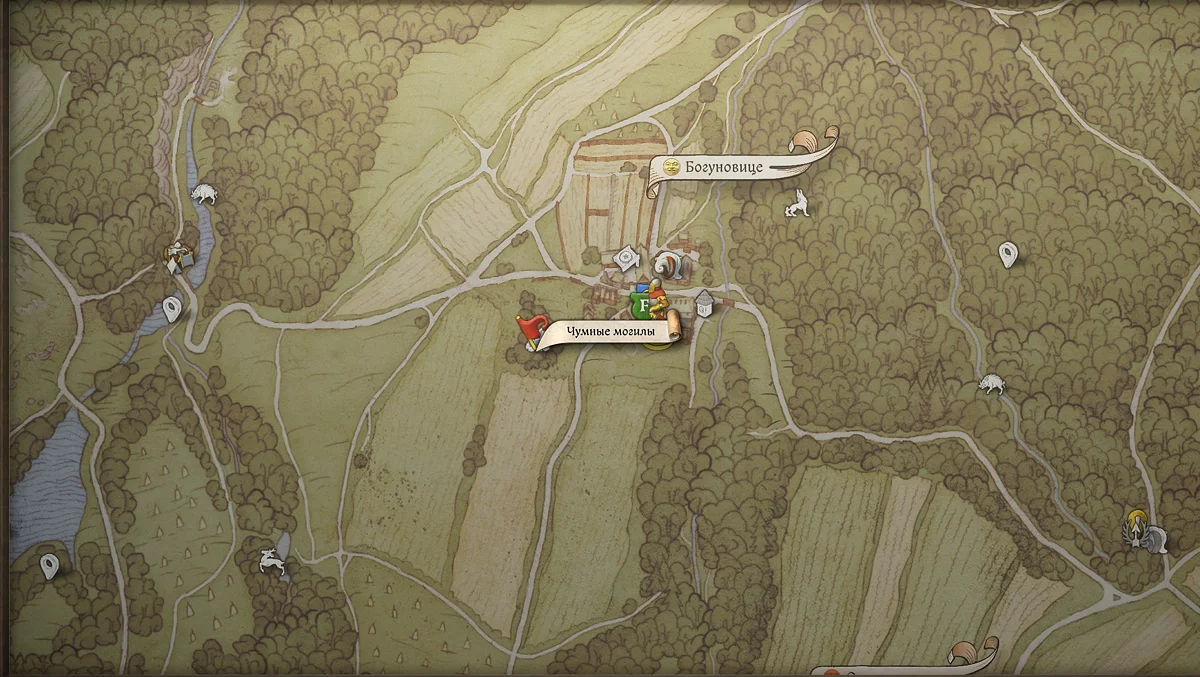
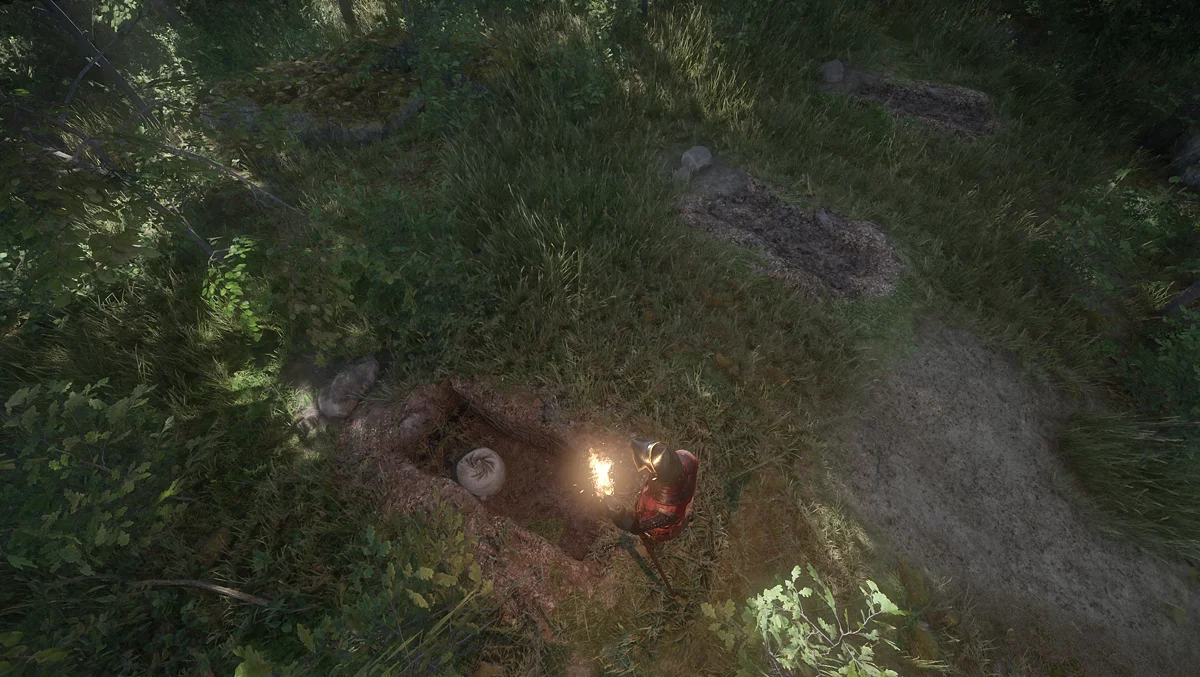
Inspect the Plague Graves
On the hill behind the plague house, find three graves. Dig up the left grave — inside you will discover jewels and money.
Talk to the Commander After Loading Supplies
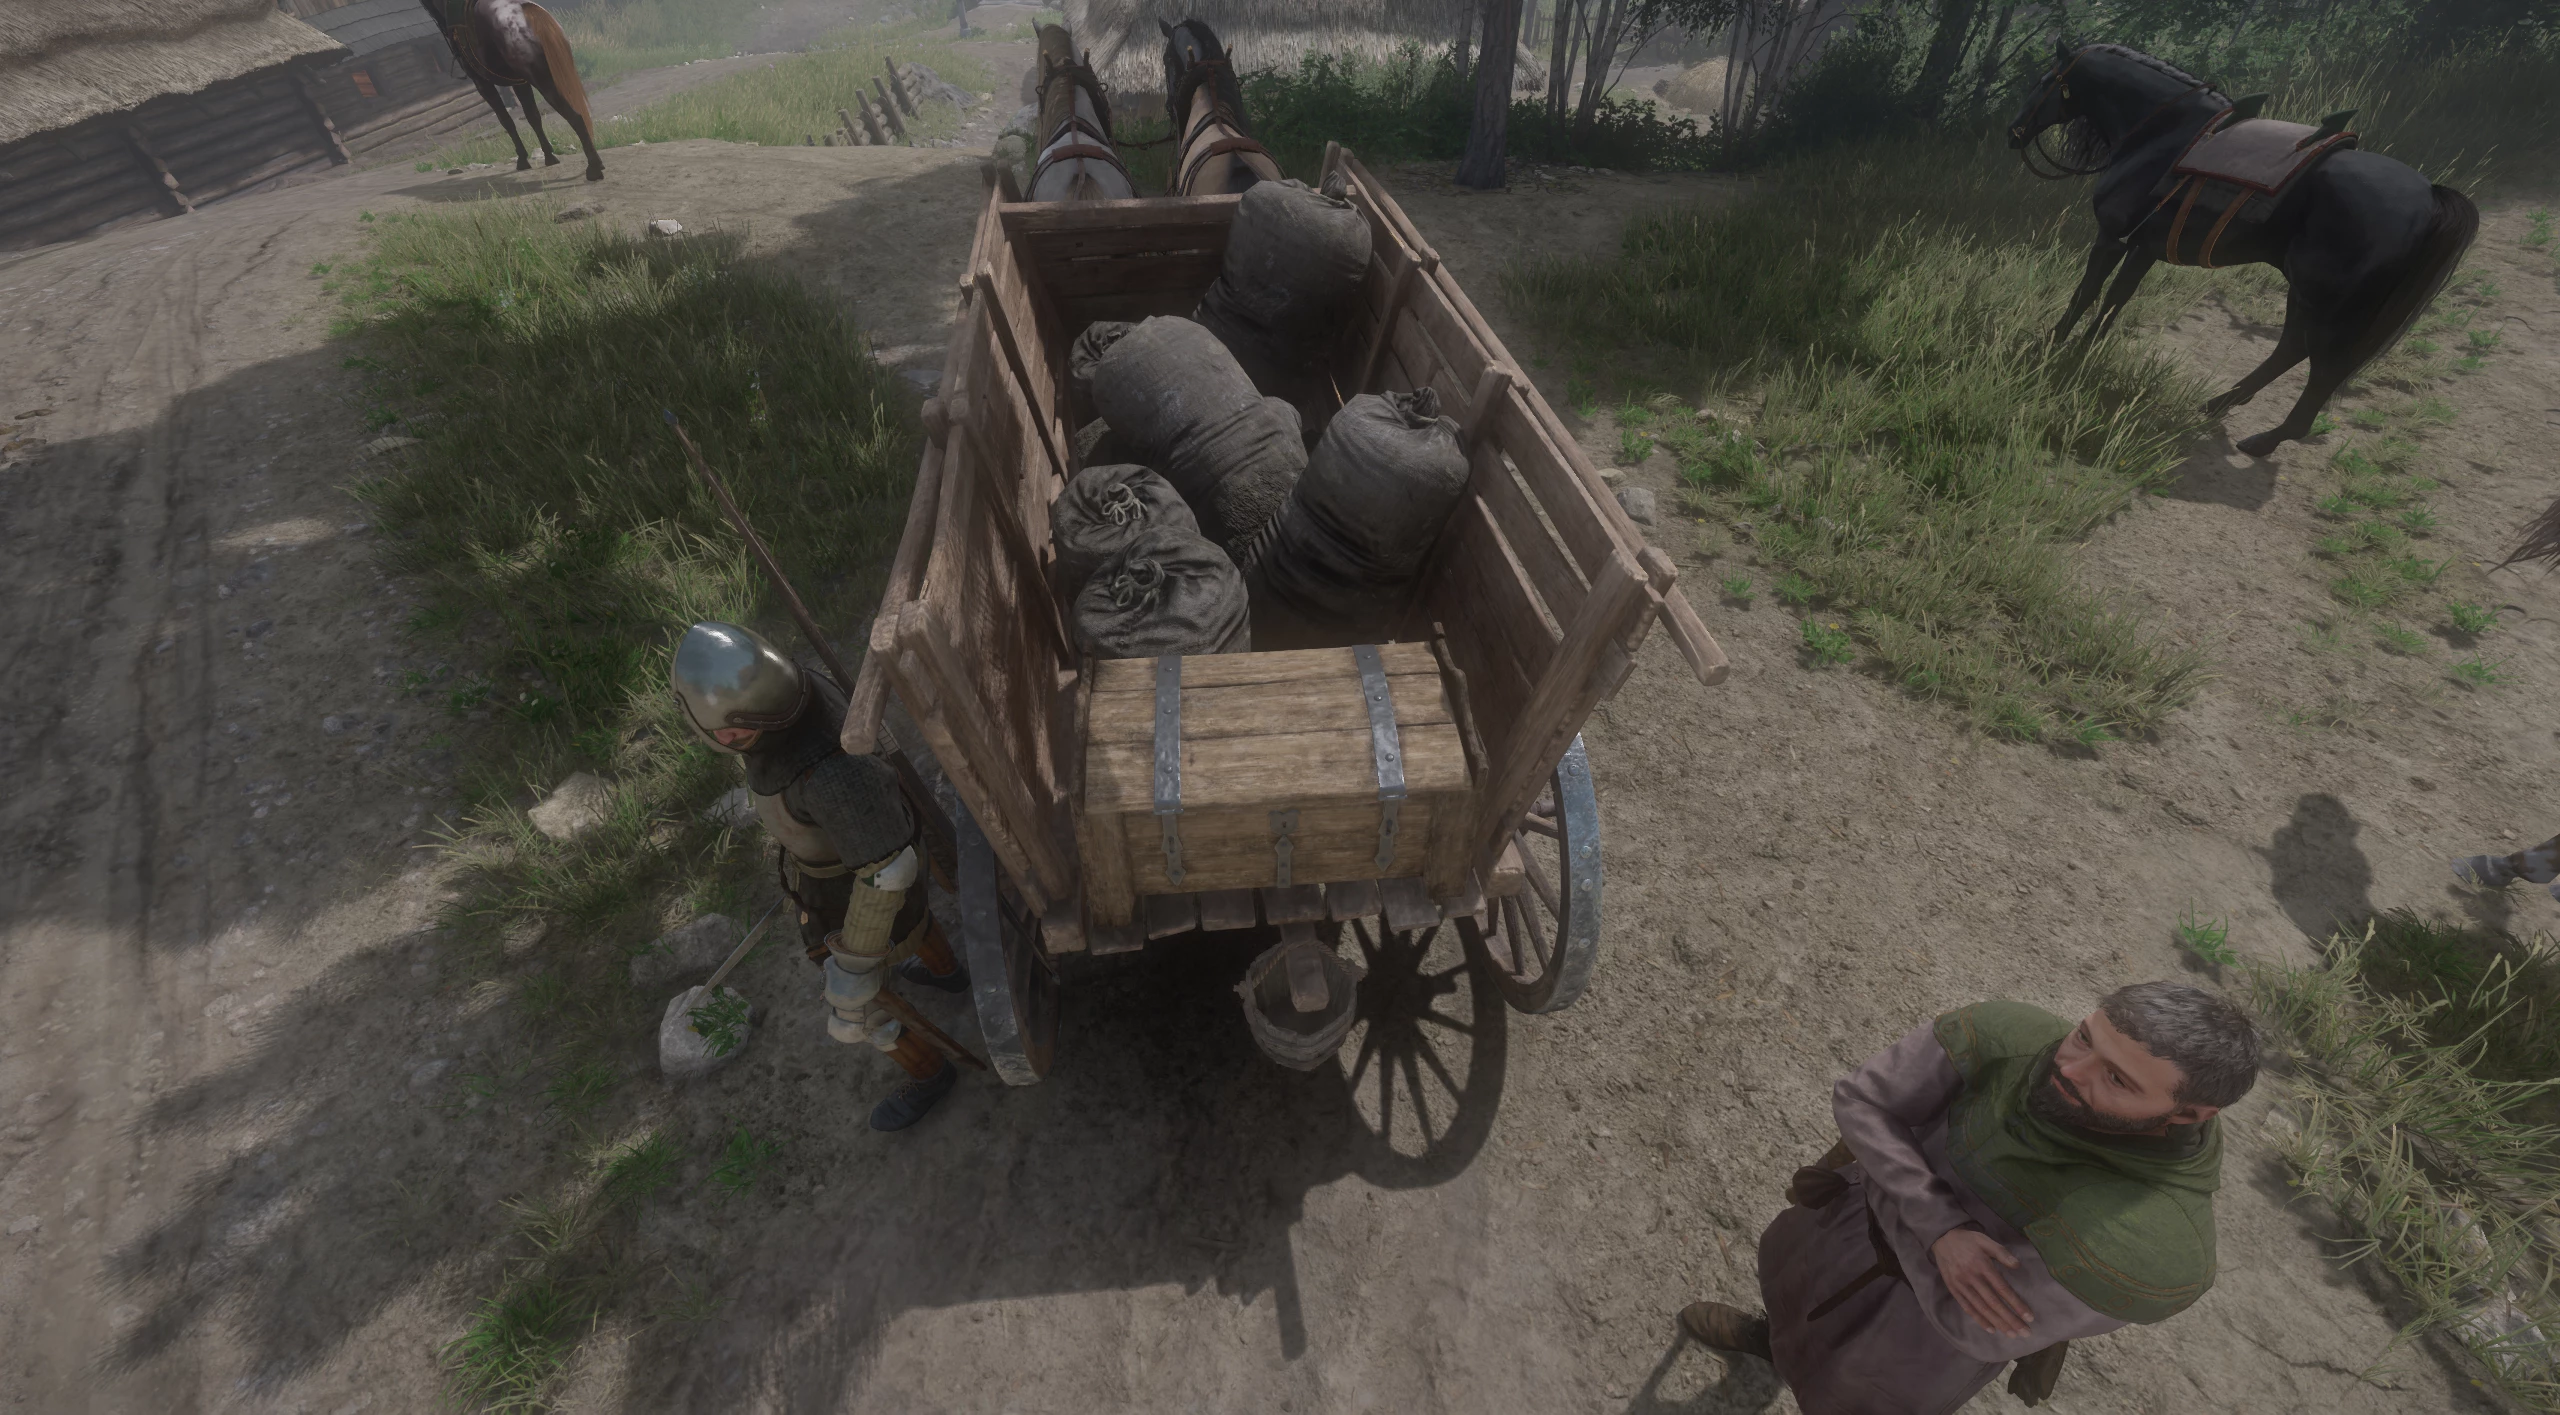
Gather the supplies into the cart prepared for you by the villagers. Then inform the centurion that you found money and give him at least a thousand groschen. However, be cautious: if you give too much, he may become suspicious and demand five thousand groschen from you. This approach will allow you to leave the villagers with enough food while satisfying the centurion.
If you decide to tell the centurion that the villagers killed the soldiers, he will definitely attack the village. Also, be careful with the amount of supplies you take: if you take too much food, the villagers may try to attack the soldiers. To avoid this, you will need to successfully pass a persuasion check.
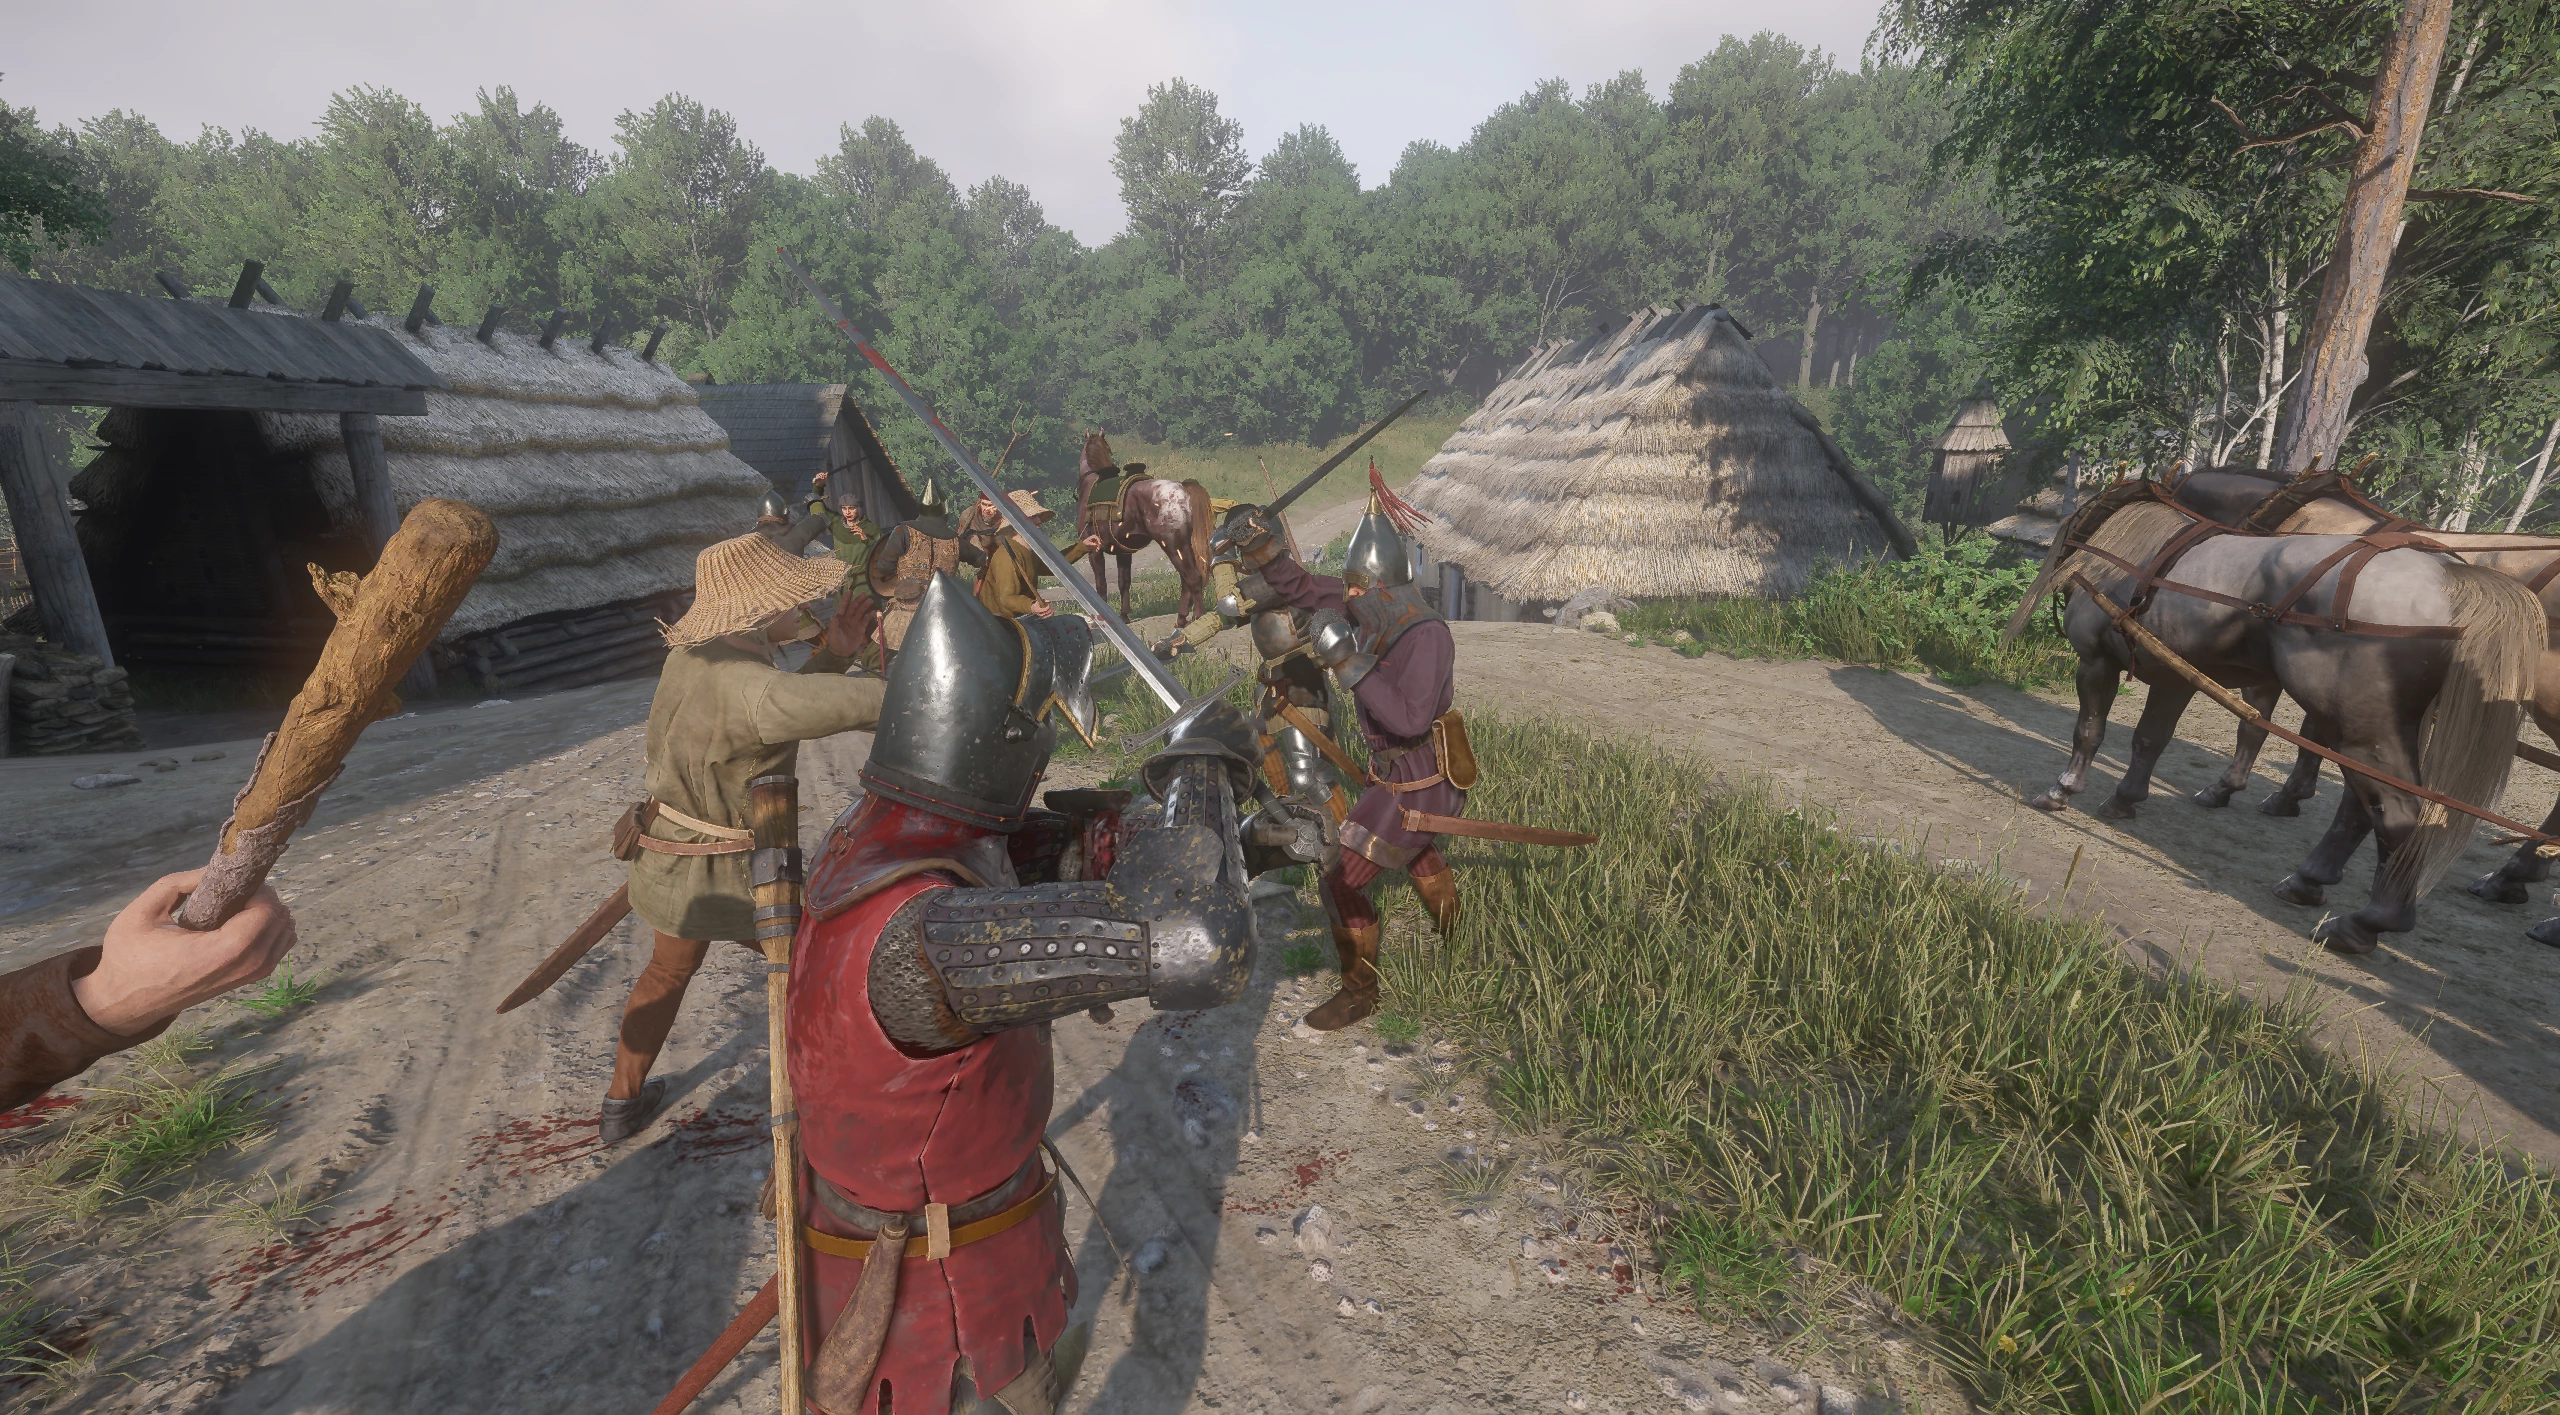
Defend Yourself
If the situation escalates to a fight, you will have to choose a side: the villagers or the centurion. Here are possible reasons that could lead to such a development:
- You told the centurion that the villagers killed the soldiers: The centurion will definitely attack the villagers.
- You put few valuables from the villagers in the cart and said that's all there is: The centurion, dissatisfied with the small amount of loot, may decide to attack the villagers.
- You took too many supplies from the villagers, and they decided to attack you: This will happen if you fail a persuasion check, trying to convince them not to resist.
Talk to the Village Elder
In case of a fight, if you chose the villagers' side and killed the centurion along with his men, the elder will thank you for defending the village. As a token of gratitude, he will reward you with a small amount of money.
Talk to the Commander
In the fight, you defeated the villagers, choosing the centurion's side. He will thank you for your loyal service, after which you will move together to Sigismund's camp. There you will eventually receive your pay for the completed task.
Alternative Walkthrough
You can start searching for valuables from the villagers immediately after receiving the order. Give the centurion about two or three thousand groschen. If he demands more, you will have a choice: either give all five thousand or try to pass a persuasion check. If successful, you will return to Sigismund's camp with the centurion, where he will offer to "kick back" some of the money. This way you can preserve the supplies for the villagers without harming them while satisfying the centurion.
Walkthrough of Side Quests in Kingdom Come: Deliverance 2
- Mutt
- Lackey
- Bad Blood
- Materia Prima
- Forbidden Fruit
- Opus Magnum
- The Lion's Crest
- Invaders
- The Axe from the Lake
- Mice
- The Blacksmith's Son
- The Jaunt
- The Hermit
- Miri Fajta
- The Mouth of Hell
- Bellatores
- Skeleton in the Closet
- Dragon's Lair
- Canker
- Handsome Charlie
- Johnny the Gob
- Casper
- The White Roebuck
- Hush, My Darling...
- Absolver
- The Thunderstone
- X Marks the Spot
- Hammer and Tongs
- Yackers 'n' Fash
- Ransom
- The Reliquary
- Thou art but dust
- Striped Tonies
- Popinjay Shoot
- Ars Dimicatoria
- Arrow-head
- In Vino Virilitas
- Feast for the Poor
- Spoils of War
- Post Scriptum
- The Thieves' Code
- Troubadours
- Bird of Prey
- A Good Scrub
- Ill Repute
- The Spark
- All's fair
- Seeking Justice
Other guides
- Kingdom Come Deliverance 2: Via Argentum Quest Walkthrough
- Kingdom Come: Deliverance 2 Walkthrough Guide
- Kingdom Come Deliverance 2 Beginner's Guide: Tips and Tricks
- Kingdom Come Deliverance 2: The Lion's Den Quest Walkthrough
- Kingdom Come Deliverance 2: Lady Rosa Romance Guide
- Kingdom Come Deliverance 2: Back in the Saddle Walkthrough
- Kingdom Come Deliverance 2: For Victory! Walkthrough
- Kingdom Come Deliverance 2: Fixing Technical Problems and Bugs
- Location of Save Files in Kingdom Come: Deliverance 2
- Kingdom Come Deliverance 2: The King's Gambit Walkthrough
-
Kingdom Come Deliverance 2: Back in the Saddle Walkthrough
-
Kingdom Come Deliverance 2 Beginner's Guide: Tips and Tricks
-
Kingdom Come Deliverance 2: Lady Rosa Romance Guide
-
Kingdom Come: Deliverance 2 Walkthrough Guide
-
Kingdom Come Deliverance 2: For Victory! Walkthrough
-
Kingdom Come Deliverance 2: Laboratores Walkthrough
-
How to Find Armor by Maps in Kingdom Come Deliverance 2: The Lion's Crest Guide
-
Kingdom Come Deliverance 2: How to Increase Reputation
-
Kingdom Come Deliverance 2: Potion Recipes Guide
-
Kingdom Come Deliverance 2: Dancing with the Devil Walkthrough
-
Kingdom Come Deliverance 2: Dragon's Lair Walkthrough
-
Kingdom Come Deliverance 2: The White Roebuck Walkthrough
-
Kingdom Come Deliverance 2: Absolver Walkthrough
-
Kingdom Come Deliverance 2: X Marks the Spot Walkthrough
-
Kingdom Come Deliverance 2: Arrow-head Walkthrough