
Kingdom Come Deliverance 2: Bellatores Walkthrough
 Vladyslav Shamshurov
In Kingdom Come: Deliverance 2, conversations with innkeepers can lead to interesting adventures. In this guide, we will describe the walkthrough of the Bellatores quest and explain how to help an aristocrat save his brother.
How to Start the Bellatores Quest
To start the quest, you need to reach the second large location, Kuttenberg. Find the tavern in the village of Bilany and talk to the owner. The man will tell you that a knight has settled in who is gathering people for a military campaign.
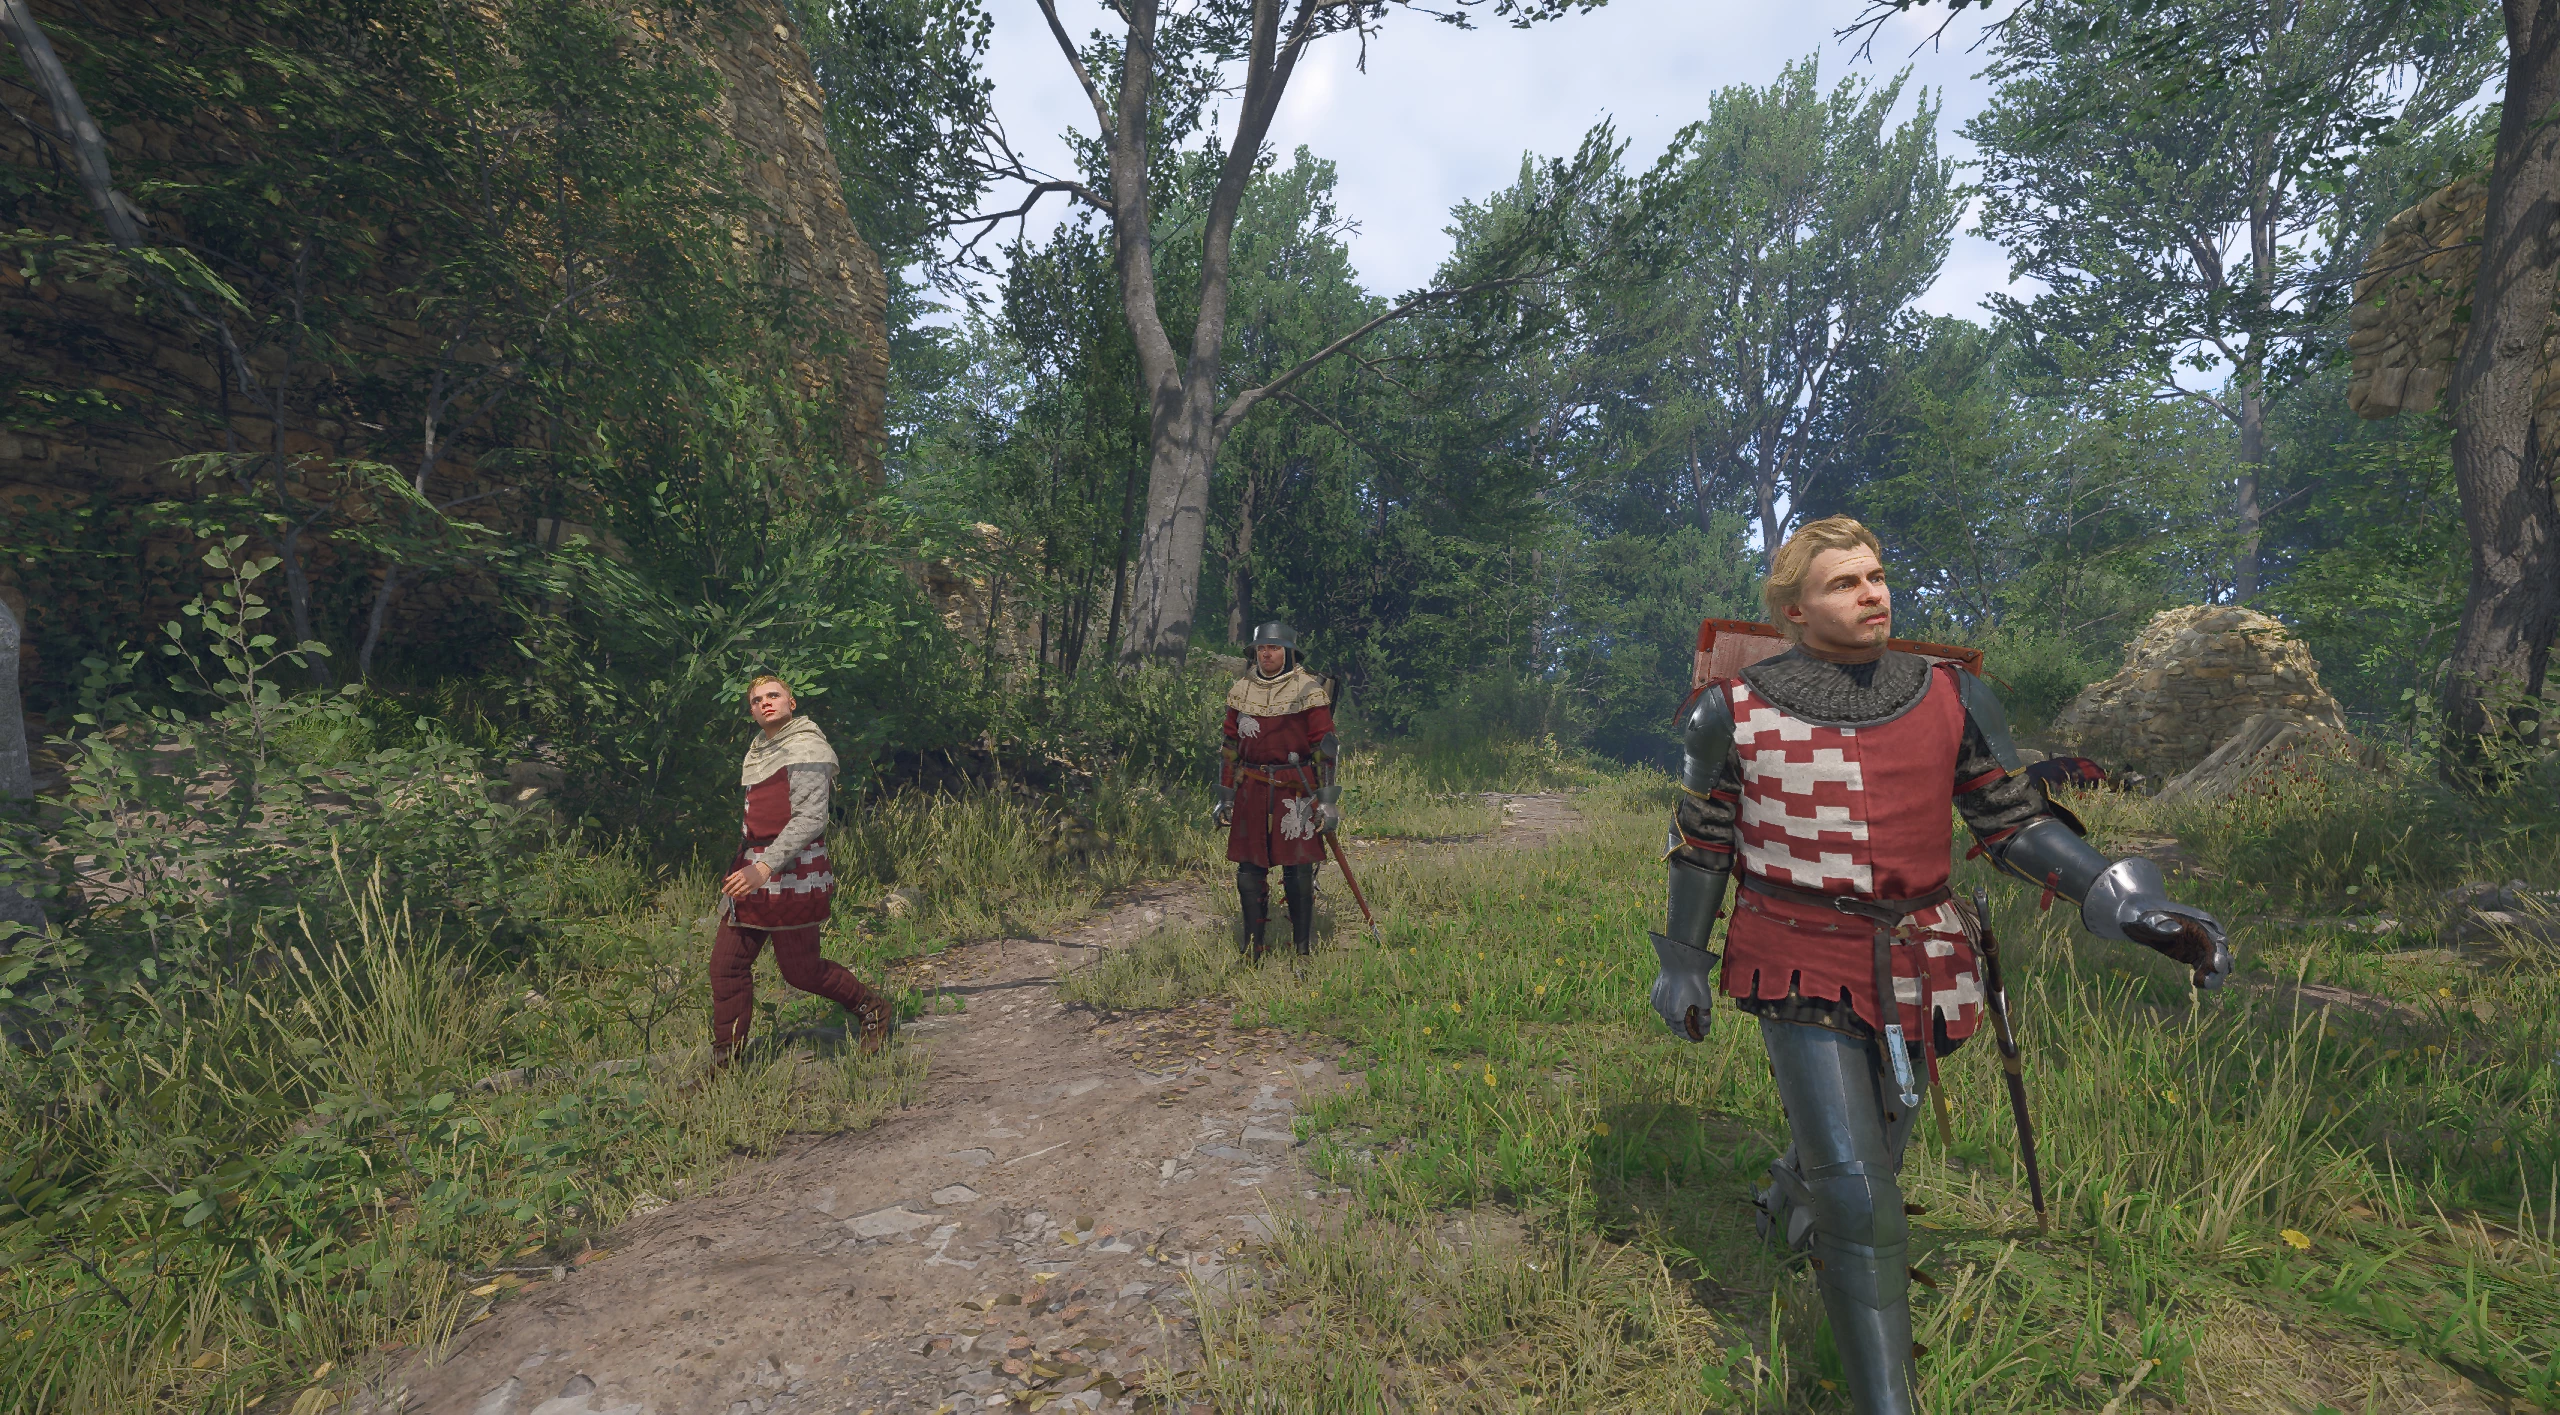
Then head outside and talk to the knight. The man will introduce himself as Jan Myatlik from Zimburk and ask for your help in saving his brother from the Cumans. The quest will begin once you agree to help him.
You will face a challenging task: you need excellent equipment and outstanding combat skills. In battles with opponents, you will be outnumbered, and the Cumans are heavily armed and pose a serious threat.
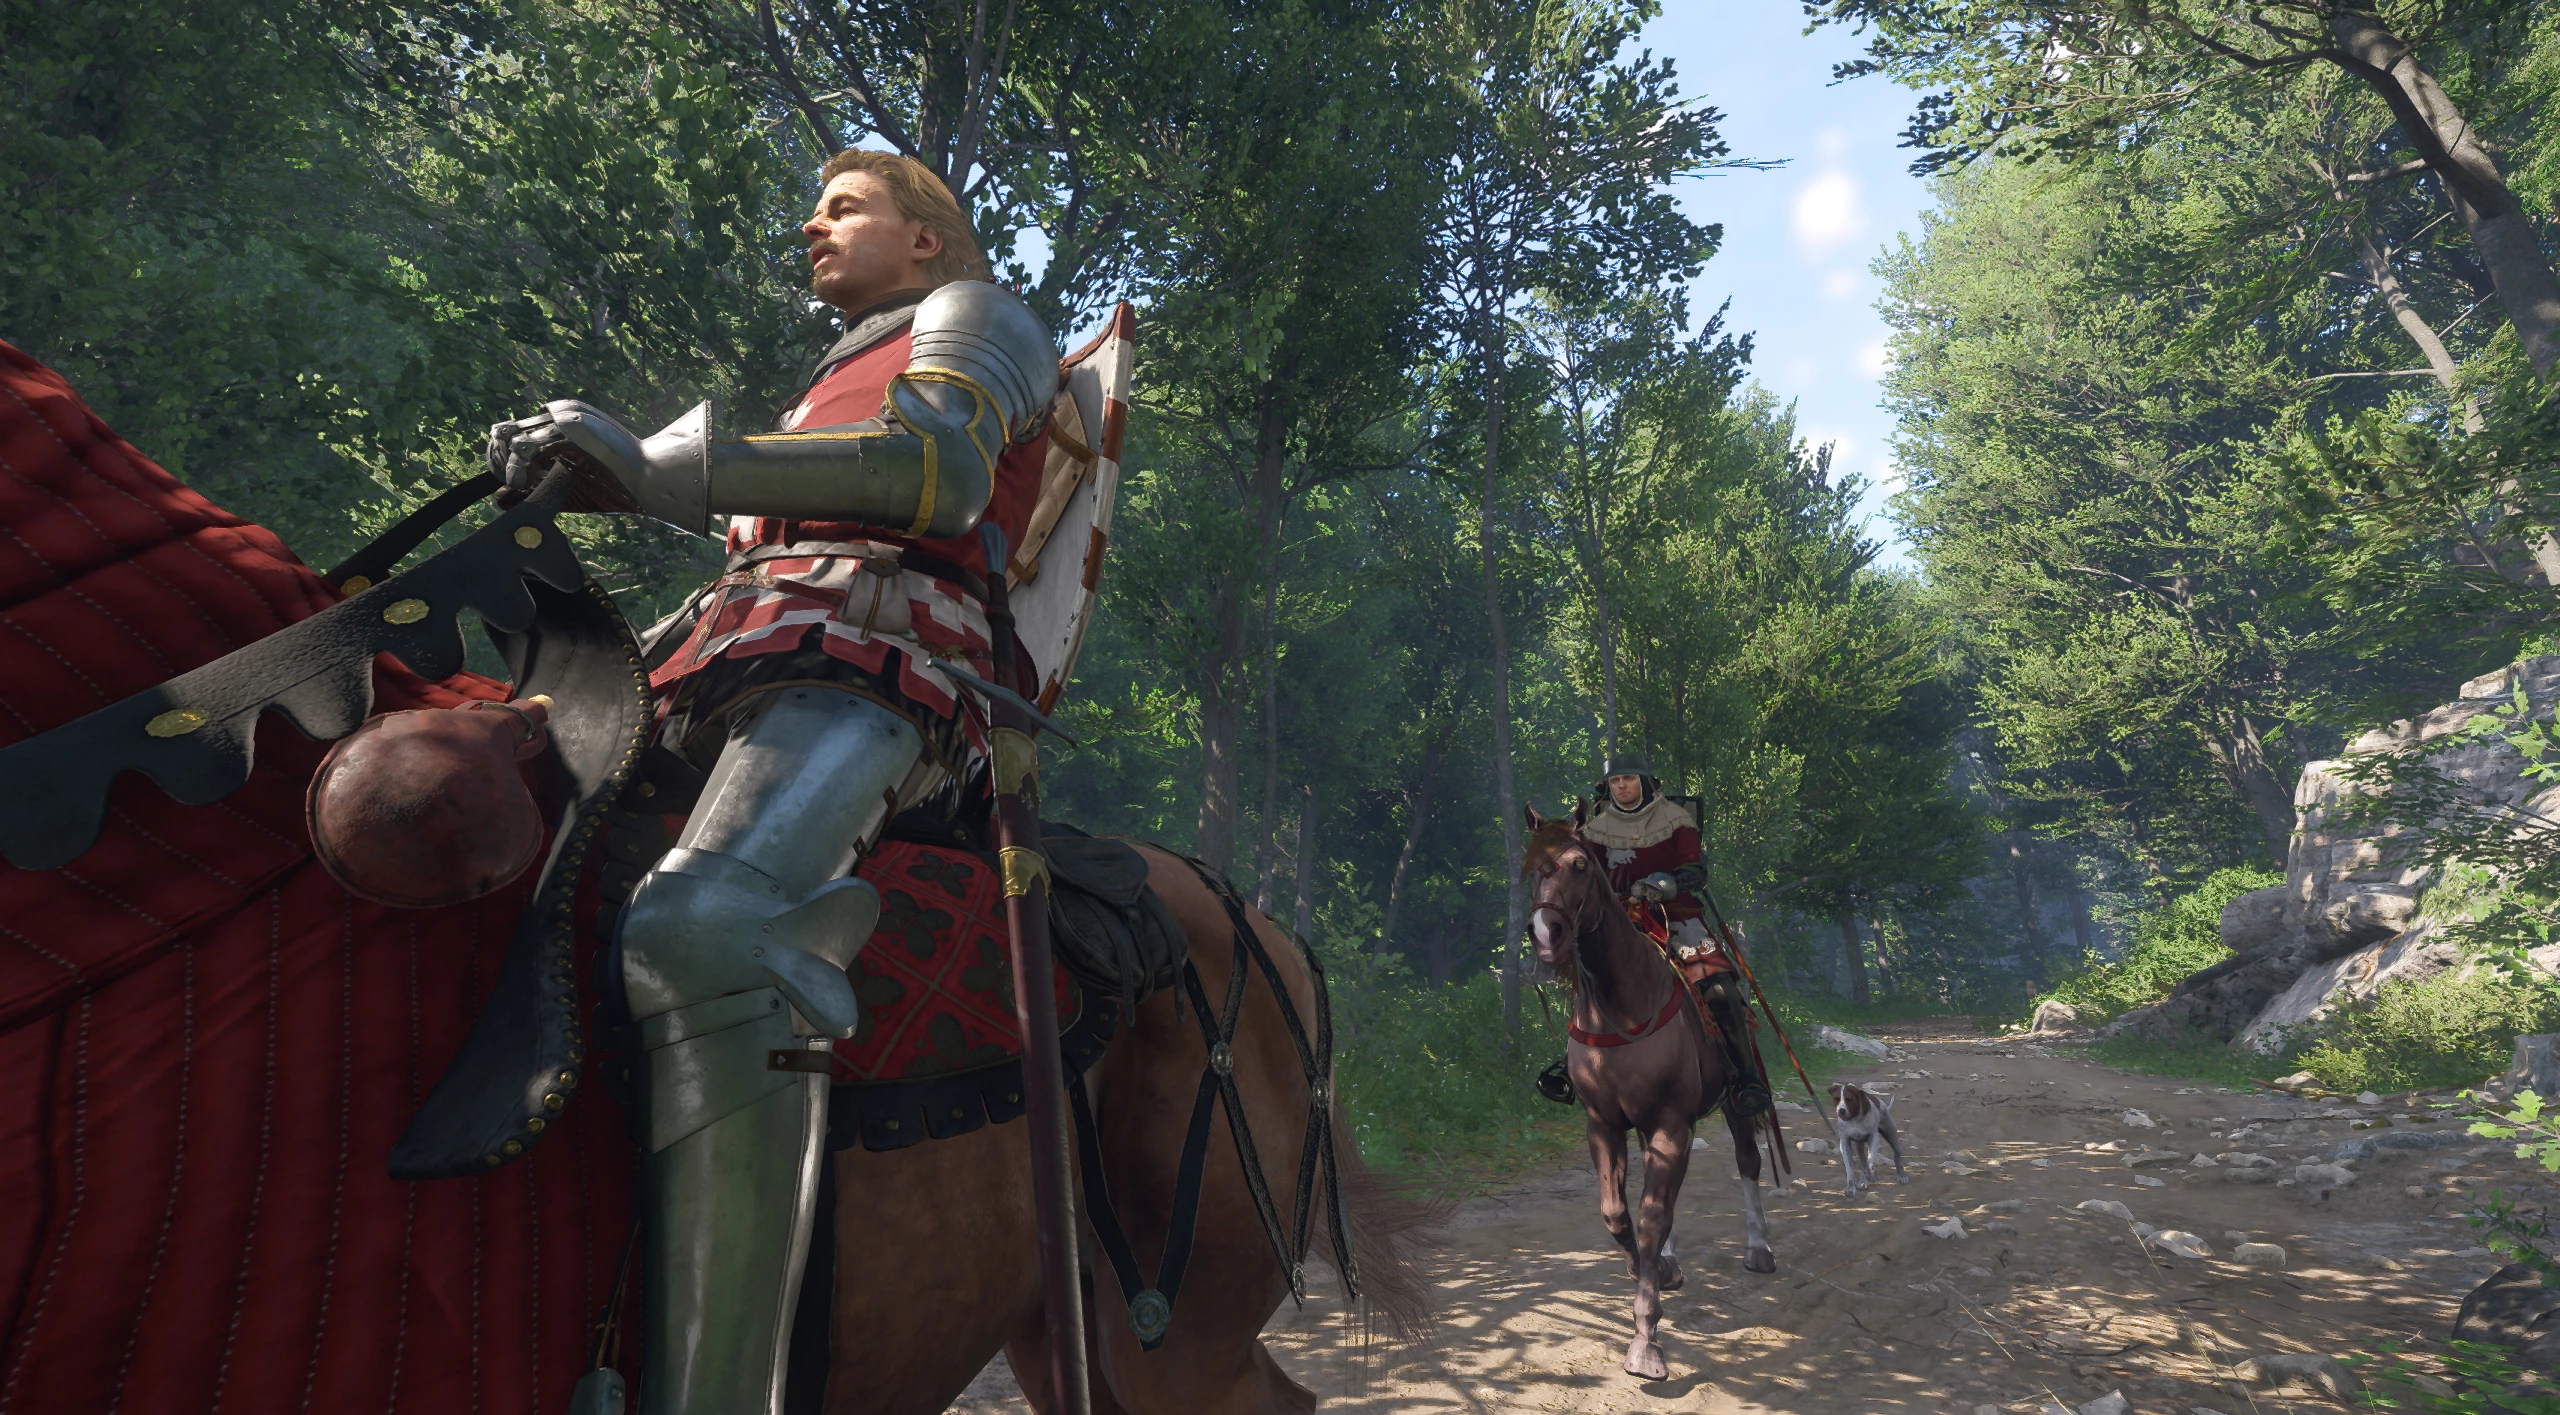
Ride a Horse and Escort Myatlik to the Battlefield
Follow the knight to the battlefield. Along the way, you can learn interesting information about him.
Deal with the Marauders
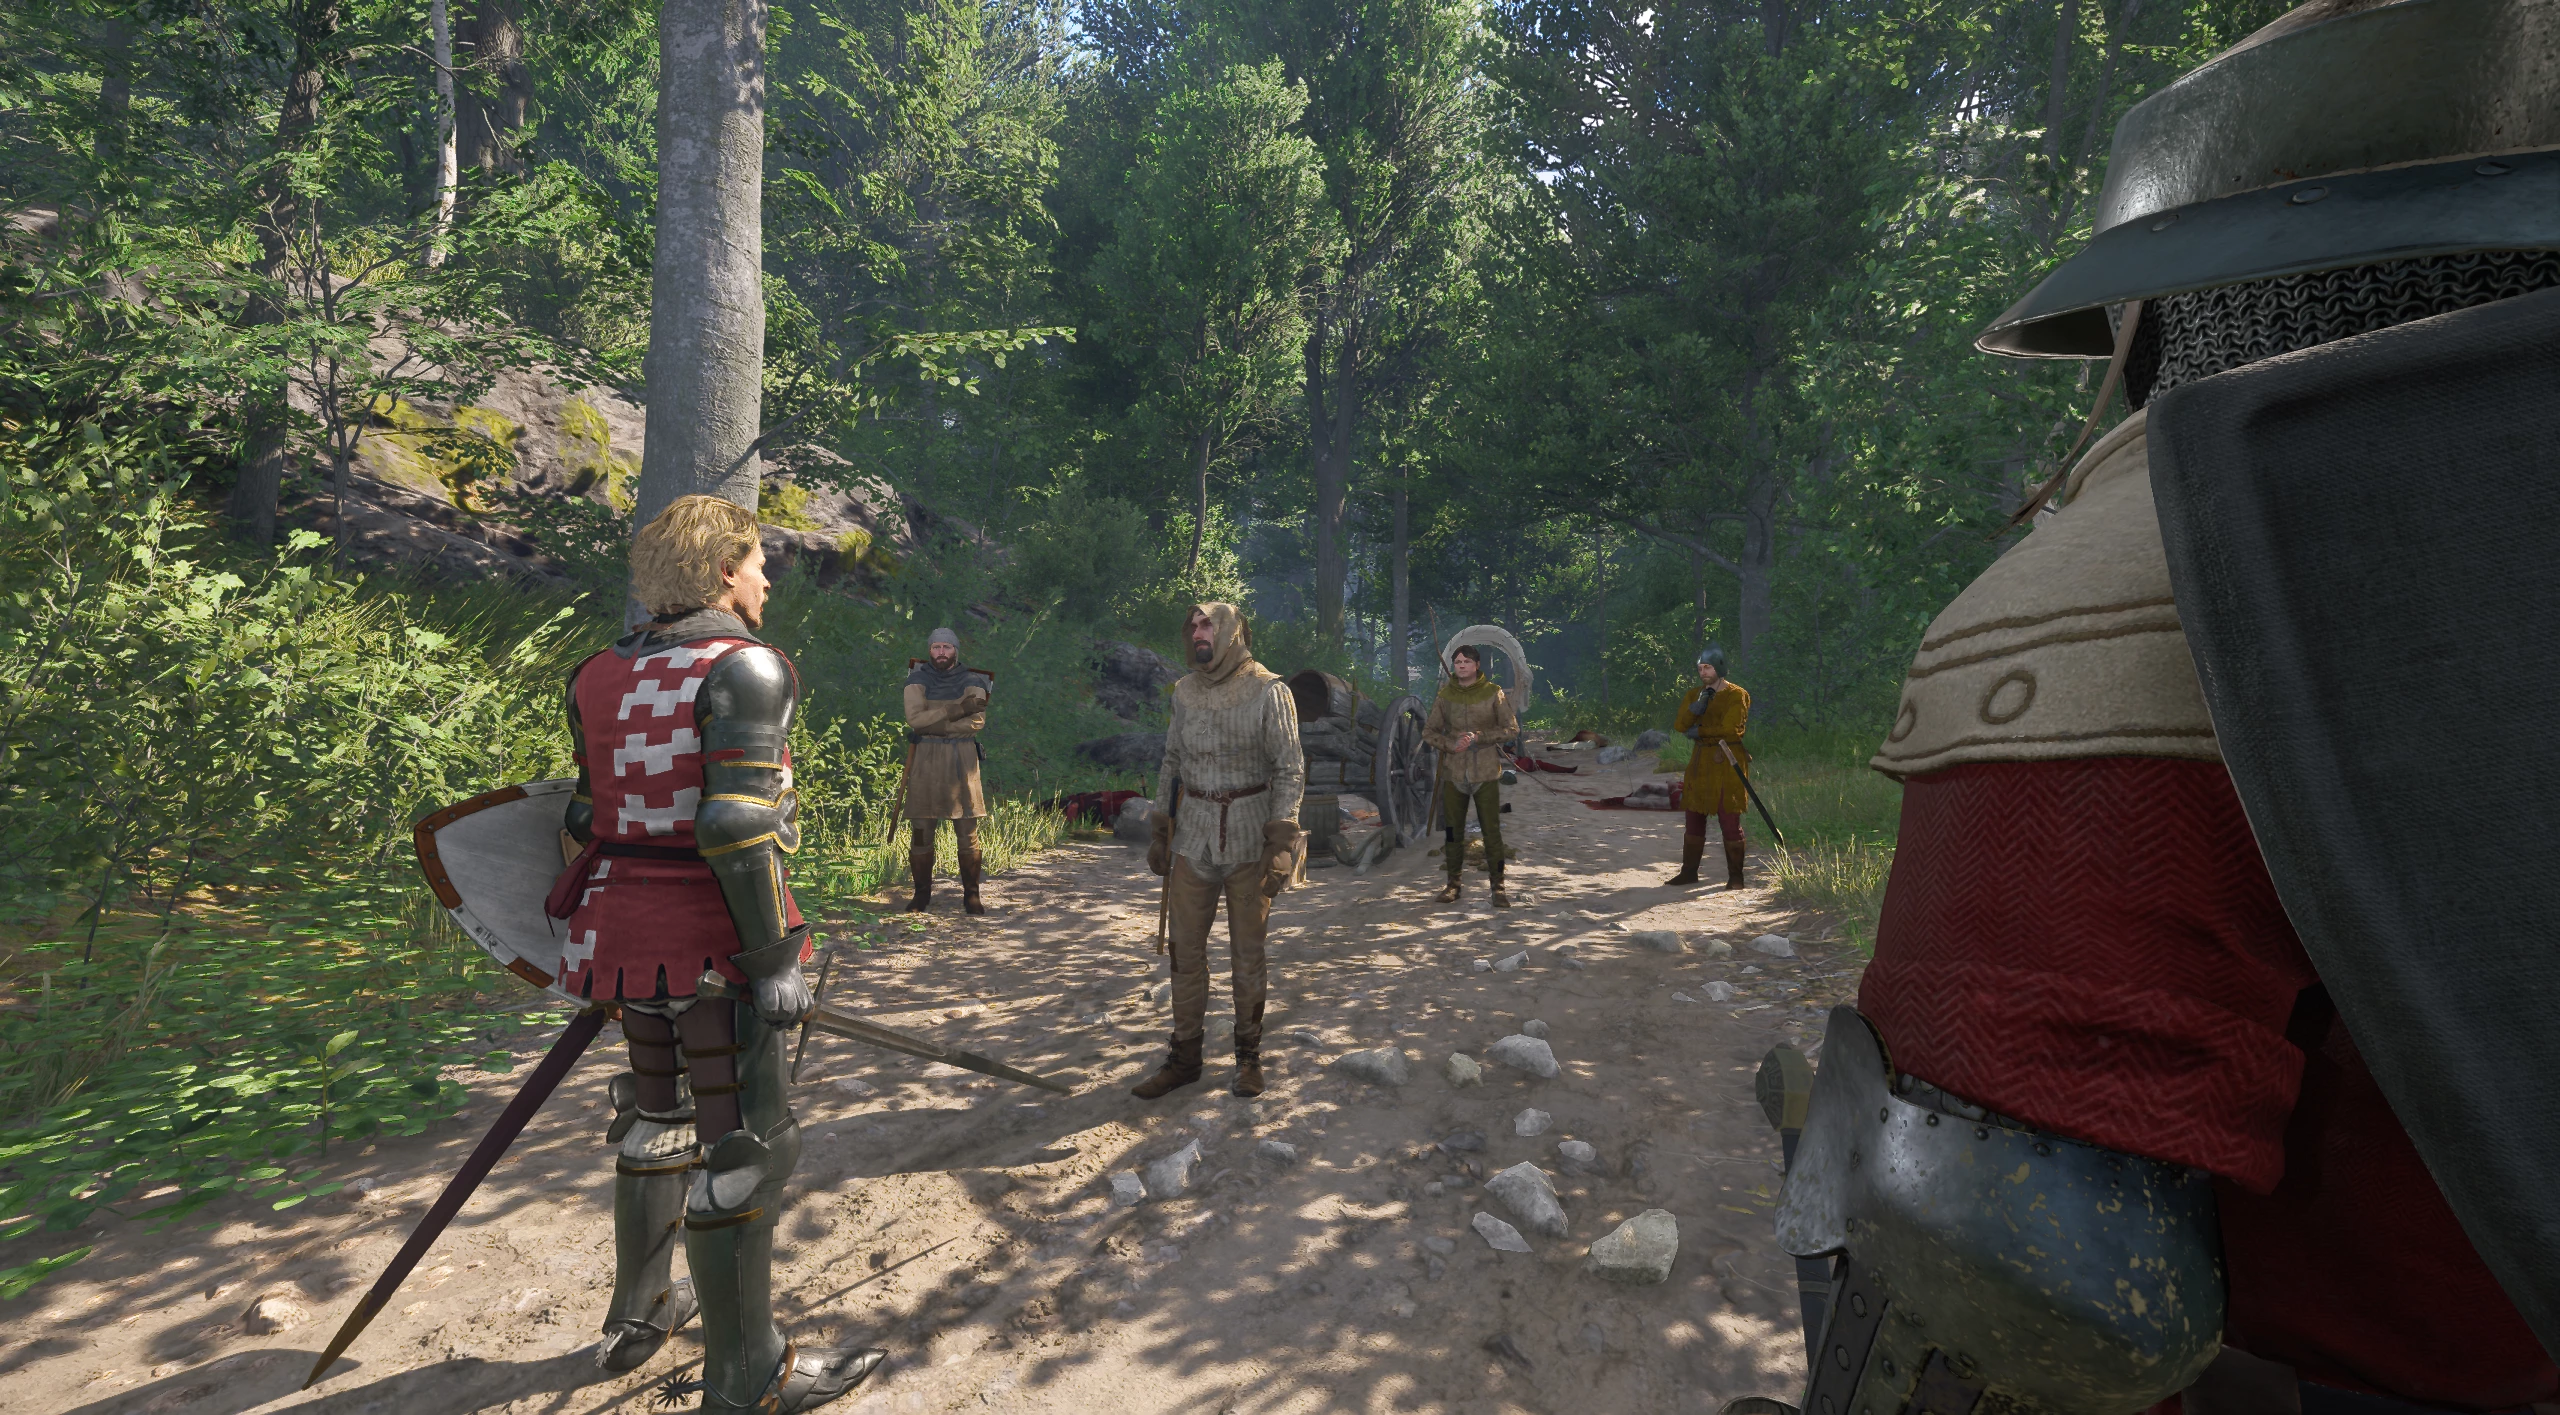
Upon reaching your destination, you will encounter a small gang of marauders, and Jan Myatlik will want to kill them. You have the option to join the knight or persuade him to let the bandits go. Your decision to spare the bandits will improve the protagonist's reputation.
Find the Priest Among the Fallen
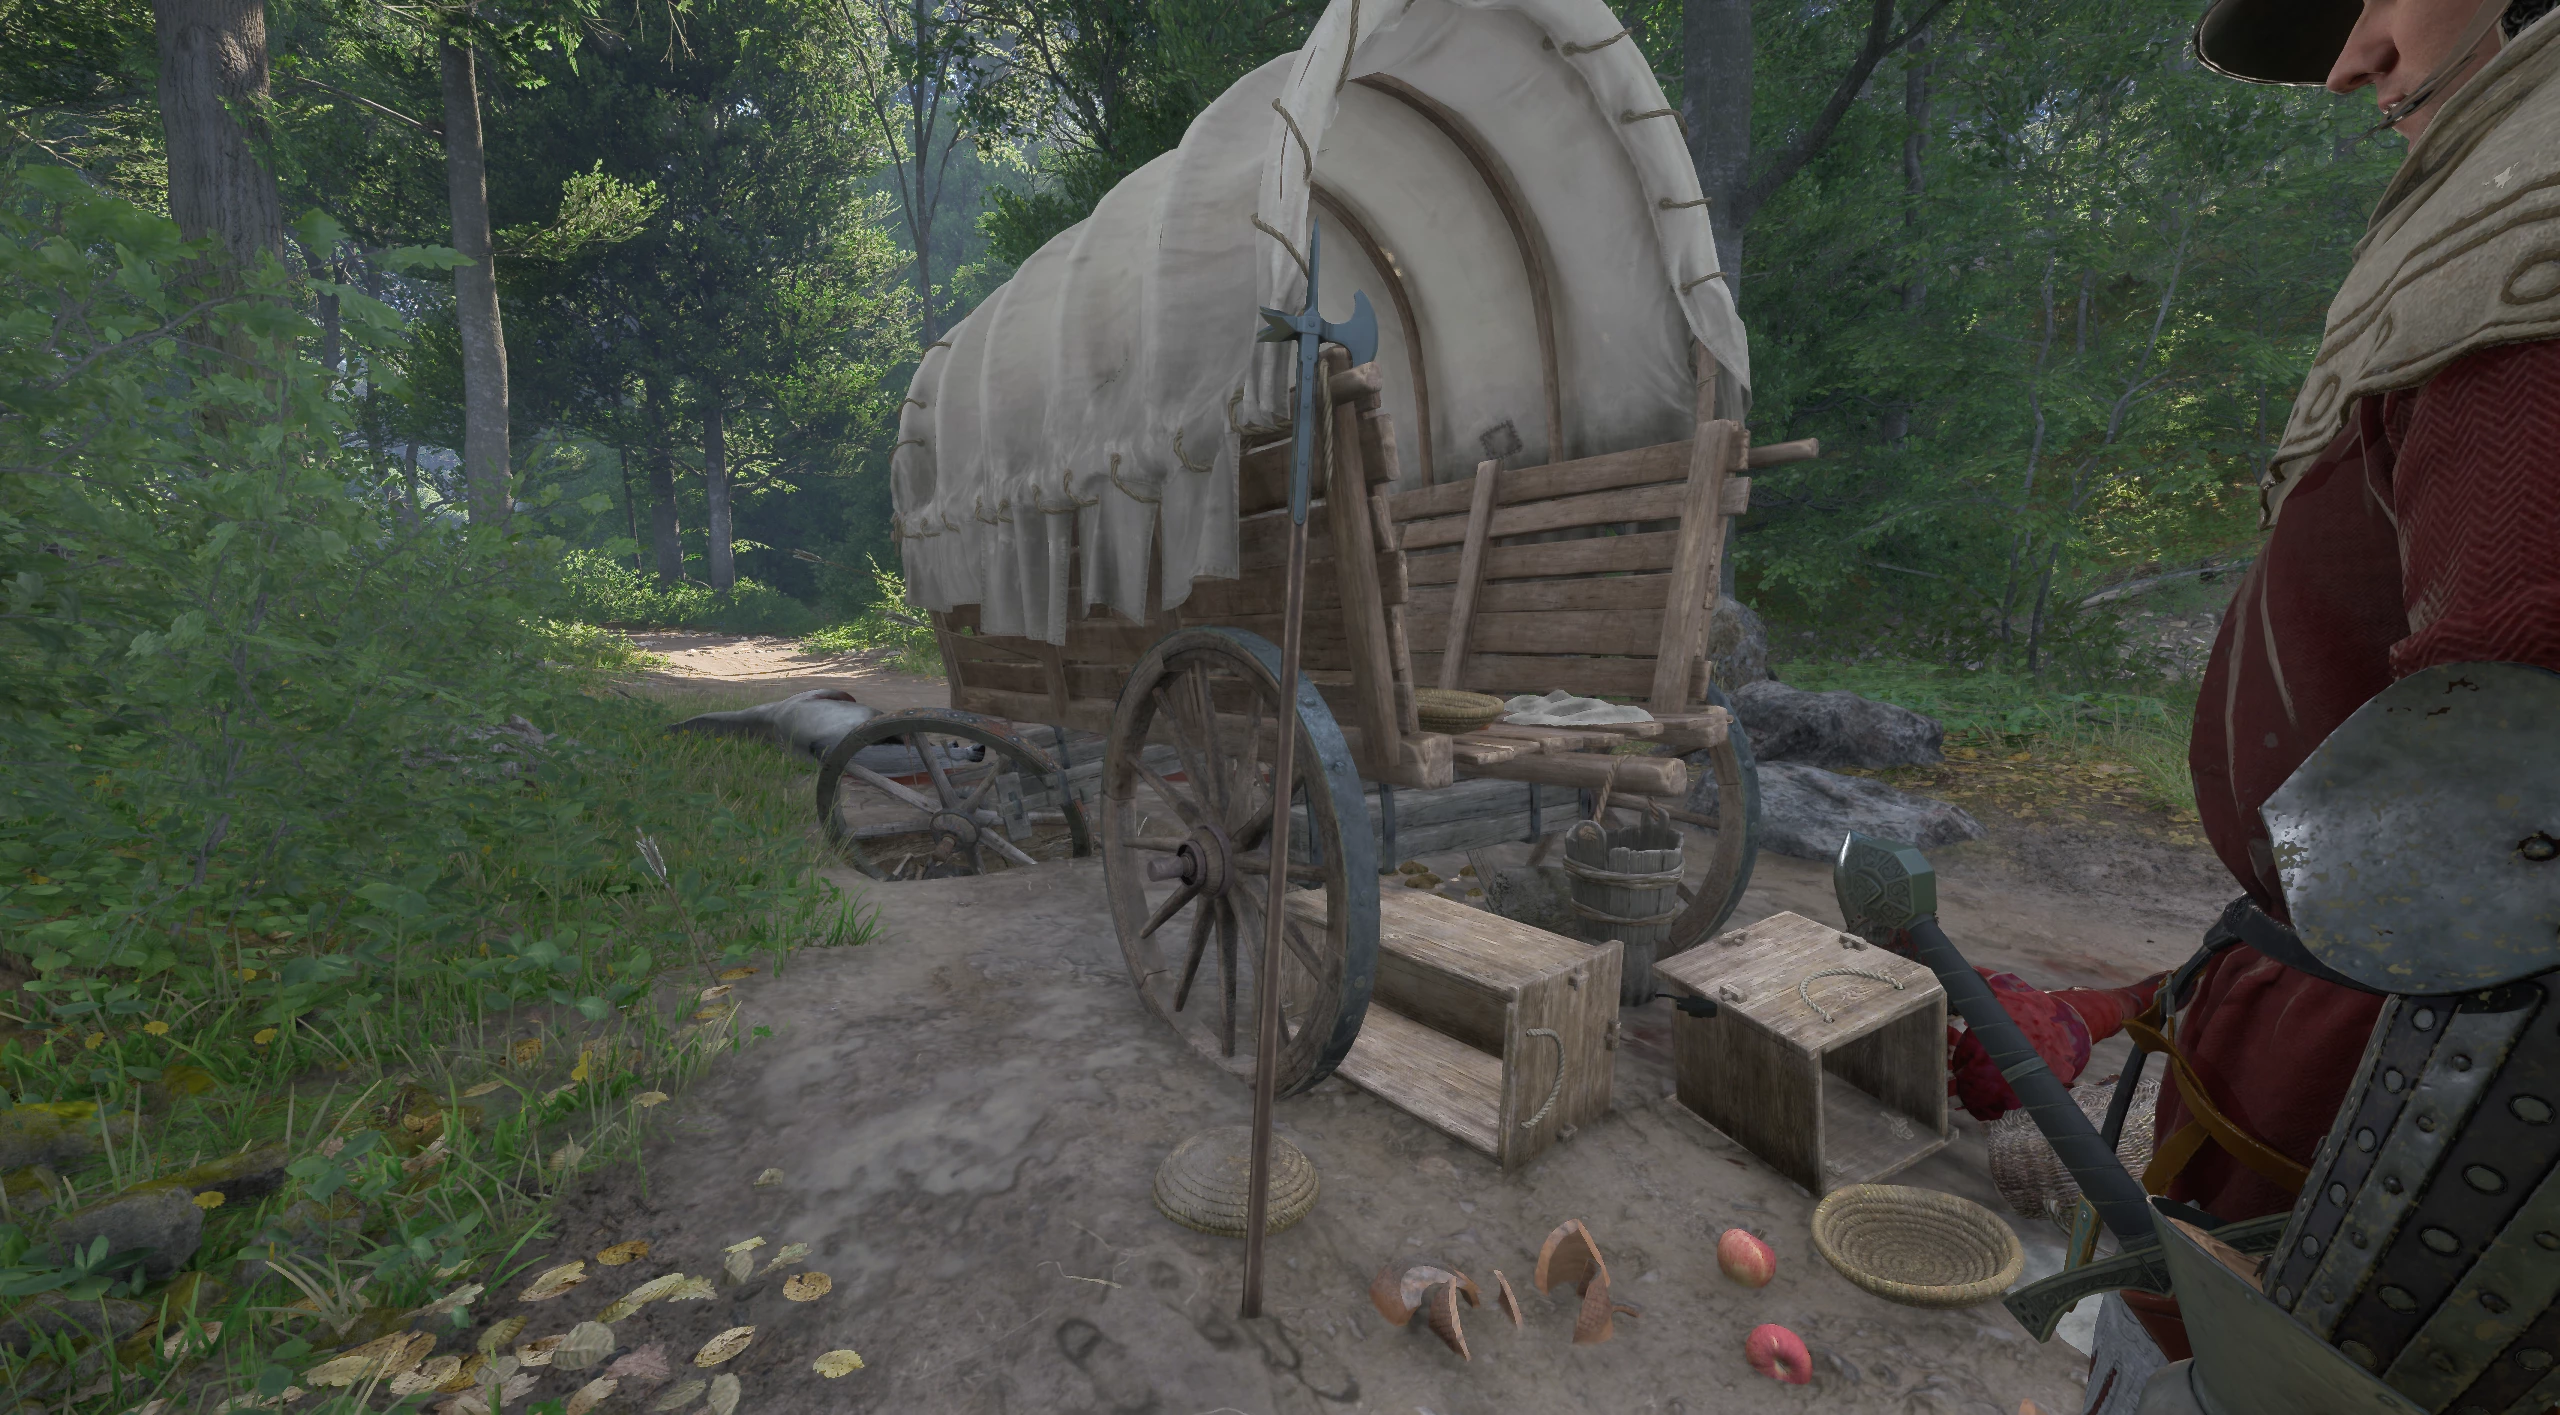
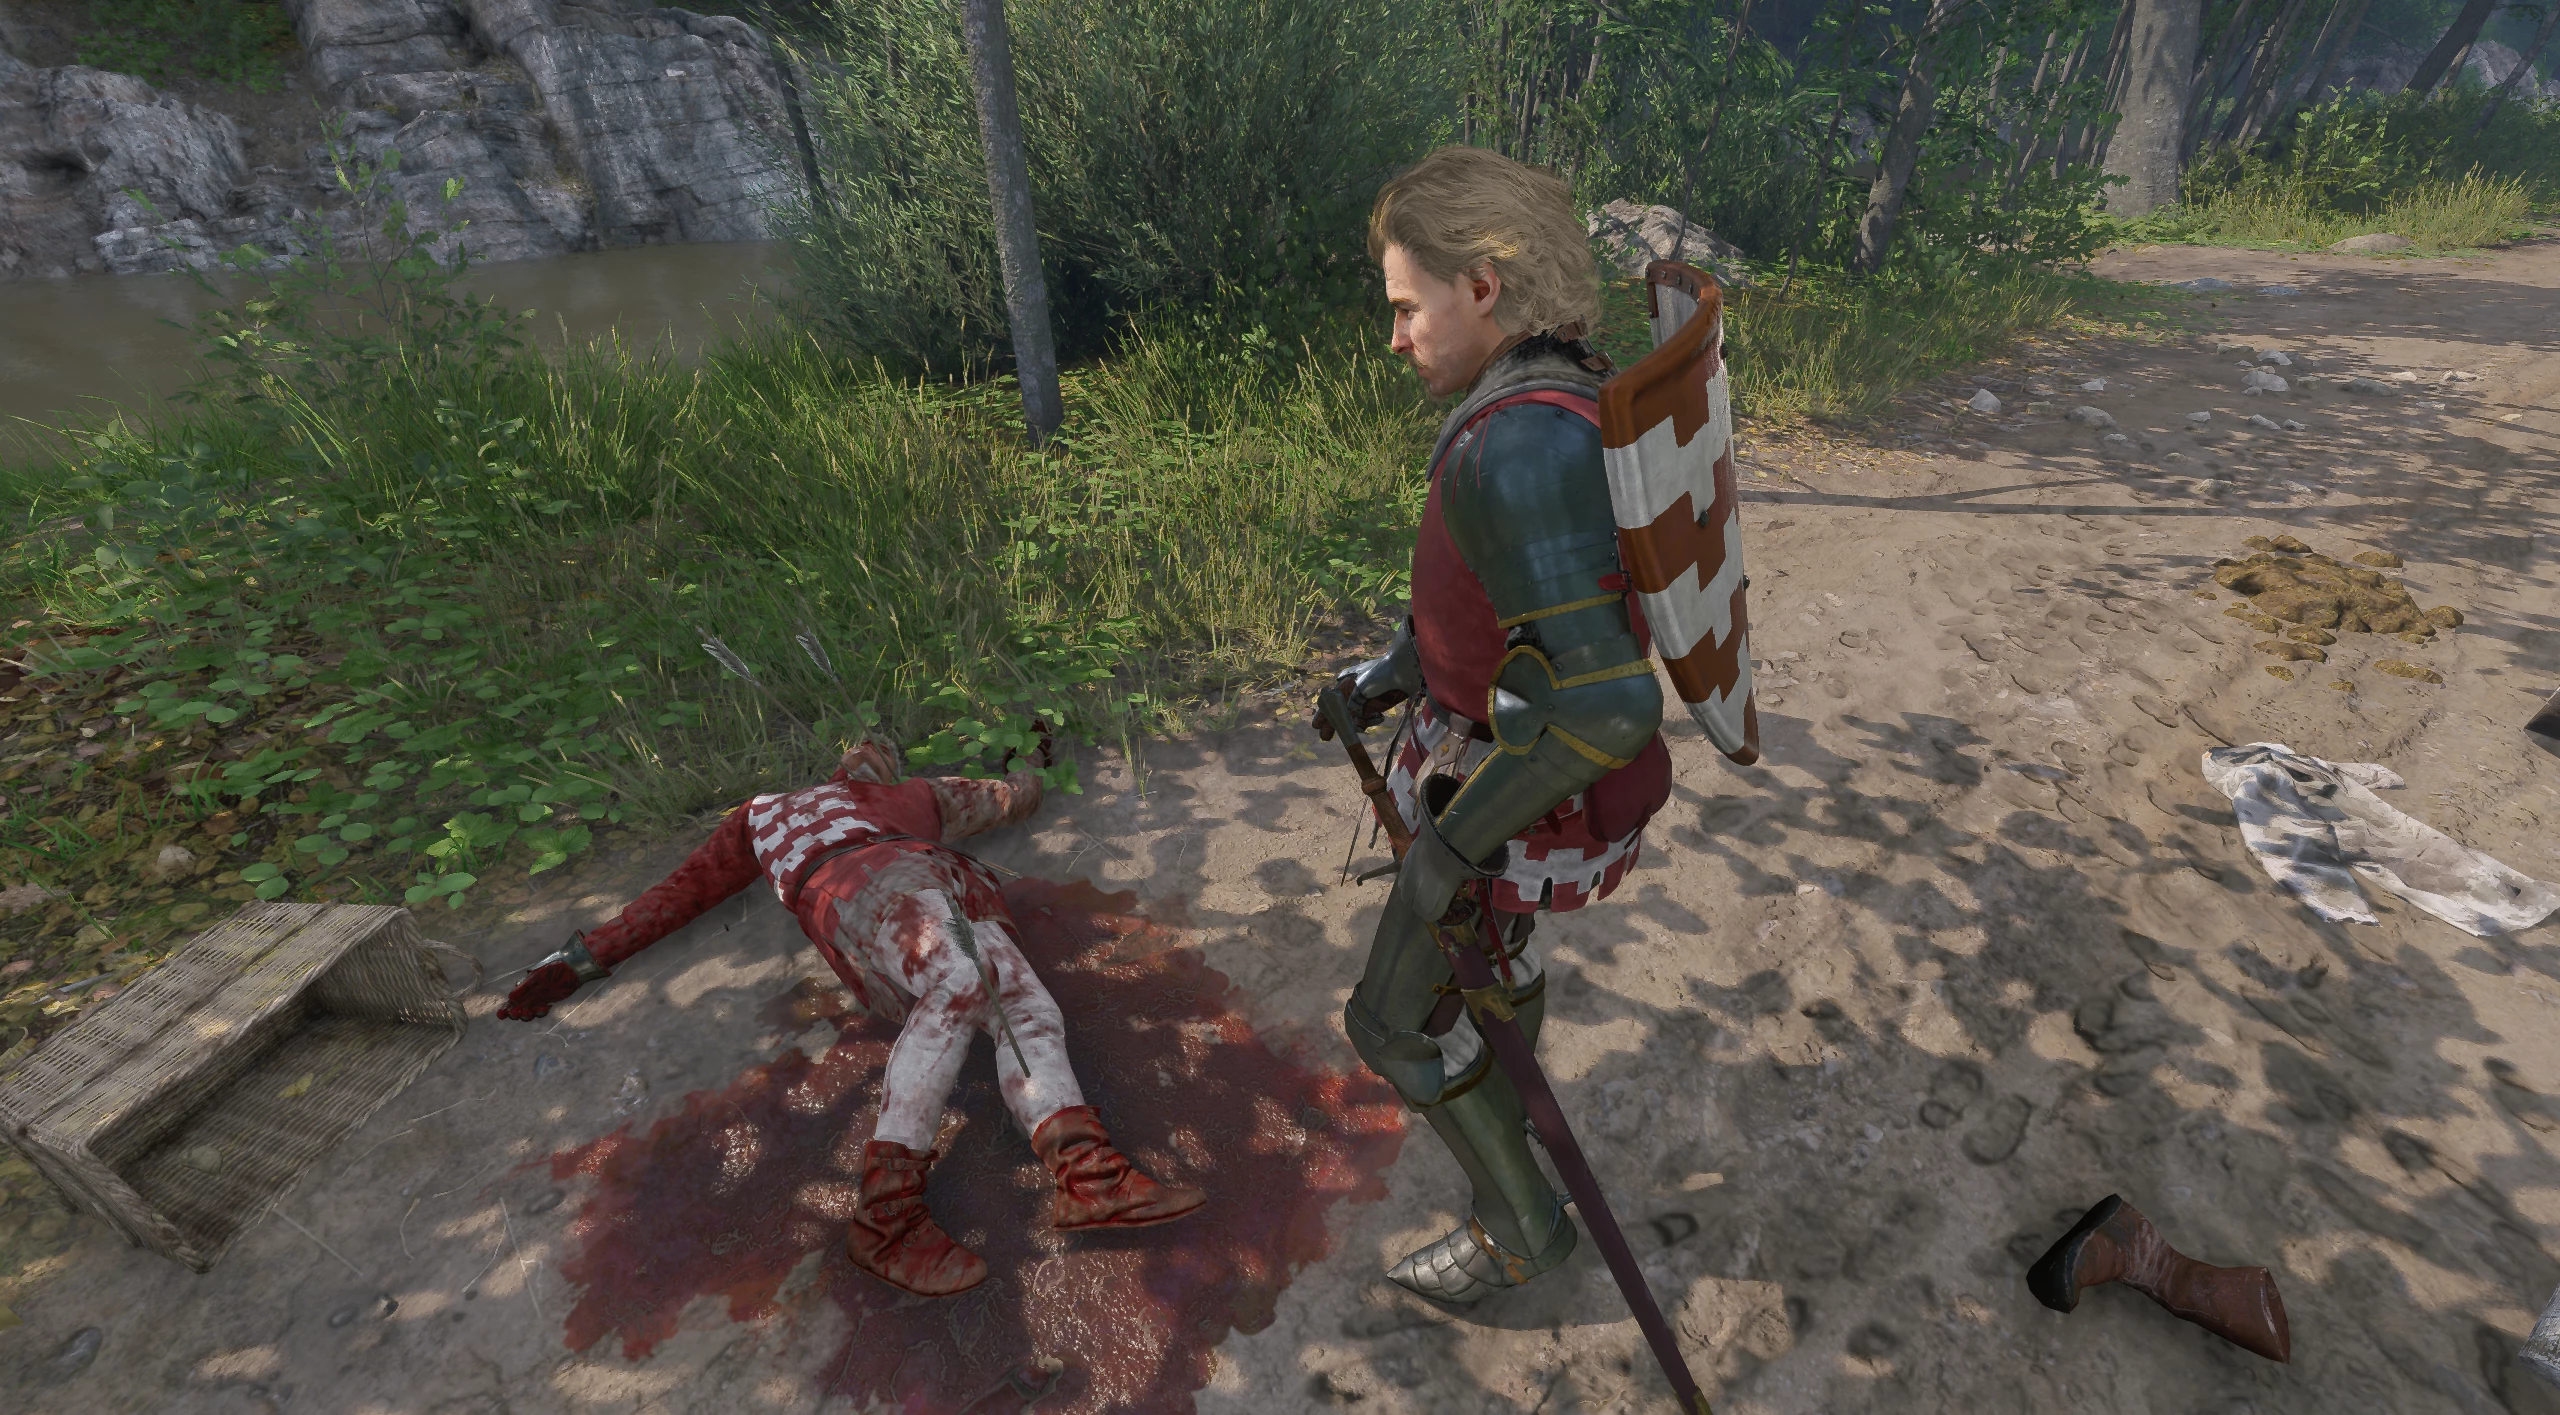
Jan will ask you to find the priest or what remains of him. Before searching for the body, we recommend looking around to find many useful items. The halberd, an item for the quest mentioned by the knight, is near the cart.
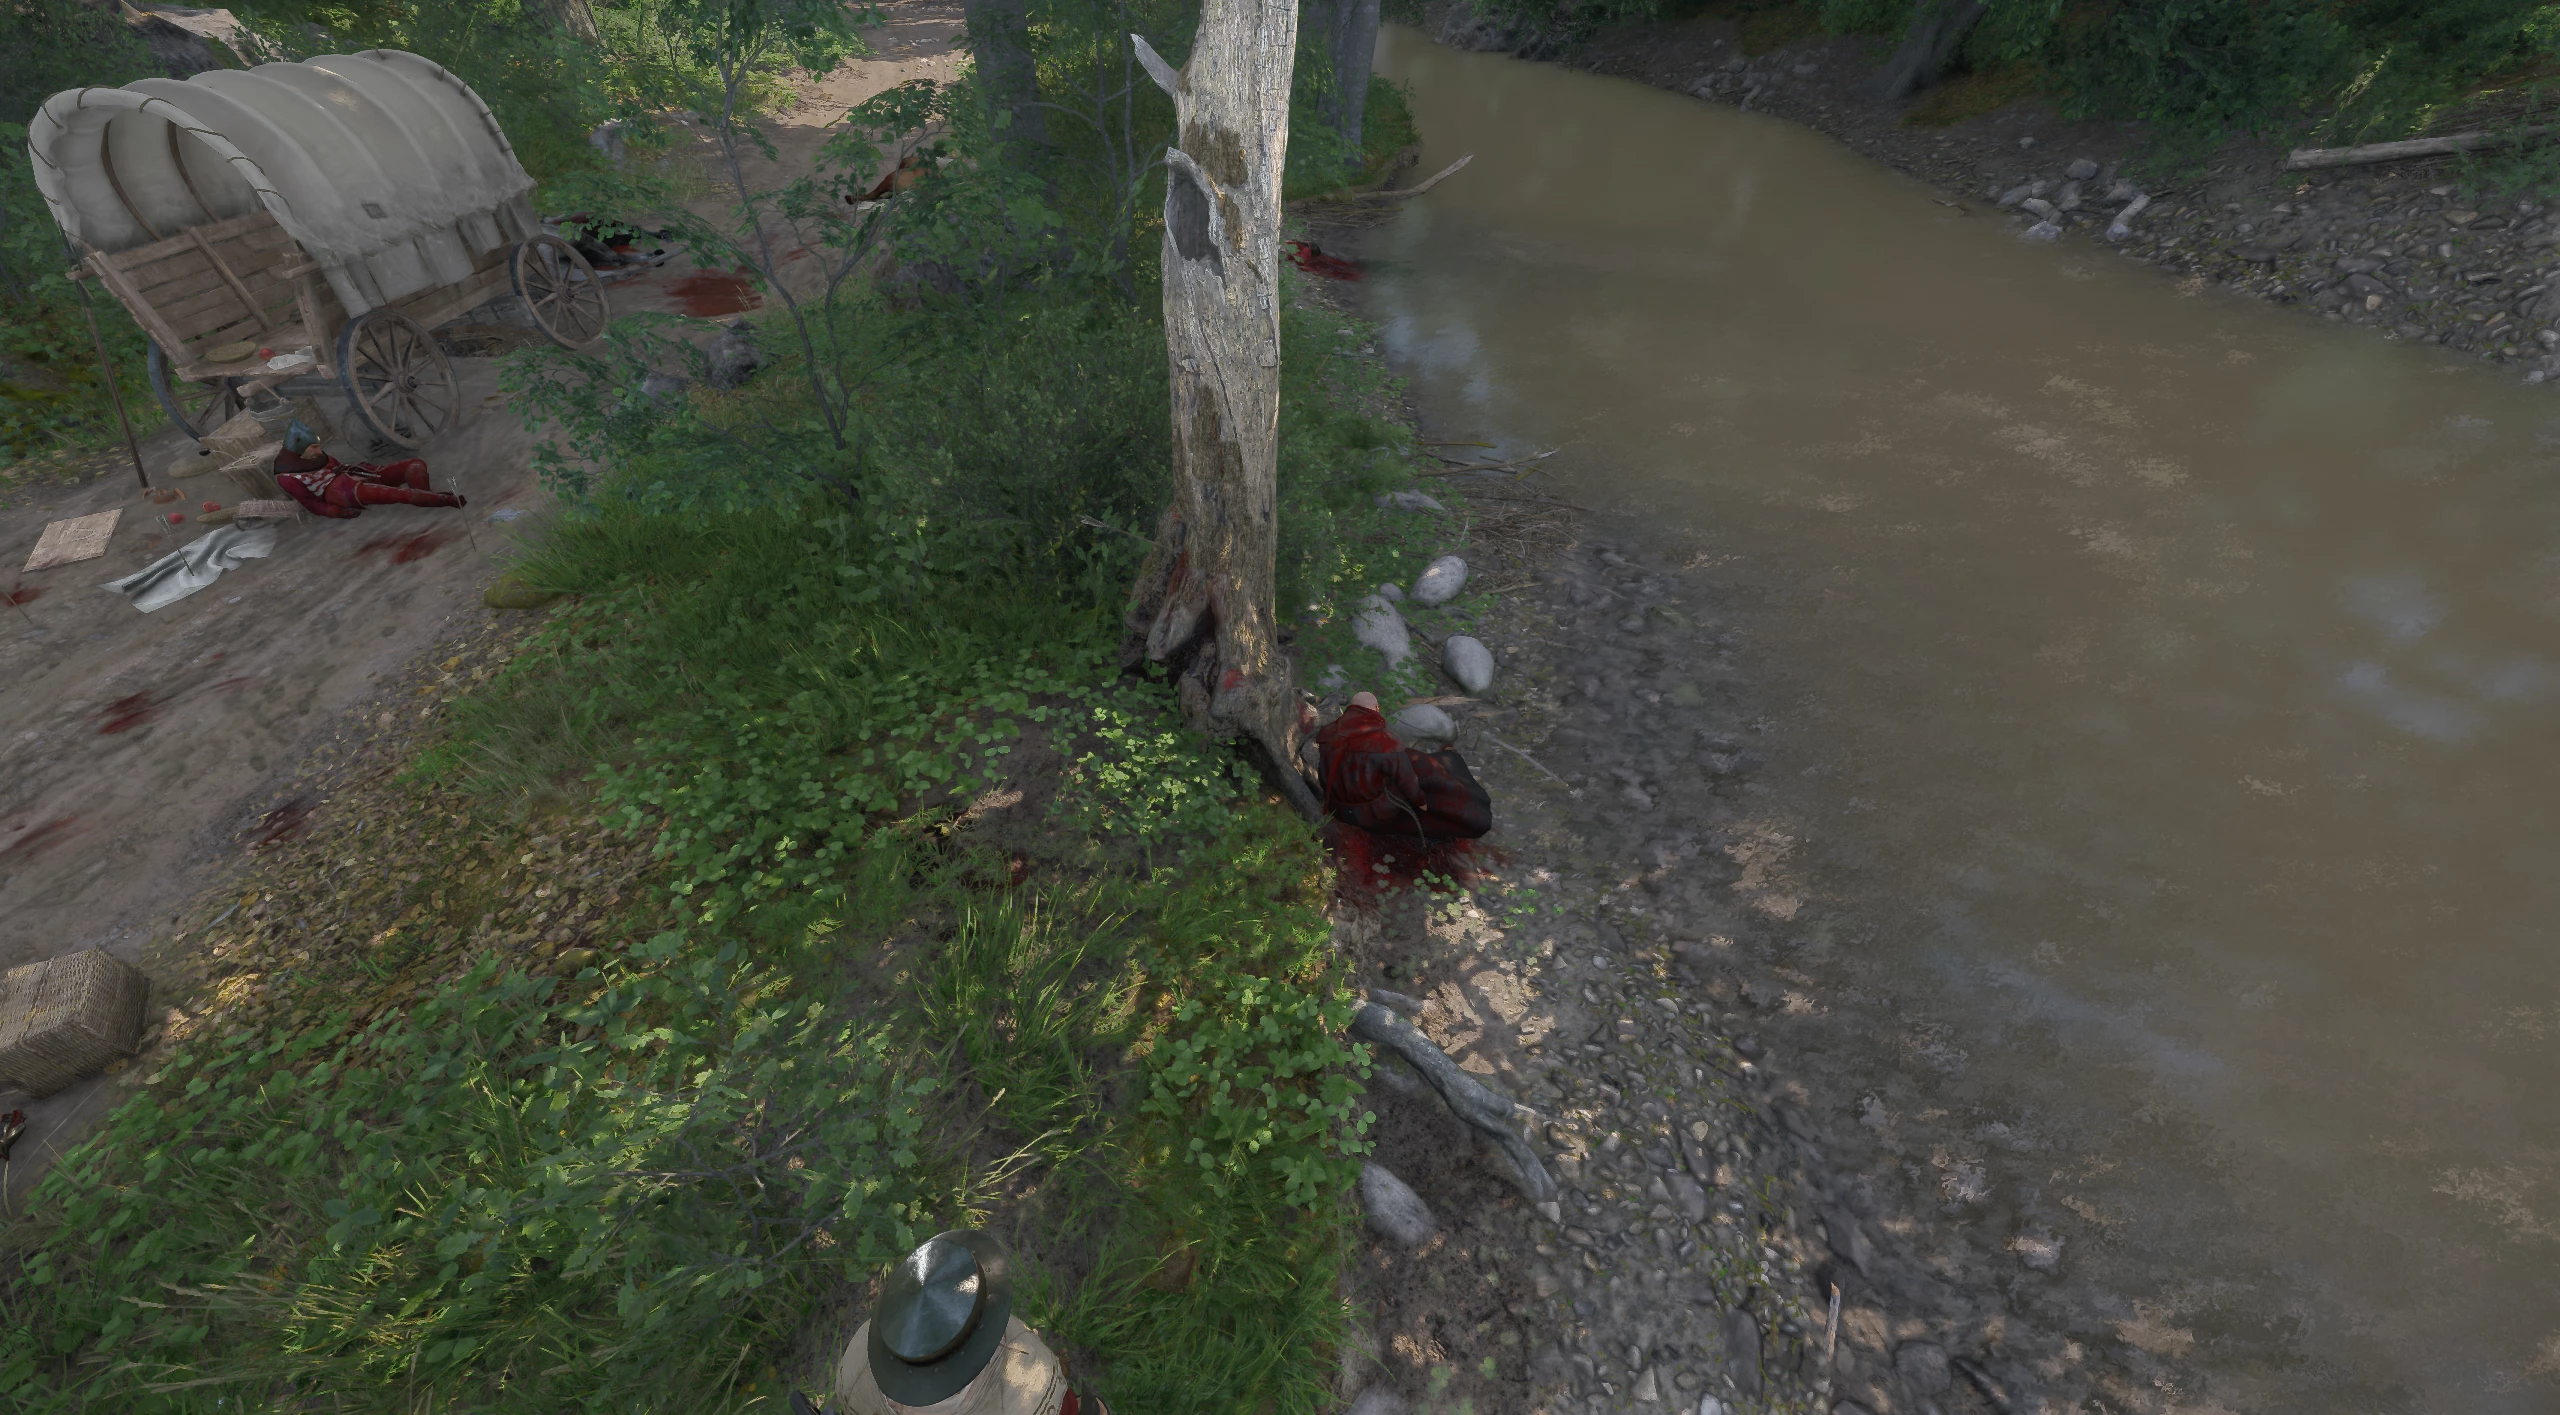
You will find the priest's body by a withered tree on the stream bank to the right of the cart.
Tell Myatlik What You Found
Find Jan inspecting the bodies and inform him that you found the dead priest. Then you will learn that the holy father had a very important relic. The knight, convinced that nothing else of value can be found, will ask you to follow him.
Follow Myatlik on the Trail of the Cumans
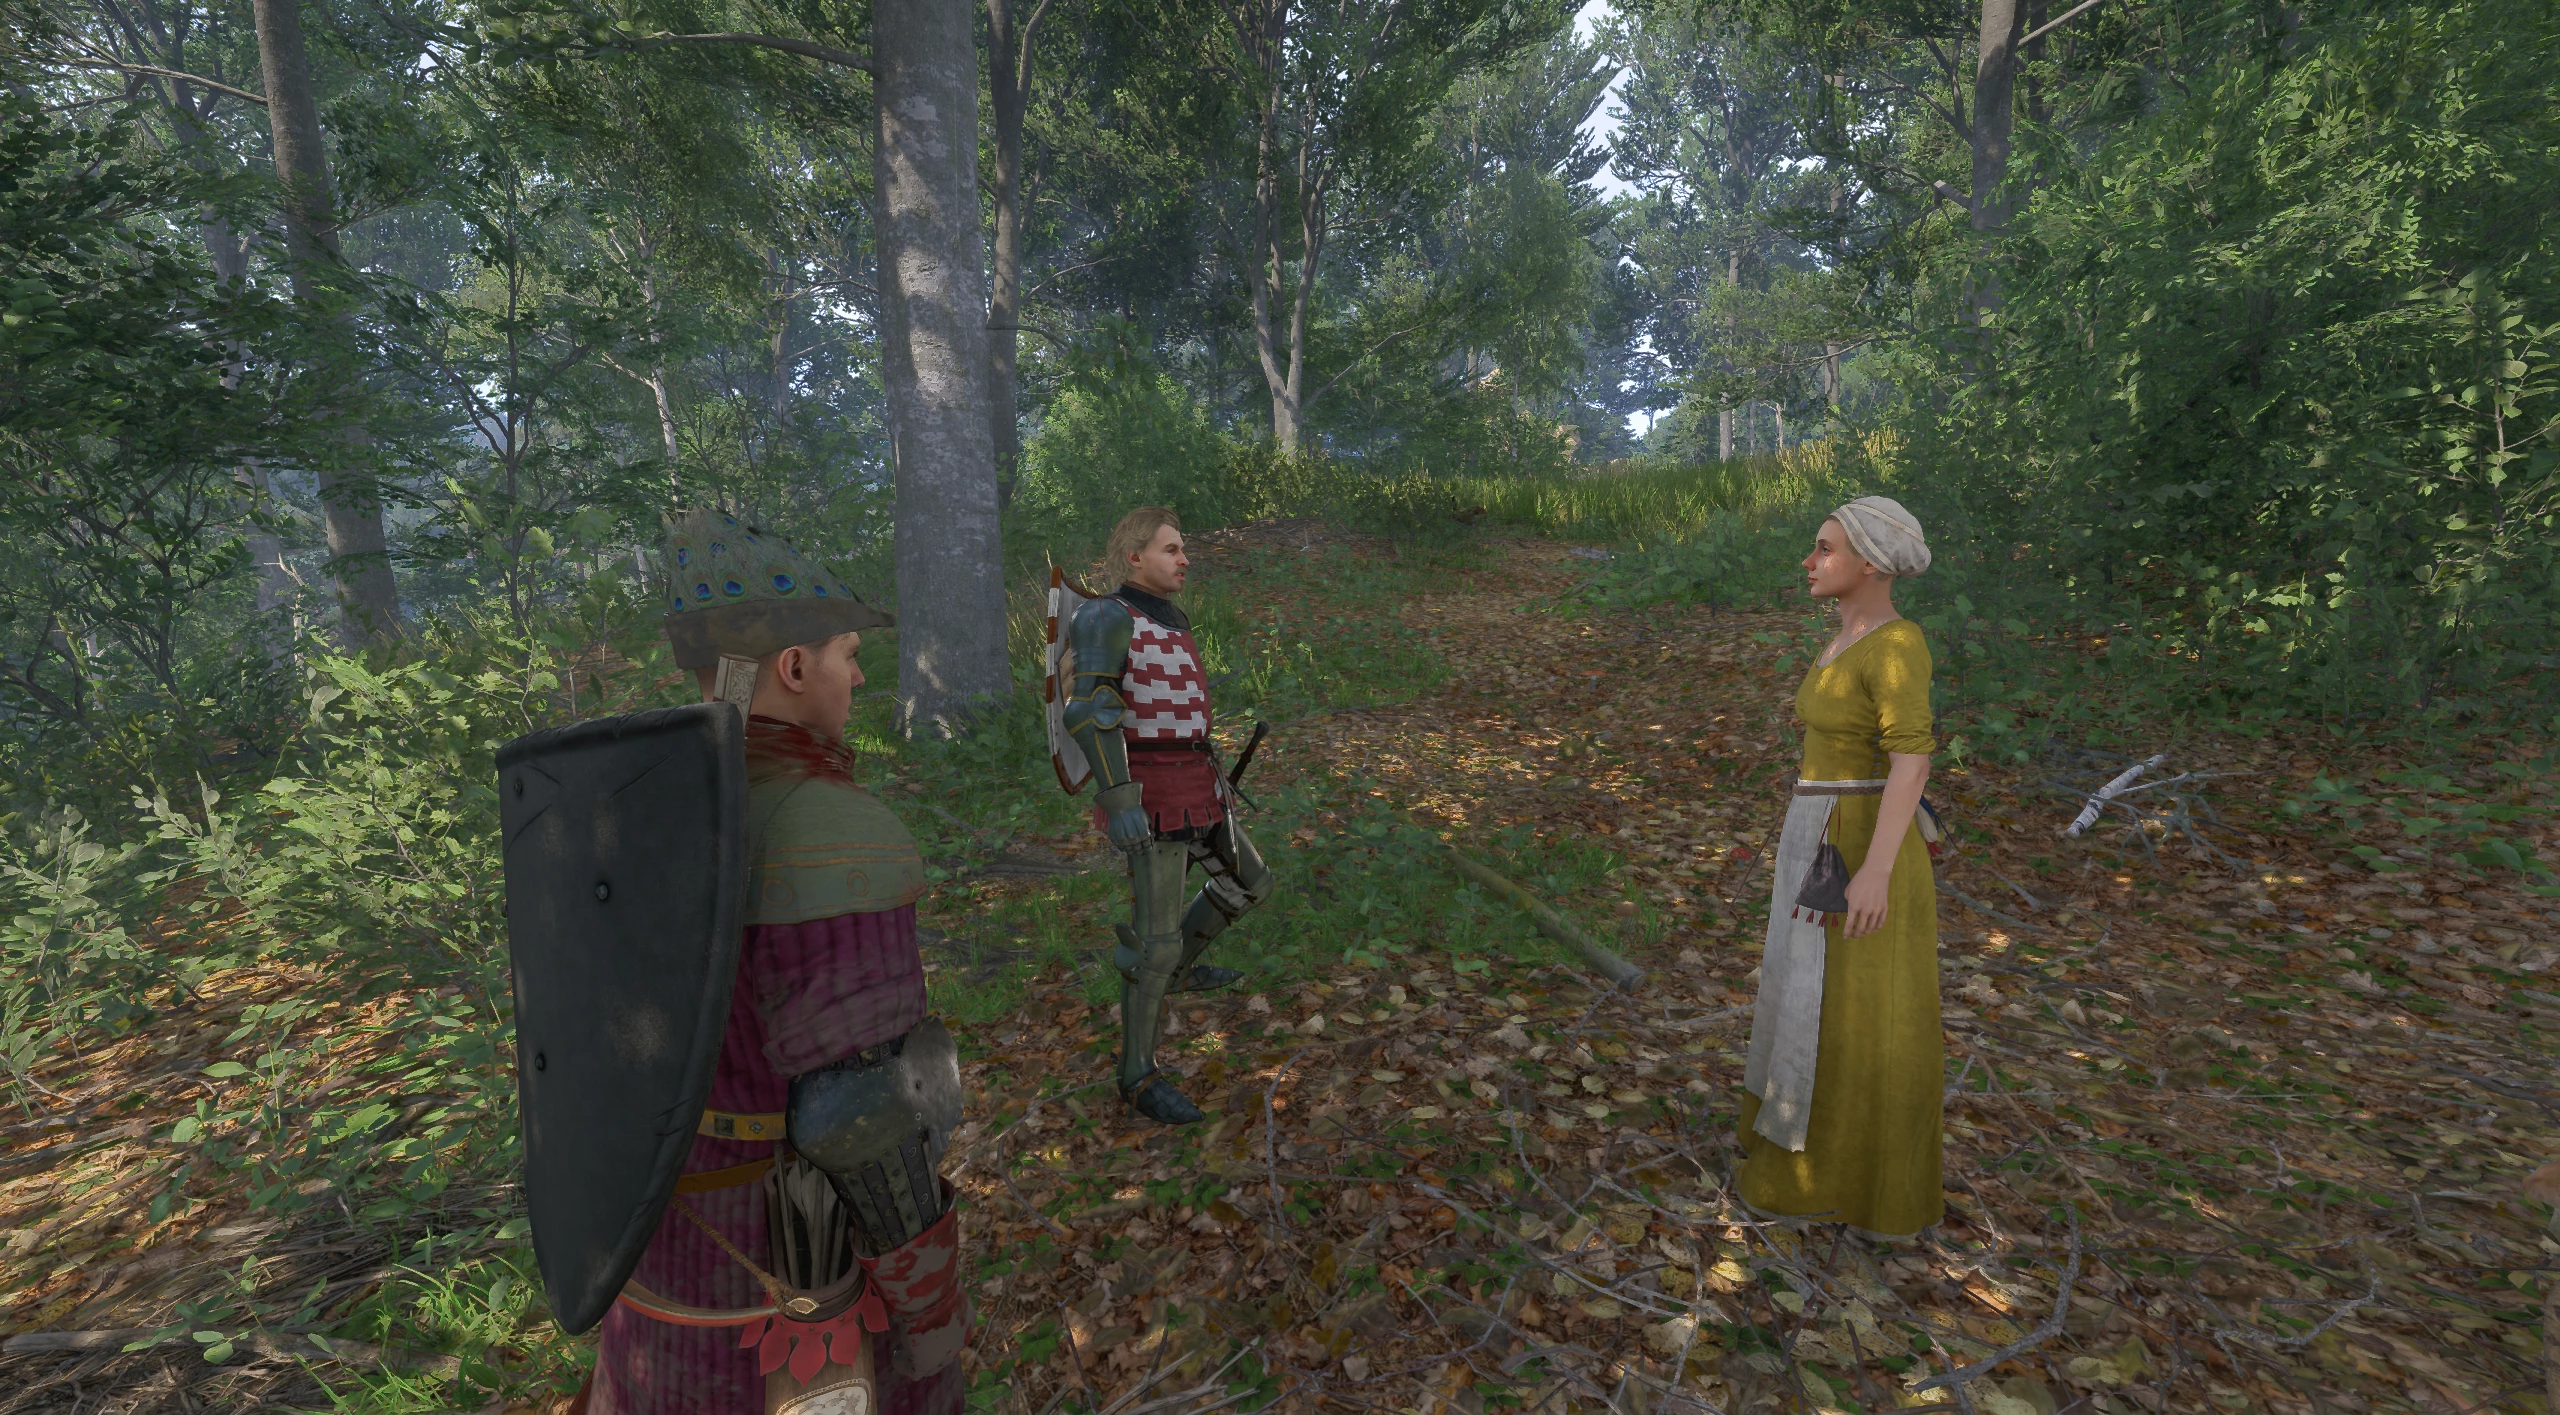
Continue following your new friend — along the way, you will see tracks left by the Cuman squad. We advise not to fall behind, as the man is easy to lose sight of. Soon you will meet a girl from the mill named Fjolka. She will tell you that the Cumans are holed up in the ruins of Zimburk.
Plan the Attack with Myatlik
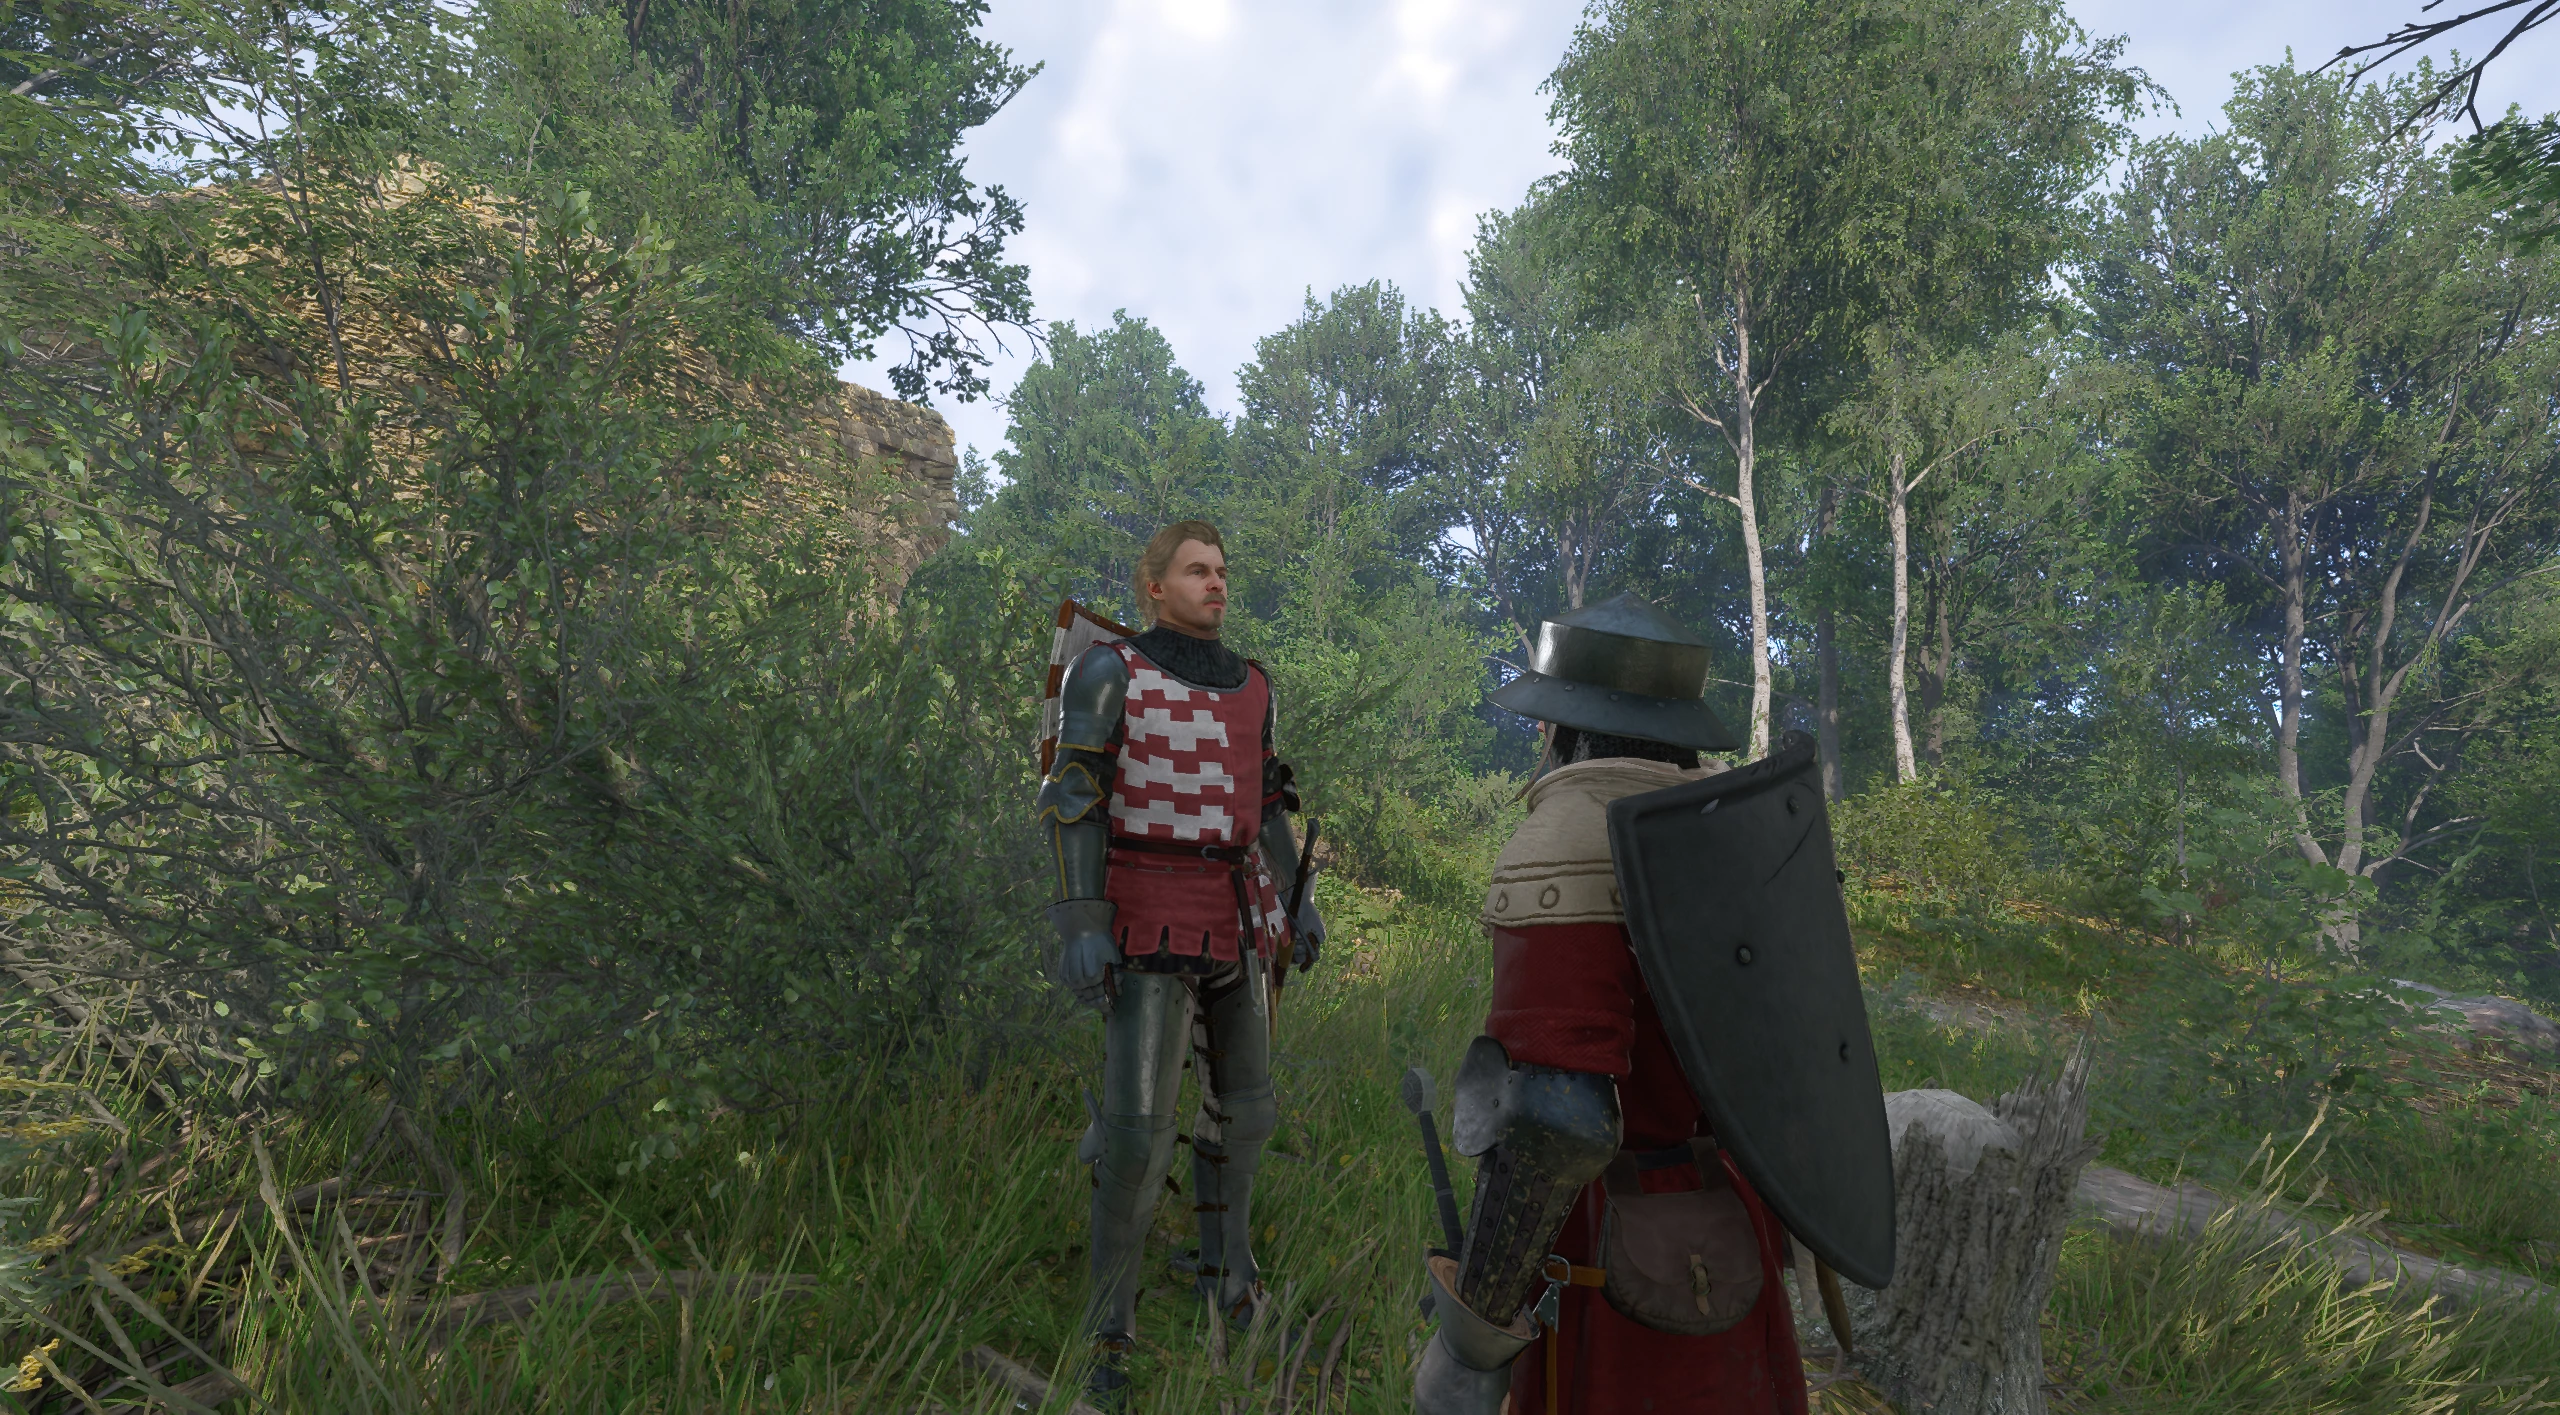
You have the option to charge into battle with Jan or eliminate the enemies stealthily on your own. There's also the possibility to sneak up to Miroslav and, after freeing him, give him a weapon, increasing your squad's combat strength. You can also persuade Myatlik to act at night, which will greatly ease the task.
Capture Zimburk!
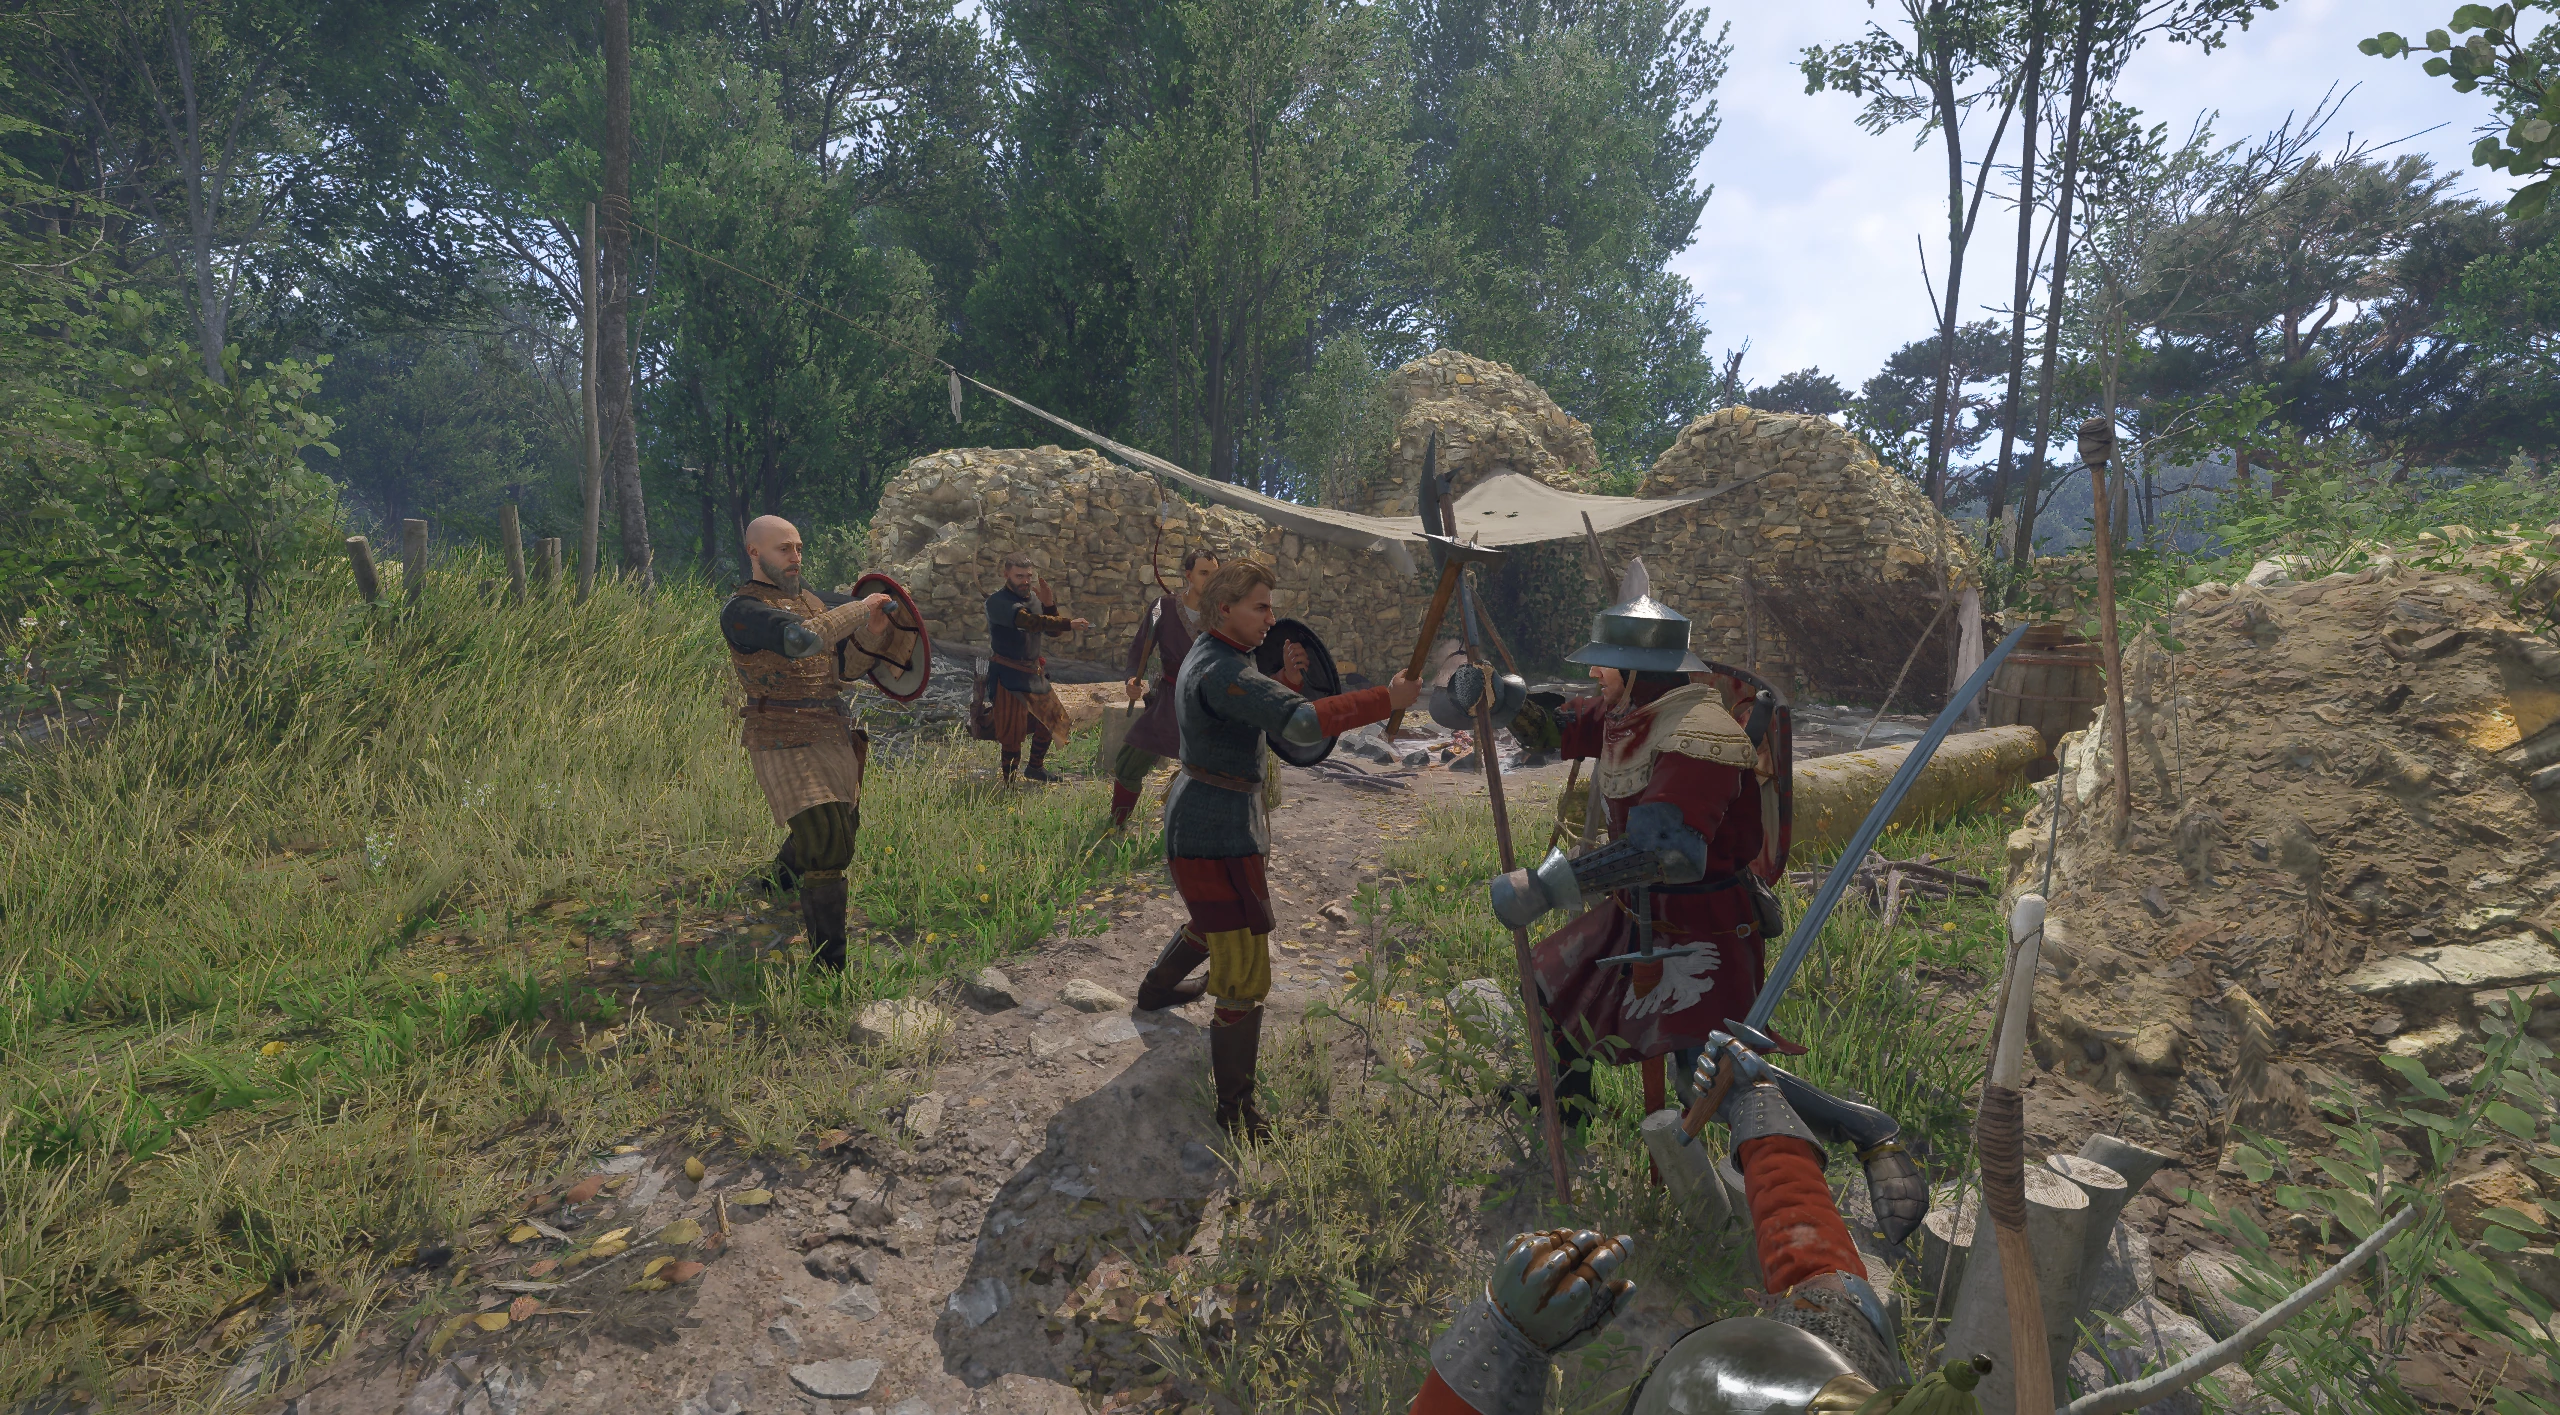
If you have made the decision or circumstances forced you to engage in open combat, try to find narrow passages in the ruins and eliminate enemies one by one. Under no circumstances should you allow the main character to be surrounded by opponents. We advise eliminating the Cumans at night one by one: first the patrols, then the sleeping ones, and finally leave the guard at the basement. If the fight is inevitable, you will have the advantage, as the enemies who wake up won't have time to arm themselves.
Free Miroslav
Descend into the basement and untie Miroslav. Then a cutscene of the brothers' reunion will occur. They will thank the hero for the work done and share a good sum of money. You will learn an interesting story about Miroslav and that the Cuman leader named Sharkan stole an important item. The brothers will invite Indro to join them in a few days at the camp near the ruins of the ancestral castle Zimburk. We advise getting your equipment in order before returning to the camp. This will give you access to the next quest in the Skeleton in the Closet chain.
Walkthrough of Side Quests in Kingdom Come: Deliverance 2
- Kingdom Come Deliverance 2: Mutt Walkthrough (How to Find the Dog)
- Kingdom Come Deliverance 2: Lackey Walkthrough
- Kingdom Come Deliverance 2: Bad Blood Walkthrough
- Kingdom Come Deliverance 2: Materia Prima Walkthrough
- Kingdom Come Deliverance 2: Forbidden Fruit Walkthrough
- Kingdom Come: Deliverance 2: Opus Magnum Walkthrough
- How to Find Armor by Maps in Kingdom Come Deliverance 2: The Lion's Crest Guide
- Kingdom Come Deliverance 2: Invaders Walkthrough
- Kingdom Come Deliverance 2: The Axe from the Lake Walkthrough
- Kingdom Come Deliverance 2: Mice Walkthrough
- Kingdom Come Deliverance 2: The Blacksmith's Son Walkthrough
- Kingdom Come Deliverance 2: The Jaunt Walkthrough
- Kingdom Come Deliverance 2: The Hermit Walkthrough
- Kingdom Come Deliverance 2: Miri Fajta Walkthrough
- Kingdom Come Deliverance 2: The Mouth of Hell Walkthrough
- Kingdom Come Deliverance 2: Bellatores Walkthrough
- Kingdom Come Deliverance 2: Skeleton in the Closet Walkthrough
- Kingdom Come Deliverance 2: Dragon's Lair Walkthrough
- Kingdom Come Deliverance 2: Canker Walkthrough
- Kingdom Come Deliverance 2: Handsome Charlie Walkthrough
- Kingdom Come Deliverance 2: Johnny the Gob Walkthrough
- Kingdom Come Deliverance 2: Casper Walkthrough
- Kingdom Come Deliverance 2: The White Roebuck Walkthrough
- Kingdom Come Deliverance 2: Hush, My Darling Walkthrough
- Kingdom Come Deliverance 2: Absolver Walkthrough
- Kingdom Come Deliverance 2: The Thunderstone Walkthrough
- Kingdom Come Deliverance 2: X Marks the Spot Walkthrough
- Kingdom Come Deliverance 2: Hammer and Tongs Walkthrough
- Kingdom Come Deliverance 2: Yackers 'n' Fash Walkthrough
- Kingdom Come Deliverance 2: Ransom Walkthrough
- Kingdom Come Deliverance 2: The Reliquary Walkthrough
- Kingdom Come Deliverance 2: Thou art but dust Walkthrough
- Kingdom Come Deliverance 2: Striped Tonies Walkthrough
- Kingdom Come Deliverance 2: Popinjay Shoot Walkthrough
- Kingdom Come Deliverance 2: Ars Dimicatoria Walkthrough
- Kingdom Come Deliverance 2: Arrow-head Walkthrough
- Kingdom Come Deliverance 2: In Vino Virilitas Walkthrough
- Kingdom Come Deliverance 2: Feast for the Poor Walkthrough
- Kingdom Come Deliverance 2: Spoils of War Walkthrough
- Kingdom Come Deliverance 2: Post Scriptum Walkthrough
- Kingdom Come Deliverance 2: The Thieves' Code Walkthrough
- Kingdom Come Deliverance 2: Troubadours Walkthrough
- Kingdom Come Deliverance 2: Bird of Prey Walkthrough
- Kingdom Come Deliverance 2: A Good Scrub Walkthrough
- Kingdom Come Deliverance 2: Ill Repute Walkthrough
- Kingdom Come Deliverance 2: The Spark Walkthrough
- Kingdom Come Deliverance 2: All's fair Walkthrough
- Kingdom Come Deliverance 2: Seeking Justice Walkthrough
Other guides
 Kingdom Come: Deliverance 2 Mysteria Ecclesiae — Weapon Locations and How to Obtain Them
 Kingdom Come: Deliverance 2 Mysteria Ecclesiae — How to Find Slavek’s Purse
 Kingdom Come: Deliverance 2 Mysteria Ecclesiae — Devilish Pain Quest Guide: How to Help Madla
 Kingdom Come: Deliverance 2 — Mysteria Ecclesiae DLC Walkthrough Guide
 Kingdom Come: Deliverance 2 — How to Access and Start the Mysteria Ecclesiae DLC
 Kingdom Come: Deliverance 2 — Chiaroscuro Quest Walkthrough
-
 Kingdom Come Deliverance 2: A Sketchy Situation Walkthrough
 -
 Kingdom Come: Deliverance 2 — Fixing High Toll Quest Issues
 -
 Brushes with Death DLC in Kingdom Come: Deliverance 2 — How to Start and Complete All Quests
 -
 Kingdom Come: Deliverance 2 — Source of Inspiration Quest Walkthrough
 -
 All Elden Ring Endings Explained: How to Get Every Ending and Which Is Best